
THIS POST MAY CONTAIN AFFILIATE LINKS. PLEASE READ MY DISCLOSURE FOR MORE INFO.
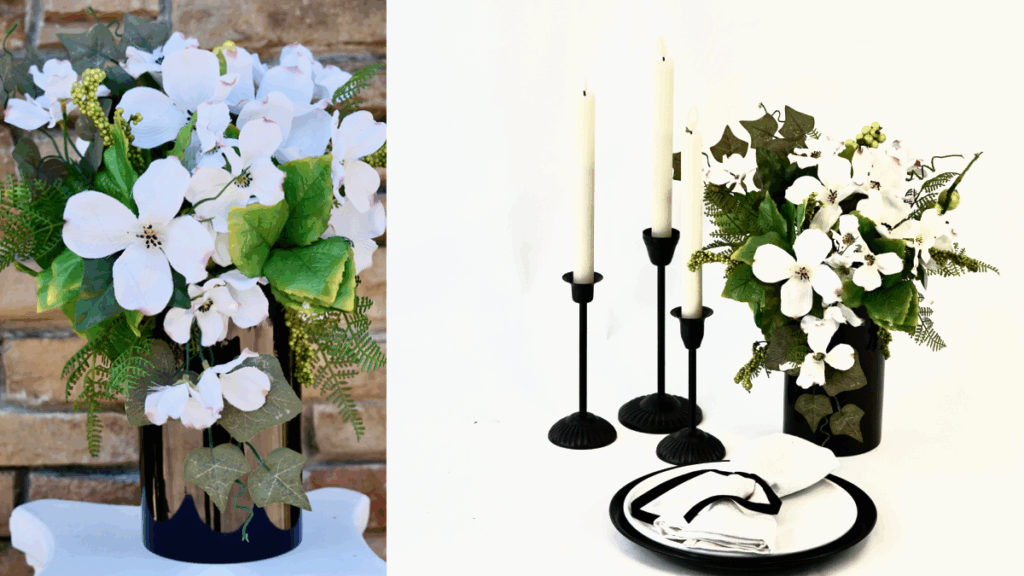
Affordable Elegance: Wedding Centerpieces That Wow!
You know I can never resist a fun DIY twist! When a community member reached out and challenged us to craft elegant wedding décor using budget friendly finds, I couldn’t wait to roll up my sleeves. Around here, we believe magic happens when imagination meets budget-savvy thinking. Whether you’re planning a wedding, a shower, or just love a good project, we’re here to show you how to make it unforgettable—without spending a fortune. Think high-impact style with low-cost ingredients? Oh yes, it’s totally possible. Let’s jump in and make some budgeting dreams come true!
BUT WAIT!
Before we get started I want to share an awesome tip on how you can earn cash back with your online purchases for all the items you will need to complete this project!
As our saying goes “When Every Penny Counts, Count on Miss PlanIt.” We love to save money and get great deals. Prior to us purchasing anything online, we check out Rakuten, find the store, click the current deal for that store and complete our purchase.
If you have never used Rakuten, you are MISSING OUT. So for this project, you would go to Rakuten.com, sign up, and then type in the store you plan to purchase from.
When completing a purchase through Rakuten you earn cash back that you can have mailed to you or sent via PayPal. Be sure to check it out! Click here to sign up for Rakuten, and RIGHT NOW when you sign up, you will receive a $10 cash welcome bonus through my link when you spend $25.00!
You were already going to complete your purchase online, so why not get some cash back on things you already planned to purchase!

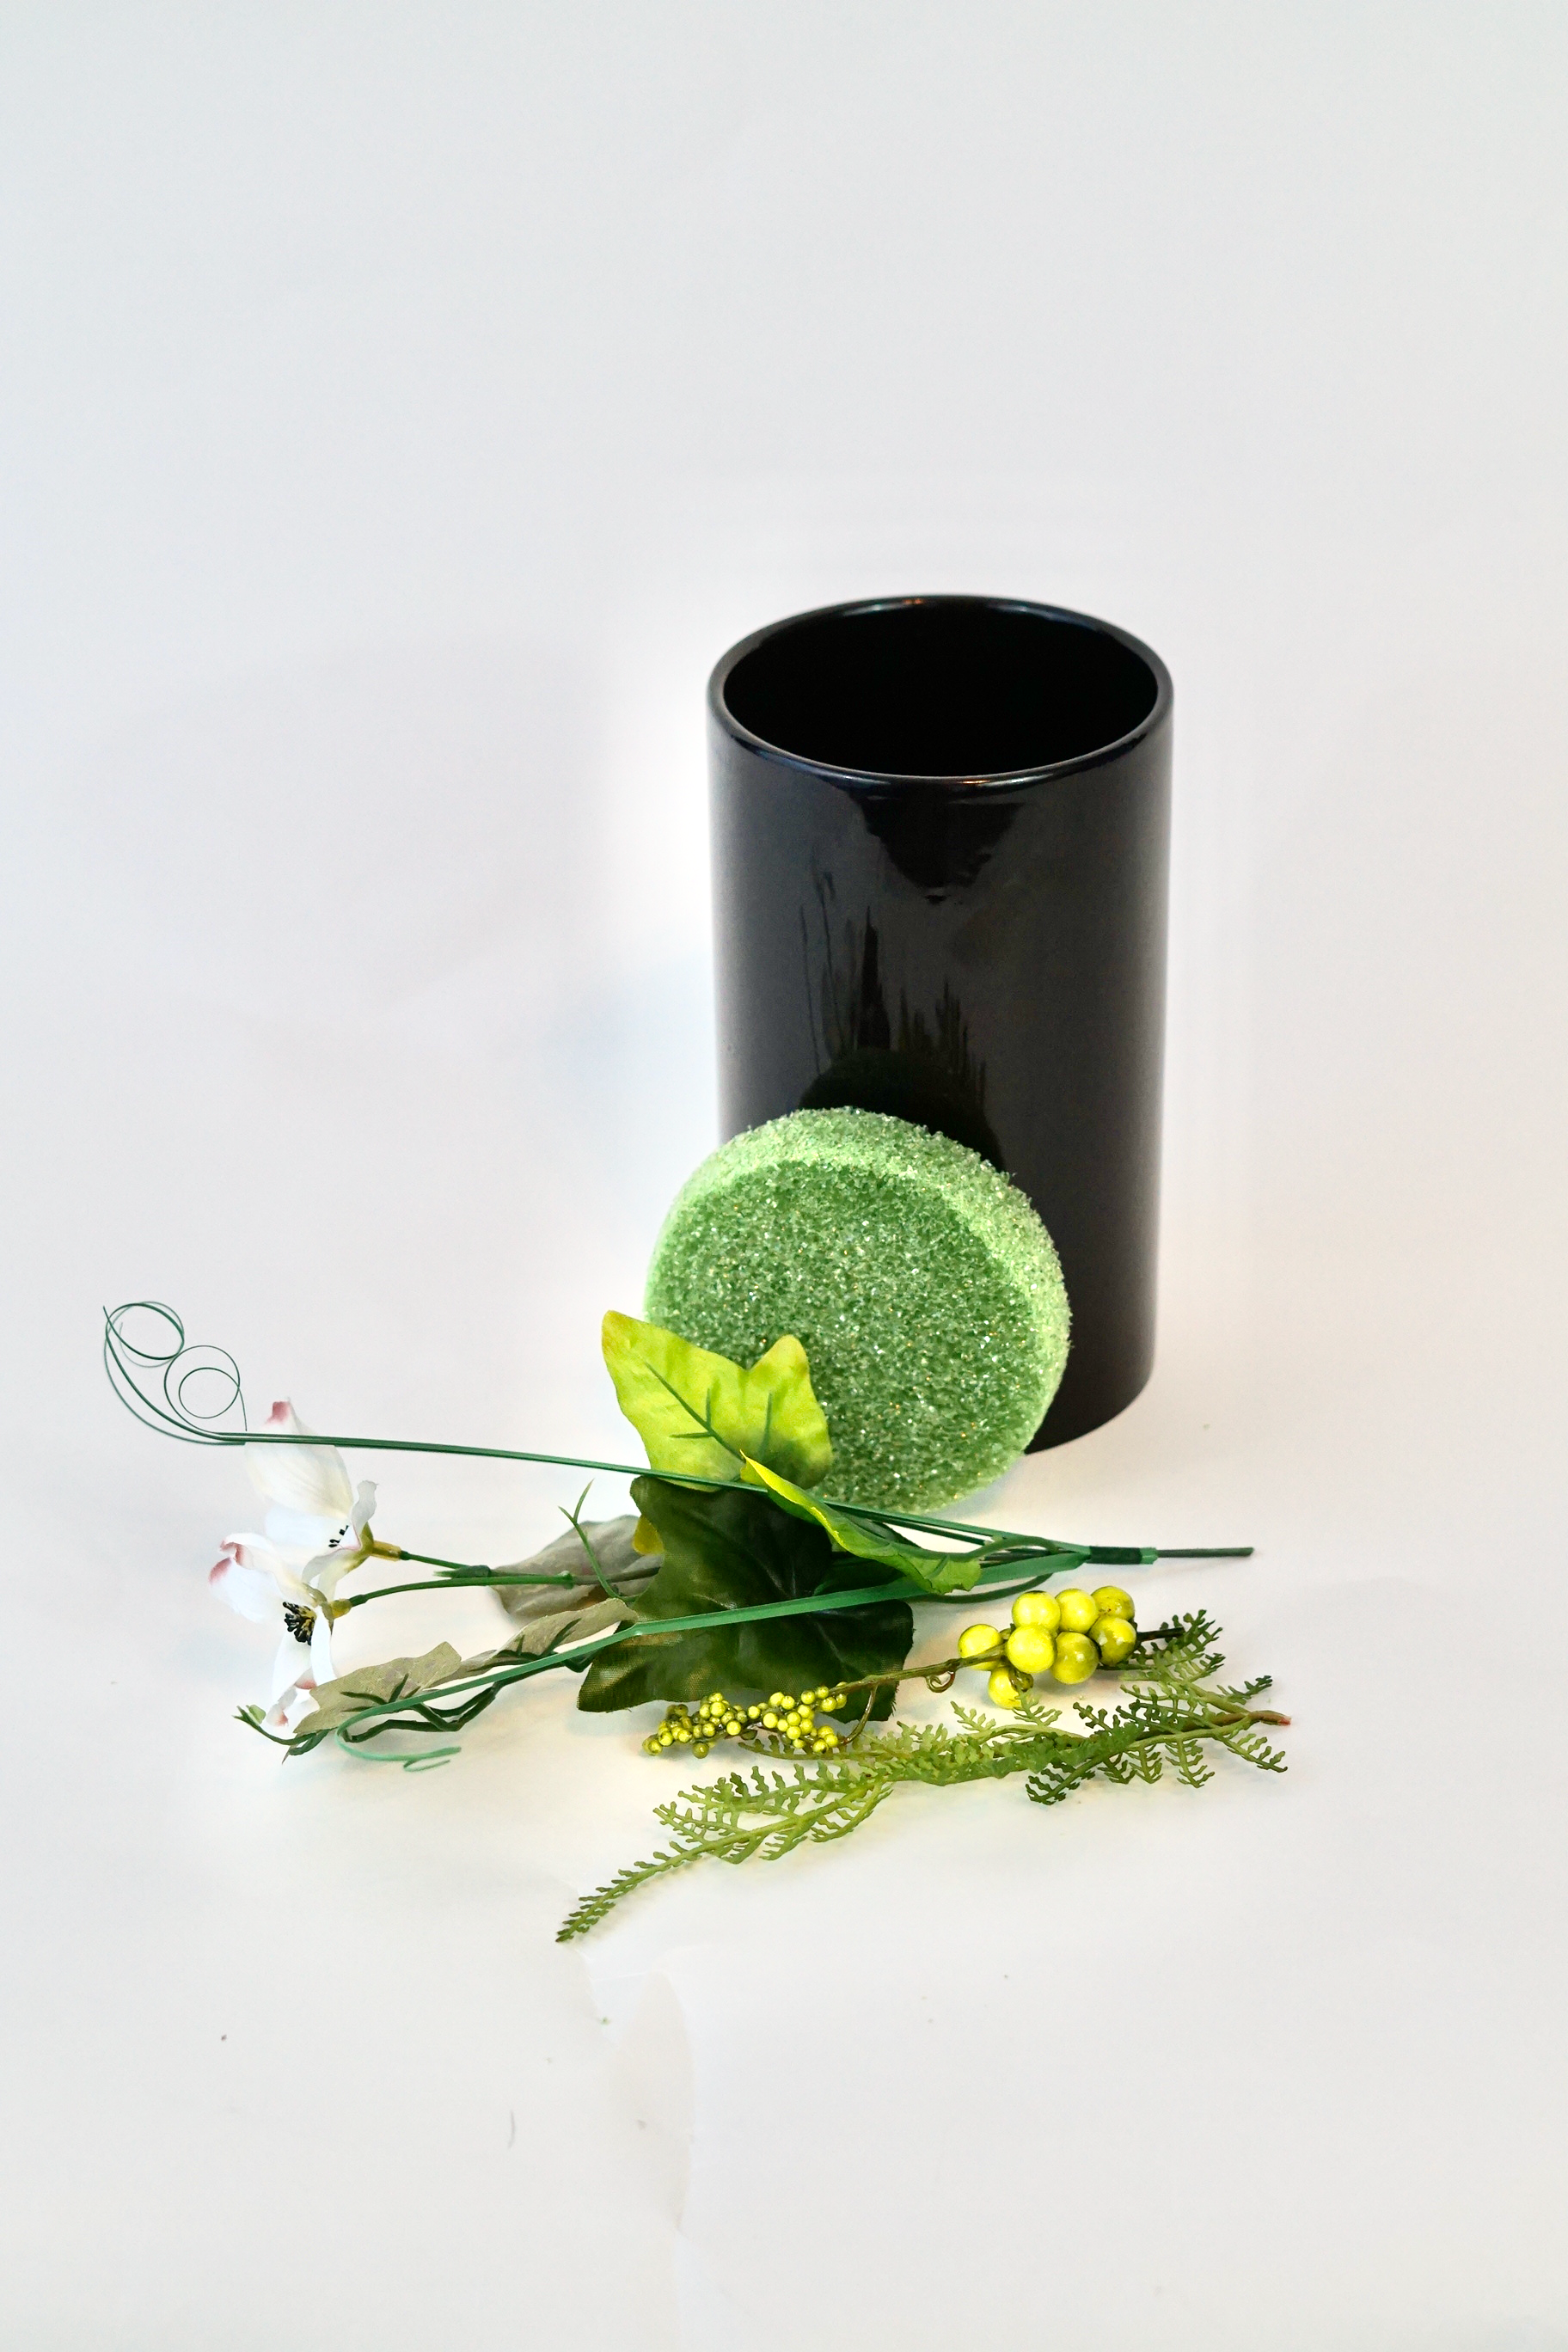
Let’s Get Started: Click the links below to purchase the supplies needed for this project:
- White Dogwood Bush
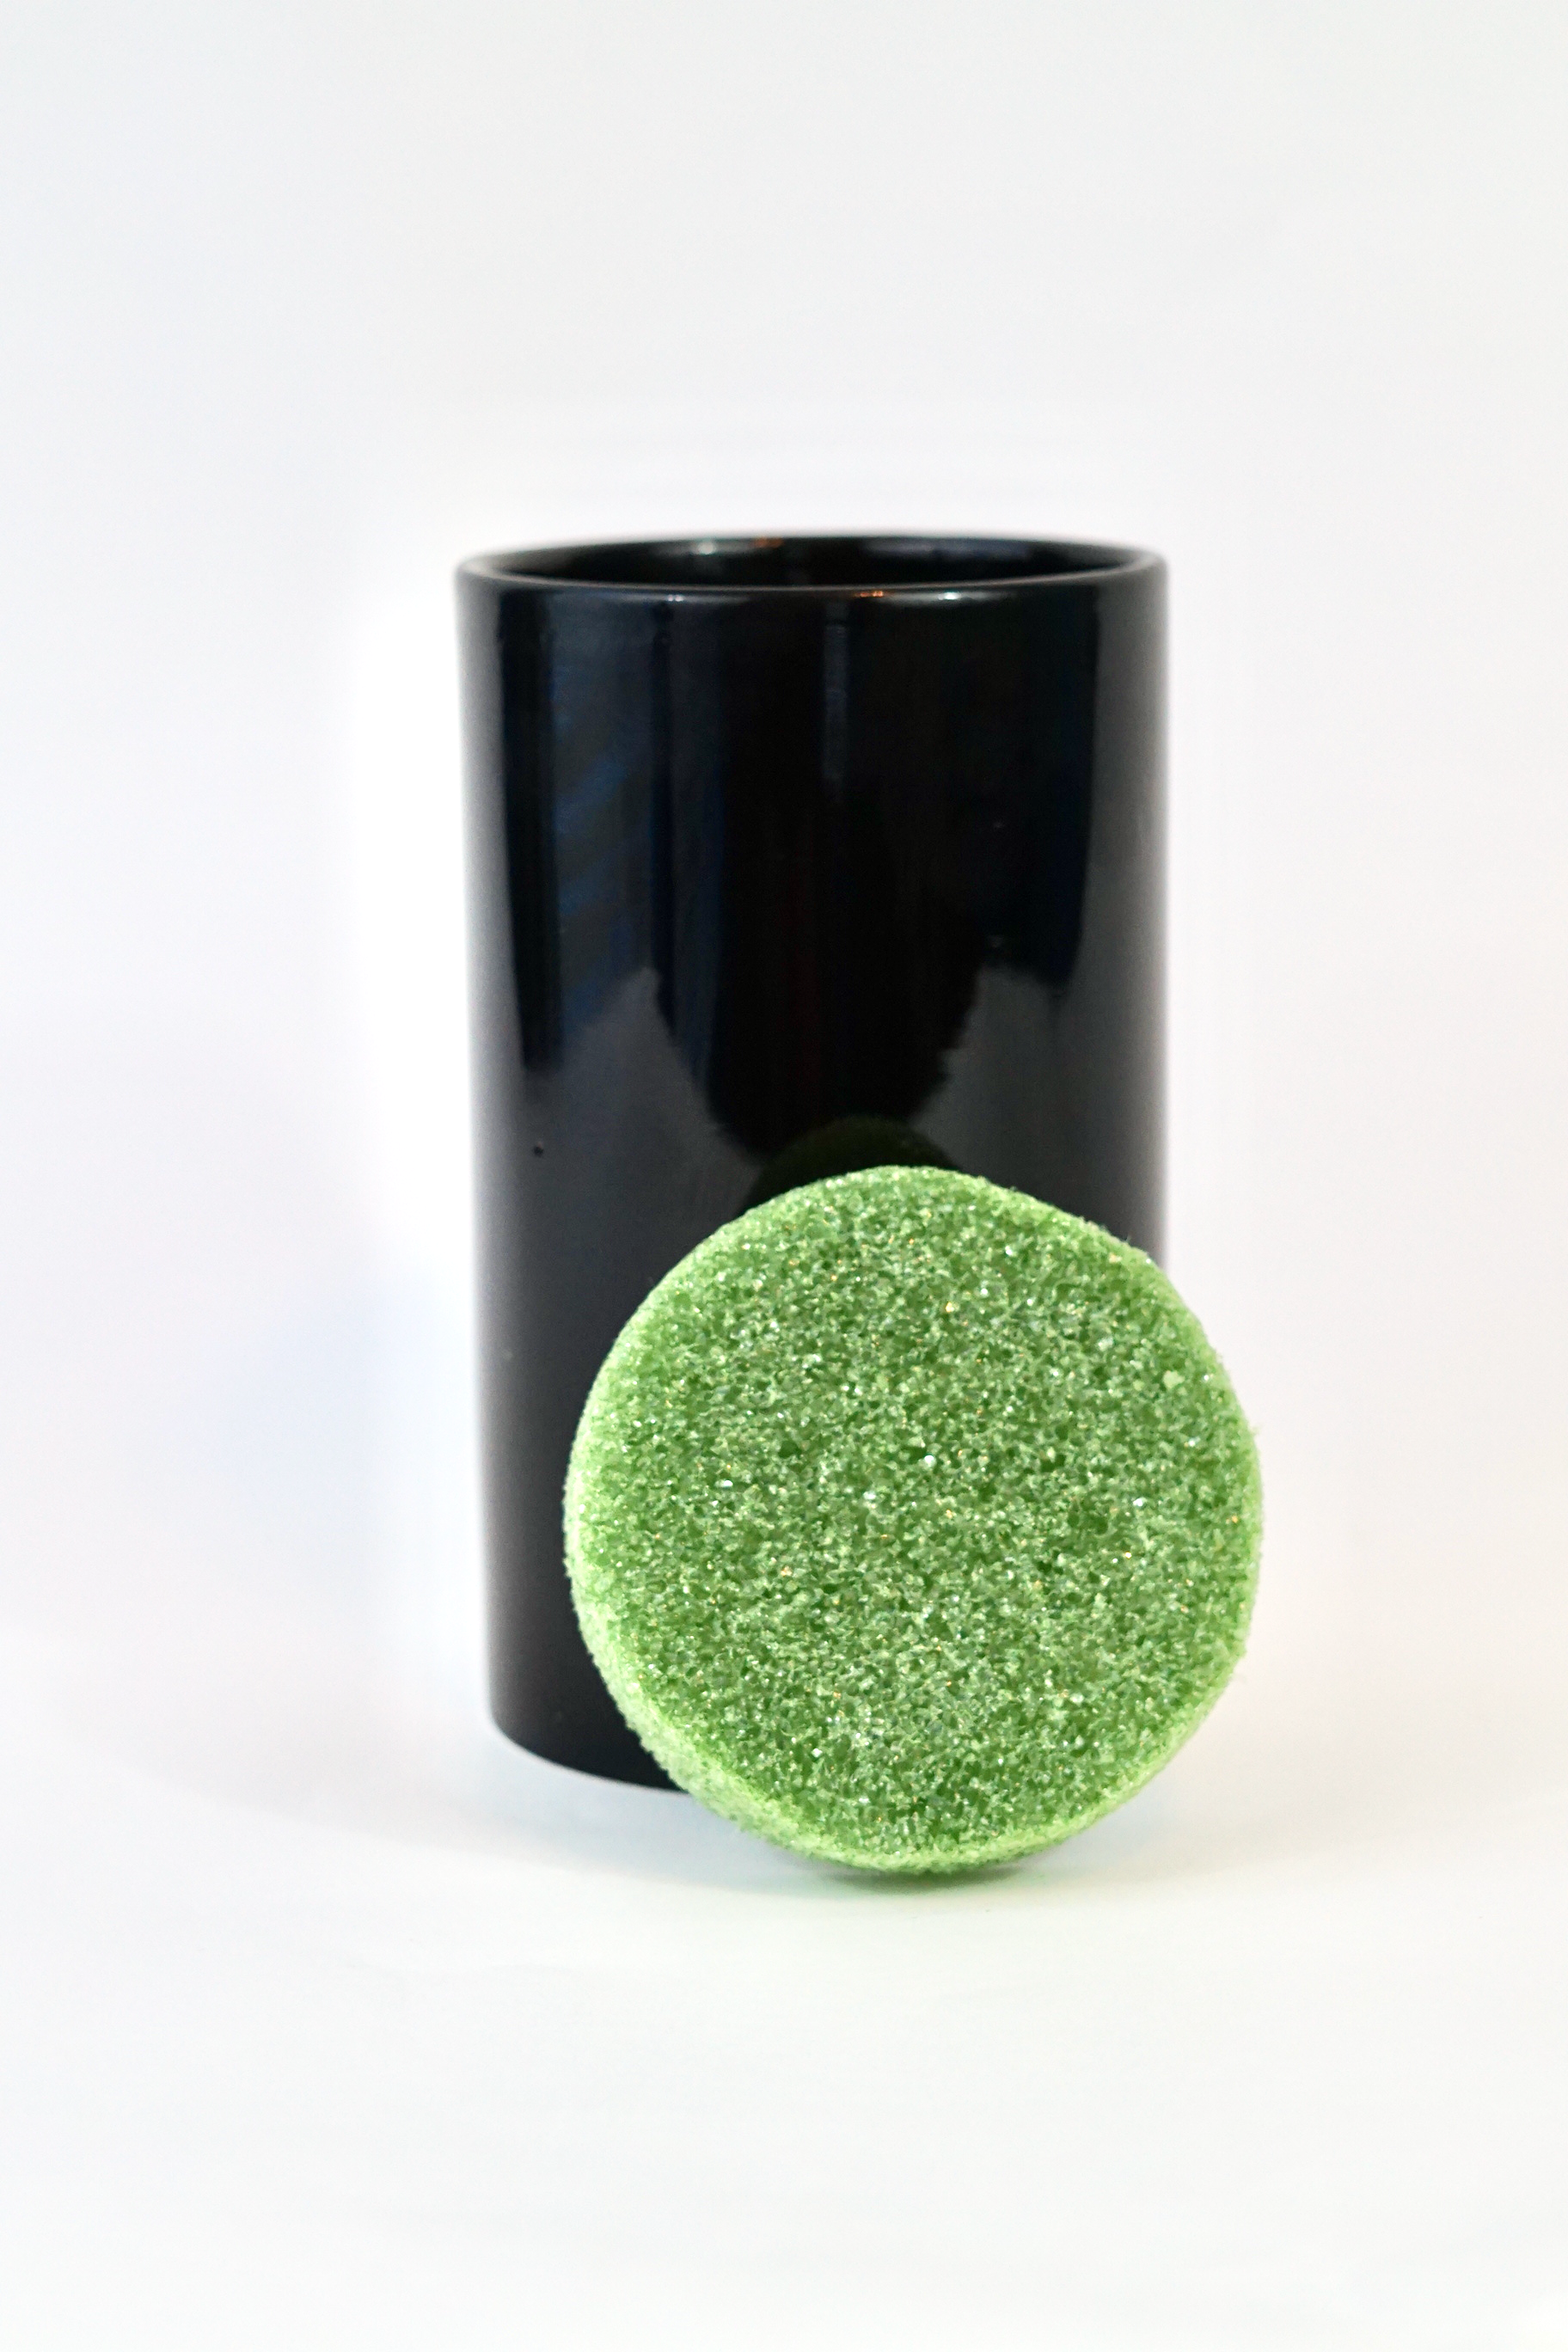
- FloraFoM FloralFoam Disc
- Ceramic Black Cylinder Vase
- Greenery Leaves
- Artificial Green Berries
Project Video:

If you prefer written instructions, please continue reading.
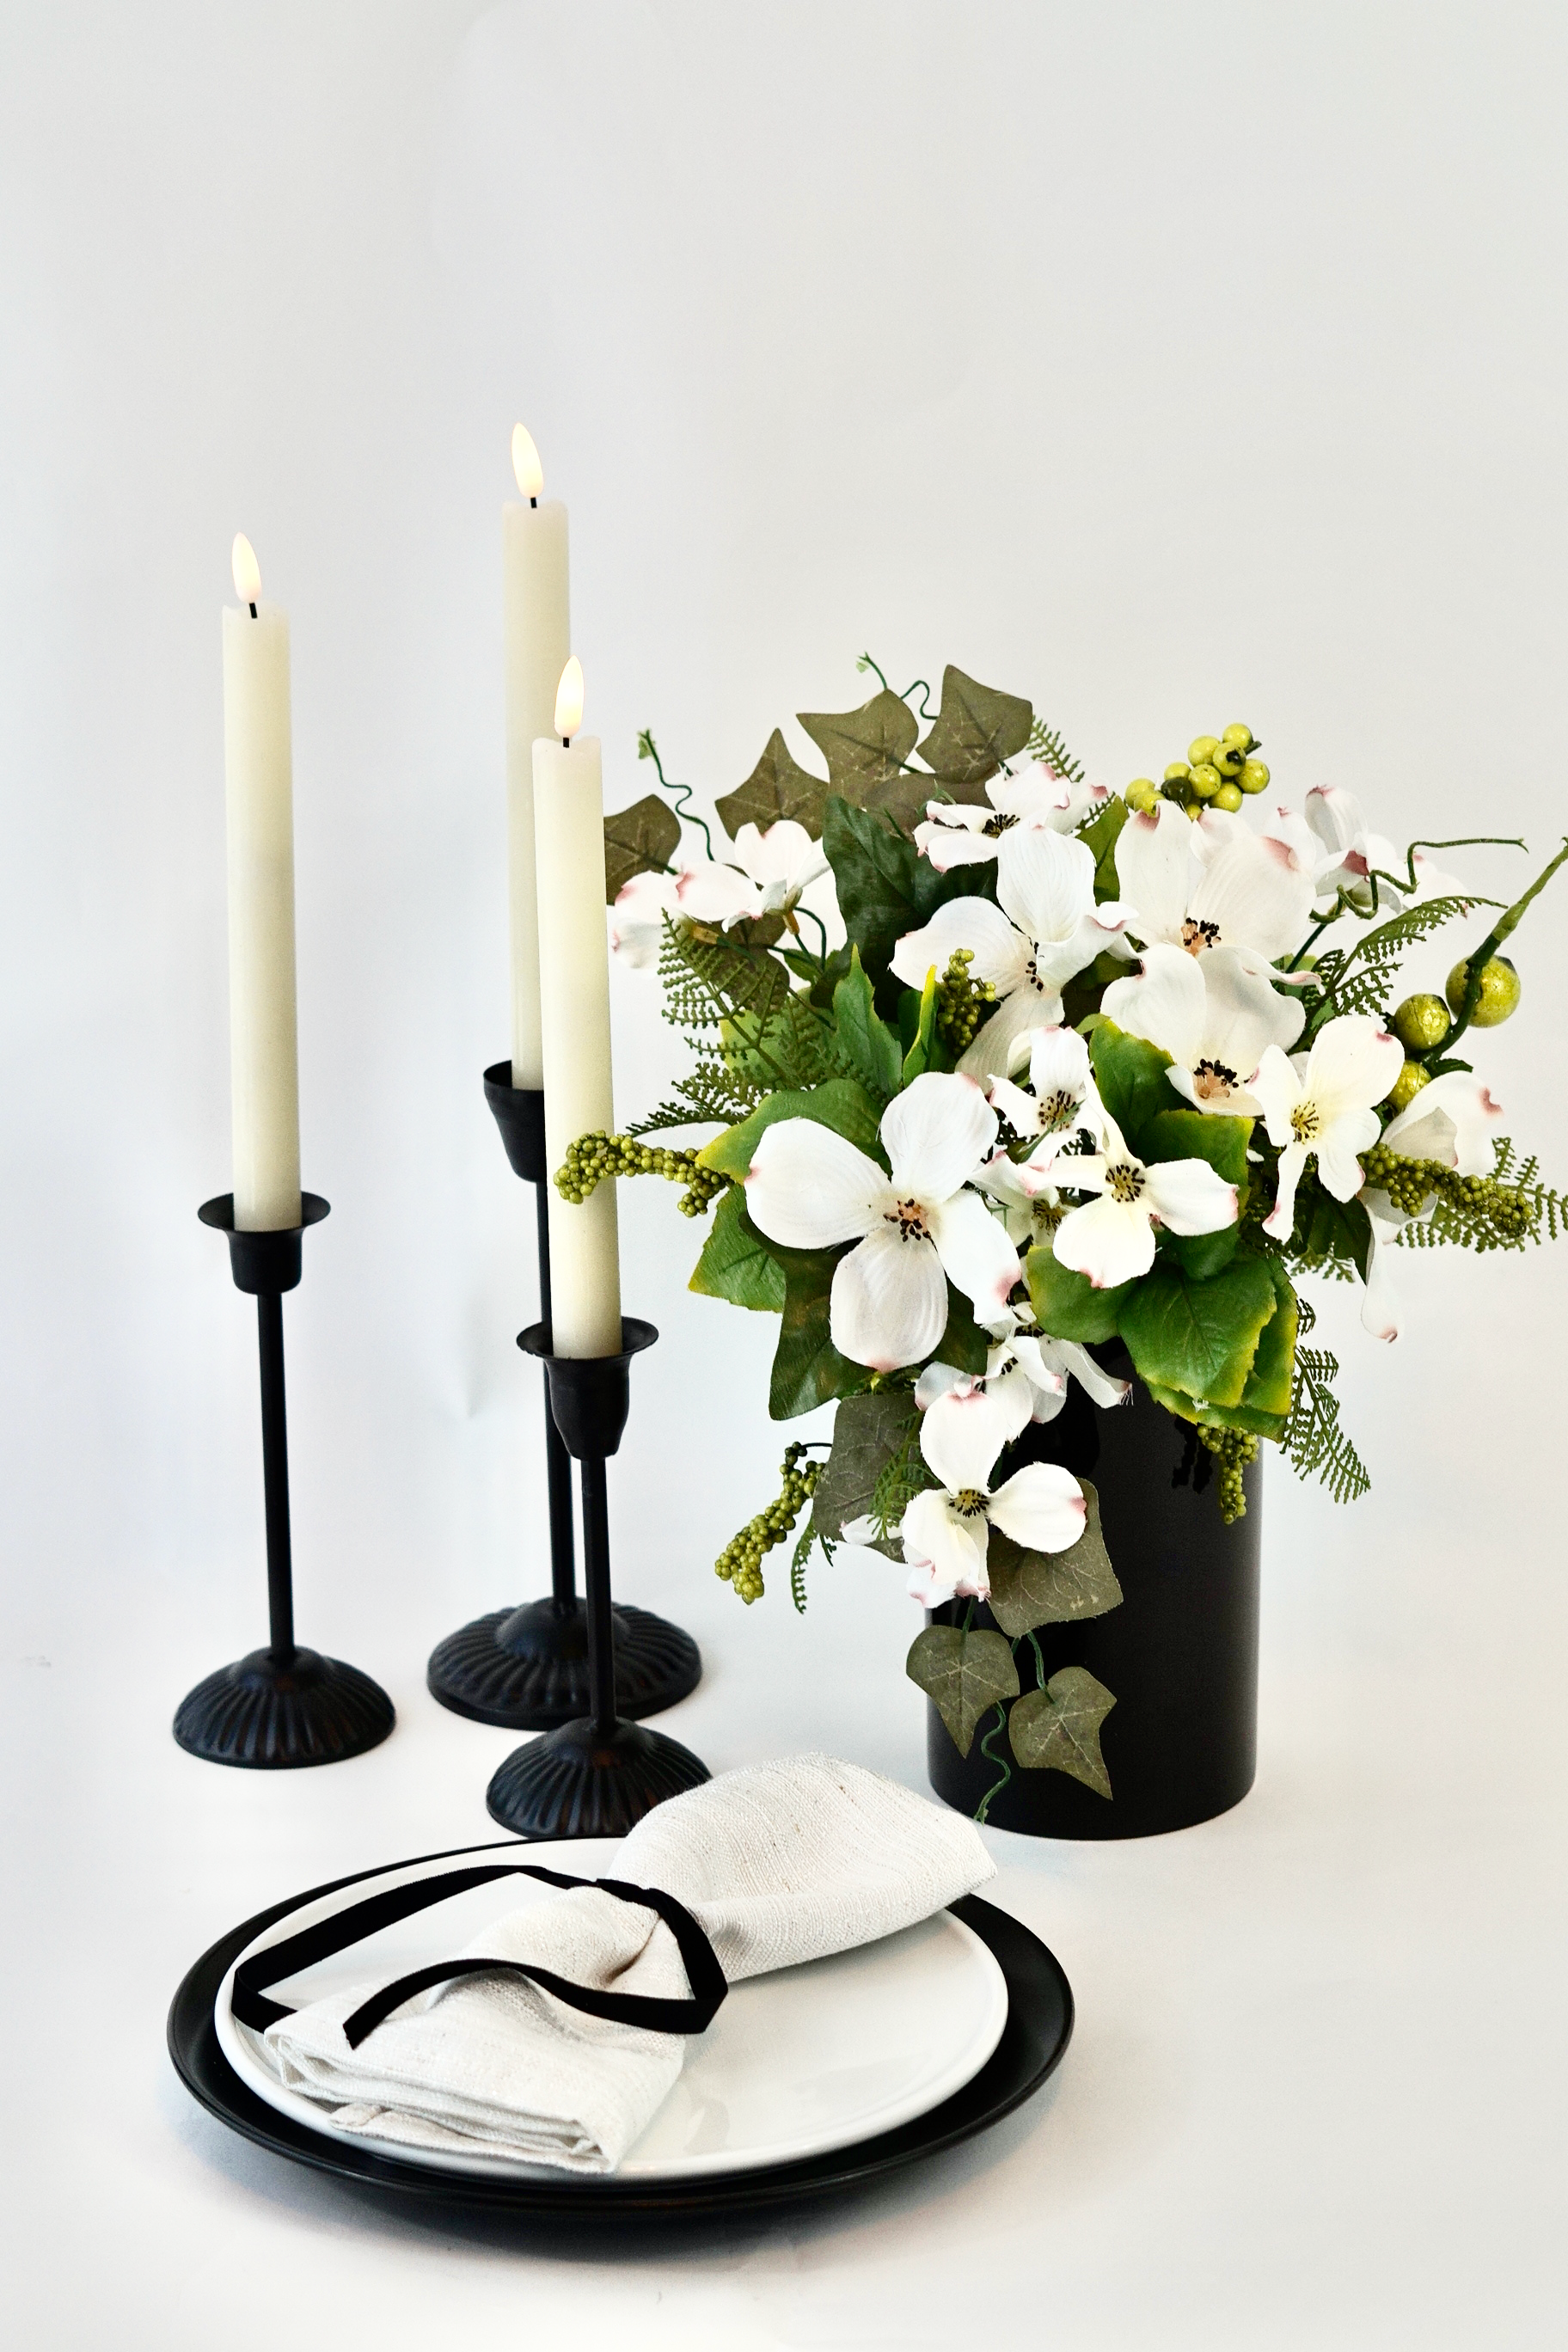
Budget-Friendly Wedding Decor!
Step 1:
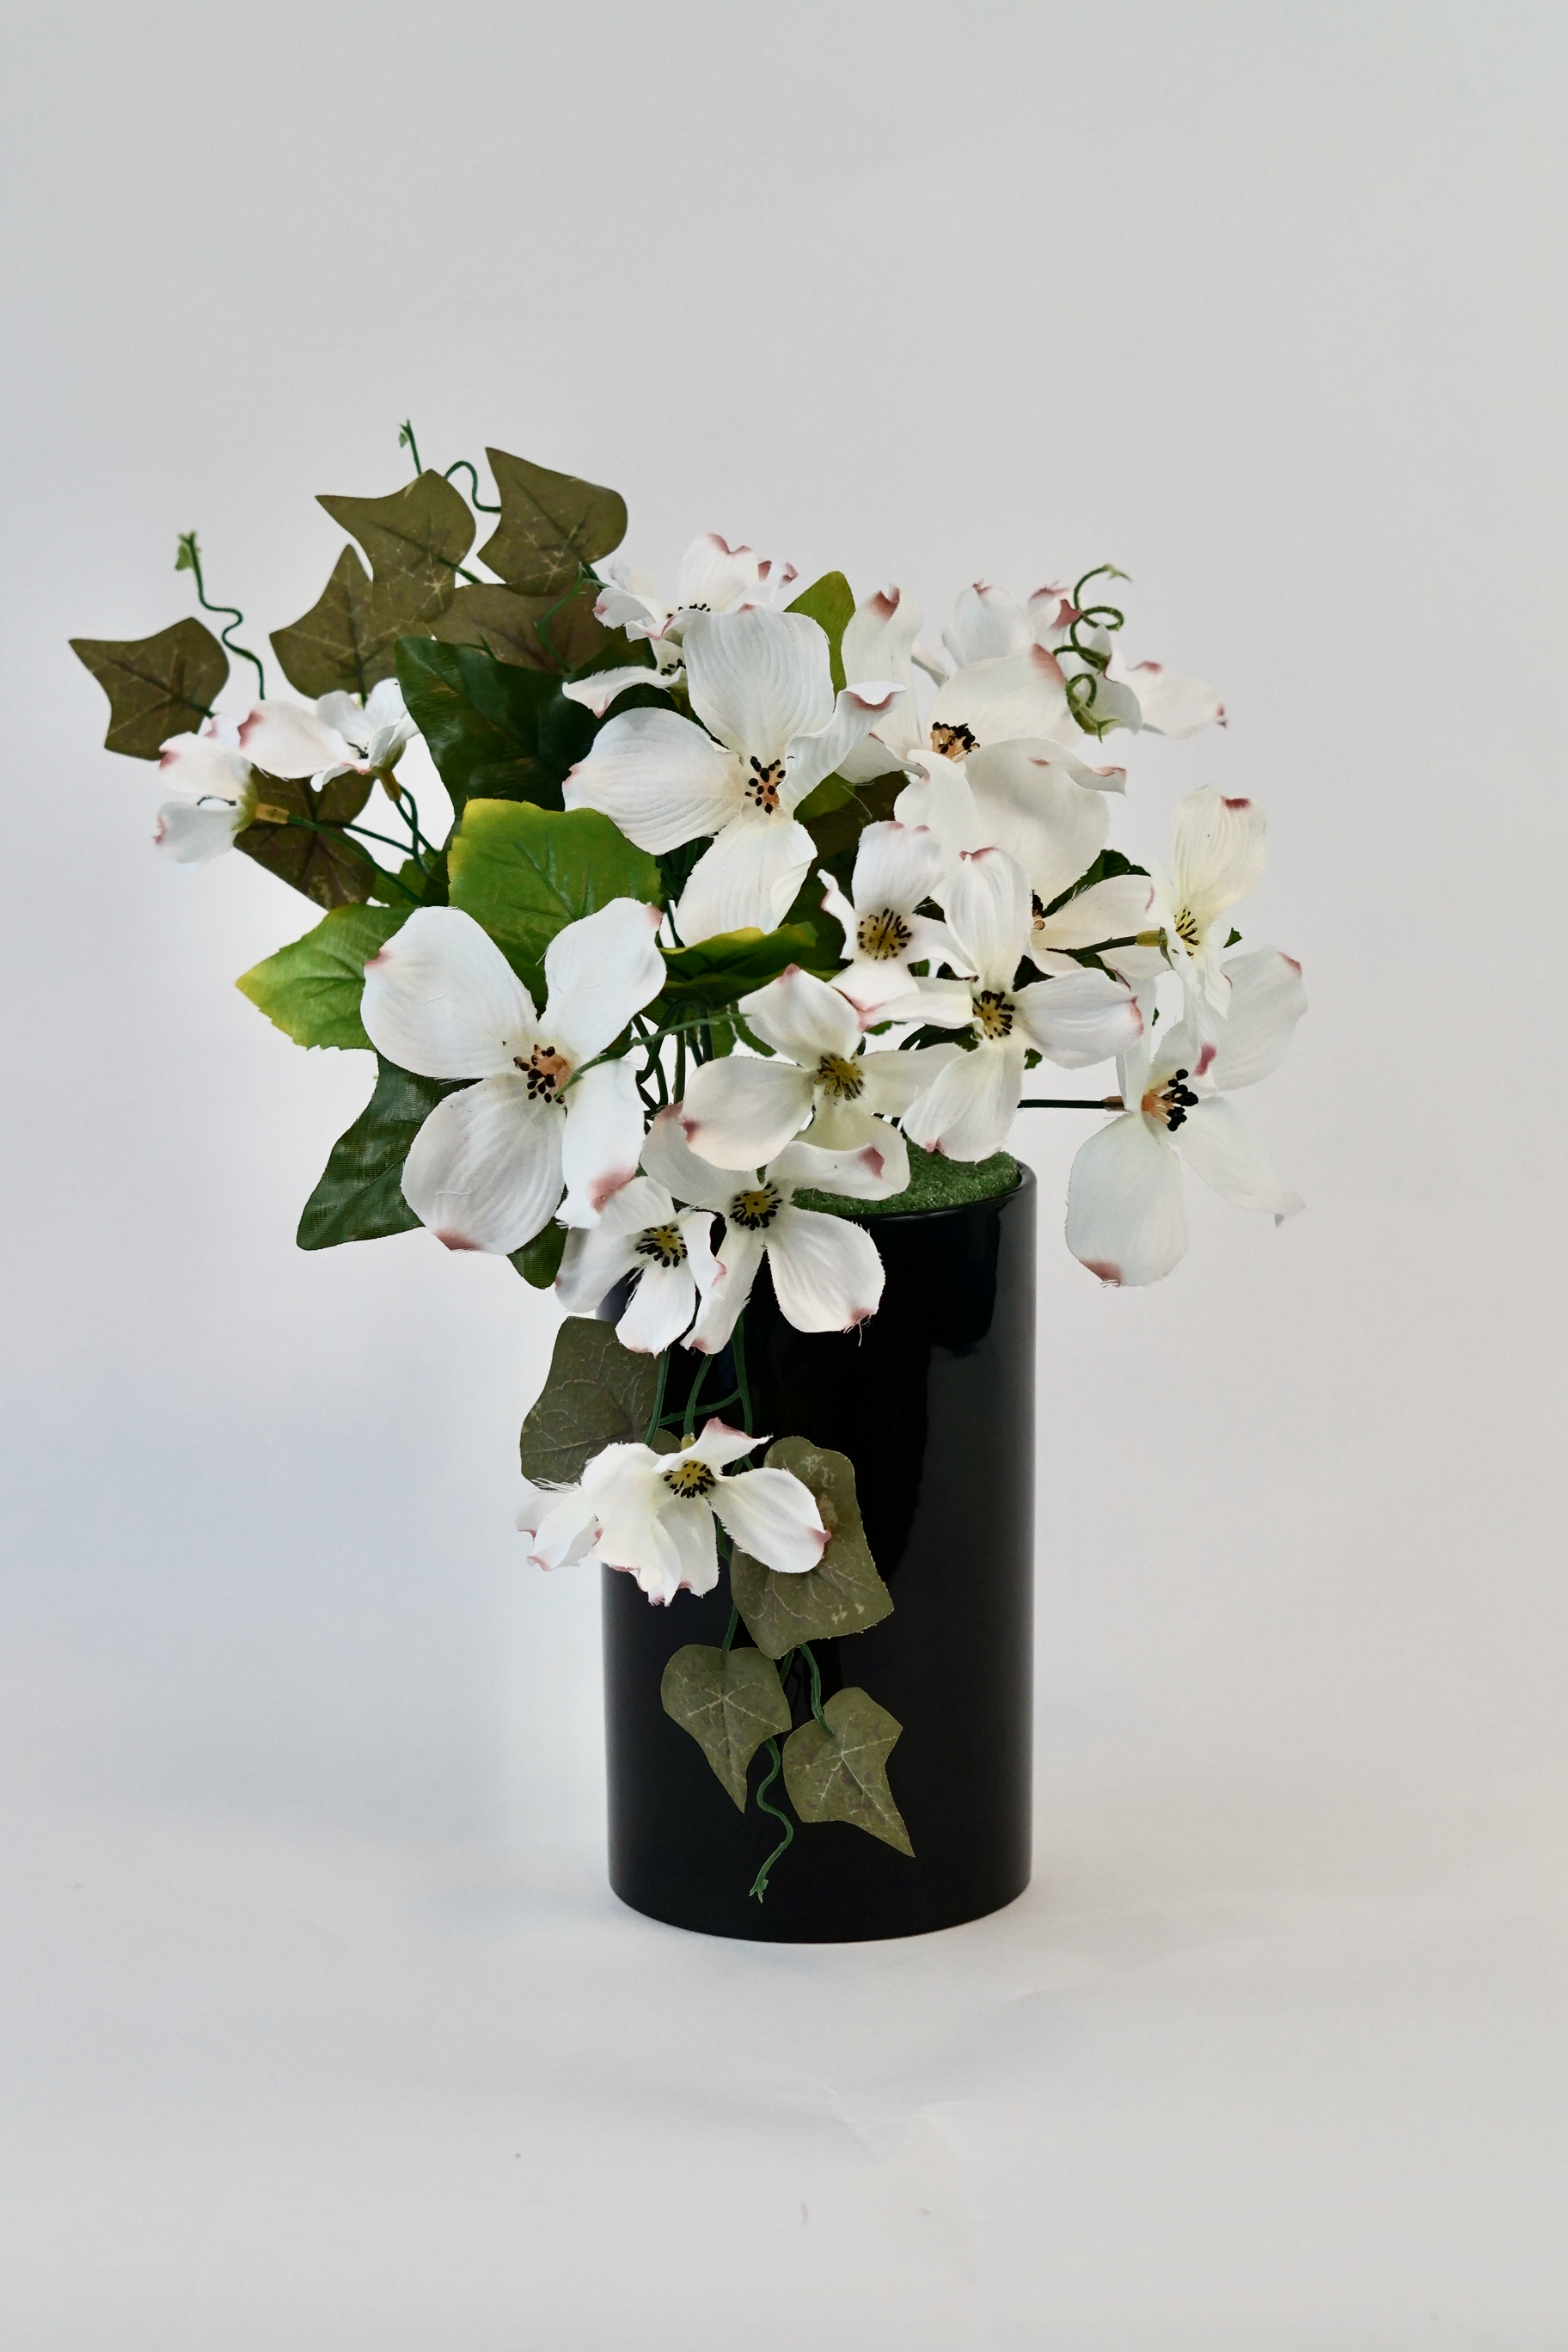
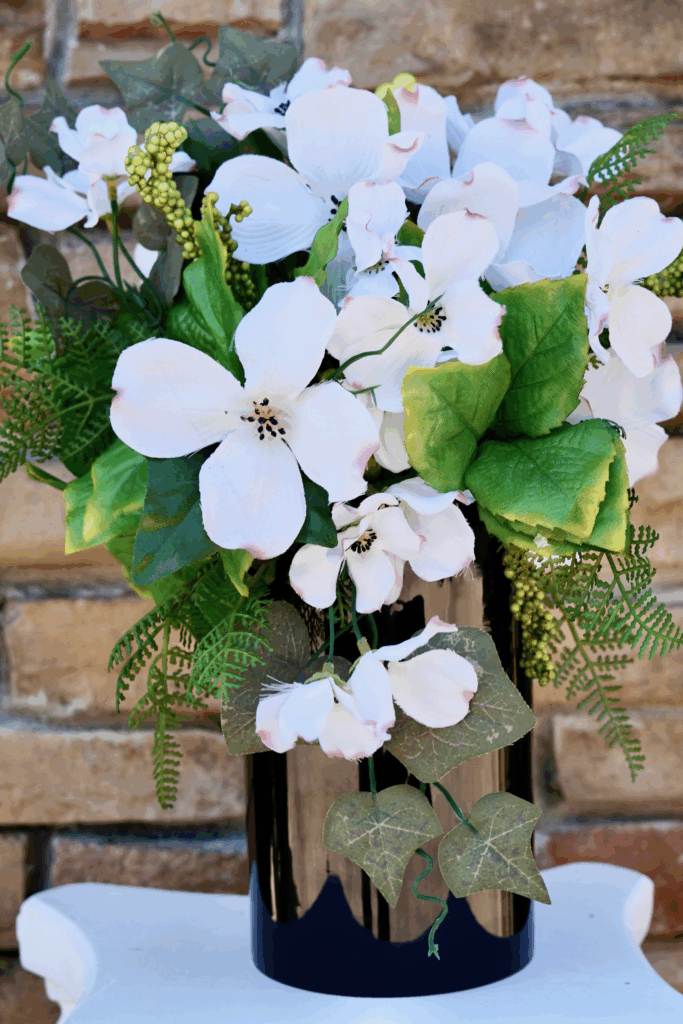
Our first step is to place the Foam Disc into the Black Ceramic Cylinder Vase. It should be a snug fit. Next place 10-12 Dogwood Flower stems at various heights into the foam. Be sure to play around with the bendable stems and add or remove as many of the leaves as you would like. Remember we give you the plan and you make it your own.
Transform Your Wedding With This DIY Centerpiece In 3 Simple Steps!
Step 2:


Next add as many or as few Greenery Stems. I added about 6 stems. For extra support put a dab of hot glue to the end of the stem before attaching it to the foam disc.
Step 3:
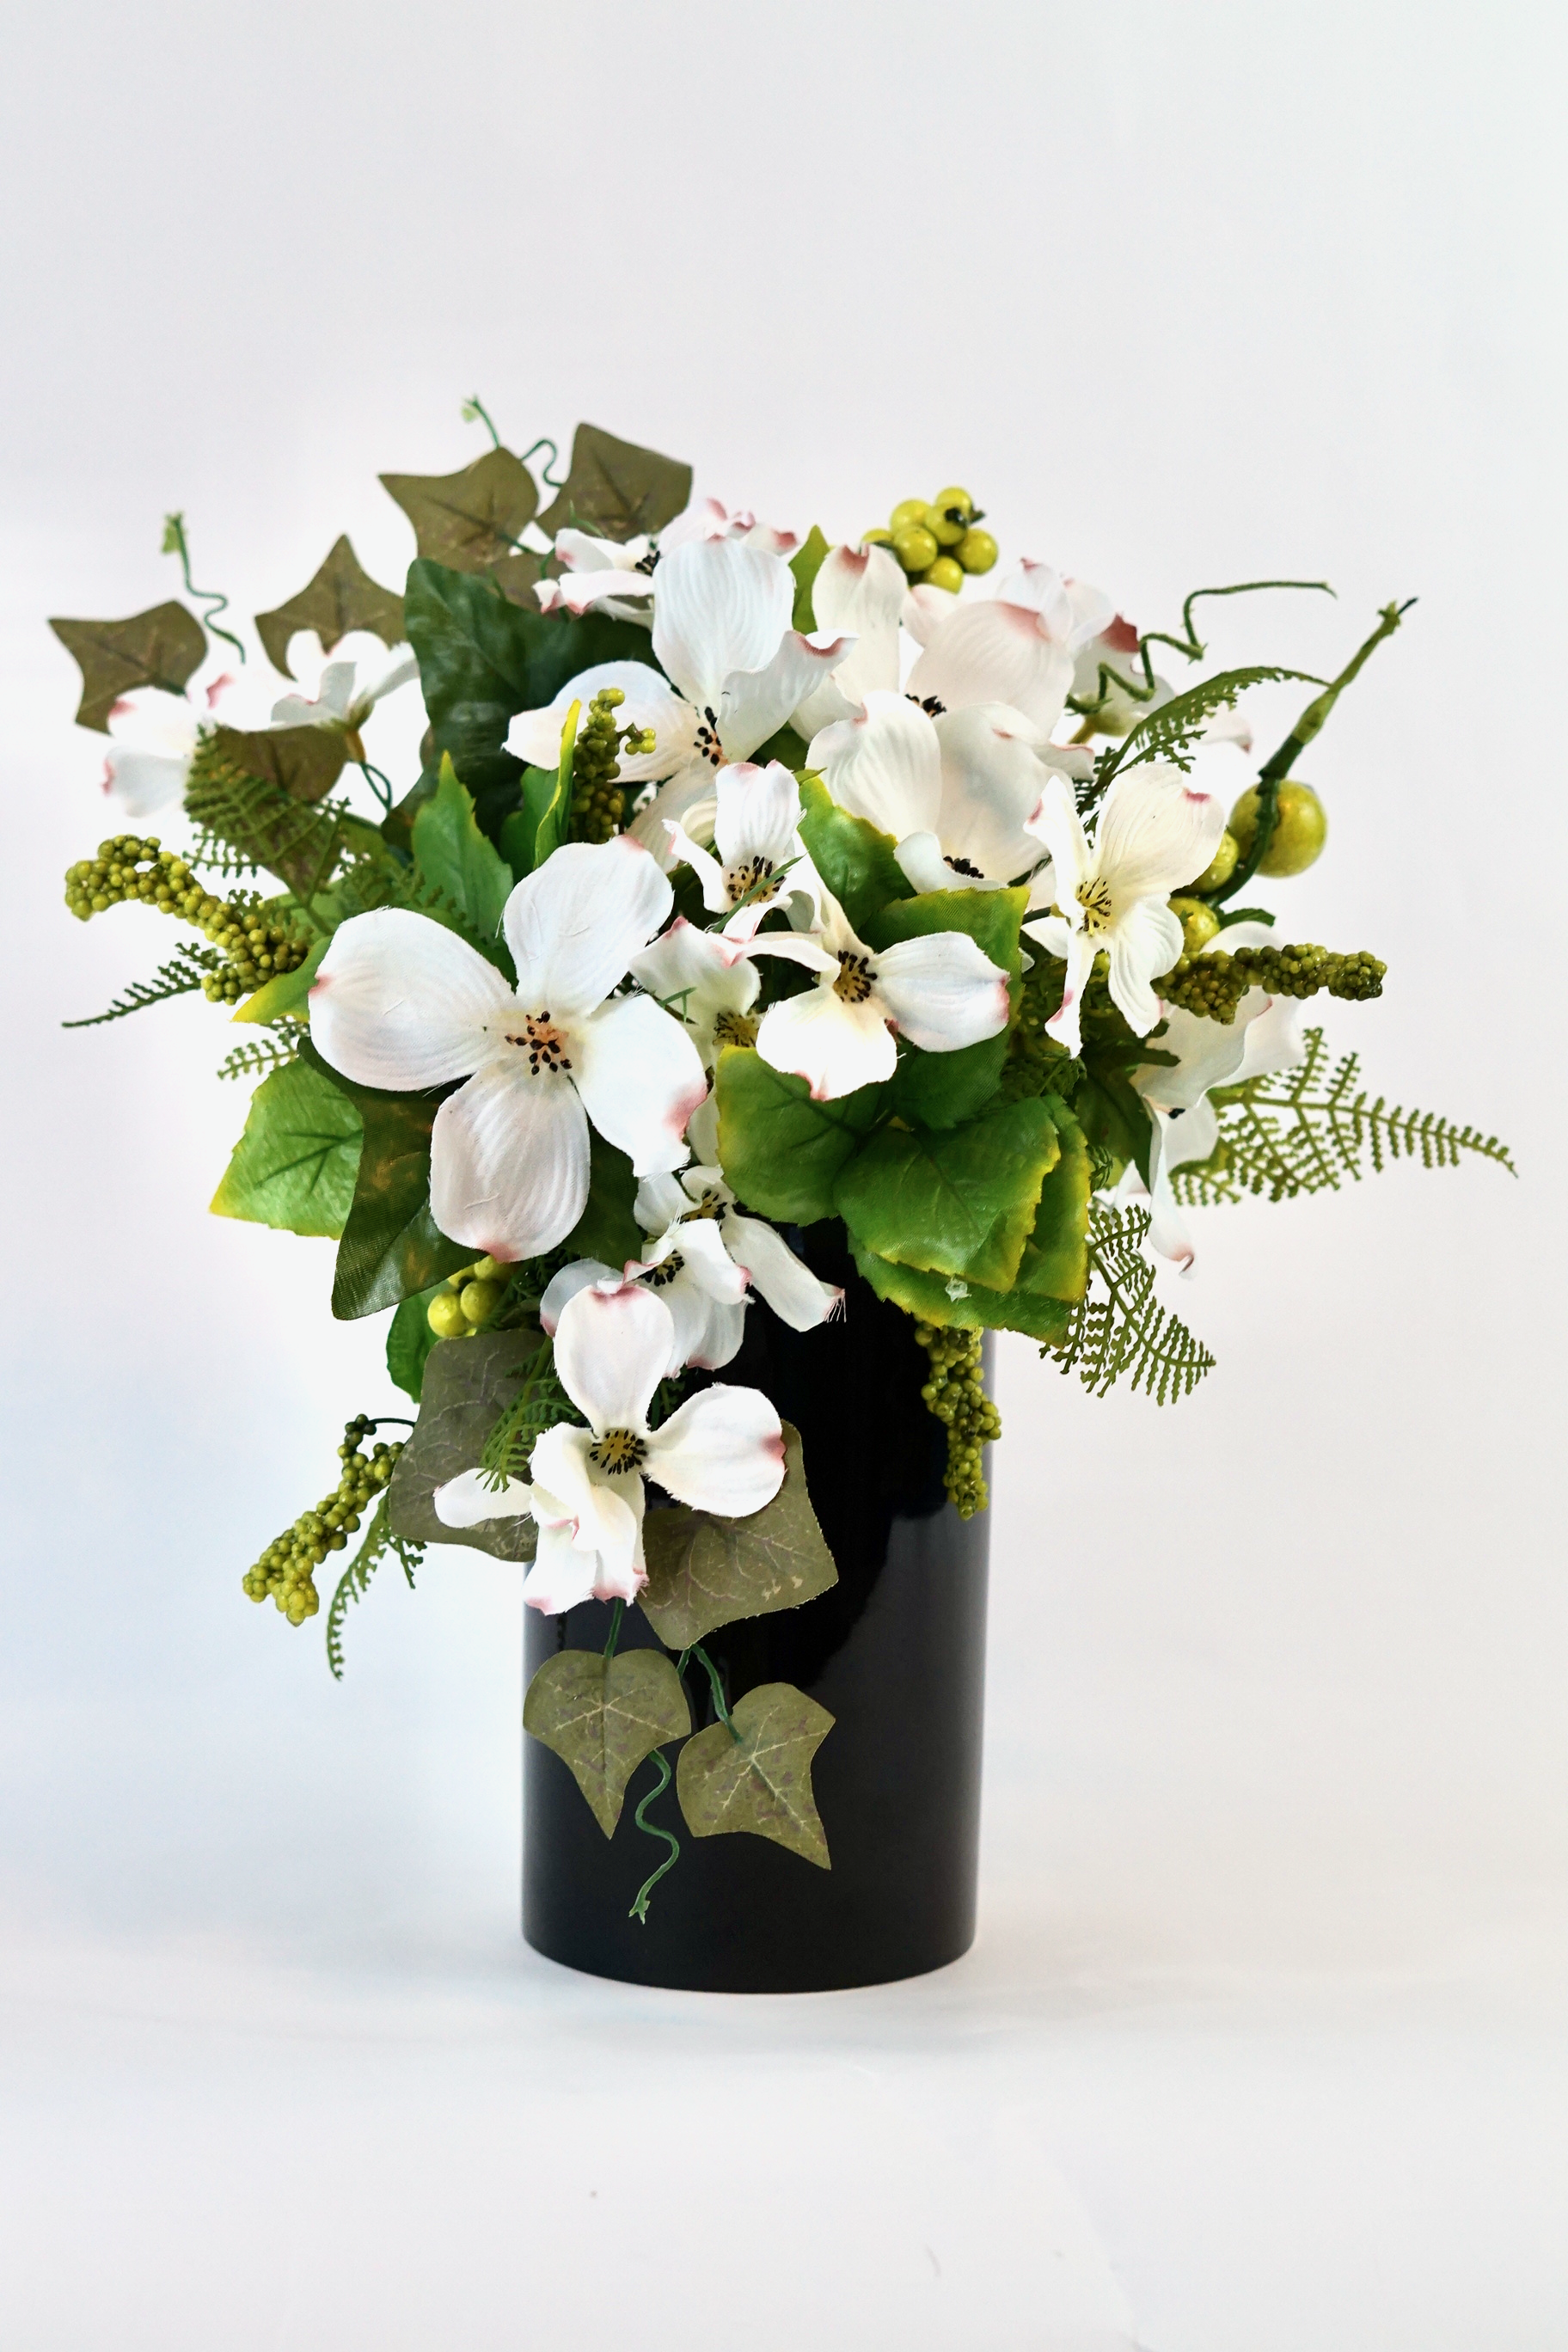
Our third and final step is to fill in any empty spots with Fern Stems and Artificial Green Berries.
THE FINAL STEP:
Your Best Day Ever, Madde Easy!
Who knew bringing a vision to life could be so easy and stress-free? We’re incredibly honored to have played a role in such a meaningful celebration. Thank you from the bottom of our hearts for letting us be part of your unforgettable day. Here’s to sweet memories, joyful moments, and a lifetime of love ahead!
Don’t forget to sign up for Rakuten to earn cash back on your online purchases. Planning a wedding is expensive, our goal is to help you stay within your budget and make every penny count. Click here to sign up for Rakuten, and RIGHT NOW when you sign up, you will receive a $10 cash welcome bonus through my link when you spend $25.00!
If you like the outcome please subscribe to our Youtube Channel for more DIY Videos and follow us on Facebook and Pinterest. Also if you need help with an upcoming project be sure to send us a project request! “Remember When Every Penny Counts, Count on MissPlanIt”