


THIS POST MAY CONTAIN AFFILIATE LINKS. PLEASE READ MY DISCLOSURE FOR MORE INFO.
Talk About A Statement!
I have so many brides ask me, “how do I create this on a budget?” We’ll look no further. Your guest will be amazed when they walk into your reception space to this Majestic Tree Centerpiece. Wether you choose the natural look or decide to glam it up, this will set the tone for your wedding or event! So what are we waiting for? Let’s get started!
BUT WAIT!
Before we get started I want to share an awesome tip on how you can earn cash back with your online purchases for all the items you will need to complete this project!
As our saying goes “When Every Penny Counts, Count on Miss PlanIt.” We love to save money and get great deals. Prior to us purchasing anything online, we check out Rakuten, find the store, click the current deal for that store and complete our purchase.
If you have never used Rakuten, you are MISSING OUT. So for this project, you would go to Rakuten.com, sign up, and then type in the store you plan to purchase from.
When completing a purchase through Rakuten you earn cash back that you can have mailed to you or sent via PayPal. Be sure to check it out! Click here to sign up for Rakuten, and RIGHT NOW when you sign up, you will receive a $10 cash welcome bonus through my link when you spend $25.00!
You were already going to complete your purchase online, so why not get some cash back on things you already planned to purchase!
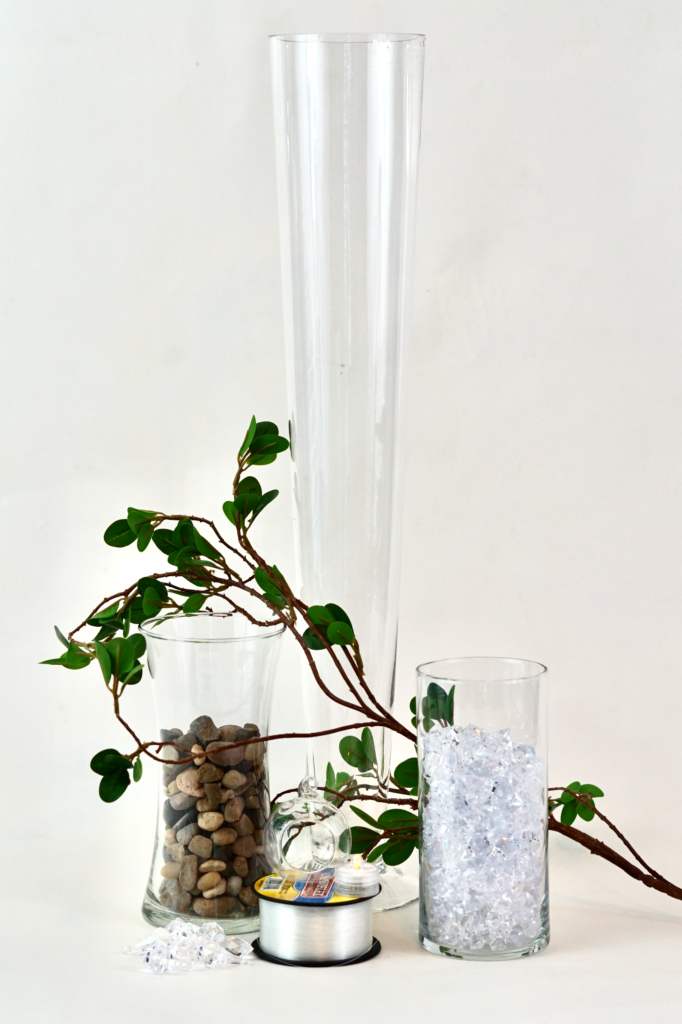
Let’s Get Started: Click the links below to purchase the supplies needed for this project:
- Faux Ficus Branches
- Trumpet Vase
- River Rock
- Gem Crystal Vase Filler
- Diamond Chandelier Drops
- LED Tea Lights
- Hanging Tea Light Holders
- Clear Fishing Wire
- 6 Pack Trumpet Vases
Project Video:
If you prefer written instructions, please continue reading.
How to Make This Tall Majestic Tree Centerpiece In 3 EASY STEPS!
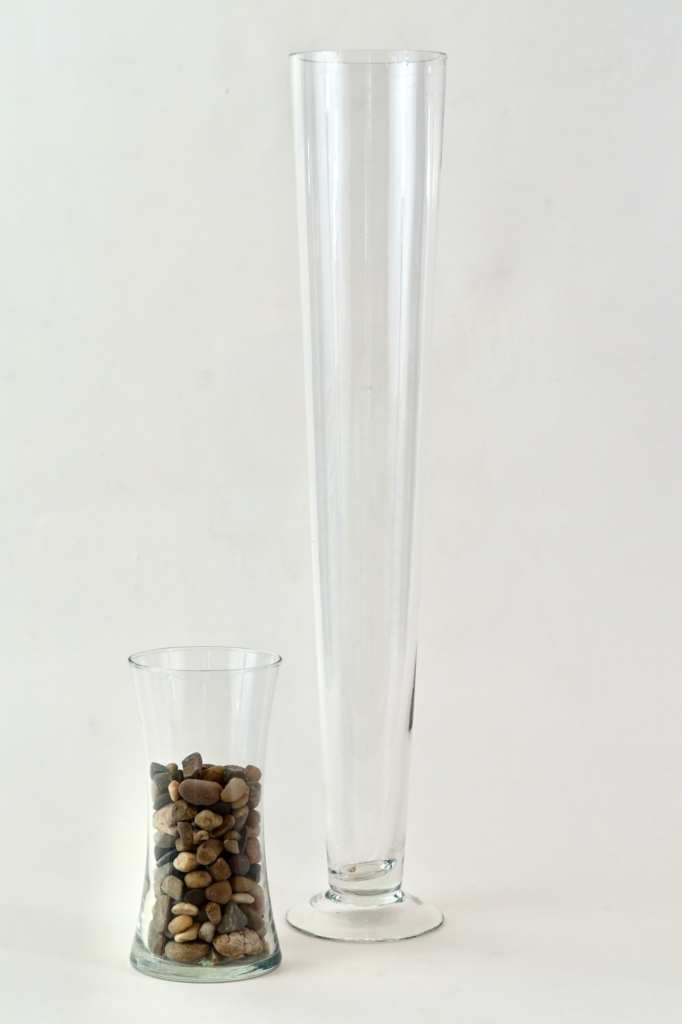
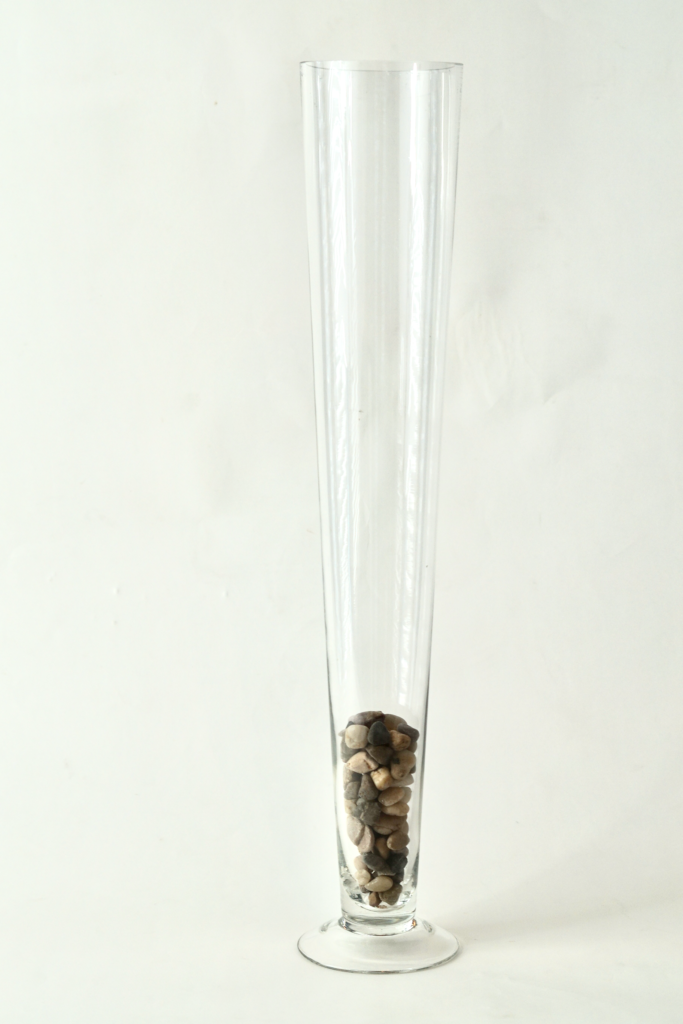
STEP 1:
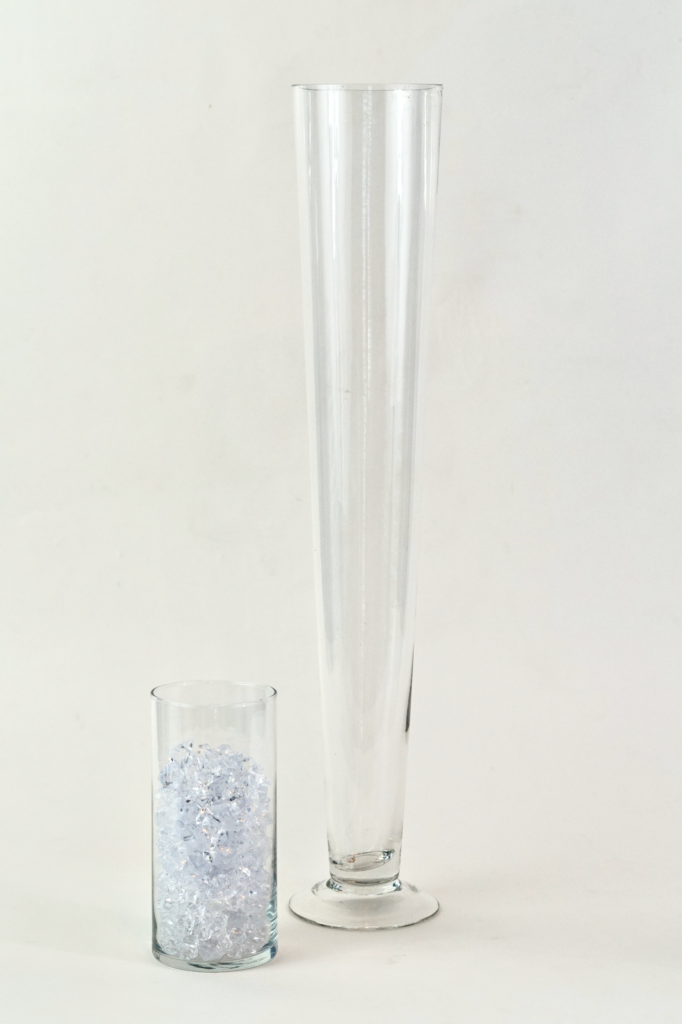
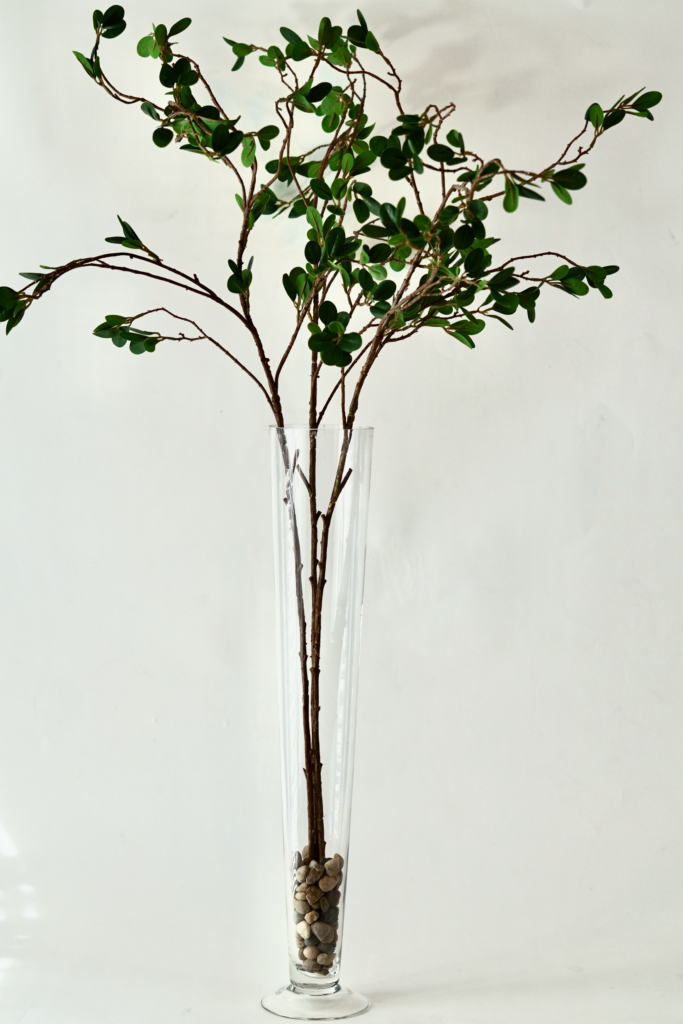
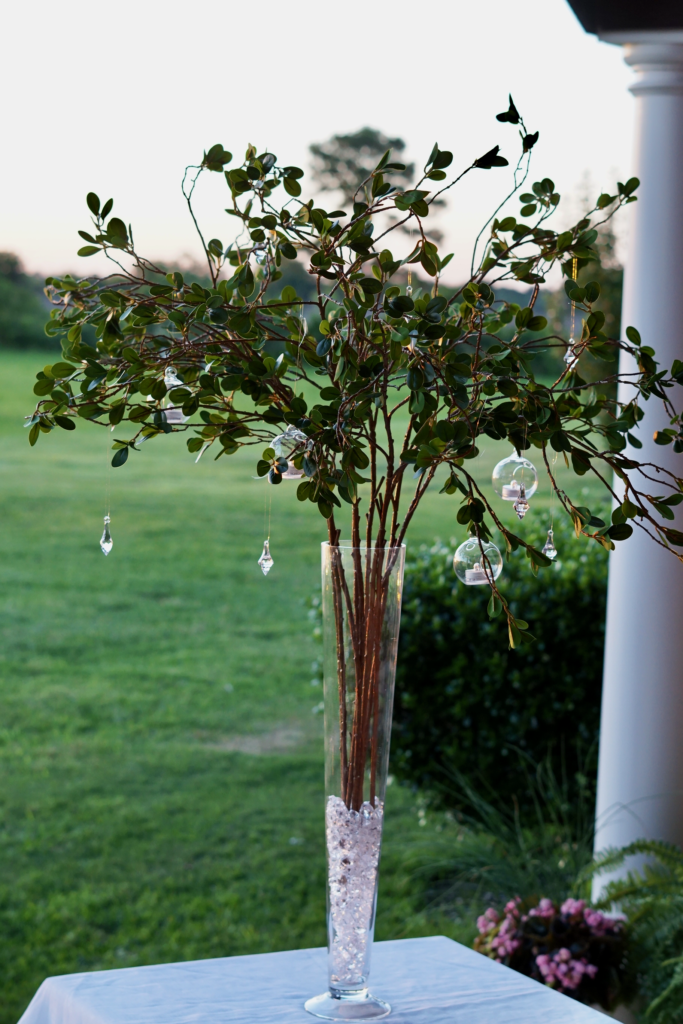
We will us a 24 inch glass Trumpet Vase to create this show stopping centerpiece. To create additional height we will fill the vase with about 3 inches of River Rock, or Gem Crystal Vase Filler. Which ever is your preference.

STEP 2:
Take your time separating the Faux Ficus Leaf Branches. This will add more fullness to the centerpiece on a whole. Place 3 branches in the center of the River Rock about an inch to an inch and a half, or until the branches are secure. These 3 branches will be the base of of the branch spread.

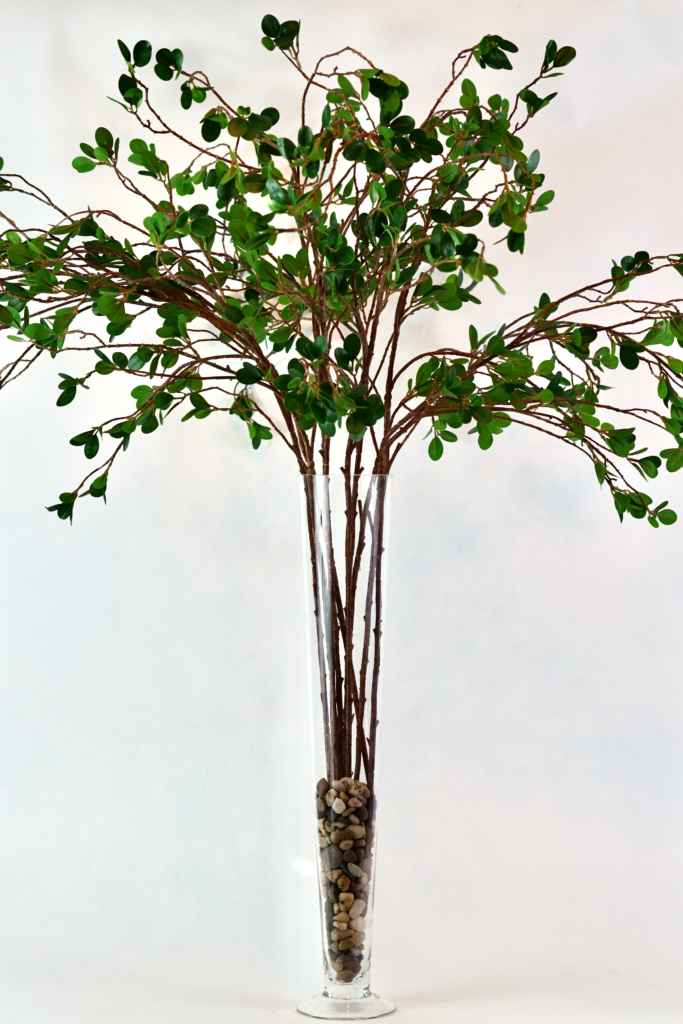
STEP 3:
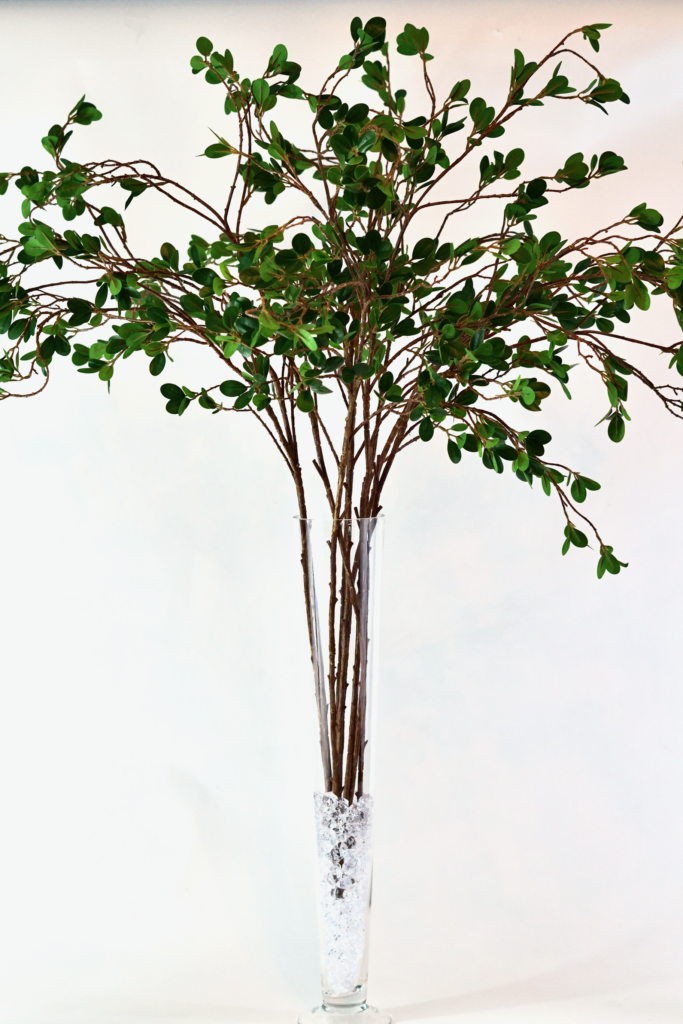
Next add an additional 2-3 inches of River Rock to form the base for the next layer of branches. Now add 6-8 Additional Faux Ficus Leaf Branches into the new base of river rock. This will allow for both height and width. The more branches the bigger the tree canopy will be. I used a total of 10 Faux Ficus Branches for this centerpiece. It is almost 4ft tall from the base of the trumpet vase to the top branch, and over 3ft wide. Taking this glam is super easy as well. First, switch out the river rock for Gem Crystal Vase filler. Next string 6-8 Tea Light Holders and 8-10 Diamond Chandelier Drops with Clear Fishing Wire. Hang as desired.

THE FINAL STEP:
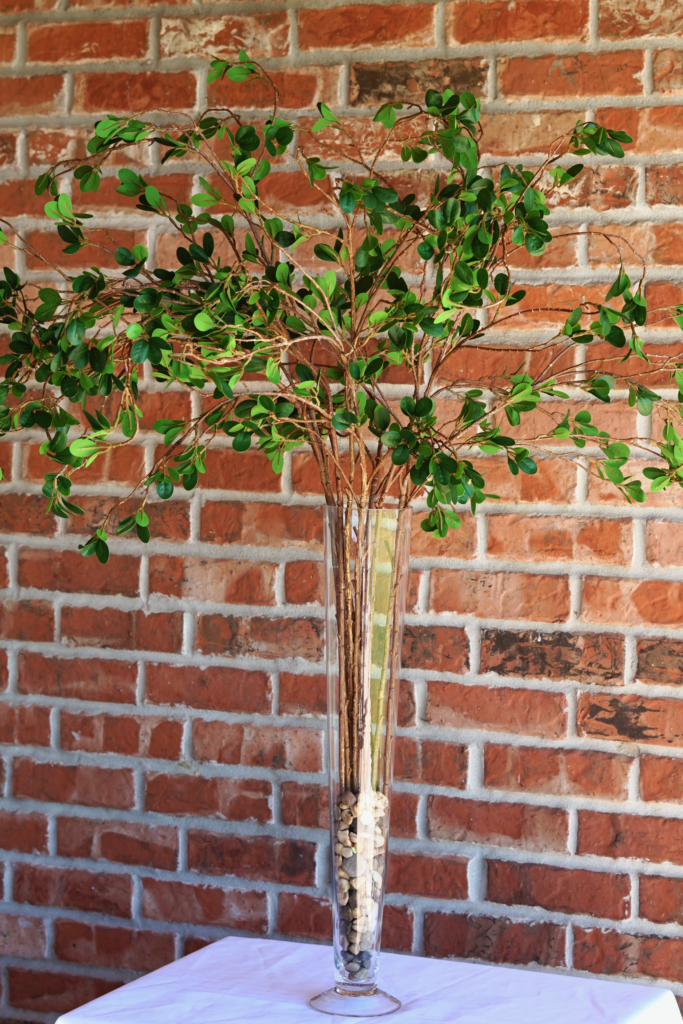
Set the table!
Ya’ll it really is that EASY! Talk about a centerpiece that packs a punch! This centerpiece would easily cost upwards of $350 each. We are creating this for a fraction of the price. You can absolutely do this! Go for It!
Don’t forget to sign up for Rakuten to earn cash back on your online purchases. Planning a wedding is expensive, our goal is to help you stay within your budget and make every penny count. Click here to sign up for Rakuten, and RIGHT NOW when you sign up, you will receive a $10 cash welcome bonus through my link when you spend $25.00!
If you like the outcome please subscribe to our Youtube Channel for more DIY Videos and follow us on Facebook and Pinterest. Also if you need help with an upcoming project be sure to send us a project request! “Remember When Every Penny Counts, Count on MissPlanIt”