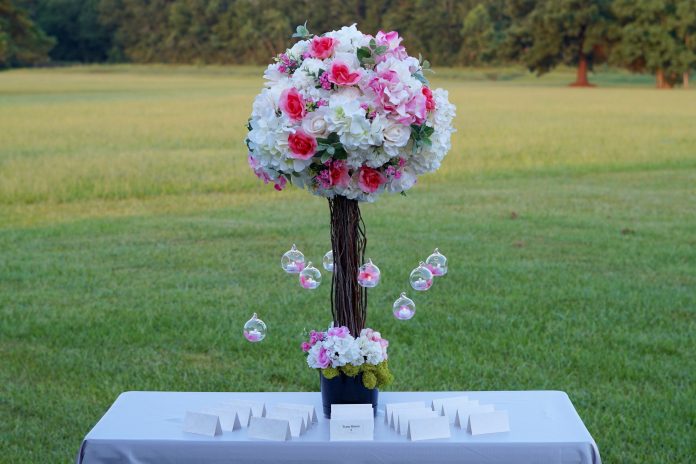
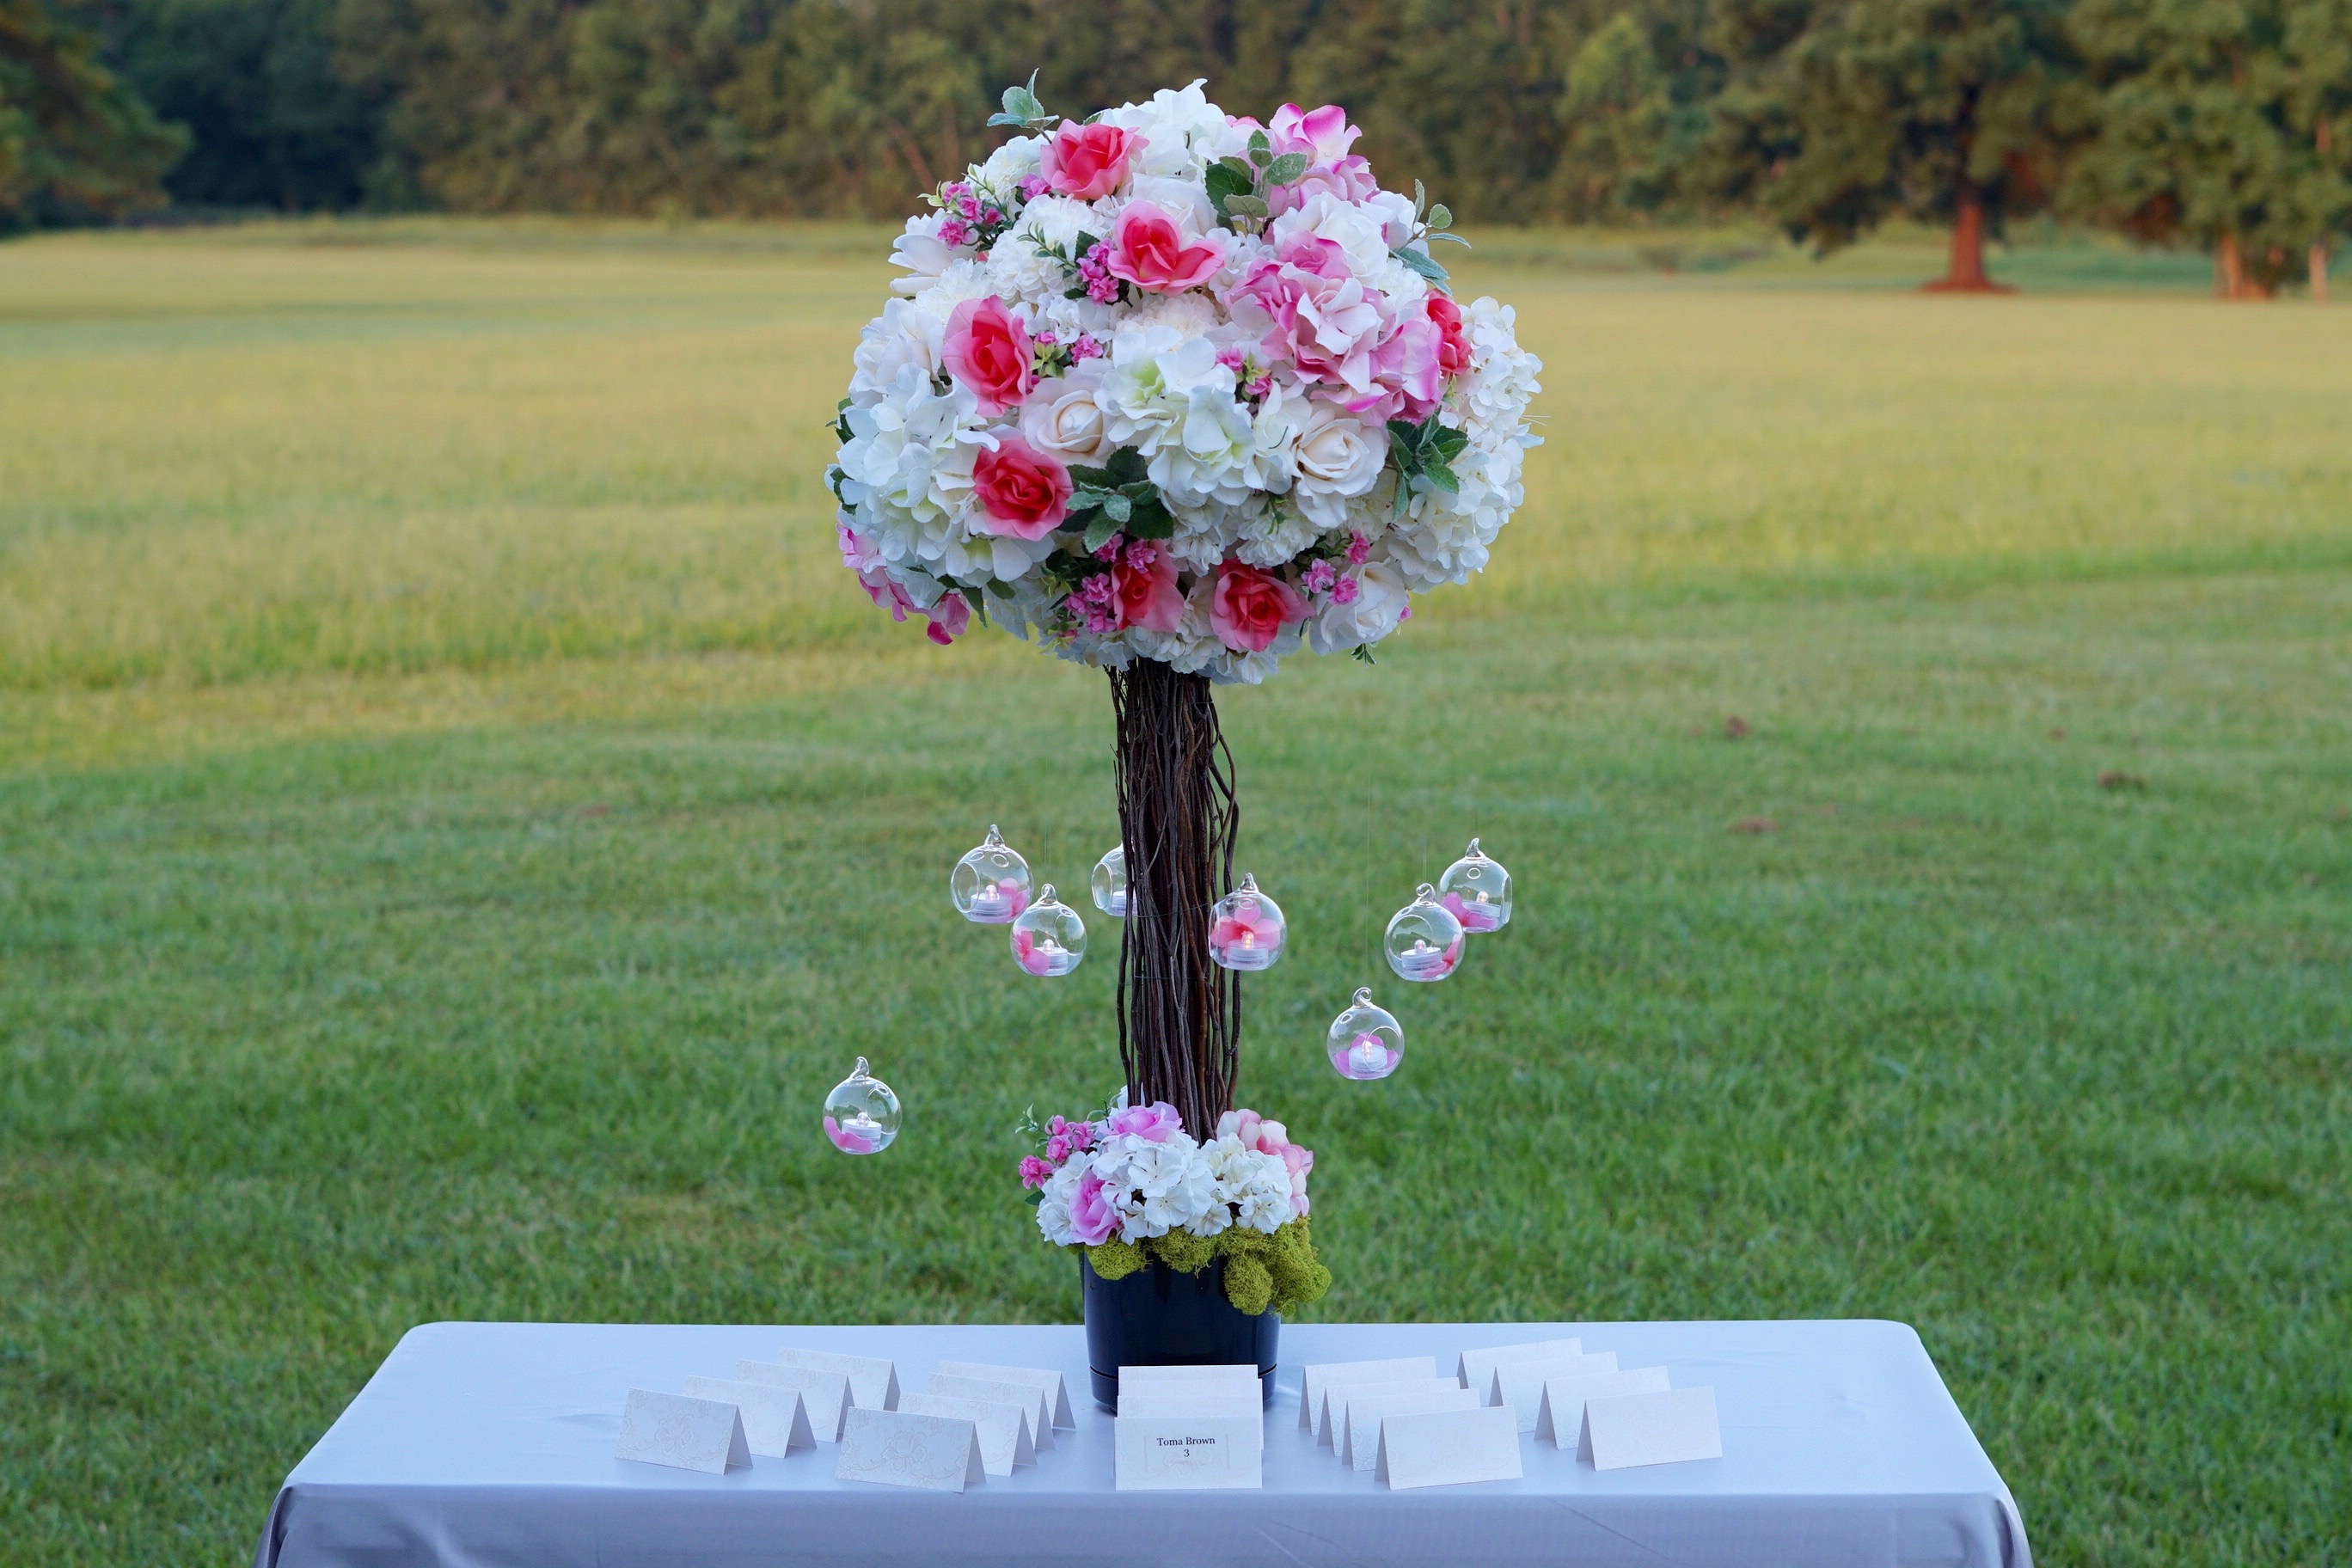
WOW your guests with this SUPER SIZED Pretty in Pink Branch Wedding Centerpiece for your Wedding Reception. This DIY wedding centerpiece was so fun to make and allowed me to add an extra special creative touch. This project request was specifically for when guests walk into the reception and pick up their place card but this also could be added to your additional tables. Now let me show you how you too can recreate this gorgeous wedding centerpiece. So let’s get started. For video instructions, please check out the video tutorial below. Also you don’t want to miss the special BONUS VIDEO at the end of this post!
BUT WAIT!
Before we get started I want to share an awesome tip on how you can earn cash back with your online purchases for all the items you will need to complete this project!
As our saying goes “When Every Penny Counts, Count on Miss PlanIt.” Furthermore, we love to save money and get great deals. Prior to us purchasing anything online, we check out Ebates, find the store, click the current deal for that store and complete our purchase.
If you have never used Ebates, you are MISSING OUT. So for this project, you would go to Ebates.com, sign up, and then type in the store you plan to purchase from.
Consequently, when completing a purchase through Ebates you earn cash back that you can have mailed to you or sent via PayPal. Be sure to check it out! Click here to sign up for Ebates, and RIGHT NOW when you sign up, you will receive a $10 cash welcome bonus when you spend $25.00!
Since you were already going to complete your purchase online, why not get some cash back on things you already planned to purchase!
[convertkit form=917377]
Let’s Get Started:
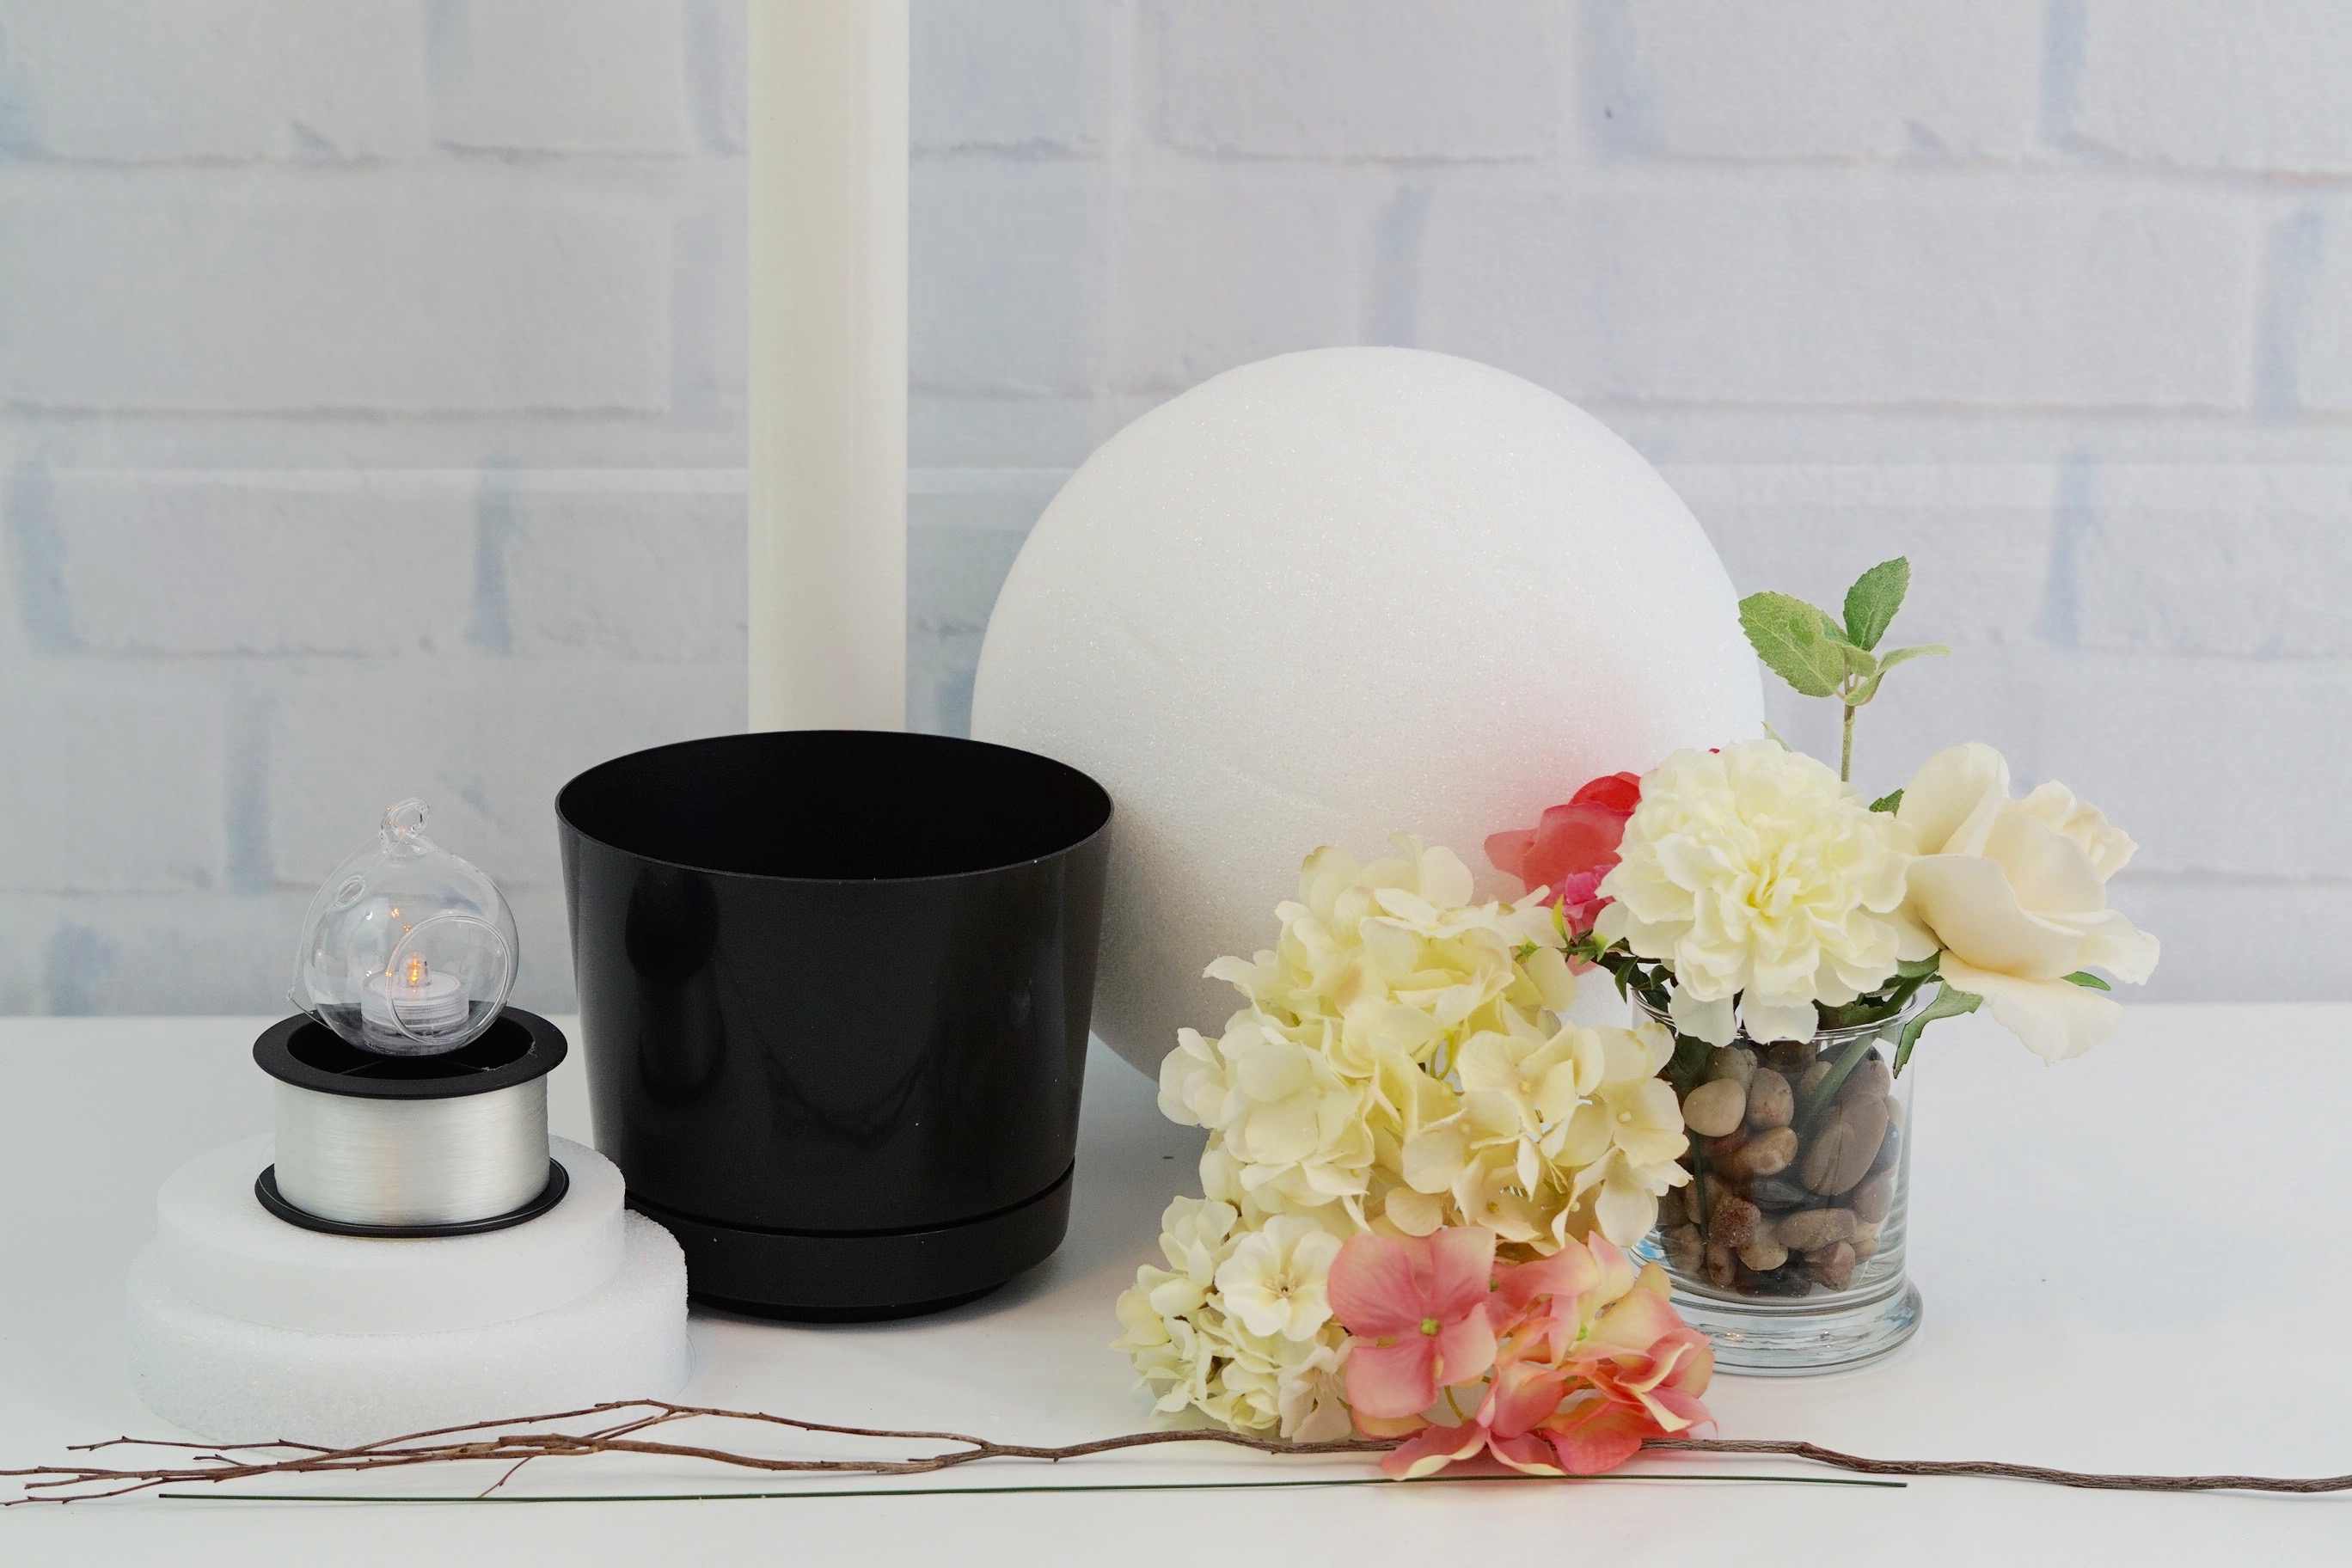
Click our affiliate links below to purchase the supplies needed for this project:
4.875” White Foam Disks, 2-ct. Packs
6×5 inch Plastic Flower Pot
Floral Garden Floral Wire and Tape Rolls
7-Stem Queen Rose Bushes, 14.5 in.
Natural-Colored River Stones, 32-oz.
Floral Garden 5-Stem Cream Mum Flowers
Pink Wildflowers
Mini Mint Bush
Natural Birch Branches
700112F 1-1/2″ x 2″ Cell DWV Pipe
All-In-One Spray Paint, Gloss
Styrofoam Disc – 6”
Cream Hydrangea Bush
Pink Hydrangea Bush
Styrofoam Ball – 10”
Waterproof LED Tea Light Candles
Clear Plastic Terrarium Globes, 4.5 in.
Fishing Wire
Floral Garden Floral Moss
VIDEO TUTORIAL:
How To Make a Pretty in Pink Branch DIY Wedding Centerpiece for Your Wedding Reception
Directions:
STEP 1: Spray paint your PVC pipe with brown spray paint. Allow the paint to dry. Once the paint is dry, you will begin creating your secure centerpiece base. Take your PVC pipe and hold it right side up. Place the PVC pipe on one of your 4-5 inch white foam disc and one 6 inch foam disc. Trace around it with a marker. Now cut out your traced circles with a foam cutter.
YOU MAY ALSO LIKE:
- DIY Magical Tall Enchanted Rustic Elegant Wedding Centerpiece
- Romantic Wedding Centerpiece That is Absolutely Stunning
- Simple Beautiful Willow and Birch Branch Wedding Centerpiece
- DIY Dollar Tree Inspired Elegant Wedding Centerpieces on a Budget
- Amazing Modern Wedding Centerpieces Using Dollar Tree Products
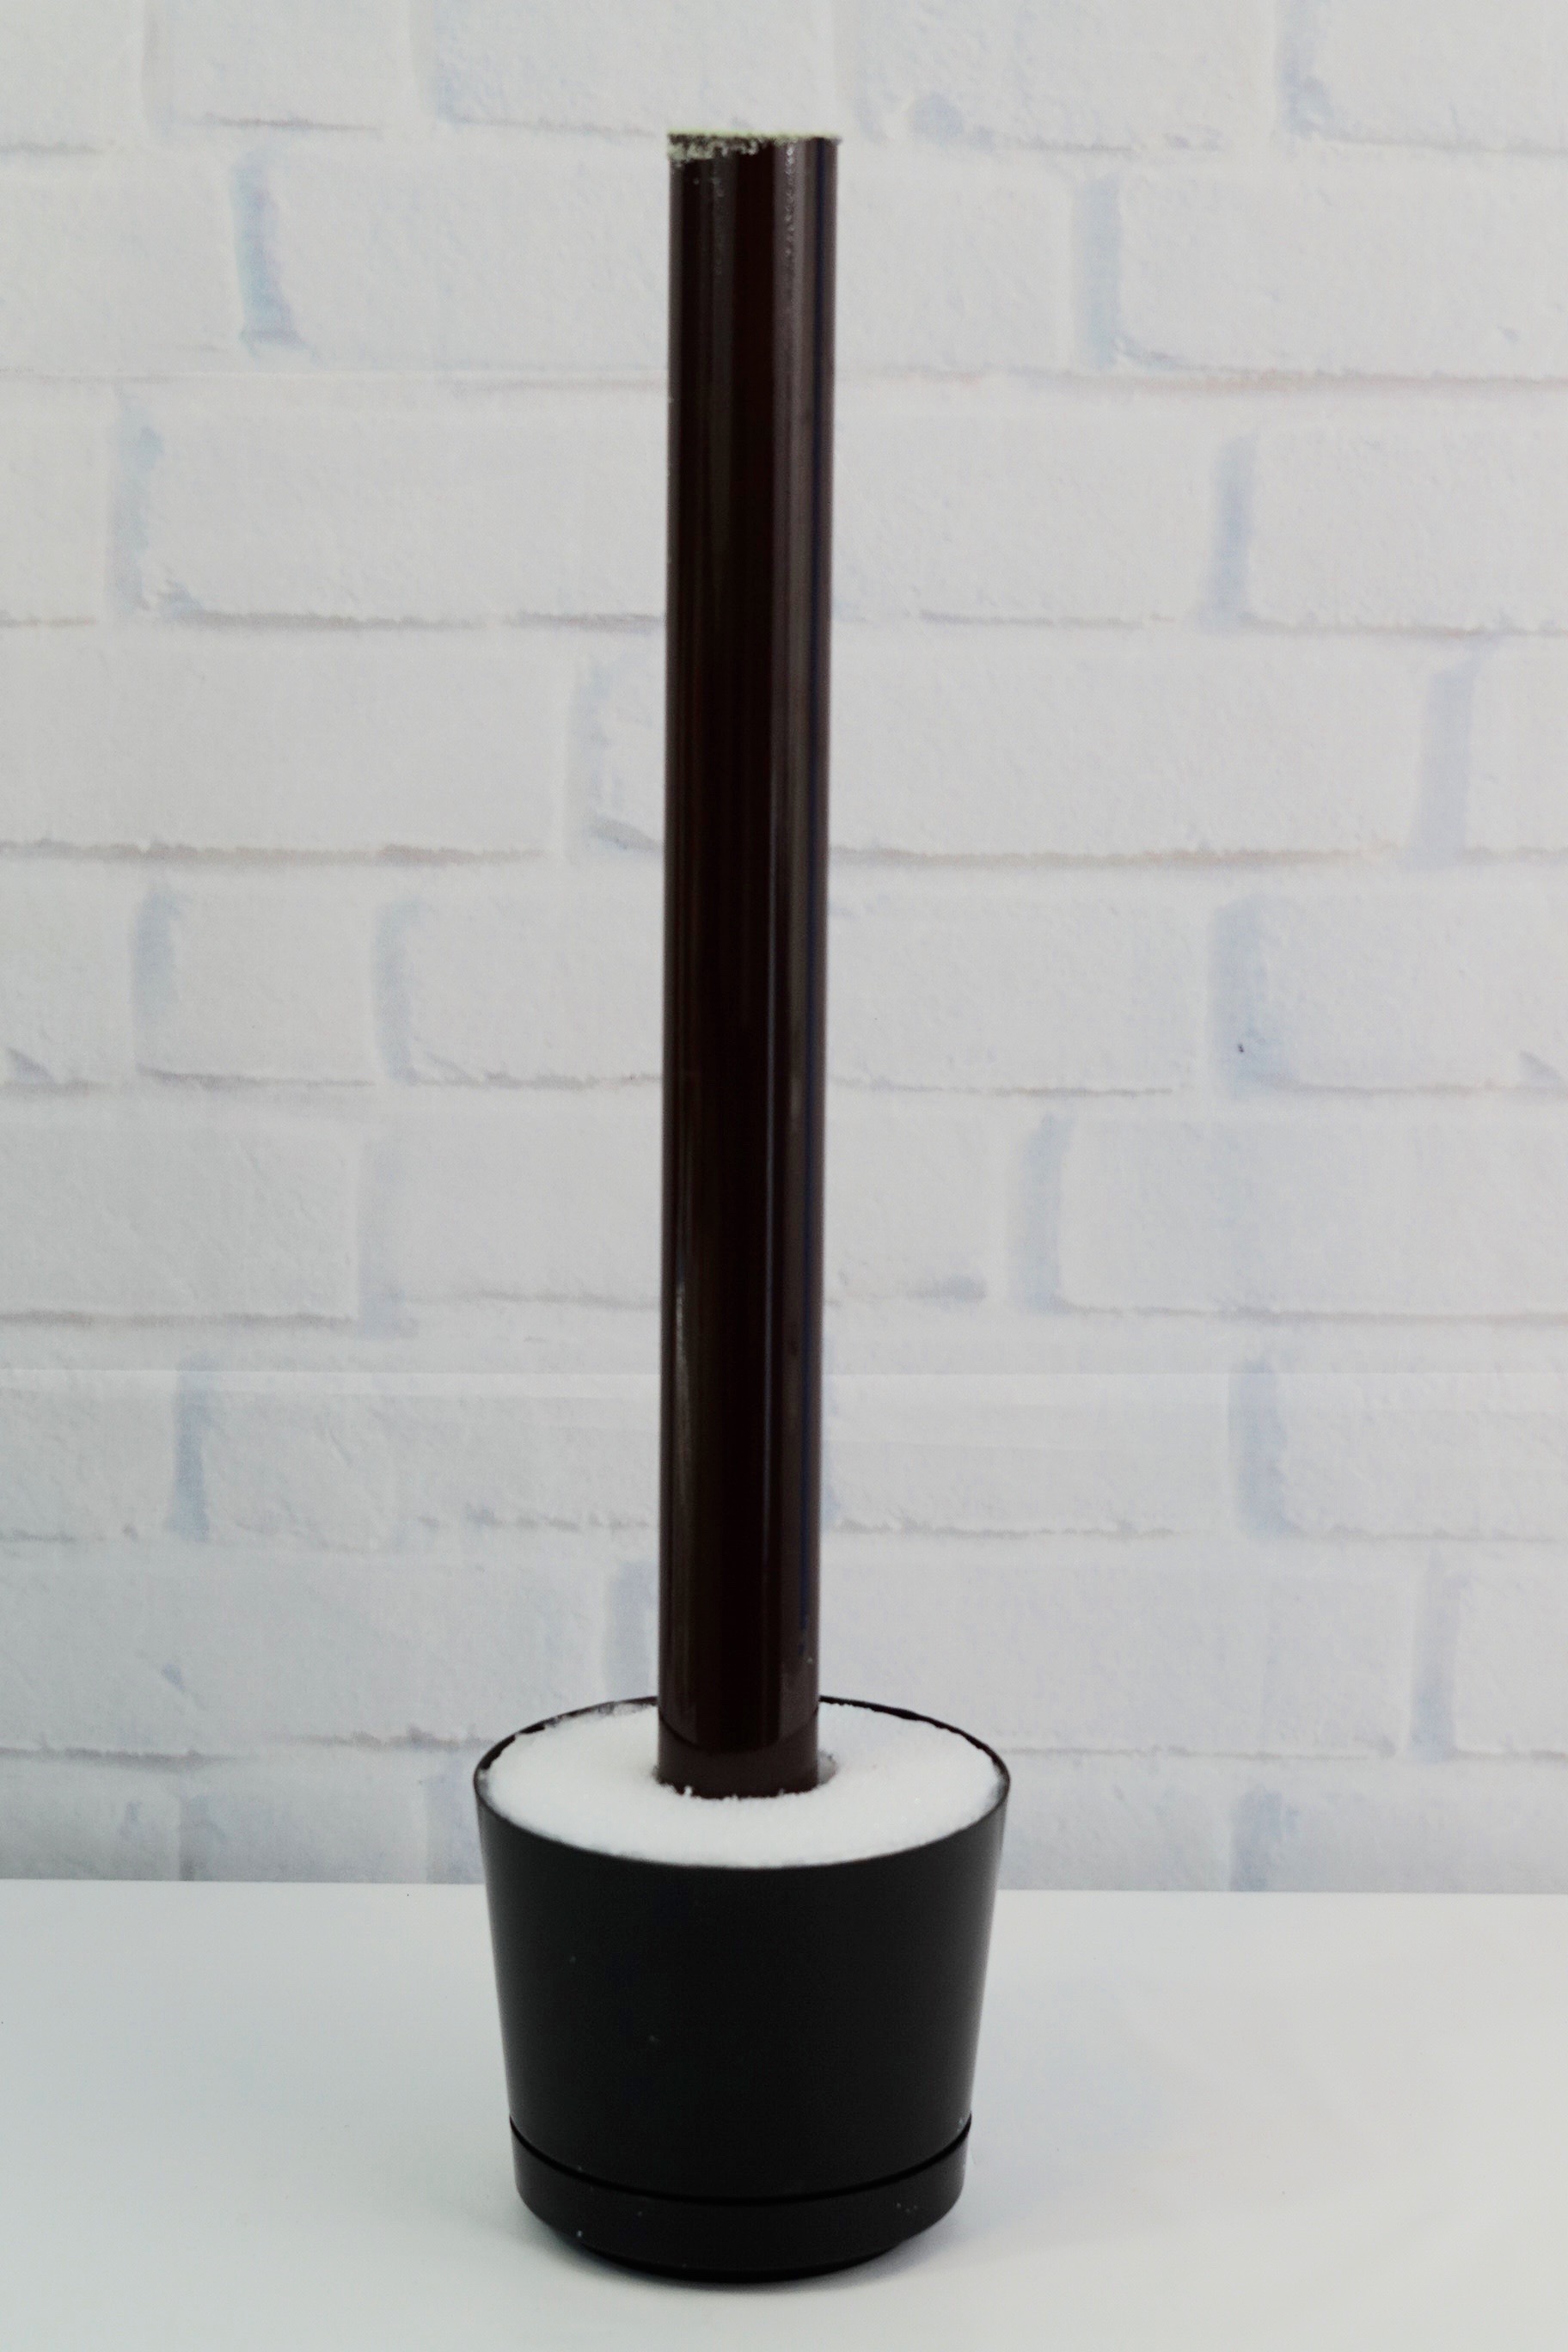
STEP 2: Apply hot glue to the inside of your flower pot. Then place the 4-5 inch foam disc in the flower pot. Push down slightly on the foam disc to ensure it adheres to the flower pot. Next put your PVC pipe in the center cut circle of your foam disc.
Add river rocks to your flower pot so your centerpiece is secure and does not fall over. Do not fill the river rock to the very top as you need to leave about an inch to an inch and a half of space for your 6-inch foam disc. Now place your 6-inch foam disc and seal the sides of your foam disc with hot glue.
For additional security, add river rock inside your PVC pipe:
STEP 3:
For additional security, add river rock inside your PVC pipe about a quarter of the way up. Now your centerpiece definitely will stay in place and not fall over.
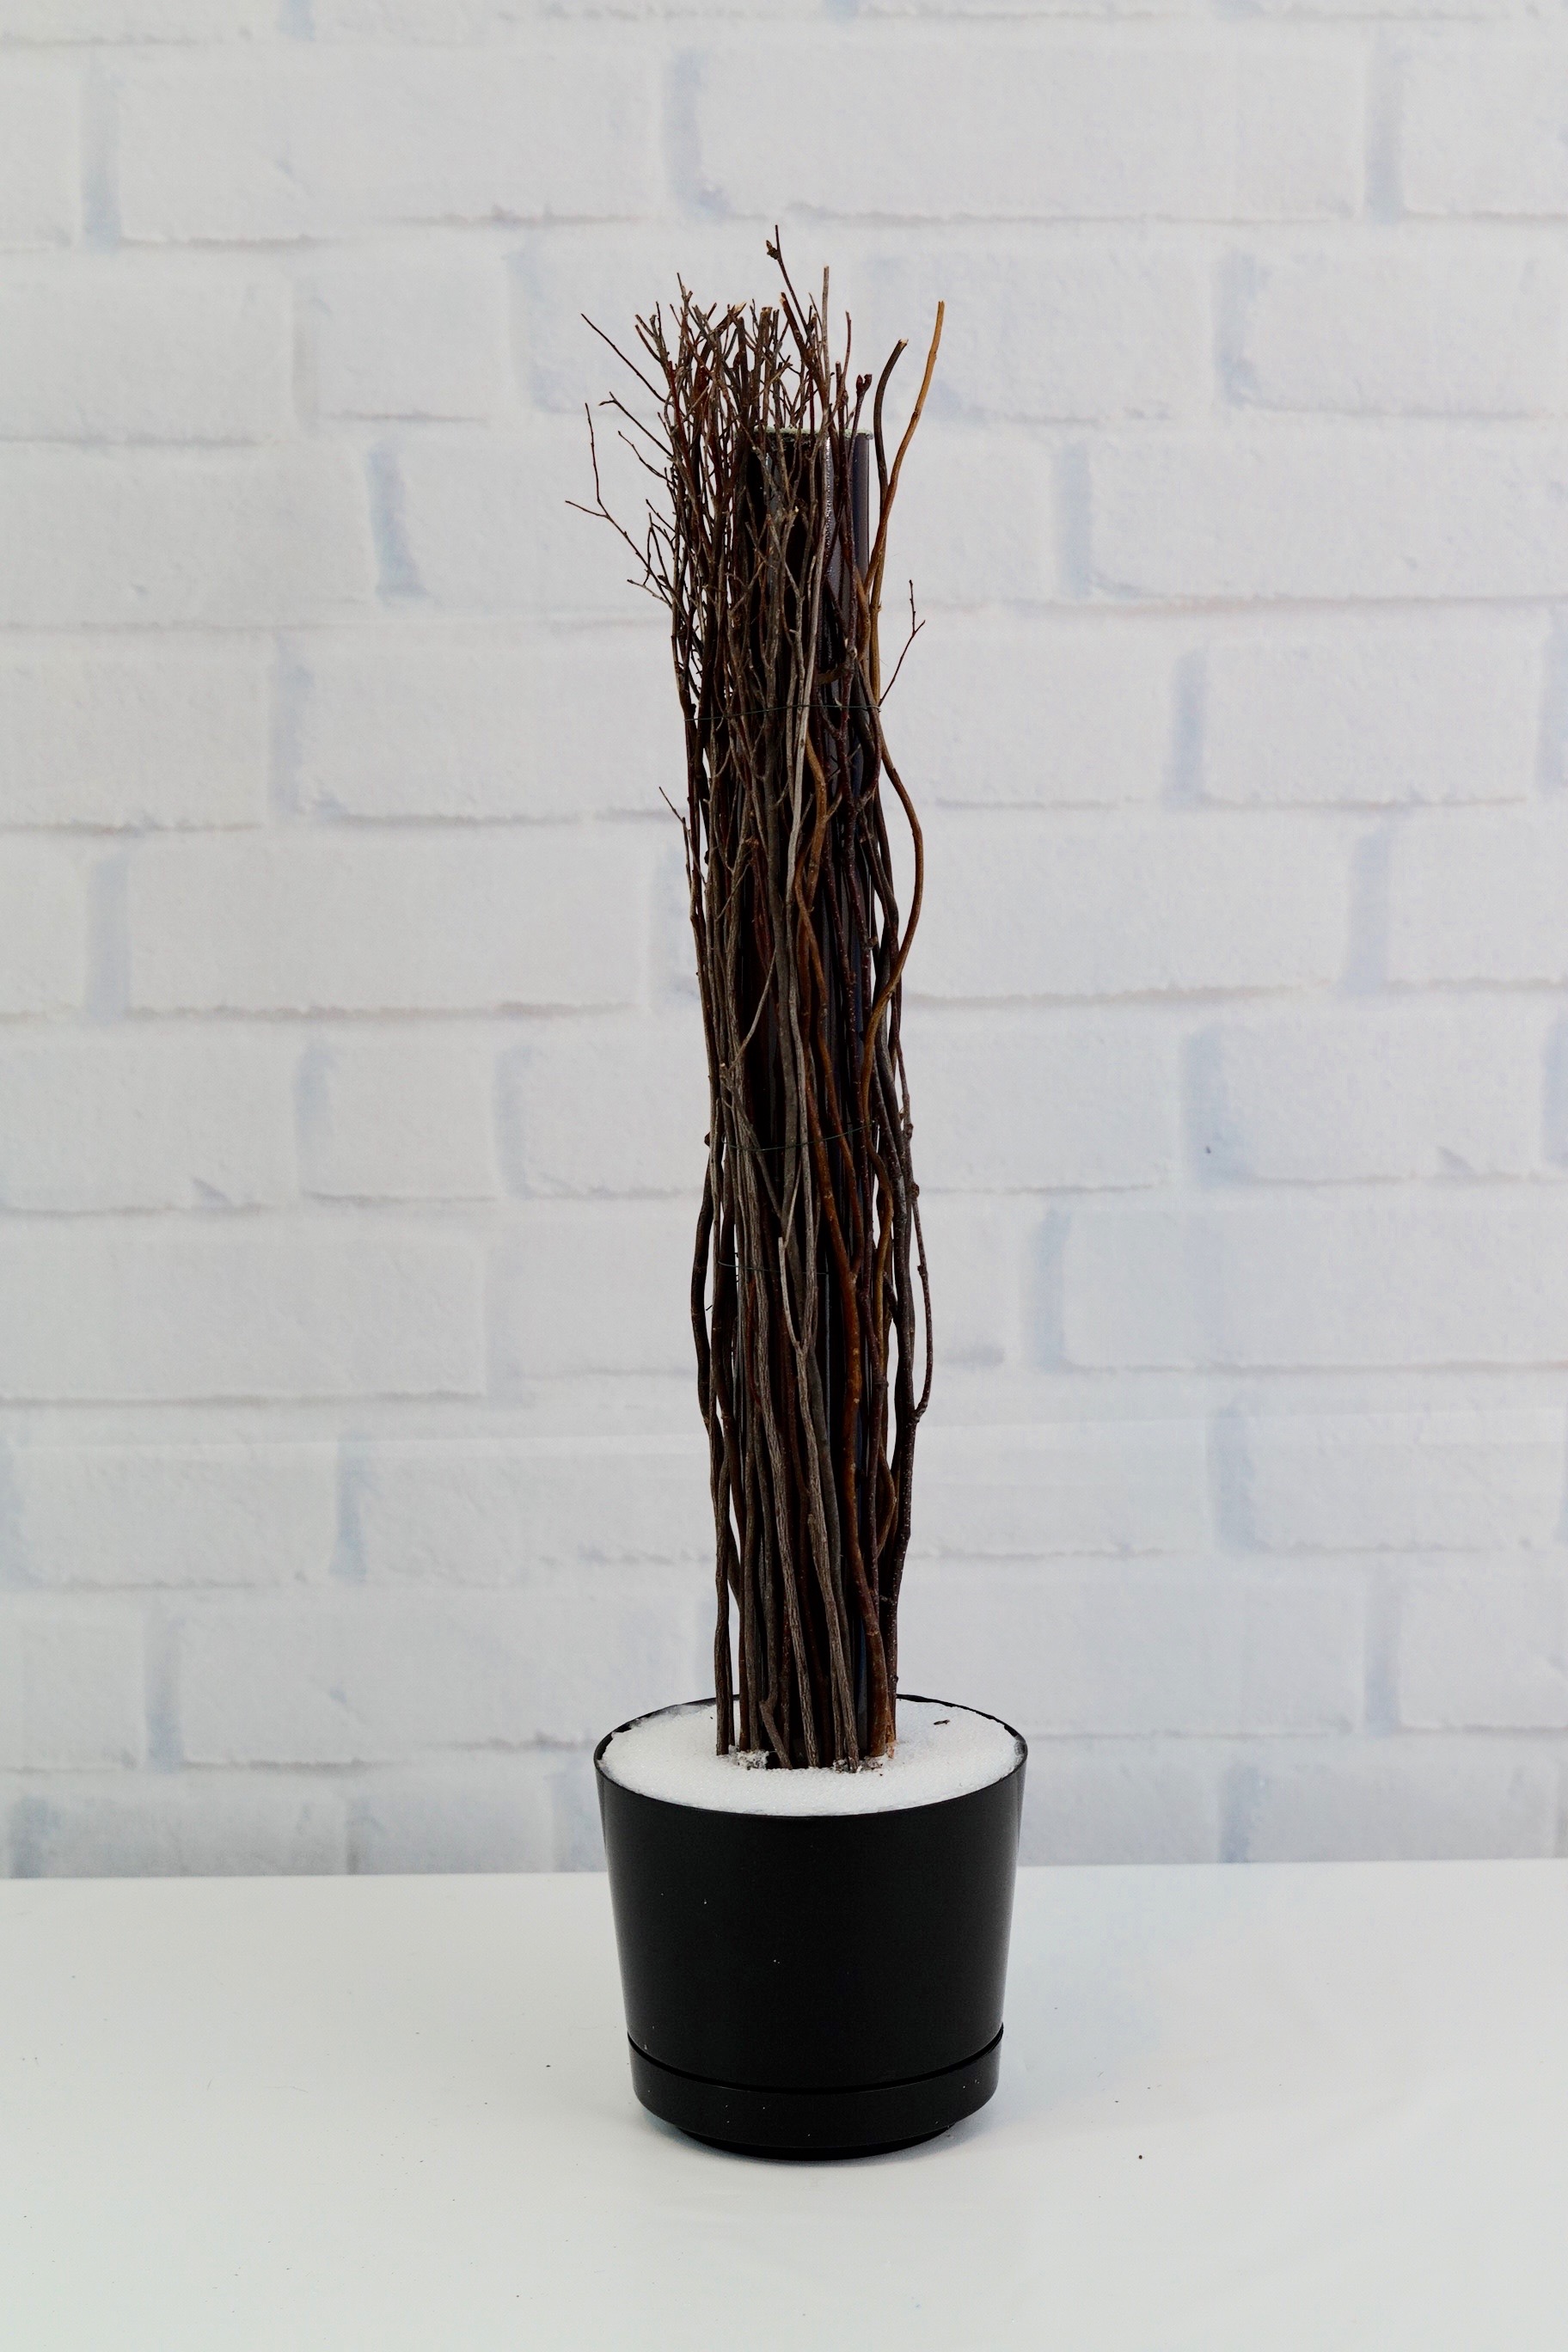
Attach the birch branches to your PVC pipe securing with floral wire. Only attach your birch branches about a quarter at a time. With each new group of birch branches you attach, place the floral wire about 2 inches above for better security. Once all your branches are attached, trim off the top of your branches.
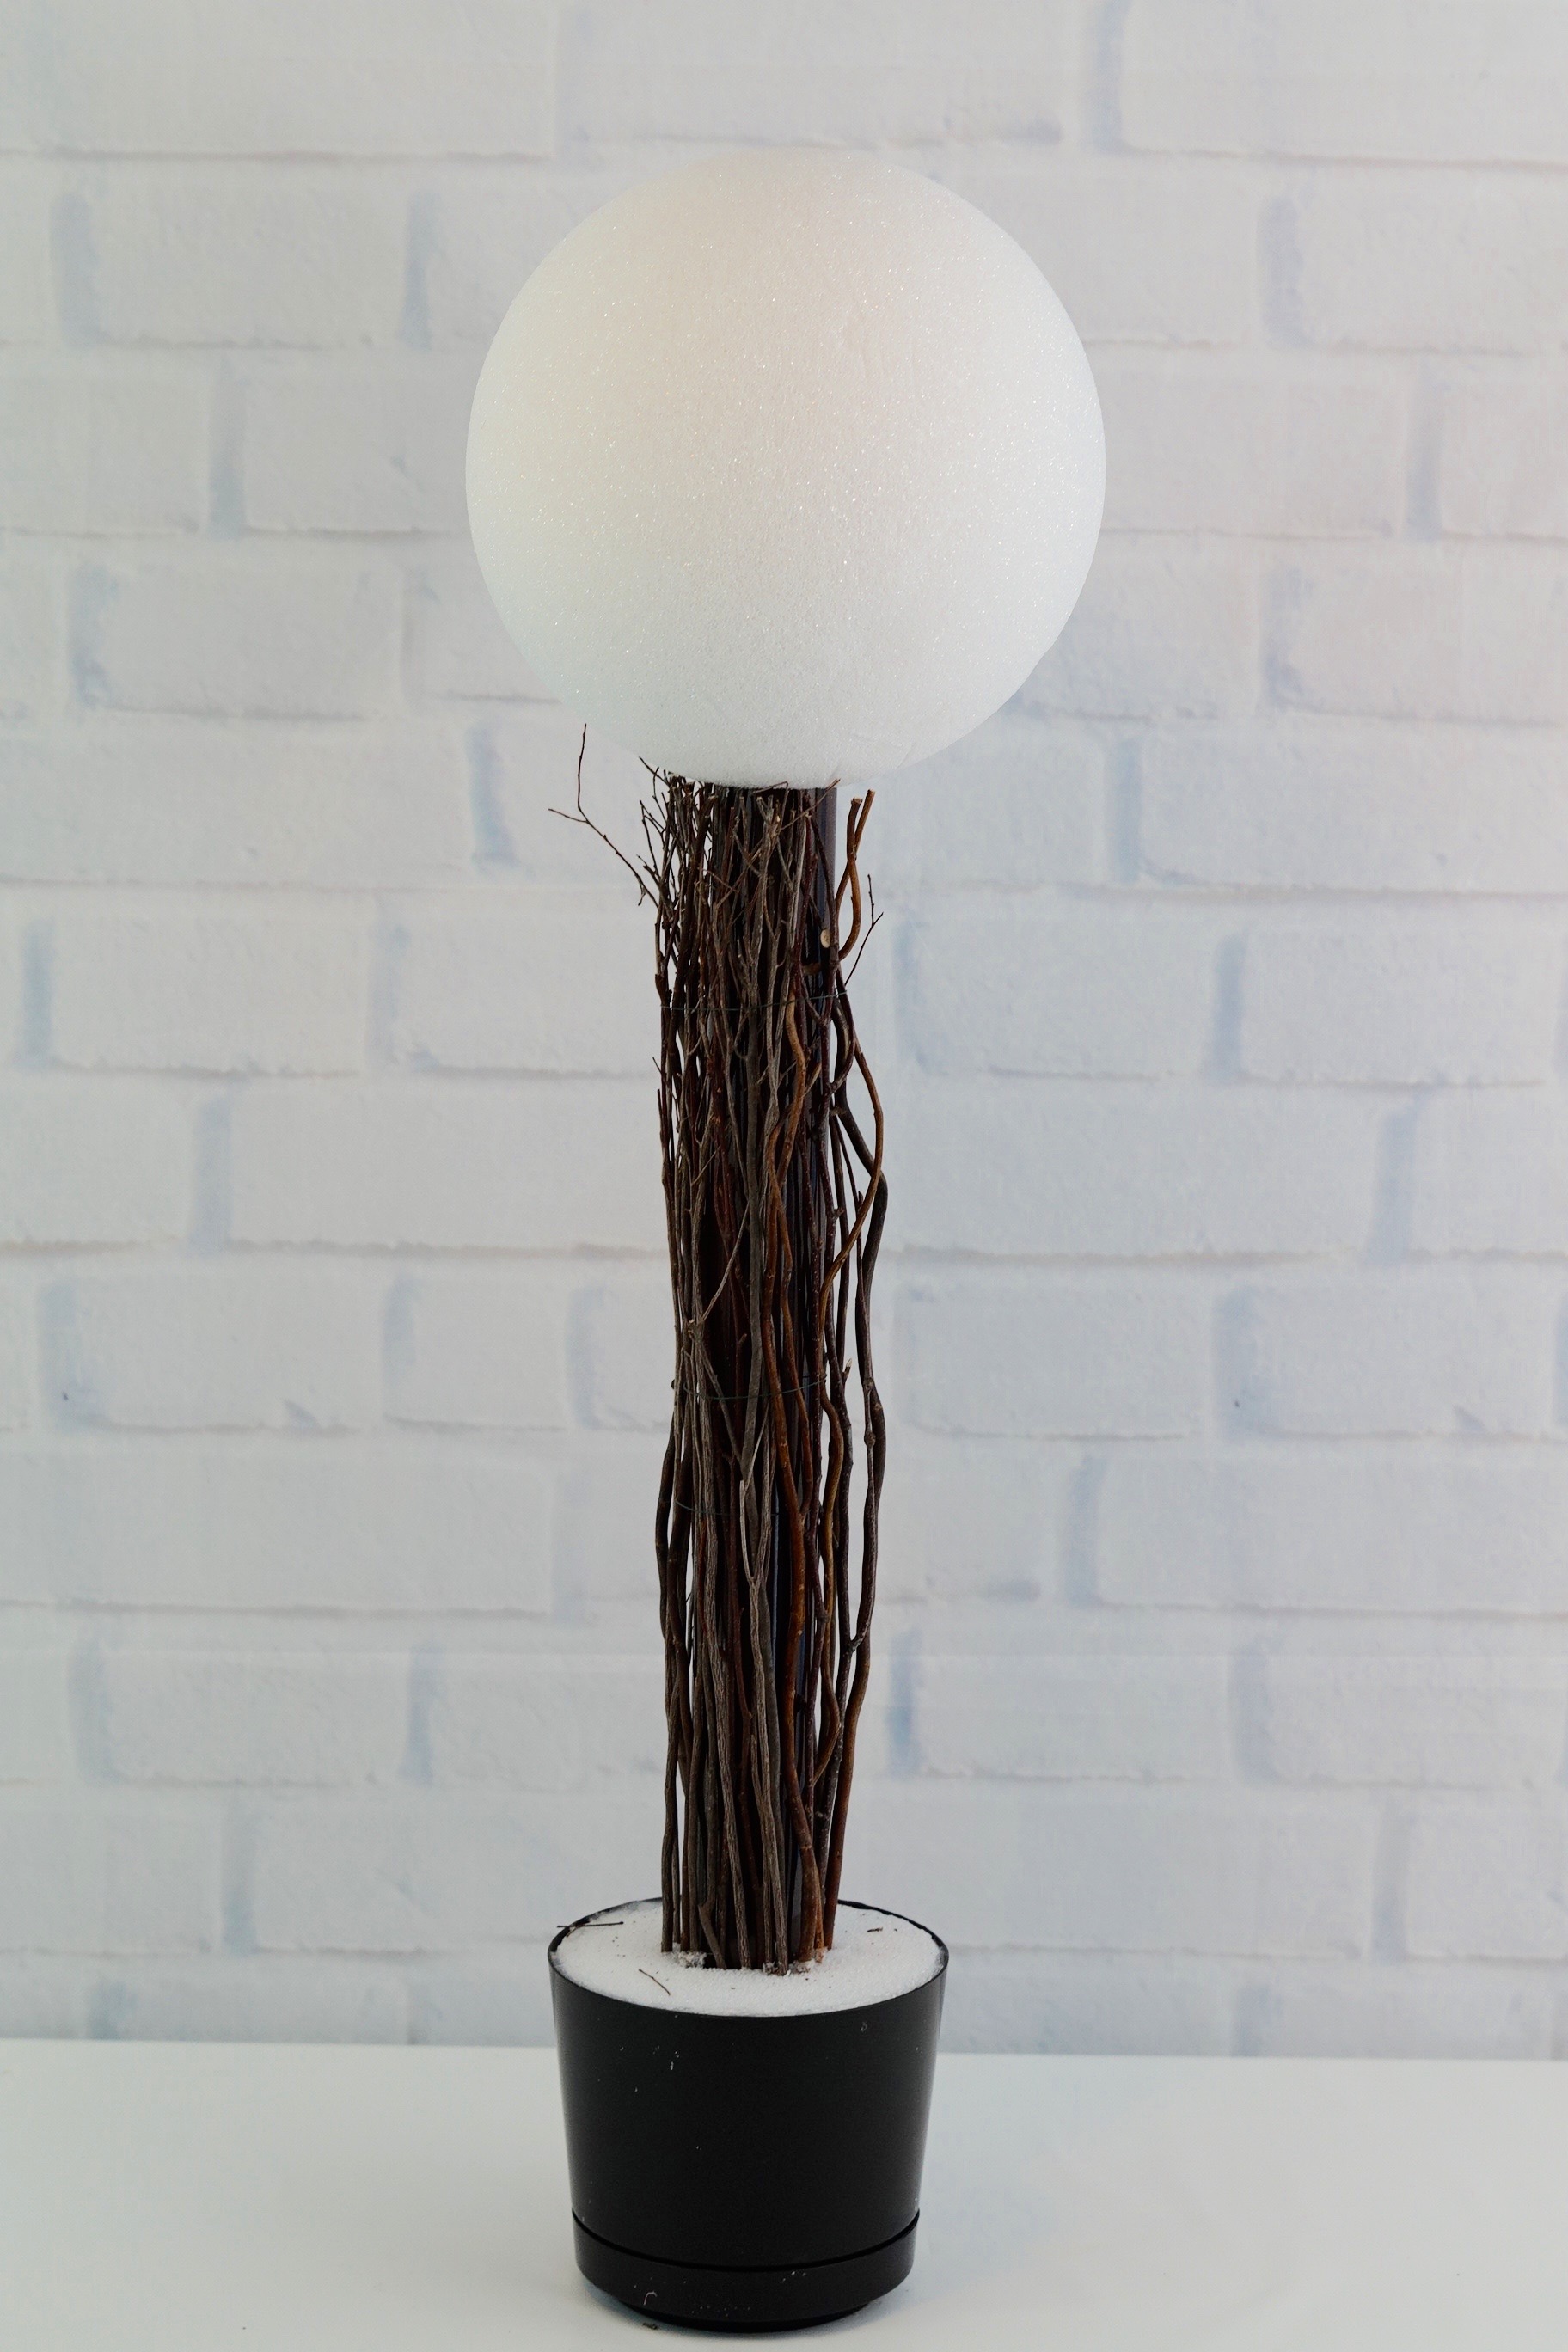
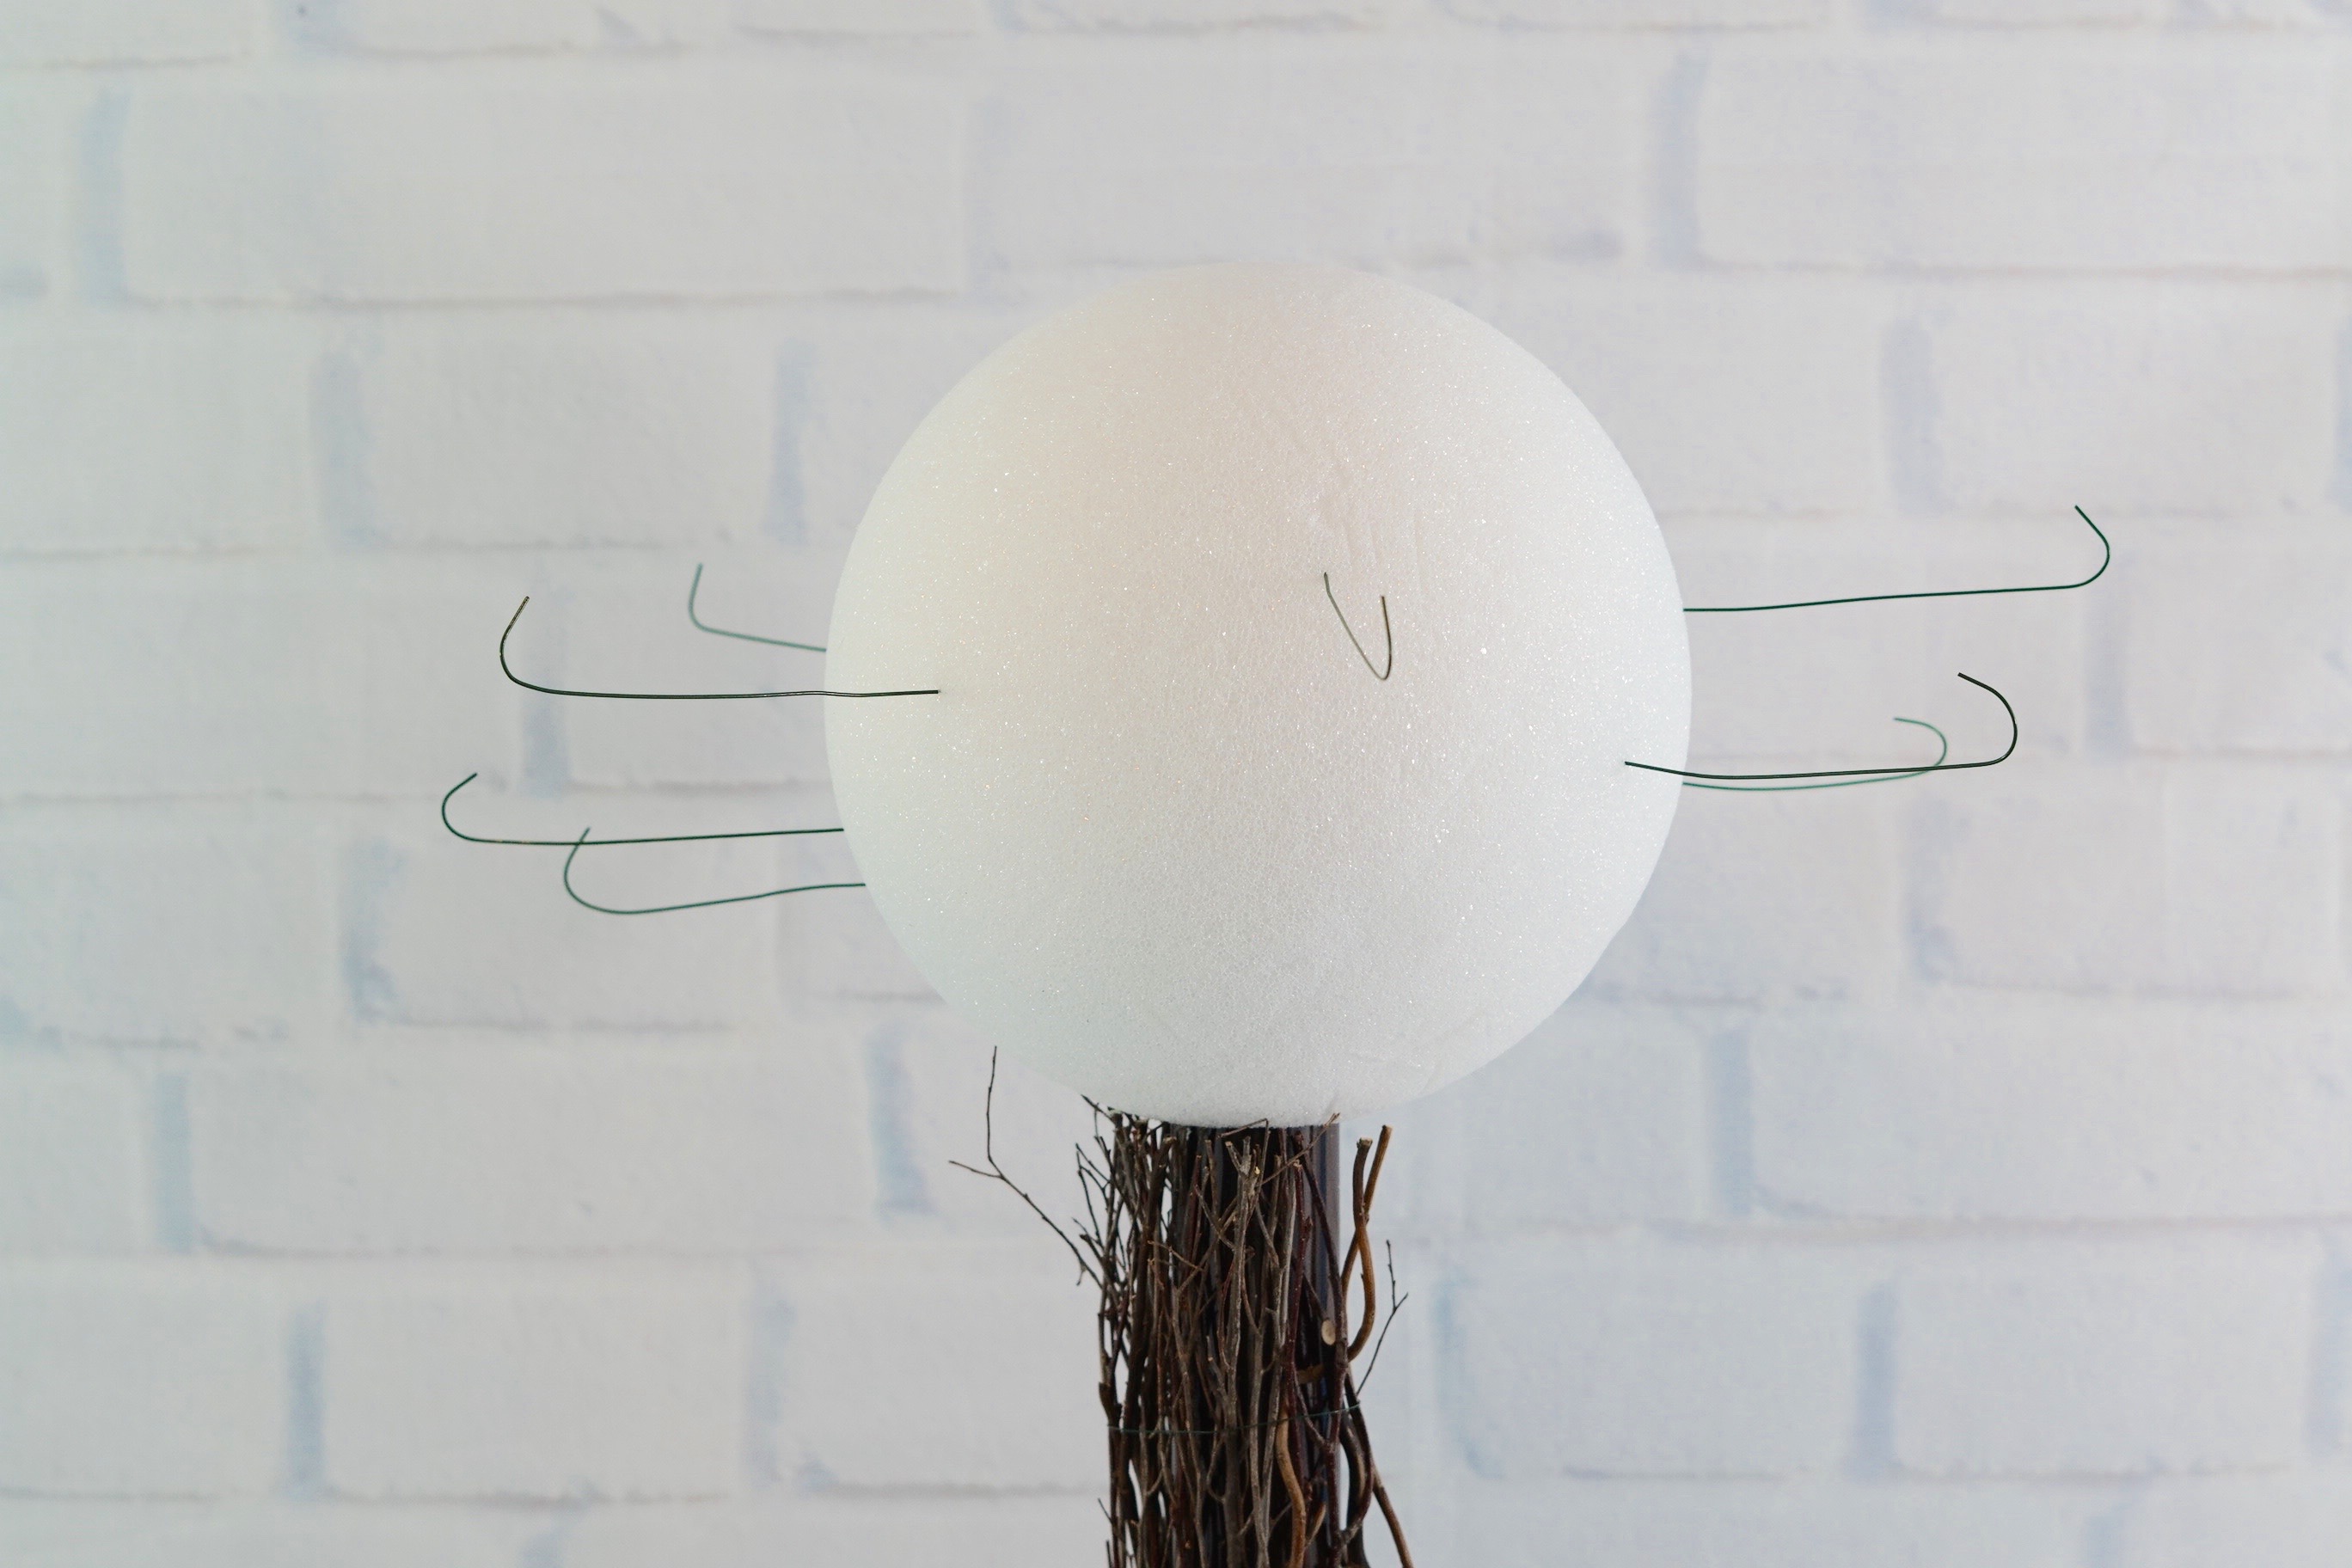
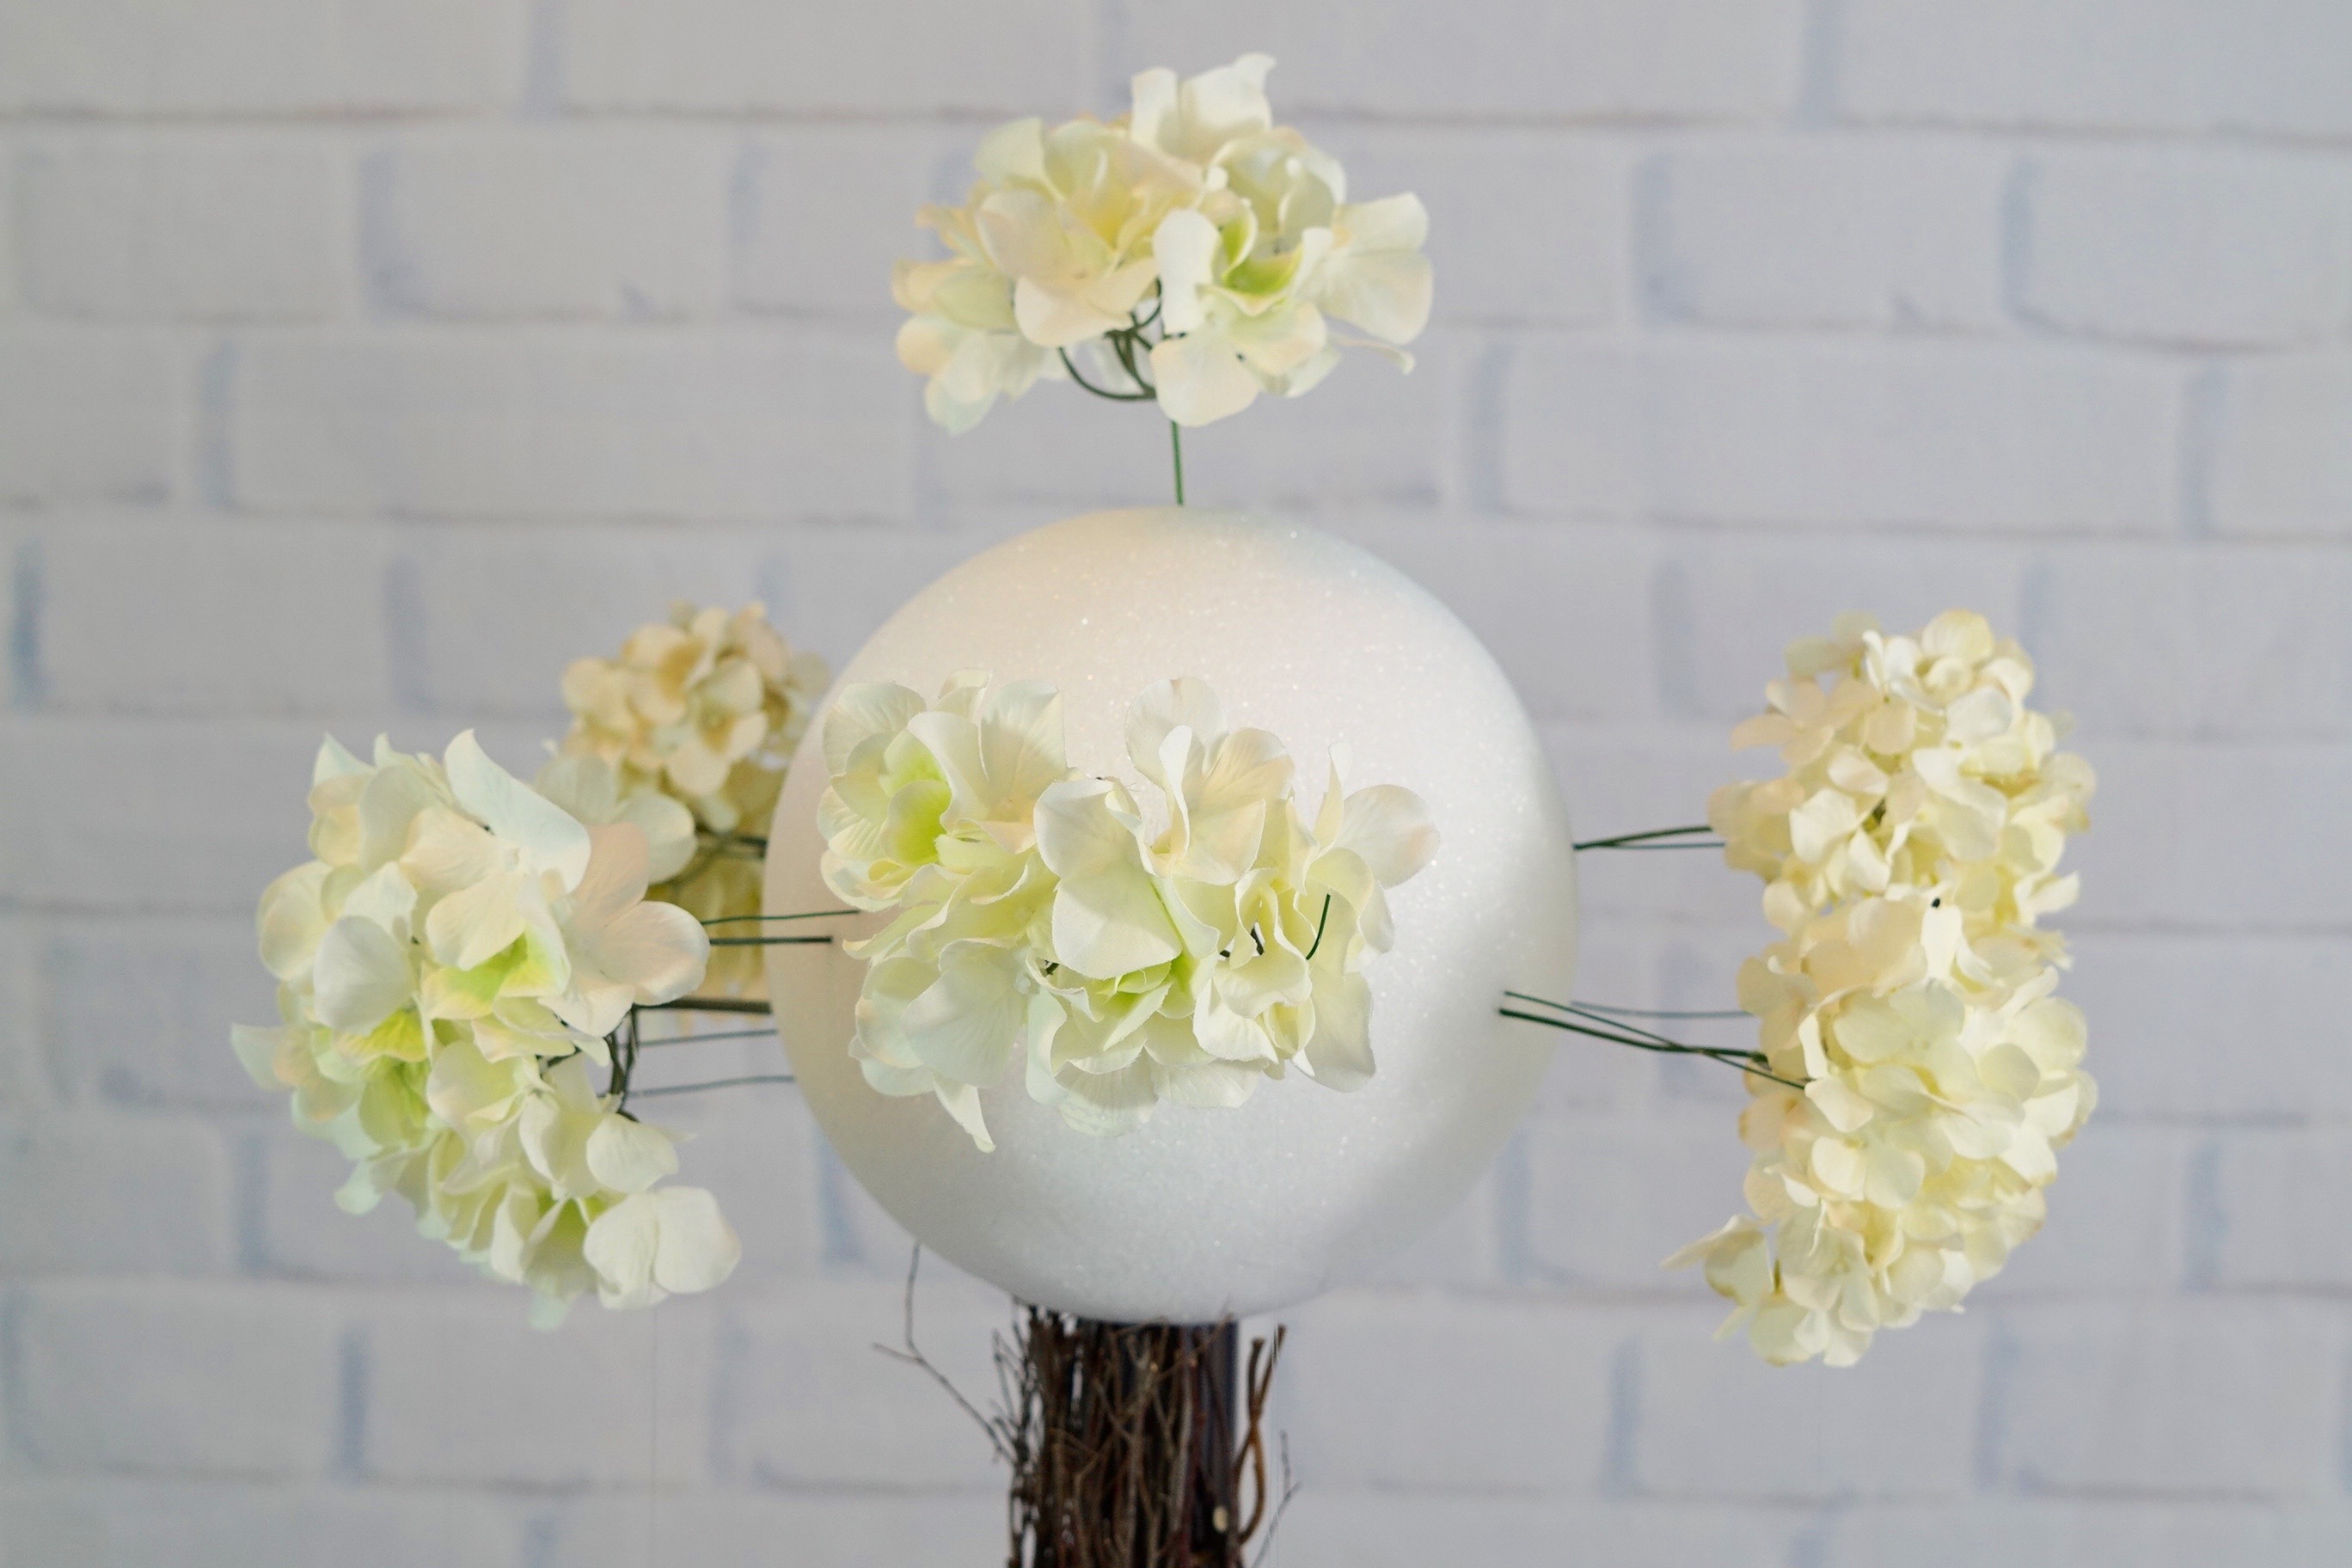
STEP 4: Hot glue your 10-inch foam ball to the top of your PVC pipe. Allow your hot glue to dry for 10 minutes. Take 24-gauge floral wire, curve it at one end creating a hook, and simply insert them inside your foam ball in different spots on your foam ball. Insert about 8.
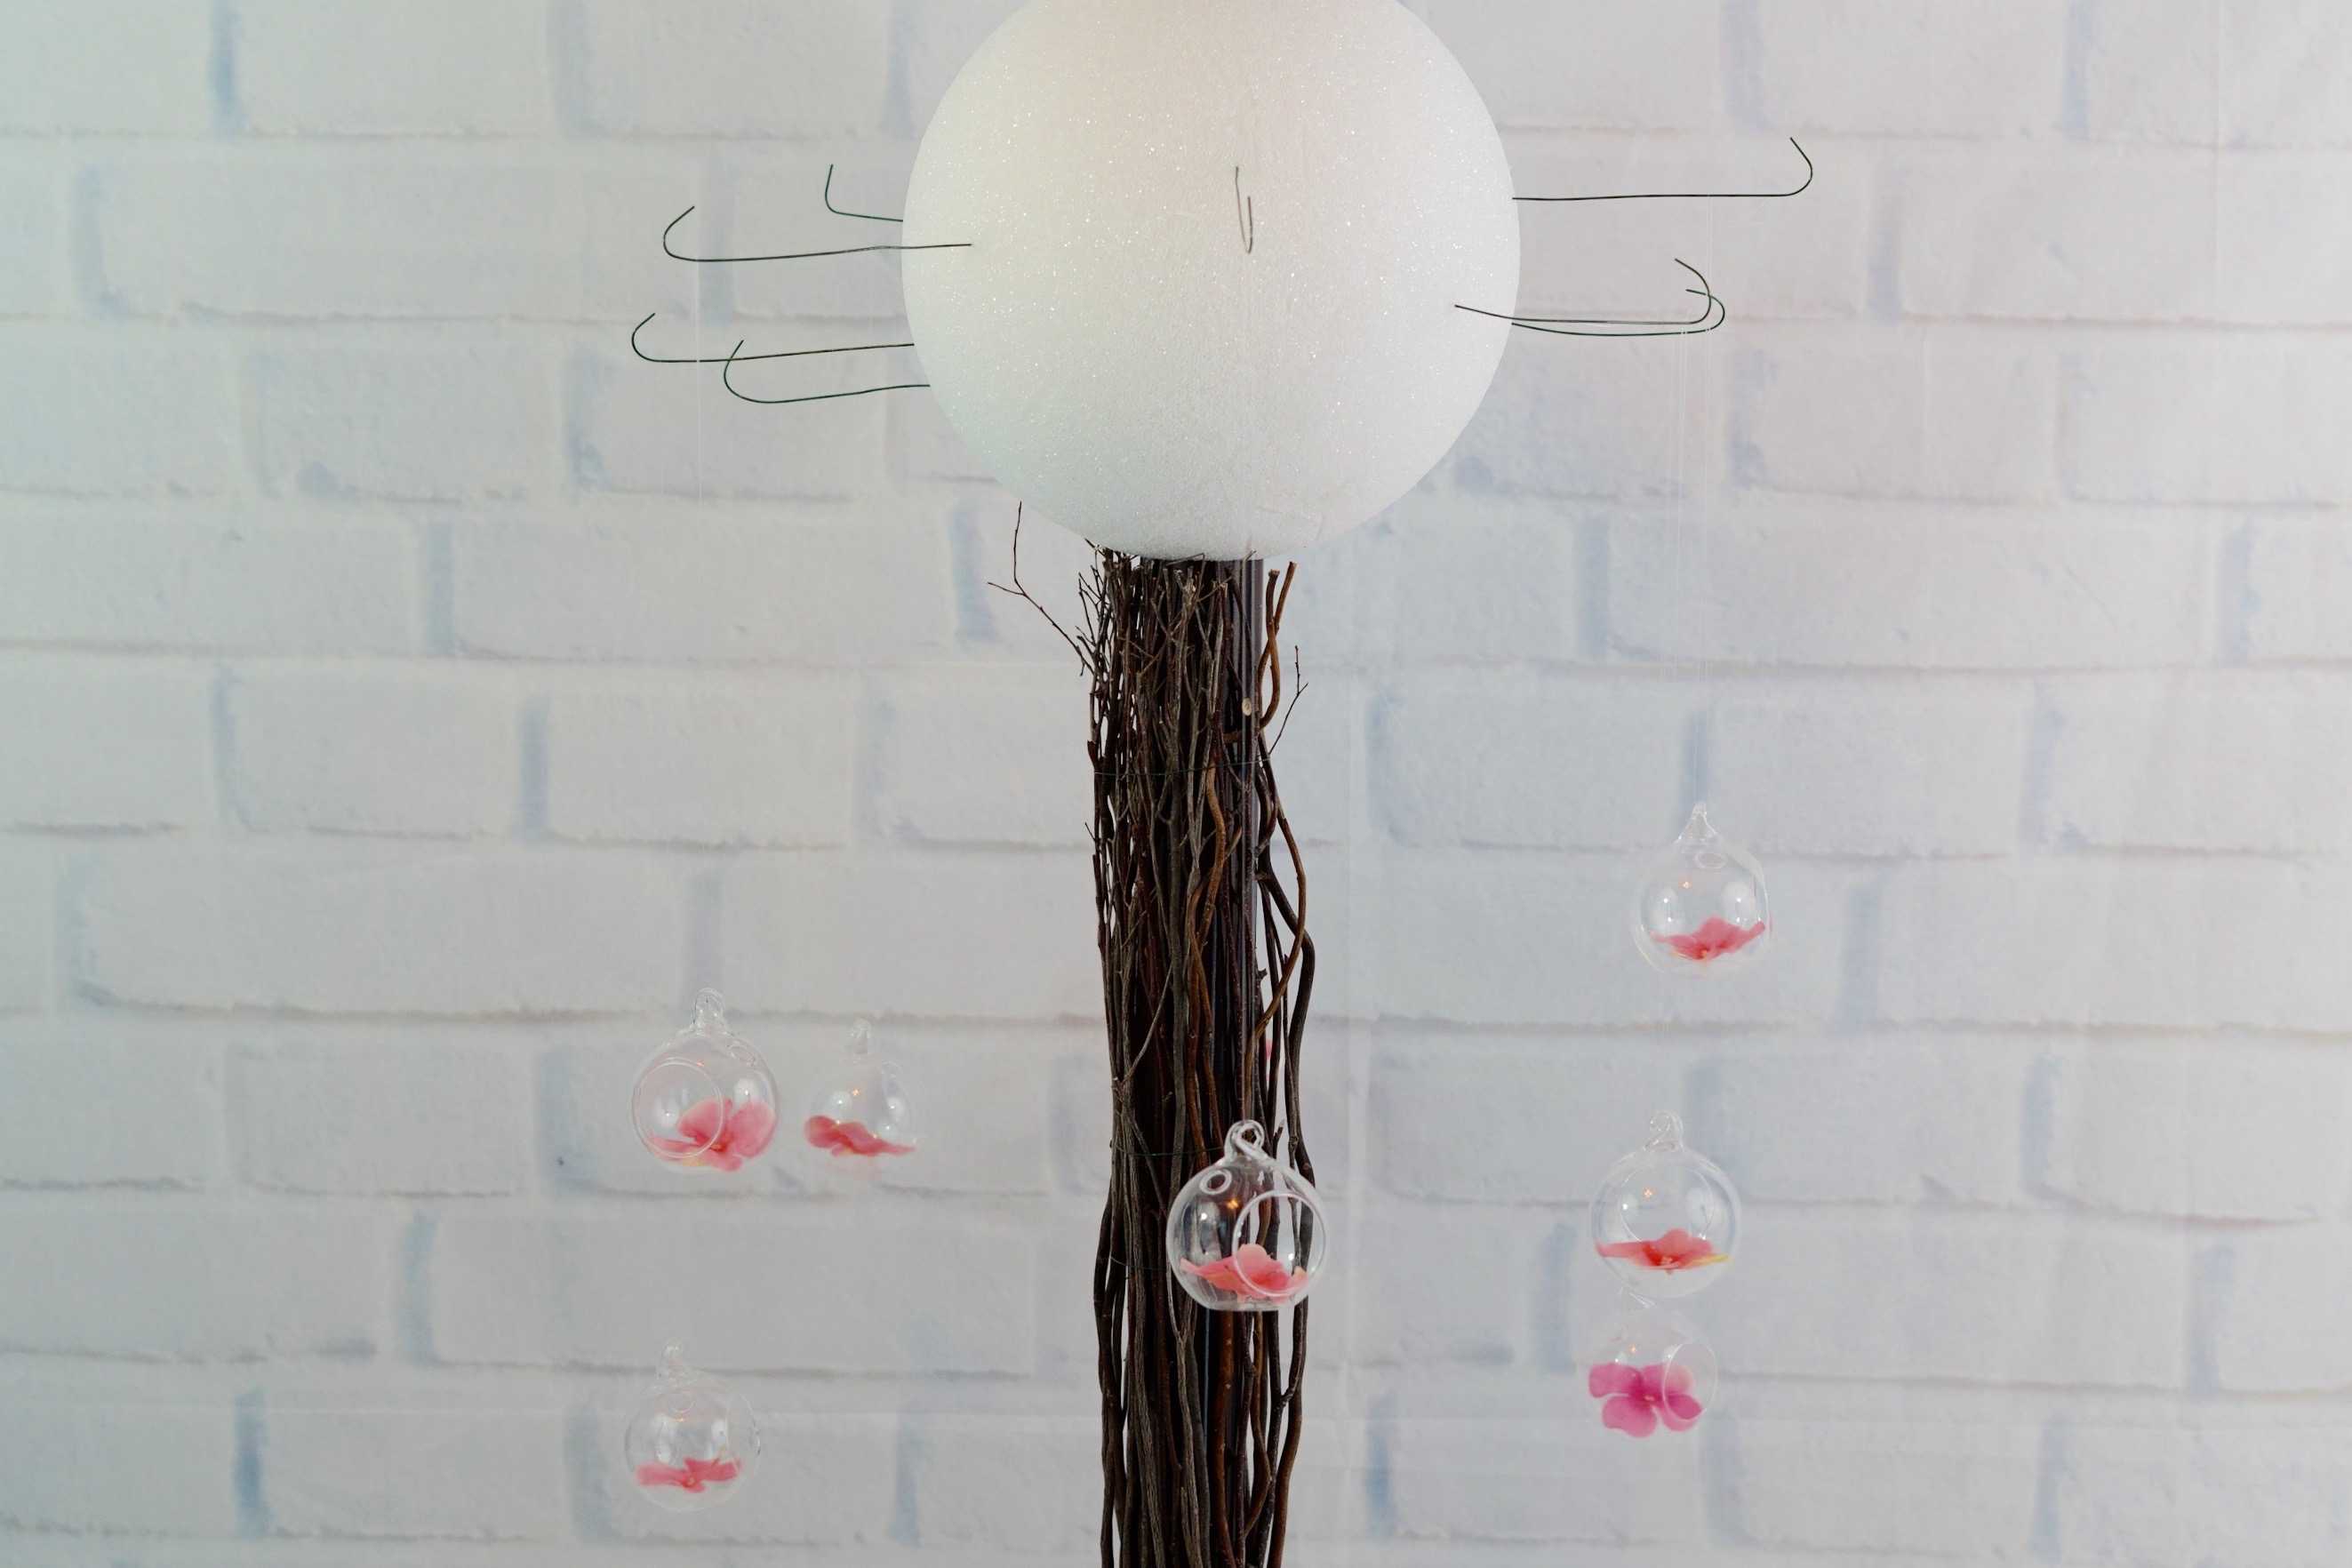
Cut 24-inch strips of fishing wire:
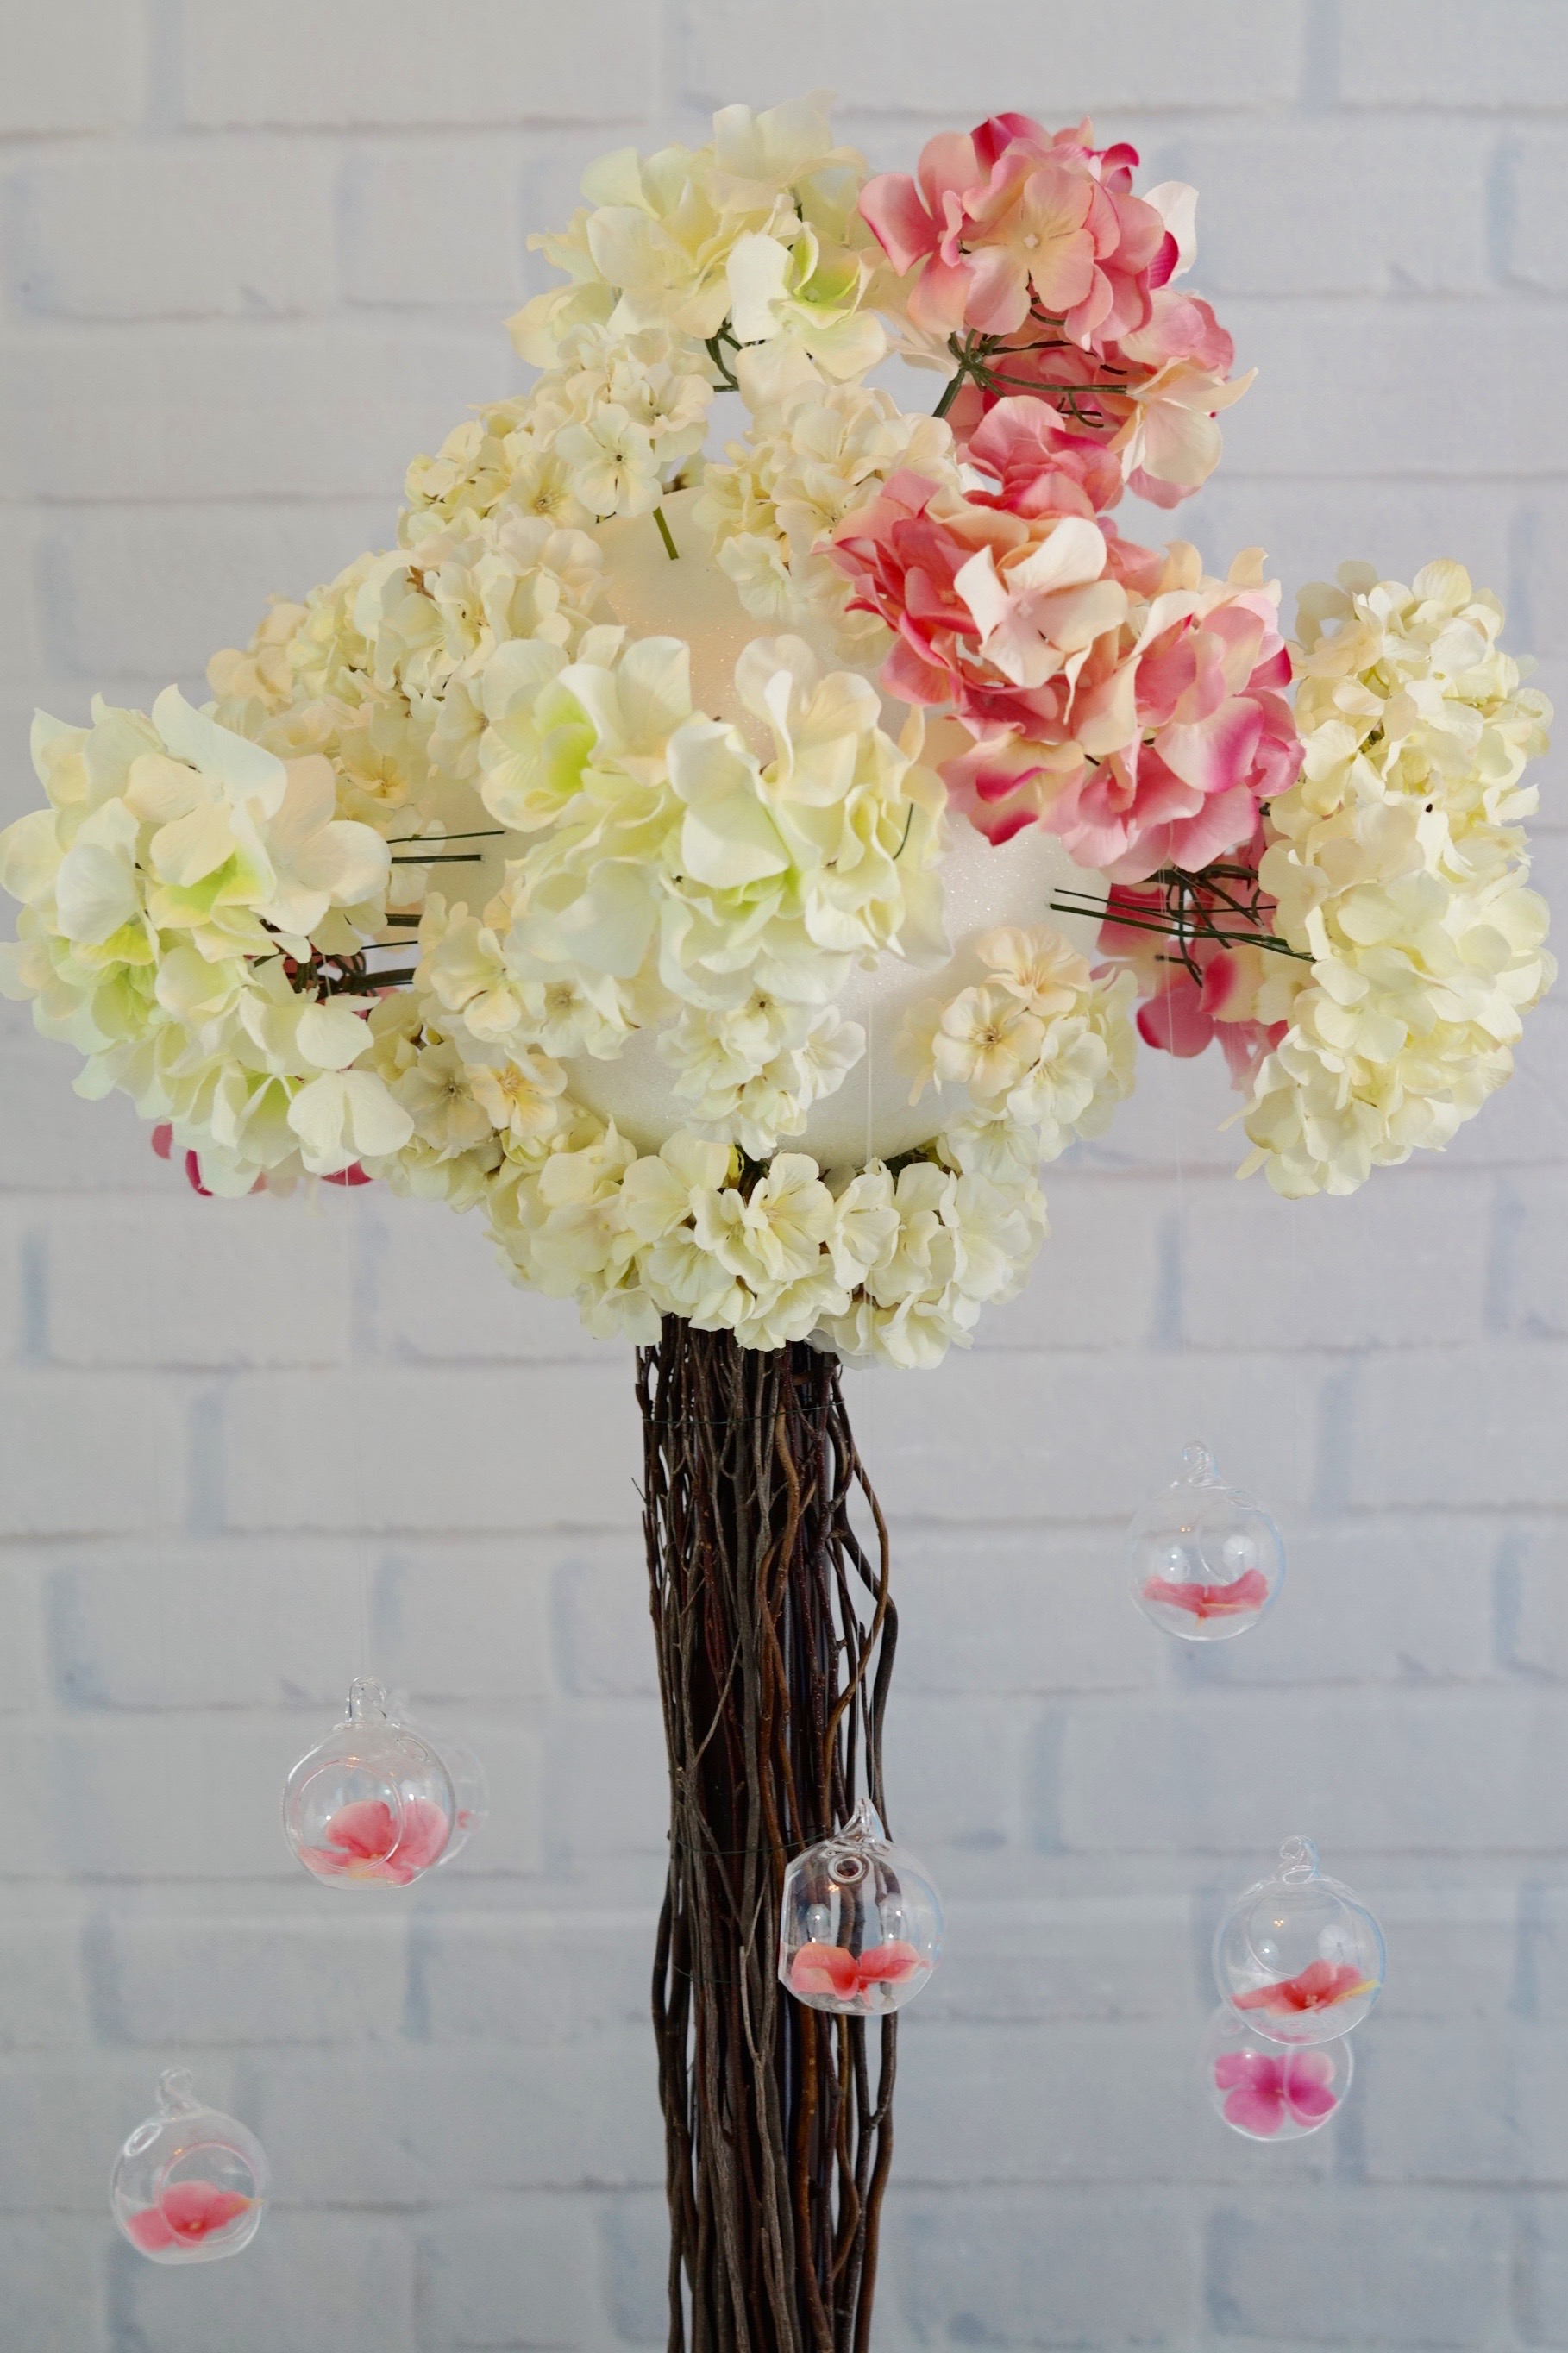
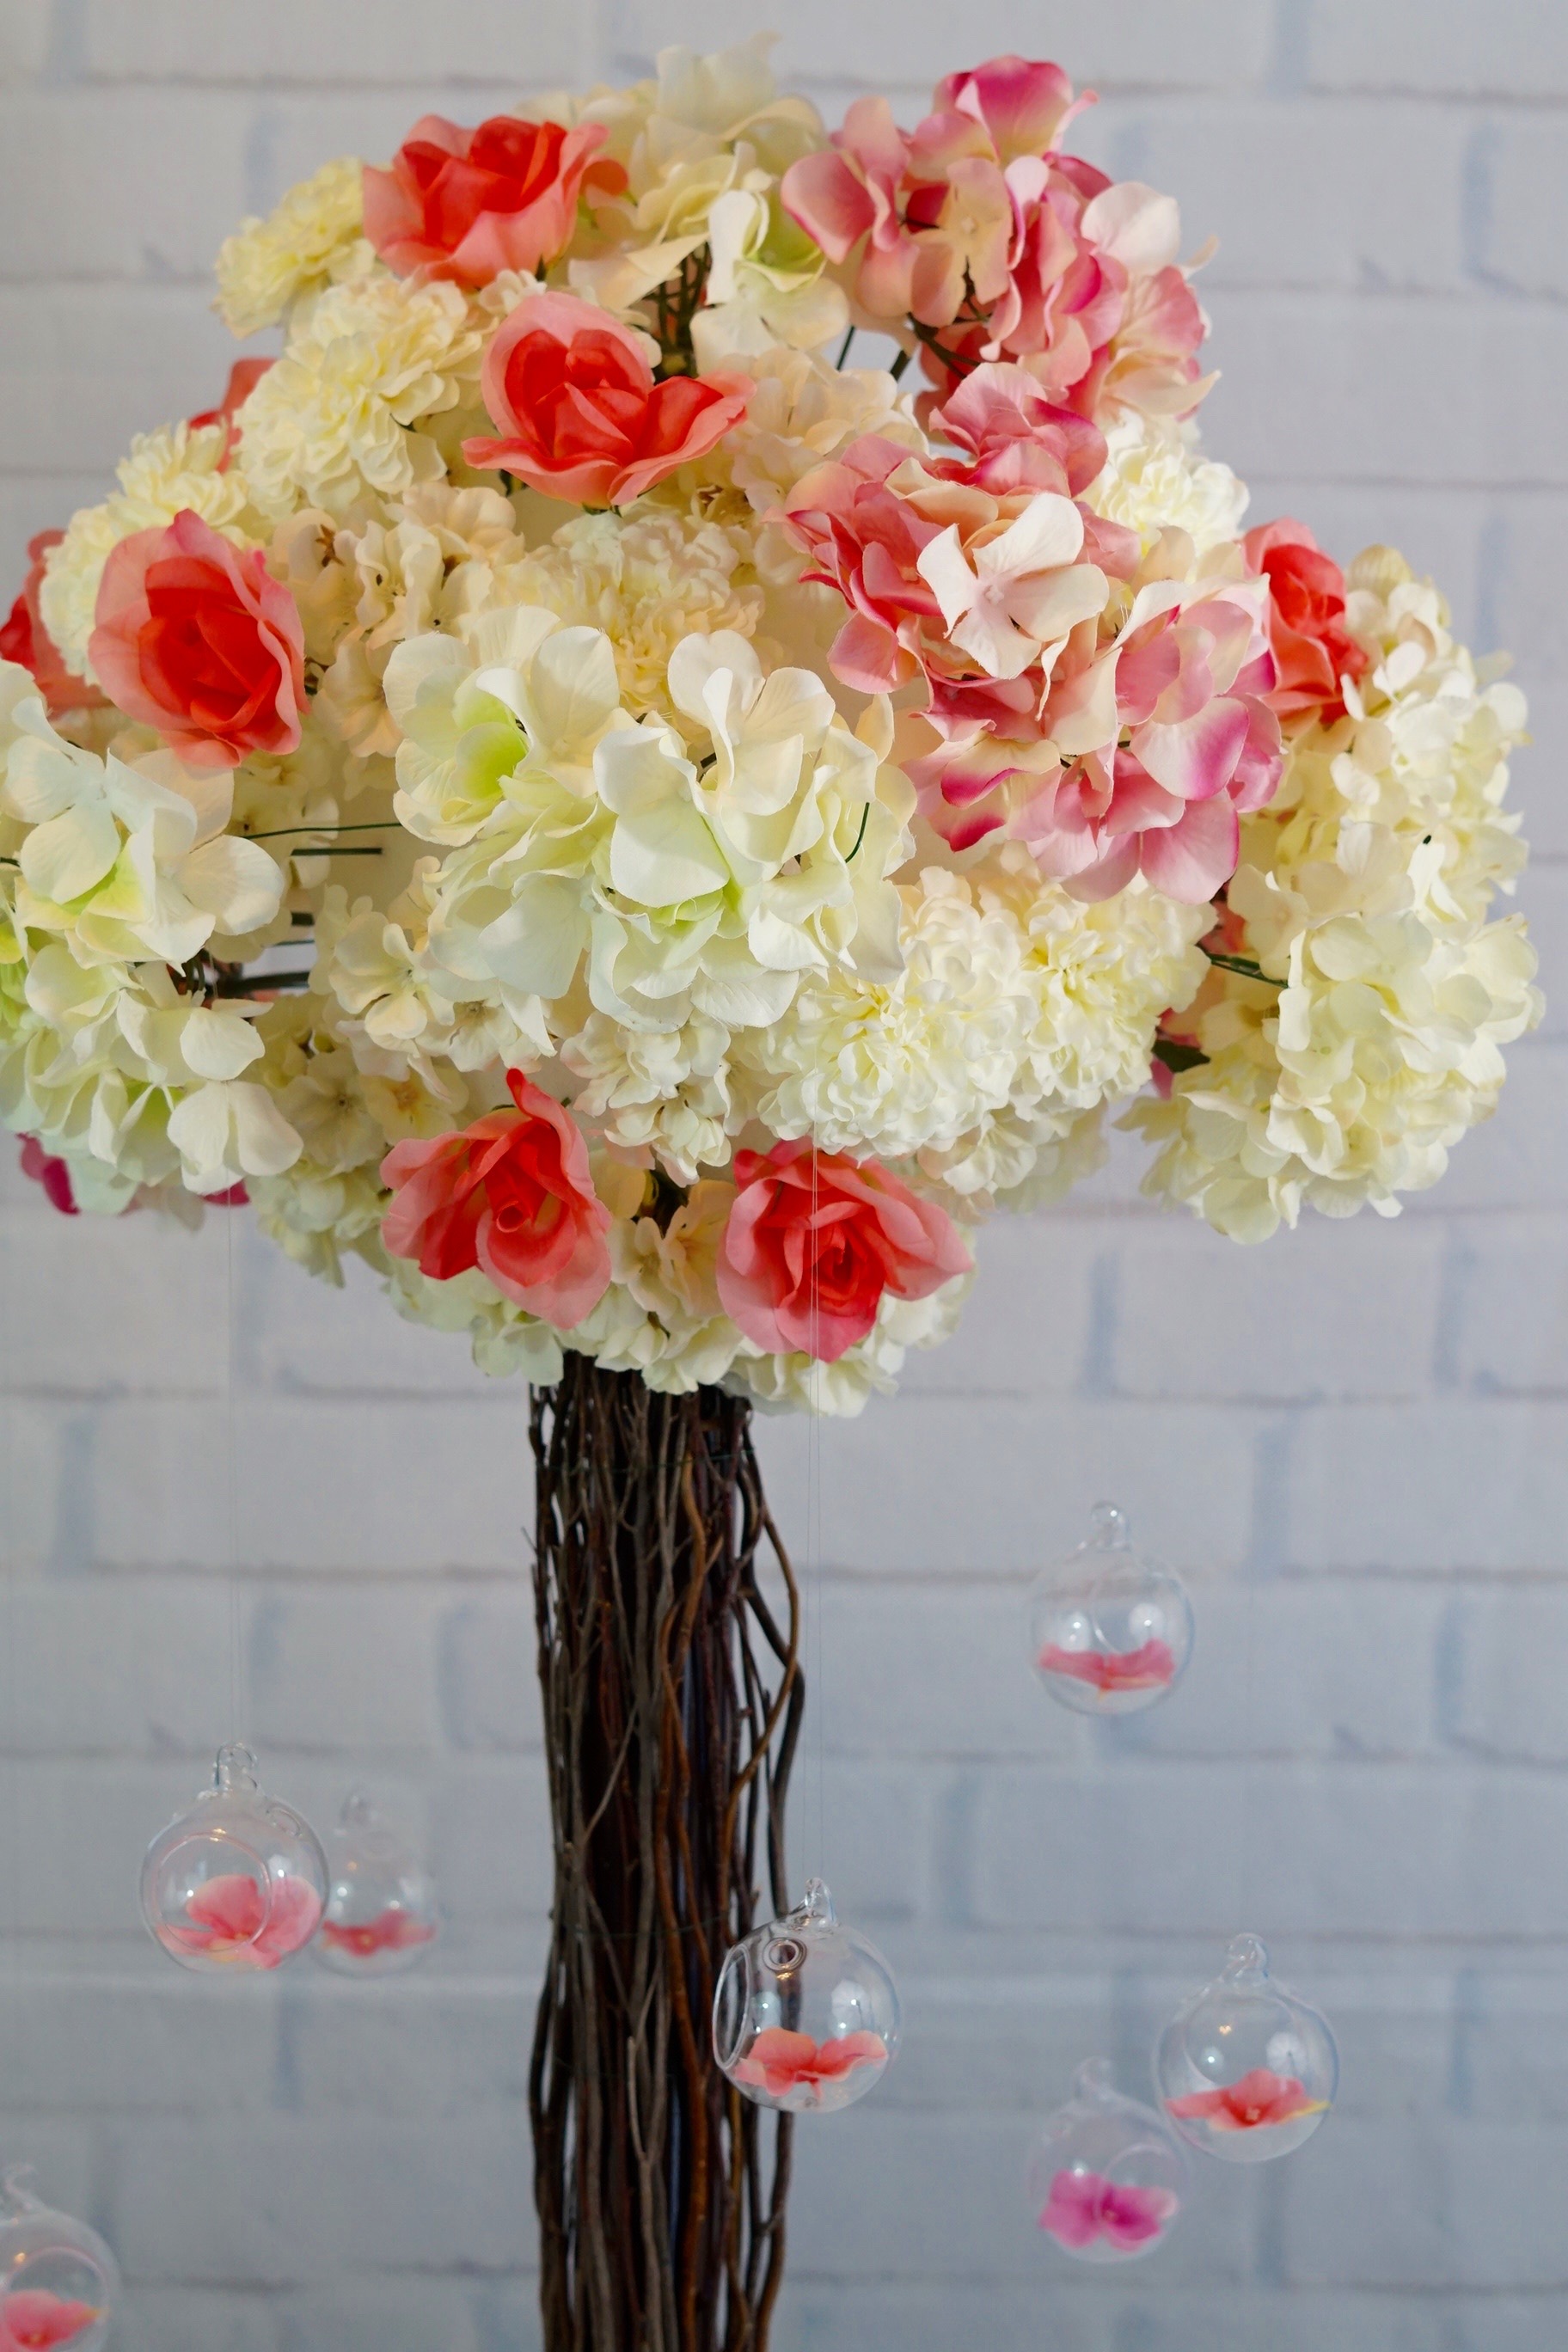
STEP 5: Cut 24-inch strips of fishing wire and attach it to your terrarium balls. Double knot your wire at the top. Add your hydrangea blossom in your terrarium ball. Repeat this step for a total of 8 terrarium balls. Hang the balls on your floral wire.
Let’s add our flowers:
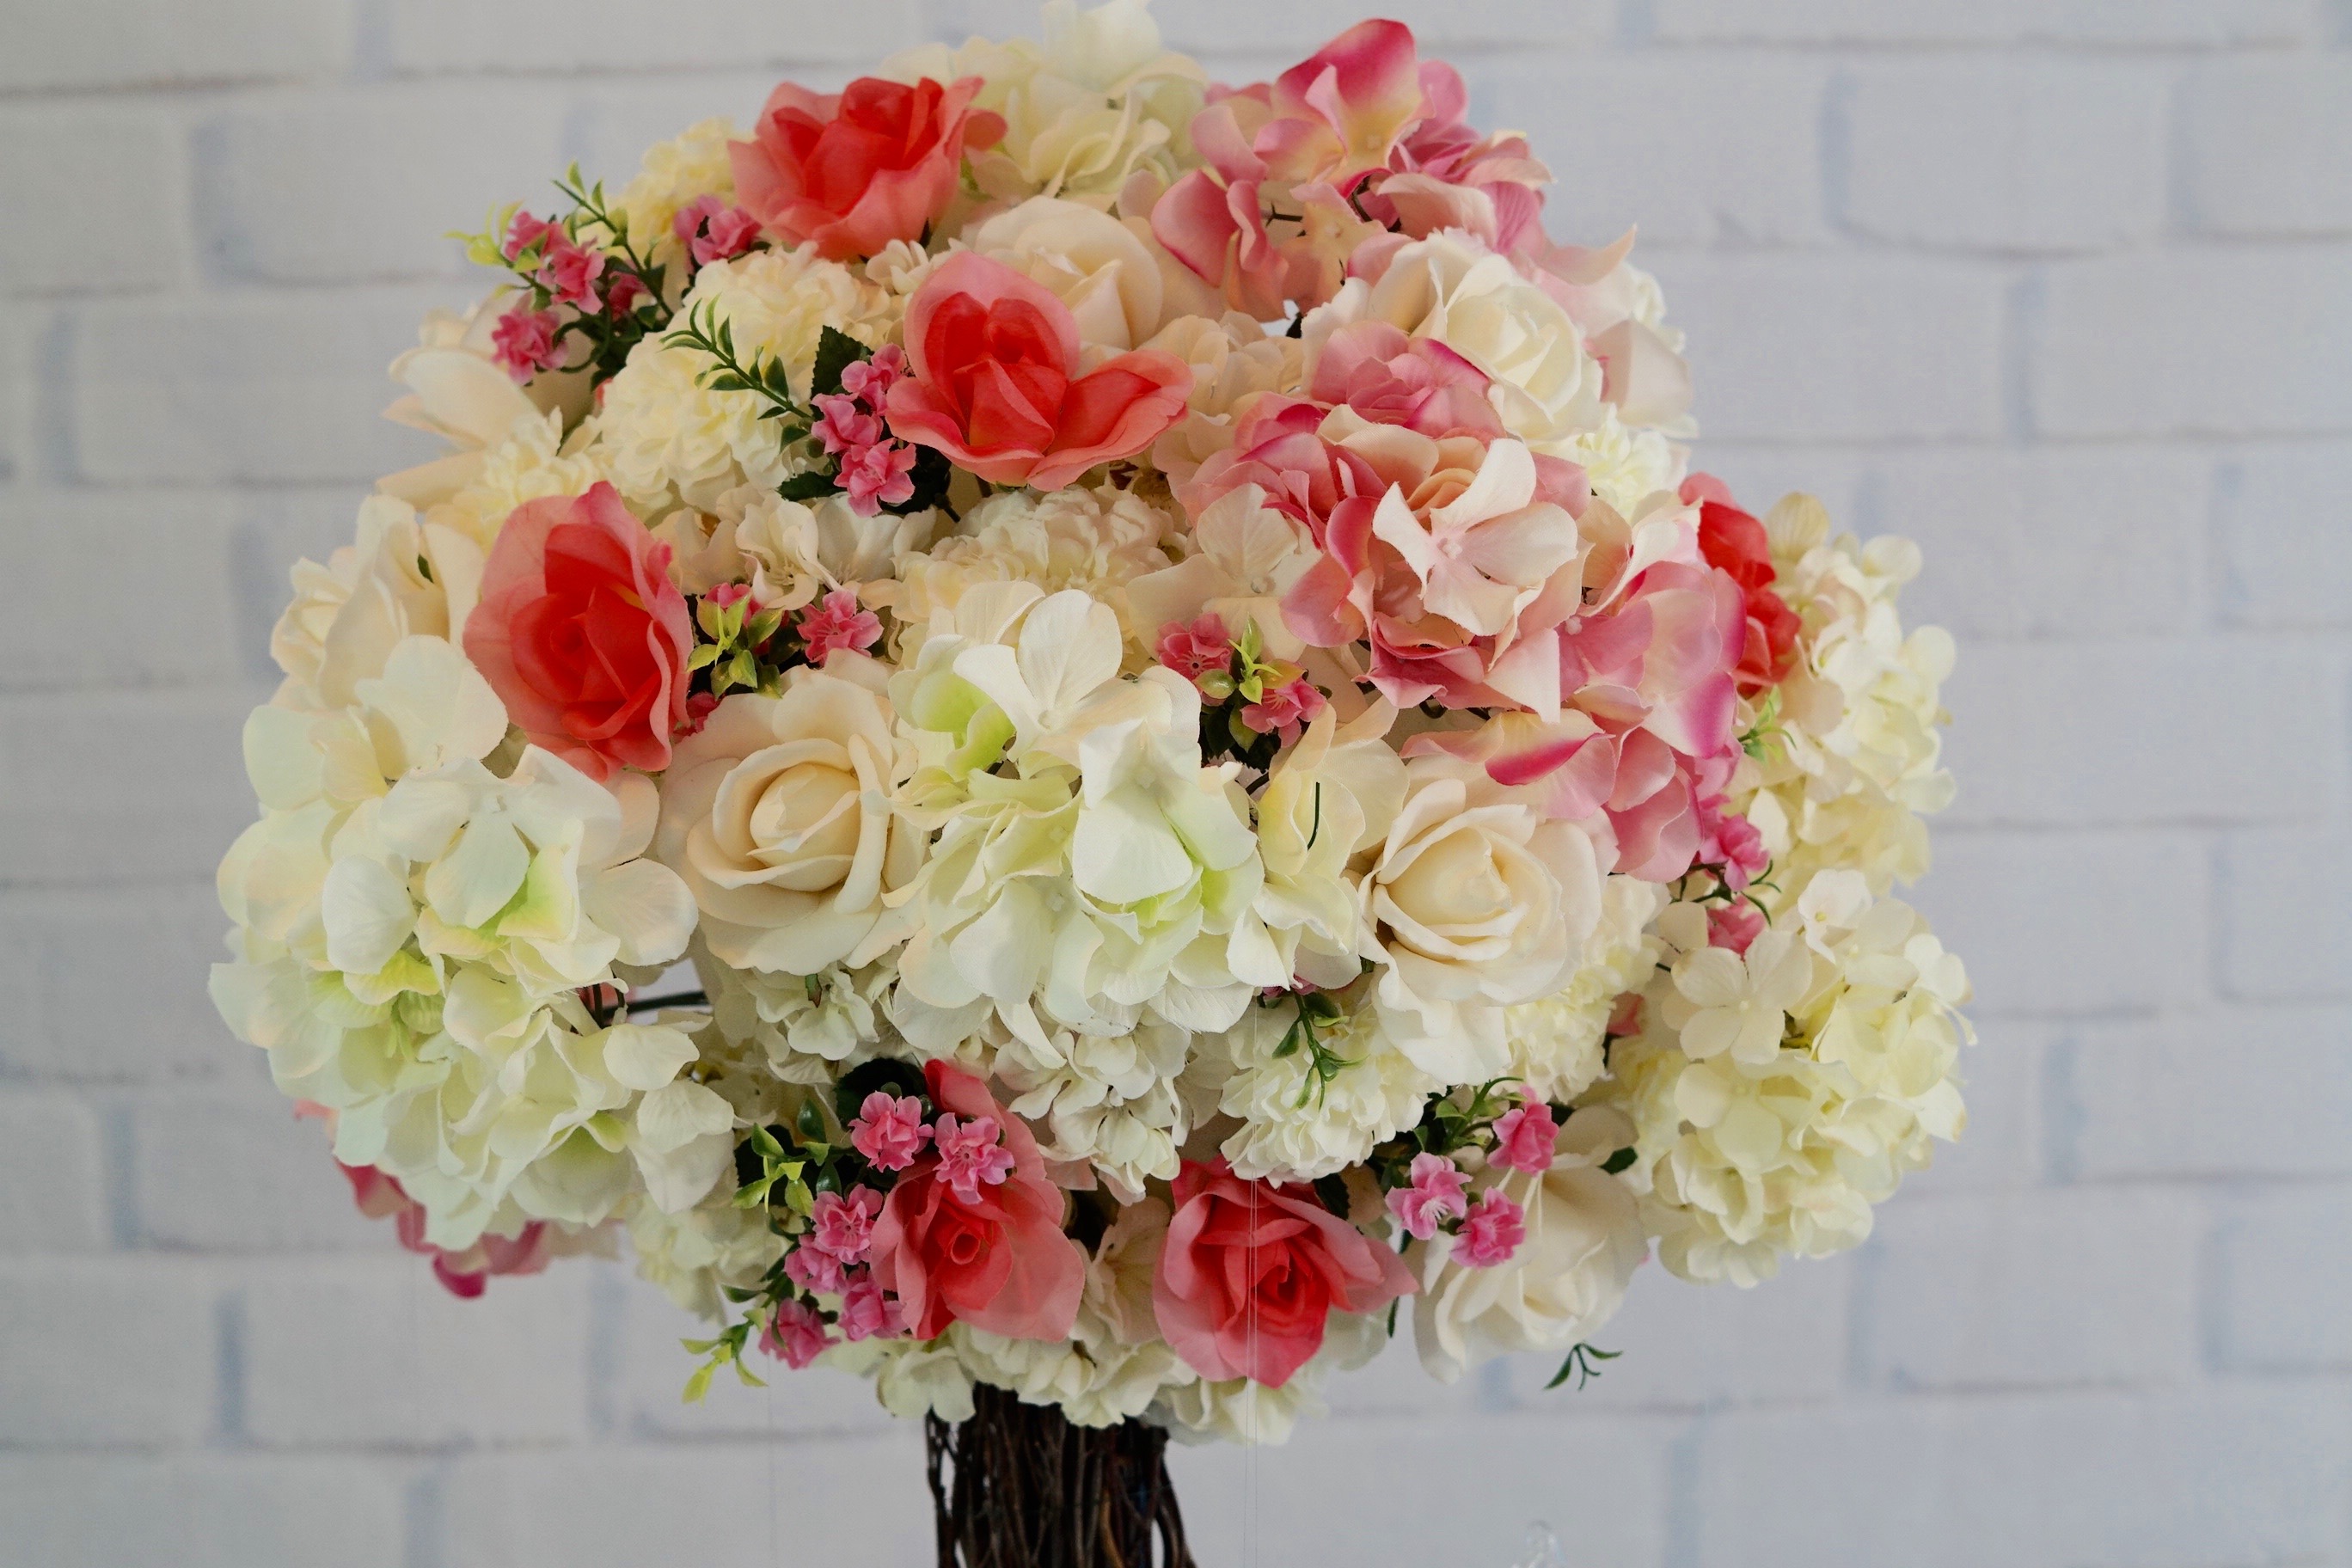
STEP 6: To your foam ball, attach 8-10 large hydrangea heads, 16 -20 small hydrangea heads, 12-16 chrysanthemums, 8-12 pink roses, 6-8 cream roses, and 12-16 wildflower stems. In addition, also attach 8-12 mint bush stems.
Complete the base by trimming out the edge with moss:
STEP 7: Complete the base by trimming out the edge with moss. Let some the moss hang over the edge of your flower pot as though the moss is growing out the pot. Add hot glue to keep your moss in place. Finish off the base by attaching 3-4 small hydrangeas, a couple of roses and a few pink wildflowers. The goal is to have the same look at the top and bottom of your centerpiece. Lastly, add your LED lights to your terrarium balls.
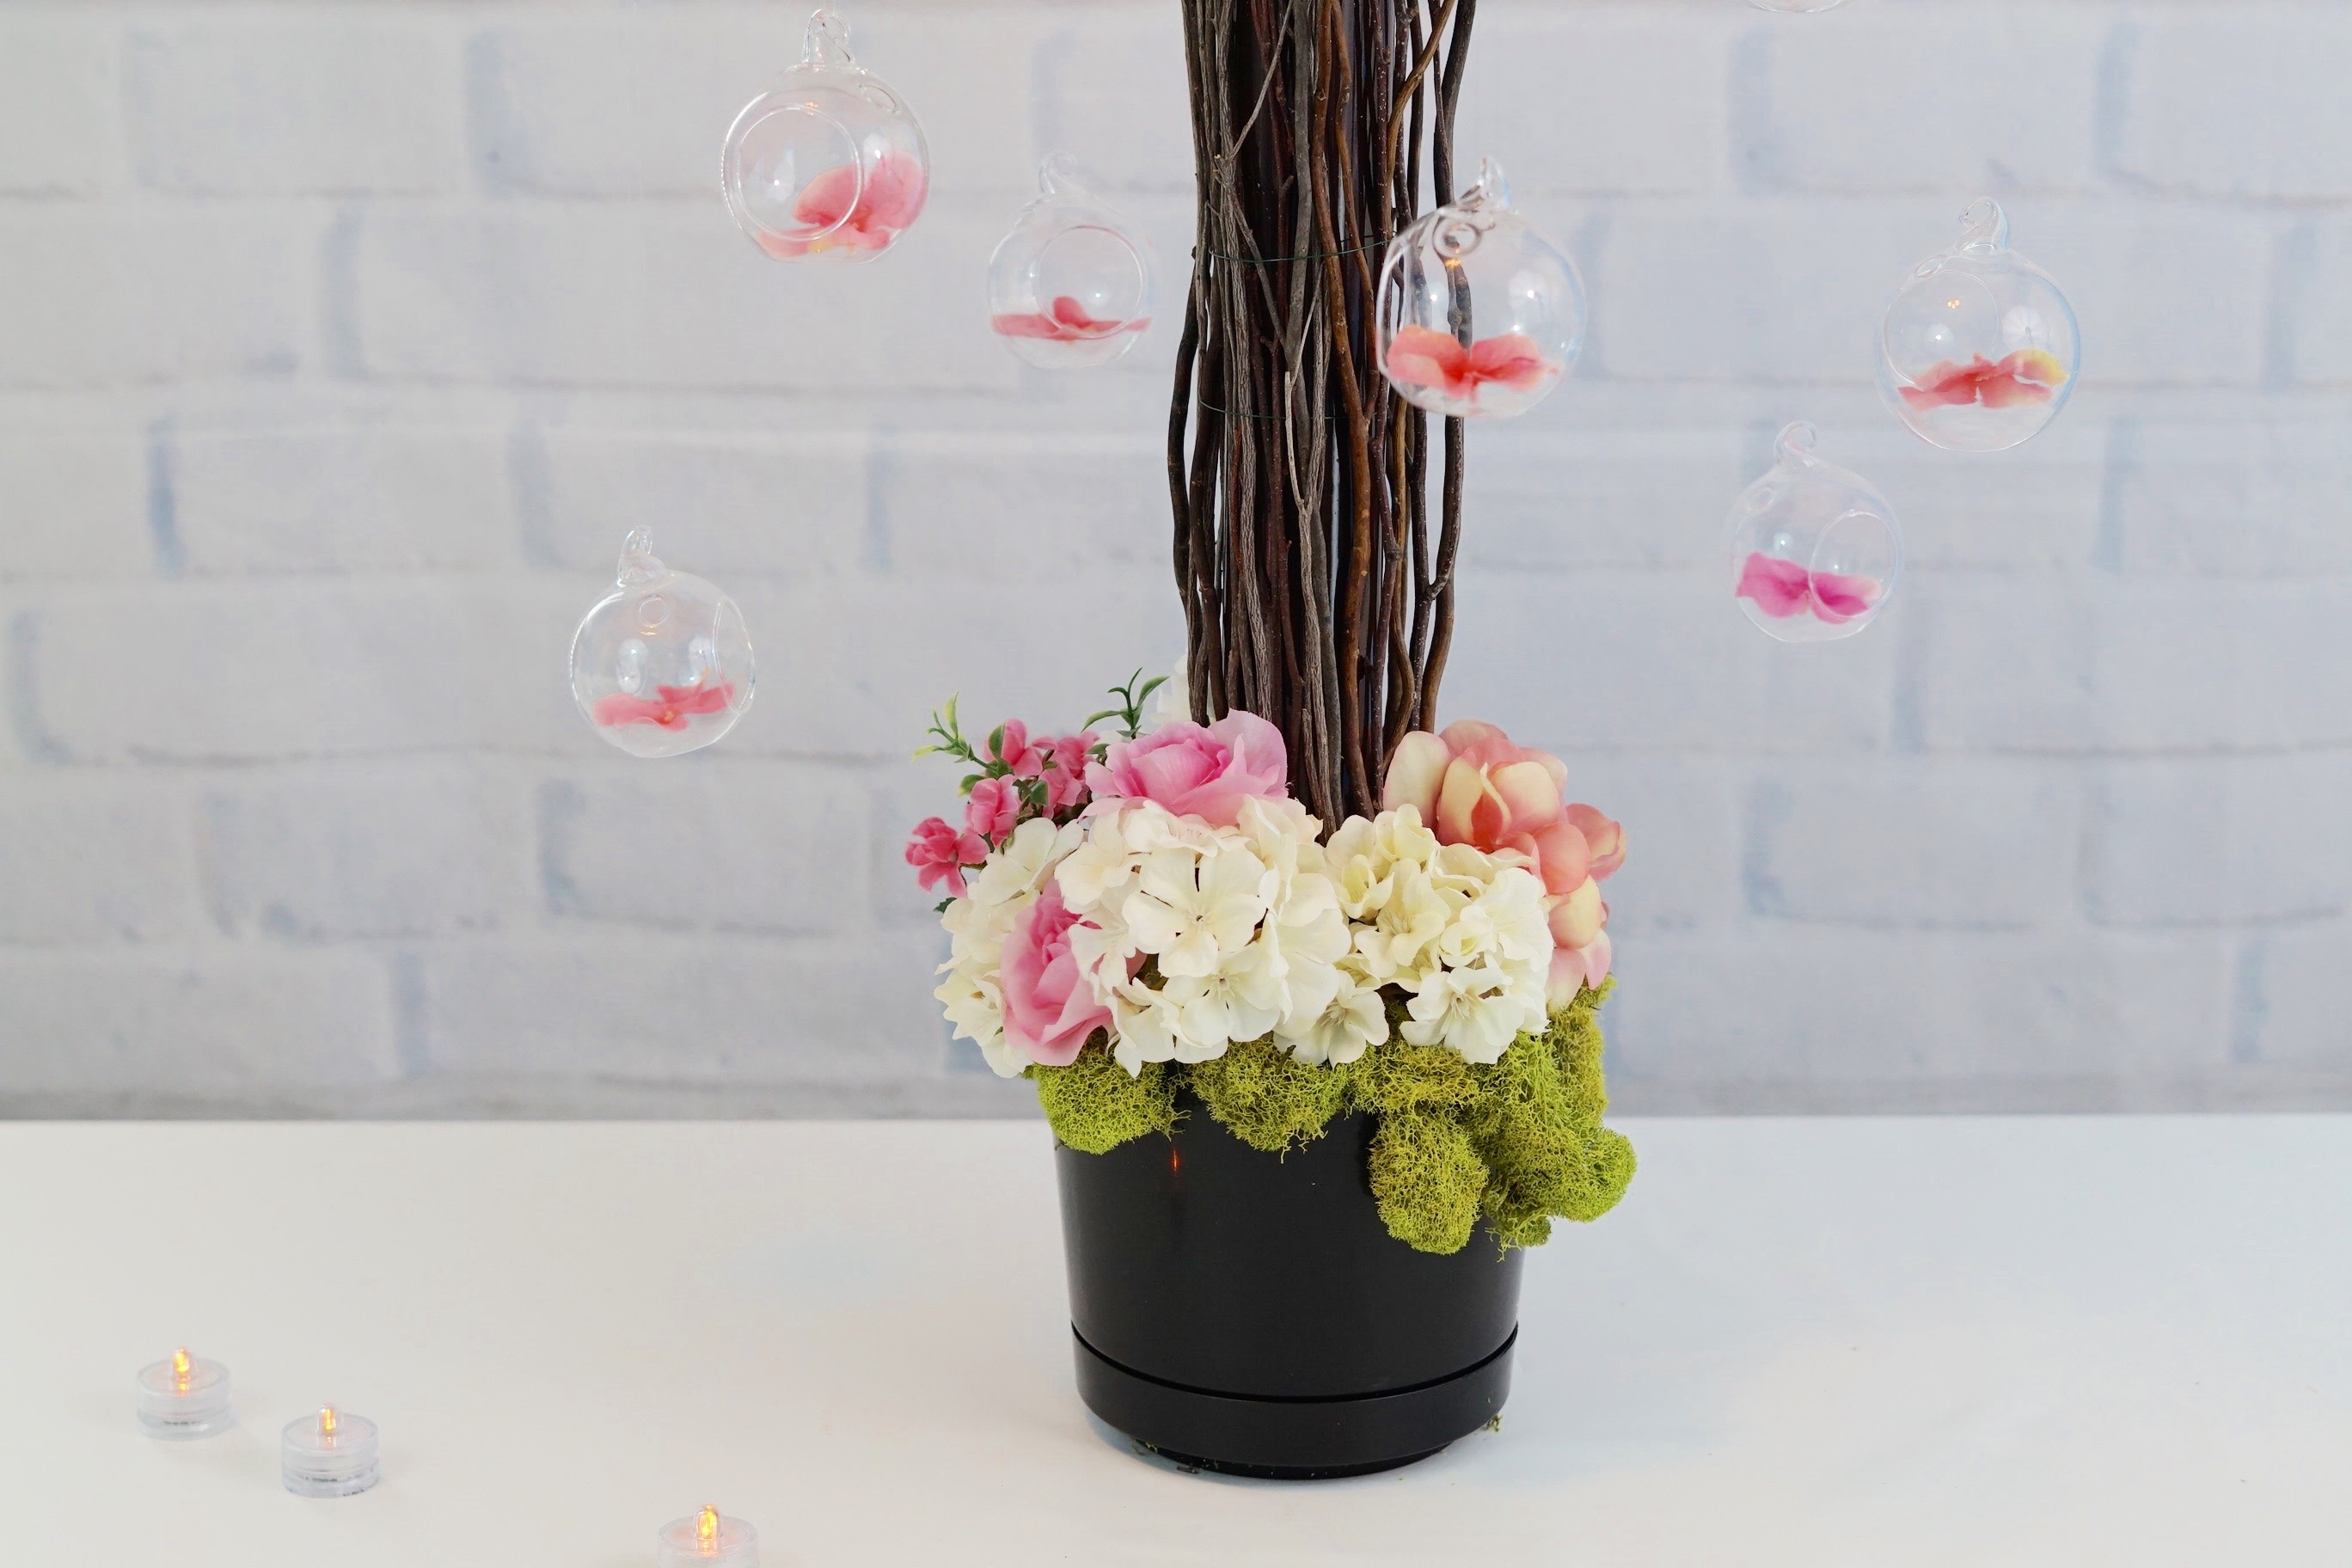
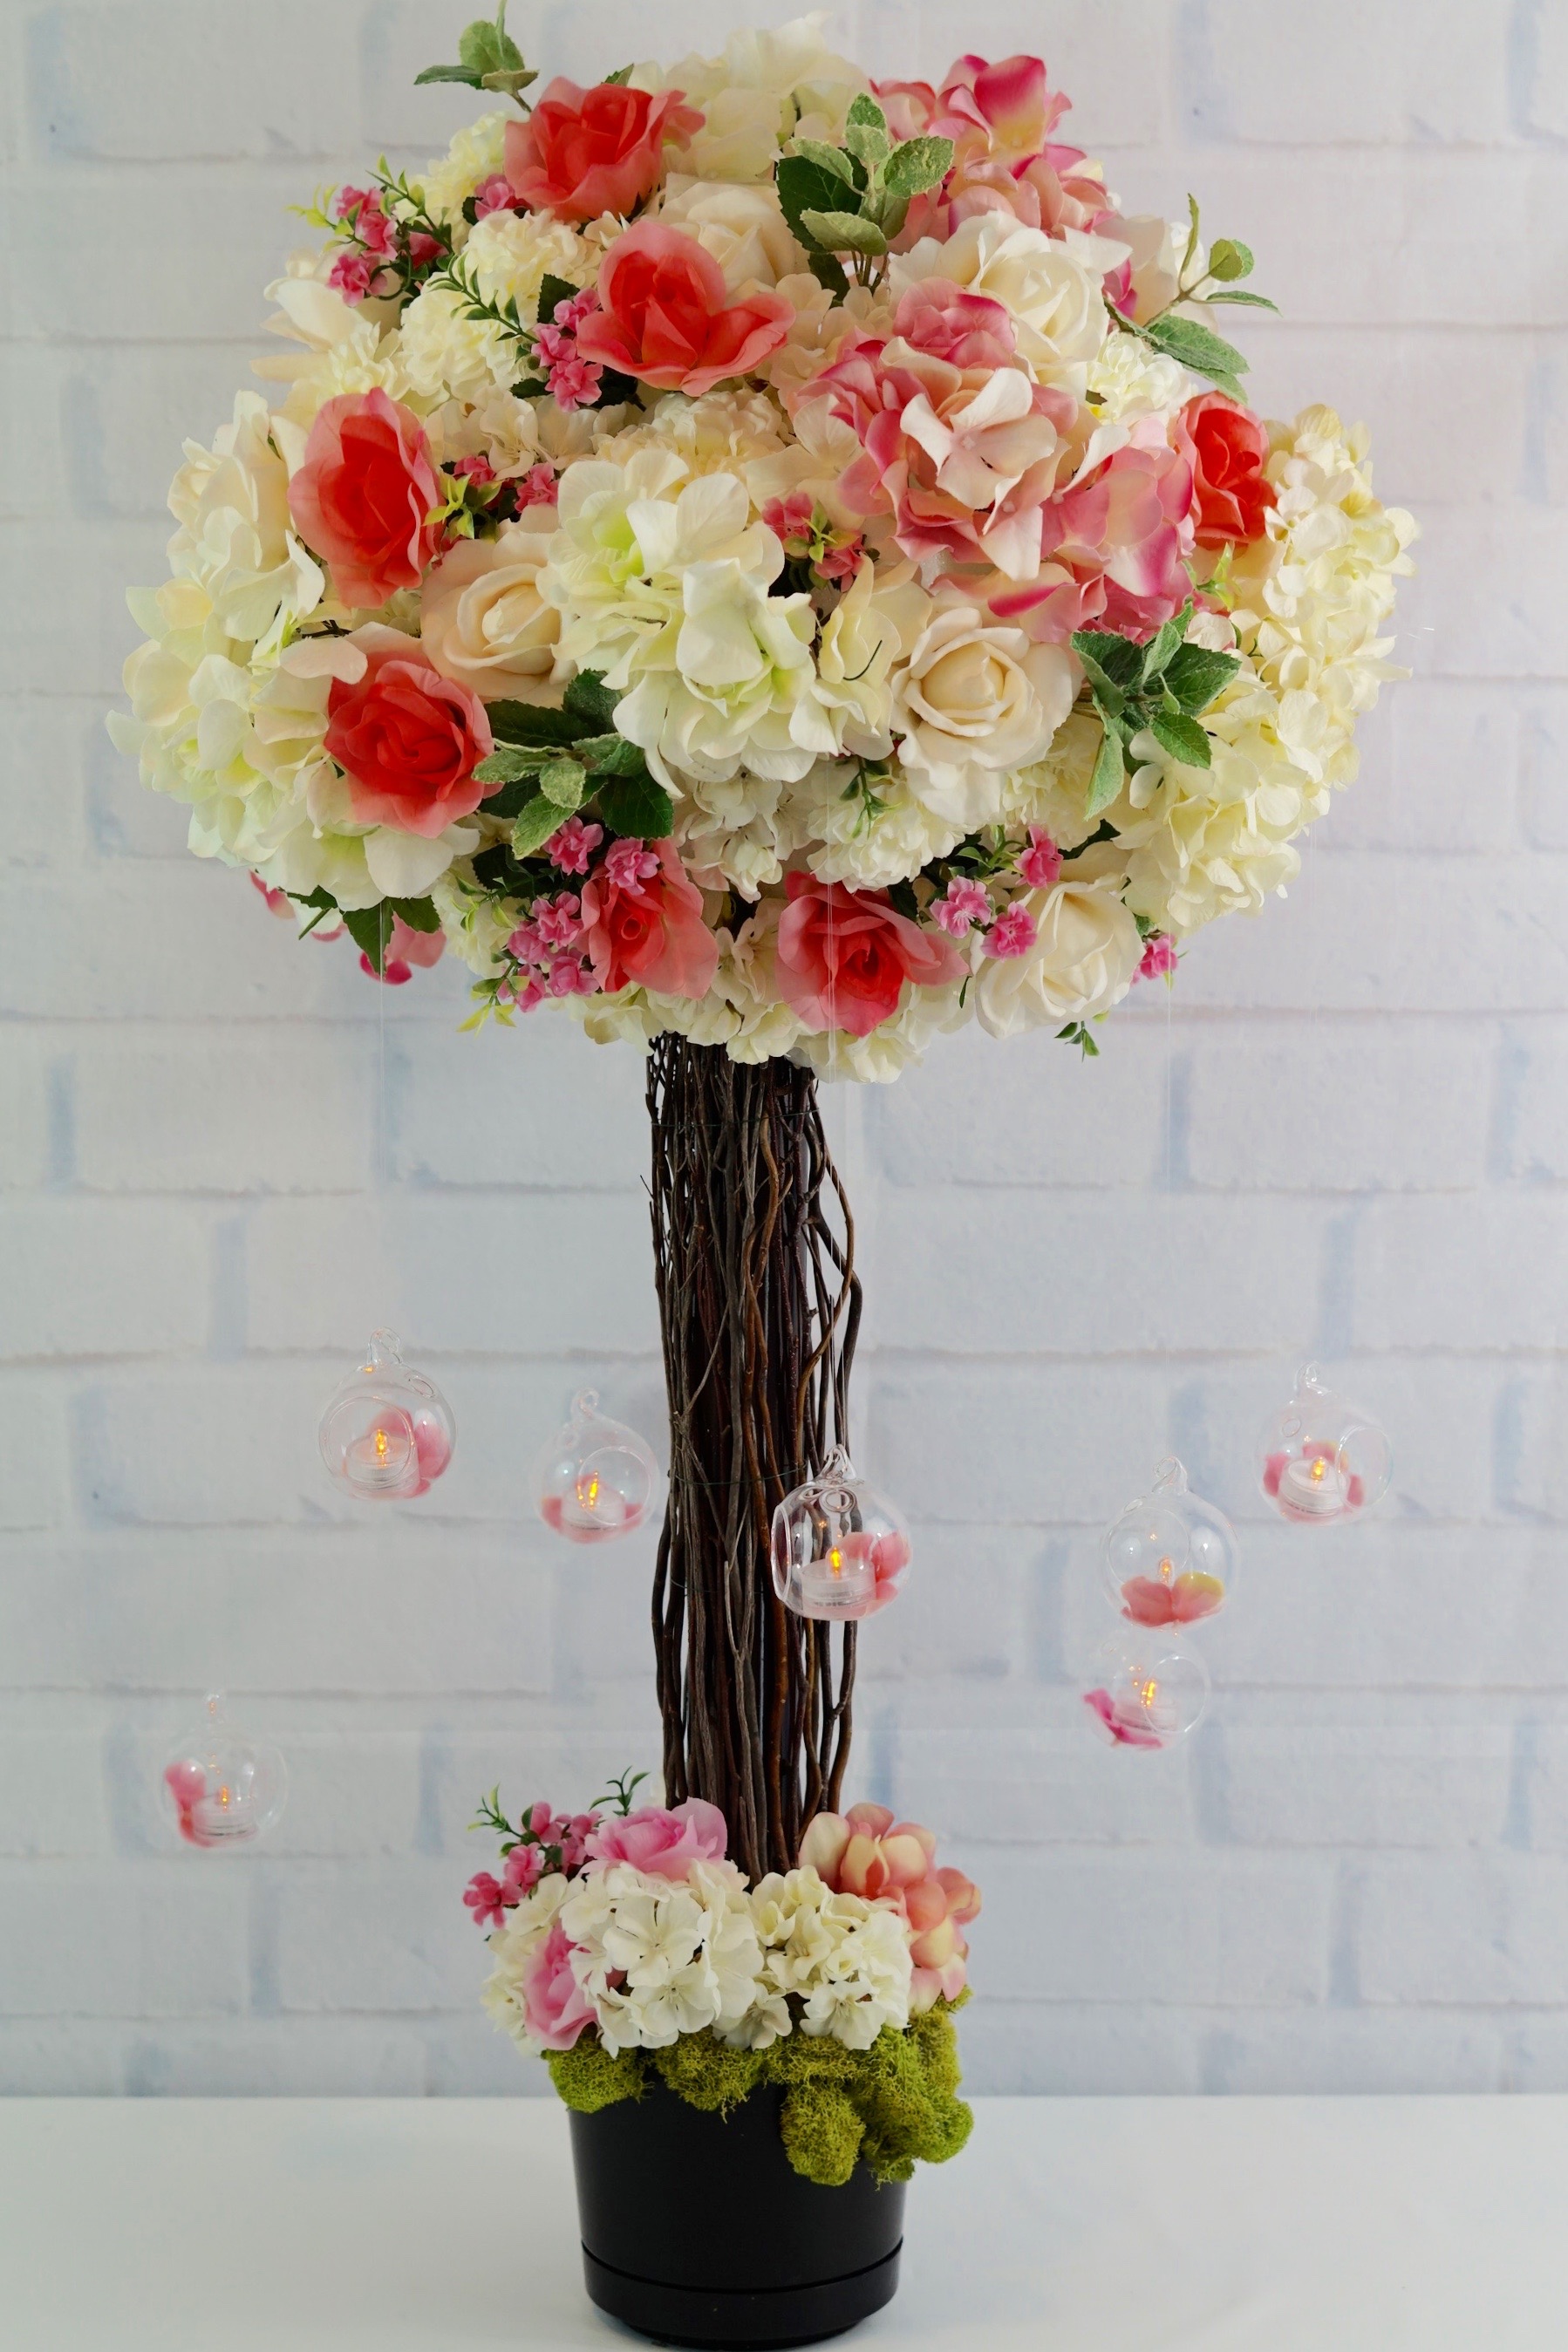
THE FINAL STEP:
Set the table!
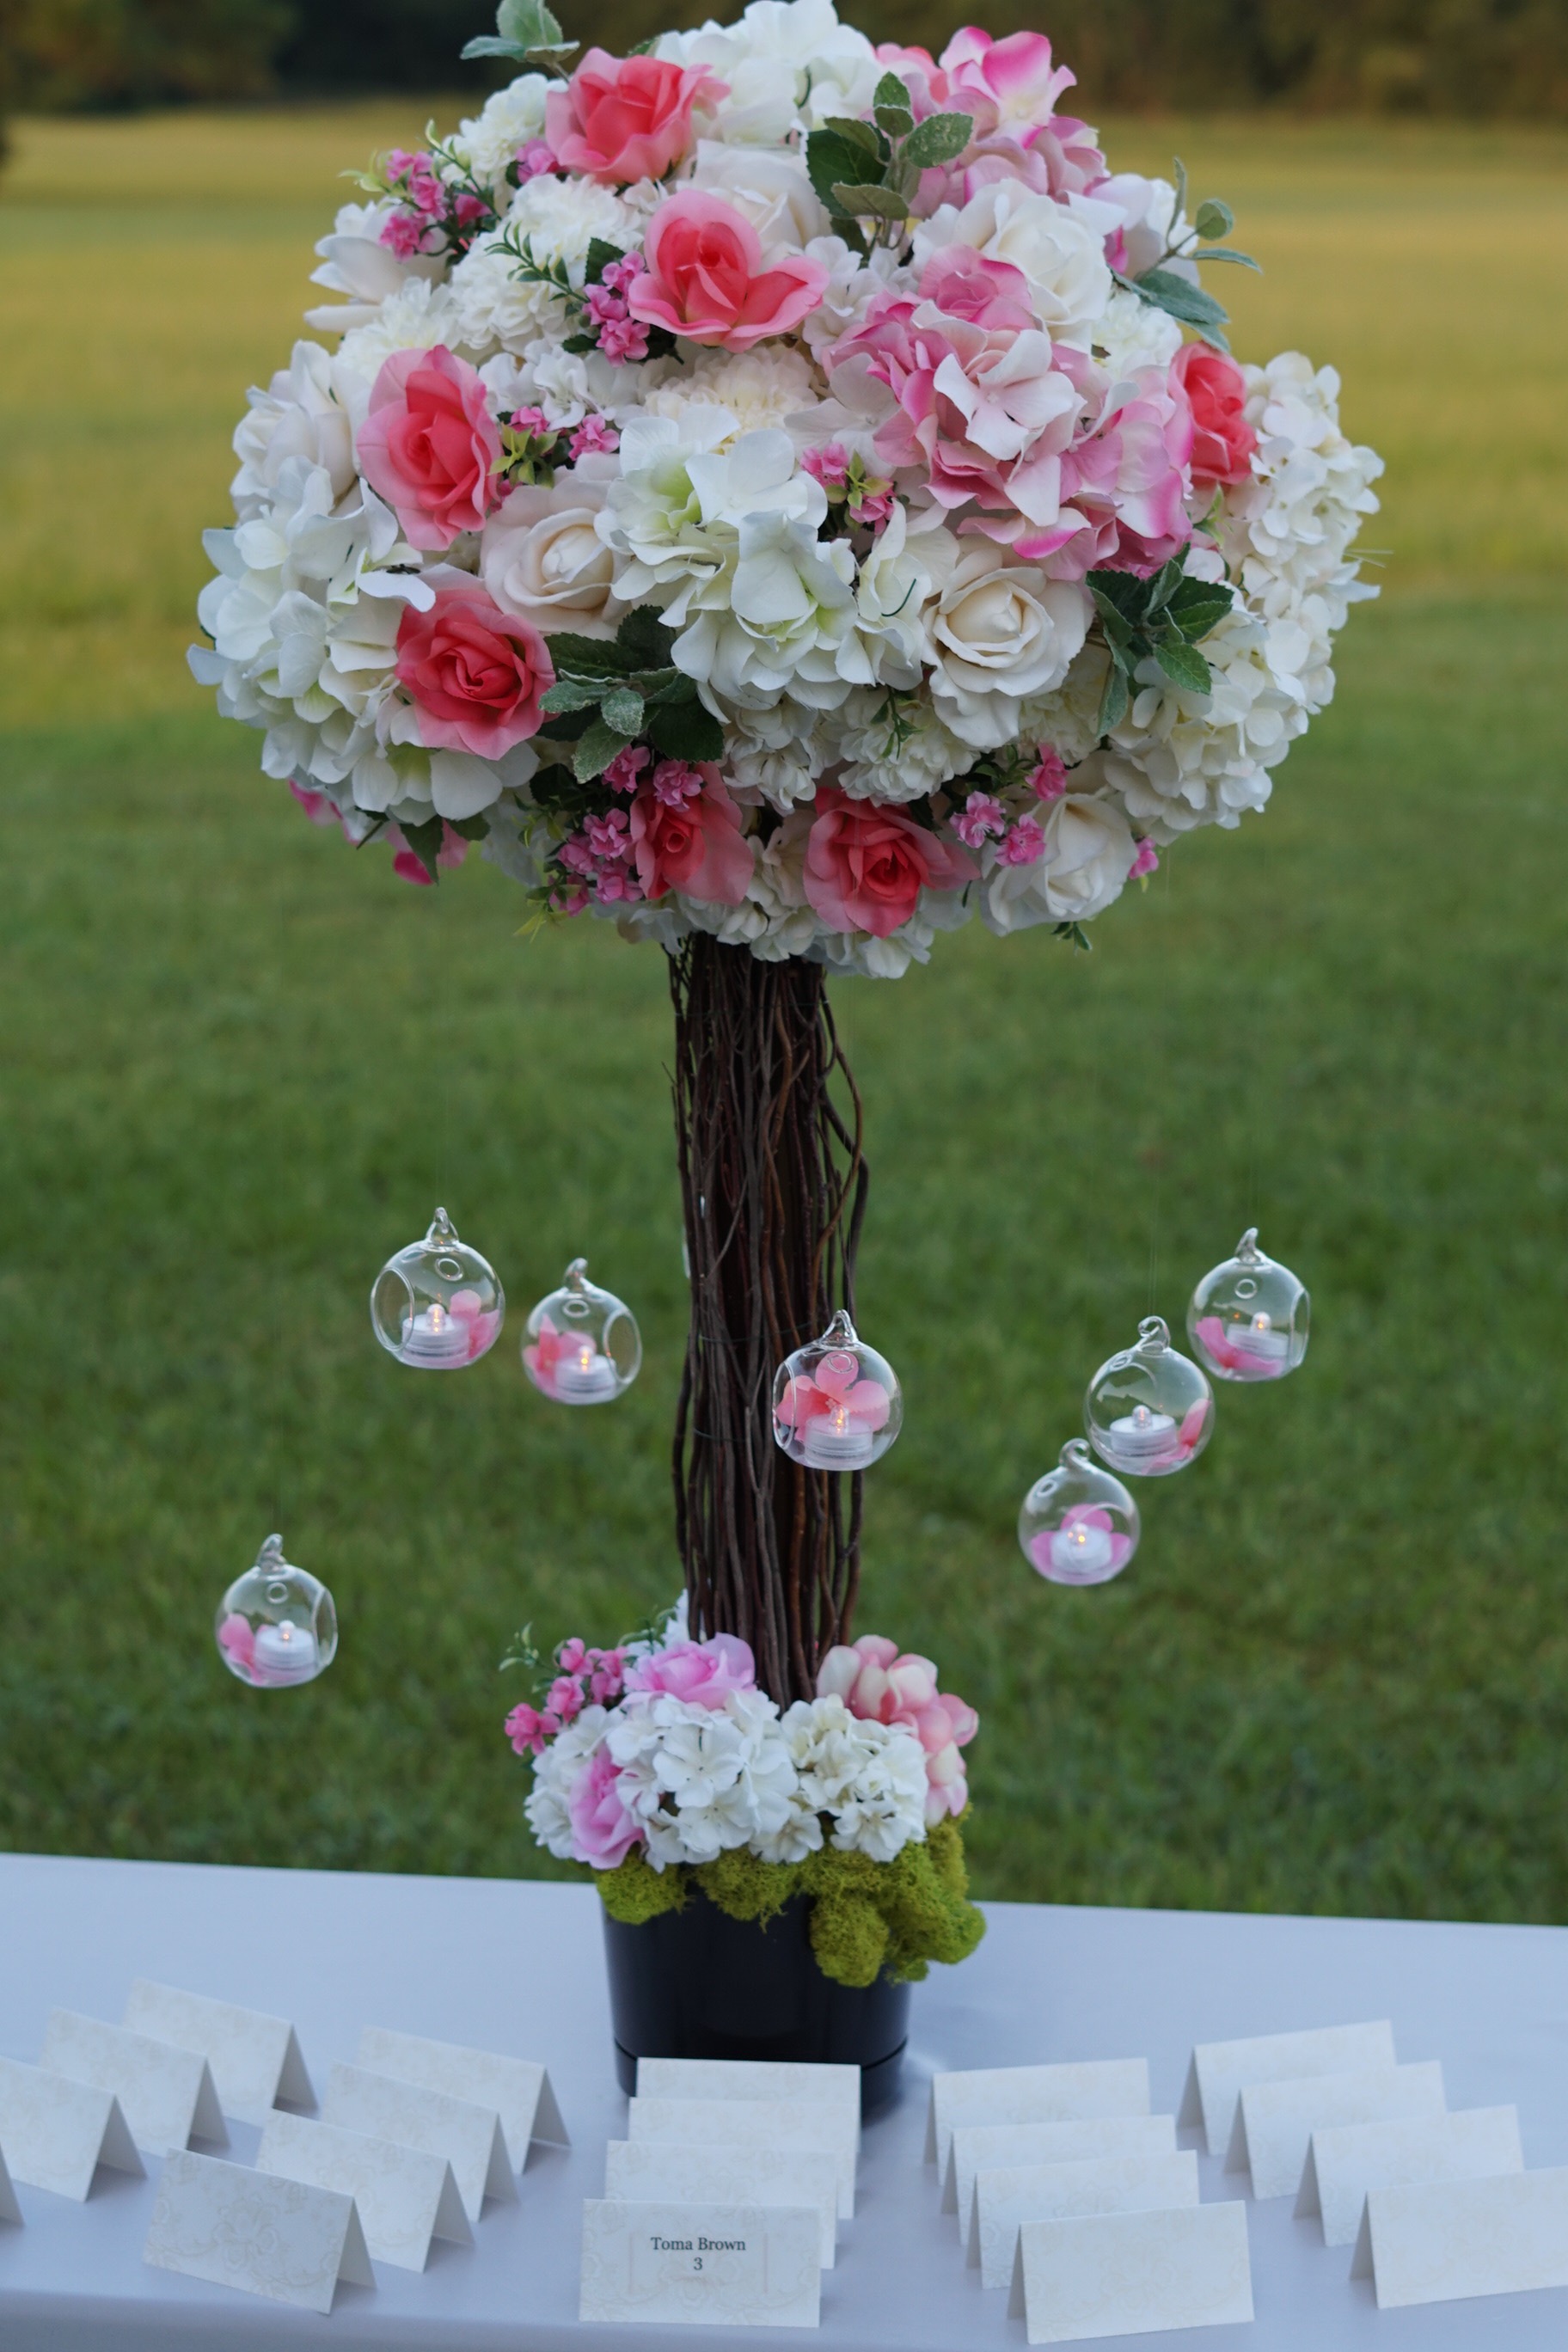
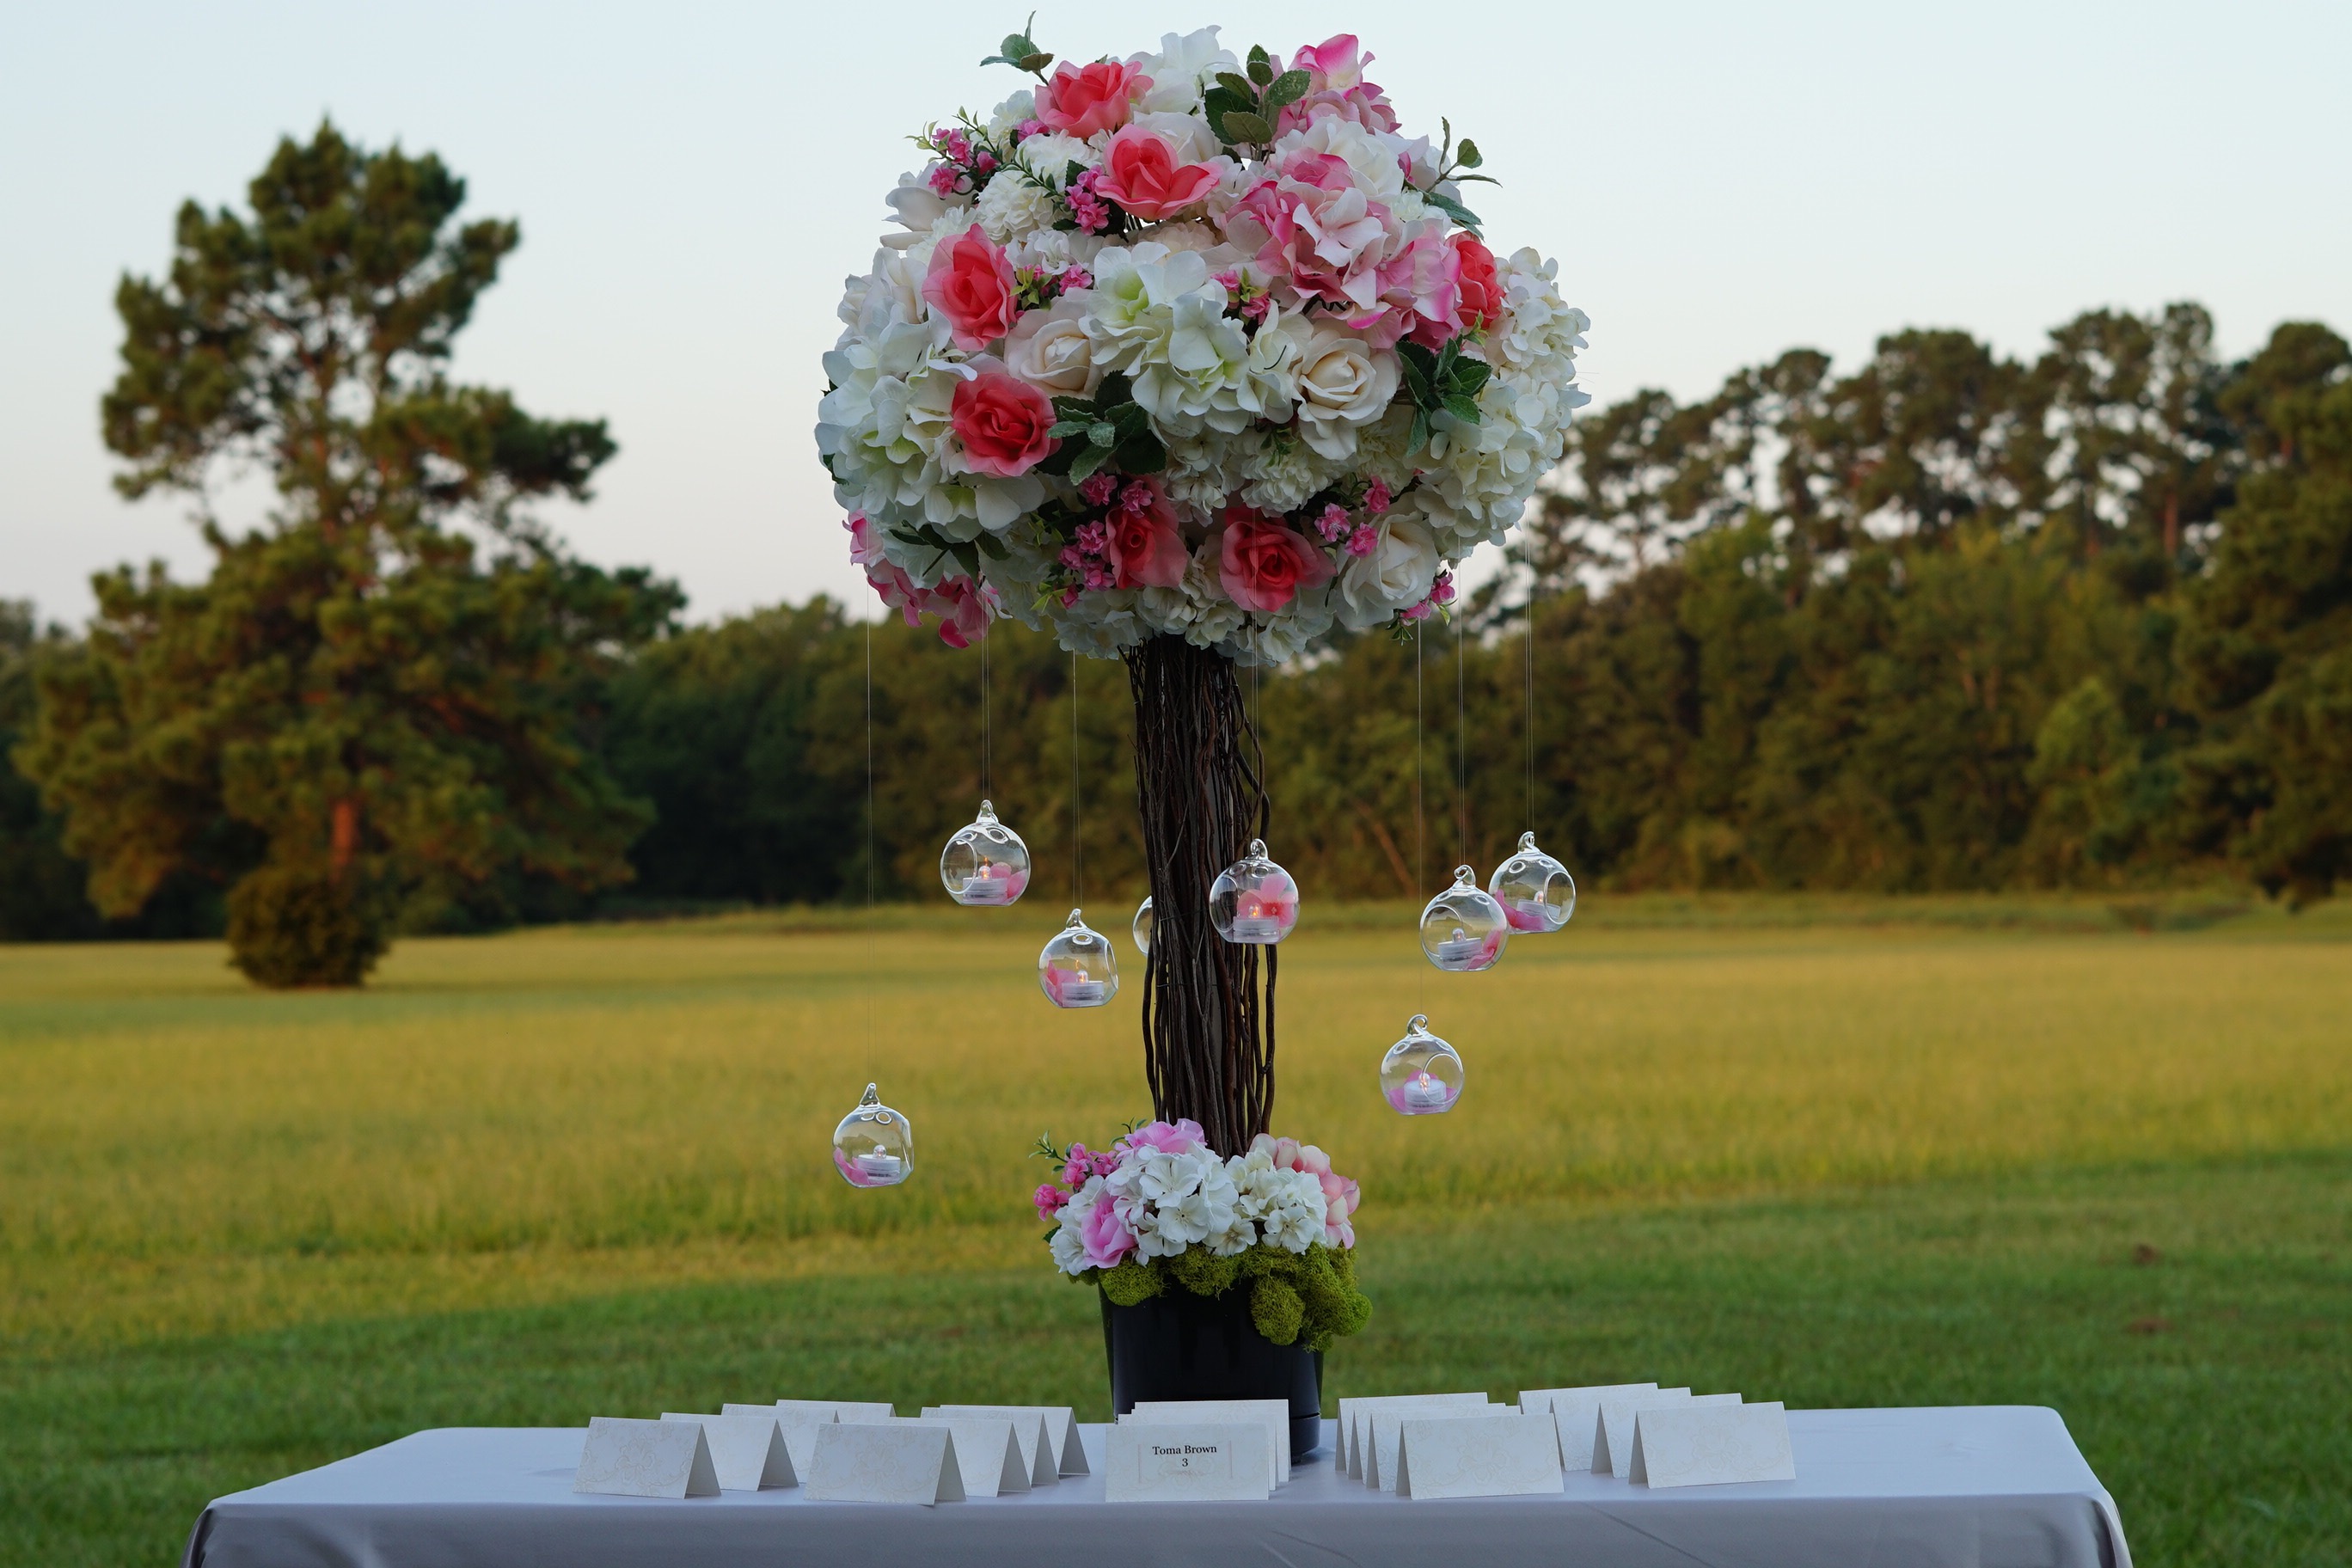
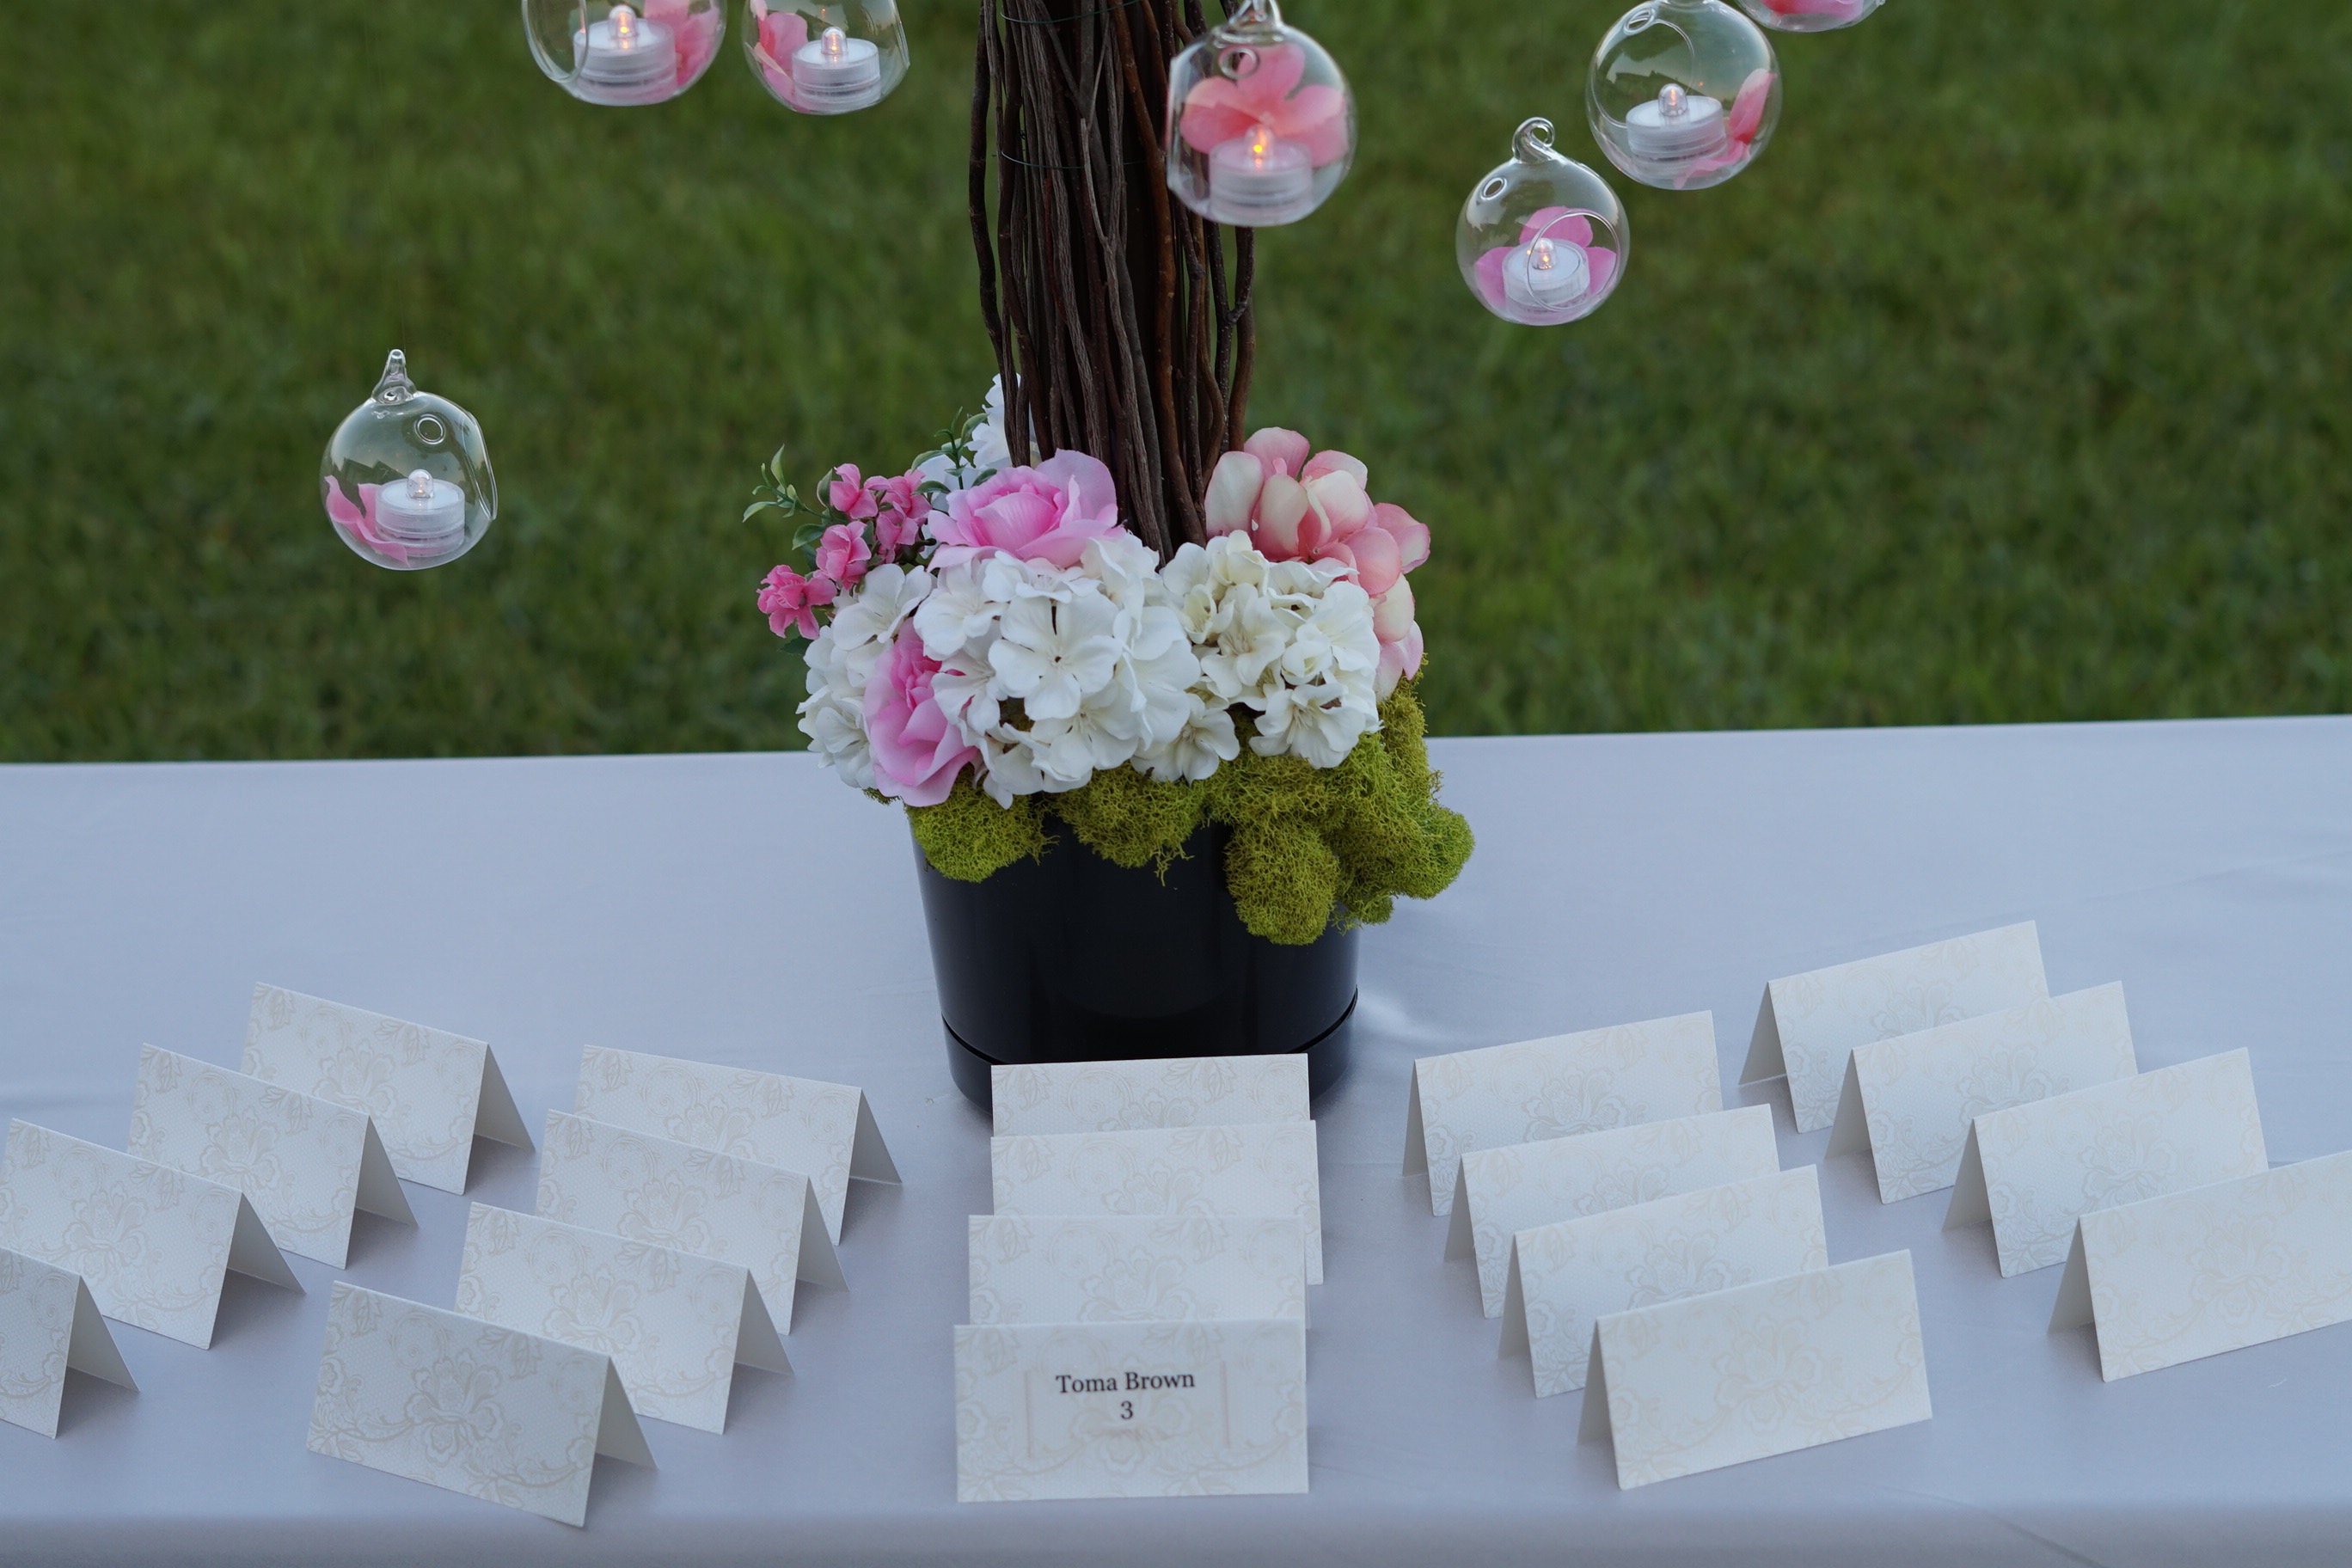
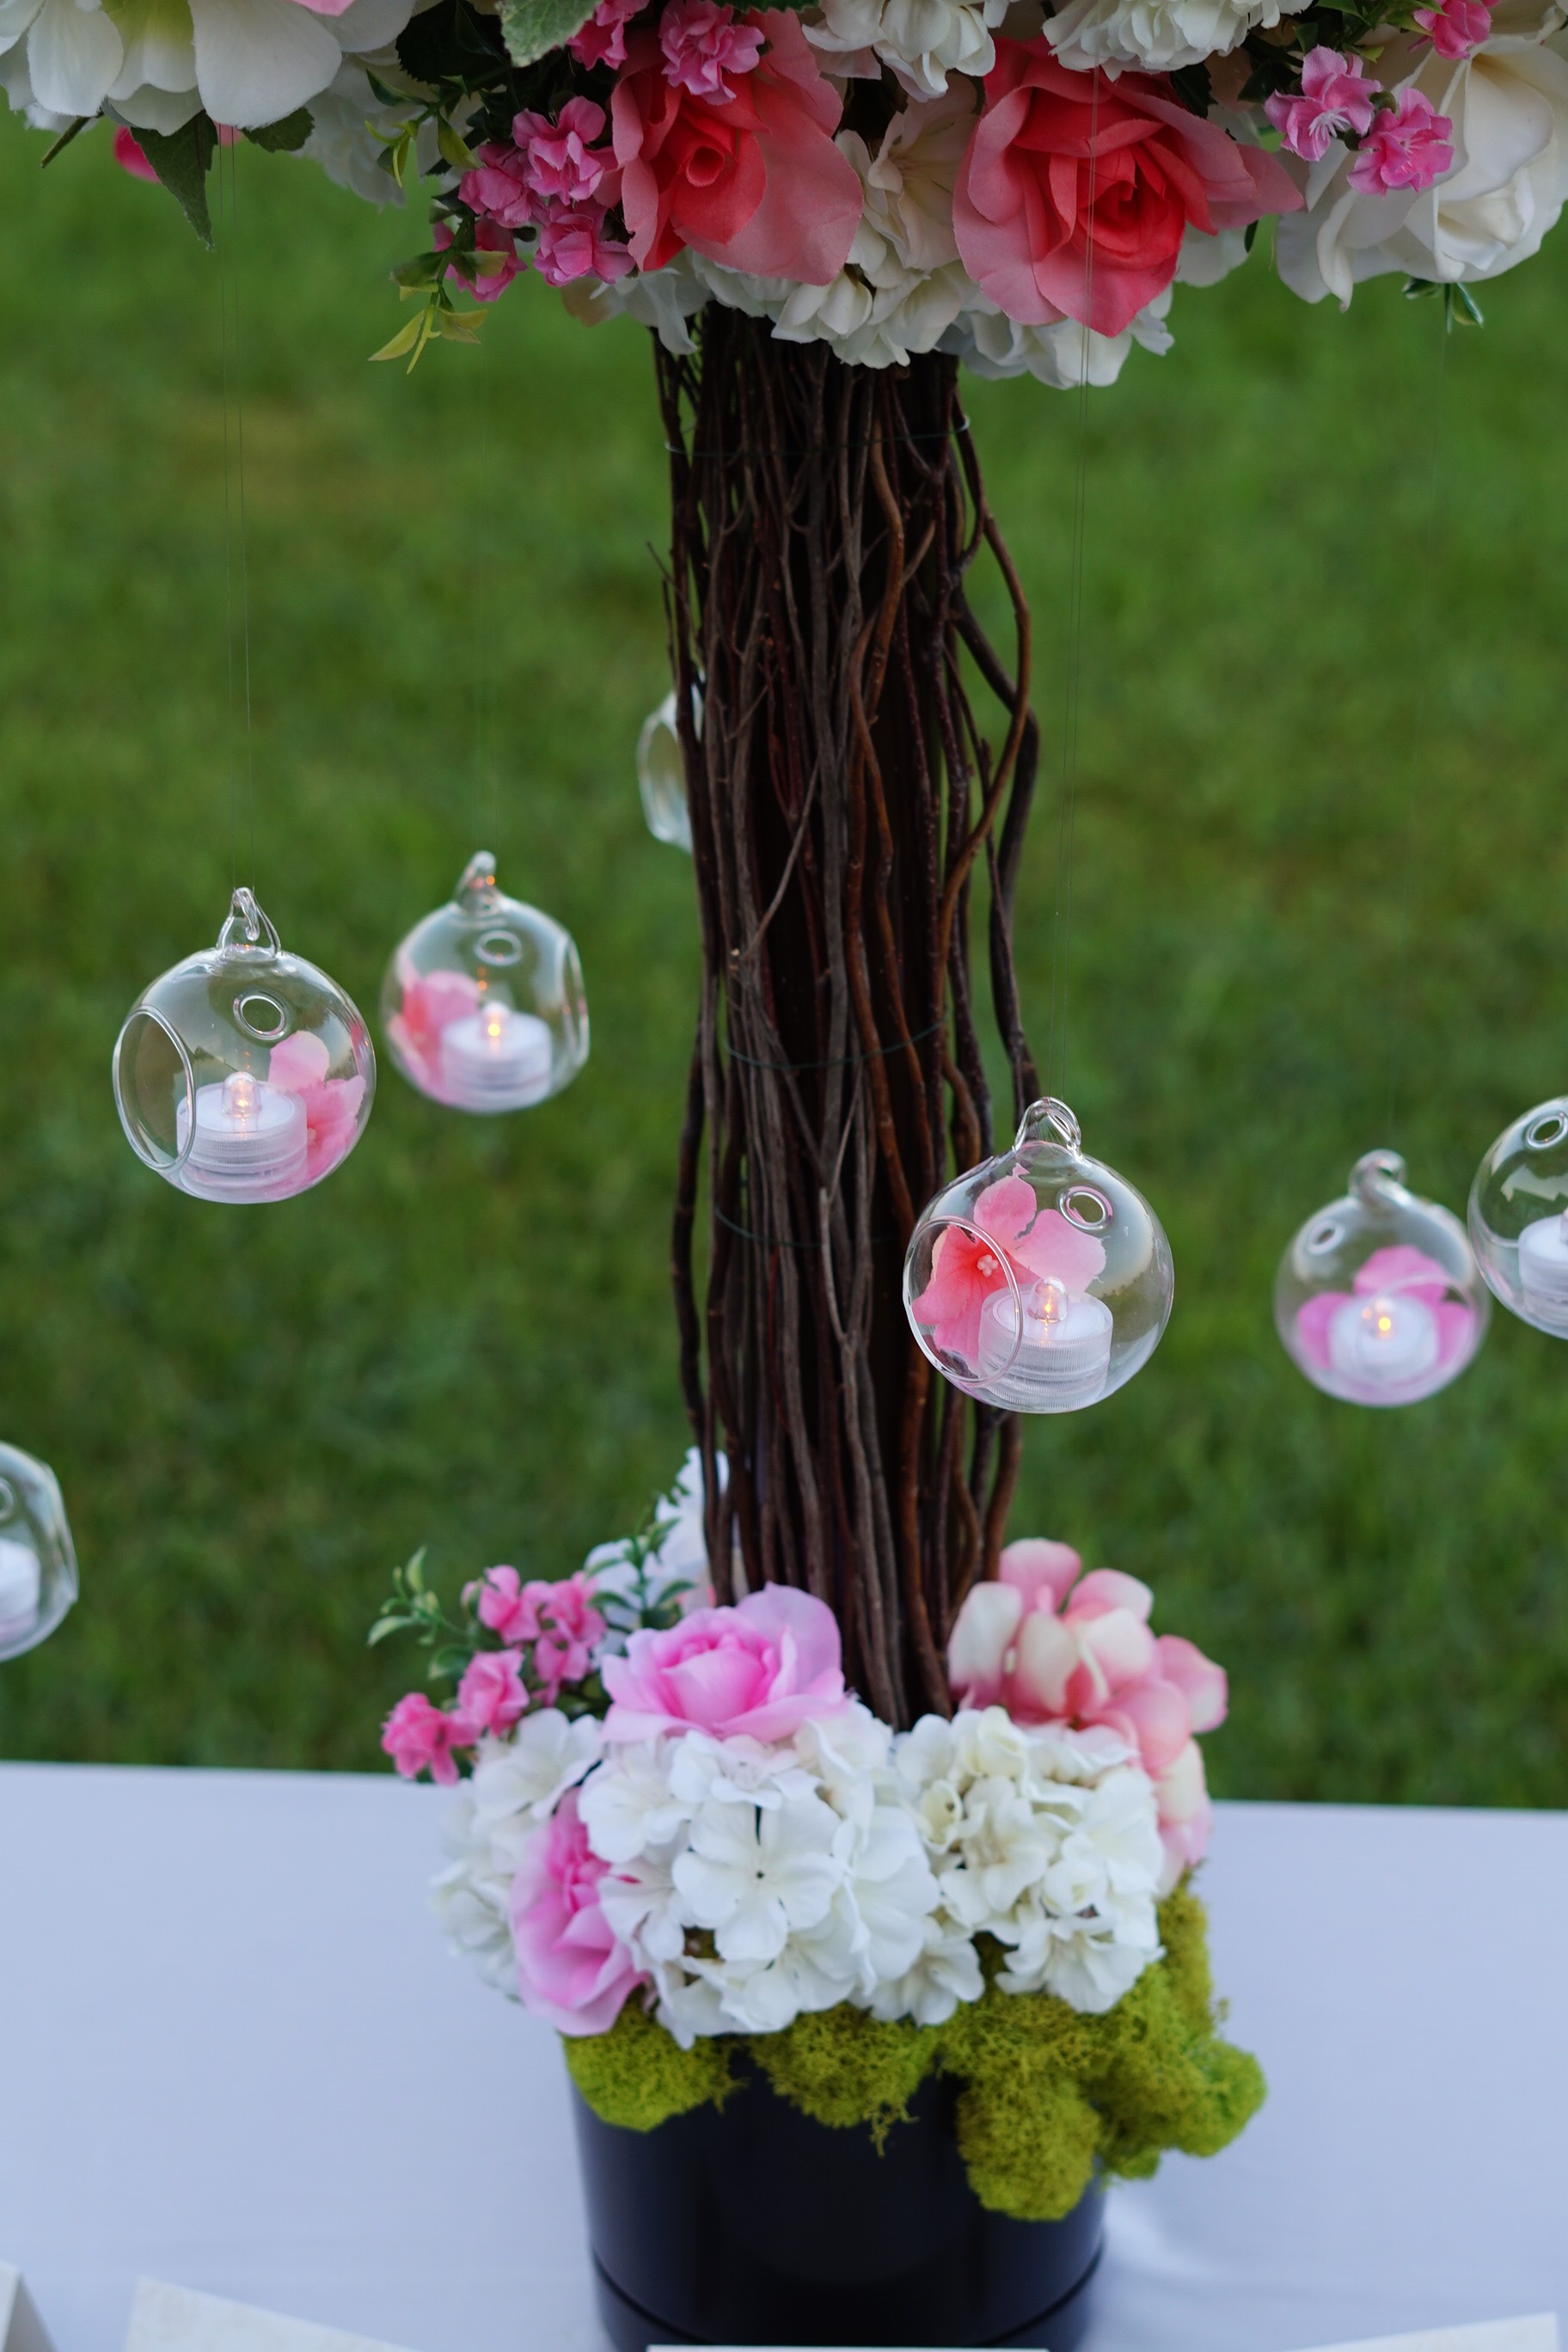
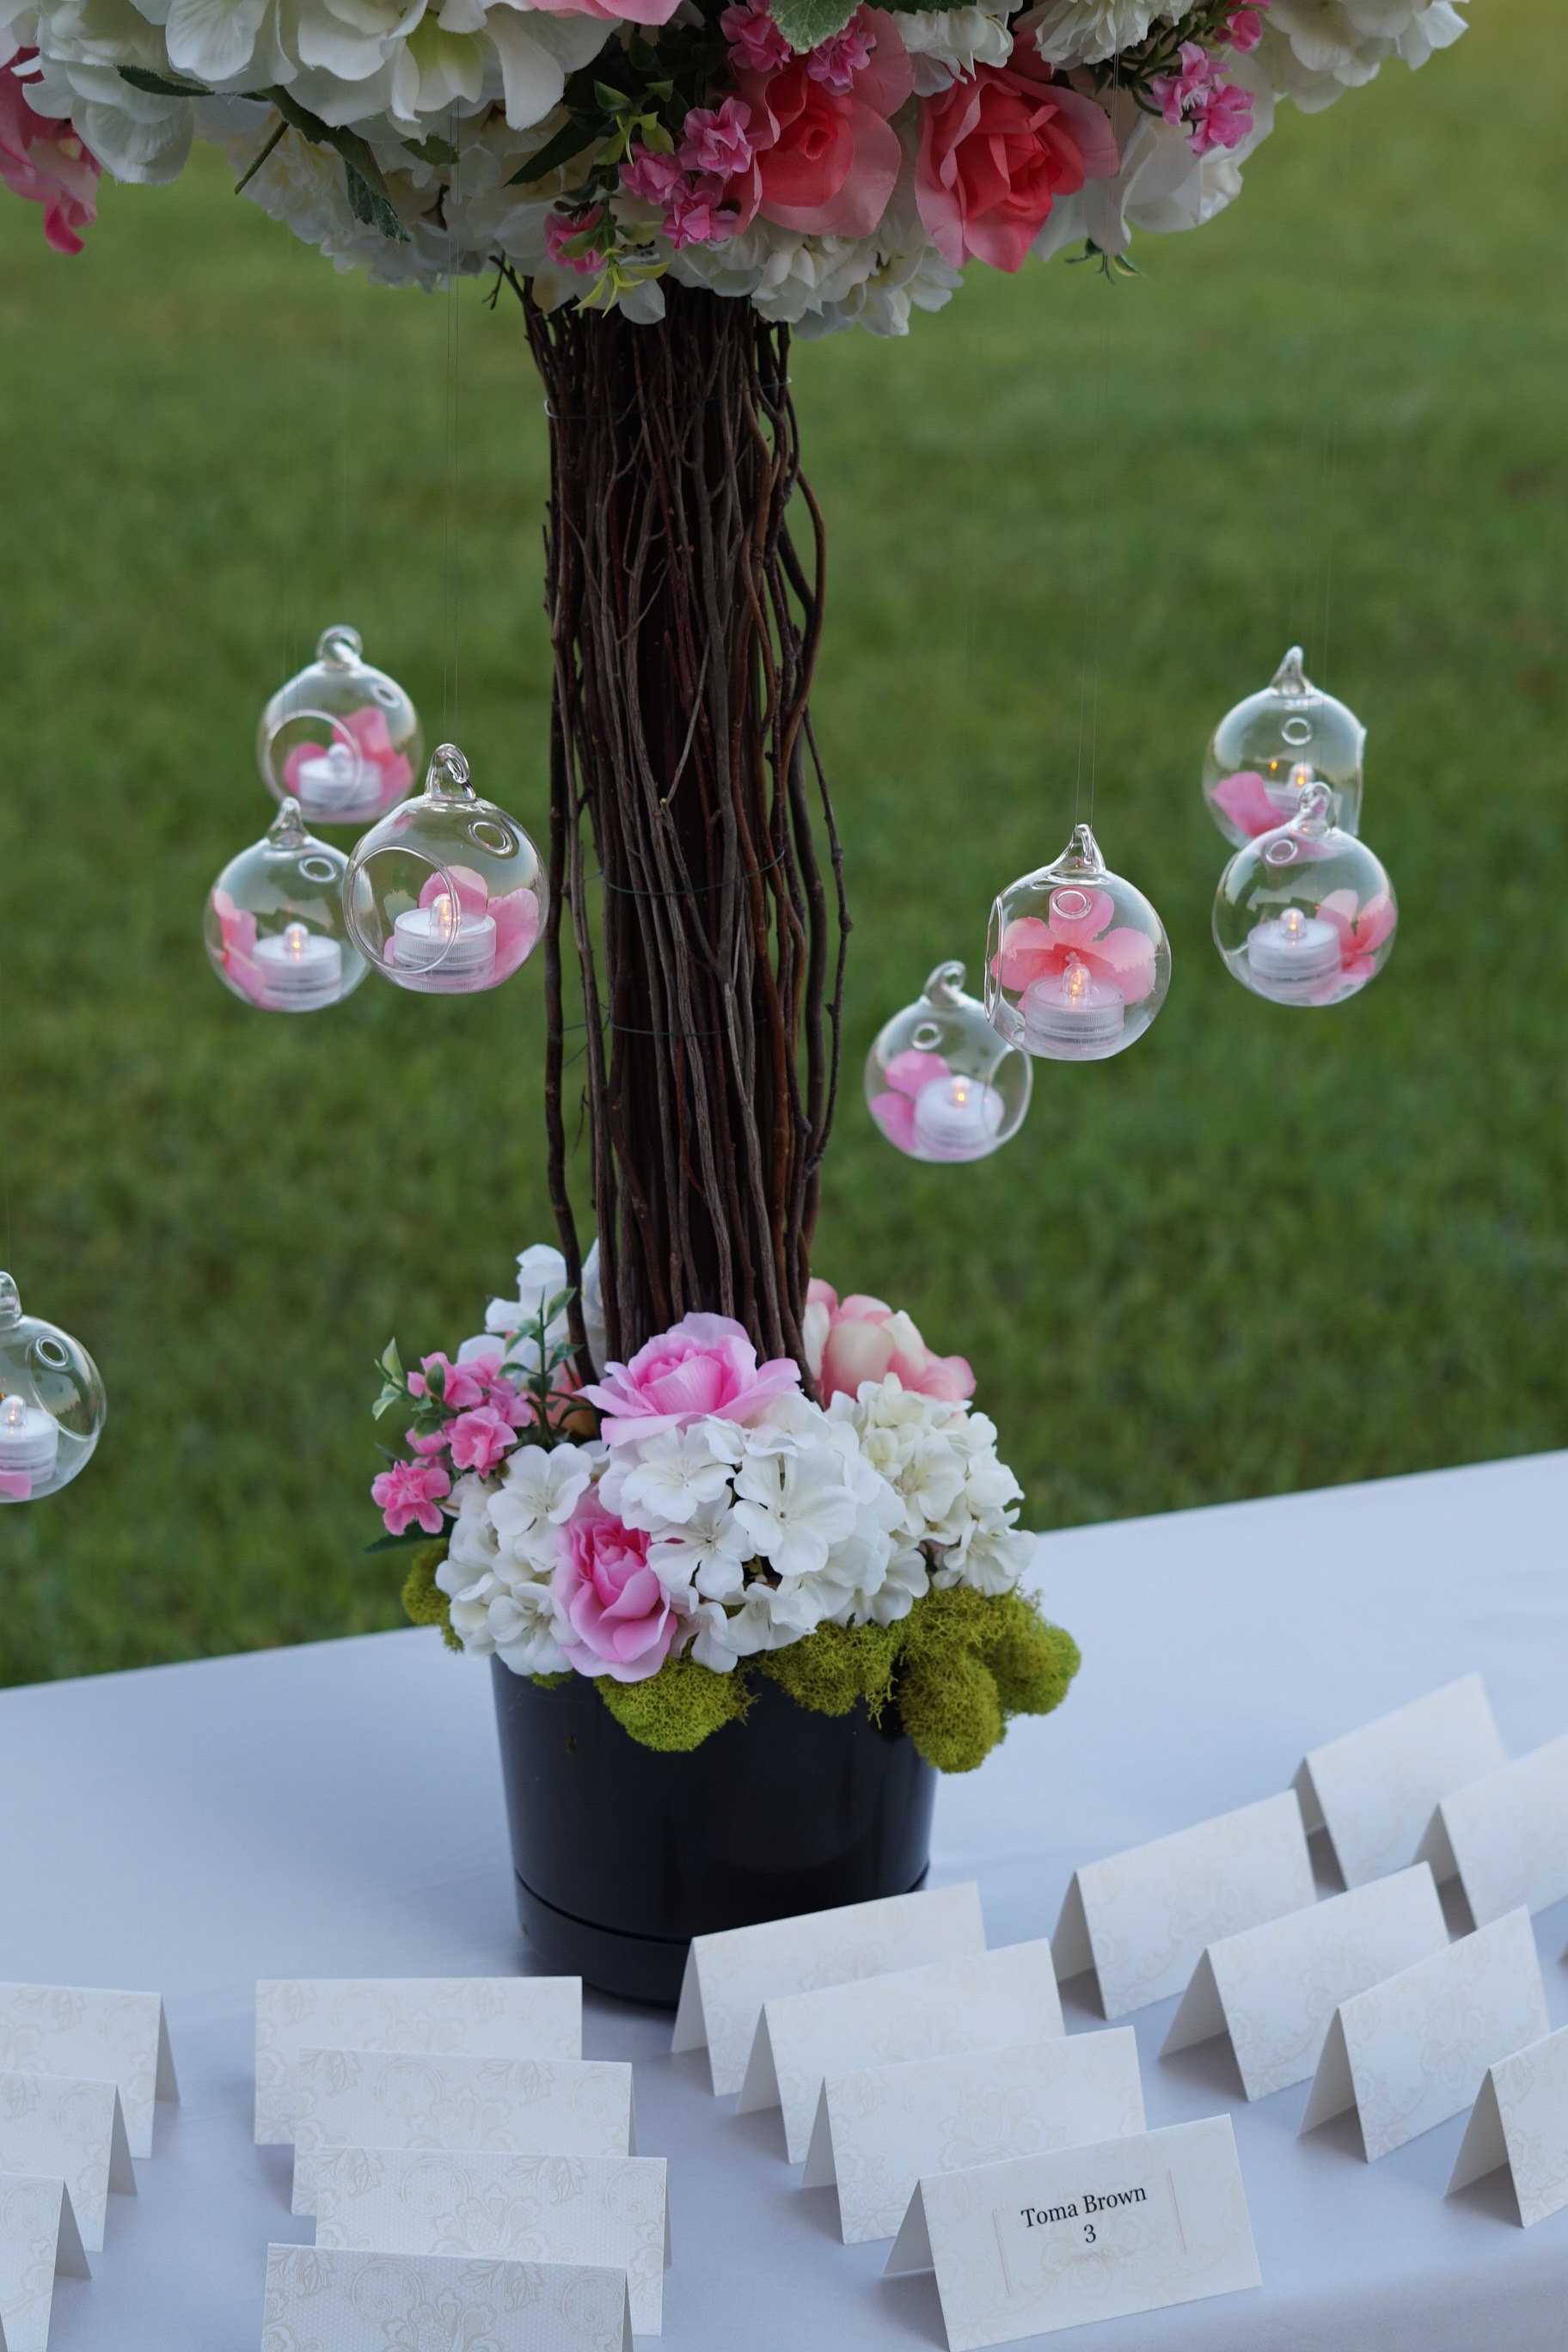
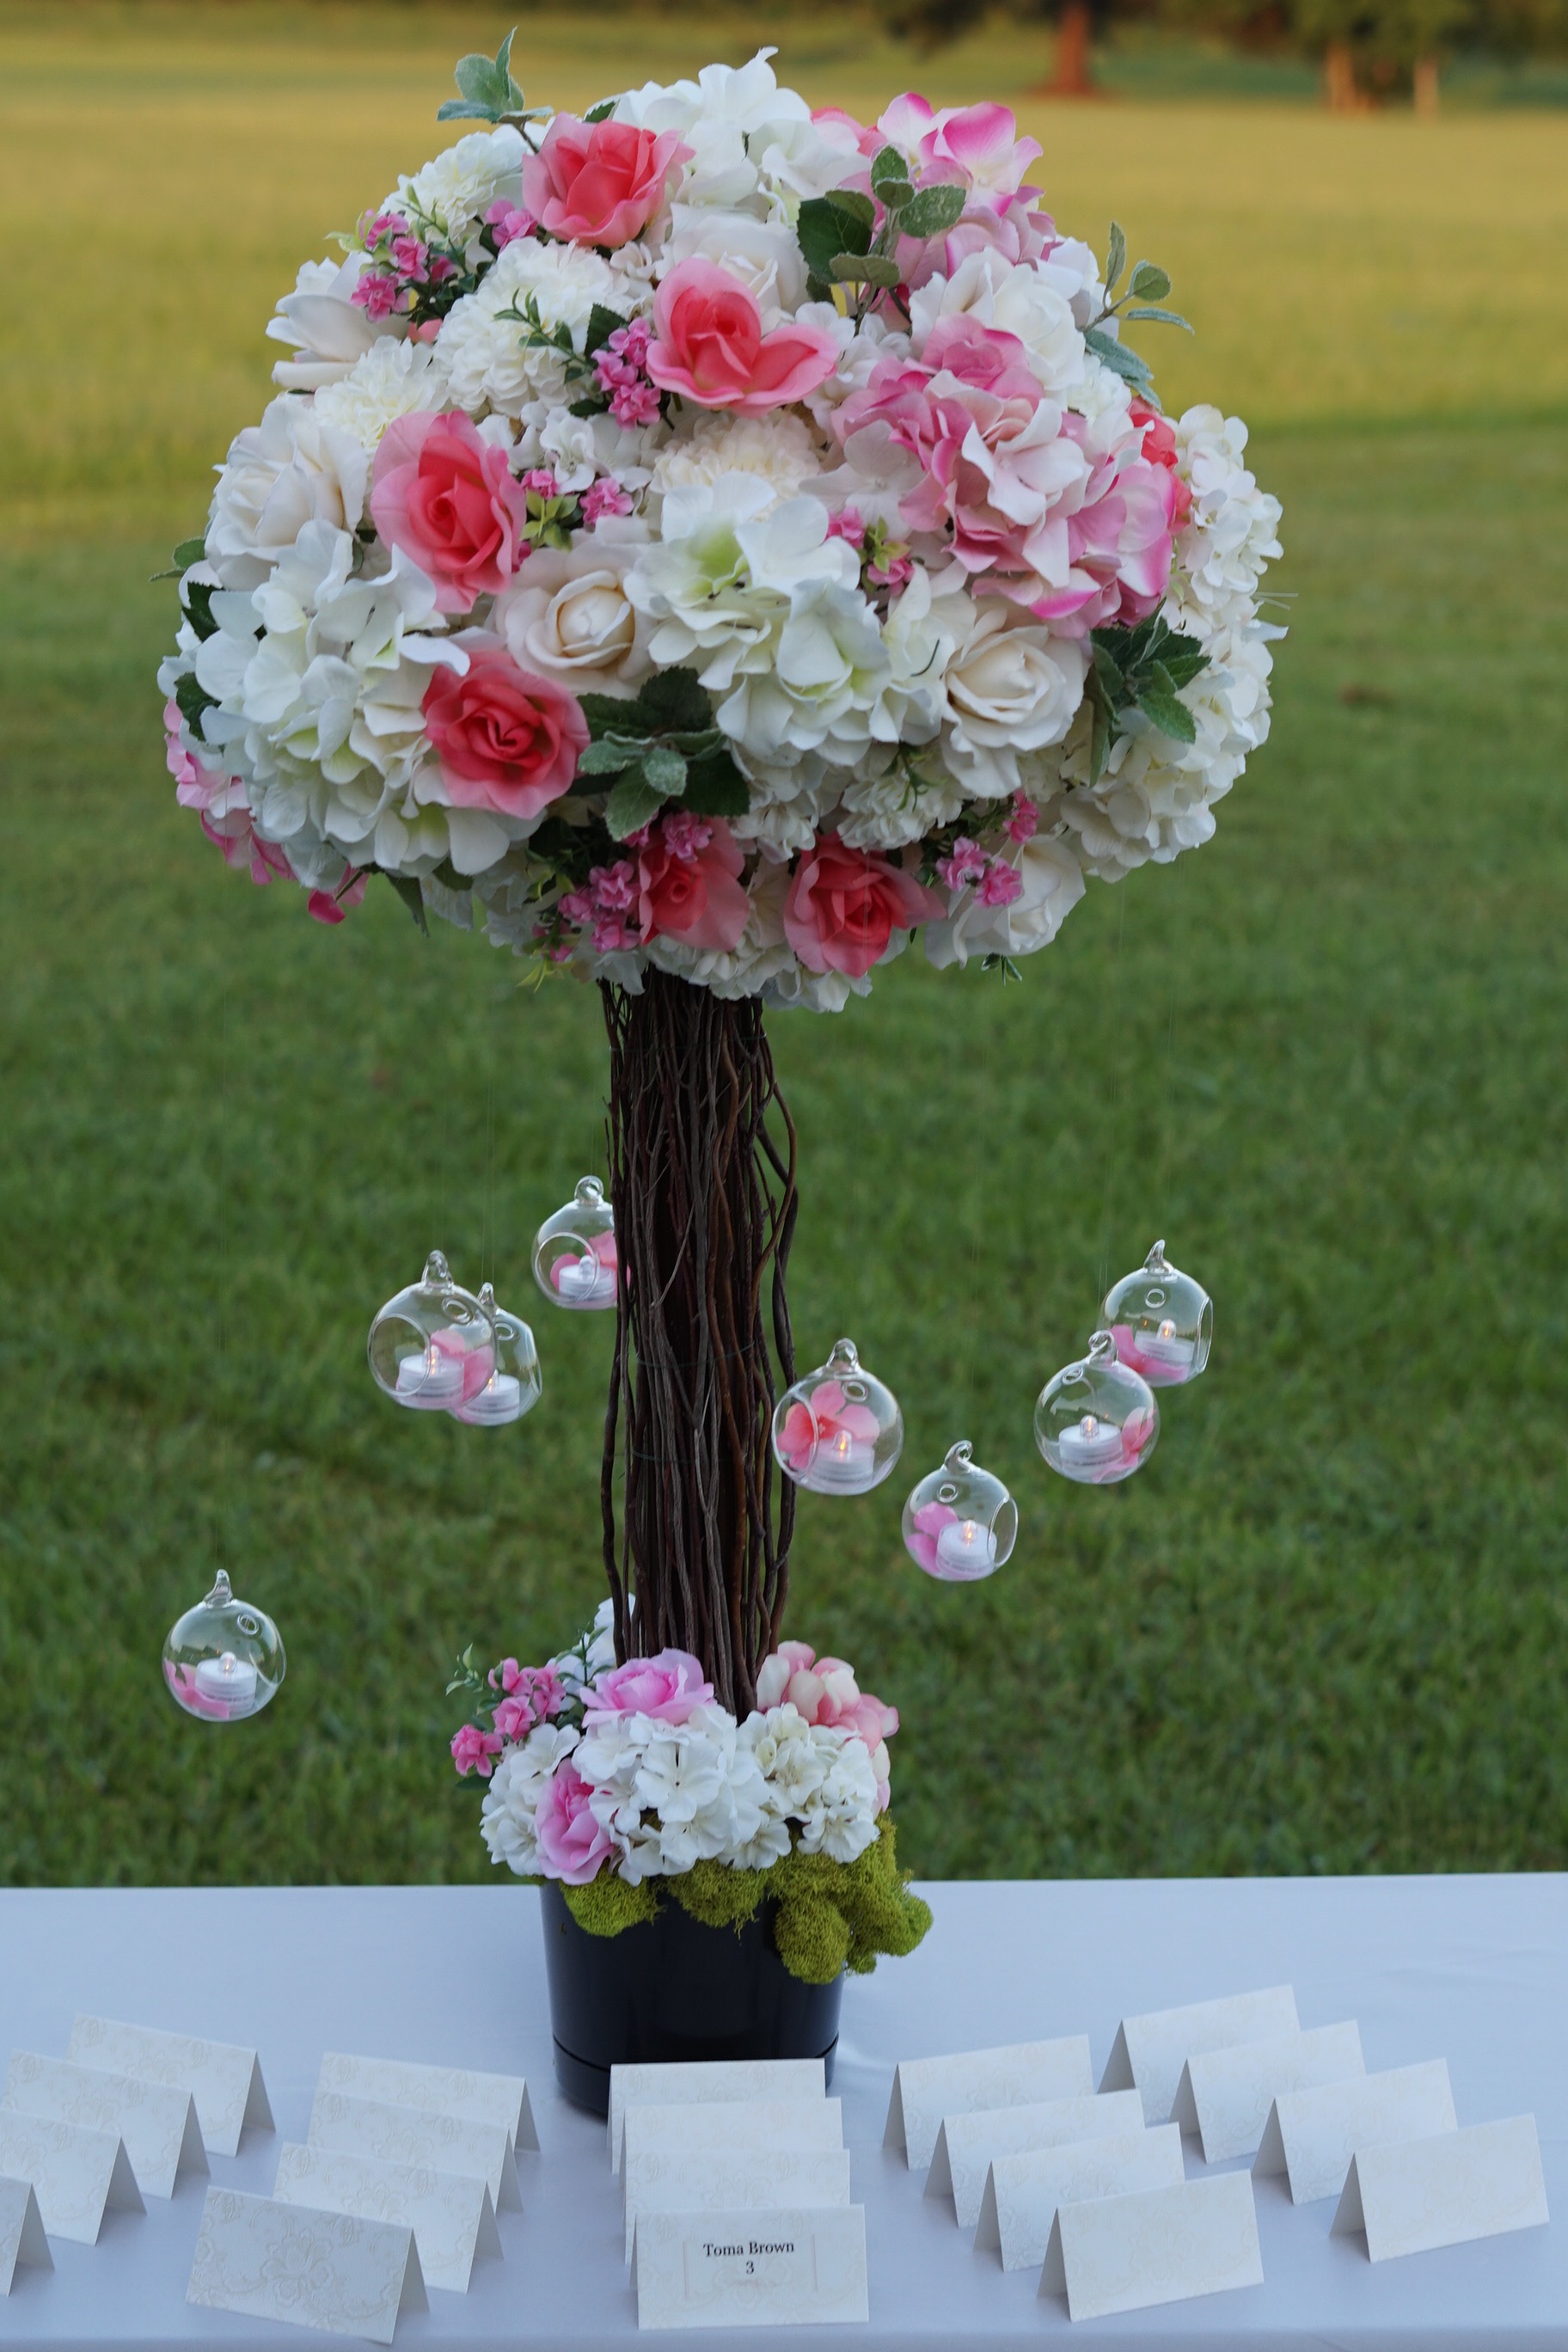
I absolutely love how this Pretty in Pink Branch DIY Wedding Centerpiece turned out! The outcome is amazing and will definitely add that extra special touch to any wedding!
BONUS VIDEO CLIP & SUPPLY LIST BELOW:
Don’t forget to sign up for Ebates to earn cash back on your online purchases. Planning a wedding is expensive, our goal is to help you stay within your budget and make every penny count. Click here to sign up for Ebates, and RIGHT NOW when you sign up, you will receive a $10 cash welcome bonus when you spend $25.00!
If you like the outcome please subscribe to our Youtube Channel for more DIY Videos and follow us on Facebook and Pinterest.
Need help with an upcoming project? Be sure to send us a project request!
“Remember When Every Penny Counts, Count on MissPlanIt”


