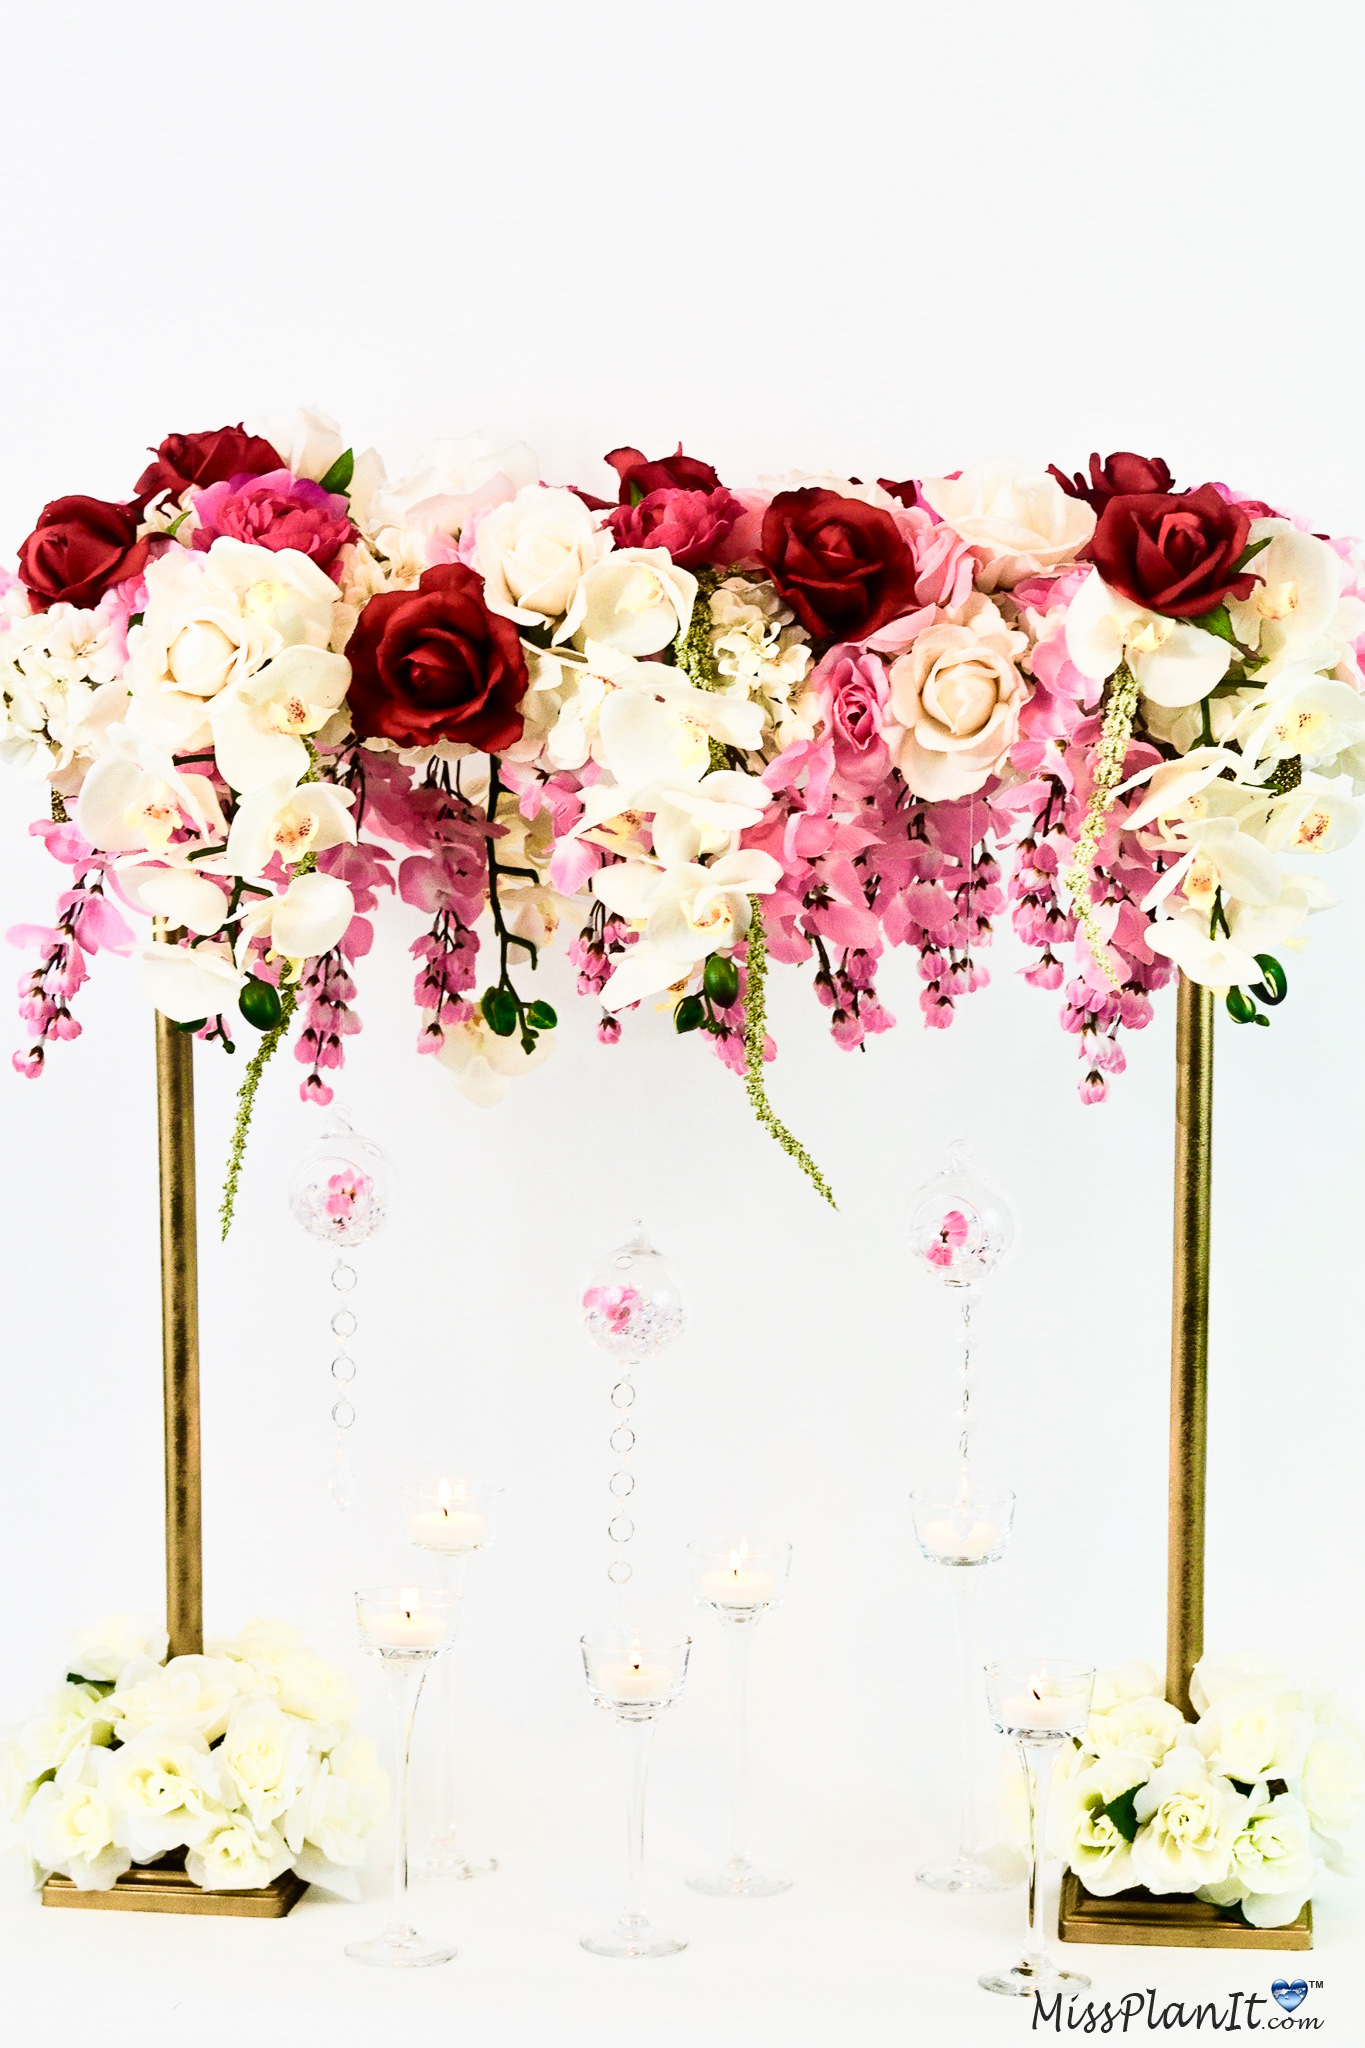
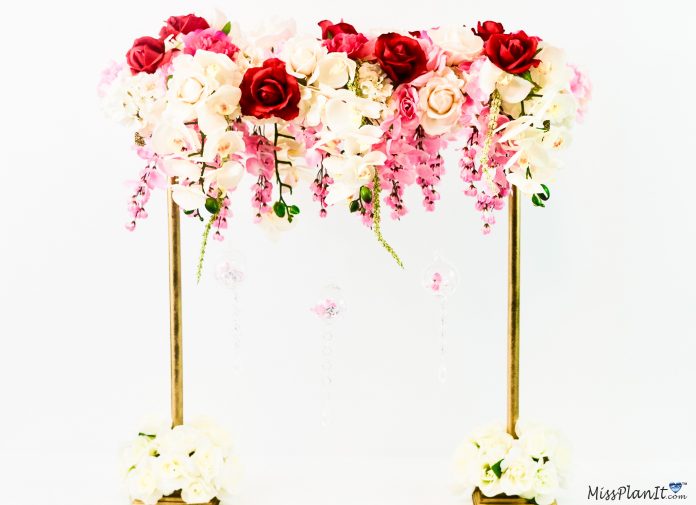
This beautiful tall floating vintage garden wedding centerpiece is perfect in every way. From the delicate spring florals to vintage gold accents! Beautifully capture the essence of your garden themed wedding with this easy DIY wedding centerpiece. You will be amazed at just how easy it is to make. Also, I was able to save money by purchasing some of the flowers for just $1 from the Dollar Tree. The flowers are linked below in the supply list. Now let’s get started. For video instructions, please check out the video tutorial below!
[convertkit form=917377]
VIDEO TUTORIAL:
SUPPLIES:
White Foam Blocks, 3×4 in.
Floral Garden 5-Stem Cream Velvety Roses, 14 in. ($1.00)
Square Wood Plaques – 5”
Floral Garden 5-Stem Red Velvety Blooming Roses, 14 in. ($1.00)
7-Stem Queen Rose Bushes, 14.5 in. ($1.00)
Floral Garden 4-Stem Faux Wisteria Bushes, 17 in ($1.00)
Hardwood Dowel – 3/4”
Styrofoam Blocks – 5″ x 12″ x 1 1/4”
Luyue Silk Hydrangea Heads,10 pcs
Poplar Board (Common: 1-in X 6-in x 2-ft; Actual: 0.25-in x 5.5-in x 2-ft)
Eye Pin Hook for Arts & Crafts Projects
Krylon Premium Metallic Gold Foil Gloss, 8 ounce
Glass Plant Terrariums Globe Set of 4 pcs
Crystal Beaded for Wedding Party Centerpiece Tree Decoration (12 pcs)
Clear Acrylic Ice Rocks for Vase Fillers
200 m Clear Nylon Invisible Thread String
Green Amaranthus
Orchid Stems
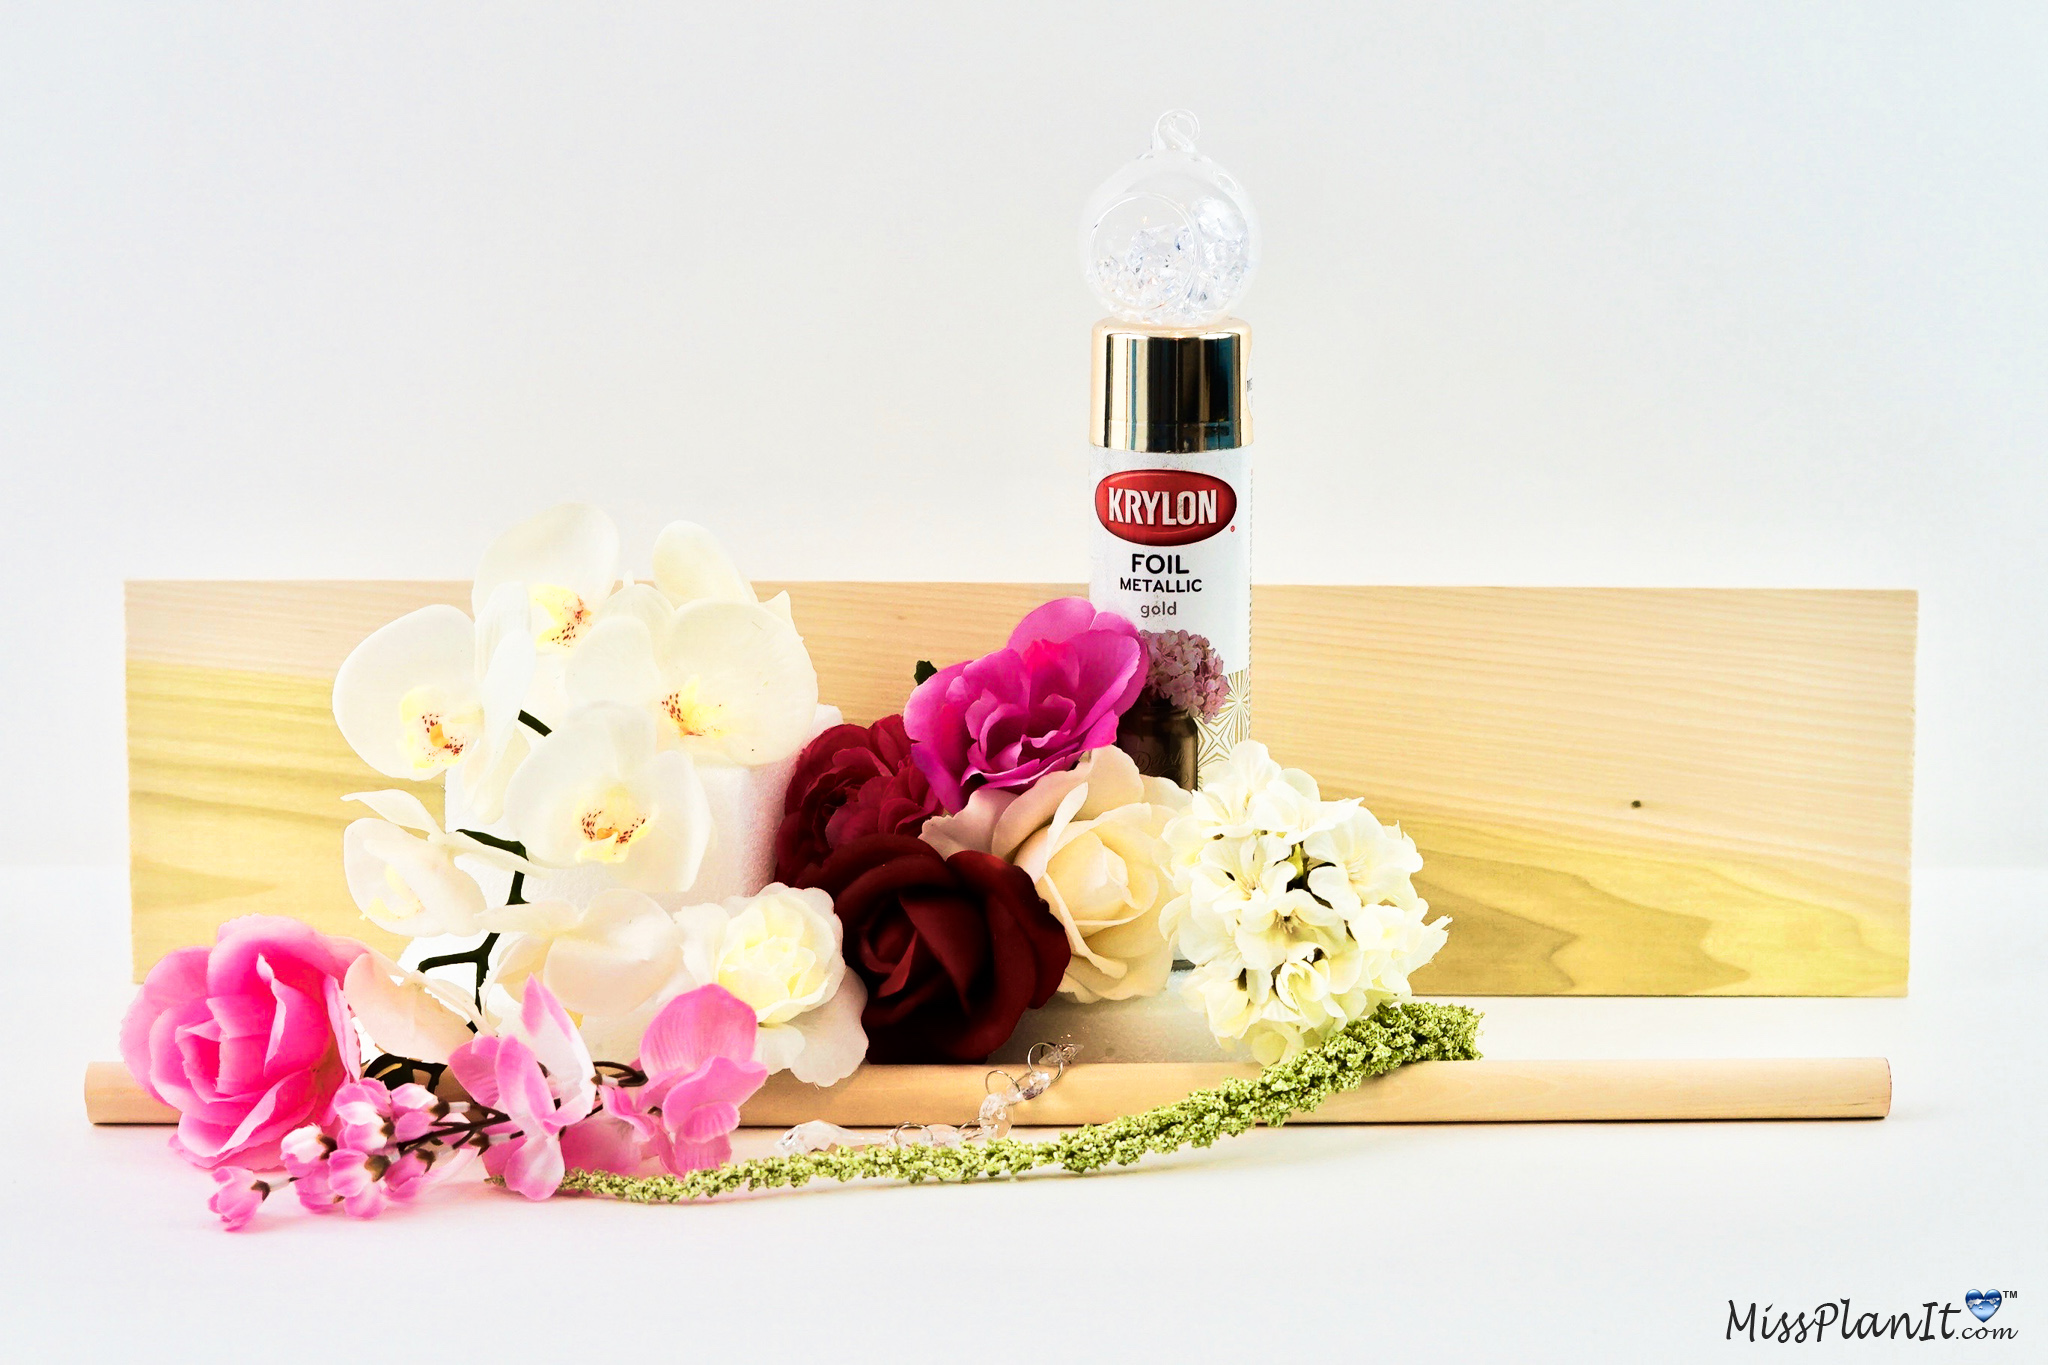
For written instructions, please continue reading below:
How to Make a Tall Floating Vintage Garden Wedding Centerpiece
Directions:
STEP 1: Cut the 3 X 4 inch foam block in half using the foam cutter. Apply high temperate hot glue to the 4 corners of the foam block halves. Then attach foam block halves onto the square 5″wood plaques.
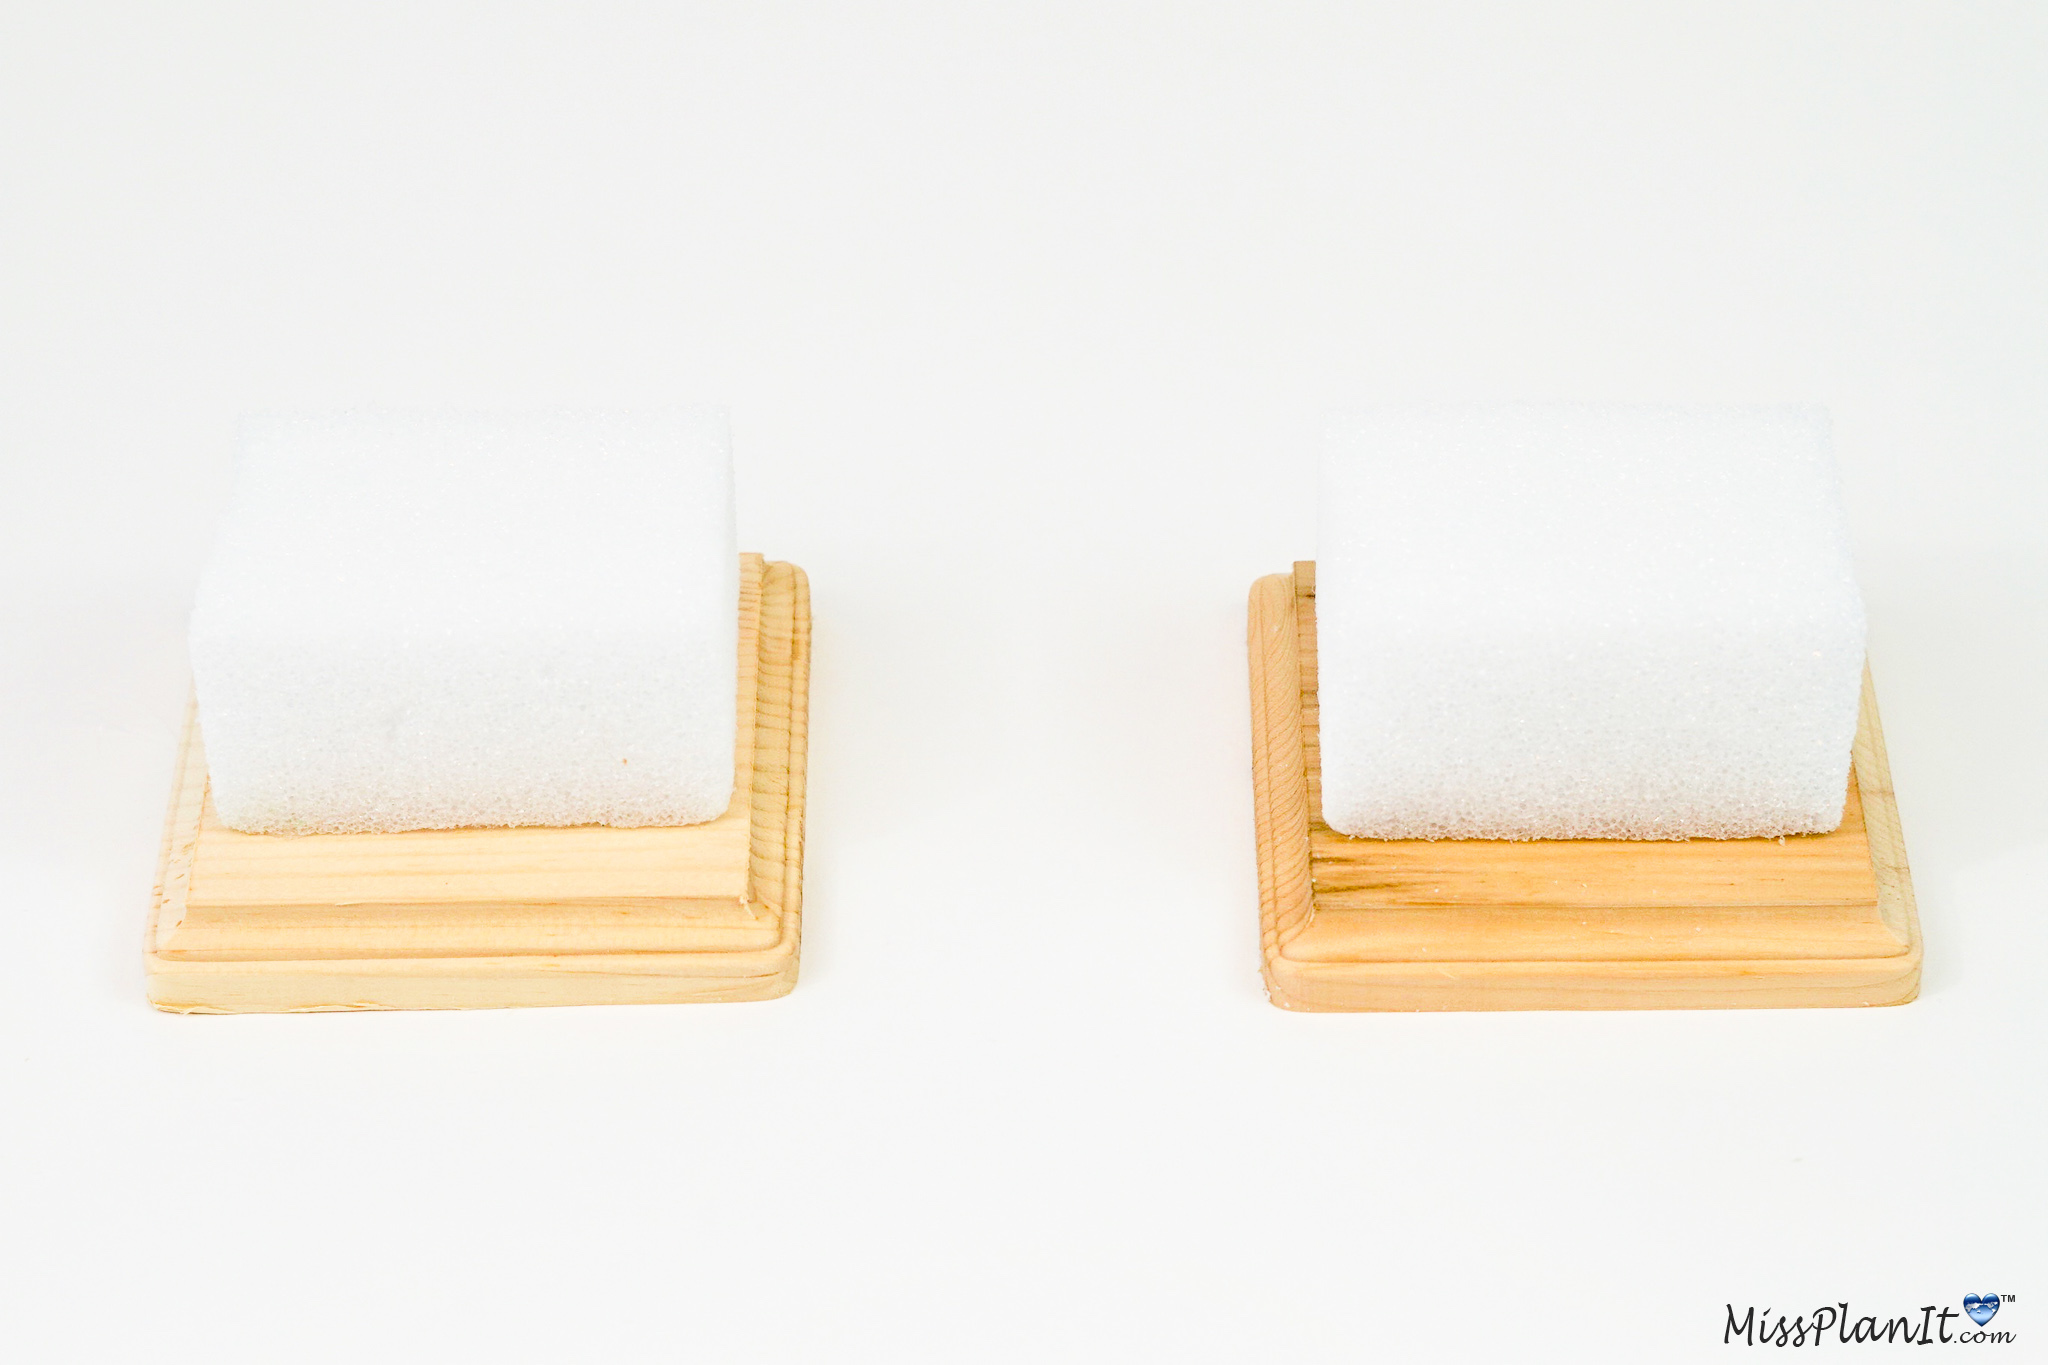
Make the Wedding Centerpiece Legs
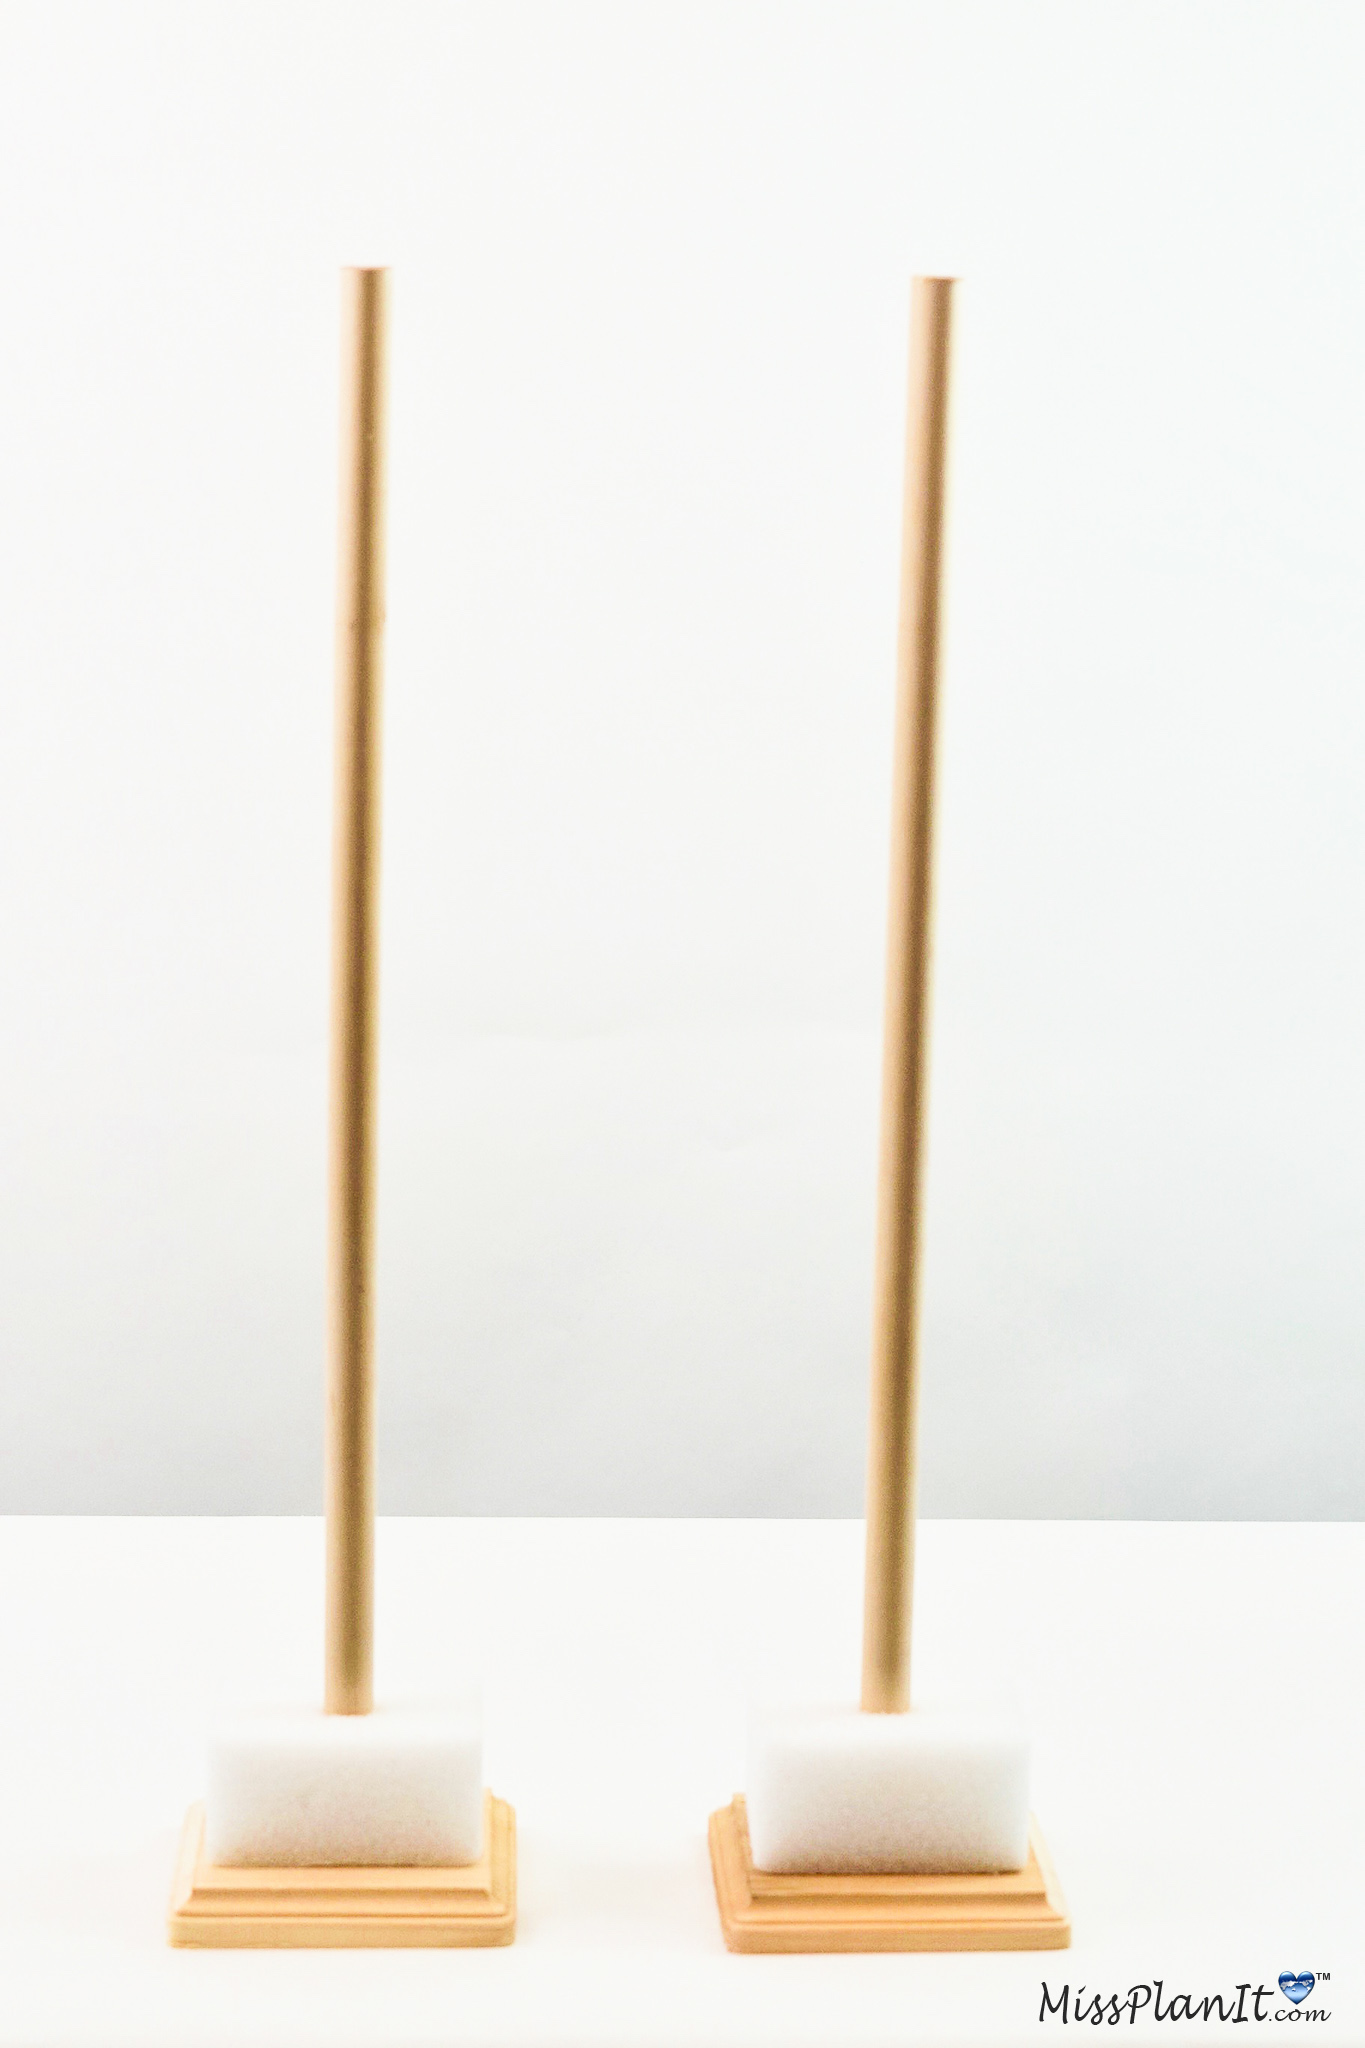
STEP 2: Create an indention in both foam blocks using the 3/4″ hardwood dowels. Next apply hot glue to the indented areas and then attach the hardwood dowels. Hold it in place for at least 30 seconds to allow it to dry. You will do this step to both foam blocks. Giving you a total of two legs for your garden wedding centerpiece.
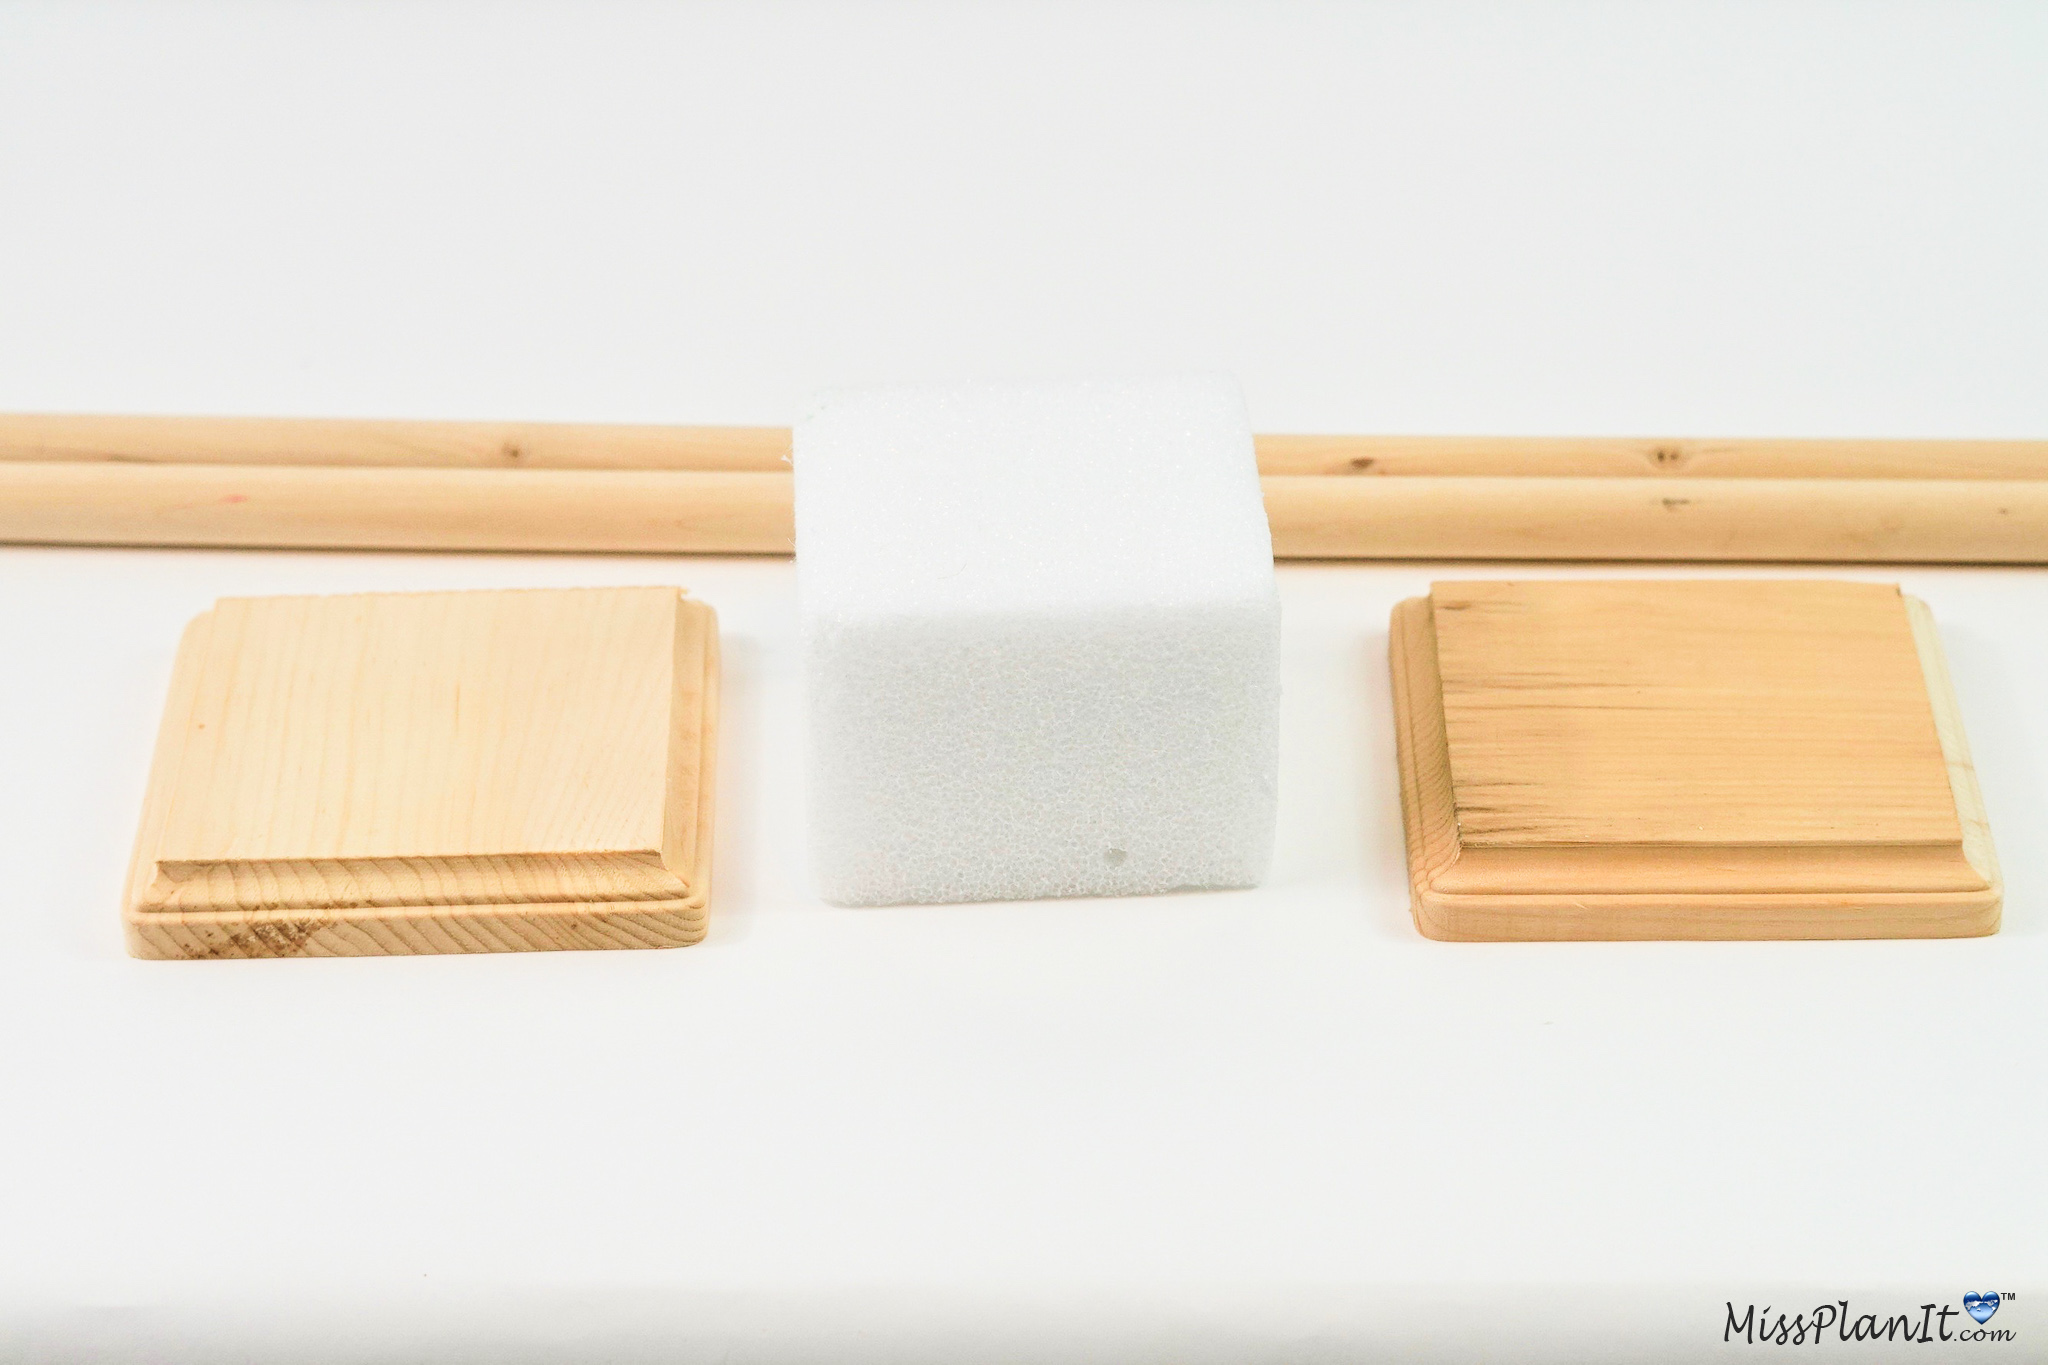
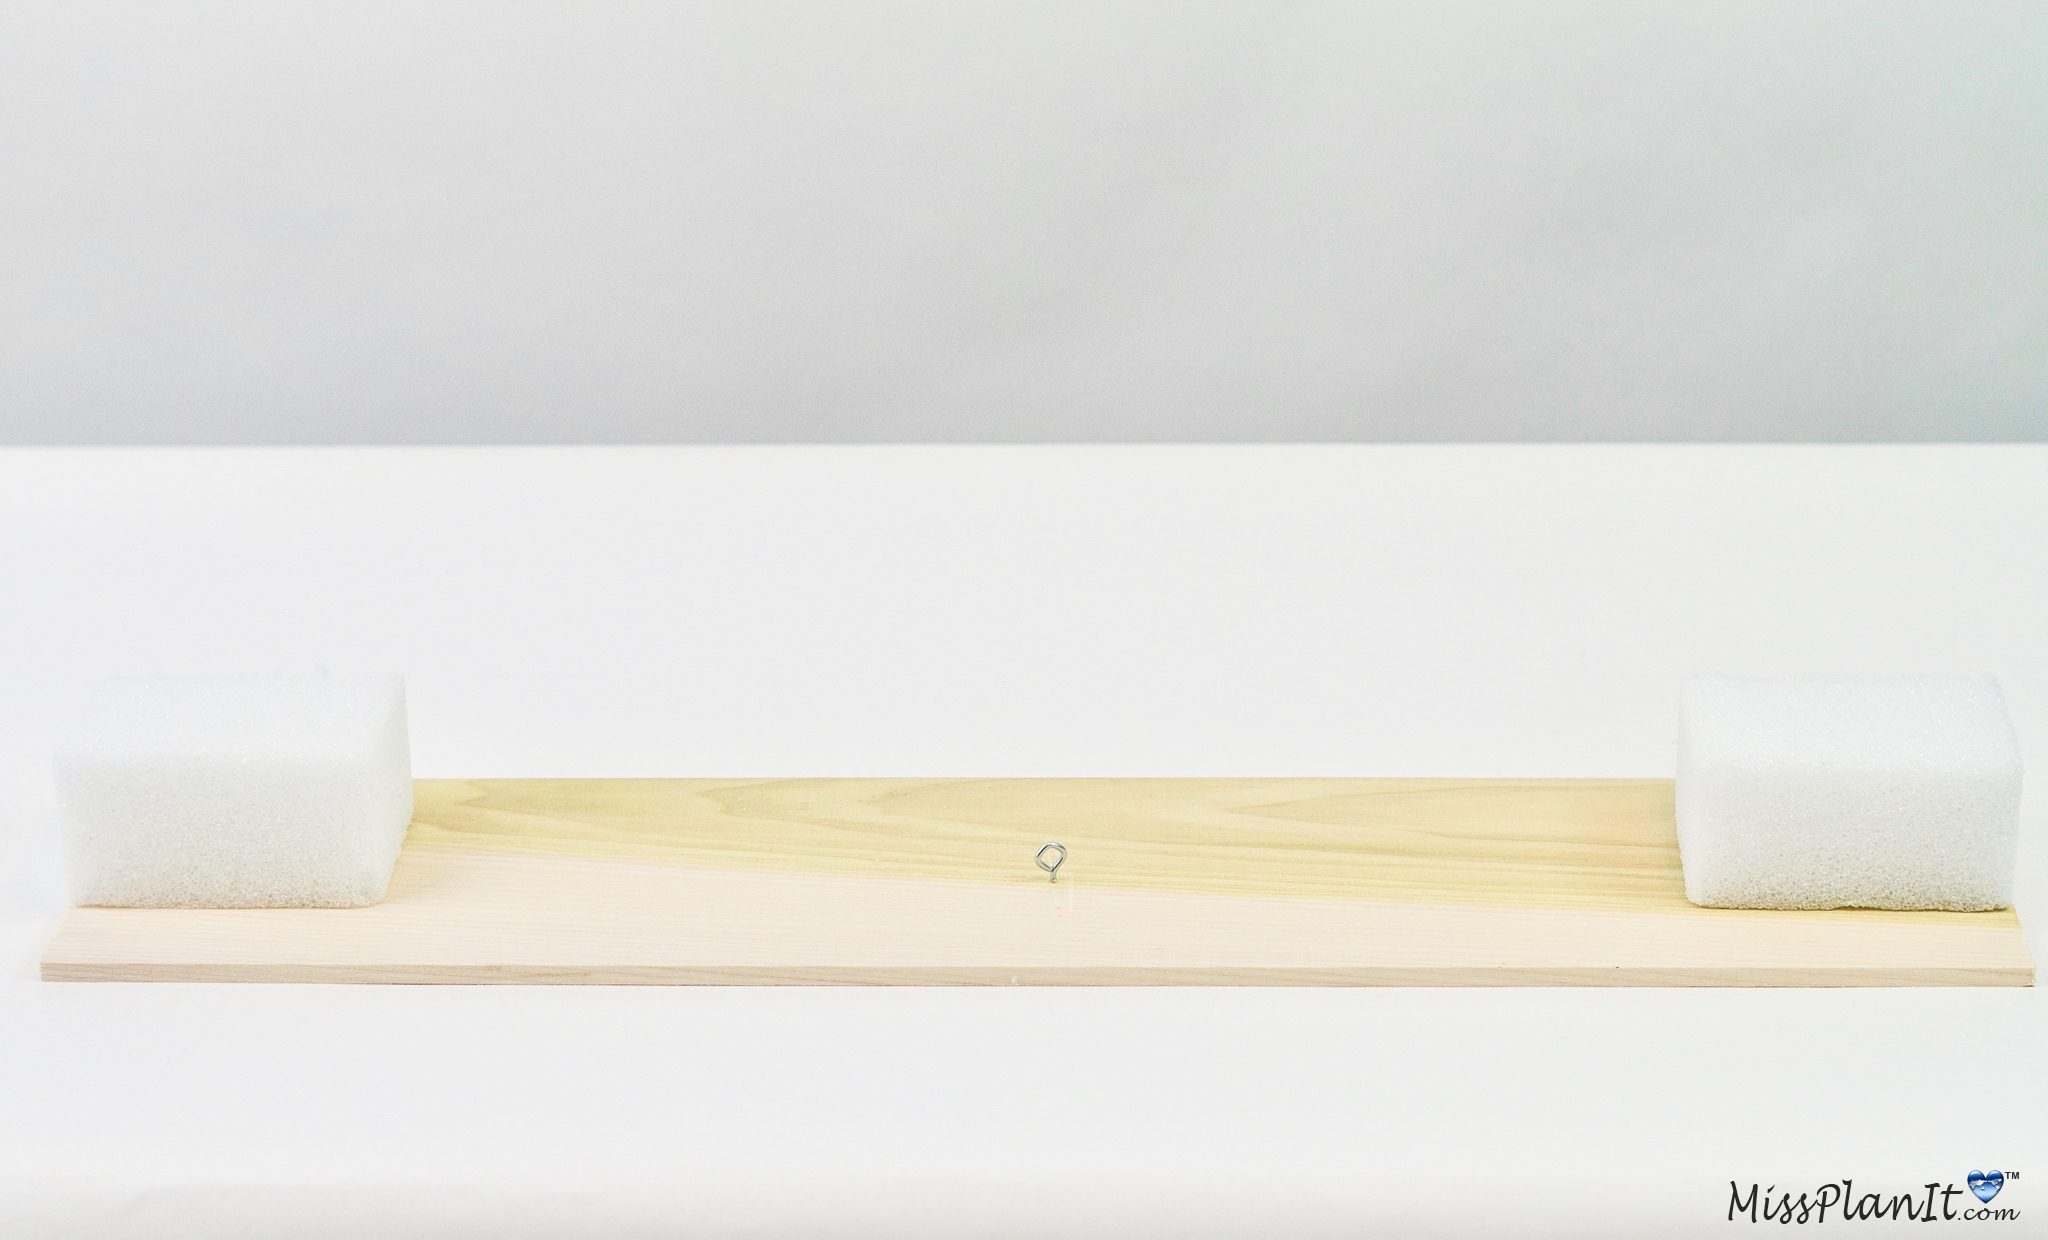
Hot Glue Foam to Both Sides of the Poplar Board
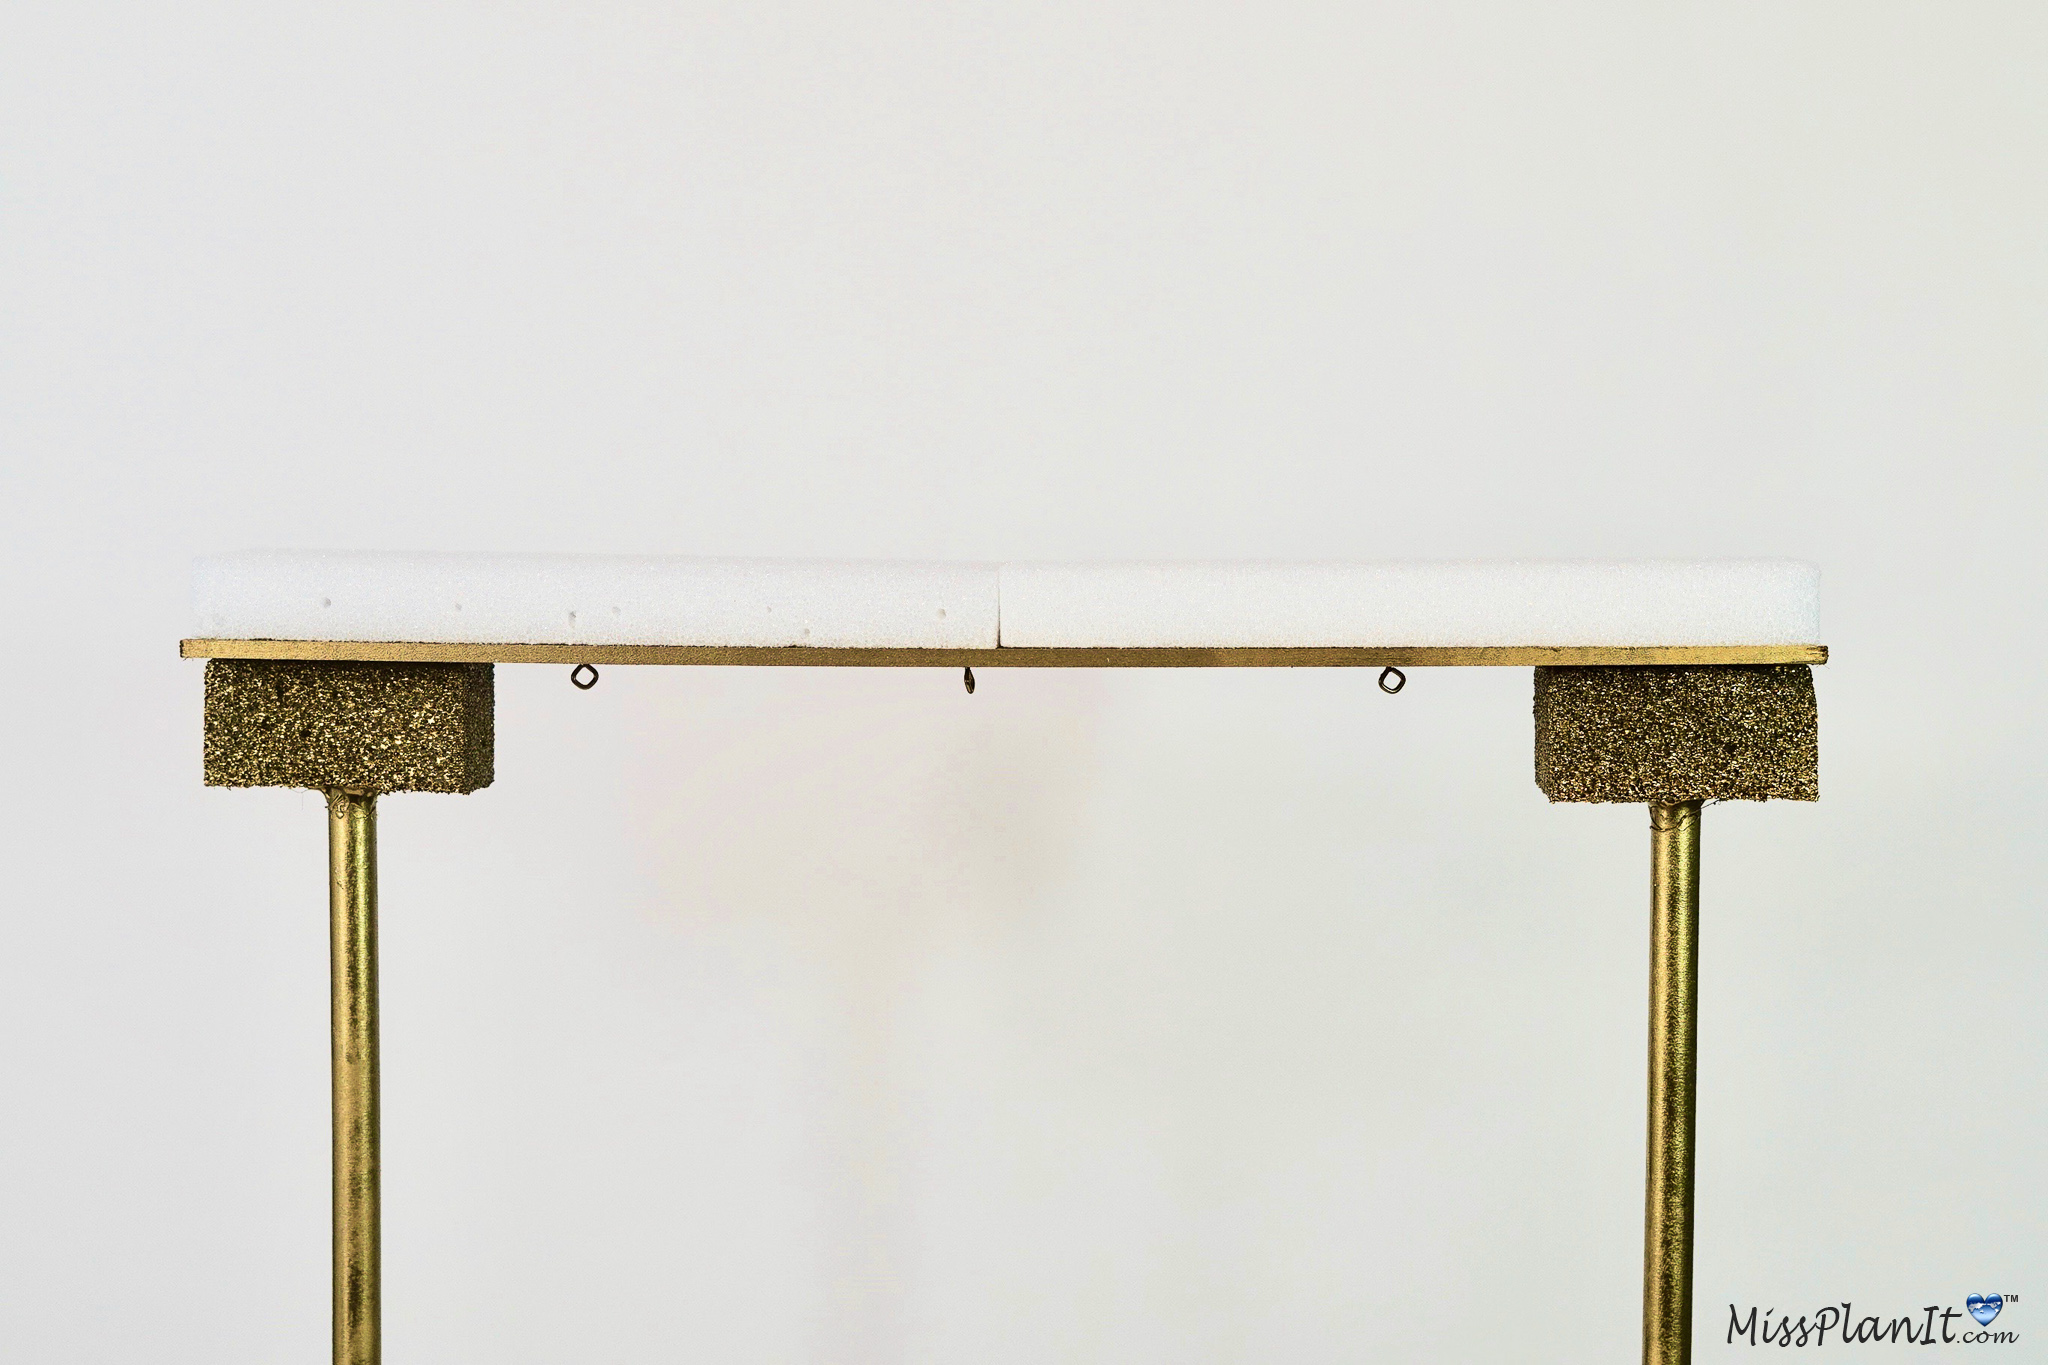
STEP 3: Cut another 3X4 inch block in half. Next mark the halfway point on your poplar board on each side with a black marker using a ruler to find the halfway point. This is so you can glue your foam block halves evenly on each side. Now glue each block half on each corner of your poplar board using hot glue.
Add Screw Eye Hooks to Poplar Board
STEP 4: Screw in three screw eye hooks to the underside of the poplar board. One in the middle of the poplar and the other two an inch to an inch and a half from each foam disc.
Attach the Legs to the Top of the Wedding Centerpiece
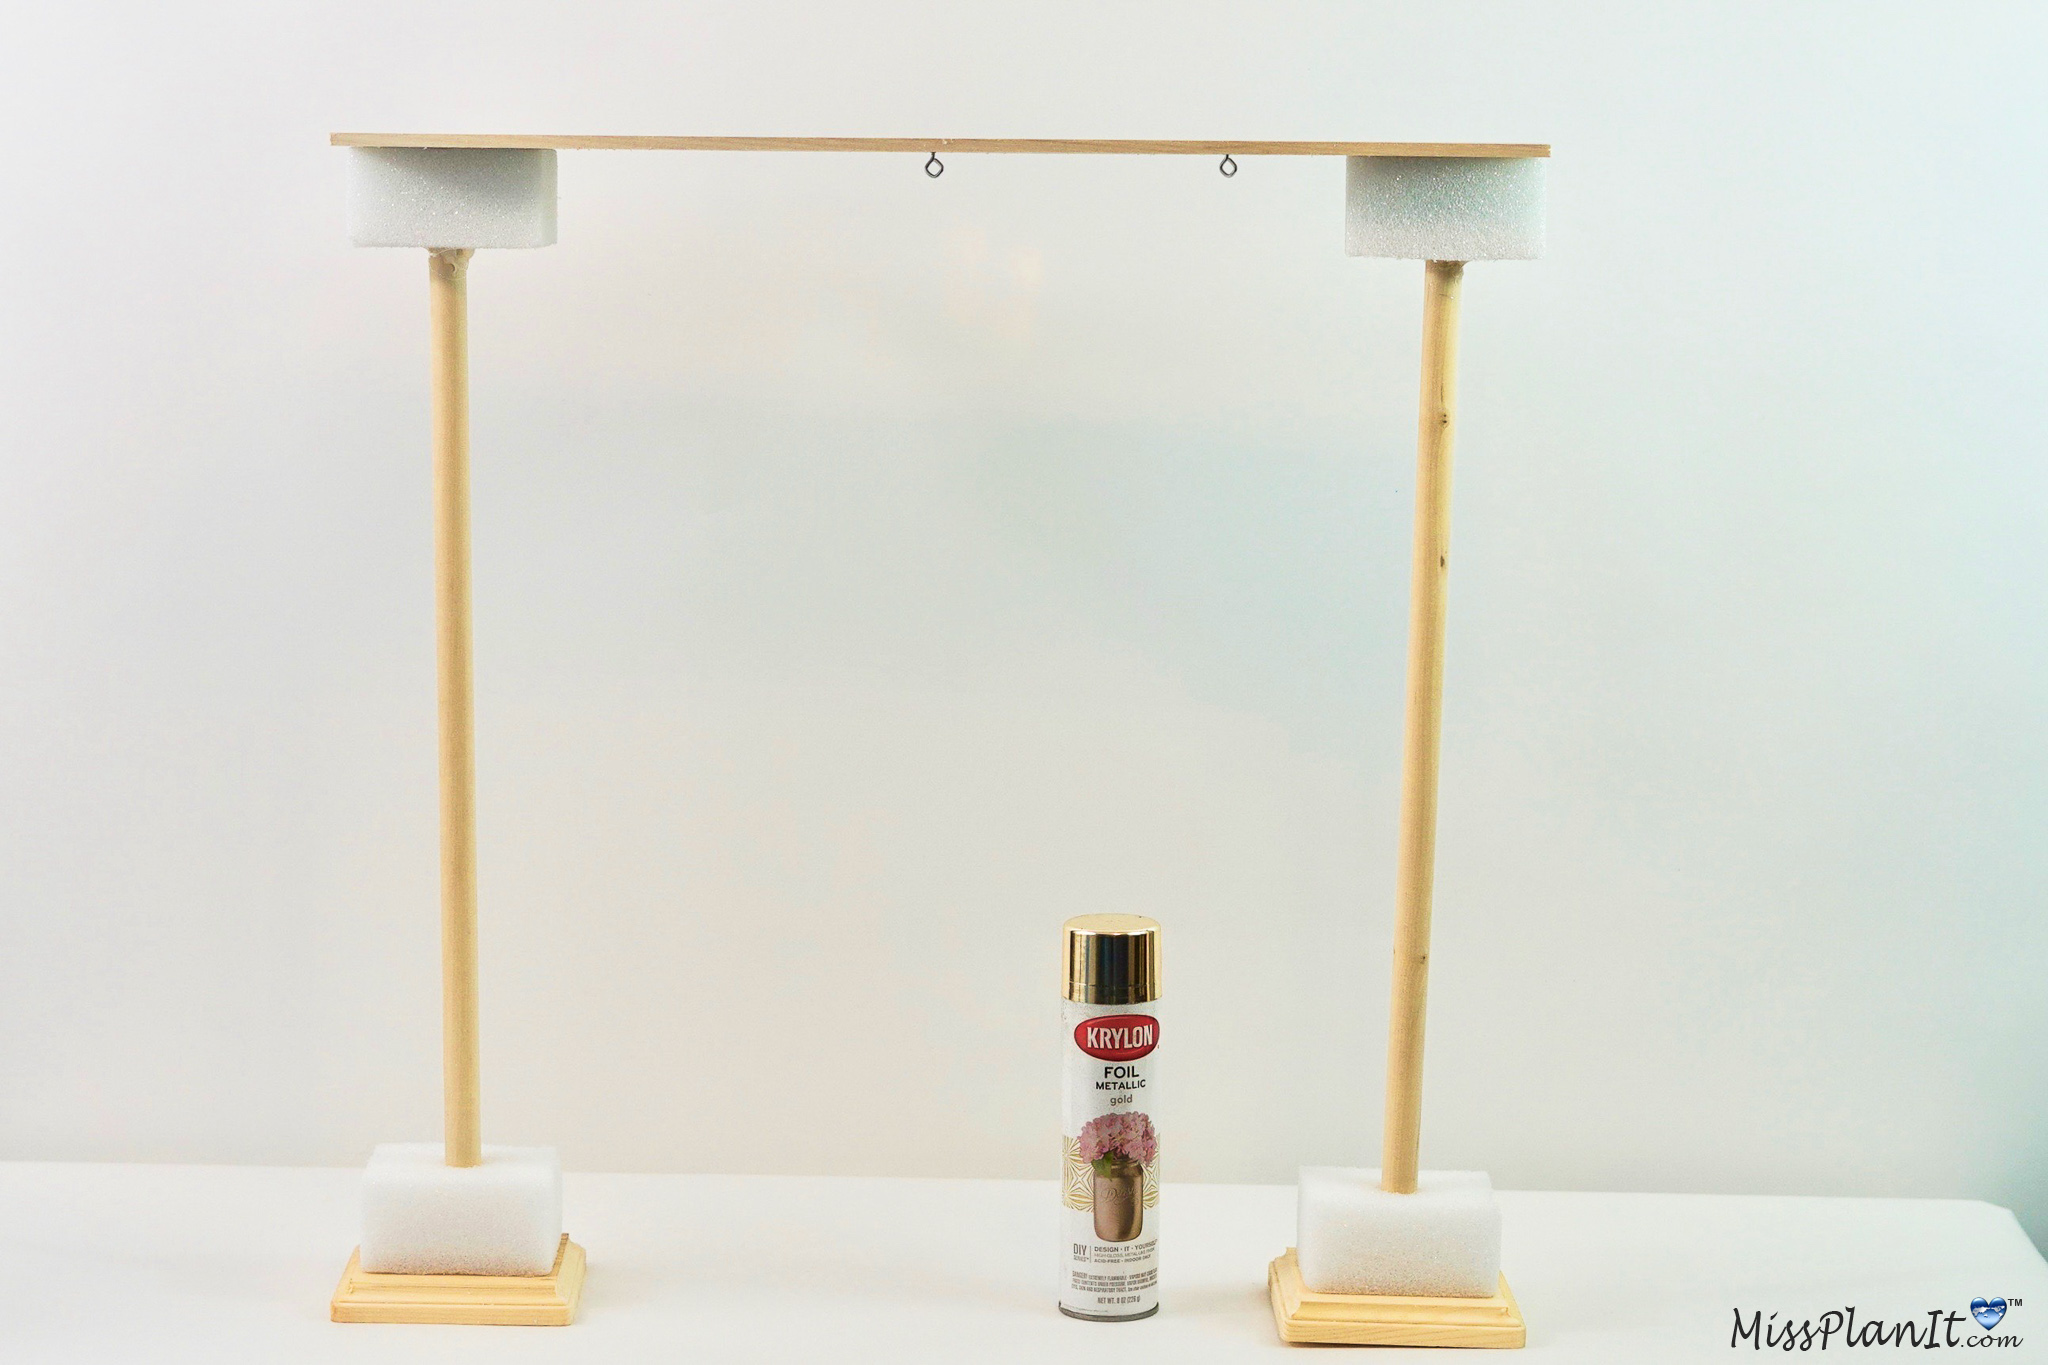
STEP 5: To attach the legs to the top of your wedding centerpiece, flip one of legs from Step 2 over. Use the hardwood dowel of the leg to make an indention in the foam disc on one side of the top portion of your wedding centerpiece.
Remove the hardwood dowel and fill the hole with hot glue. Now replace the hardwood dowel and hold it in place for a minimum of 30 seconds. Repeat this step to the other side of the top portion using your other wedding centerpiece leg.
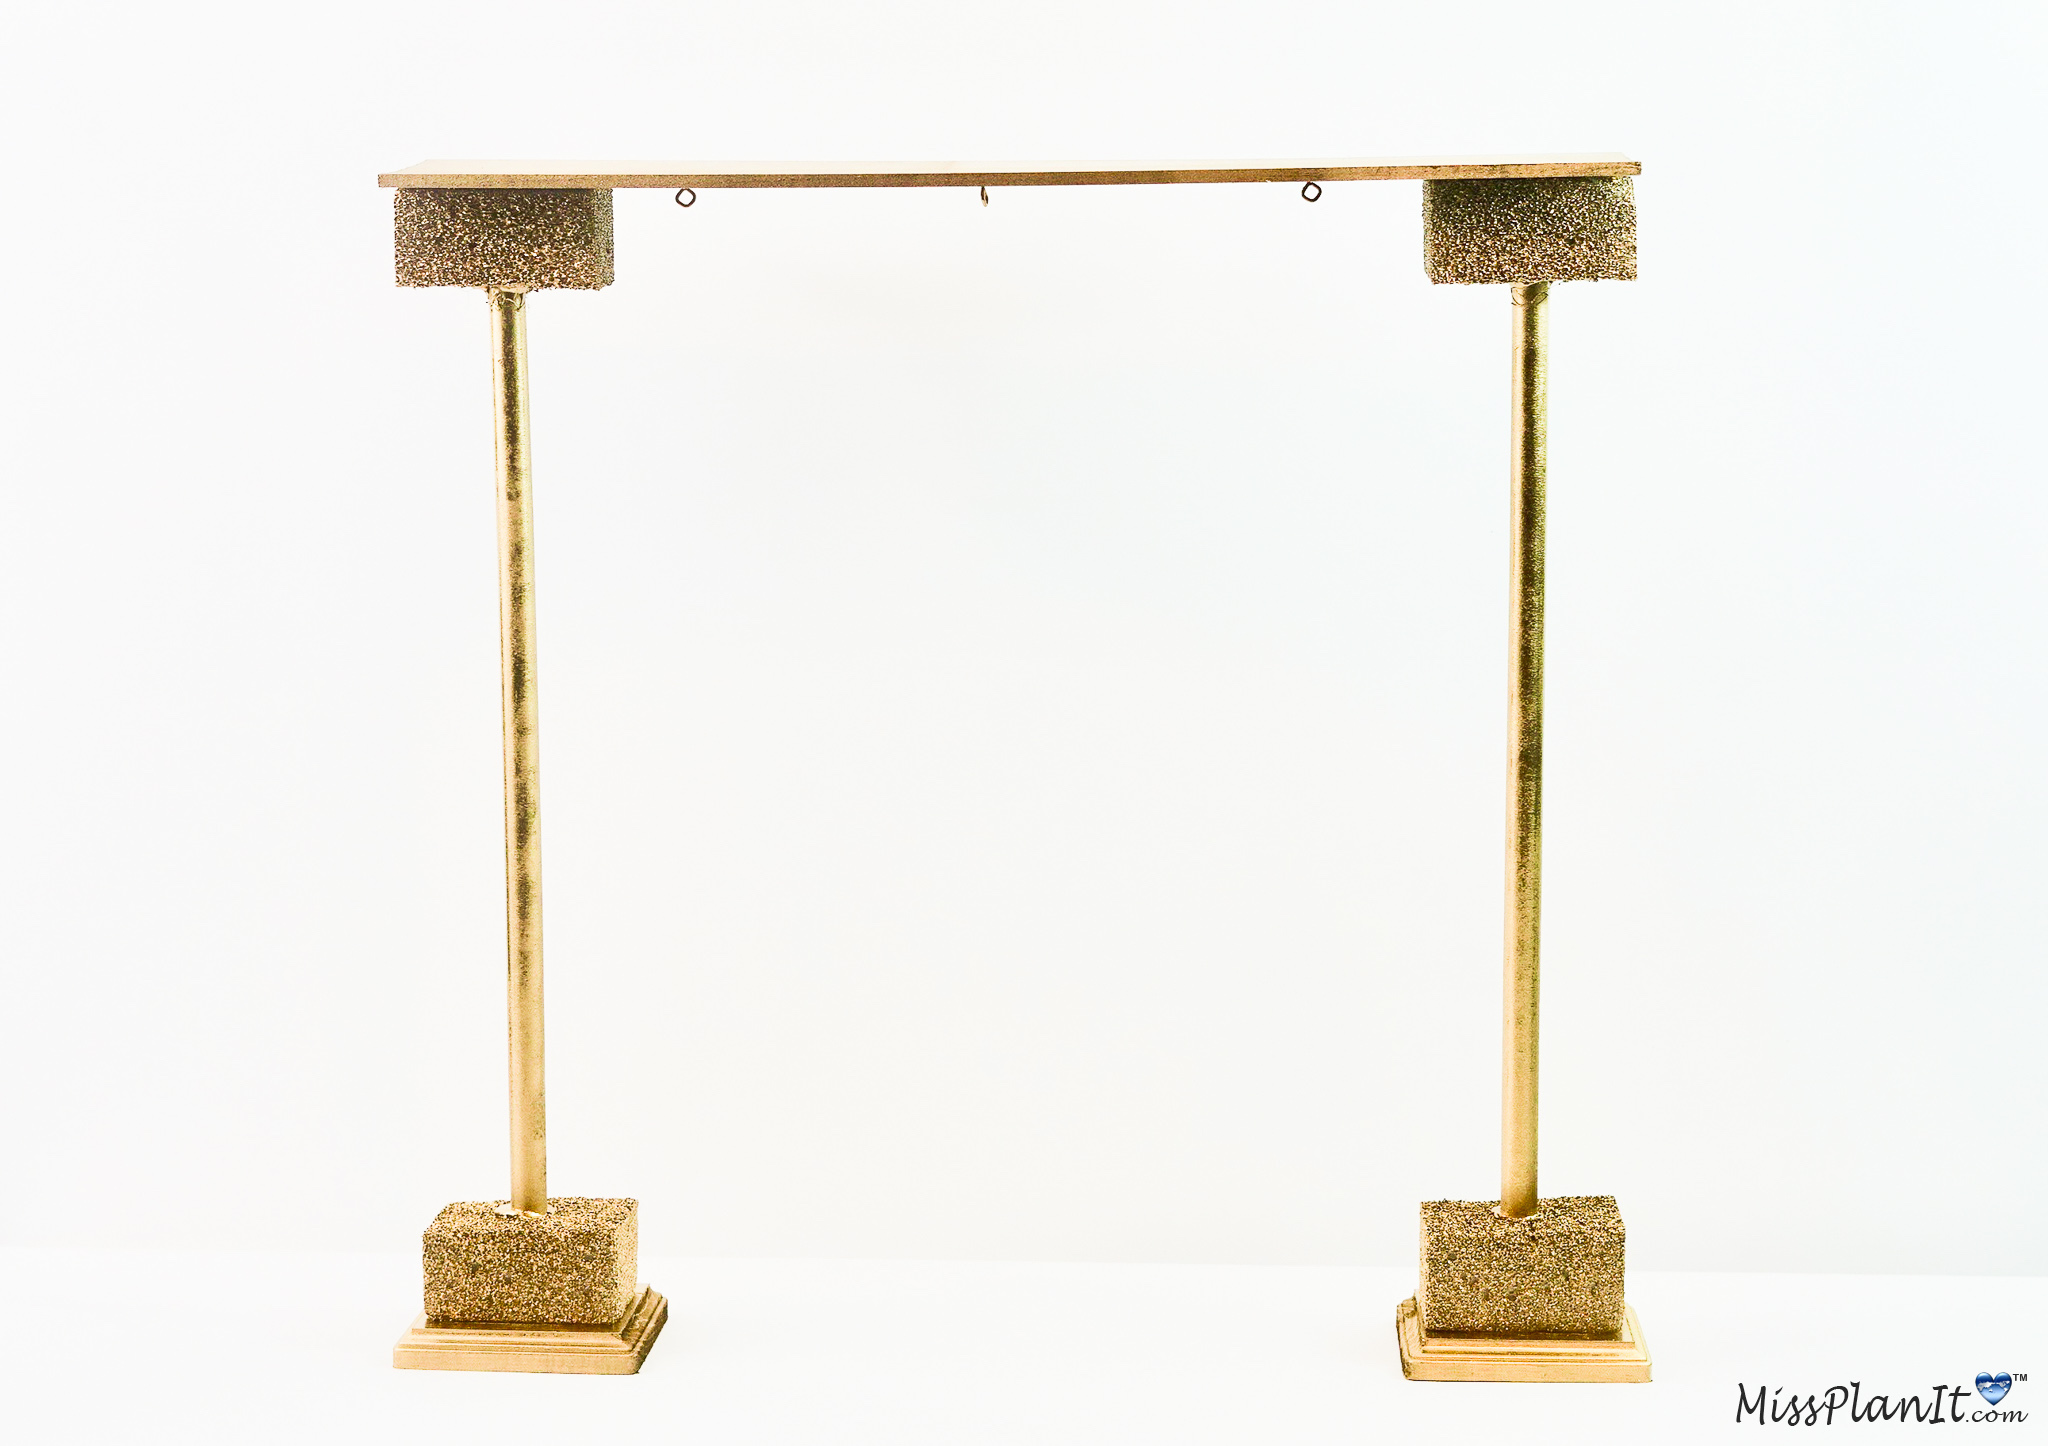
Spray paint the entire garden wedding centerpiece gold and then allow it to dry.
Tip: Place a level on top of each leg to ensure they are centered.
Add Your Flowers
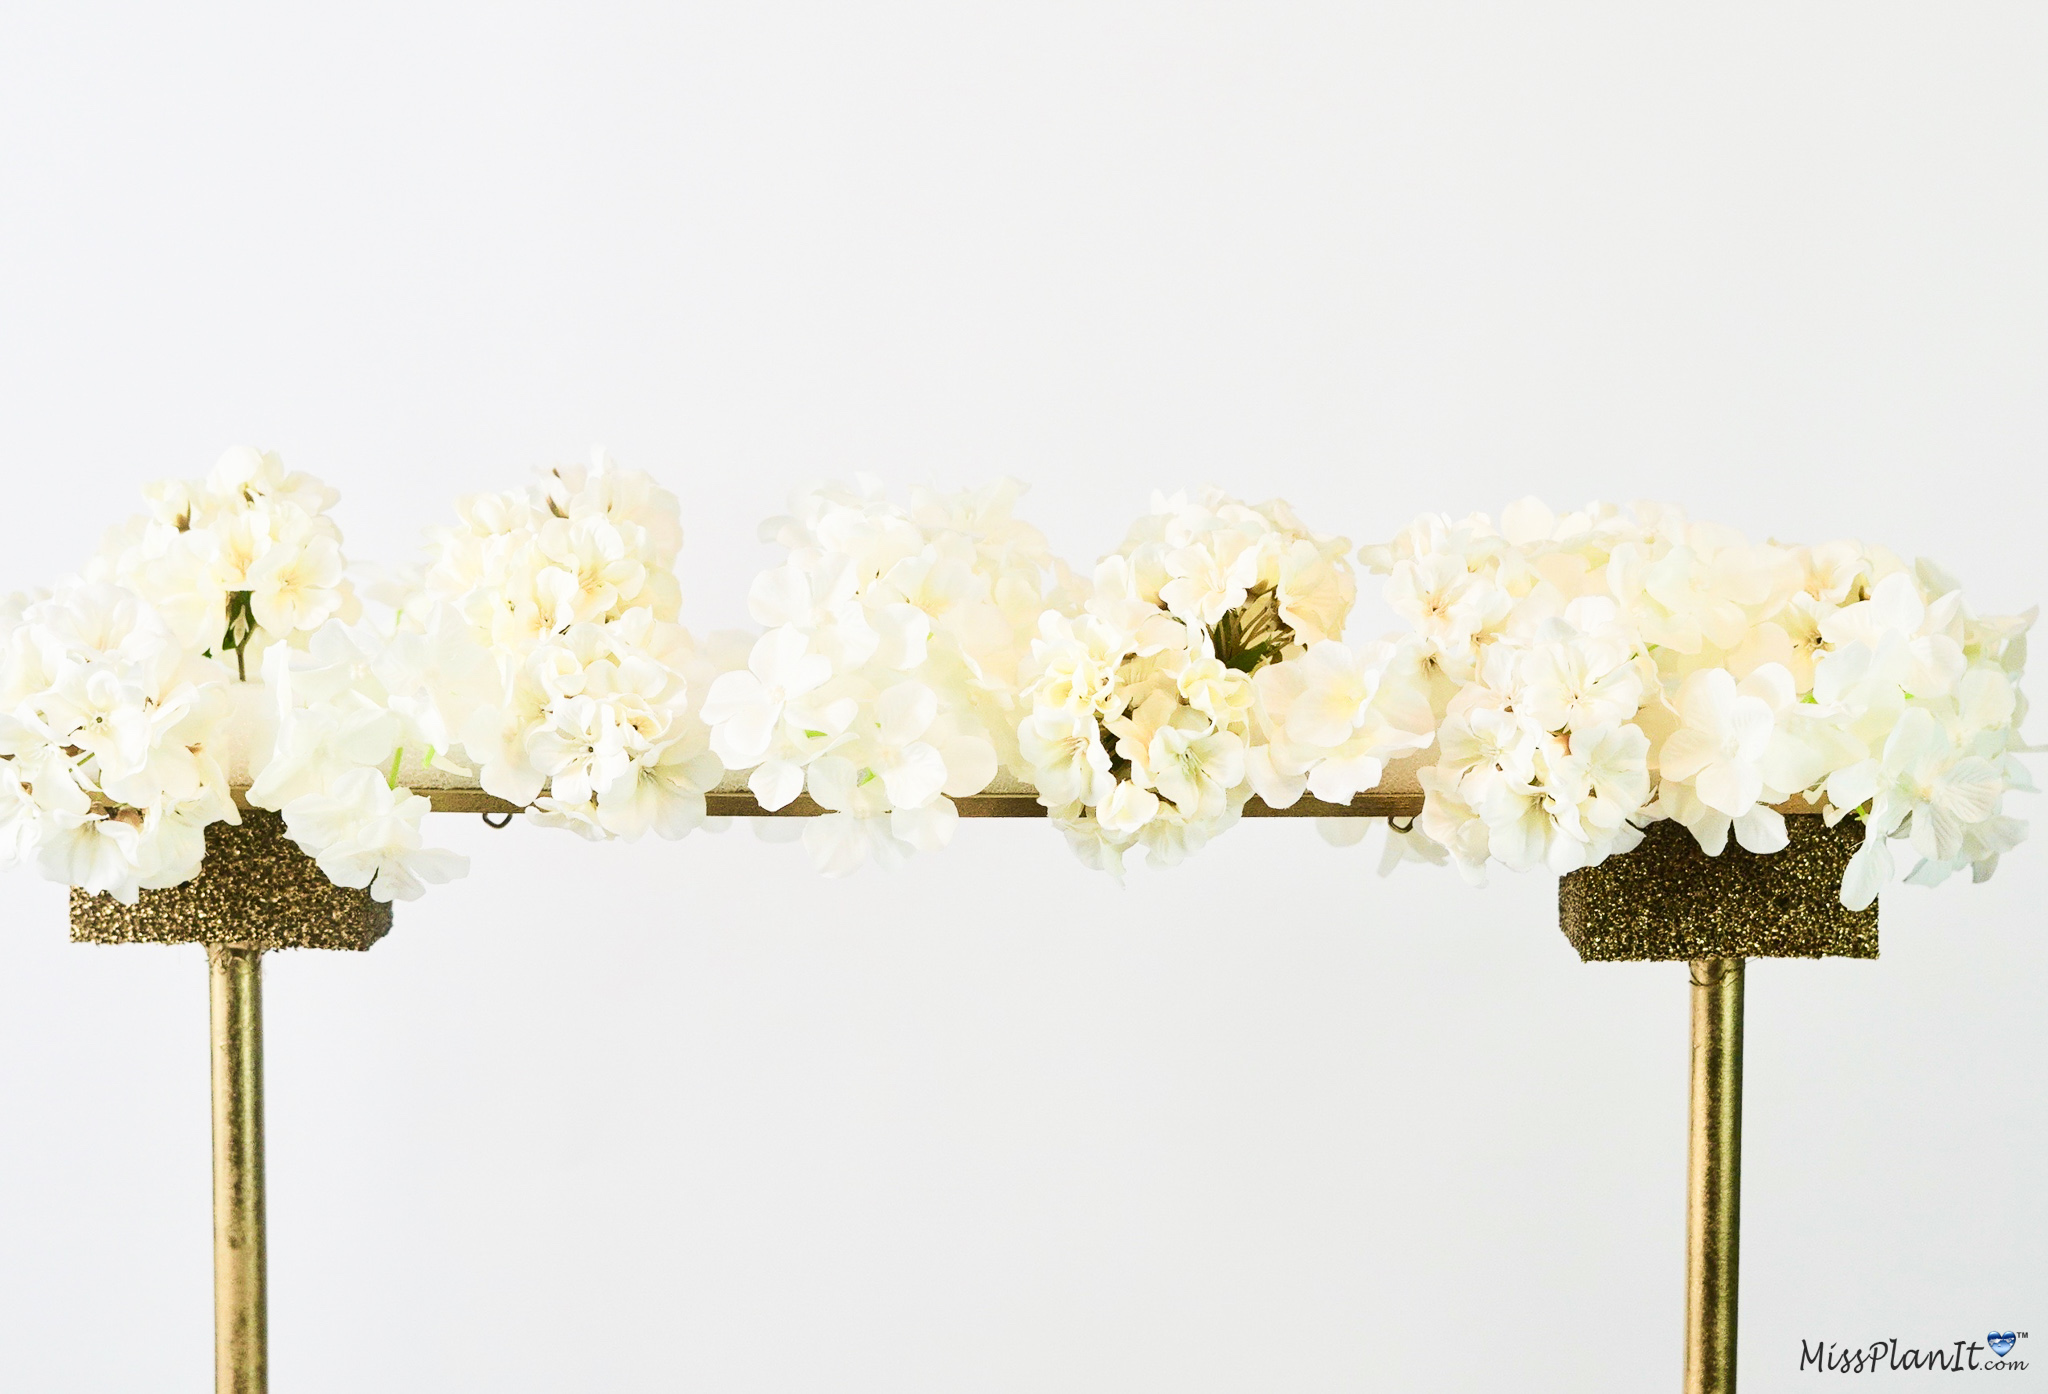
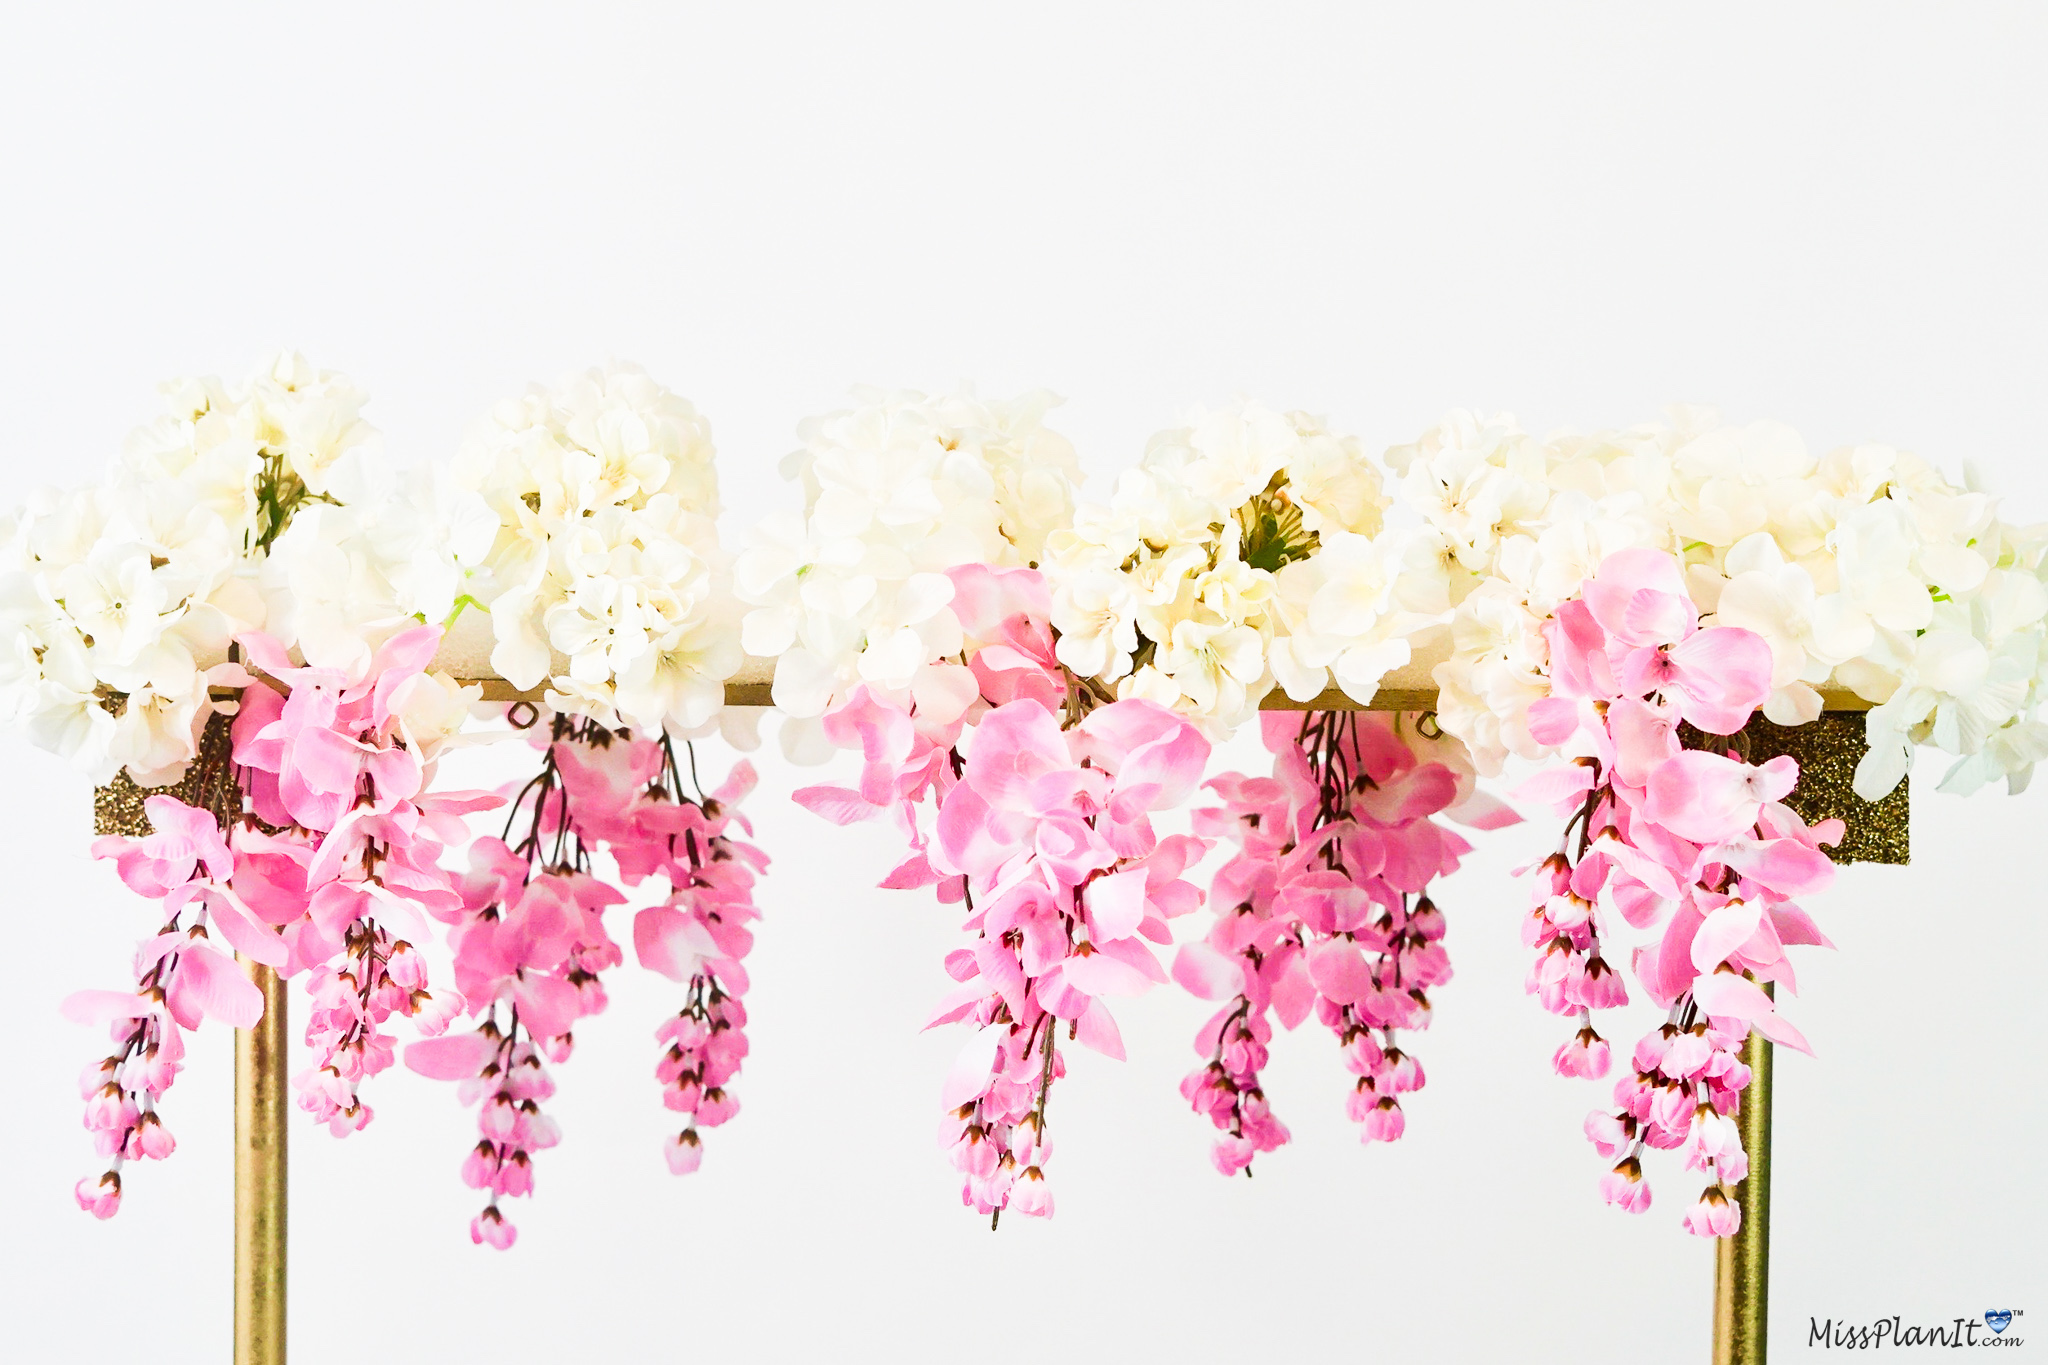
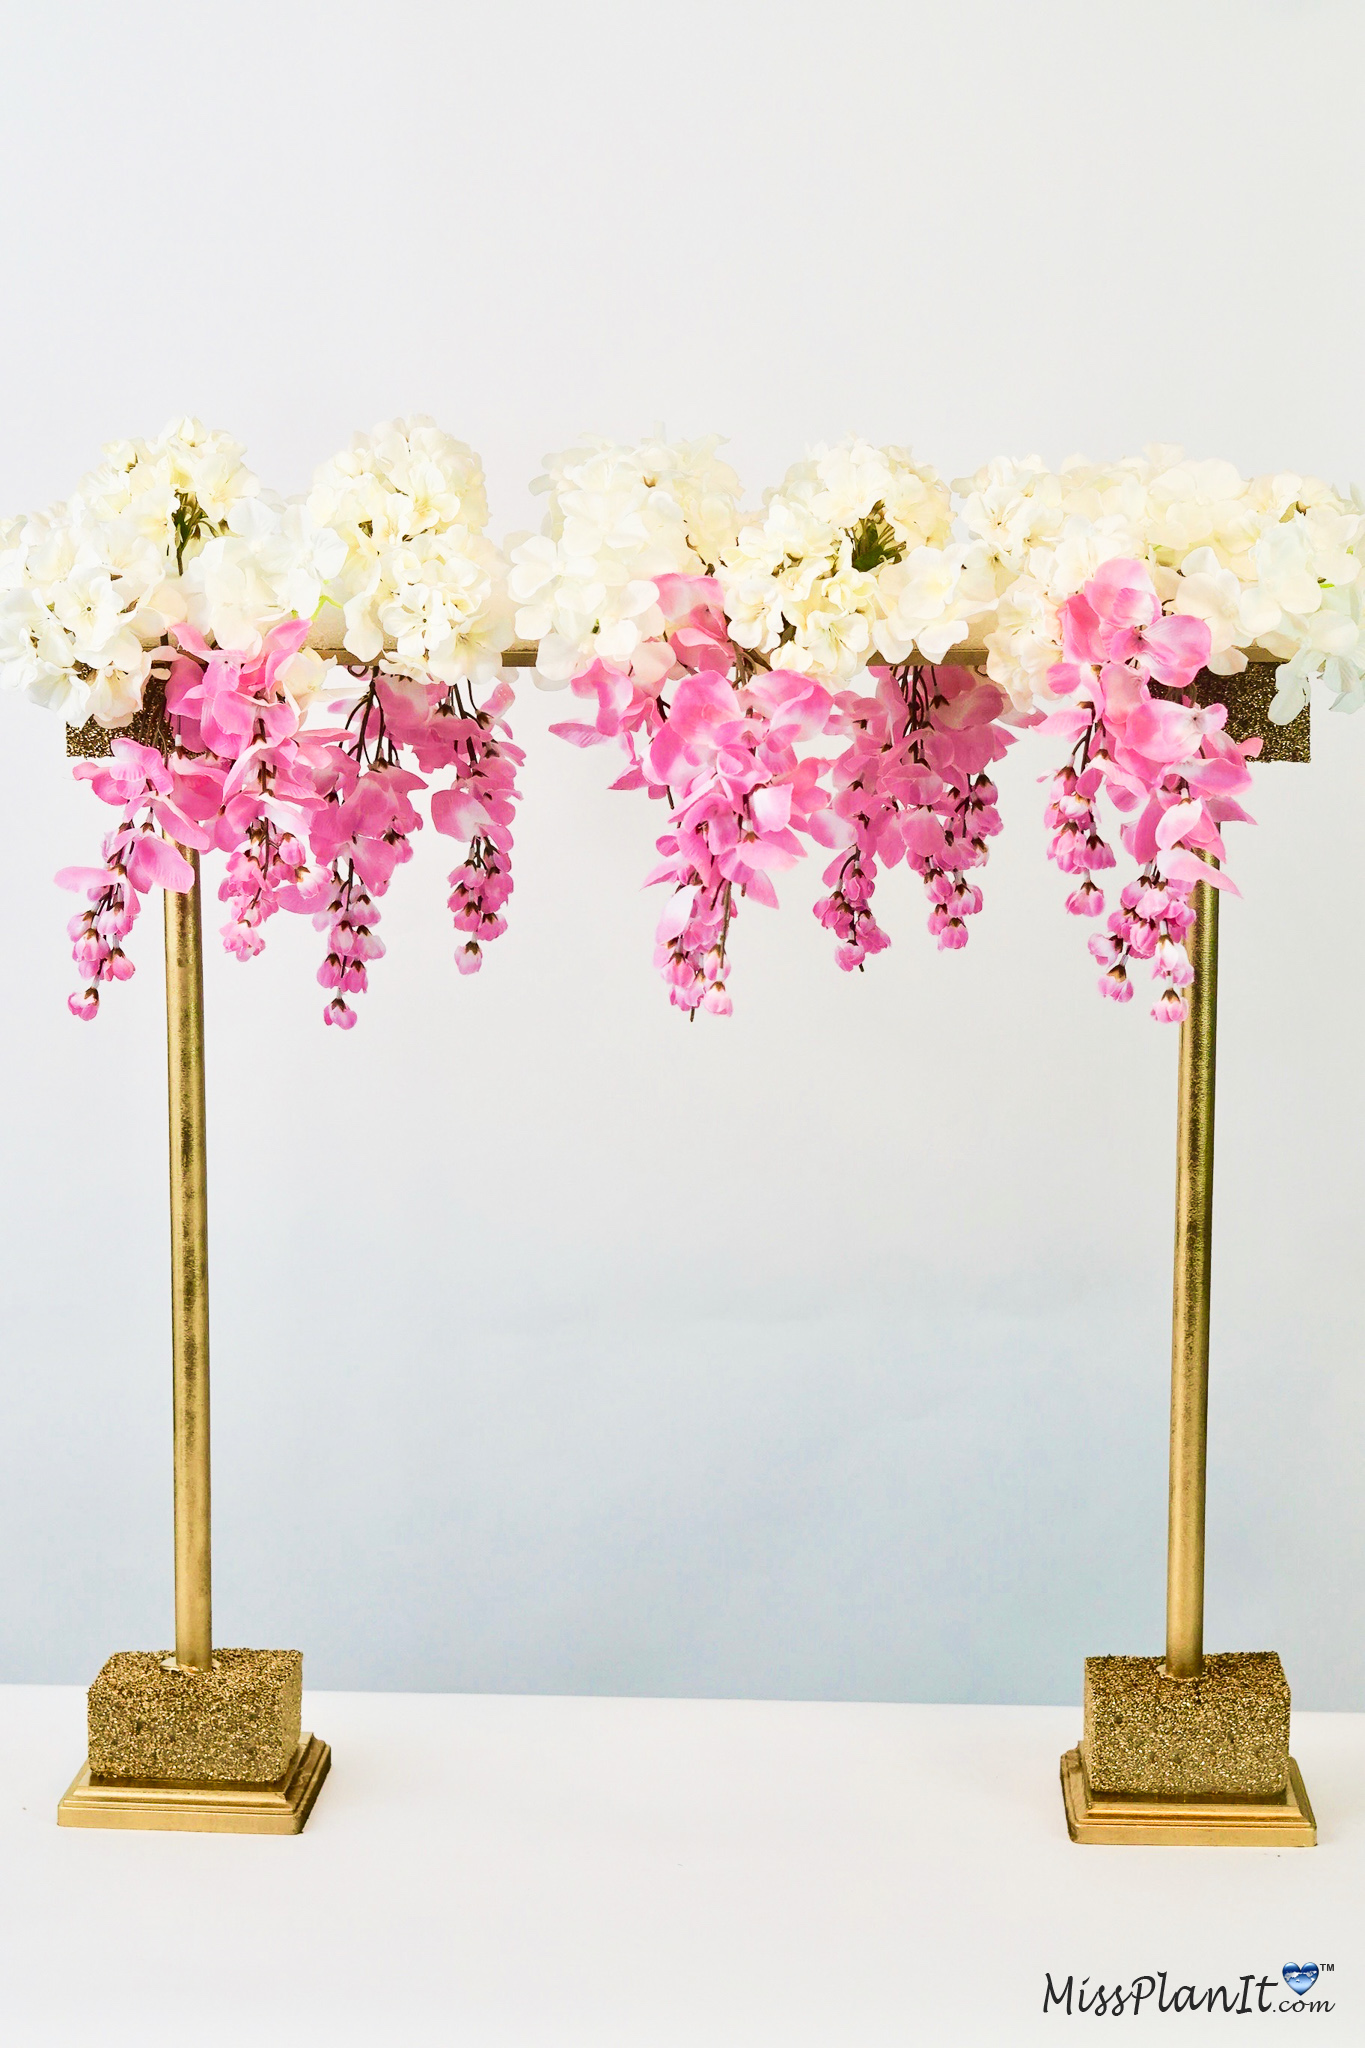
STEP 6: Hot glue two 5X12 inch rectangular foam pieces to the top of your wedding centerpiece. Next attach 18-24 small hydrangea heads, 9-14 pink hysteria stems, 6-9 amaranthus stems and 4-6 orchid stems. Also attach 8-12 blush and hot pink rose blossoms and 4-6 red and cream rose blossoms.
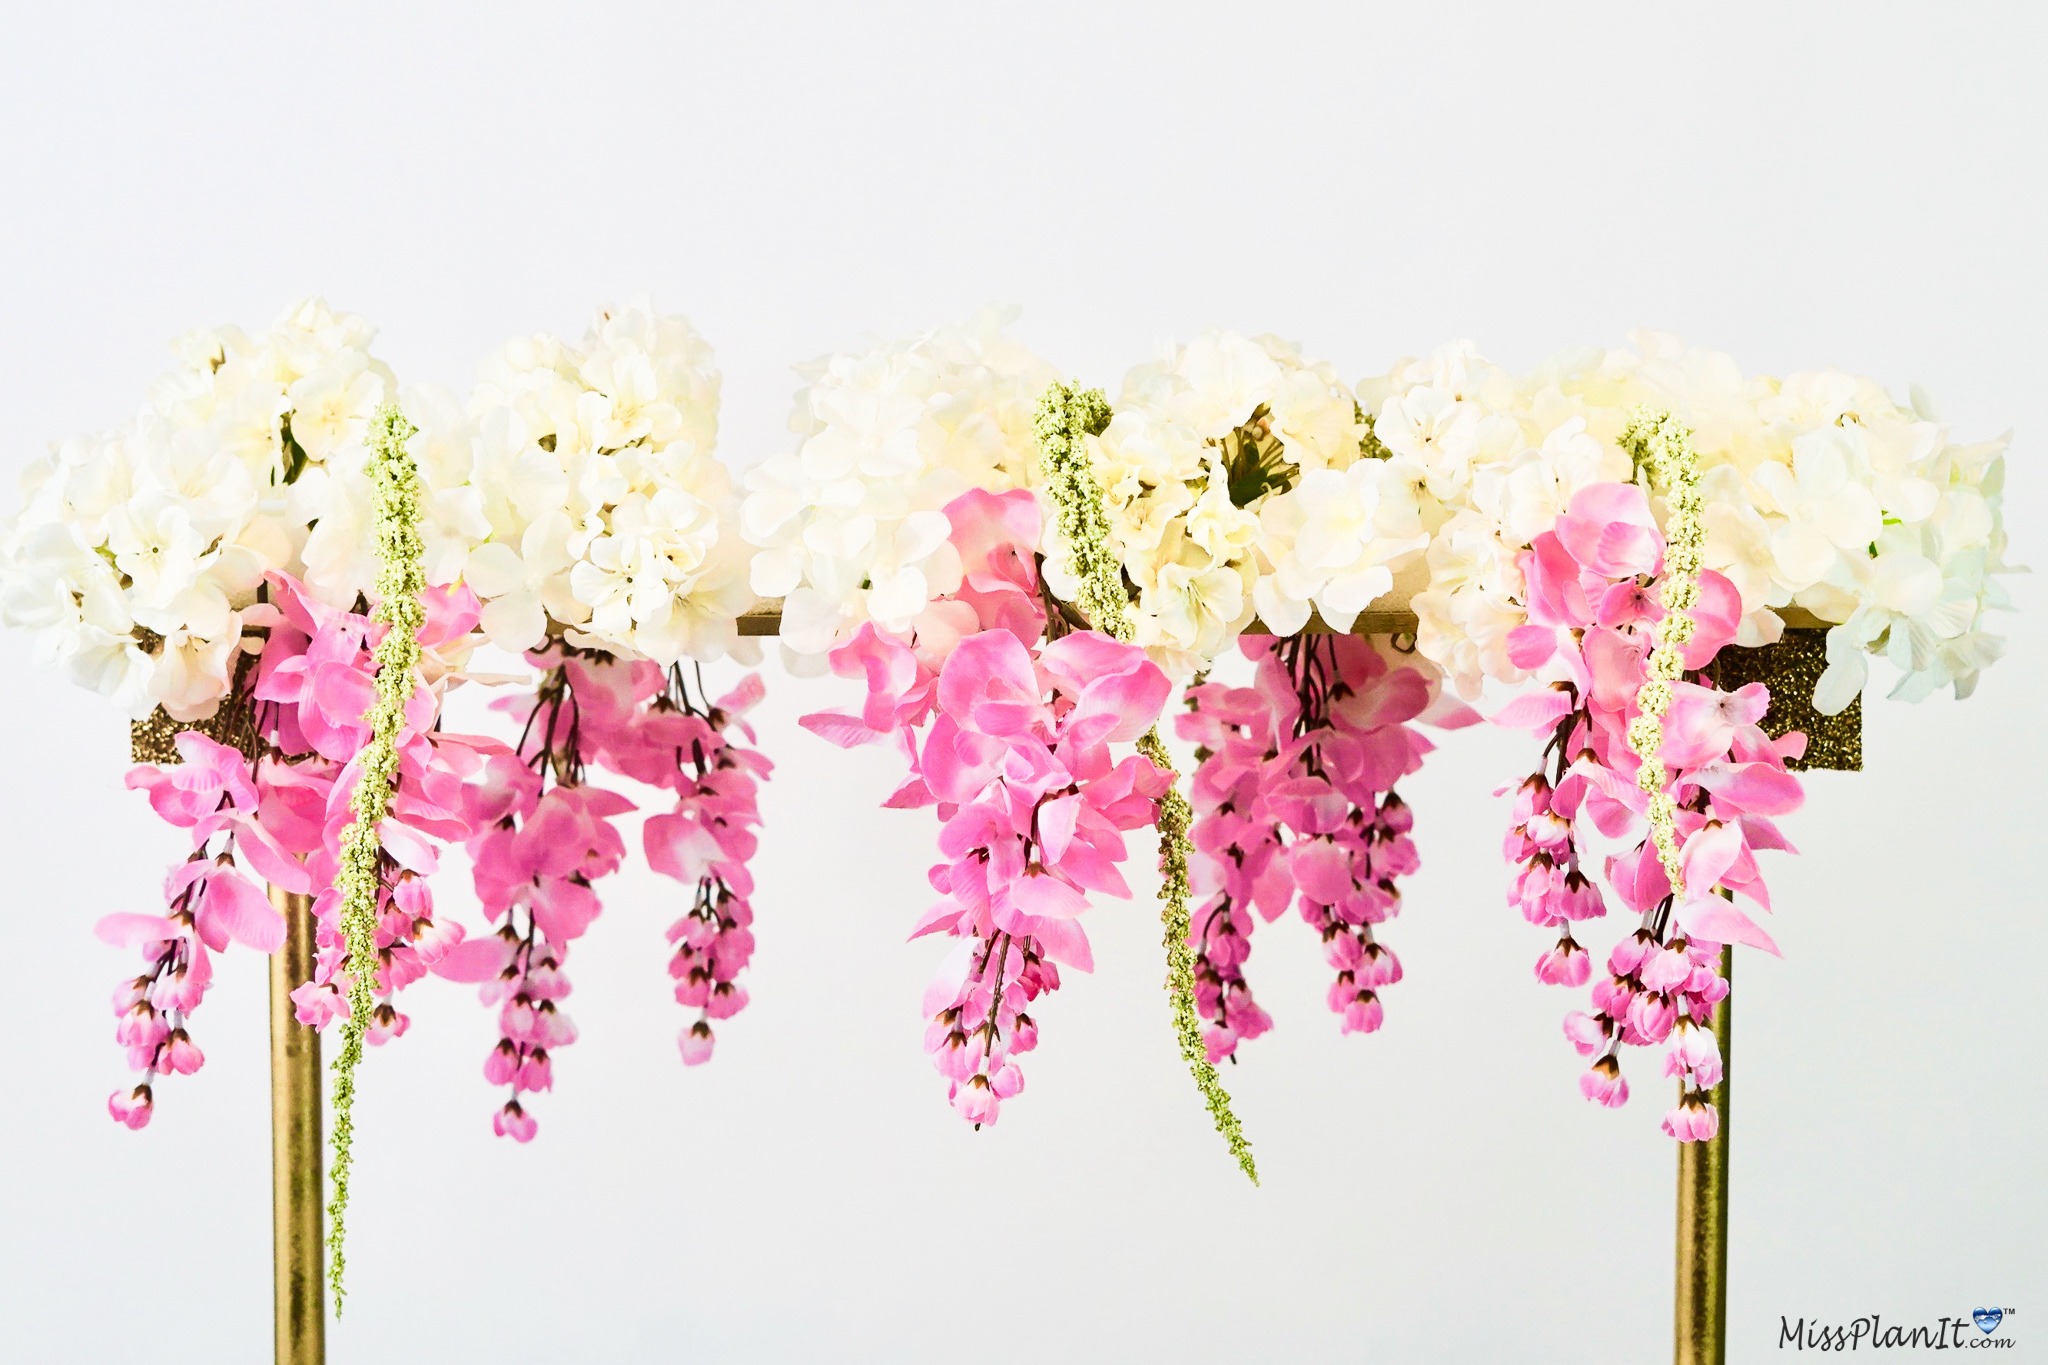
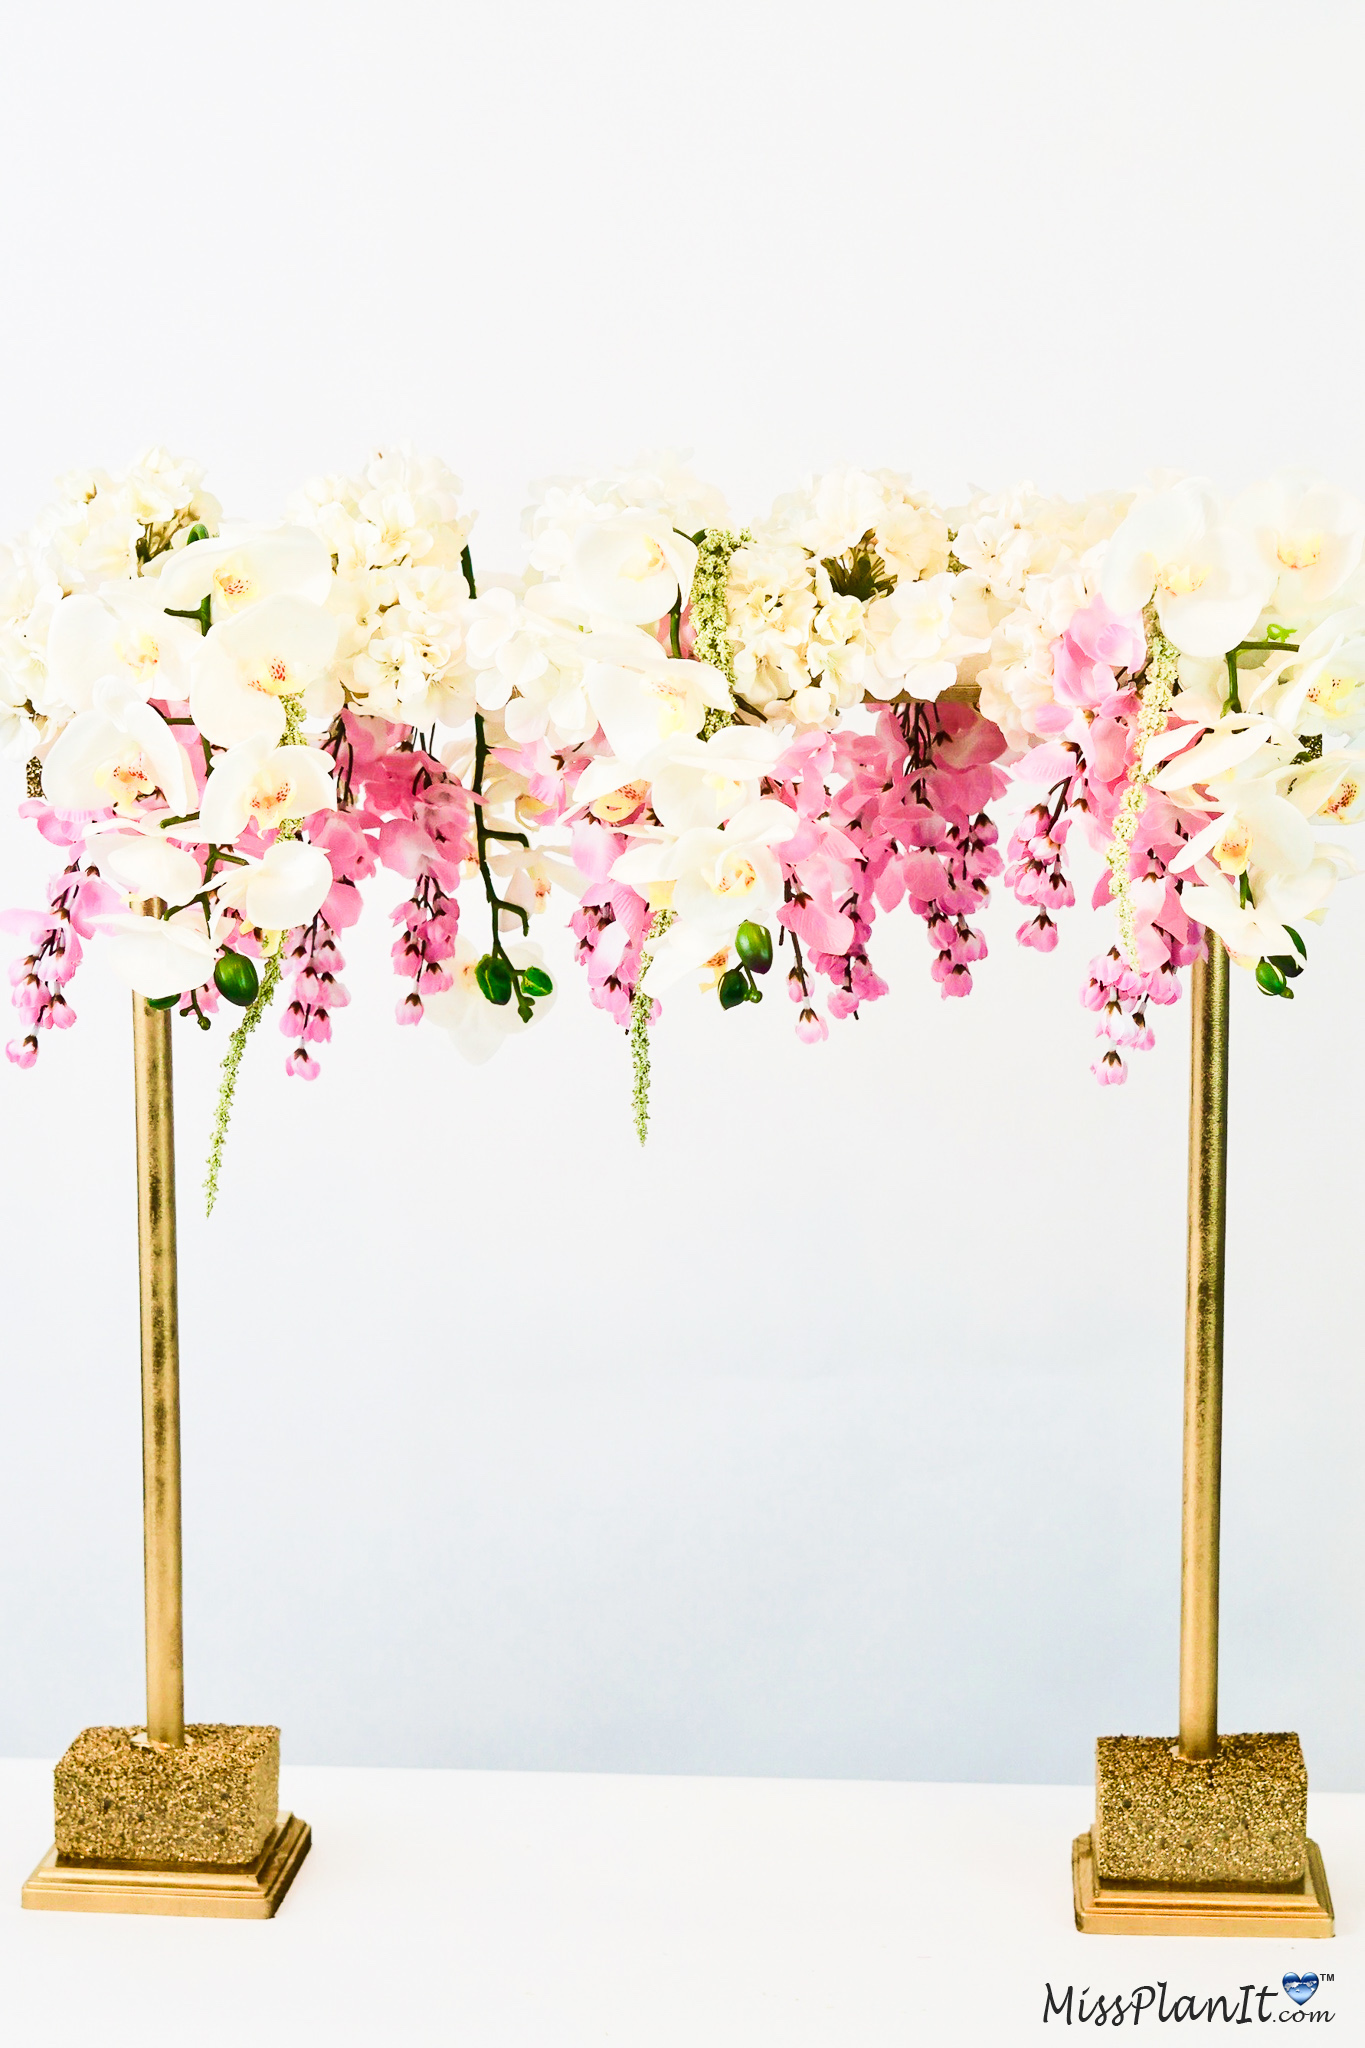
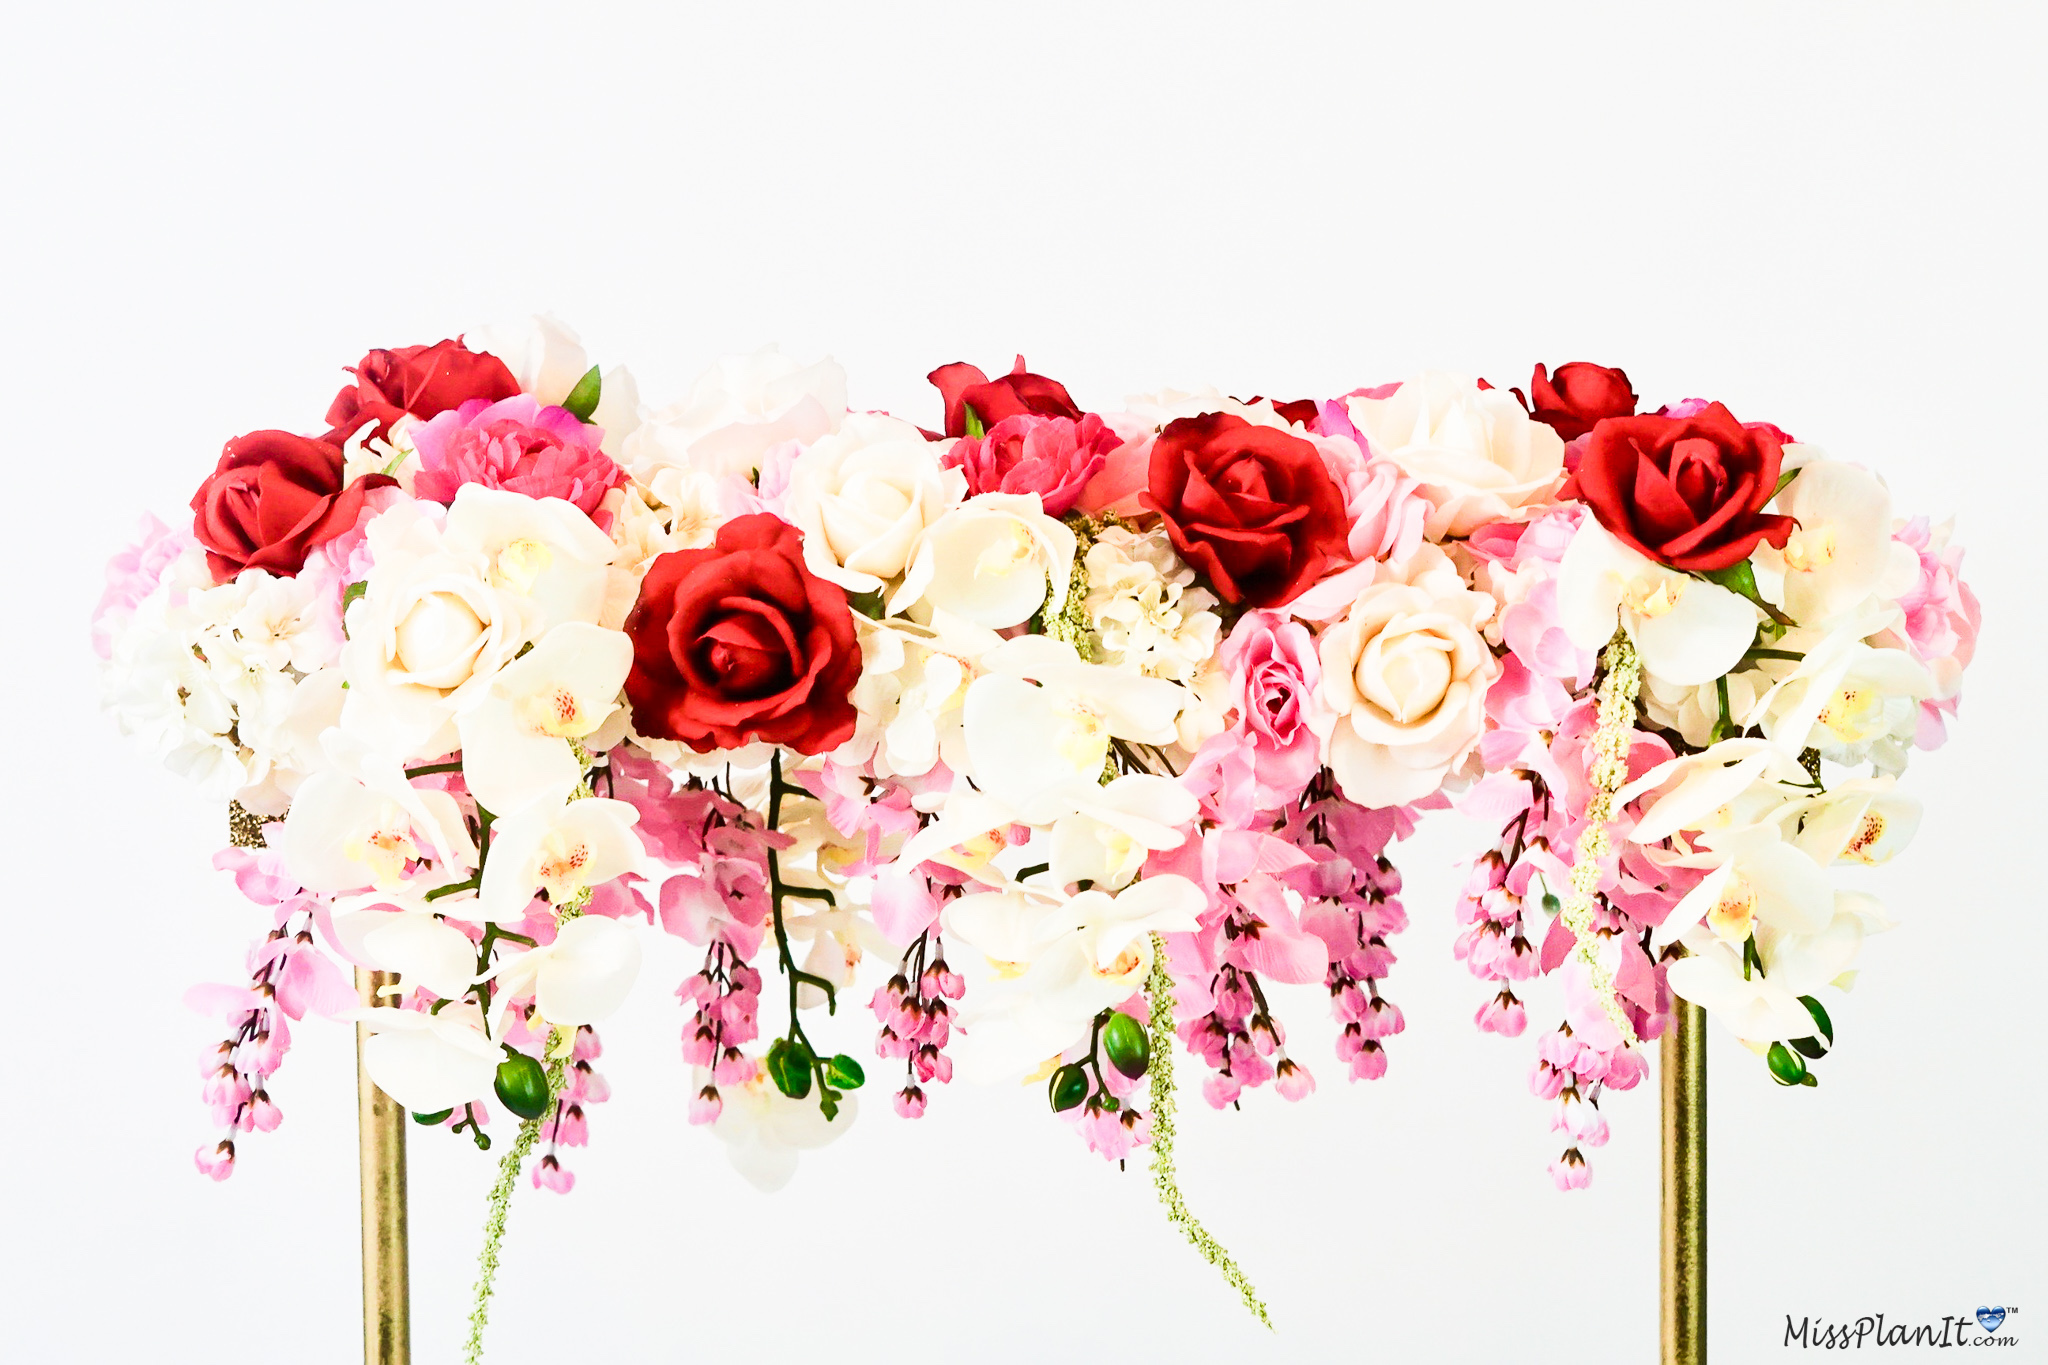
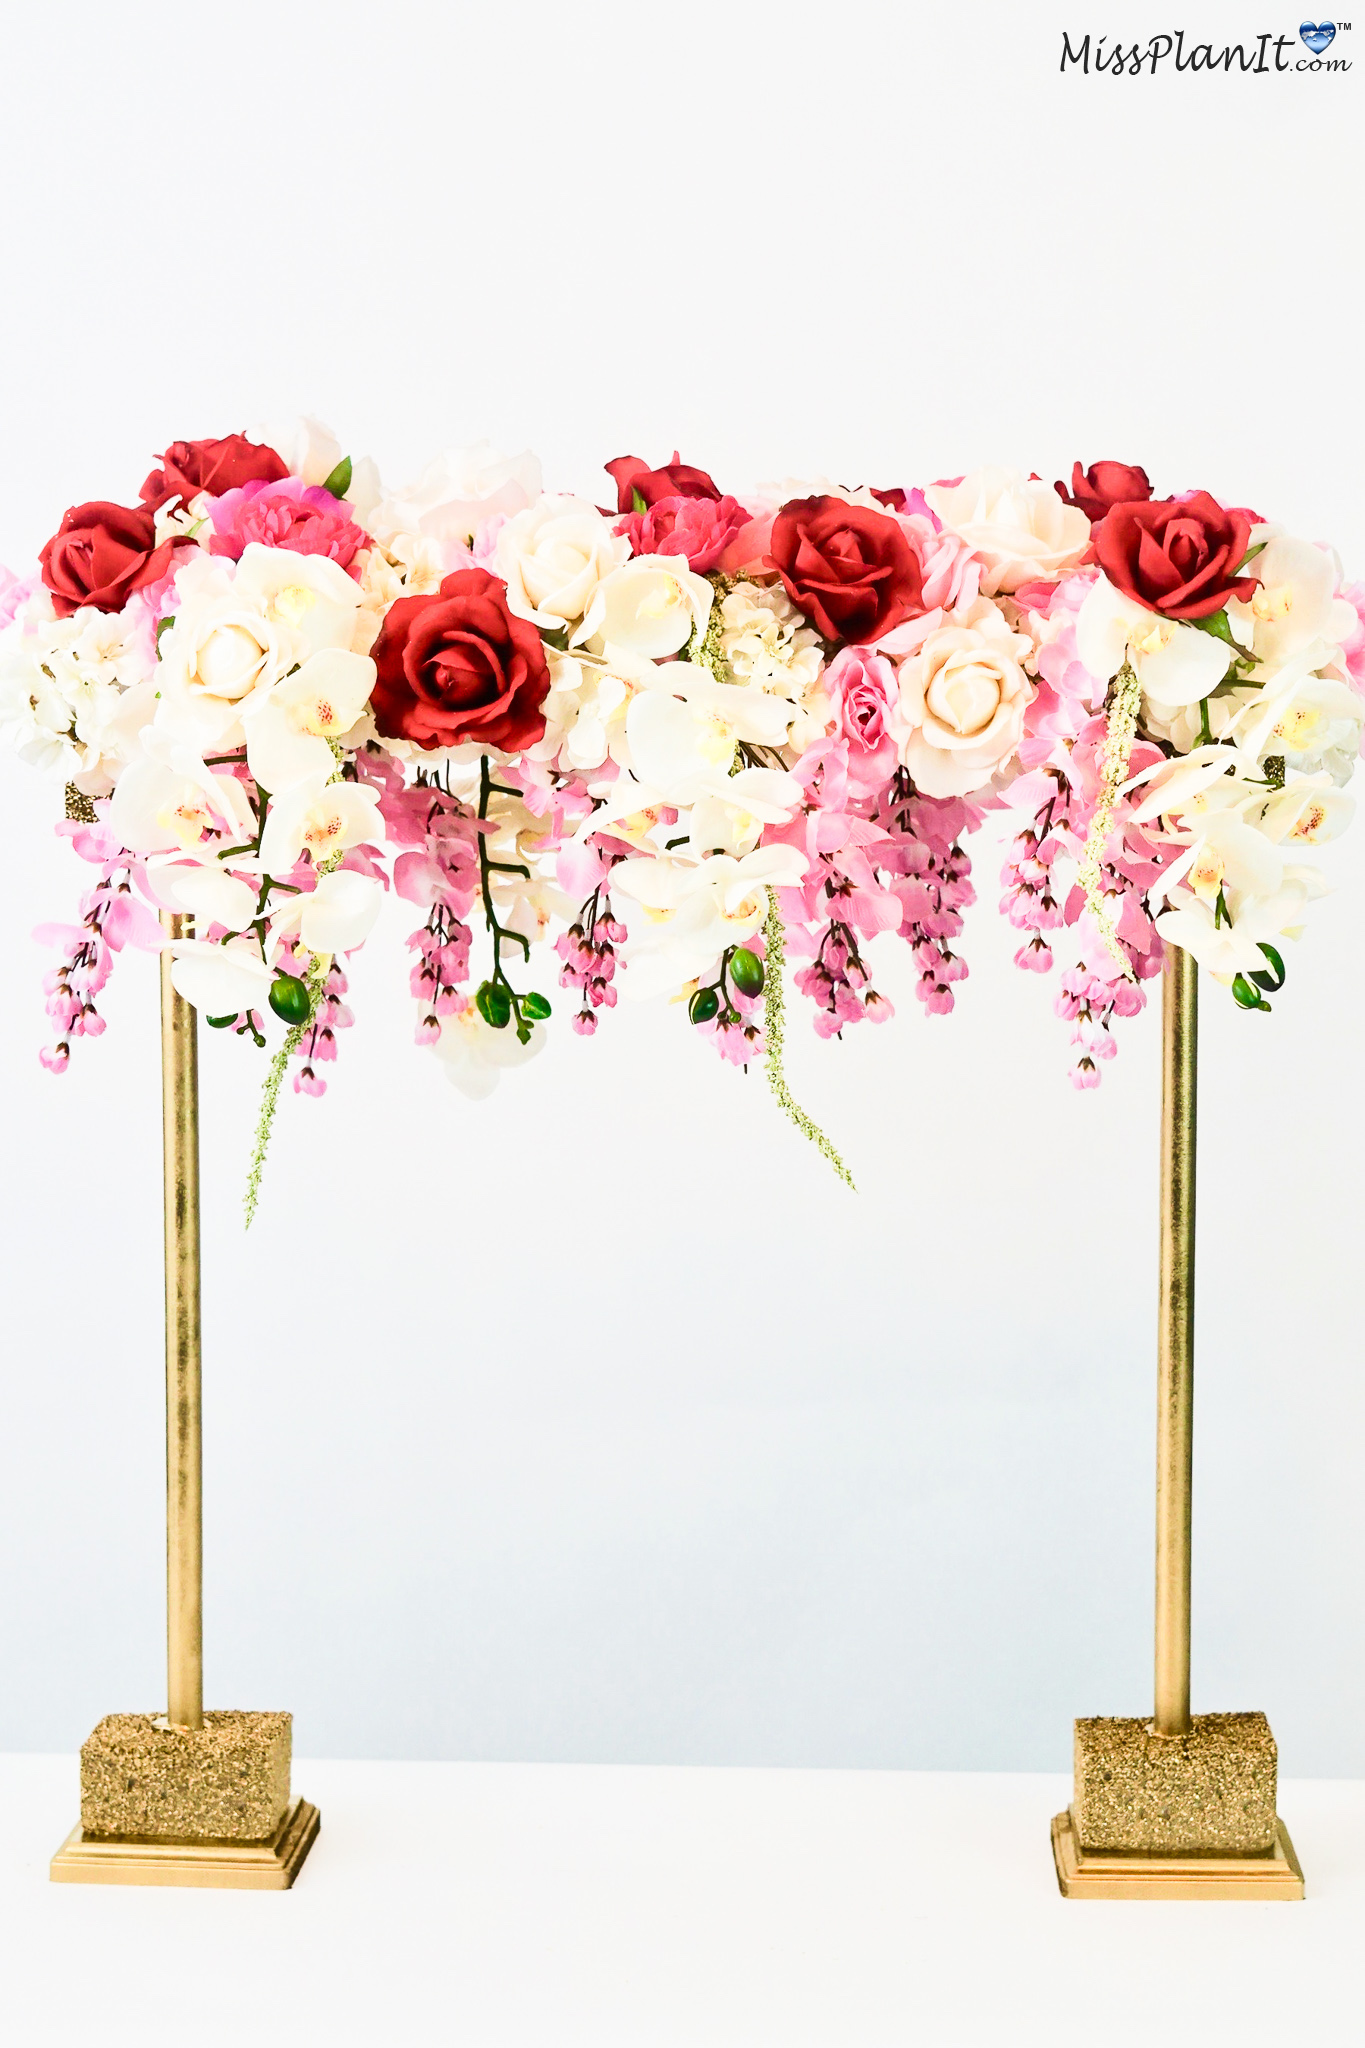
THE FINAL STEP
STEP 7: To the base, attach 12-14 tea roses on each side. Then hang your three terrarium globes to the screw eye hooks. Lastly, add roses in the terrarium globes and connect clear crystal beads to the ends of the terrarium globes.
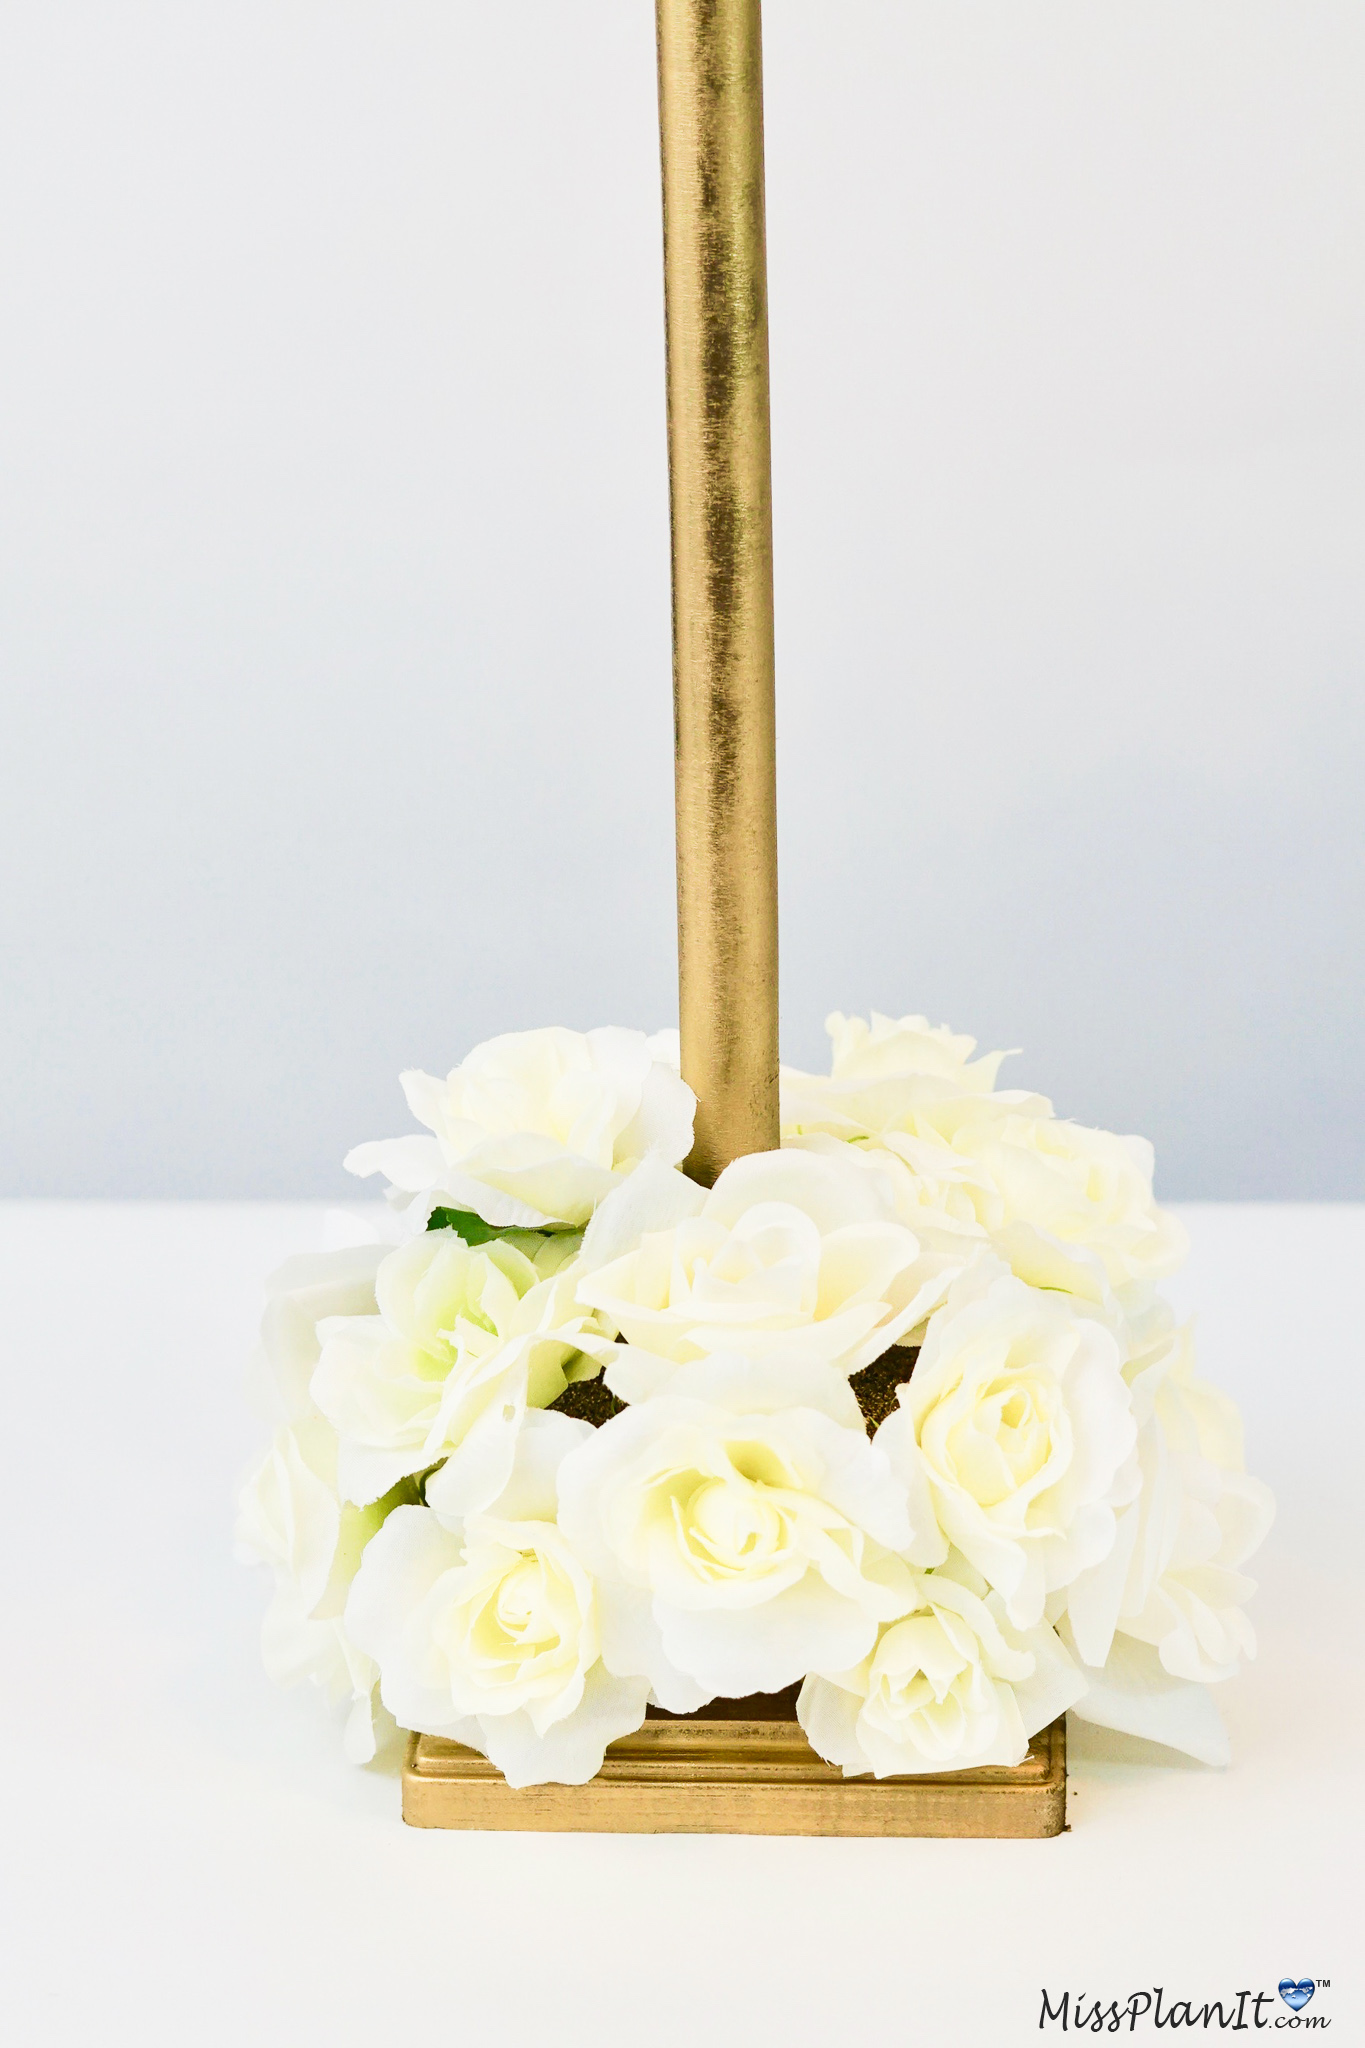
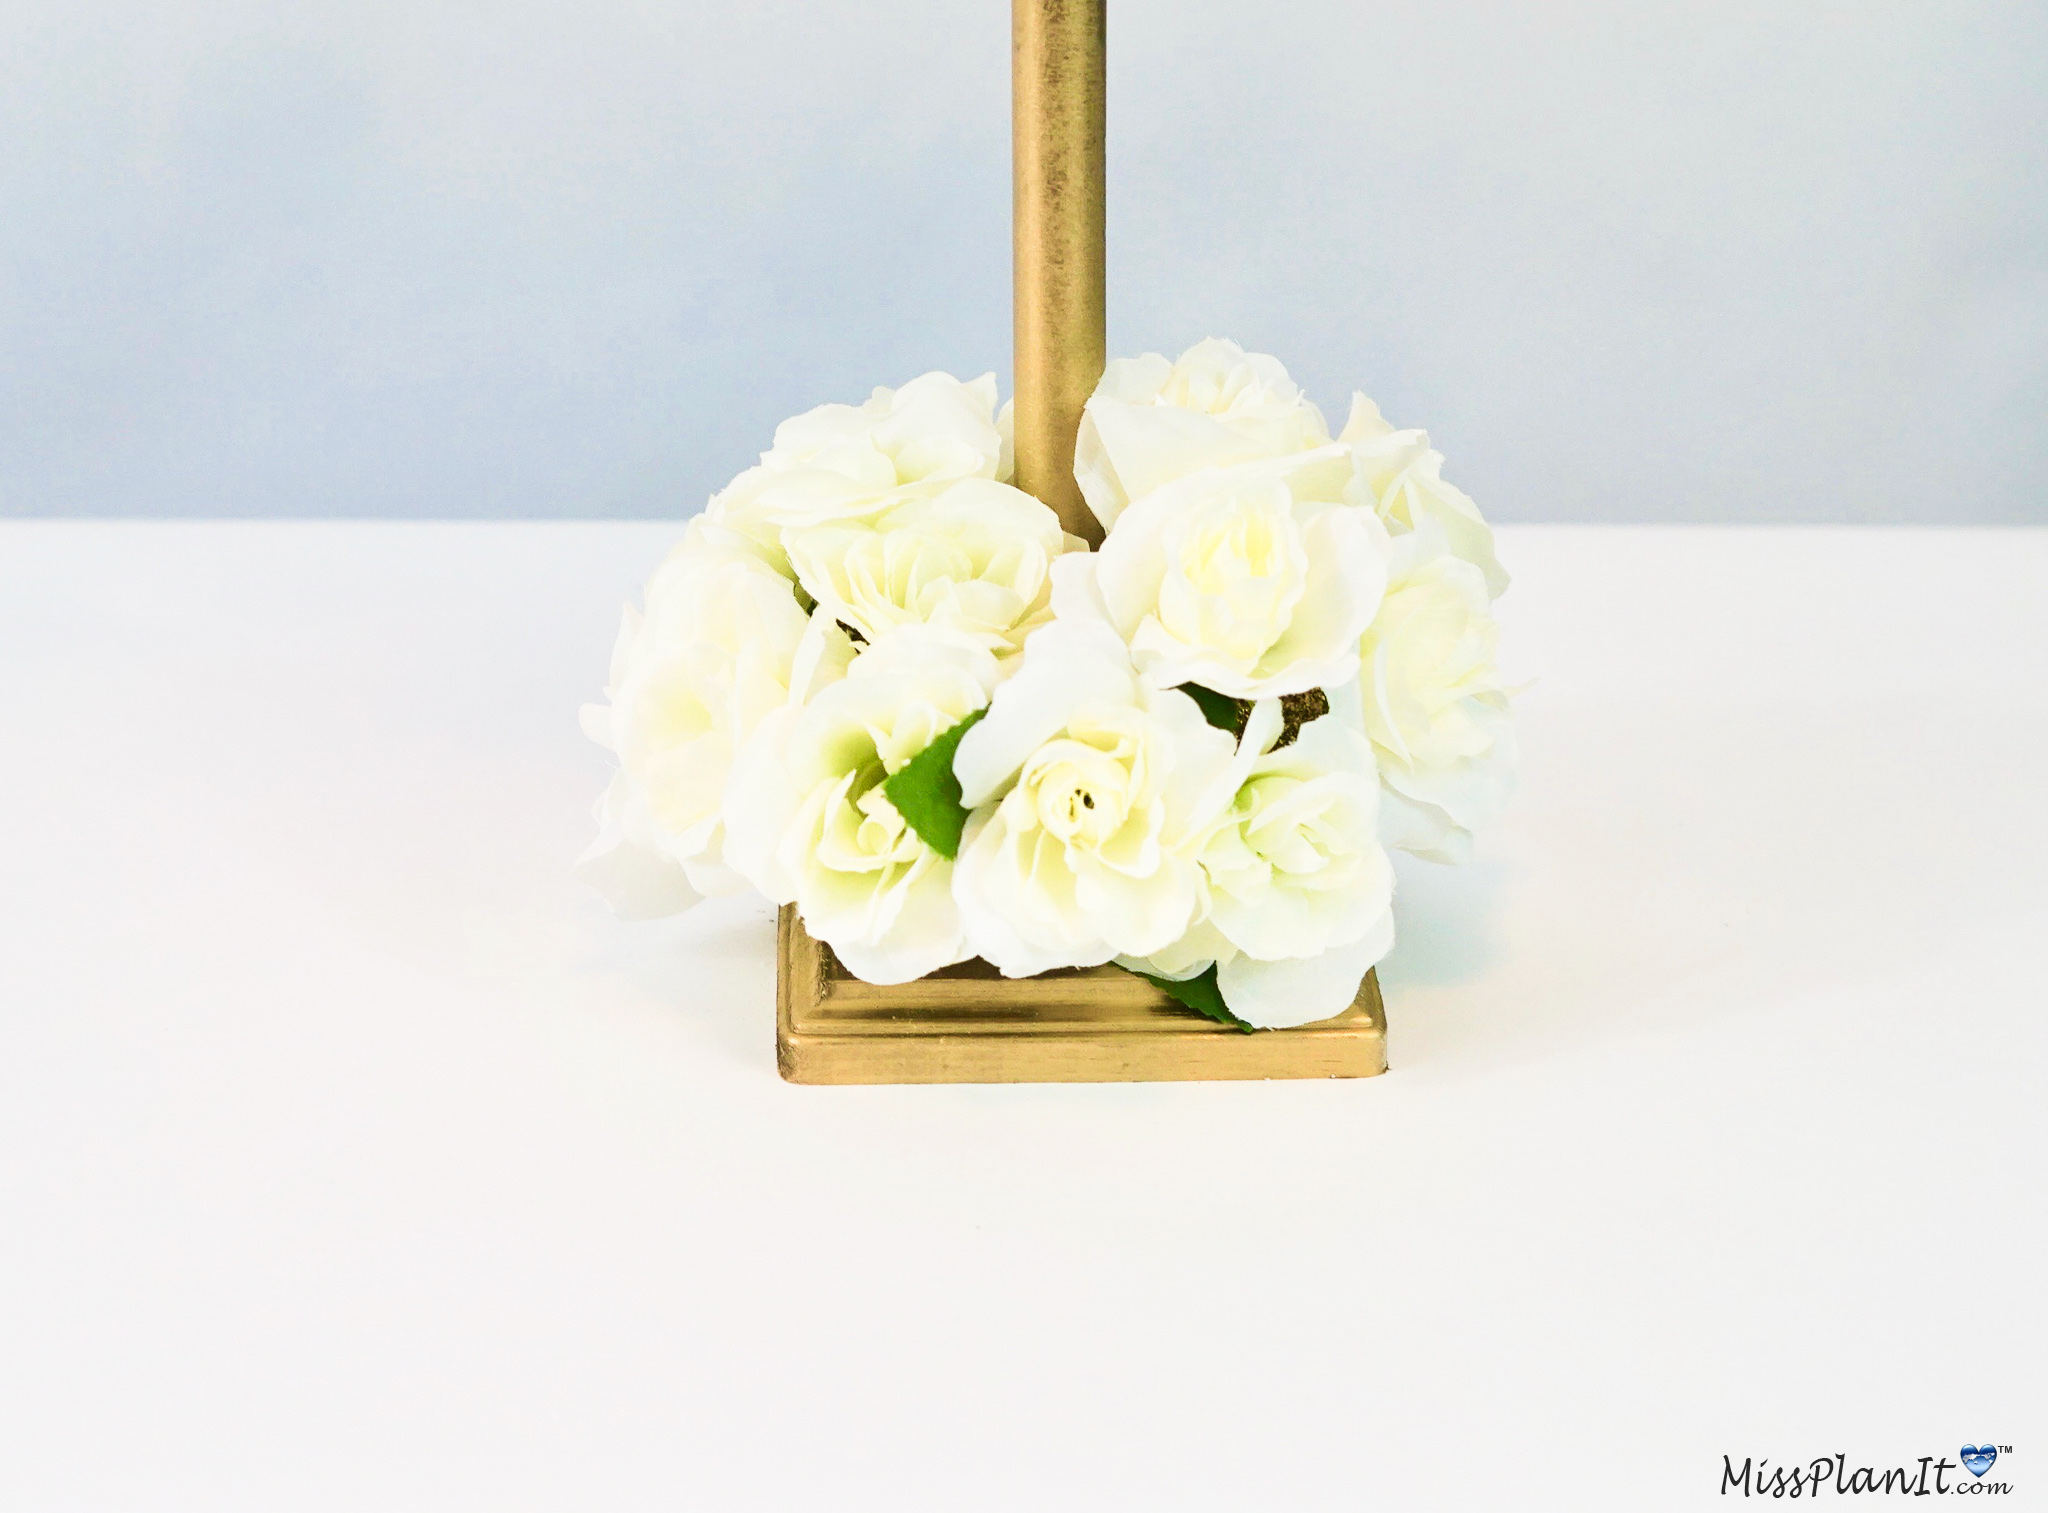
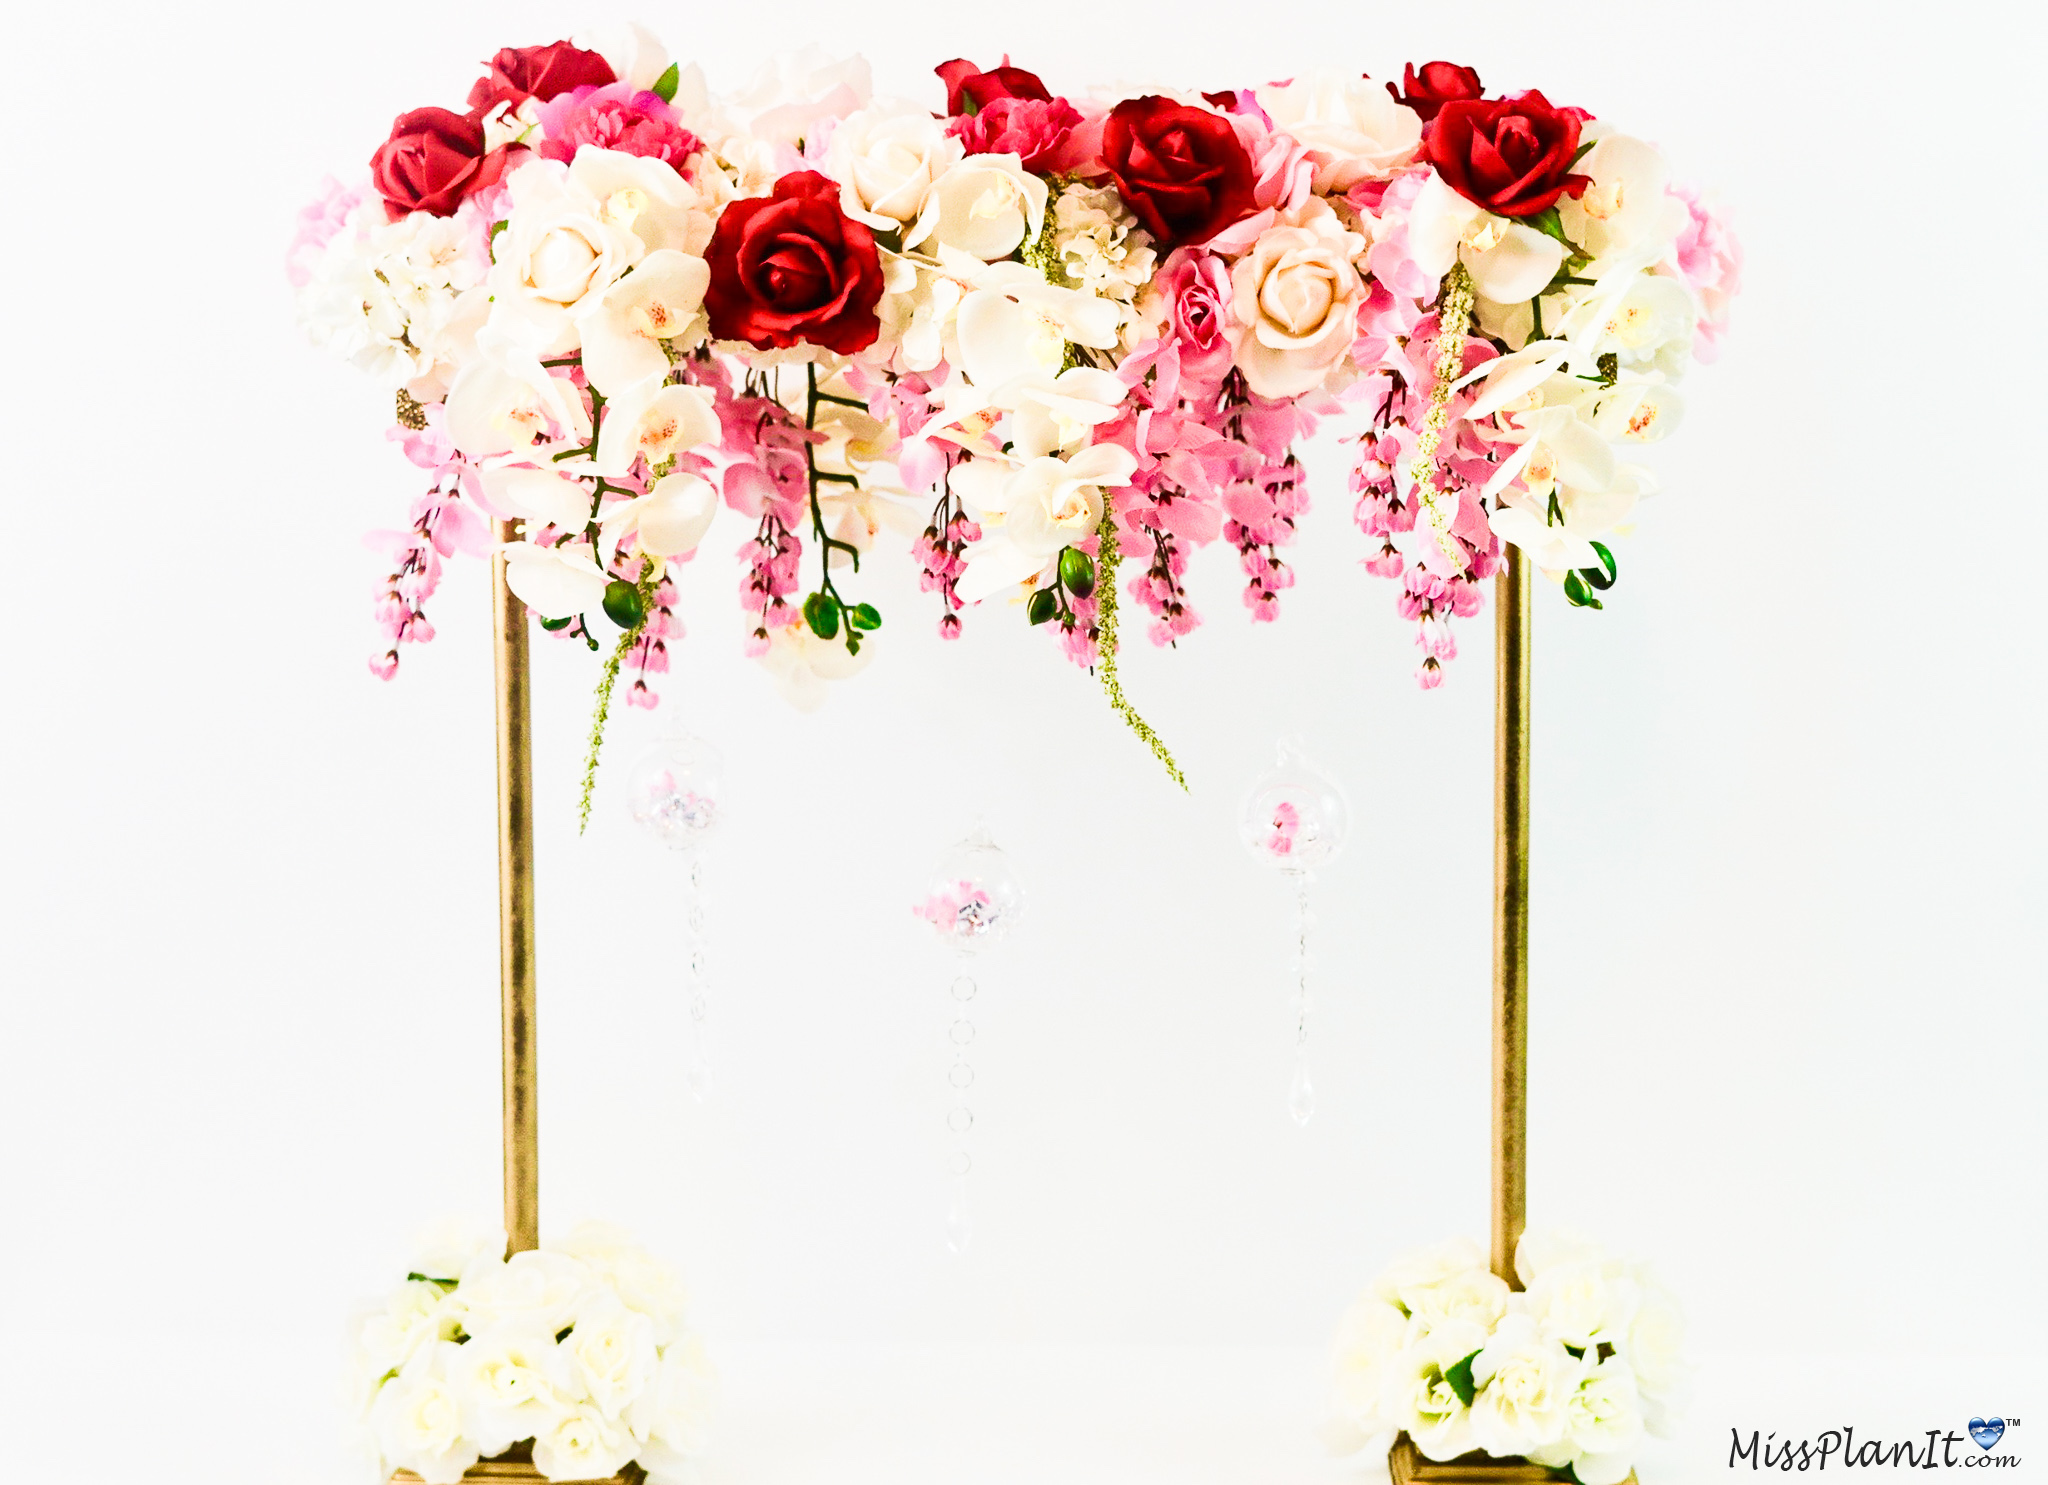

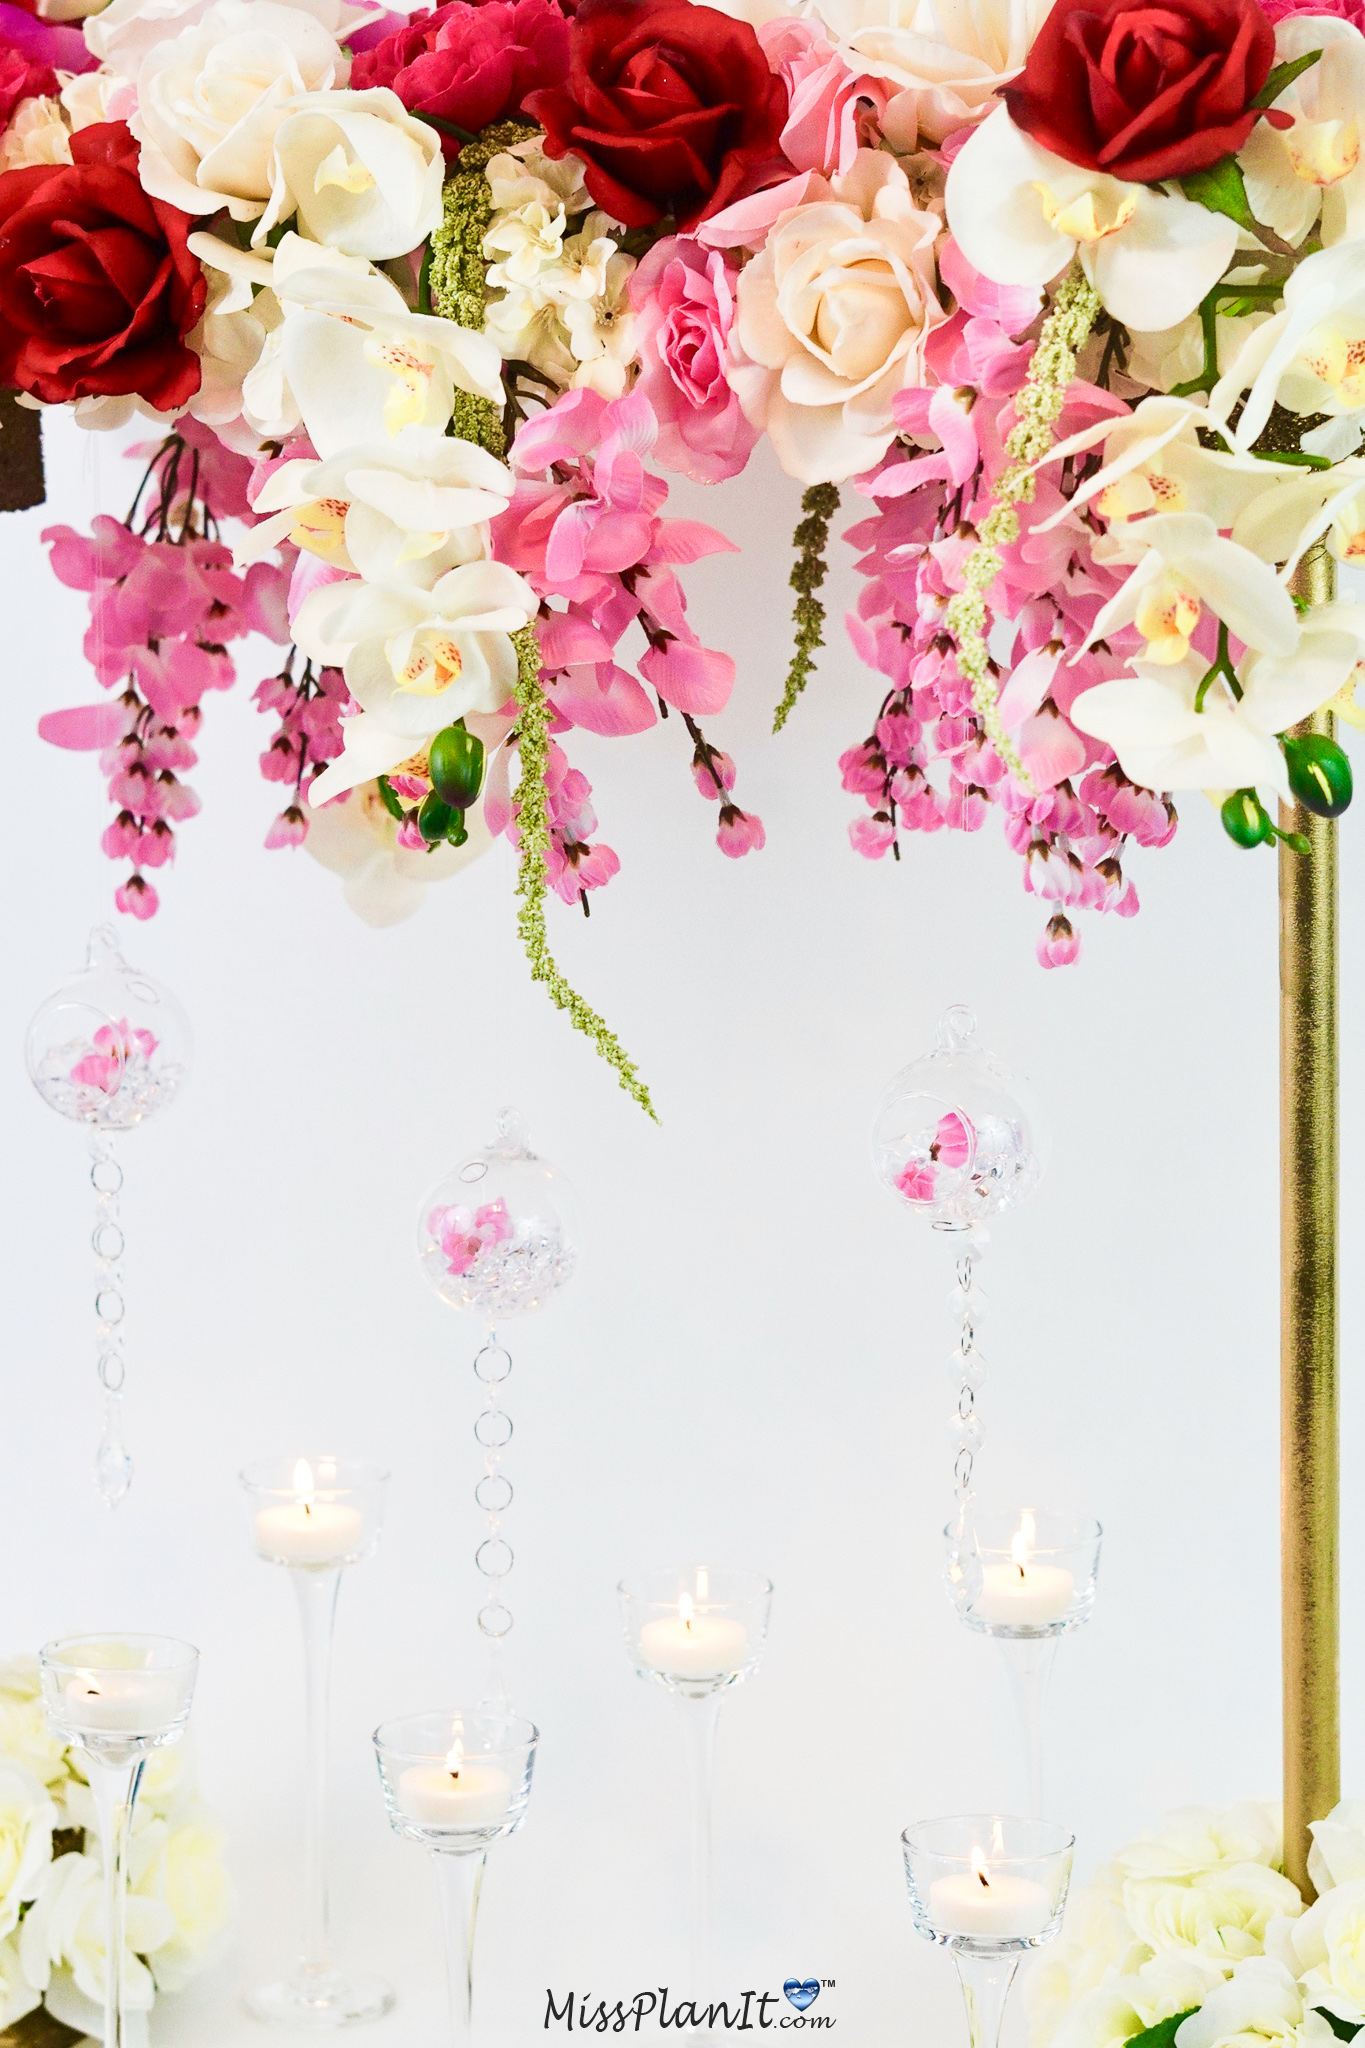
I absolutely love how this Tall Floating Vintage Garden Wedding Centerpiece turned out! The outcome is amazing and definitely gives you an extra special touch to your wedding!
If you like the outcome please subscribe to our Youtube Channel for more DIY Videos and follow us on Facebook and Pinterest.
Need help with an upcoming project? Be sure to send us a project request!
“Remember When Every Penny Counts, Count on MissPlanIt”


Good Afternoon Miss Plan It:
Happy Wedding Wednesday. I ABSOLUTELY LOVE your Channel & Videos and I follow you religiously. I was trying to see what the cost of recreating this Centerpiece was for you once you gathered all your supplies. Where do I find that information at? 🤔
Hello!!! Thank you so much. I appreciate all the love. The total cost was $87.08. Some supplies will cover more than 1 centerpiece. Also the price fluctuates depending on what coupon discounts are available when I purchase all the supplies!