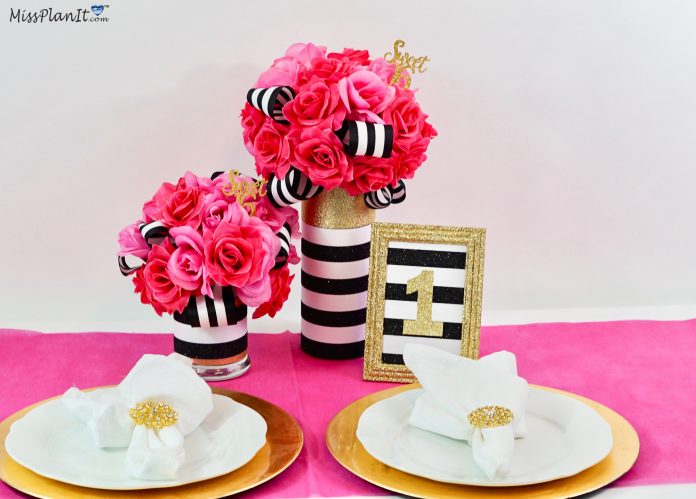
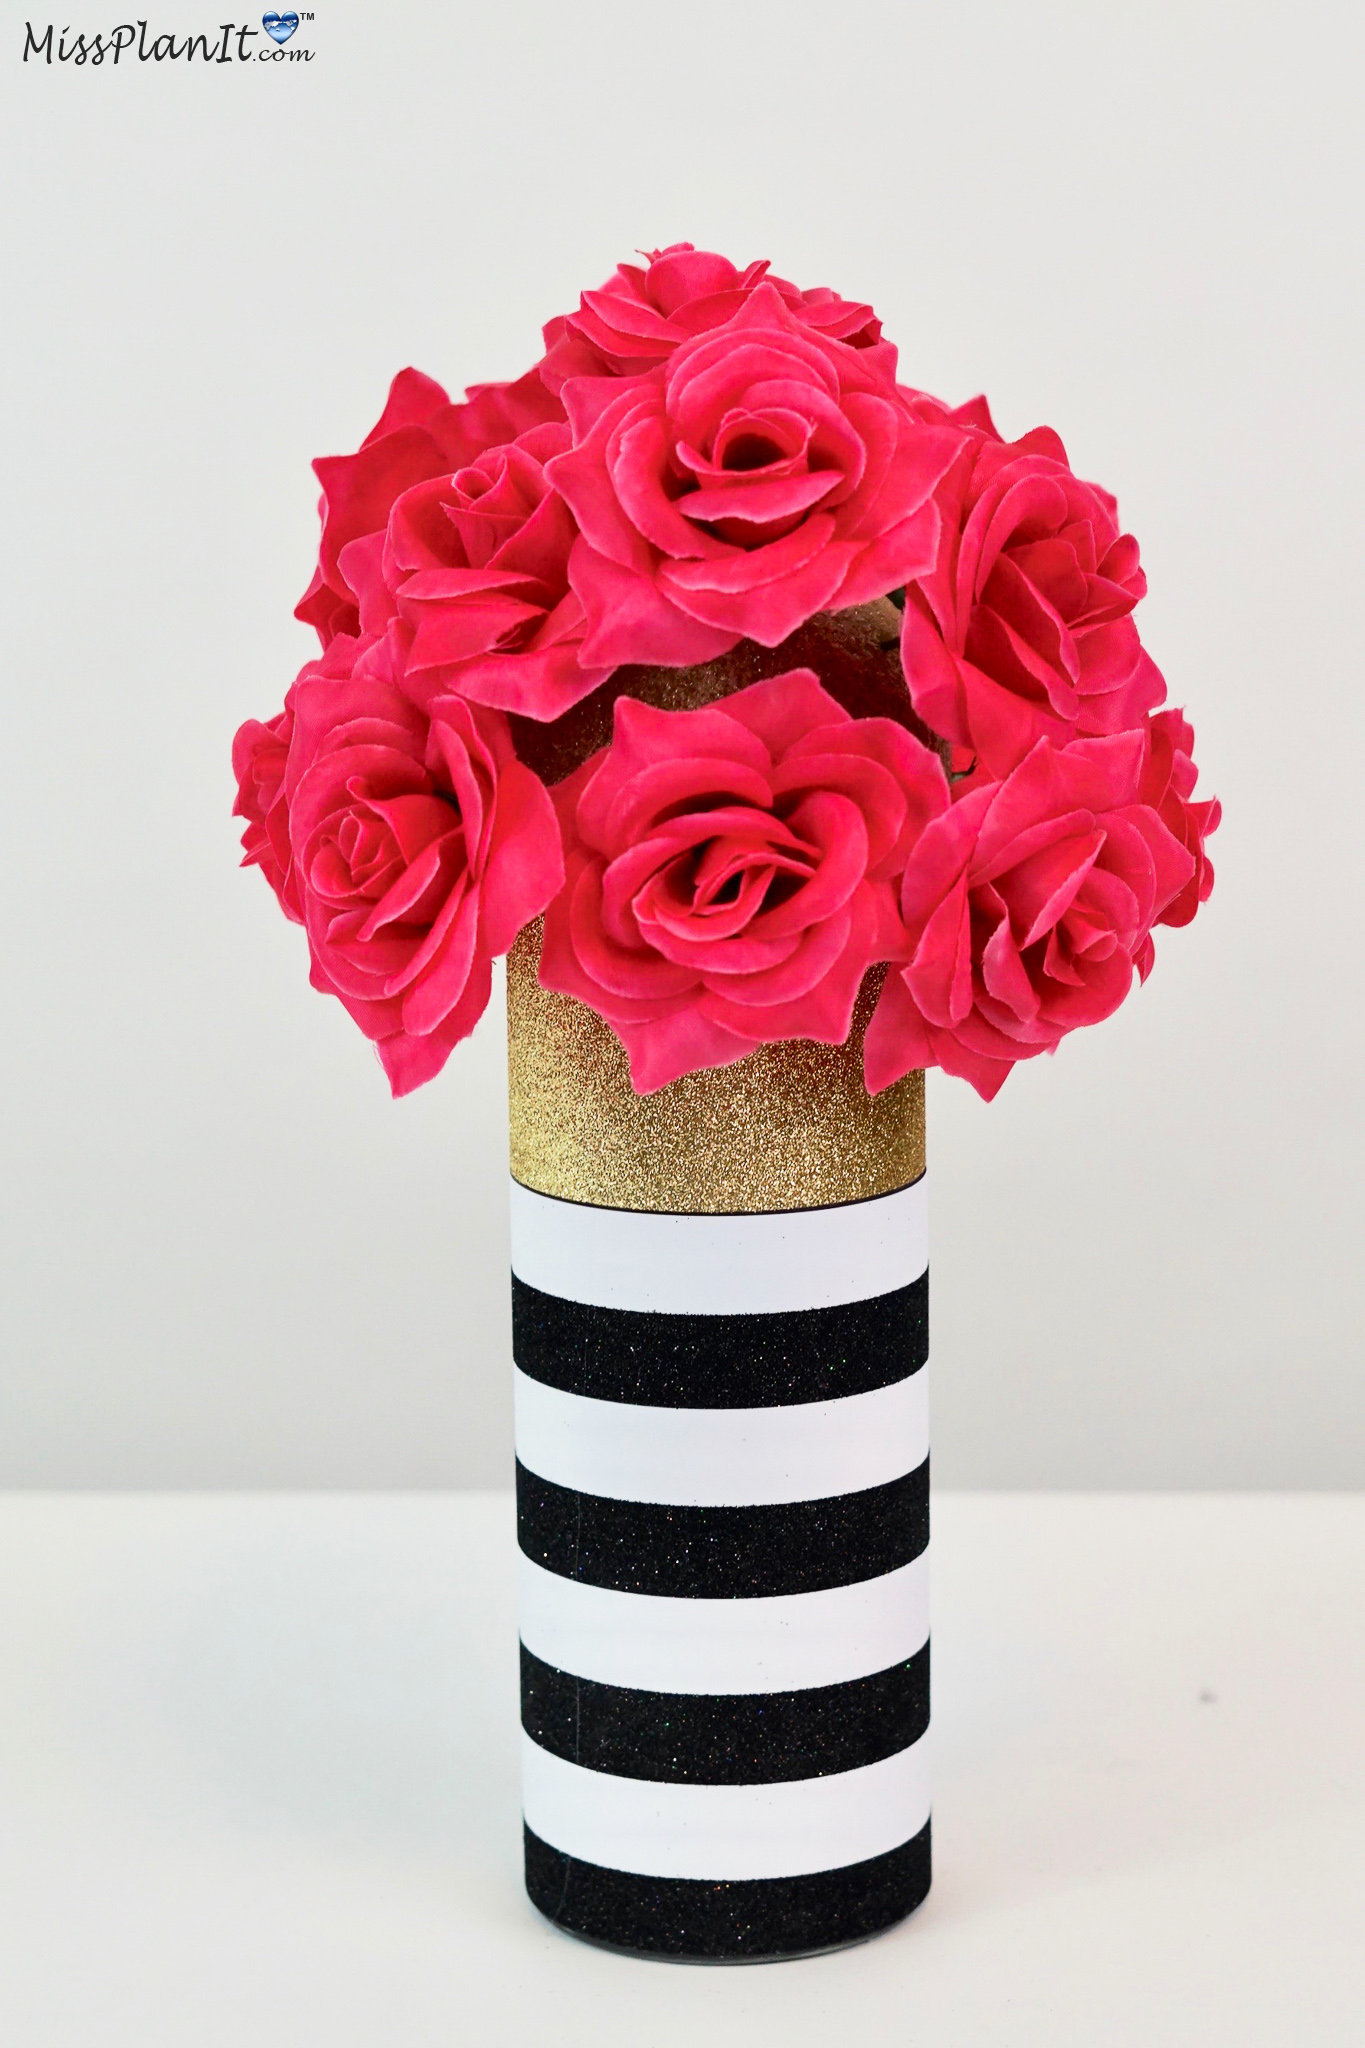
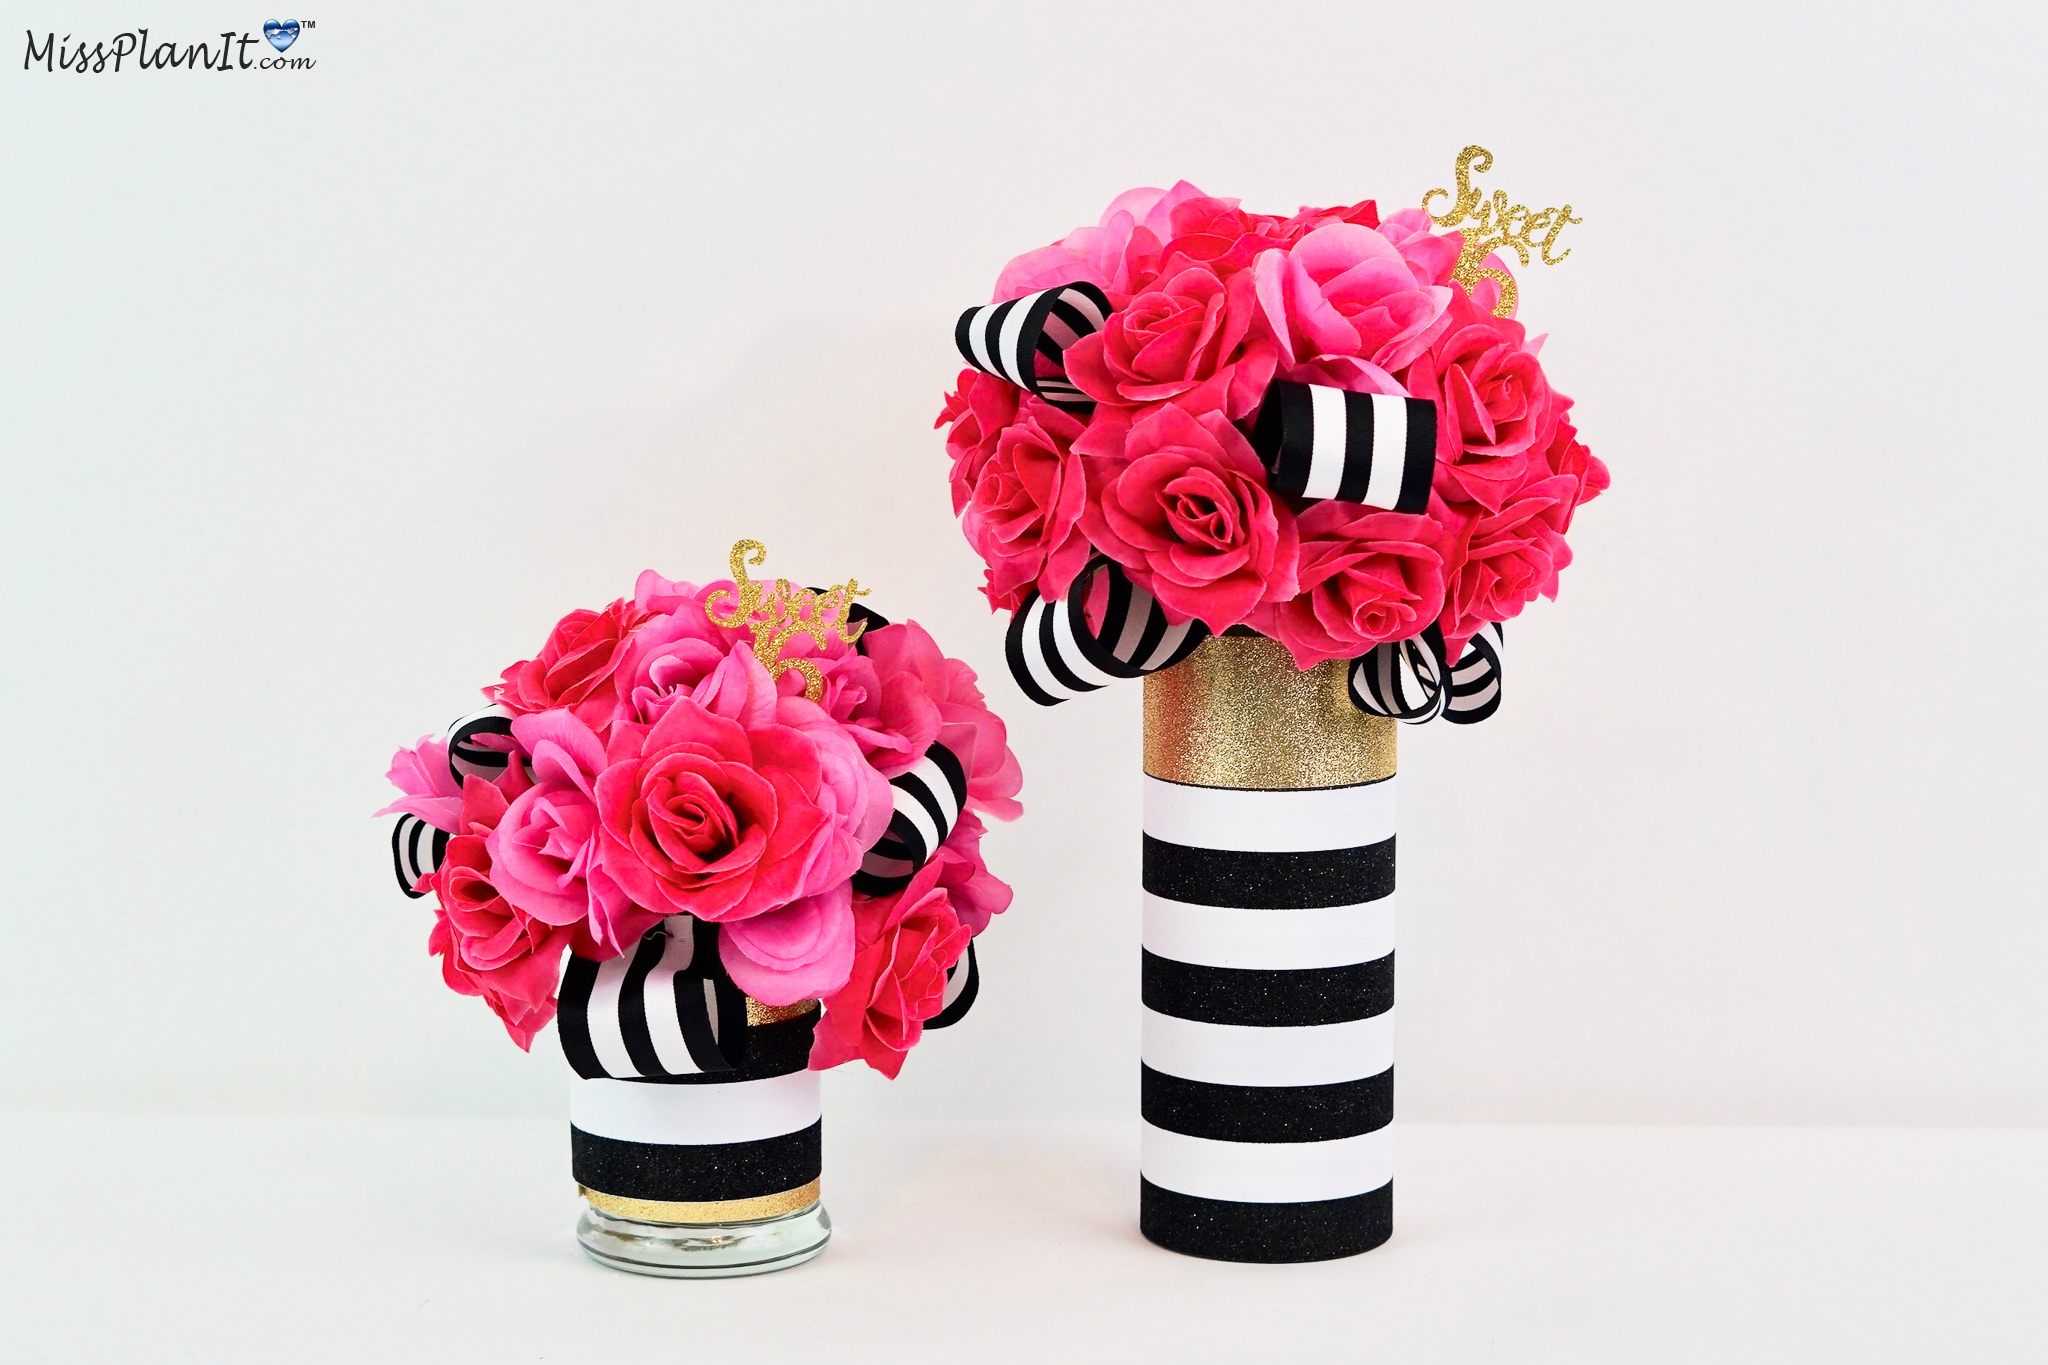
I love all things Kate Spade! The classy and chic look of the Kate Spade style is perfect for any event. Whether you are planning a Sweet 16 birthday party, bridal shower, or a wedding. This project request came from a mom planning her daughter’s sweet 16 birthday party. So today not only are we going to create beautiful Sweet 16 Kate Spade decorations, but we are going to do this Kate Spade Inspired Party on a budget. Yes, I am using a $1 nine inch vase, a $1 four inch vase, and a $1 picture frame all from the Dollar Tree. However, if you were making this for any other event, you would simply not add the sweet 16 topper. You are going to absolutely adore how this all turns out. So let’s get started! For video instructions, please check out the video tutorial below!
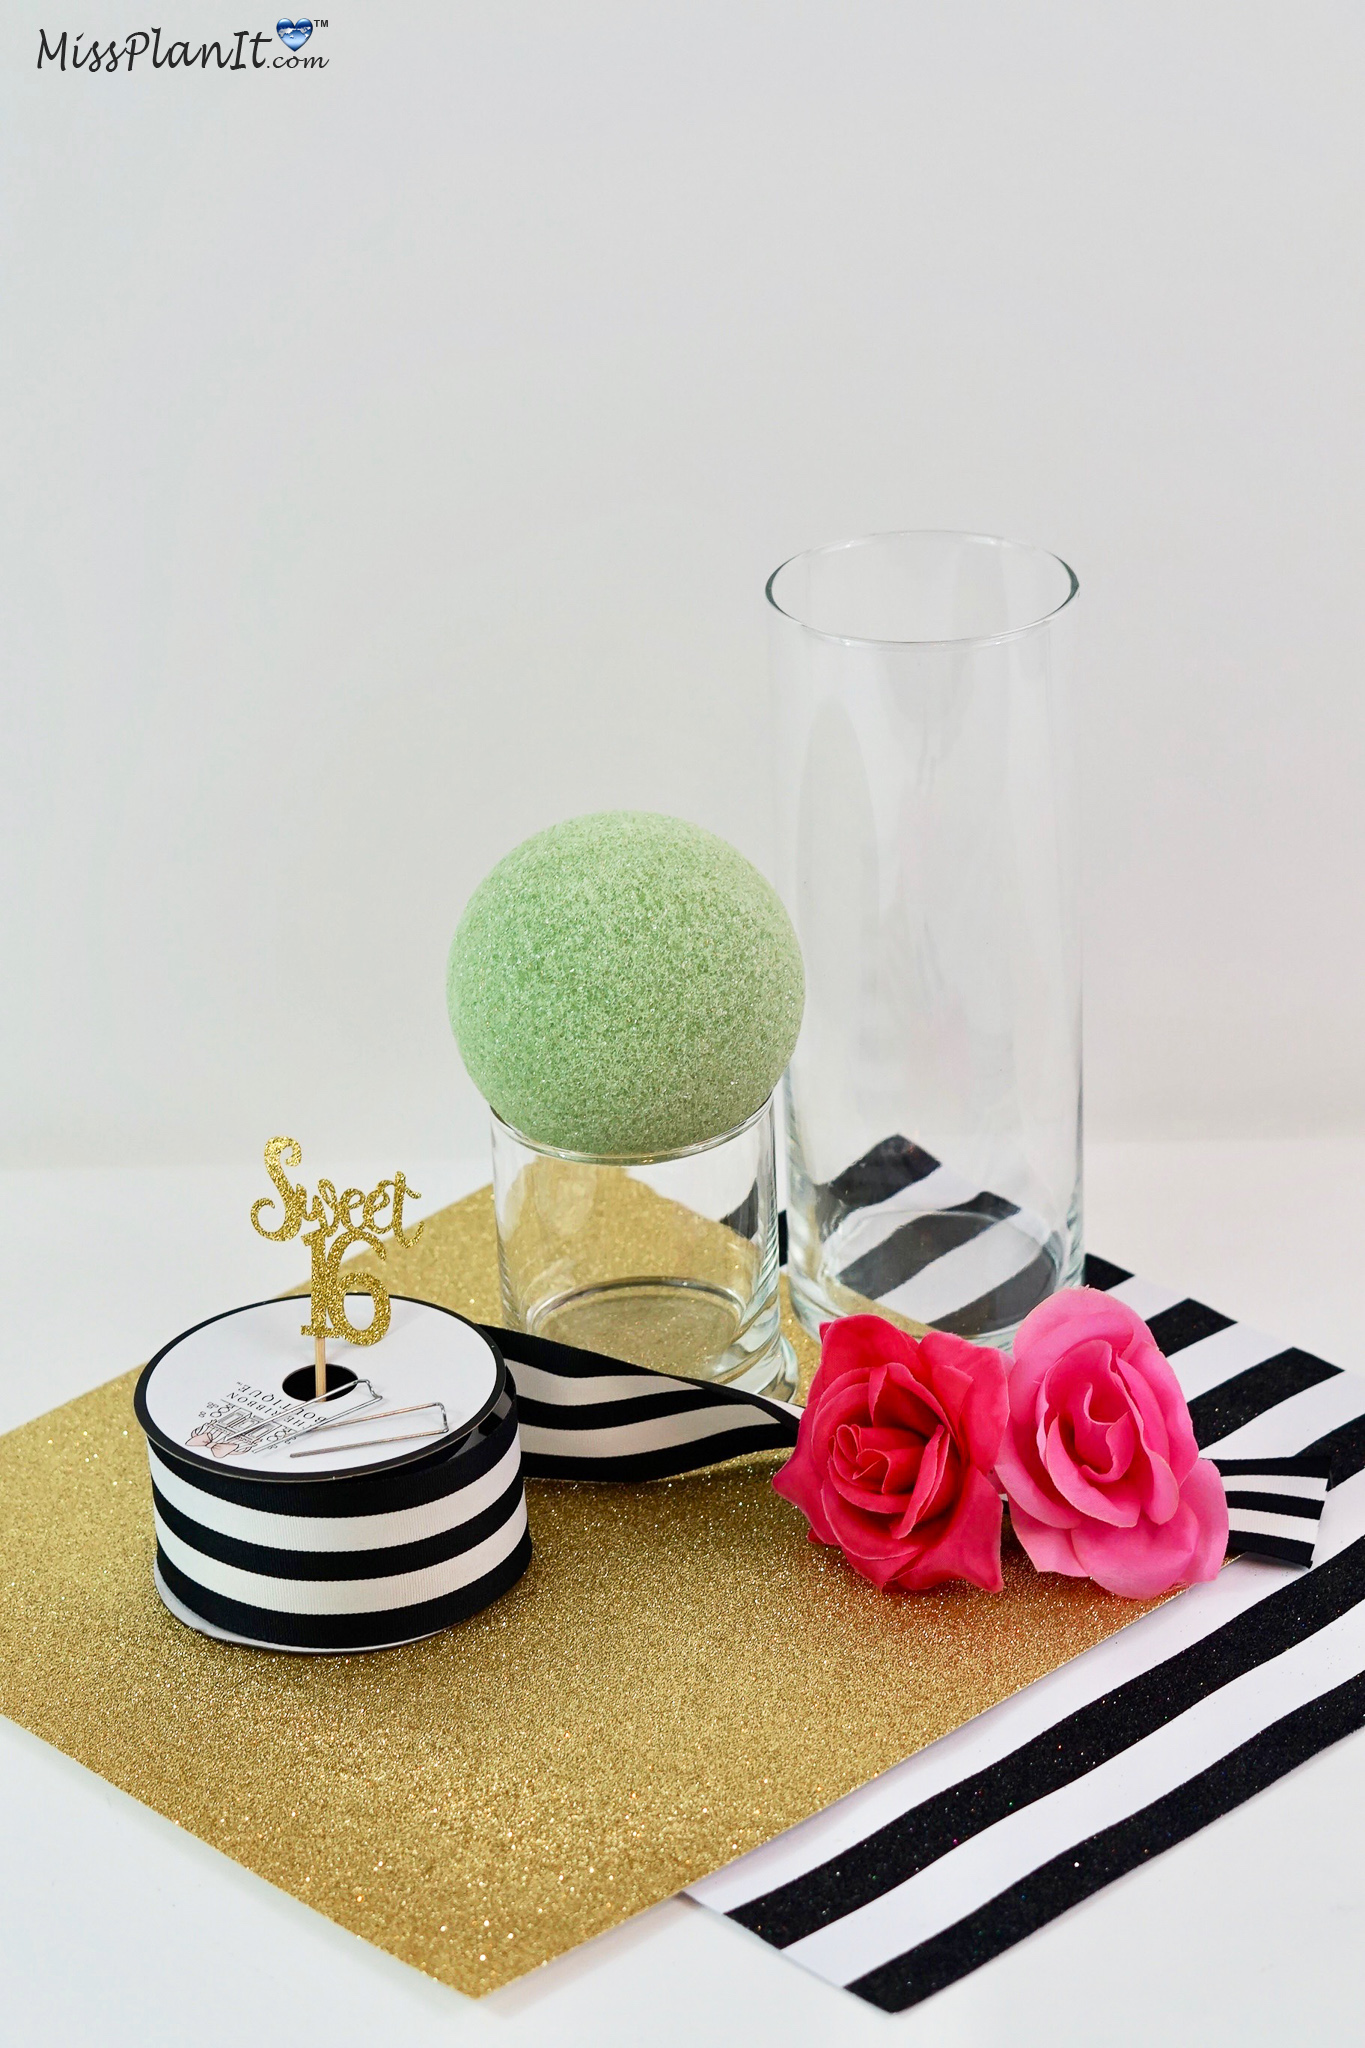
SUPPLIES:
Glass Cylinder Vases, 9 in.
Rocks Glass Candleholders, 4 in.
7-Stem Artificial Rose Bushes, 17 in.
Black & White Striped Wired Edge Grosgrain Ribbon – 2″
White & Black Glitter Stripe Scrapbook Paper – 12″ x 12″
Gold Solid Glitter Scrapbook Paper – 12″ x 12″
Green Styrofoam Balls – 4″
Floral Pins
Gold Glitter Sweet 16 Cupcake Toppers Handcrafted 16th Birthday Party Decors
OPTIONAL: FRAMED TABLE NUMBER AND PLACE SETTING
Gold Extra Fine Glitter – 2 Ounce
Black & White Glitter Stripe Scrapbook Paper – 12″ x 12″
Gold Glitter XL Uppercase Alphabet Stickers
Special Moments Two-Tone Matted Photo Frames, 4×6 in.
Mod Podge Matte Craft Adhesive, 2-oz. Bottles
Gold Plastic Charger Plates with Beaded Rims, 13 in.
Royal Norfolk White Round Stoneware Side Plates, 7.5 in.
For written instructions, please continue reading below:
How To Make a DIY Kate Spade Inspired Sweet 16 Birthday Centerpiece
Directions:
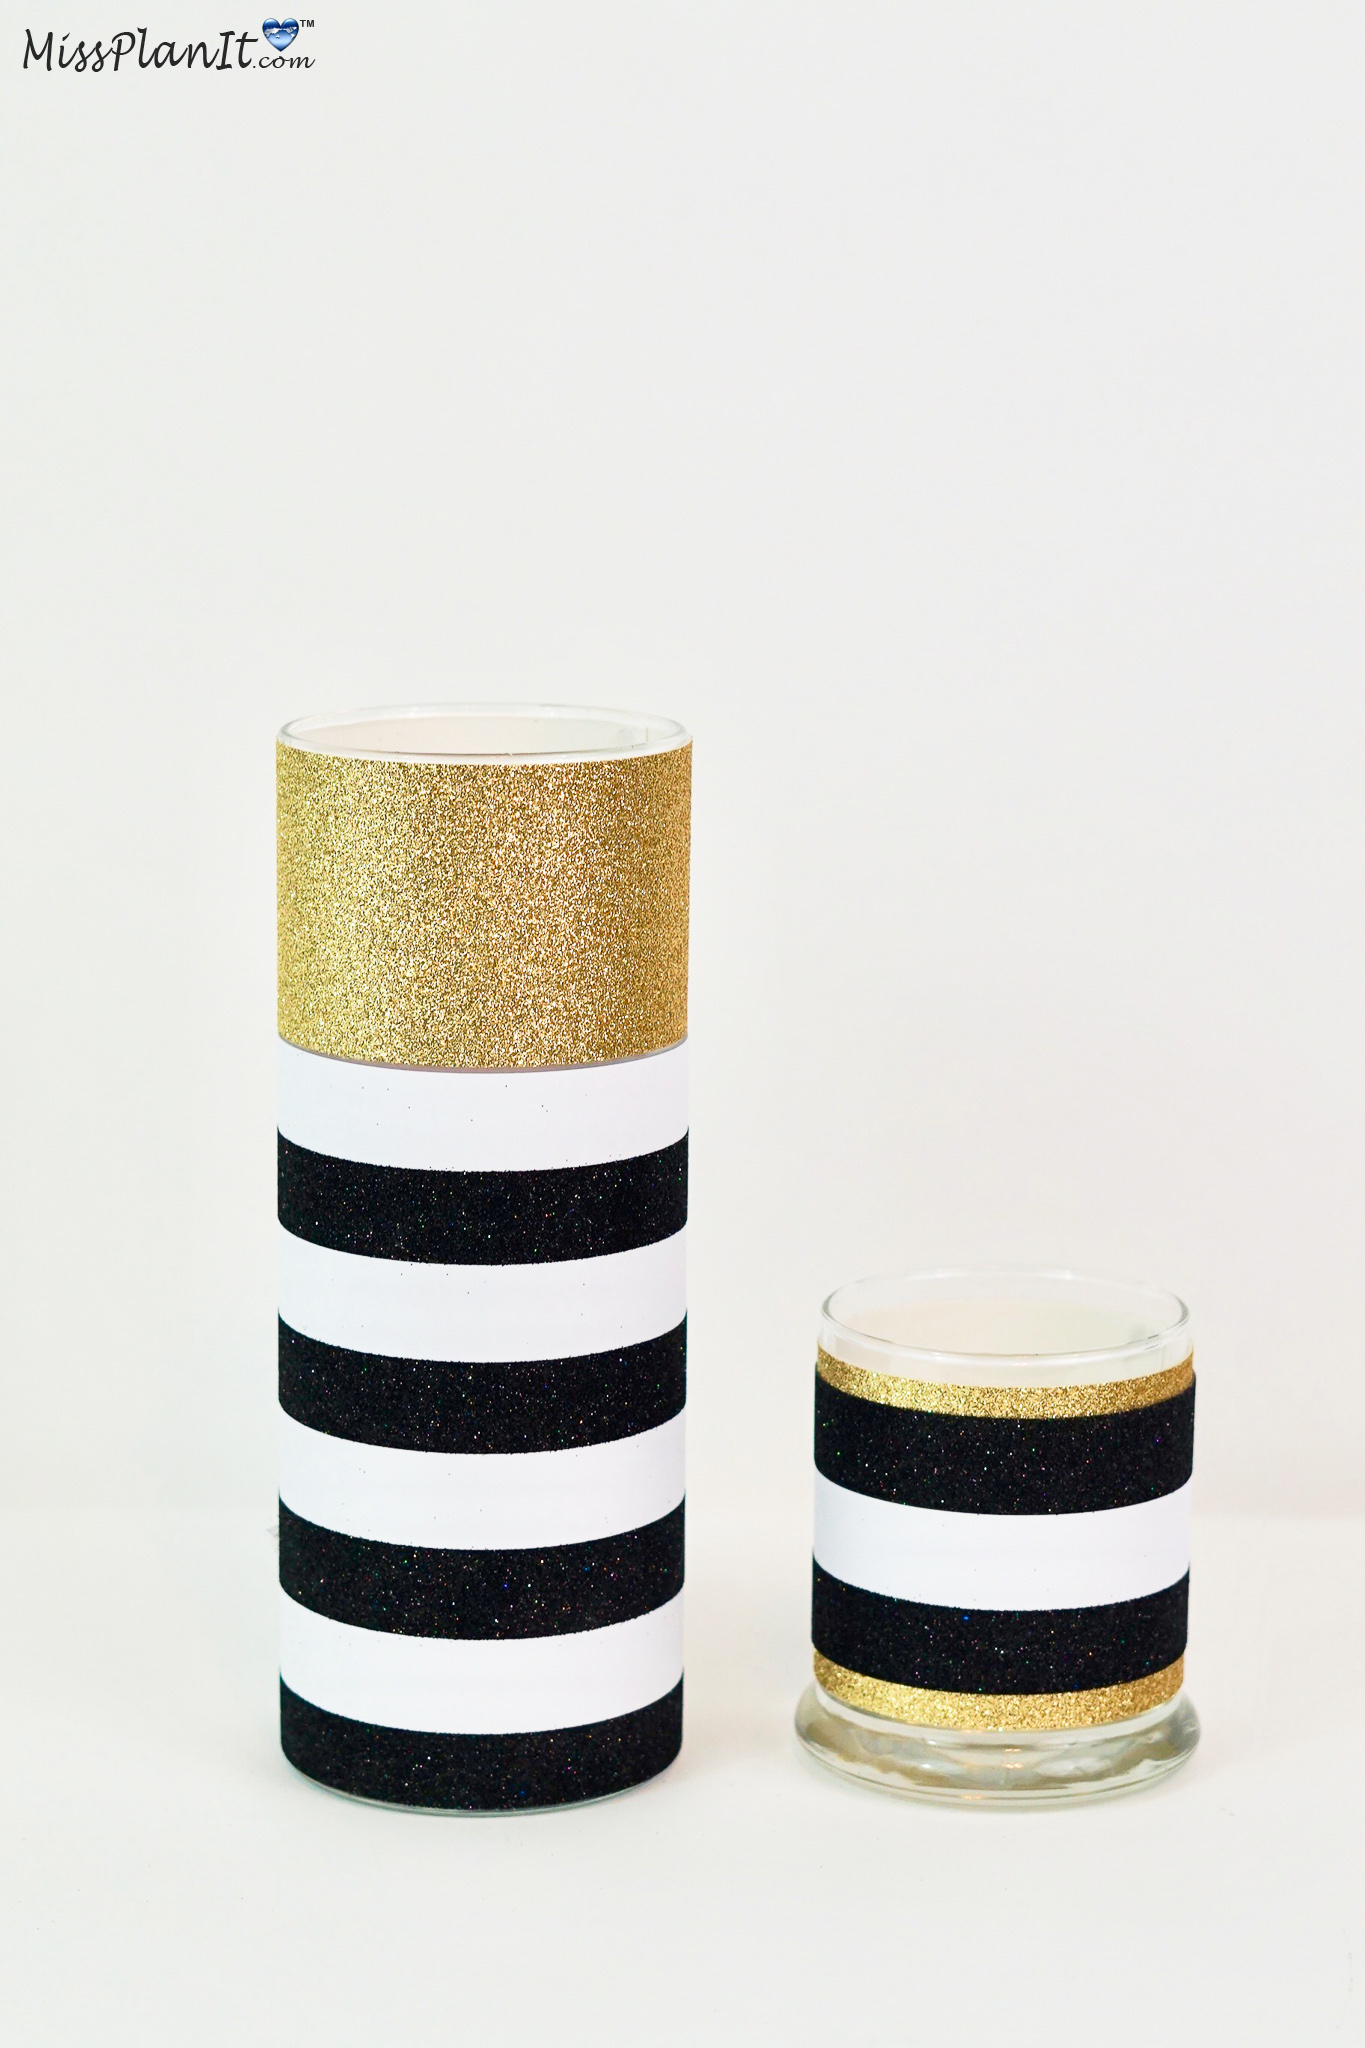
STEP 1: Cut the black and white glitter paper to 5 inches and then hot glue it to the bottom half of the 9 inch vase. Next cut the gold paper to 3 inches and hot glue it to the top of the 9 inch vase. Repeat the same step to the 4 inch vase. First wrap the black and white paper and then the gold paper around the vase and measure it. Once it is measured, cut both pieces of paper and hot glue the gold paper first and then the white and black paper on top.
Tip: I used a paper cutter to cut the paper. Using a paper cutter gives you a professional clean cut!
Create the Ribbon Petals
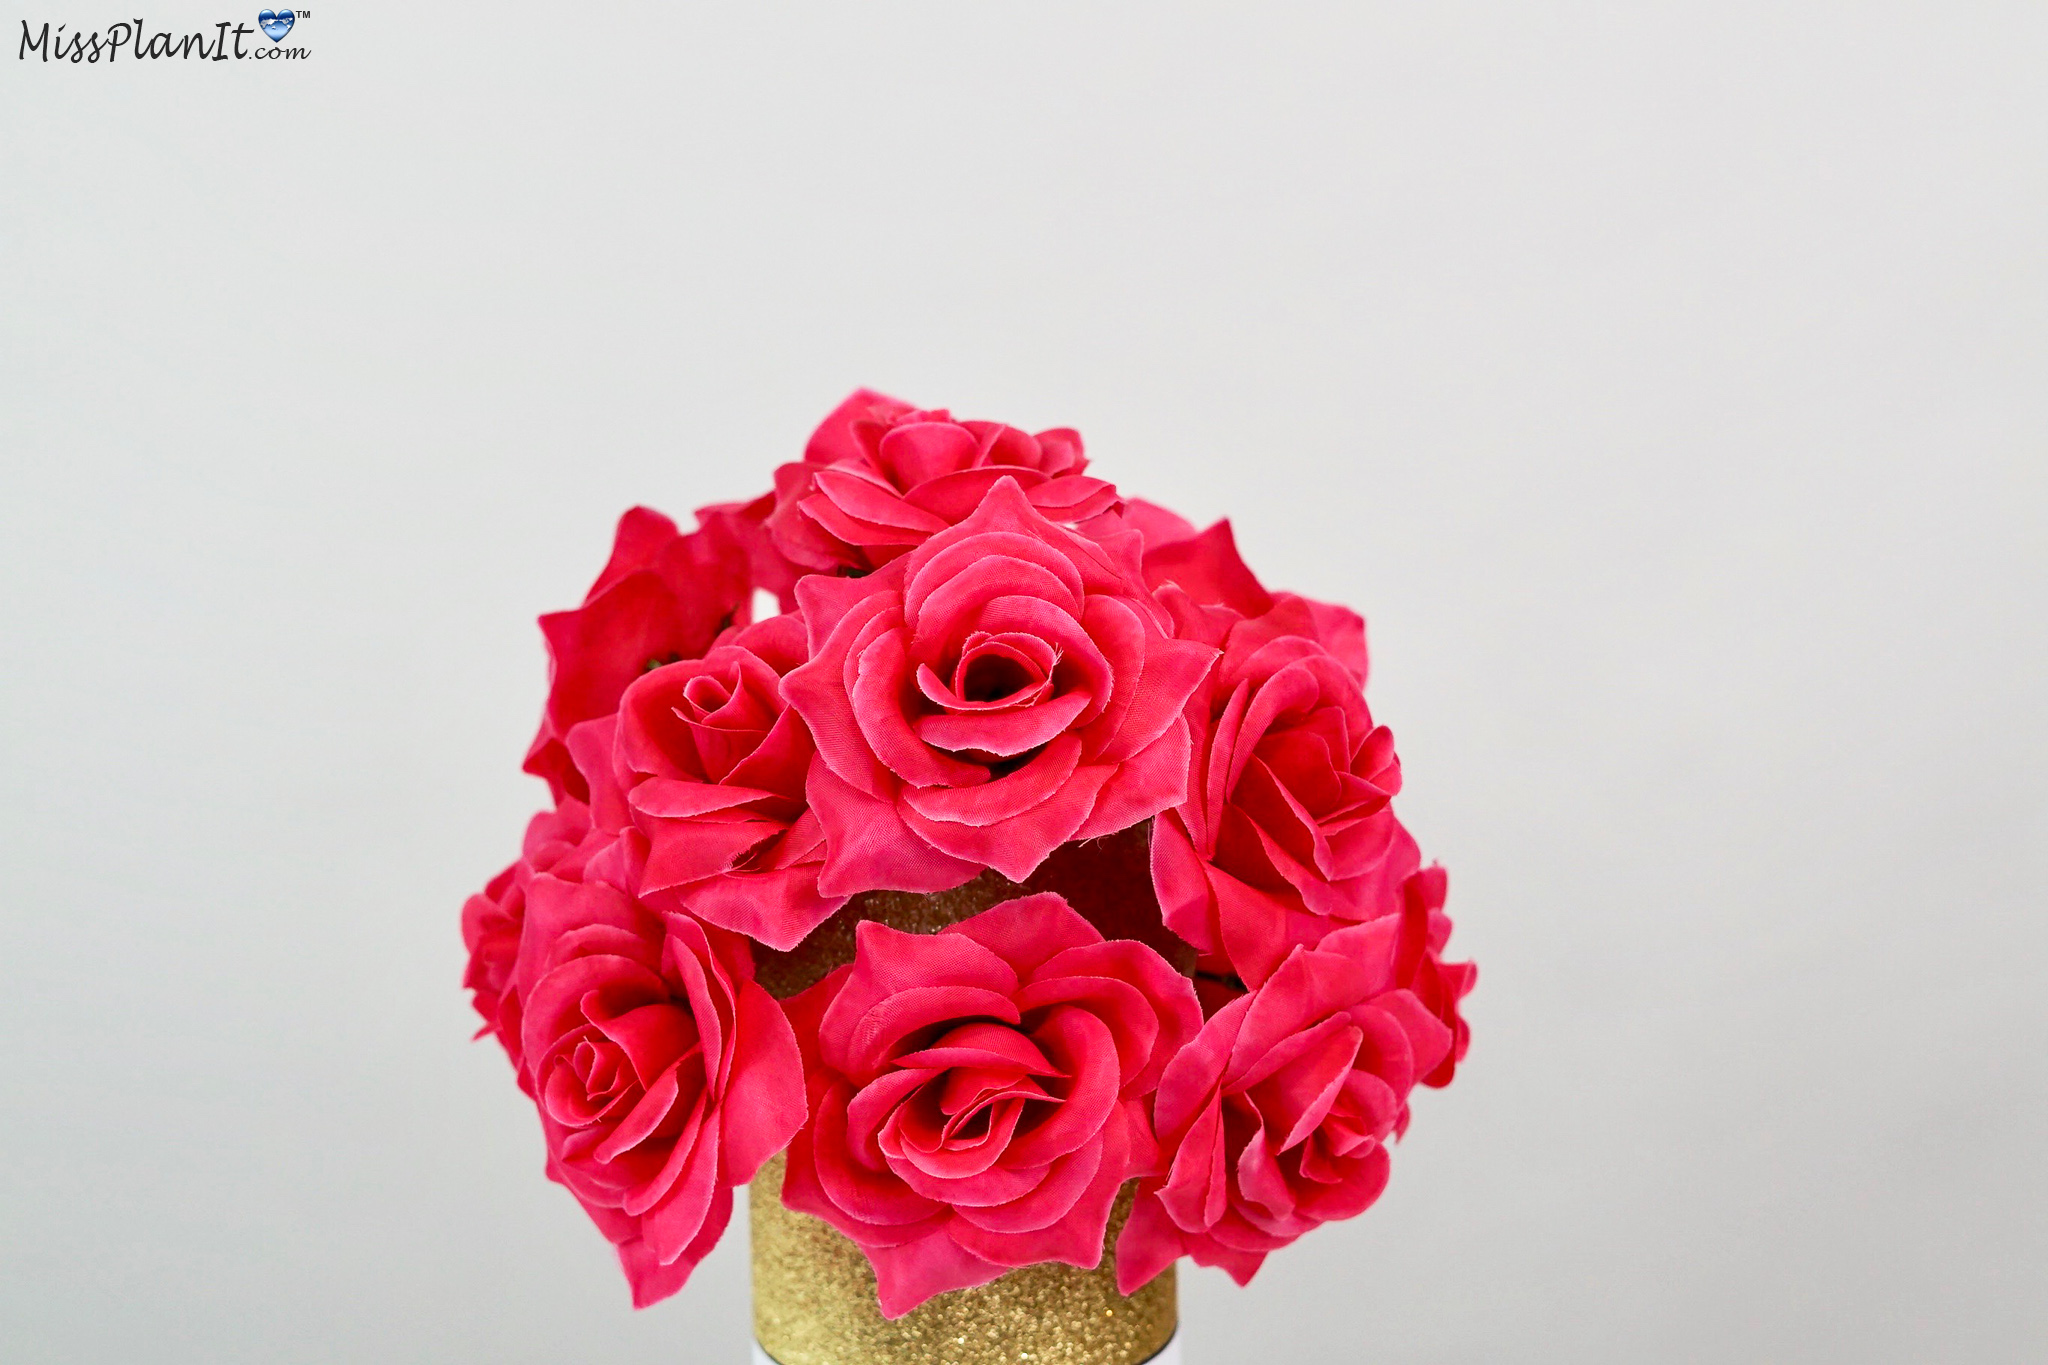
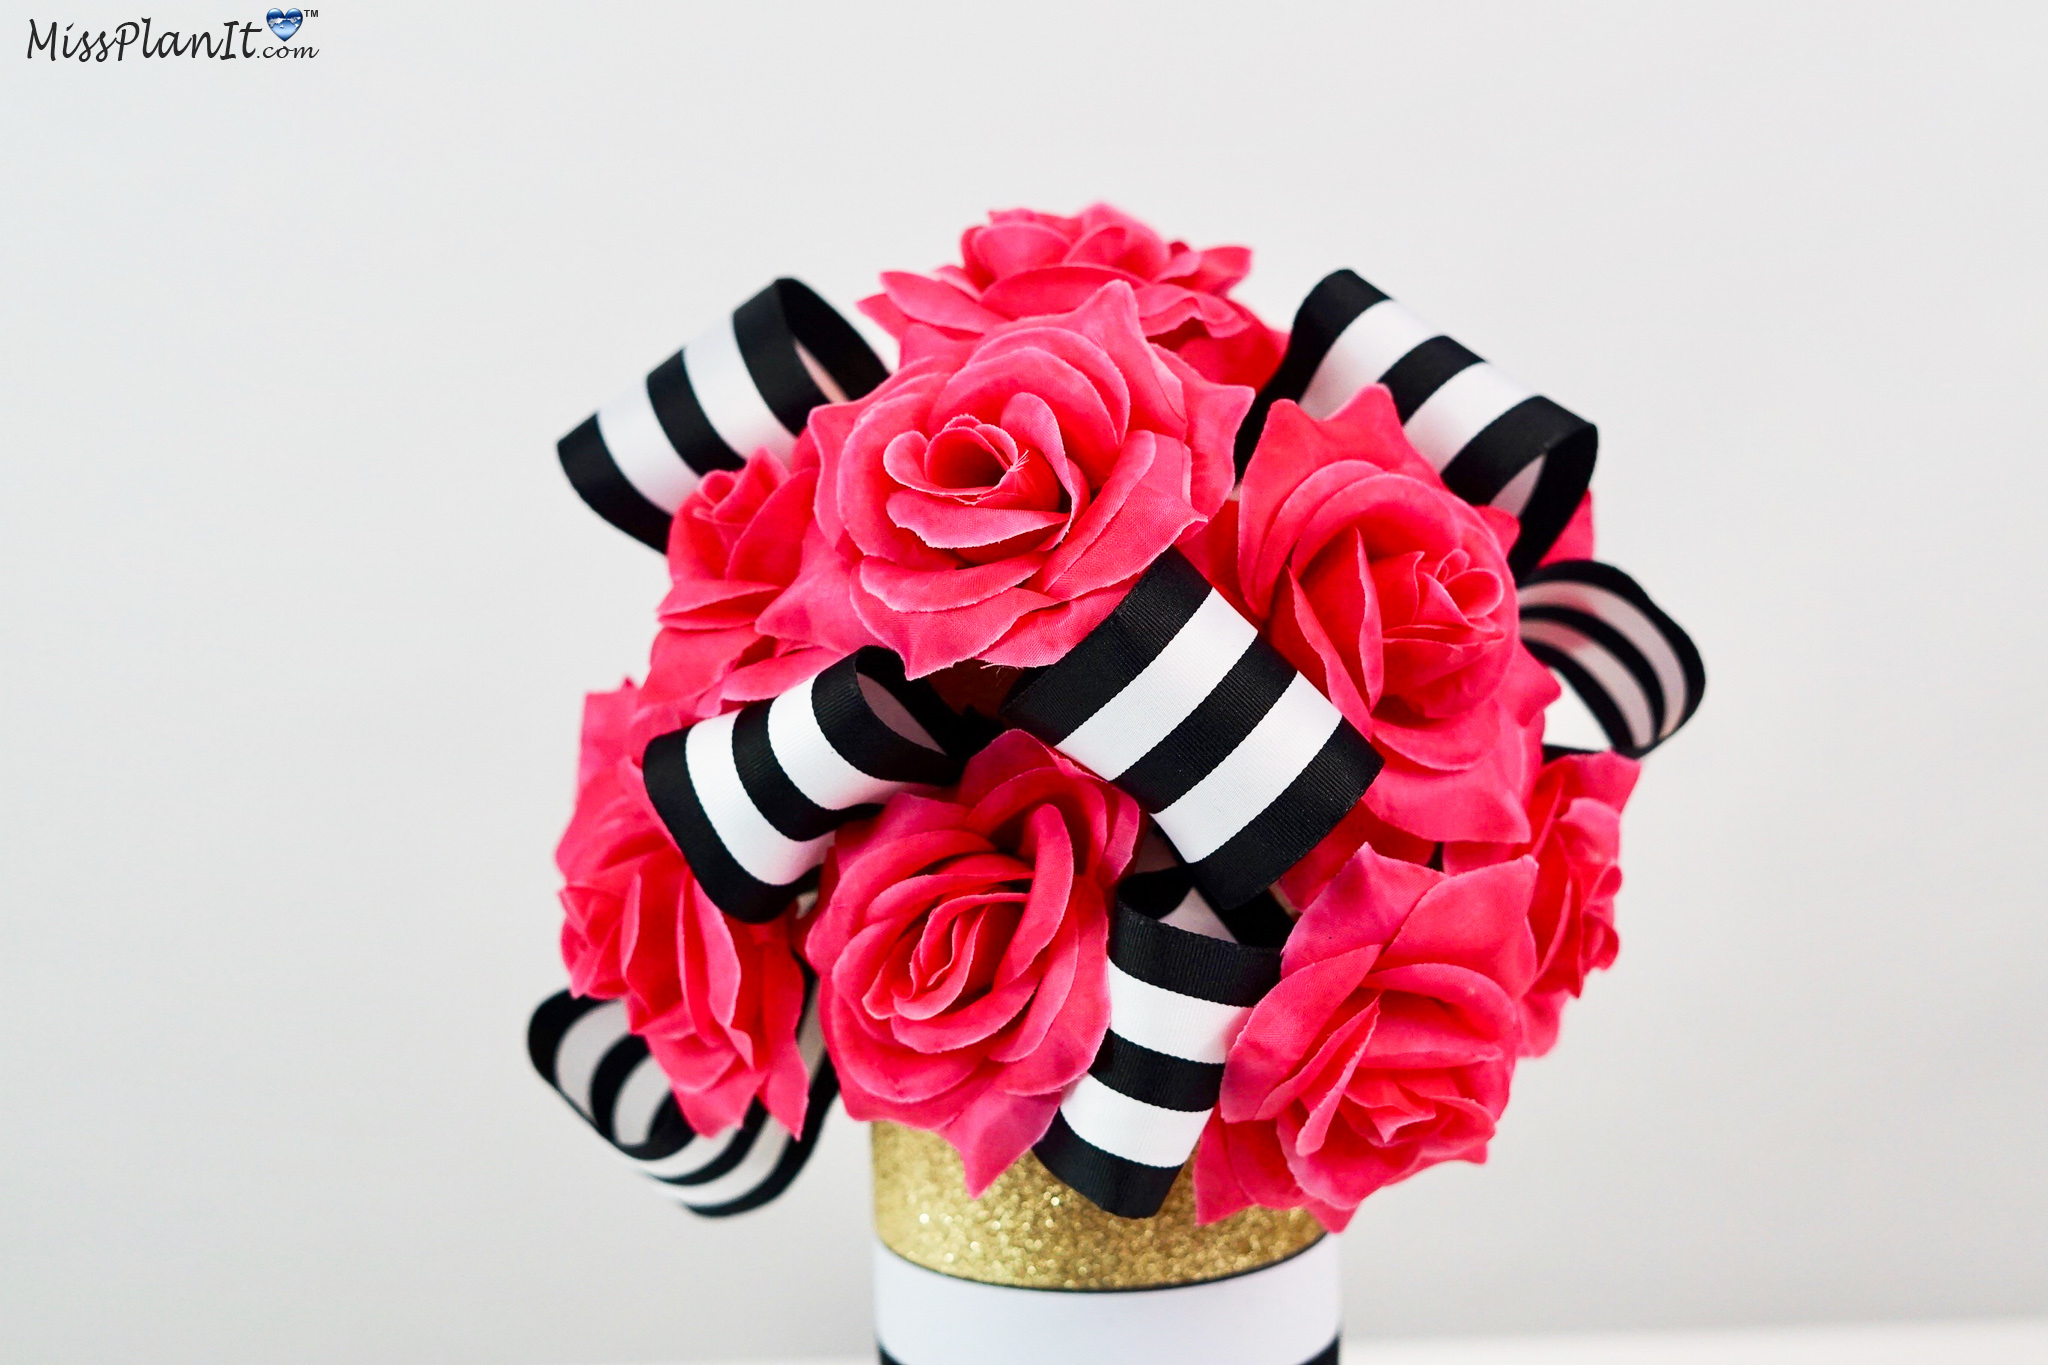
STEP 2: Hot glue the 4 inch ball to the 9 inch vase and then attach 8-10 fuschia roses. To create ribbon petals, cut about 1 and a half inches of the ribbon. Next fold the ribbon in half and then attach a floral pin to the ribbon. After the floral pin is attached to the ribbon, insert the floral pin in the green foam ball. Repeat this step to make as many ribbon petals as you would like and attach them all to the foam ball being sure to fluff out each ribbon. Next attach 6-8 pink roses and then attach a sweet 16 cupcake topper to the top!
THE FINALS STEPS!
STEP 3: Now that your centerpiece is done, let me show you how to make gold table numbers. First remove the paper and the glass from the frame and set the back of the frame to the side. Cover the frame in mod podge and then sprinkle on fine gold glitter and allow it to dry for 2-3 hours. Cut the black and white glitter paper to fit the frame. Attach a gold self-adhesive glitter number on the black and white paper. Place the paper inside the frame, add the back of the frame, and secure it. Lastly set the table!
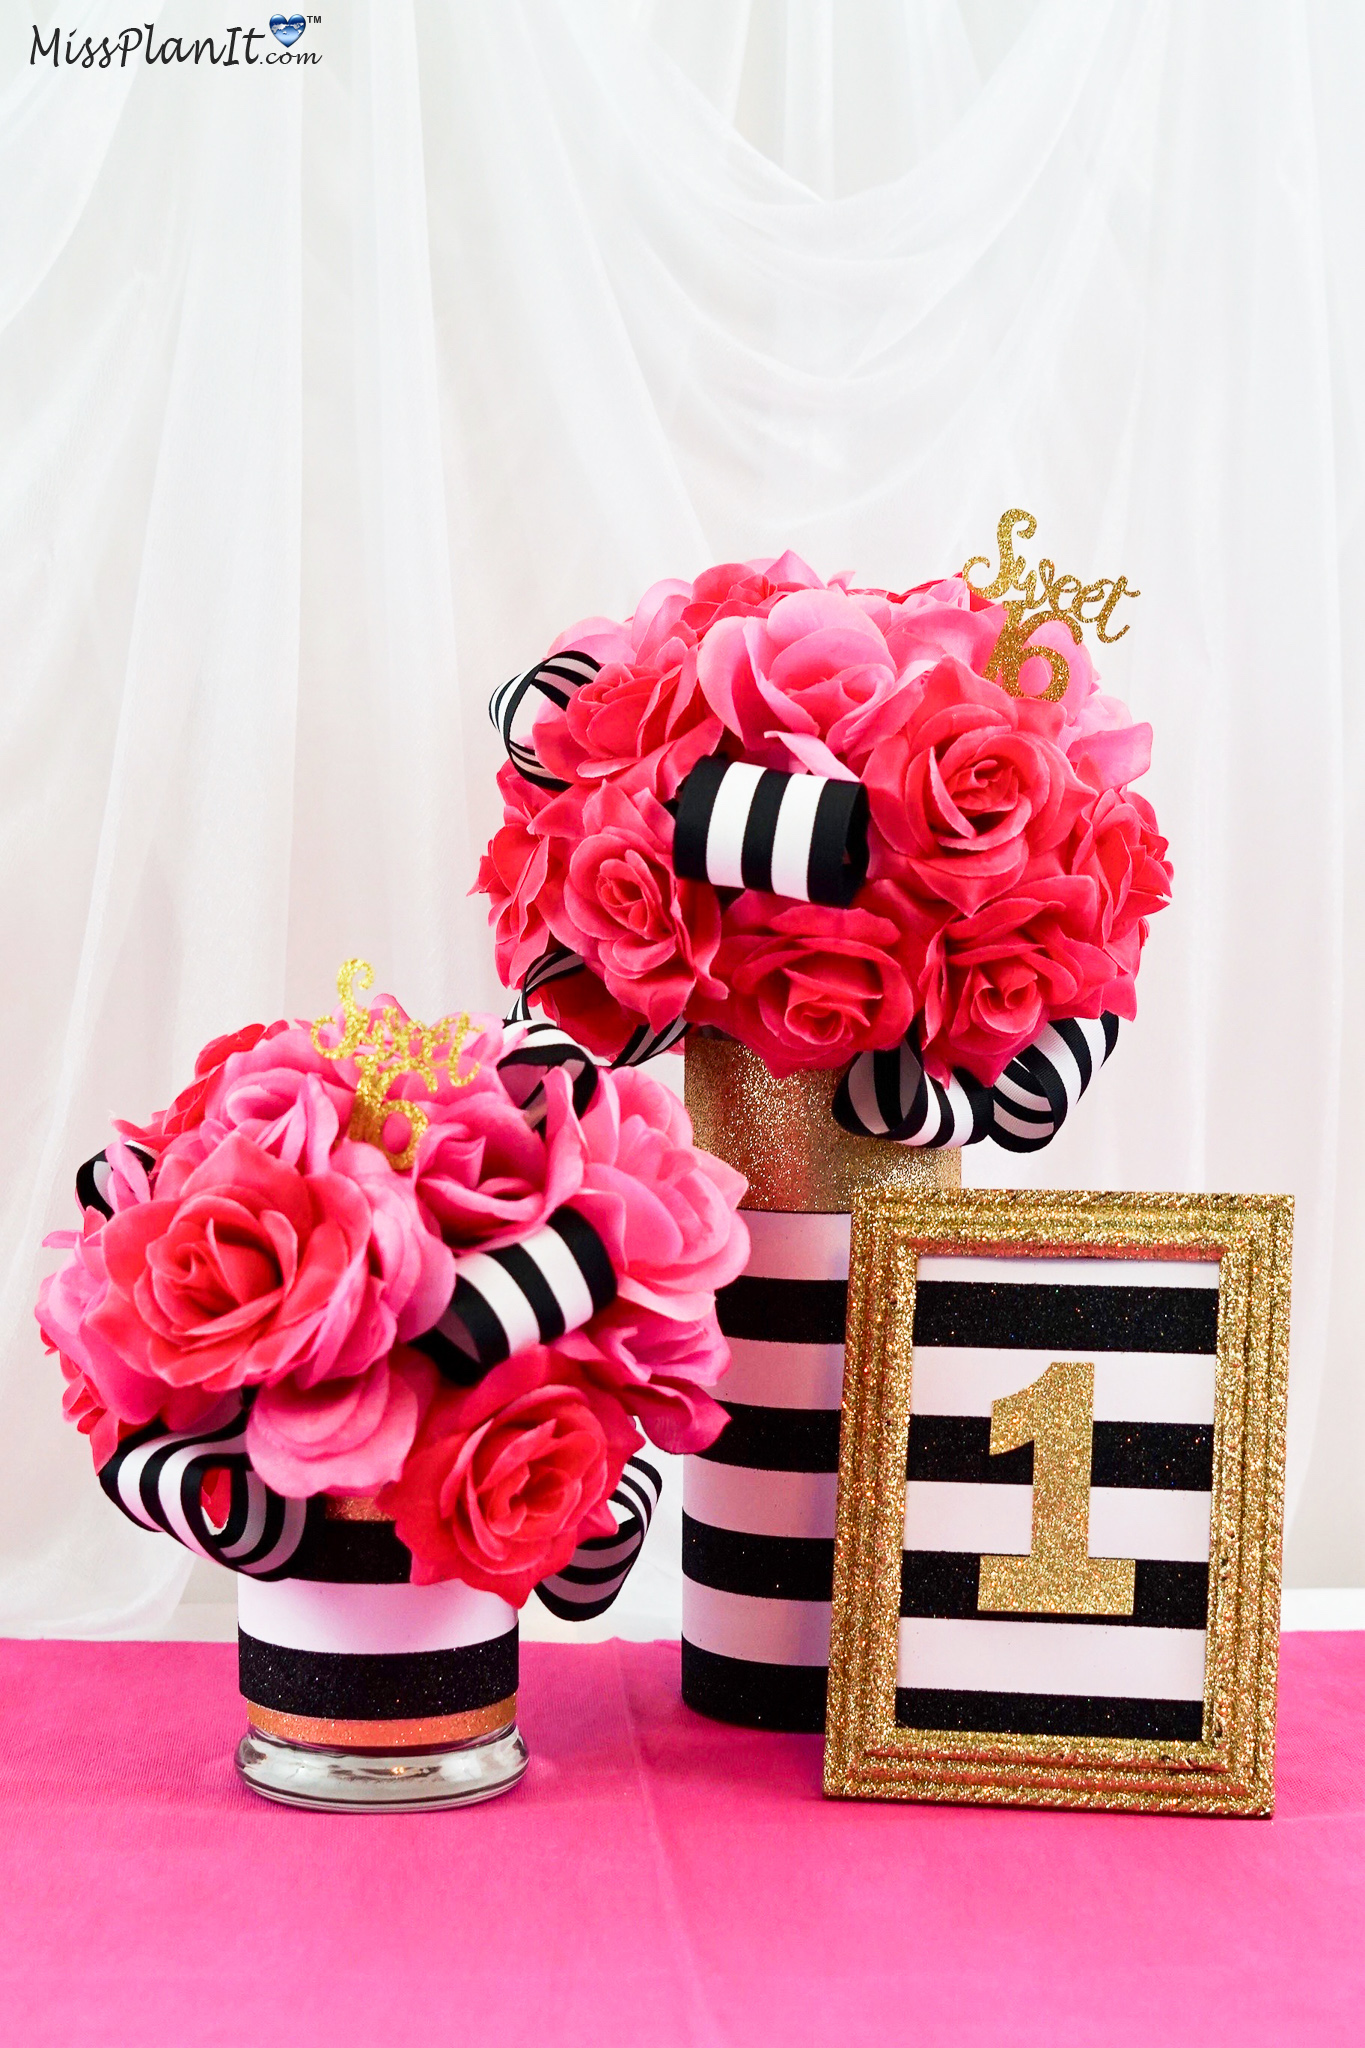
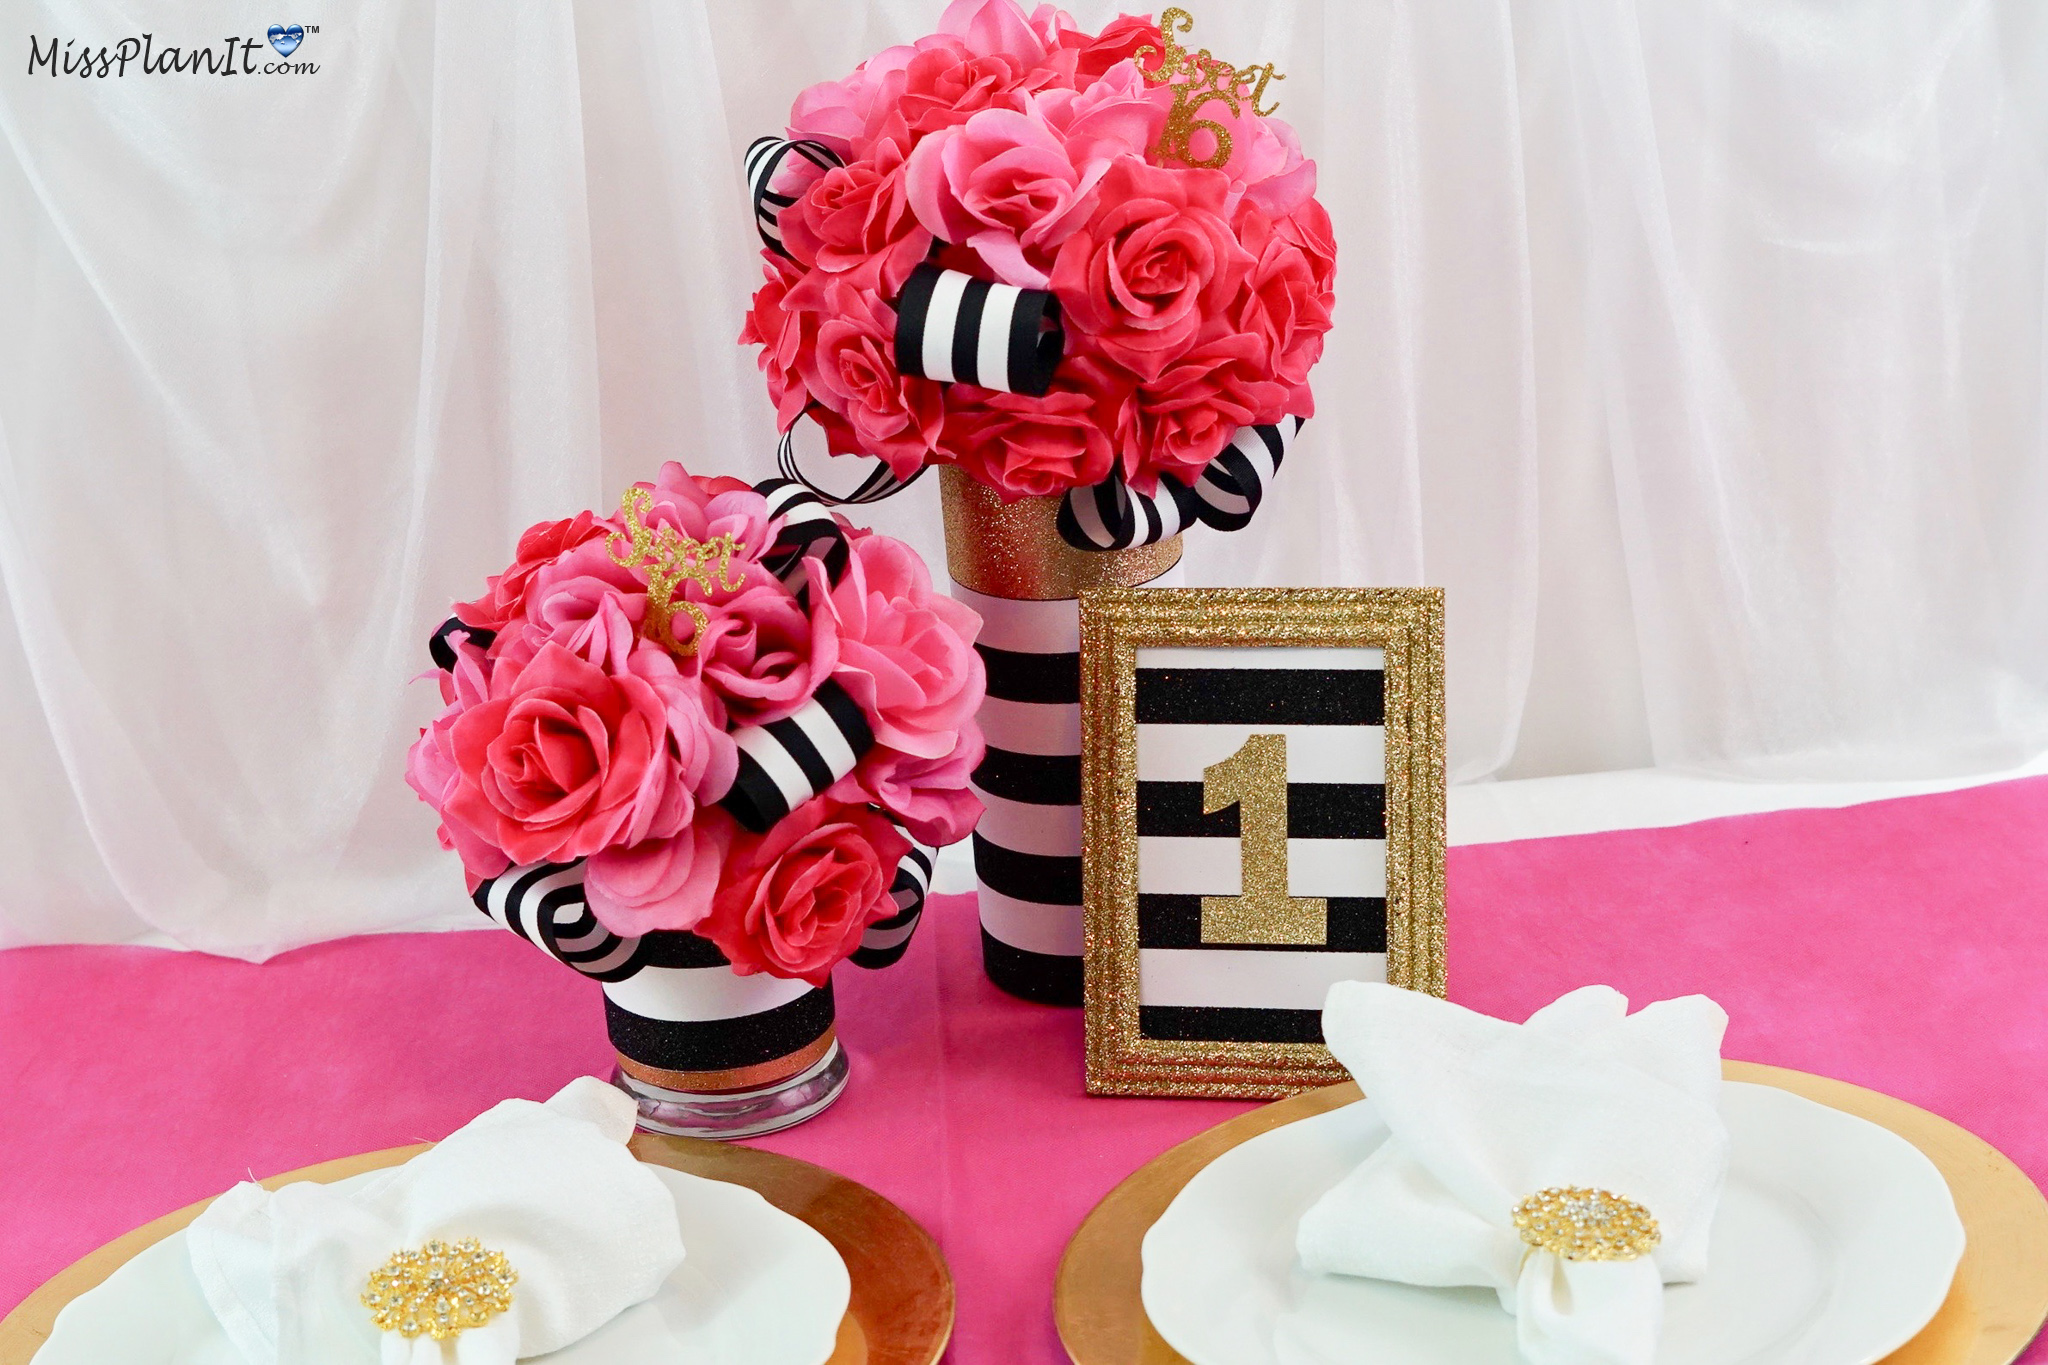
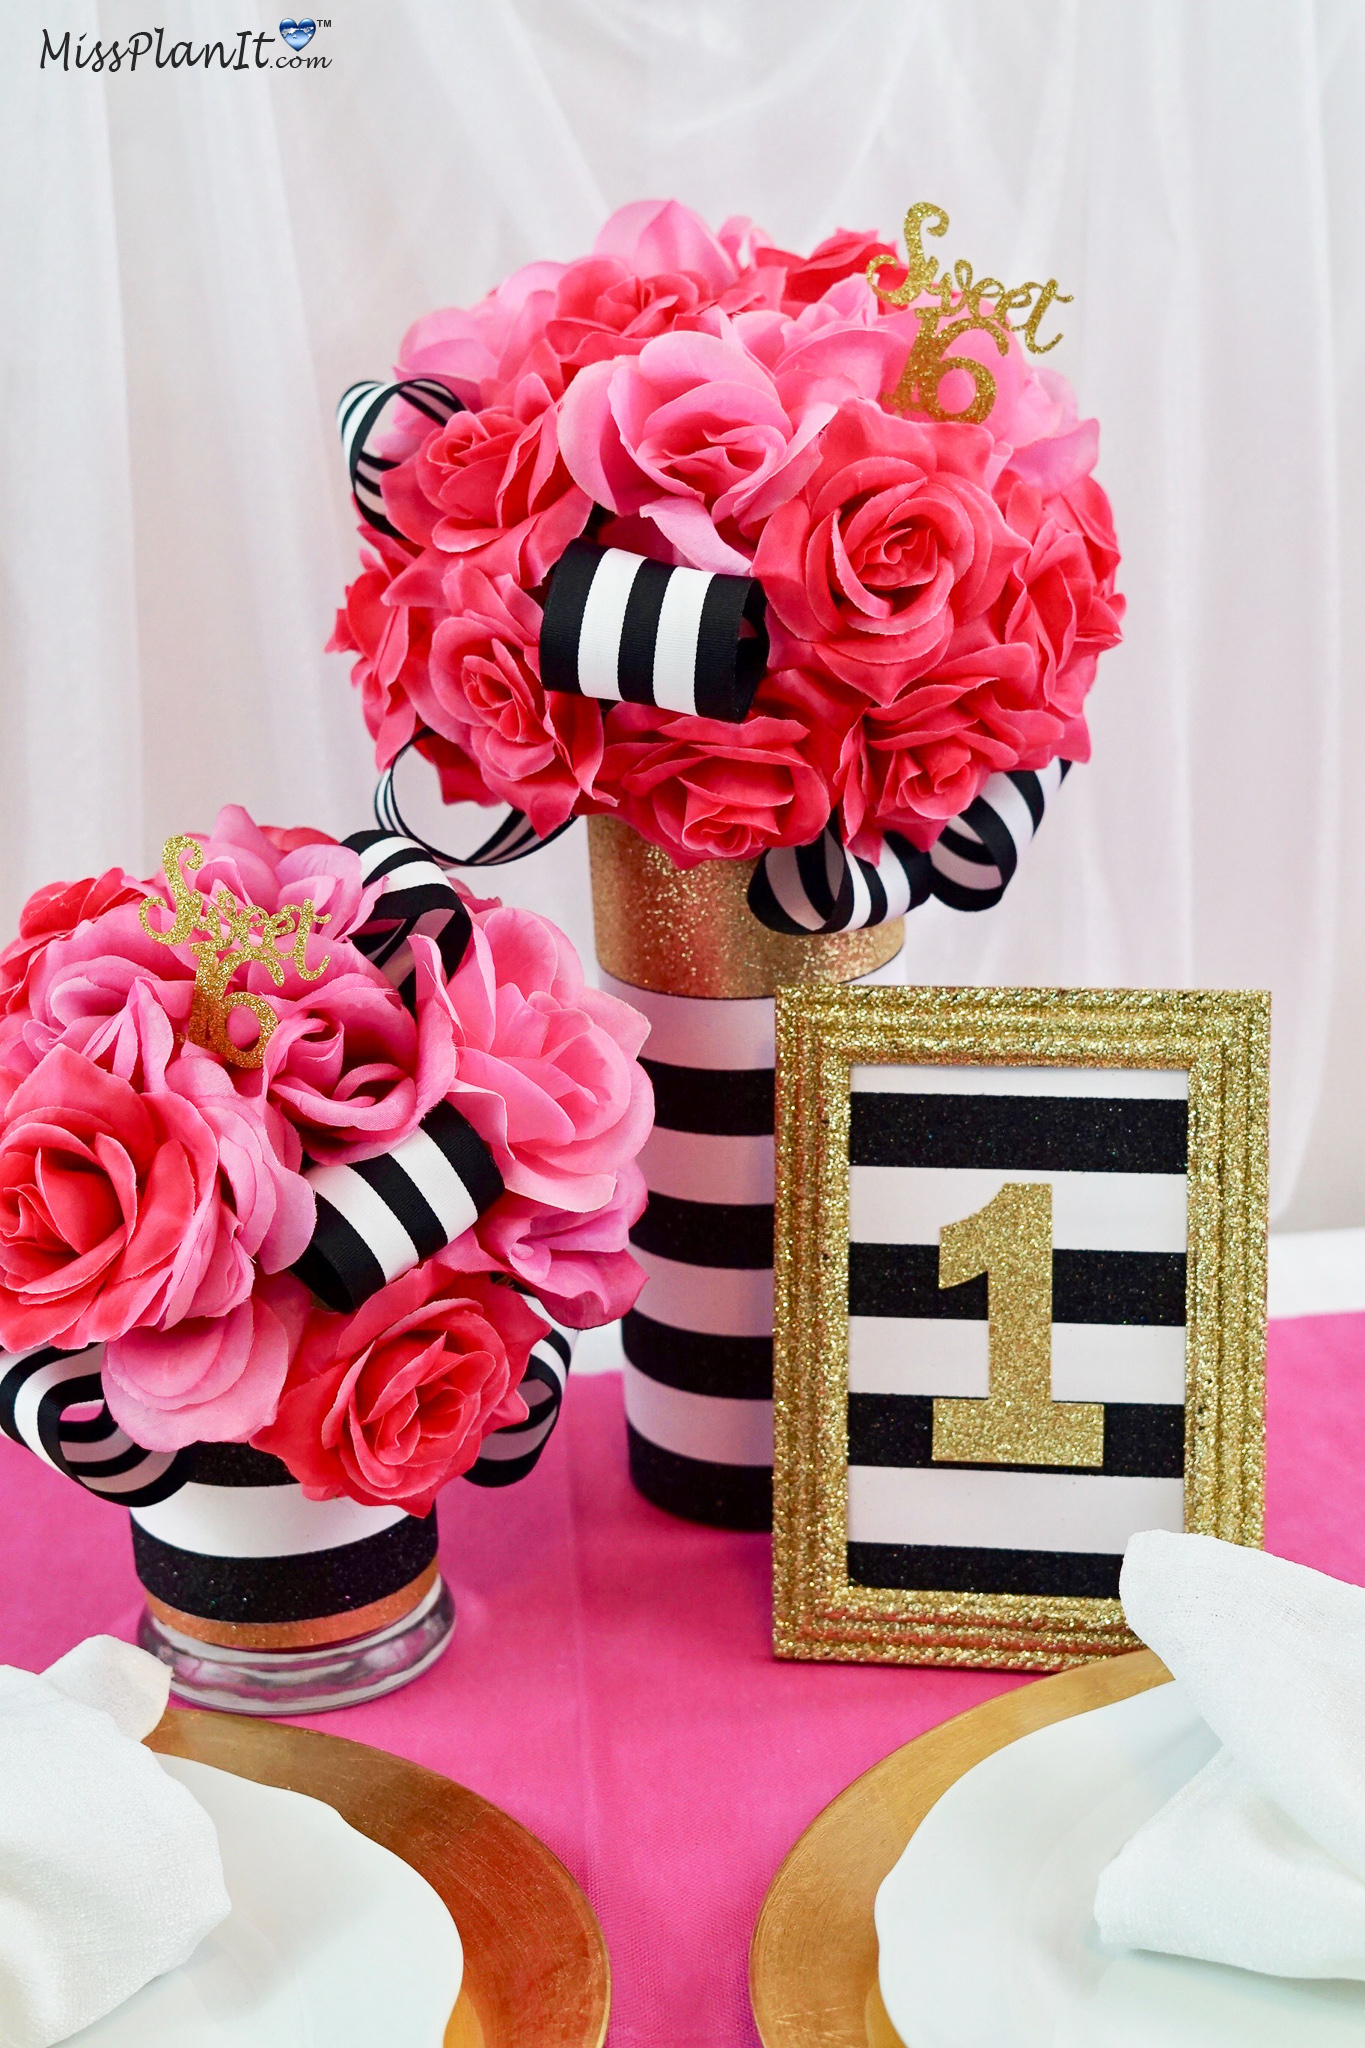
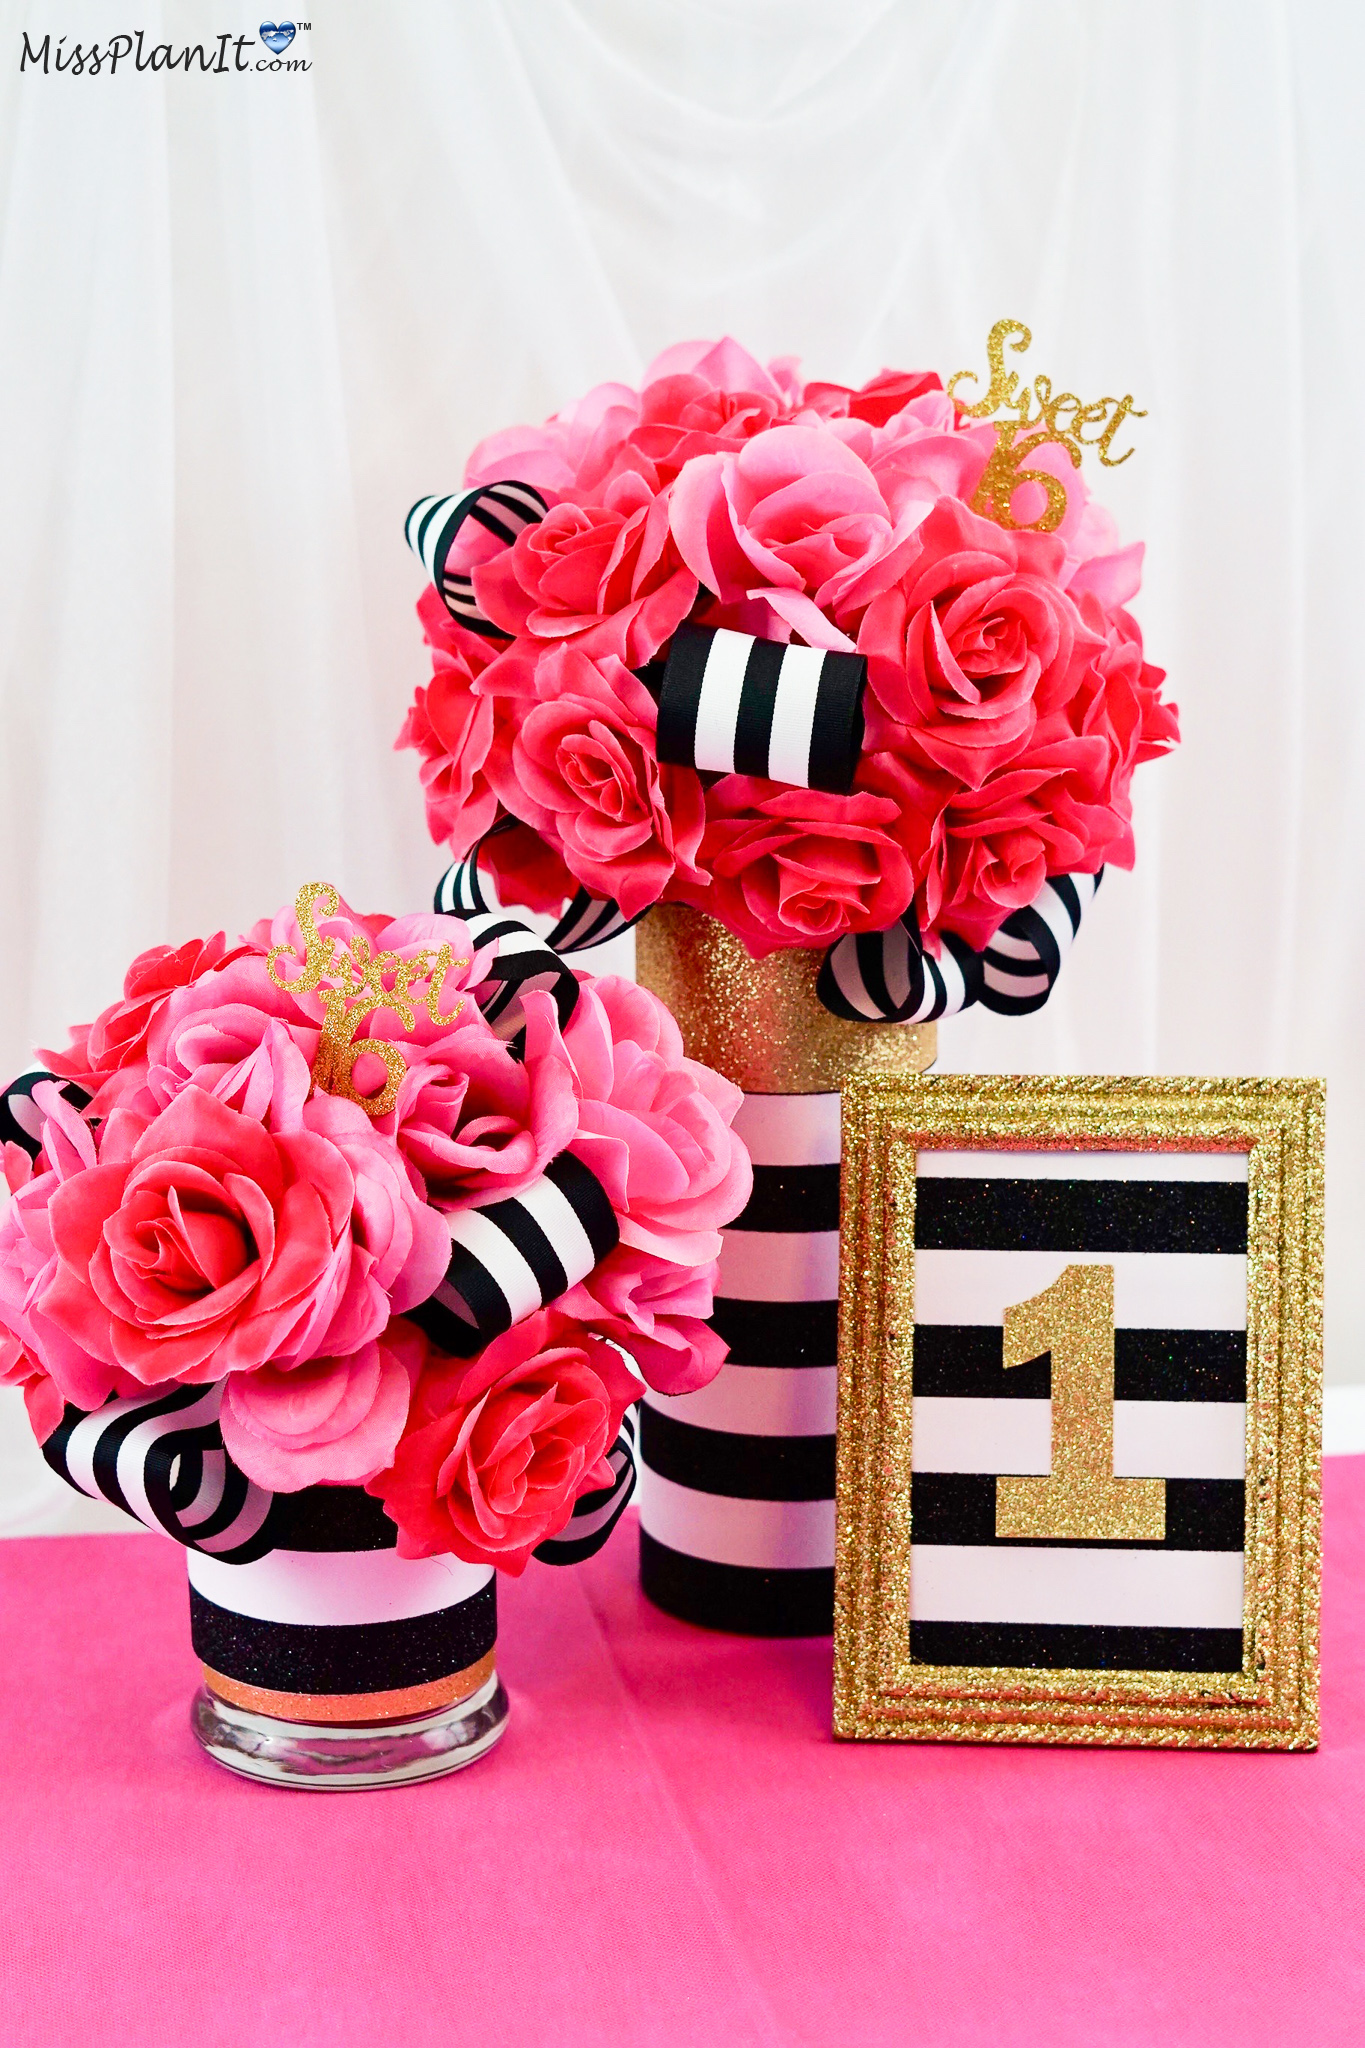
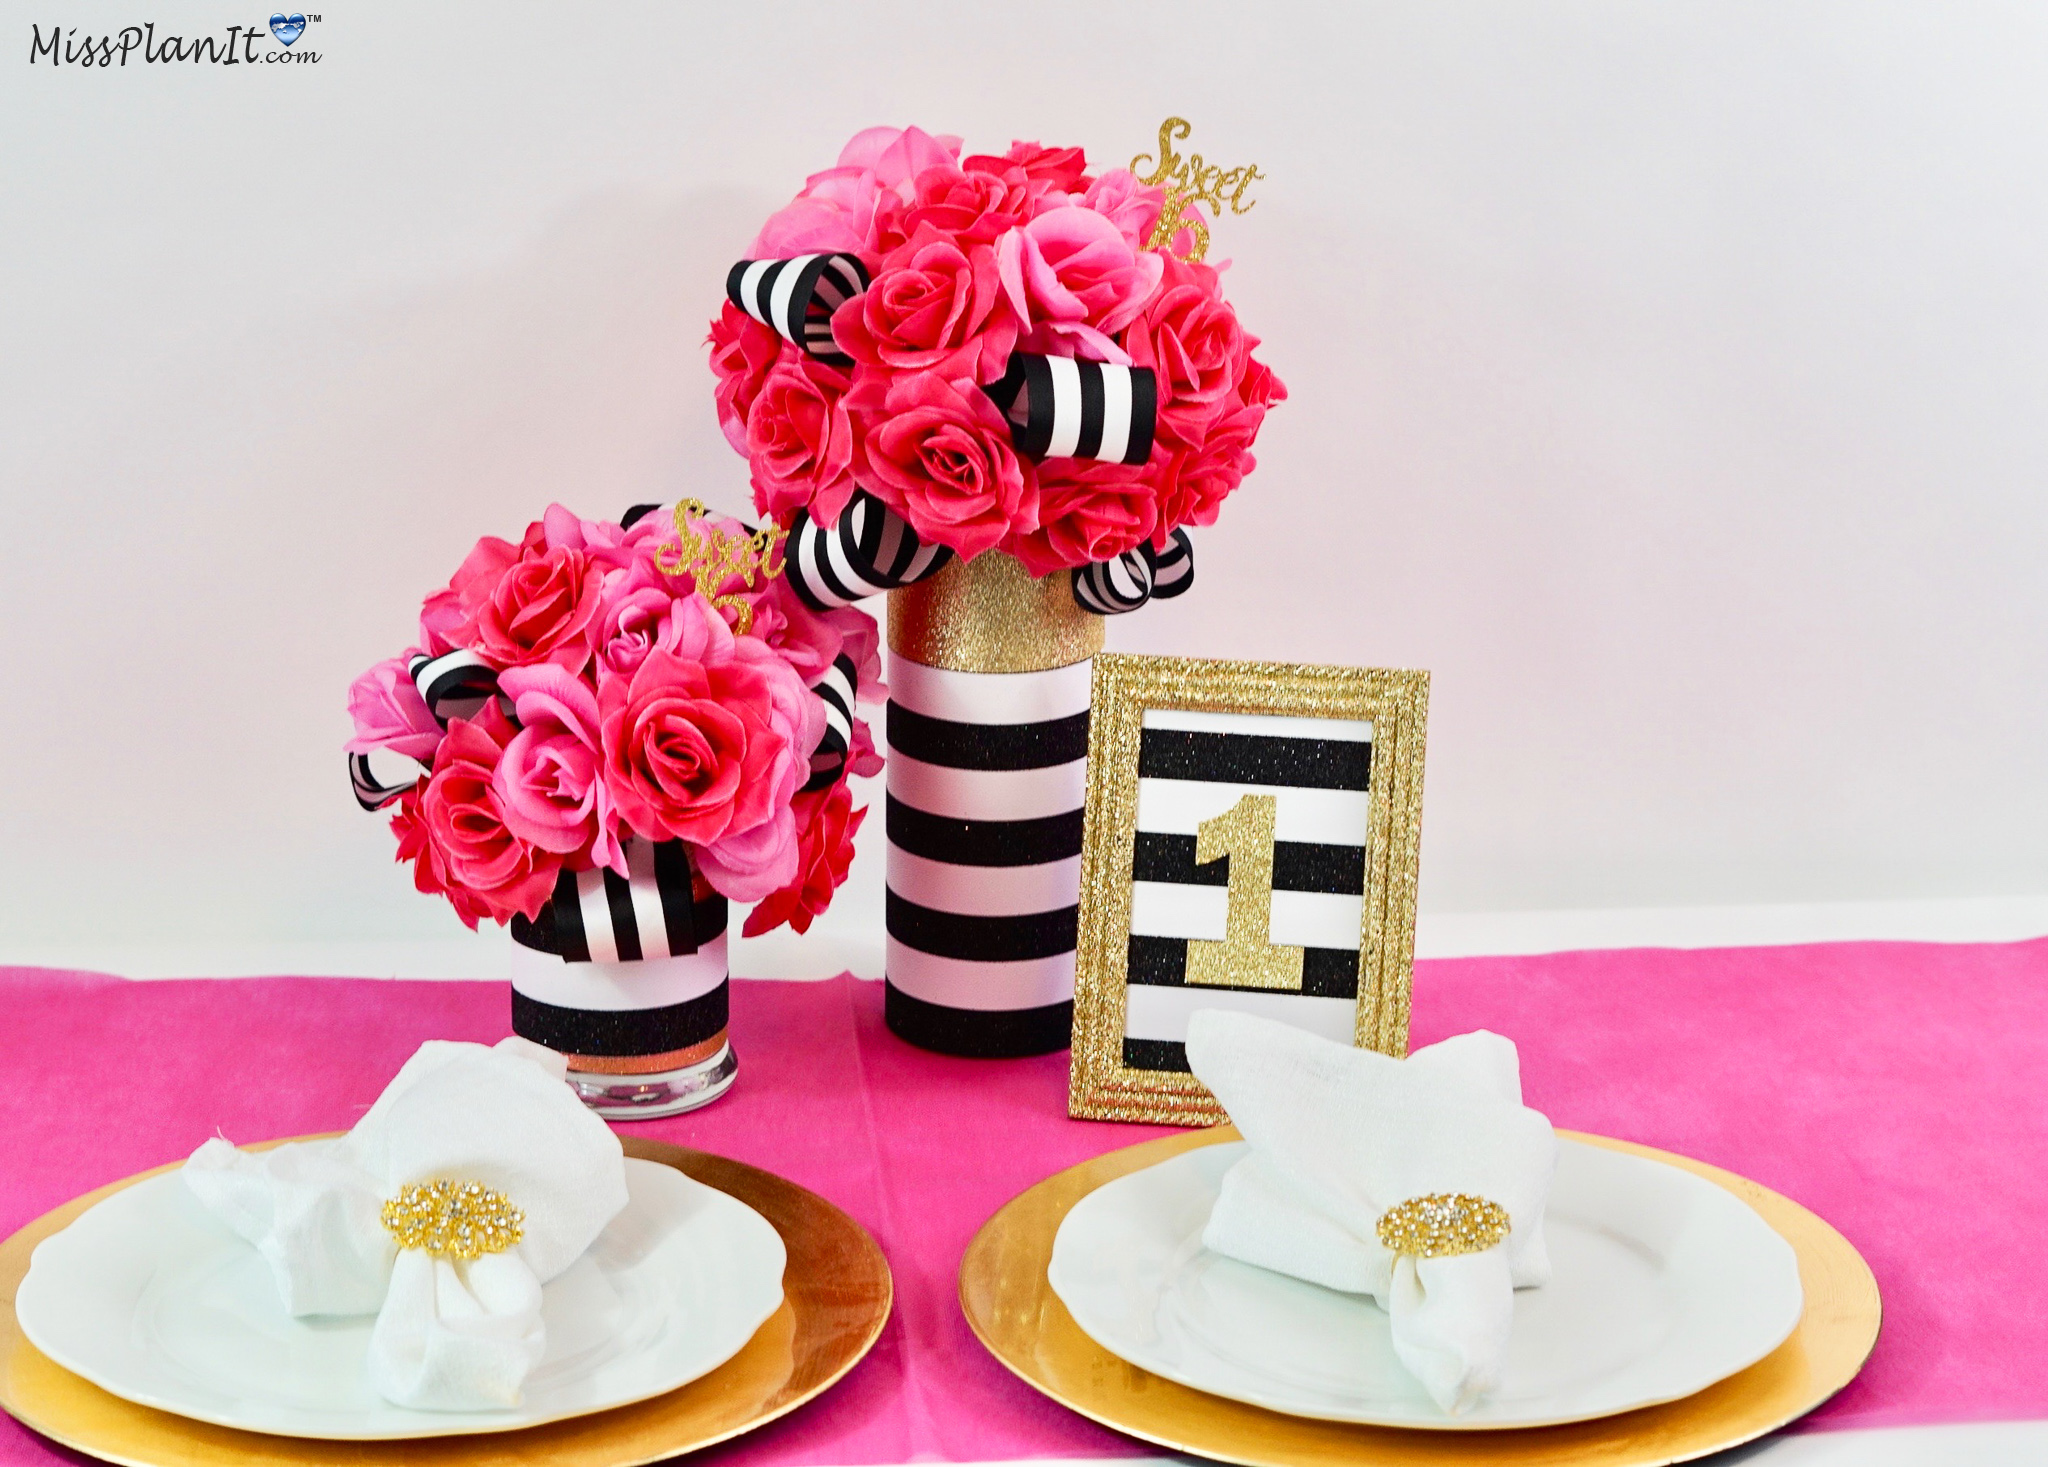
I absolutely love how this DIY Kate Spade Centerpiece turned out! The outcome is amazing and definitely gives you an extra special touch to your wedding!
If you like the outcome please subscribe to our Youtube Channel for more DIY Videos and follow us on Facebook and Pinterest.
Need help with an upcoming project? Be sure to send us a project request!
“Remember When Every Penny Counts, Count on MissPlanIt”


