Olivia this week’s project is just for you! Creating this beautiful all white with a hint of gold wedding centerpiece is perfect for your winter wedding. The added sparkle accents are sure to leave your guest awestruck as they view this gorgeous showpiece!
Let’s Get Started:
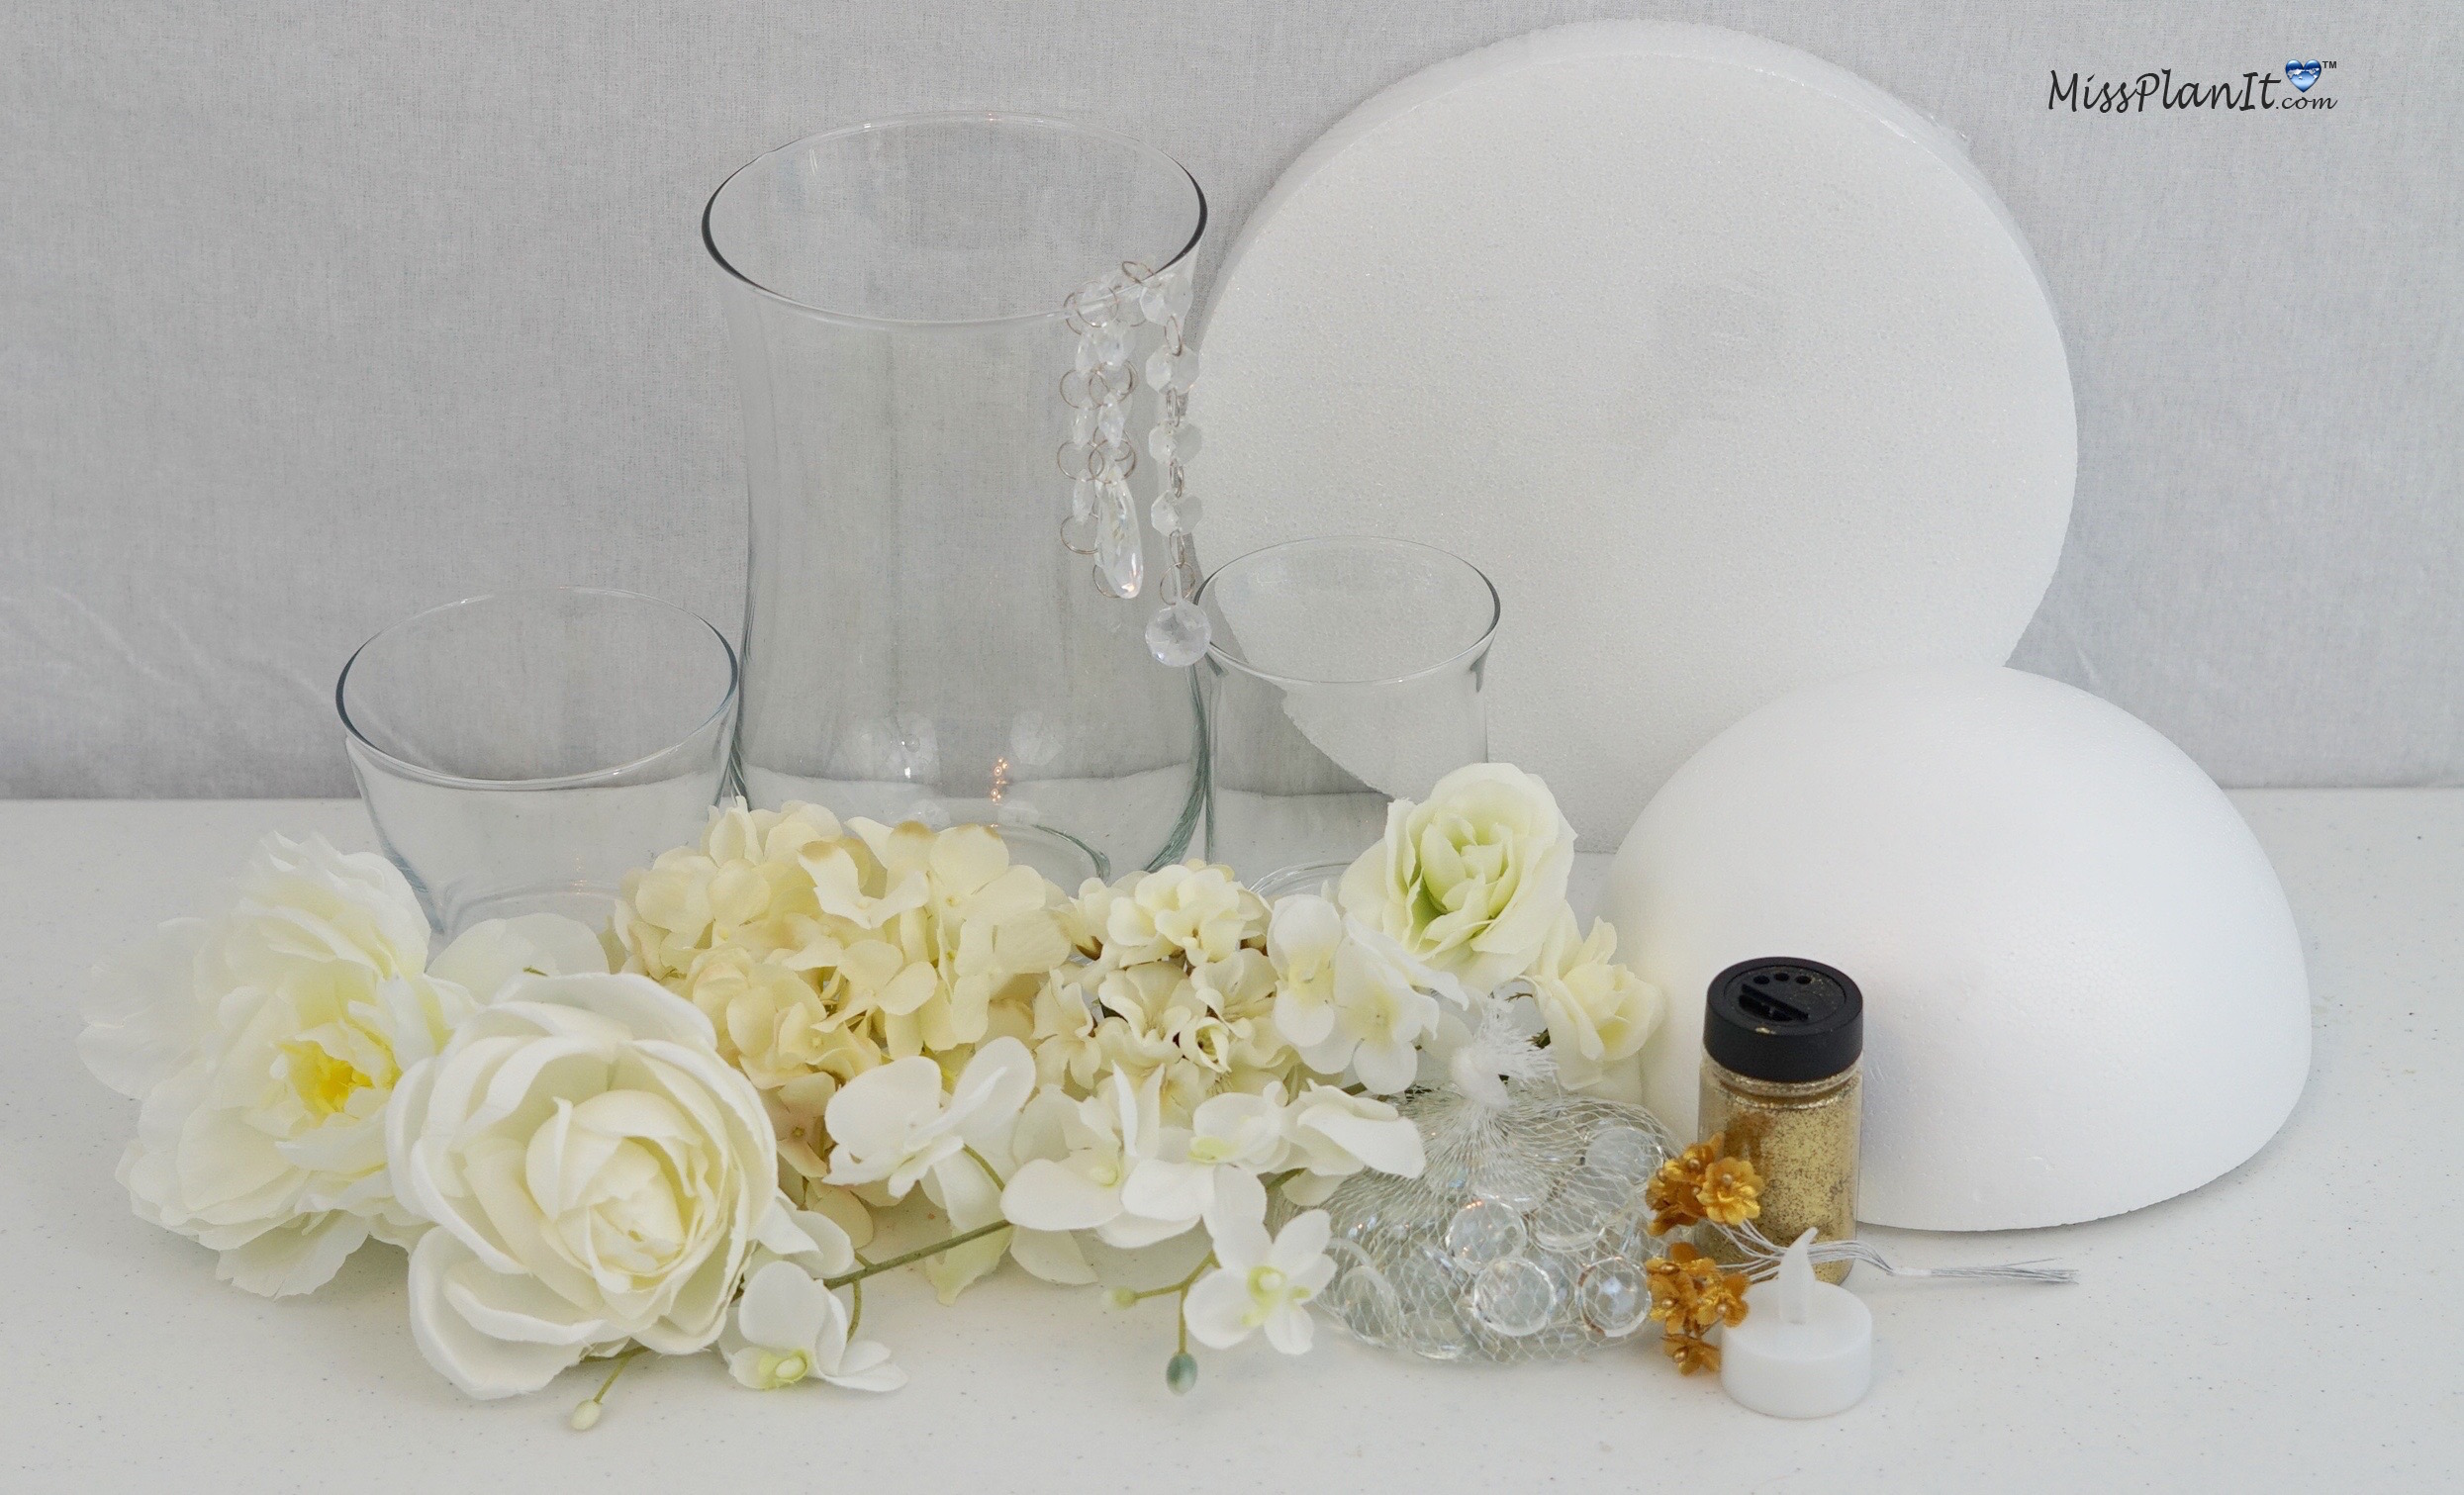
Supplies:
4″ Smooth Glass Hurricane
Cream Roses
Cream Hydrangea
Glass Gems
Tea lights
E6000 Adhesive
Foam Cutter
12″ Glass Vase
8″ Foam Dome
10″ Foam Disc
Wisteria Stems
Diamond Garland
Glue Gun
Glue Sticks
Directions:
STEP 1: Take 1 of your Smooth Glass Hurricane 4” vases and turn over. Add E6000 to the base, sit your other 4” vase on top. Place a weighted object inside and let it dry overnight.
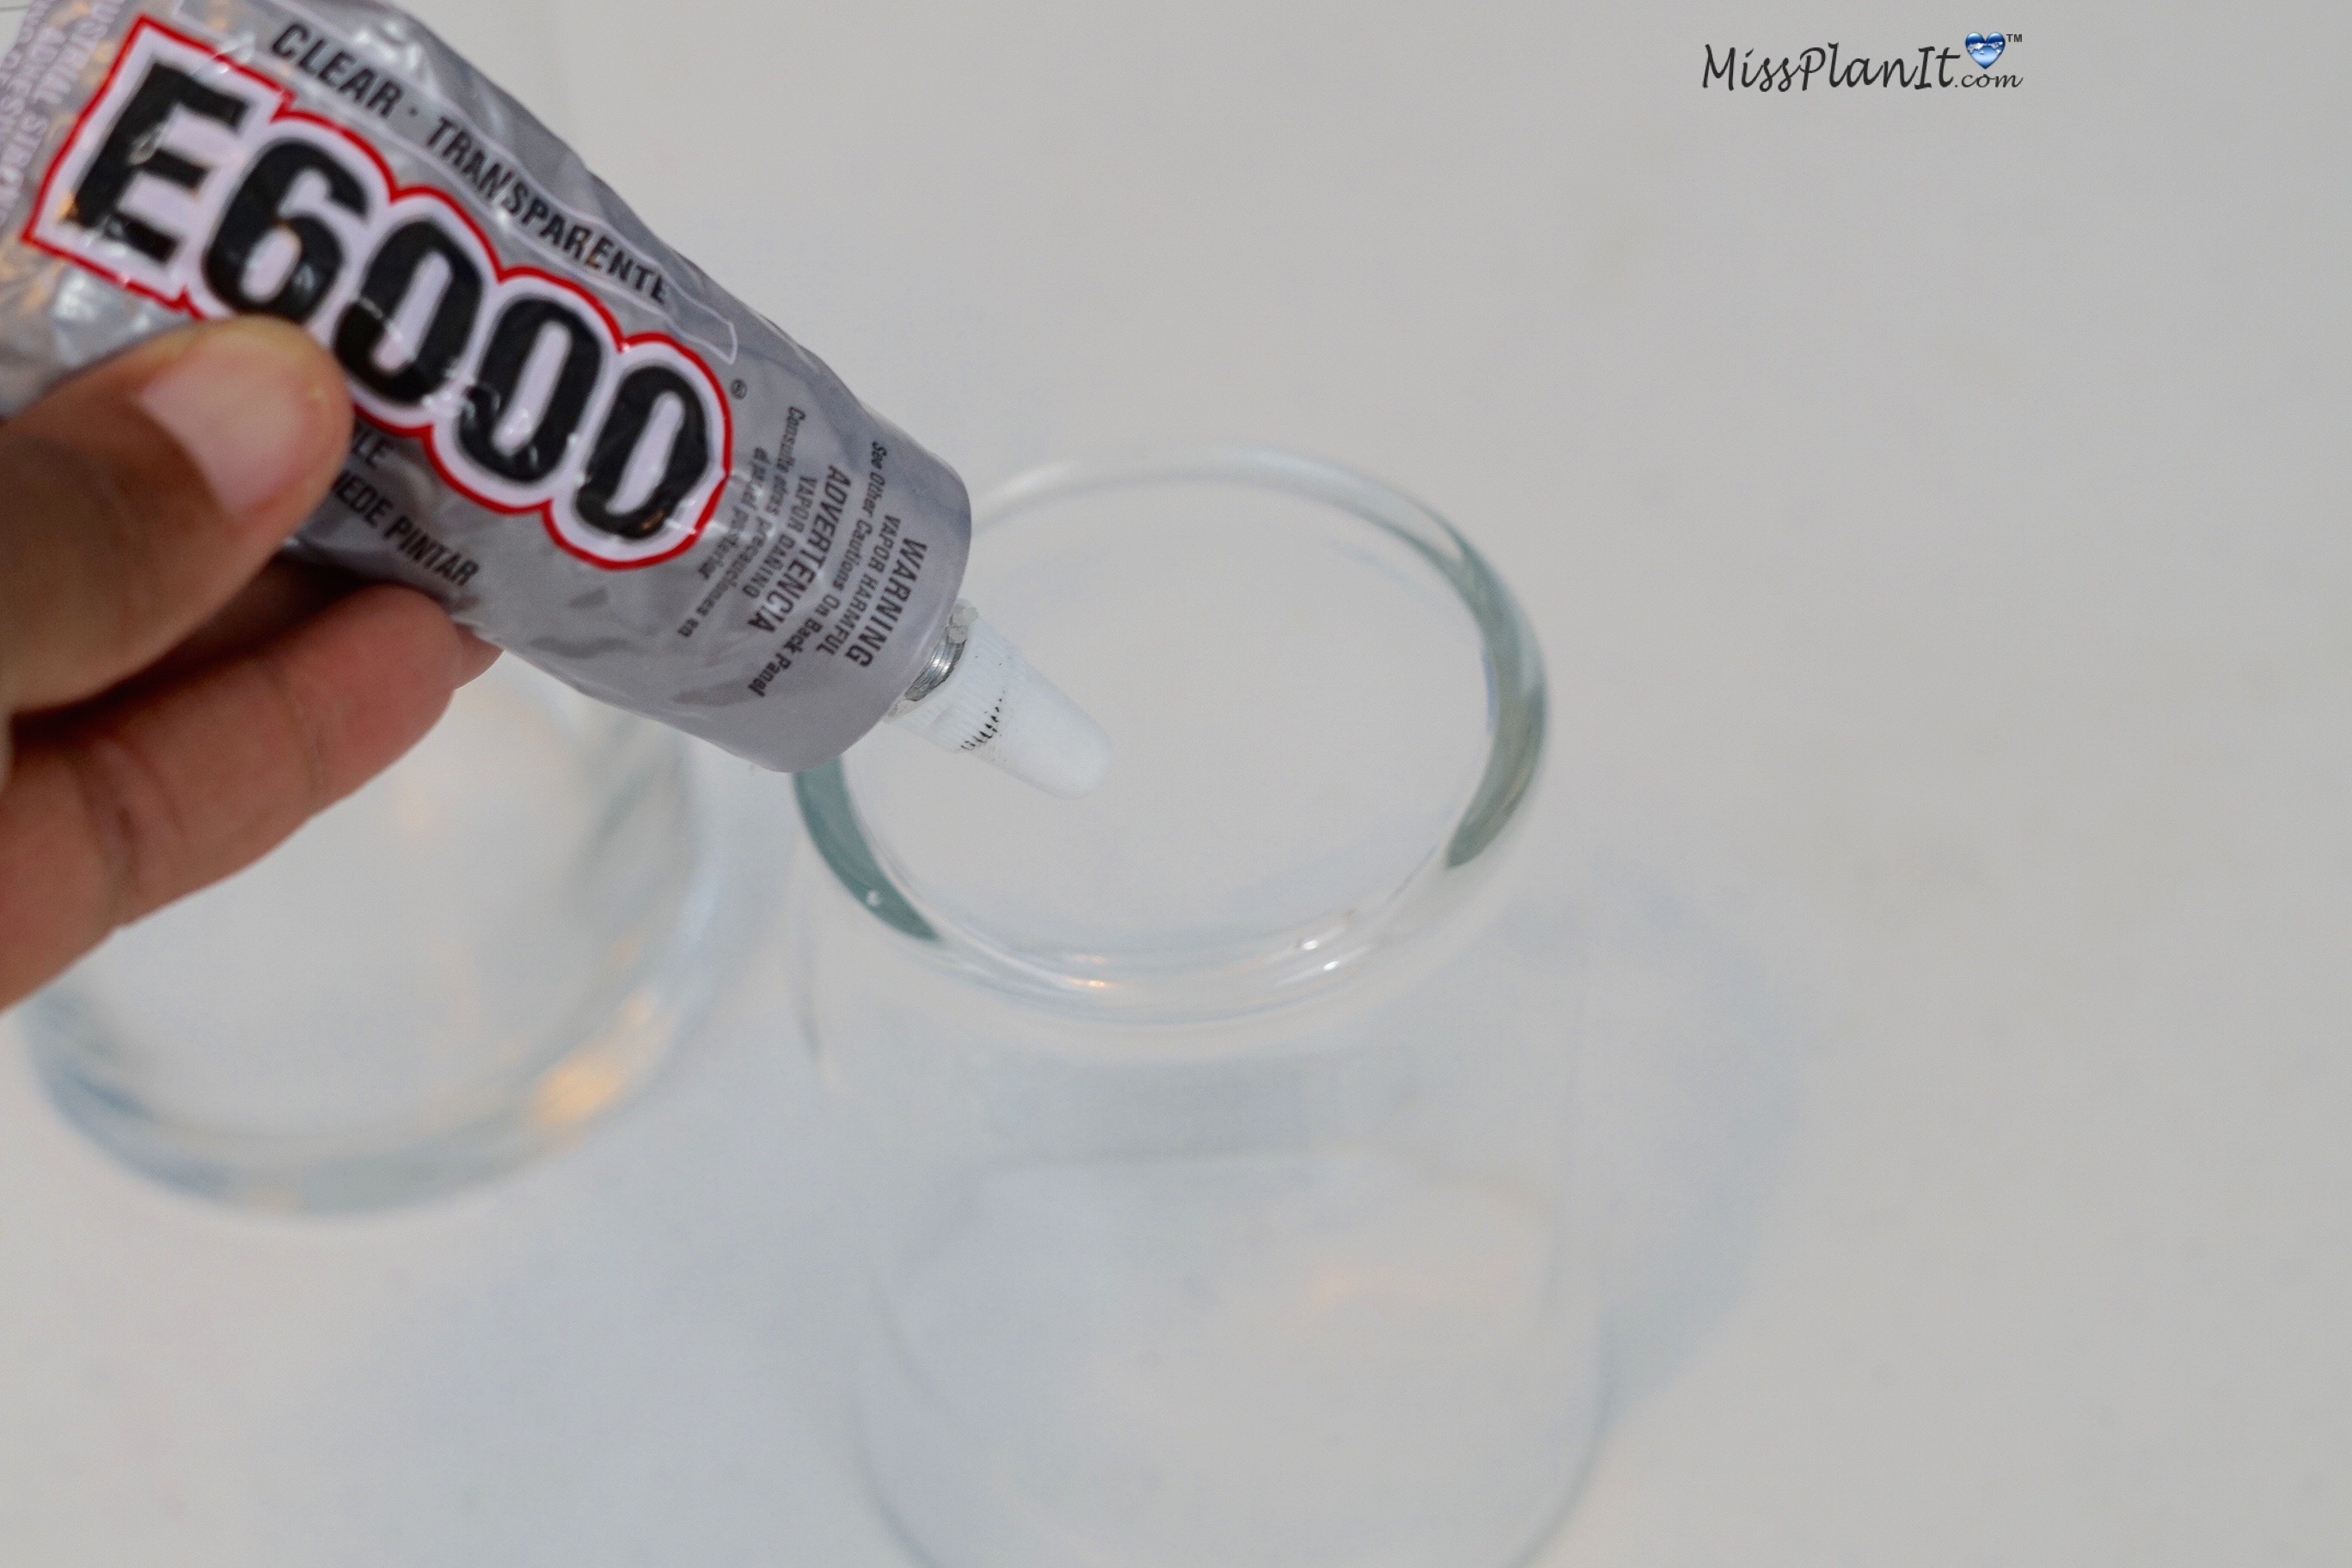
TIP: I used a bag of stones for my weighted object.
PENNY PINCHER $7 VASE: Now that your two 4” vases are glued together, you will now sit your 12 inch vase on top; this creates your 24” vase and for a total of only $7.
STEP 2: Sit your 12 inch vase on top of your round foam disc, trace around the base with a Sharpie. With your X-acto knife, cut out the traced circle. Place your 8 inch foam dome on top of your foam disc, trace around the perimeter of the dome.
STEP 3: Attach 4 Cream Hydrangeas, 4 White Wisteria Stems, Several White Hydrangea Blossoms, and 12 Small White Roses to your foam disc.
TIP: Trim the stems to expose the wire prior to attaching.
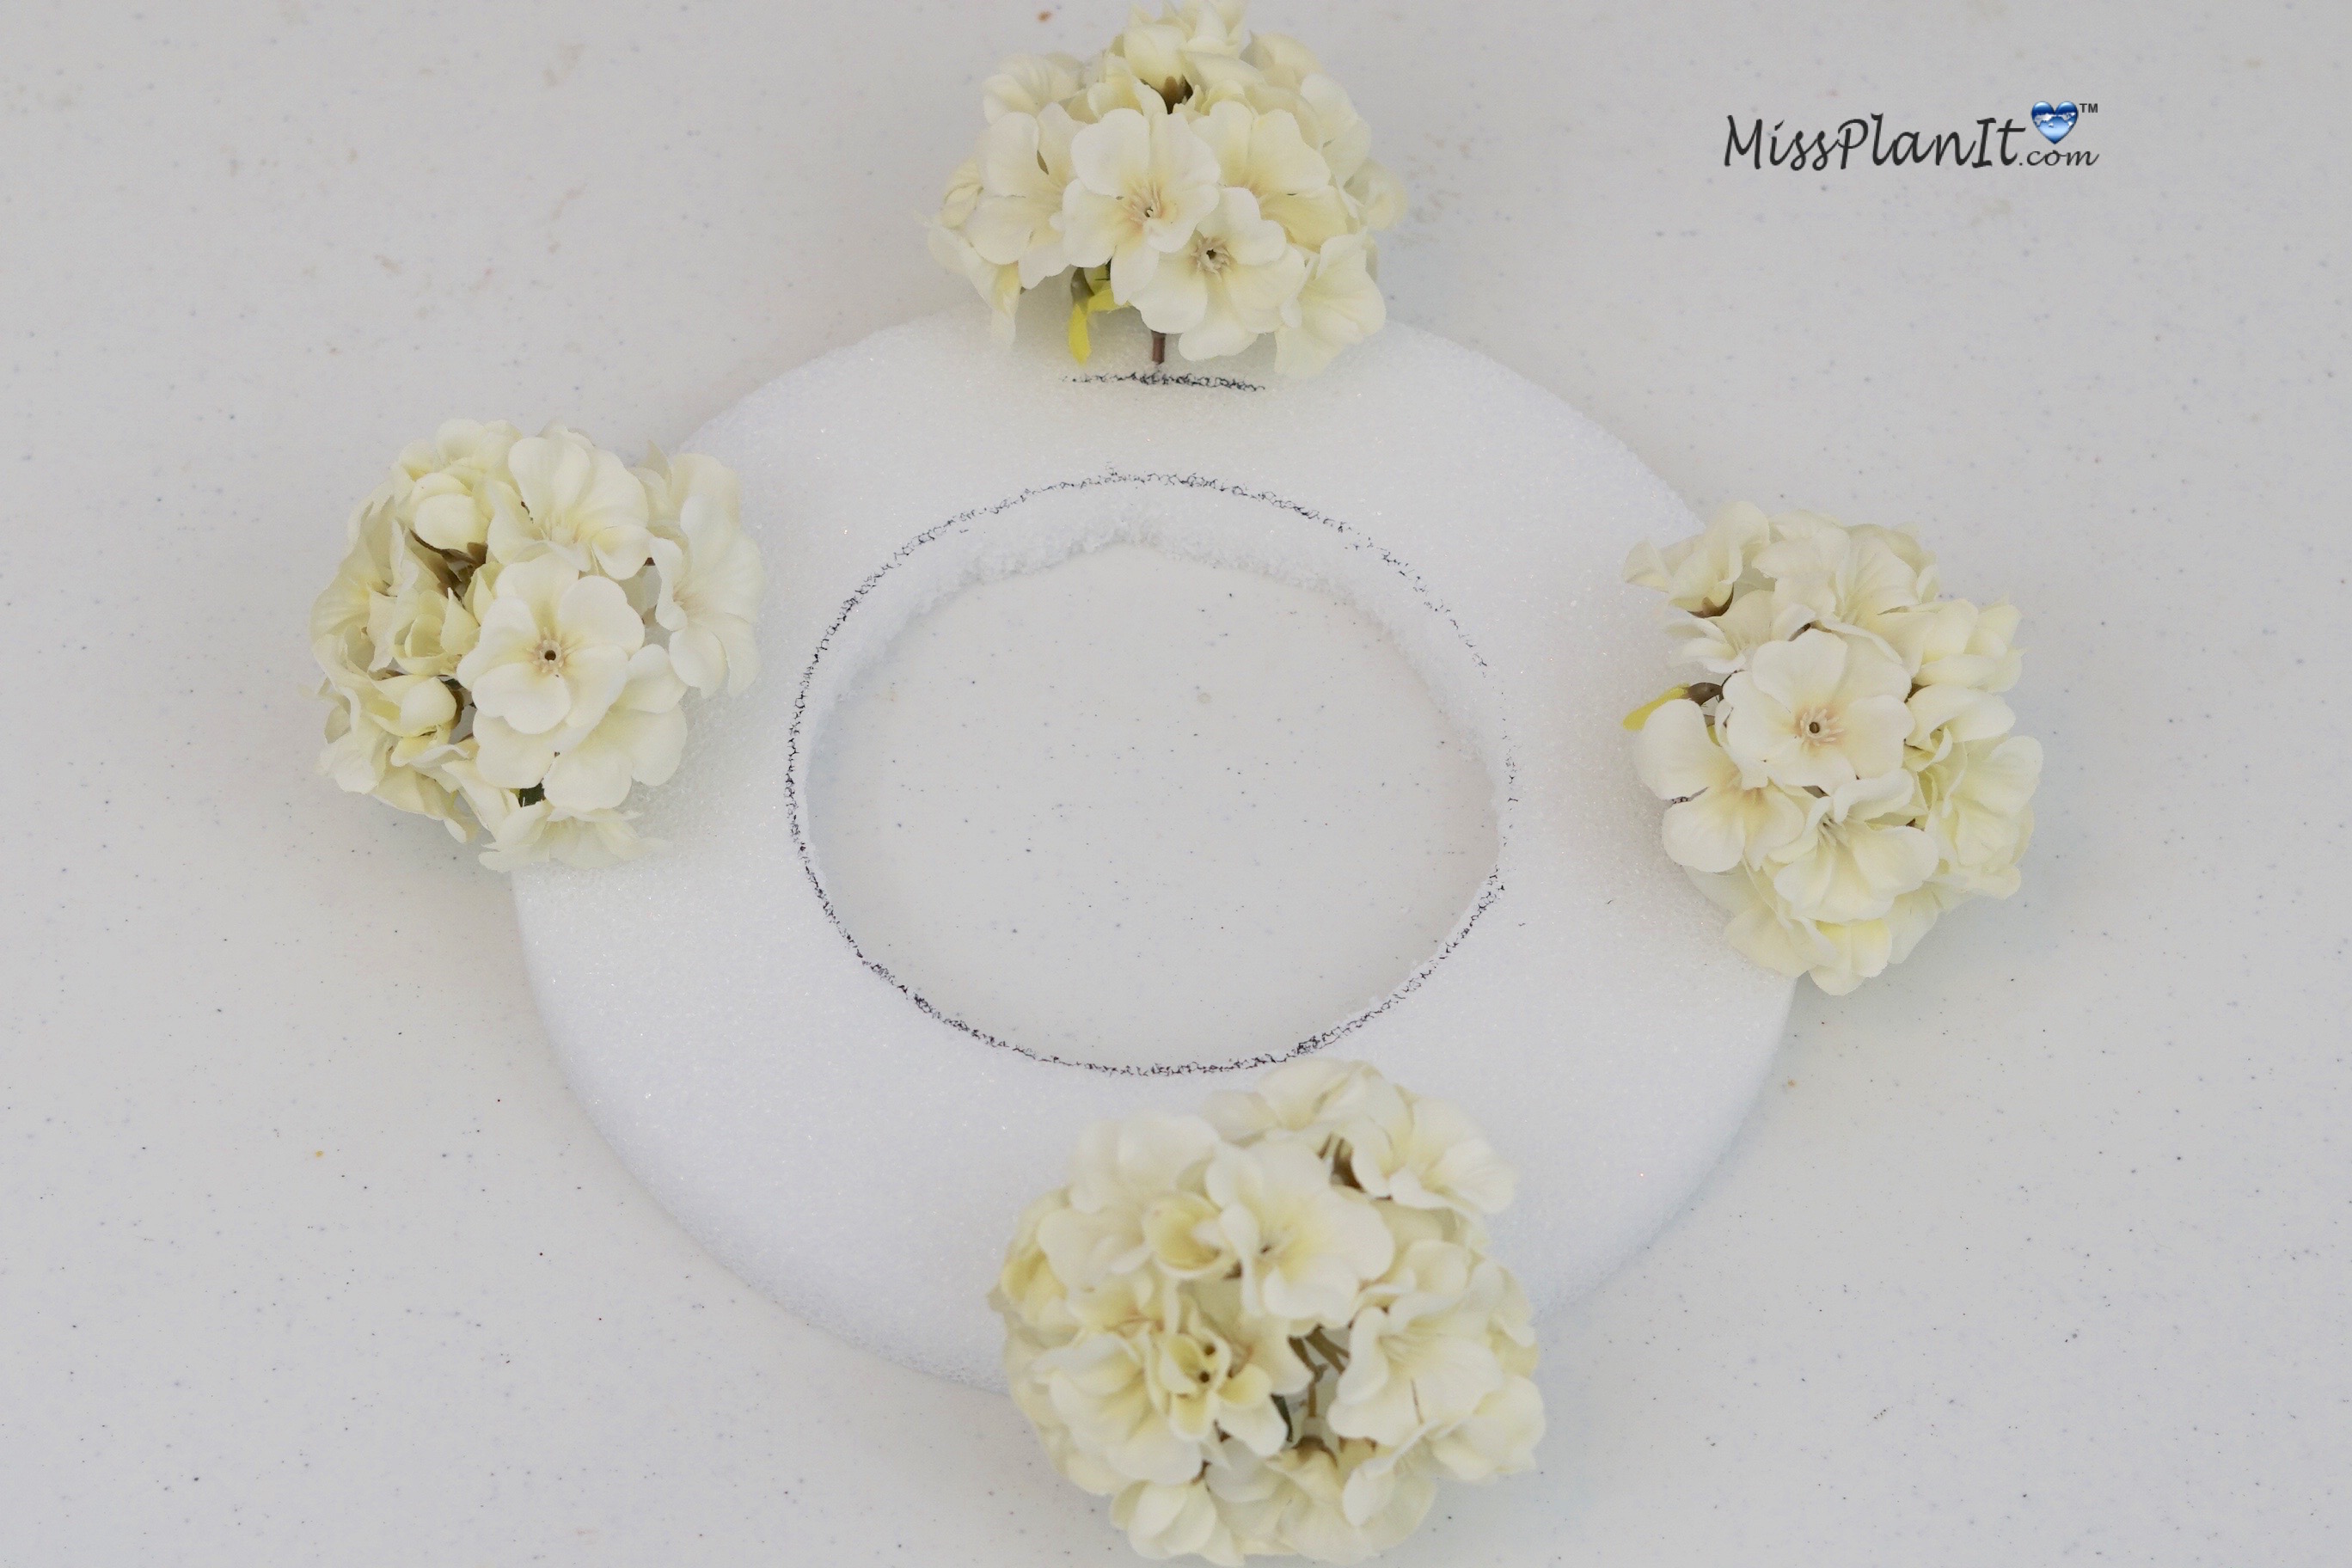
STEP 4: Attach 6 jewel garlands in various lengths with a trimmed down floral pin to the bottom of your foam disc. Be sure to add hot glue to floral pin prior to attaching to foam.
STEP 5: Add 7 cream hydrangeas and roses to foam disc. Place foam disc on top of vase. Add cream hydrangeas, white rose, white peonies, and petite gold blossoms to foam dome.
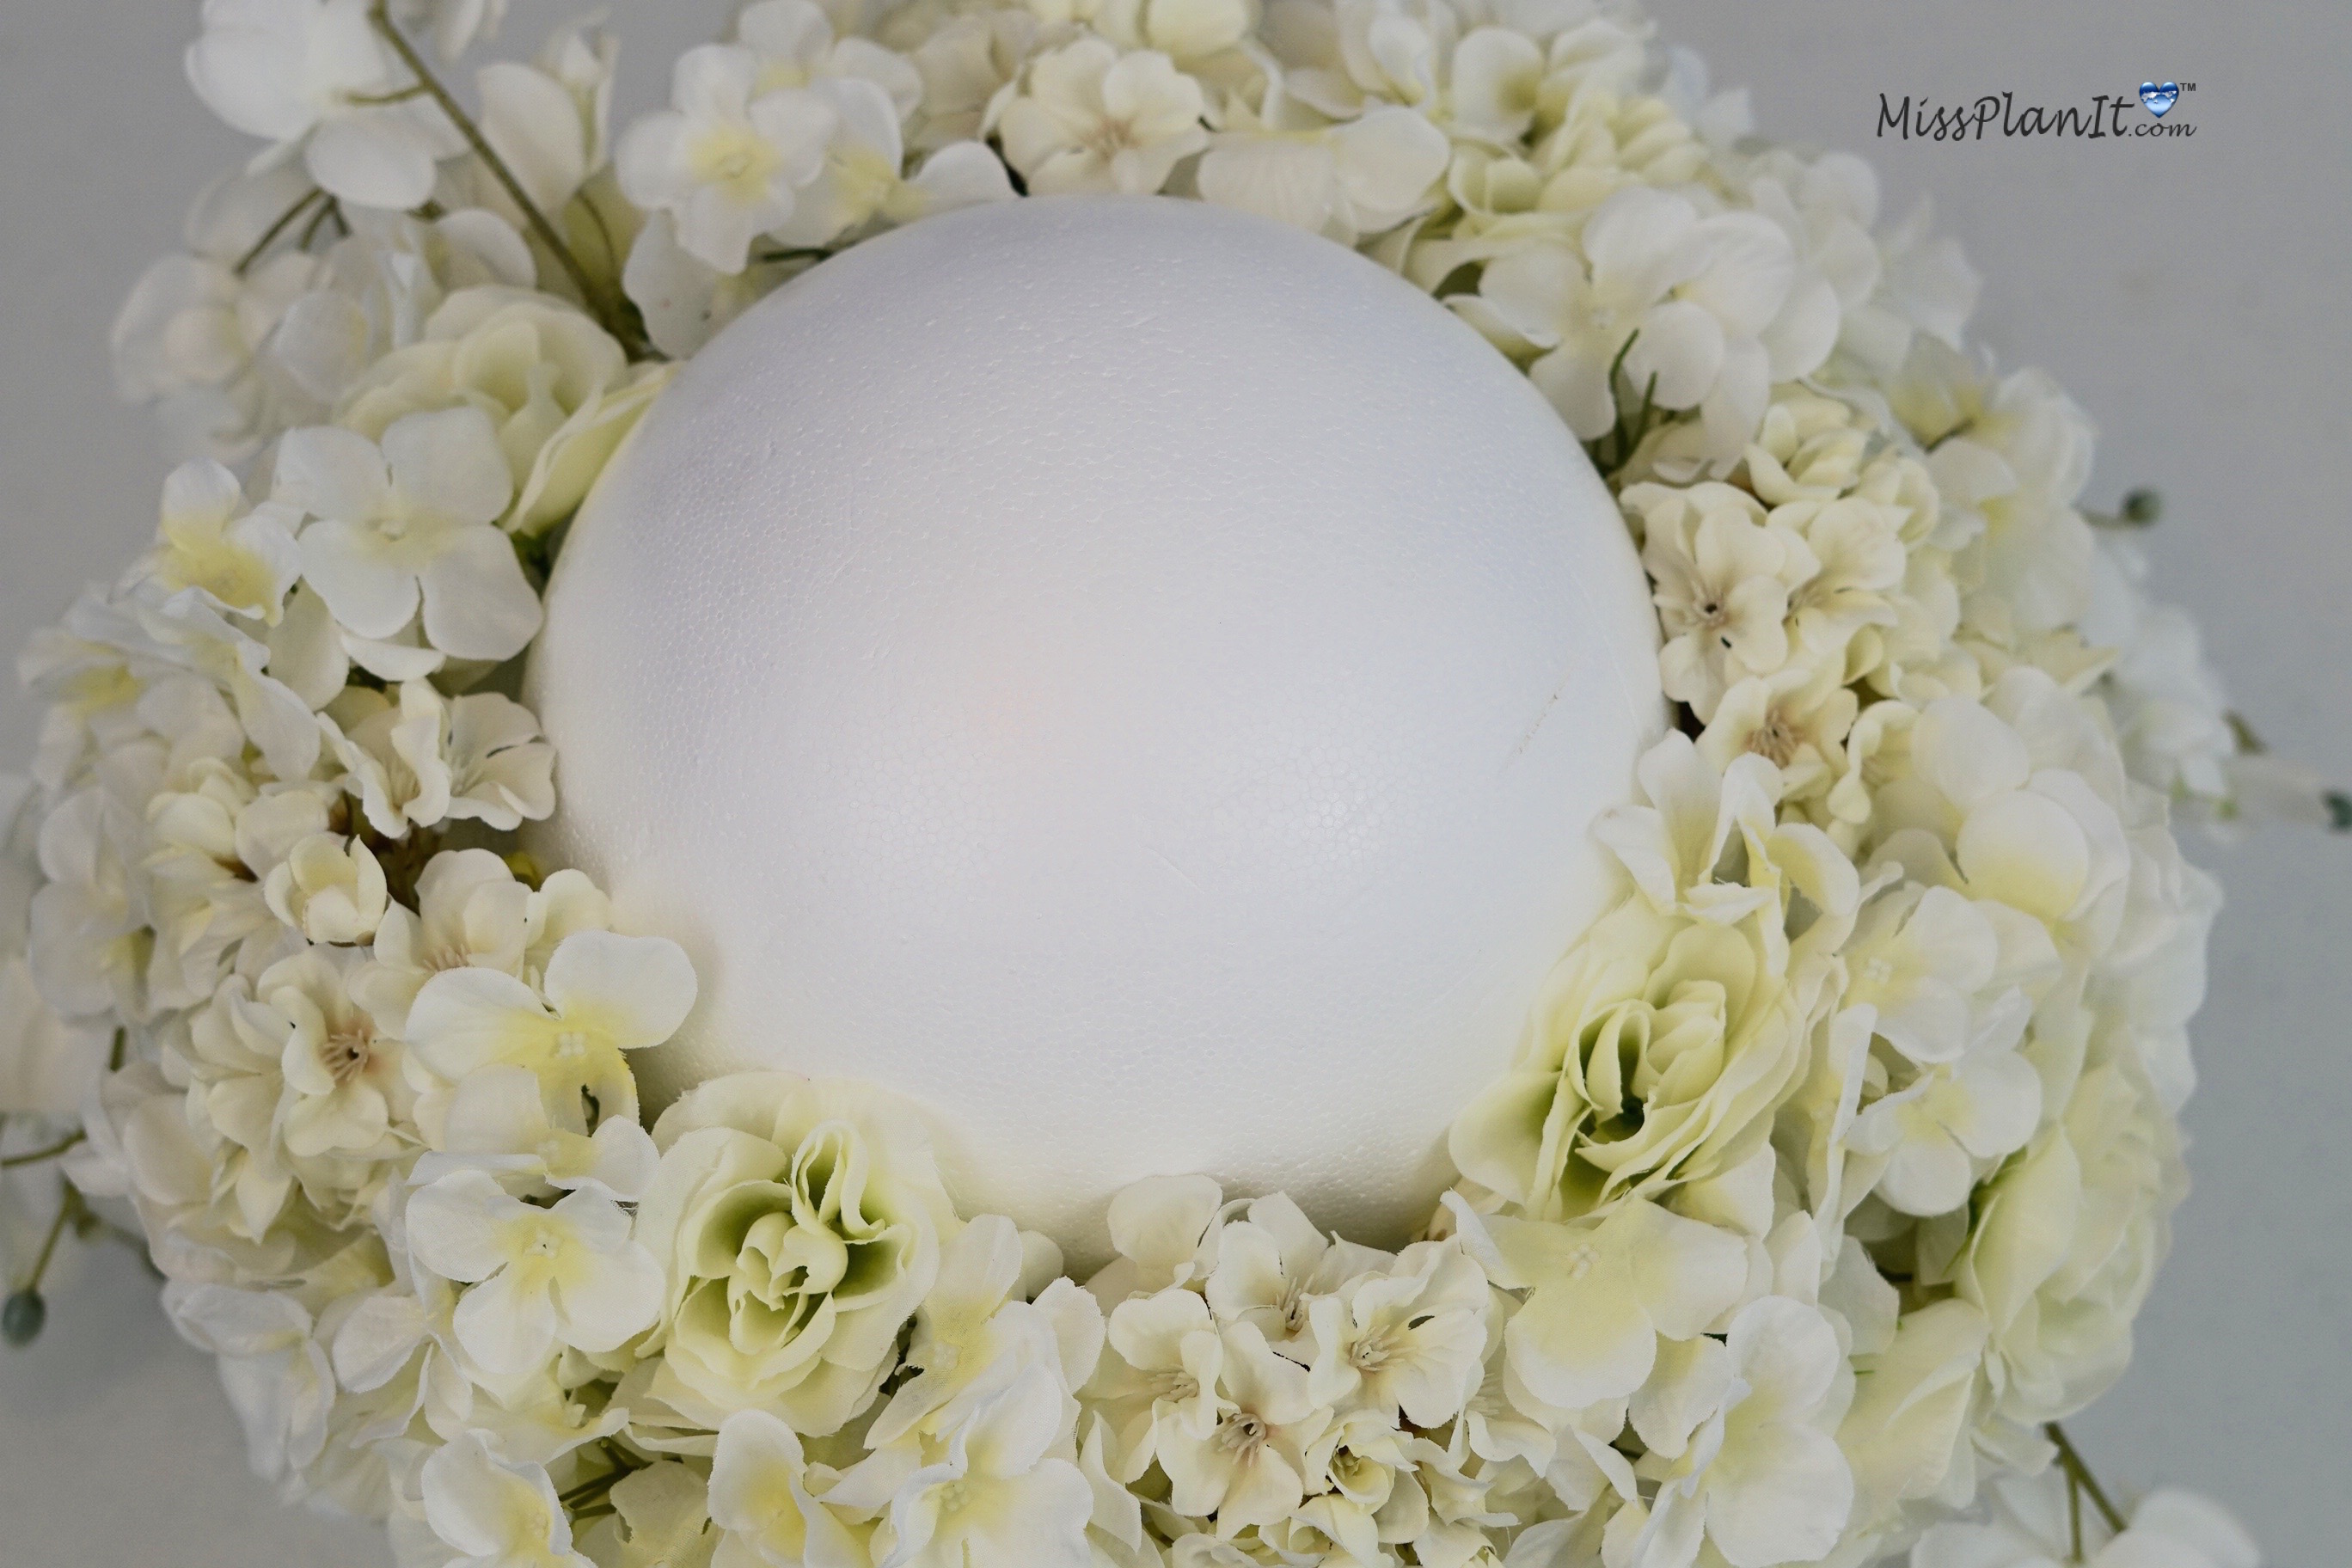
STEP 6: Add glass gems and LED lights to vases. Lastly, place foam dome on top.
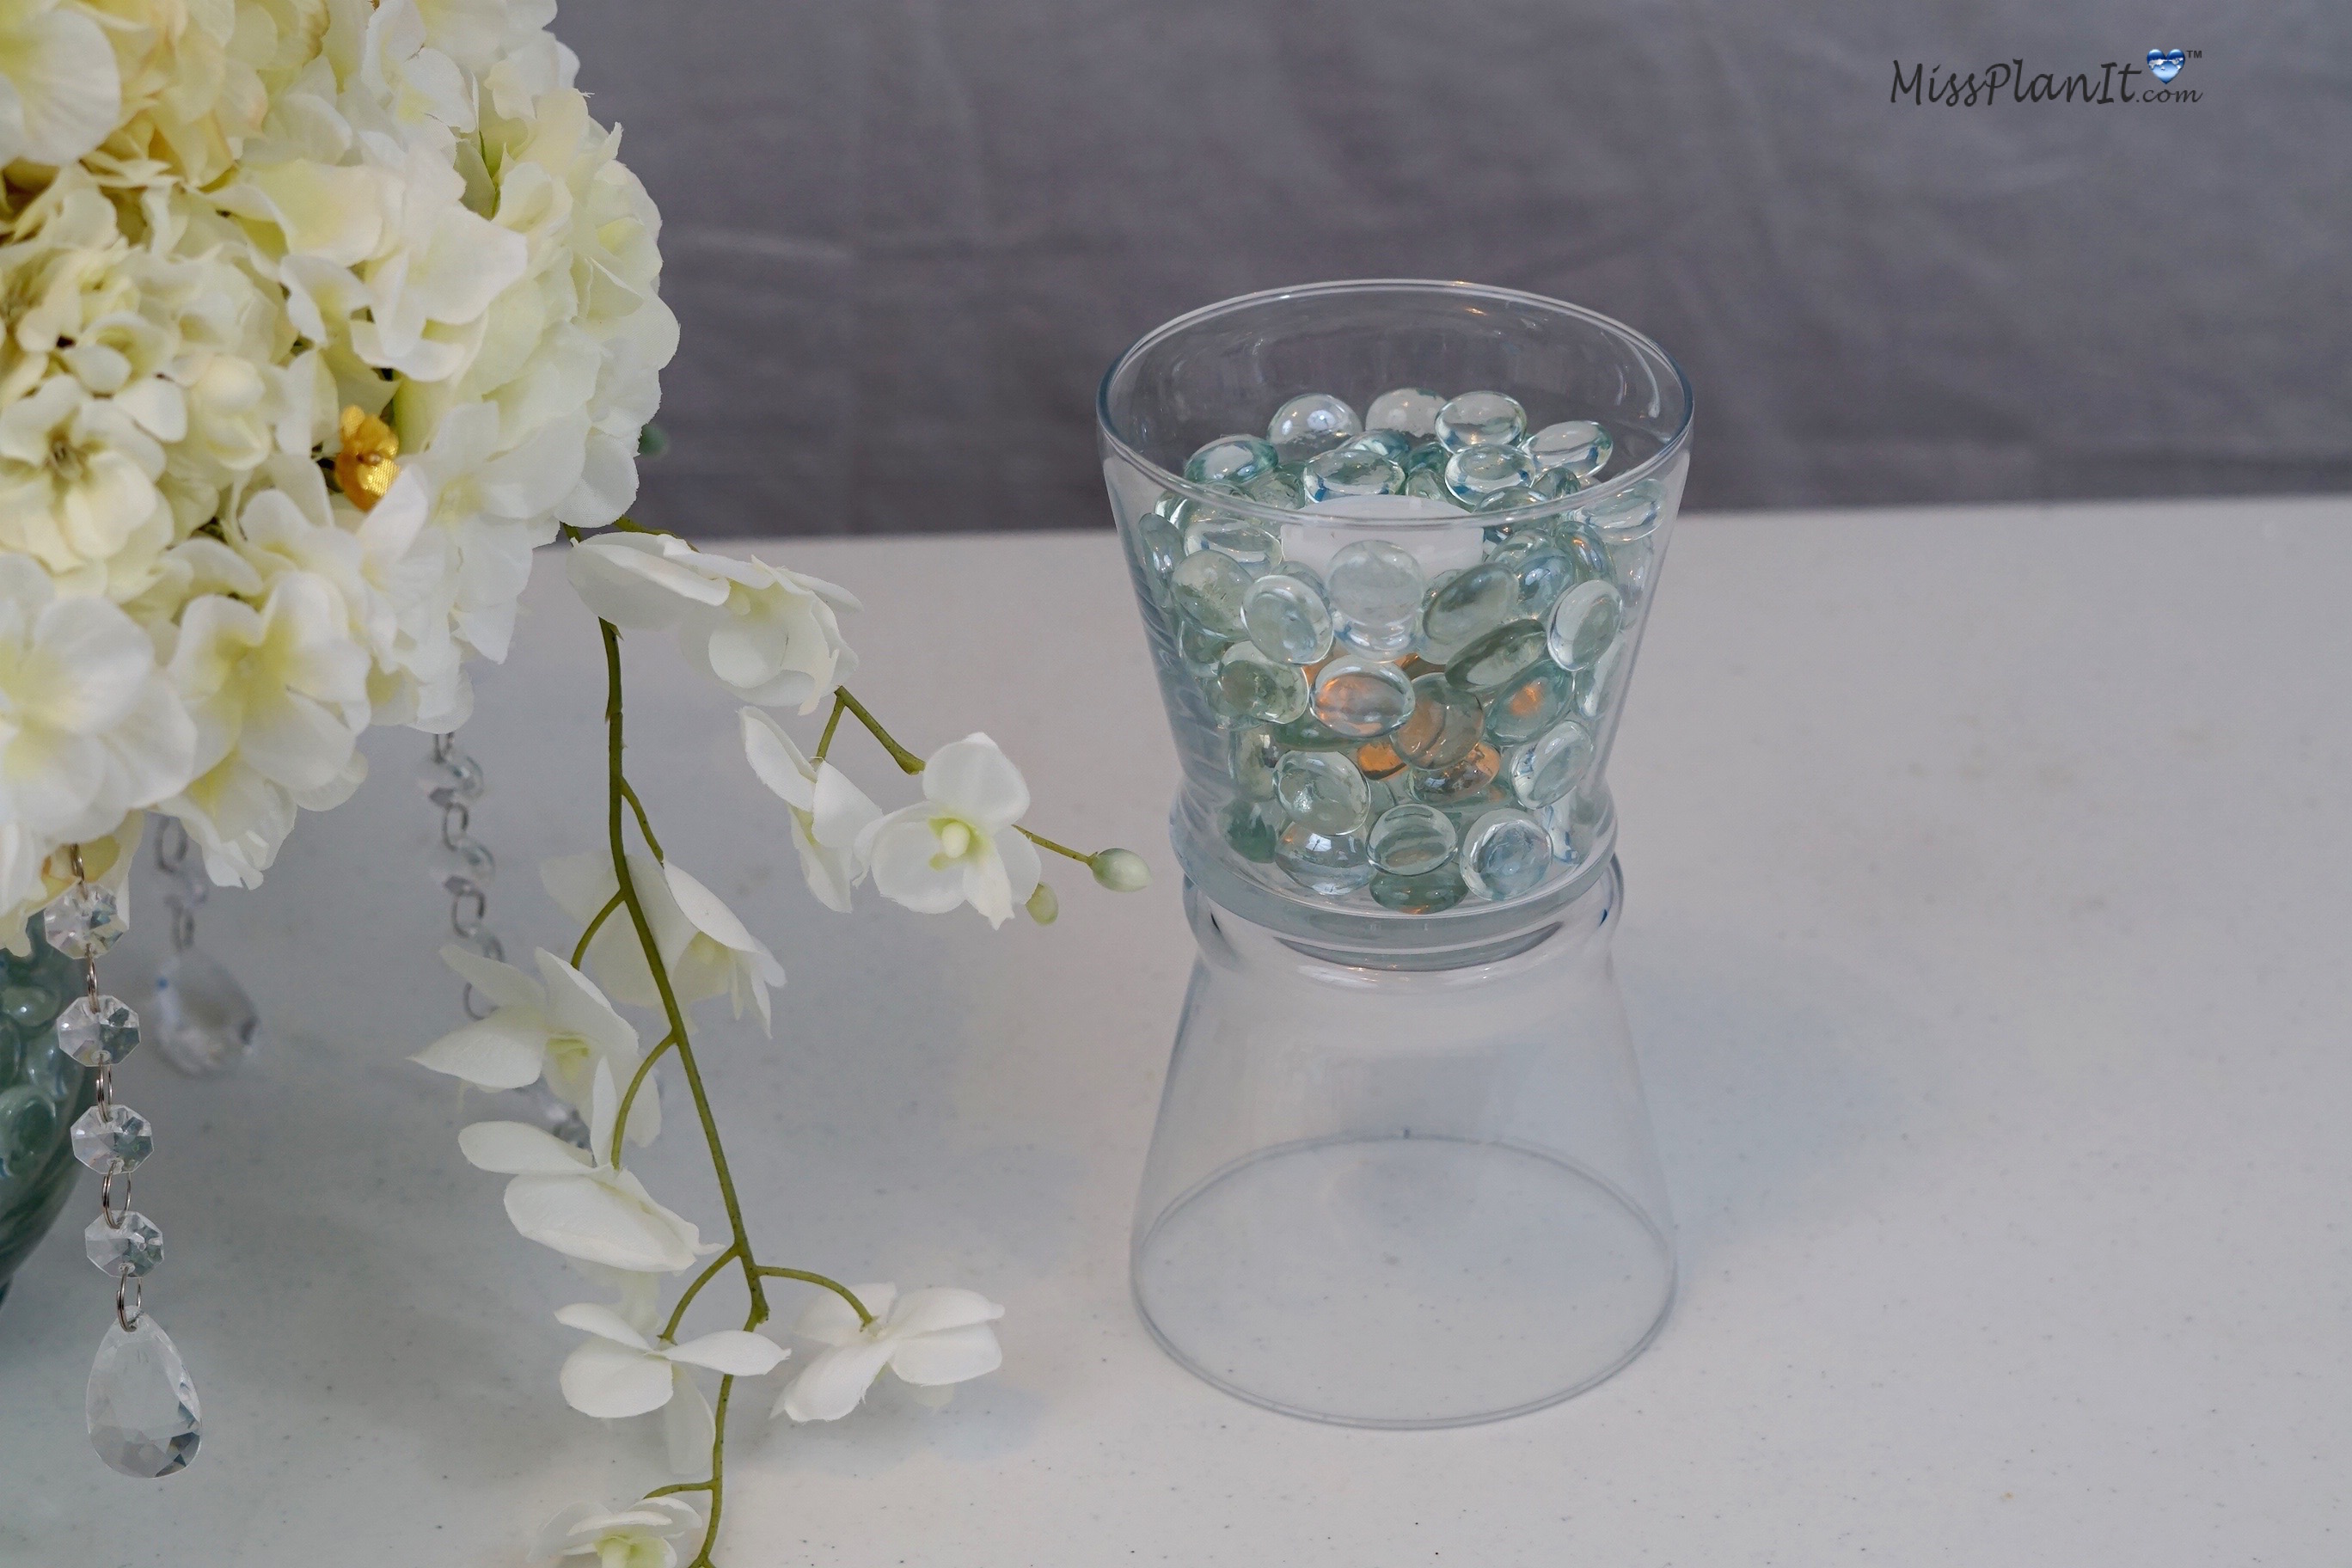
STEP 7: Now attach 4 Wisteria stems to the bottom of your foam ball at various lengths.
STEP 8:Apply your E6000 Adhesive to your vase opening and sit your foam ball on top.
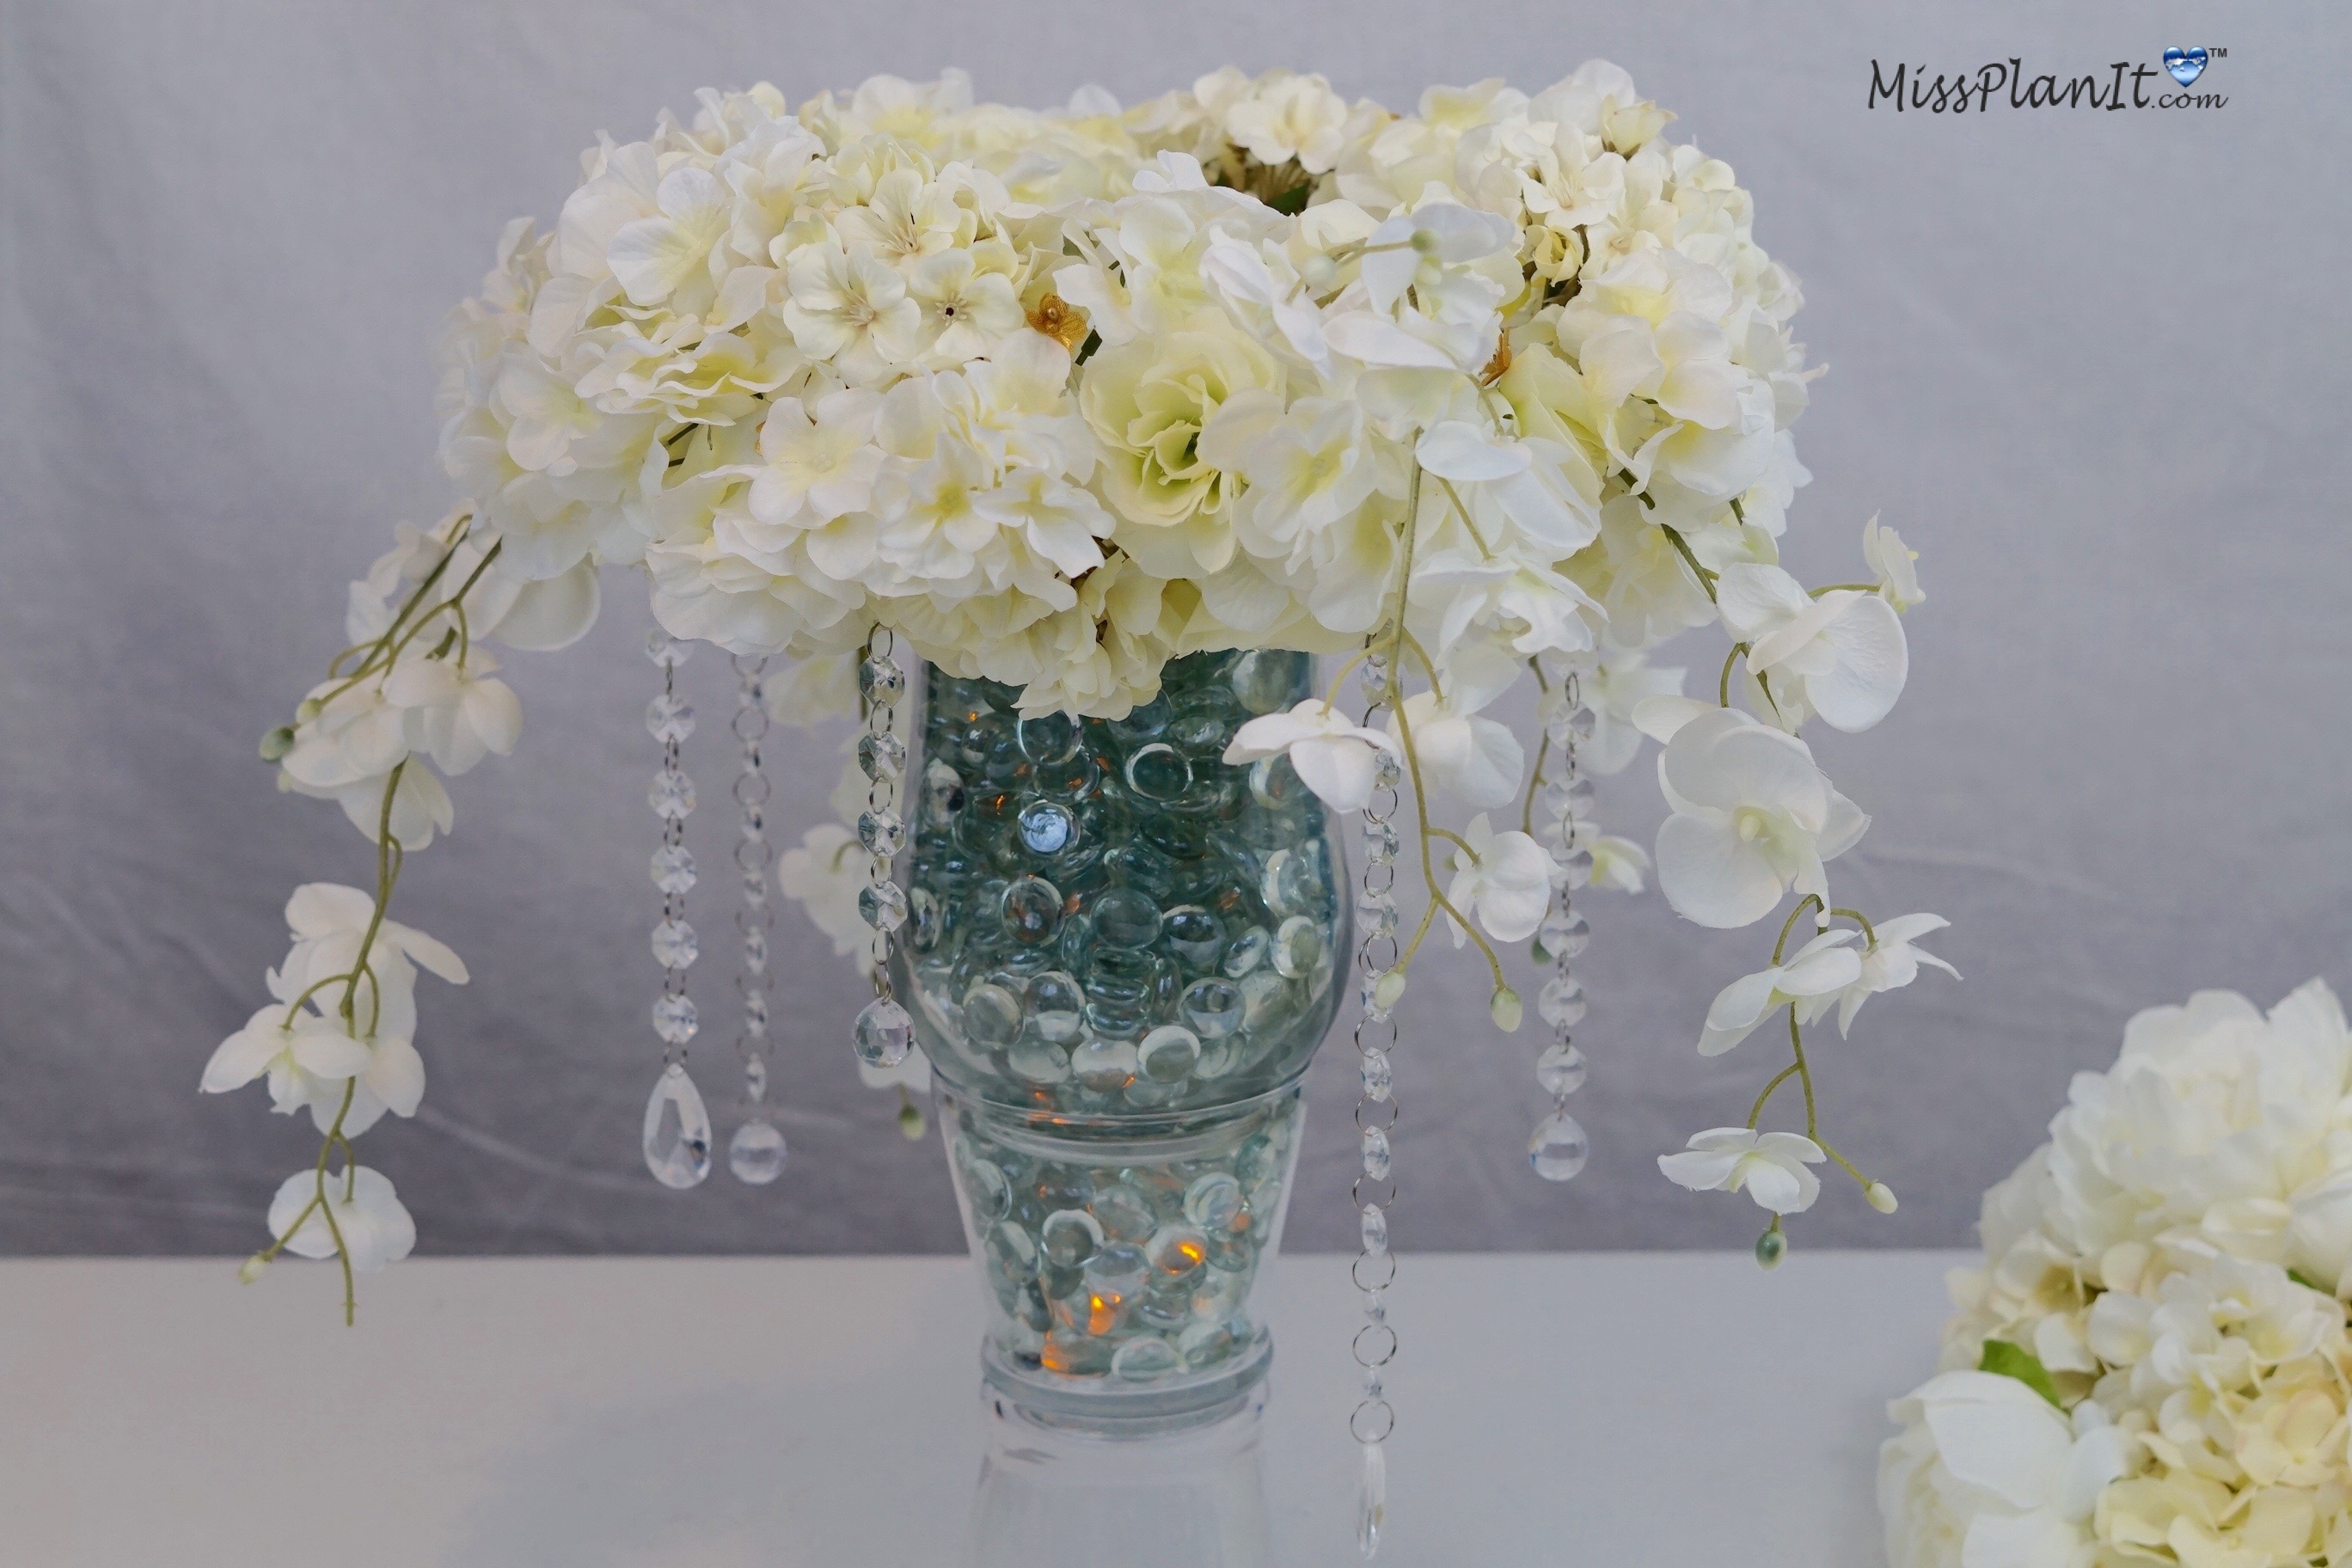
THE FINAL STEP
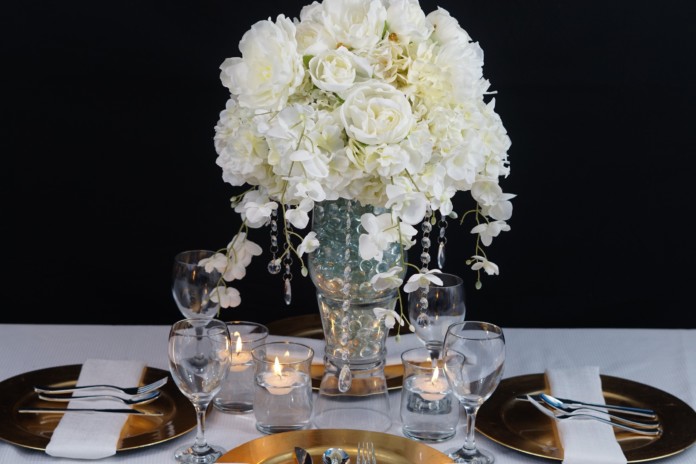
STEP 5: Set the table!
I absolutely love how this wedding centerpiece turned out. Olivia, thank you so much for allowing us to be apart of your special day!
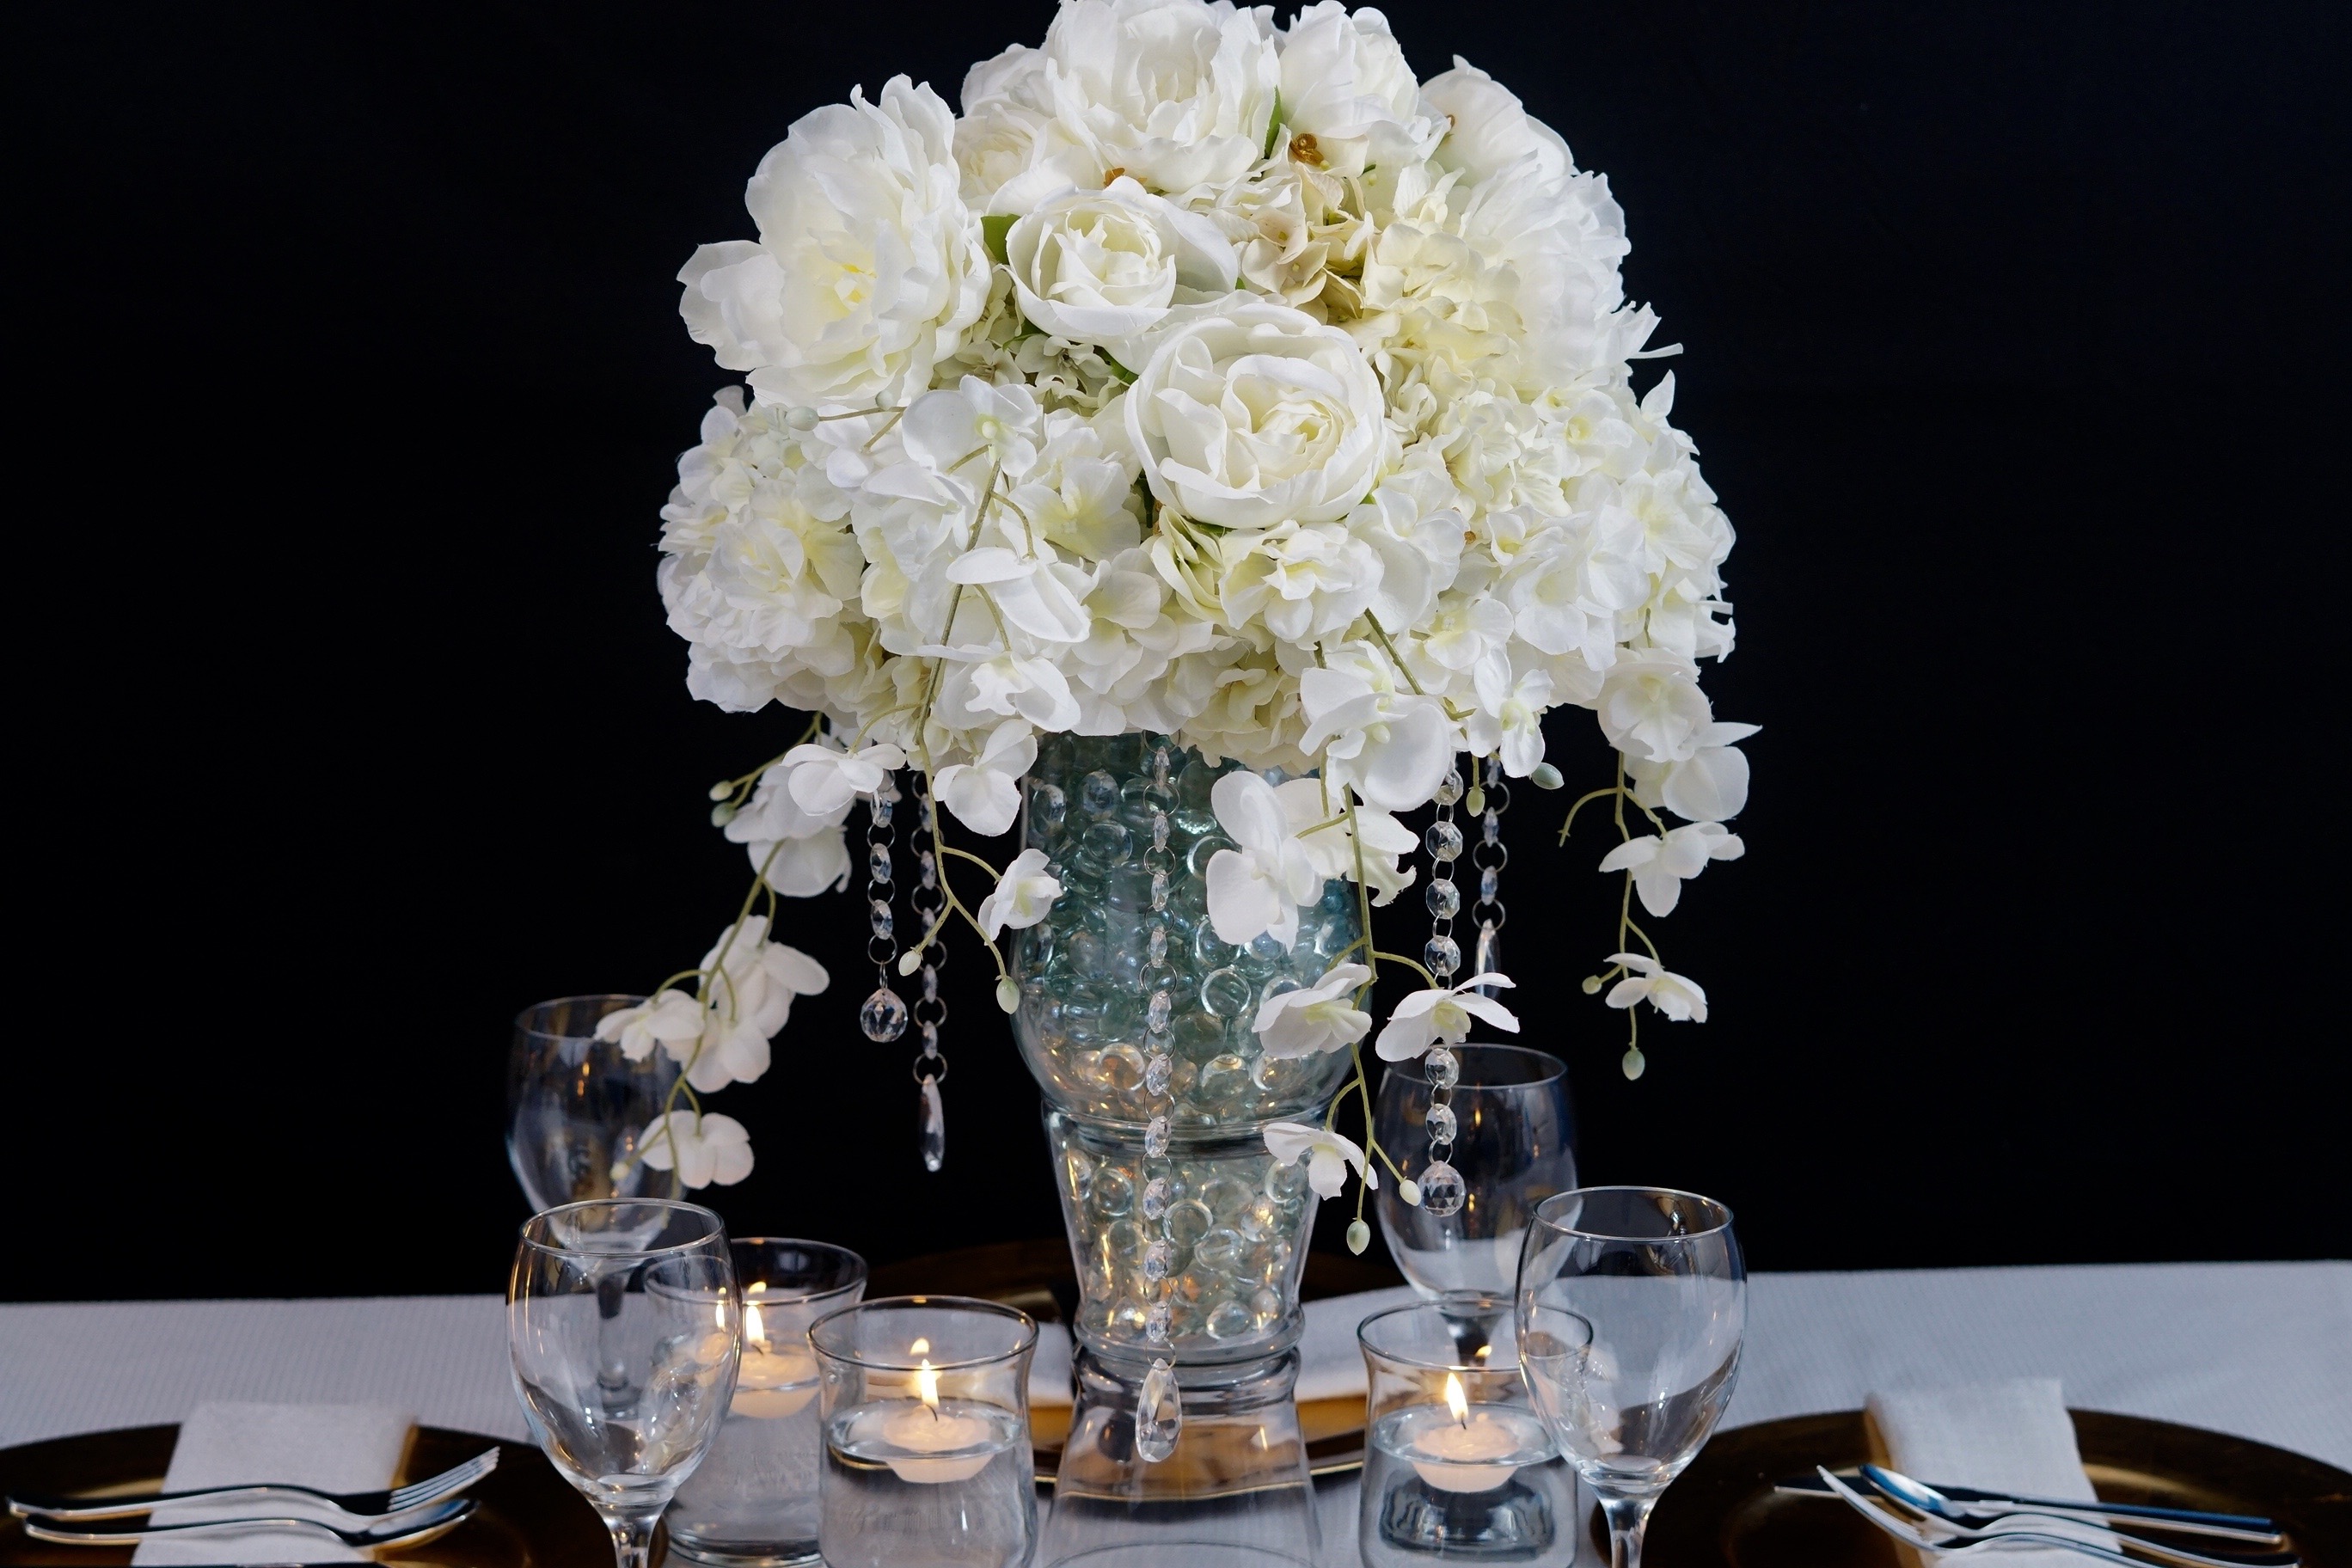
If you like the outcome please let us know in the comments below? Also share your ideas on what you would have done differently?
Need help with an upcoming project? Be sure to send us a project request!
“Remember When Every Penny Counts, Count on MissPlanIt”


What are the quantities of flowers used?
Hi the step-by-step instructions and tutorial video tell how many flowers are used!