Have you ever seen a wedding centerpiece or any other DIY project on Pinterest and thought to yourself, “I can make that,” but once you got started, it’s more difficult than you thought, and it’s just not looking like how you pictured it in your head?
Well I’m sure we all have been in a similar situation. This is the exact case with Monique, with her wedding just around the corner, Monique is a DIY bride who is attempting to finish her wedding centerpieces but they are not coming out quite the way she wants.
Feeling frustrated and a little panicky, Monique reached out to us for help, and we were more than happy to oblige. See how we bring her vision to life!
Let’s Get Started:
Supplies:
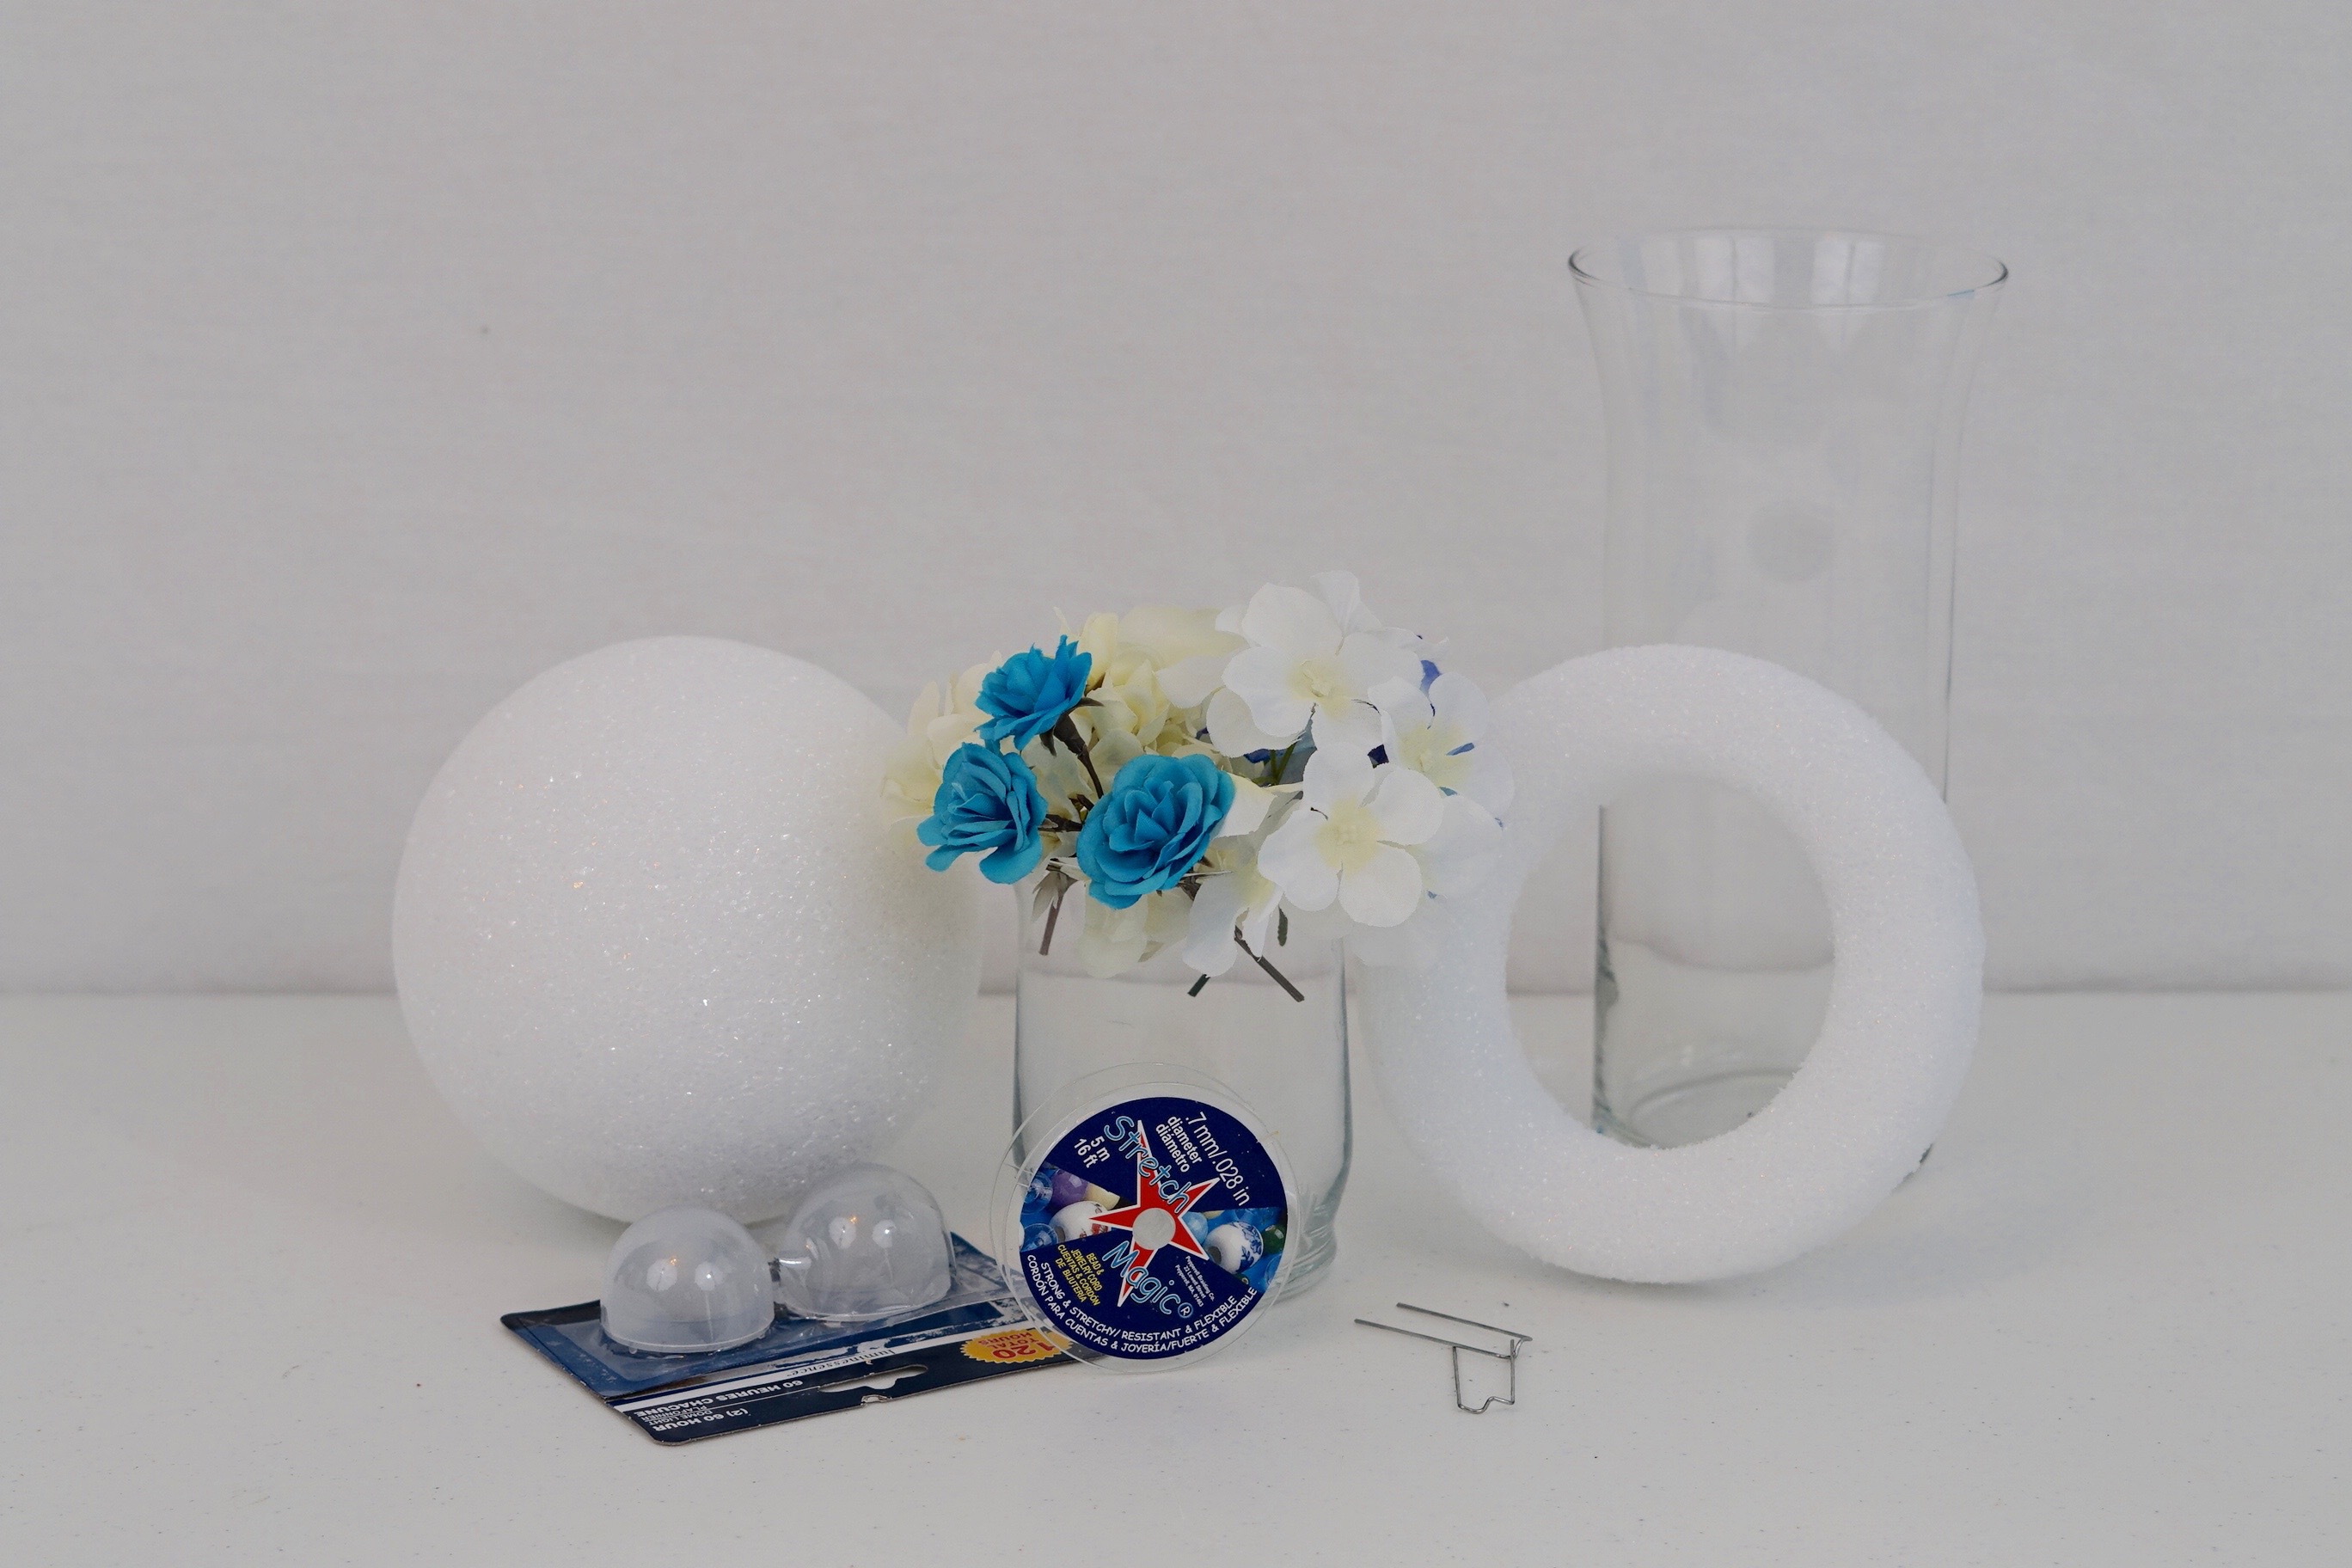
Directions:
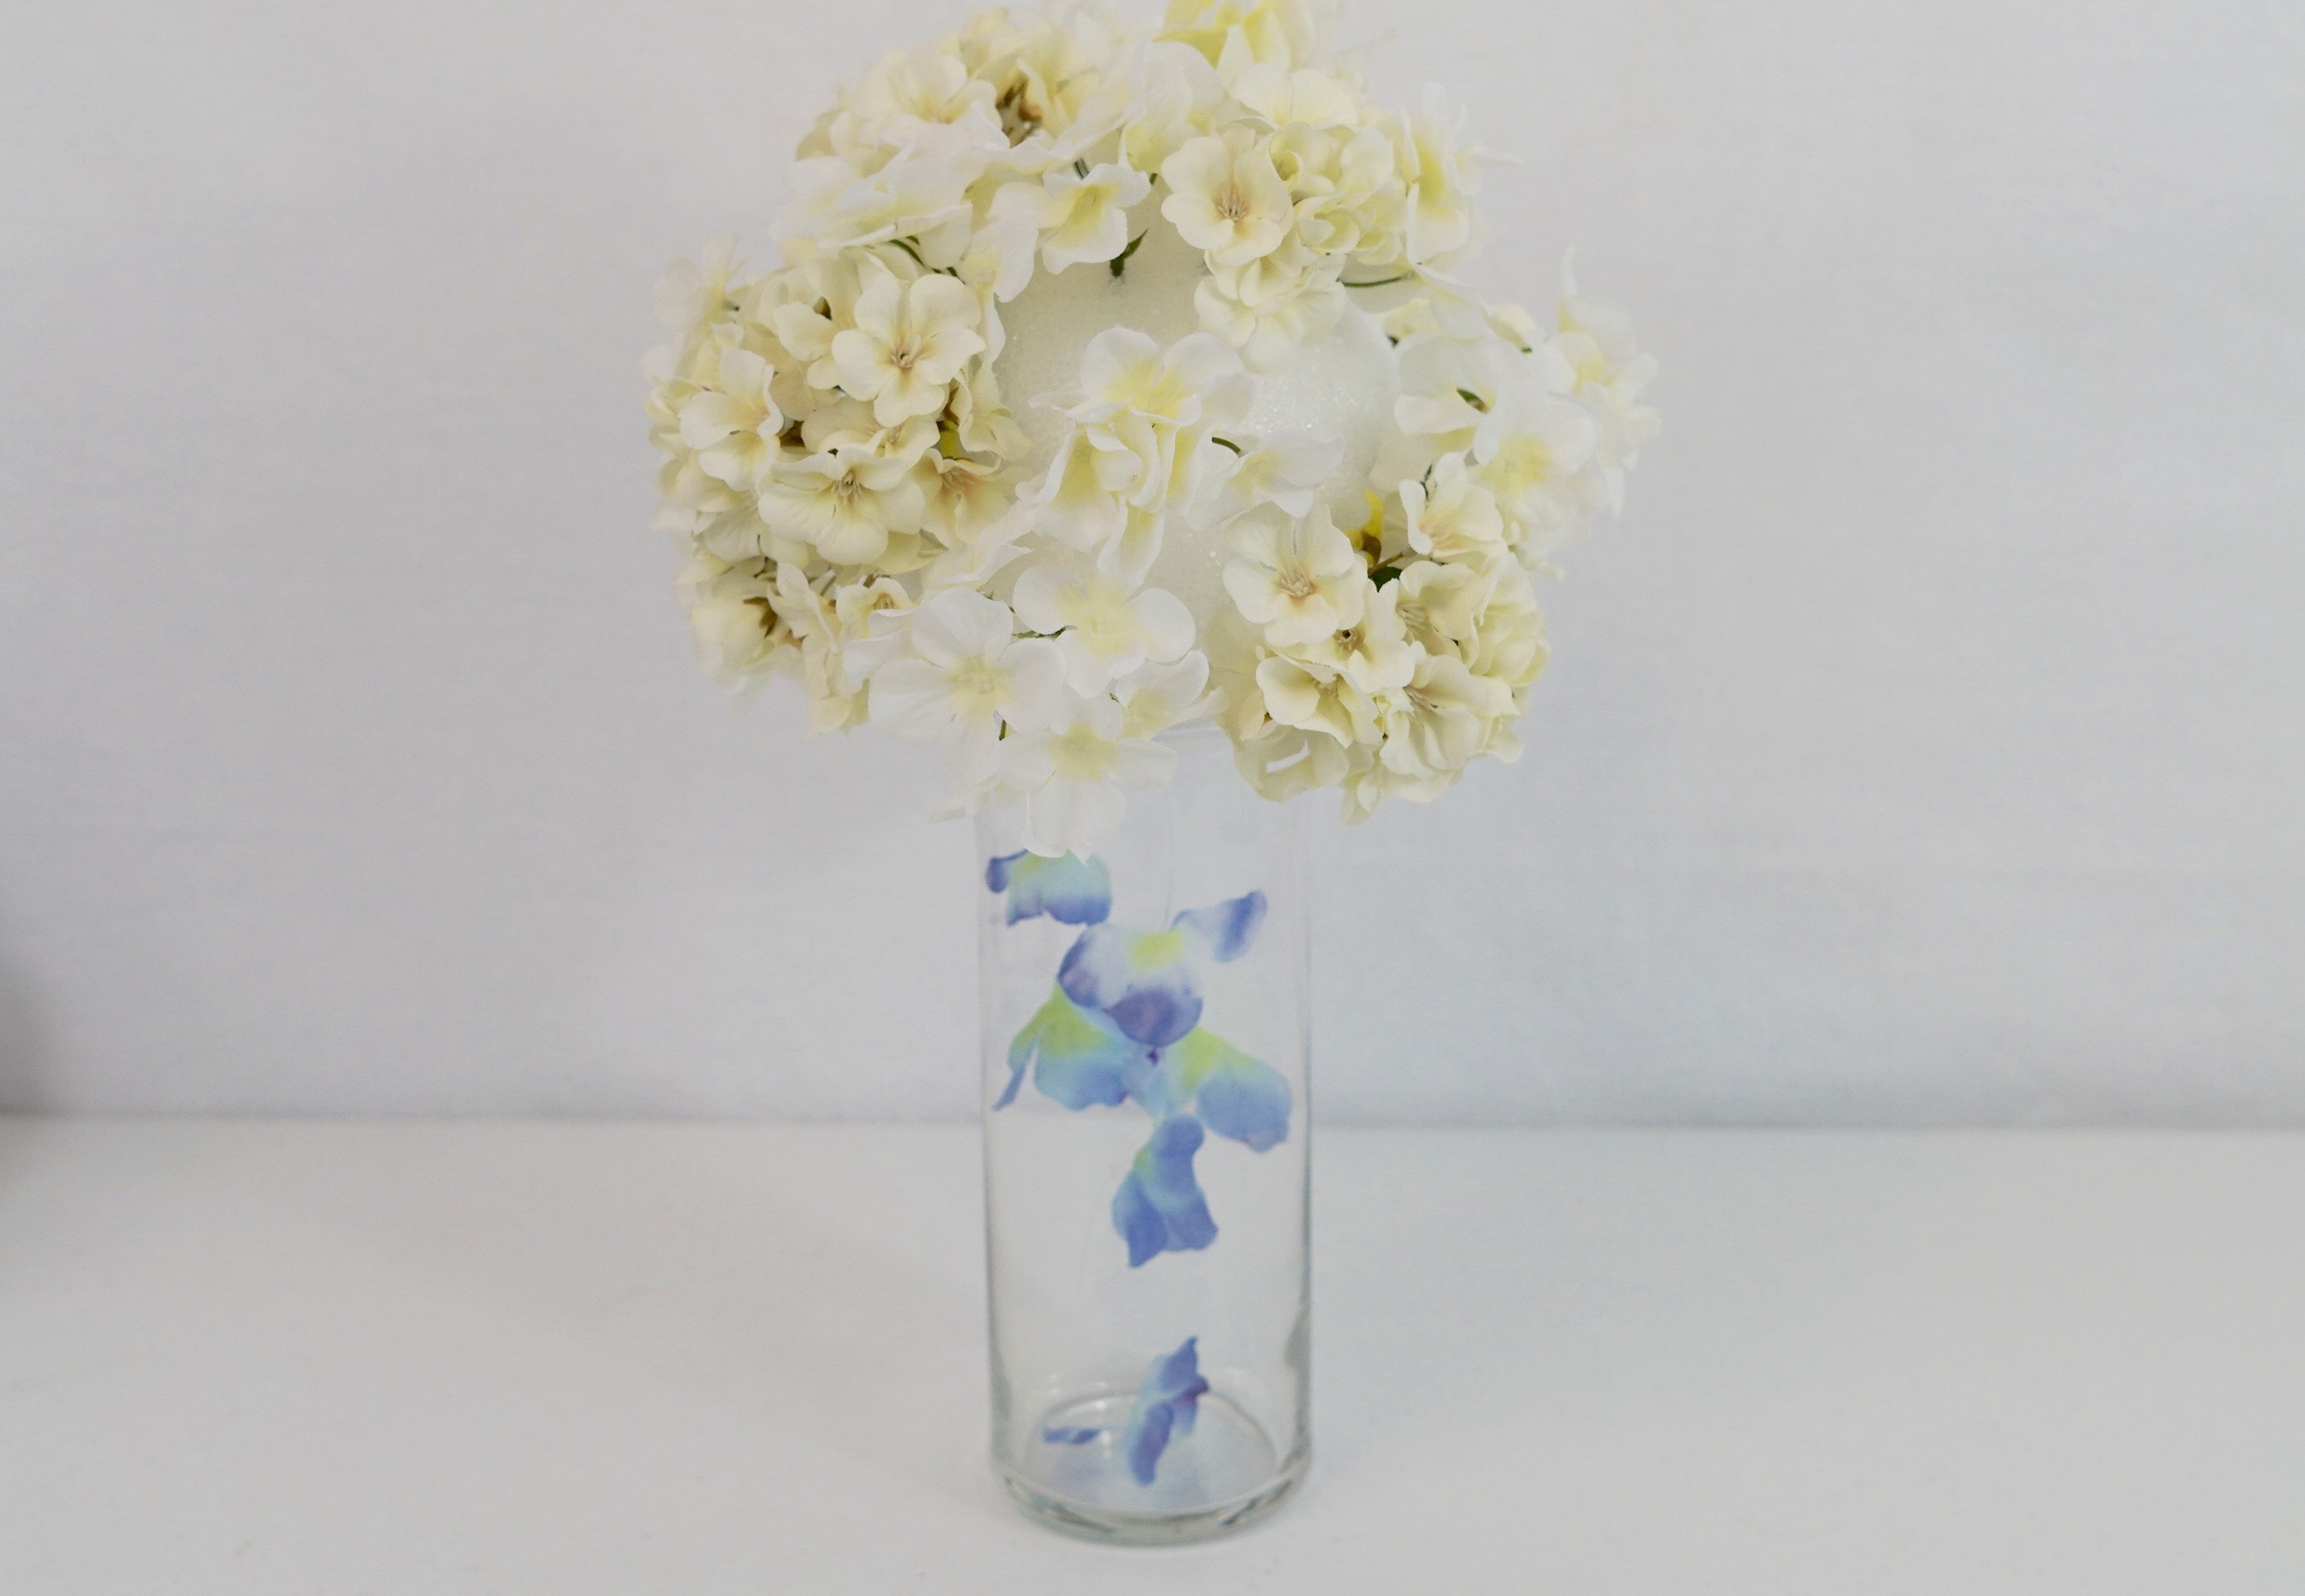
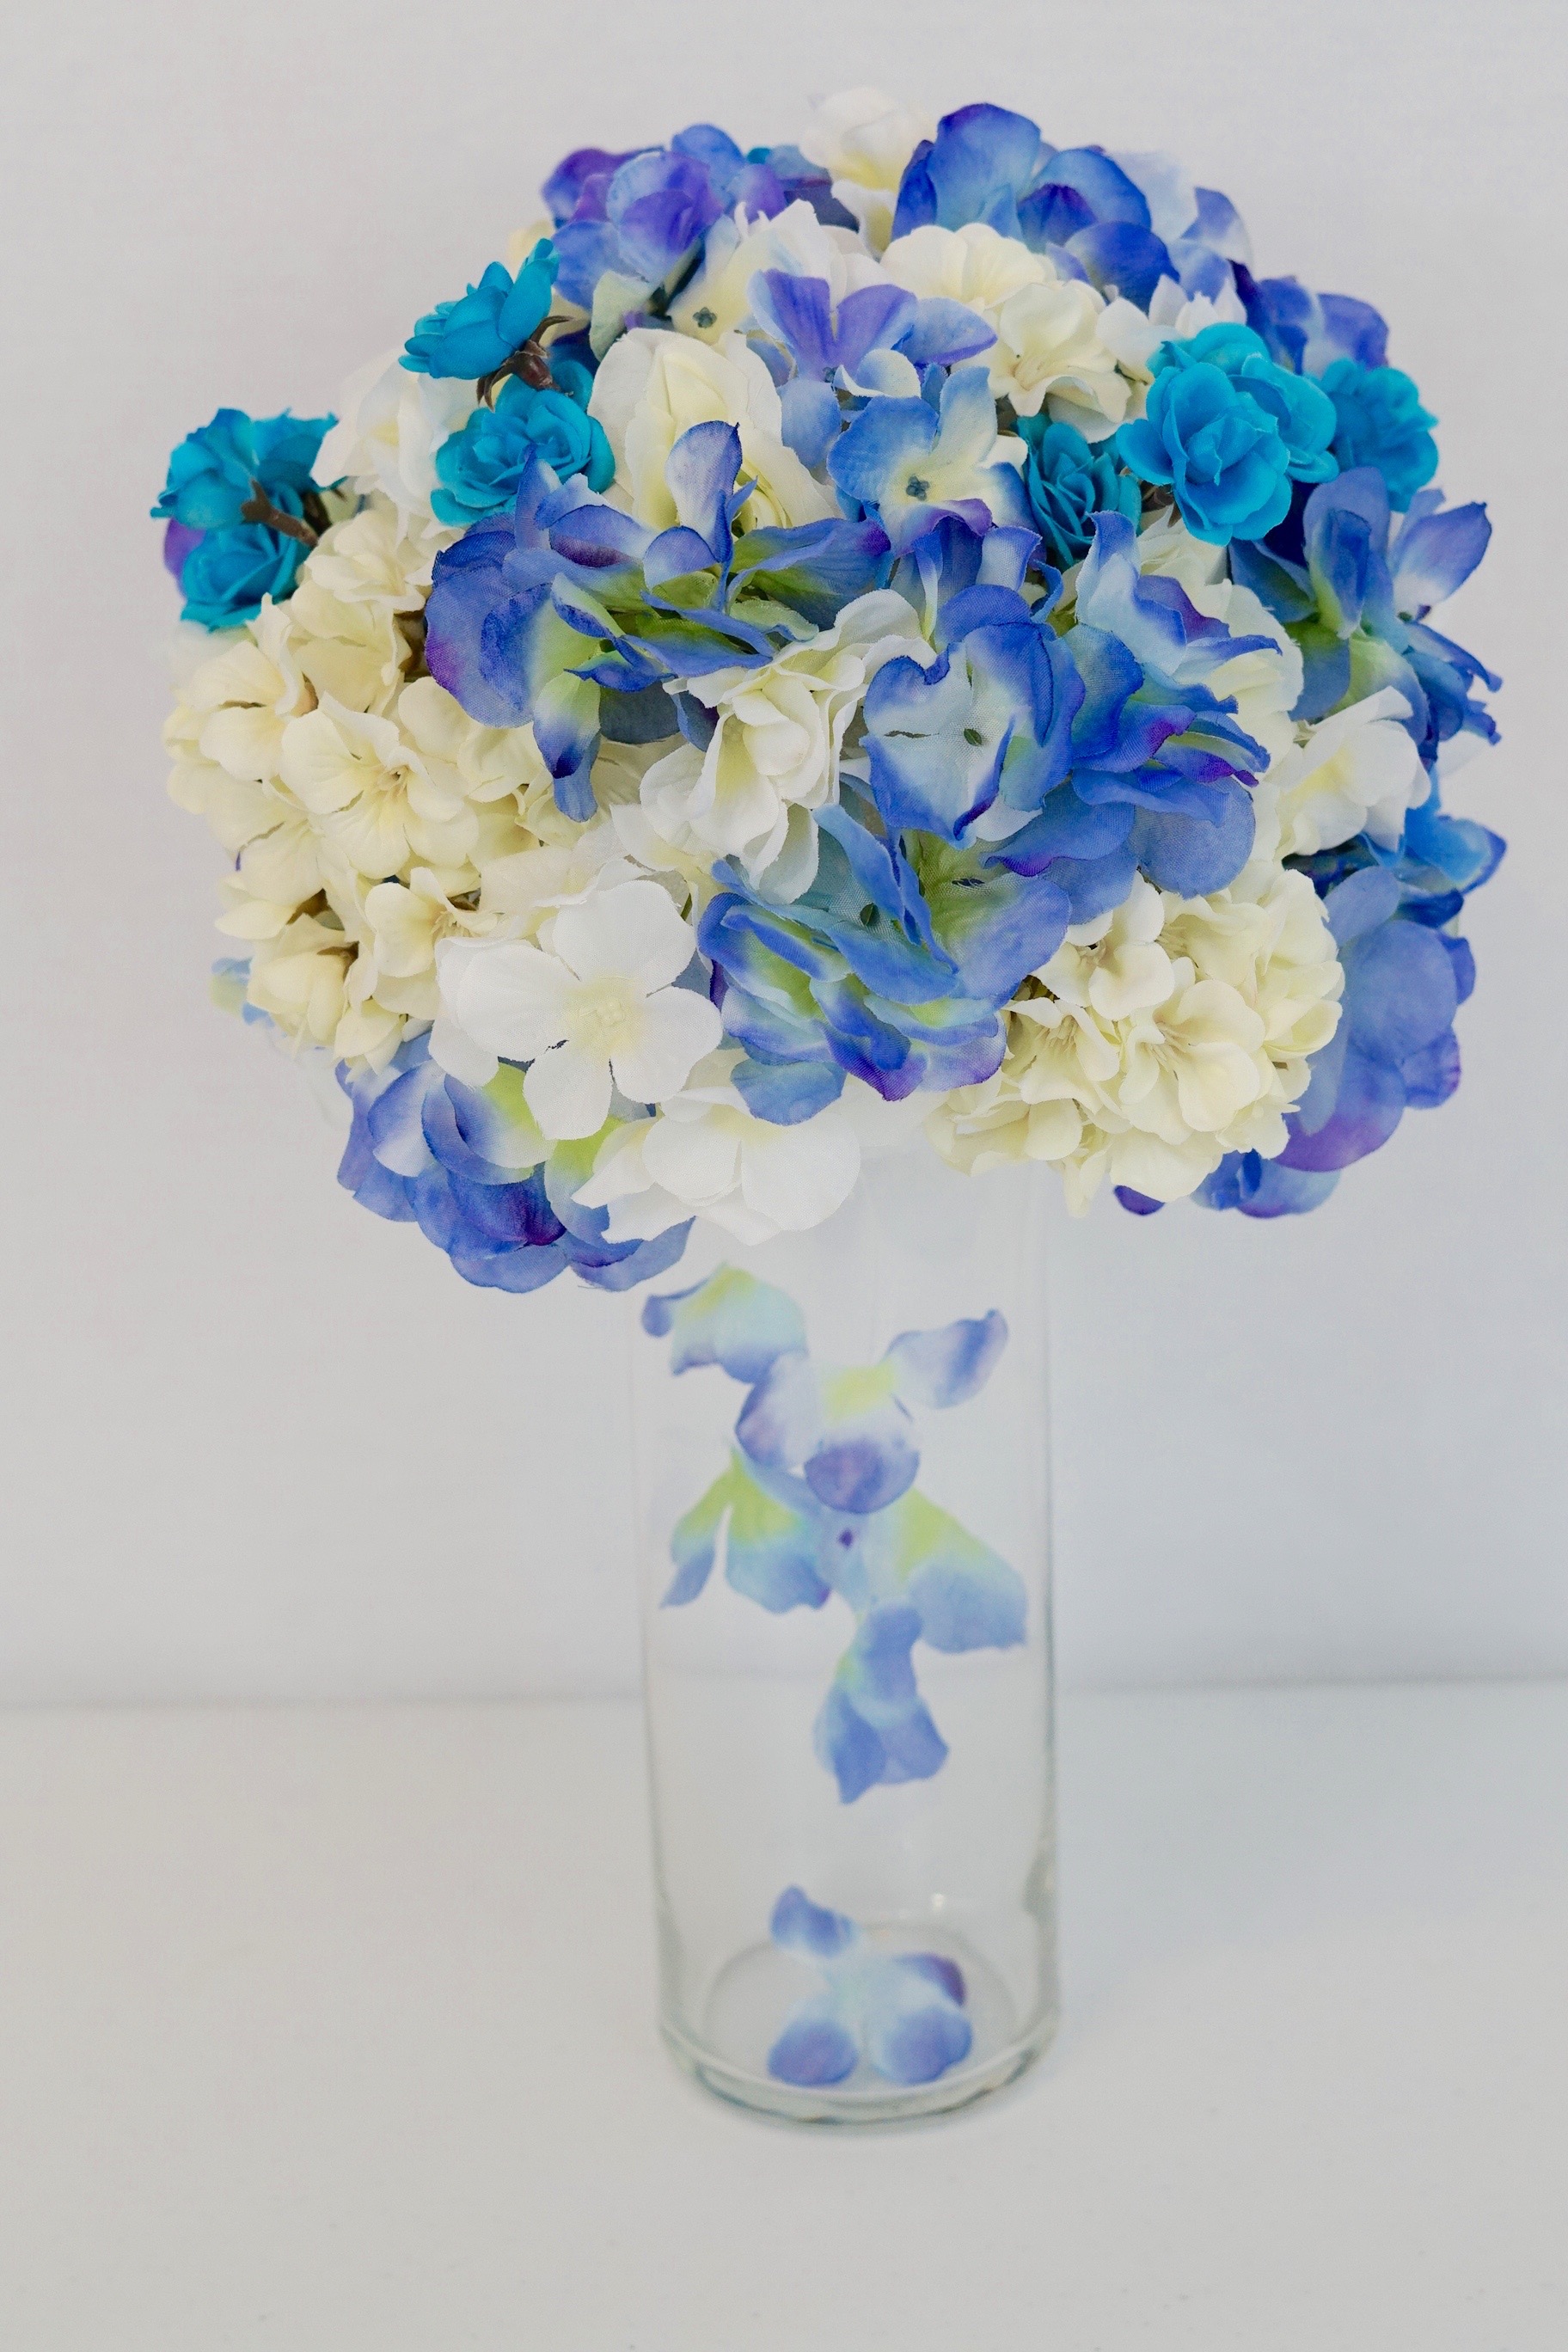
STEP 1: To create an illusion of floating petals in your vase, the first step is to make your petal garland. Take your 0.7mm stretch string and string your petals at various lengths along the string. When removing the petals from the blue hydrangea bushel, there already was a hole where the artificial stem was. Now tie a double knot at each end of the 0.7mm stretch string.
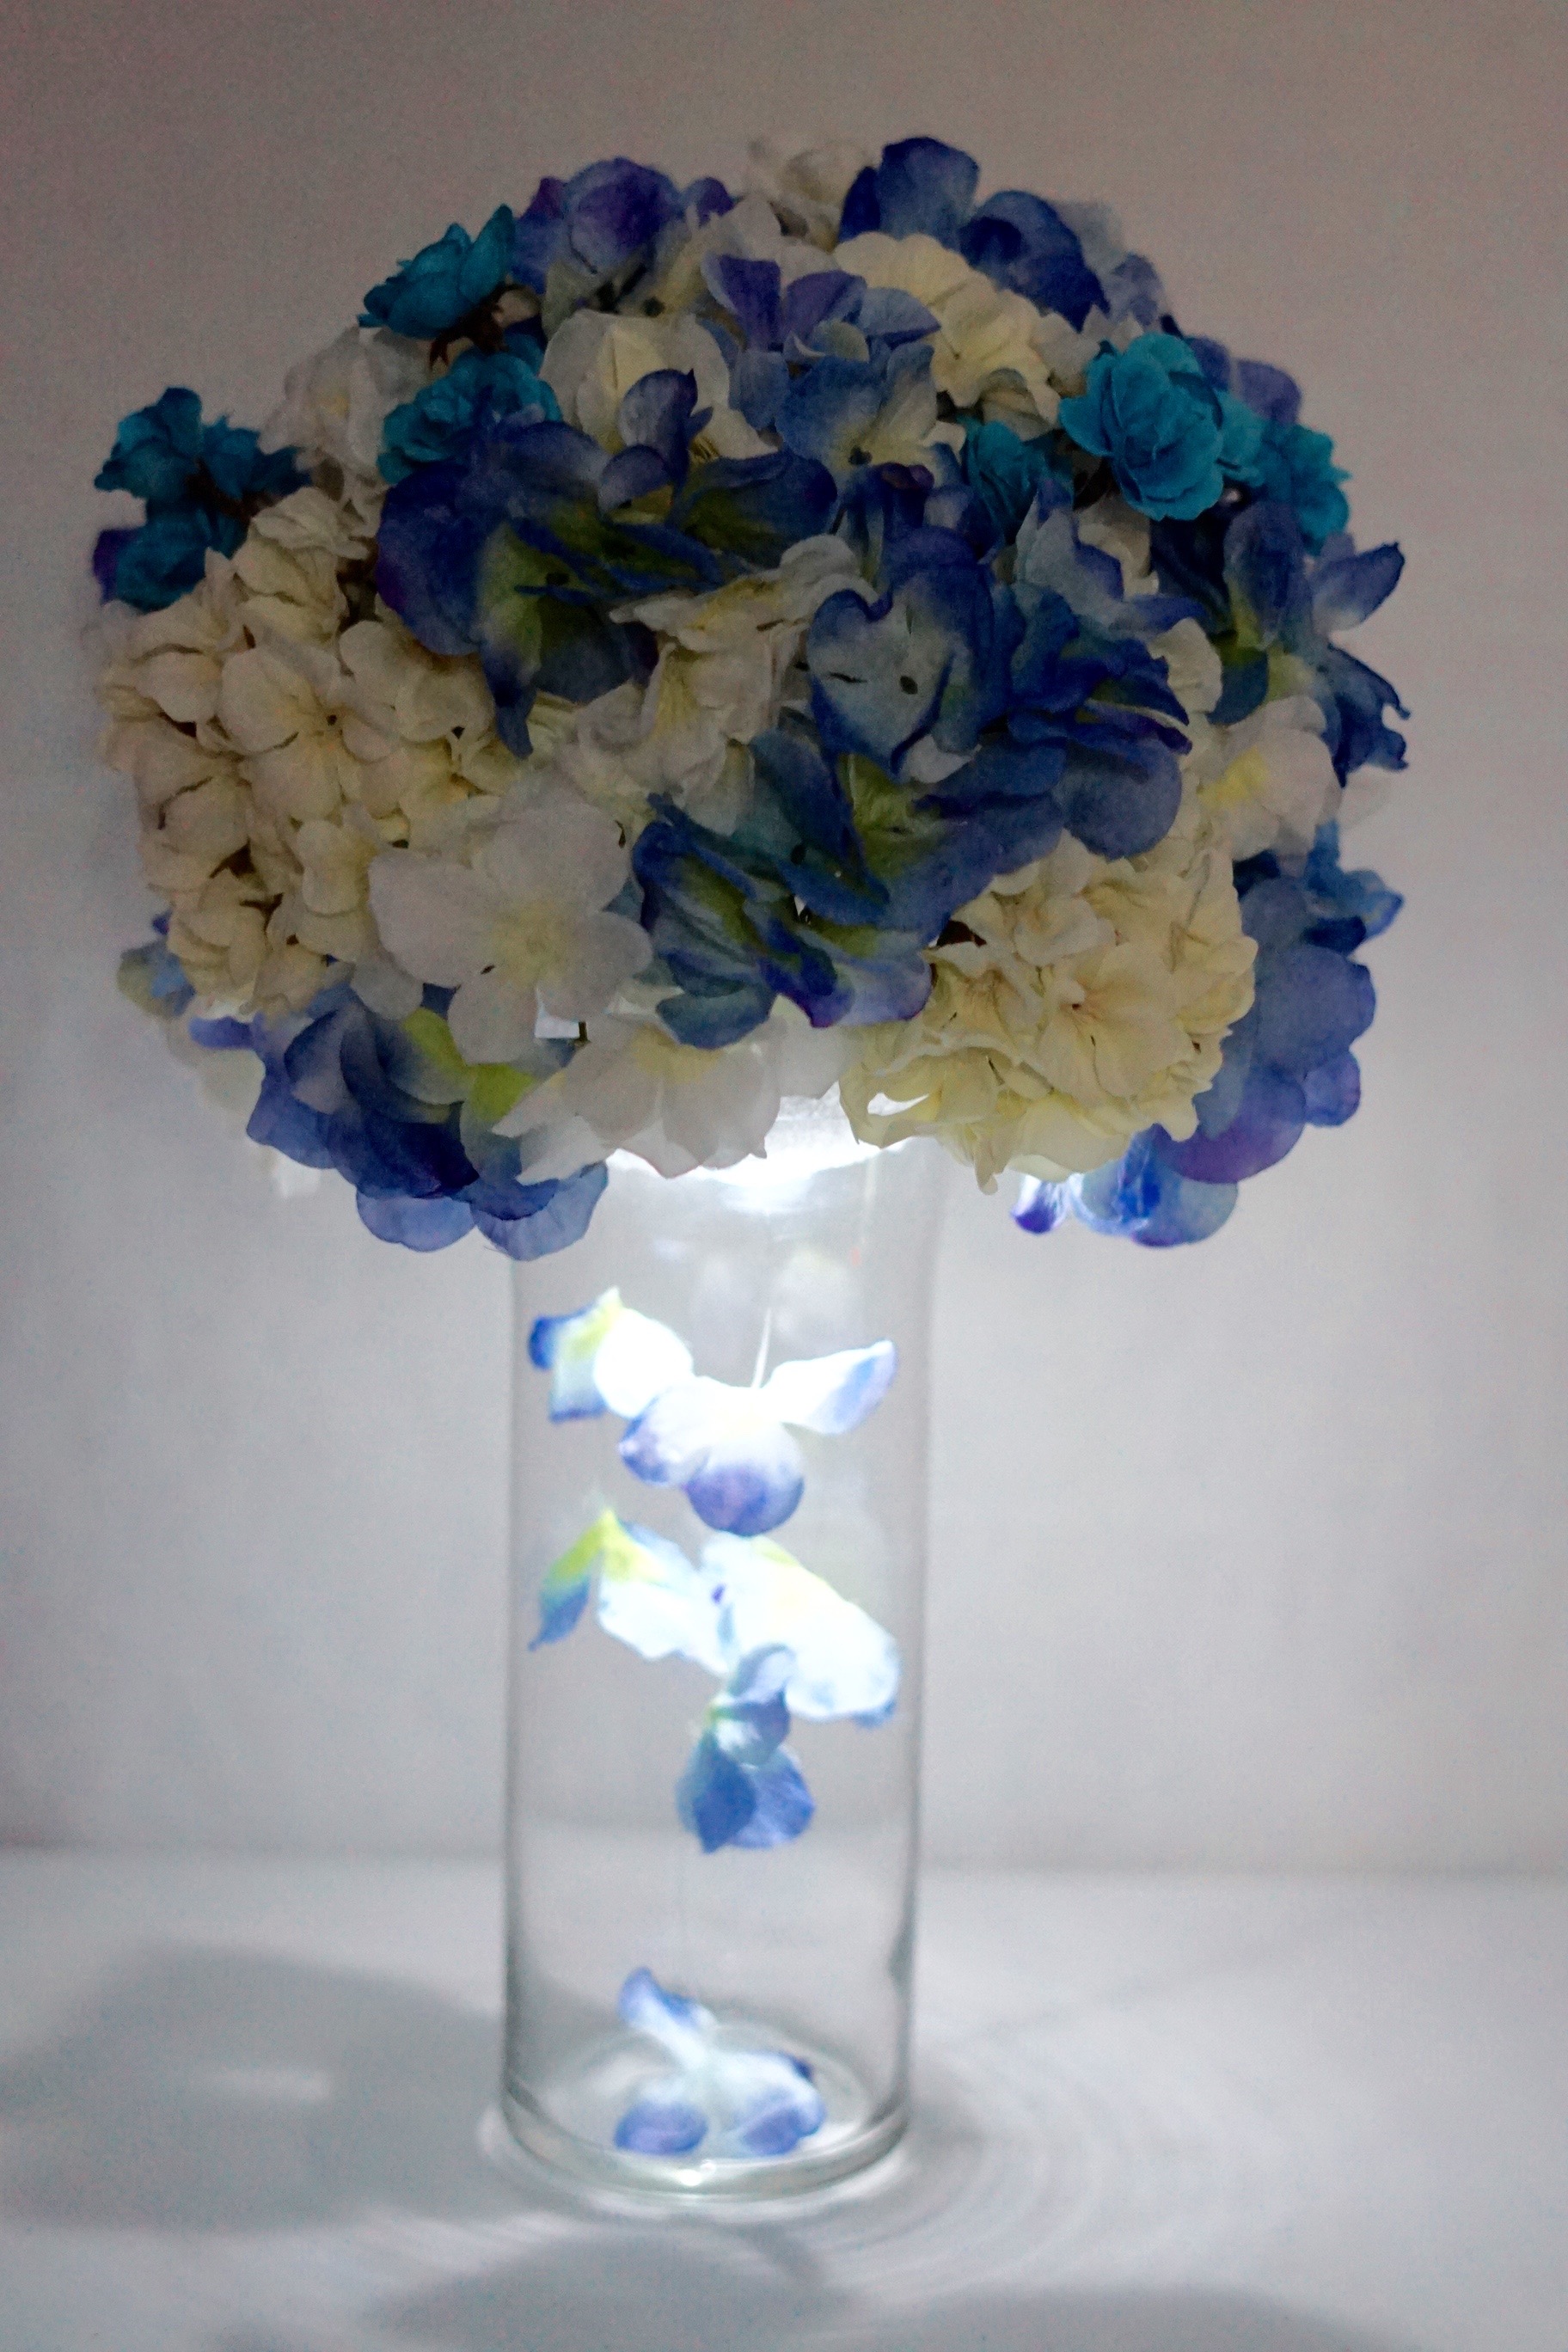
STEP 2: Next step, let’s create your water illusion. This is a cool way to get the water feel without actually dealing with H2O. Place your LED light on top of your 5 Inch Foam Ball, trace around your LED light. Now use your X-acto knife to cut the traced section. Insert your LED light inside your opening, it should fit nice and snug.
TIP: The key is to not cut the hole too big, take your time when trimming out your hole. If the hole is too big the LED light will not fit nice and snug. You can always use hot glue if the hole is too big, this would be something you do the day of your wedding reception.
STEP 3: Trim down your floral pins, now attach 3 of your petal garlands to your 5 inch foam ball.
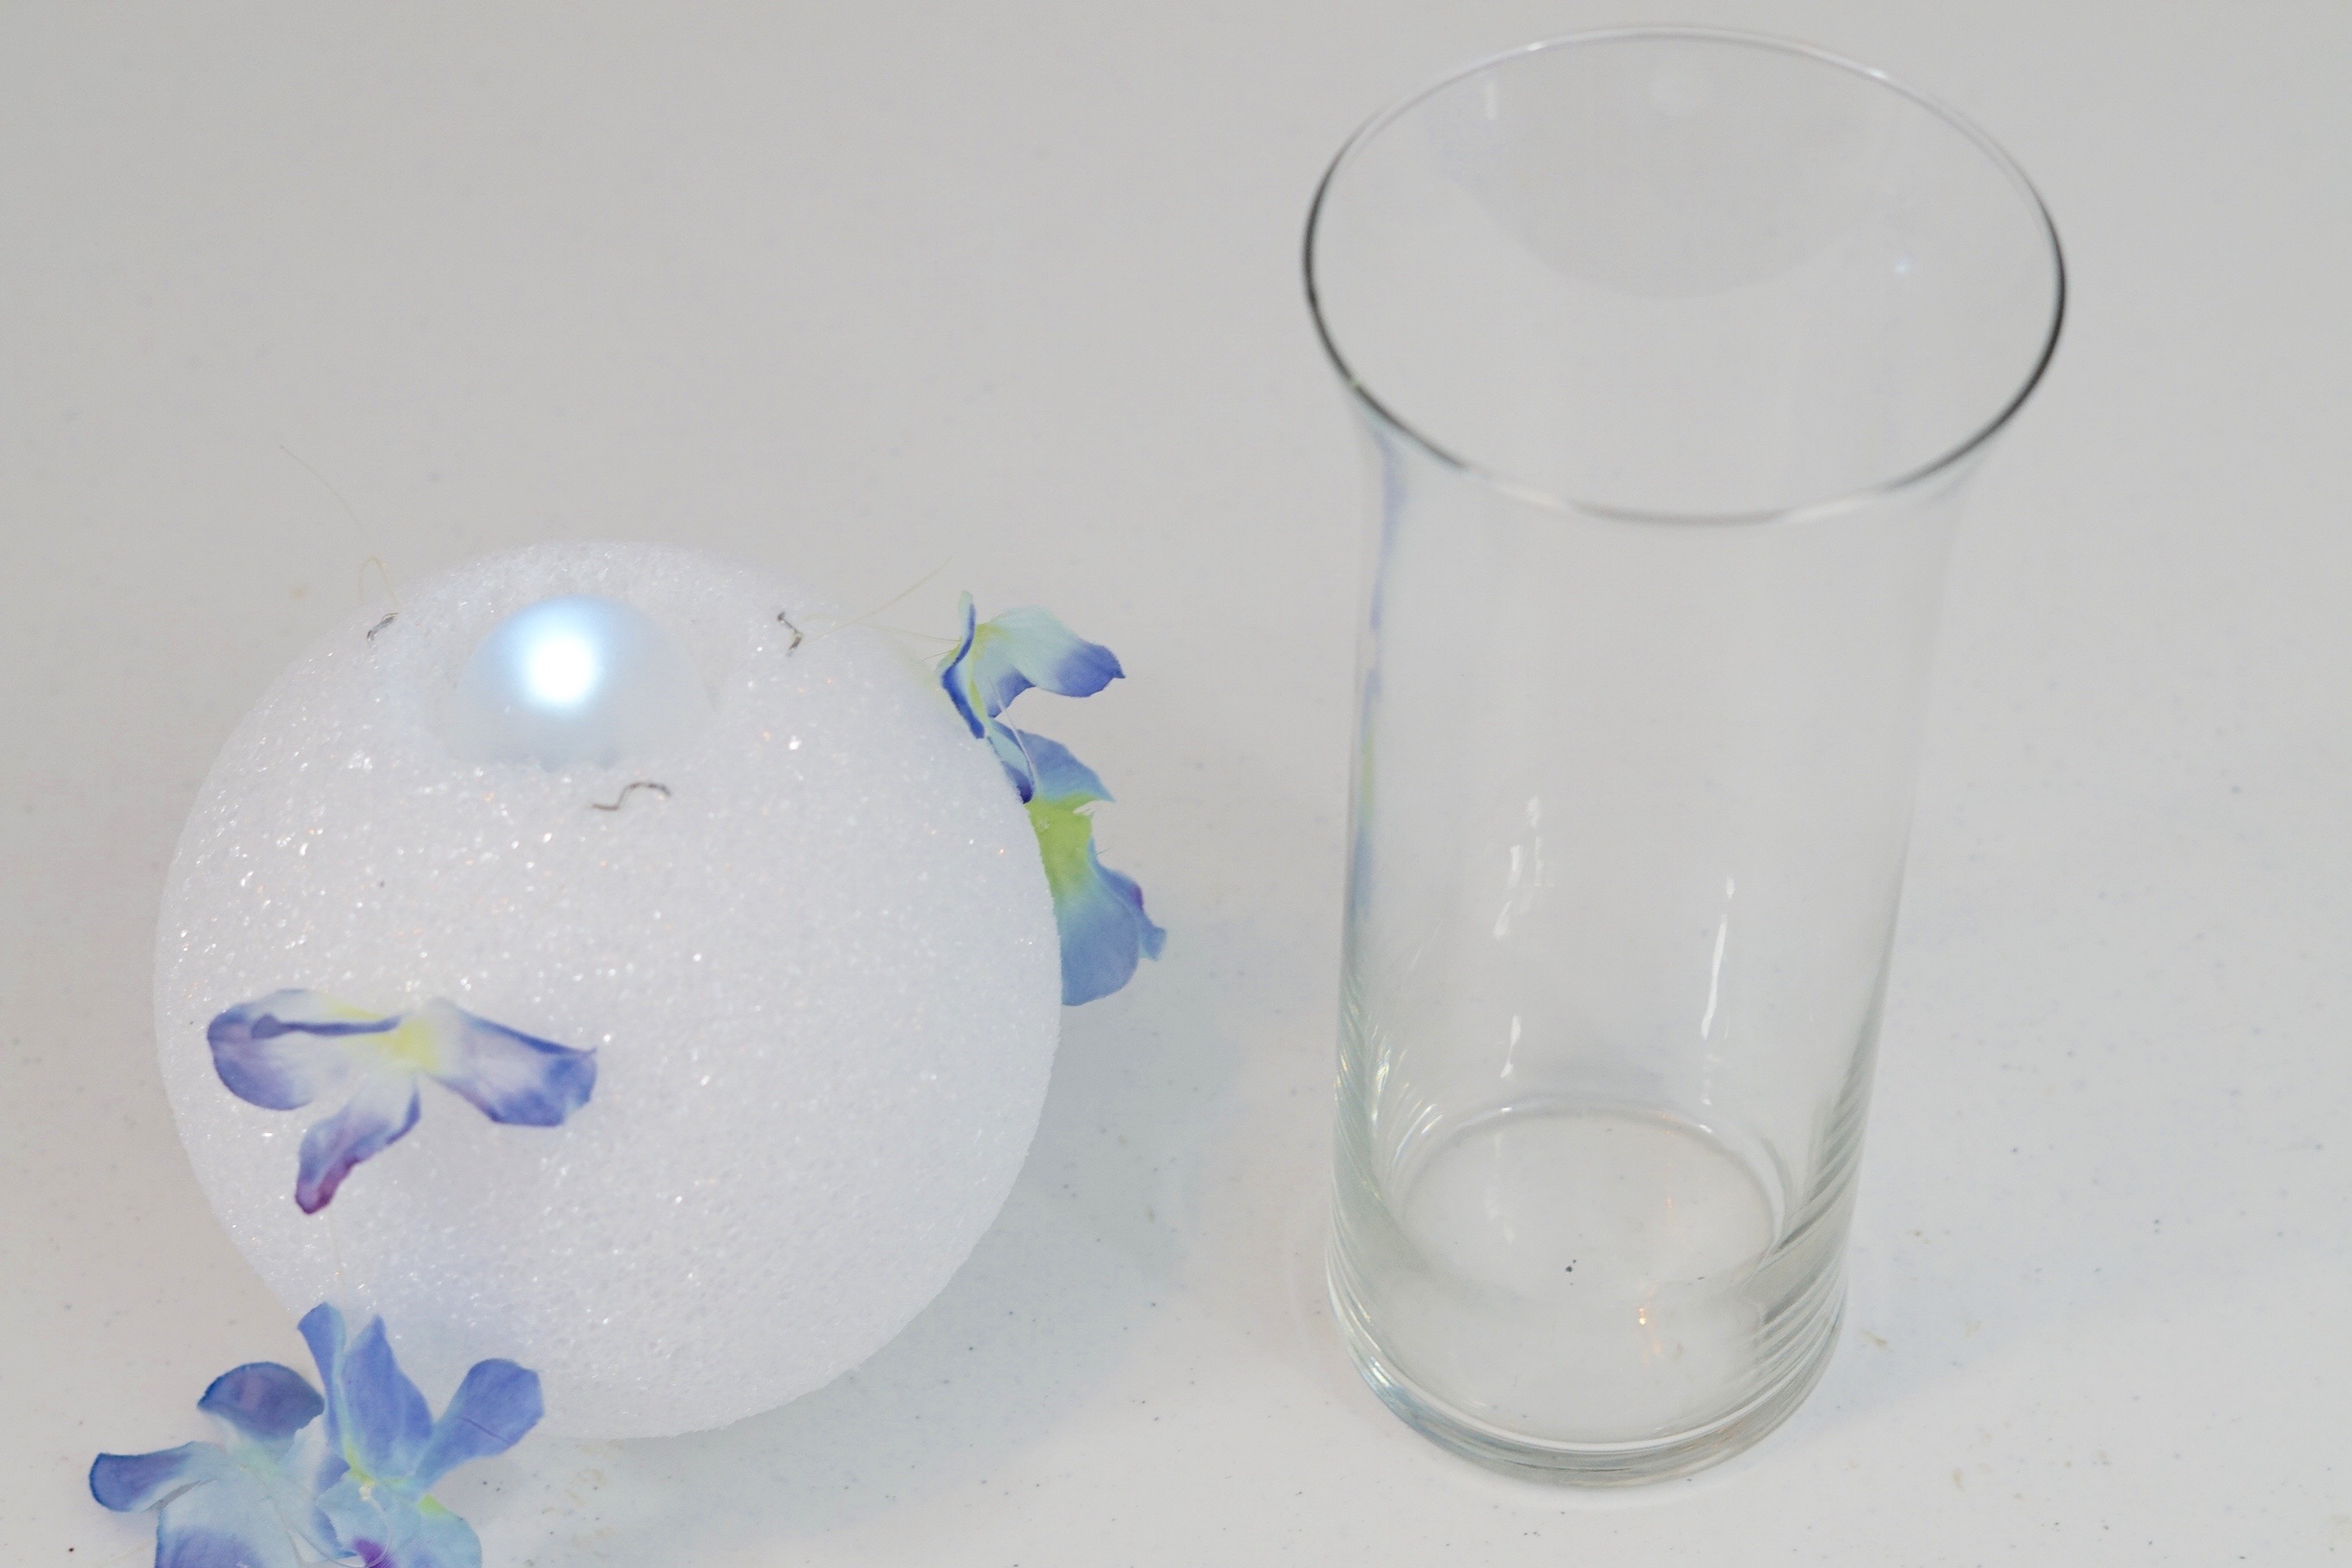
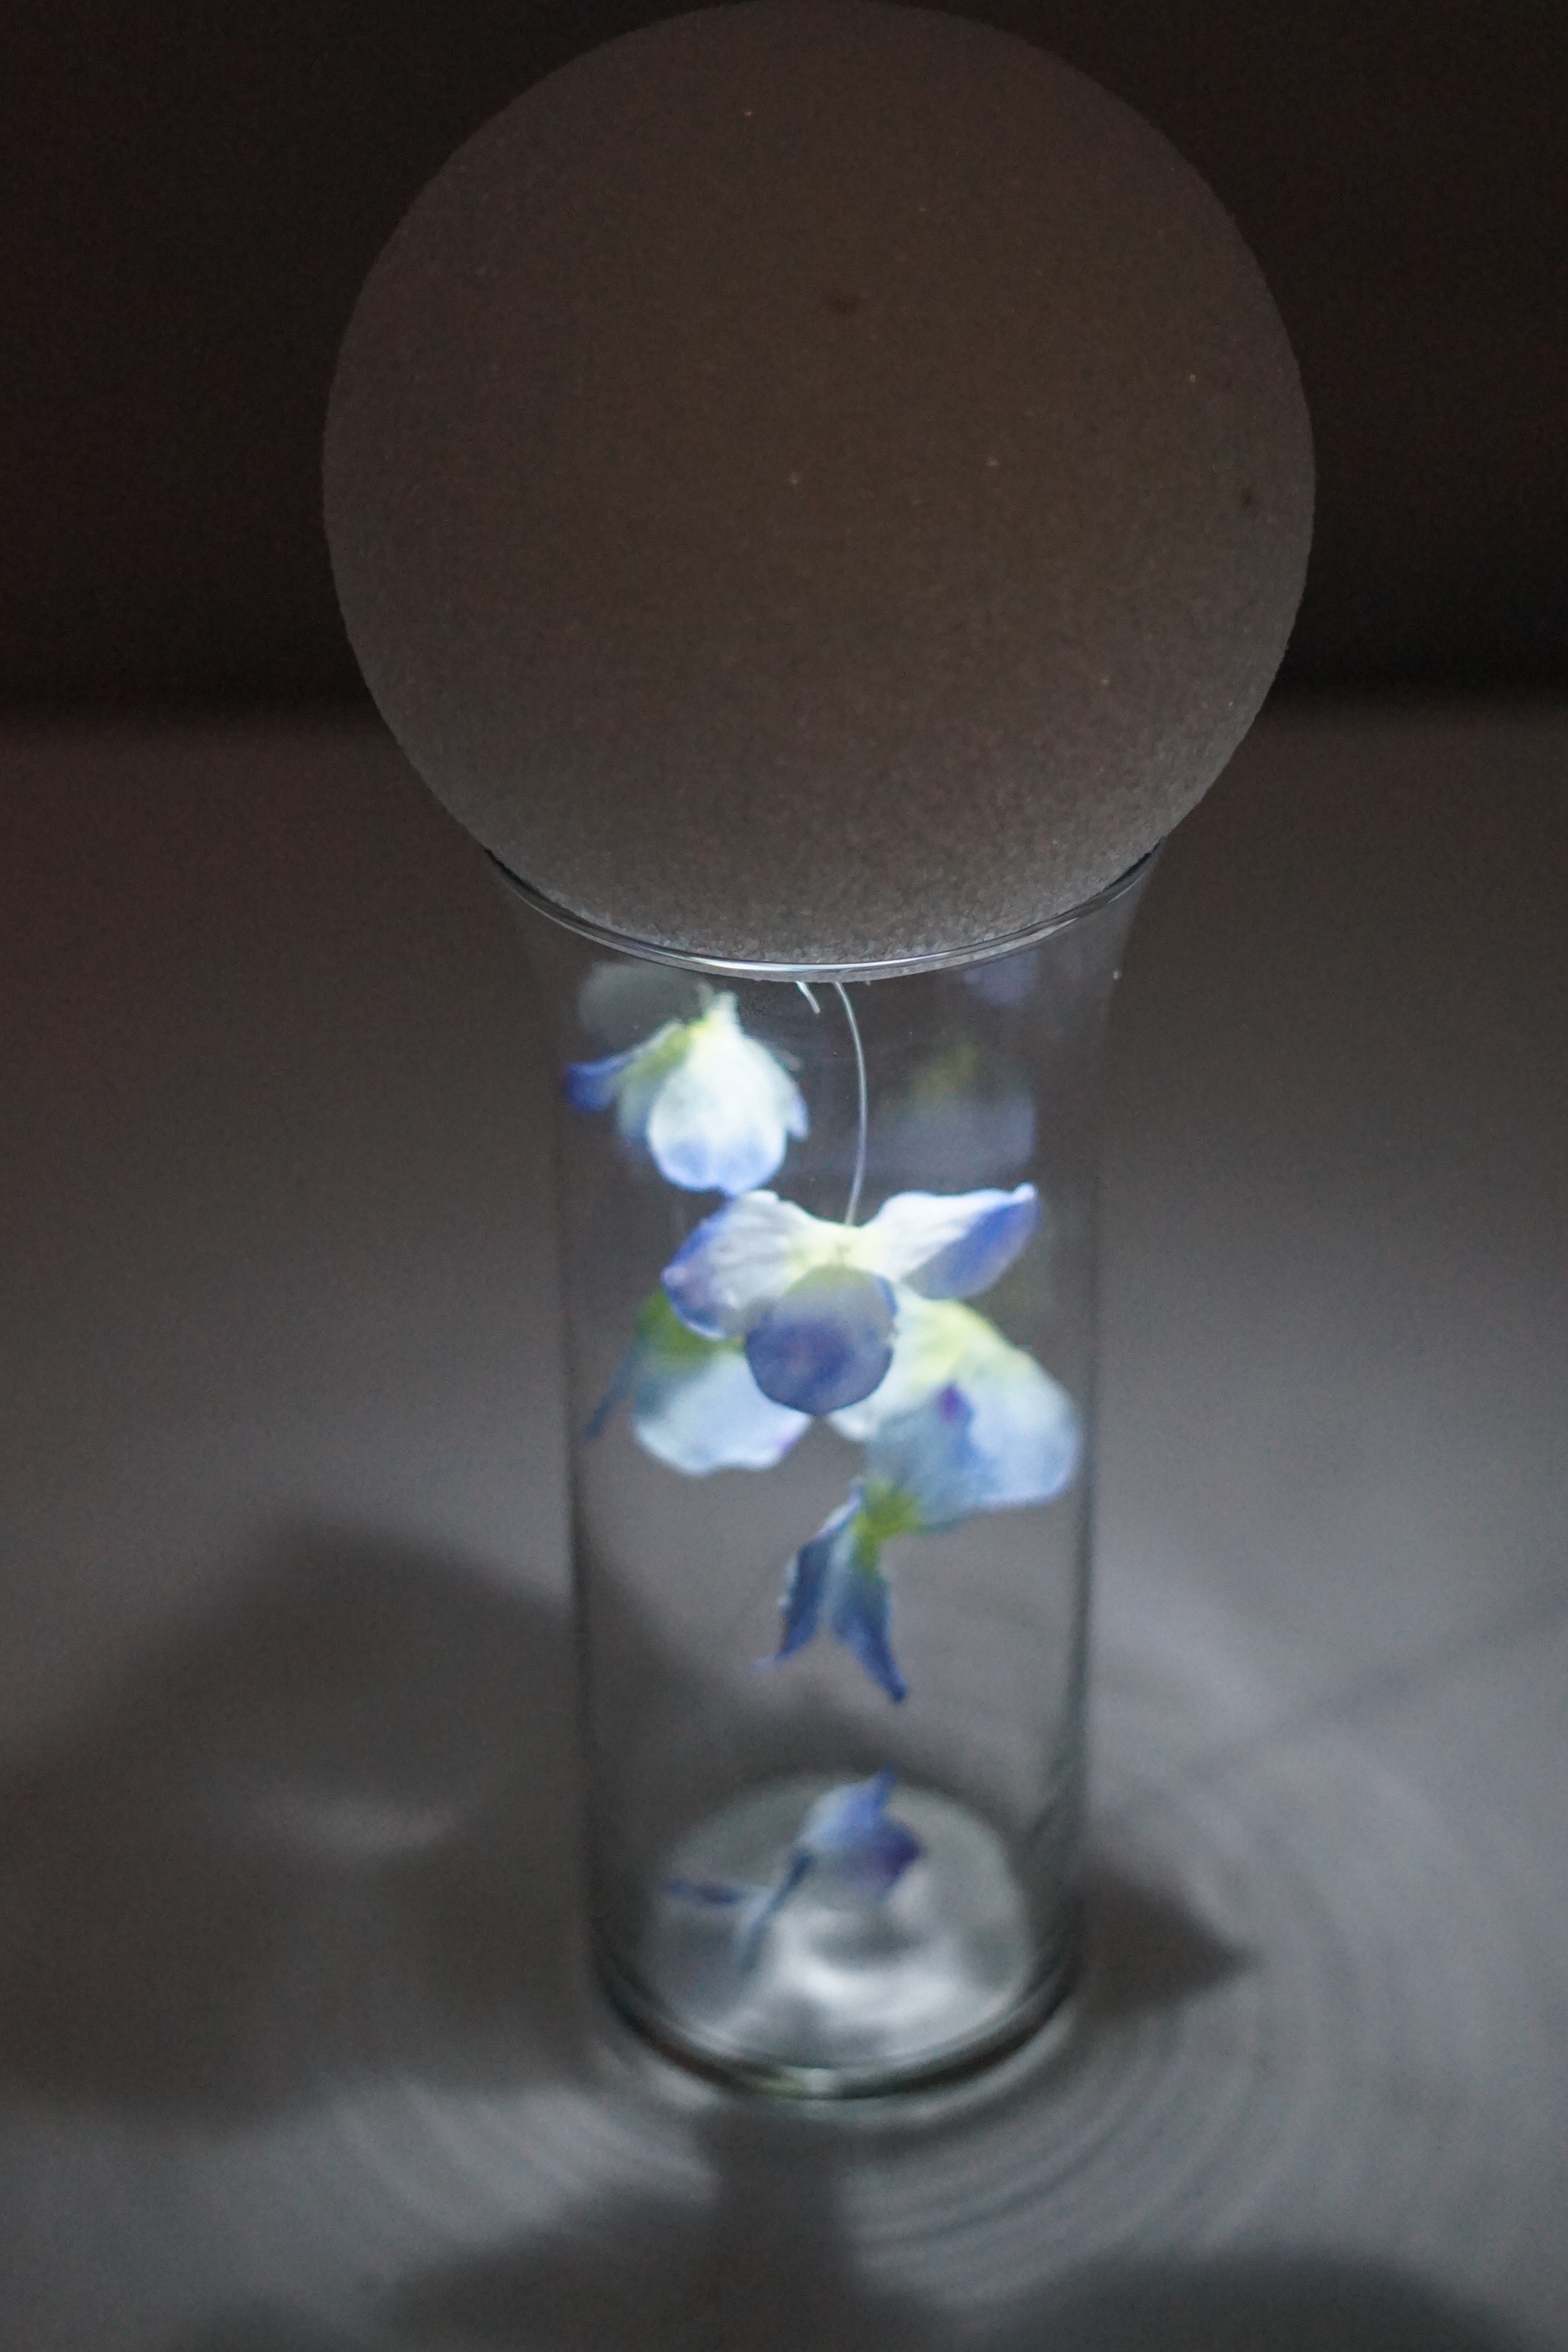
STEP 4: Attach 4 bushels of cream hydrangeas, 4 bushels of blue hydrangeas, 6-8 small cream roses, and 6 blue petite roses to your 5 inch foam ball.
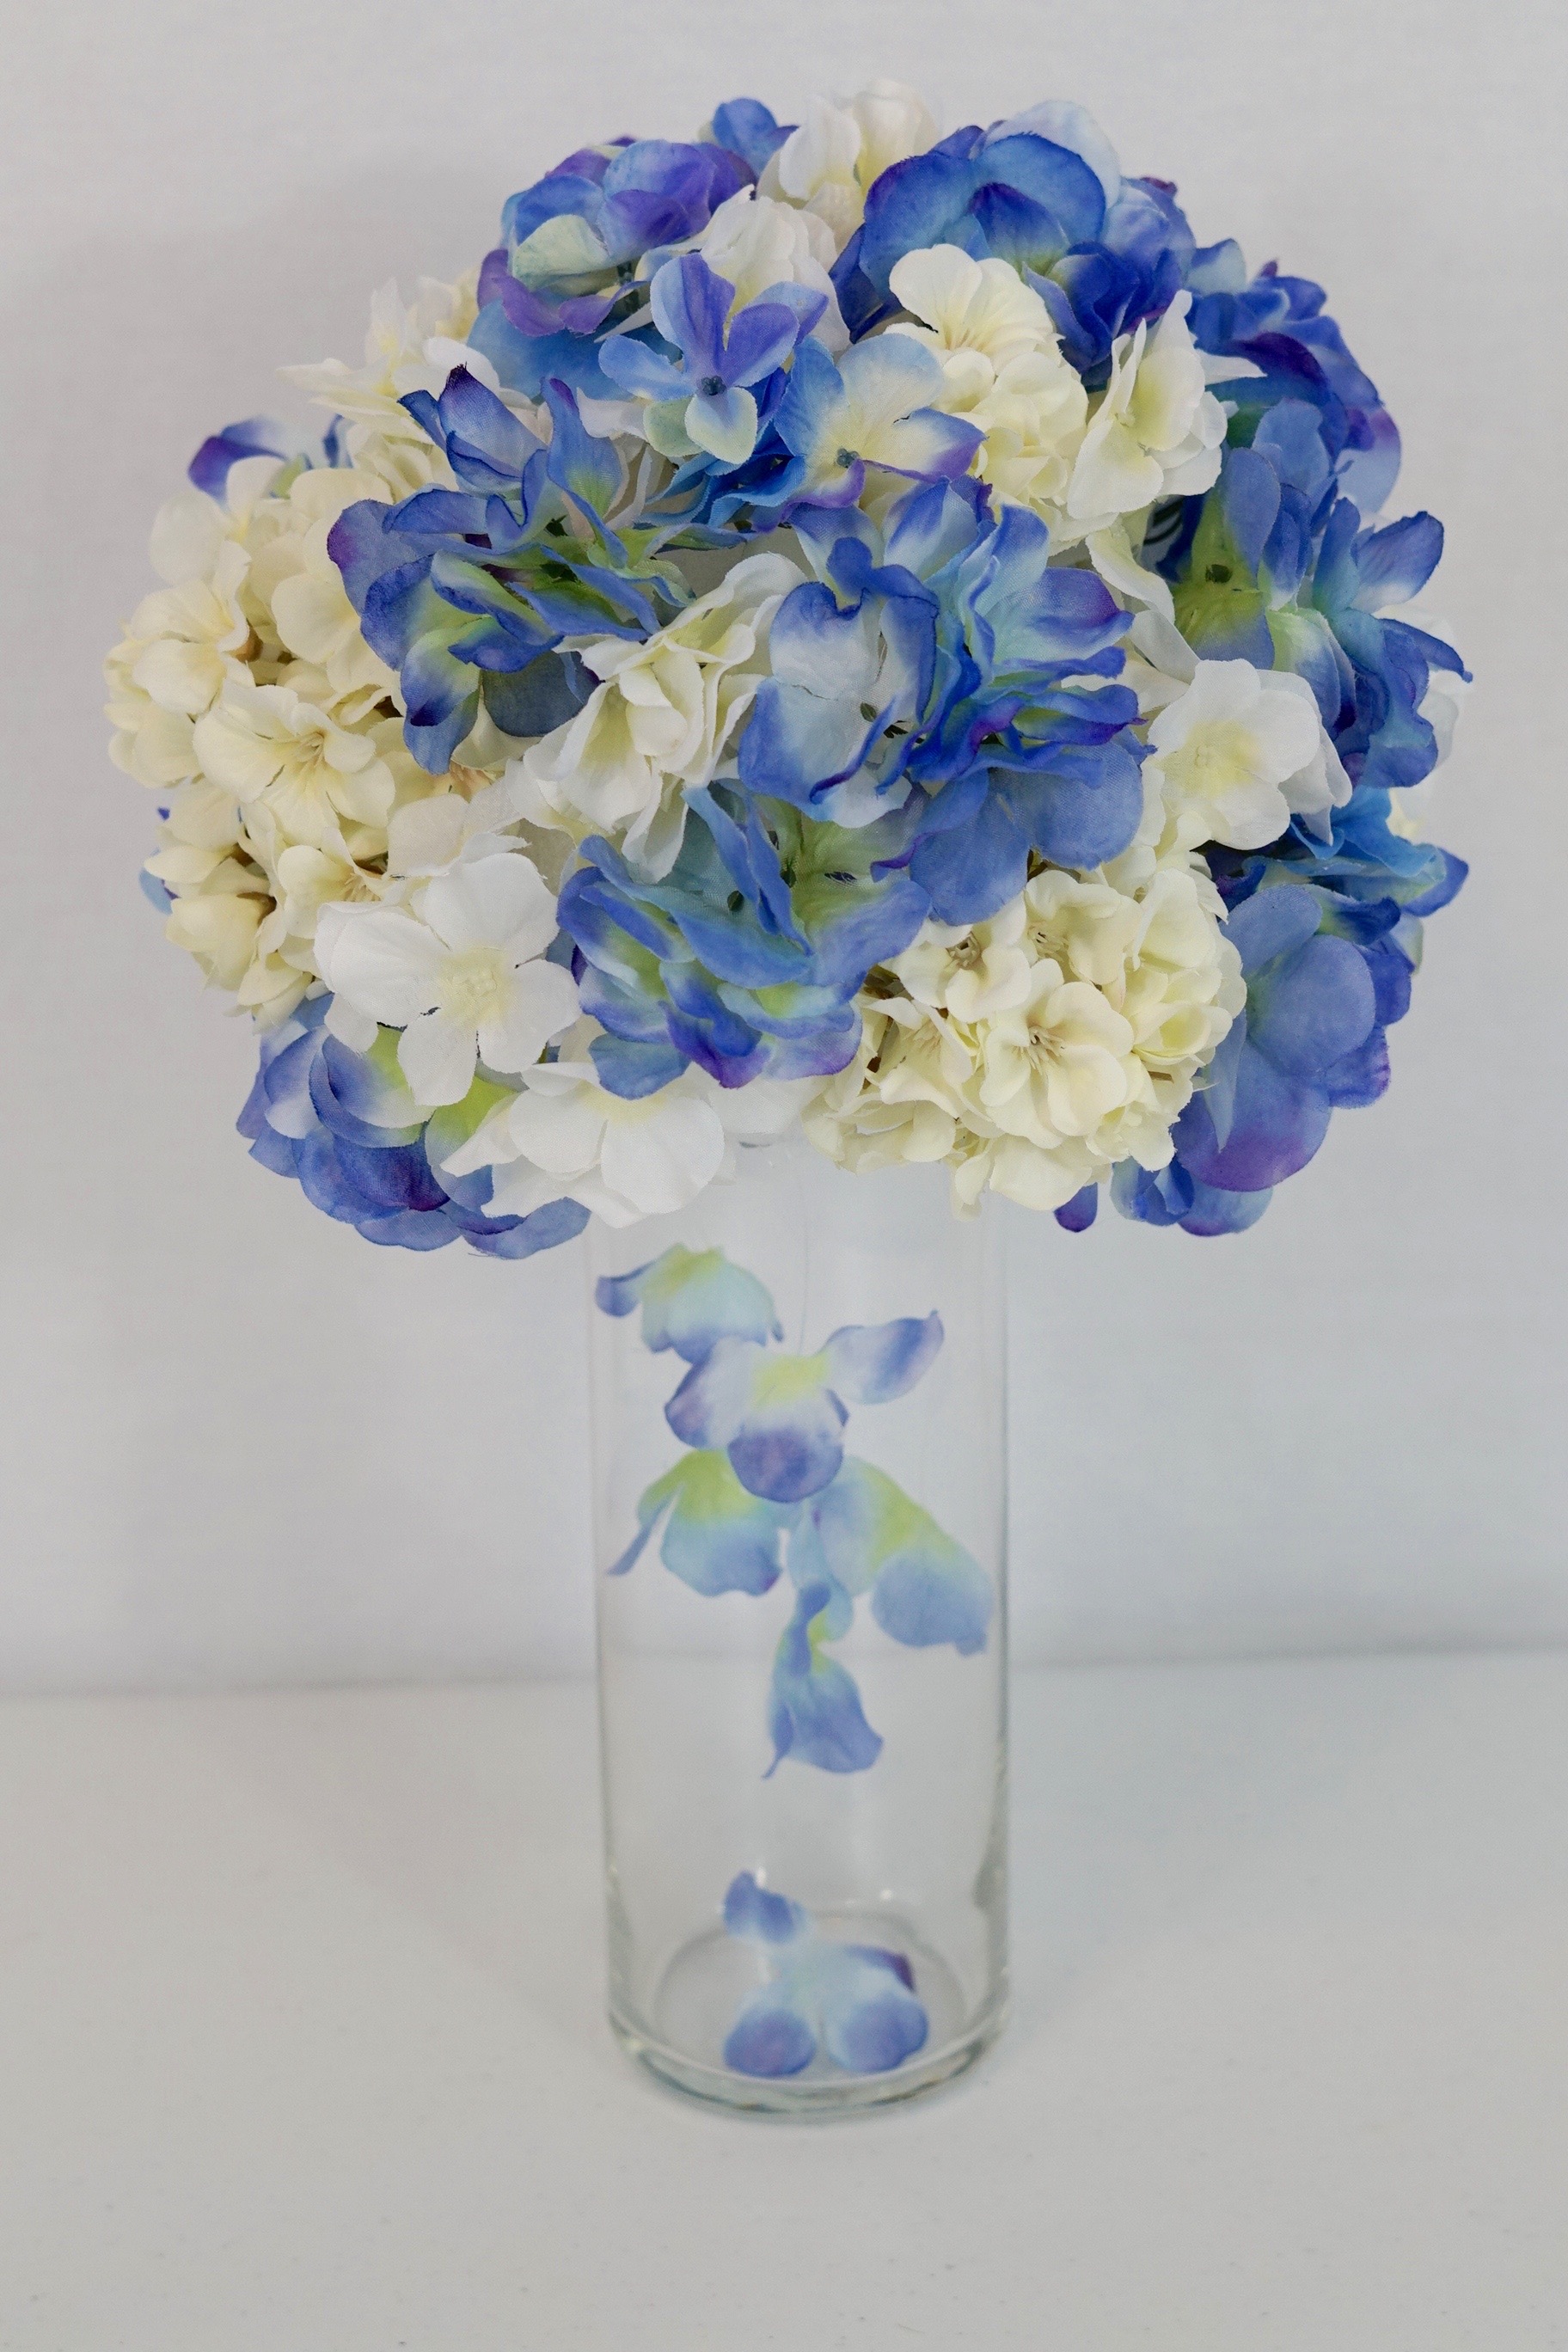
Add an extra special touch:
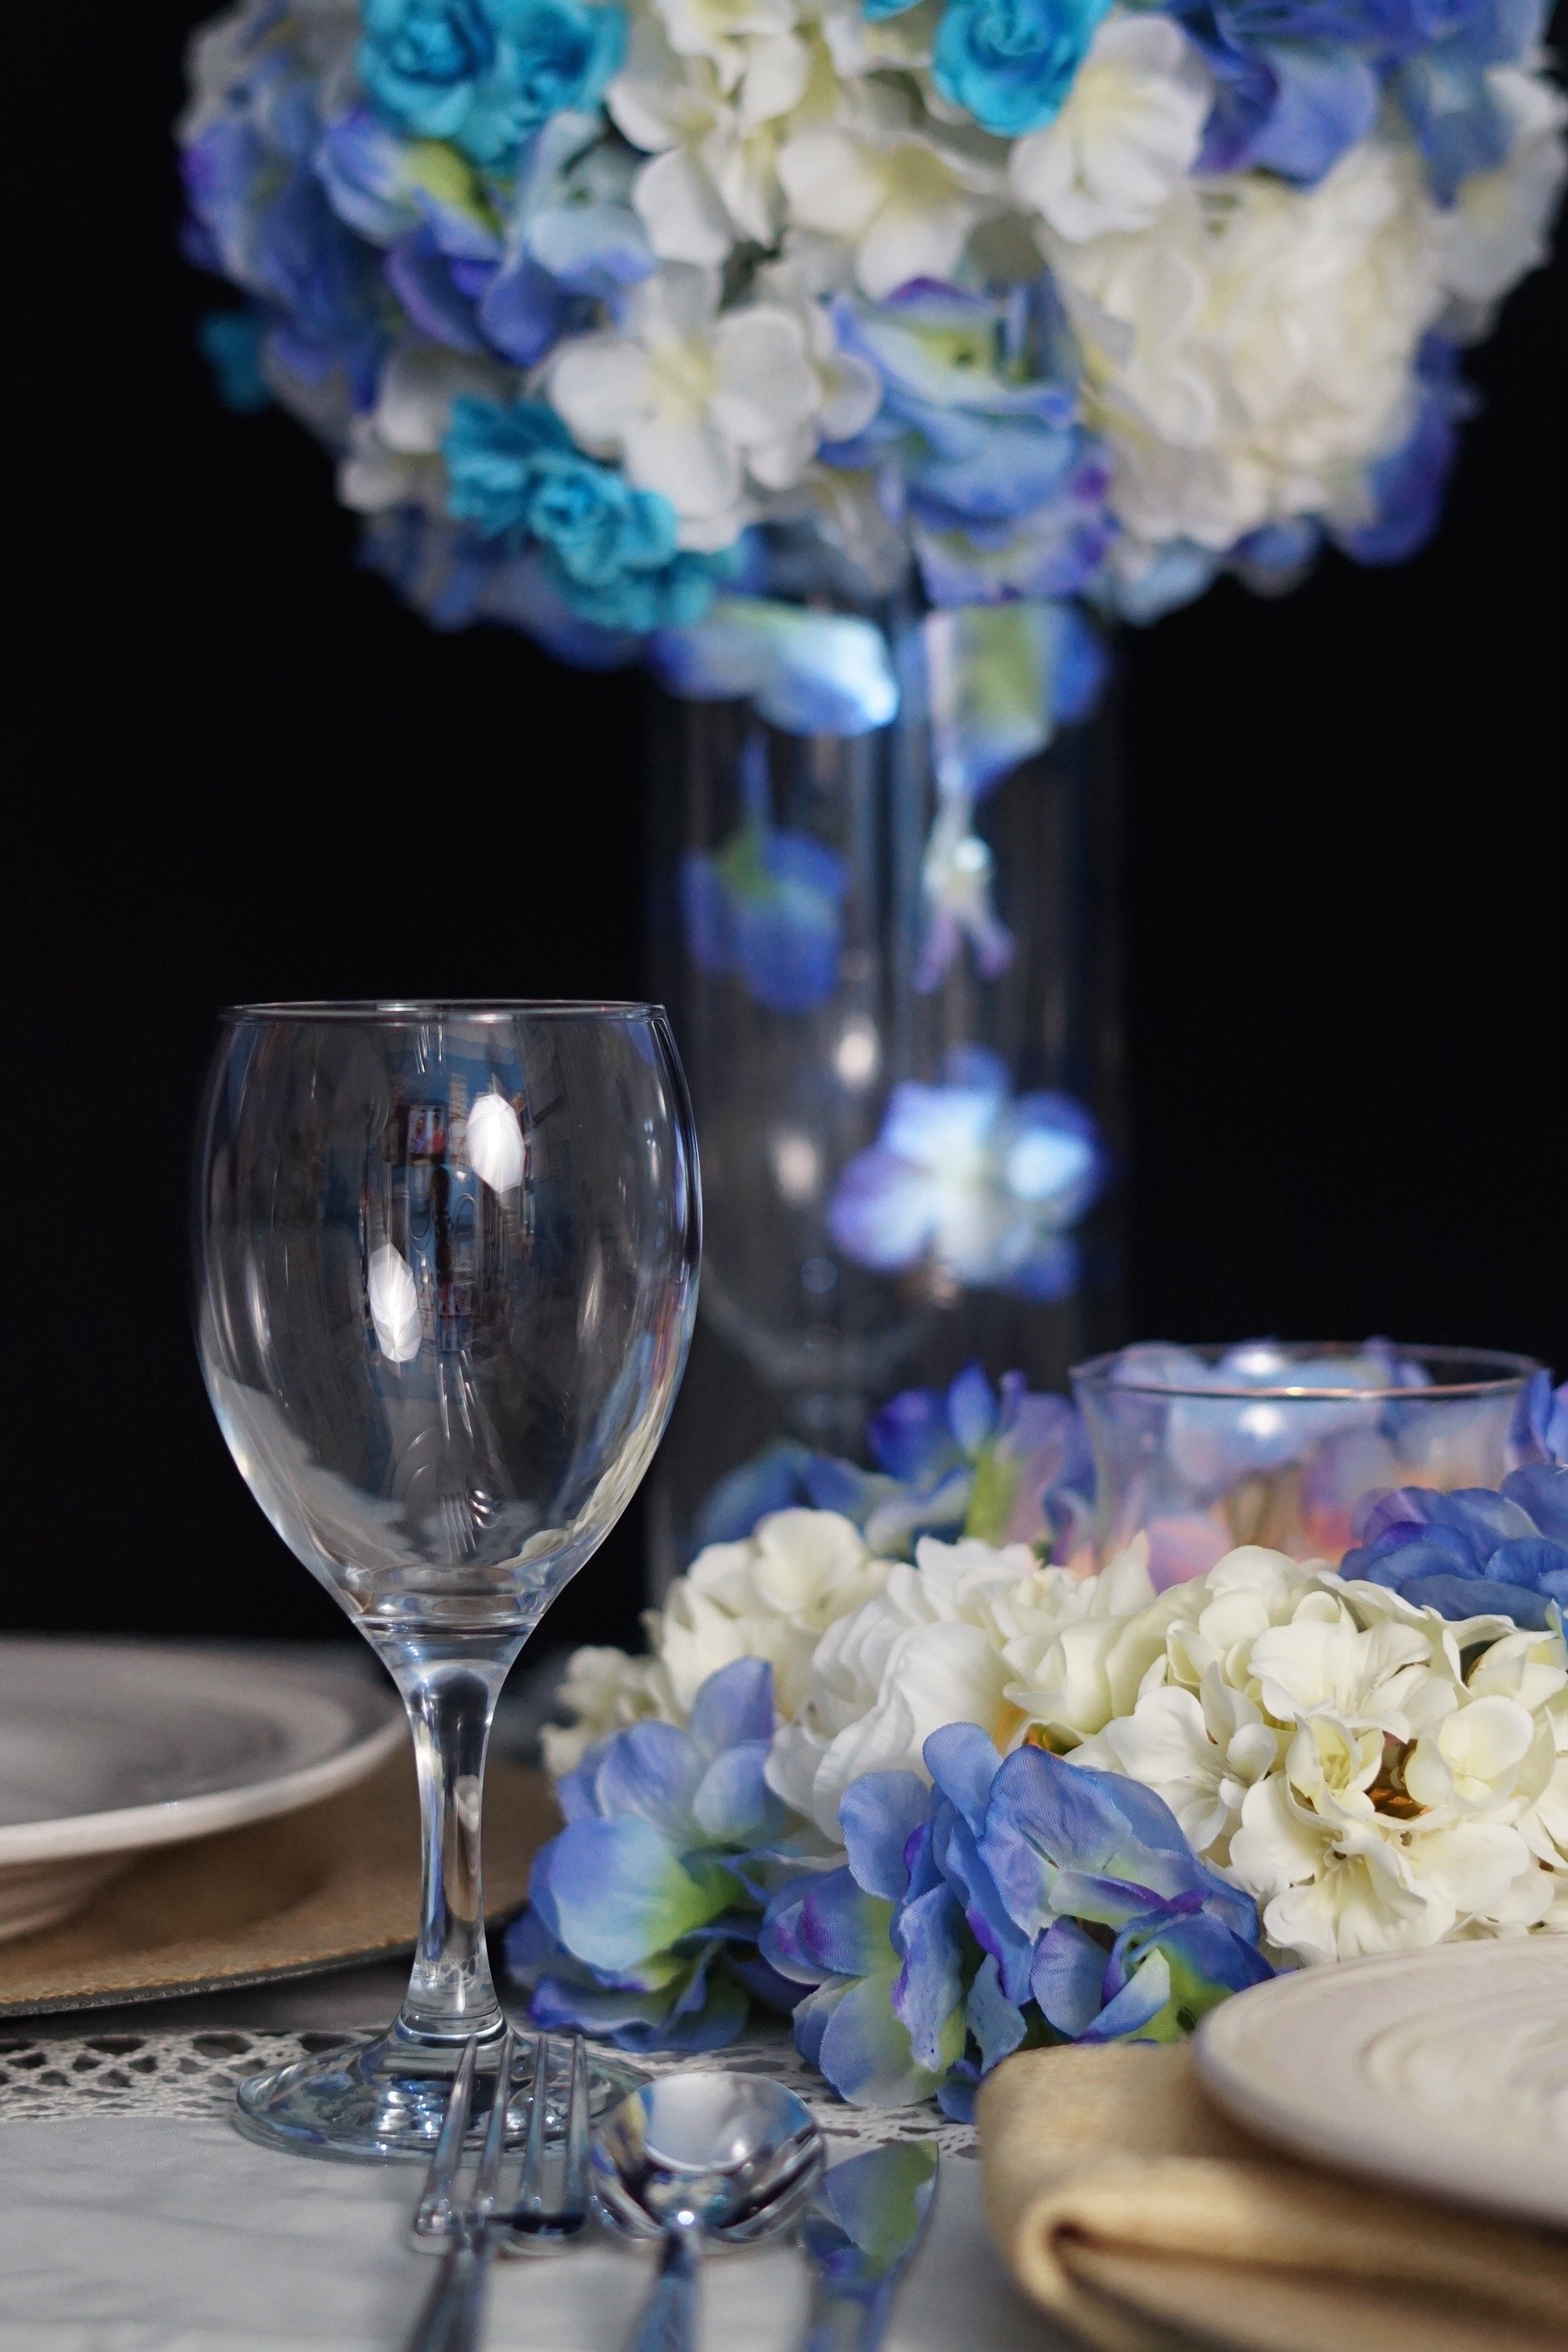
STEP 5: Take an LED light and place it inside your 4 Inch Hurricane Candleholder. Now repeat Step 4, but this time use a 5 inch foam ring and place your 4 Inch Hurricane Candleholder and place inside your decorated 5 inch foam ring.
THE FINAL STEP
STEP 4: Set the table!
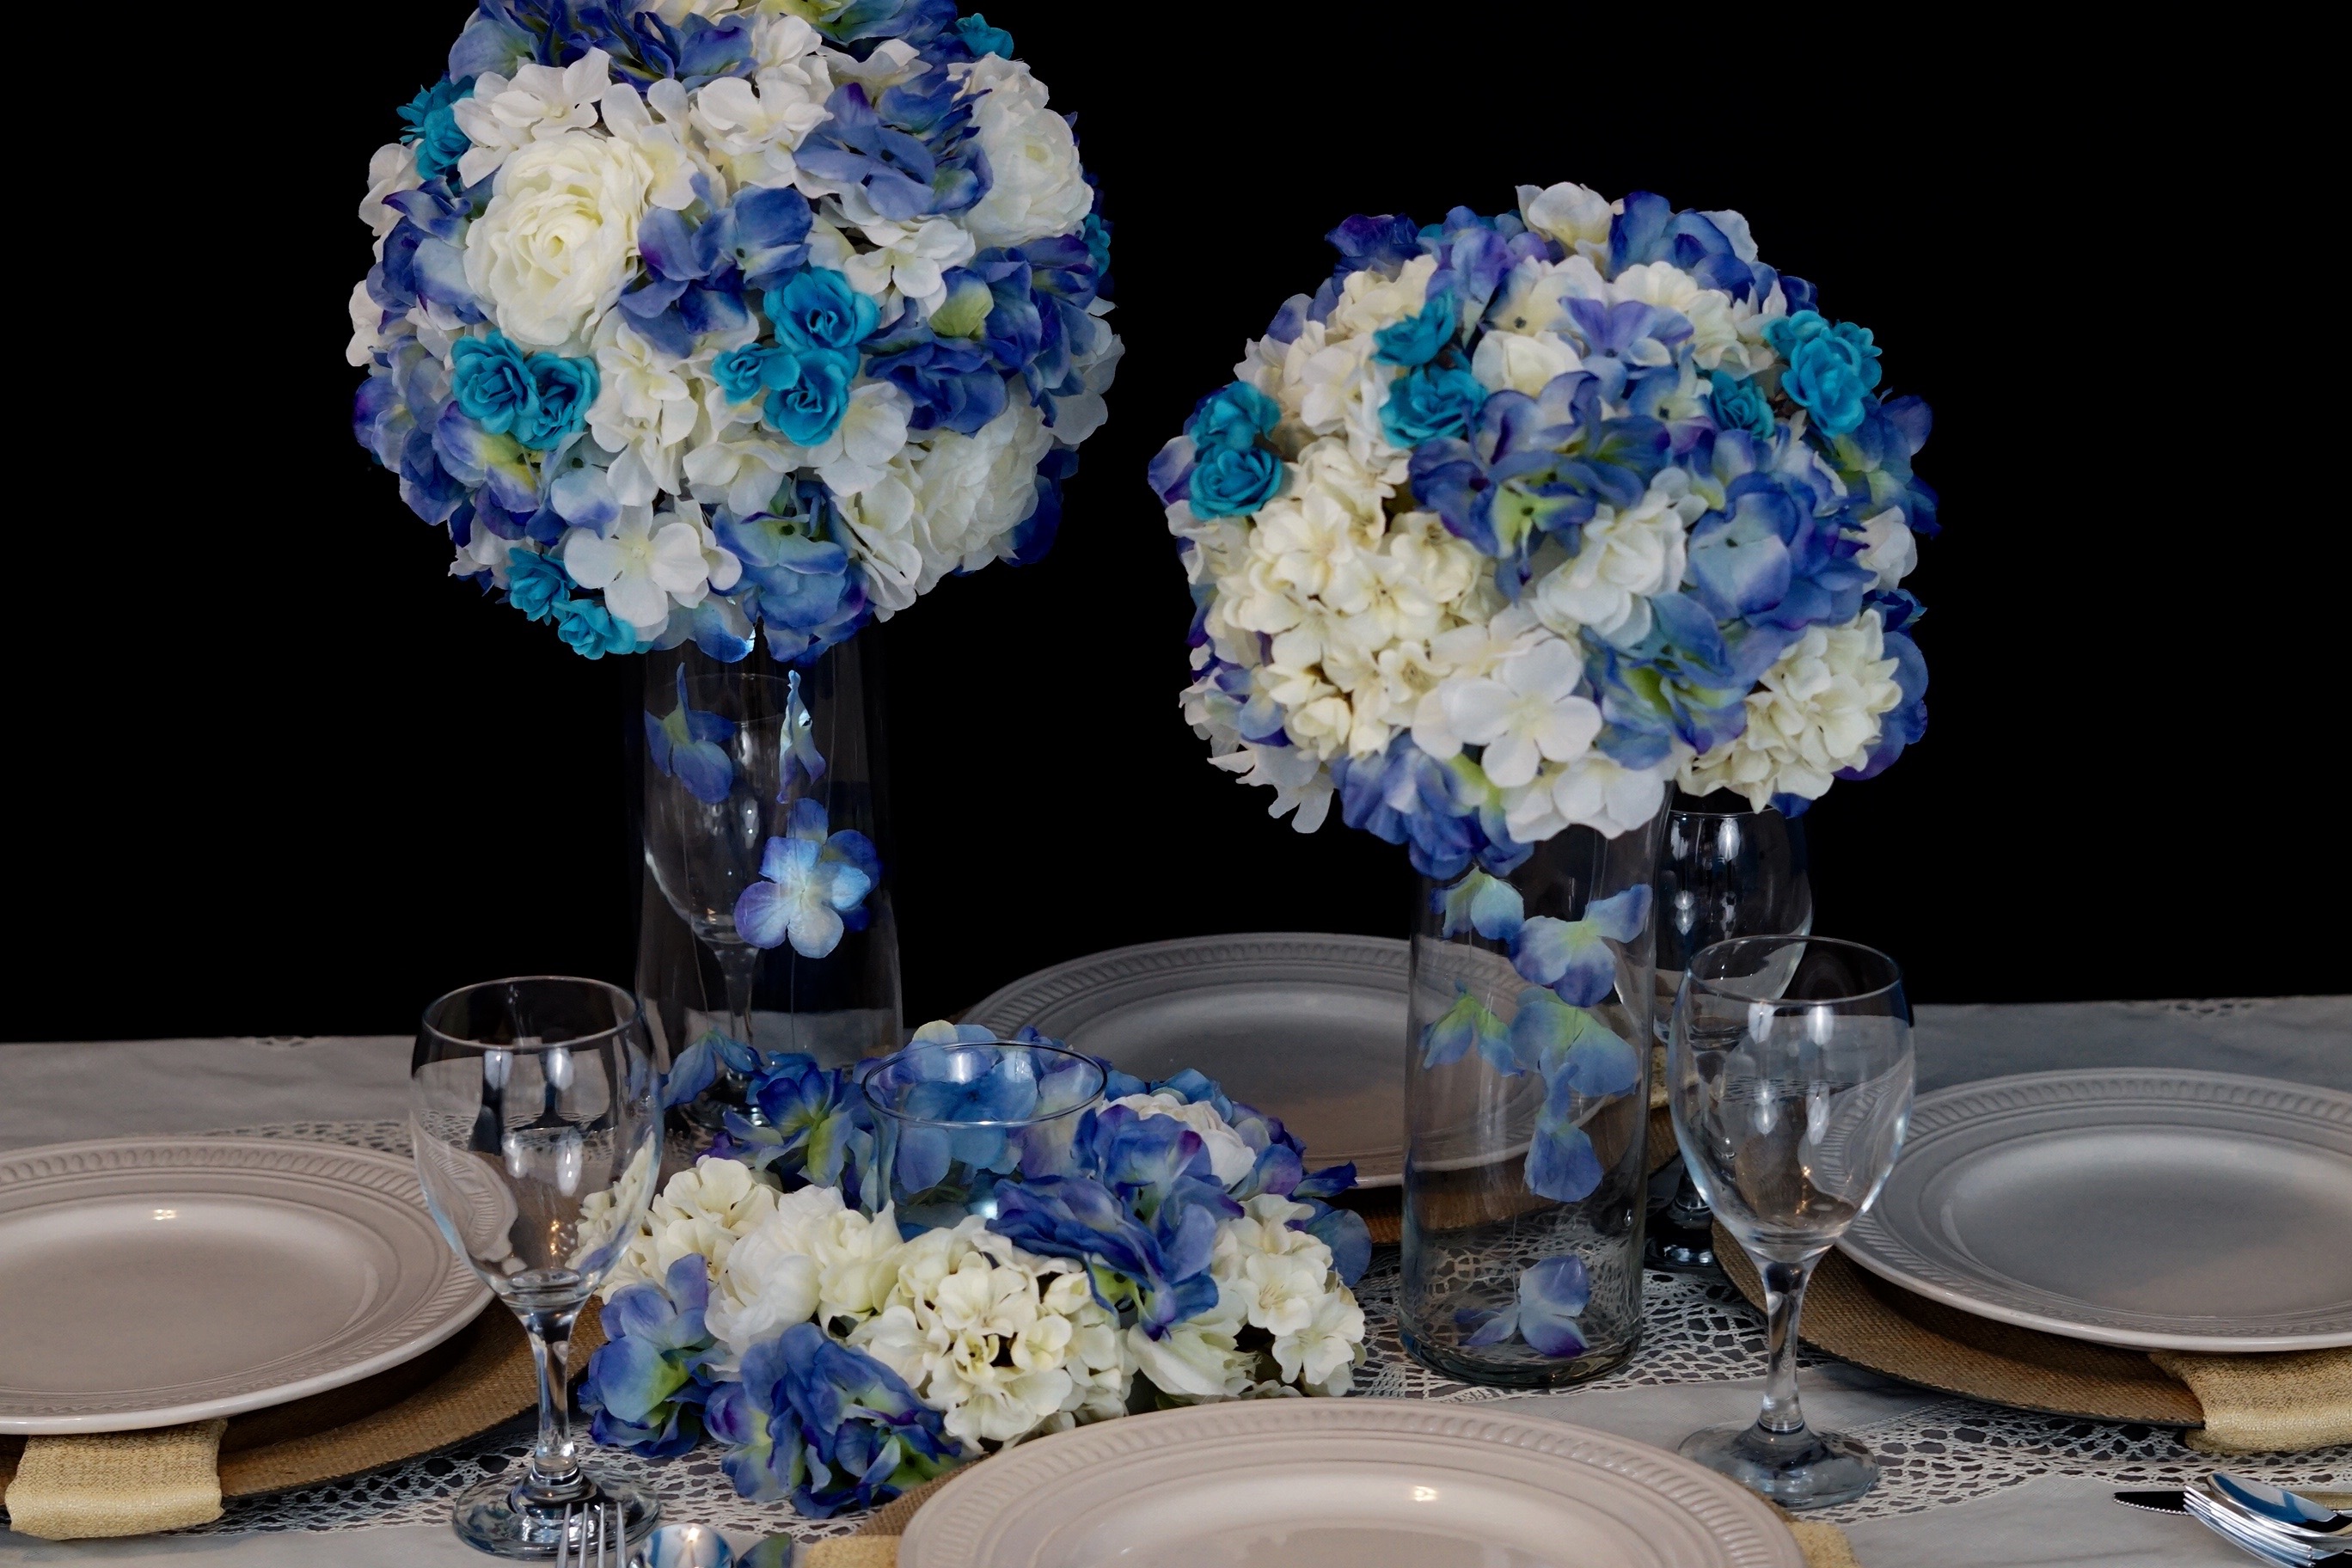
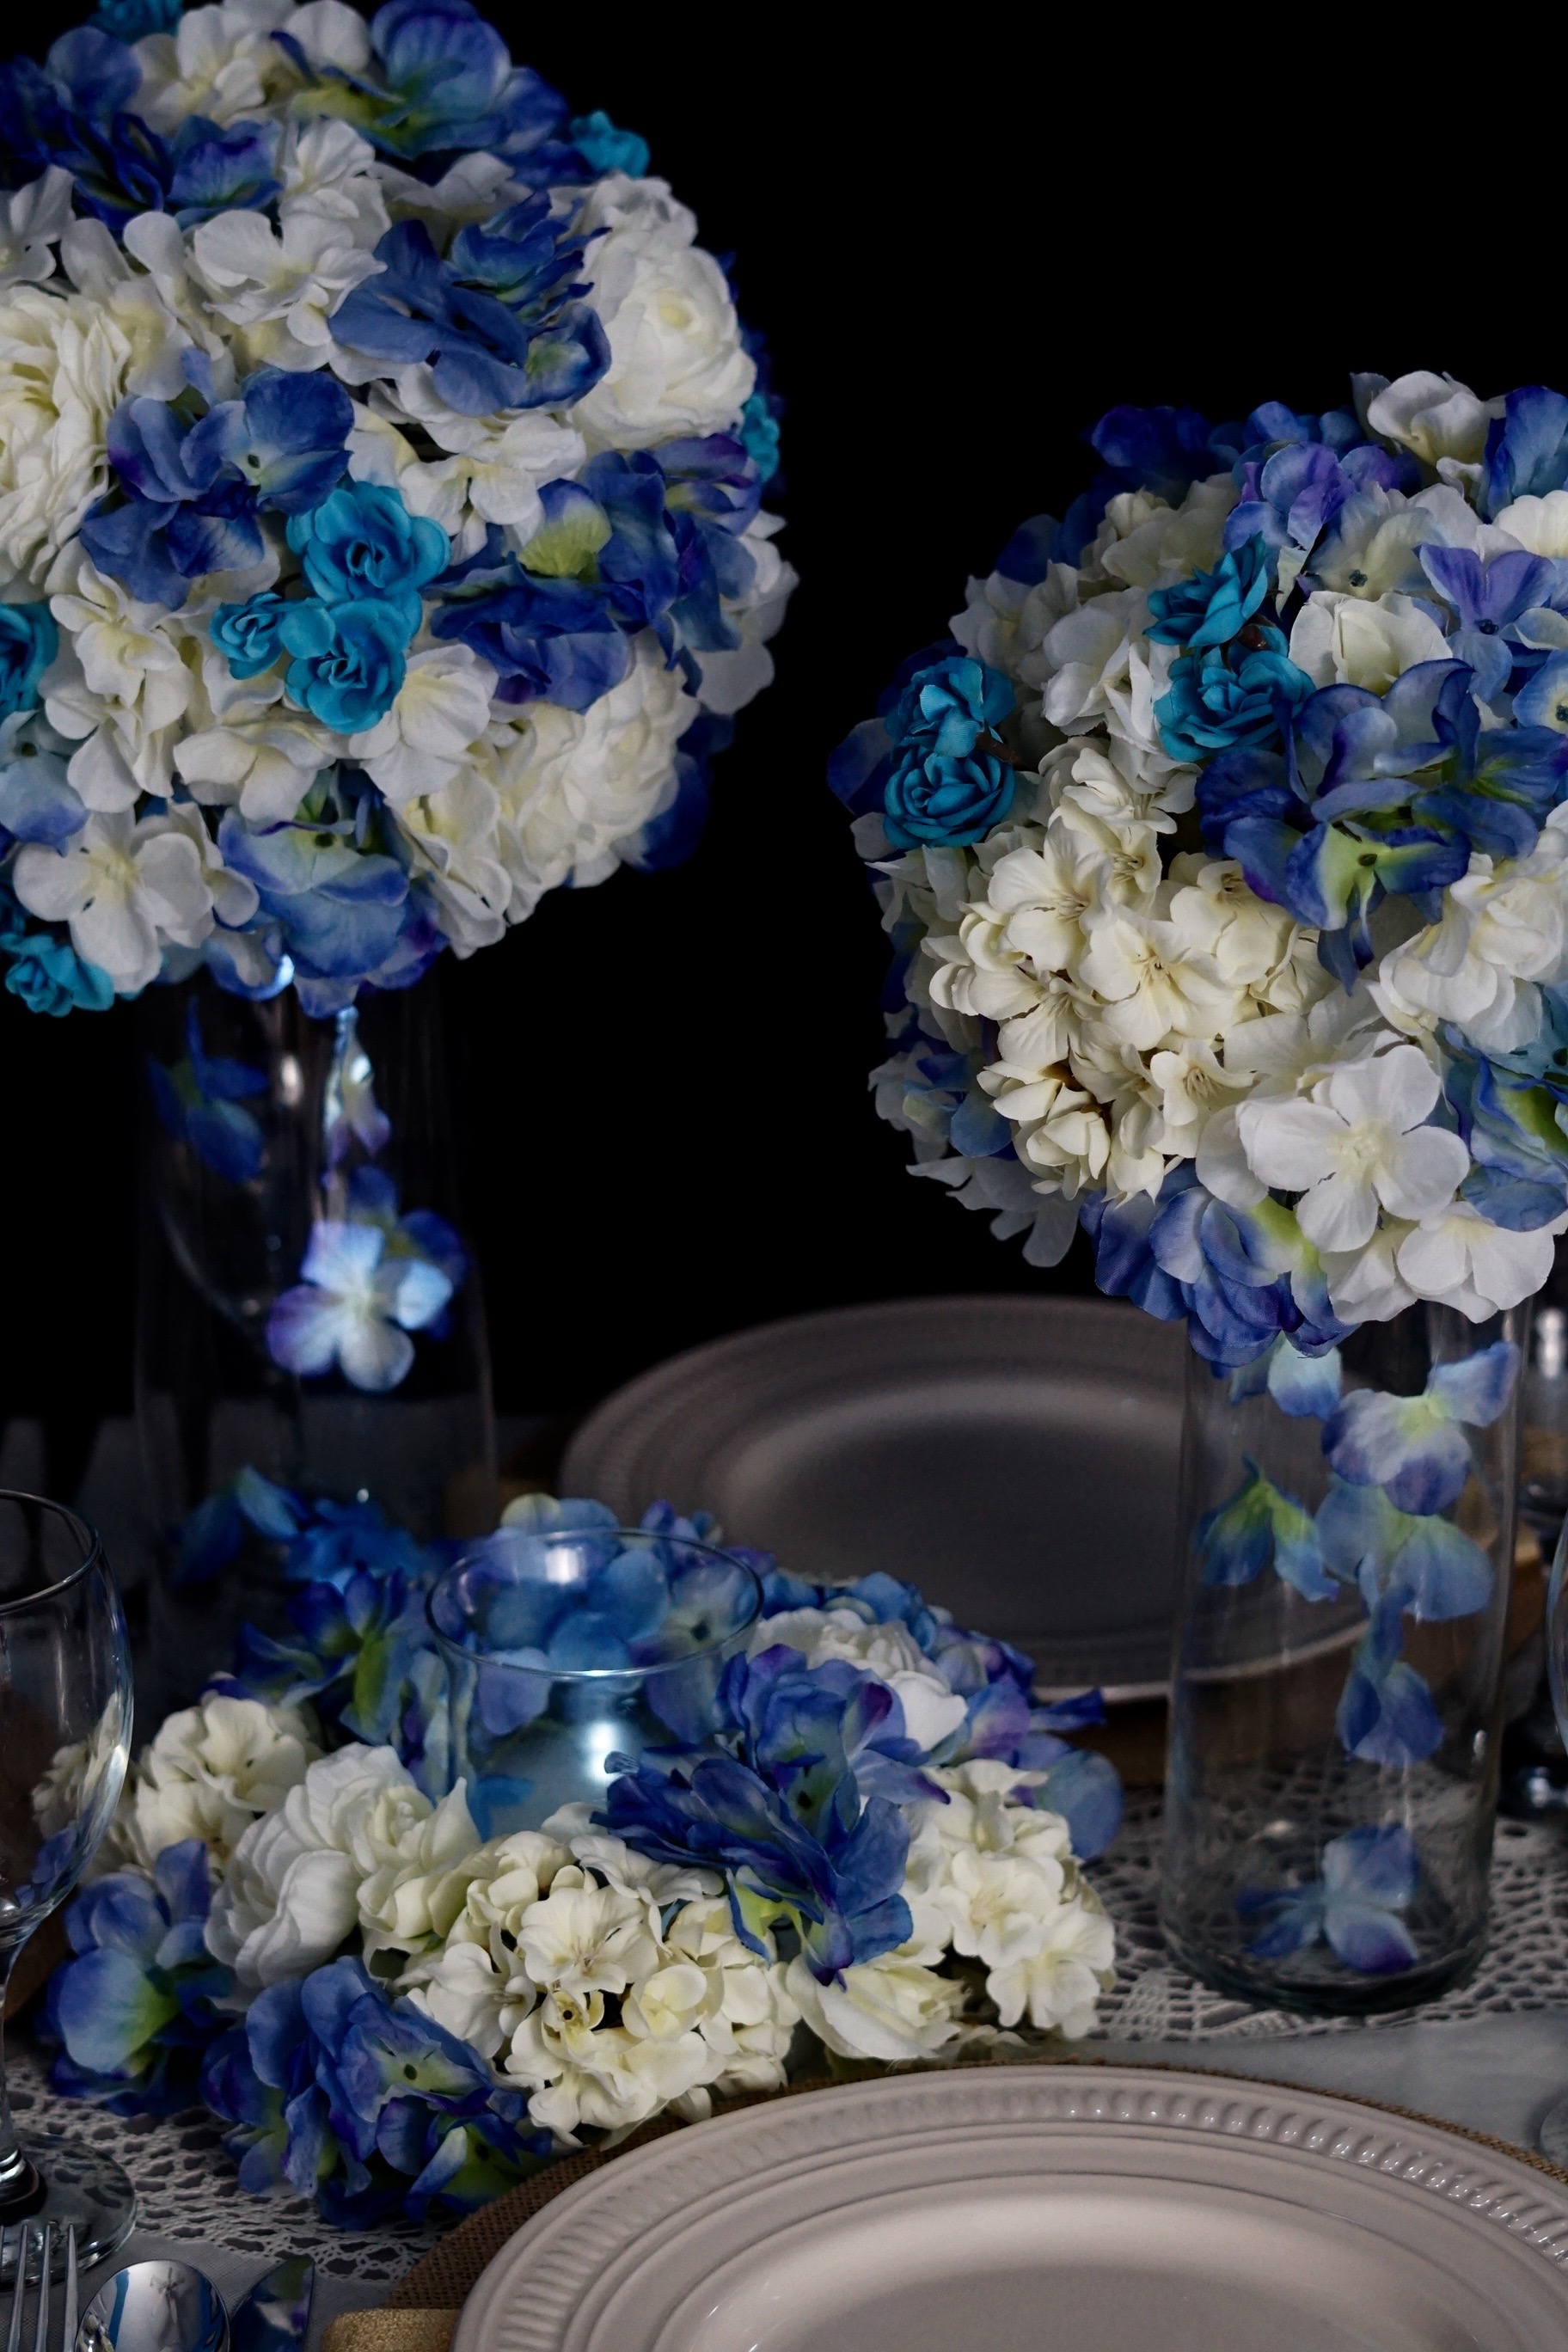
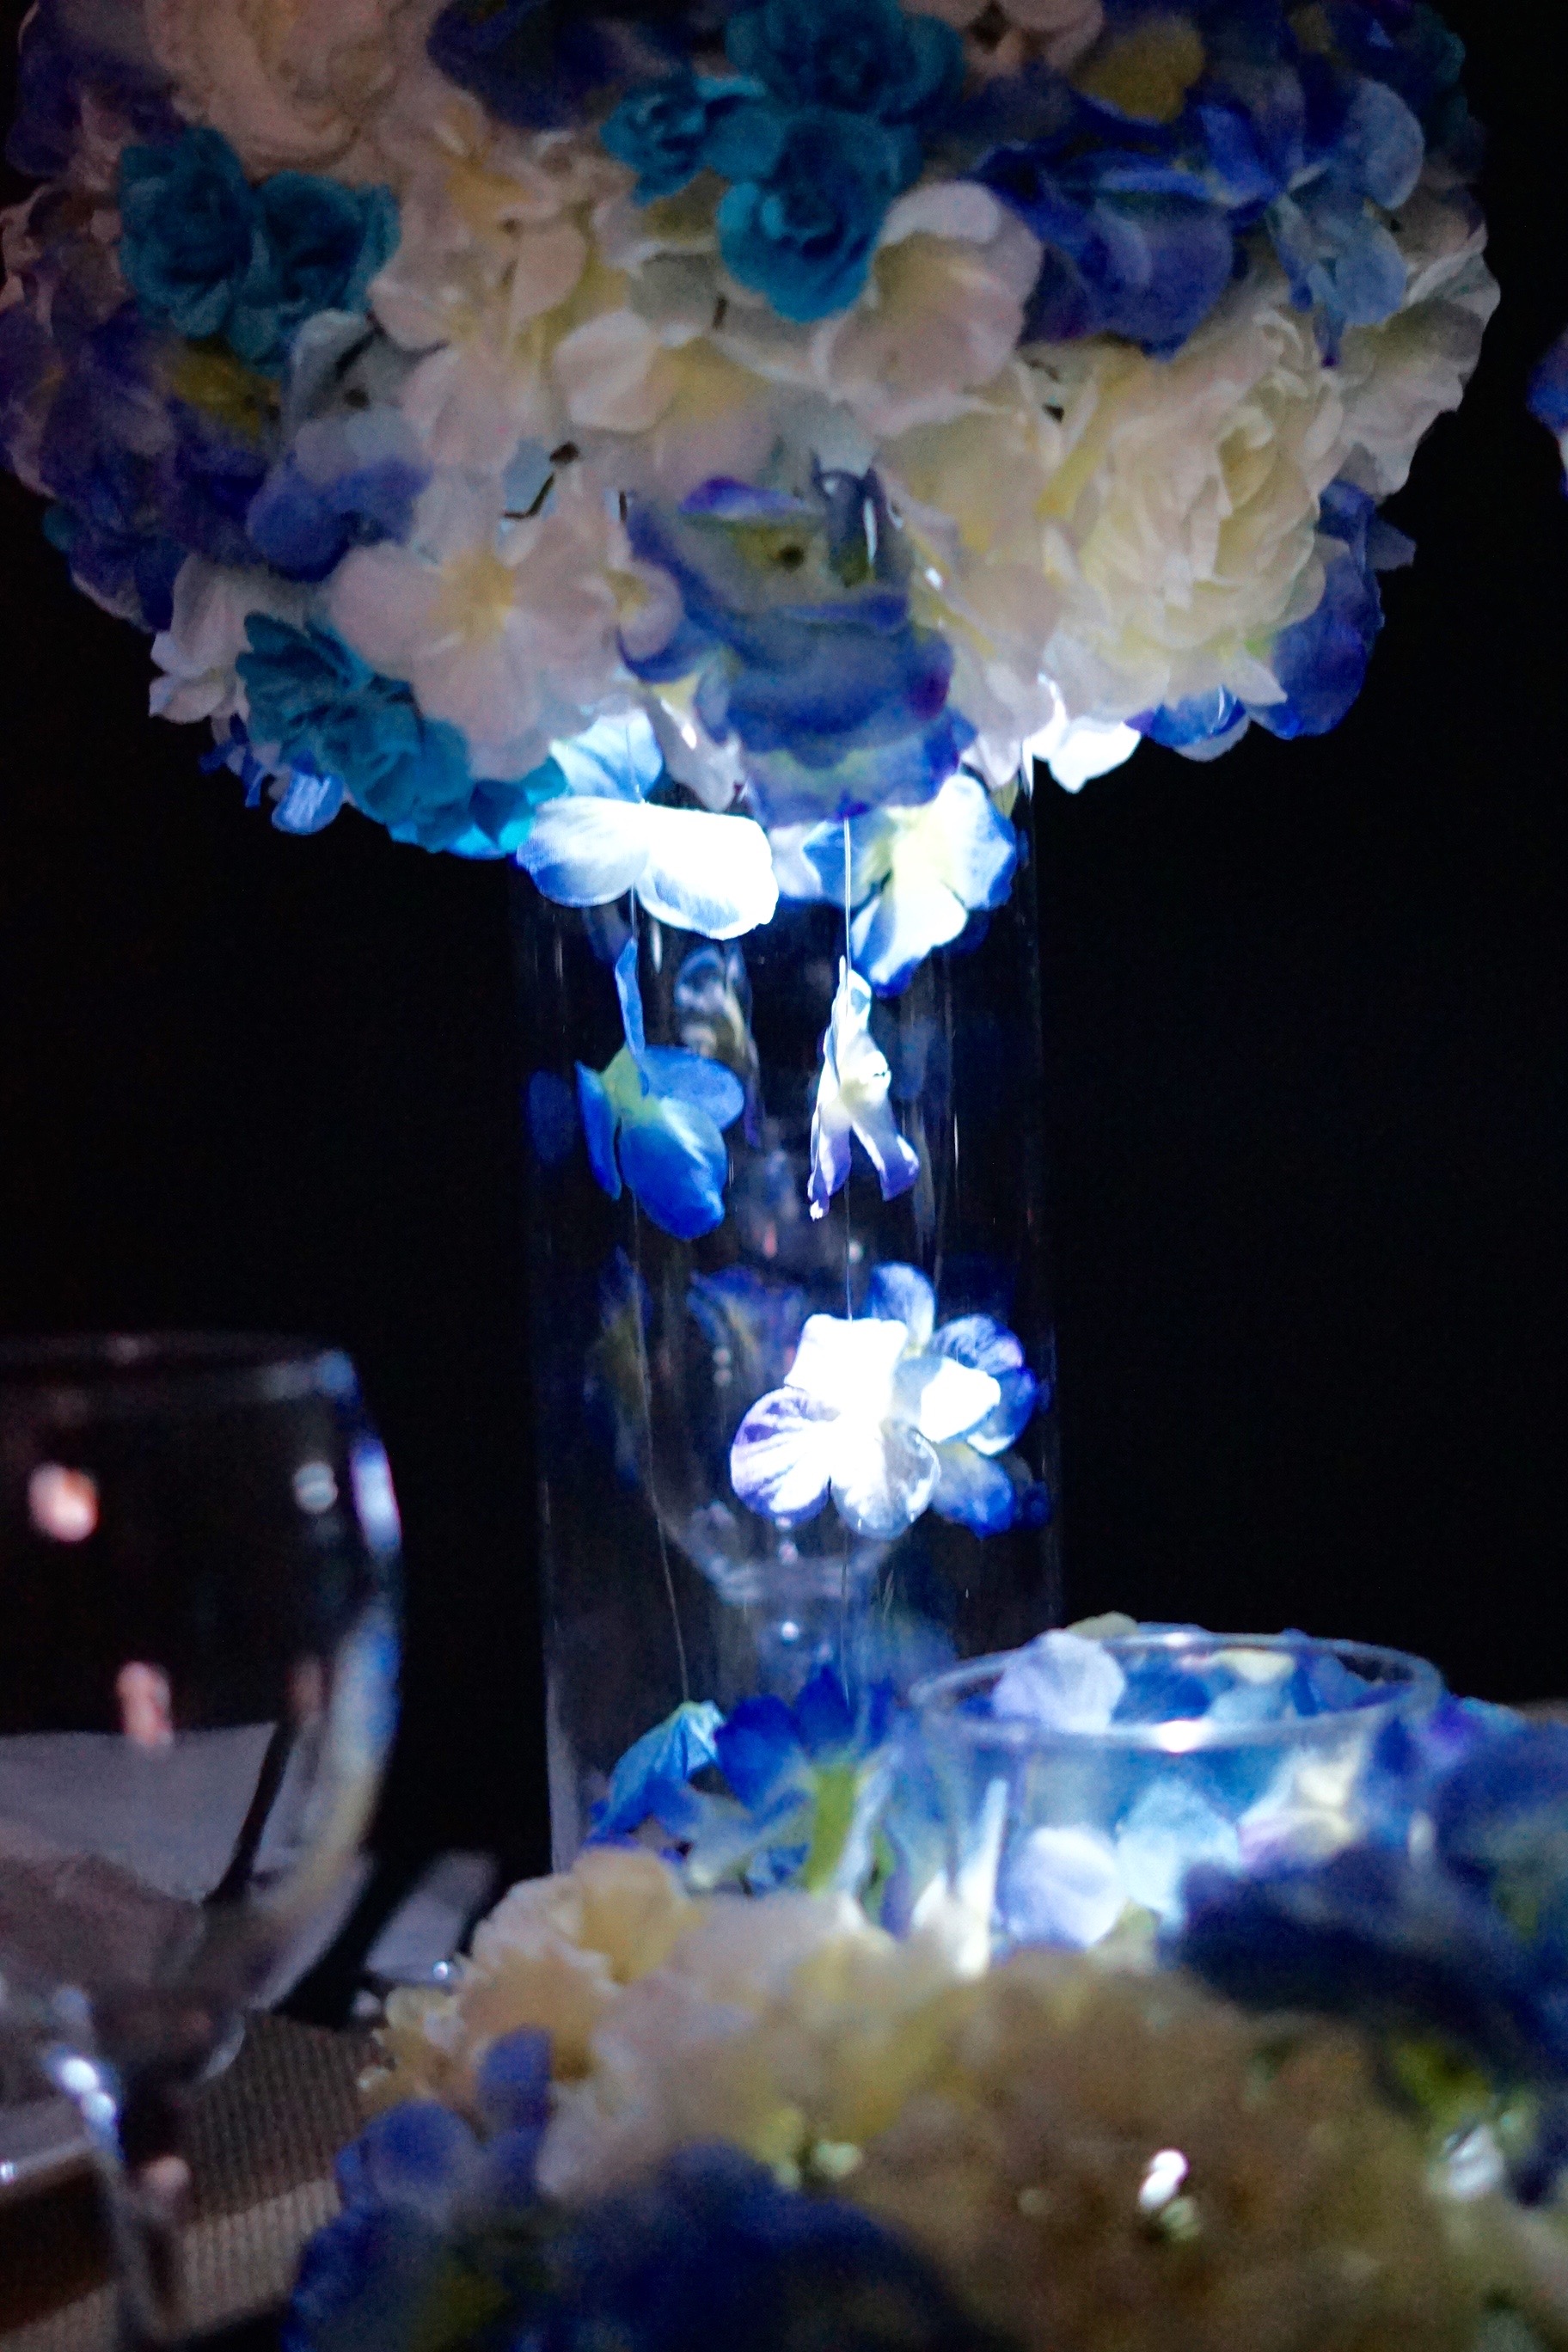
I absolutely love how this wedding centerpiece turned out. Monique, thank you so much for allowing us to be apart of your special day!
If you like the outcome please let us know in the comments below? Also share your ideas on what you would have done differently?
Need help with an upcoming project? Be sure to send us a project request!
“Remember When Every Penny Counts, Count on MissPlanIt”


Beautiful, thank you for sharing. So simple.
Thank you, simple but beautiful was definitely the goal!