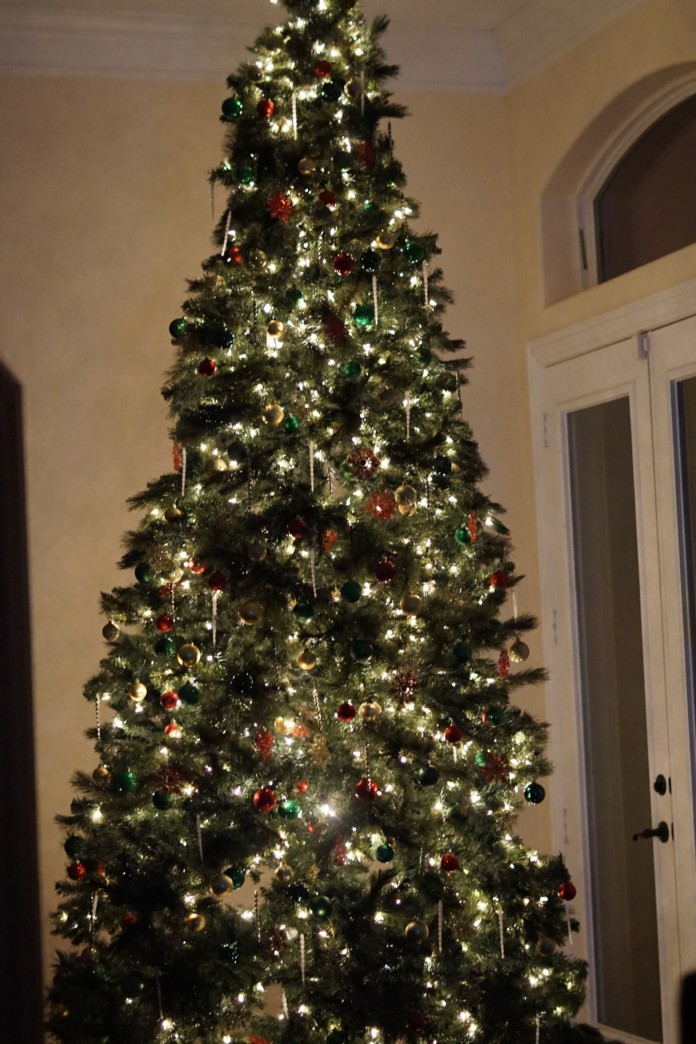
I saved the best for last! Yes, this is the last week of my “Deck the Halls with DIY” series. This week, I will decorate my Christmas Tree! I must say I do not need to go to any stores for this week’s project.
Last year I stocked up on Christmas ornaments after Christmas as they usually have Christmas decorations for 50% to 80% off at select stores. If you have not done this in the past be sure to stock up this year.
In the meantime, I have provided affiliate links below of the same ornaments I used for my Christmas Tree and many of them came from the Dollar Tree so they are at a great price. I love to get a deal and usually do not pay full price for anything and this includes Christmas Tree ornaments.
If you’ve been following my “Deck the halls with DIY” series, you know I have been on this journey for weeks. If you are just joining me, be sure to check out my other DIY Christmas projects by clicking the links below:
- Easy DIY Christmas Wreath For Under $17
- DIY Dollar Tree Inspired Christmas Swag
- Create A Gorgeous Fireplace Mantel With These DIY Dollar Tree Christmas Decorations
- Dollar Tree $7 Winter’s Night DIY Christmas Centerpiece
- Easy DIY Christmas Ornament Centerpiece For The Perfect Tablescape
I know EVERYONE loves to save money, especially this time of year which is also my favorite time of the year, Christmas time. Yes, Christmas for me starts in October and peaks in November as I usually start making my Christmas DIY projects.
This is a tradition that I grew up with and now continue with my own family! Okay enough about me, let me get into how beautiful my Christmas tree looks now that I have finished decorating it.
My Christmas Tree is a 12 foot tree so it requires quite a bit of ornaments. I will show you in the video tutorial below that it’s all about layering your ornaments!
Like I said before, Christmas is absolutely my favorite time of year! I love all the cheery music, good food, great sales, and spending time with family and friends. I also love to decorate my Christmas Tree and this usually is a family activity that my husband, my kids and I do together. It is a fun way to officially bring in the Christmas season!
Just a tip before you go out and buy all your supplies. As our saying goes “When Every Penny Counts, Count on Miss PlanIt.” We love to save money and get great deals. Prior to us purchasing anything online, we check out Ebates, find the store, click the current deal for that store and complete our purchase.
If you have never used Ebates, you are MISSING OUT. So for this project, you would go to Ebates.com, sign up, and then type in the Dollar Tree.
When completing a purchase through Ebates you earn cash back that you can have mailed to you or sent via PayPal. Be sure to check it out! Click here to sign up for Ebates, and RIGHT NOW when you sign up, you will receive a $10 cash welcome bonus when you spend $25.00!
You were already going to complete your purchase online, so why not get some cash back on things you already planned to purchase! So get those supplies and let’s beautify your house with decorations that are made with Dollar Tree products!
Let’s Get Started:
Click our affiliate links below to purchase the supplies needed for this project:
12 Foot Christmas Tree
Gold Snowflake
Red Snowflake
Gold Icicle
White Icicle
Green Ball Ornaments
Red Ball Ornaments
Gold Ball Ornaments
If you prefer written instructions, please continue reading.
How to Decorate Your Christmas Tree
Directions:
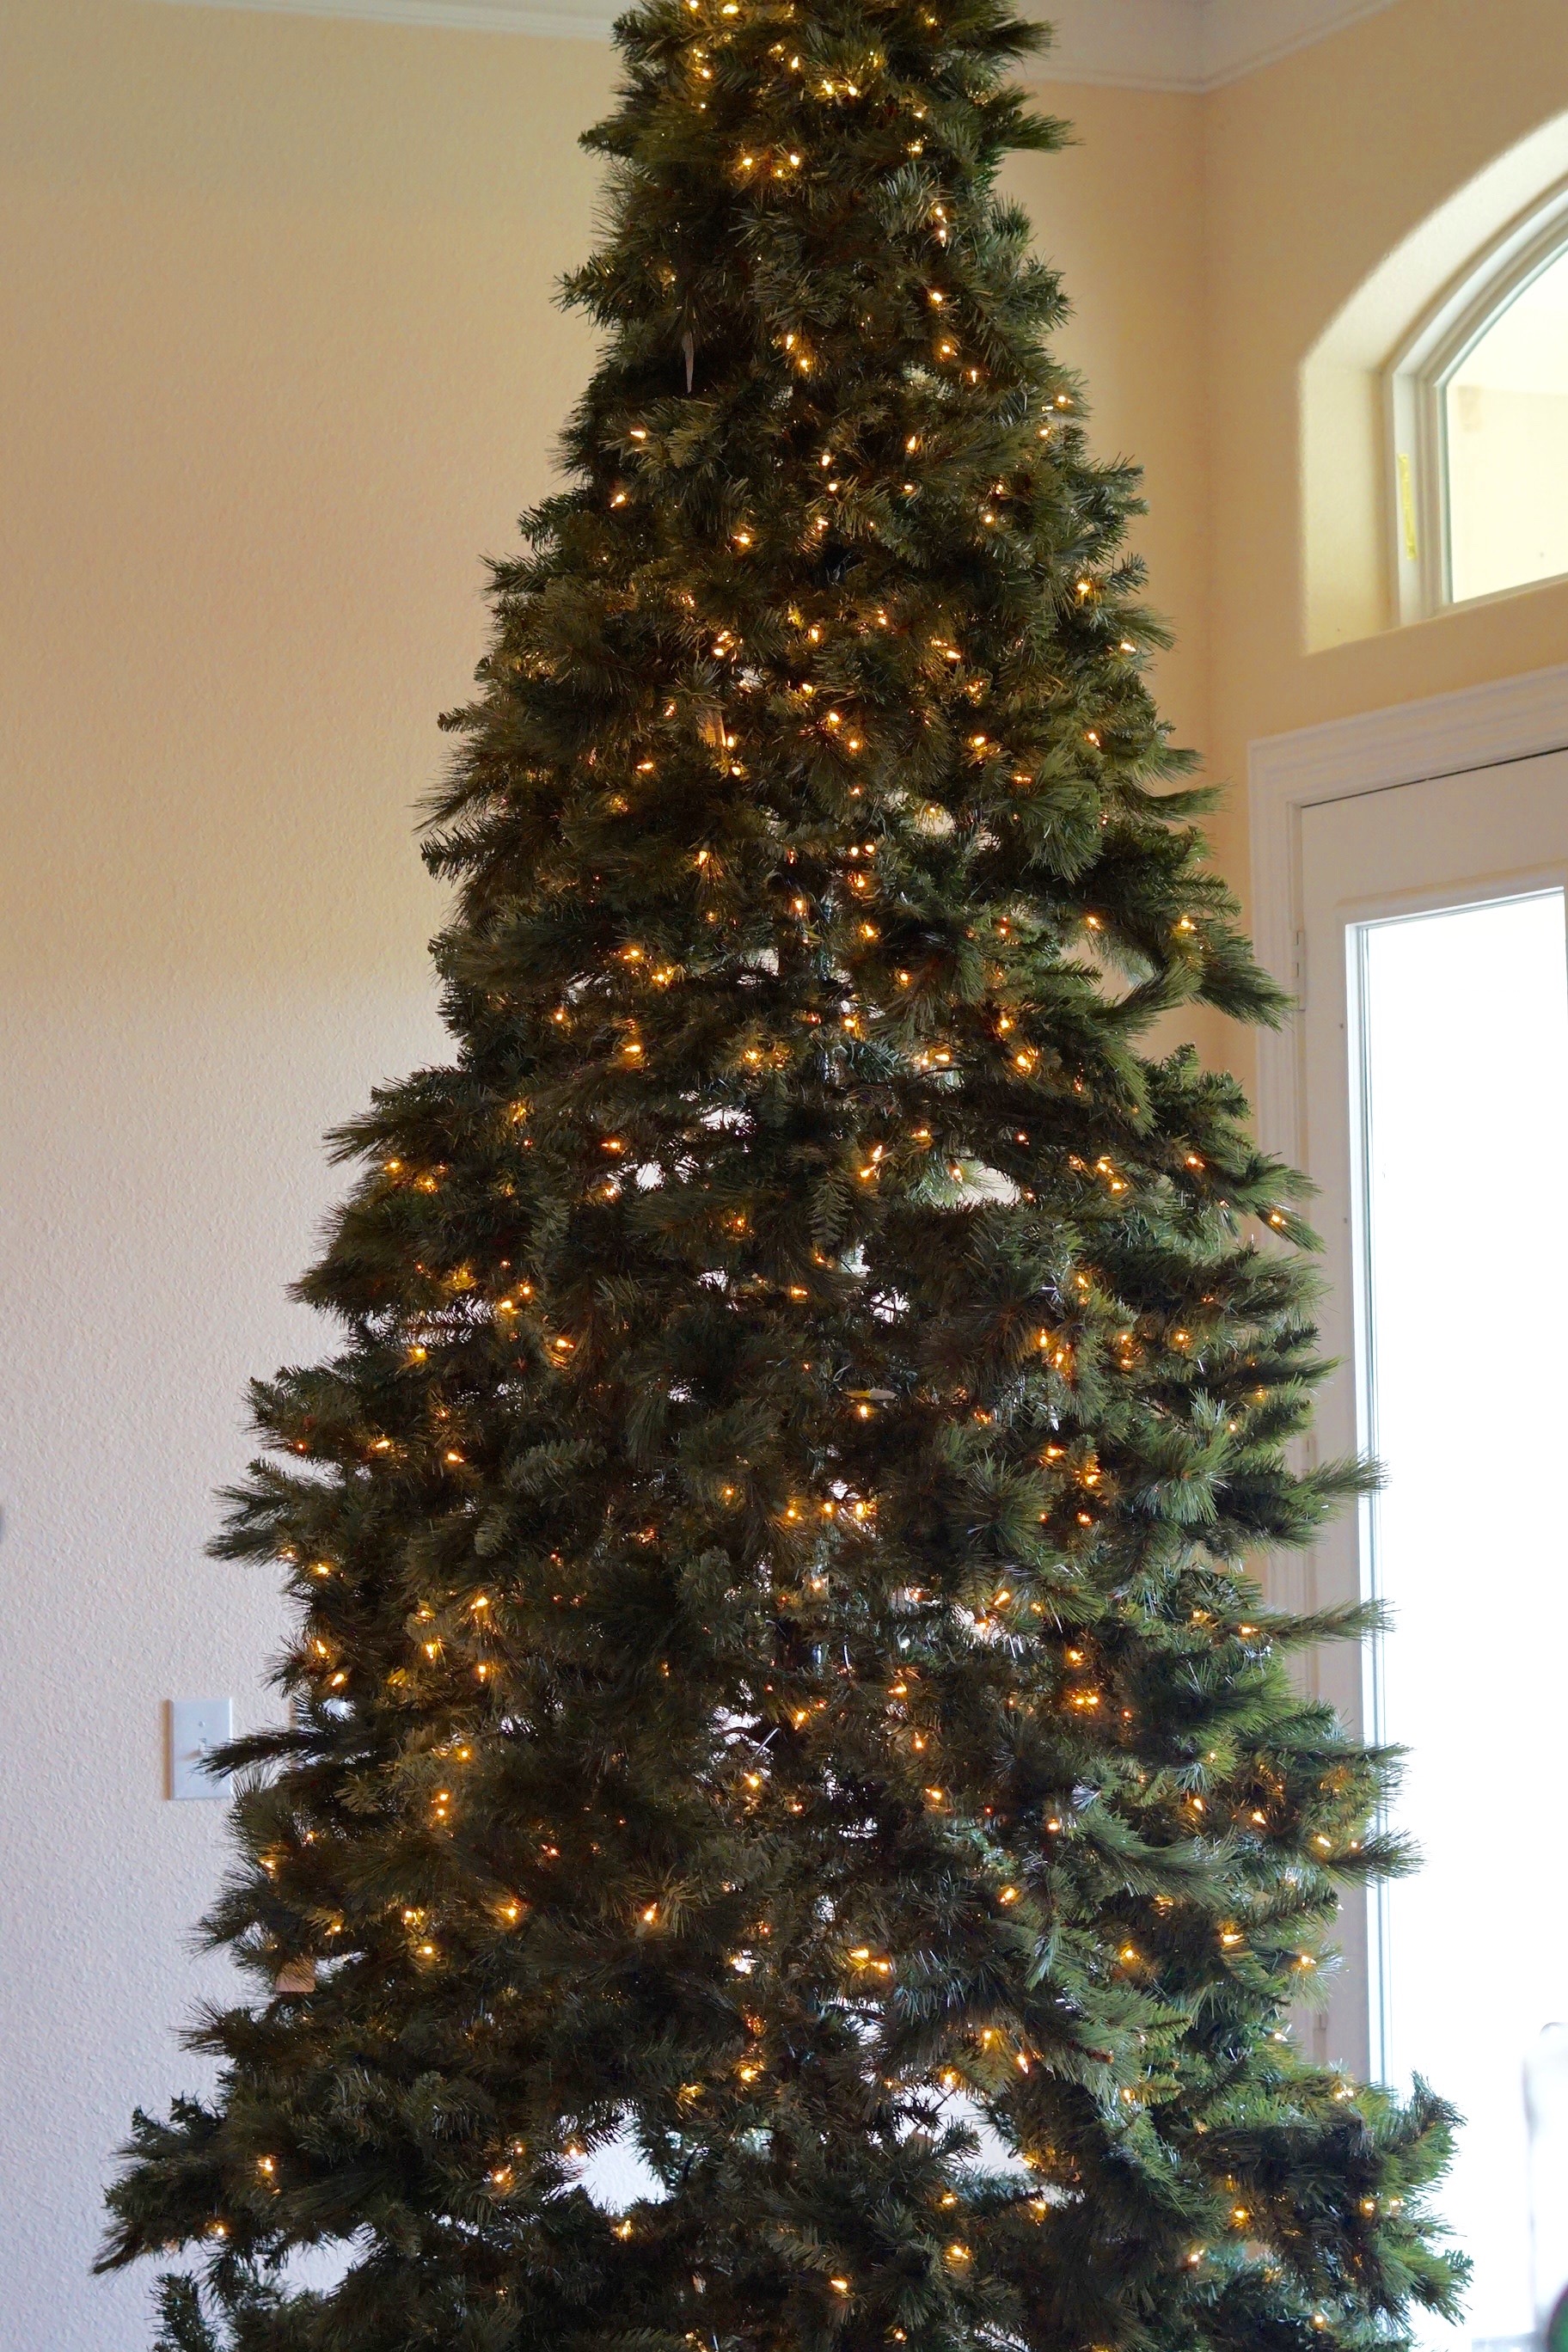
STEP 1: Take your Christmas Ornaments that you chose to decorate your Christmas Tree and begin adding to your tree. I chose 7 different types of ornaments.
TIP: For every 2 foot of your Christmas Tree you will need 1 dozen of each ornament. My Christmas Tree is 12 feet but remember the average Christmas tree size is 6 feet so you would not need as many ornaments as I used. I also recommend getting a prelit Christmas Tree as this saves time and money with stringing and purchasing Christmas lights for your Christmas Tree.
Layer Your Christmas Ornaments
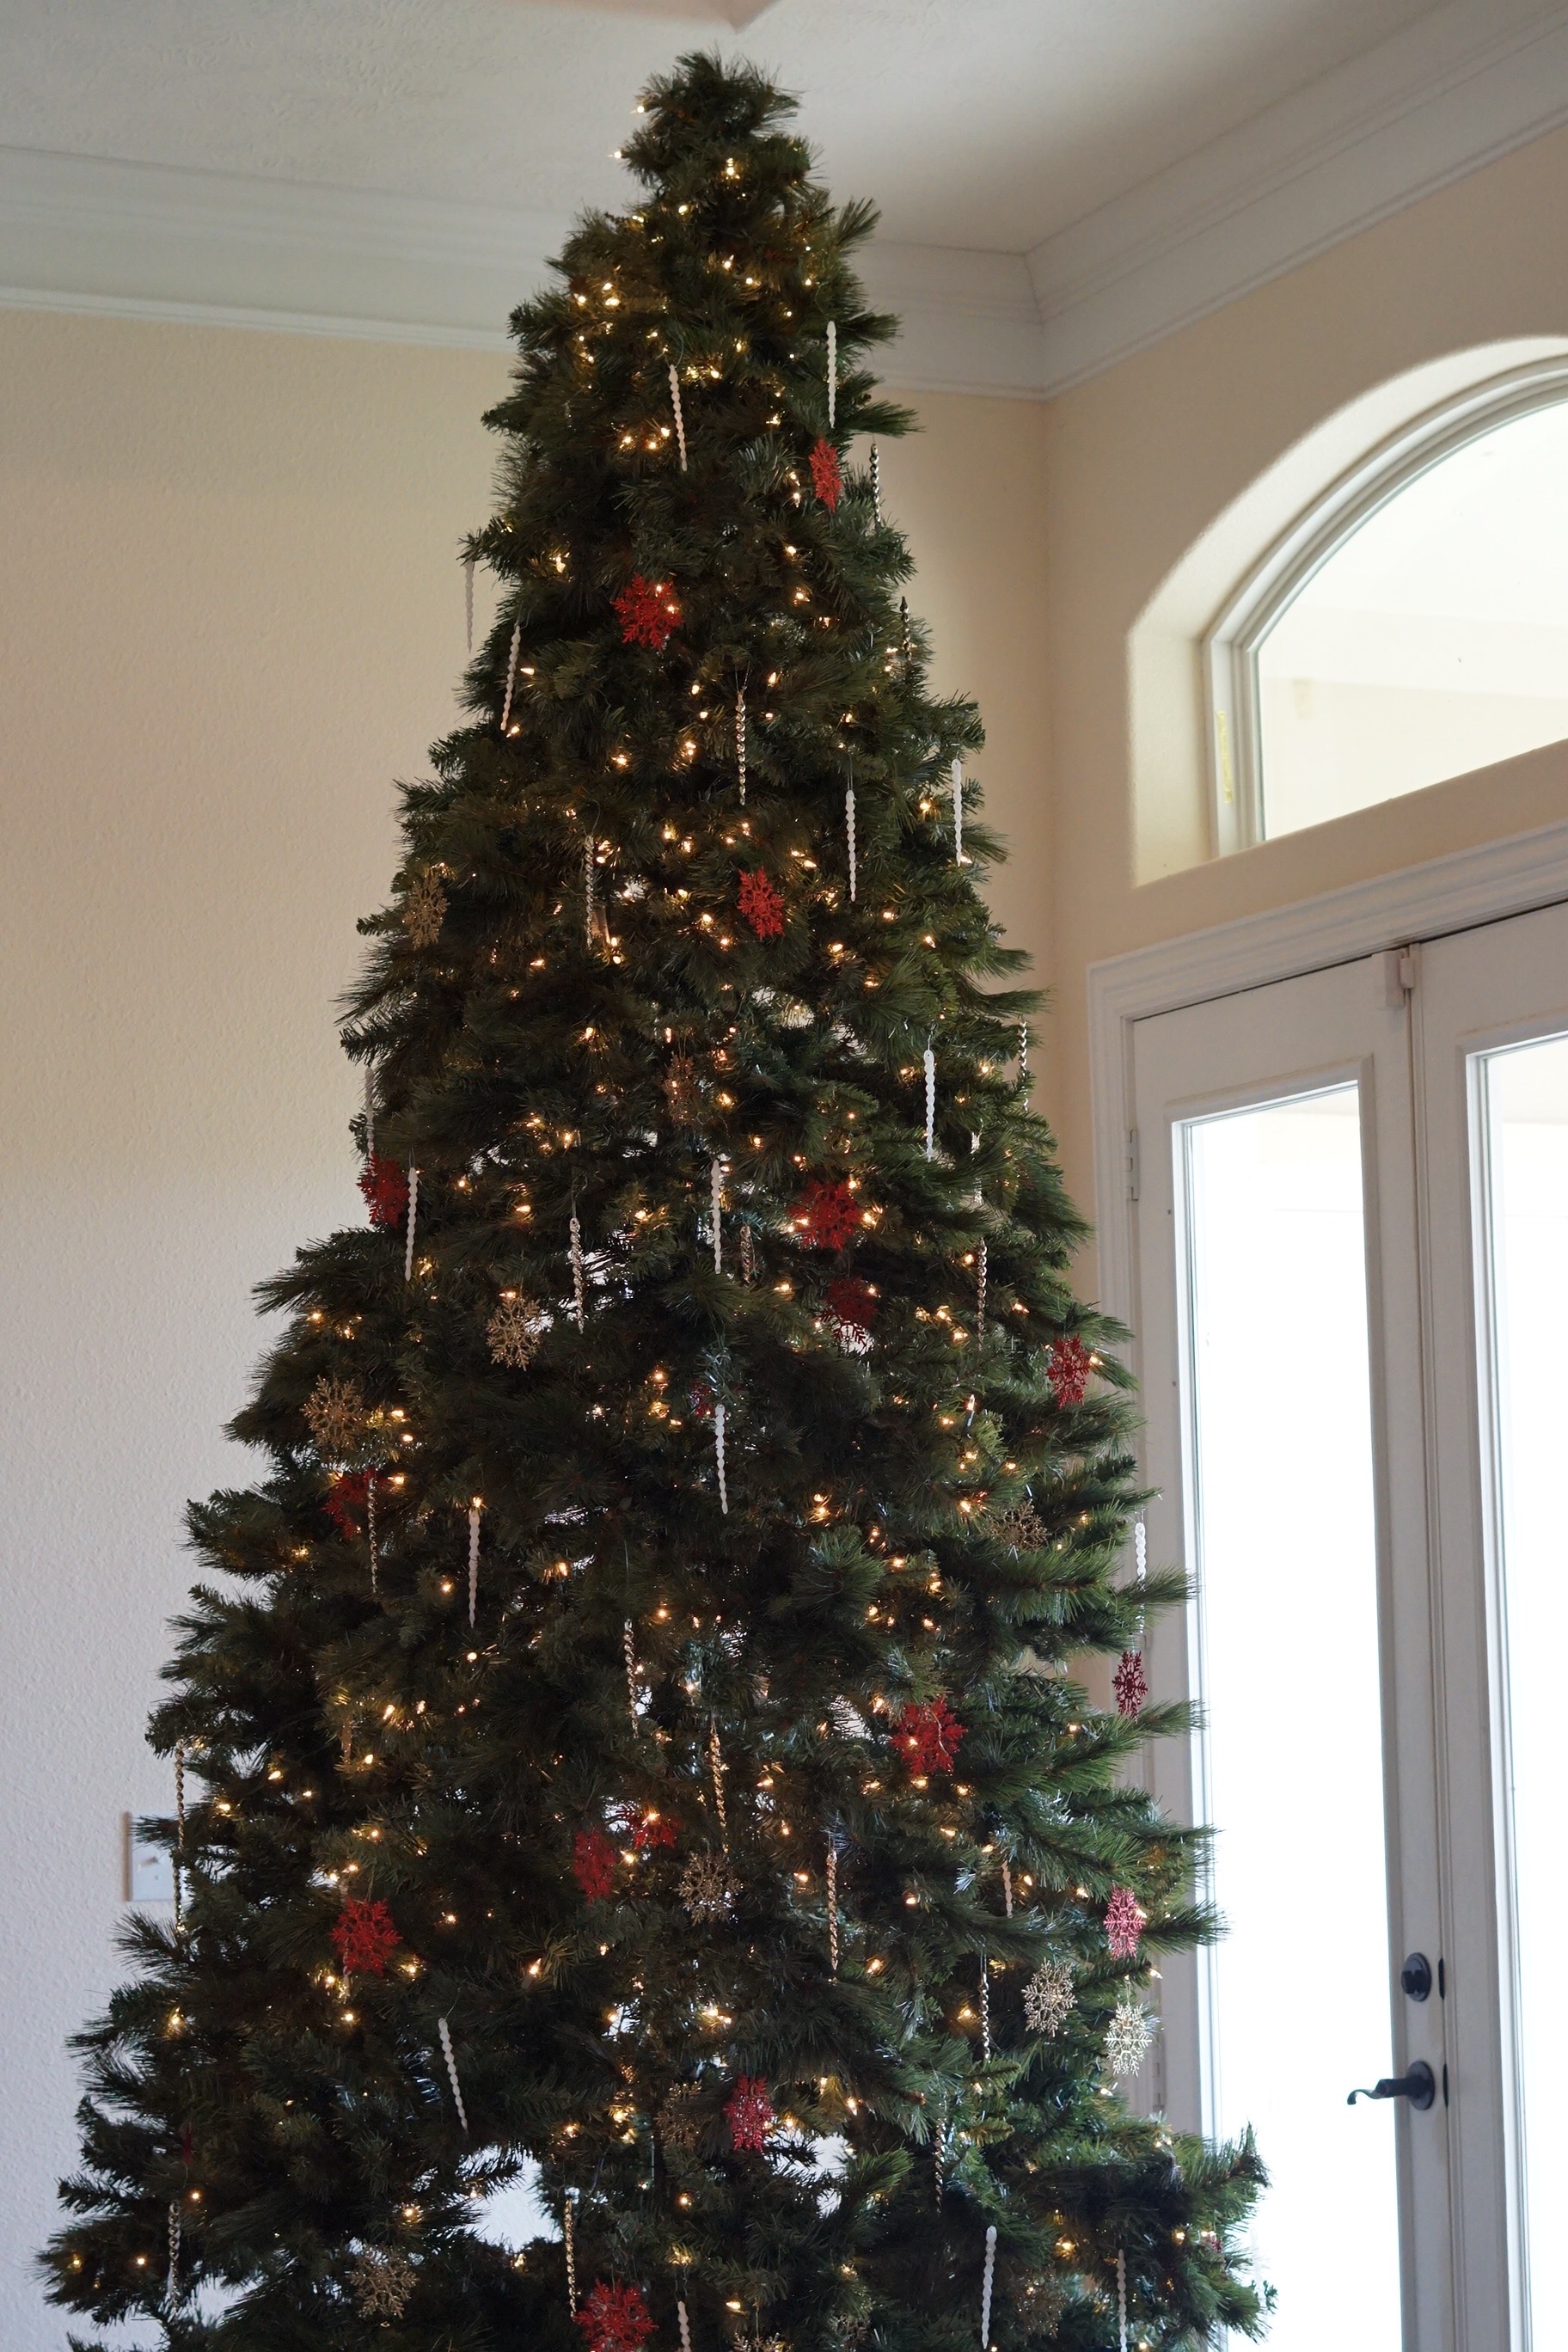
STEP 2: Now let’s start layering your Christmas ornaments which gives your Christmas Tree a nice full look. To layer your Christmas ornaments, you place 1 of your ornaments closer to the Christmas Tree trunk and an ornament on the outside limbs. I am using glitter snowflakes, icicles, and Christmas ball ornaments.
STEP 3:Repeat Step 2 with all your ornaments. I typically like to use 7 different types of ornaments but you can choose as many or as little as you like. Also diversifying your textures is a great thing to do, I did this by using matte finish, glitter finish, and gloss finish ornaments.
THE FINAL STEP
STEP 4:Put it all together and admire your hard work!
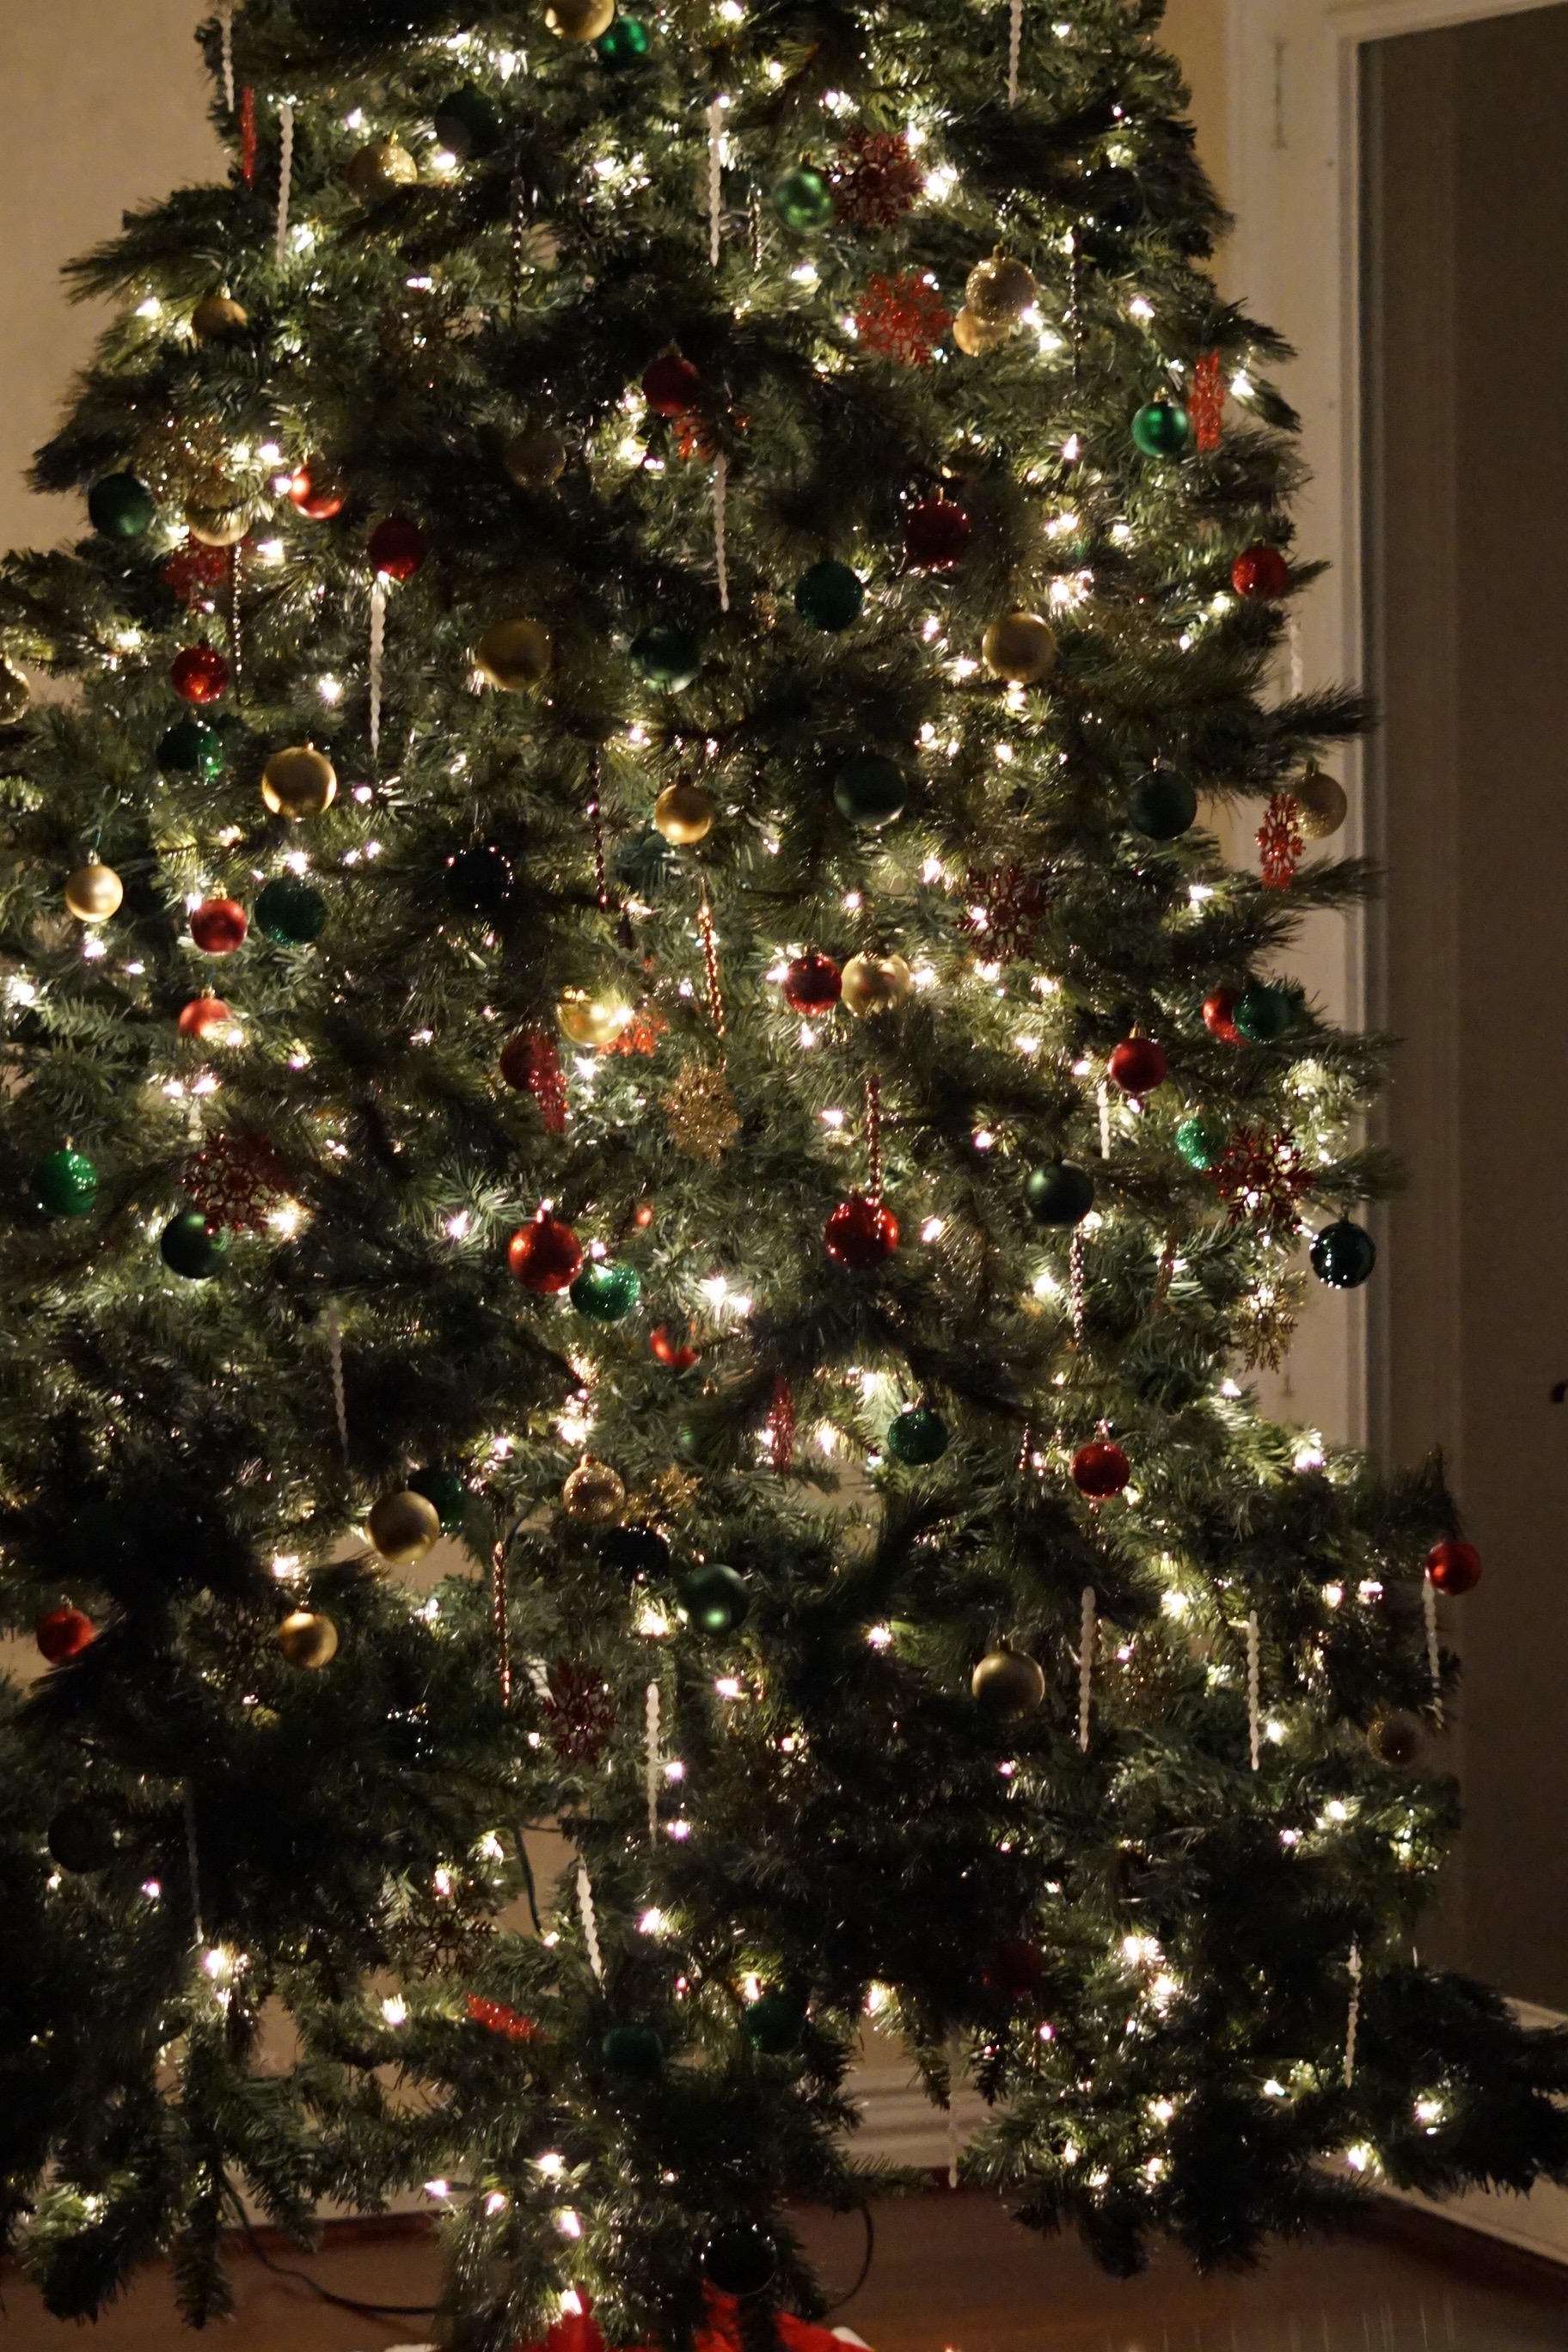
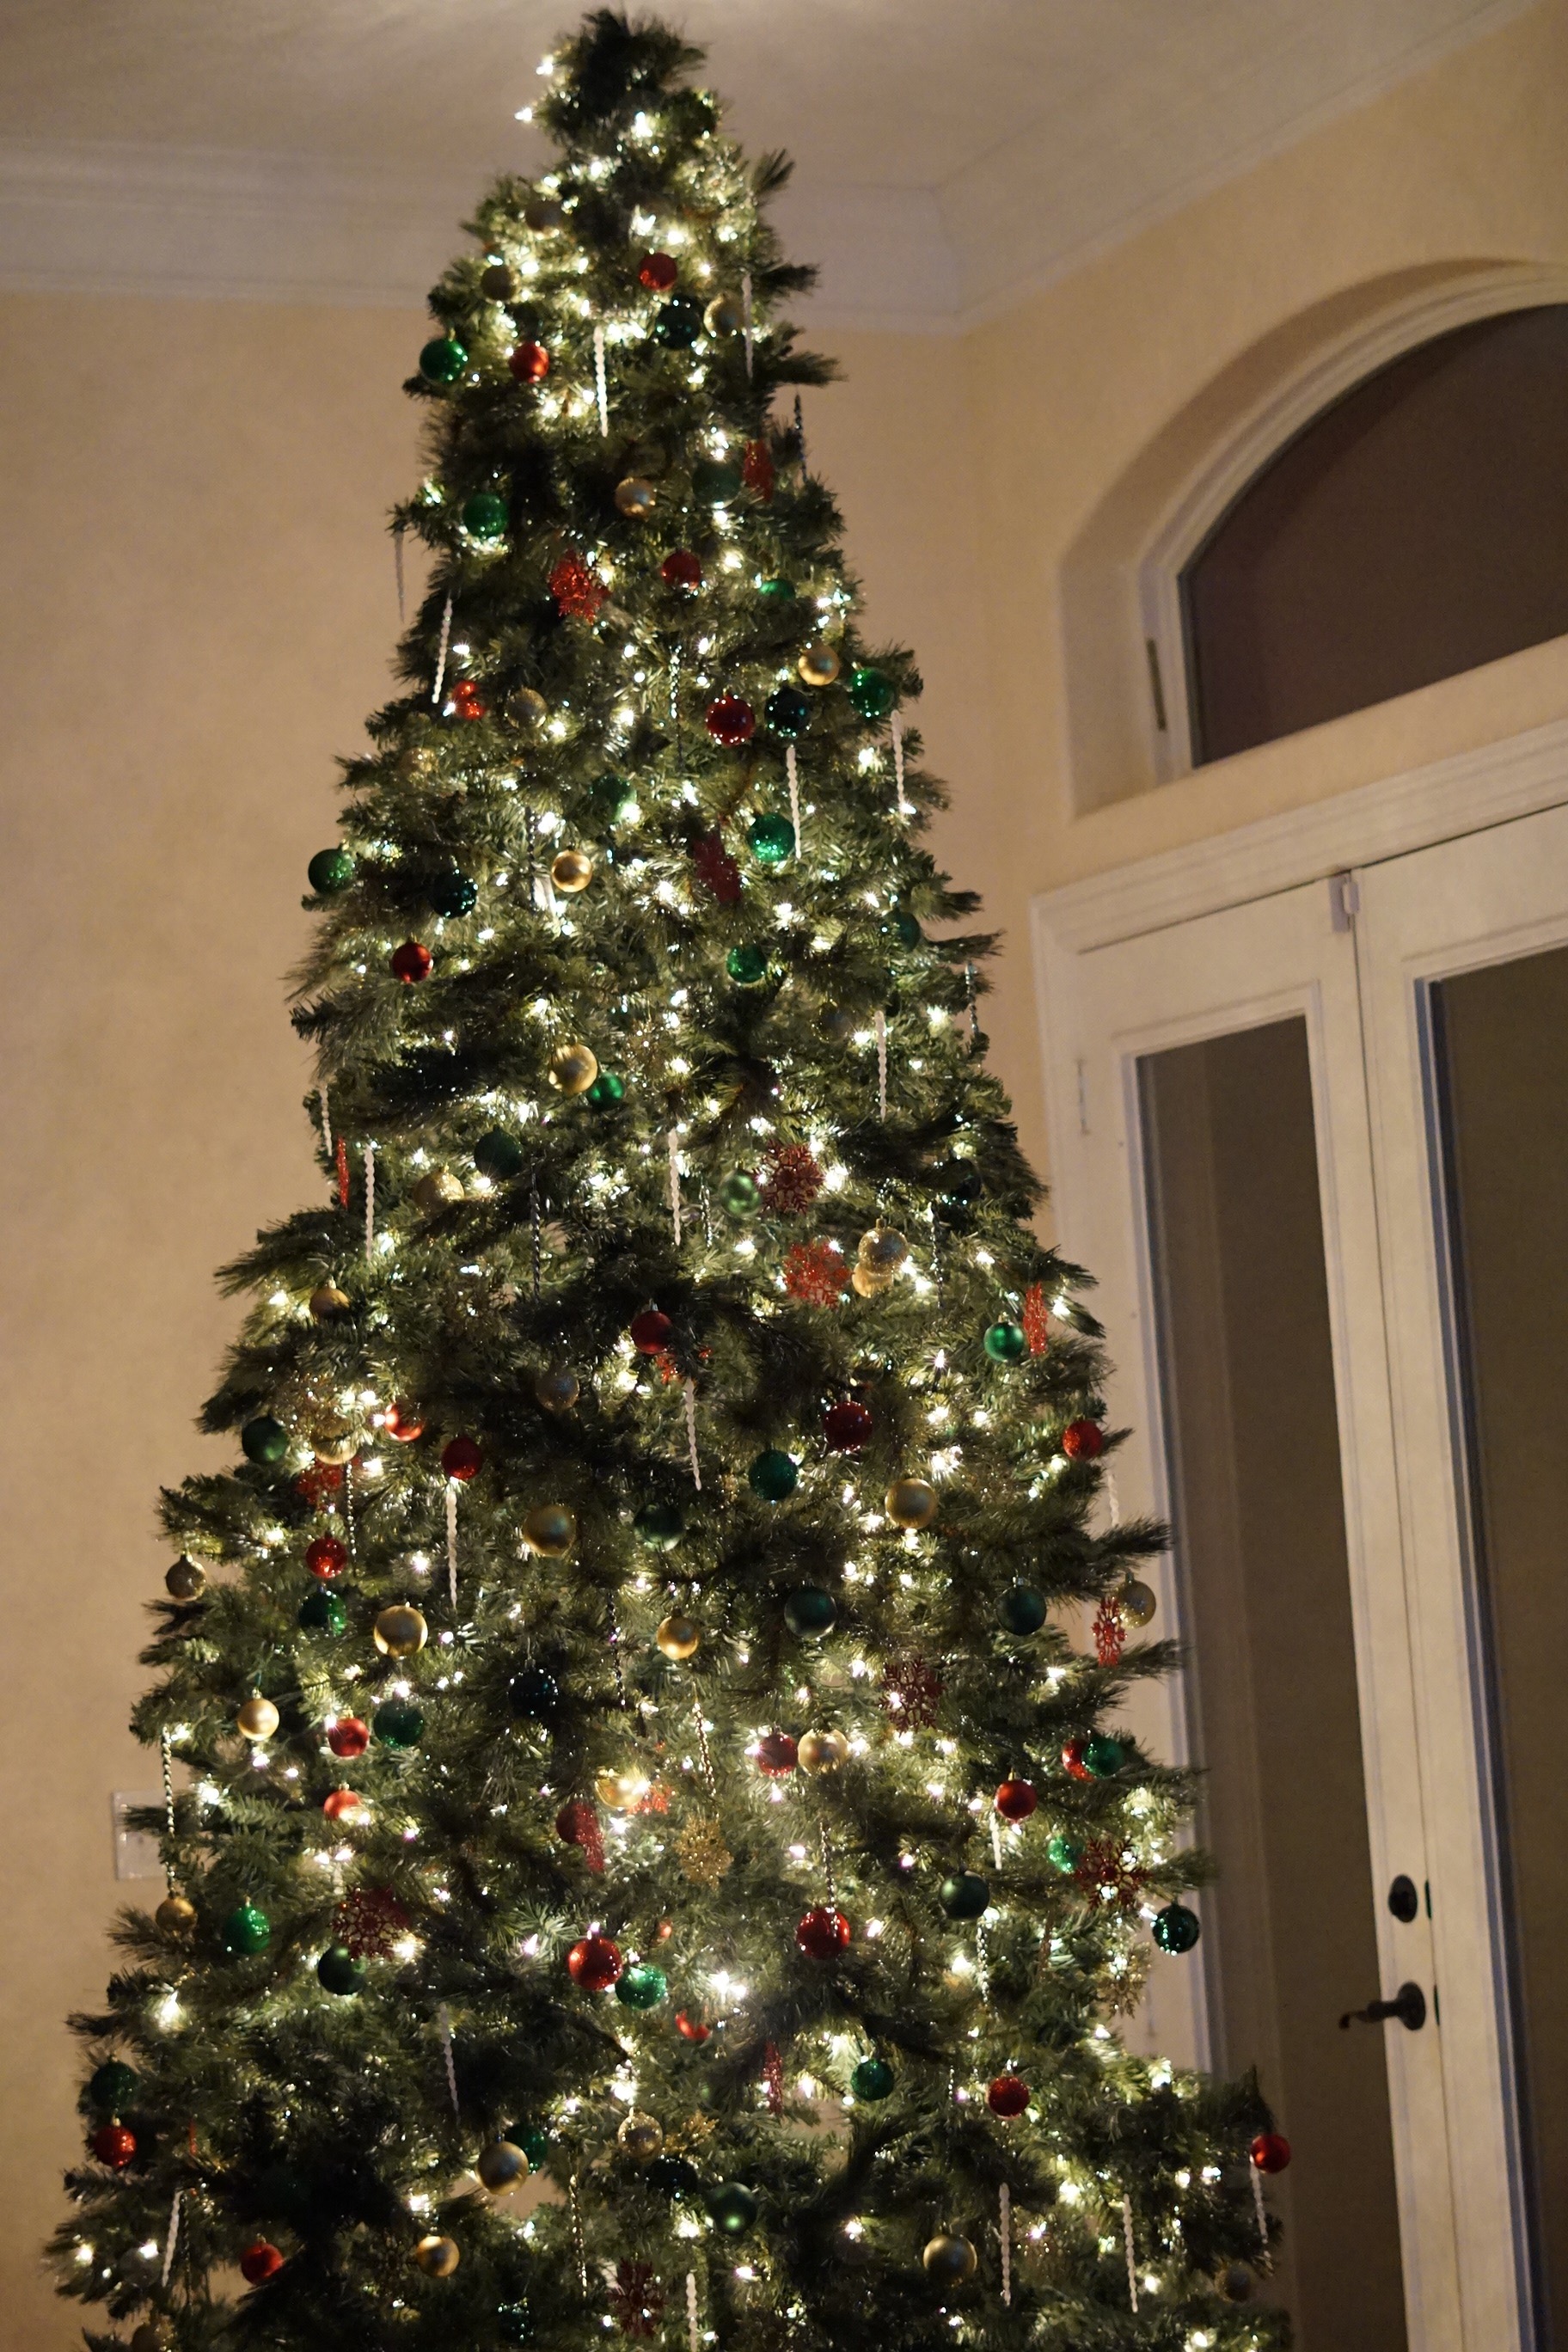
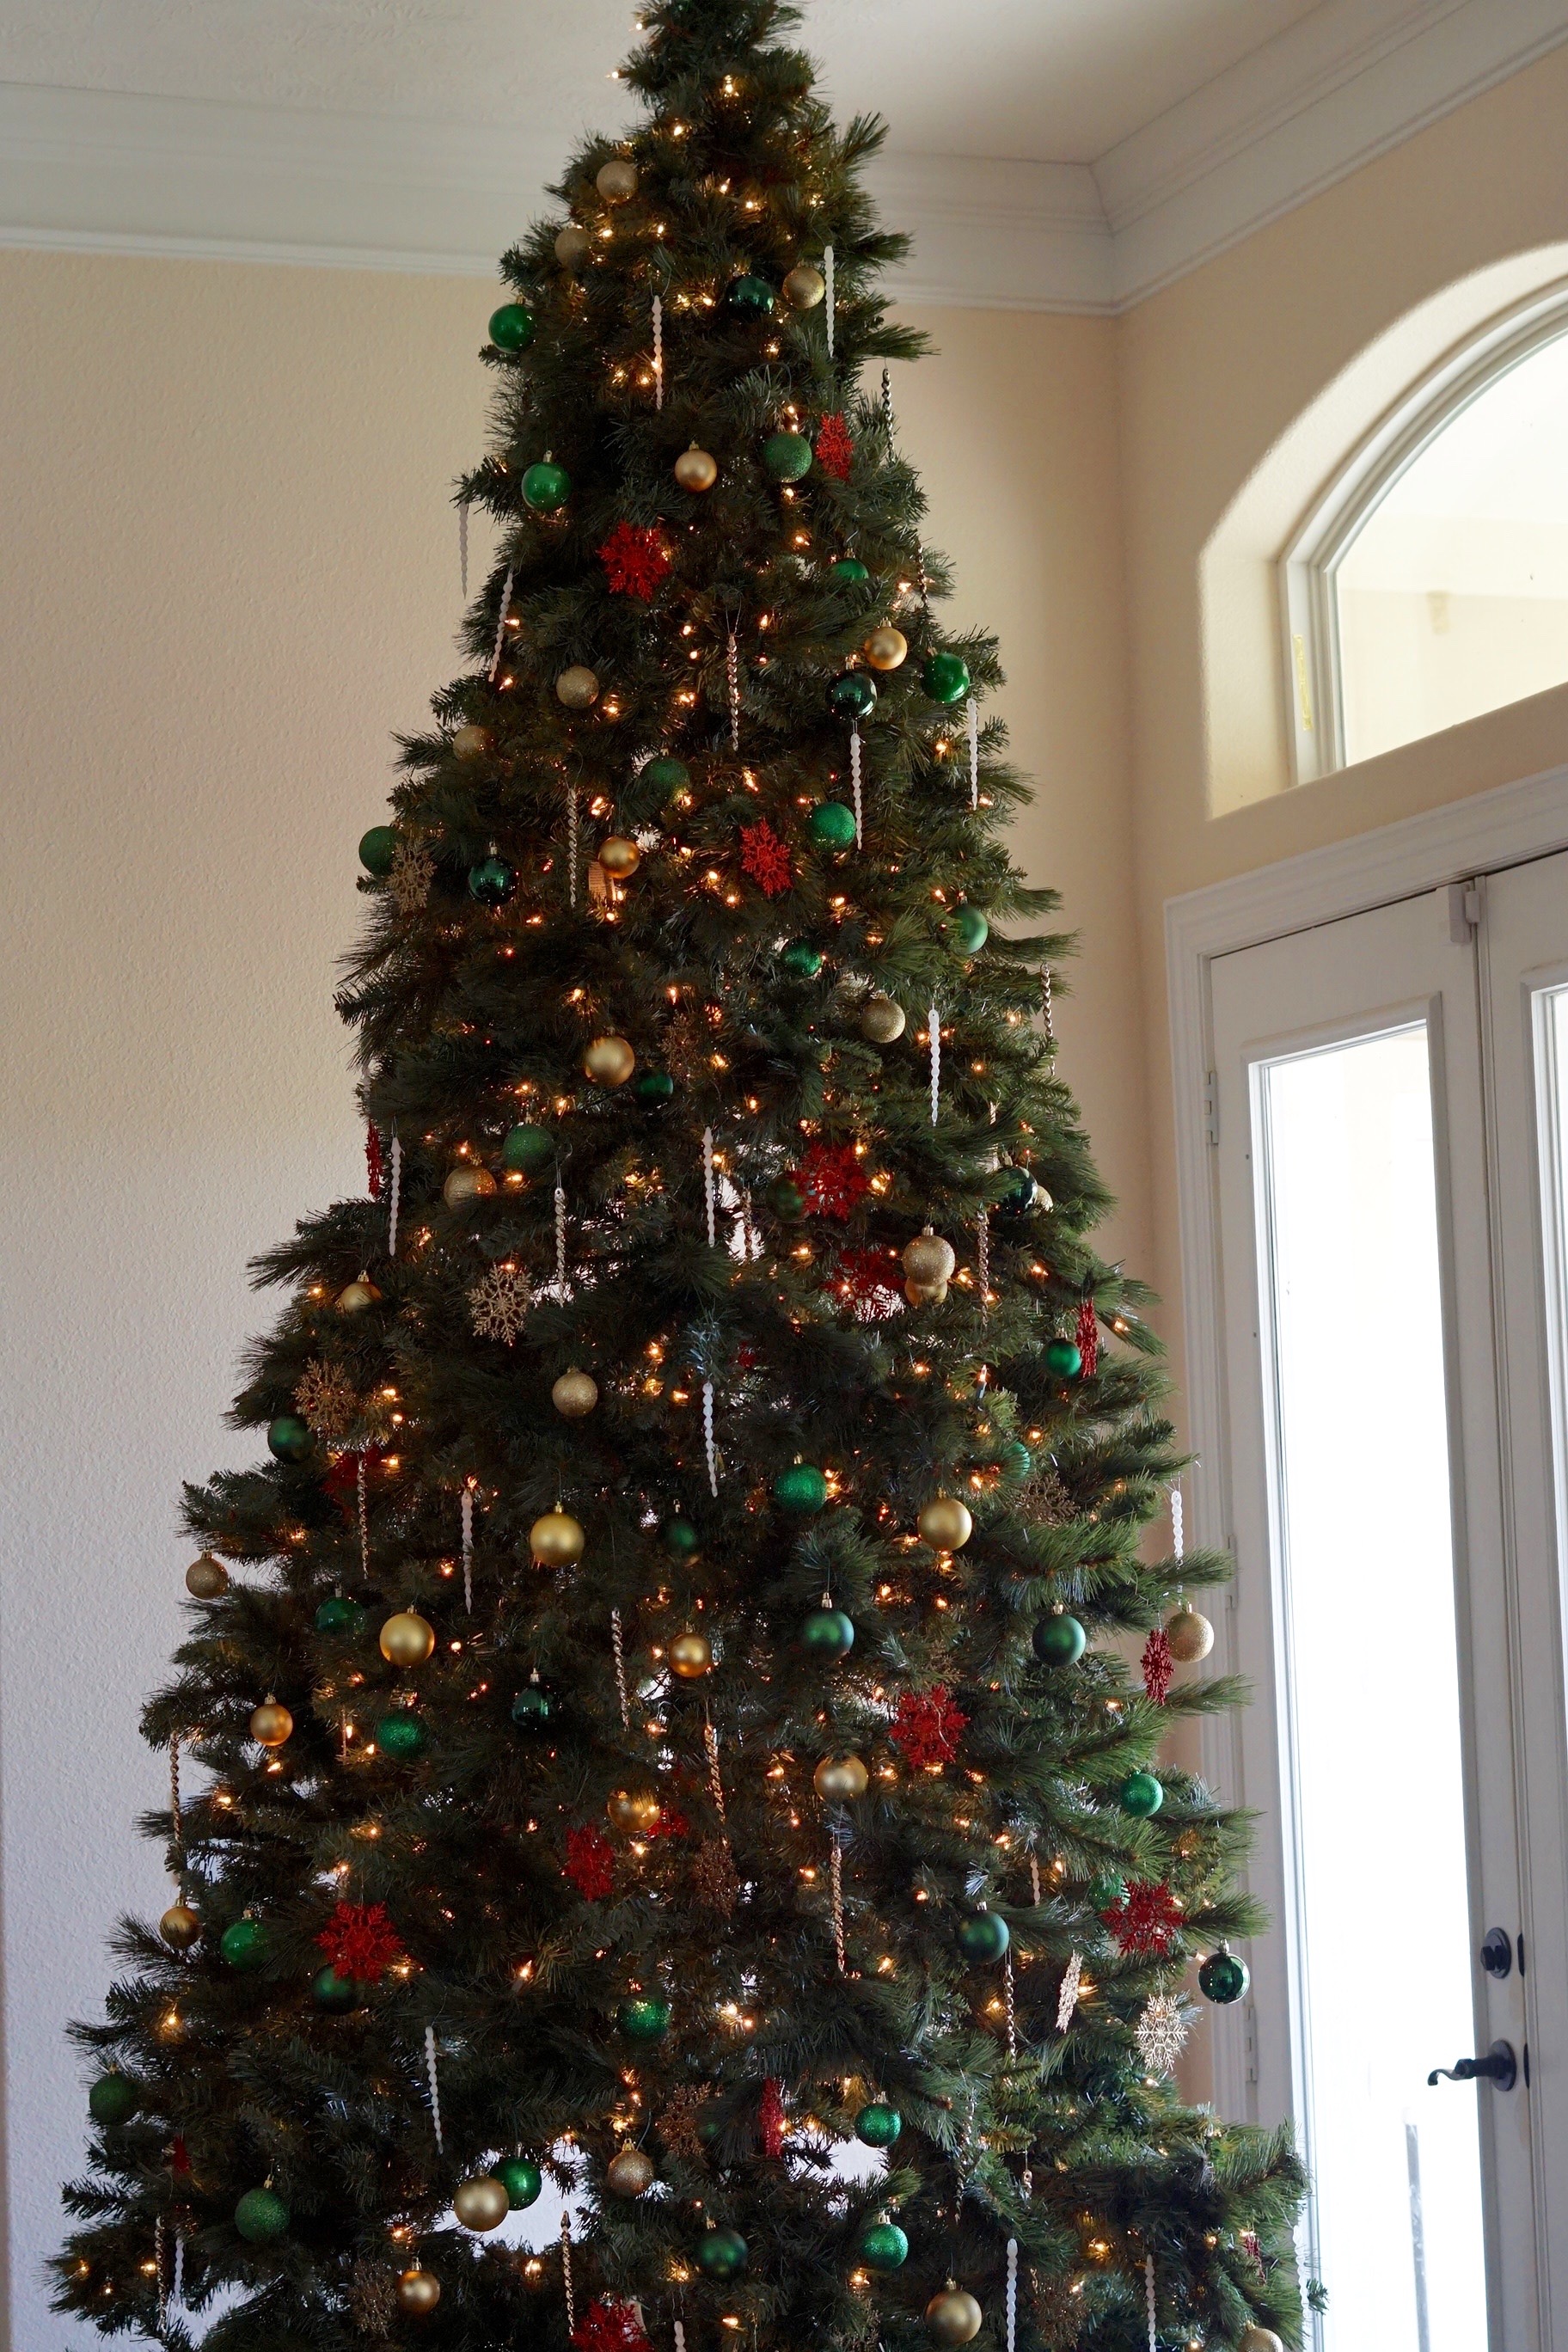
I absolutely love how my Christmas Tree looks. I hope you enjoyed decorating your Christmas Tree, be sure to share how yours turned out!
Don’t forget to sign up for Ebates to earn cash back on your online purchases. Click here to sign up for Ebates, and RIGHT NOW when you sign up, you will receive a $10 cash welcome bonus when you spend $25.00!
If you like the outcome please subscribe to our Youtube Channel for more DIY Videos and follow us on Facebook and Pinterest.
Need help with an upcoming project? Be sure to send us a project request!
“Remember When Every Penny Counts, Count on MissPlanIt”


