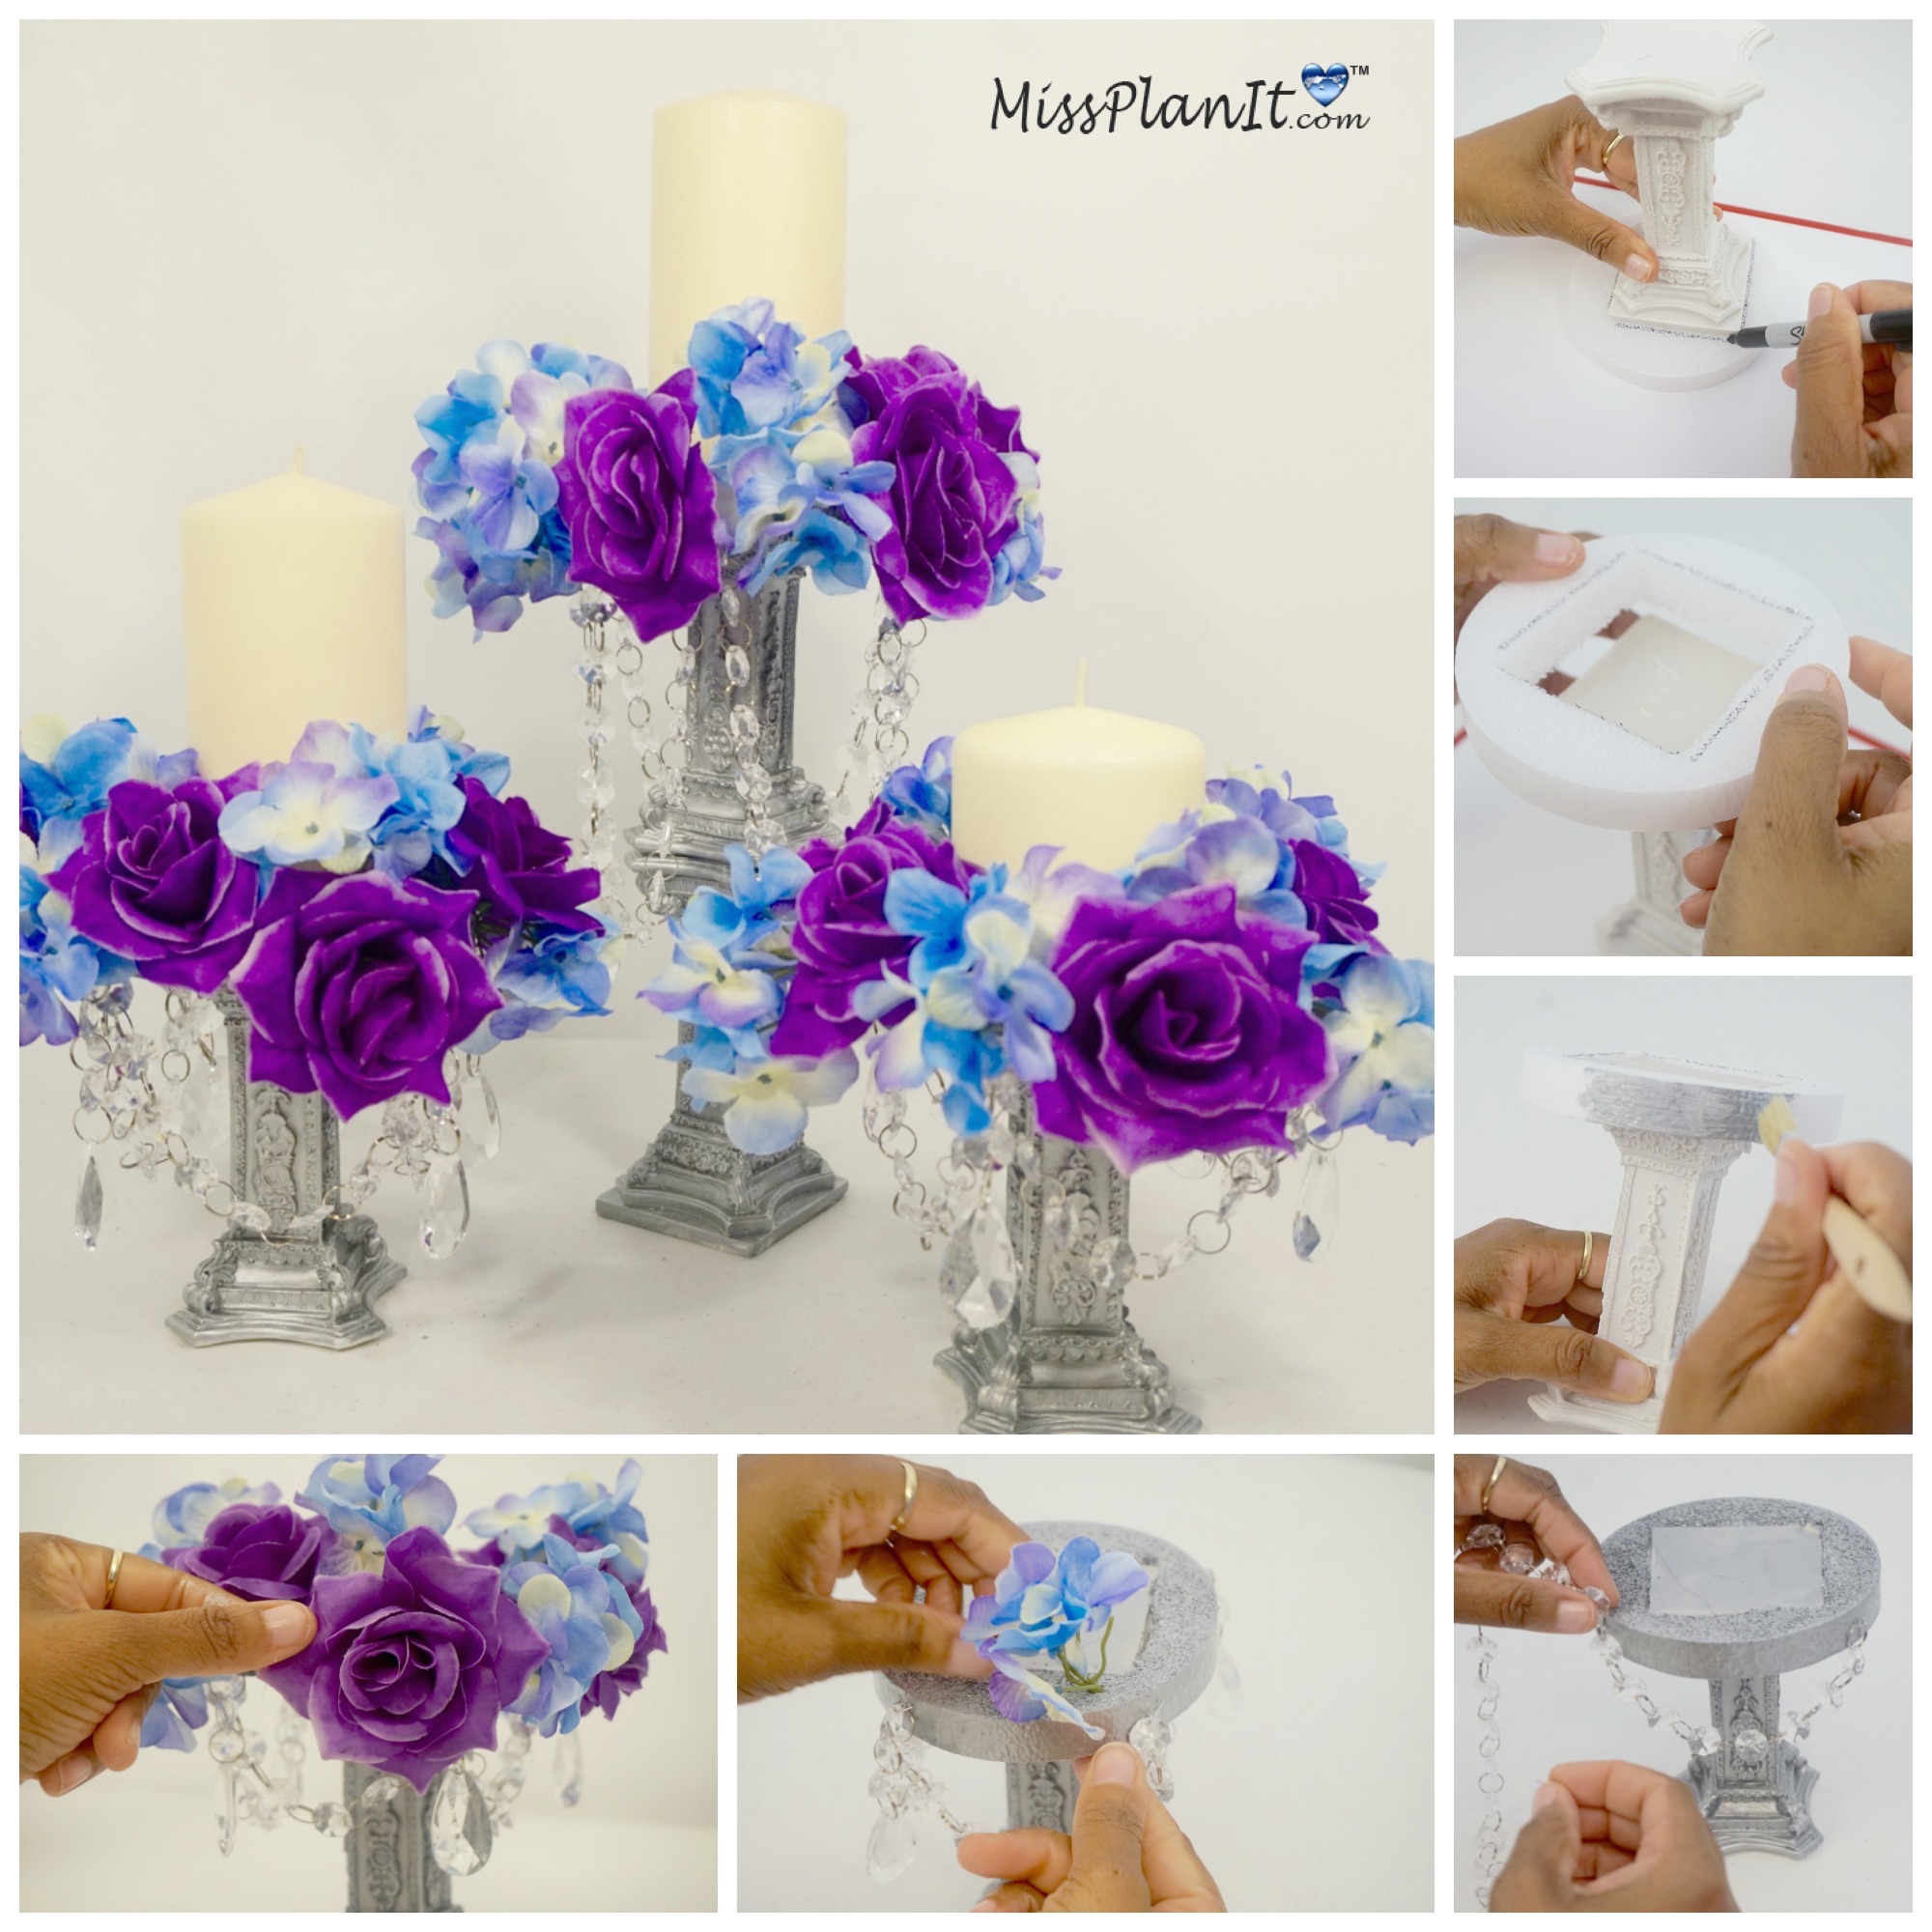
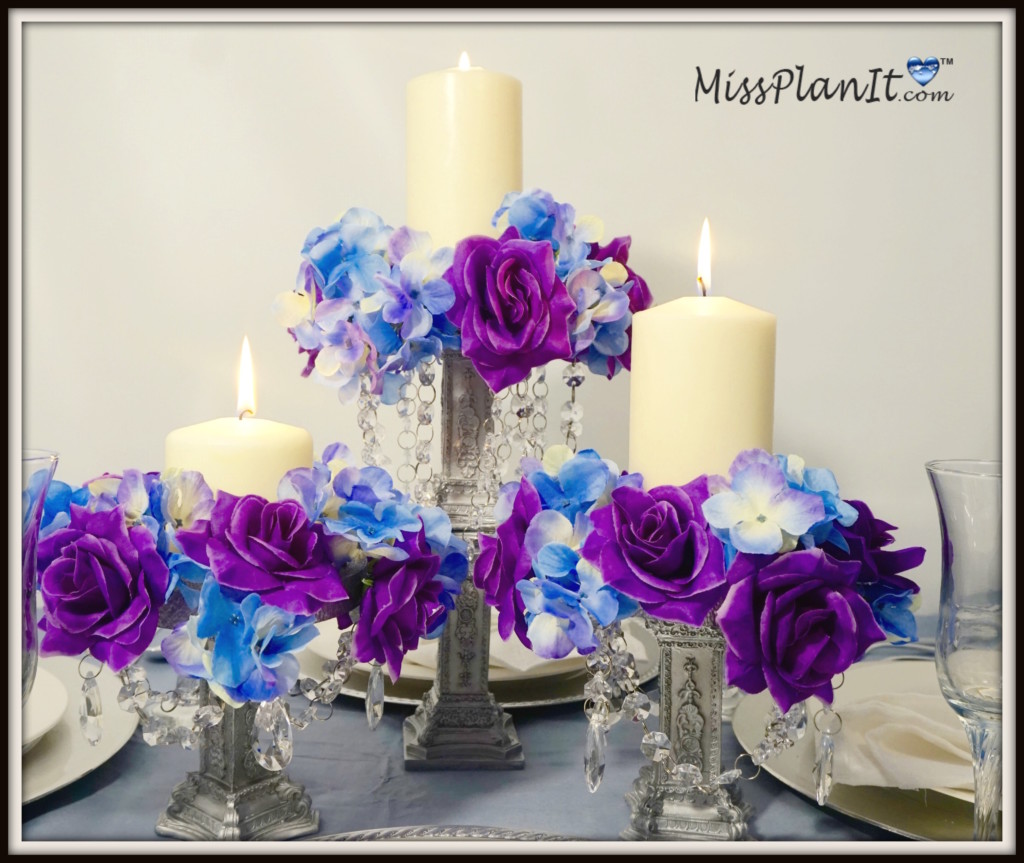
Inspired by our Community Member Leta! We are so excited to share this BEAUTIFUL Chandelier Candlestick Centerpiece!
Leta contacted us through our FaceBook Page and asked if we could do a Chandelier Type Centerpiece for her with a lighting aspect for her event. Her color choices of purple and turquoise add that extra special touch and I must say the results are stunning!
Join us this week as we create this elegant yet inexpensive DIY Centerpiece perfect for any Wedding, Event or Dining Room Table!

SUPPLIES YOU WILL NEED:
4- 4 inch Plastic Embellished Candle Sticks
2- White Floral Foam Disc
4-Blue Hydrangea
4-5-Stem Purple Velvety Roses
1- 2 oz DecoArt Dazzling Metallic Silver Paint
3- Luminessence Pillar Candle
1-16 ft Crystal Acrylic Gems Bead Strand
1-12pc Acrylic Hangin Crystal Wedding Beads with Large Octagonal Tear Drop
1-Black Sharpie
1-X-Acto Knife
1-E6000 Craft Adhesive
1-Wire Cutter
Directions
Let’s Get Started:
STEP 1: You will begin by connecting your white floral foam disc to the candlestick. This process is super easy and will only take a few minutes. Simply, place your candle base on top of your white floral foam disc.
Now take a sharpie and trace around the candle base, you will notice when finished it’s in the shape of a square.
You will then use an X-Acto knife to cut out the square.
TIP: Be sure to carefully cut out your square, you do not want to accidentally cut outside the border you created and ruin your foam.
STEP 2: Flip your candle stick over and apply E6000. This will adhere the foam to the candlestick. Apply the white floral foam disc to the candlestick, and then hold for a few minutes until secure.
It’s Time To Transform this $1.19 Candlestick into something amazing!
STEP 3: To achieve my desired look, which is a weathered pewter look, I chose to use metallic silver paint. You may be asking yourself, why not just spray paint the candlestick versus hand painting it? Well I am glad you asked! The answer is simple: To ensure all the intricate details are brought out!
NOTE: If you are able to create this same look with spray paint, please be sure to leave me a comment below.
Coat the entire candle including the foam with the metallic silver paint using your paint brush; be sure to use as many coats as you need to.
STEP 4: Take a Christmas ornament hook and cut it in half with your wire cutters. Bend your now individual hooks and loop through the garland strand. Now push your hook through the foam. Continue this around the entire candlestick.
STEP 5: Cut the stems off of your artificial roses and hydrangeas, dab a drop of E6000 on the ends, and push into your foam. Continue this until all foam spaces are filled in.
THE FINAL STEP:
Let’s add the finishing touch. Your candle!
I absolutely love how this centerpiece turned out. Leta, thank you so much for inspiring us, this is truly a unique and stunning centerpiece.
If you like the outcome please let us know in the comments below? Also share your ideas on what you would have done differently?
Need help with an upcoming project? Be sure to send us a project request!
“Remember When Every Penny Counts, Count on MissPlanIt”
P.S. Don’t forget to come back tomorrow to see our full video tutorial!
