
The wedding bouquet adds the final touch to a bride’s ensemble and is the first thing most people see when a bride walks down the aisle. Therefore, you must make sure your wedding bouquet is something to remember. Cascading wedding bouquets are a great choice.
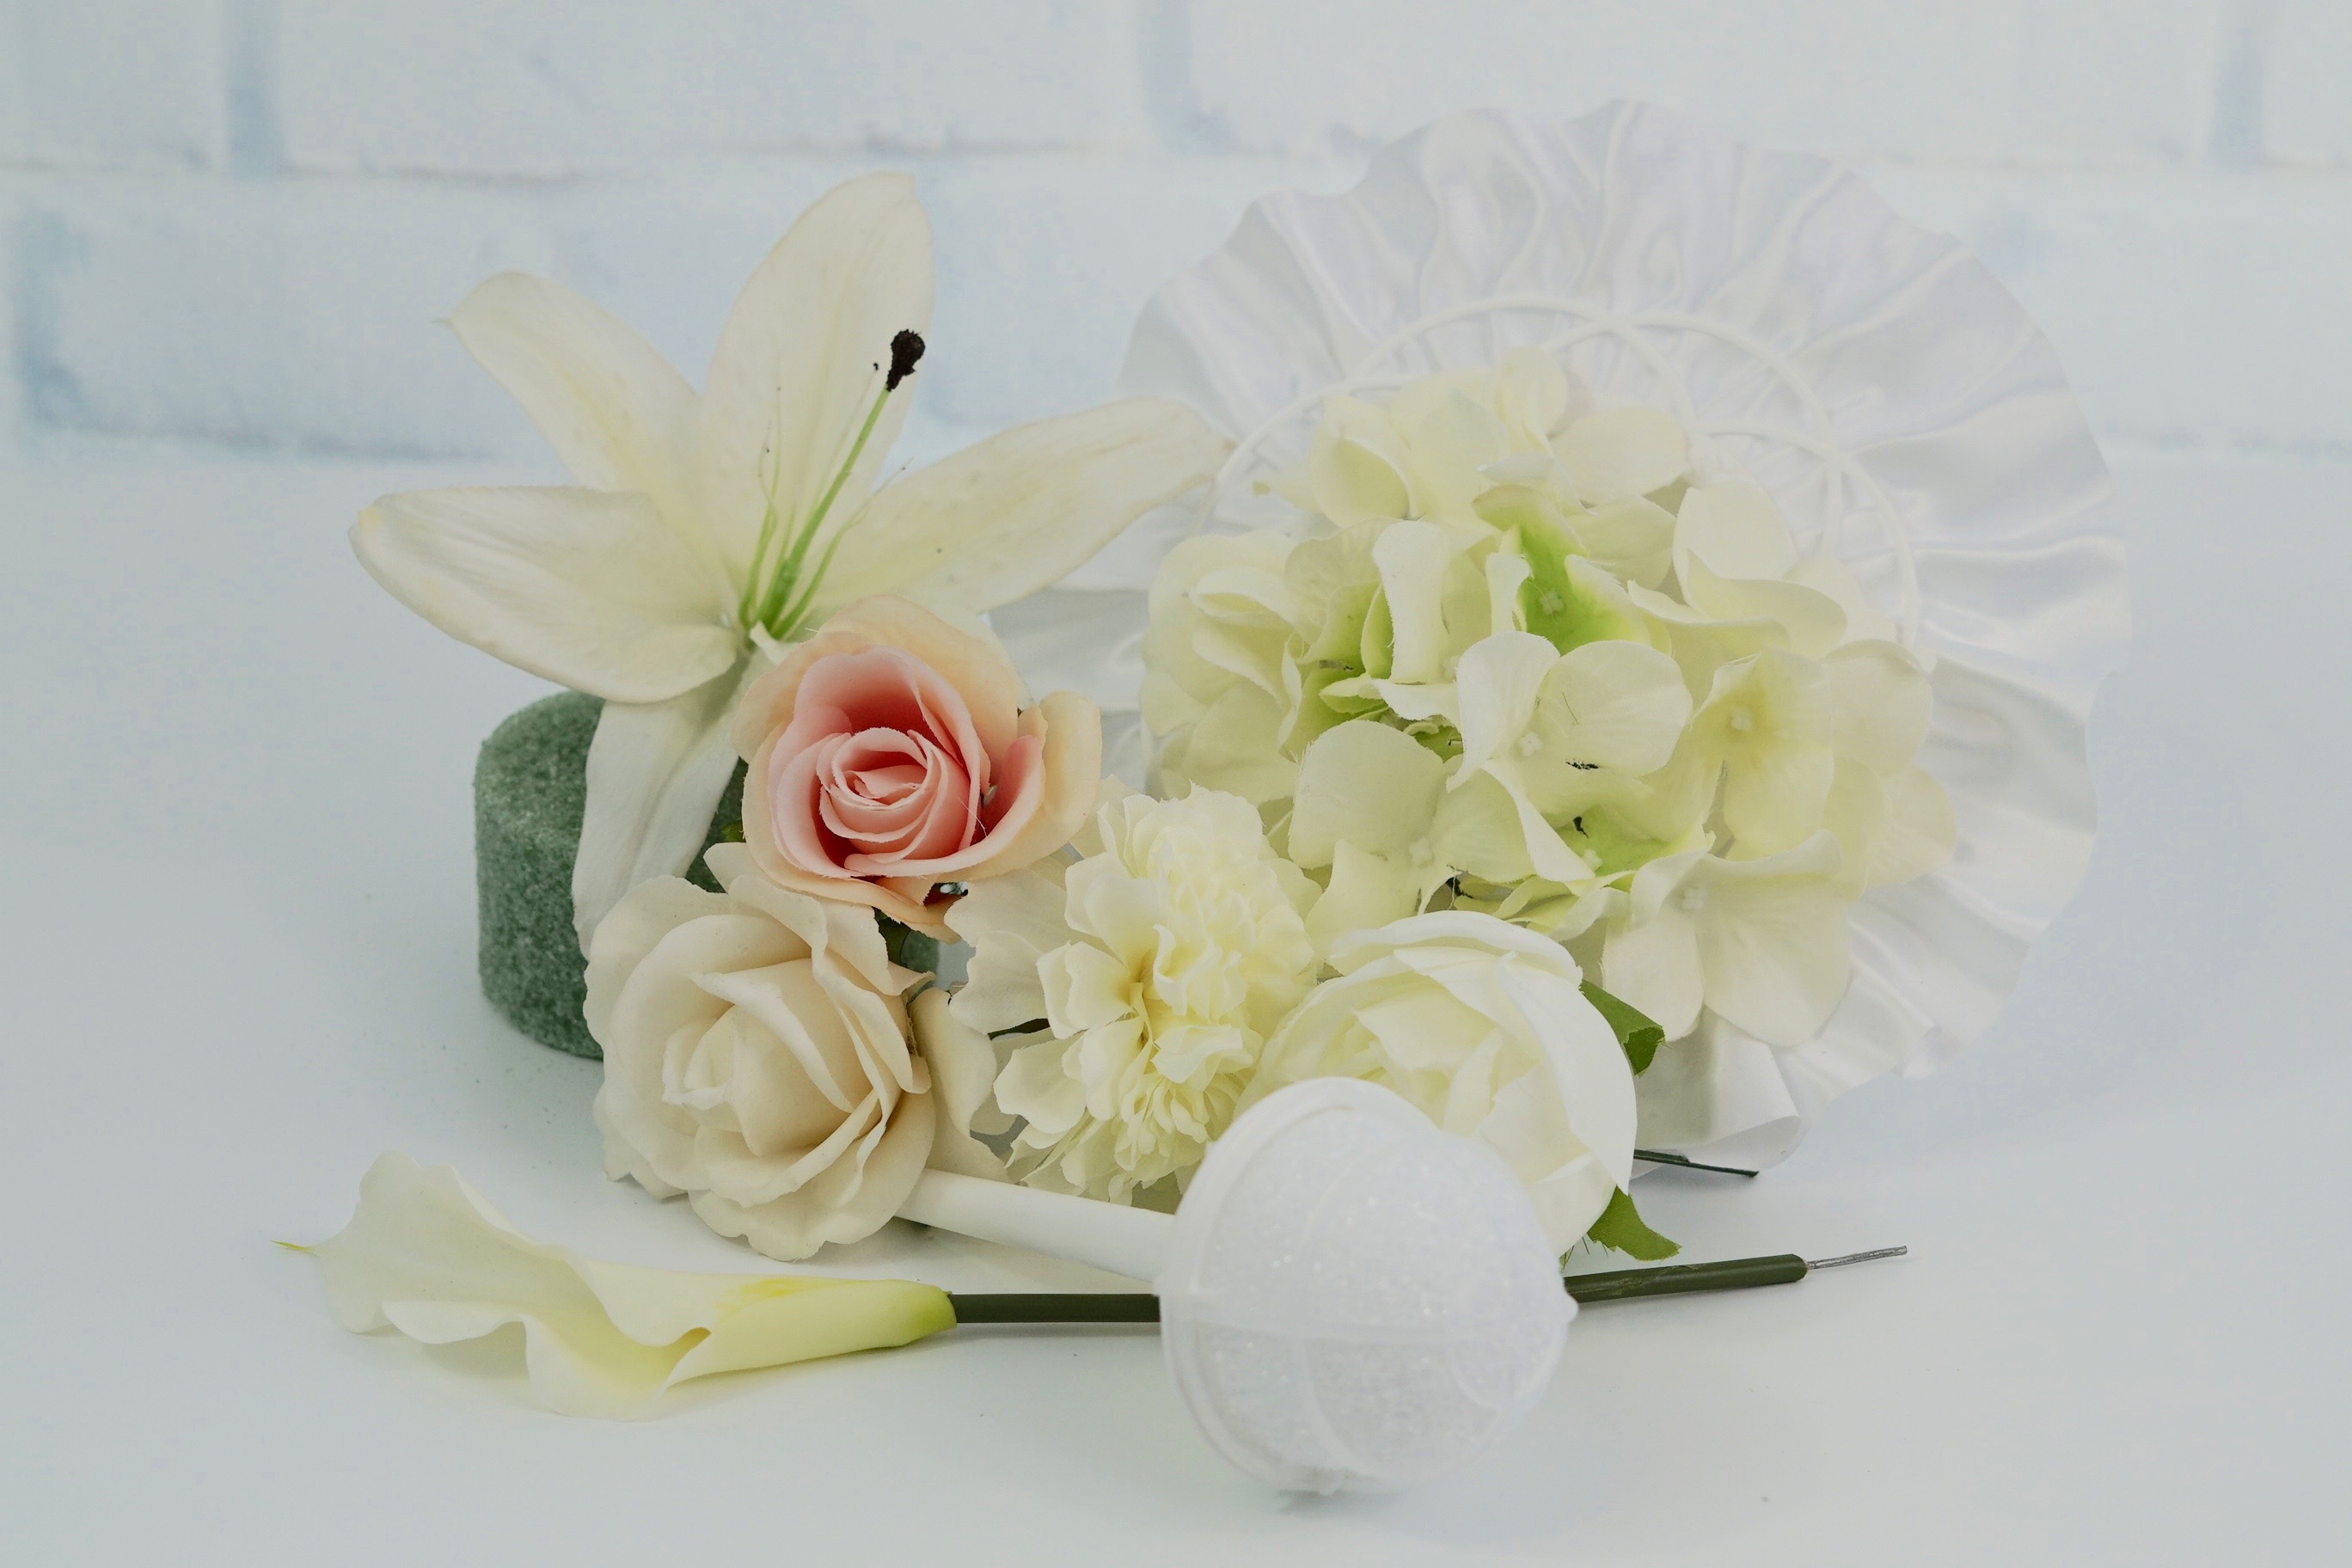
And although a cascading wedding bouquet may look difficult to make, I am here to show you in this week’s tutorial that it is actually quite simple ….and inexpensive to DIY. With calla lilies, roses, and hydrangeas, this stunning wedding bouquet is perfect for any bride. So let’s get started. For video instructions, check out the video tutorial at the end of this post!
BUT WAIT!
Before we get started I want to share an awesome tip on how you can earn cash back with your online purchases for all the items you will need to complete this project!
As our saying goes “When Every Penny Counts, Count on Miss PlanIt.” Furthermore, we love to save money and get great deals. Prior to us purchasing anything online, we check out Ebates, find the store, click the current deal for that store and complete our purchase.
If you have never used Ebates, you are MISSING OUT. So for this project, you would go to Ebates.com, sign up, and then type in the store you plan to purchase from.
Consequently, when completing a purchase through Ebates you earn cash back that you can have mailed to you or sent via PayPal. Be sure to check it out! Click here to sign up for Ebates, and RIGHT NOW when you sign up, you will receive a $10 cash welcome bonus when you spend $25.00!
Since you were already going to complete your purchase online, why not get some cash back on things you already planned to purchase!
[convertkit form=917377]
Let’s Get Started:
Click our affiliate links below to purchase the supplies needed for this project:
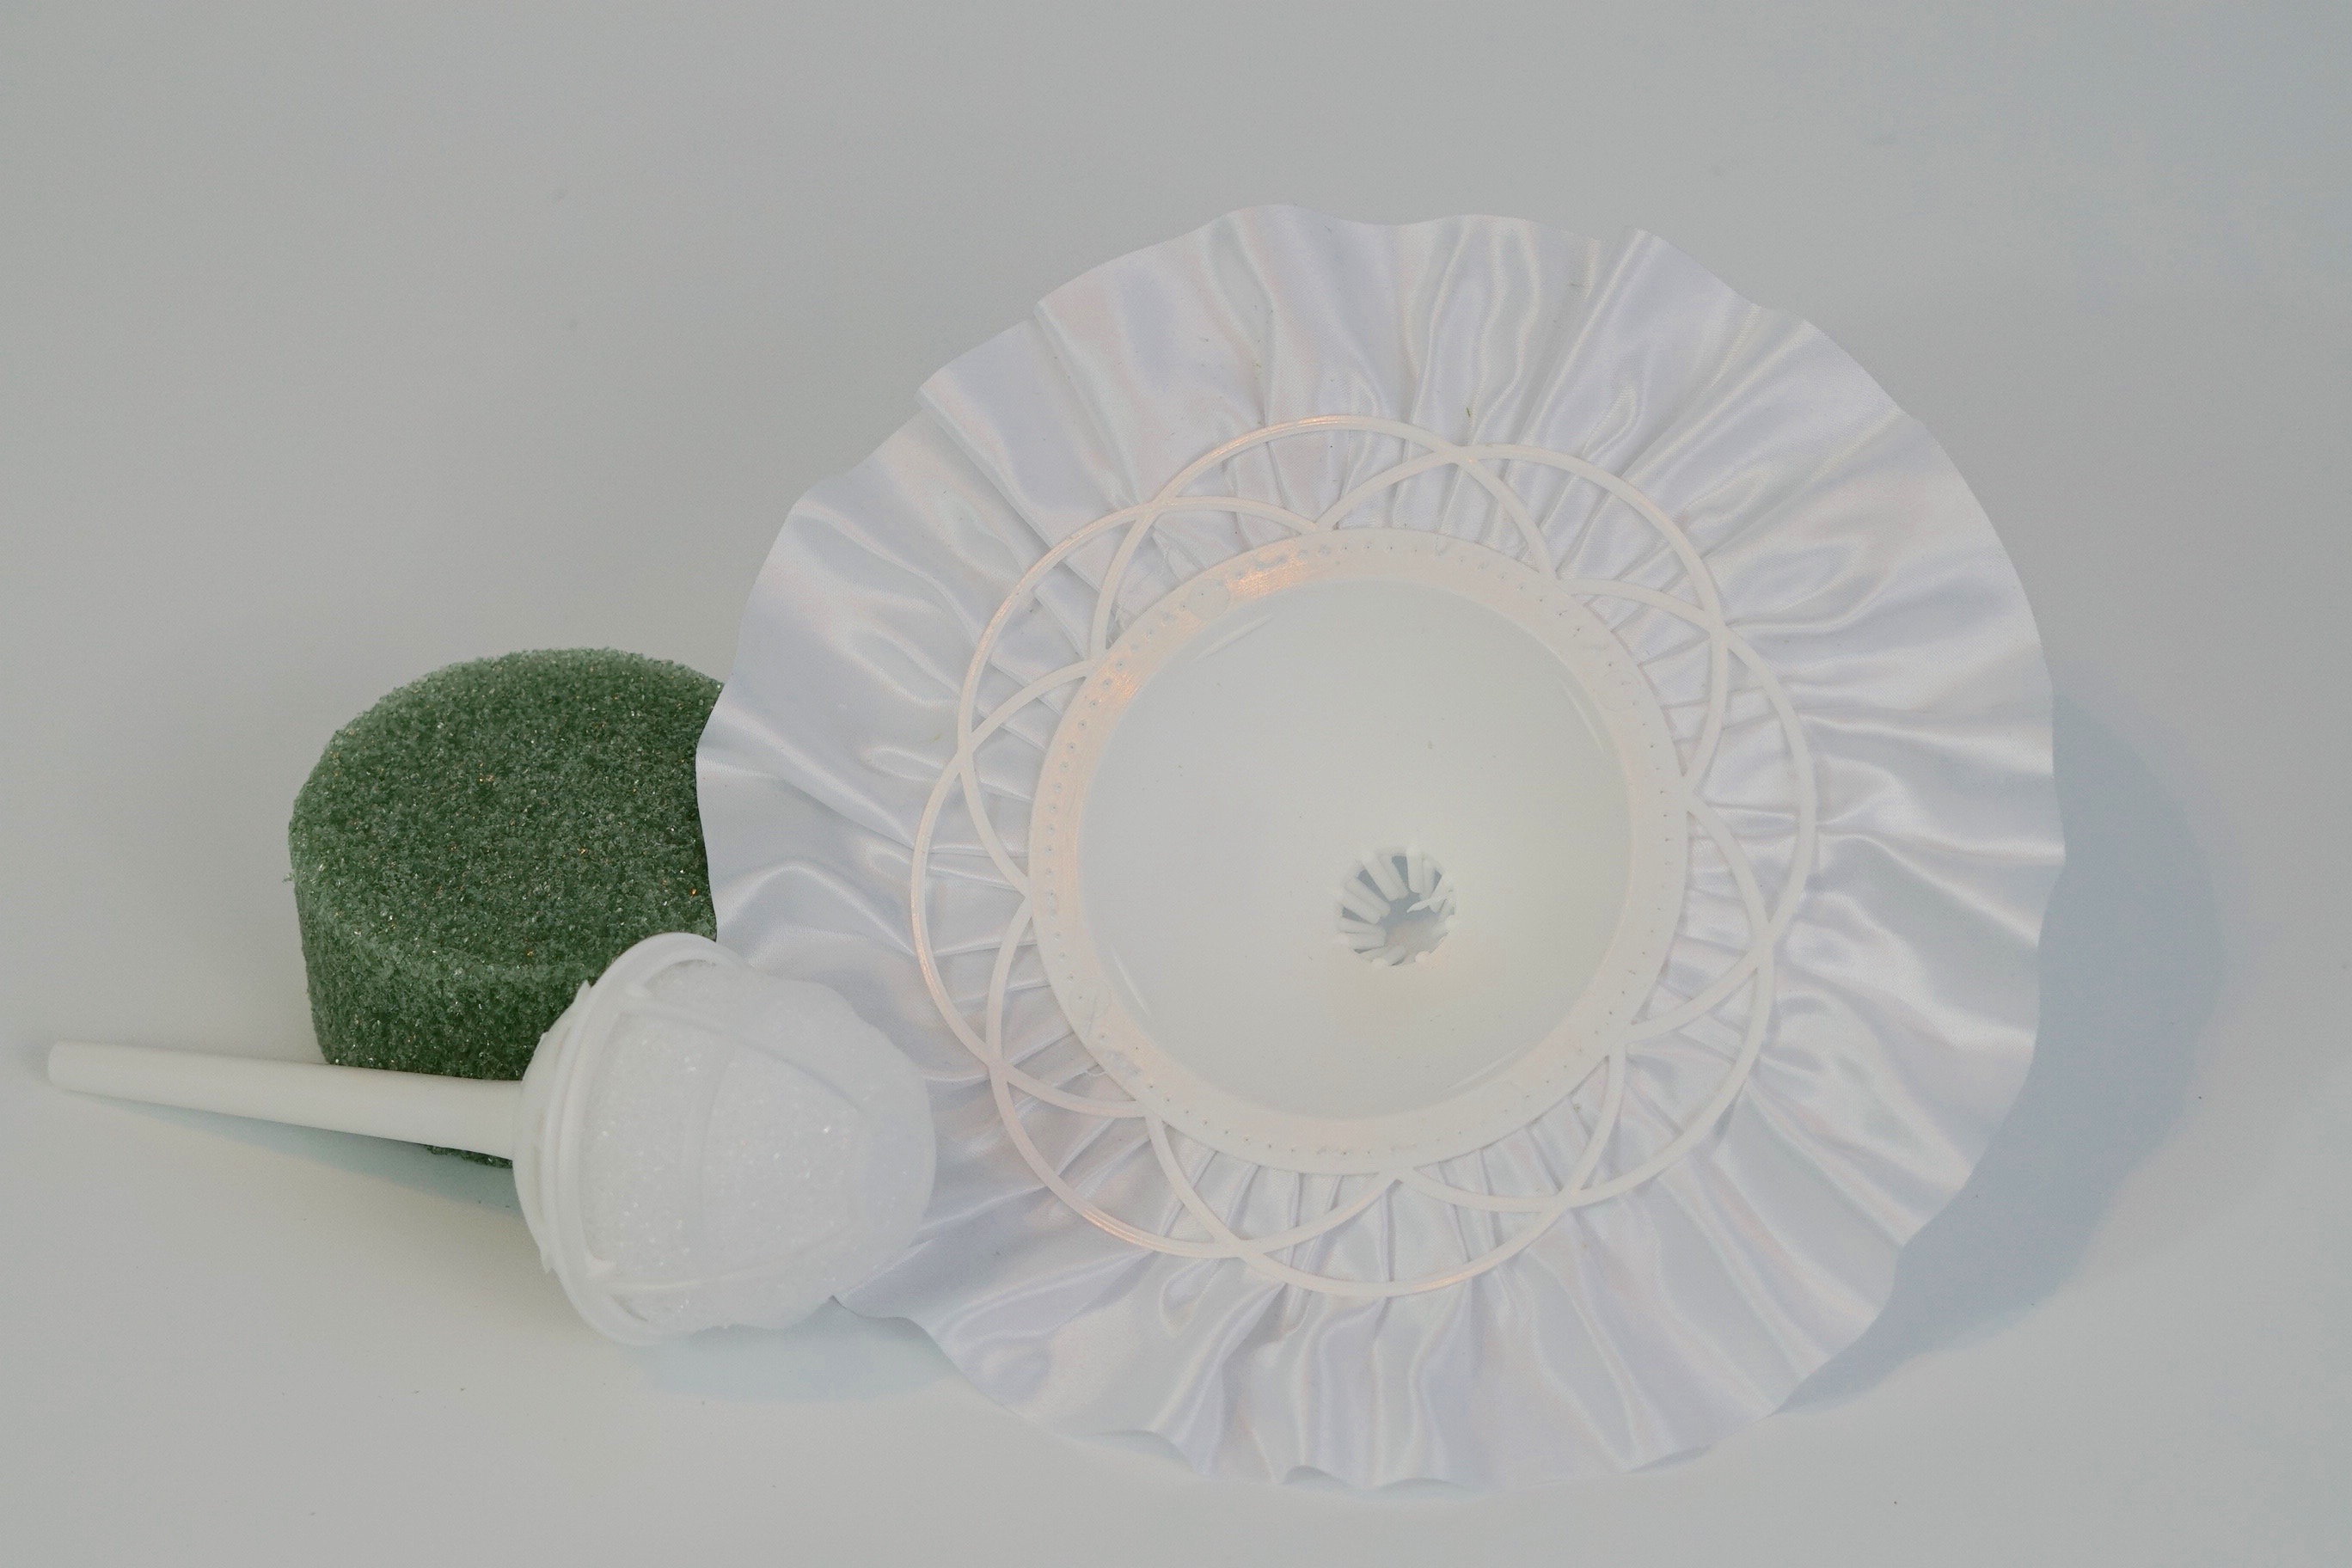
Large Straight Handle Bouquet Holder
White Tulle Bouquet Collar – 10″
Green Styrofoam Disc with Adhesive – 4”
18 Gauge 18″ Green Annealed Floral Wire
18″ Silk 7 Big Head Hydrangea Bouquet
Artificial Flowers Fake Silk Carnations, 1 Bunch 5 Stems Bridal Bouquet
Peony Silk Flowers Bouquet
Silk Rose White 10 Heads Artificial Flower
Fake Flowers Silk Pink Plastic Artificial Roses 9 Heads Bridal
Calla Lily Bridal Wedding Artificial
5 Pcs Nearly Natural Artificial Lillies Flowers
How To Make a Cascading Wedding Bouquet
Directions:
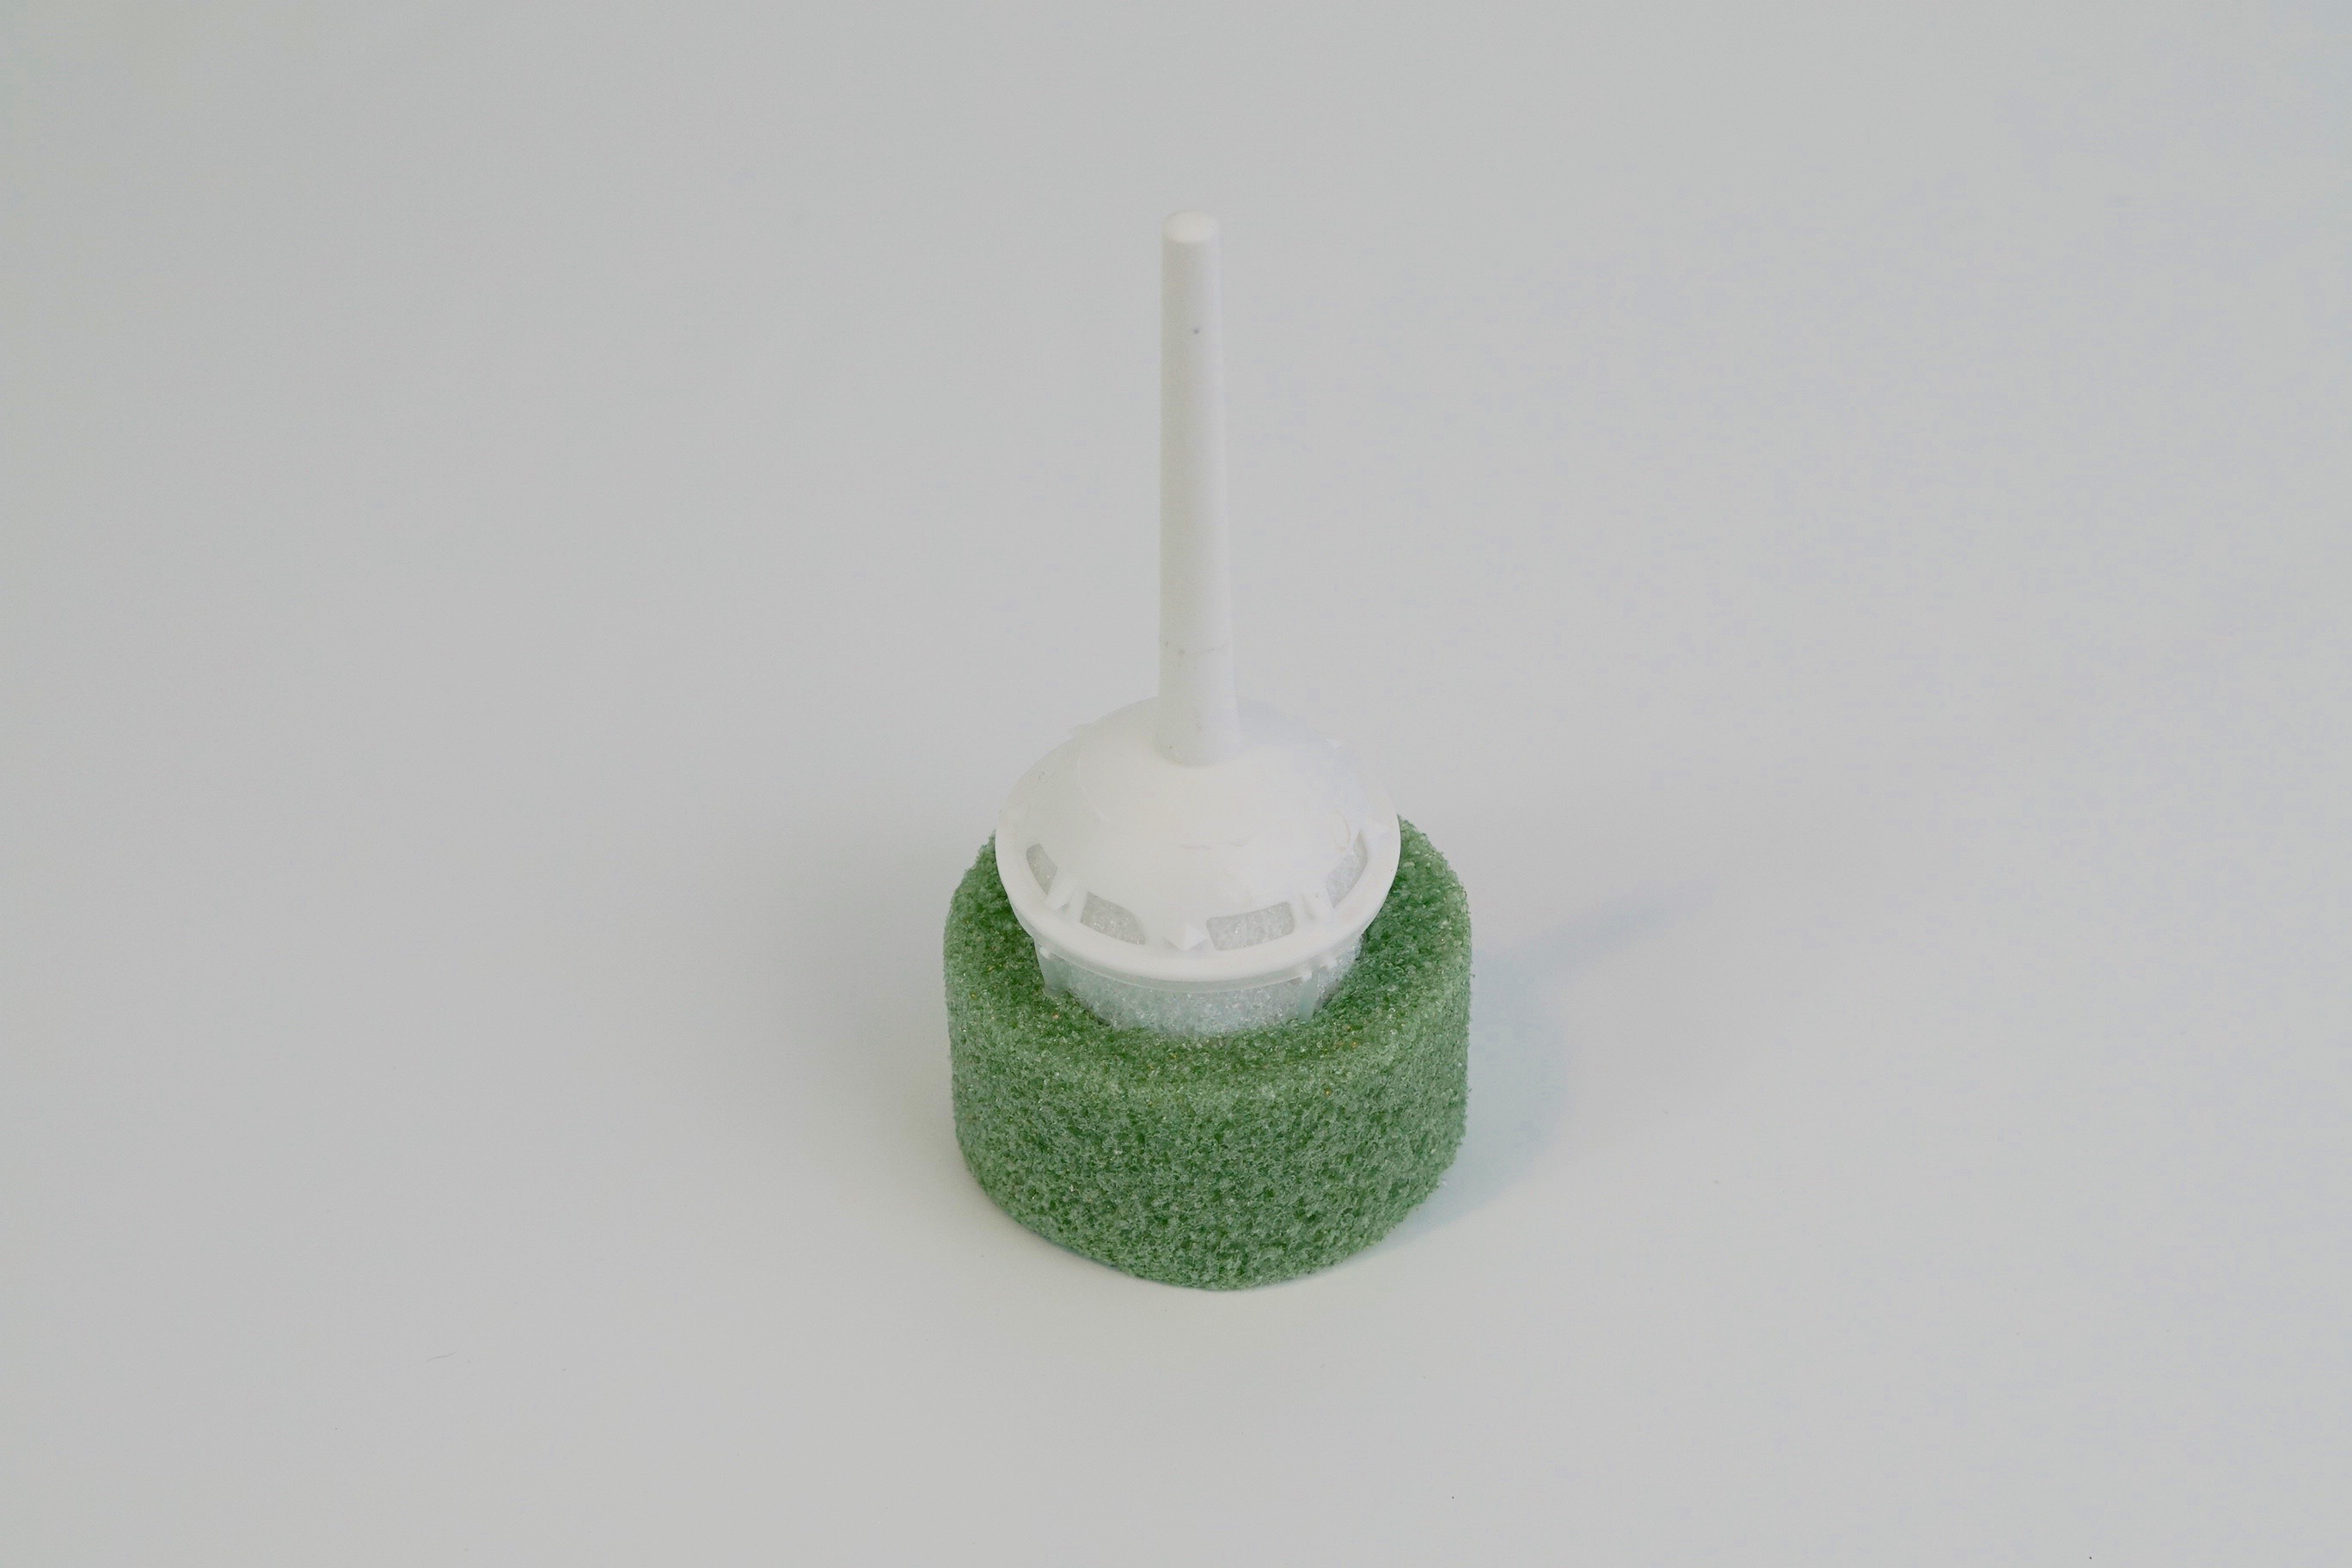
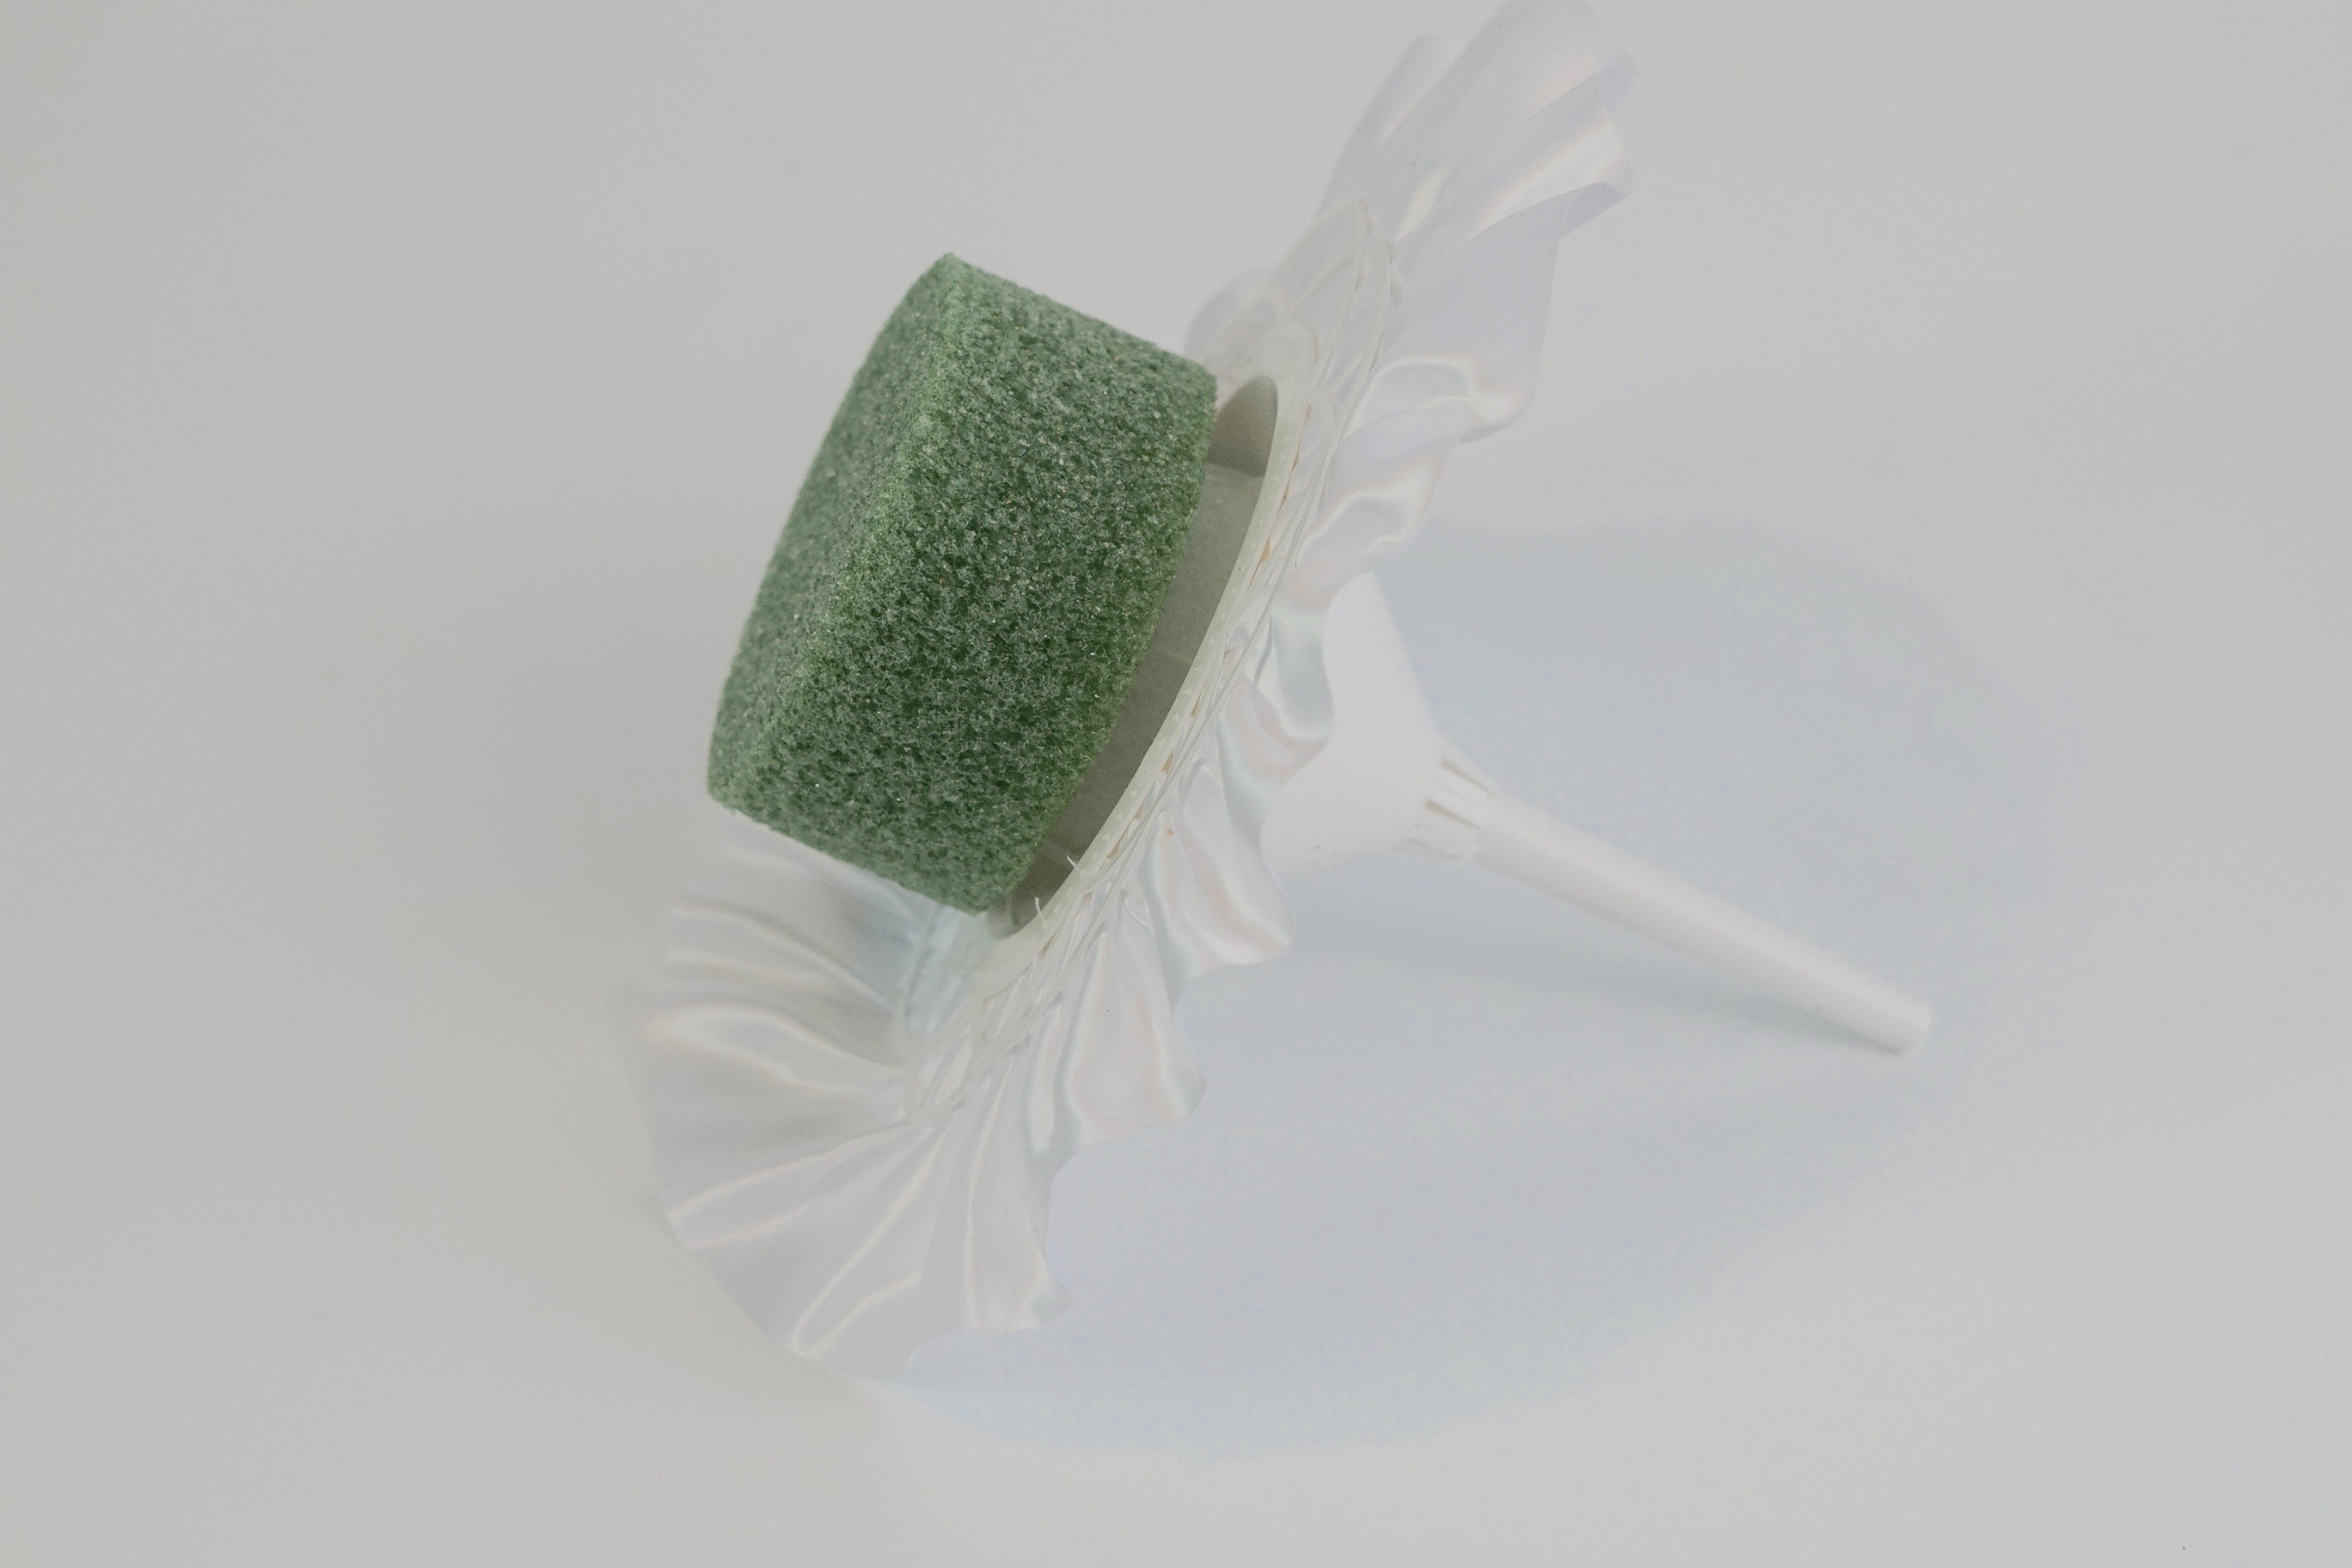
STEP 1: The first step to making this beautiful cascading bridal bouquet is to cut a center hole out of your green styrofoam disc. Next hot glue your bouquet holder to the center hole in your green styrofoam disc.
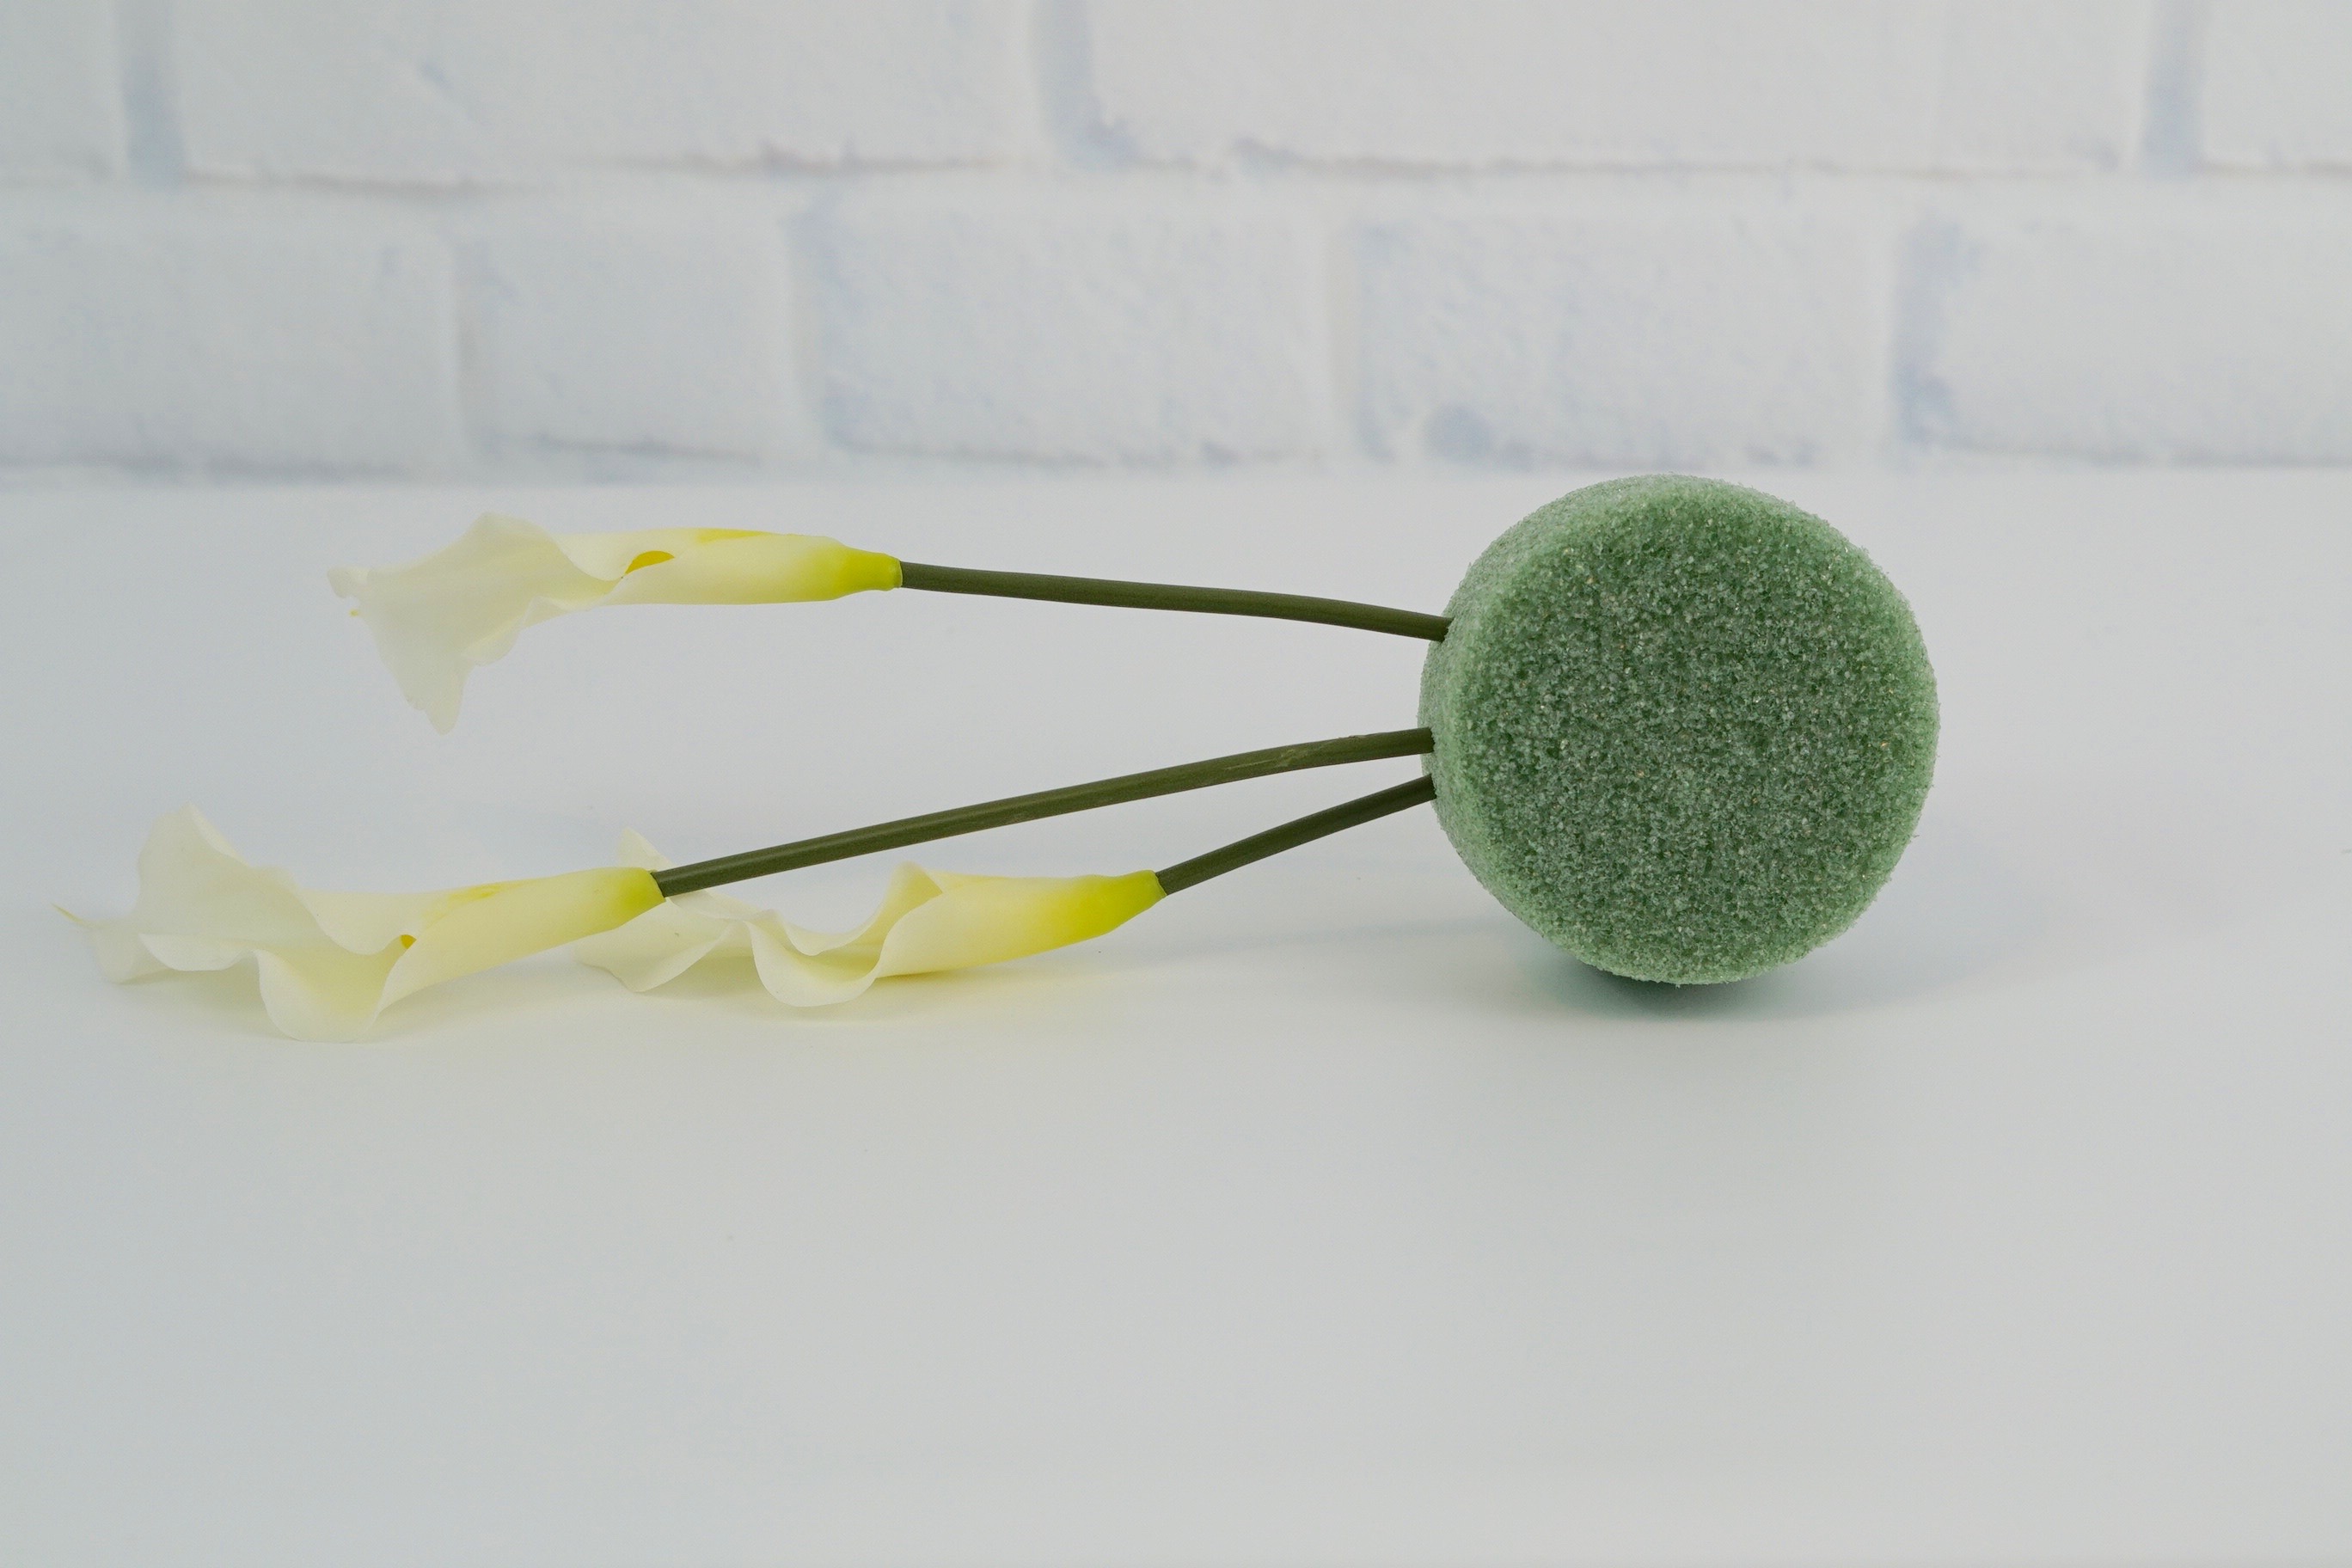
Add three calla lilies to your green styrofoam disc
STEP 2: Cut an inch off of 3 plastic calla lily stems using wire cutters. If paper is noted on the wire, remove it. Add a dab of hot glue to the now exposed wire and then insert your 3 calla lilies into your green styrofoam disc.
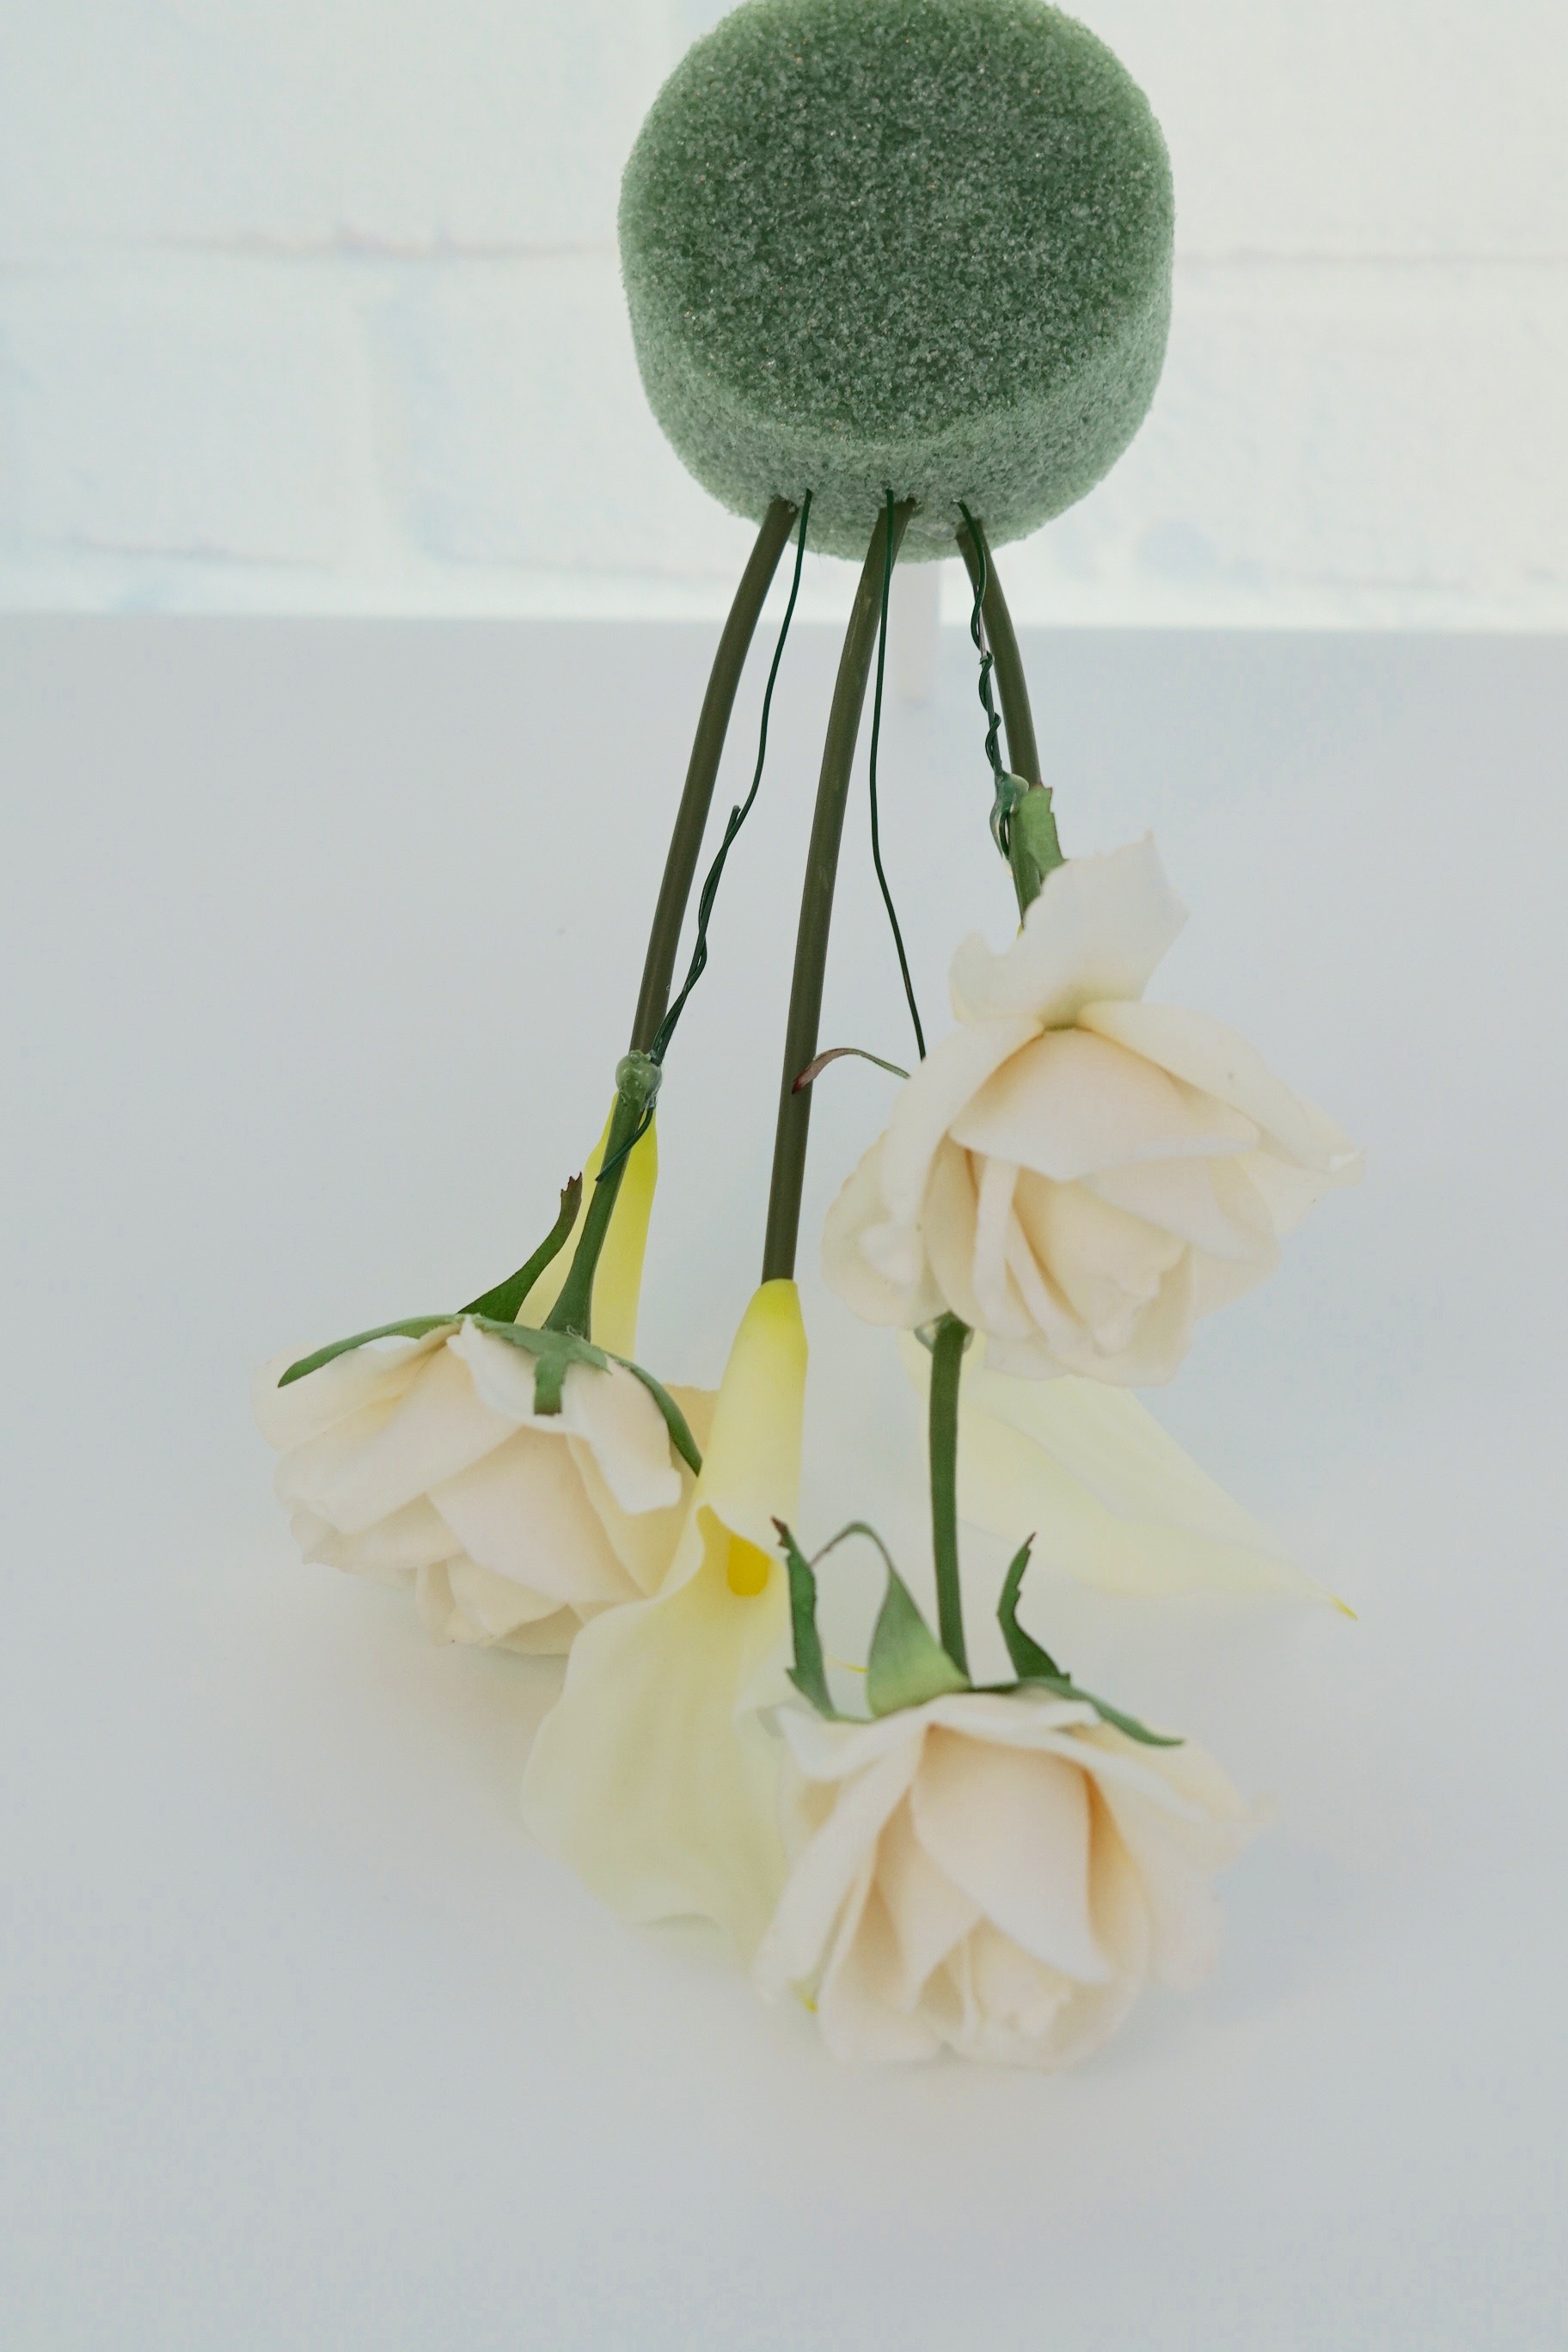
Lengthen your rose stems using 18 gauge floral wire
STEP 3: To lengthen the stem of your hanging roses, simply attach 18 gauge floral wire by wrapping it around the stem. Add hot glue to the wire and insert it into the green styrofoam. Attach 2-4 of your roses repeating the same step to each.
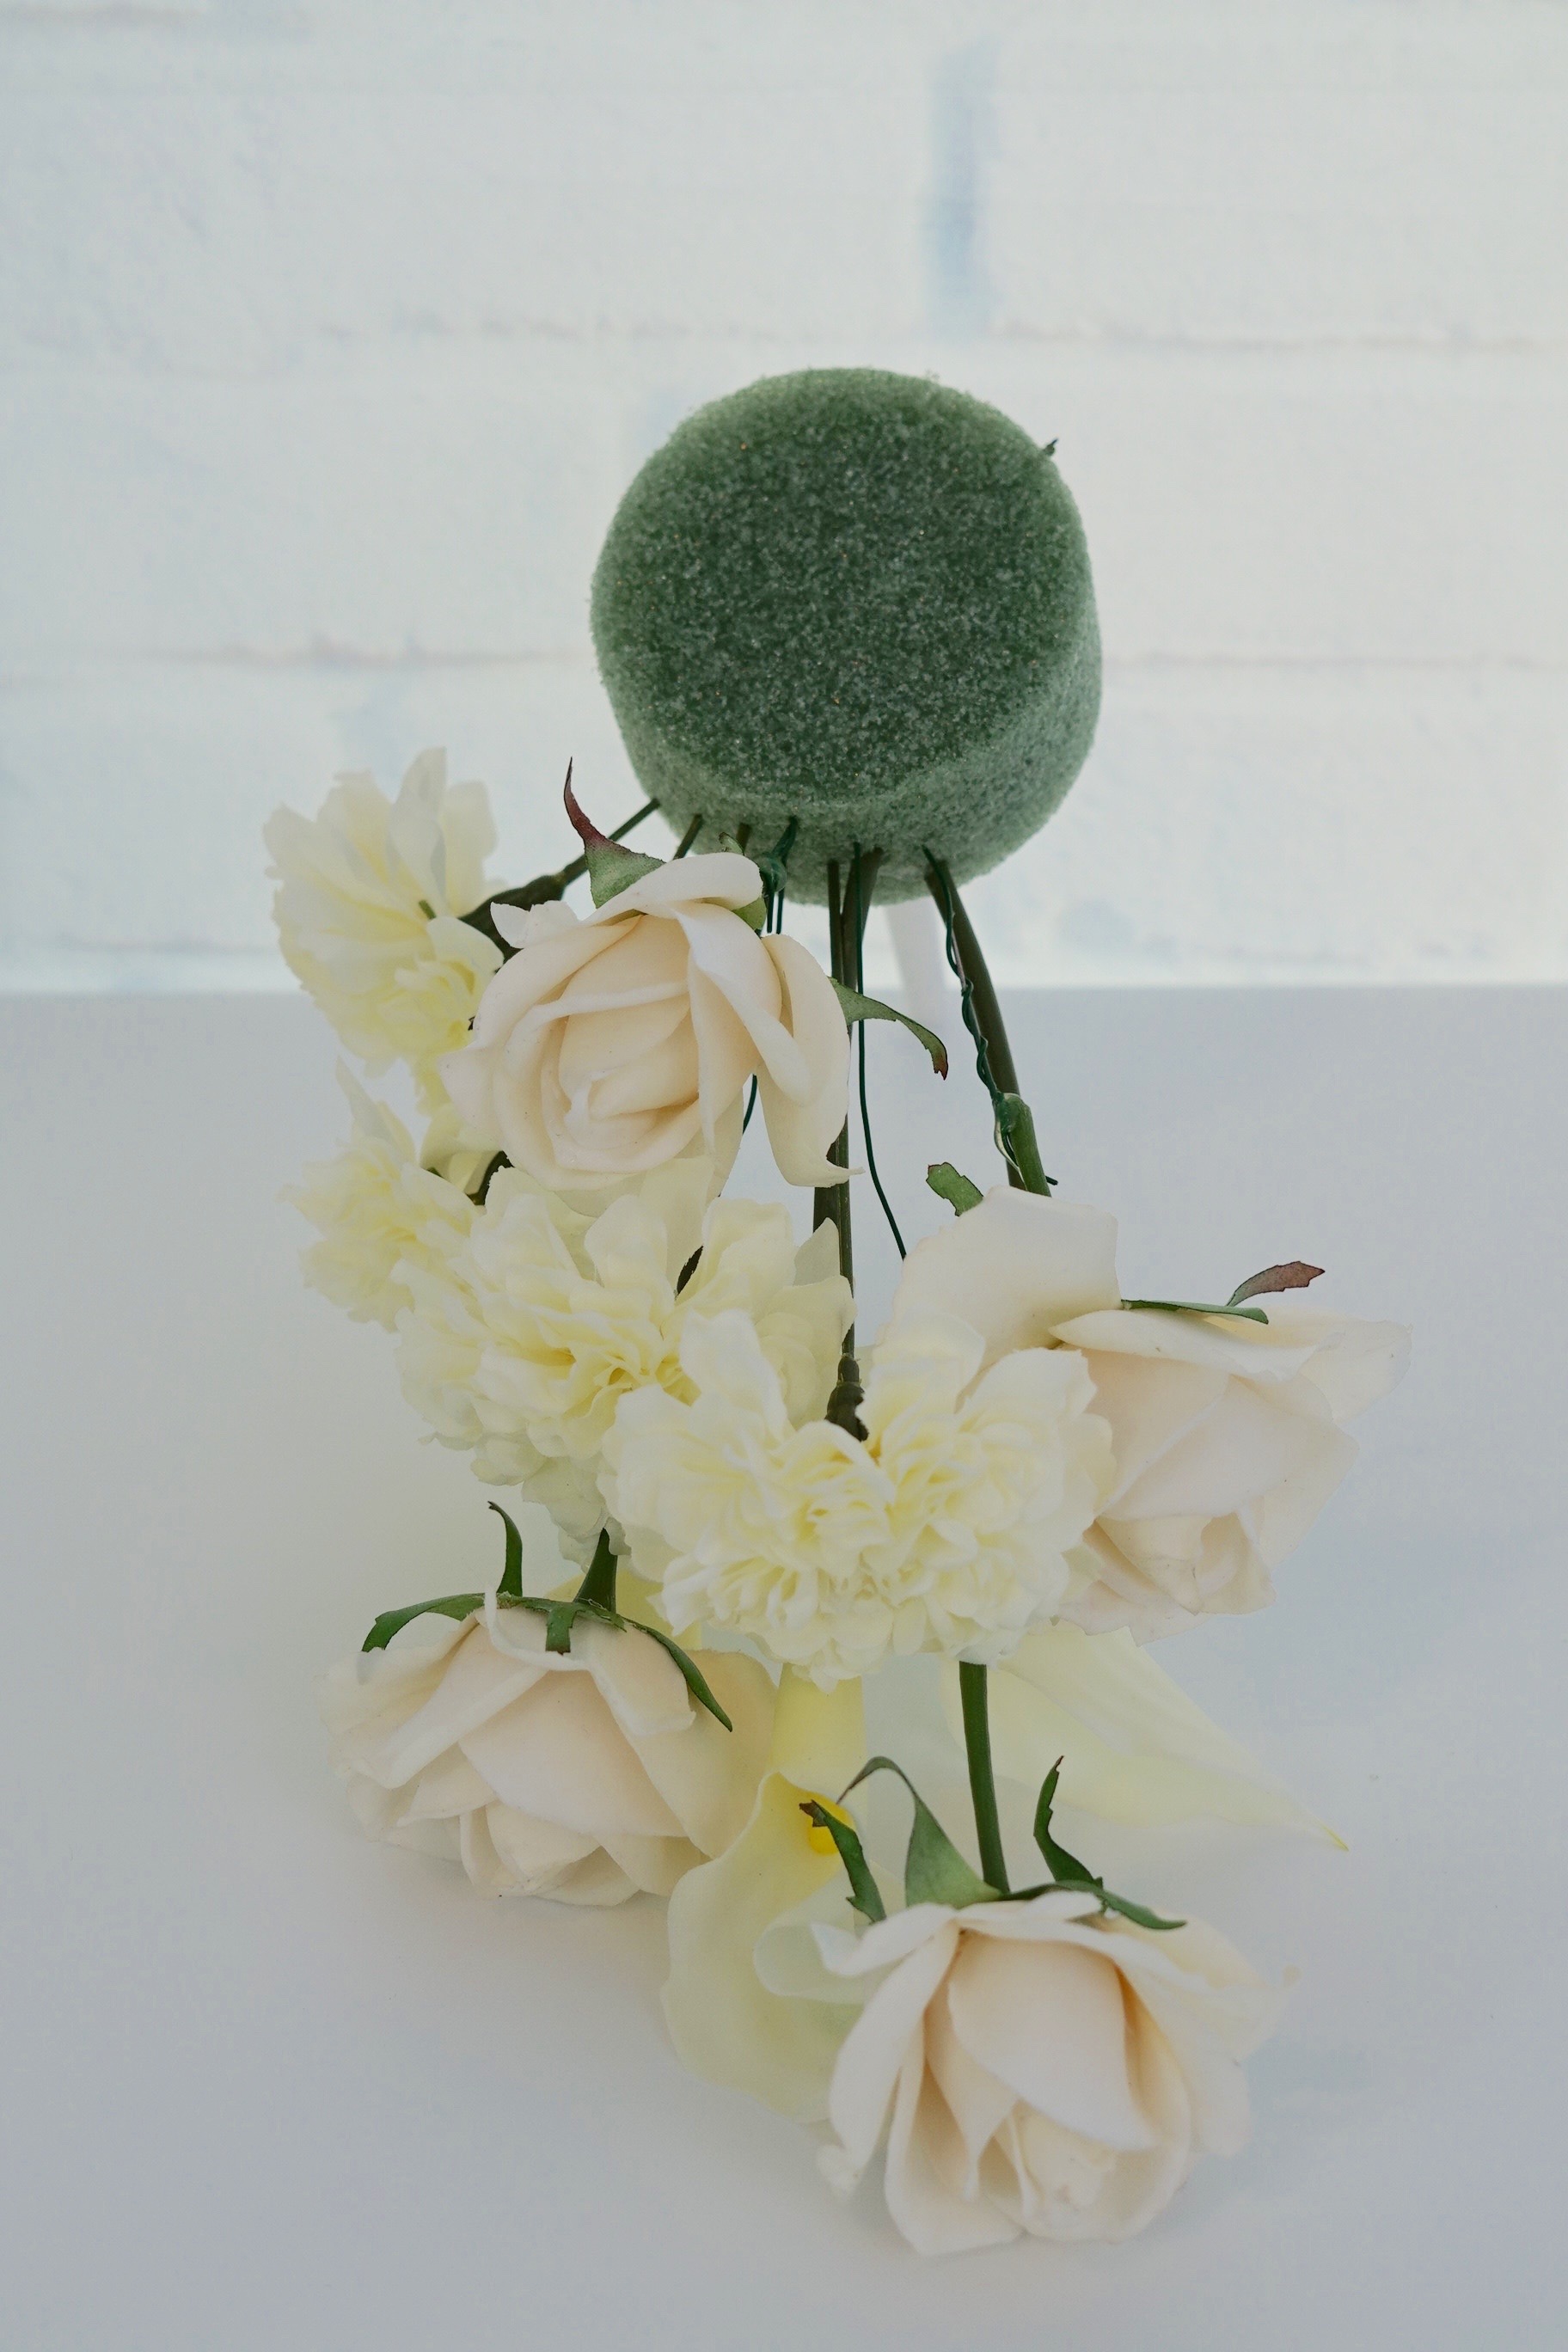
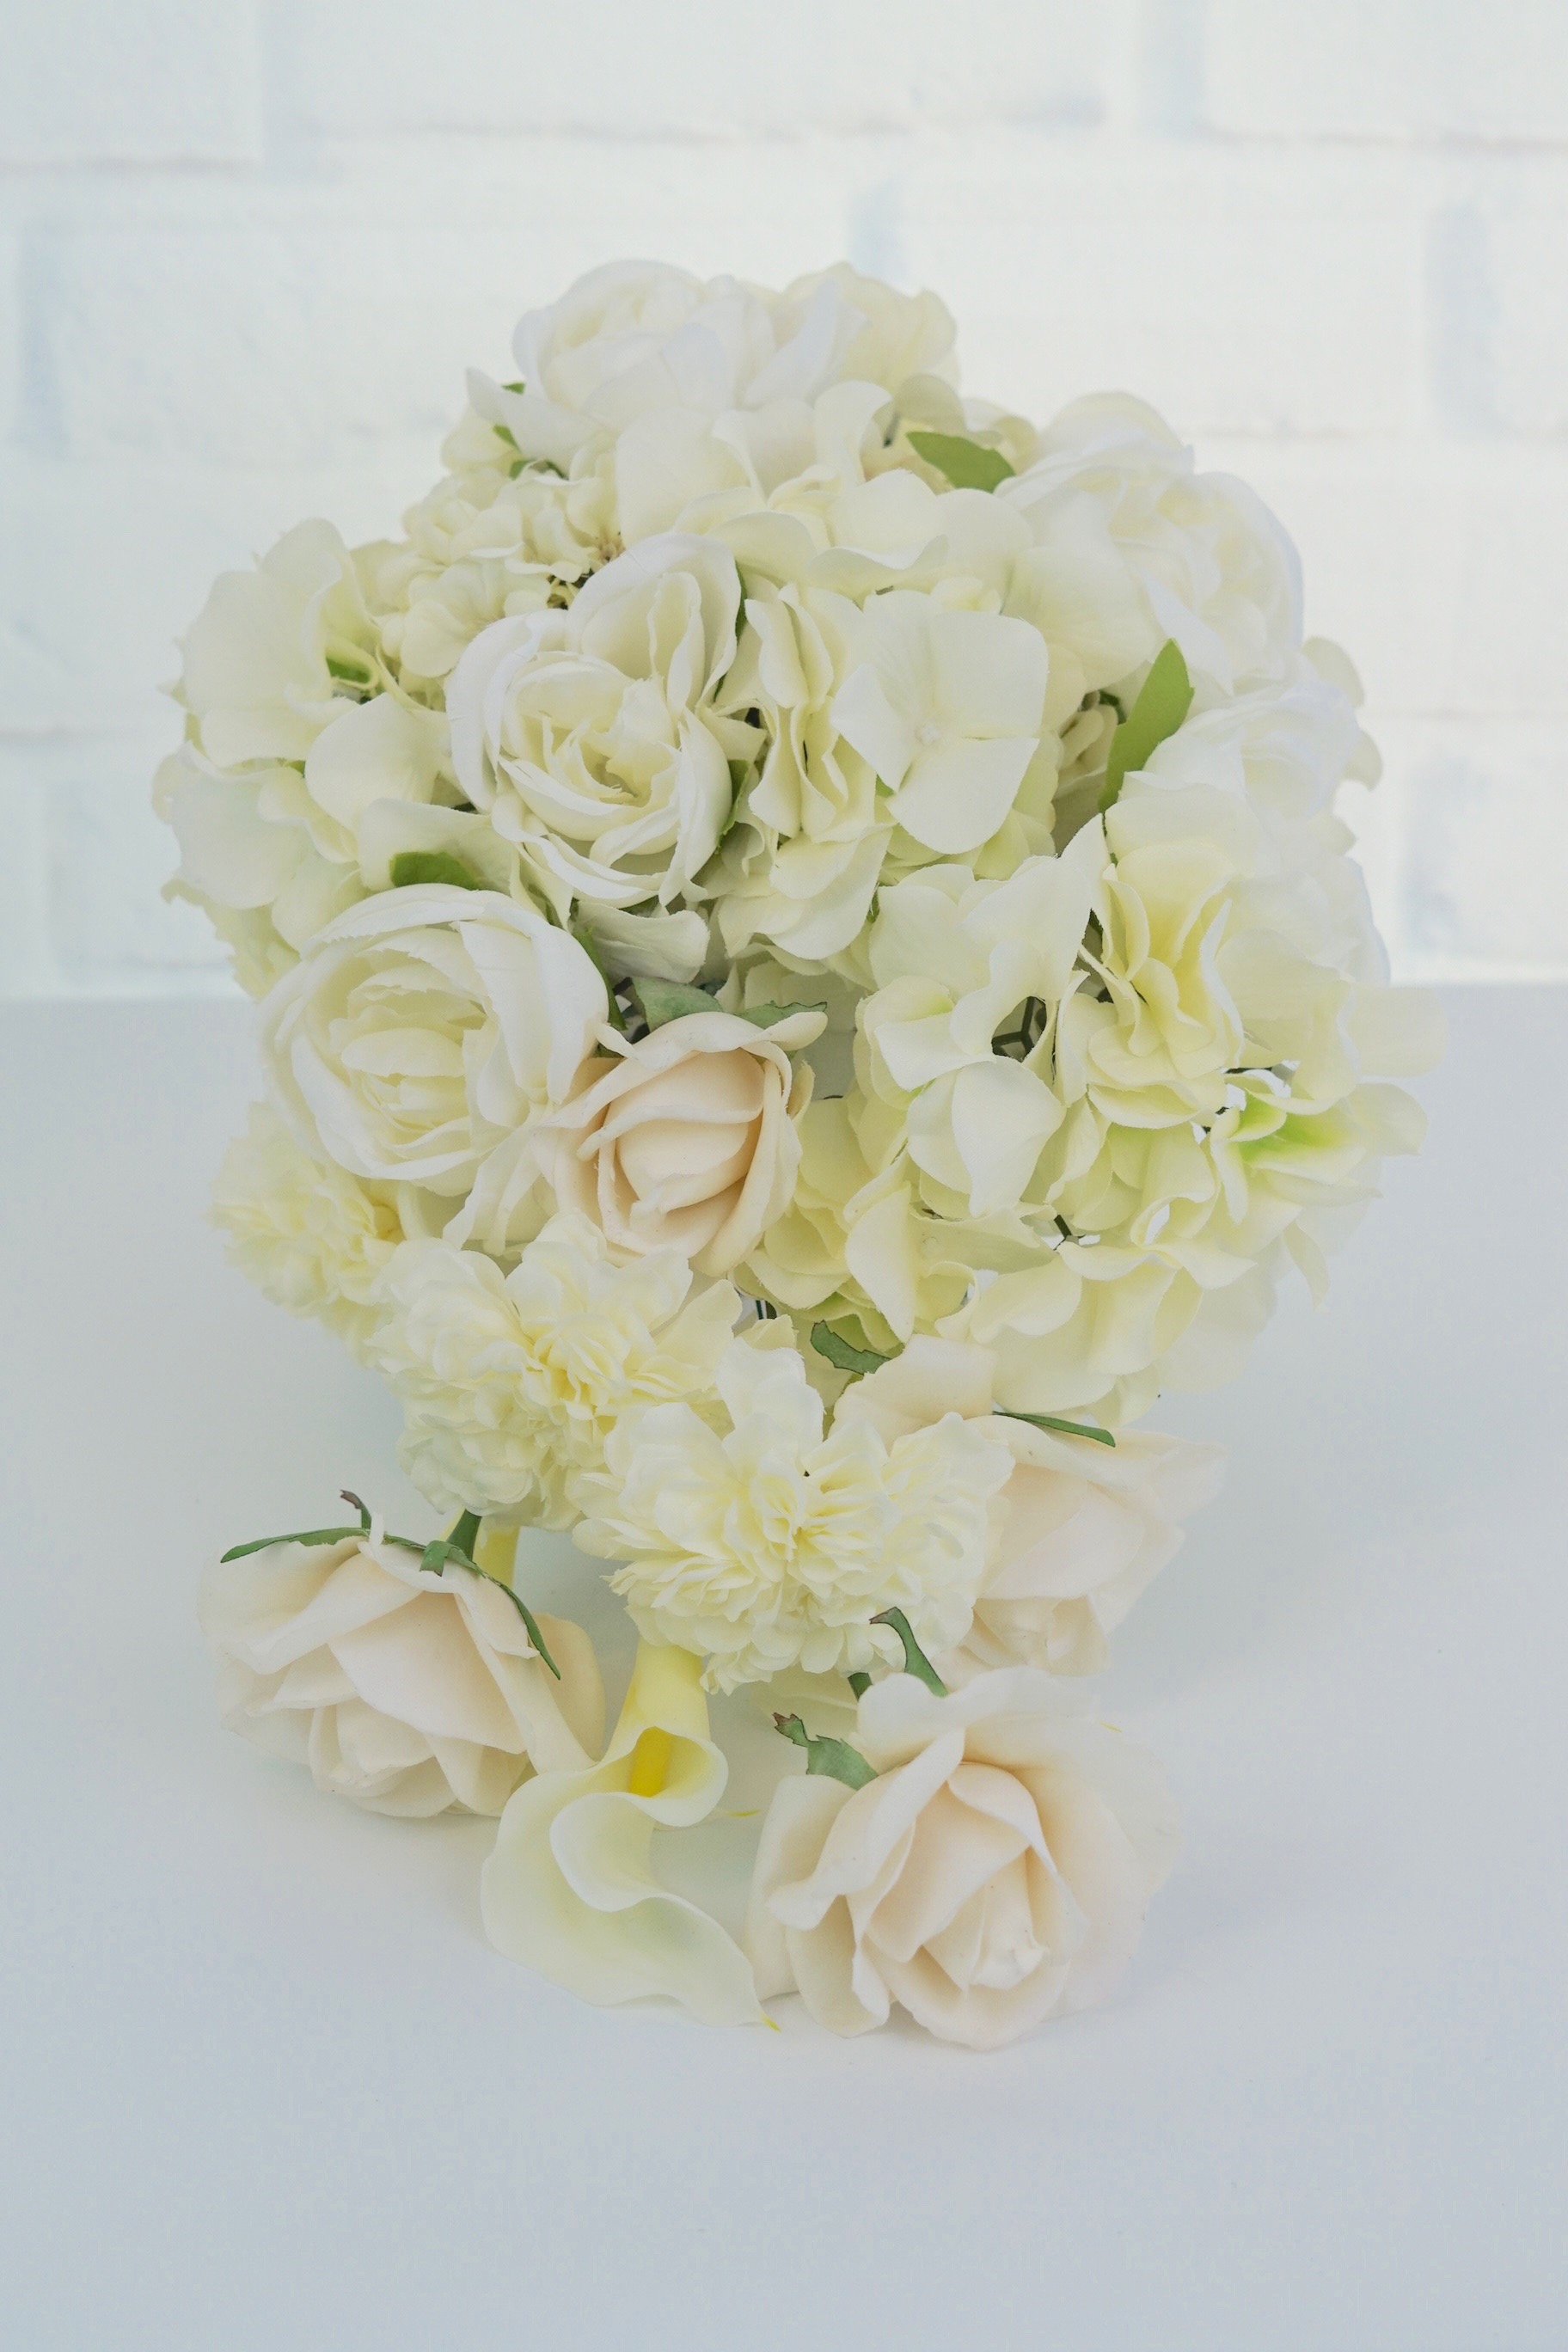
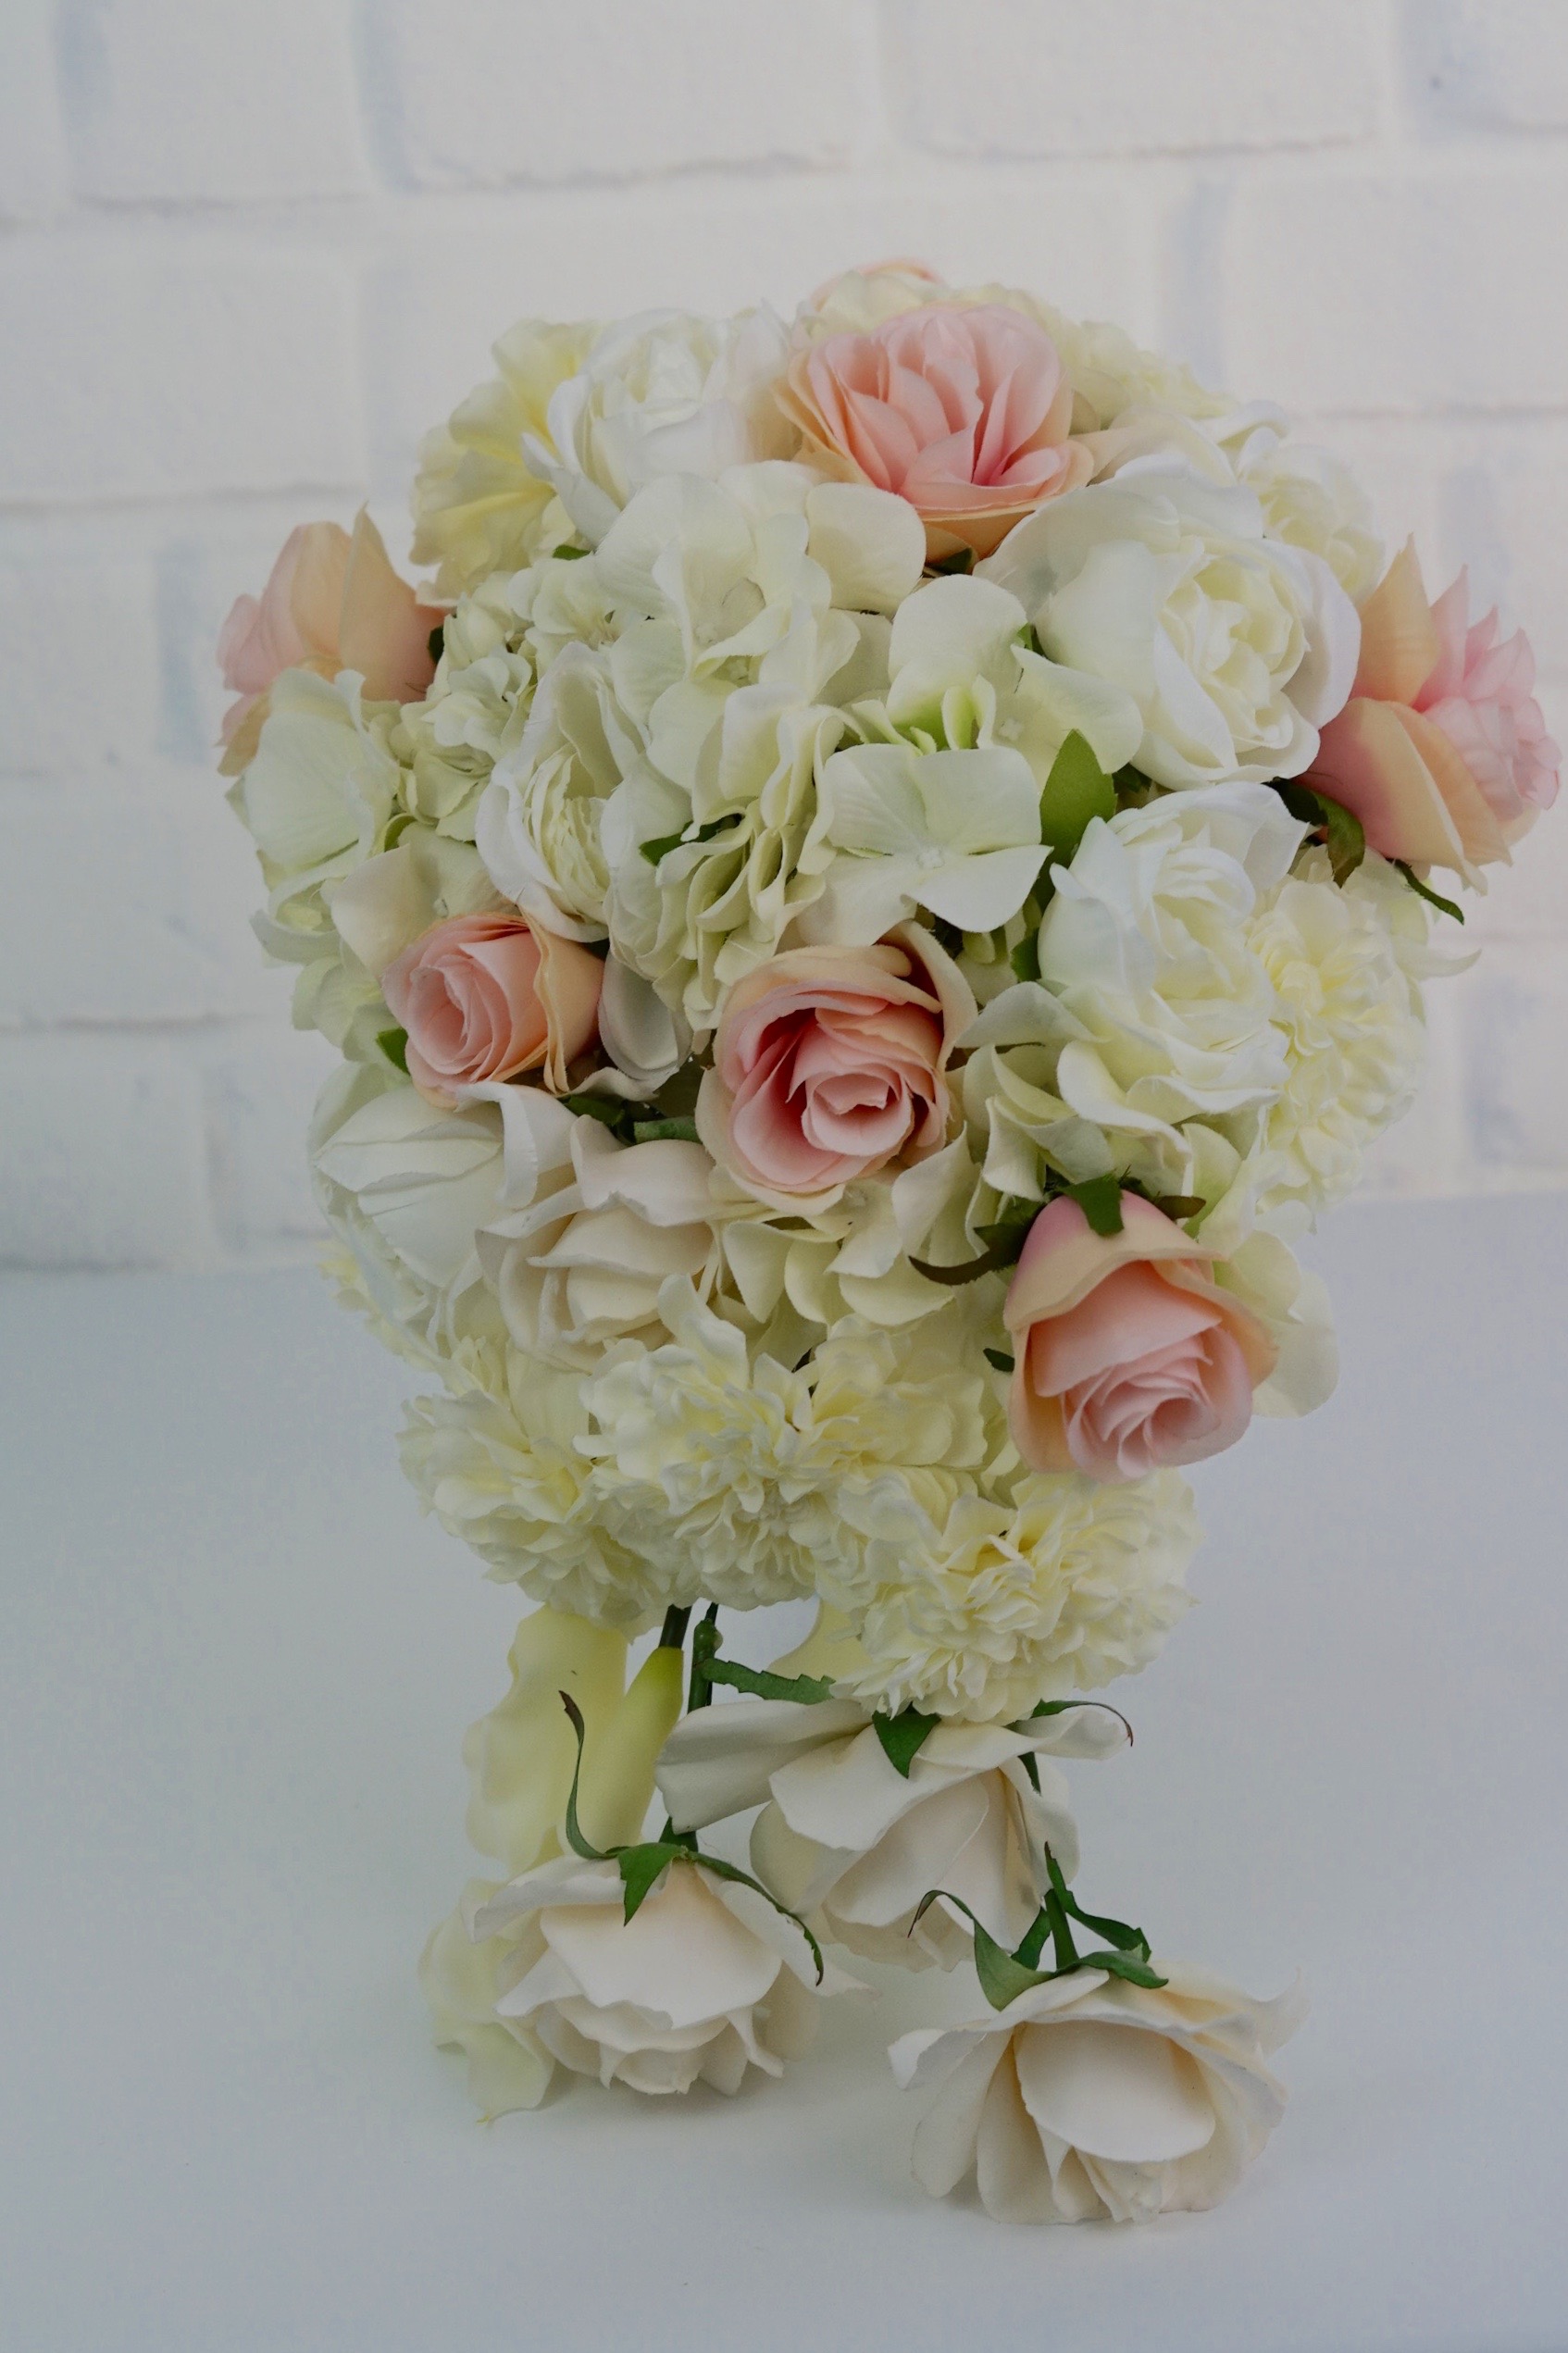
Attach the remaining flowers to your green styrofoam disc
STEP 4: Attach 3-5 hanging carnations, 4-6 large hydrangea heads, 4-6 large peonies, 4-6 light pink roses, and 2 large lilies. Once all your flowers are attached, remove your bouquet handle, add hot glue, and then reattach it to your bouquet holder. Lastly, add your bouquet cover handle.
TIP: Add 18 gauge floral wire to one of your large hydrangea heads prior to placement to ensure it cascades properly.
THE FINAL STEP!
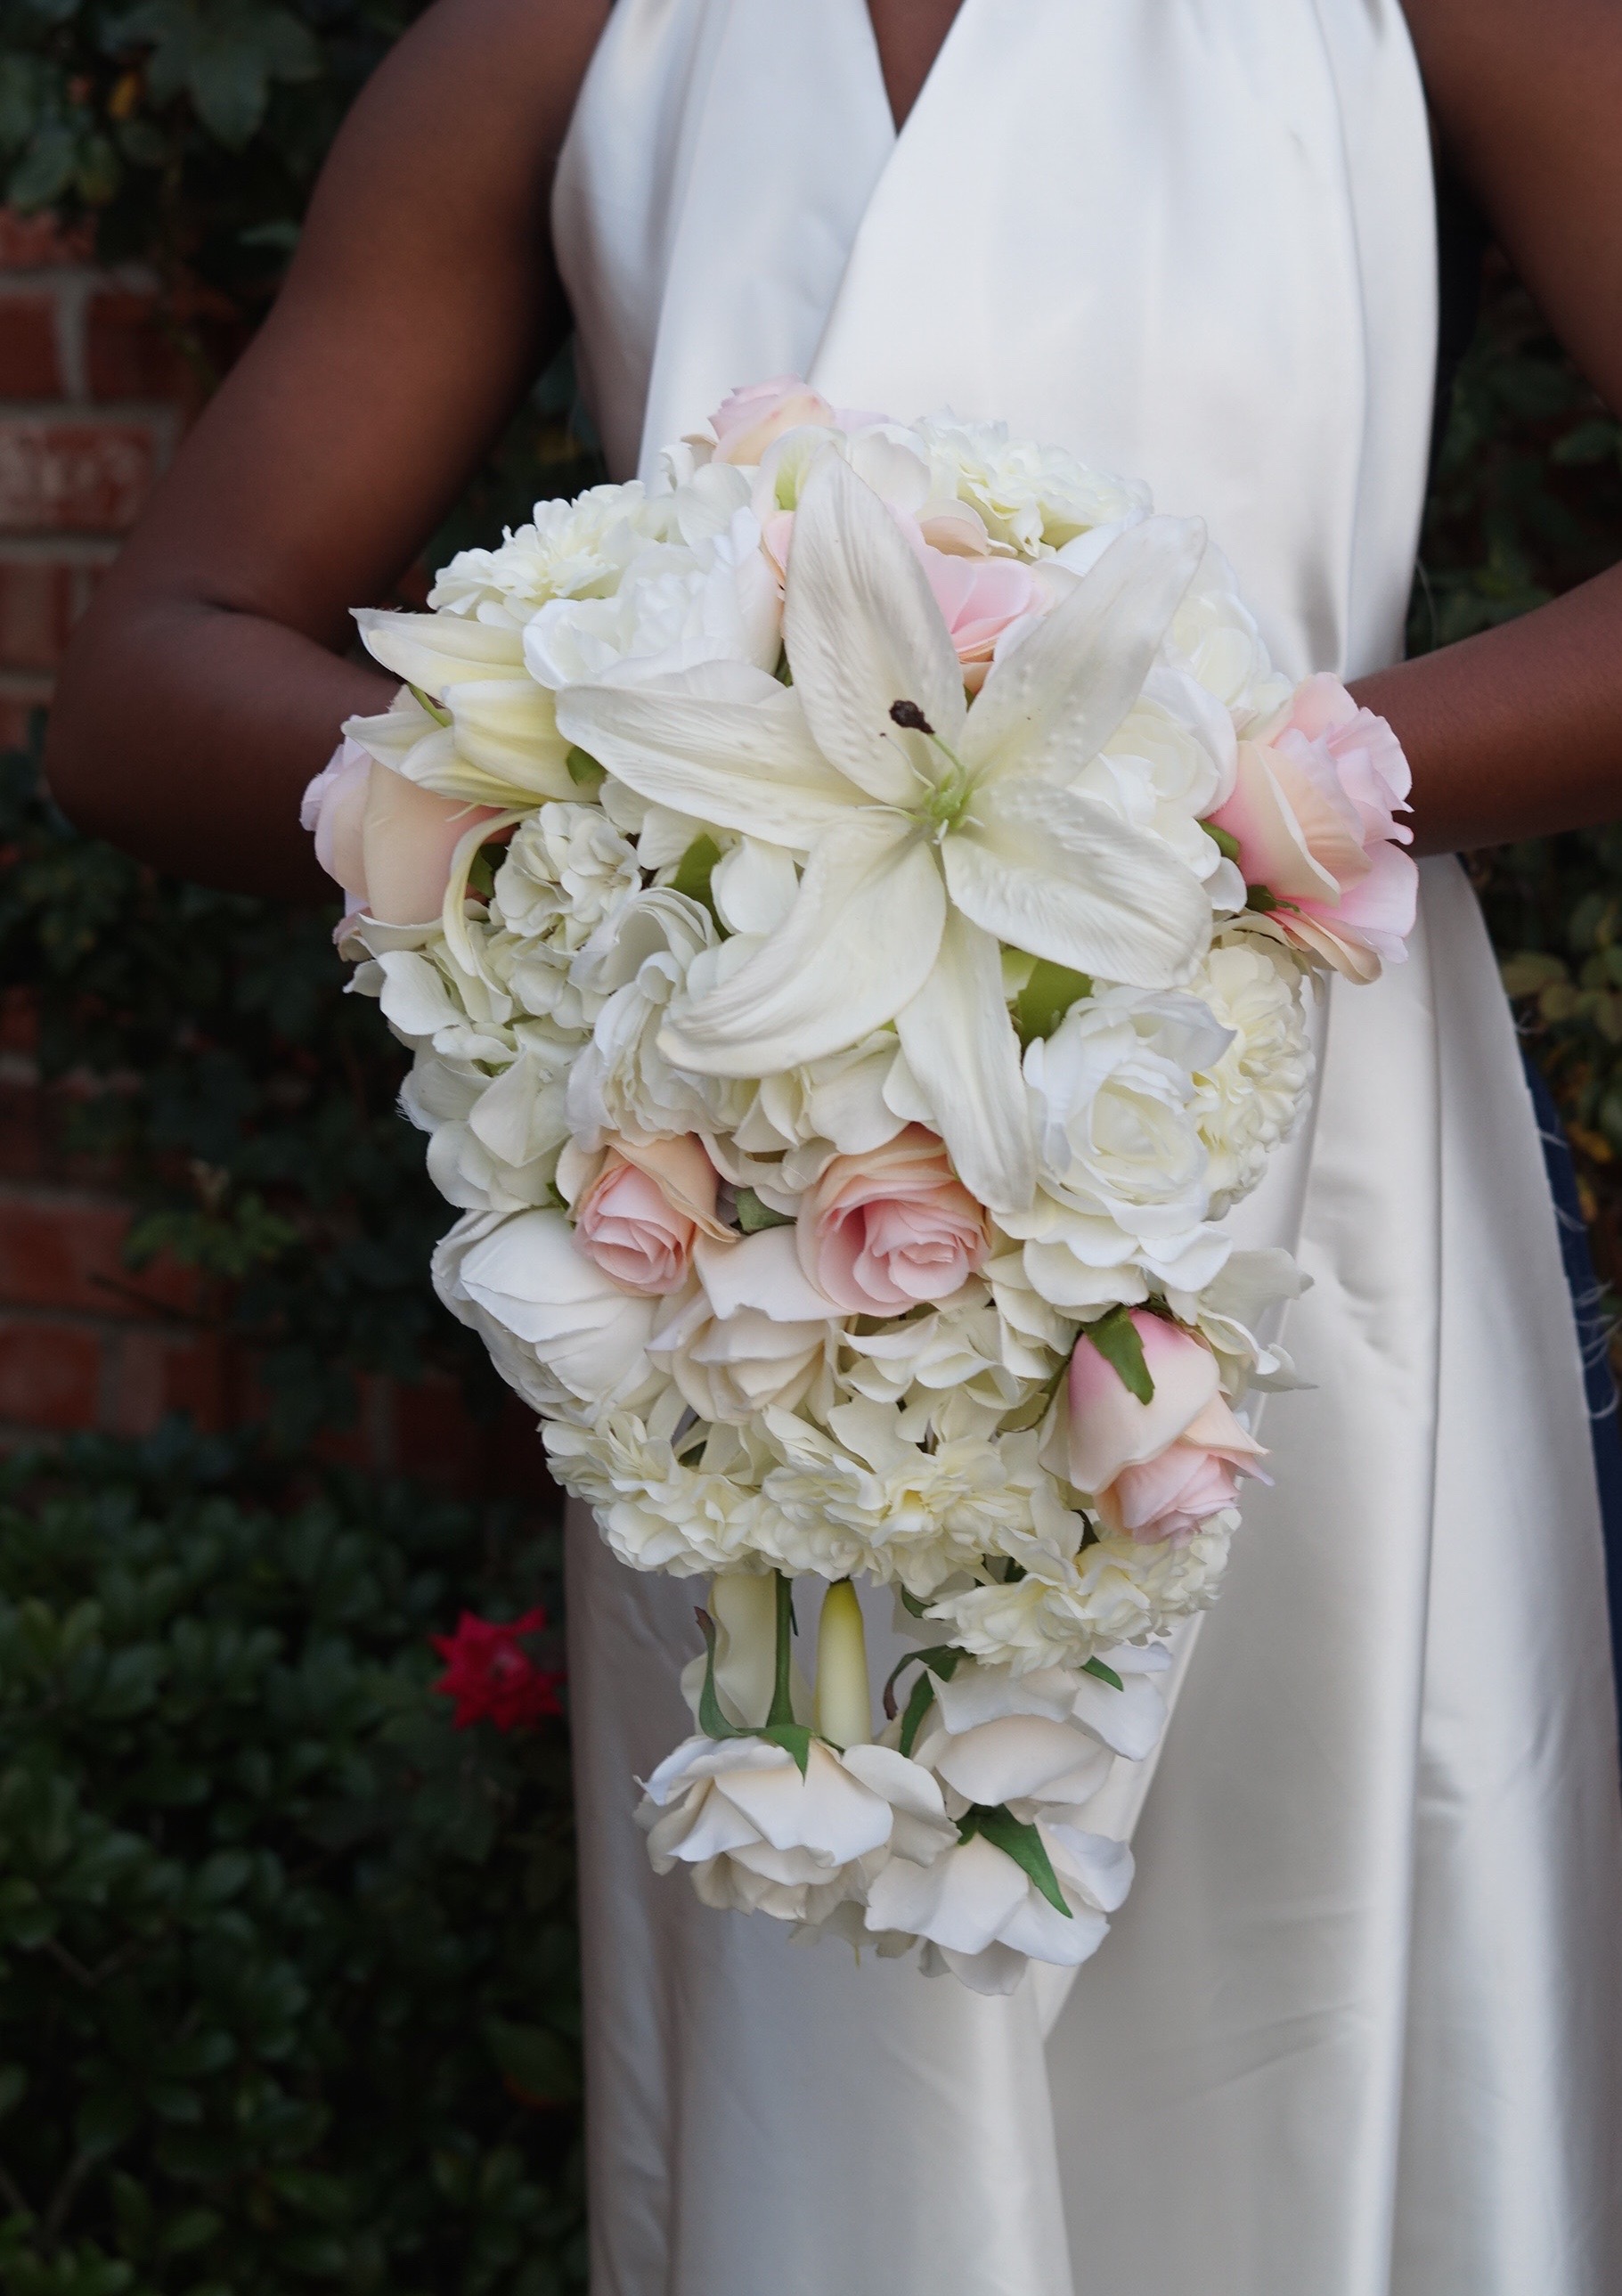
STEP 5: See how it looks against your gorgous wedding dress!
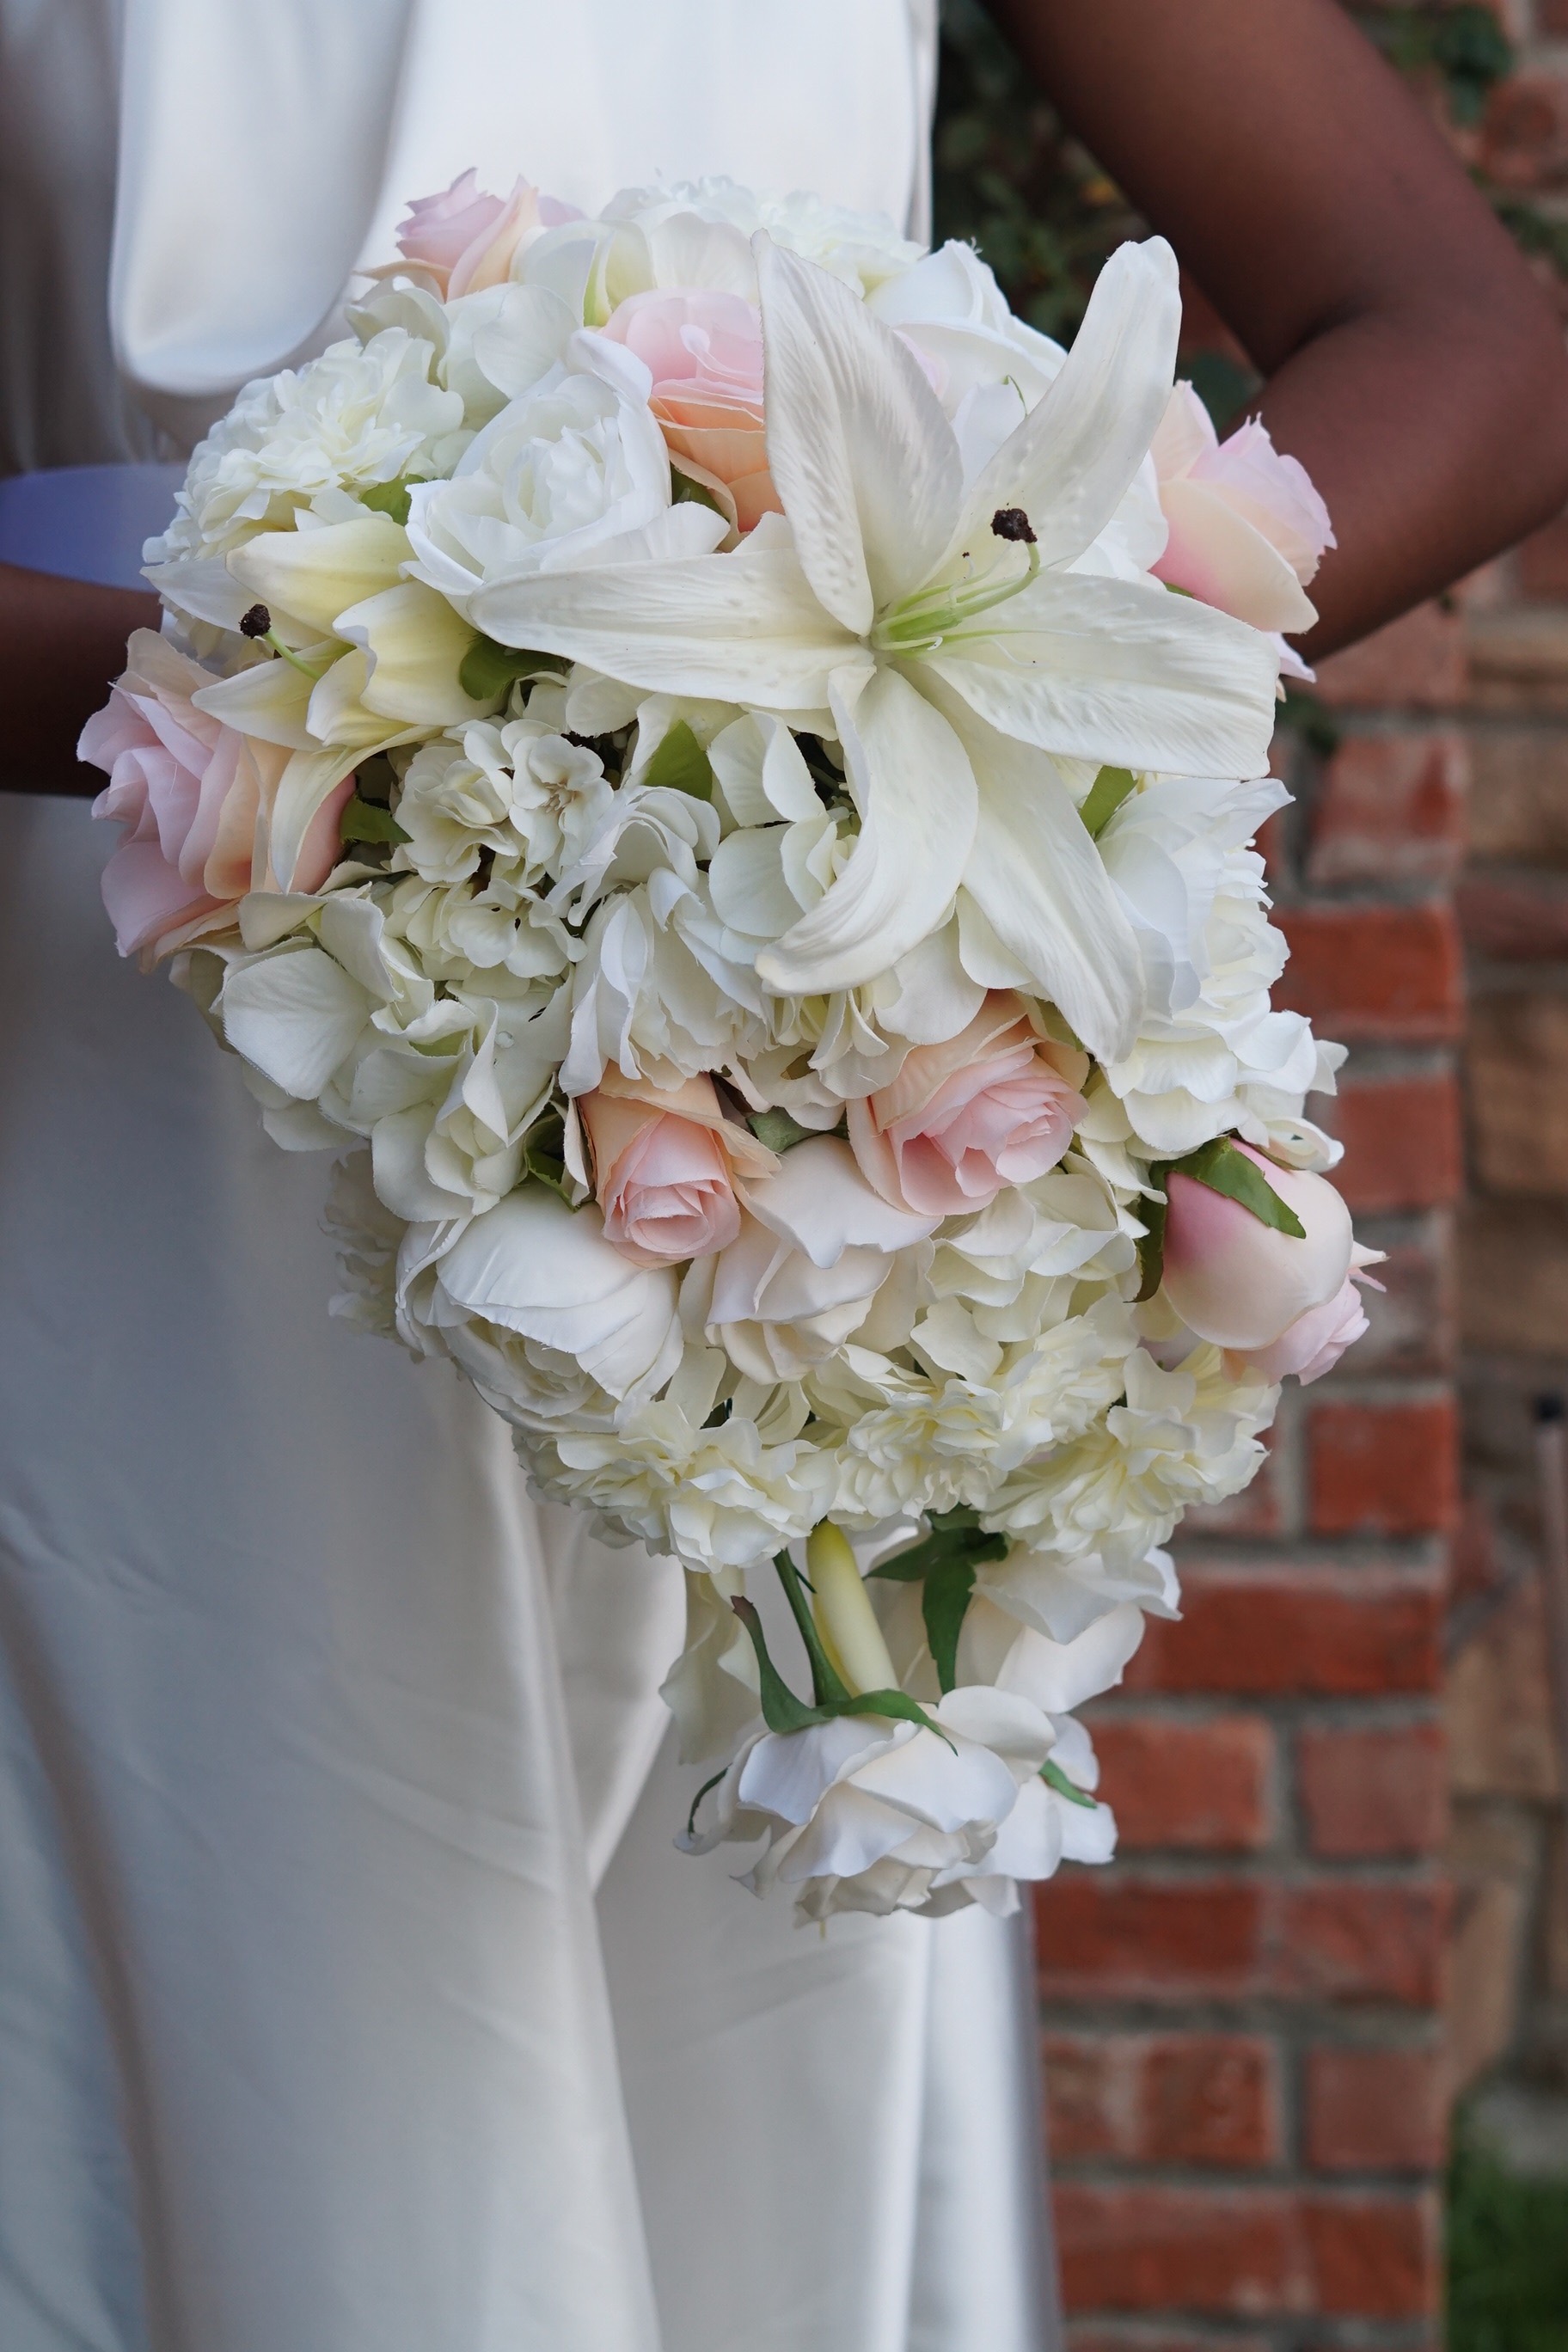
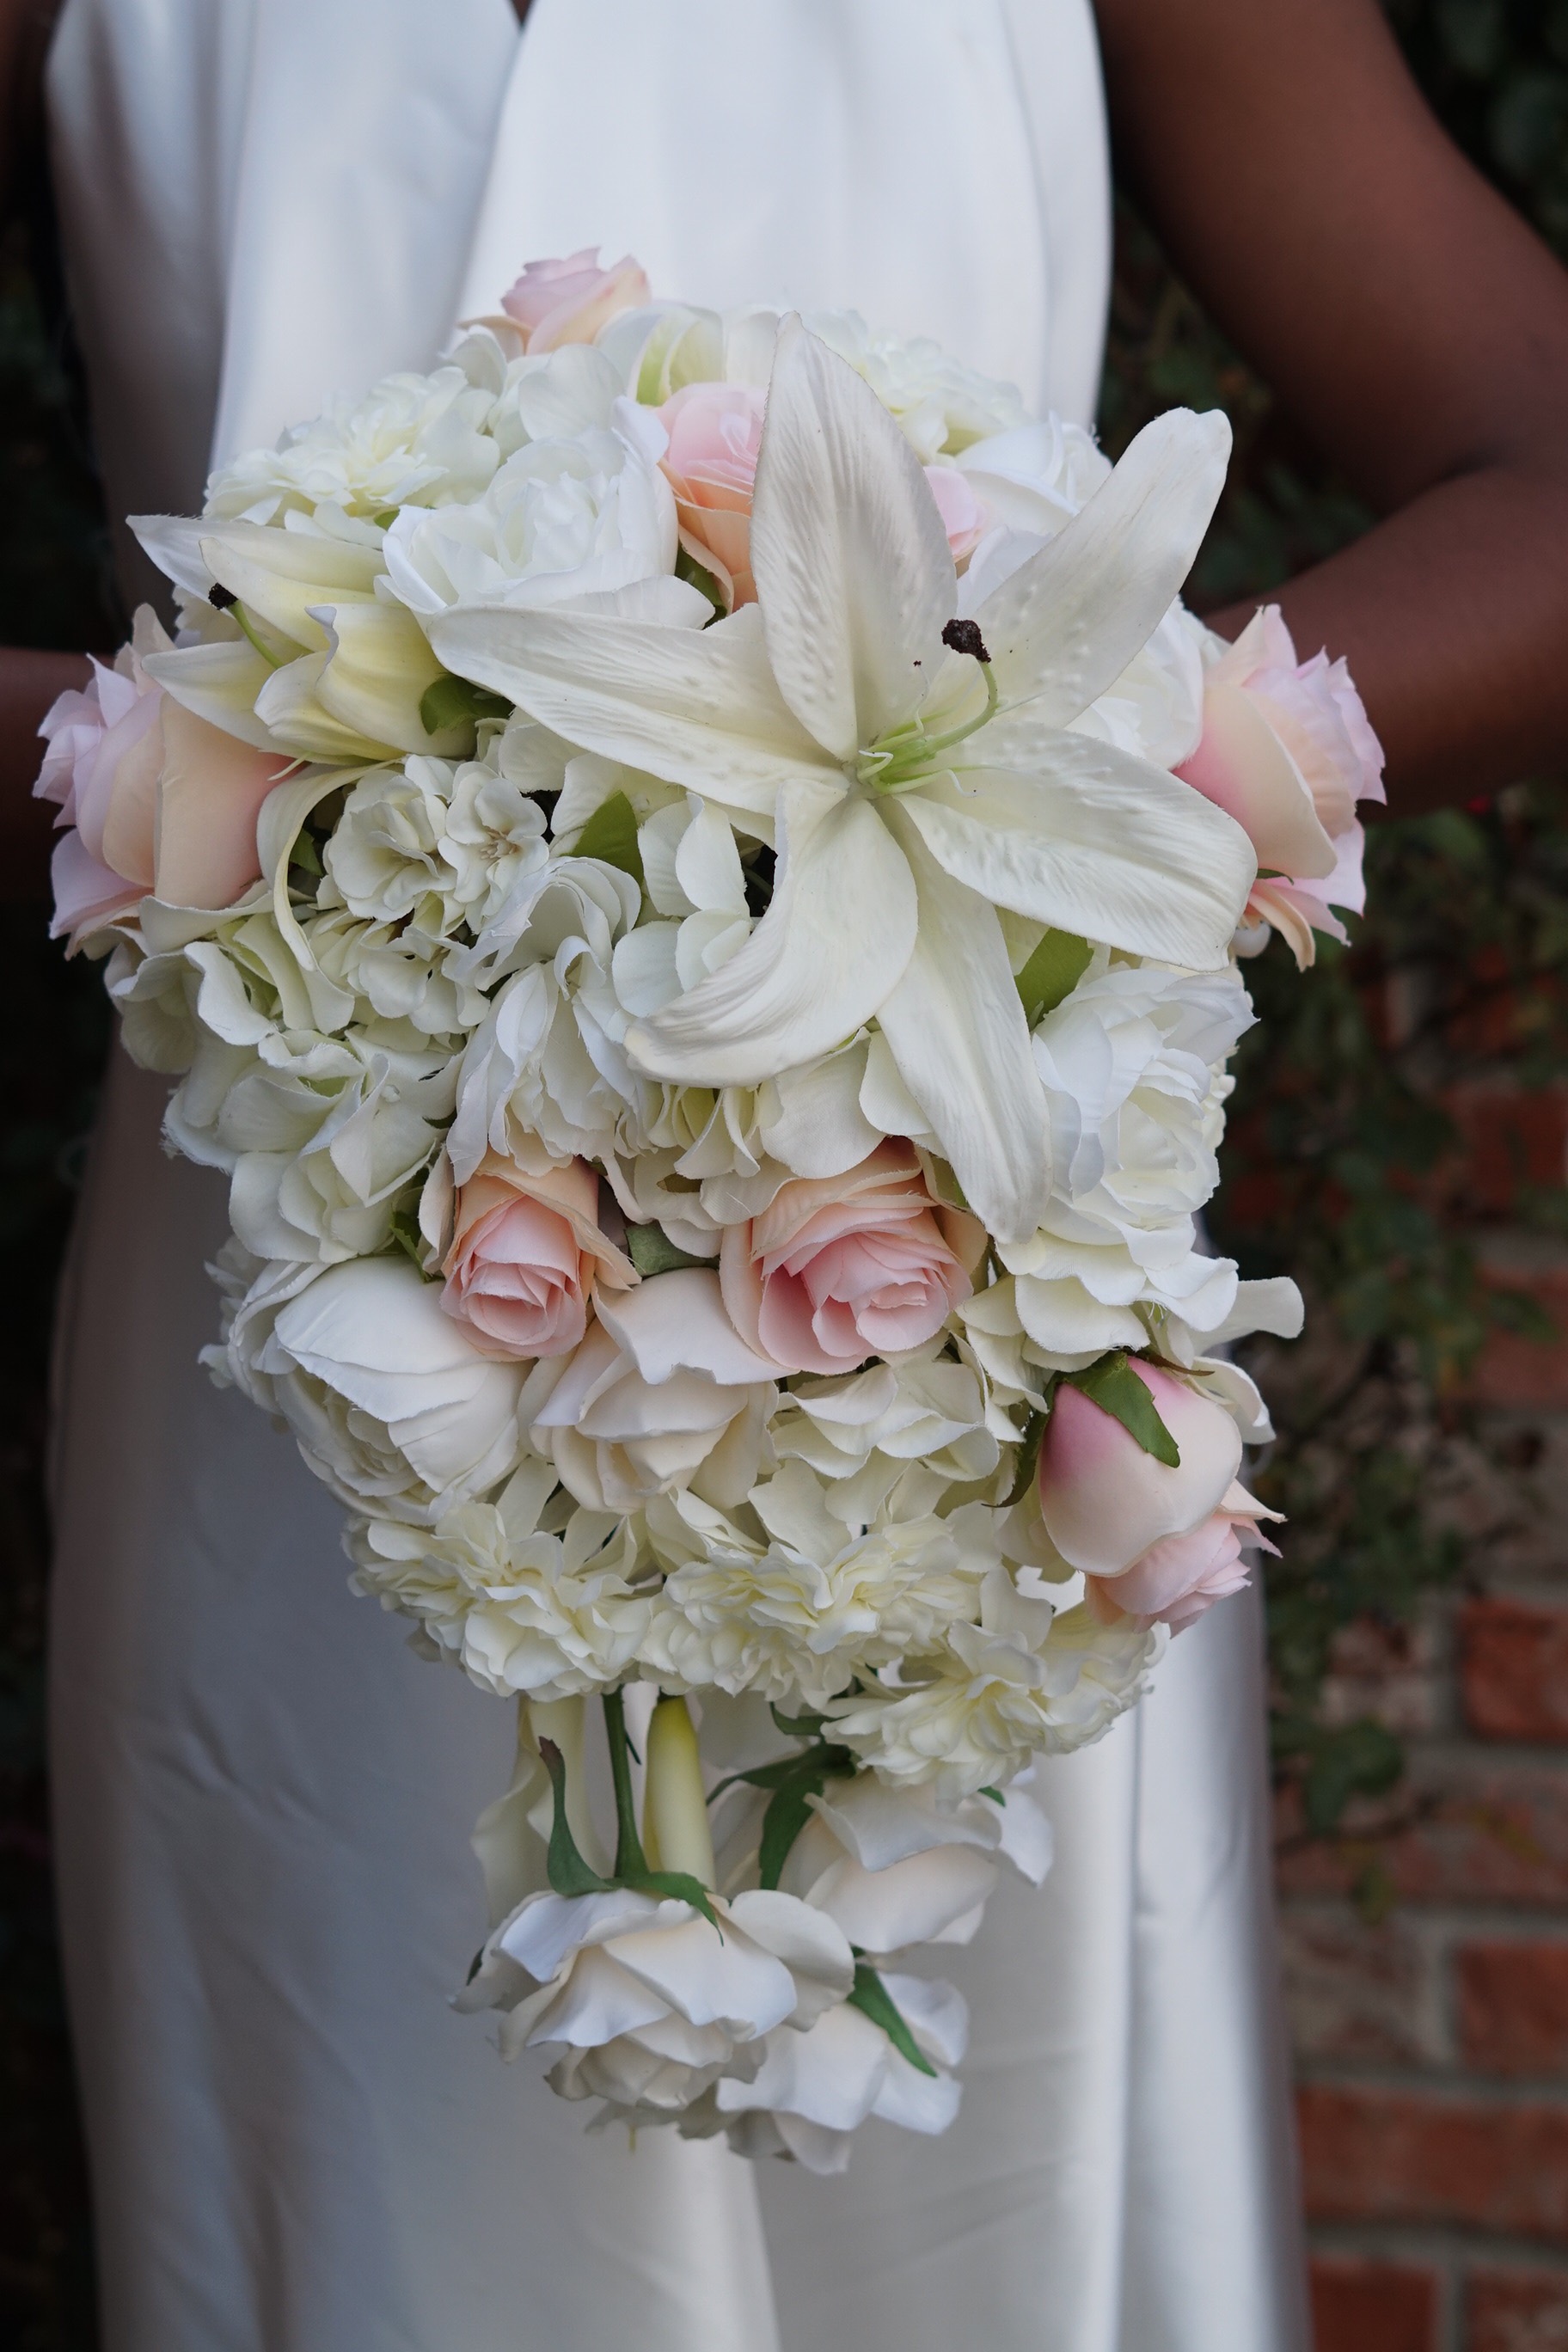
I absolutely love how this Beautiful Cascading Bridal Bouquet turned out! The outcome is amazing and will definitely add that extra special touch to any bride!
Don’t forget to sign up for Ebates to earn cash back on your online purchases. Planning a wedding is expensive, our goal is to help you stay within your budget and make every penny count. Click here to sign up for Ebates, and RIGHT NOW when you sign up, you will receive a $10 cash welcome bonus when you spend $25.00!
If you like the outcome please subscribe to our Youtube Channel for more DIY Videos and follow us on Facebook and Pinterest.
Need help with an upcoming project? Be sure to send us a project request!
“Remember When Every Penny Counts, Count on MissPlanIt”