This week I am continuing my mission to DIY most of my Christmas decorations this year. Christmas is absolutely my favorite time of year! I love all the cheery music, good food, great sales, and spending time with family and friends. I also love to decorate my home for Christmas, I want beautiful Christmas decor but do not want to spend an arm and a leg to get my desired look.
Recently, I took a trip to my local craft stores to stock up on craft supplies and browse the aisles. With Christmas decor out and about I decided to price the Christmas swags to match my Christmas wreath I made last week. One specifically caught my eye but when I saw the price I was SHOCKED.
It was priced at $84.00.
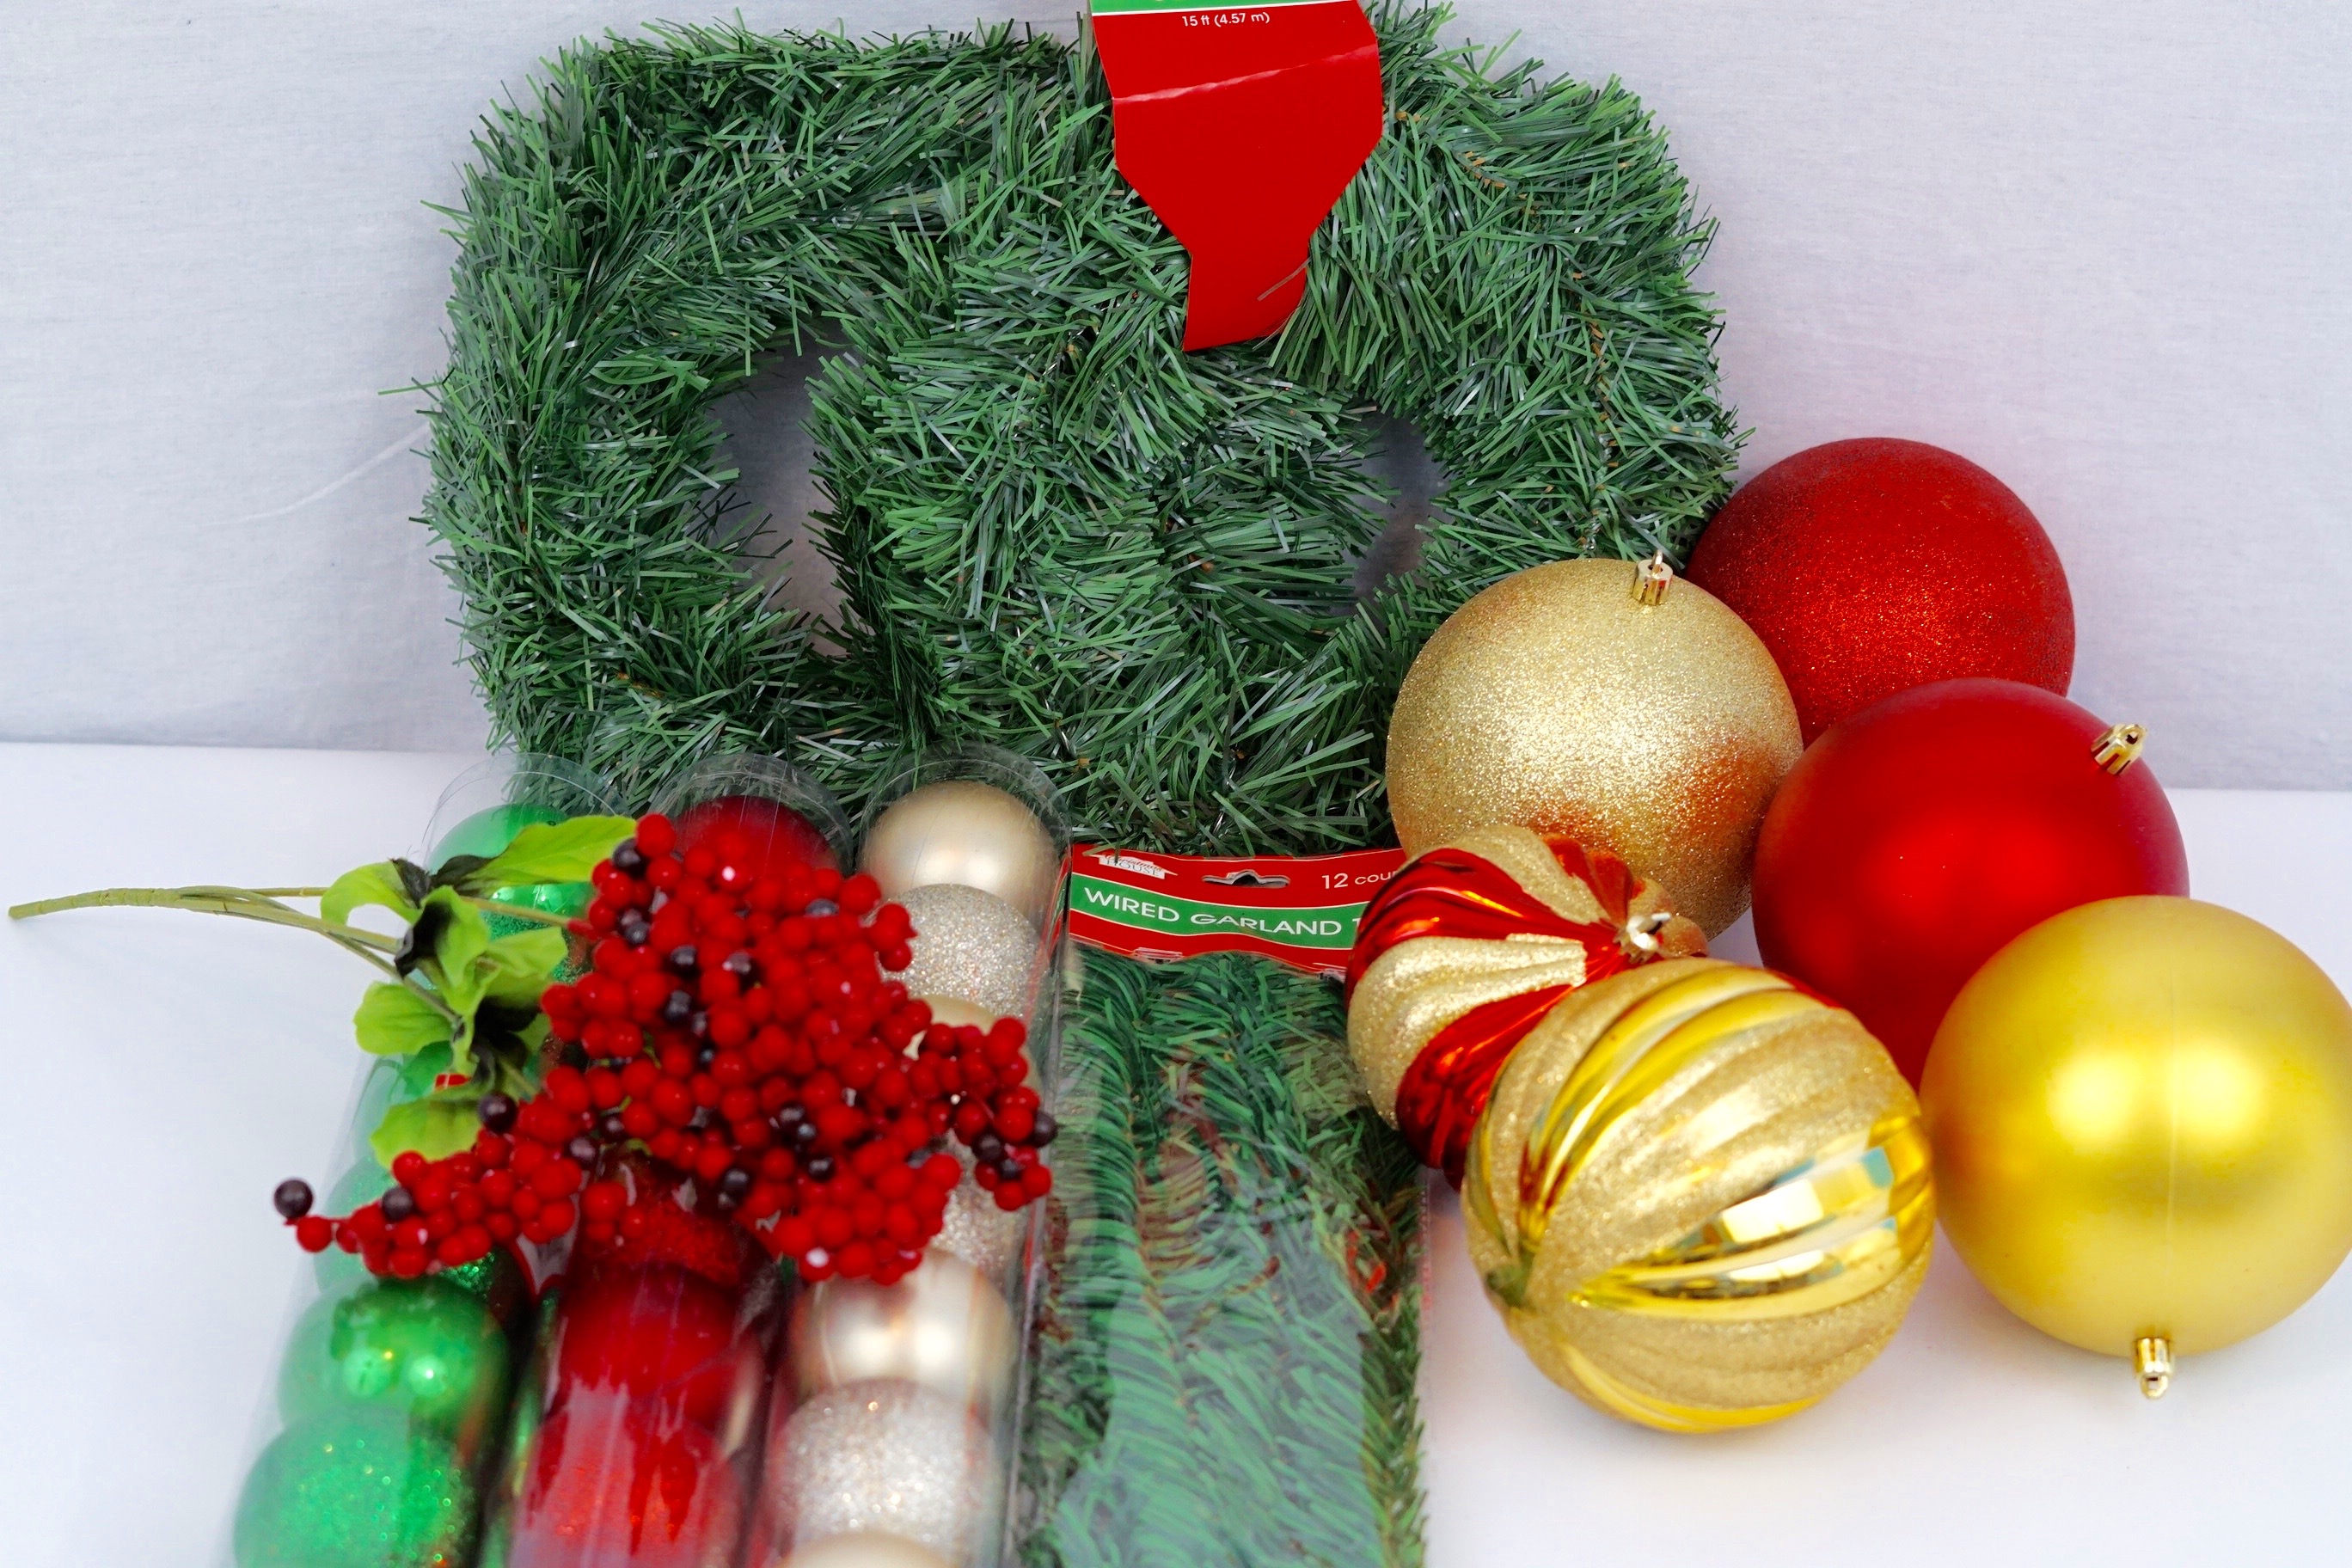
Being an avid DIYer, I knew I could make my own for Under $20, so that is exactly what I did. I purchased all supplies from my local Dollar Tree.
Just a tip before you go out and buy all your supplies. As our saying goes “When Every Penny Counts, Count on Miss PlanIt.” We love to save money and get great deals. Prior to us purchasing anything online, we check out Ebates, find the store, click the current deal for that store and complete our purchase. If you have never used Ebates, you are MISSING OUT.
When completing a purchase through Ebates you earn cash back that you can have mailed to you or sent via PayPal. Be sure to check it out! Click here to sign up for Ebates, and RIGHT NOW when you sign up, you will receive a $10 cash welcome bonus when you spend $25.00!
You were already going to complete your purchase online, so why not get some cash back on things you already planned to purchase! So get those supplies and Let’s Deck the Halls with DIY!
Let’s Get Started:
Click our affiliate links below to purchase the supplies needed for this project:
SUPPLY LIST:
Large Ornaments:
Gold
Red
Red Glitter
Small Ornaments:
Green
Silver
Red
Red Christmas Berries
15 Foot Pine Garland
Garland Ties
Outdoor Command Hooks
High Heat Hot Gun w/ Glue Sticks
How To Make a Christmas Swag
Directions:
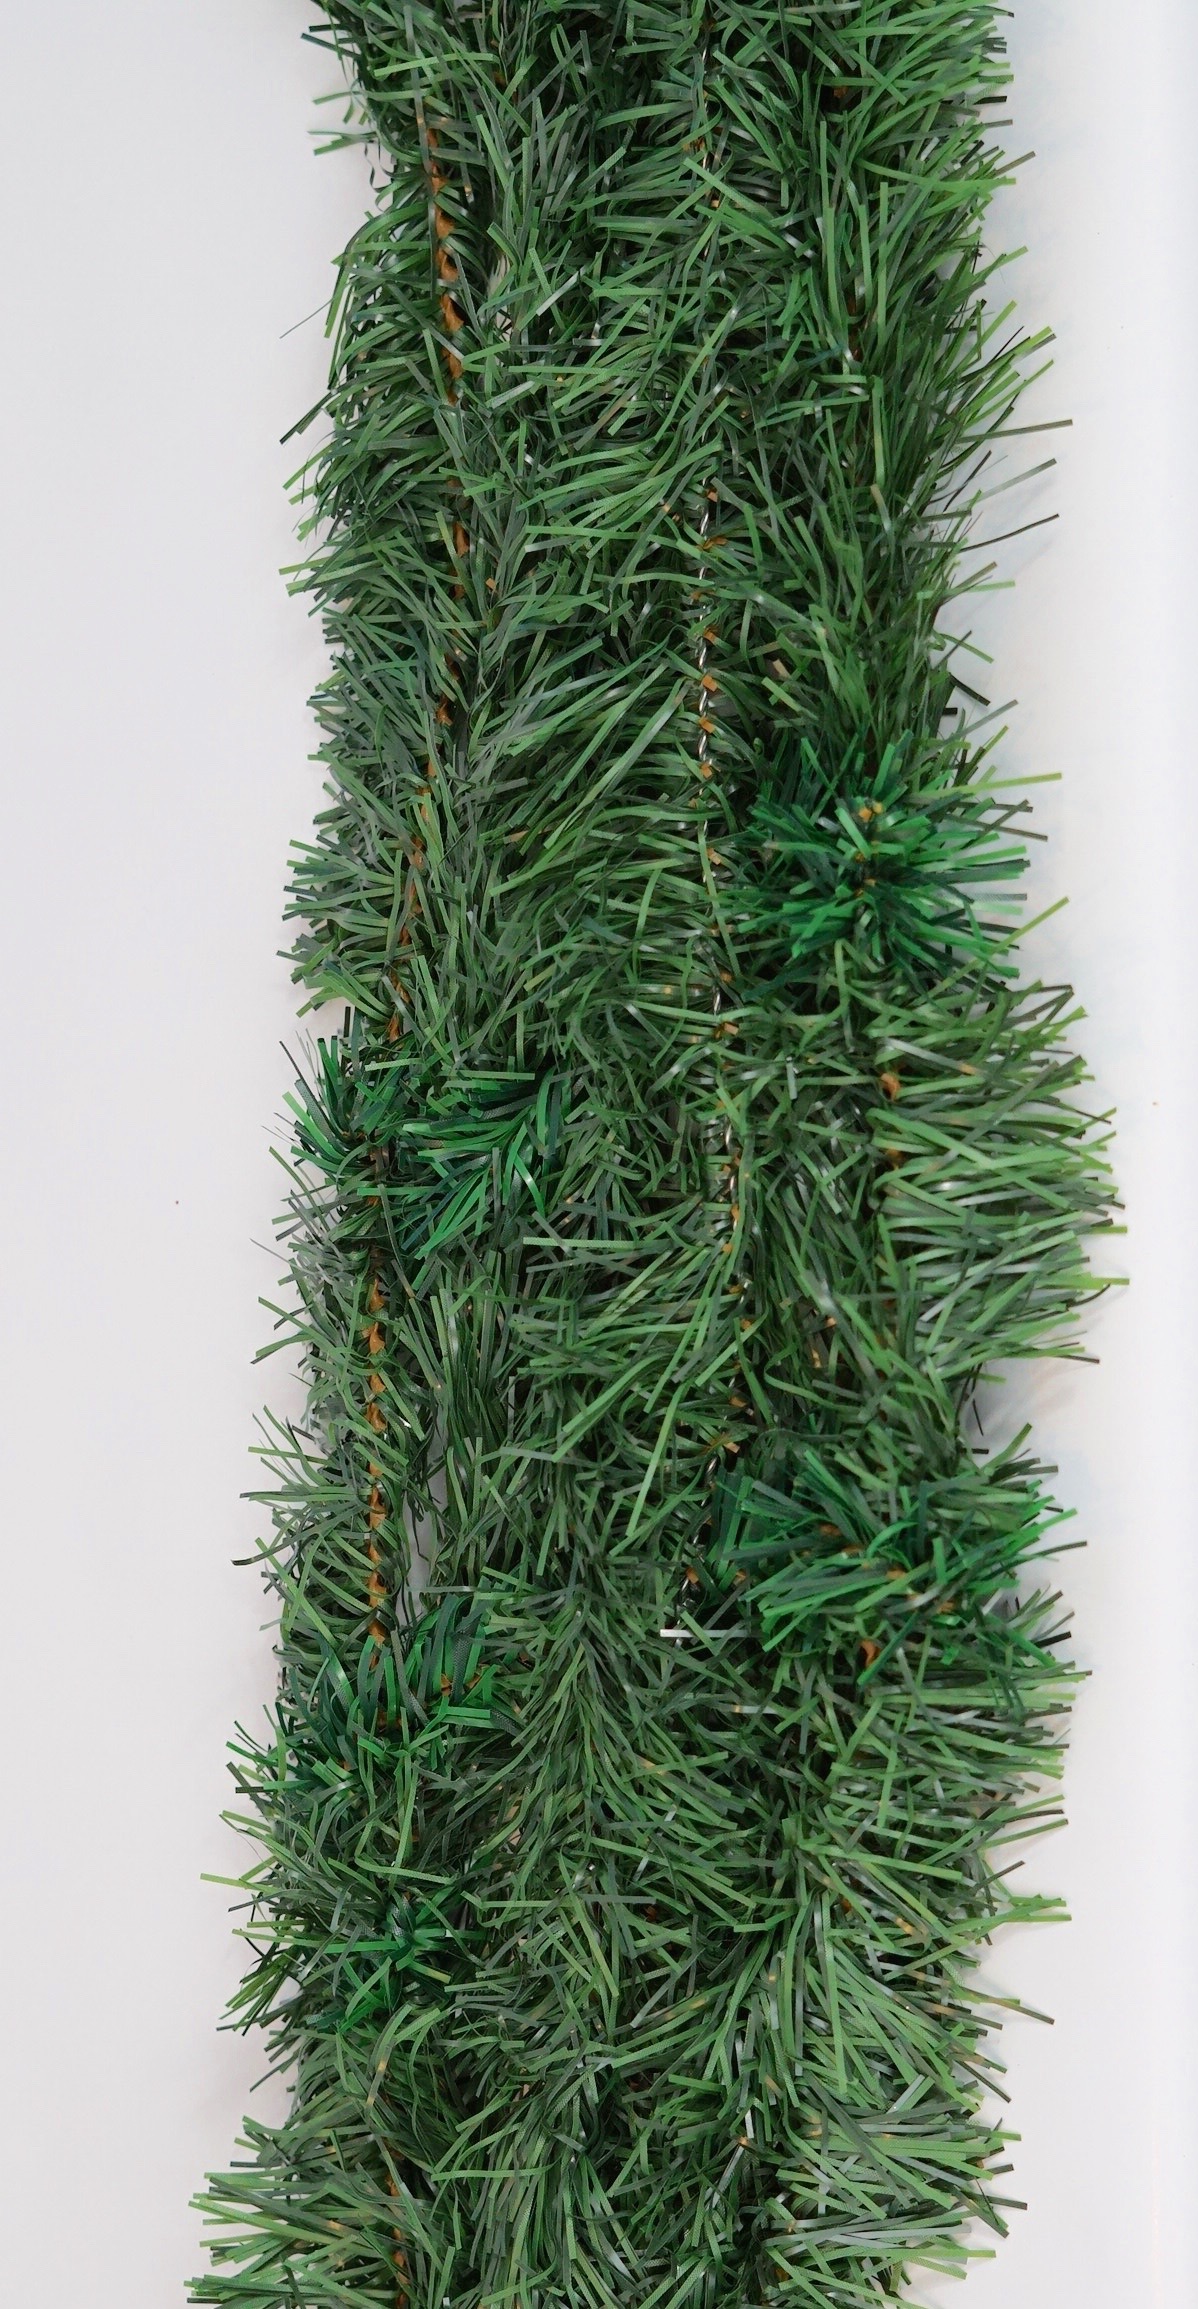
STEP 1: Take your two 15 foot garlands and cut into six 4 foot strips. Weave the garland ties in between your strips to give it some stability.
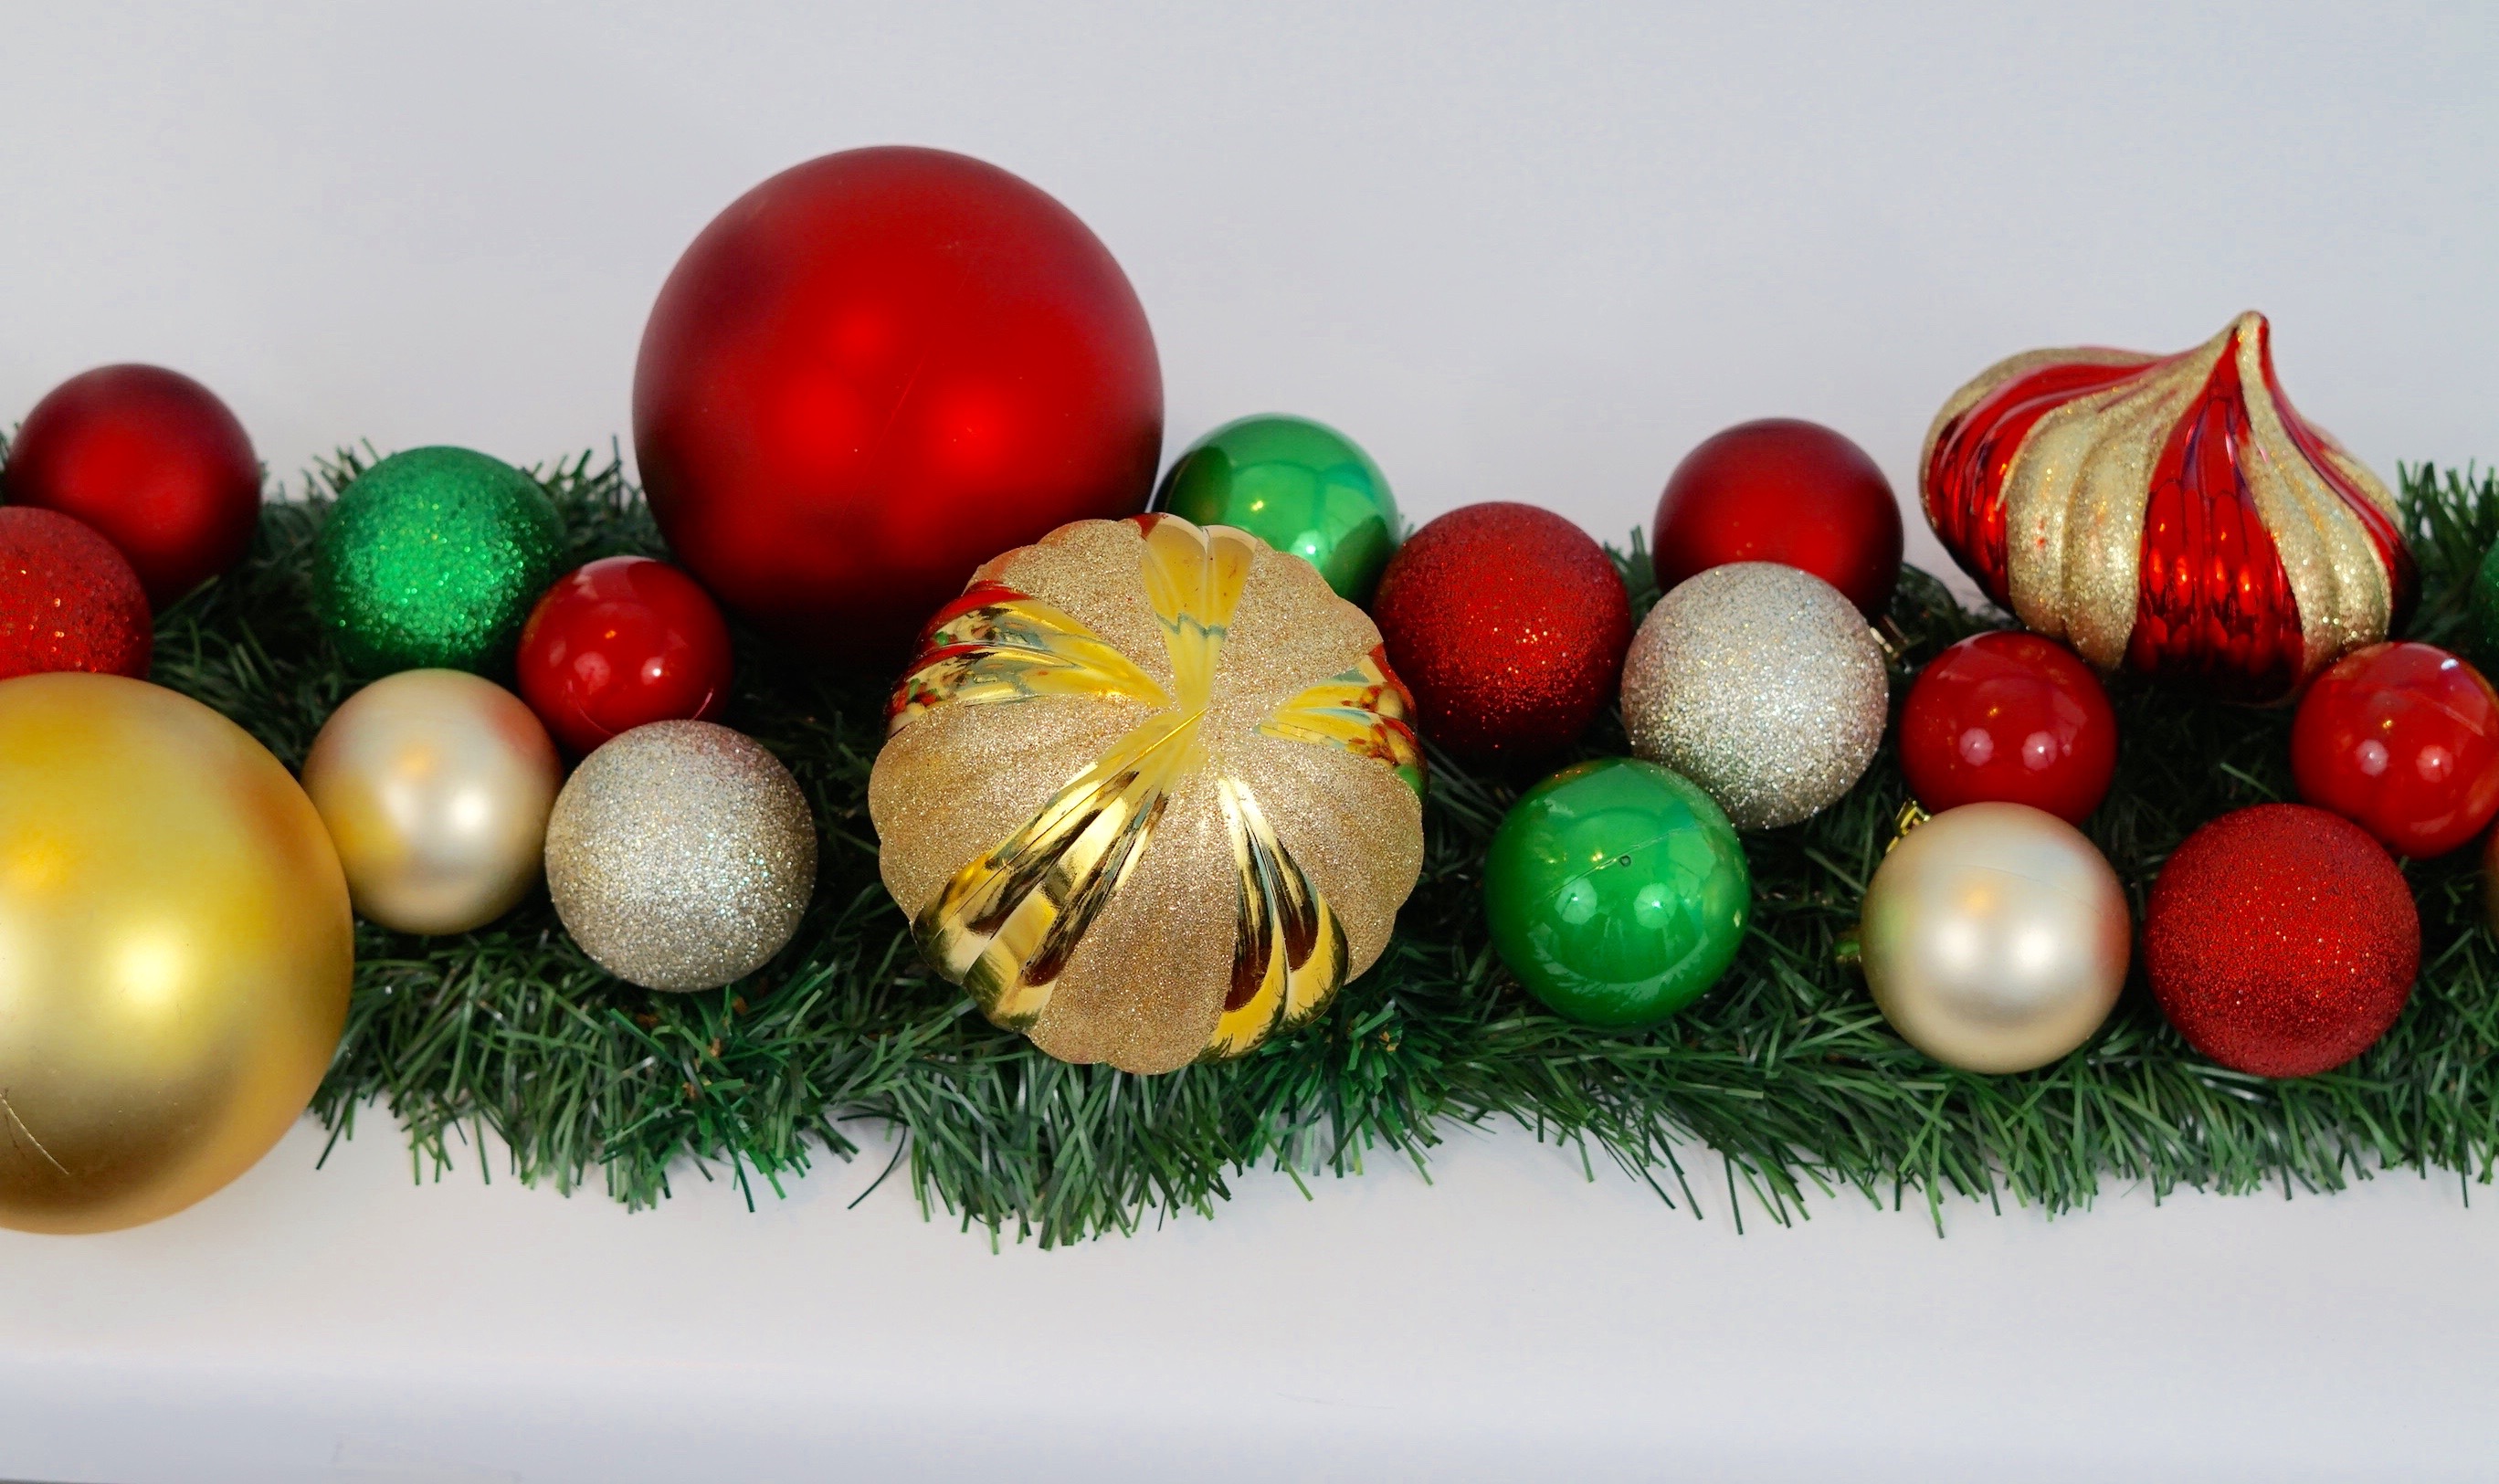
STEP 2: Attach four to six 5.5 inch ornaments to your swag using high heat glue sticks.
TIP: It’s crucial to use high heat glue sticks as your swag will be outside in the elements. Using high heat glue sticks allows you to use your swag year and year. You may need to replace ornaments due to them fading over time but you won’t have to worry about them falling off.
STEP 3: Prior to hot glueing your small ornaments, place them on your Christmas swag in the pattern you are happy with. Next use high heat glue sticks and begin adhering 24-36 small 3 inch ornaments to your swag.
STEP 4: Repeat Step 3 to adhere 2-4 red holiday berry bushels to your swag.

STEP 5: Cut 4 garland ties into 4 inch strips and attach with high heat glue sticks. This will create some depth to your swag.
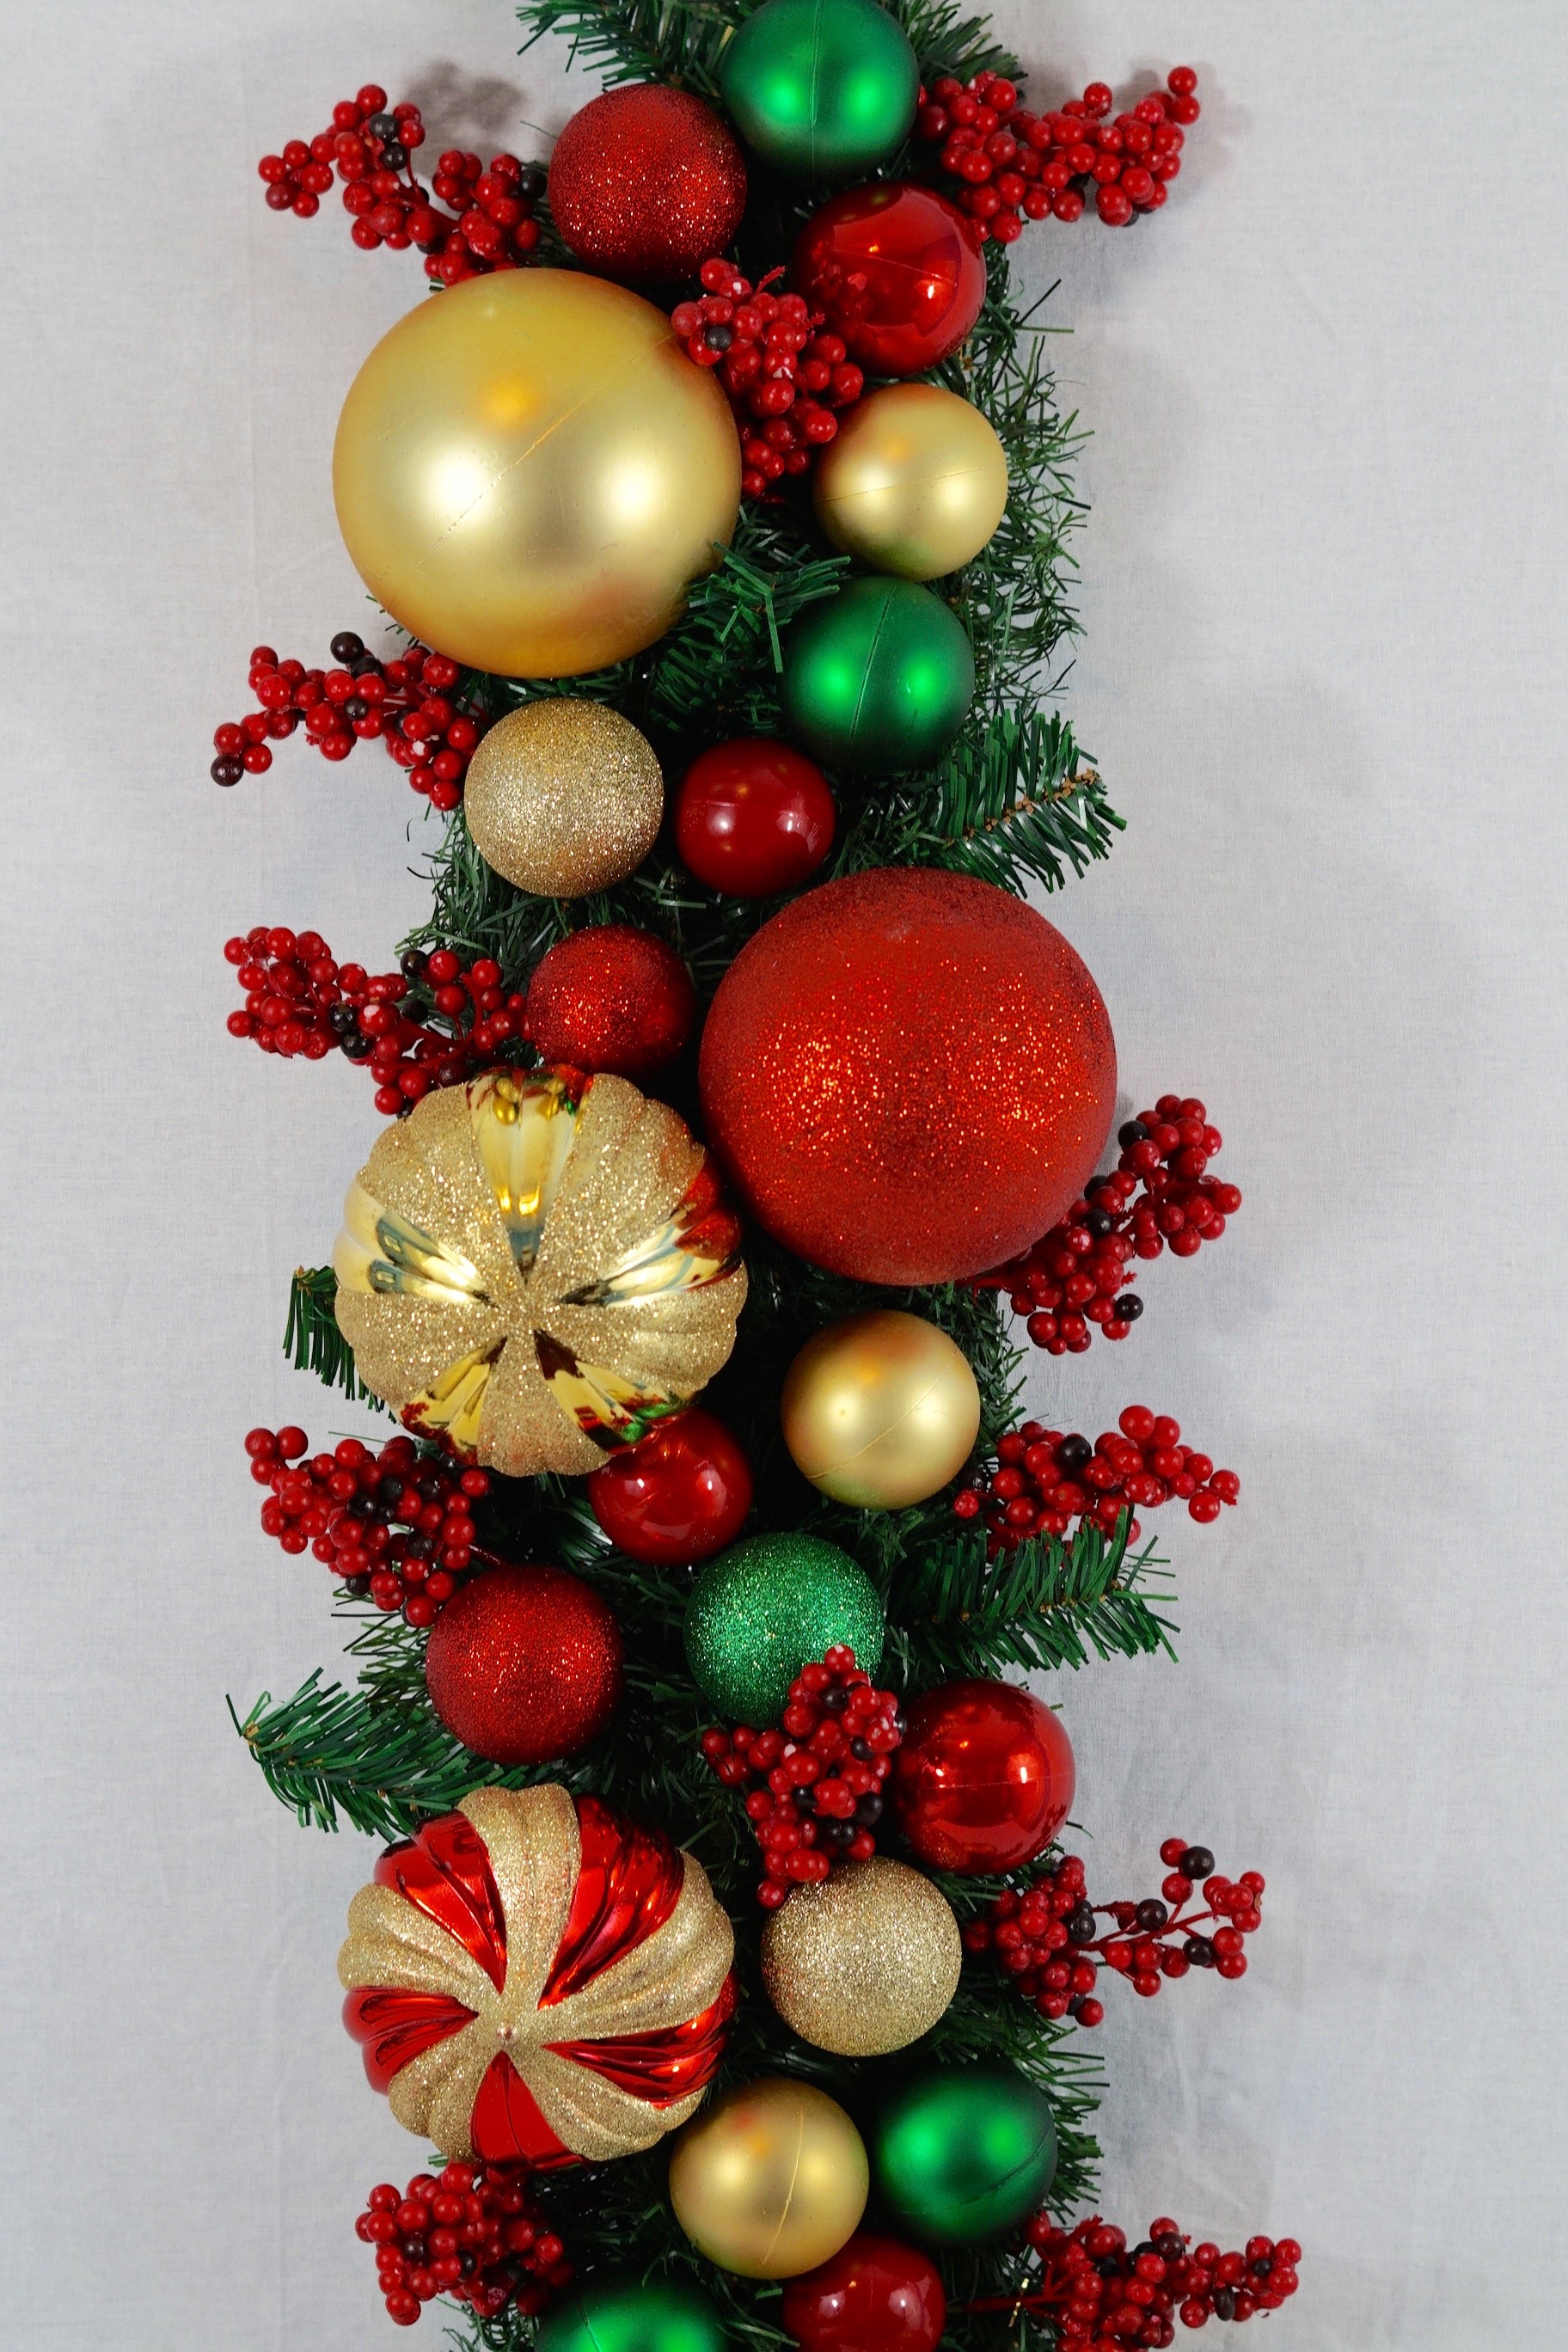
THE FINAL STEP
STEP 6: Hang your swags using command hooks!
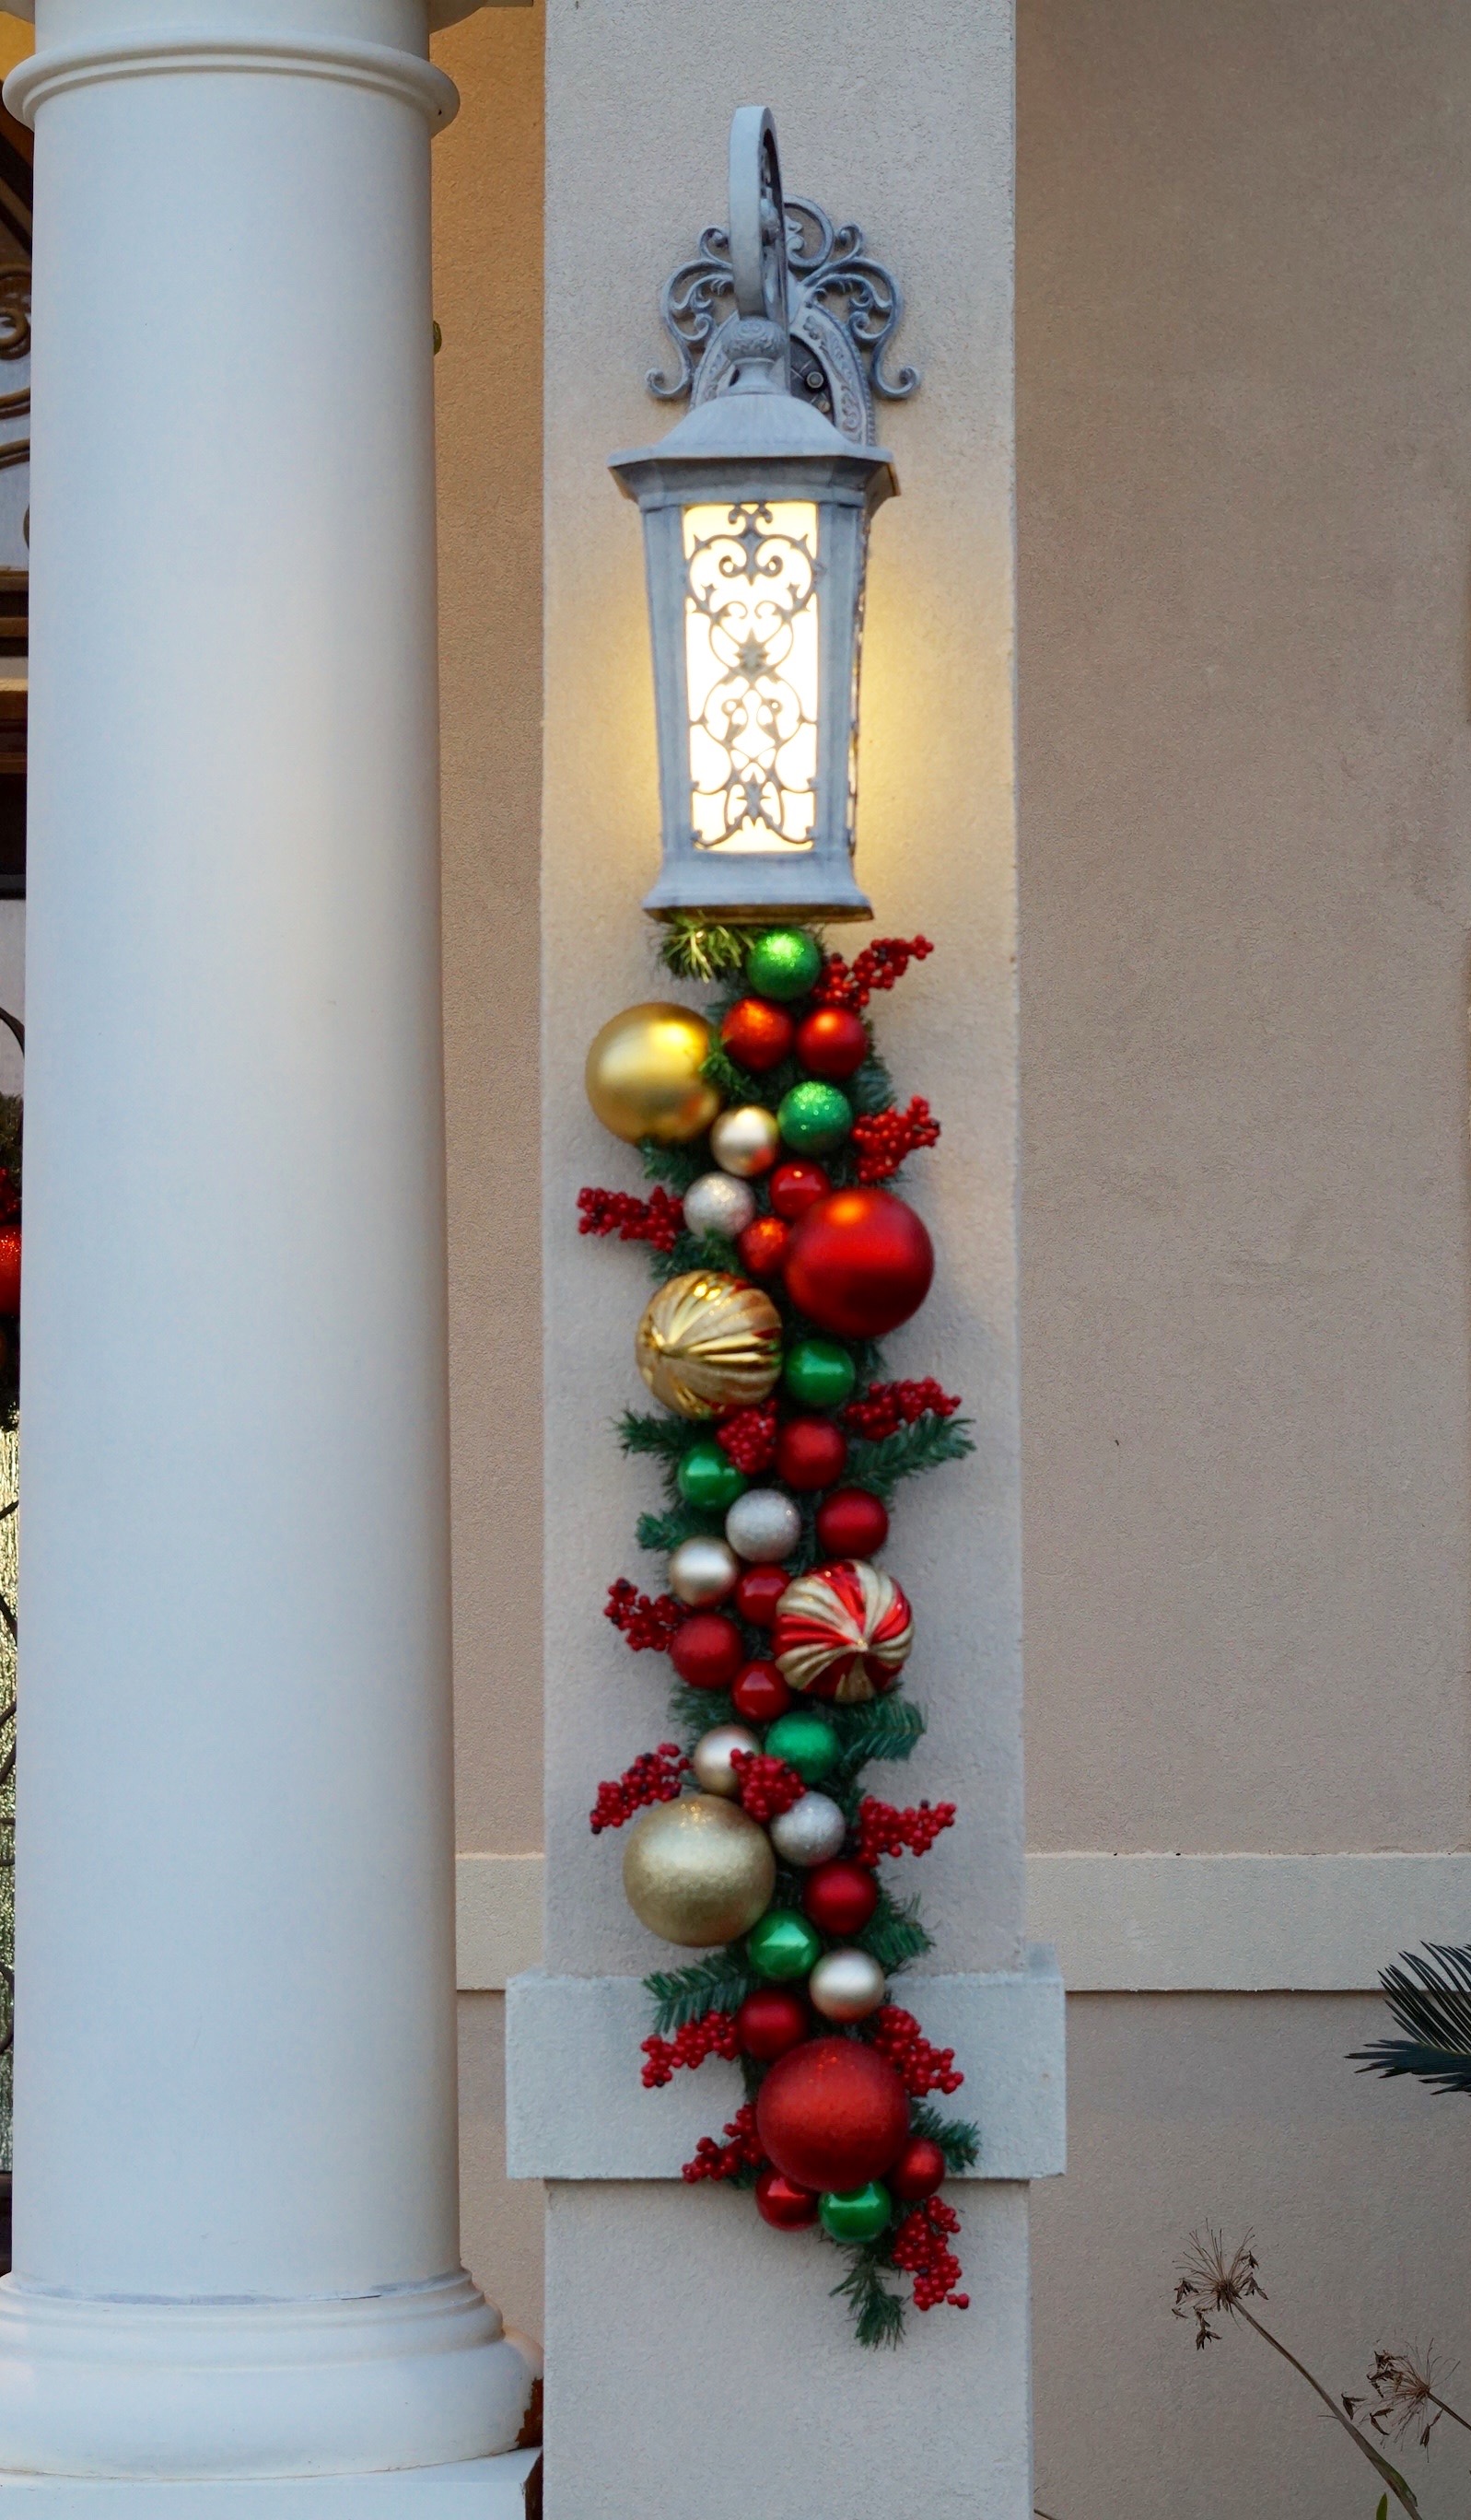
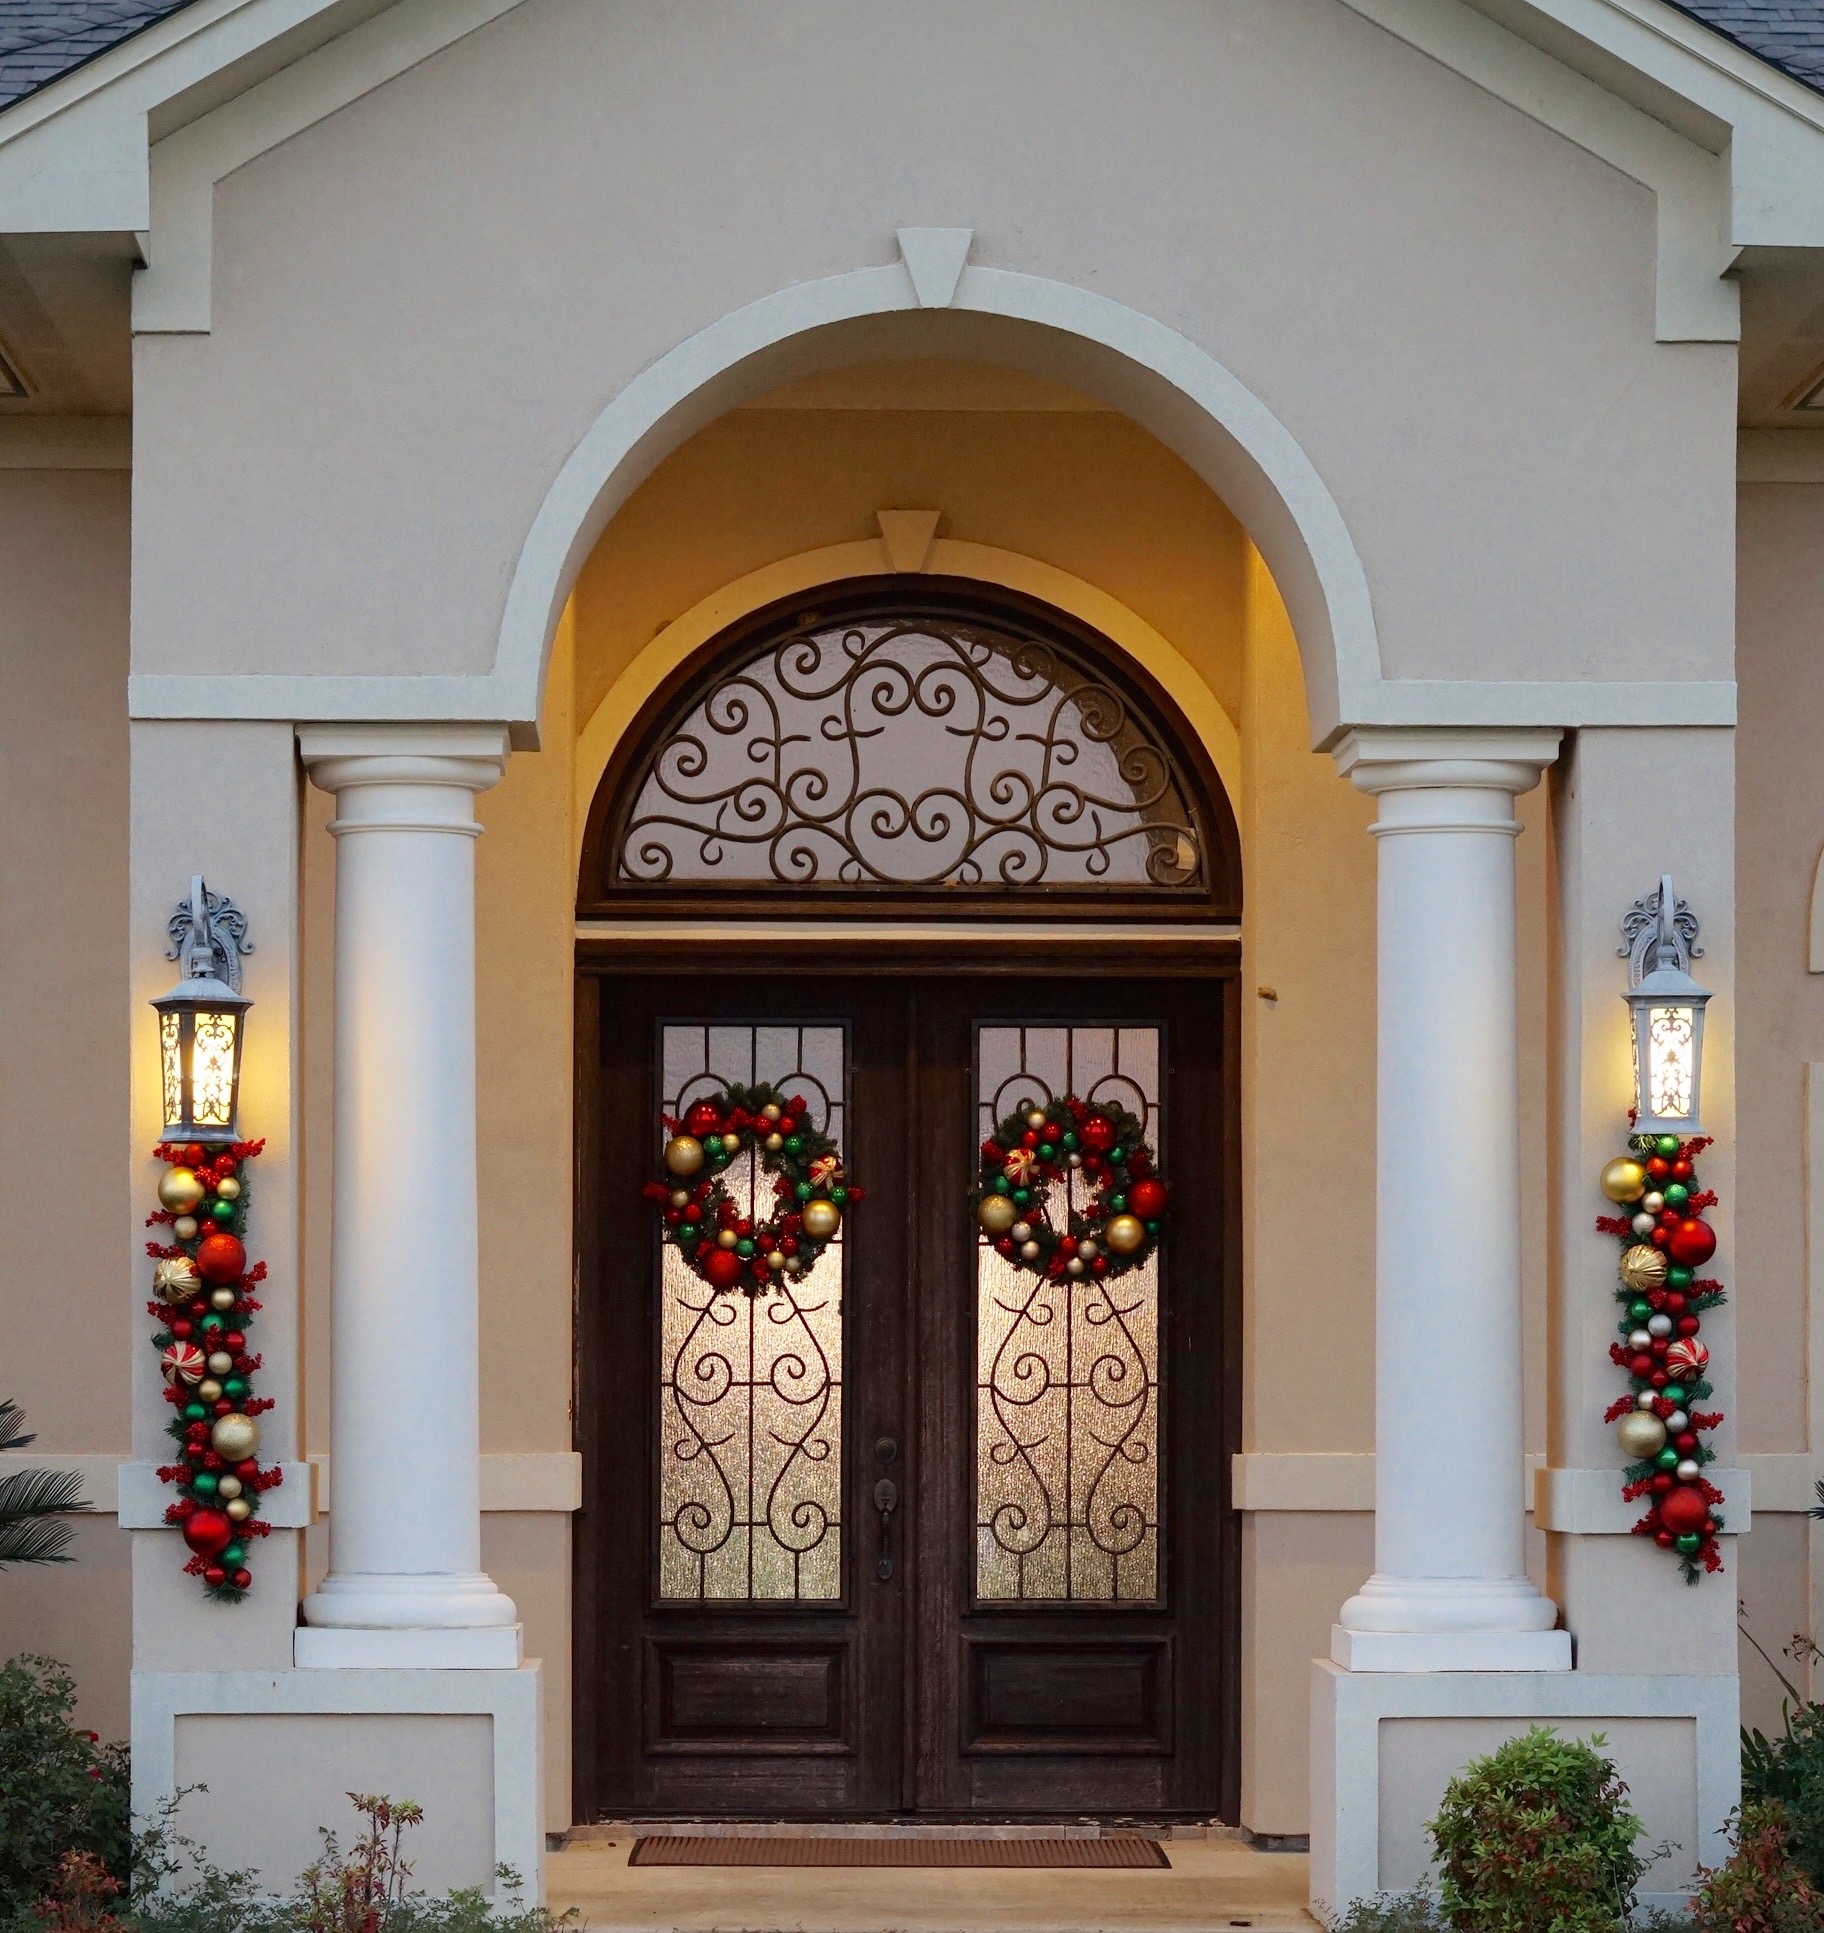
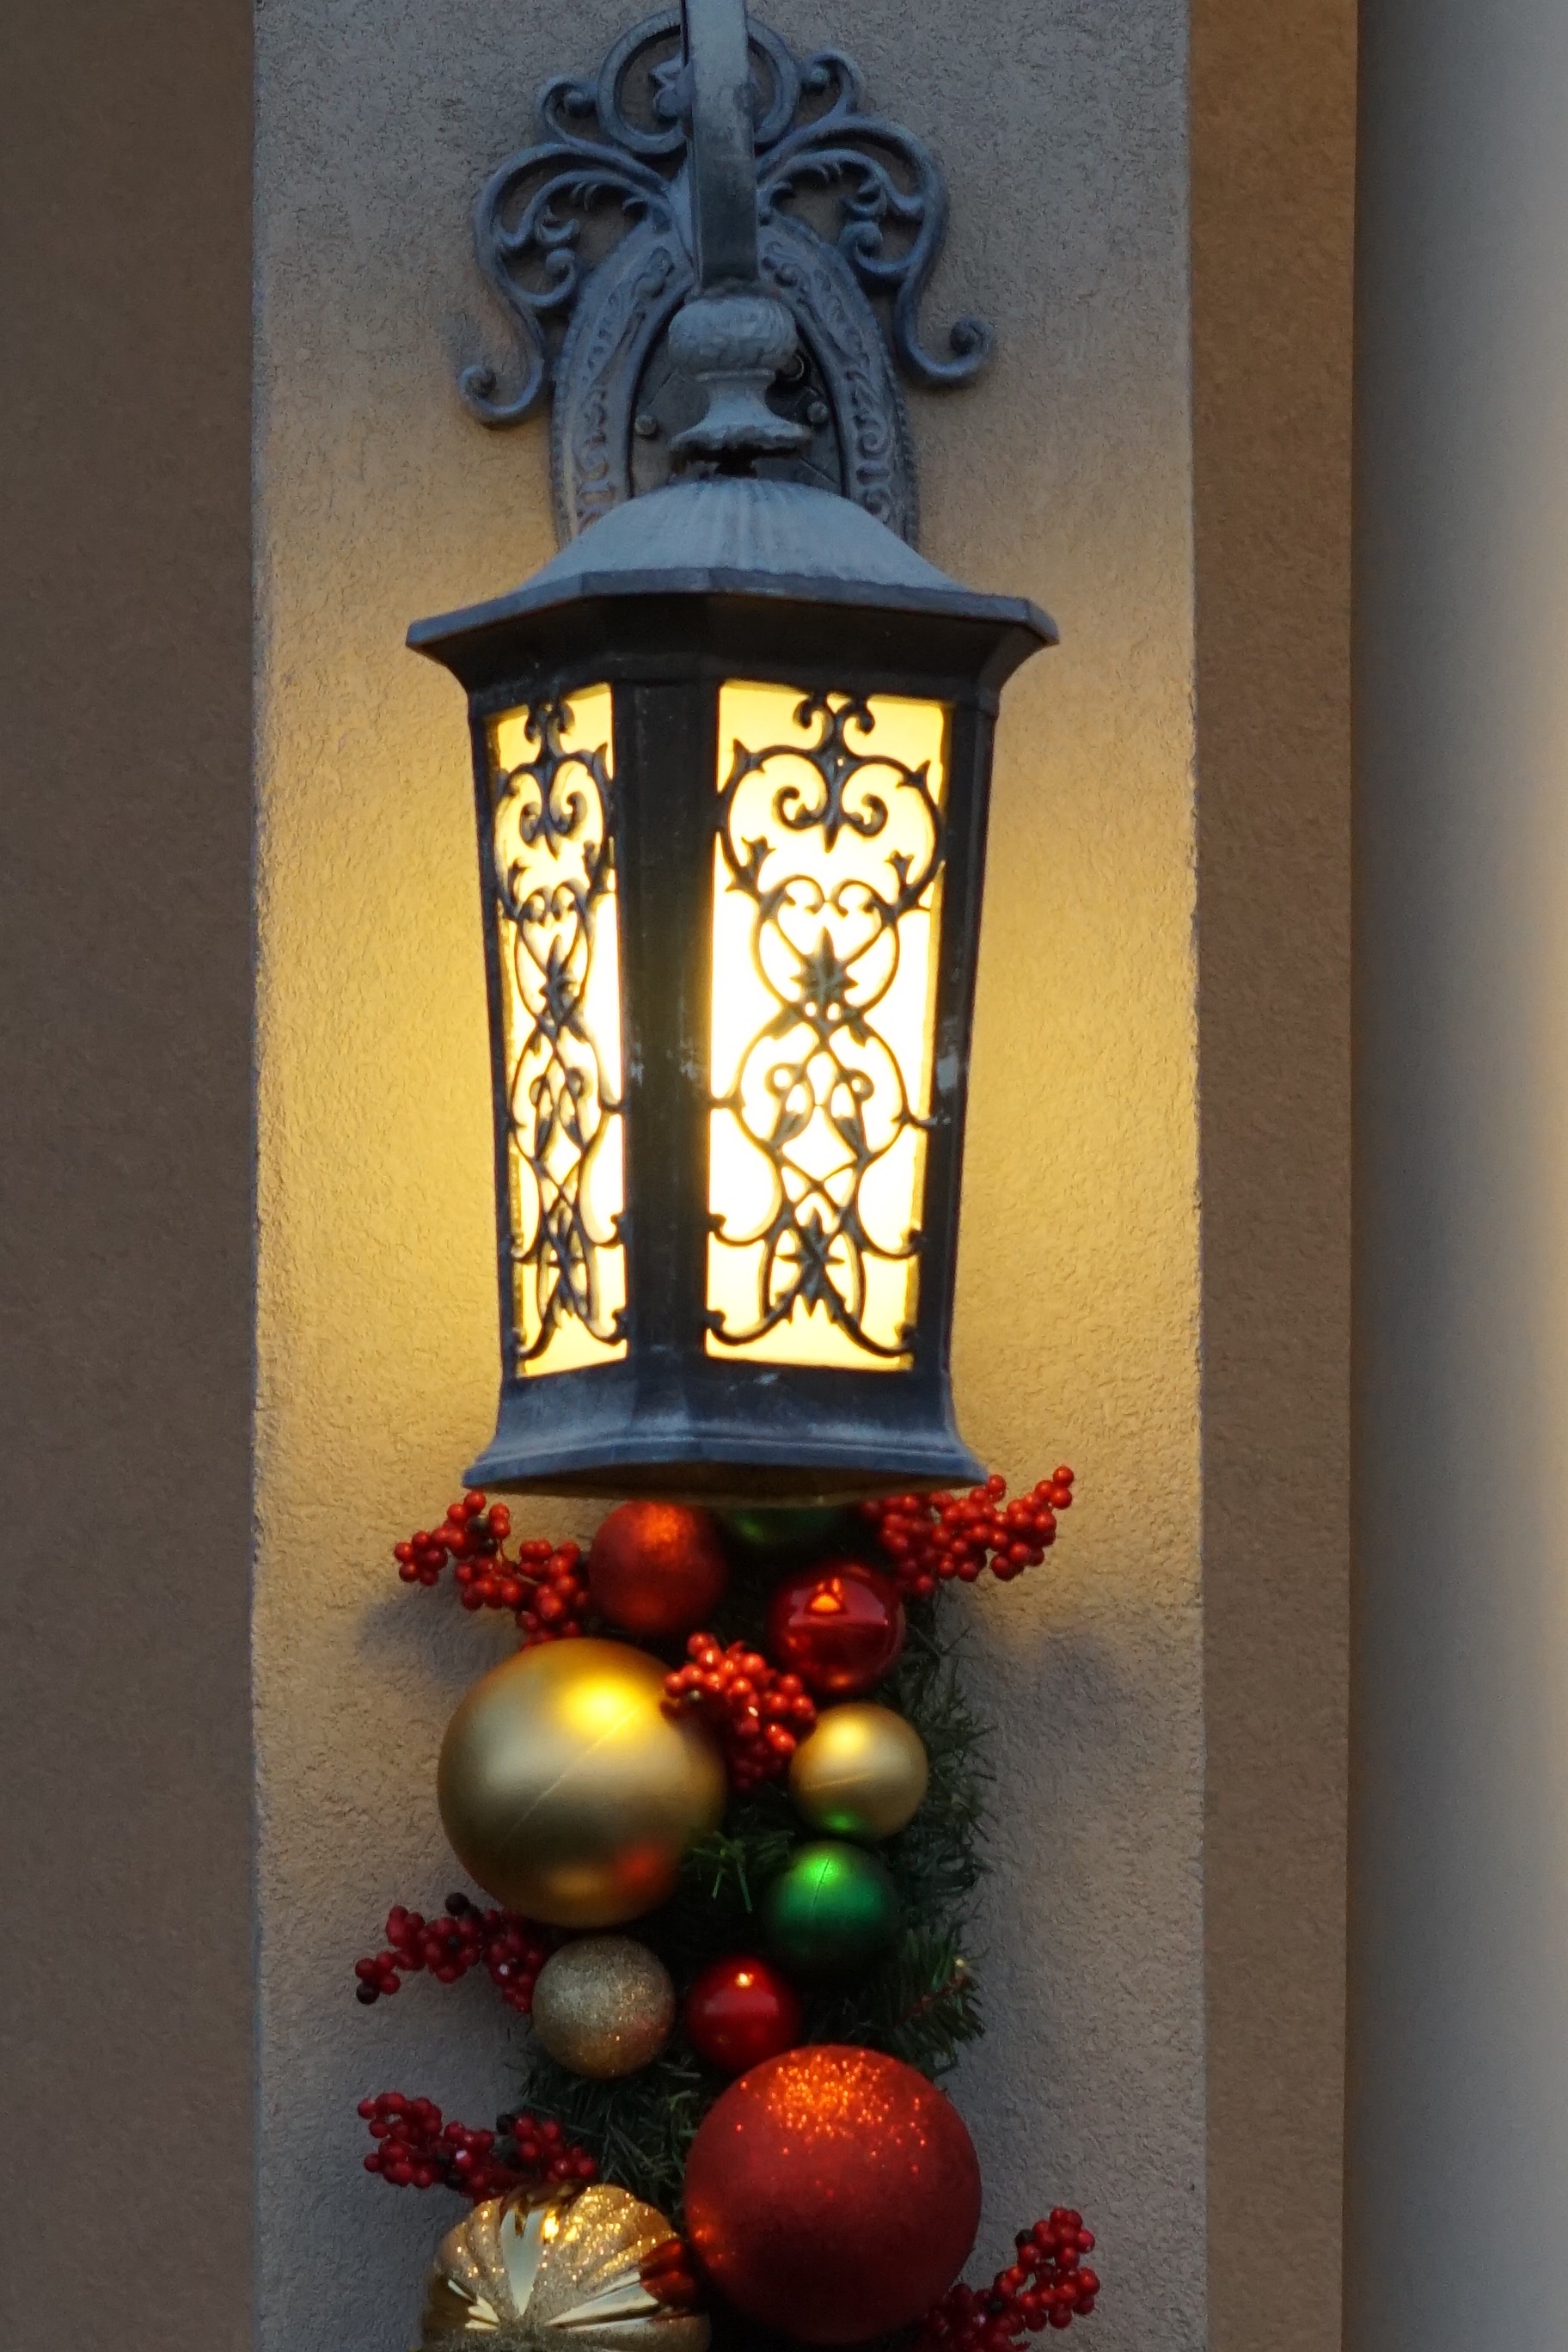
I absolutely love how this Christmas Swag turned out. I hope you enjoy making this easy DIY Christmas project!
If you like the outcome please let us know in the comments below? Also share your ideas on what you would have done differently?
Need help with an upcoming project? Be sure to send us a project request!
“Remember When Every Penny Counts, Count on MissPlanIt”



Beautiful outdoor Garland
Thank you so much!
XOXO MissPlanIt