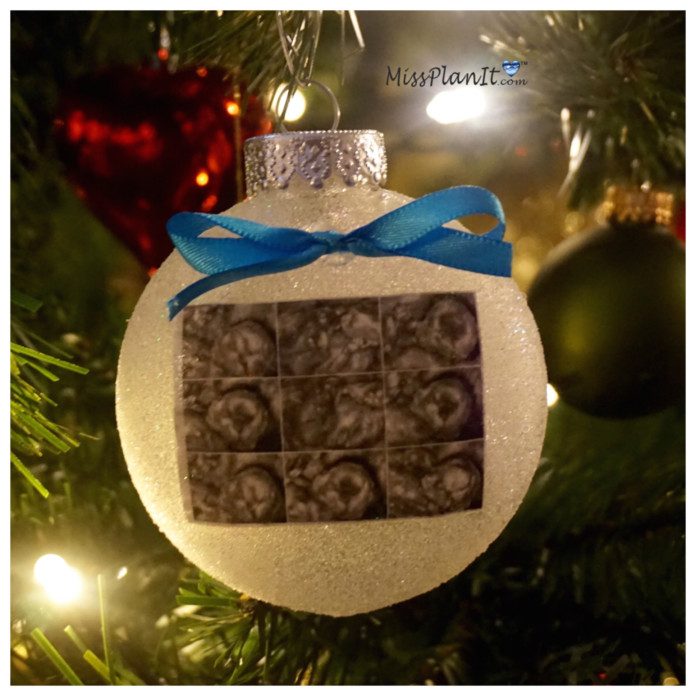
This is the perfect way to announce your new addition! Join us as we create this unique way to share your wonderful news. For your tree or the future Nana’s and Pop Pop’s tree, you can’t go wrong with this special gift!
Let’s Get Started:
Supplies:
2ct. Crafter Square Paintable Clear Plastic Christmas Ball
8 oz Mod Podge Gloss Craft Adhesive
Square Fine Glitter Shakers
Tree House Studio Clear Acrylic Gloss Coating
1/4 inch Ribbon
Paintbrush

Directions:
STEP 1: Cut out your ultrasound picture.
STEP 2: Use your paintbrush to apply Mod Podge to your clear plastic Christmas ornament.
STEP 3: Adhere ultrasound picture to ornament, apply additional mod podge on top of your ultrasound picture.
STEP 4: Remove excess mod podge around ultrasound picture, begin applying additional mod podge to ornament.
STEP 5: Sprinkle silver glitter on ornament, then spray your clear gloss coating. Allow to dry.
STEP 6: Tie your ribbon in a bow and cut. Add a dab of hot glue and attach to your ornament.
If you like the outcome please let us know in the comments below? Also share your ideas on what you would have done differently?
Need help with an upcoming project? Be sure to send us a project request!
“Remember When Every Penny Counts, Count on MissPlanIt”


