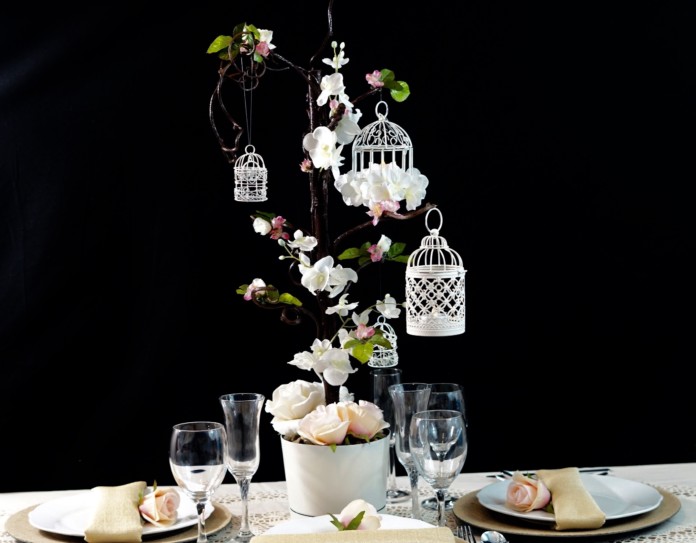
While this week’s centerpiece is being made specifically for a Quinceanera, keep in mind the possibilities are endless. Consequently, you can also use these centerpieces for a wedding, baby shower, bridal shower and more!
Our community member sent us a project request for her daughter’s upcoming Quinceanera. Since her daughter was born, she has probably dreamt and visualized how beautiful her Quinceanera celebration would be. As her Sweet 15 quickly approaches, she is now in the final stages of planning. She has several decisions she needs to make for her daughter’s special day and it probably seems like she has little time to make them. In addition, she is also a little stumped on what to do for her table decorations. Well we have her covered. This week we are completing stunning bird cage centerpieces that hang from tall cherry blossom trees. They are also covered in flowers; from white hydrangeas to pink roses and white orchids.
Let’s Get Started: Click our affiliate links below to purchase the supplies needed for this project:
- Natural Colored River Rock
- Foam Block
- 7.5 inch Diameter Plastic Planter
- Branch
- Bushel of Willow Branches
- Cherry Blossom Stem
- 5 Stem Pink Velvety Roses
- 5 Stem Cream Velvety Roses
- White Orchid Stems
- Bushel of White Hydrangea
- Mini Bird Cages
- 5 Inch Decorative Bird Cages
- Plain Bird Cage
- Floral Wire
- Fishing Wire
- Krylon Modern White Spray Paint
- Rustoleum Espresso Brown Gloss Spray Paint
- 3- LED Tea Lights
- White Foam Discs
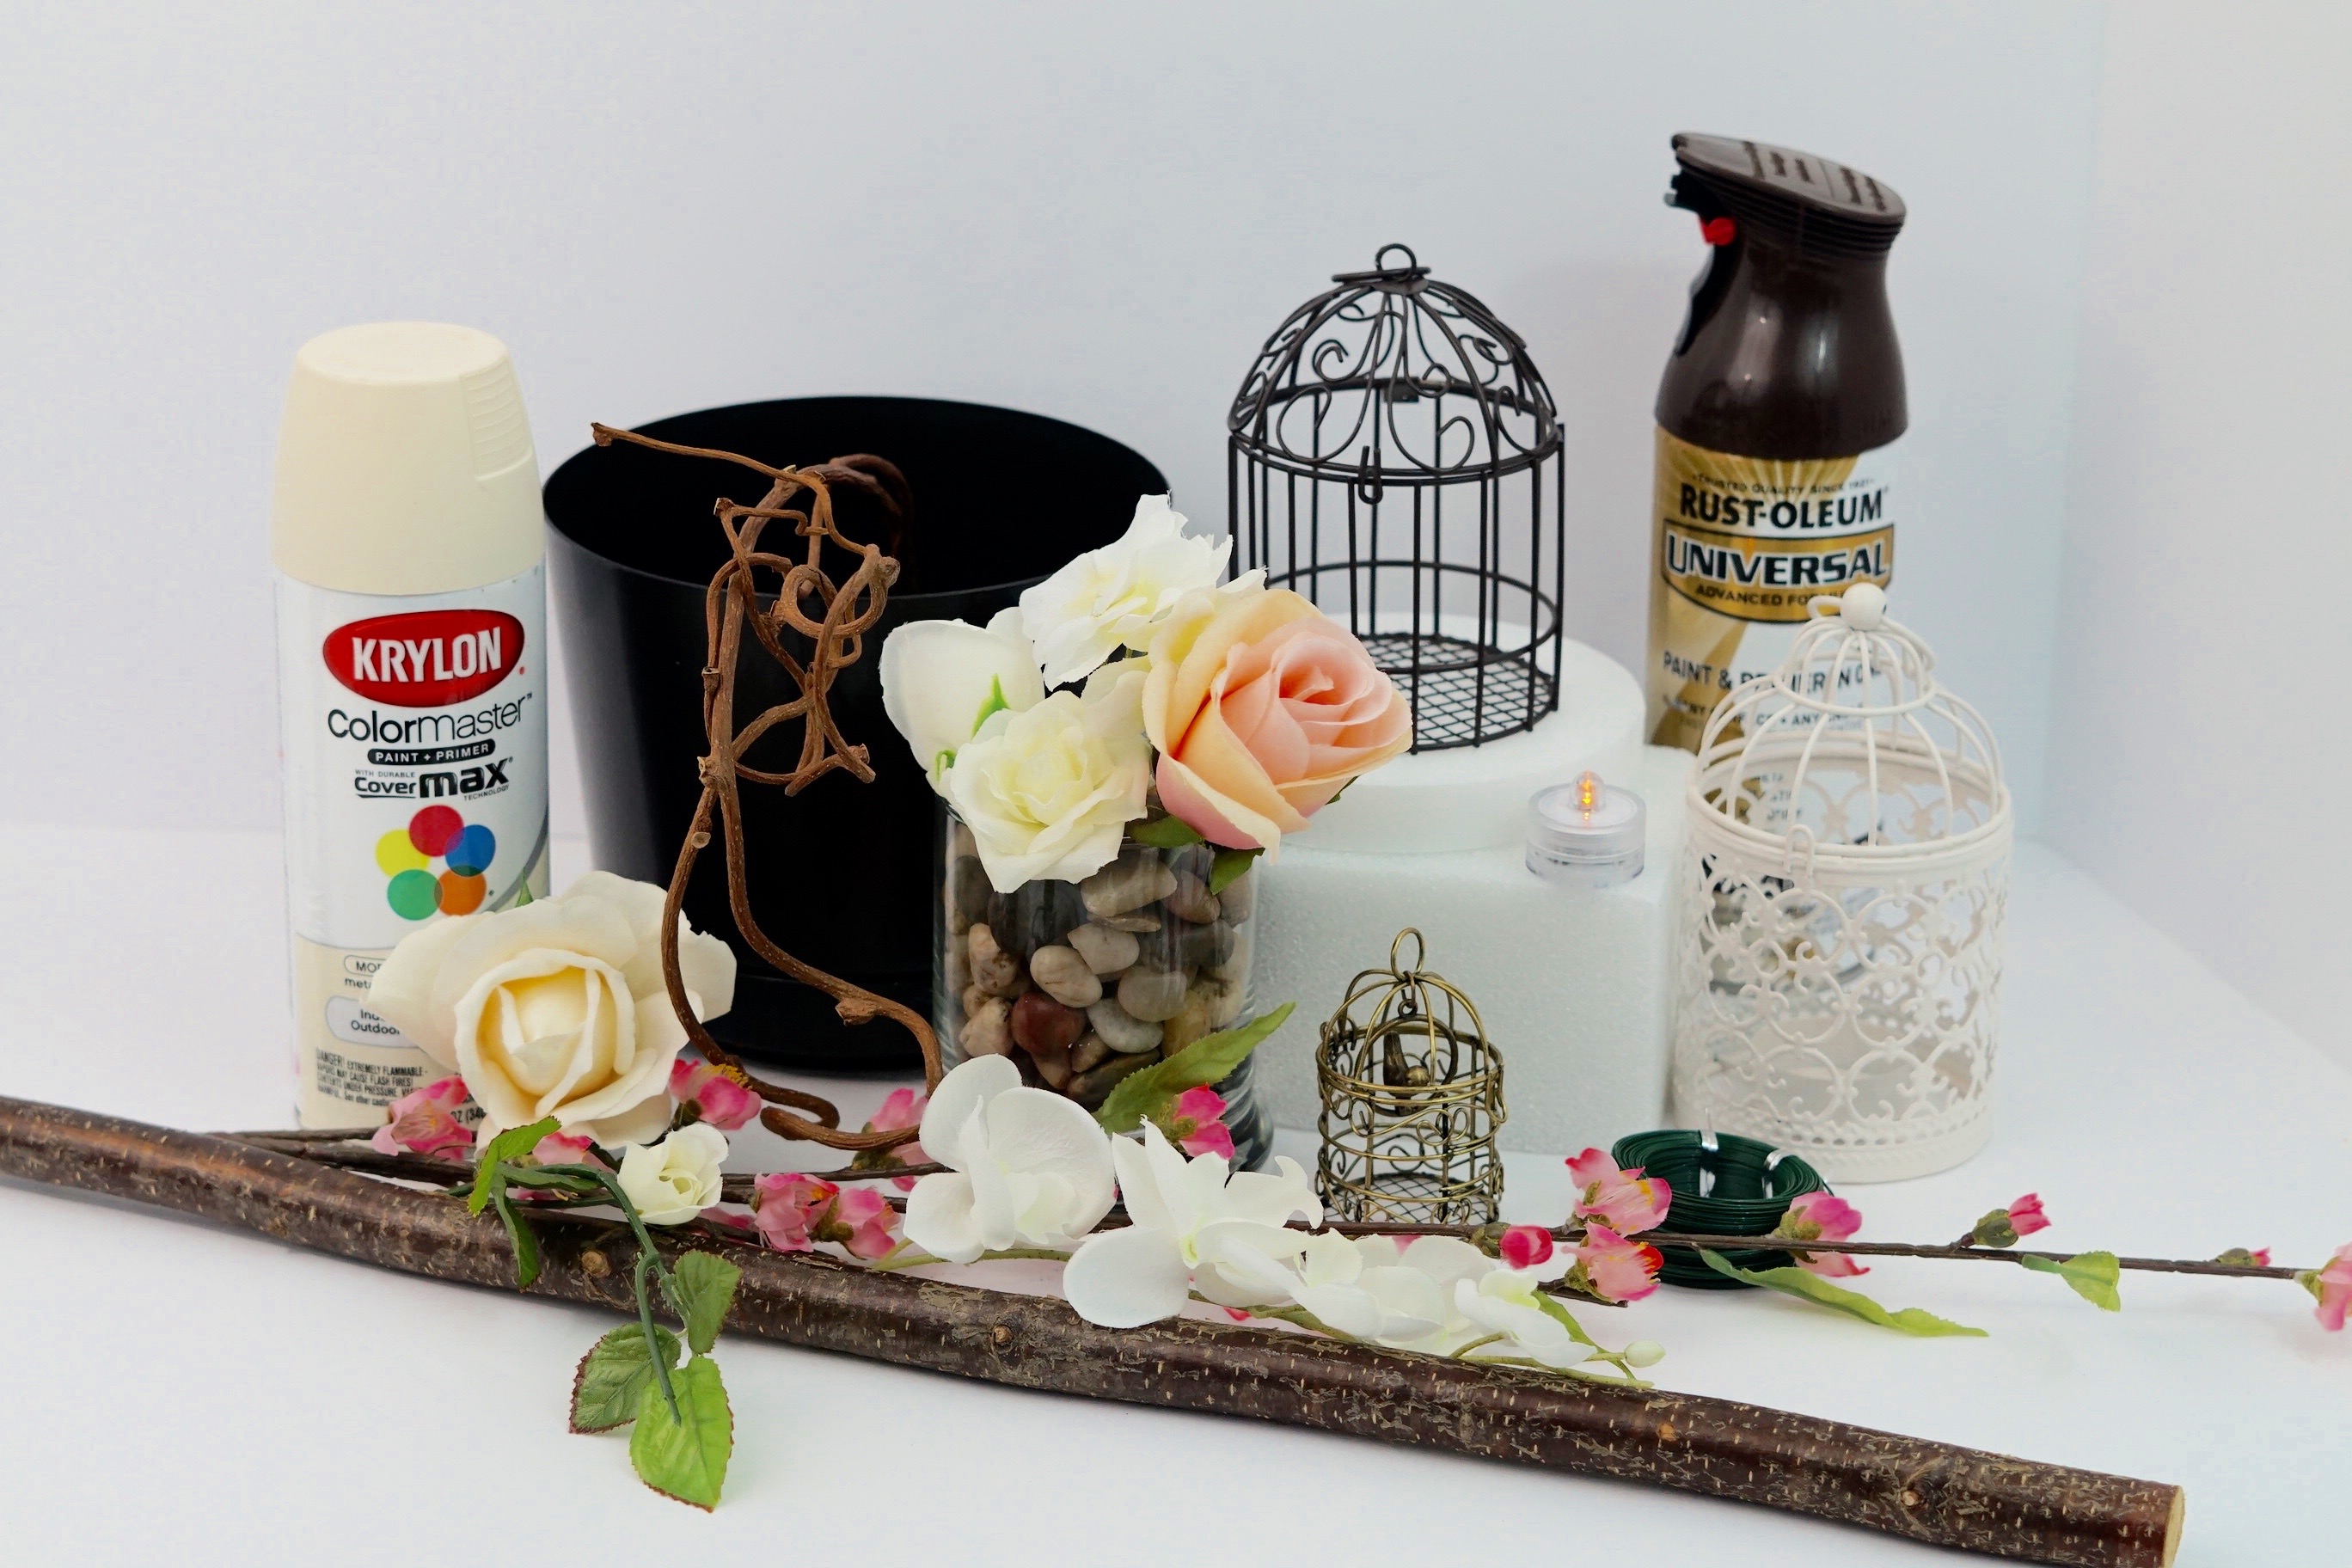
If you prefer written instructions, please continue reading.
How to Make Bird Cage Centerpieces
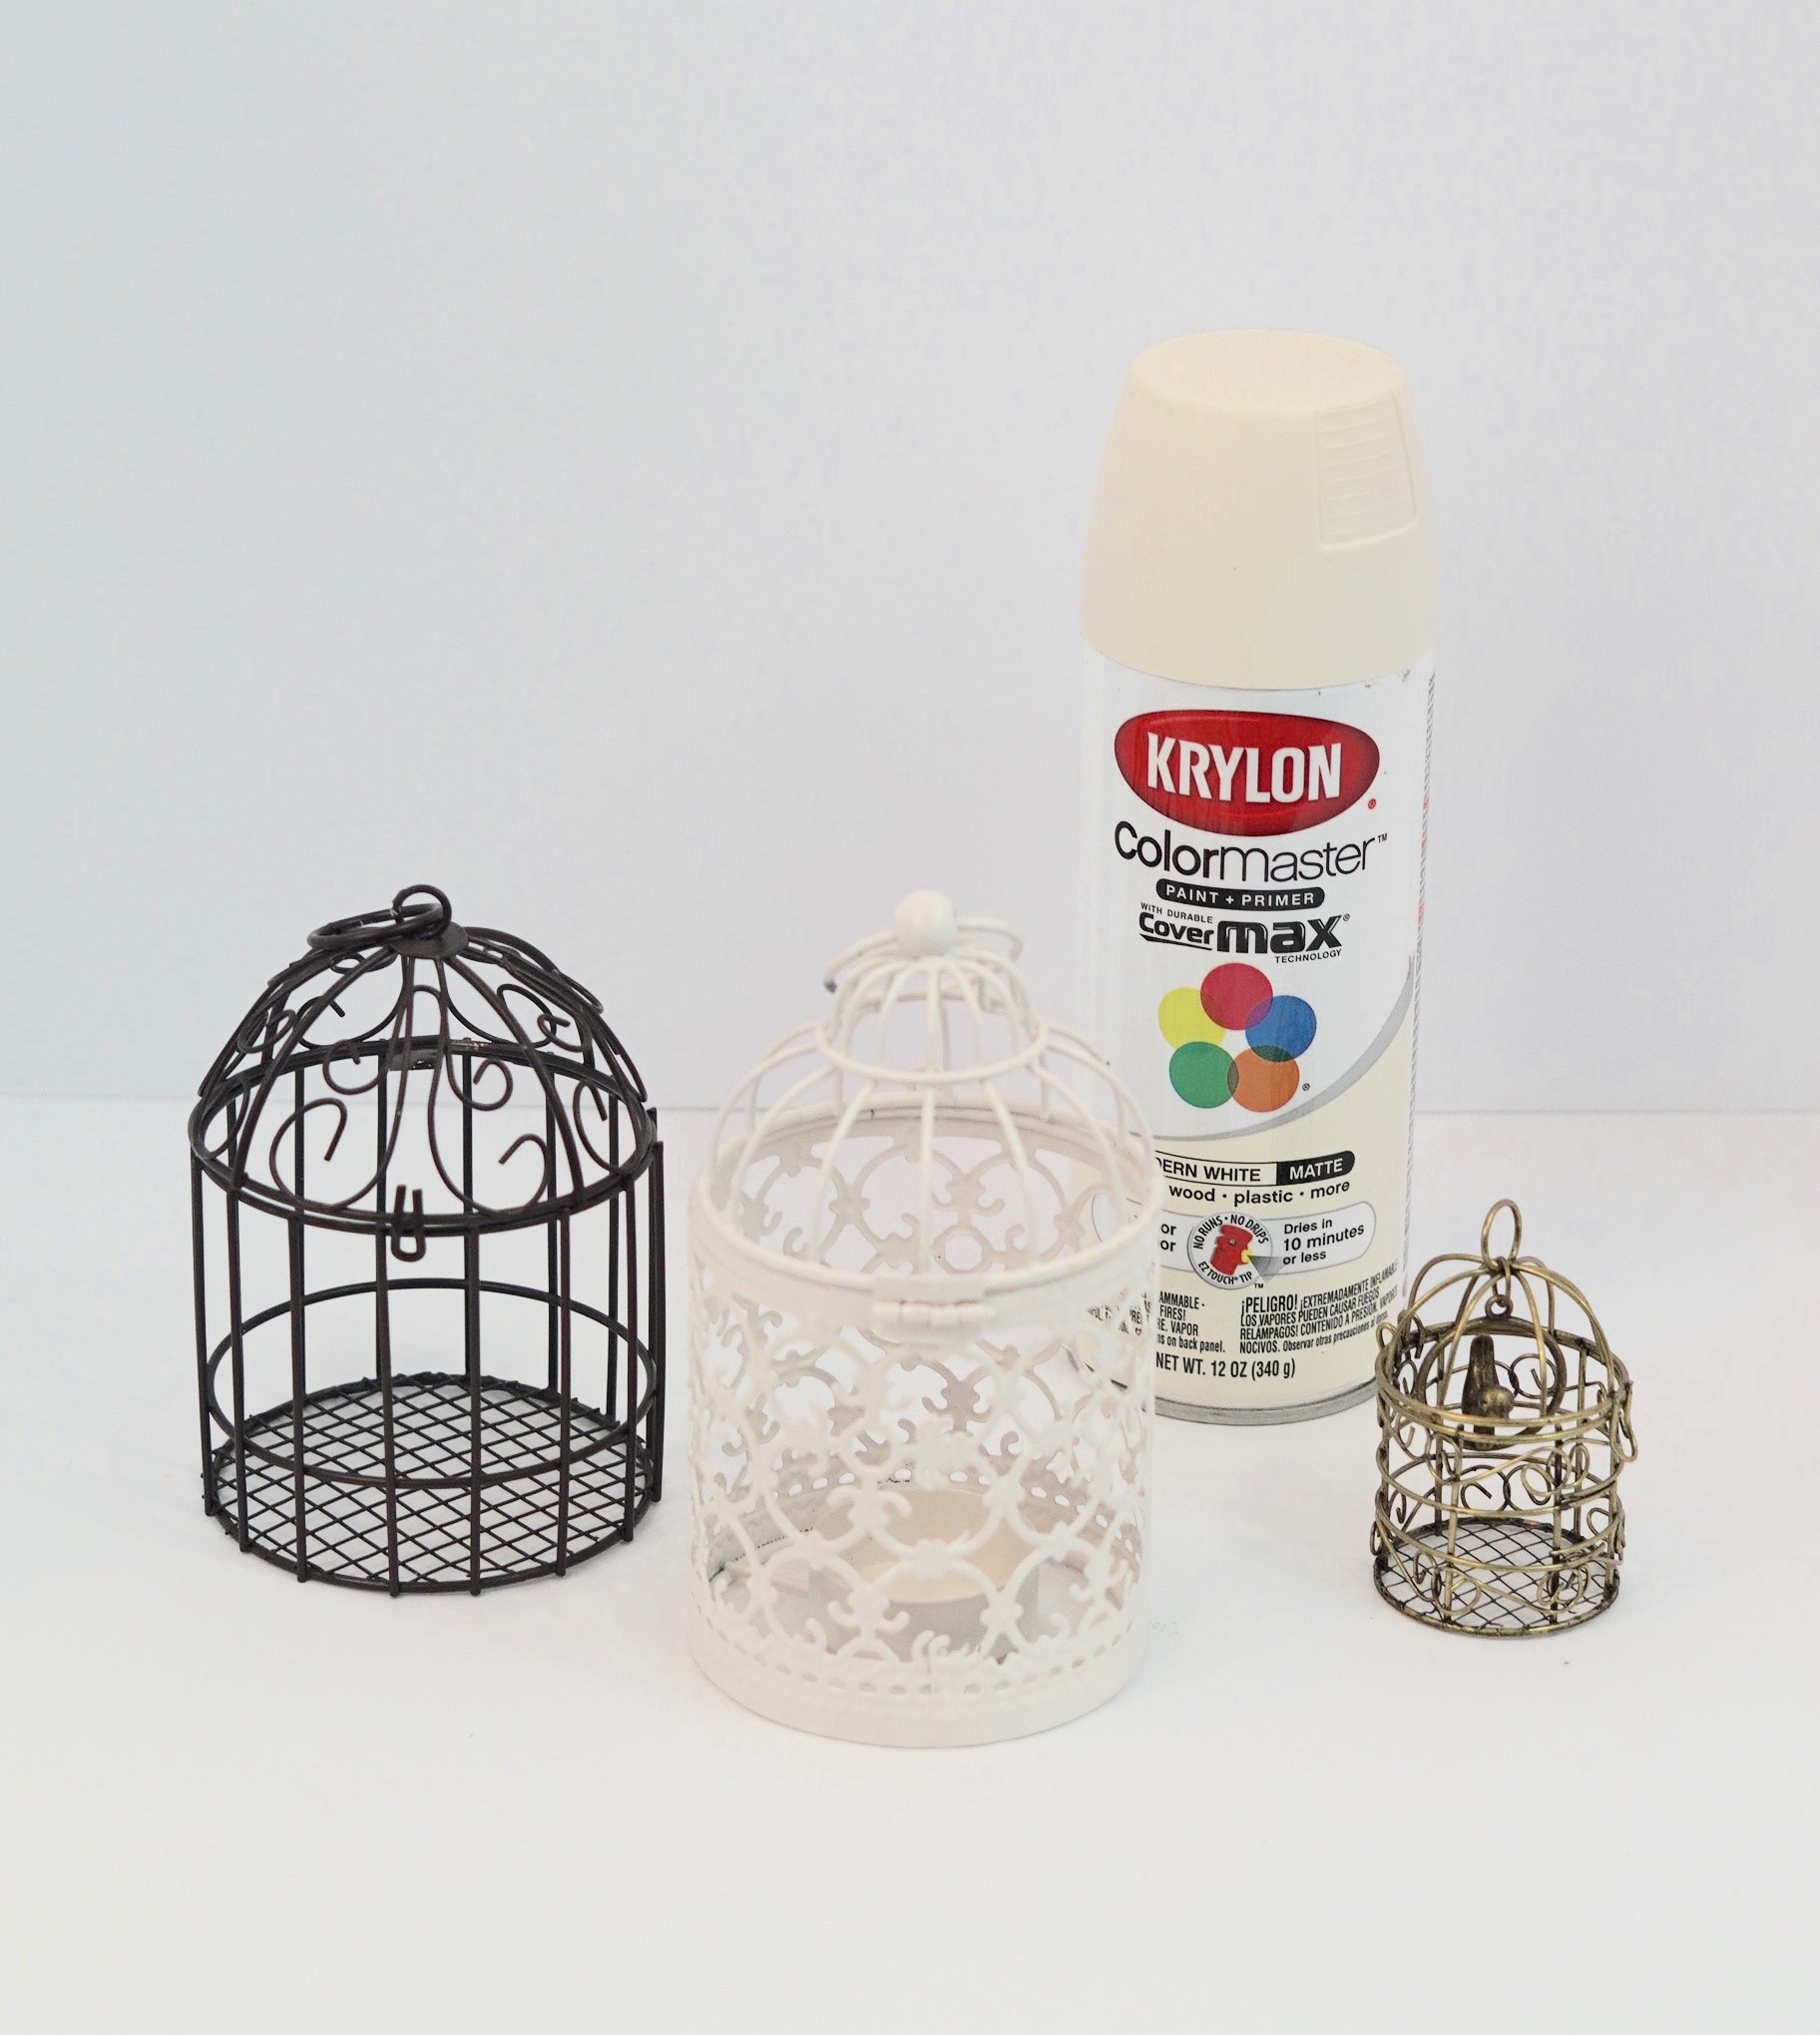
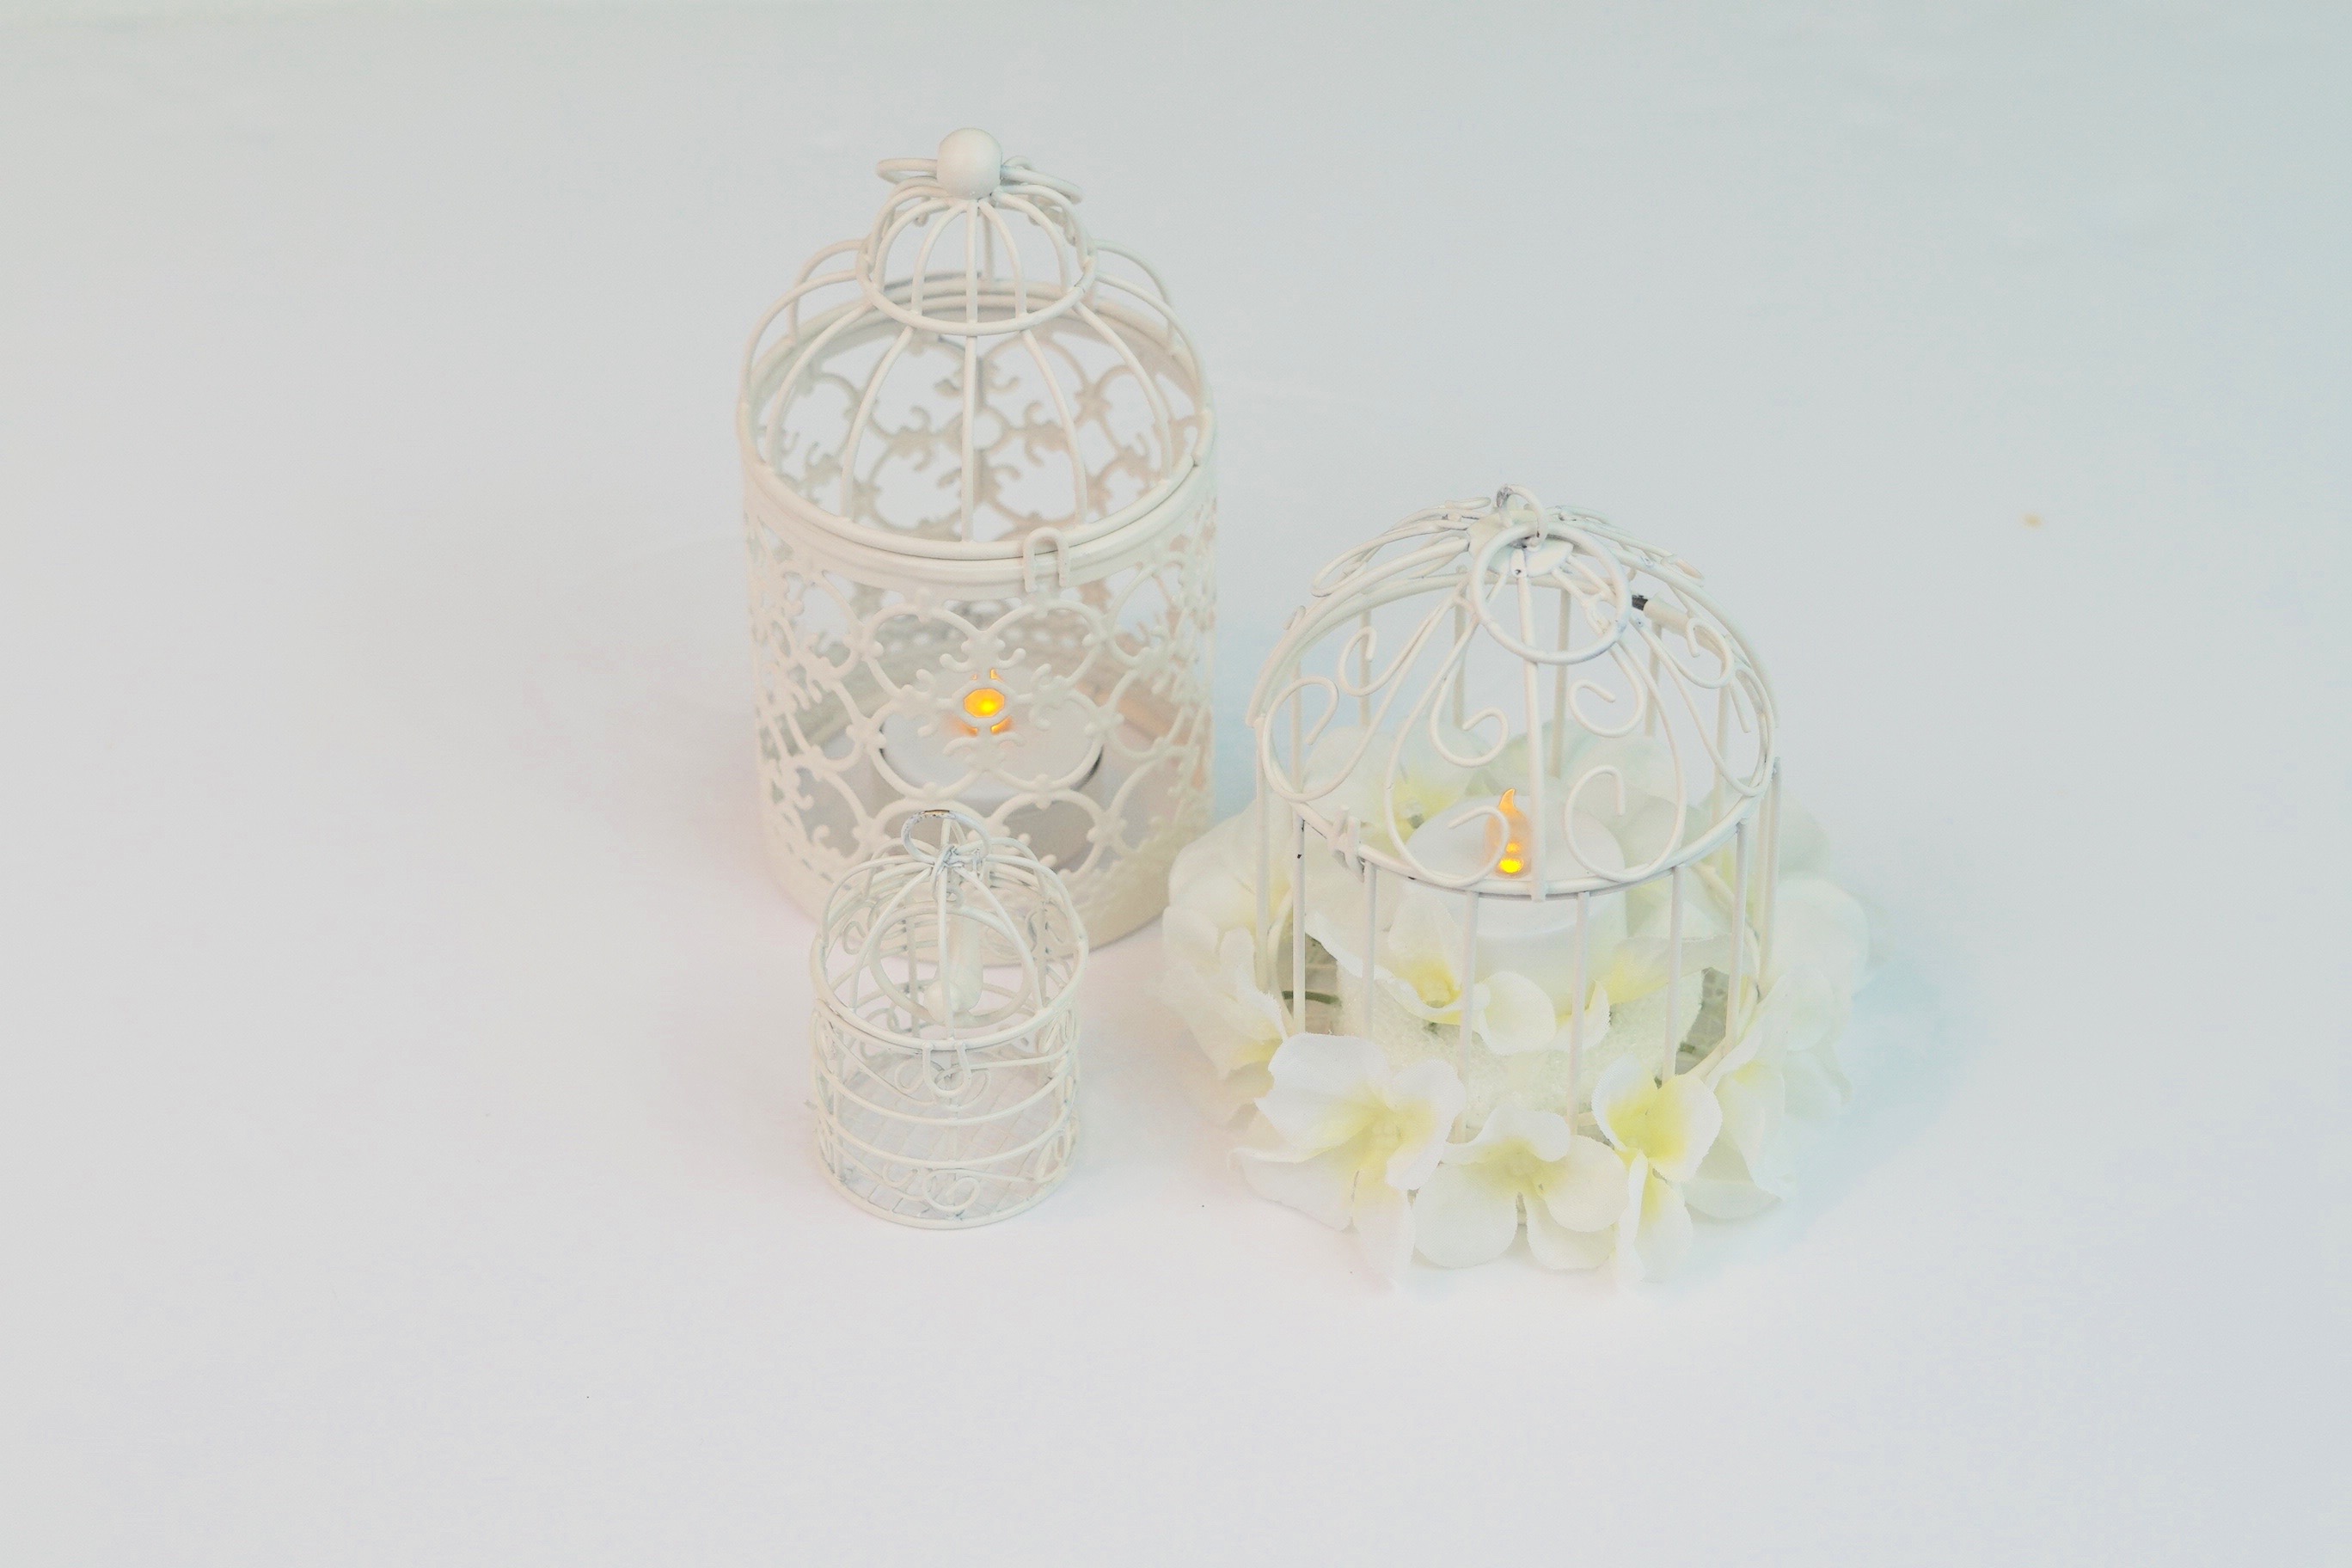
Directions: STEP 1: First let’s start with your bird cages. Take your three bird cages which range from a little under 2 inches to 4-5 inches in size. Spray paint them all with your white spray paint so they all look the same. Now allow them to dry.
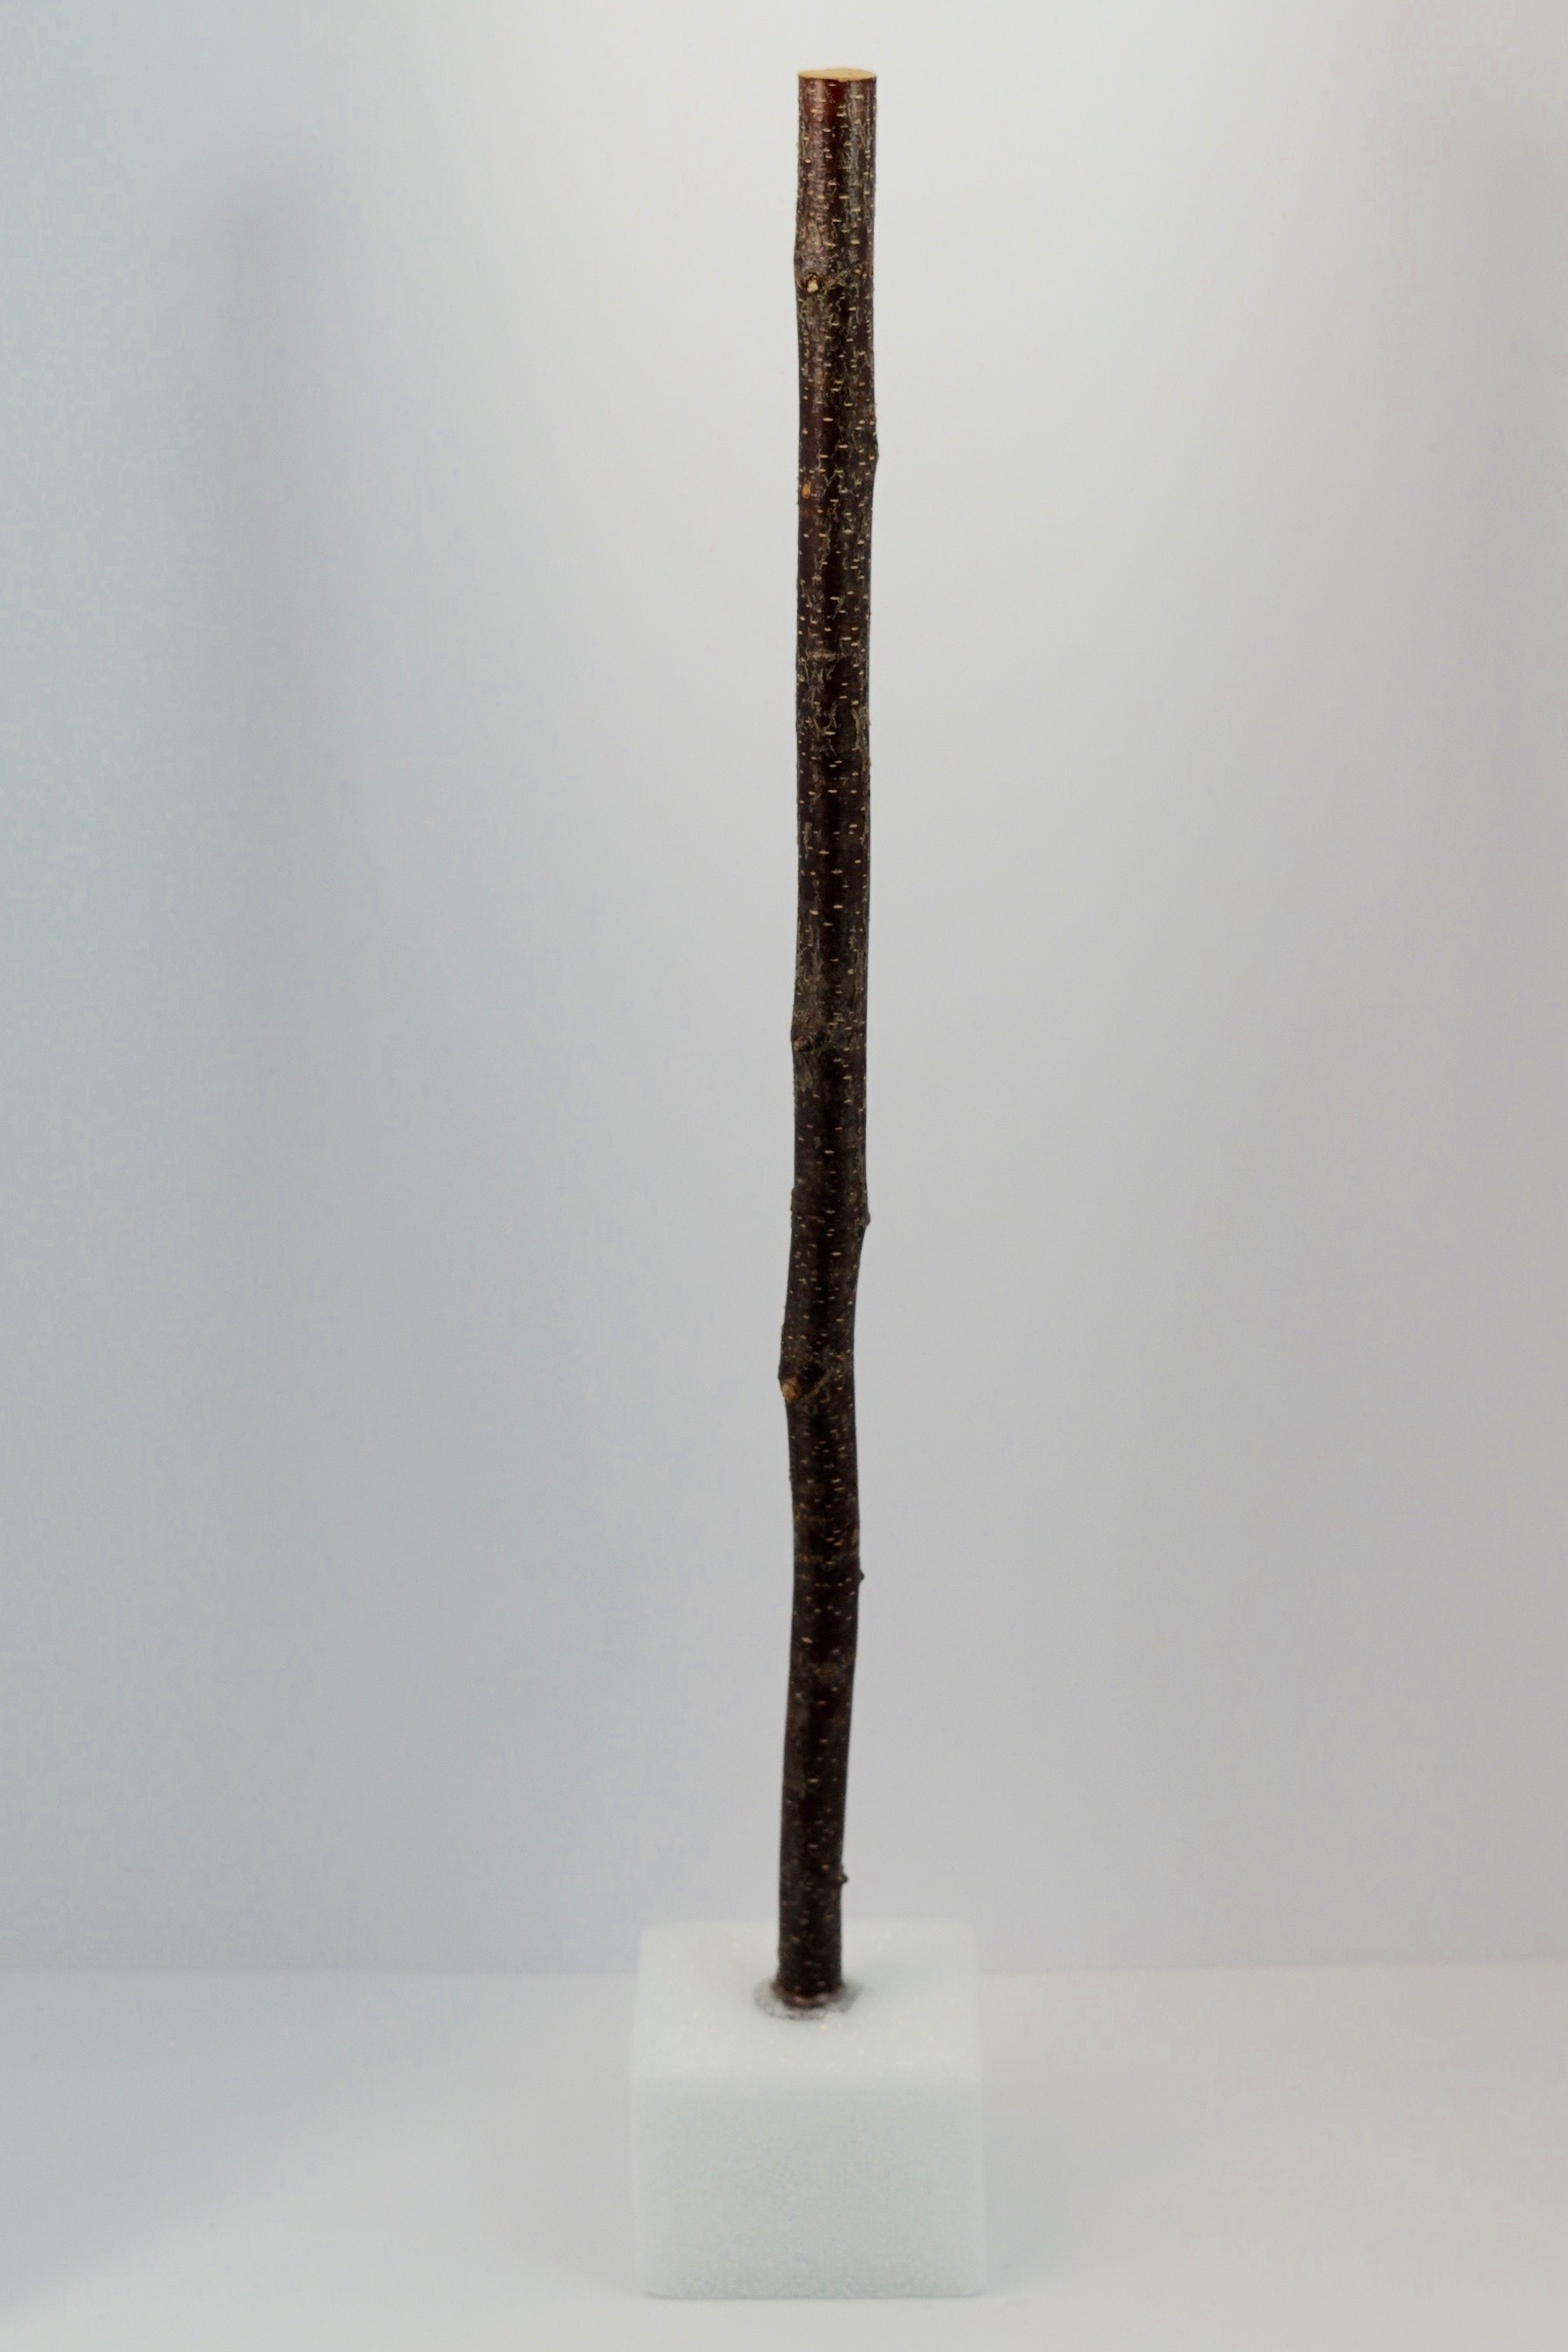
STEP 2: Now that you are done with all your bird cages, it’s time to build your base. You will do this by taking your birch branch and placing it inside the middle of your foam block. Remove the branch and fill the hole with hot glue. Then replace your branch and add a little more hot glue to your opening because it will seal it in place. TIP: Rather than purchasing your branches, you probably can check your front yard or back yard for branches. As a result of what you find, you may be able to use them for your centerpieces. If so be sure to cut them down to 18-19 inches tall.
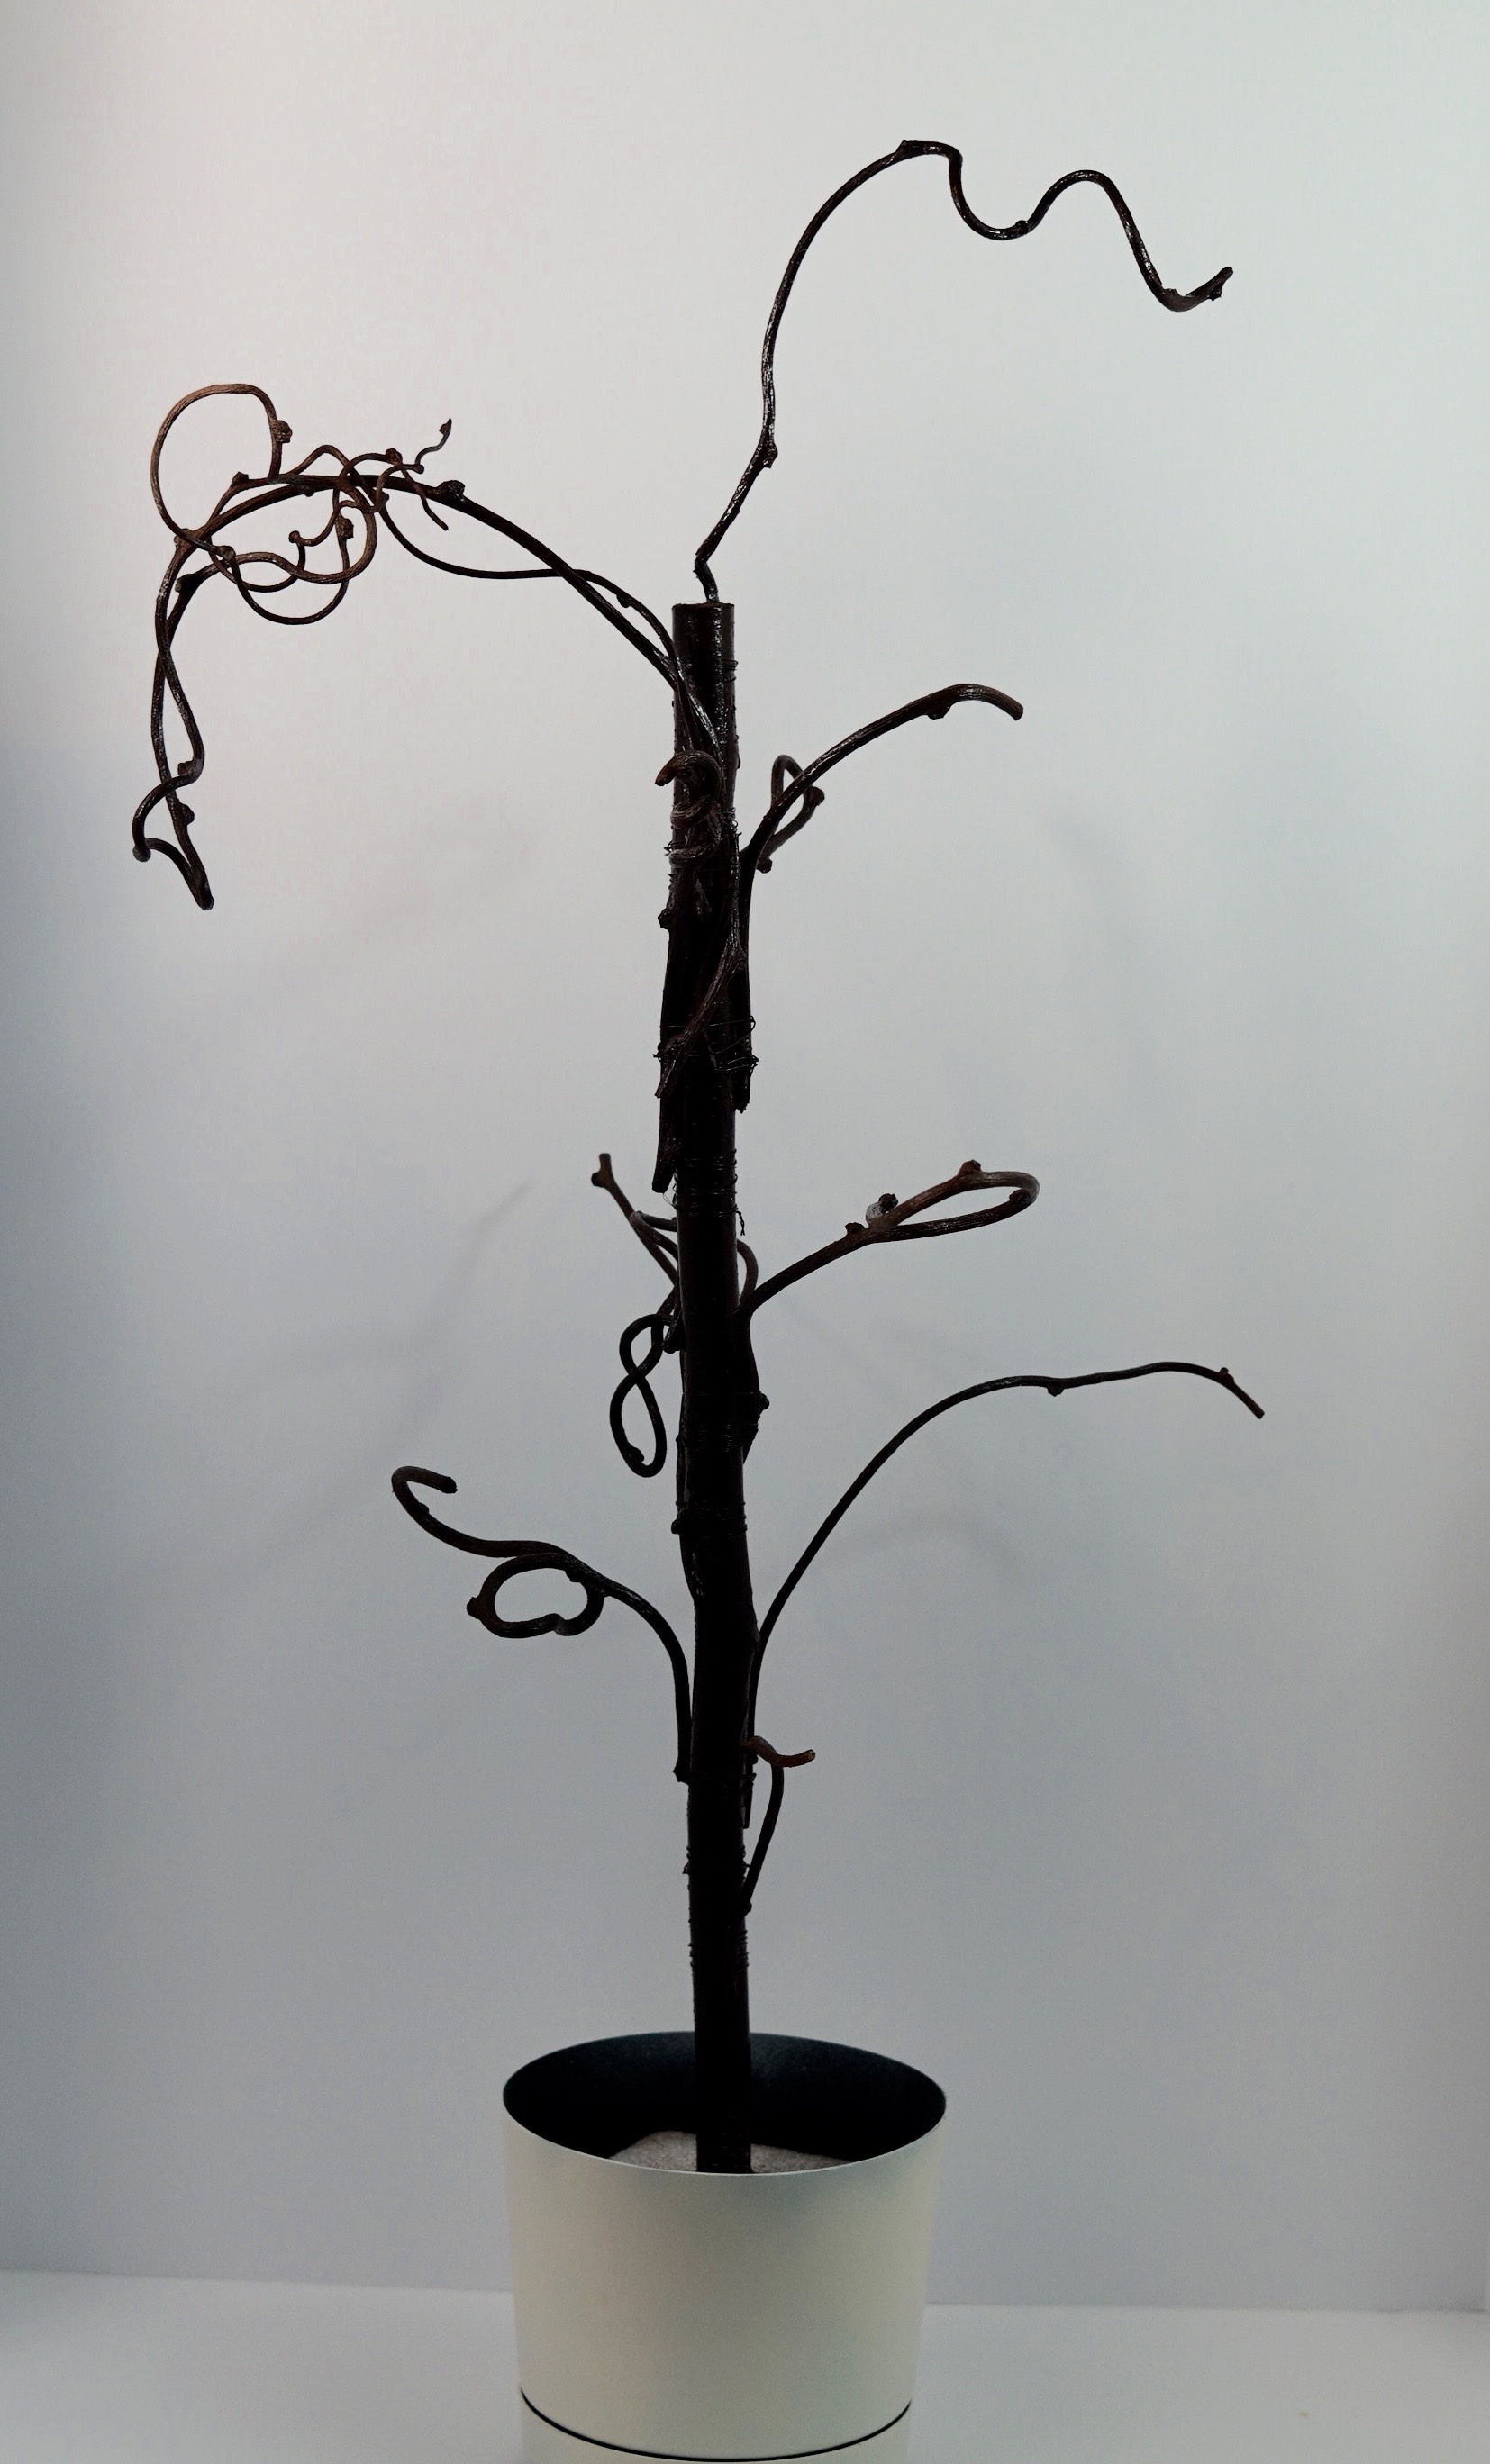
STEP 3: Take your willow branches, find where the curve is and use your wire cutters to clip off at the curve. Now you will be able to split your willow branches in two to attach them to your birch branch. Also be sure to cut your branches at different lengths.
Make Sure Your Tree Is Balanced
STEP 4: Most of all, ensuring your cherry blossom tree is balanced is key. To do this, you will attach your willow branches to all sides of your branch using floral wire. This means connect your willow branches to the north, south, east and west of your birch branch. Also add hot glue to the stems of your willow branches prior to attaching. As a result, this will make it easier to get the branches to adhere to your birch branch.
STEP 5: Next spray paint your entire tree trunk with your espresso paint. This will make everything uniform and also hide your floral wire.
Decorate Your Plain Bird Cage with Flowers
STEP 6: Now take your plain bird cage and place it on top of your foam disc. Trace around it with a pen. You do not want the ink marks on your foam. Therefore, because of this, it needs to be a pen or some other device that does not have ink in it. Finally, retrace a circle inside of your circle at about a quarter of an inch away from your first circle.
STEP 7: Cut out your second traced circle with your foam cutter. Hot glue your circle to the bottom of your bird cage. Next place your LED tea light on your foam. Take a stem from your Hydrangea flower and poke holes around your LED tea light. Now remove your LED tea light.
STEP 8: Take your hydrangea and detach it. You will insert the hydrangea stems in your punched holes. Furthermore, add a dab of hot glue to each petal stem prior to inserting it in your foam disc. Repeat this same step to the outer edge of your foam disc. Then replace your tea light.
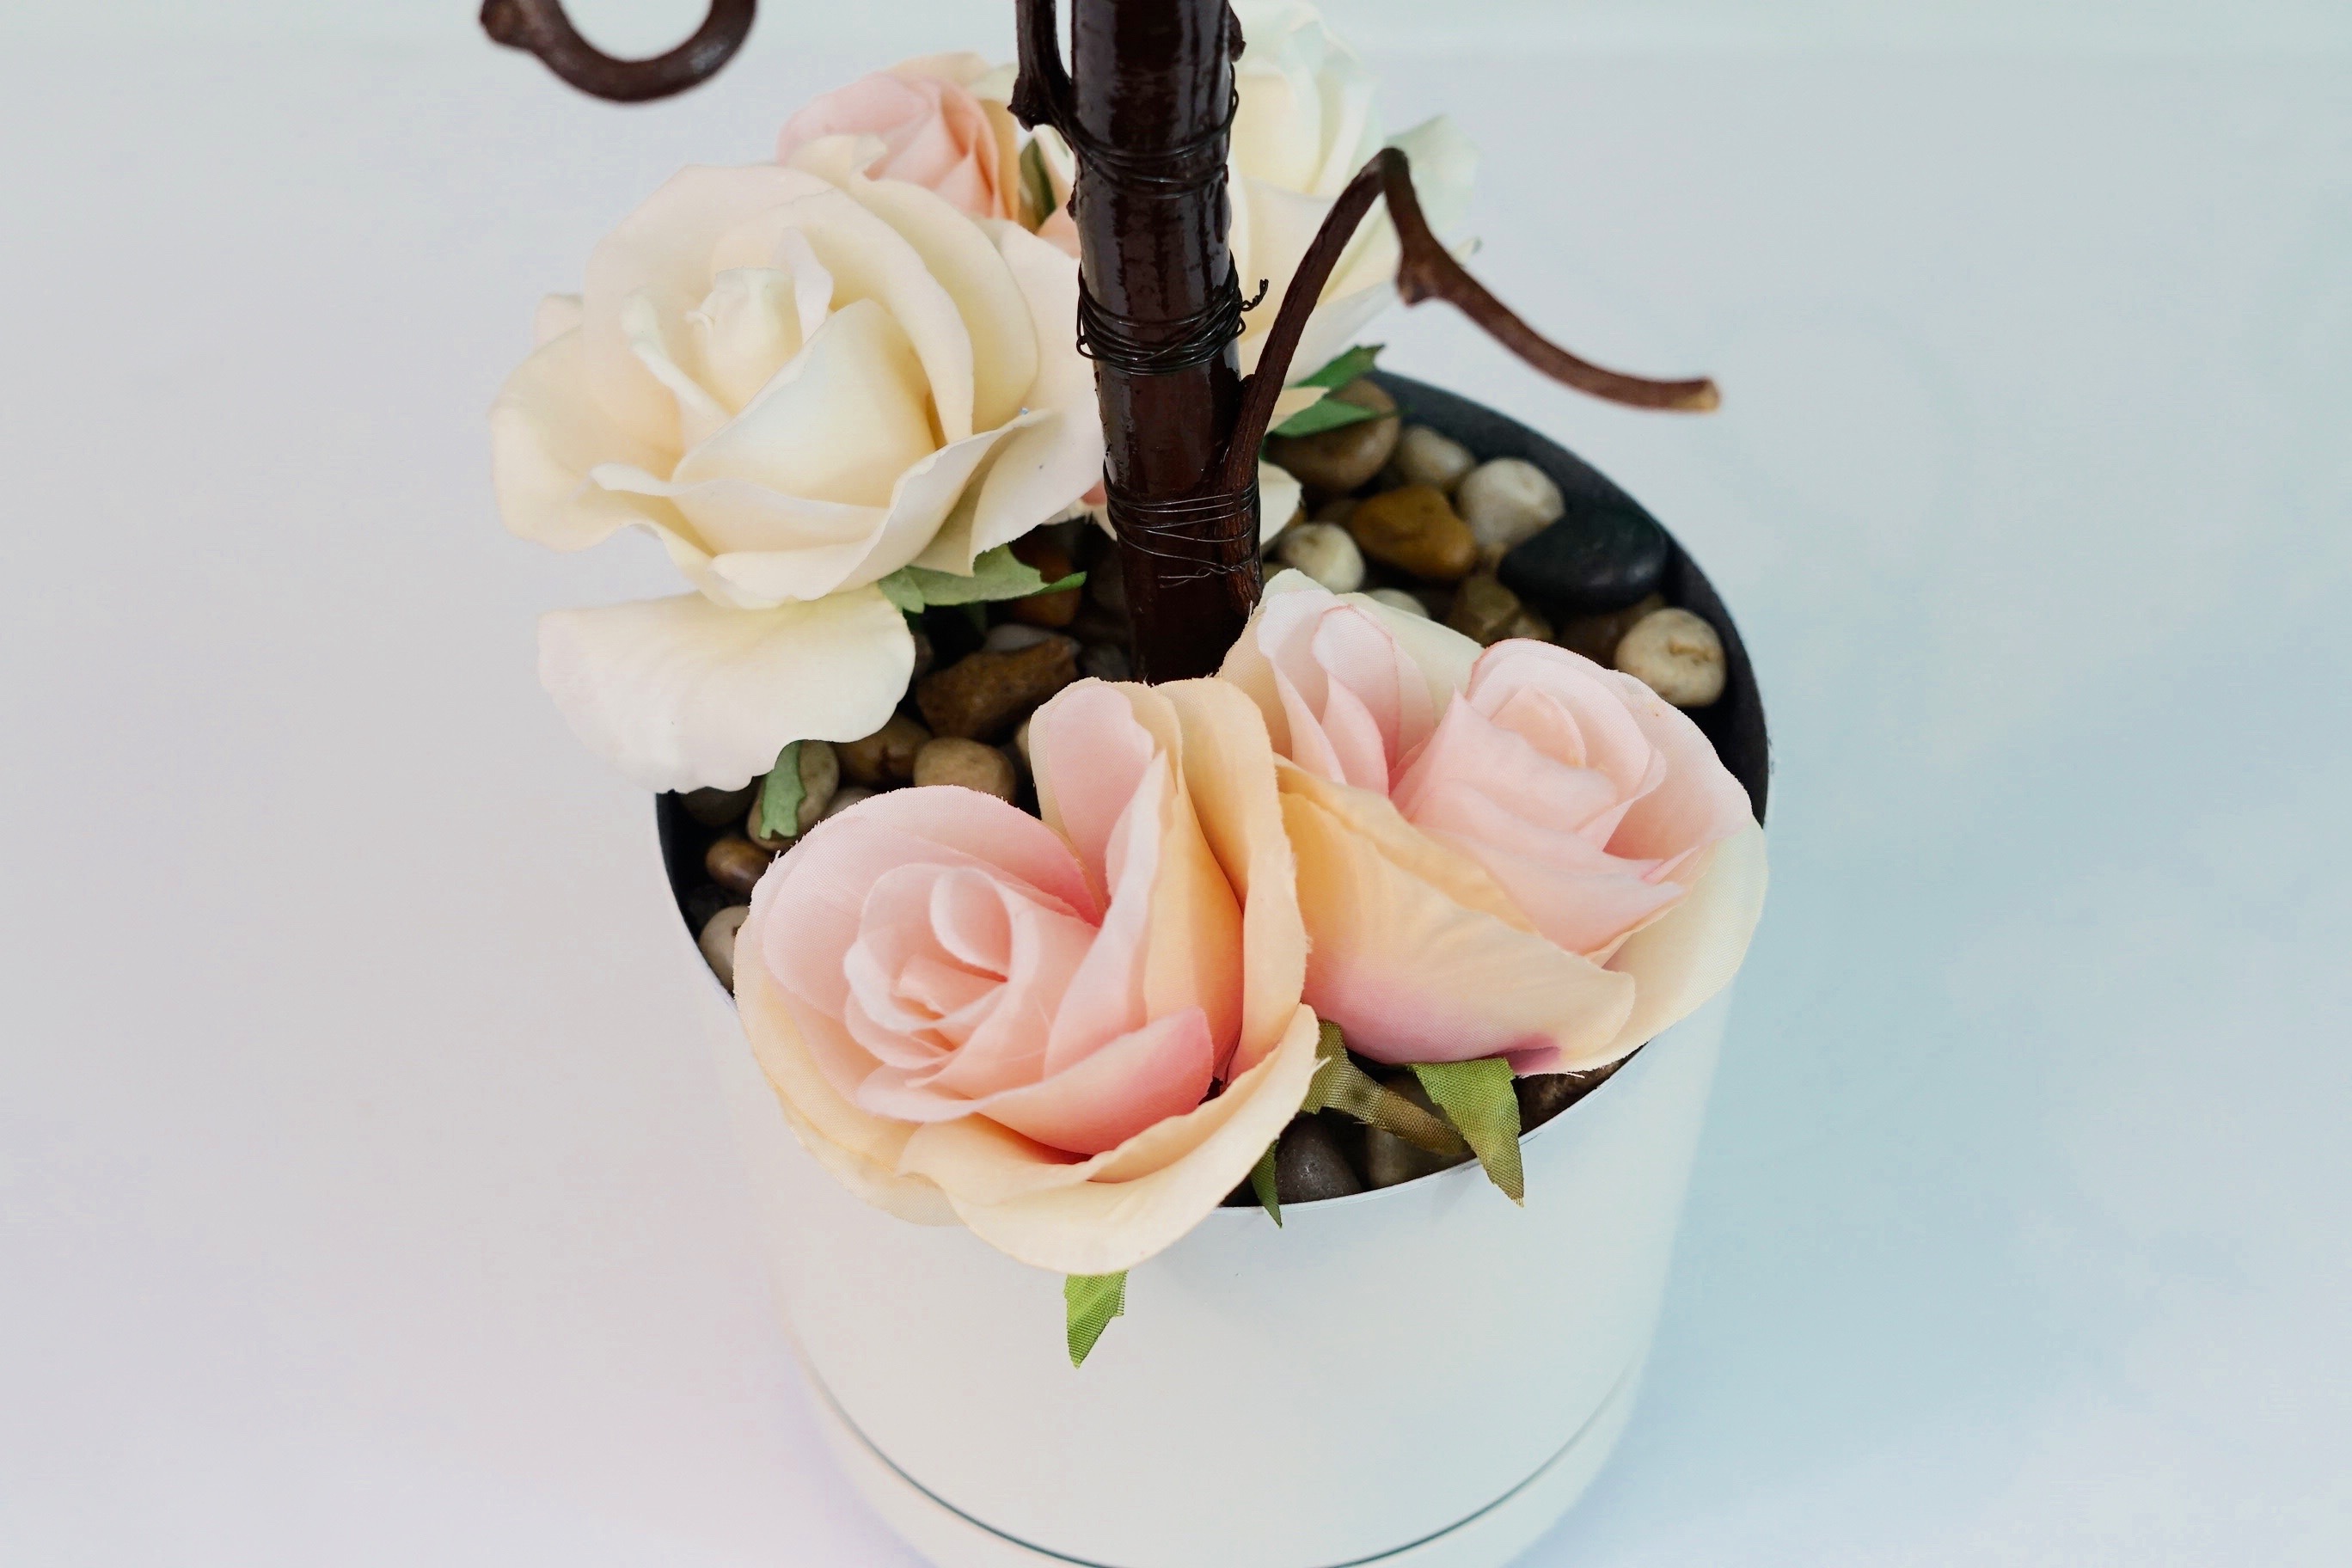
STEP 9: Now insert your birch branch inside your plastic plantar. Add 2 bags of your river rock inside your plastic plantar so it will keep it from tipping over. In addition, also add 3 pink and 2 cream roses.
Add the Finishing Touches To Your Cherry Blossom Tree
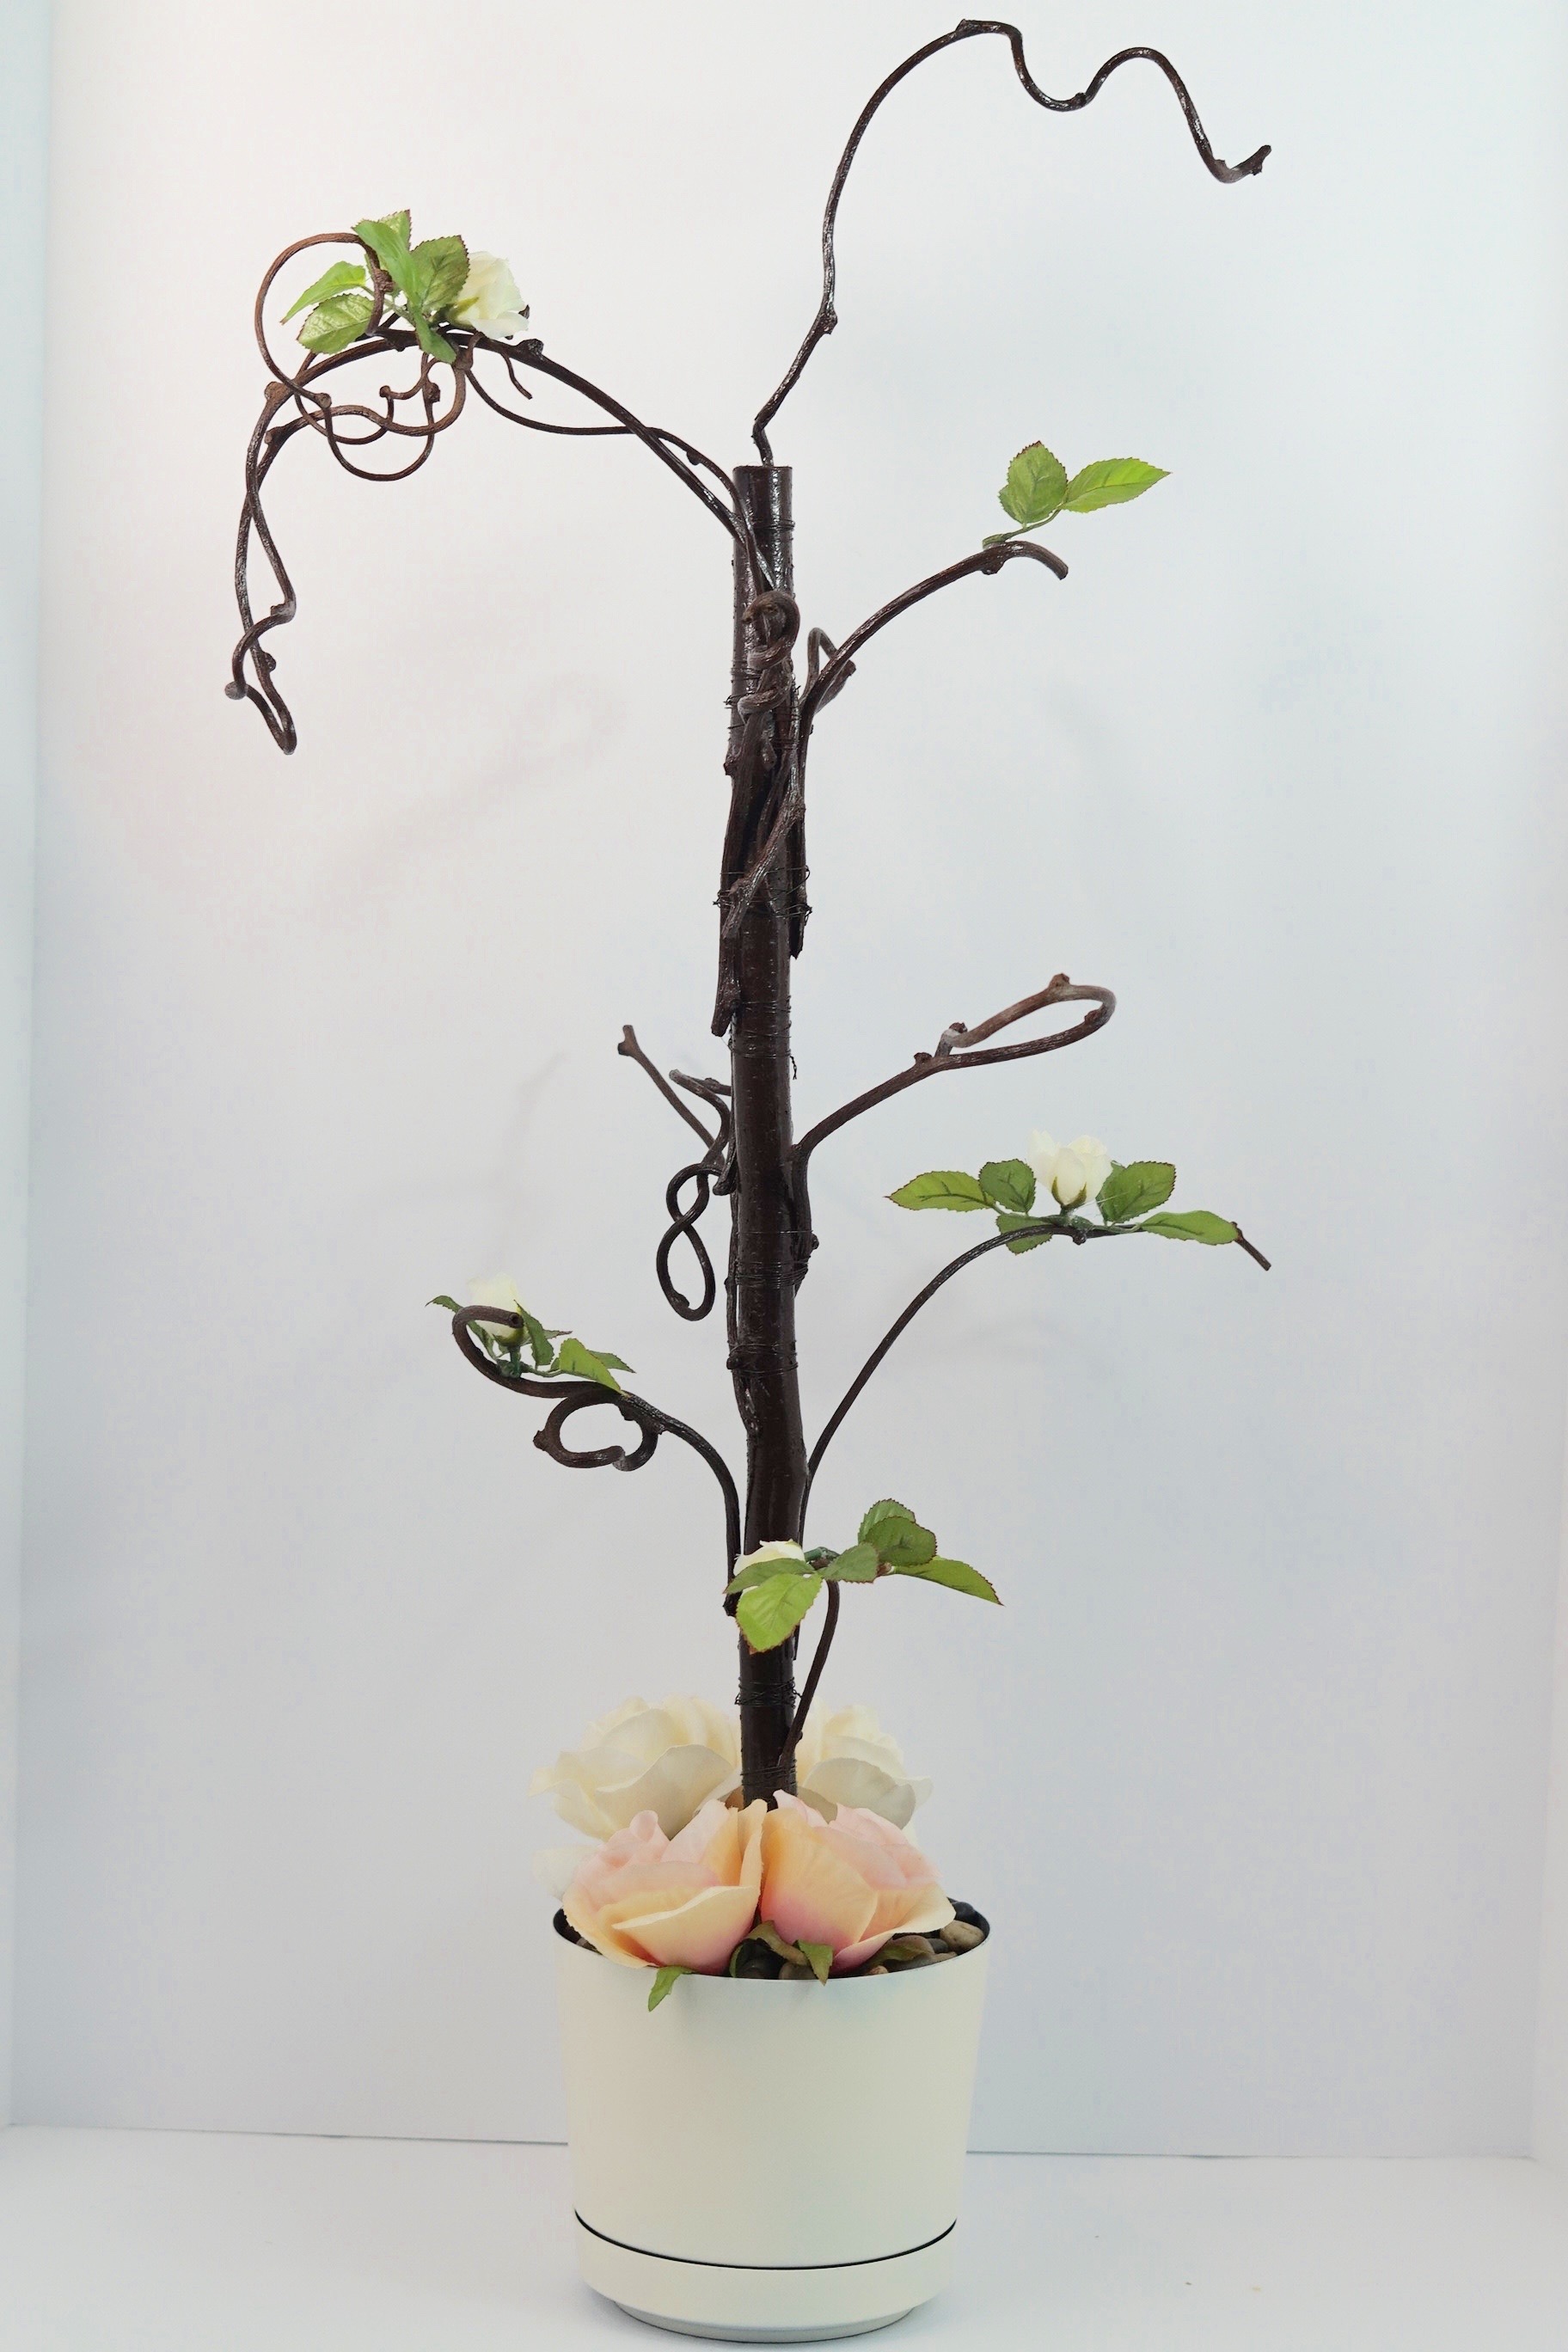
STEP 10: It’s time to add your flowers and leaves to your tree. I did not do a specific placement when attaching the flowers and leaves. I simply placed them randomly and you can do the same. Now attach 4-6 mini roses with leaves and 3-4 orchid stems. Also attach 8-12 cherry blossom buds to your tree using hot glue.
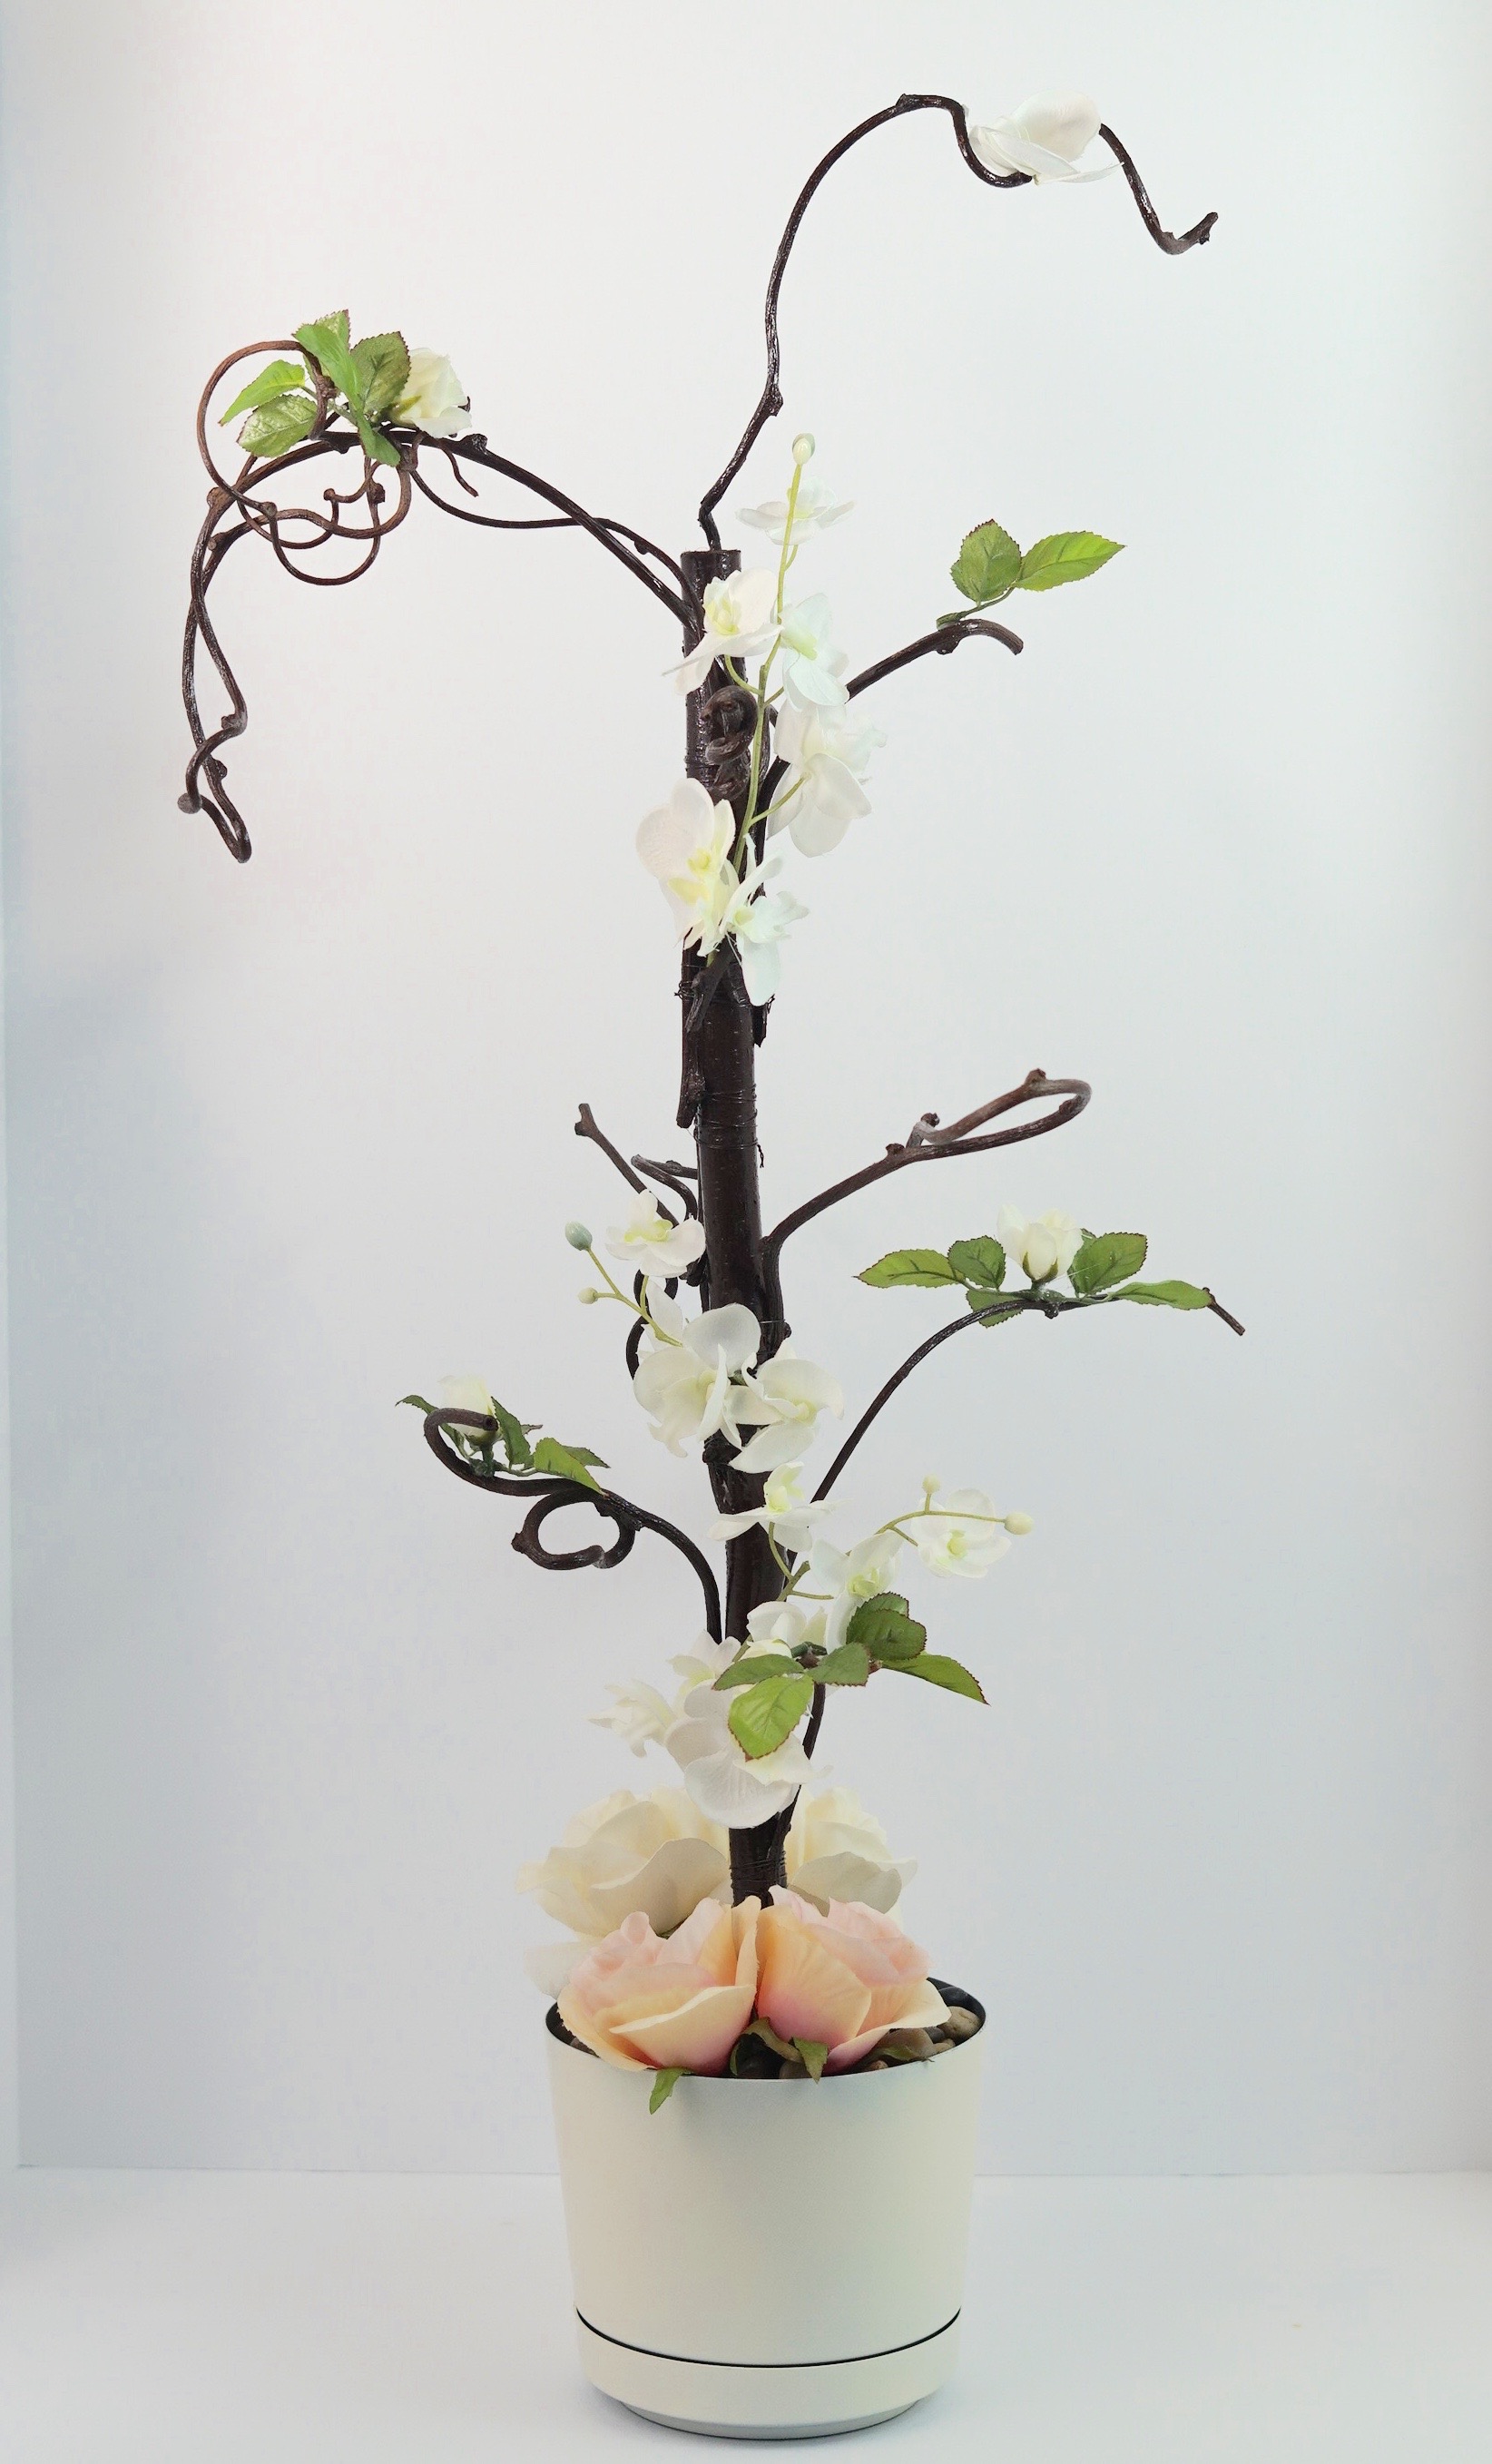
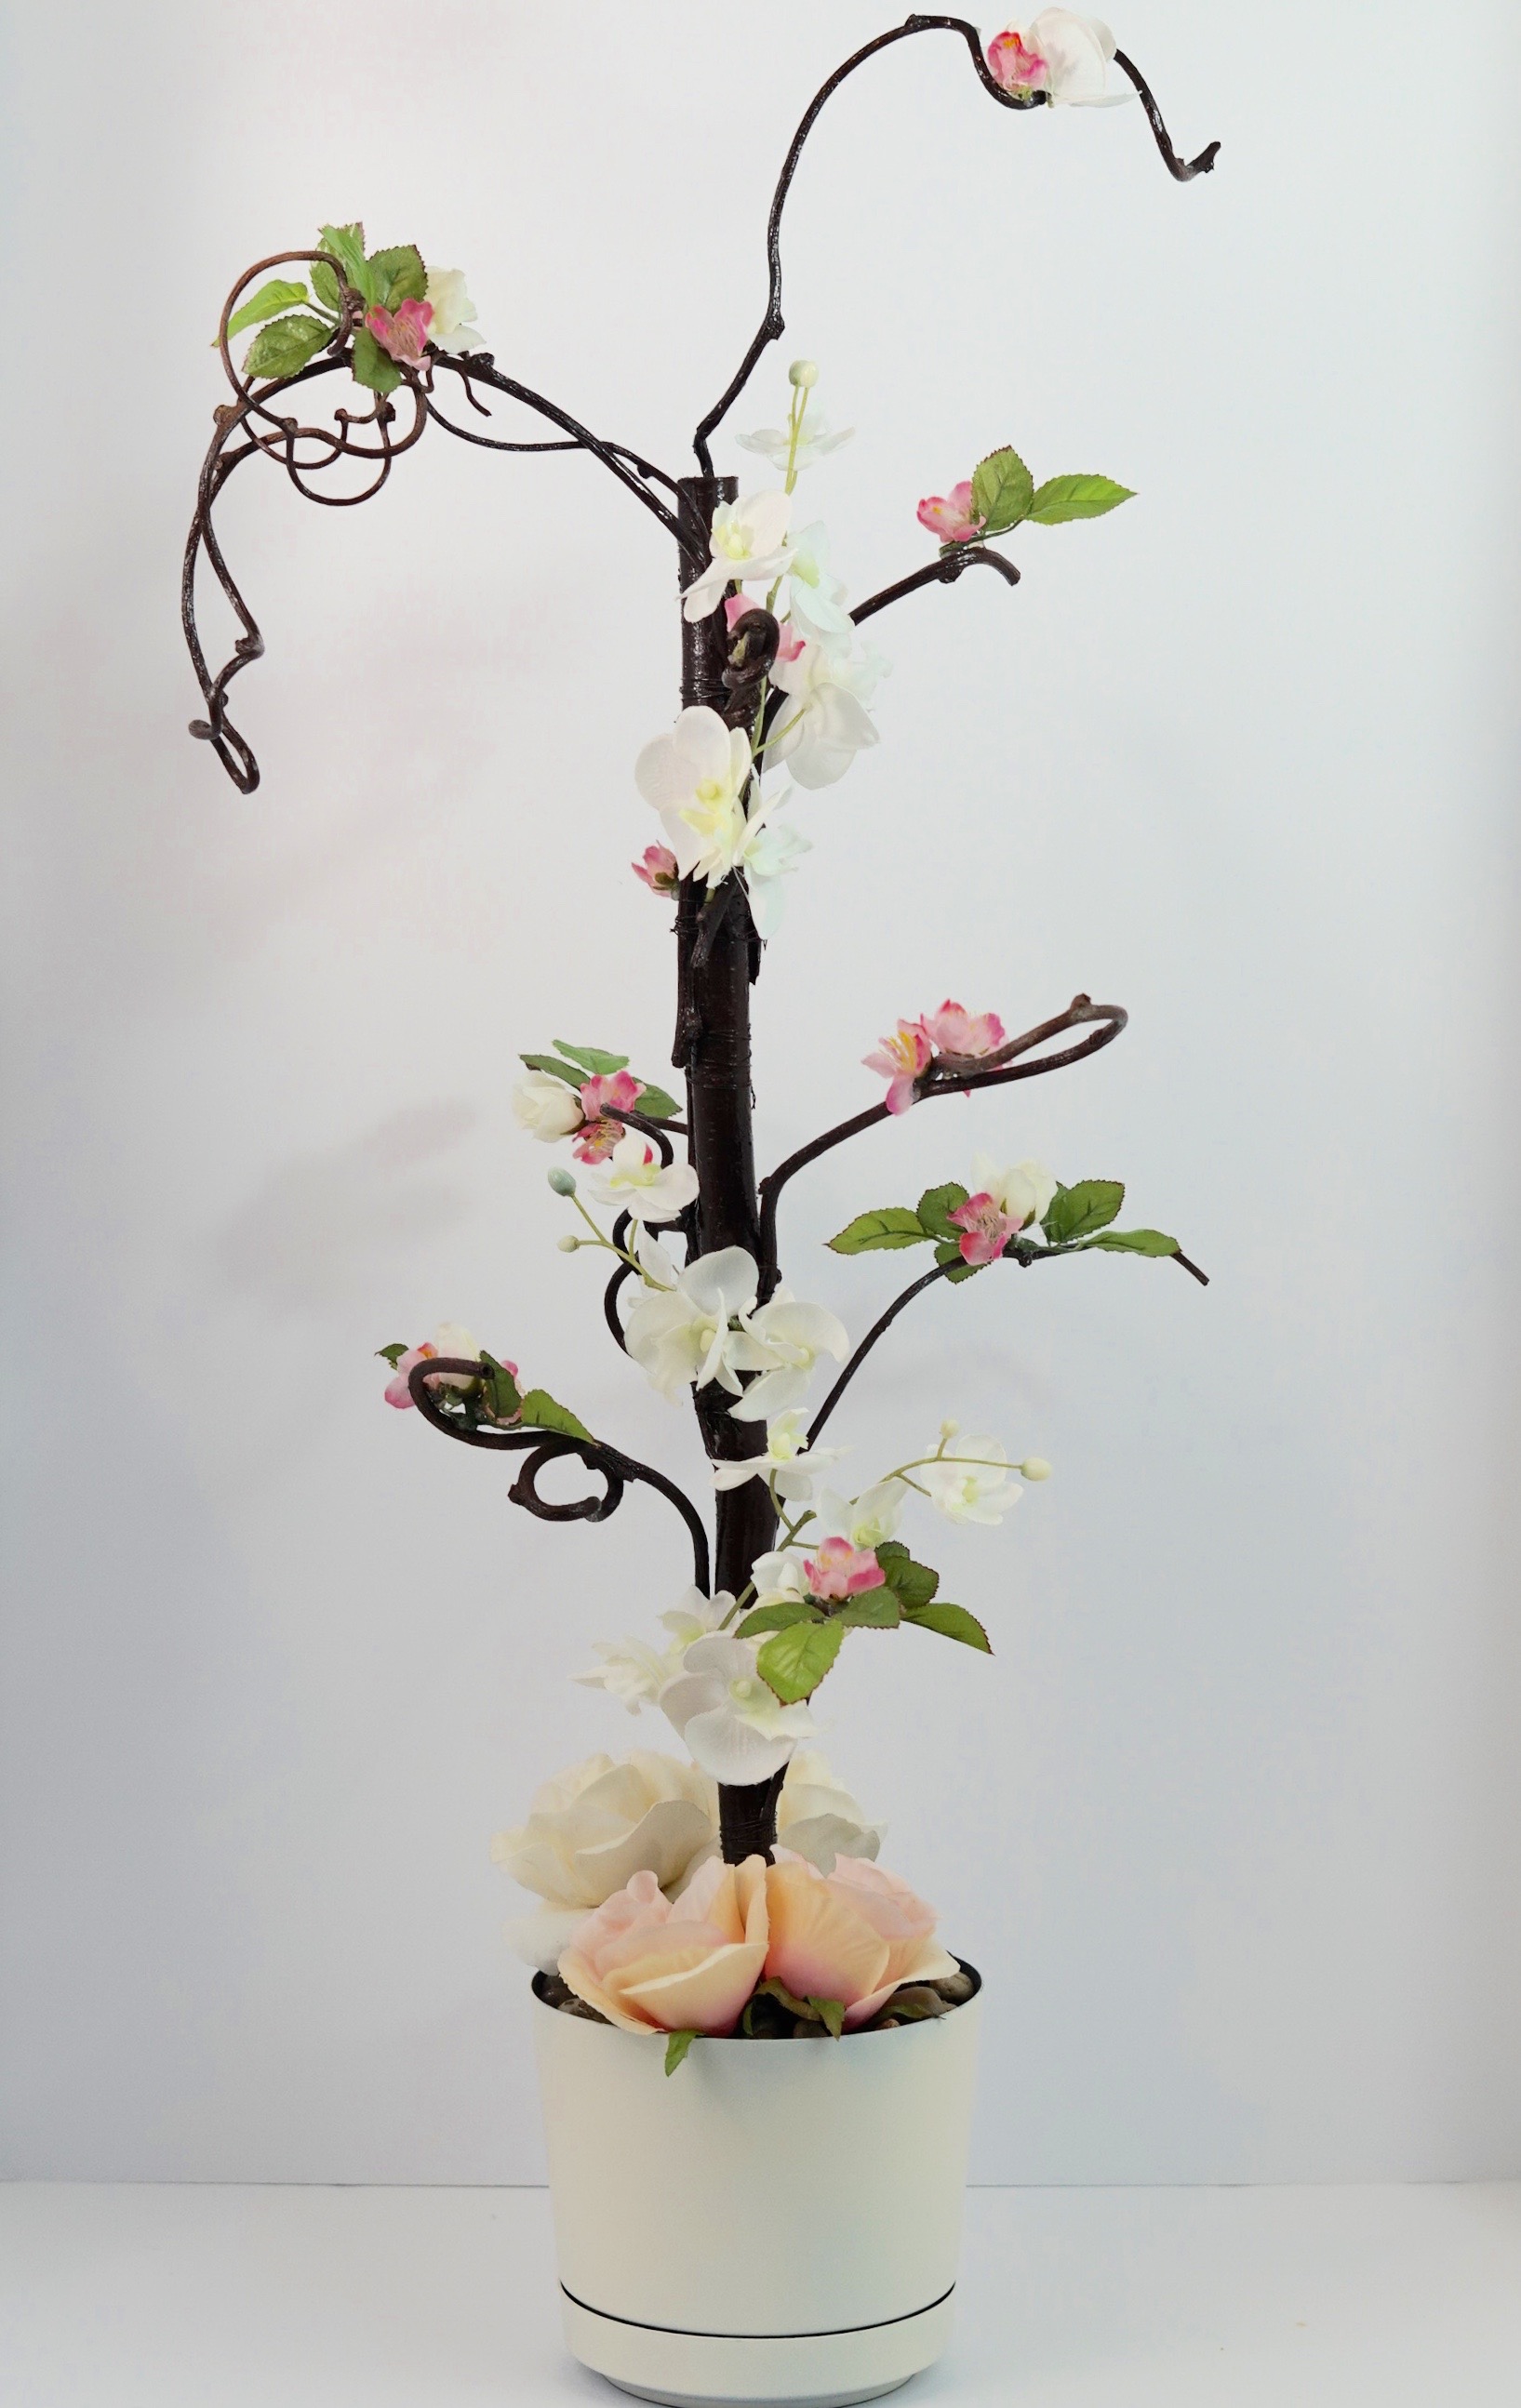
STEP 11: Lastly, attach your bird cages to your tree branches using fishing wire.
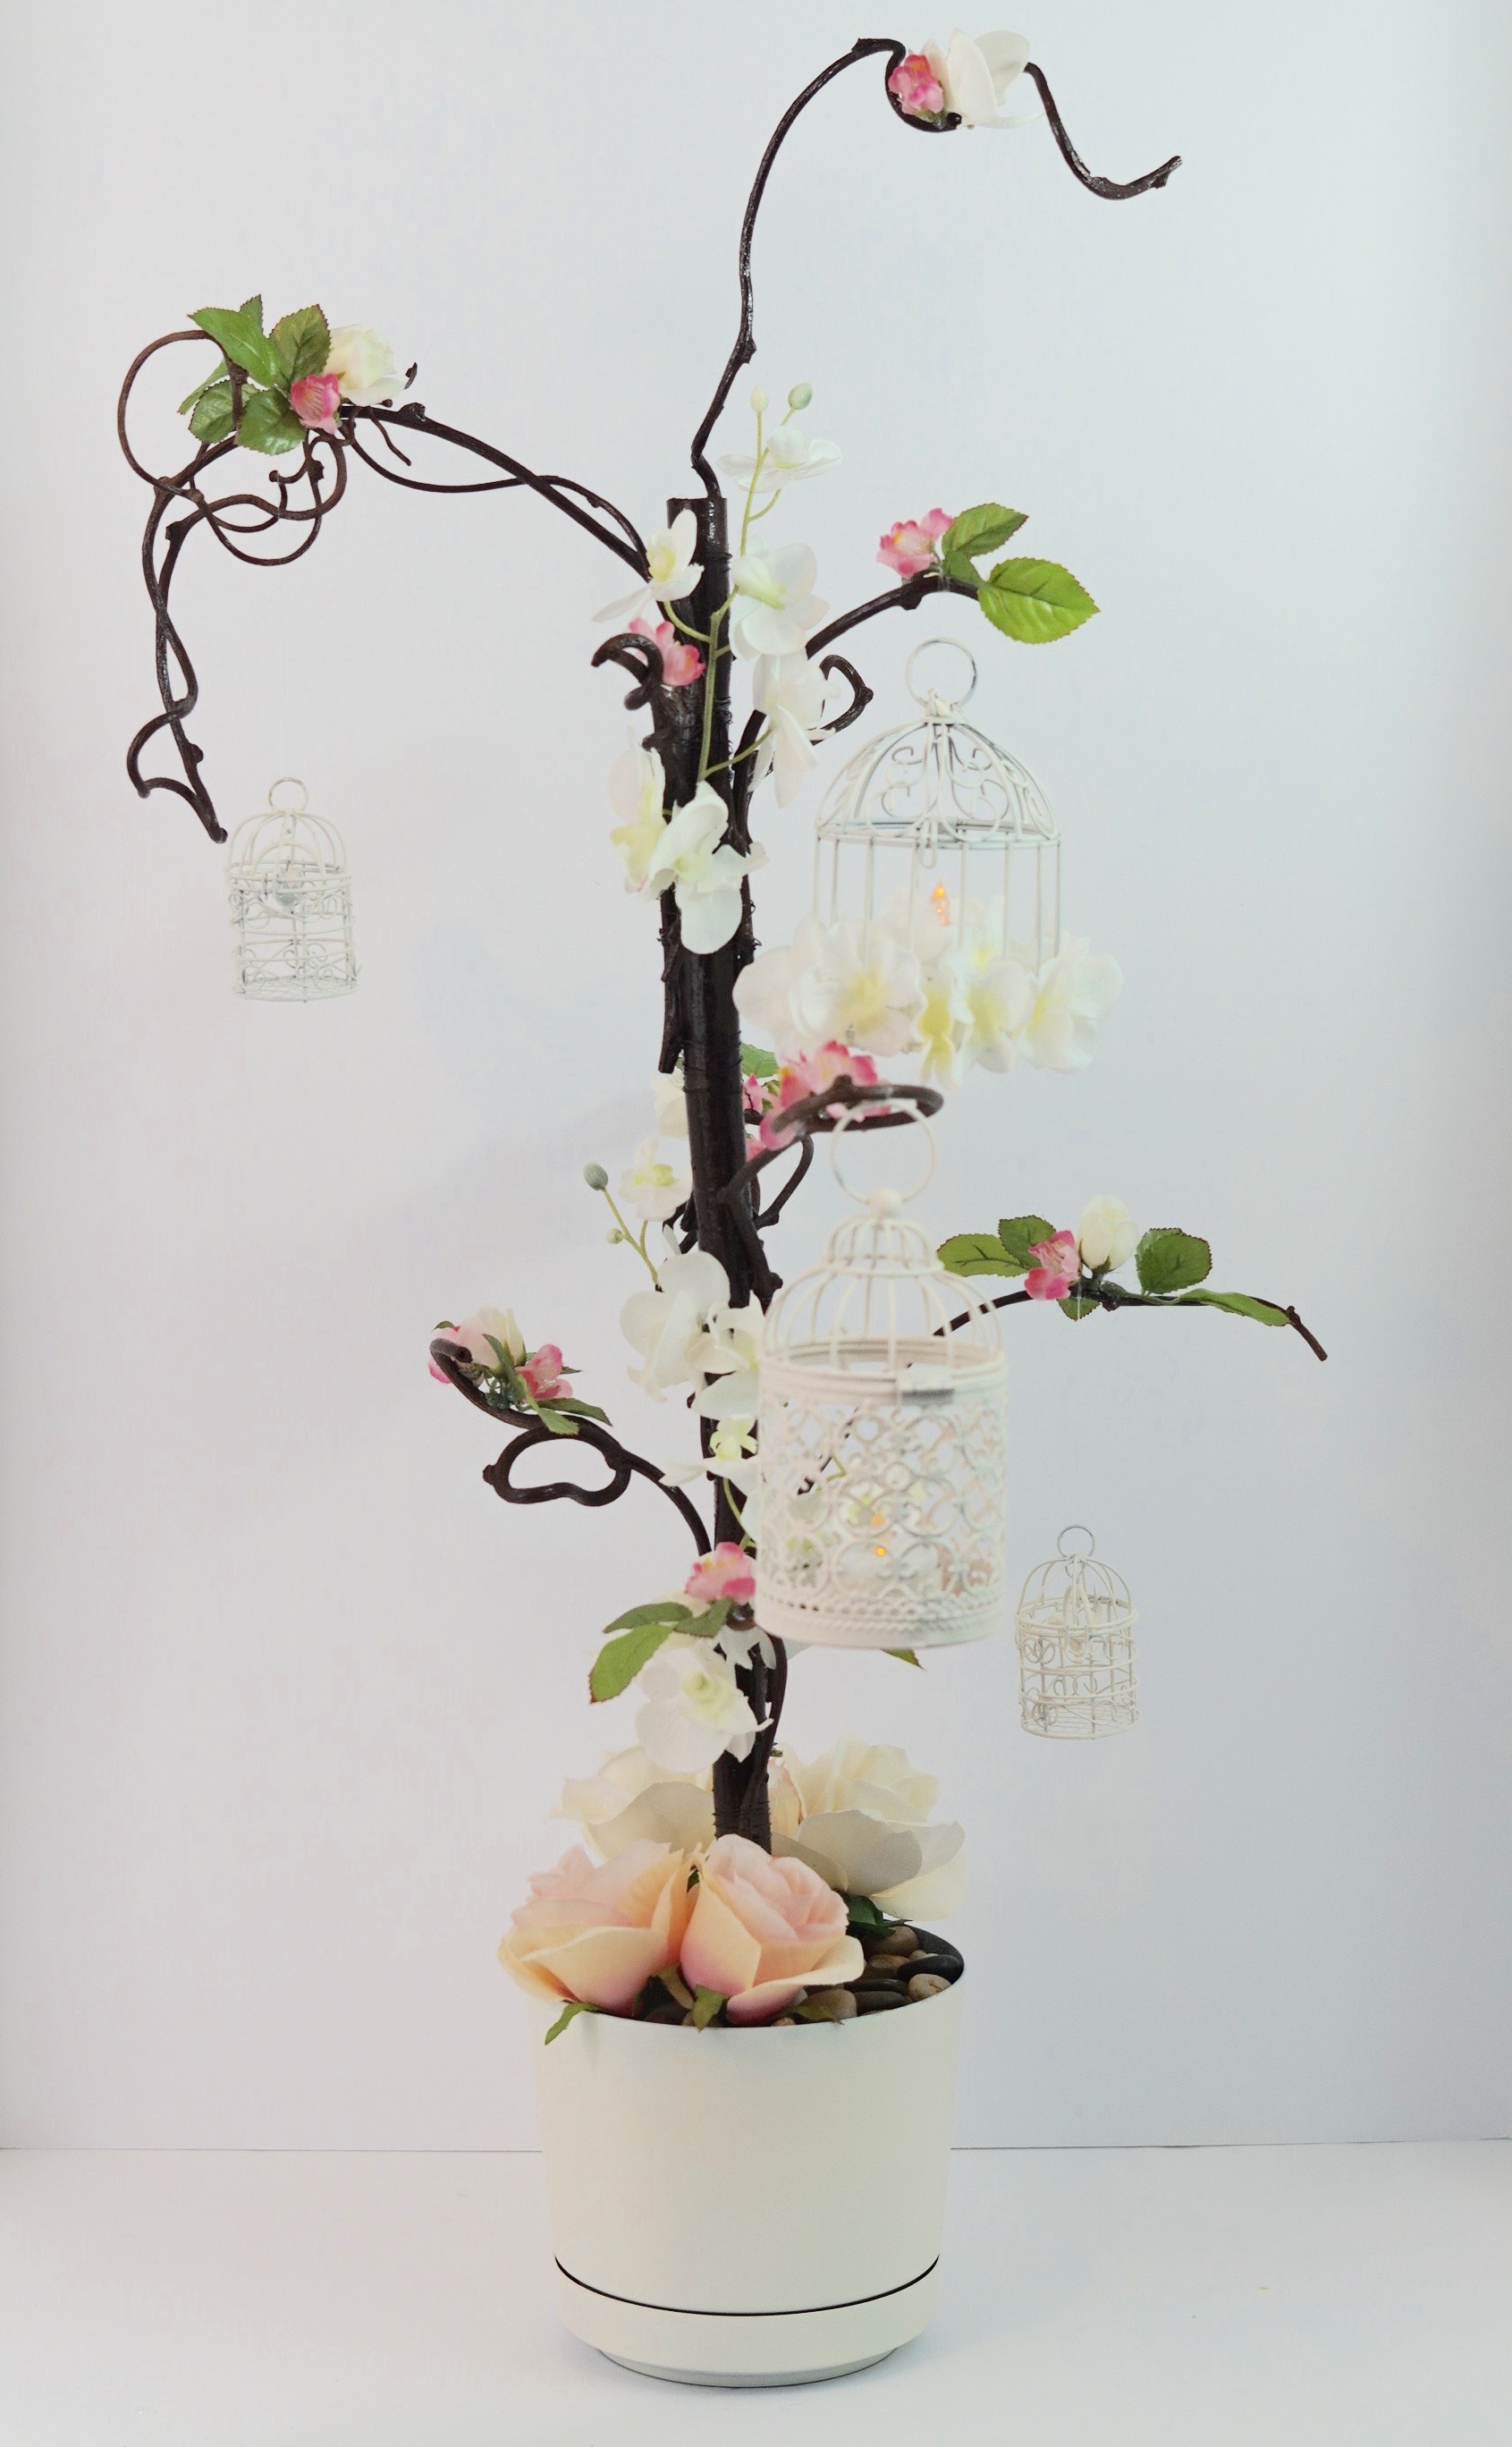
THE FINAL STEP! STEP 12: Set the table
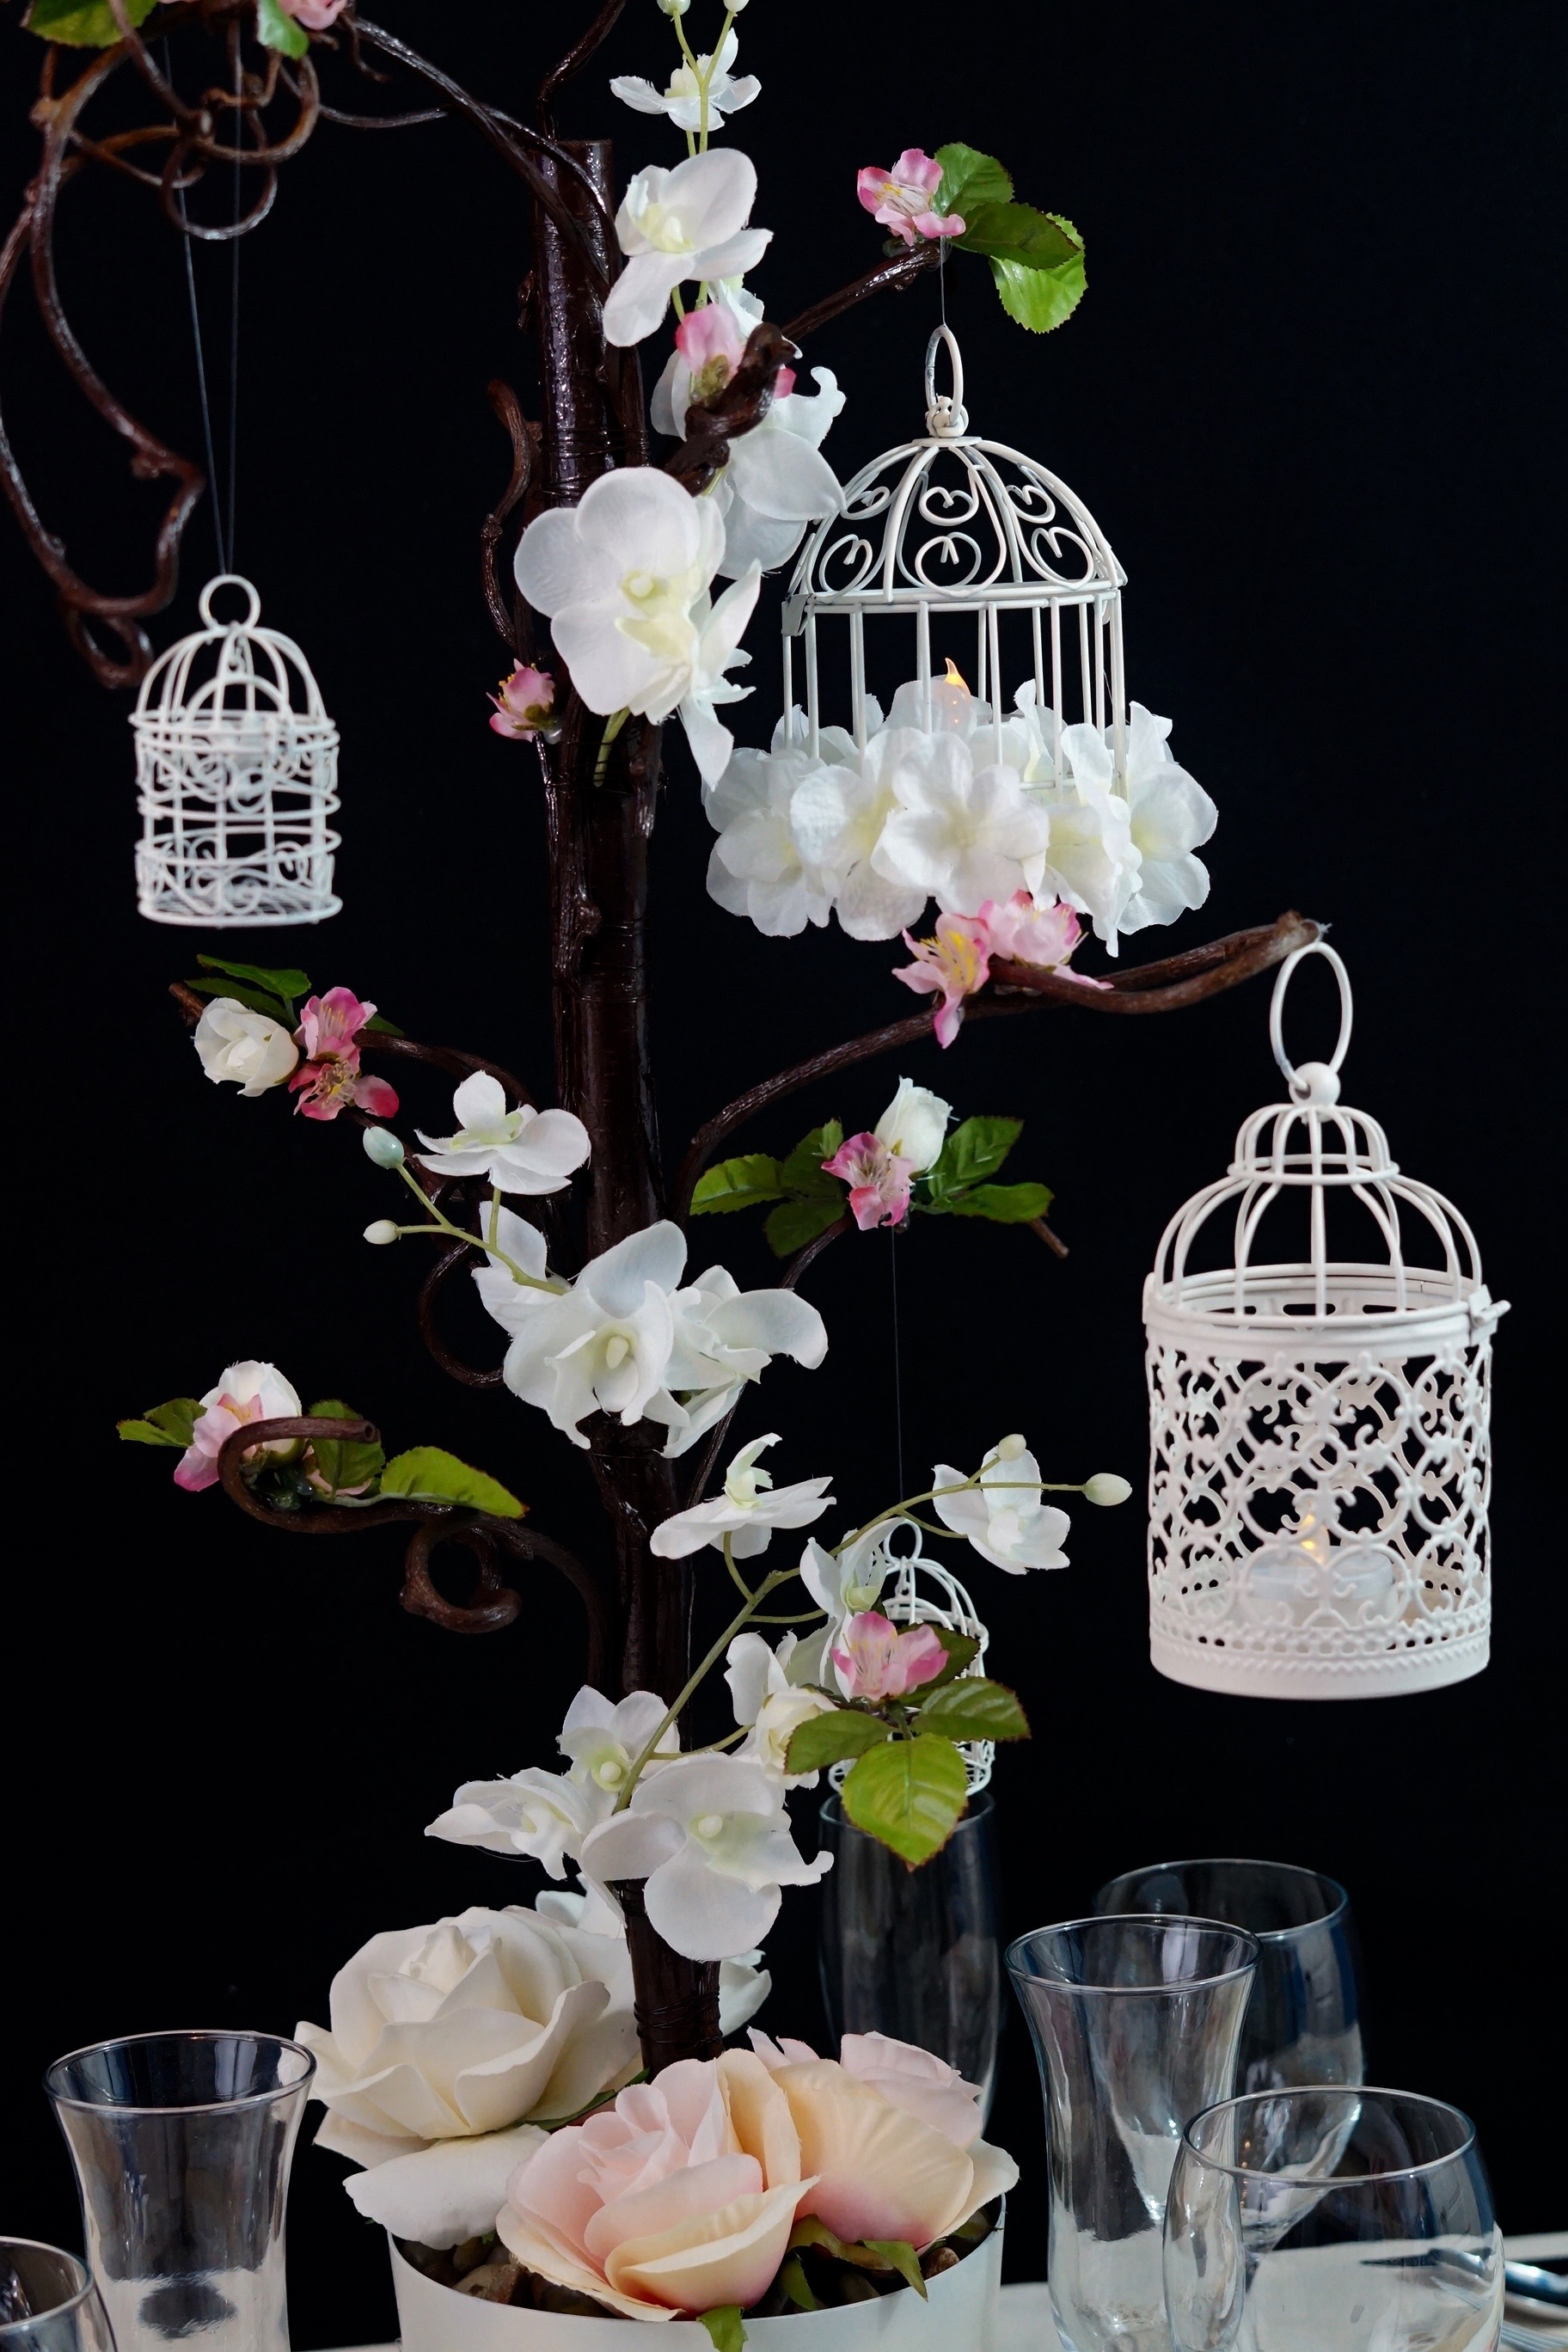
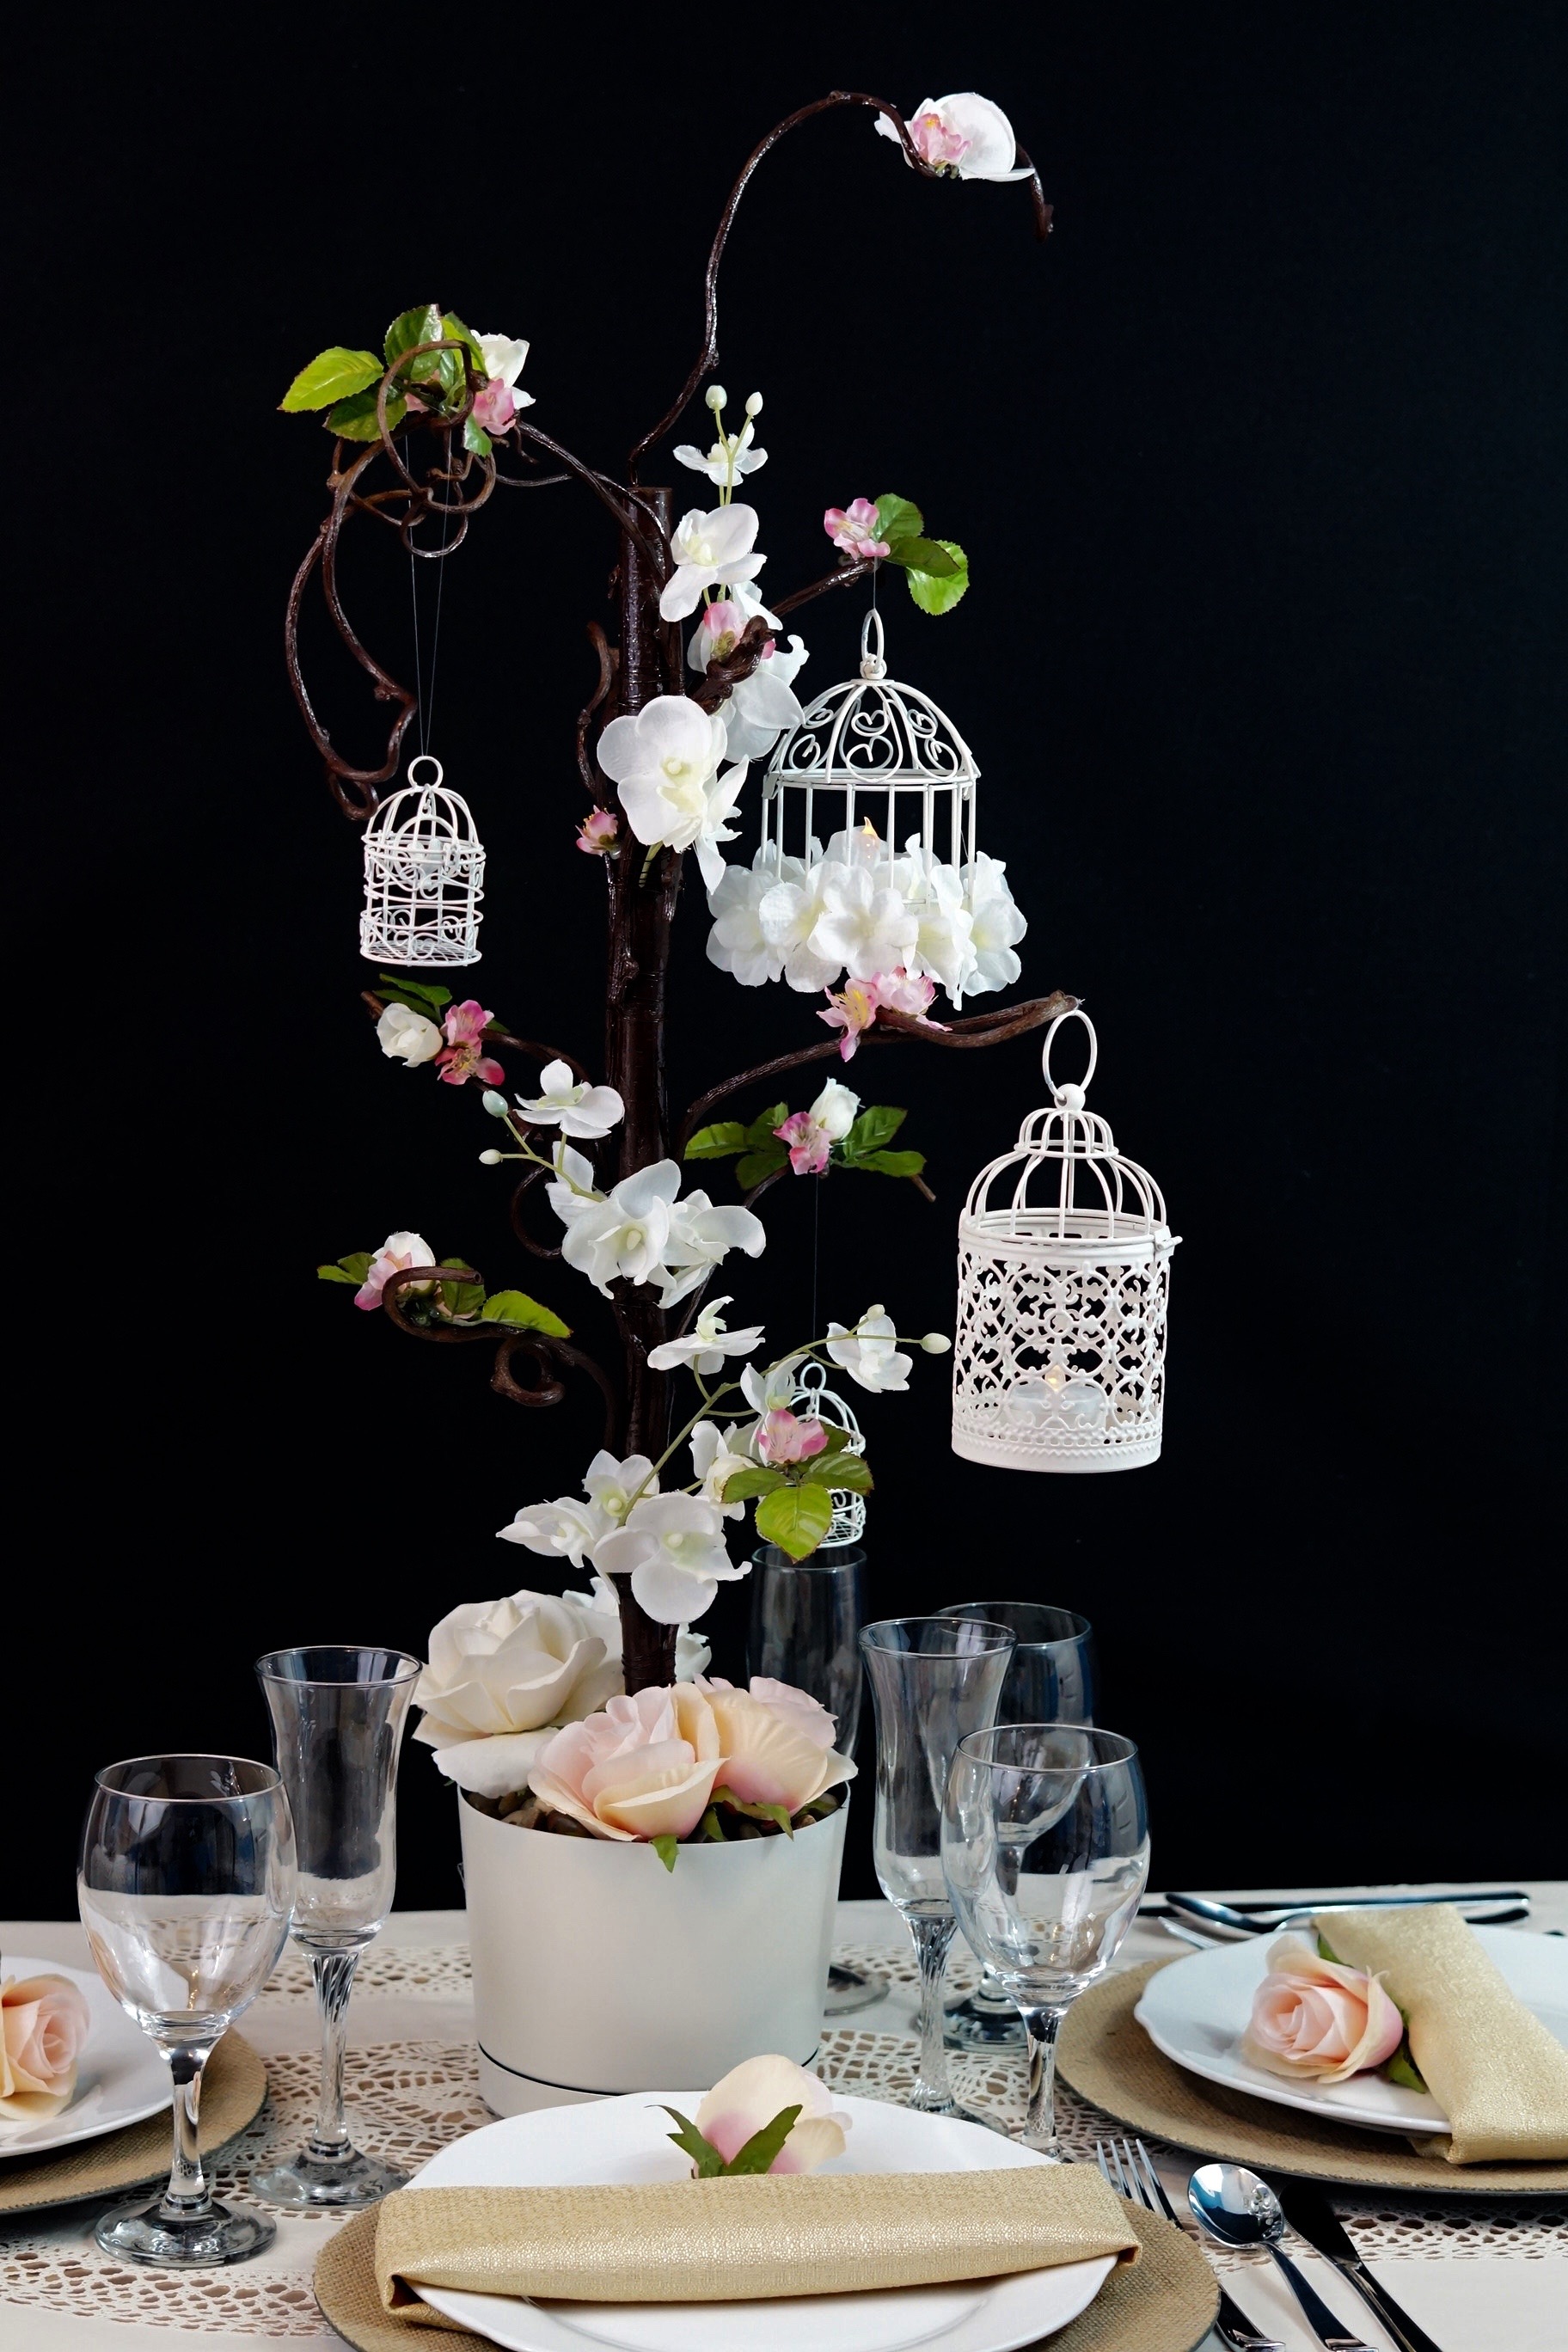
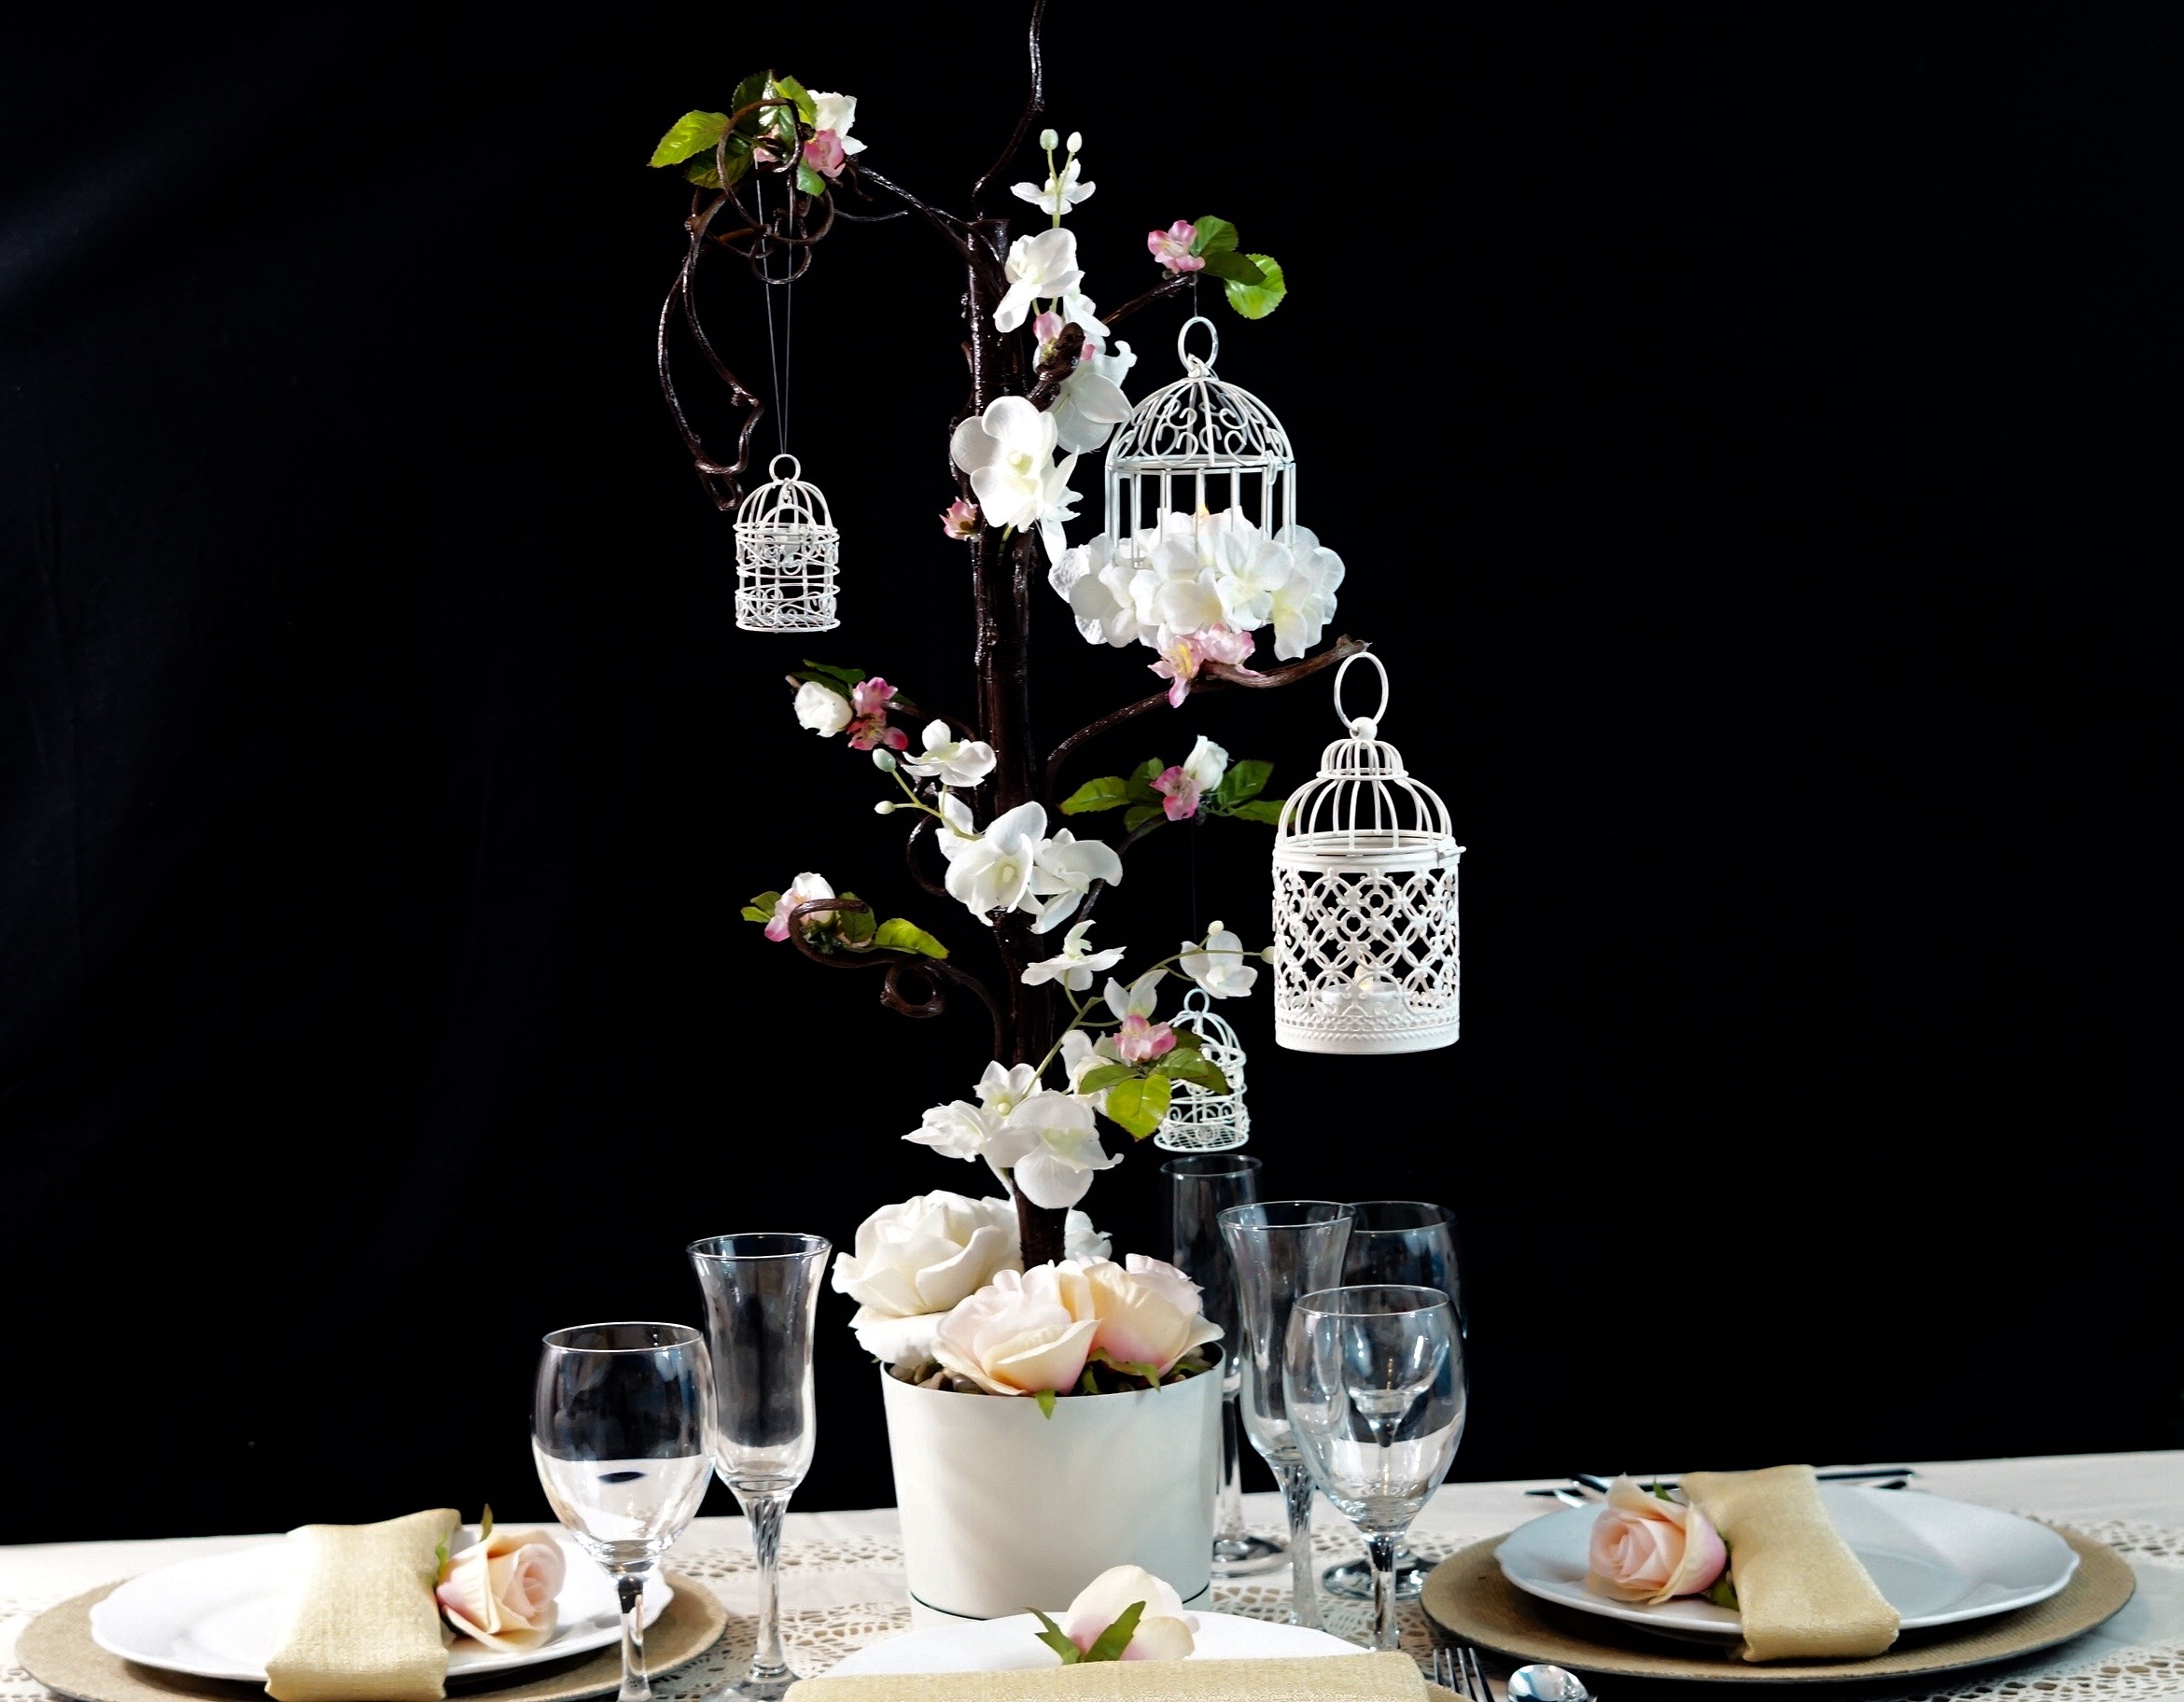
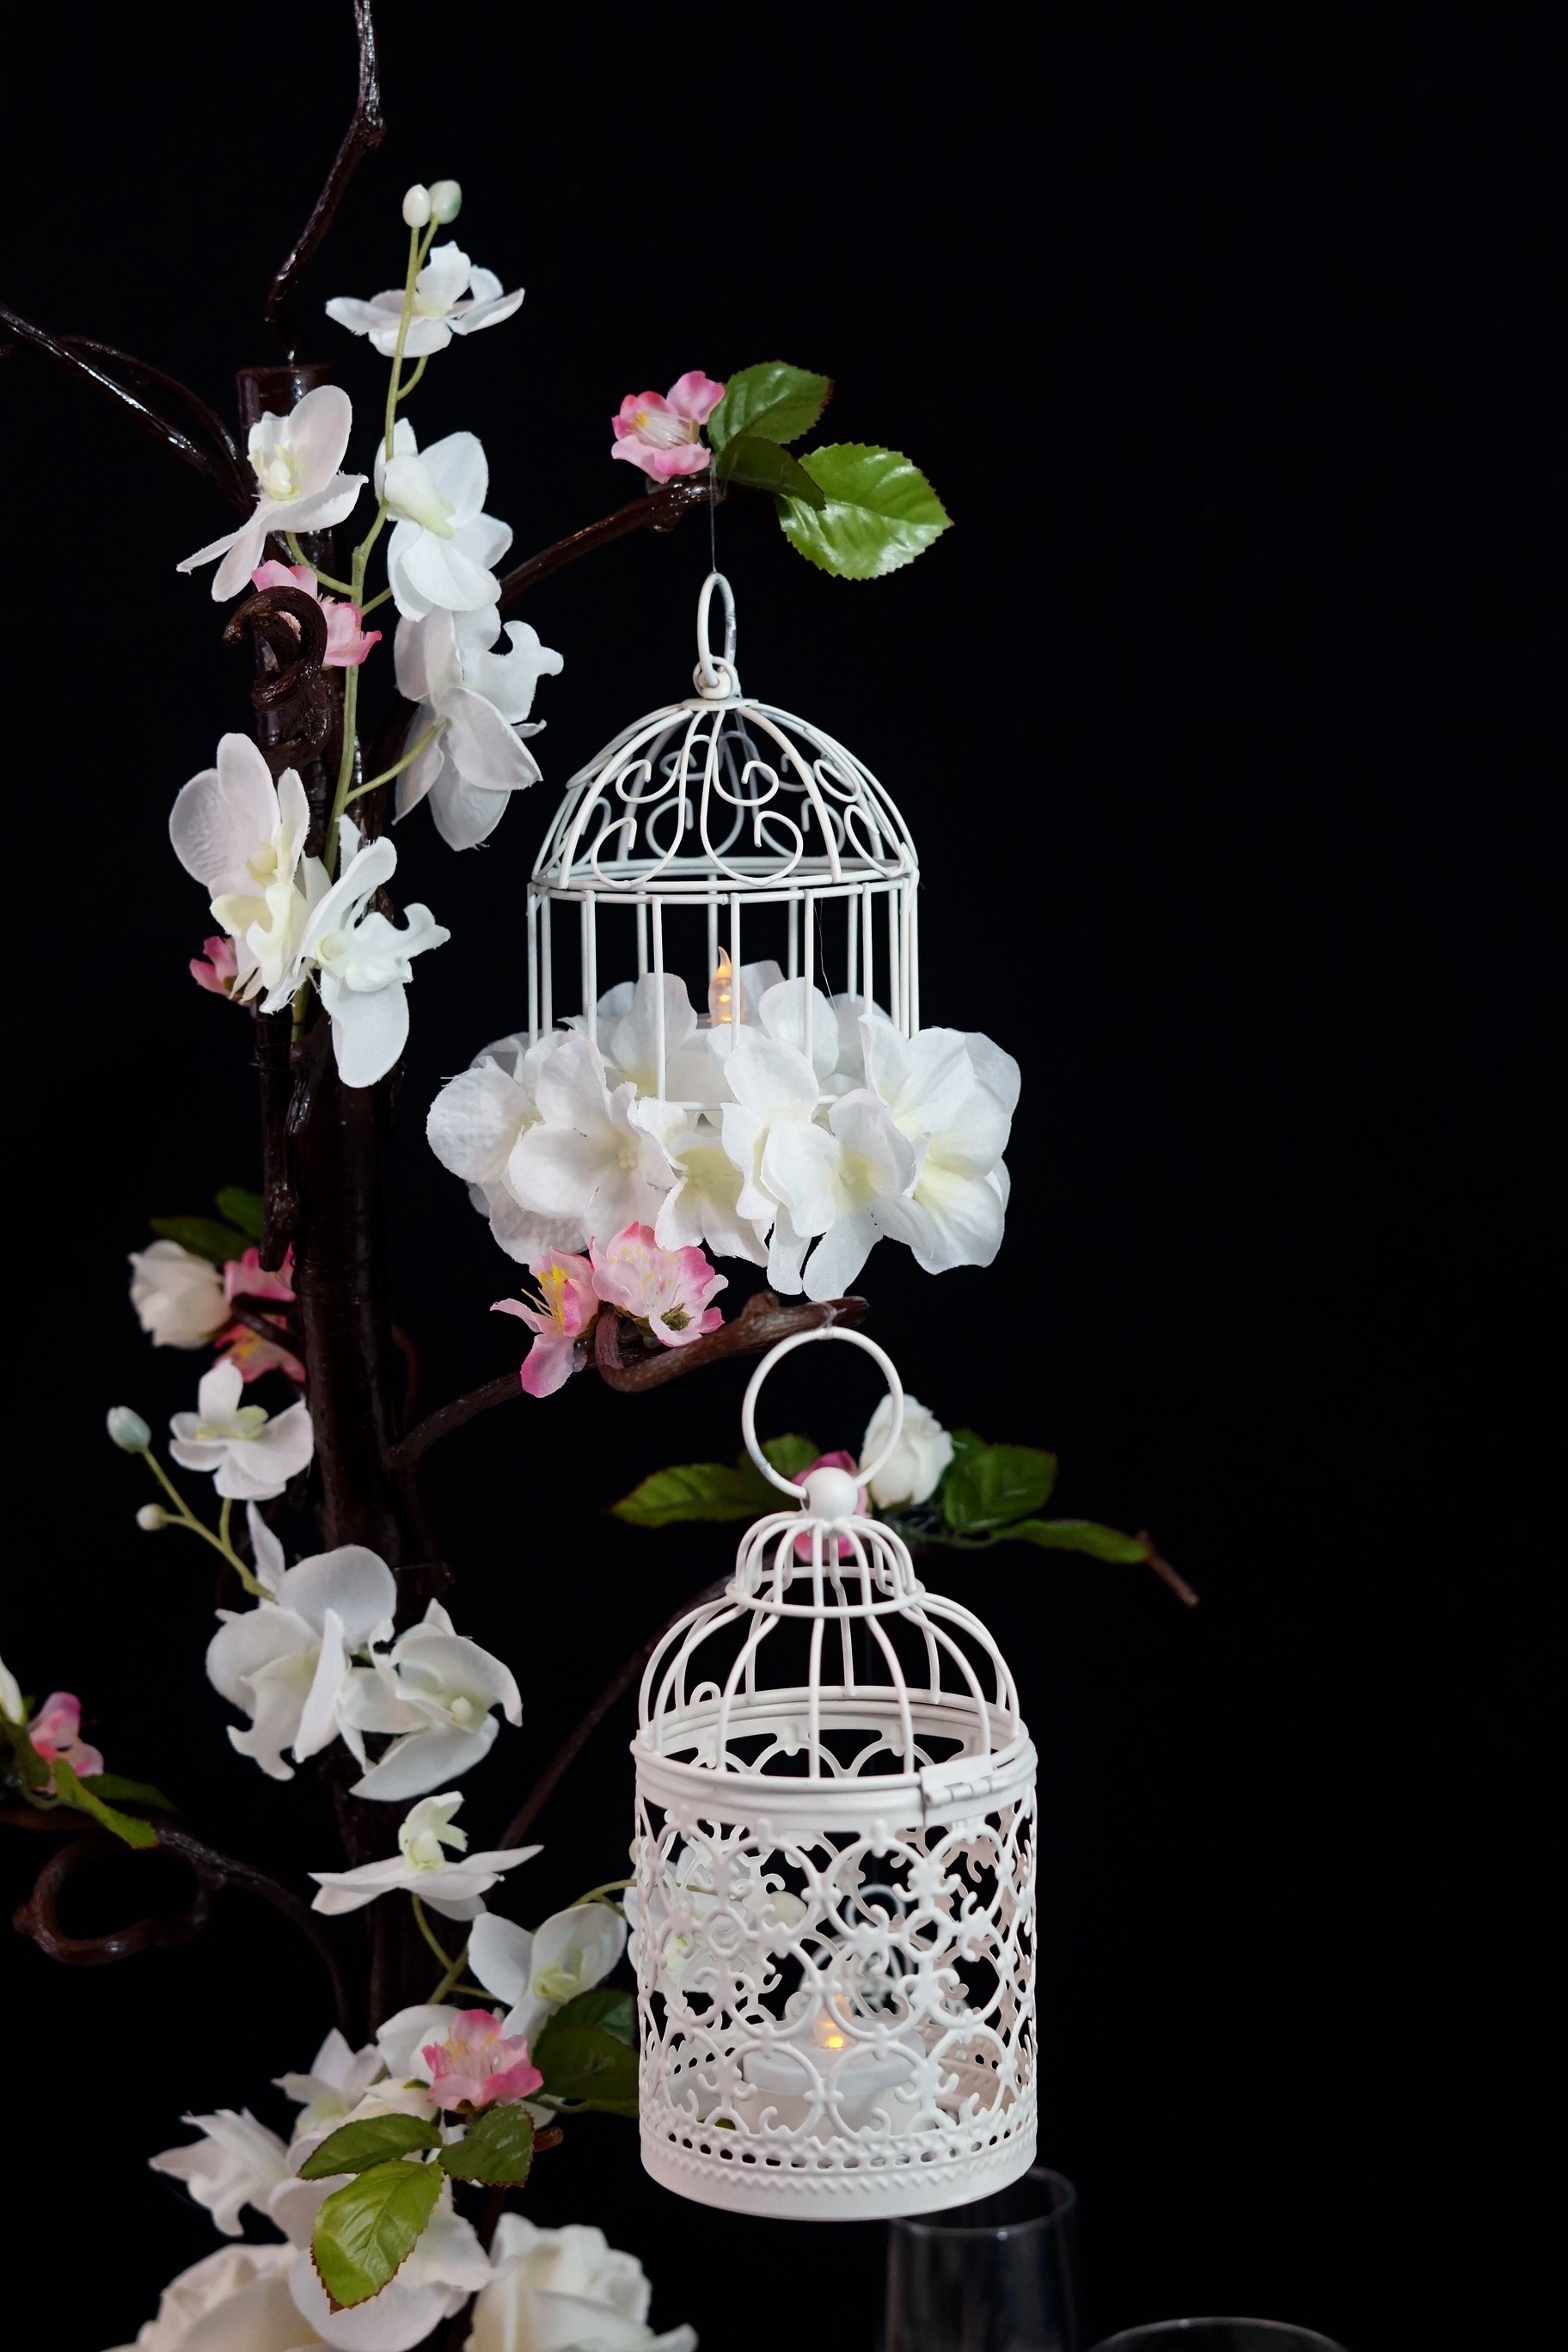
I absolutely love how this Birdcage Wedding or Quinceanera Centerpiece turned out! The outcome is amazing and will definitely add that extra special touch to any Quinceanera, Wedding, Baby shower, or Bridal shower!
Don’t forget to sign up for Ebates to earn cash back on your online purchases. Planning a wedding is expensive, therefore saving where you can is so important. Our goal is to help you stay within your budget and make every penny count. Click here to sign up for Ebates, and RIGHT NOW when you sign up, you will receive a $10 cash welcome bonus when you spend $25.00!
If you like the outcome please subscribe to our Youtube Channel for more DIY Videos and follow us on Facebook and Pinterest. Need help with an upcoming project? Be sure to send us a project request! “Remember When Every Penny Counts, Count on MissPlanIt”


