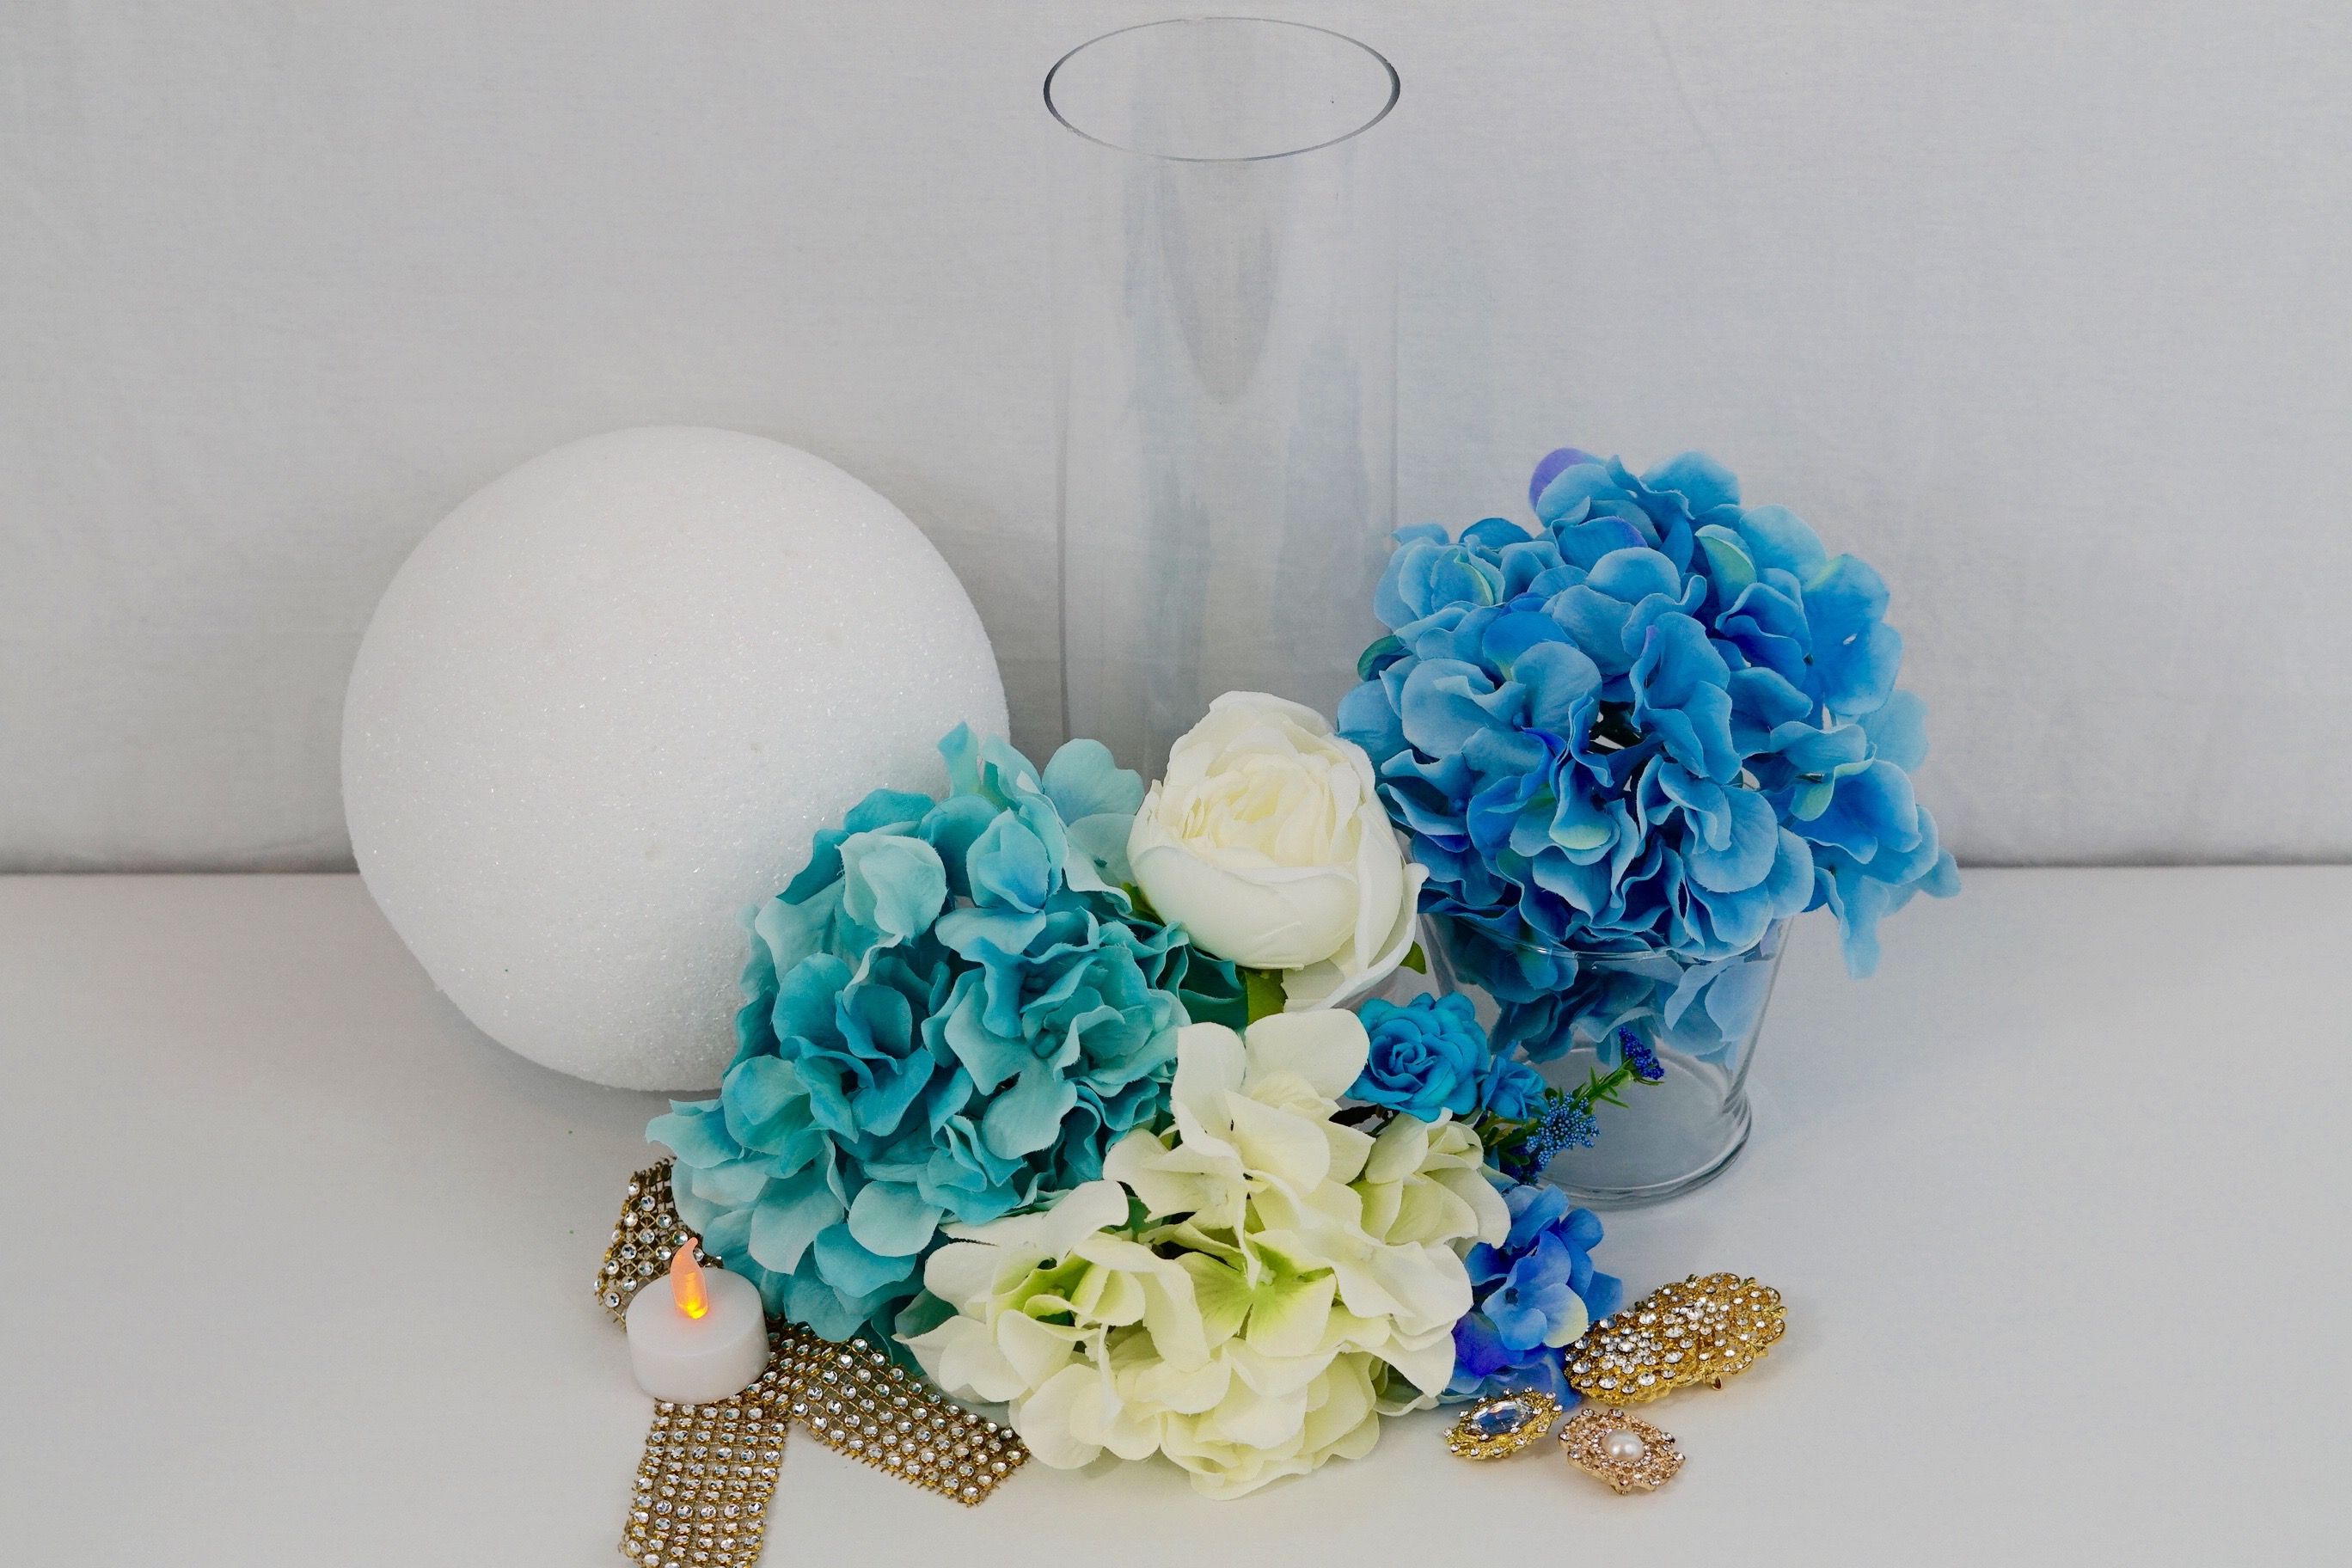
Have you ever dreamed of having a royal wedding? Well this week’s centerpiece inspired by Betty certainly exudes that royal flair. With different shades of blue and gold rhinestone accents, this wedding centerpiece will be a glamorous focal point at any royal inspired wedding!
Directions:
STEP 1: As used in many of our other projects, we will create our Infamous $2 Dollar Tree Vase. This is a great alternative to purchasing taller vases. Simply turn your 4 inch urn vase upside down, apply a liberal amount of E6000 adhesive and then sit your 9 inch vase on top. Let this dry overnight before moving on to the next steps!
It’s now the next day, your completed 2 Piece vase should now be 1 piece. We are ready to go to the next step.
STEP 2: Apply hot glue to the rim of your vase, now attach your foam ball.
STEP 3: Attach 4-6 large cream hydrangea heads, 4-6 large blue hydrangea heads, 4-6 blue hydrangea blossoms, 6-8 cream peonies, and 8-12 petite blue rose stems to your foam ball.
STEP 5: Repeat step 4 to apply accent pieces to your foam ball. You can add as many as you would like.
STEP 6: Take your rhinestone gold ribbon measure around where your two Dollar Tree Vases connect, cut your ribbon, apply hot glue, and attach.
STEP 7: Wrap your tea lights with your gold rhinestone ribbon, use hot glue to adhere.
THE FINAL STEP
STEP 8: Set the table!
I absolutely love how this wedding centerpiece turned out! If you like the outcome please let us know in the comments below? Also share your ideas on what you would have done differently?
Need help with an upcoming project? Be sure to send us a project request!
“Remember When Every Penny Counts, Count on MissPlanIt”
