LEARN HOW TO EASILY MAKE A STUNNING CASCADING WEDDING BOUQUET LIKE A PRO.
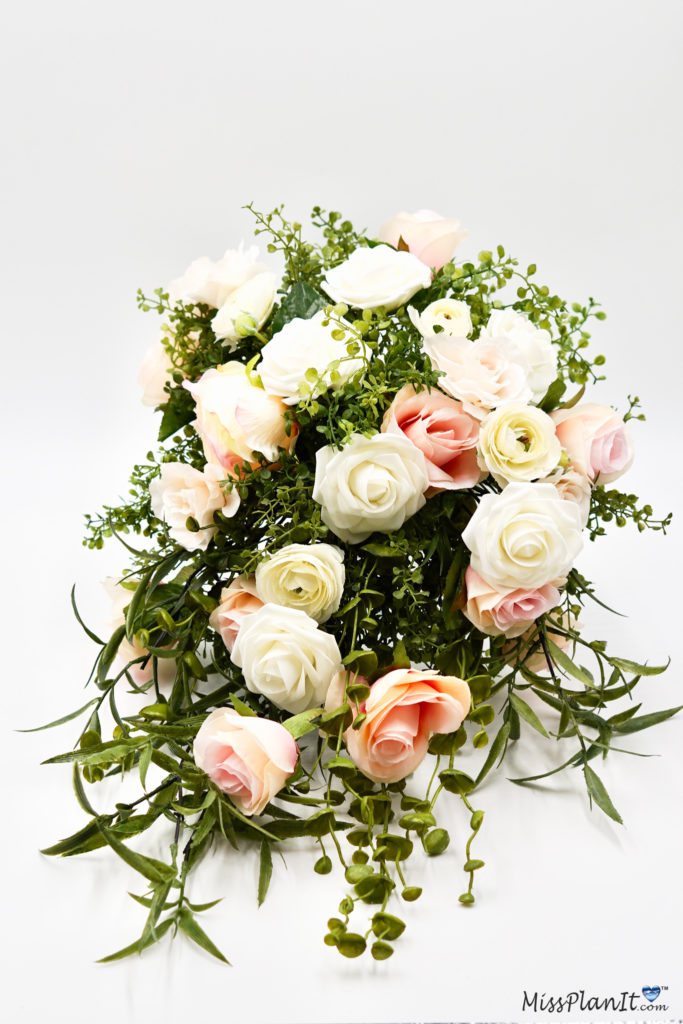
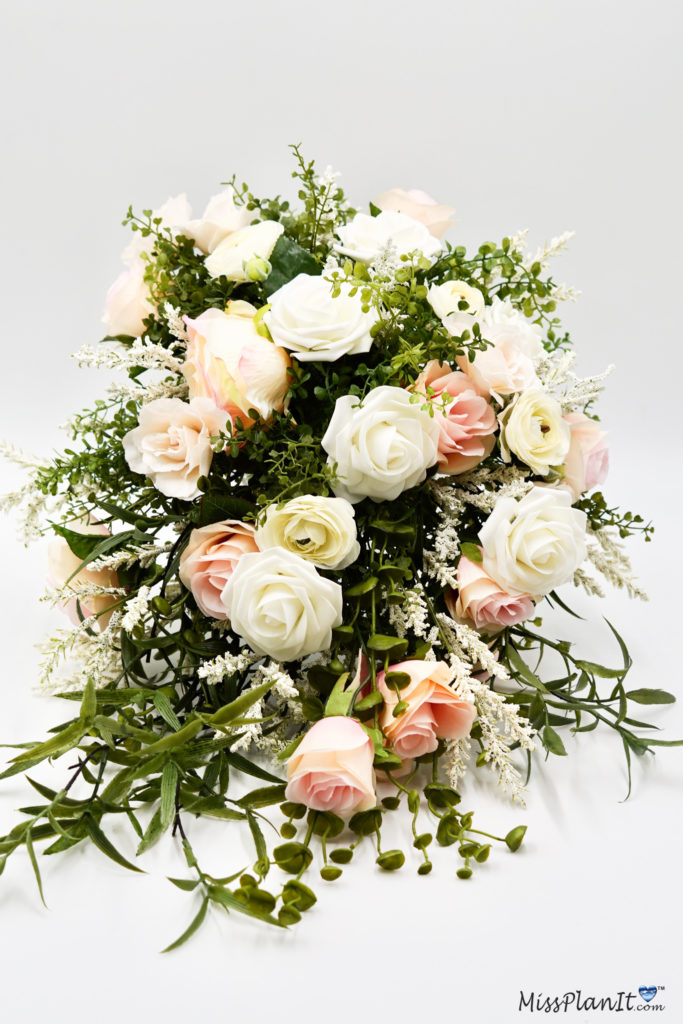
Feast your eyes on this week’s beautiful blush cascading wedding bouquet! In today’s tutorial, I will give you easy instructions on how to make an amazing wedding bouquet with artificial flowers. The colors used in this wedding bouquet are blush, ivory, cream, white – with lush greenery.
Using artificial flowers to make your wedding bouquet is a great way to save money on your wedding flowers.
Our Miss PlanIt roses are an awesome choice for wedding bouquets. They are handmade with a real look and feel. I used my Miss PlanIt Ivory roses for this wedding bouquet. You can find the roses here.
Although, making a cascading wedding bouquet may appear to be difficult, I can assure you it really is actually quite simple. As you read the below step-by-step instructions and watch the video tutorial, you too will gain confidence that you can DIY your very own beautiful cascading wedding bouquet. So, let’s get started!
SUPPLIES:
MissPlanIt Ivory Roses
Pink Rose Bush
Light Pink Rose Bush
Cream Astilbe Bush
10 Pcs Fake Eucalyptus Leaves Stems
Straight Handle Bouquet Holder
Green Styrofoam Balls – 4”
Ivory Satin Bouquet Collar – 8”
White Ranunculus Spray
Bamboo Leaf Hanging Bush
Mini Leaves Bush
Eucalyptus Bush
How To Make a Beautiful Blush Cascading Wedding Bouquet
Directions:
STEP 1 : A 4 inch half styrofoam ball, straight handle bouquet holder, and an 8 inch ivory satin bouquet collar will make up the base for this project. Firstly, cut a center whole and attach the straight handle bouquet holder with hot glue. Next attach the bouquet with hot glue as well.
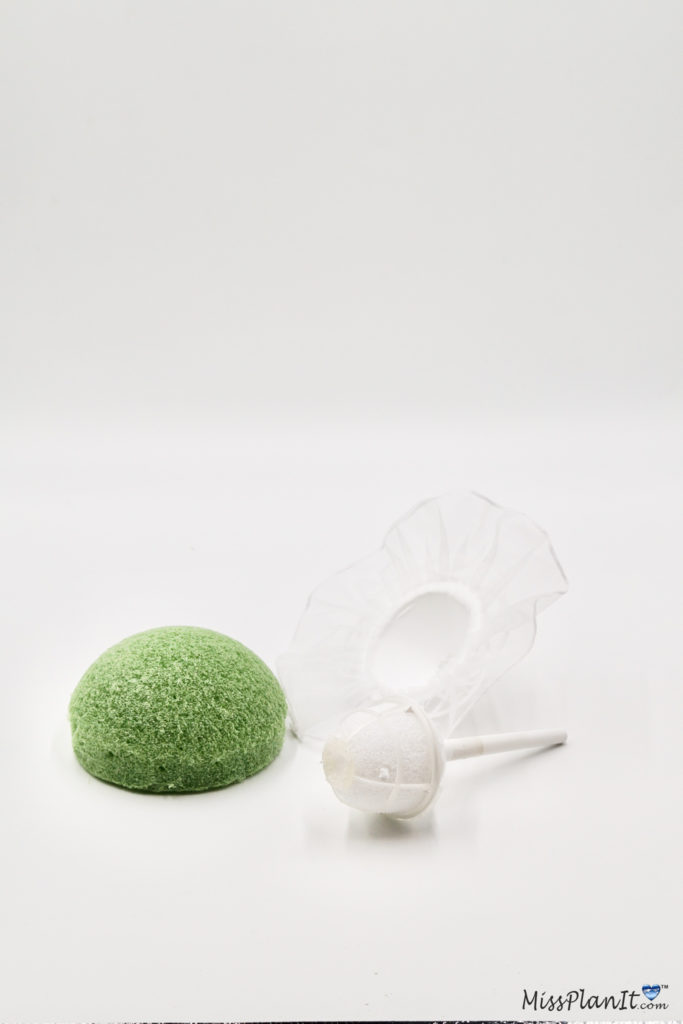
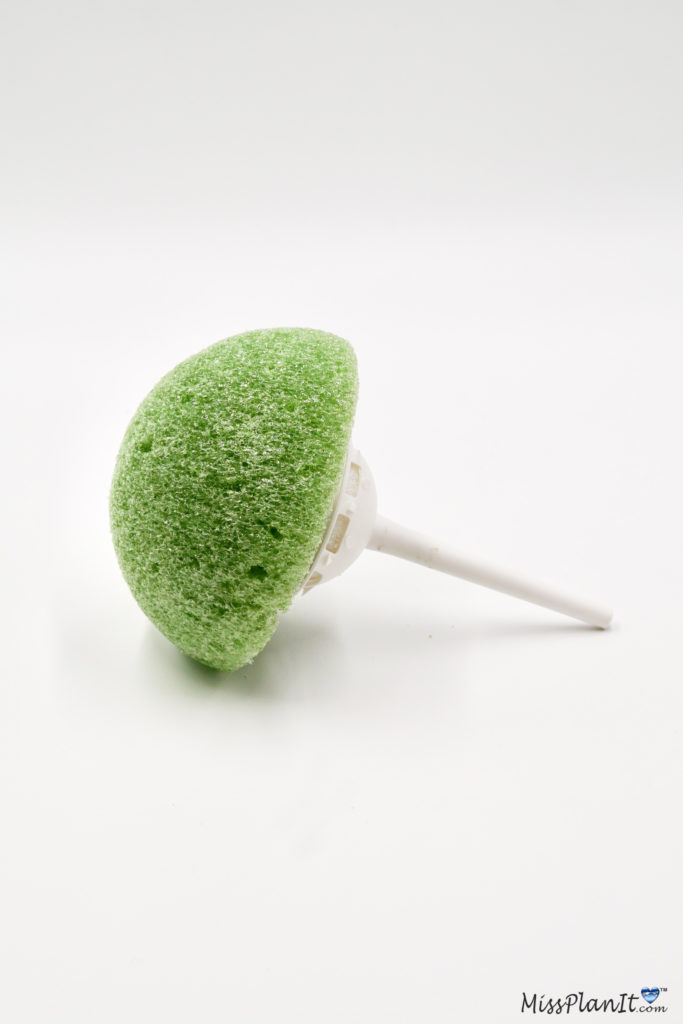
Add The Greenery
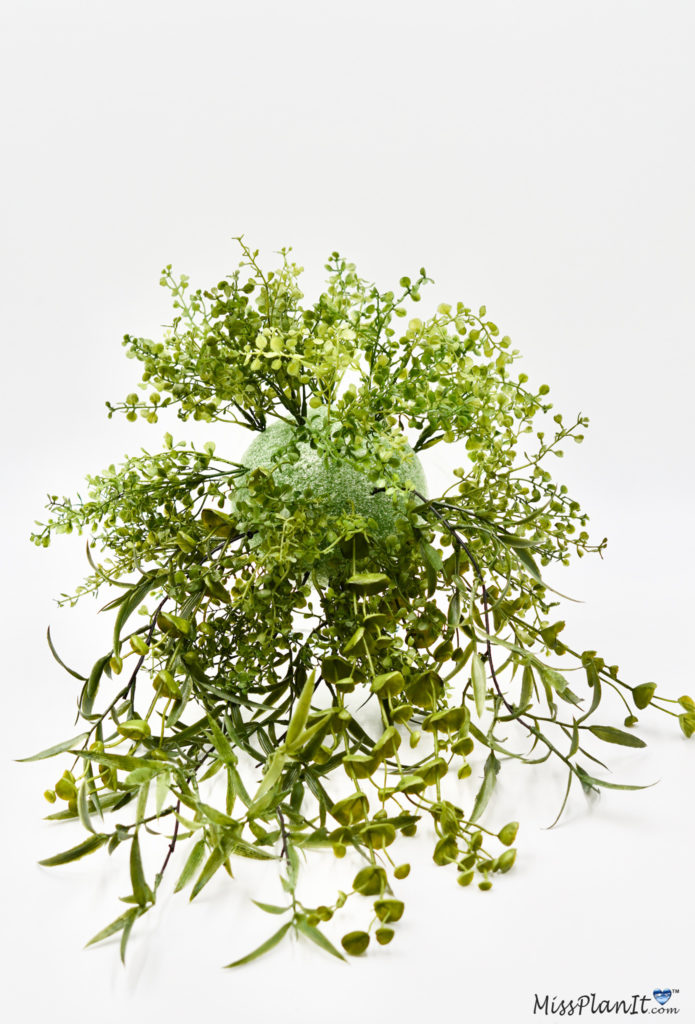
STEP 2: Attach 4-6 Bamboo Leaf Stems, 4-6 Eucalyptus Stems and 8-10 Mini Leaf Bush Stems.
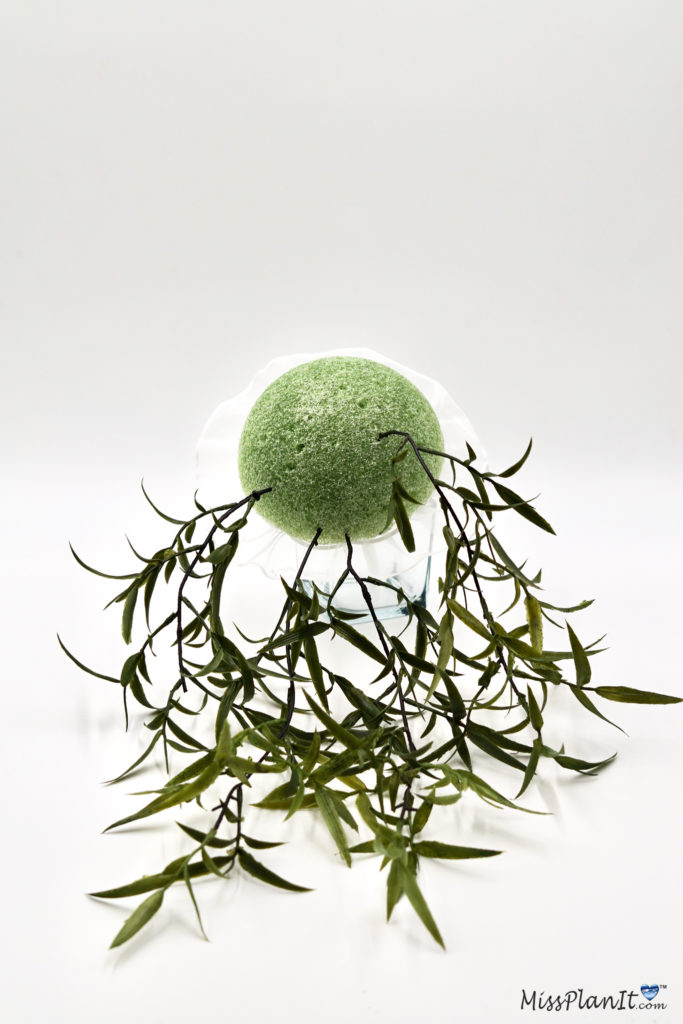
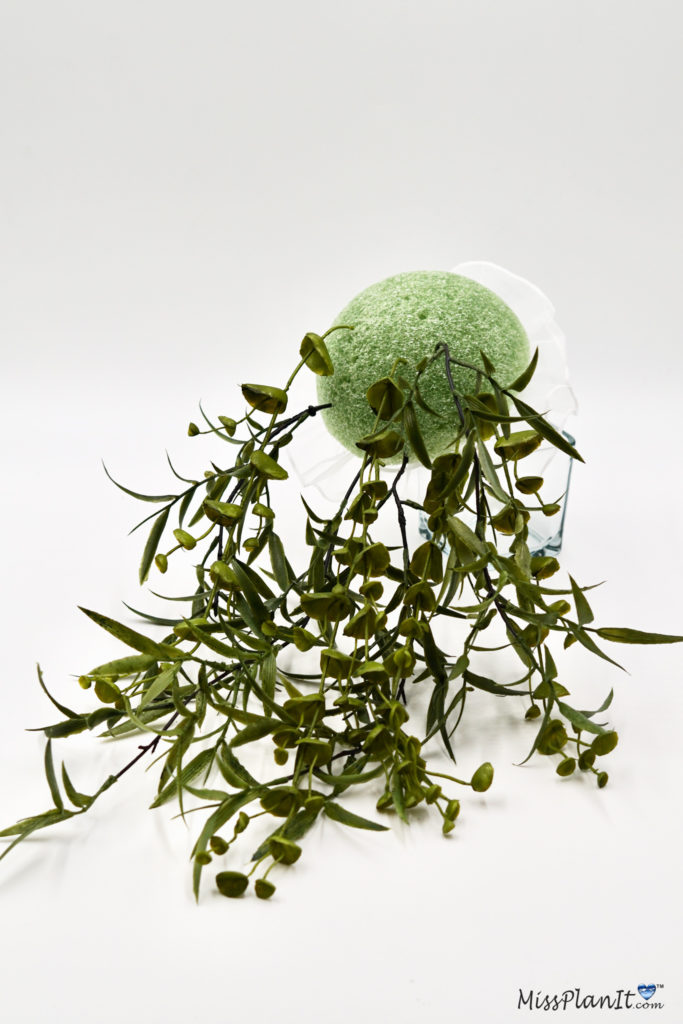
Attach Your Flowers
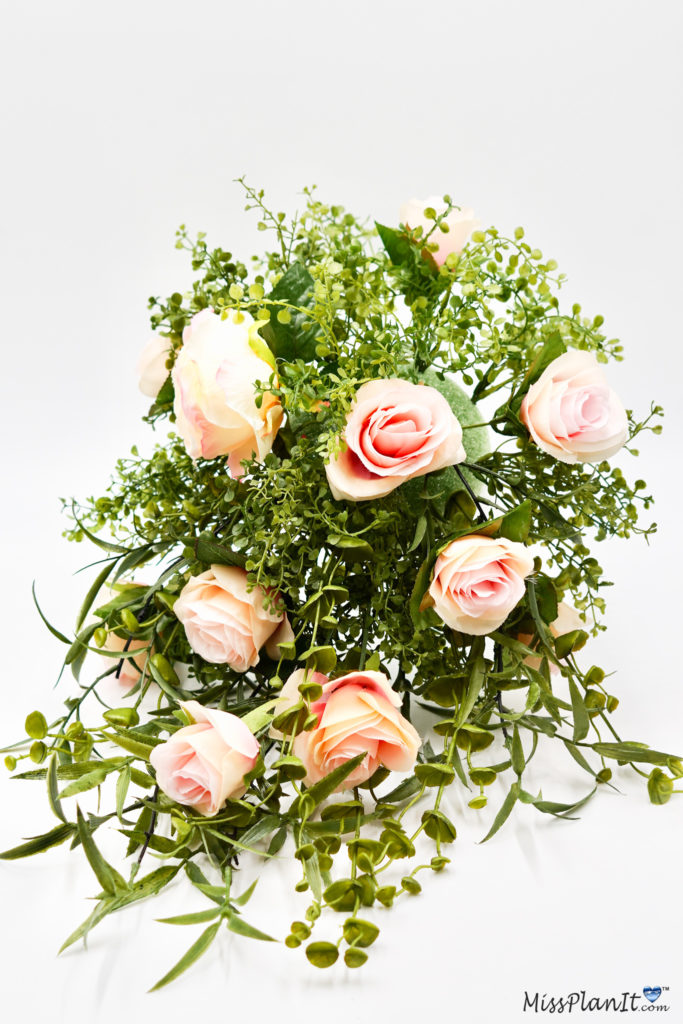
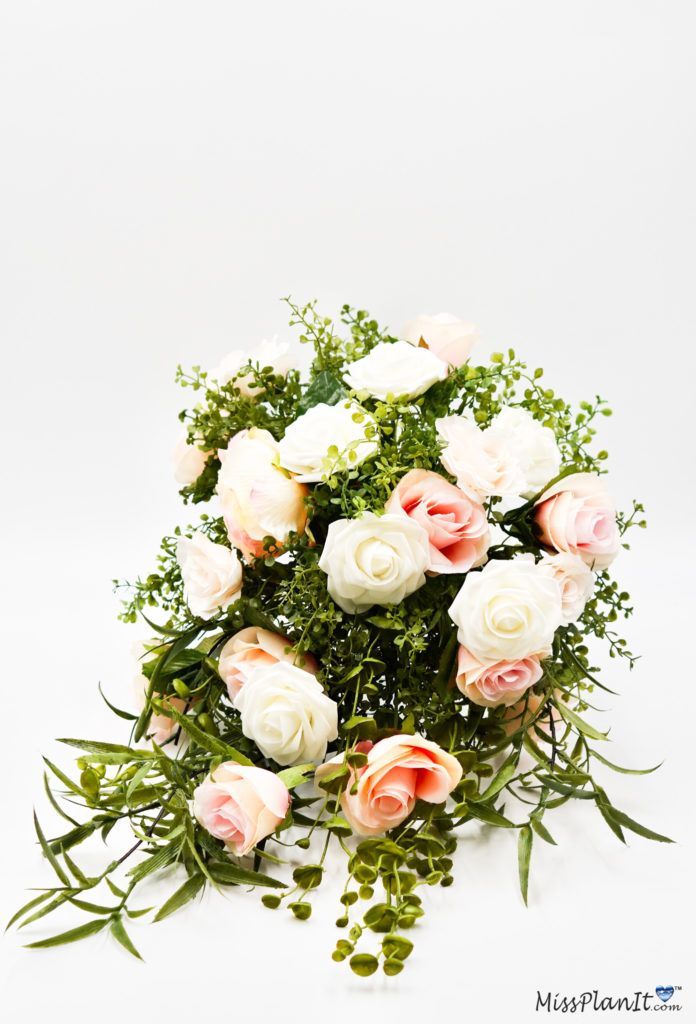
STEP 3: Add 8-12 Pink Rose Blossom Stems, 6-8 Light Pink Rose Blossom, 6-8 MissPlanIt Ivory Roses, 4-6 Ranunculus Blossoms and 8-12 Astilbe Stems.
Final Step!
Lastly, fill in any empty spaces with Eucalyptus Bush Stems and you are ready to create a breath taking bridal walk down the aisle!
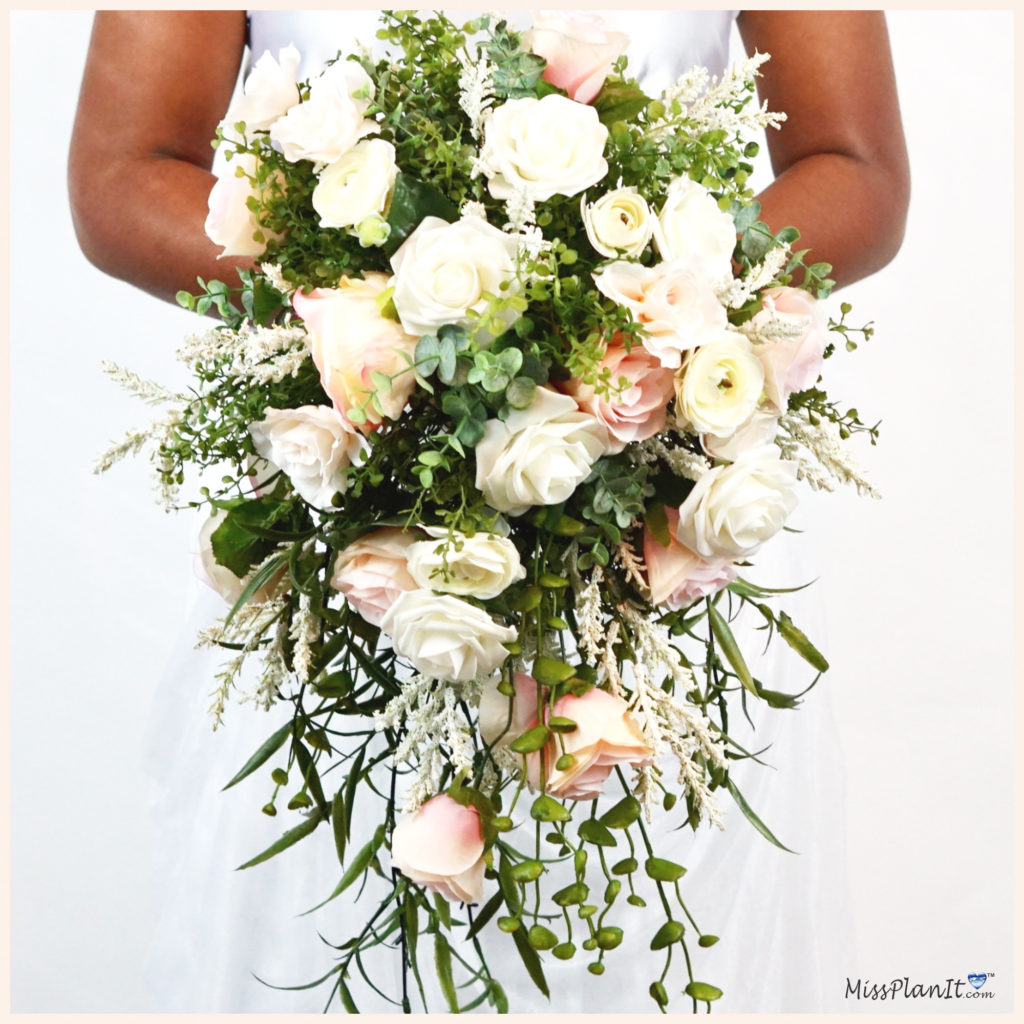
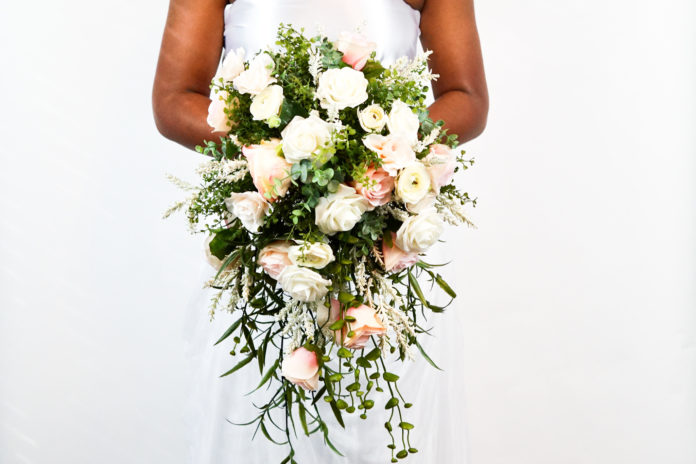
This is definitely one of my favorite projects! The pictures really don’t do it justice as this cascading wedding bouquet is even more stunning in person. I really hoped this tutorial truly helped you to create your very own for your big day!
And always remember, when every penny counts, count on MissPlanIt!



you do some amazing things. I’m so happy i found you on youtube
Hi Victoria,
Unfortunately I don’t have a definitive answer for you. Due to Covid and other extenuating circumstances I can only say that it is our sincere hope to have them available as soon as possible. Until then I will certainly do my best to recommend products that meet our very high standards.
XOXO MissPlanIt
Hey Miss Plan it,
First of all, I really enjoy your videos! ? I am very concerned about the half ball coming off the
bouquet holder. Ive never used this method. But my upcoming Bride wants a huge Spring
Bouquet and I need the extra room. I cant find a holder large enough. Please tell me a trick to making sure it doesnt come off the holder. I know hot glue. Also do you glue your flowers in if you are making it for a bride and not just for demo.
Hi,
Great question! I have never had an issue with this technique. Definitely use high heat hot glue to attach the half ball to bouquet holder. I would definitely use hot glue on the stems to attach to half ball for extra security. Happy DIYing!
XOXO MissPlanIt
Hi
Hot gluing additional greenery should do the trick! Hope this helps.
XOXO MissPlanIt