


This week’s project is a very special request and I am so honored to be asked to assist with the party décor. A new mom recently adopted a beautiful little girl and wants to celebrate this wonderful occasion with a party. Adopting a precious child is such a selfless thing to do and is something that should be celebrated. Our new mom’s theme is rainbows. Join me this week as I create the Happy Rainbow Celebration Party Centerpiece to celebrate the beautiful gift of adoption! Okay, let’s get started!
PROJECT SUPPLIES:
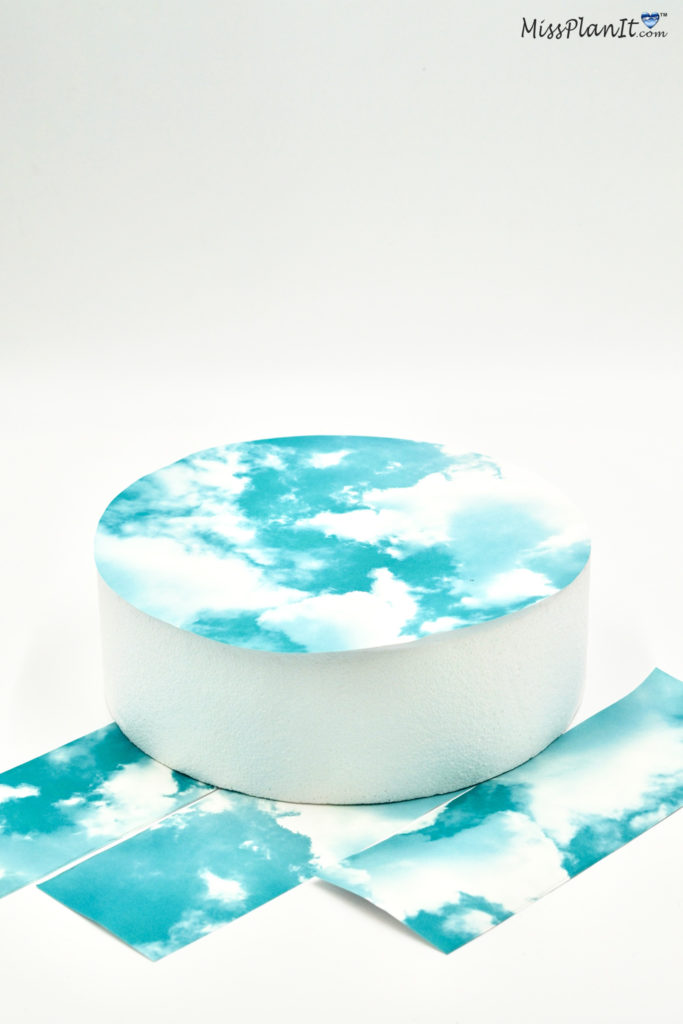
White Round Foam Cake Form – 4″ x 12”
Clouds In Sky Scrapbook Paper – 12″ x 12”
Hydrangea Beautiful Artificial Flower
Artificial Greenery Plants Eucalyptus
PROJECT COST *Cost of Featured Project $76.42 (Some supplies cover more than 1 centerpiece) * Prices fluctuate depending on coupon discount amount. *Price based on current sale cost. (taxes not included)

How To Make a Rainbow Party Centerpiece
INSTRUCTIONS:
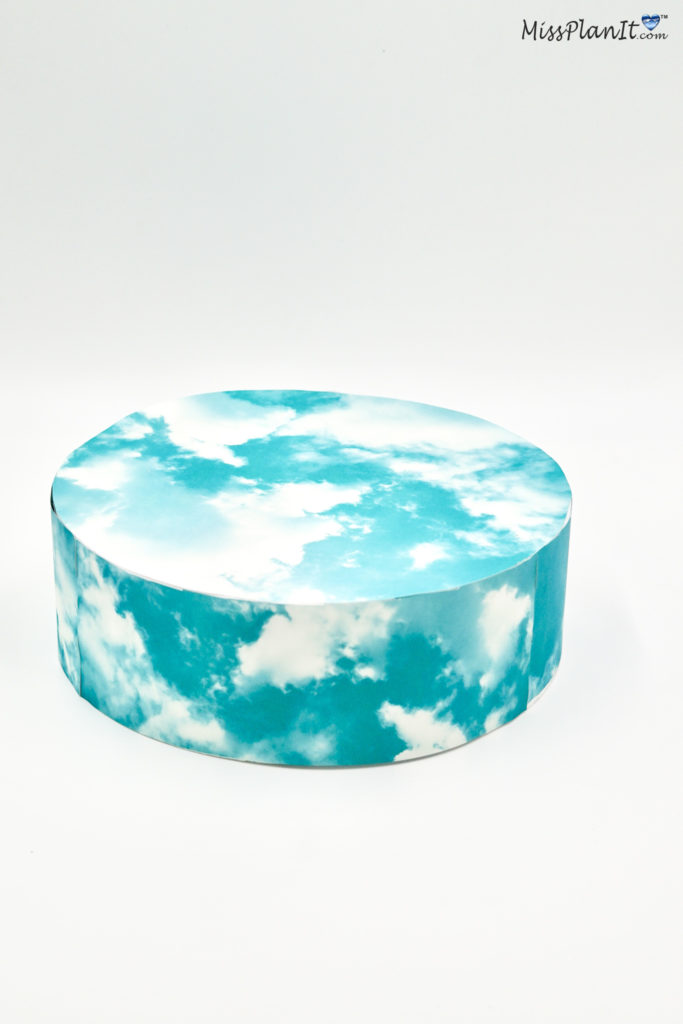
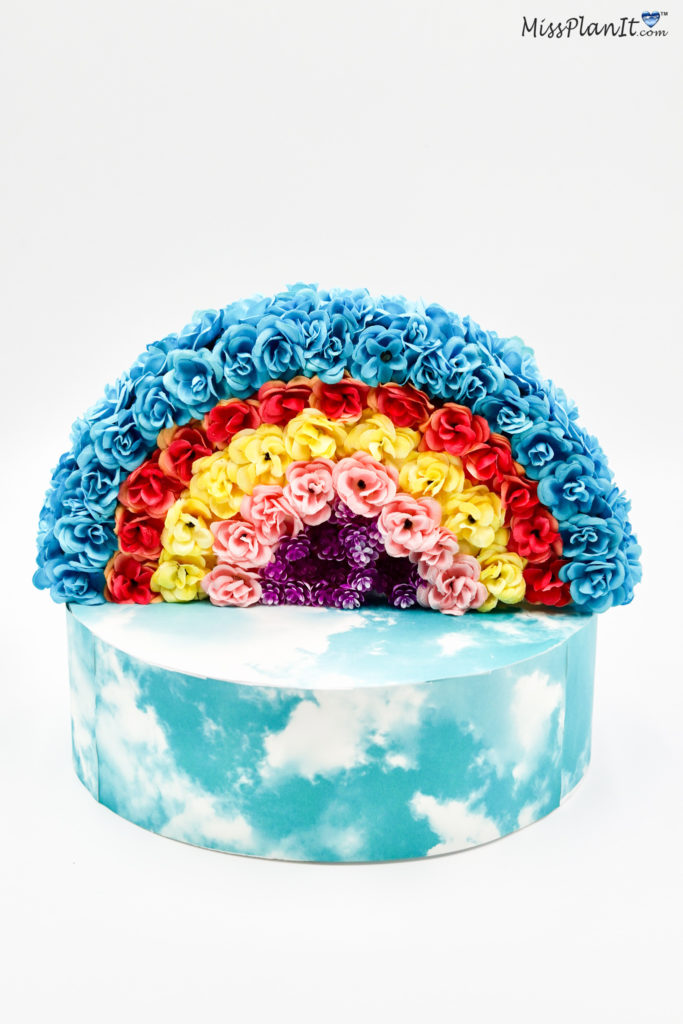
STEP 1 : Firstly, we are using a 12 x 4 White Round Foam Cake Form. Cover it using 12 x 12 Clouds In Sky Scrapbook Paper. Let’s set that aside and put our rainbow together.
Add the Flowers
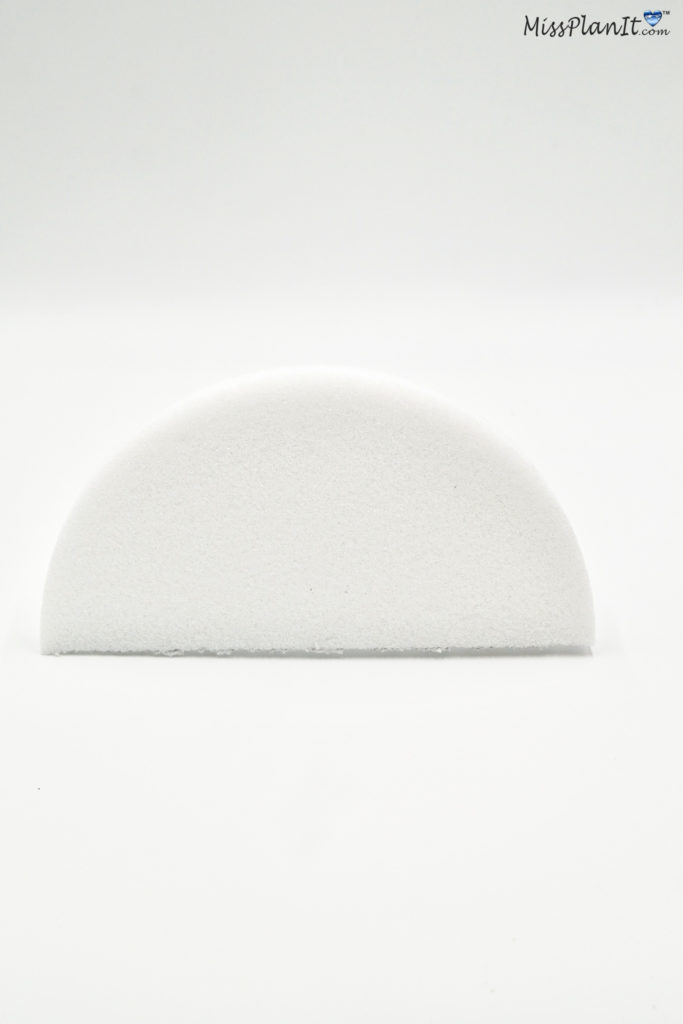
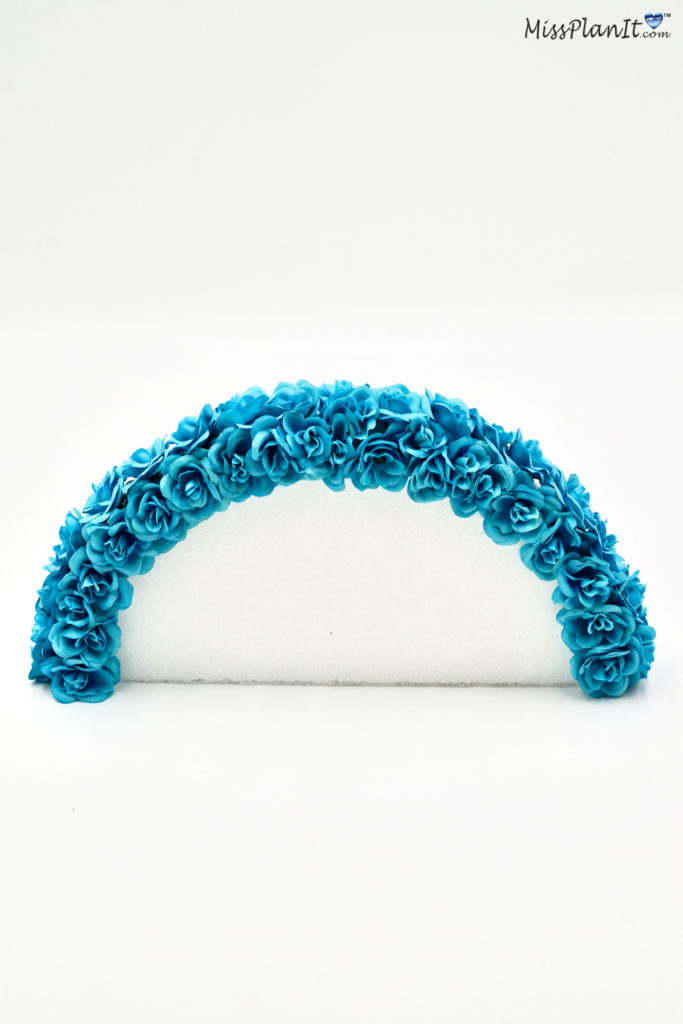
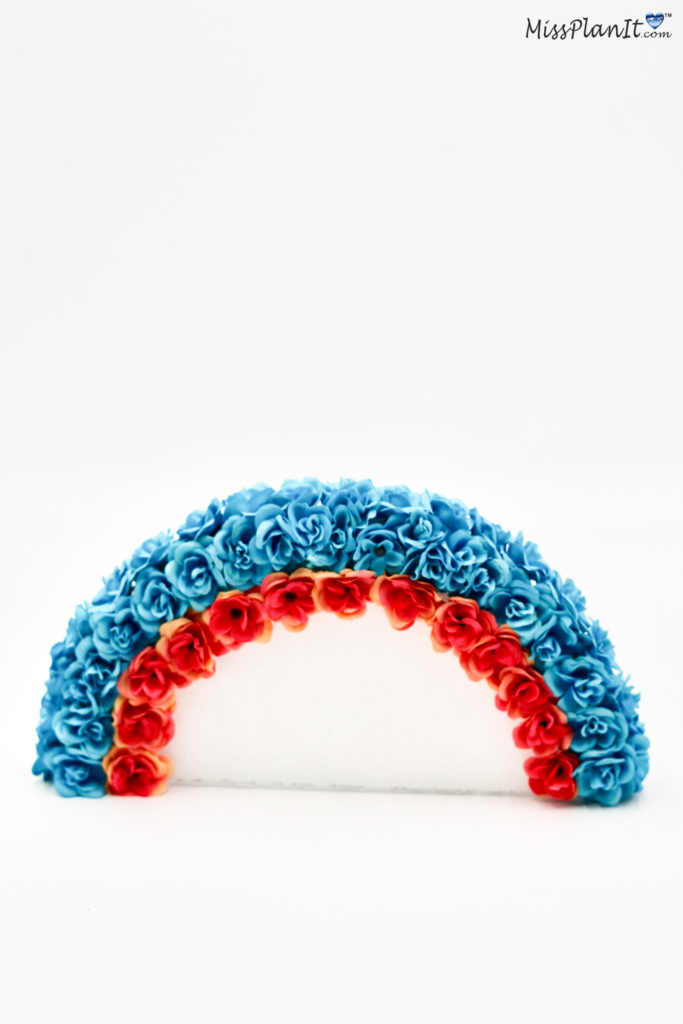
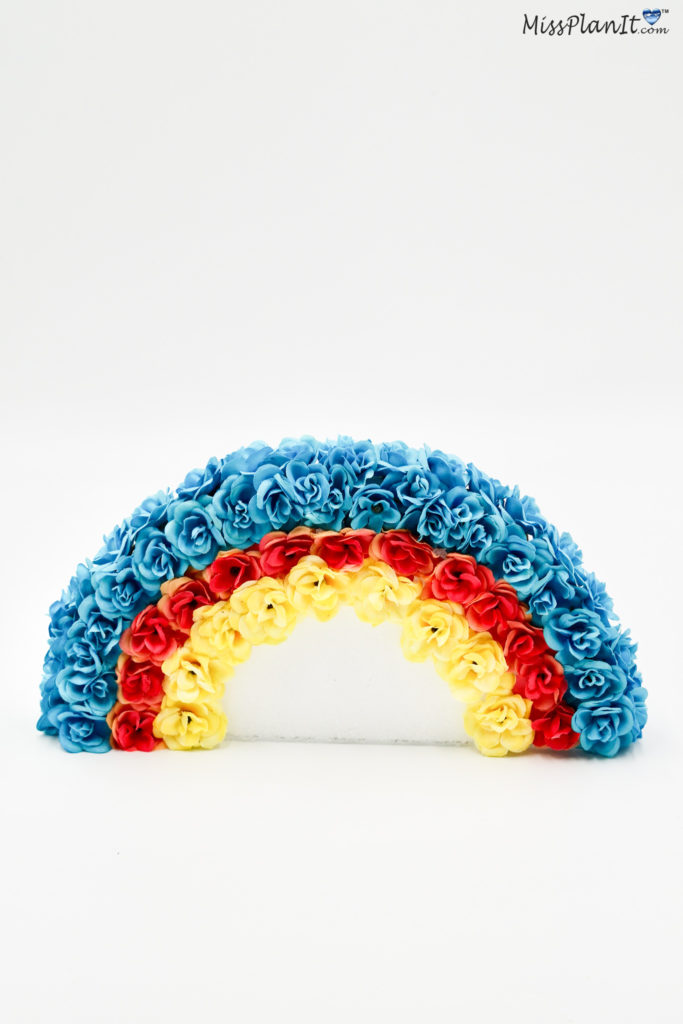
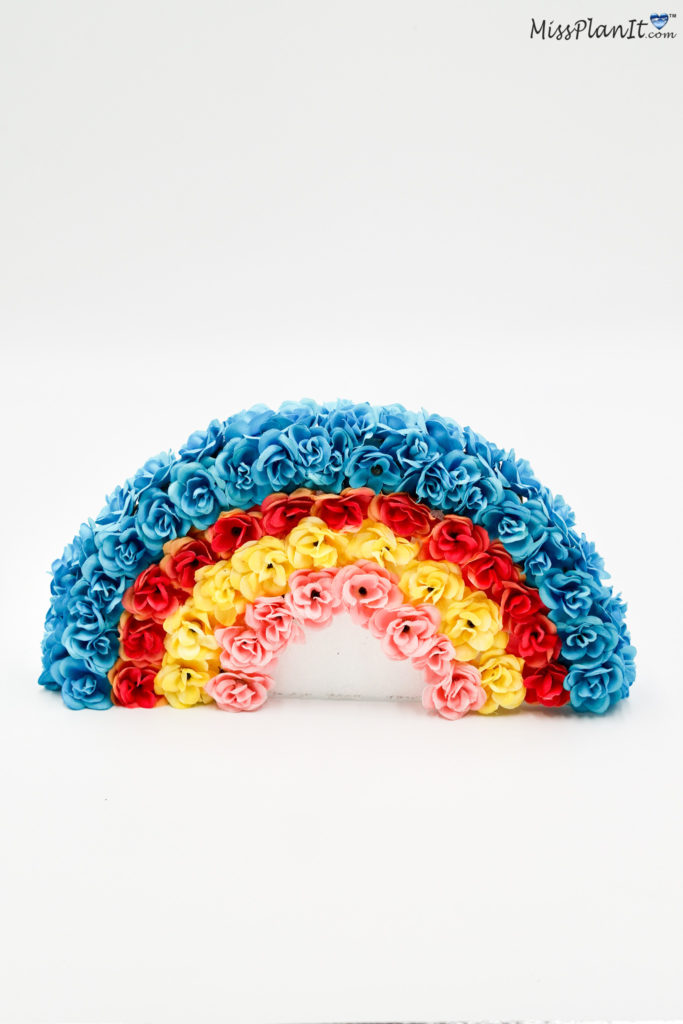
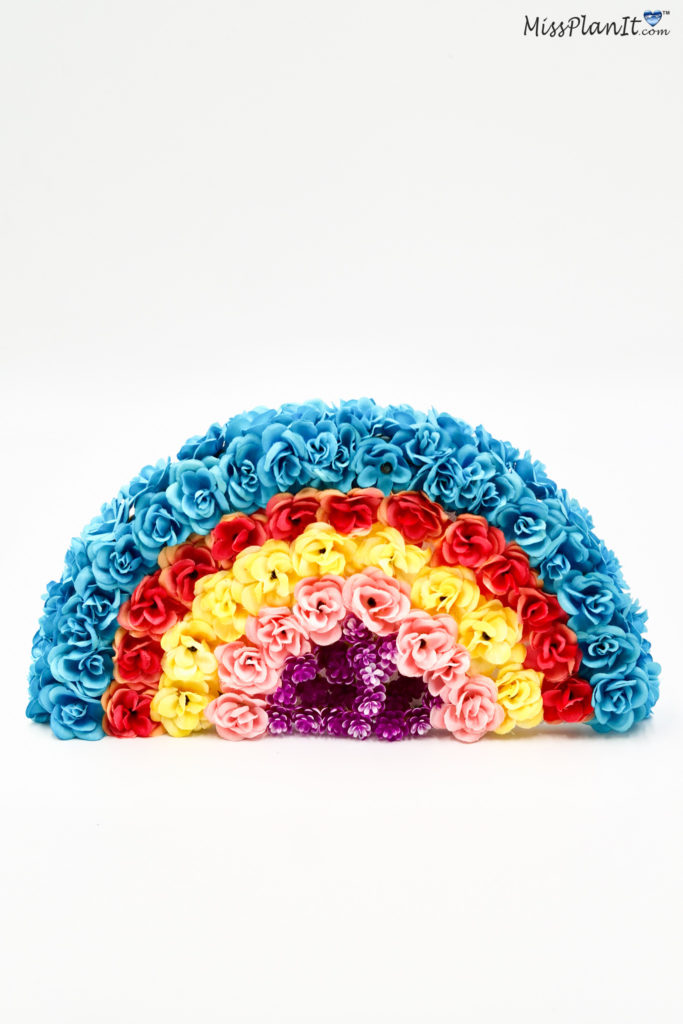
STEP 2: Next cut the 12 inch Styrofoam Disc in half. Attach 24-30 Turquoise Mini Roses, 12-14 Peach Mini Roses, 8-10 Yellow Mini Roses, 6-8 Pink Mini Roses, and 12-16 Purple Eucalyptus. Repeat on the opposite side.
Helpful Tip! Also for extra security put a dab of glue on the flowers before attaching them to the Styrofoam.
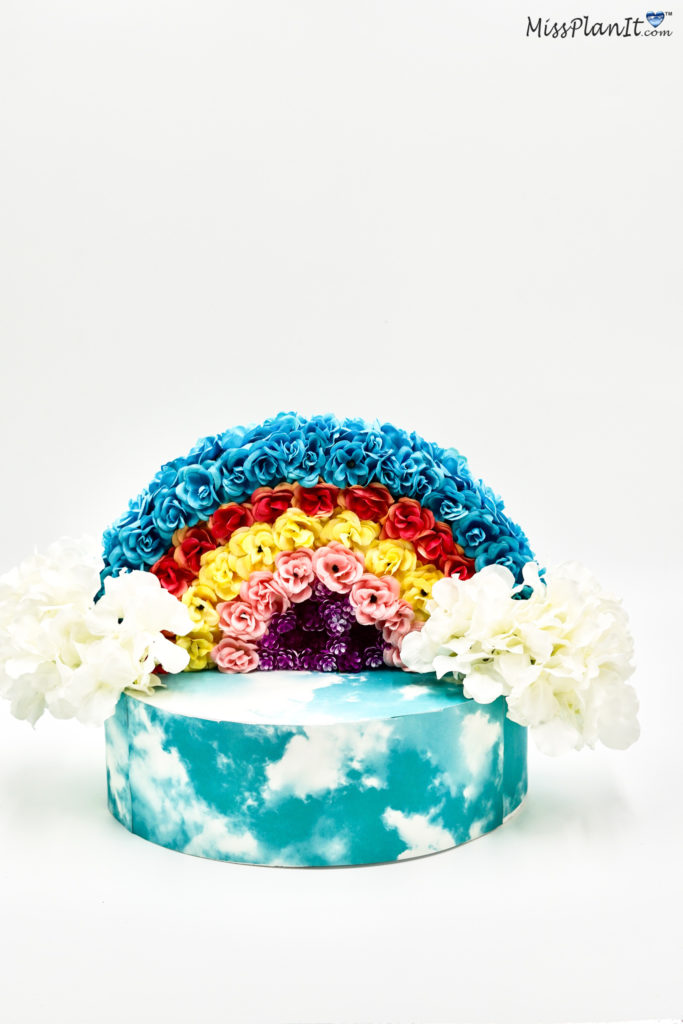
STEP 3: Attach Rainbow Styrofoam to the cake form with 2 Toothpicks. Attach 4-6 White Hydrangea Heads to the ends of the rainbow.
Final Step! Lastly, personalize with Gold Letters to symbolize the pot at the end of your rainbow!
I am so grateful to be apart of this wonderful occasion. Creating this rainbow party centerpiece was such a joy. There is no bigger blessing than a child. So, for your special occasions always remember, when every penny counts, count on MissPlanIt!