In today’s wedding project tutorial, I will be creating a Starry Night Wedding Centerpiece that is so versatile you can actually recreate it for any other event. This centerpiece highlights the beauty of the sky and stars above, giving your wedding an exceptionally beautiful unique look. The blue and gold colors complement each other well and are a gorgeous pair. The easy steps below will show you just how to recreate this look. Plus, I was able to use some Dollar Tree products to make this on a budget. So, what are we waiting for, let’s get started!
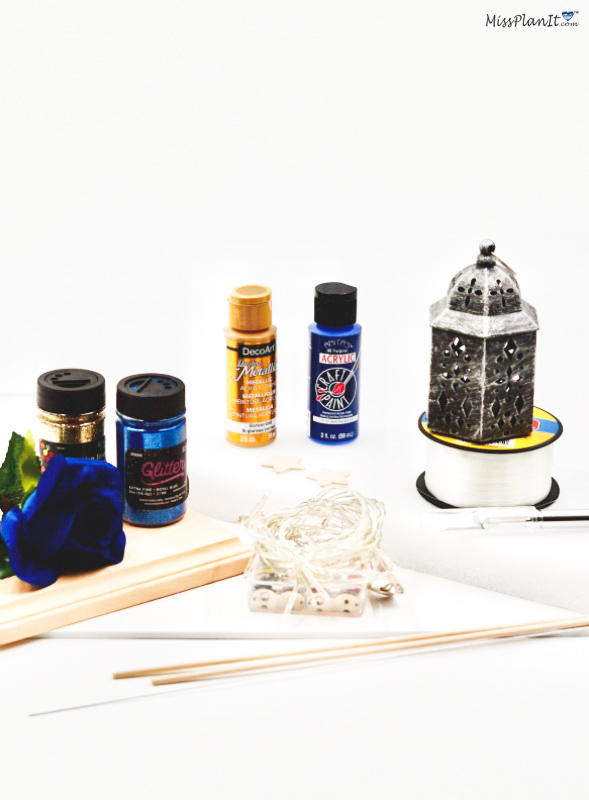
SUPPLIES:
Readi-Board White Foam Boards, 20×30 in.
LED Moroccan Plastic Lanterns
Floral Garden Silver and Copper Wired LED Lights
Styrofoam Block – 5″ x 12″ x 1 1/4”
Star Wood Shapes
Wood Dowels- 1/8”
Glorious Gold DecoArt Dazzling Metallics
Royal Blue Anita’s Acrylic Craft Paint
Gold Extra Fine Glitter – 2 Ounce
Royal Blue Extra Fine Glitter – 2 Ounce
Floral Wire – 20 Gauge
Floral Pins
Clear Blue Rose Bush
*Cost of Featured Project $35.57 (Some supplies cover more than 1 centerpiece) * Prices fluctuate depending on coupon discount amount. *Price based on current sale cost. (taxes not included)
Directions:
How To Make a Starry Night Wedding Centerpiece
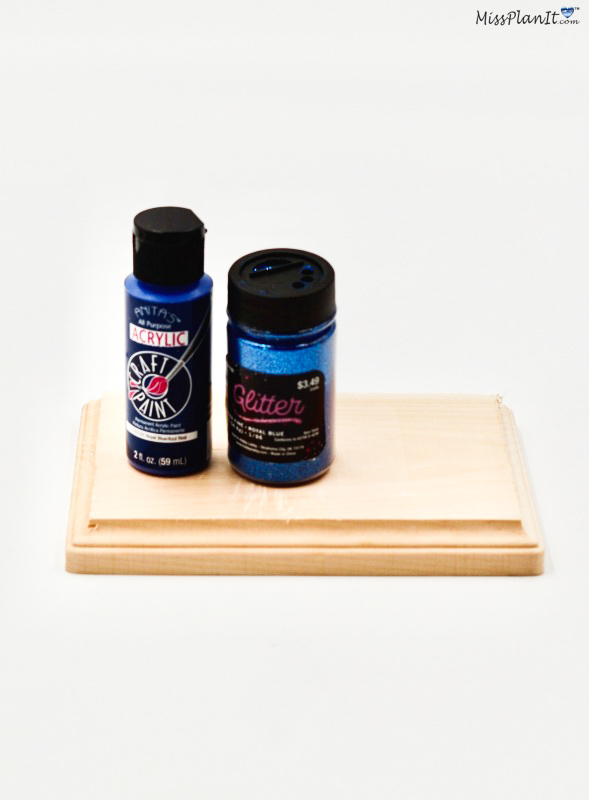
STEP 1 : Our base consists of a 5 x 7 wooden plaque and Styrofoam block. Cut the styrofoam block to fit. Use Royal Blue Acrylic paint and Extra Fine Blue Glitter to cover the edge of the wooden block.As always it’s important to have a strong base. Allow 20-30 minutes to dry.
Cover Lantern in Glitter and Create Star Embellishments
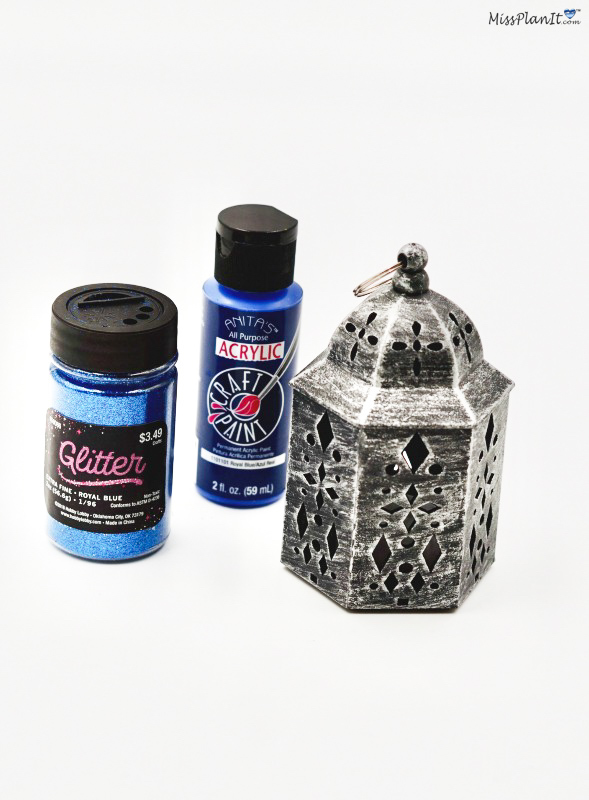
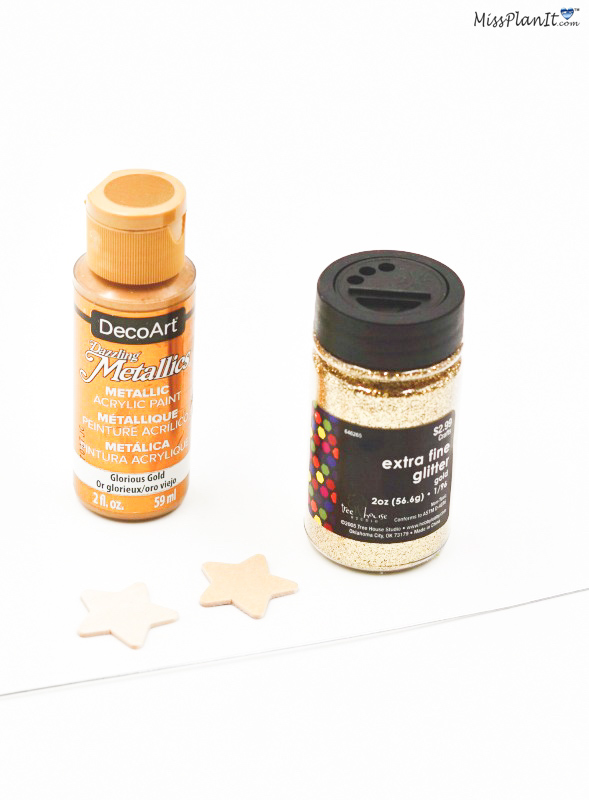
STEP 2: Use the same paint and glitter technique to cover your lantern. Create the Star embellishments with Wooden Star Decals and 20 gauge floral wire cut into 3-6 inch sections. Attach wire to one side of your wooden star with hot glue. Allow 3-5 minutes to set up. Next apply Gold Acrylic Paint and Extra Fine Gold Glitter using the same technique as the lantern. Allow 15-20 minutes to dry.
Helpful Tip! Prep all the individual elements of the centerpiece first, then put all of the elements together the next day. Have your family, friends and bridesmaids help you with the prep!
Print Out Crescent Moon Pattern
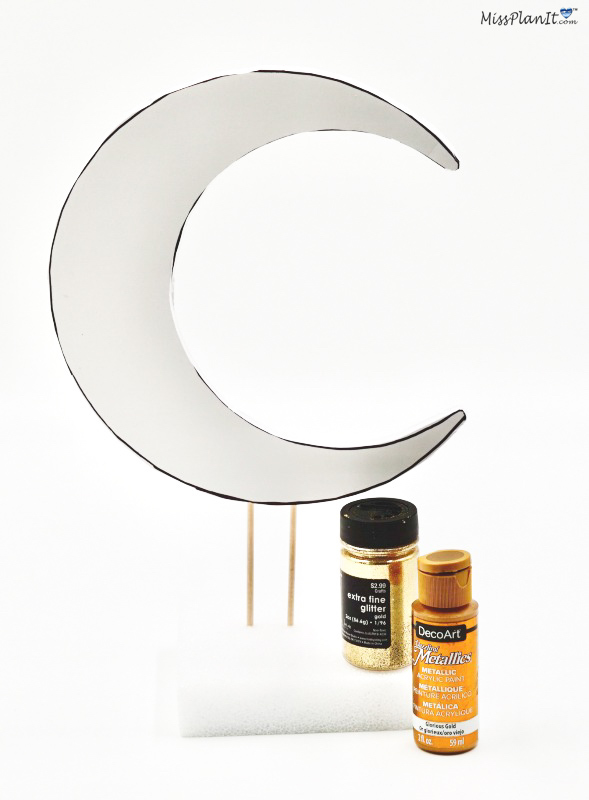
STEP 3: Print out a Crescent moon pattern from the internet, resize it for this project approximately 12 inches. Trace the pattern onto Foam Board then cut out with an Exacto Knife. Attach two 4inch wooden dowel sections onto the back of the Foam Moon with hot glue. Next apply Gold Acrylic Paint and Extra Fine Gold Glitter using the same technique as the lantern. Allow 15-20 minutes to dry. Once dry use the end of a floral pin to punch a whole at the top of the Crescent moon which to string and hang the lantern from.
Add Twinkle Lights
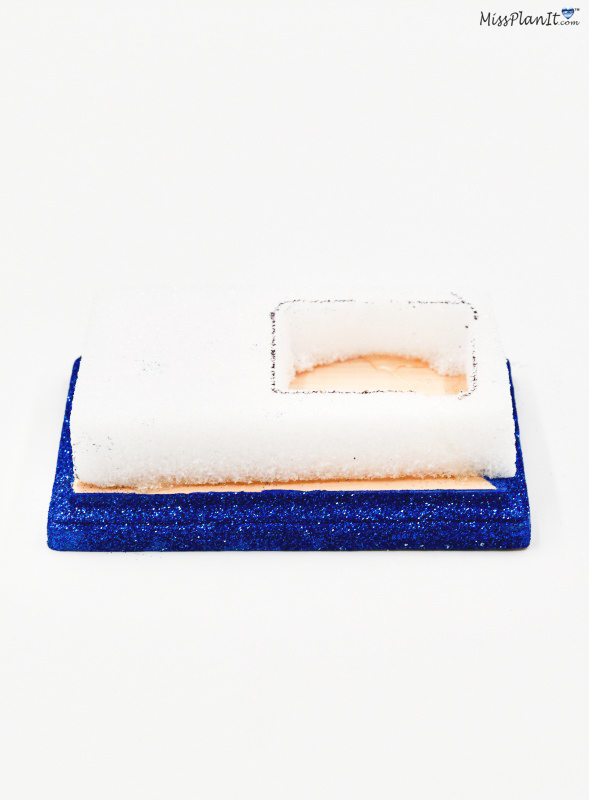
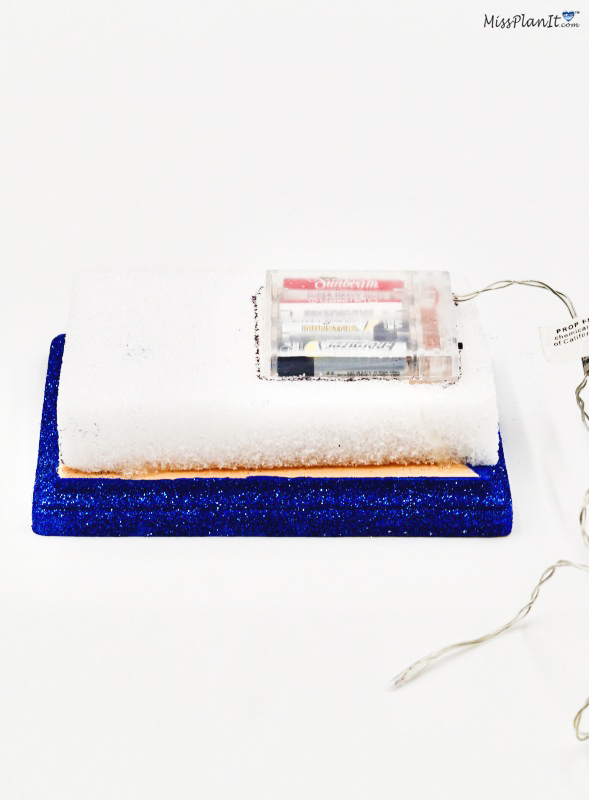
STEP 4: This step is optional! Cut out a section of your Styrofoam base to place the battery pack for your Twinkle Lights. Be sure to leave the power switch exposed. Attach foam base to the top of the wooden plaque with hot glue. Place battery pack into cut out. DO NOT GLUE DOWN! Attach Crescent Moon. Also, attach18-20 Royal Blue Roses, stringing lights in between the roses as you go. Lastly, attach lantern with fishing wire.
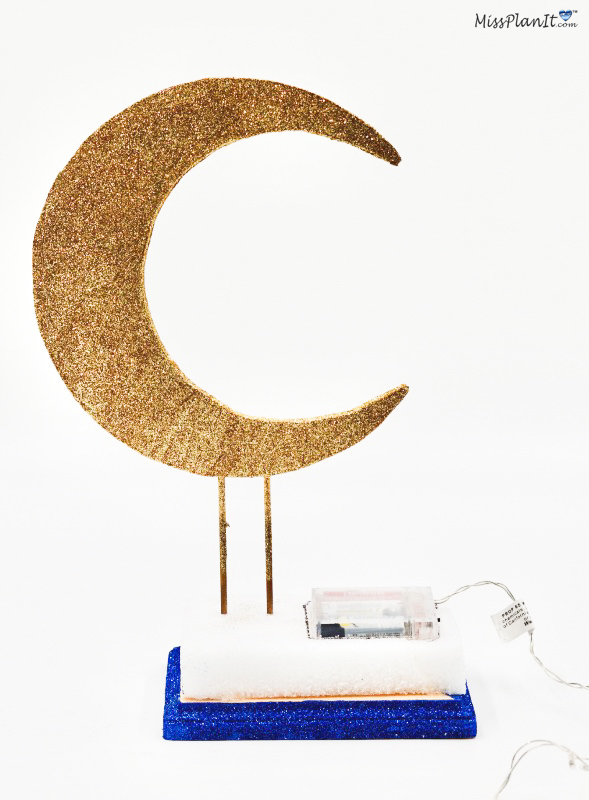

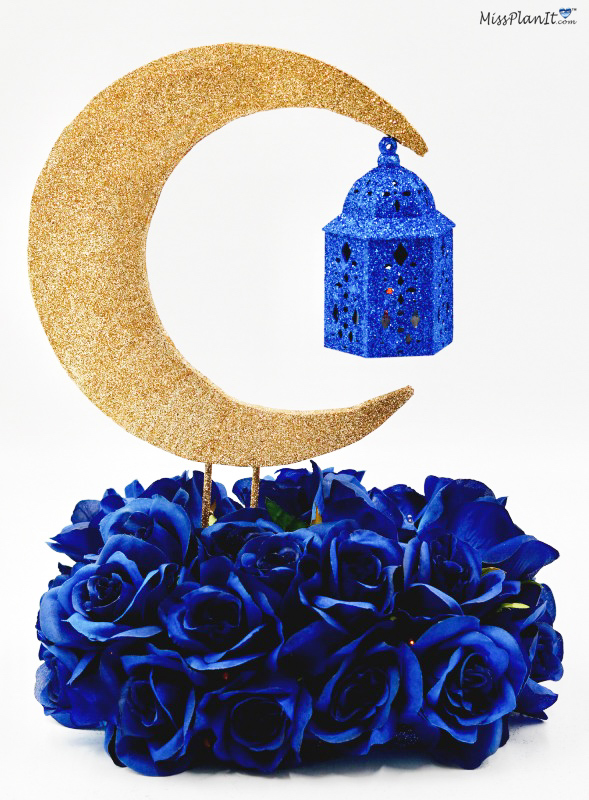
Final Step! Add as many Star Embellishments as you’d like! Turn on the Twinkle Lights and WOW your guests!
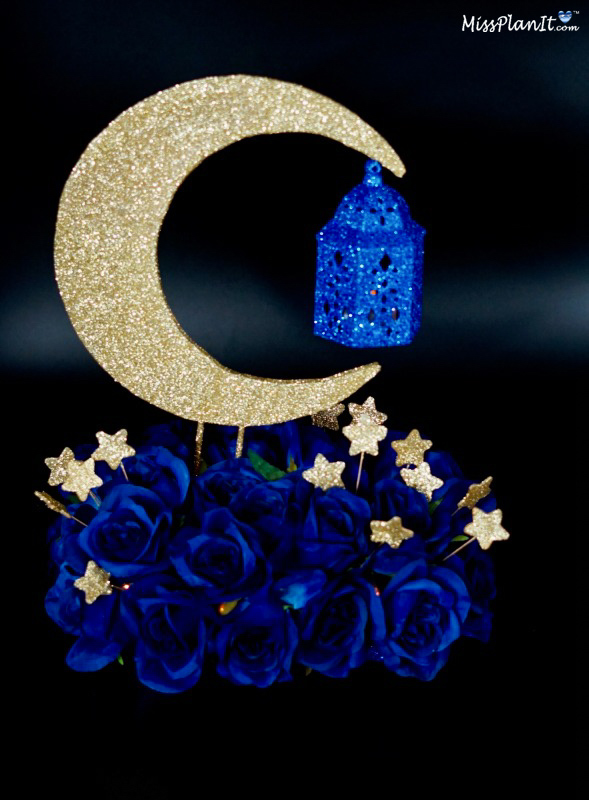
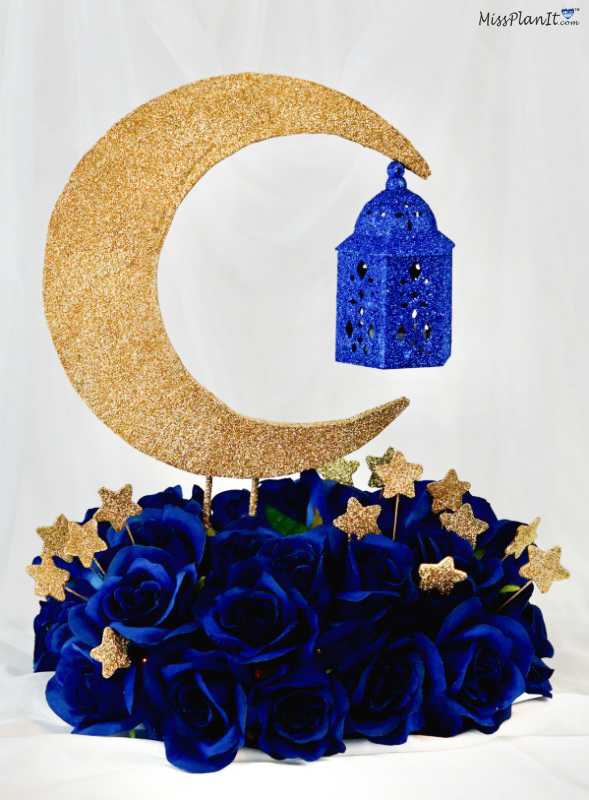
I love how versatile this Starry Night Wedding Centerpiece is. Although, used for your wedding, you can literally use it for any Celebration. You know what our motto is! When every penny counts, count on MissPlanIt! See you next week!


