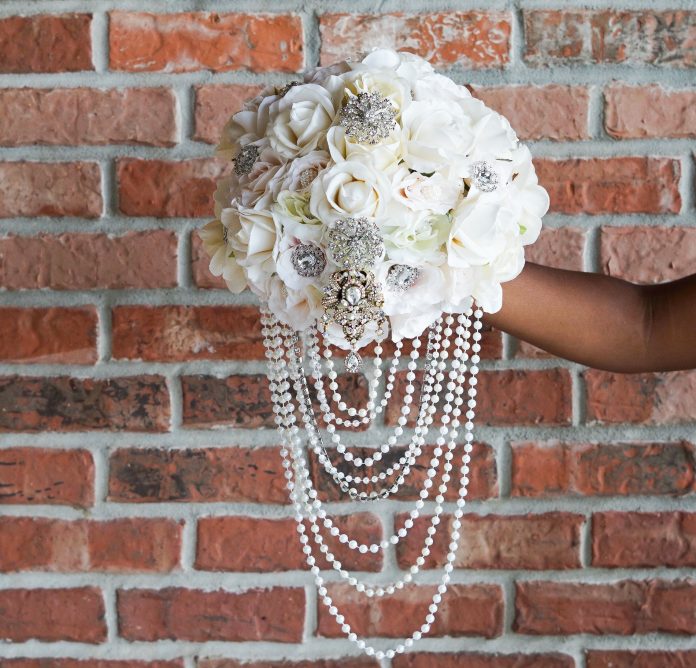
The average cost to purchase a Pearl and Brooch Cascading Bridal Bouquet is about $250 to $550 and up. Don’t believe me! Research this type of bouquet and you will see just how costly they can be. If this is not within your budget, you are going to be elated about what I am about to share. Did you know you can DIY your own Pearl and Brooch Cascading Bridal Bouquet for only $85.06? No this is not a typo. You will get the same stunning look for a fraction of the cost, in just a few simple steps I will share below. So let’s get started! For video instructions, please check out the video tutorial below!
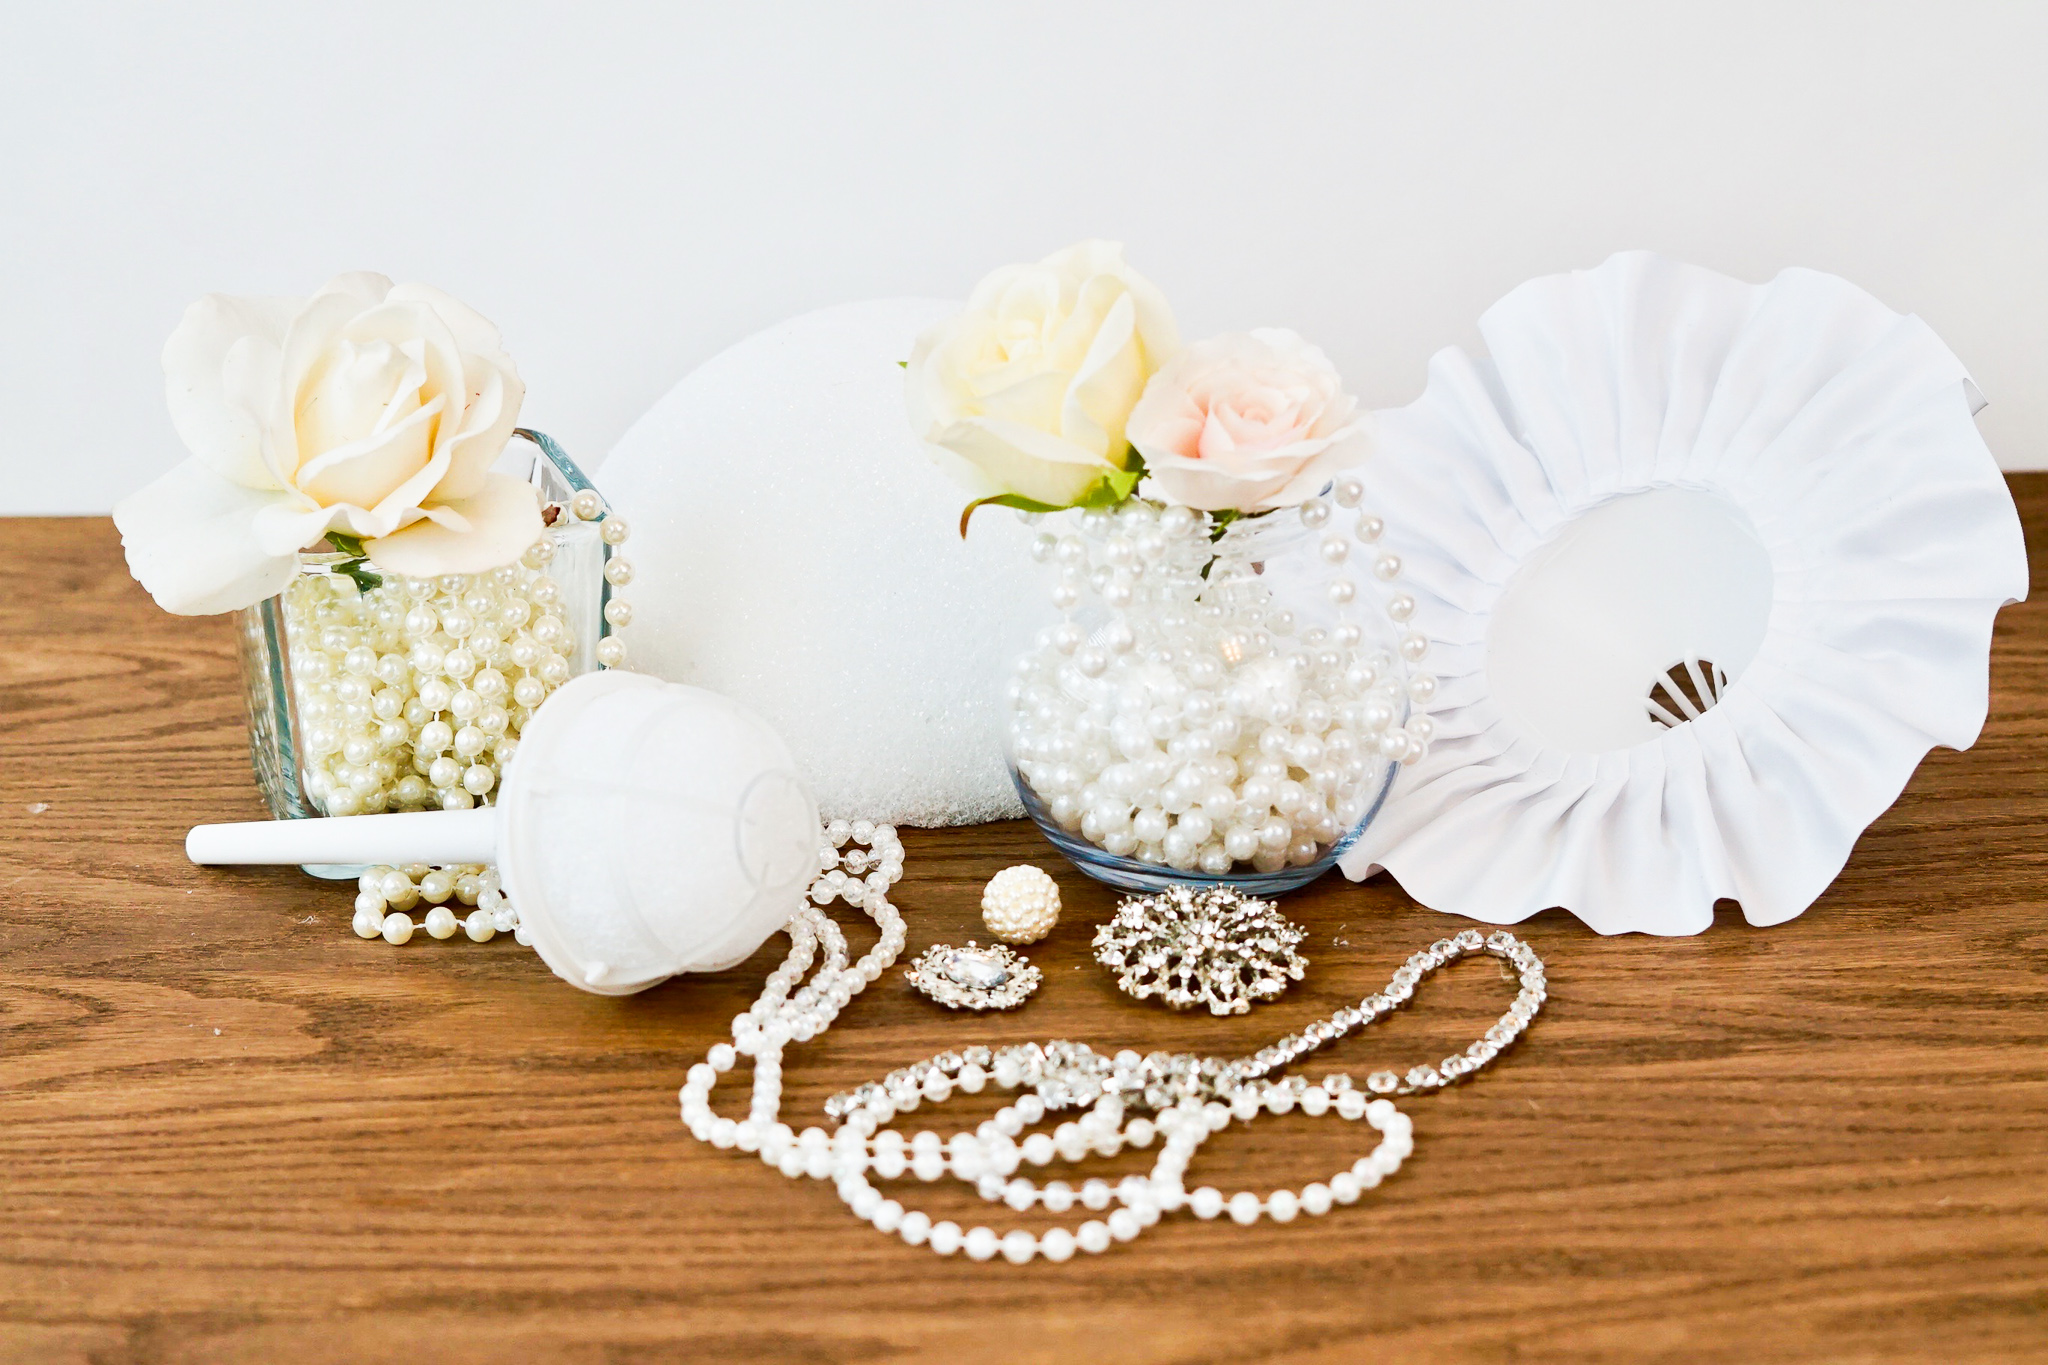
SUPPLIES:
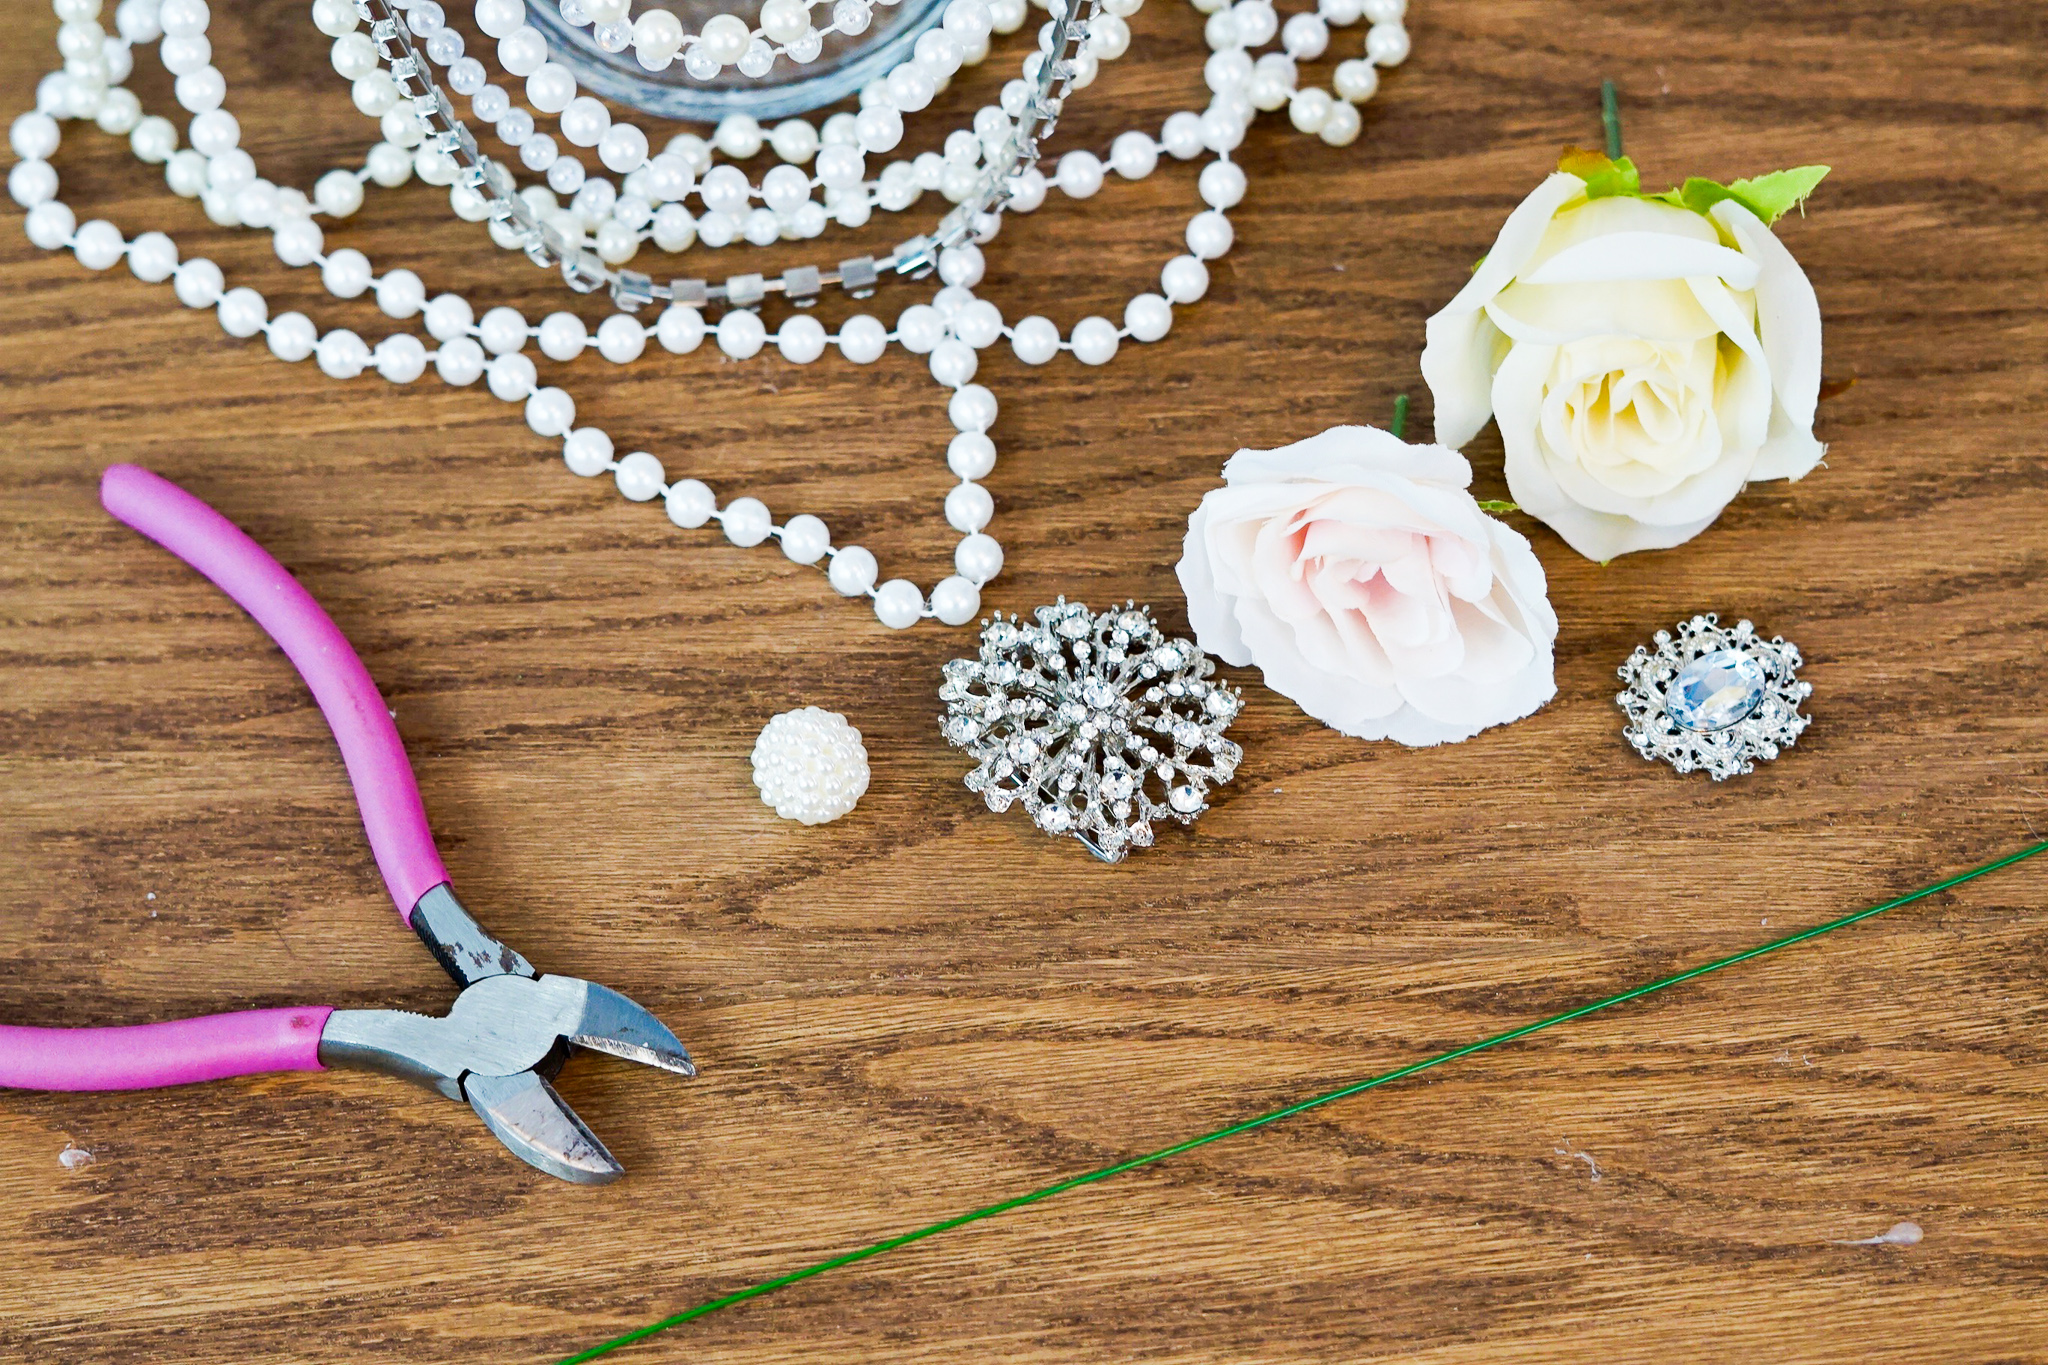
Floral Garden 6-Stem Queen Rose Bushes, 15.5 in.
Iridescent Pearl Trim – 1/4”
Ivory Pearl Beaded Garland
Pearl White Pearl Beaded Garland
Clear Rhinestone Trim – 6mm
Ornate Brooch With Rhinestone Dangles
Large Straight Handle Bouquet Holder
White 8″ Satin Bouquet Collar
Ivory Carolina True Touch Rose Bouquet
Beaded Plastic Pearl Beads – 20mm
Green Annealed Floral Wire – 26 Gauge
Styrofoam Ball – 8”
Silver Rhinestone
Crystal Rhinestone Wedding Brooches Pins
PROJECT COST *$85.06 (Some supplies cover more than 1 centerpiece) * Prices fluctuate depending on coupon discount amount. *Price based on current sale cost. (taxes not included)
For written instructions, please continue reading below:
How To Make a DIY Elegant Brooch and Pearl Cascading Bridal Bouquet
Directions:
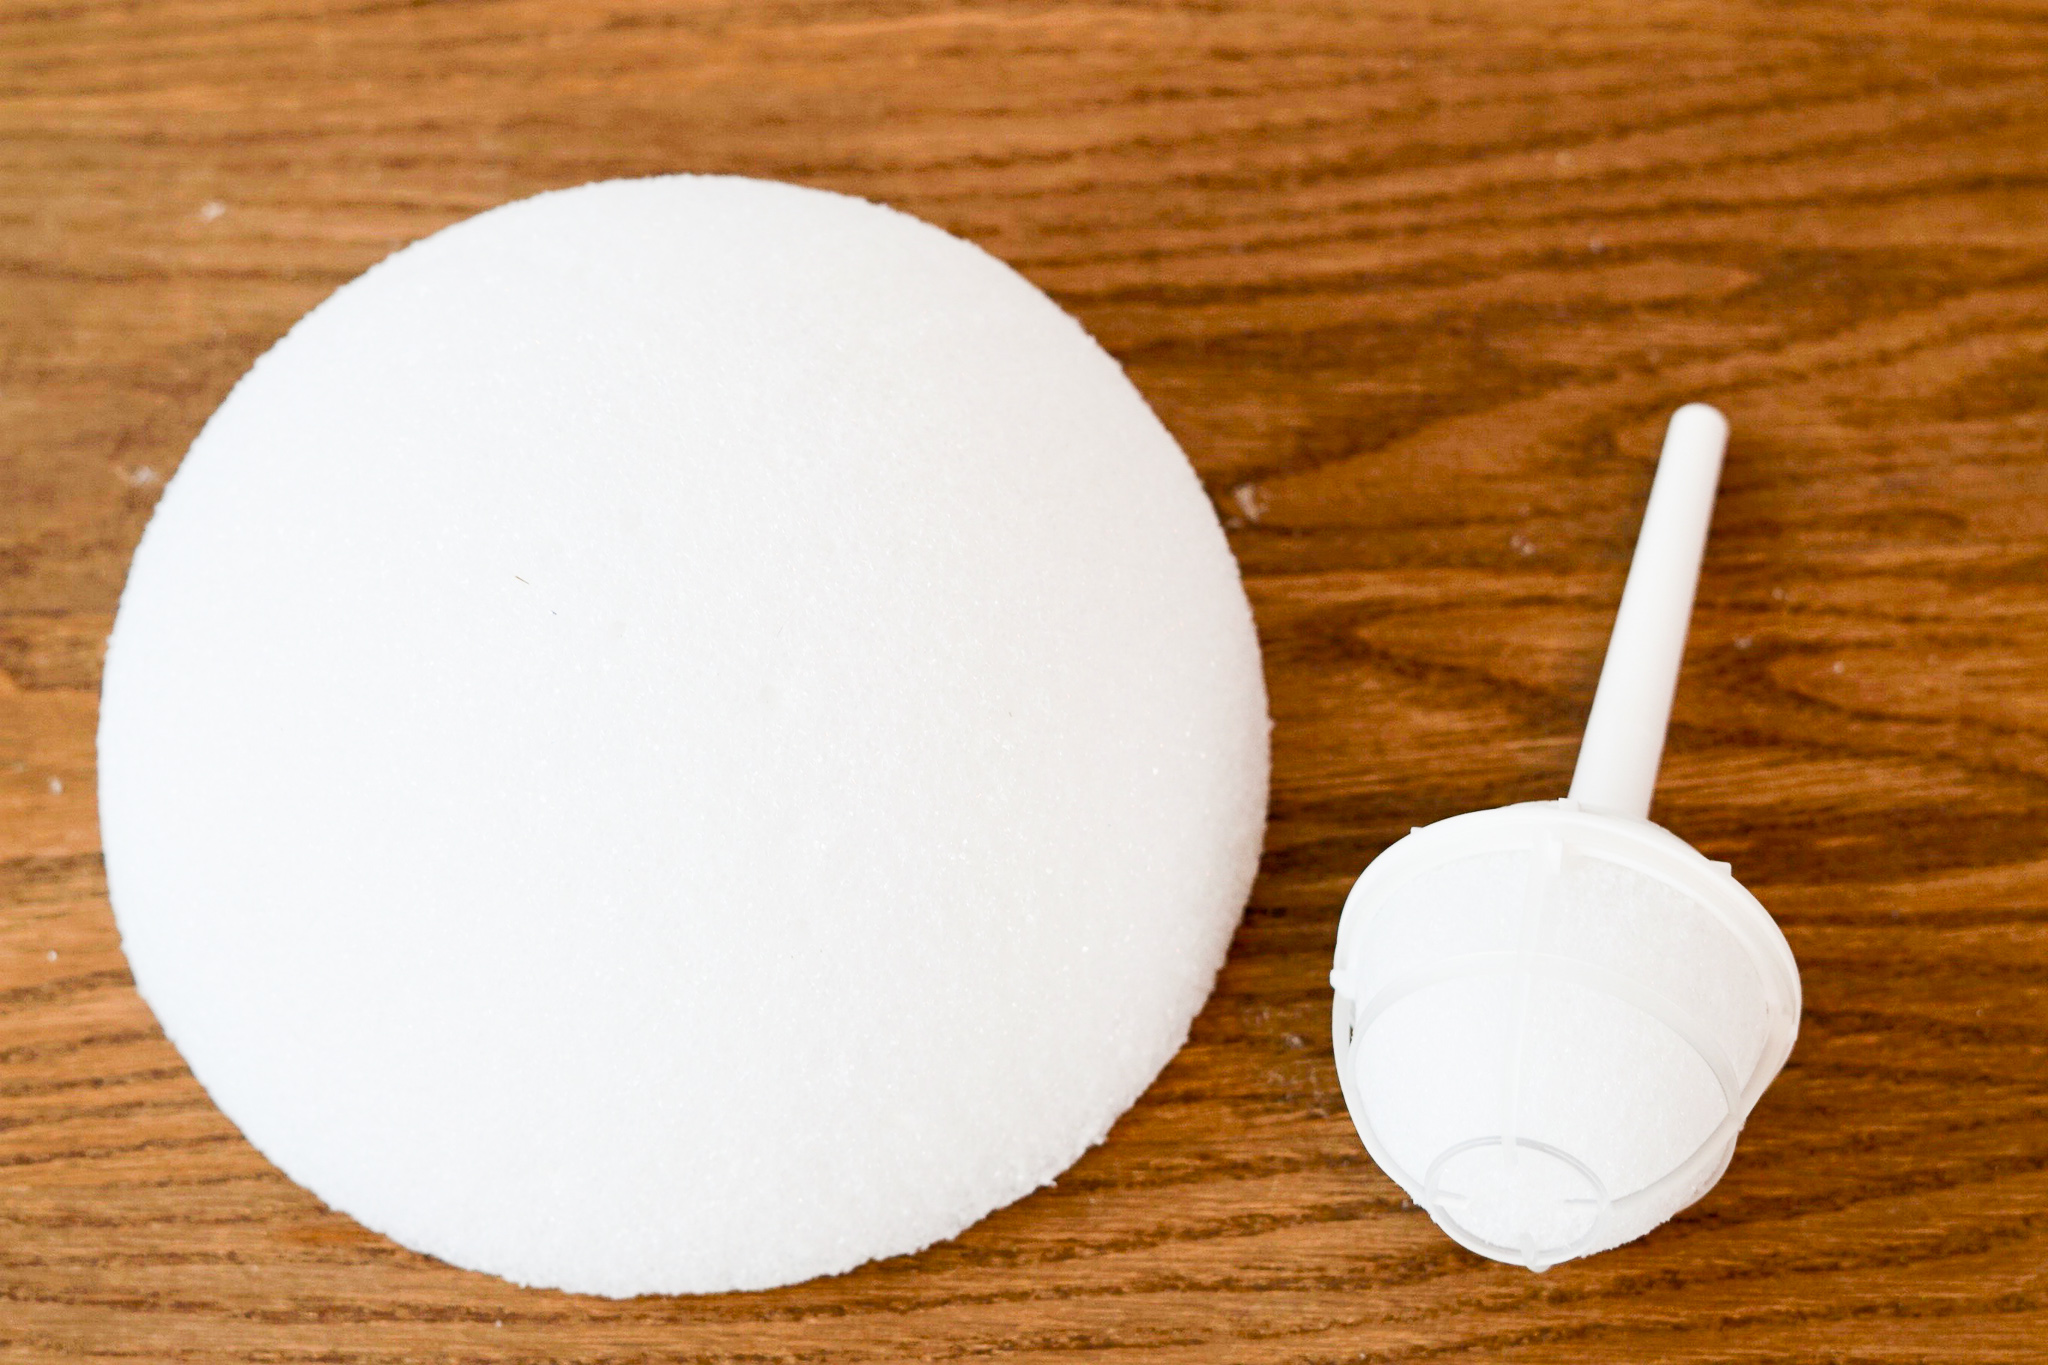
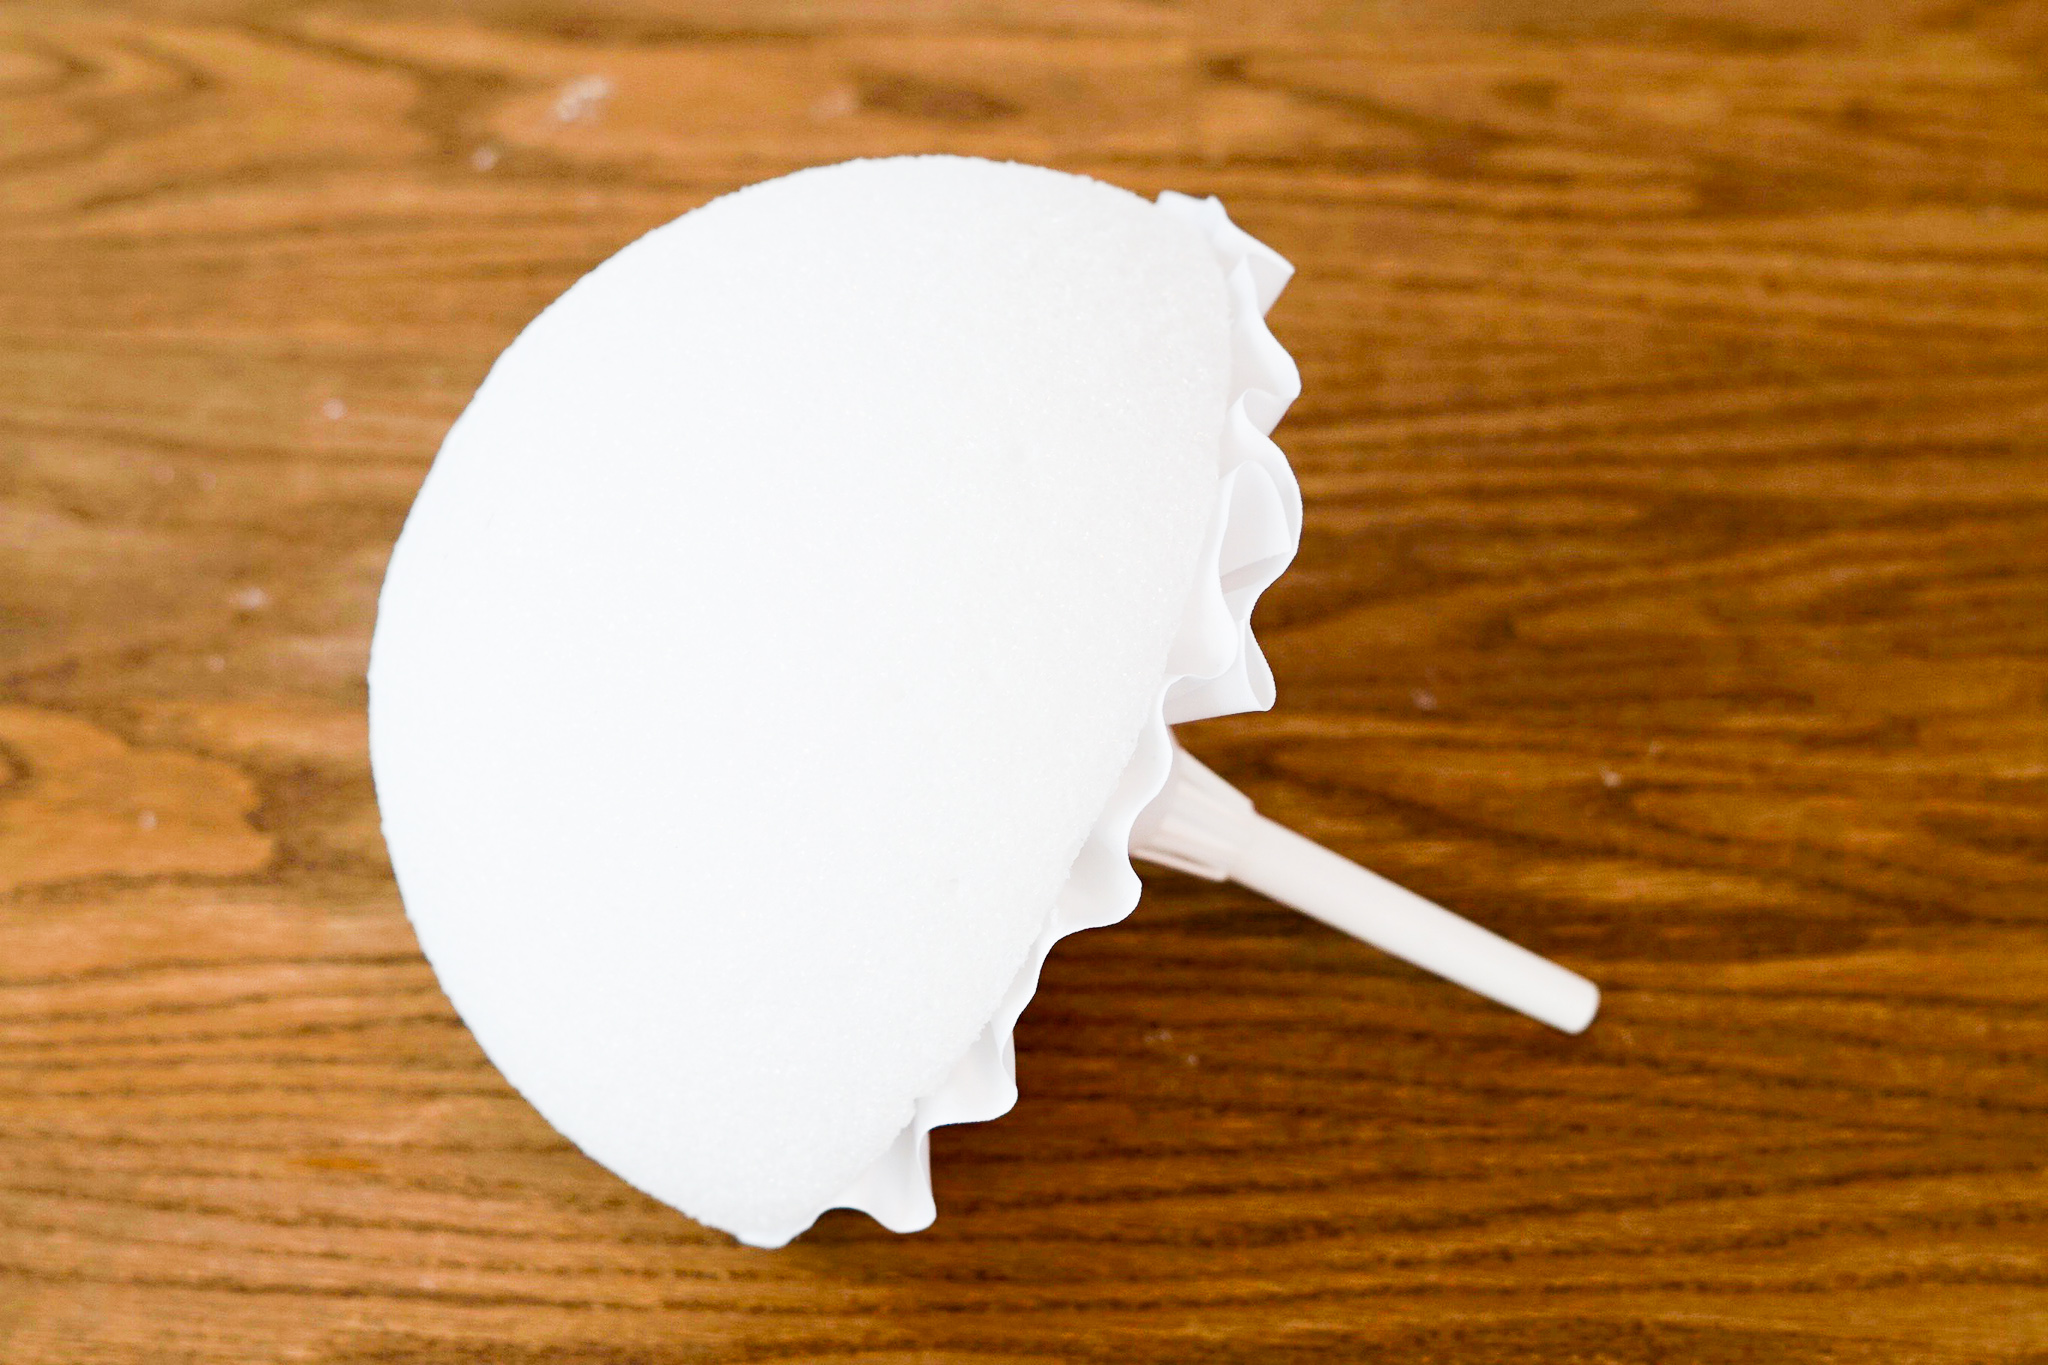
STEP 1: Place the bouquet holder on the half foam ball and trace around it. Cut out the traced area and scoop out enough of the foam with a spoon to place your handle inside the foam. Next add hot glue to the top of the handle and insert it into your foam. Now attach the bouquet collar with hot glue.
It’s Time to Measure and Cut the Pearl Strands
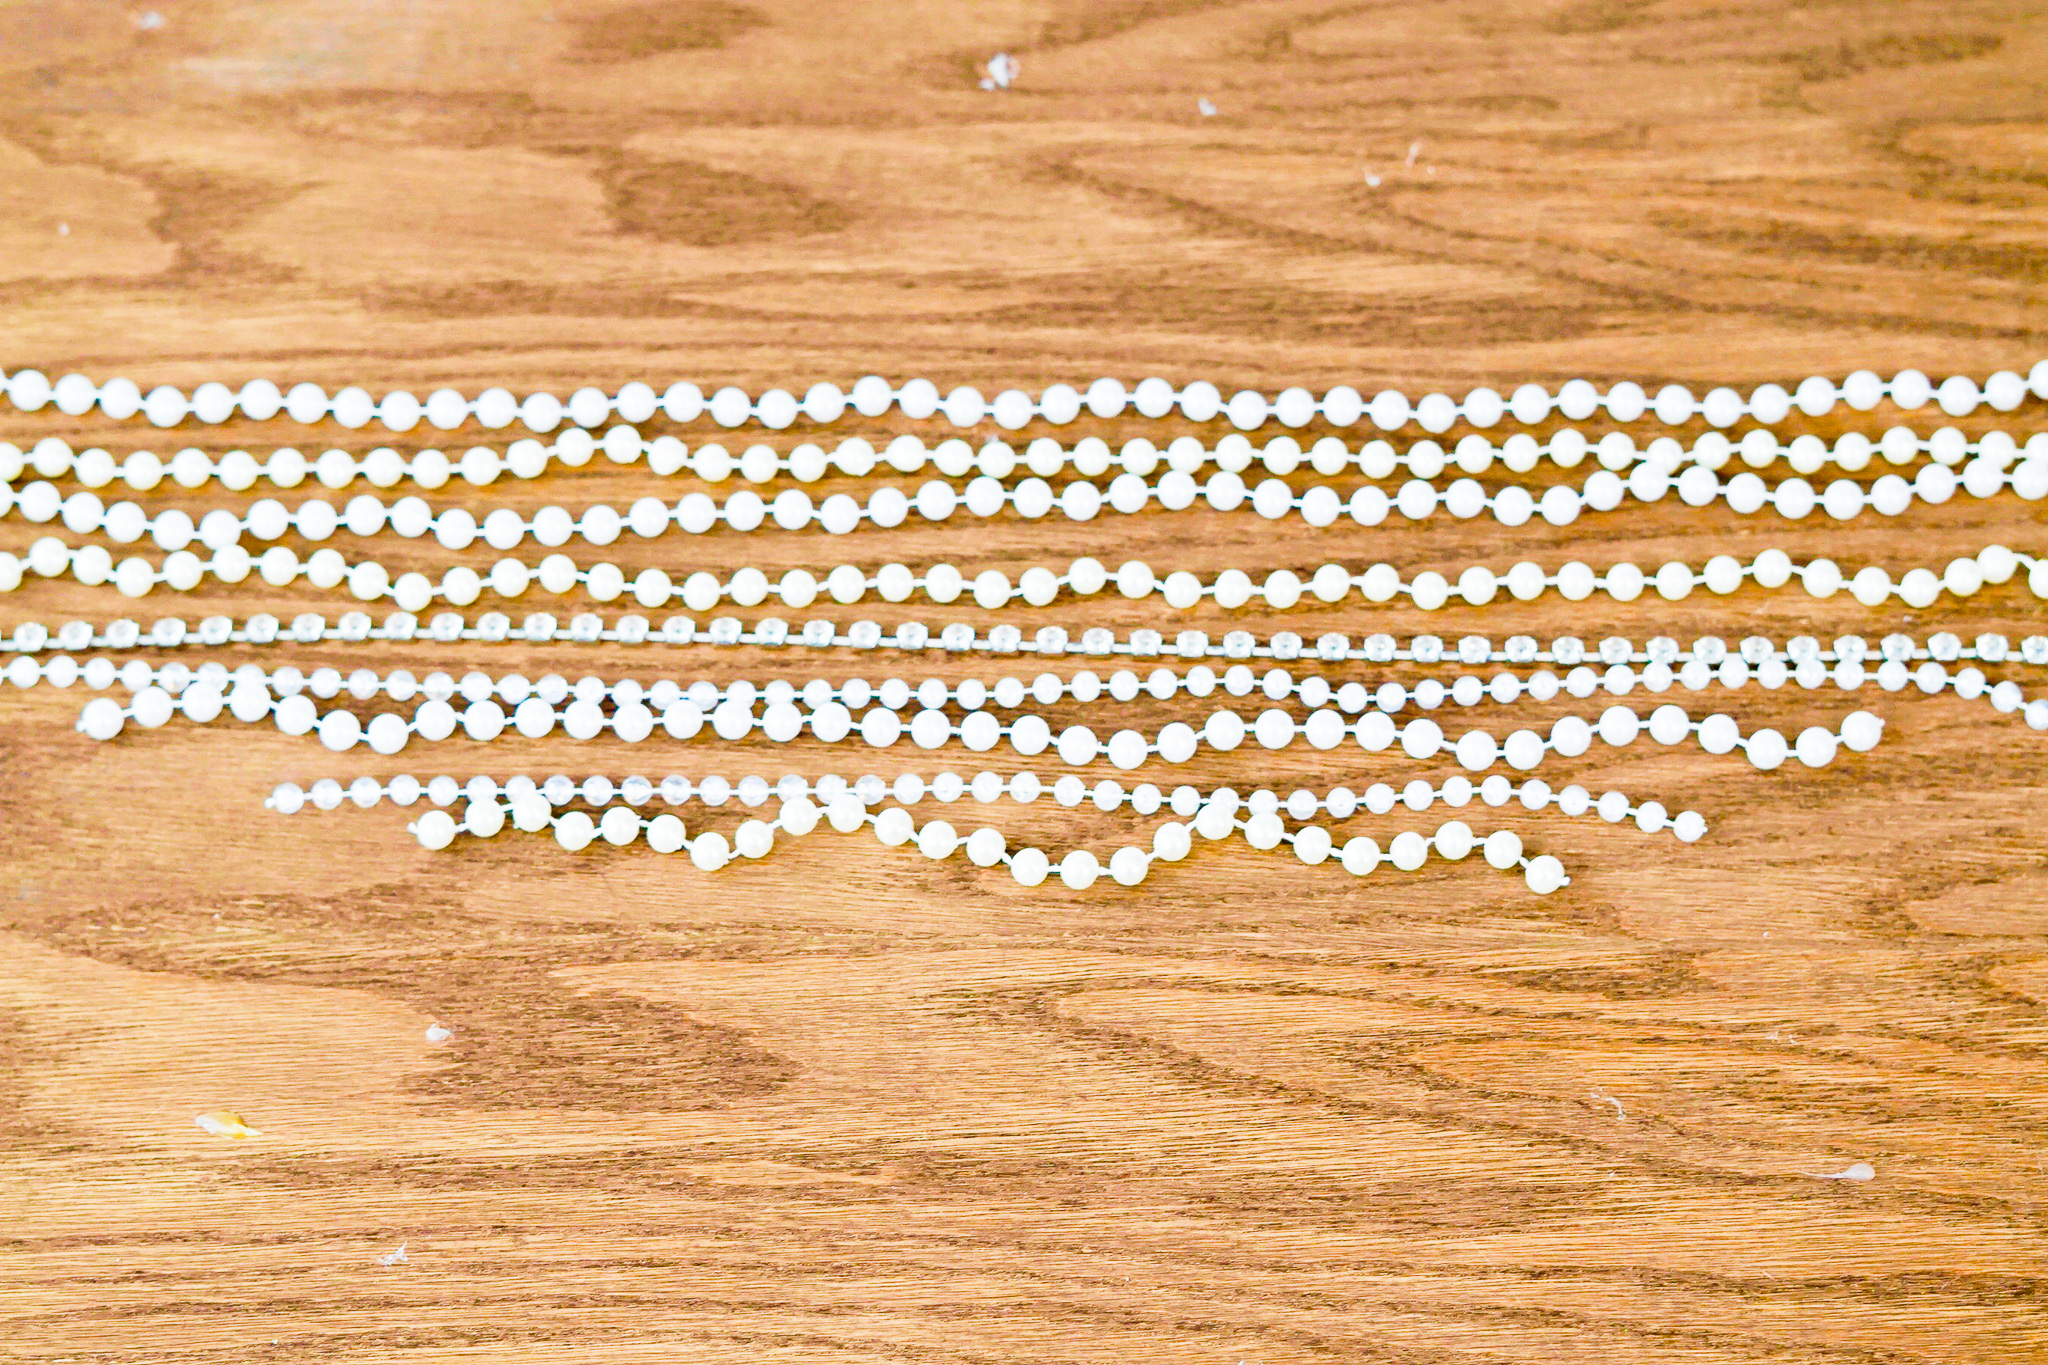
STEP 2: Measure and cut three ivory strand pearls at 10 inches, 20 inches, and 30 inches. Next measure and cut three strands of white pearls at 15 inches, 25 inches, and 35 inches. Also measure and cut two strands of iridescent pearls at 12 inches and 18 inches. Lastly, measure and cut a rhinestone strand at 19 inches long.
Attach the Strands to the Foam Dome
STEP 3: Now lay out the strands from Step 2 from shortest to longest. Make a centerpoint line on the half foam dome with a pen. Attach the strands with floral pins around the center line, shortest to longest, one side to the other. Be sure they are even on both sides. [See Video]
Embellish the Flowers
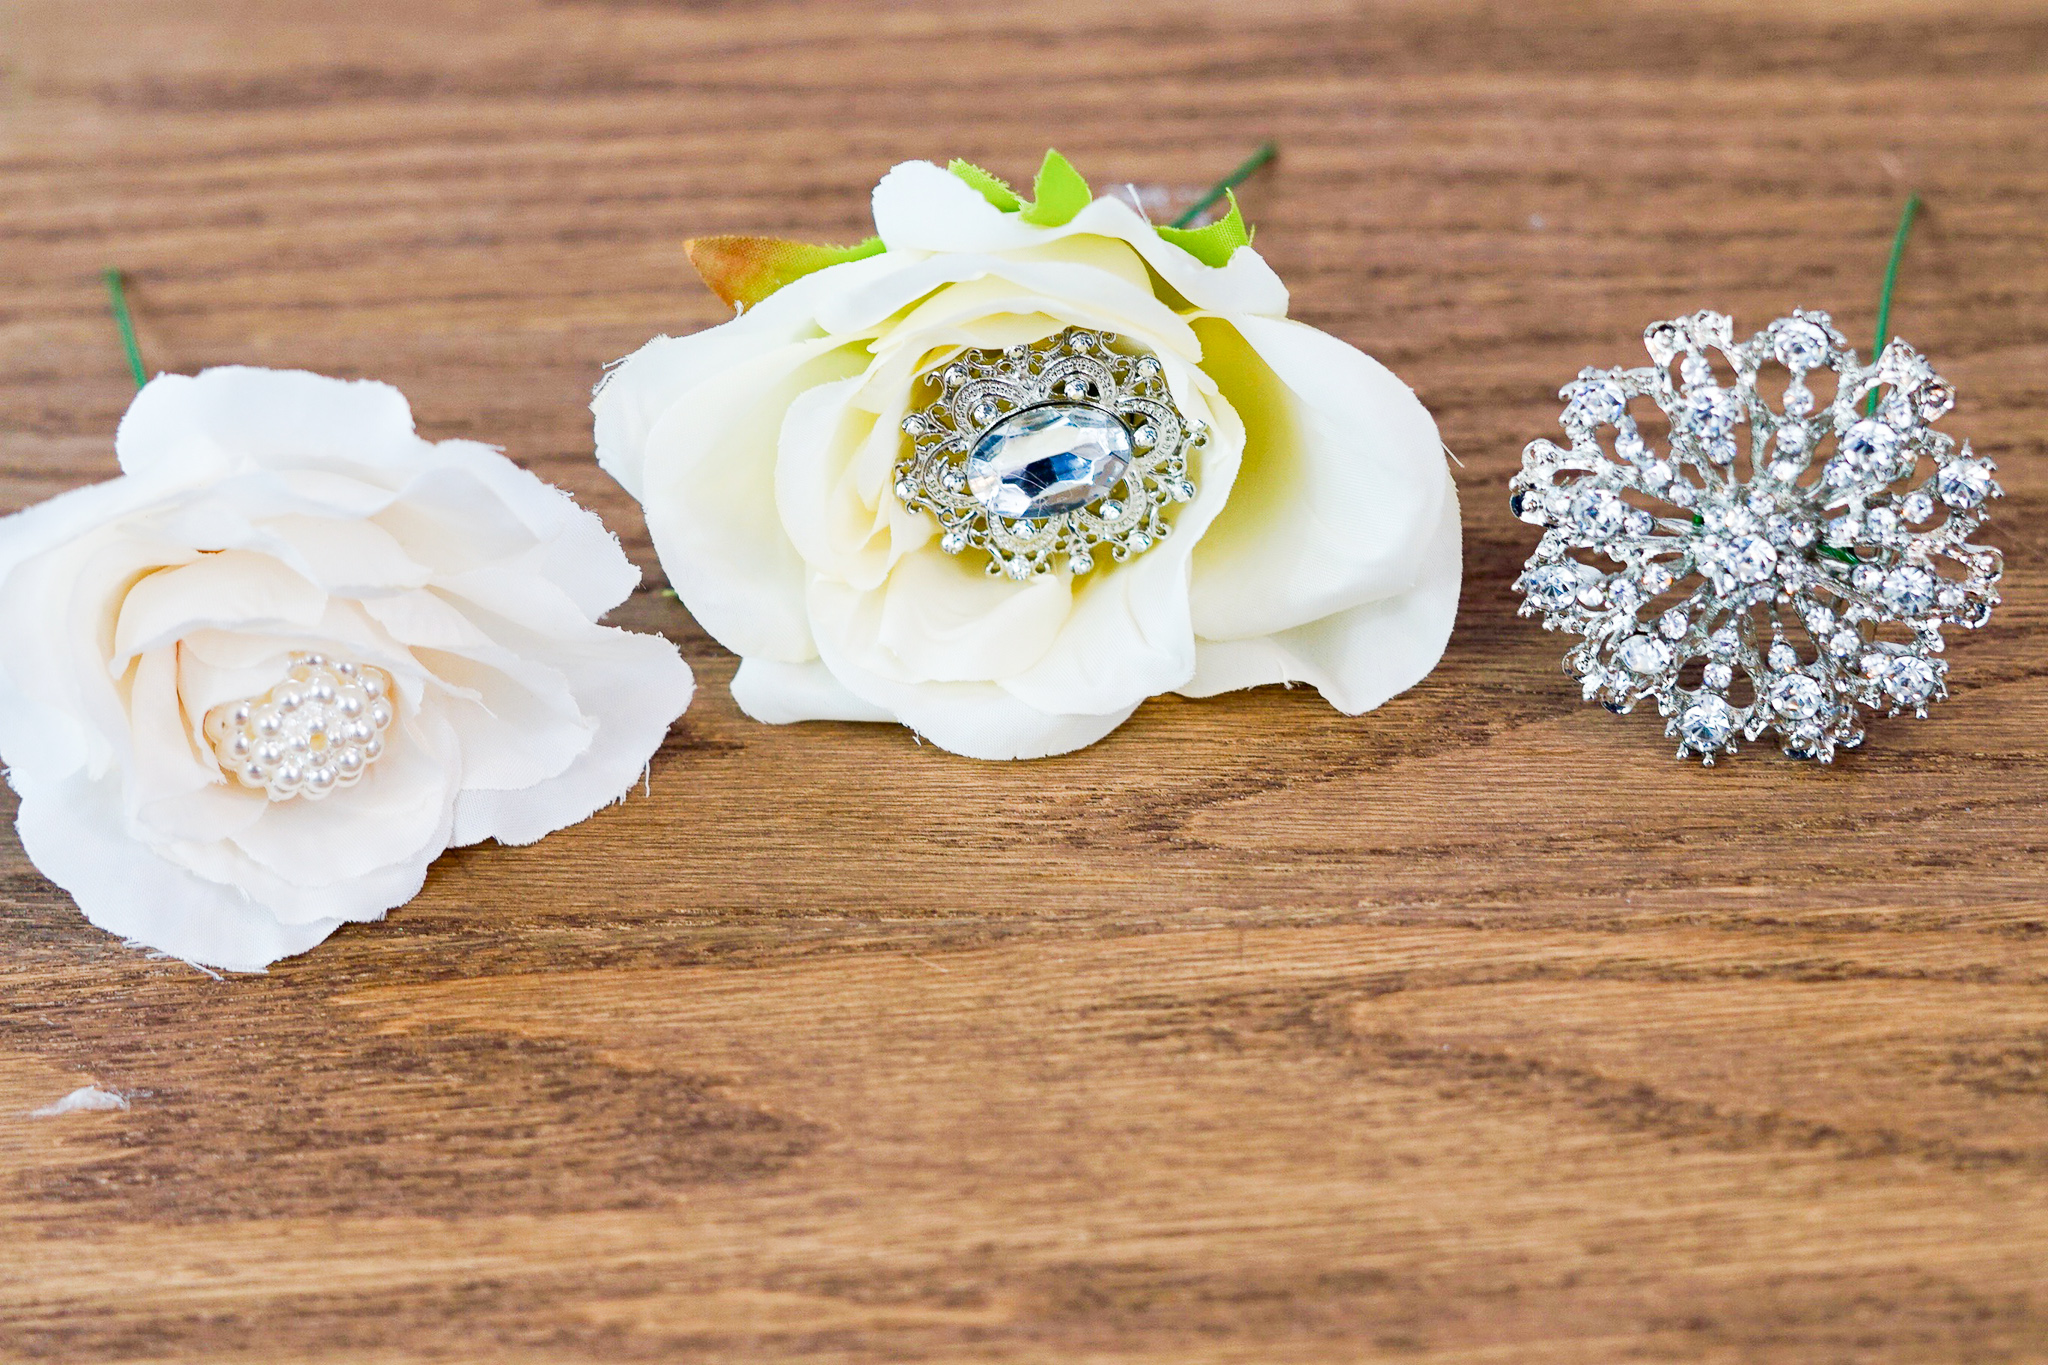
STEP 4: Cut down the 26 gauge floral wire into 3 inch pieces. Wrap one end of each piece around your finger to create a loop. Hot glue a brooch to one of the pieces, a button to the second piece, and a pearl bead to the third. Allow the pieces to dry. Once they are dry, remove the stems from the flowers and insert them into each flower. You can do as many embellished flowers as you would like. [See Video]
Attach the Flowers
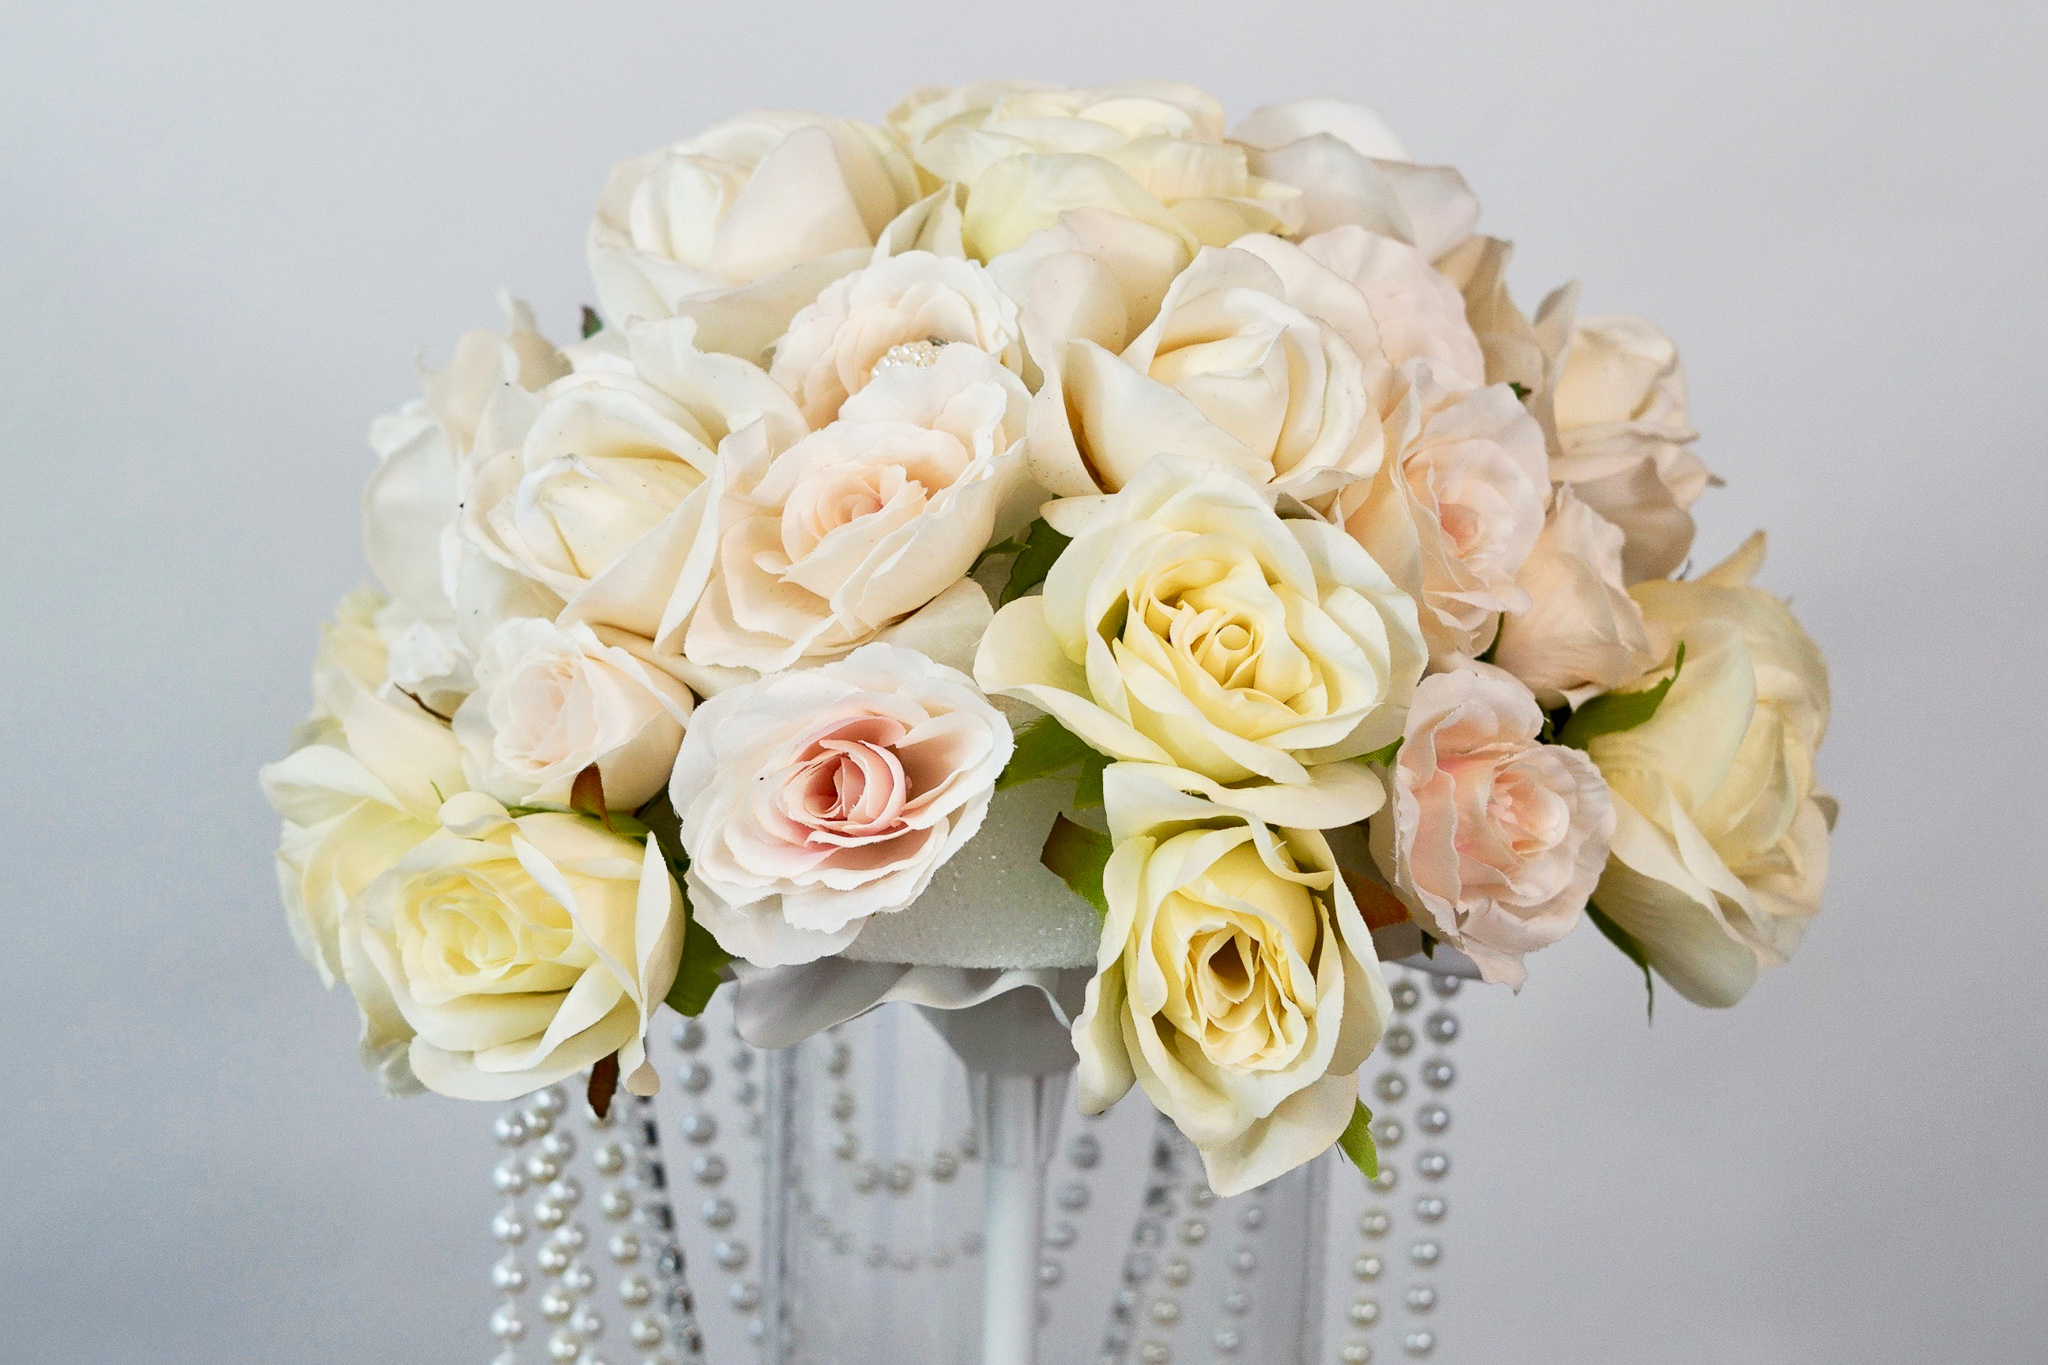
STEP 5: Begin attaching your flowers at the centerpoint line you created in Step 2. The pattern you want to do is one blush rose and two cream roses on top, and then 2 embellished blush roses on each side. Attach a total of 12-16 blush roses, 16-20 ivory roses, and 8-12 real touch cream roses.
THE FINAL STEPS!
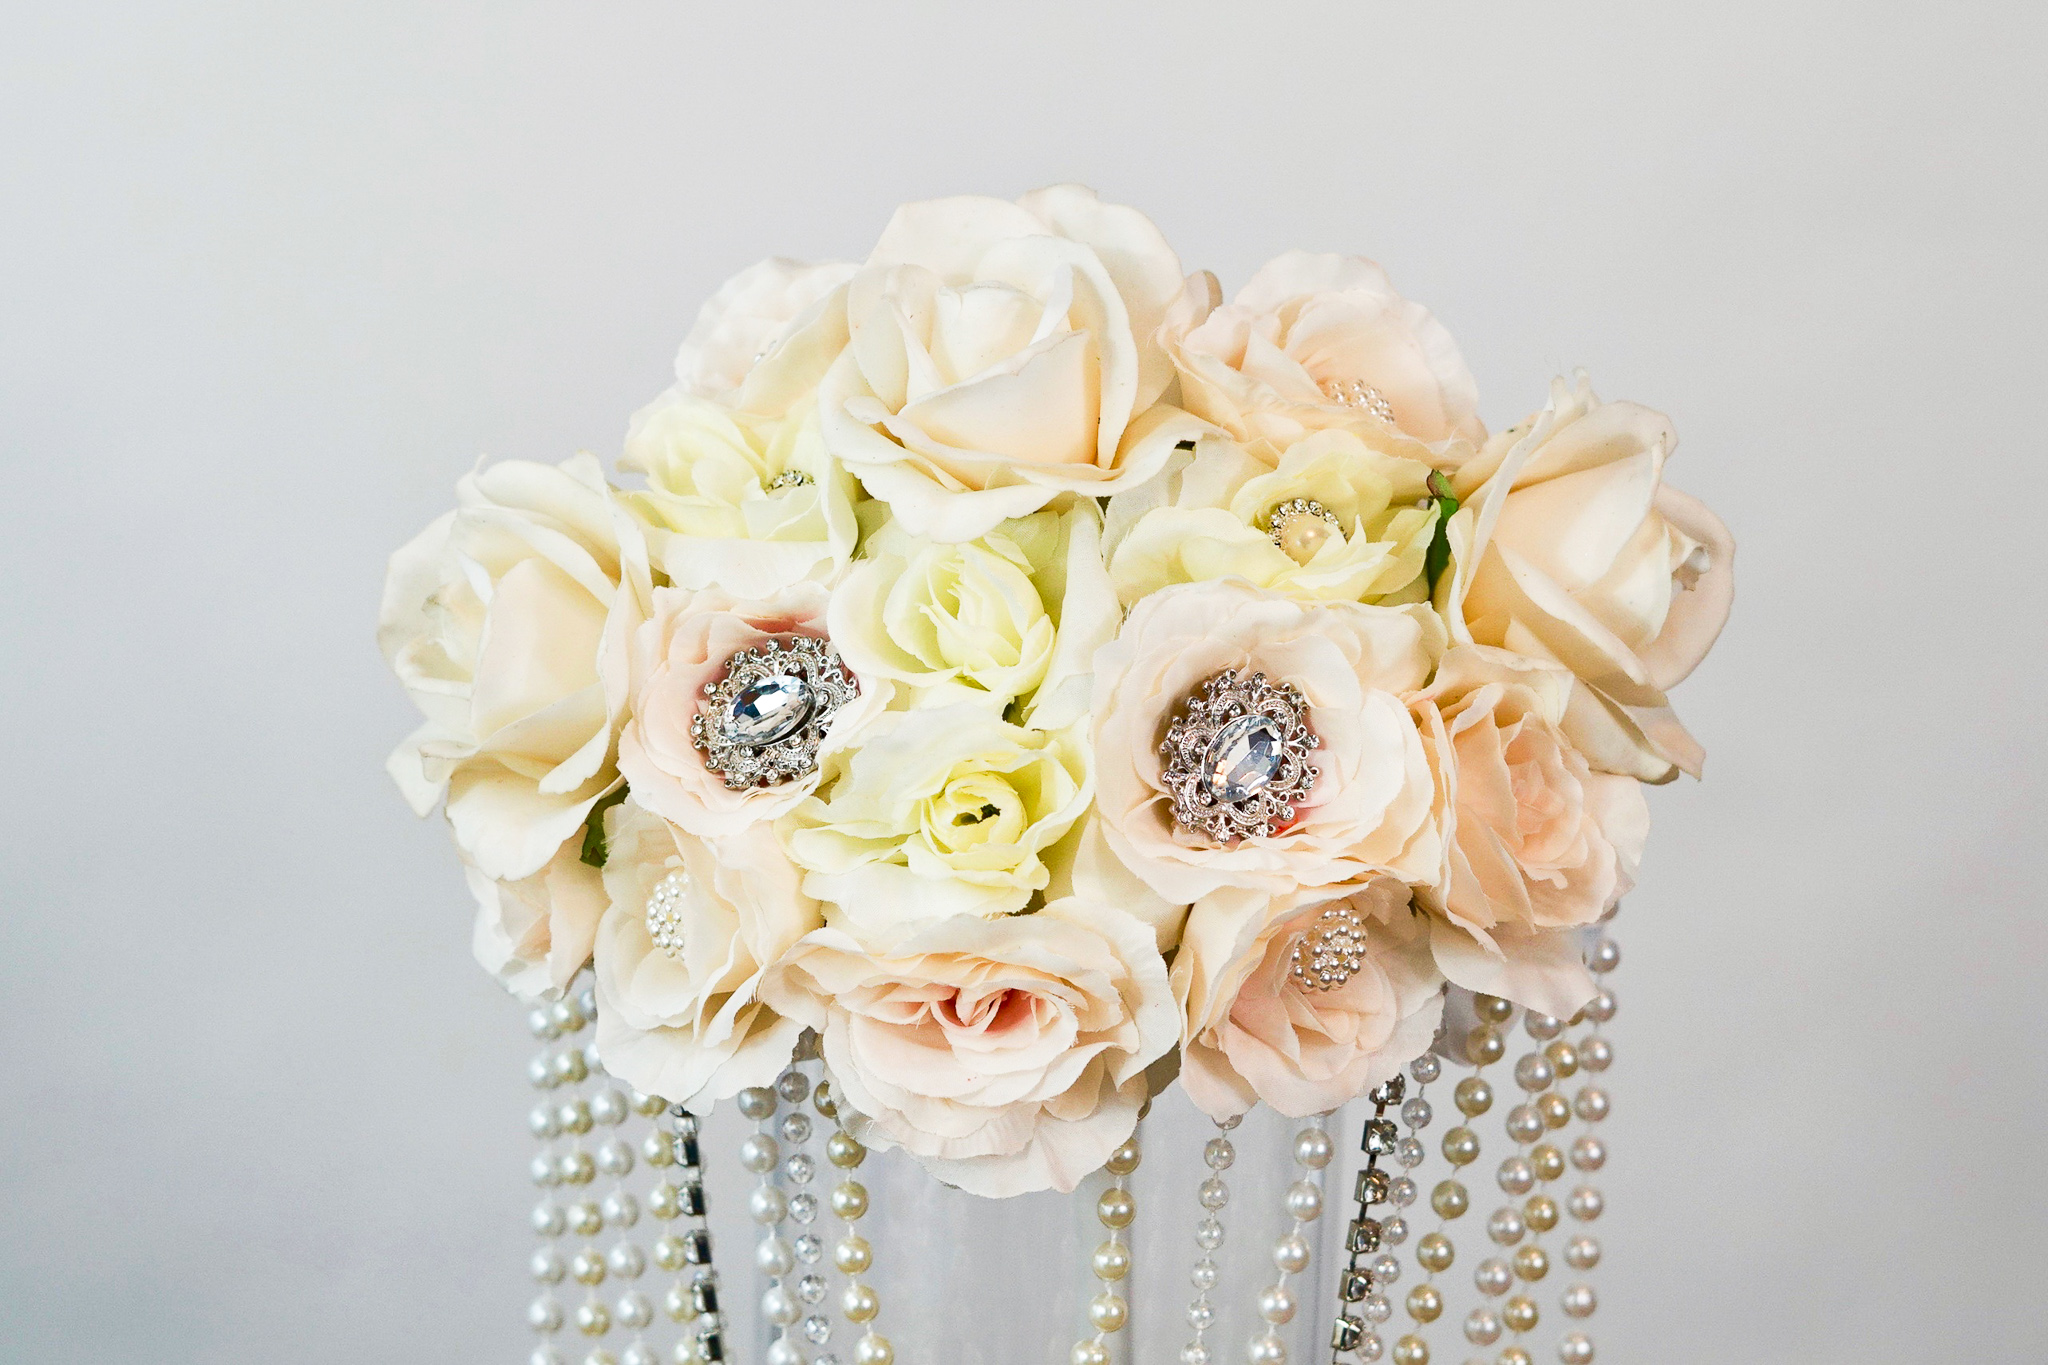
STEP 6: Lastly, make additional brooch embellishments from Step 4 and attach to the bouquet. Place the ornate brooch in the center of the bouquet. I highly recommend watching the video above for this step.
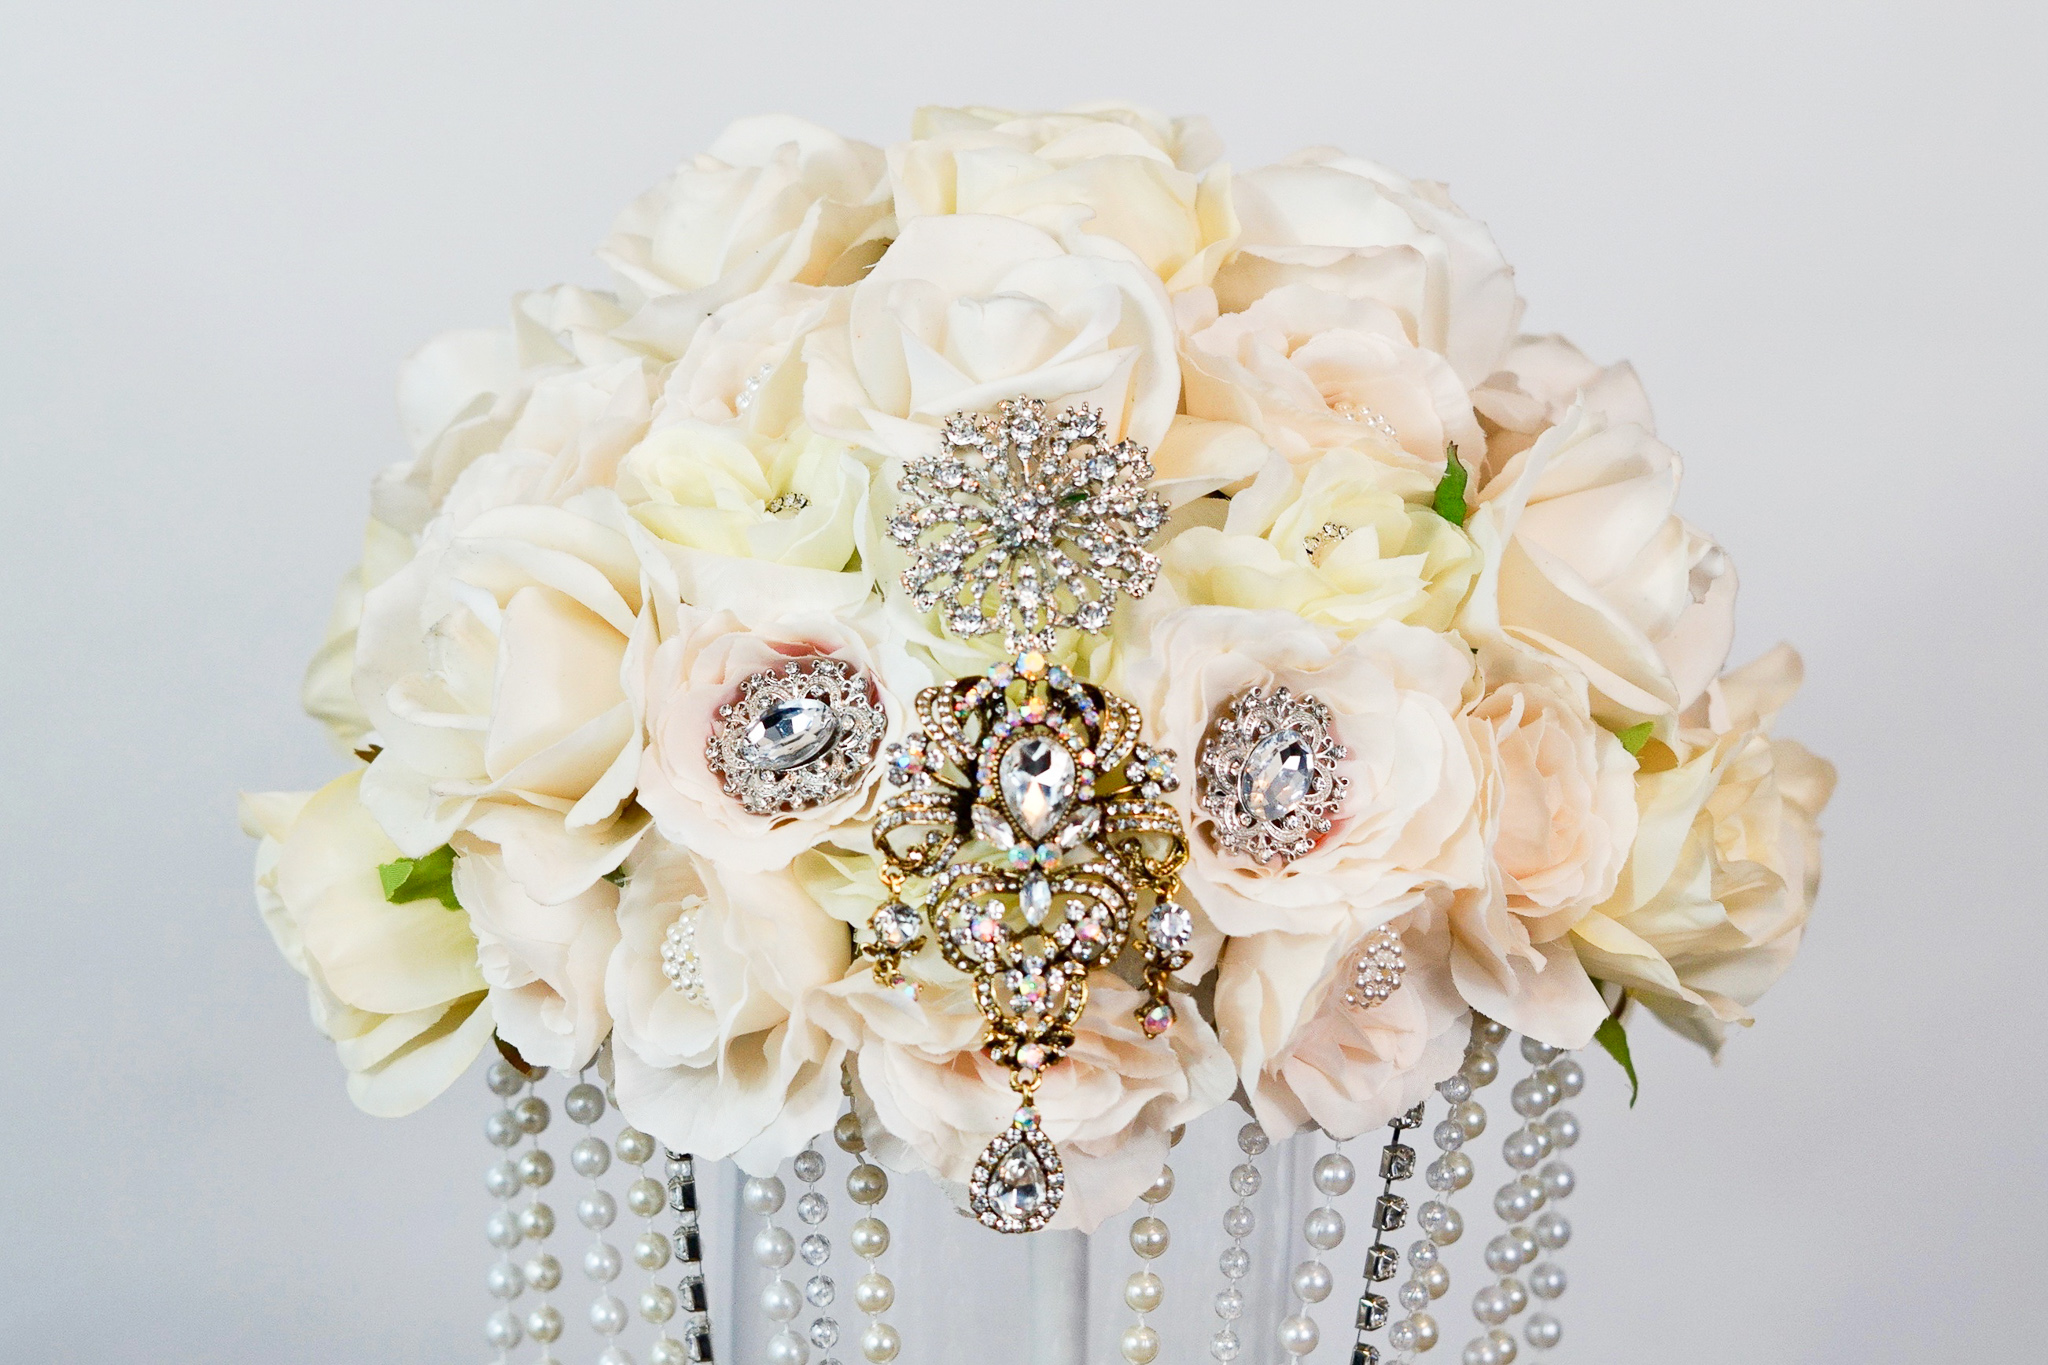
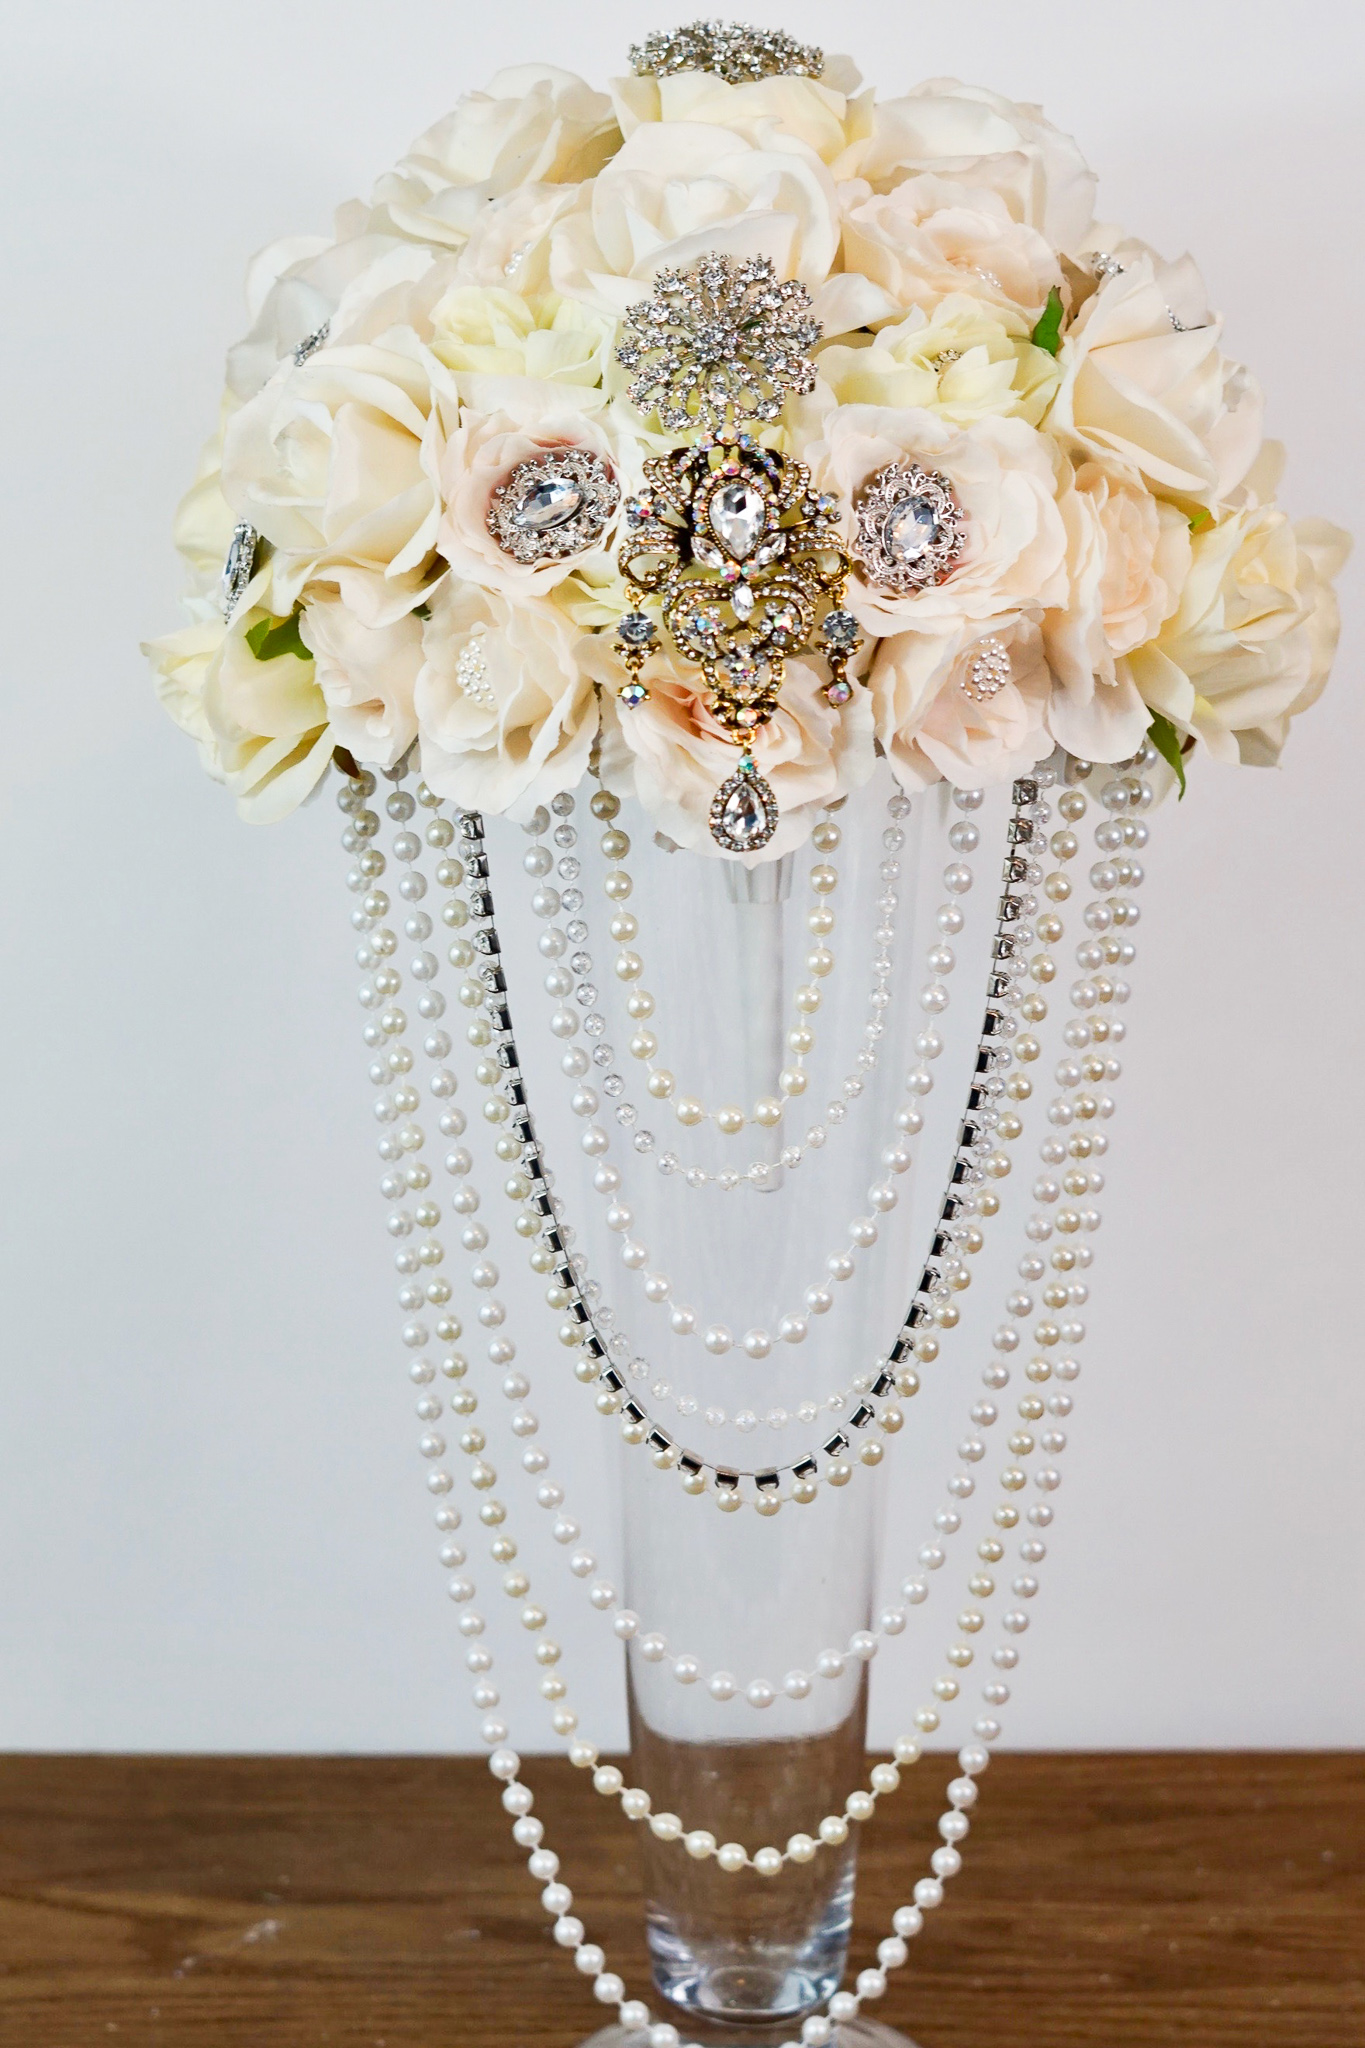
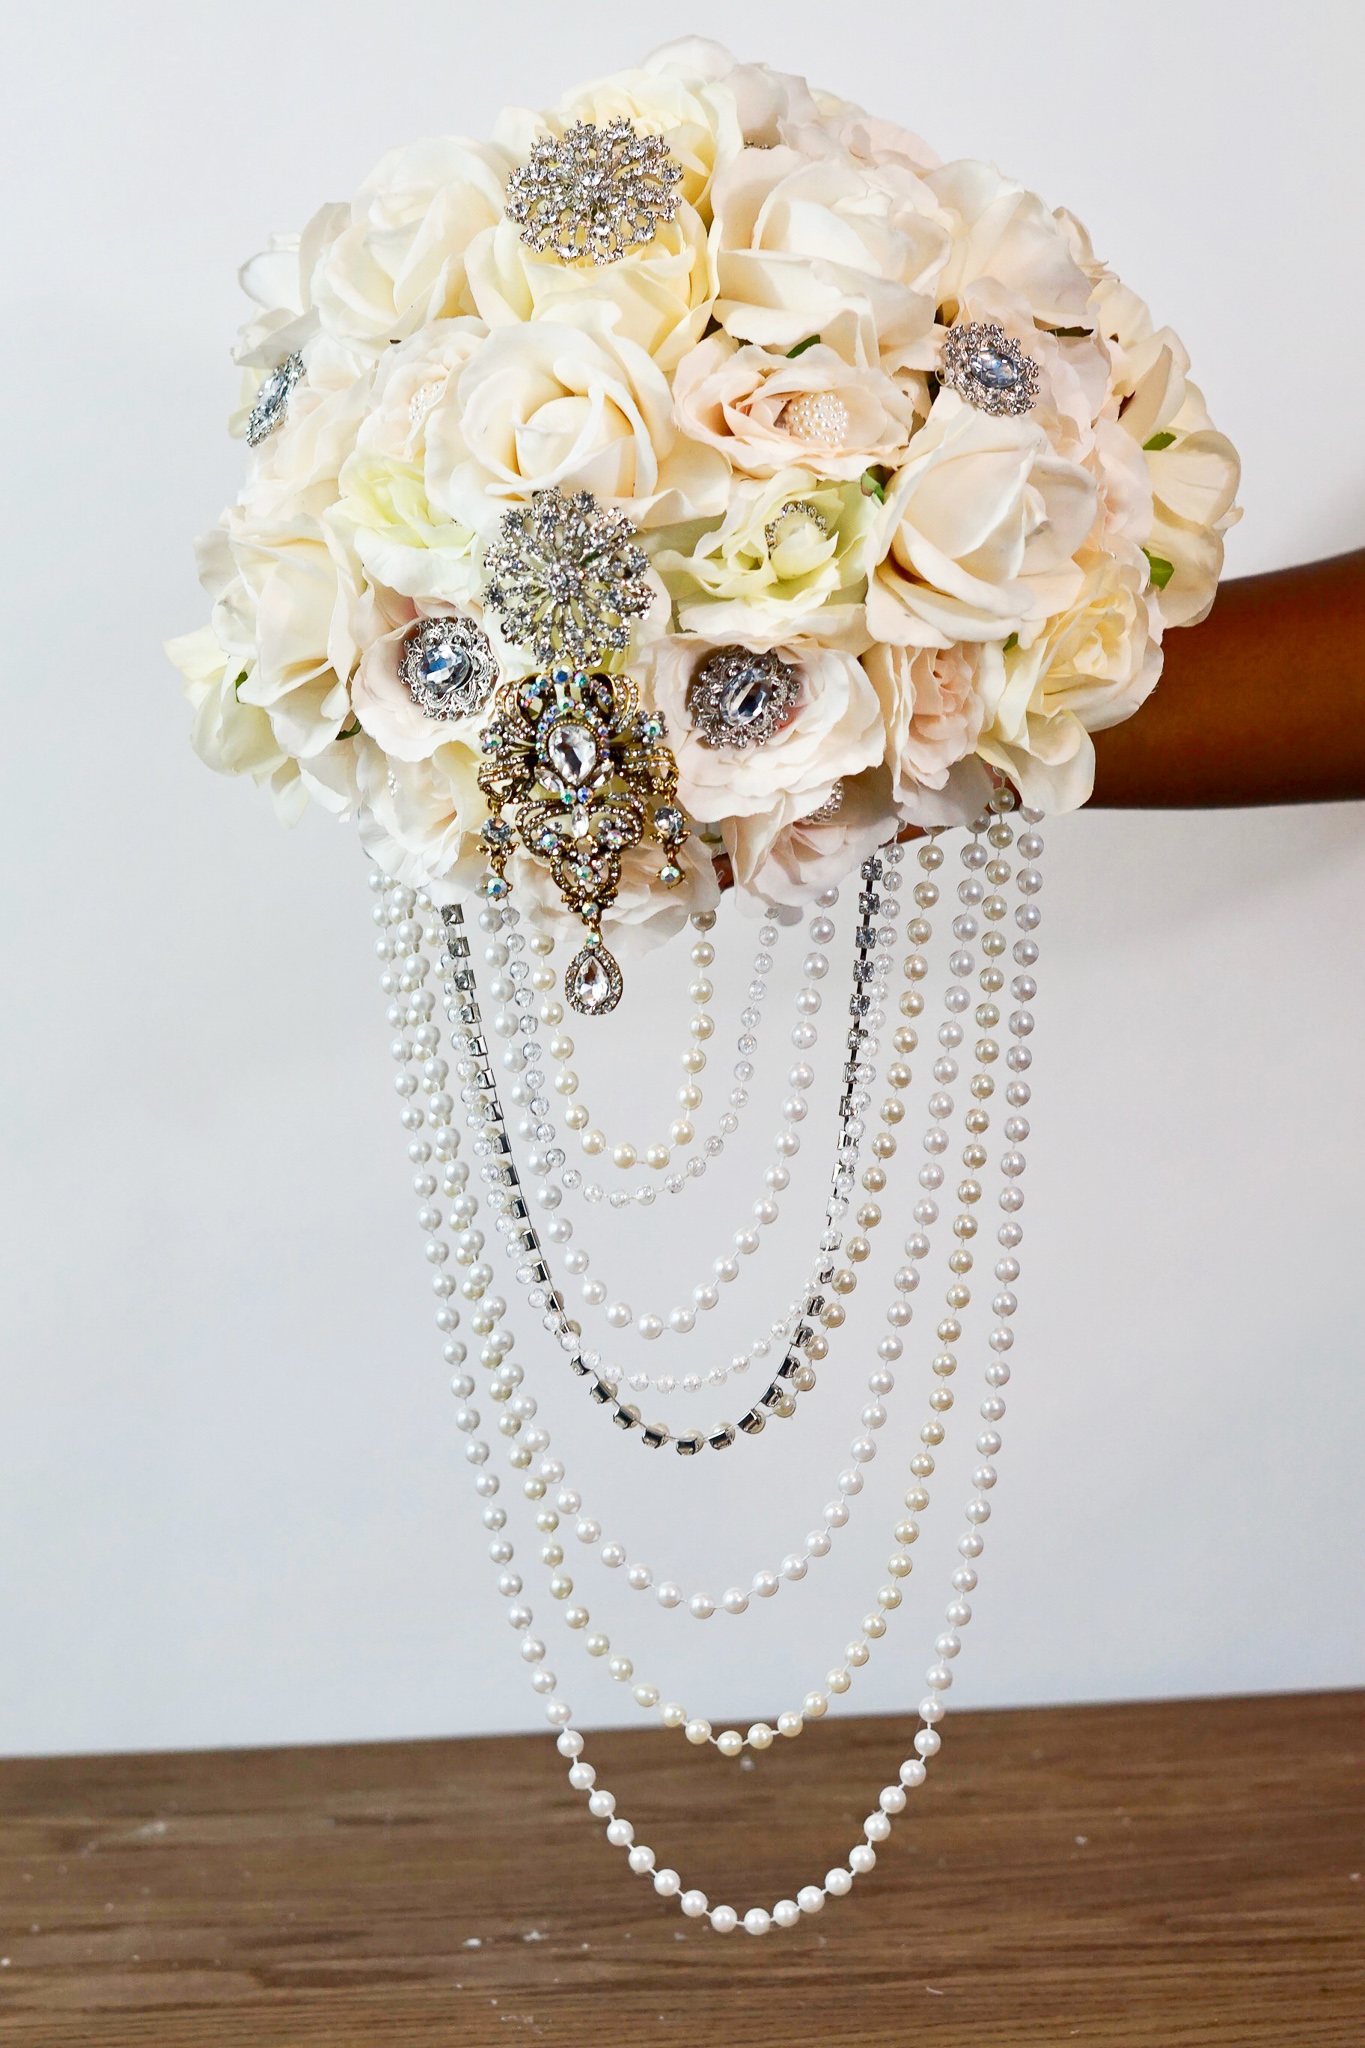
I absolutely love how this DIY Elegant Brooch and Pearl Cascading Bridal Bouquet turned out! The outcome is amazing and definitely gives you an extra special touch to your wedding!
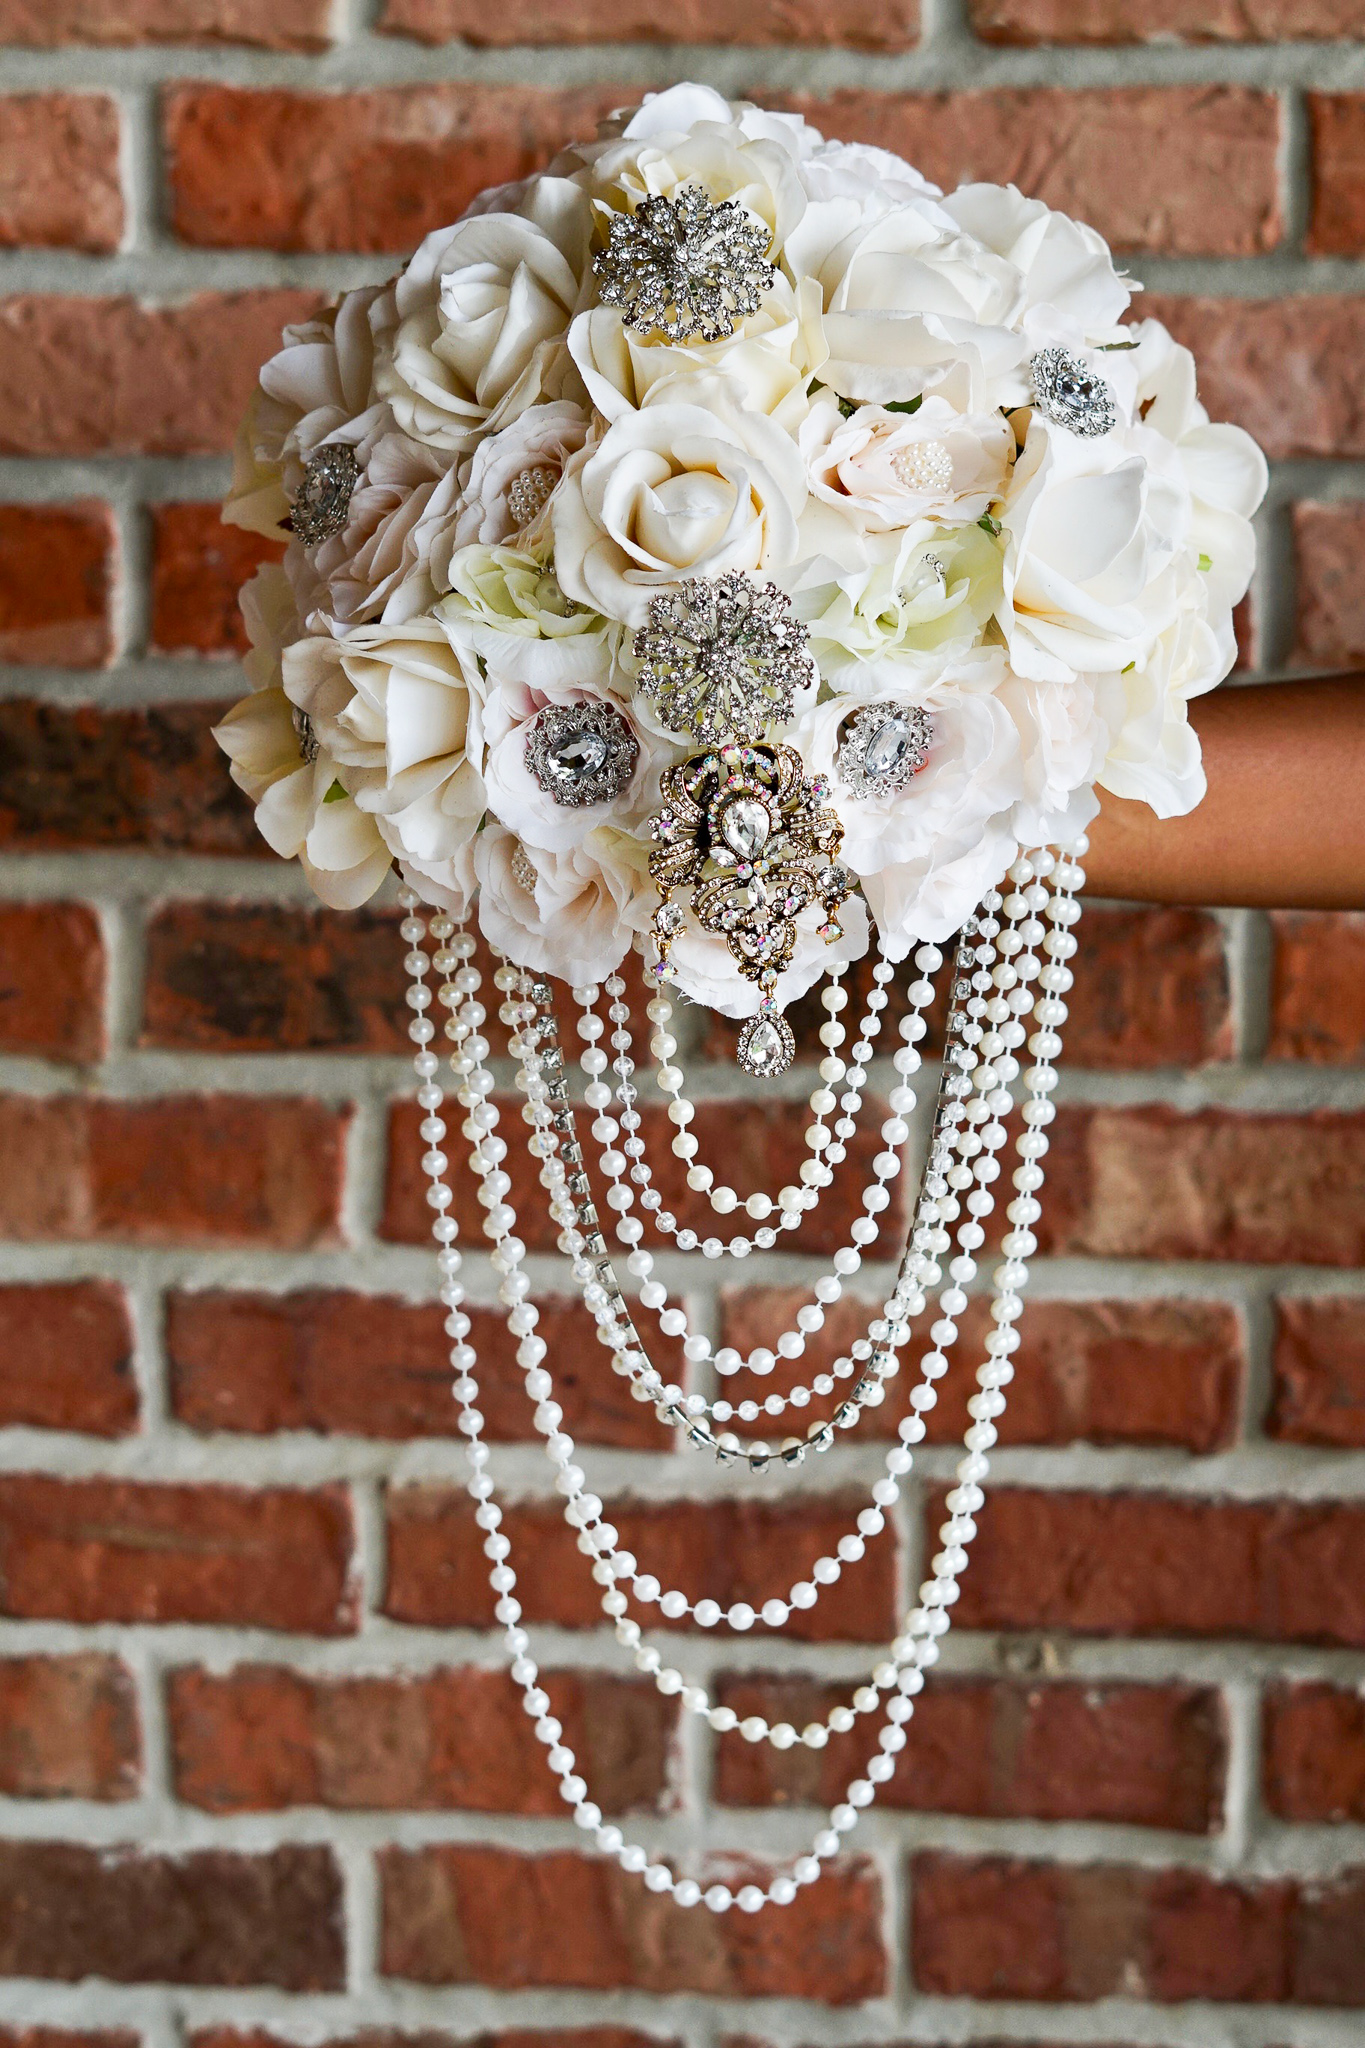
If you like the outcome please subscribe to our Youtube Channel for more DIY Videos and follow us on Facebook and Pinterest.
Need help with an upcoming project? Be sure to send us a project request!
“Remember When Every Penny Counts, Count on MissPlanIt”


I do not have a wedding coming up but I wish I did this is beautiful and easy and inexpensive. It is a great project. Now to find a bride to be to make one for
Yes! I think this is beautiful idea for any bride 🙂
I just love how soft and beautiful your Bridal bouquet, especially the cascading pearls. I make bridal bouquets as well. I always had problems figuring out how to attach pearls cascading at different lengths, until watching the video, your instructions were simple I can follow.
Awesome, I am so glad the tutorial video helped you!
I always enjoy watching your DIY projects!