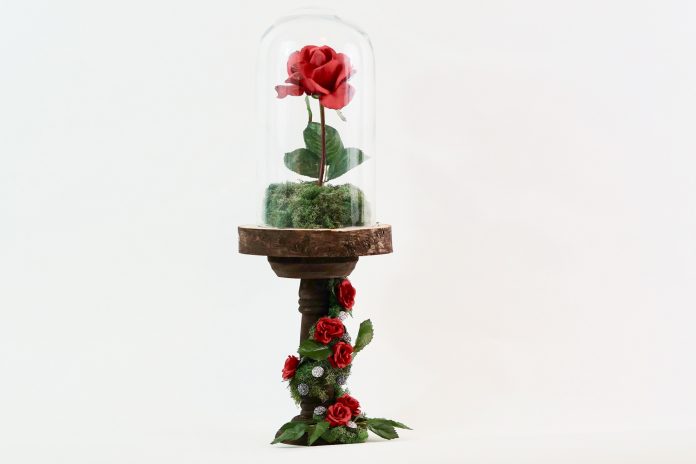
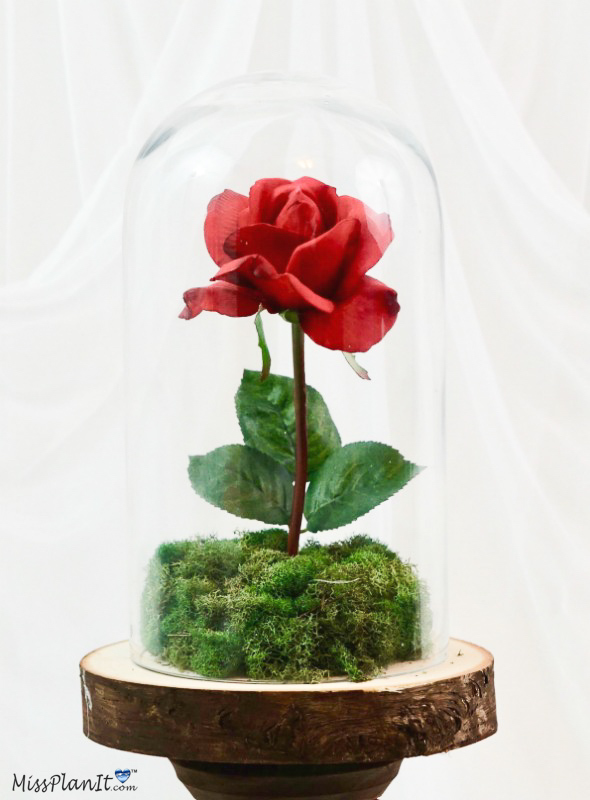
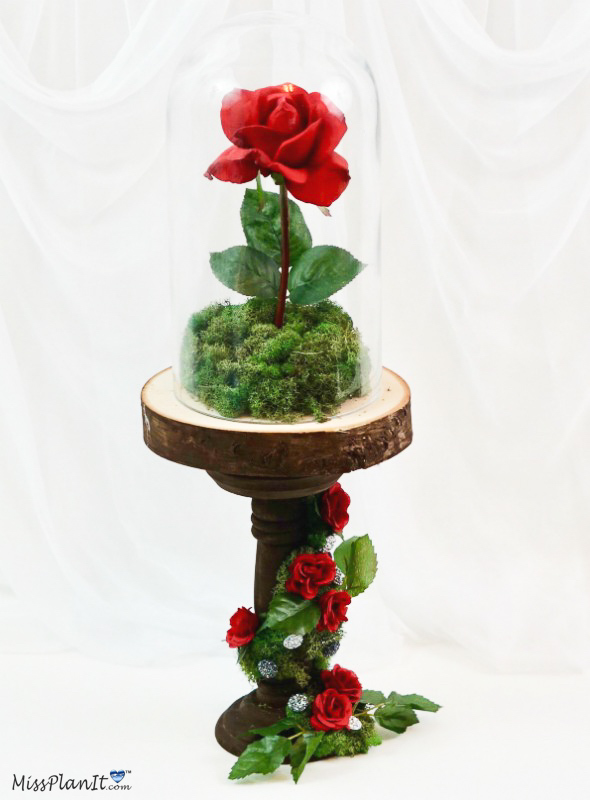
THESE BEAUTY AND THE BEAST WEDDING CENTERPIECES WITH A RUSTIC FLAIR WILL HAVE YOUR GUESTS COMPLETELY SPELLBOUND AND AMAZED.
Hi guys!
So glad you could join me for this week’s project! How many of you love Beauty and the Beast? I must say it is one of my favs also! This week we are going to put a Rustic spin on this Beauty and the Beast Wedding Centerpiece. The finished product is absolutely gorgeous! So what are we waiting on? Let’s get started!
For video instructions, please check out the video tutorial below!
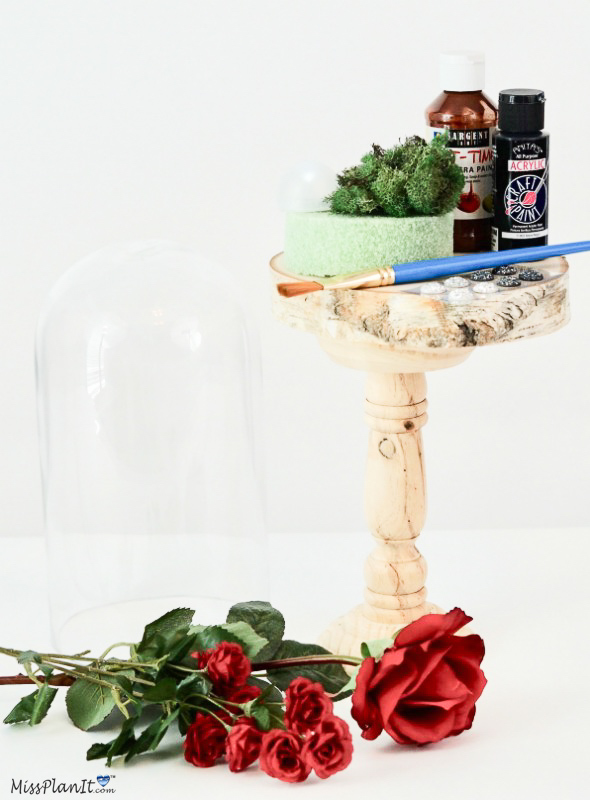
SUPPLIES:
Round Wood Candle Holder – Small 8.5 inch
Green Styrofoam Disc with Adhesive – 4”
Red Tea Rose Spray
True Touch Caroline Rose Stem-Red
Clear & Gray Cluster Rhinestone Stickers
Basil Soft Reindeer Moss
Black Anita’s Acrylic Craft Paint – 2 Ounce
Brown Art-Time Tempera Paint
Birch Rounds by ArtMinds®
8″ Cloche with Wooden Base by Ashland®
PROJECT COST *$32.29 (Some supplies cover more than 1 centerpiece) * Prices fluctuate depending on coupon discount amount. *Price based on current sale cost. (taxes not included)
For written instructions, please continue reading below:
How To Make A Spellbounding Rustic Beauty and the Beast Wedding Centerpiece
Directions:
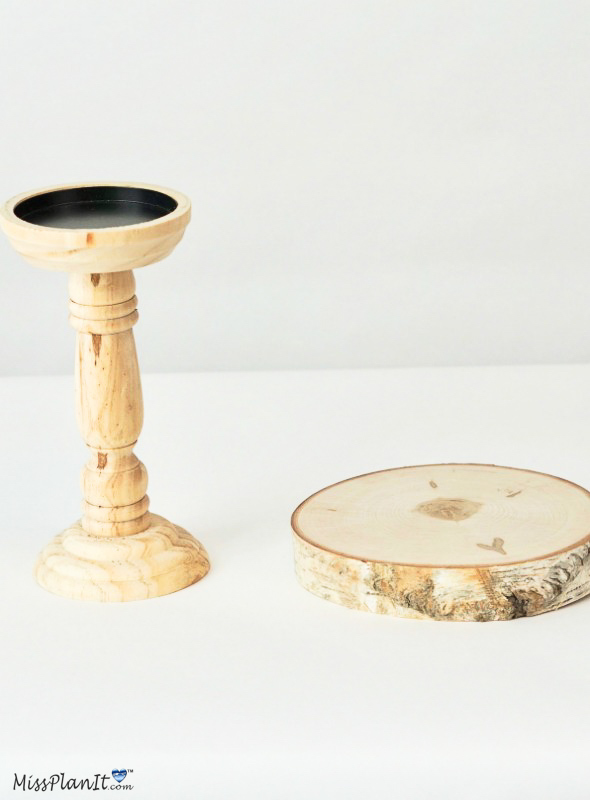
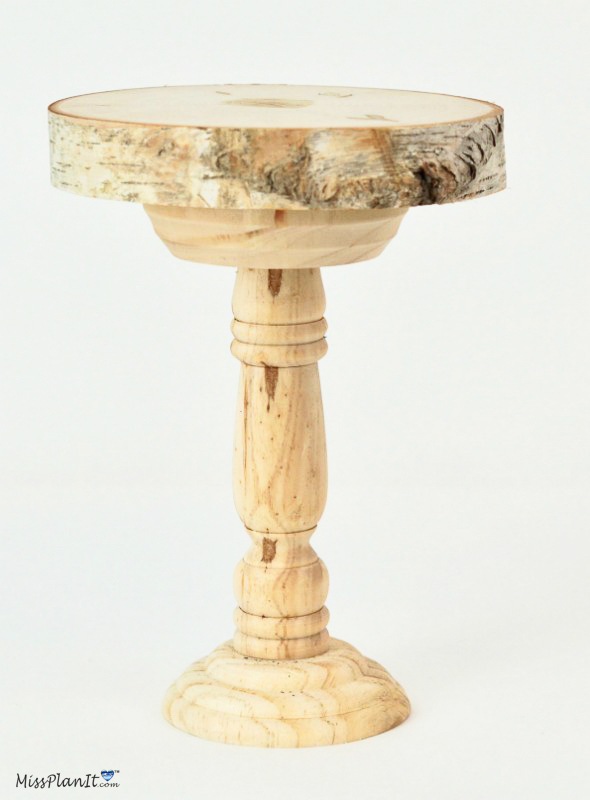
STEP 1: To create the base for our Rustic take on Beauty and the Beast we will use an 8.5 inch Wooden Candlestick and a 6 inch Birch Round. Attach the Birch Round to the top of the Candlestick with hot glue.
Paint the Wood Base
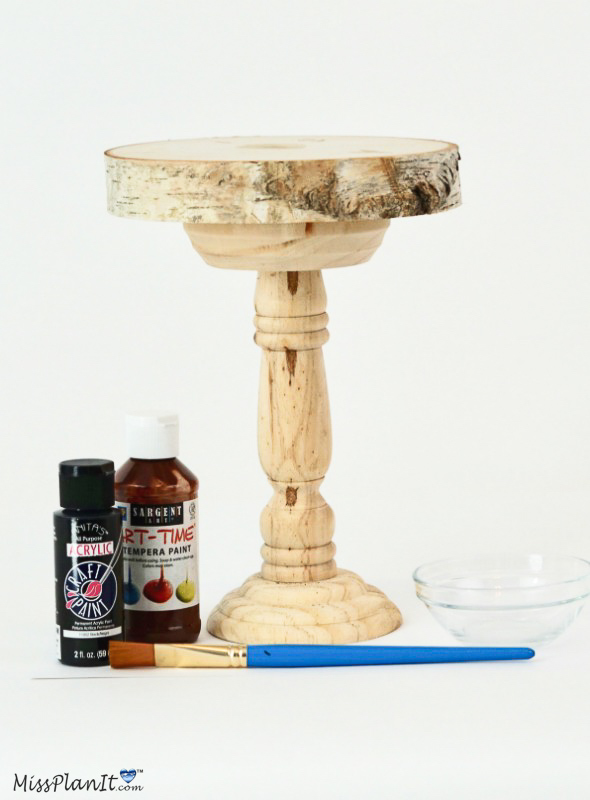
STEP 2: You have options at this point. You can leave the wood base its natural color or paint it your desired color. I chose to mix equal parts of black and brown acrylic paint. Then I added 4 to 6 tablespoons of water to create more of a glaze. The goal is to paint the base while allowing the natural wood grain to still come through.
Attach the Red Rose to Your Foam
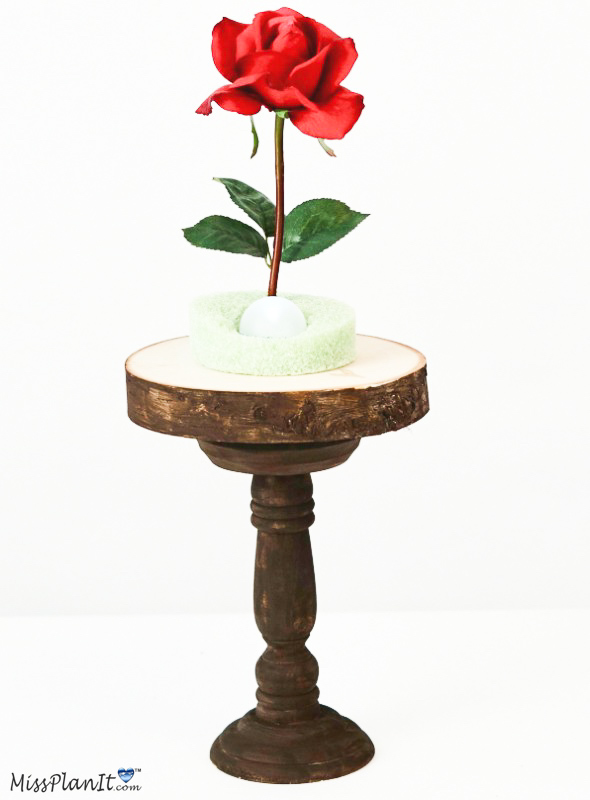
STEP 3: Cut a 4 x 4 inch styrofoam round in half and attach it to the top-center of you base, with hot glue. This is where you will attach that signature Red Rose. You can also choose to trim out a section of the foam to attach an LED Light option. Remember we give you a plan and you make it your own. Next, trim down the rose stem so that the total height is 5 inches. Attach the Red Rose to the center of your styrofoam round using hot glue. Cover the styrofoam base with Moss using hot glue.
Add the Moss
STEP 4: Attach the Moss to the candle stick with hot glue. I chose to attach the moss so it appears to spiral around the candlestick. Next, attach 6-8 Red Tea Roses with leaves. Attach 6-8 Rhinestone Cluster Stickers as a final touch.
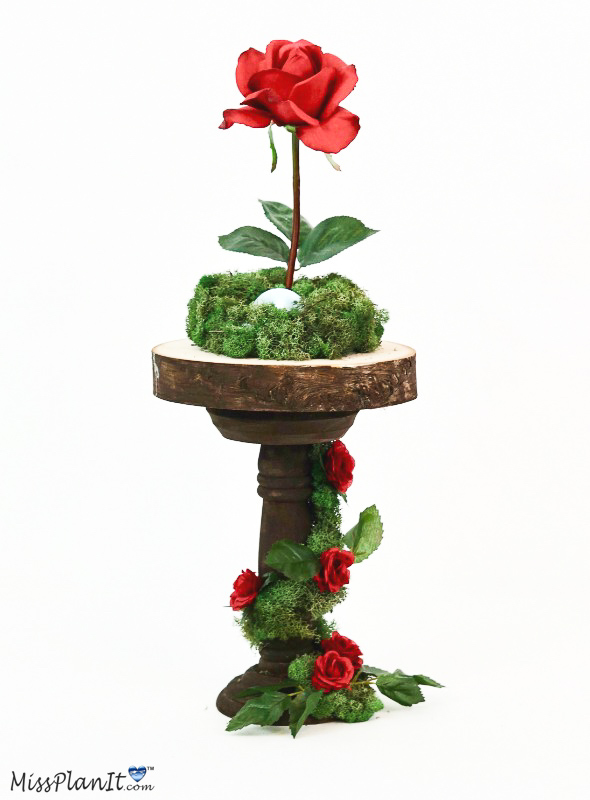
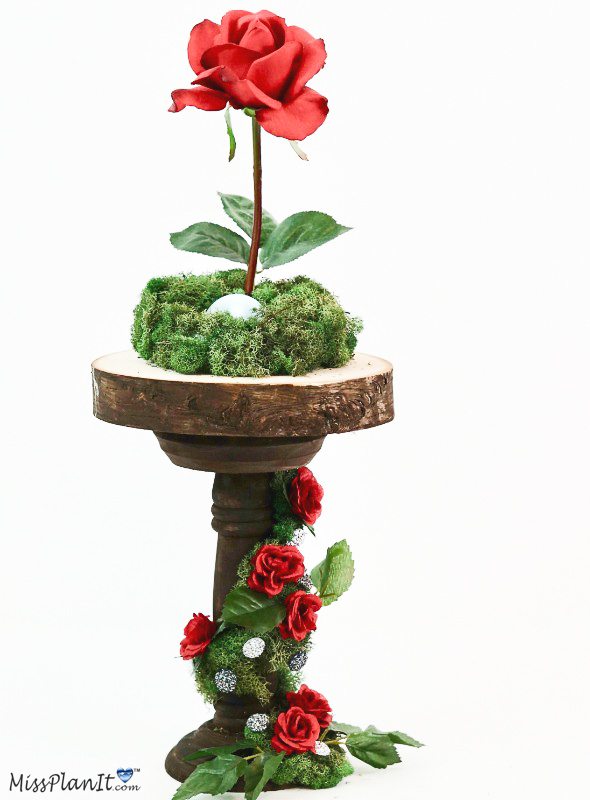
Final Step! To complete the look add your glass display topper!
What a beautiful take on a classic fairytale. This centerpiece will definitely set a romantic wedding reception table. Always remember, when every penny counts, count on MissPlanIt. See you next week!
If you like the outcome please subscribe to our Youtube Channel for more DIY Videos and follow us on Facebook and Pinterest.
Need help with an upcoming project? Be sure to send us a project request!
“Remember When Every Penny Counts, Count on MissPlanIt”


