Incorporating hula hoops into your wedding decor is a new hot trend many brides are using! Not only does this give your wedding an amazing look but it’s also budget-friendly which is what we are all about. So gather your supplies and feast your eyes on this week’s easy to make DIY Hula Hoop Floral Canopy!
[convertkit form=917377]
Let’s Get Started:
Click our affiliate links below to purchase the supplies needed for this project:
SUPPLY LIST:
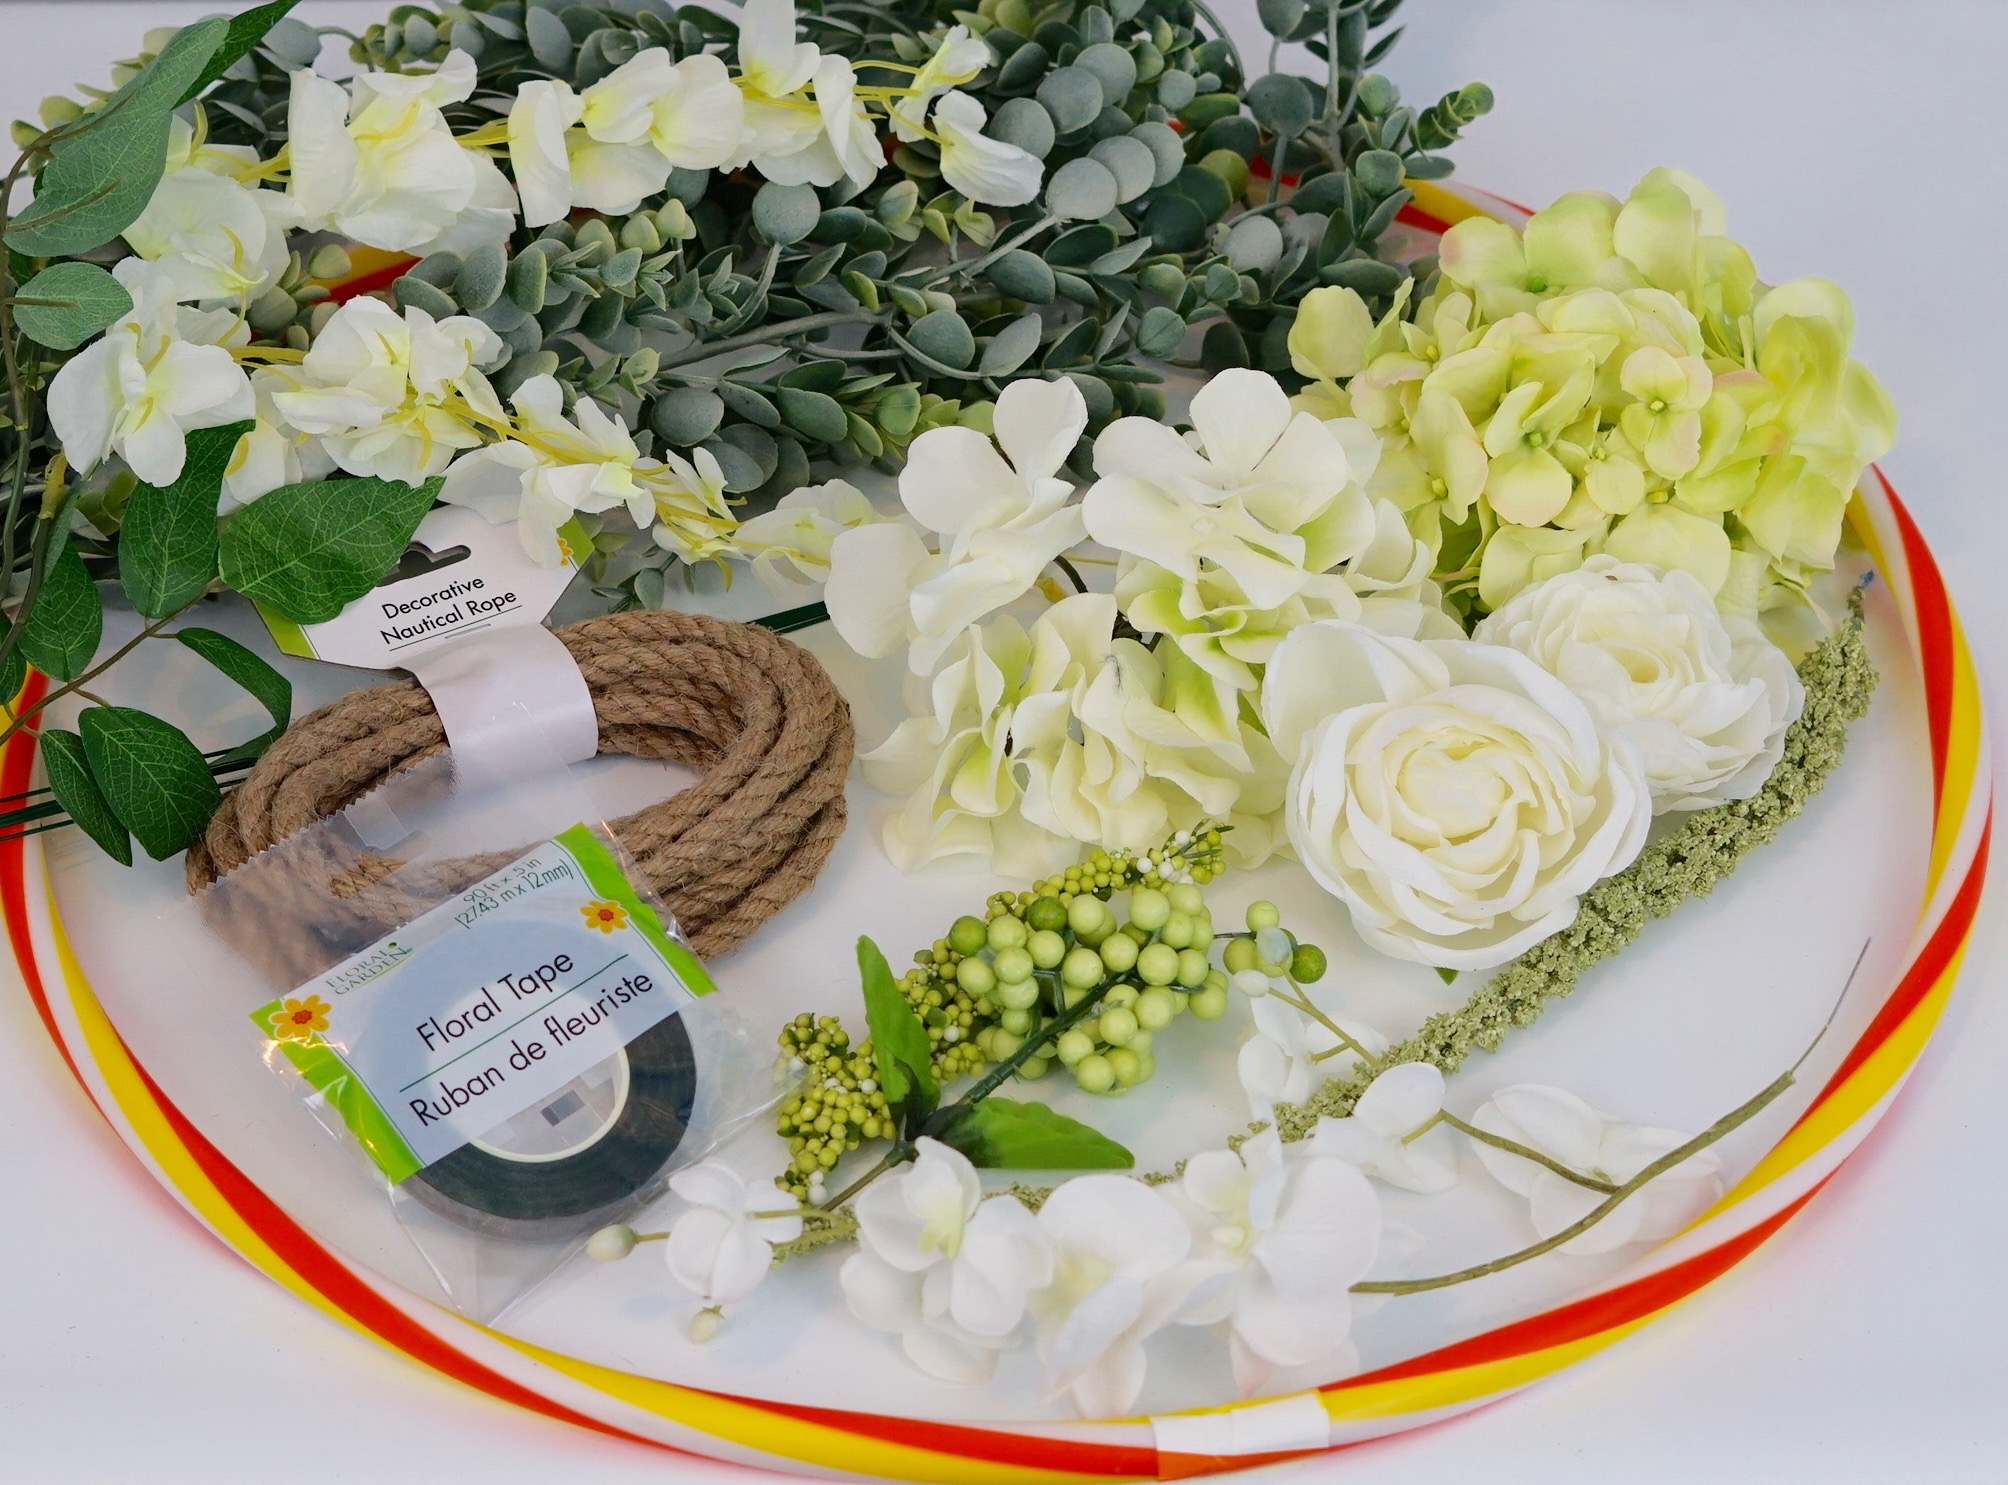
20in Hula Hoop
Floral Tape
Rope
Curtain Hooks
Garland
White Hydrangea
Green Hydrangea
White Peonies
White Roses
White Orchids
White Wisteria
Greenery Stems
Green Wisteria
Green Floral Wire
Directions:
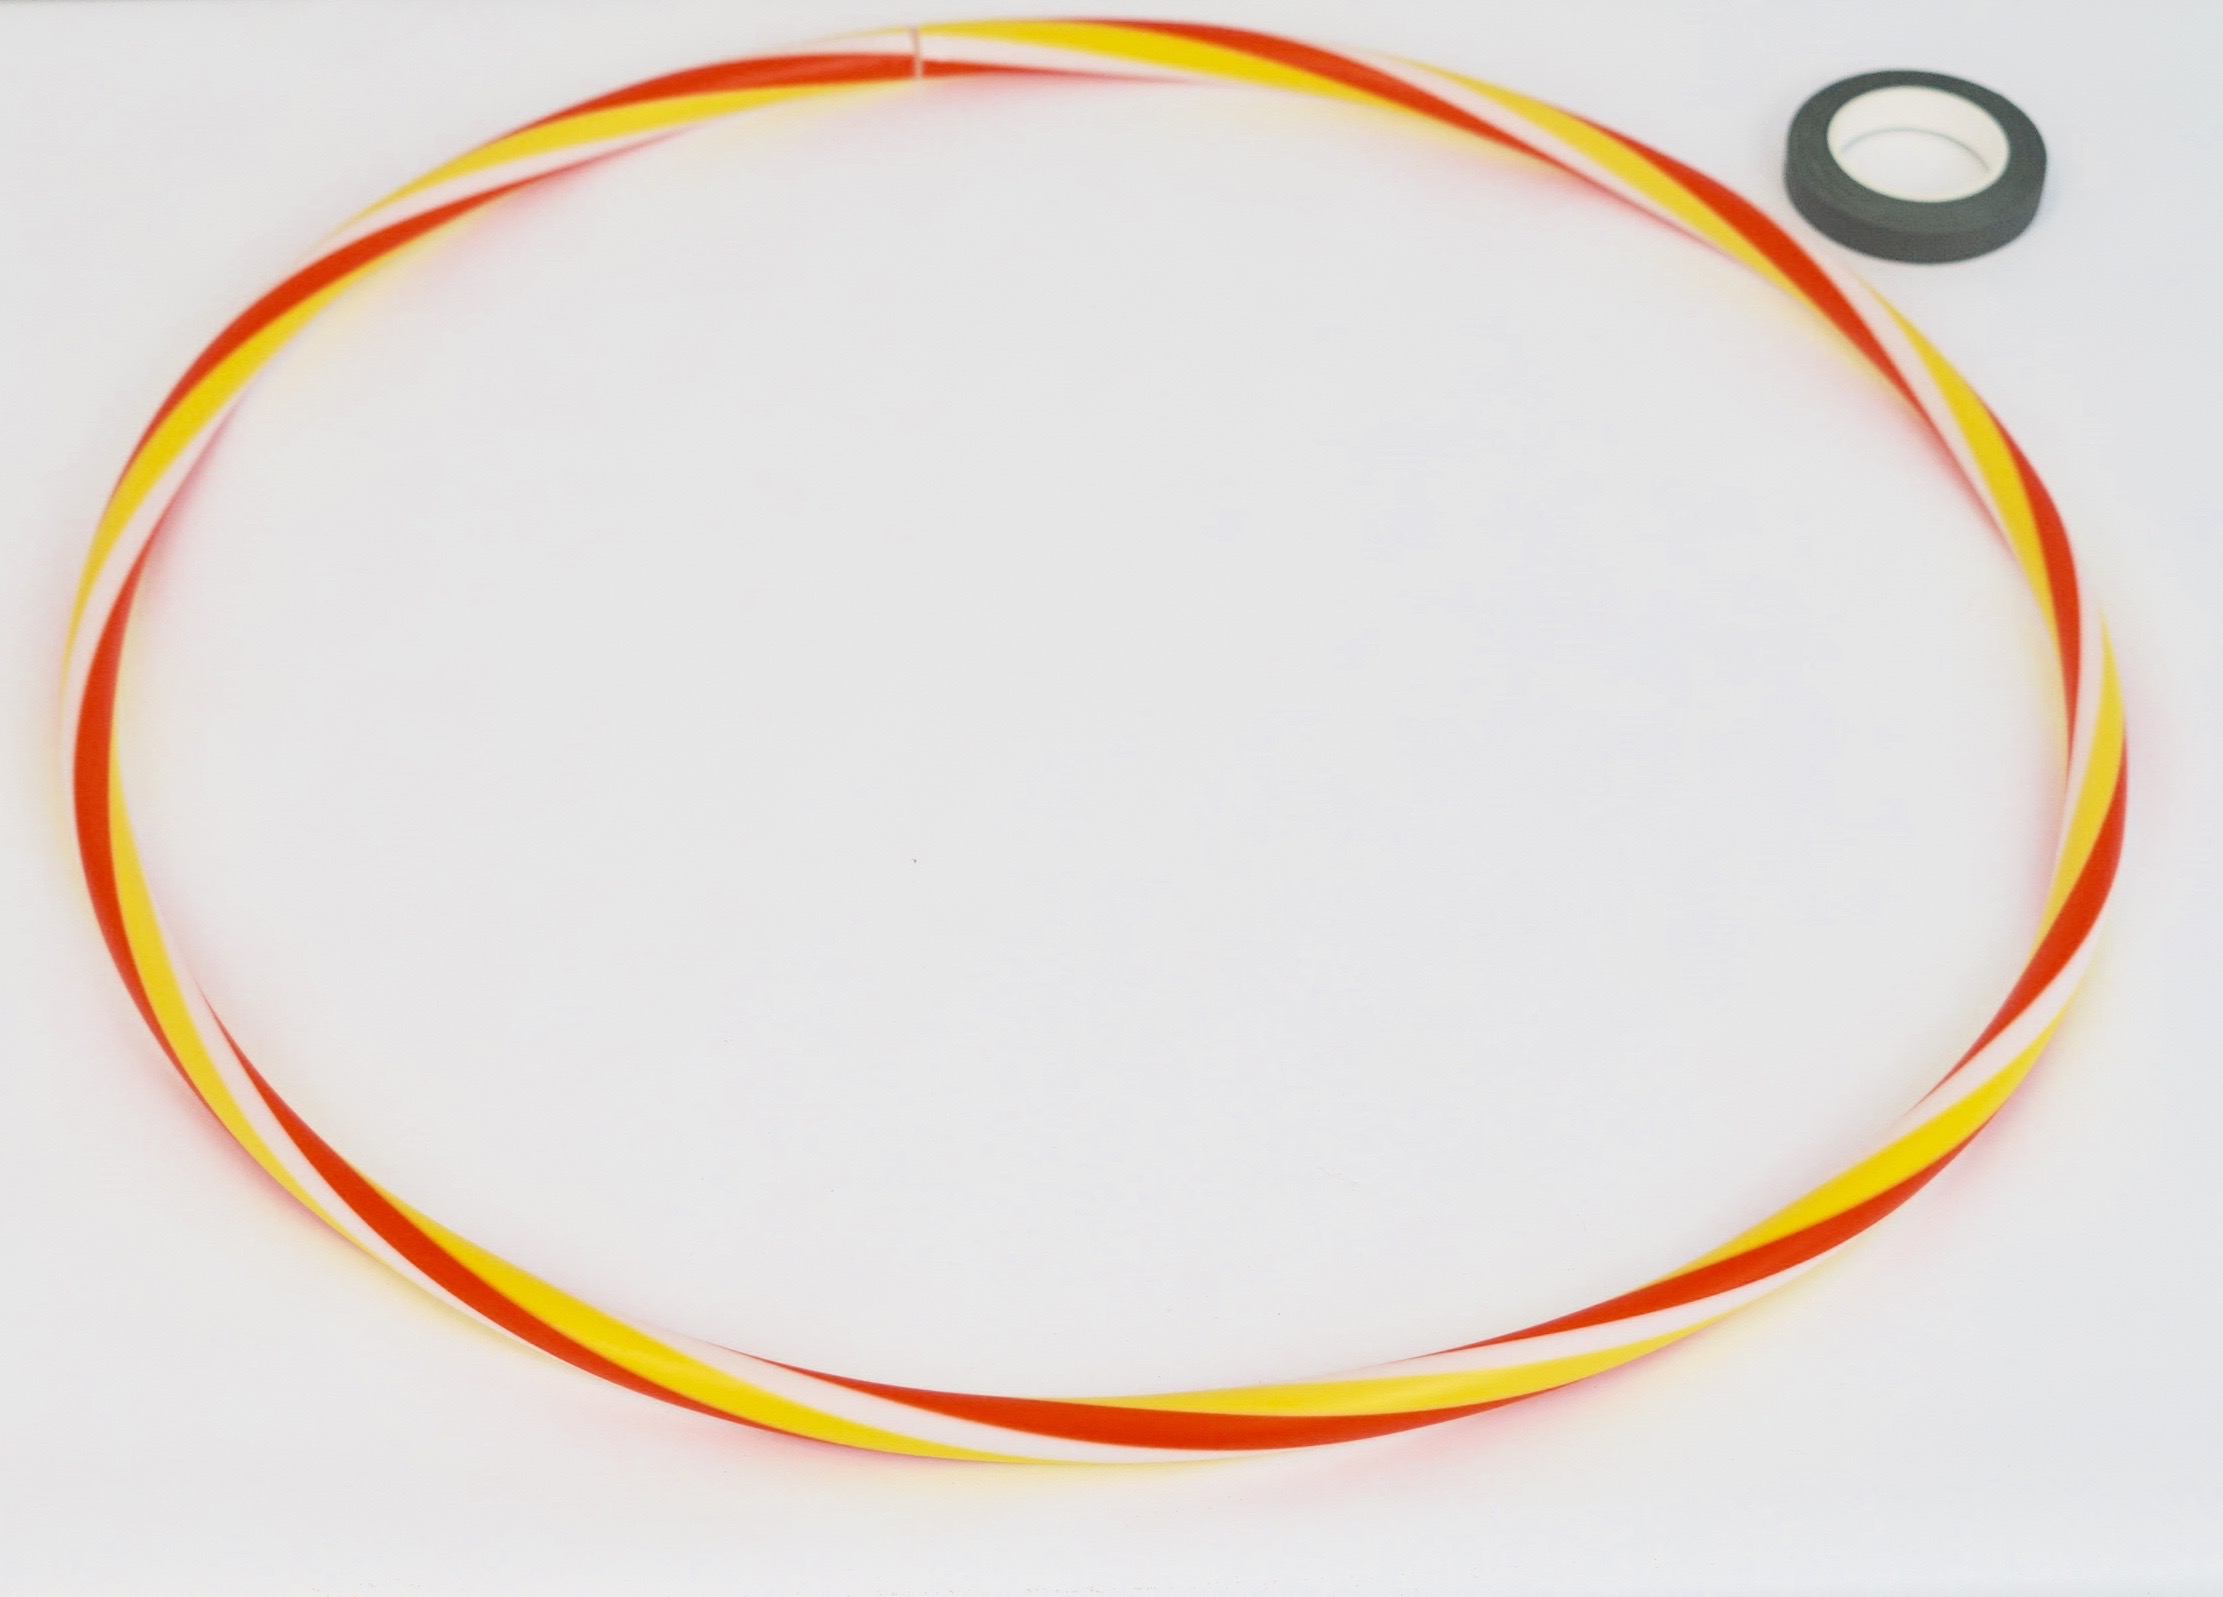
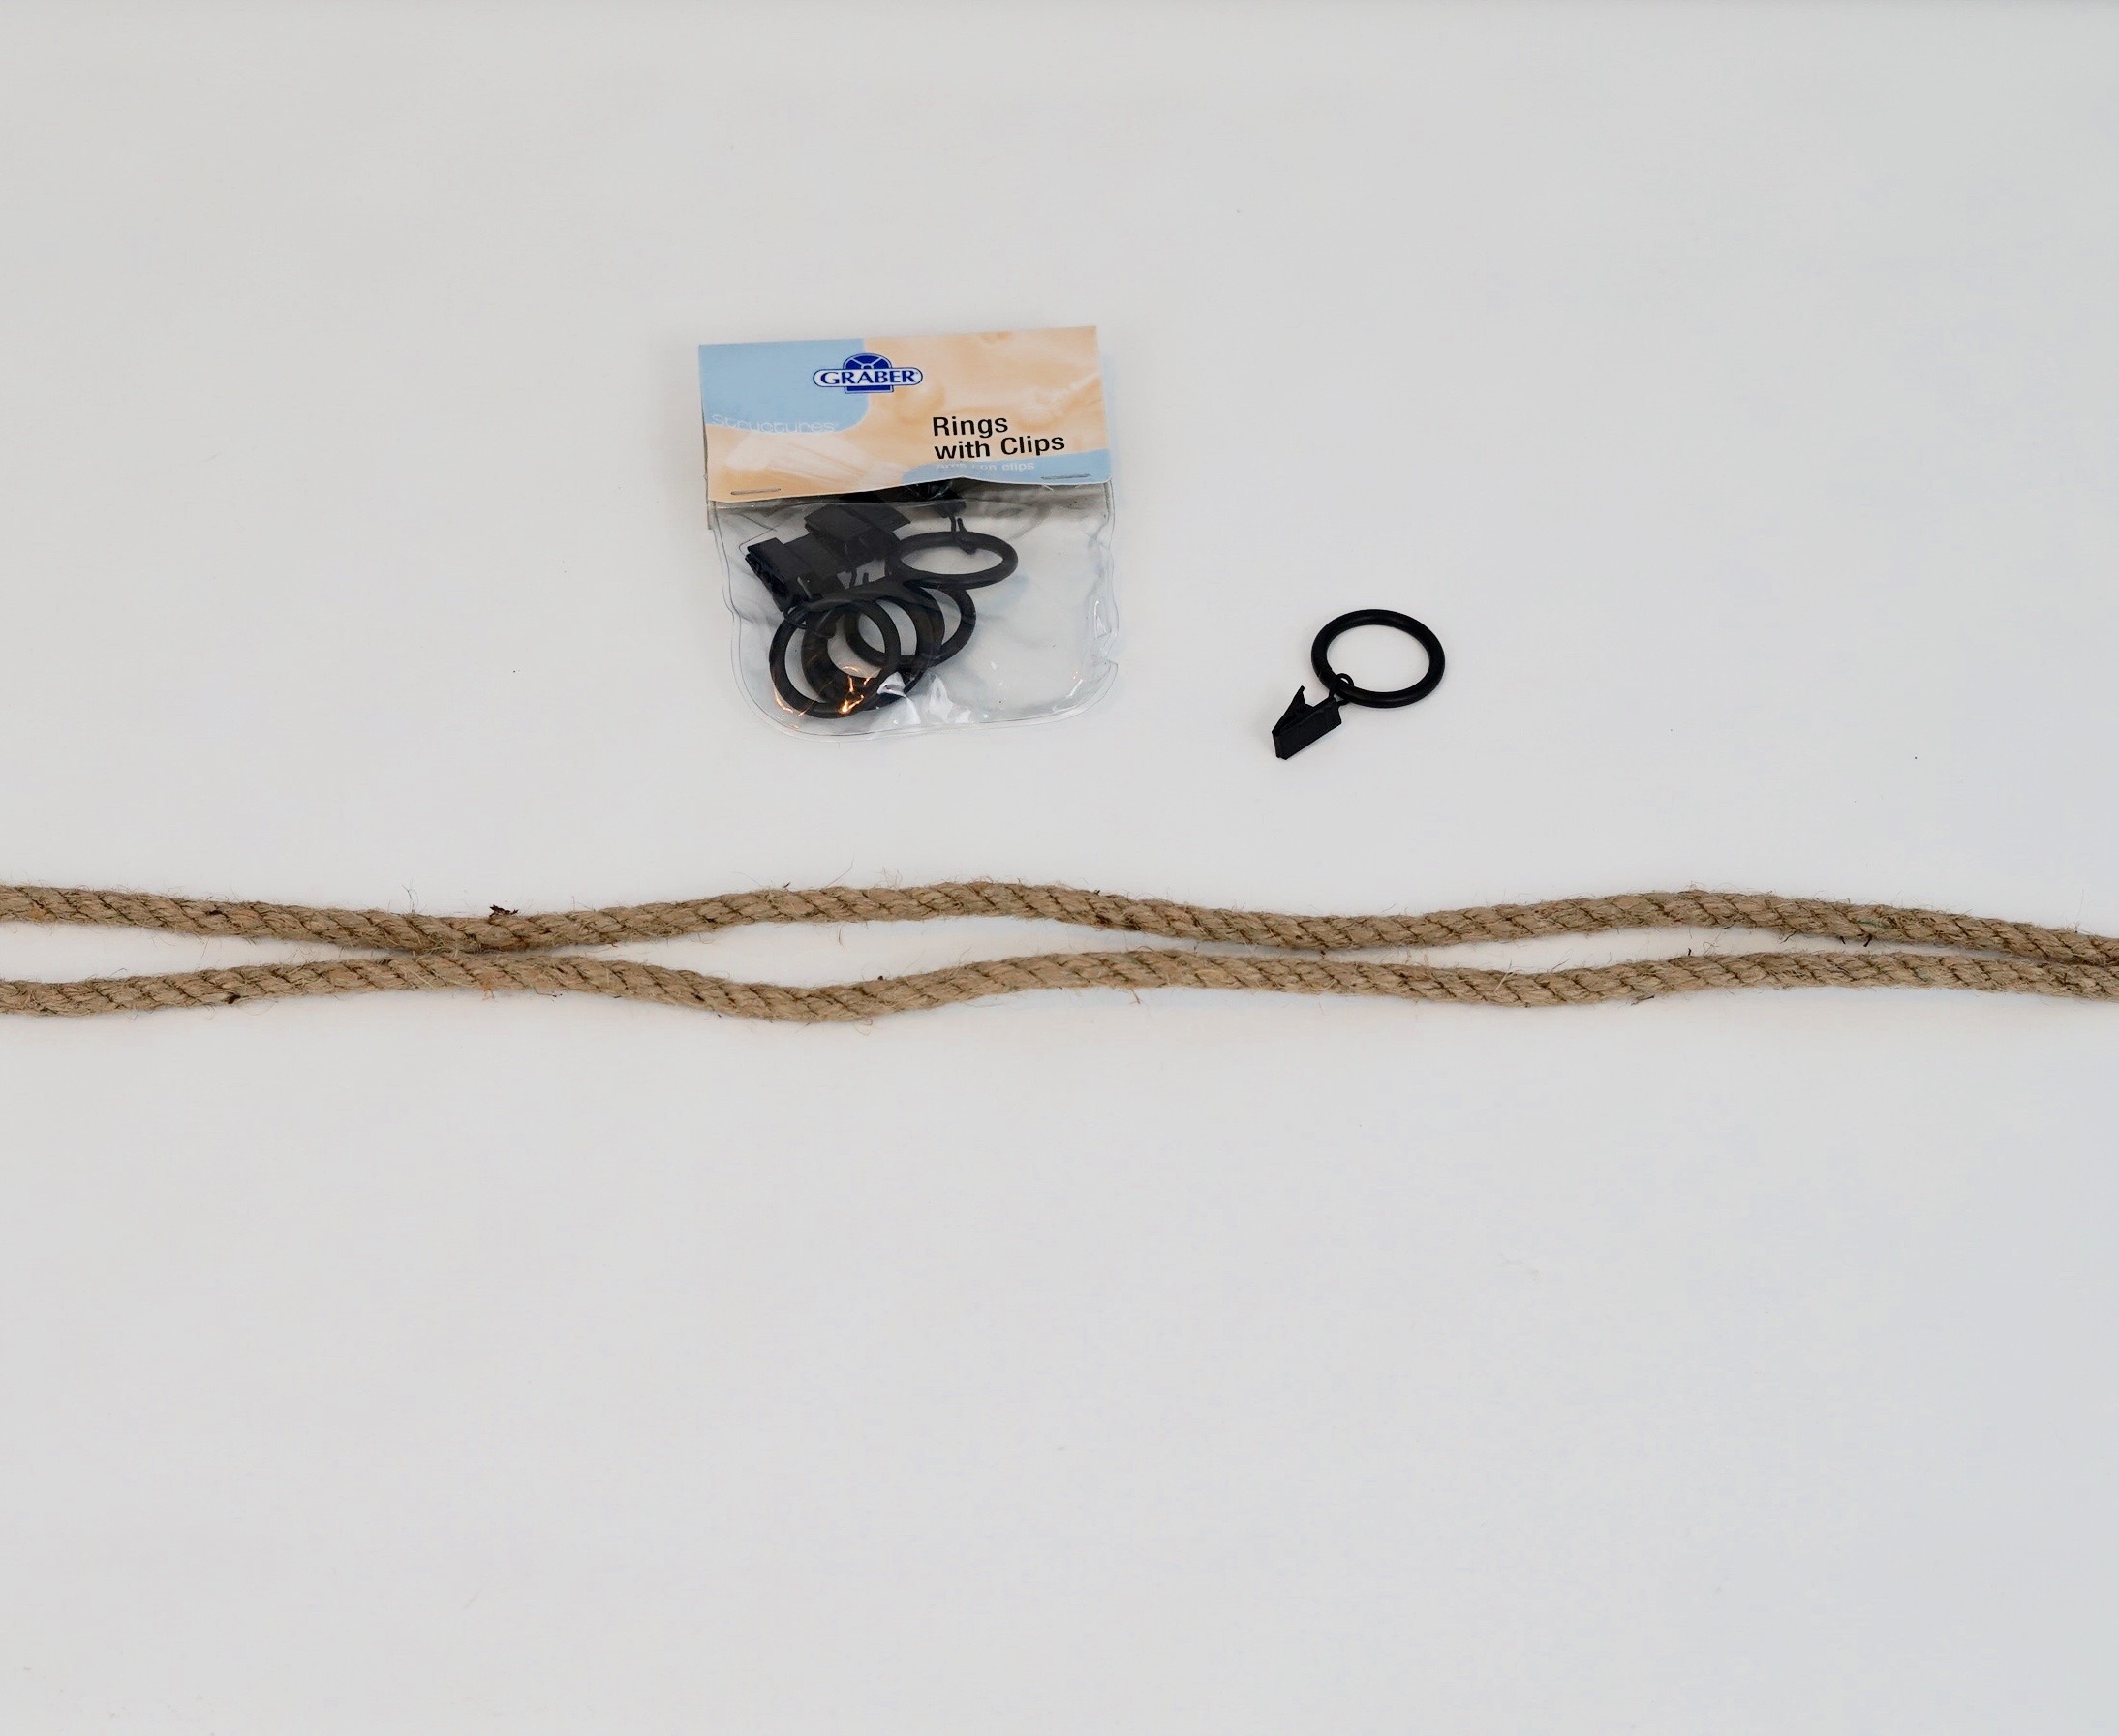
STEP 1: Remove the beads from the hula hoop and then wrap with floral tape. Cut 2 strips of rope at 2 inches, now tie the rope pieces to your curtain hook.
TIP: You can purchase your hula hoop at Dollar Tree. Right now online you can only order their hula hoops in bulk totaling $108.00. However, if you have a local Dollar Tree in your area and do not need to order in bulk, I suggest you go into the store to purchase your items which can save you a ton of money.
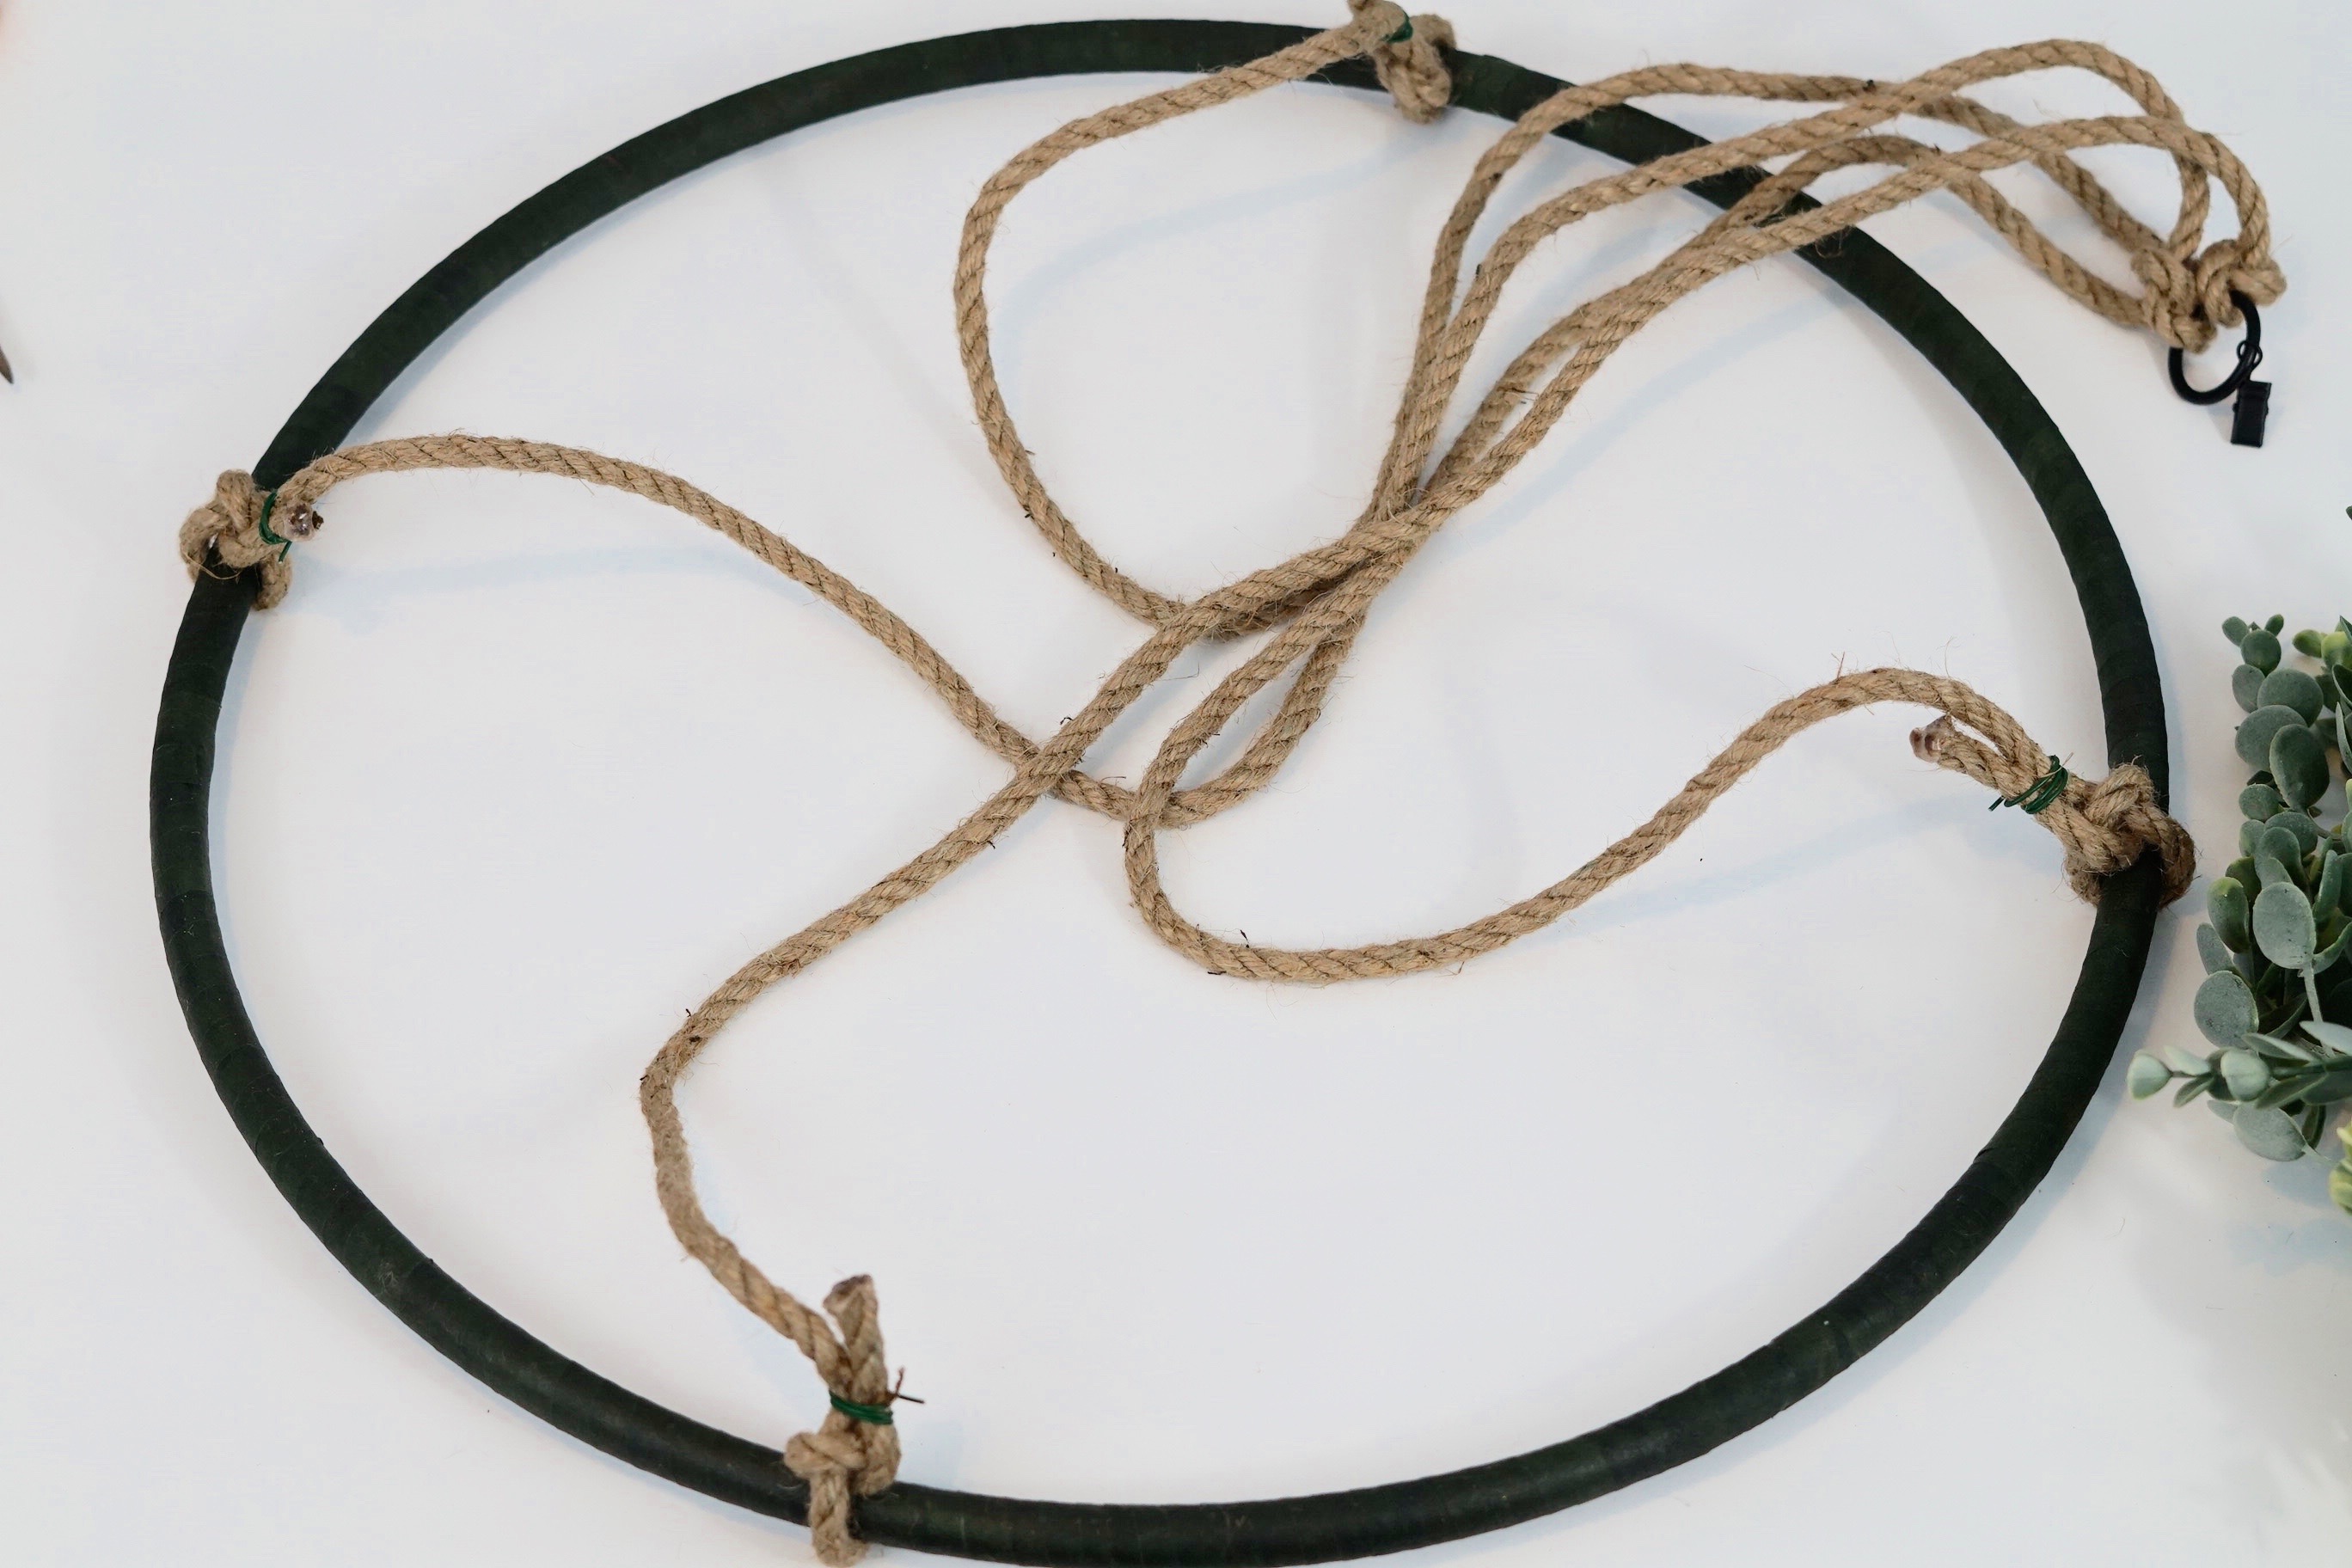
STEP 2: Secure your rope to your hula hoop using floral wire. Now that your canopy structure is completed, attach garland to your hula hoop using floral wire.
STEP 3: Now that your garland is attached, attach your 3 wisteria stems at different lengths. You will notice the rope separates your hoop into 4 sections, you will repeat your flower pattern on all 4 sections.
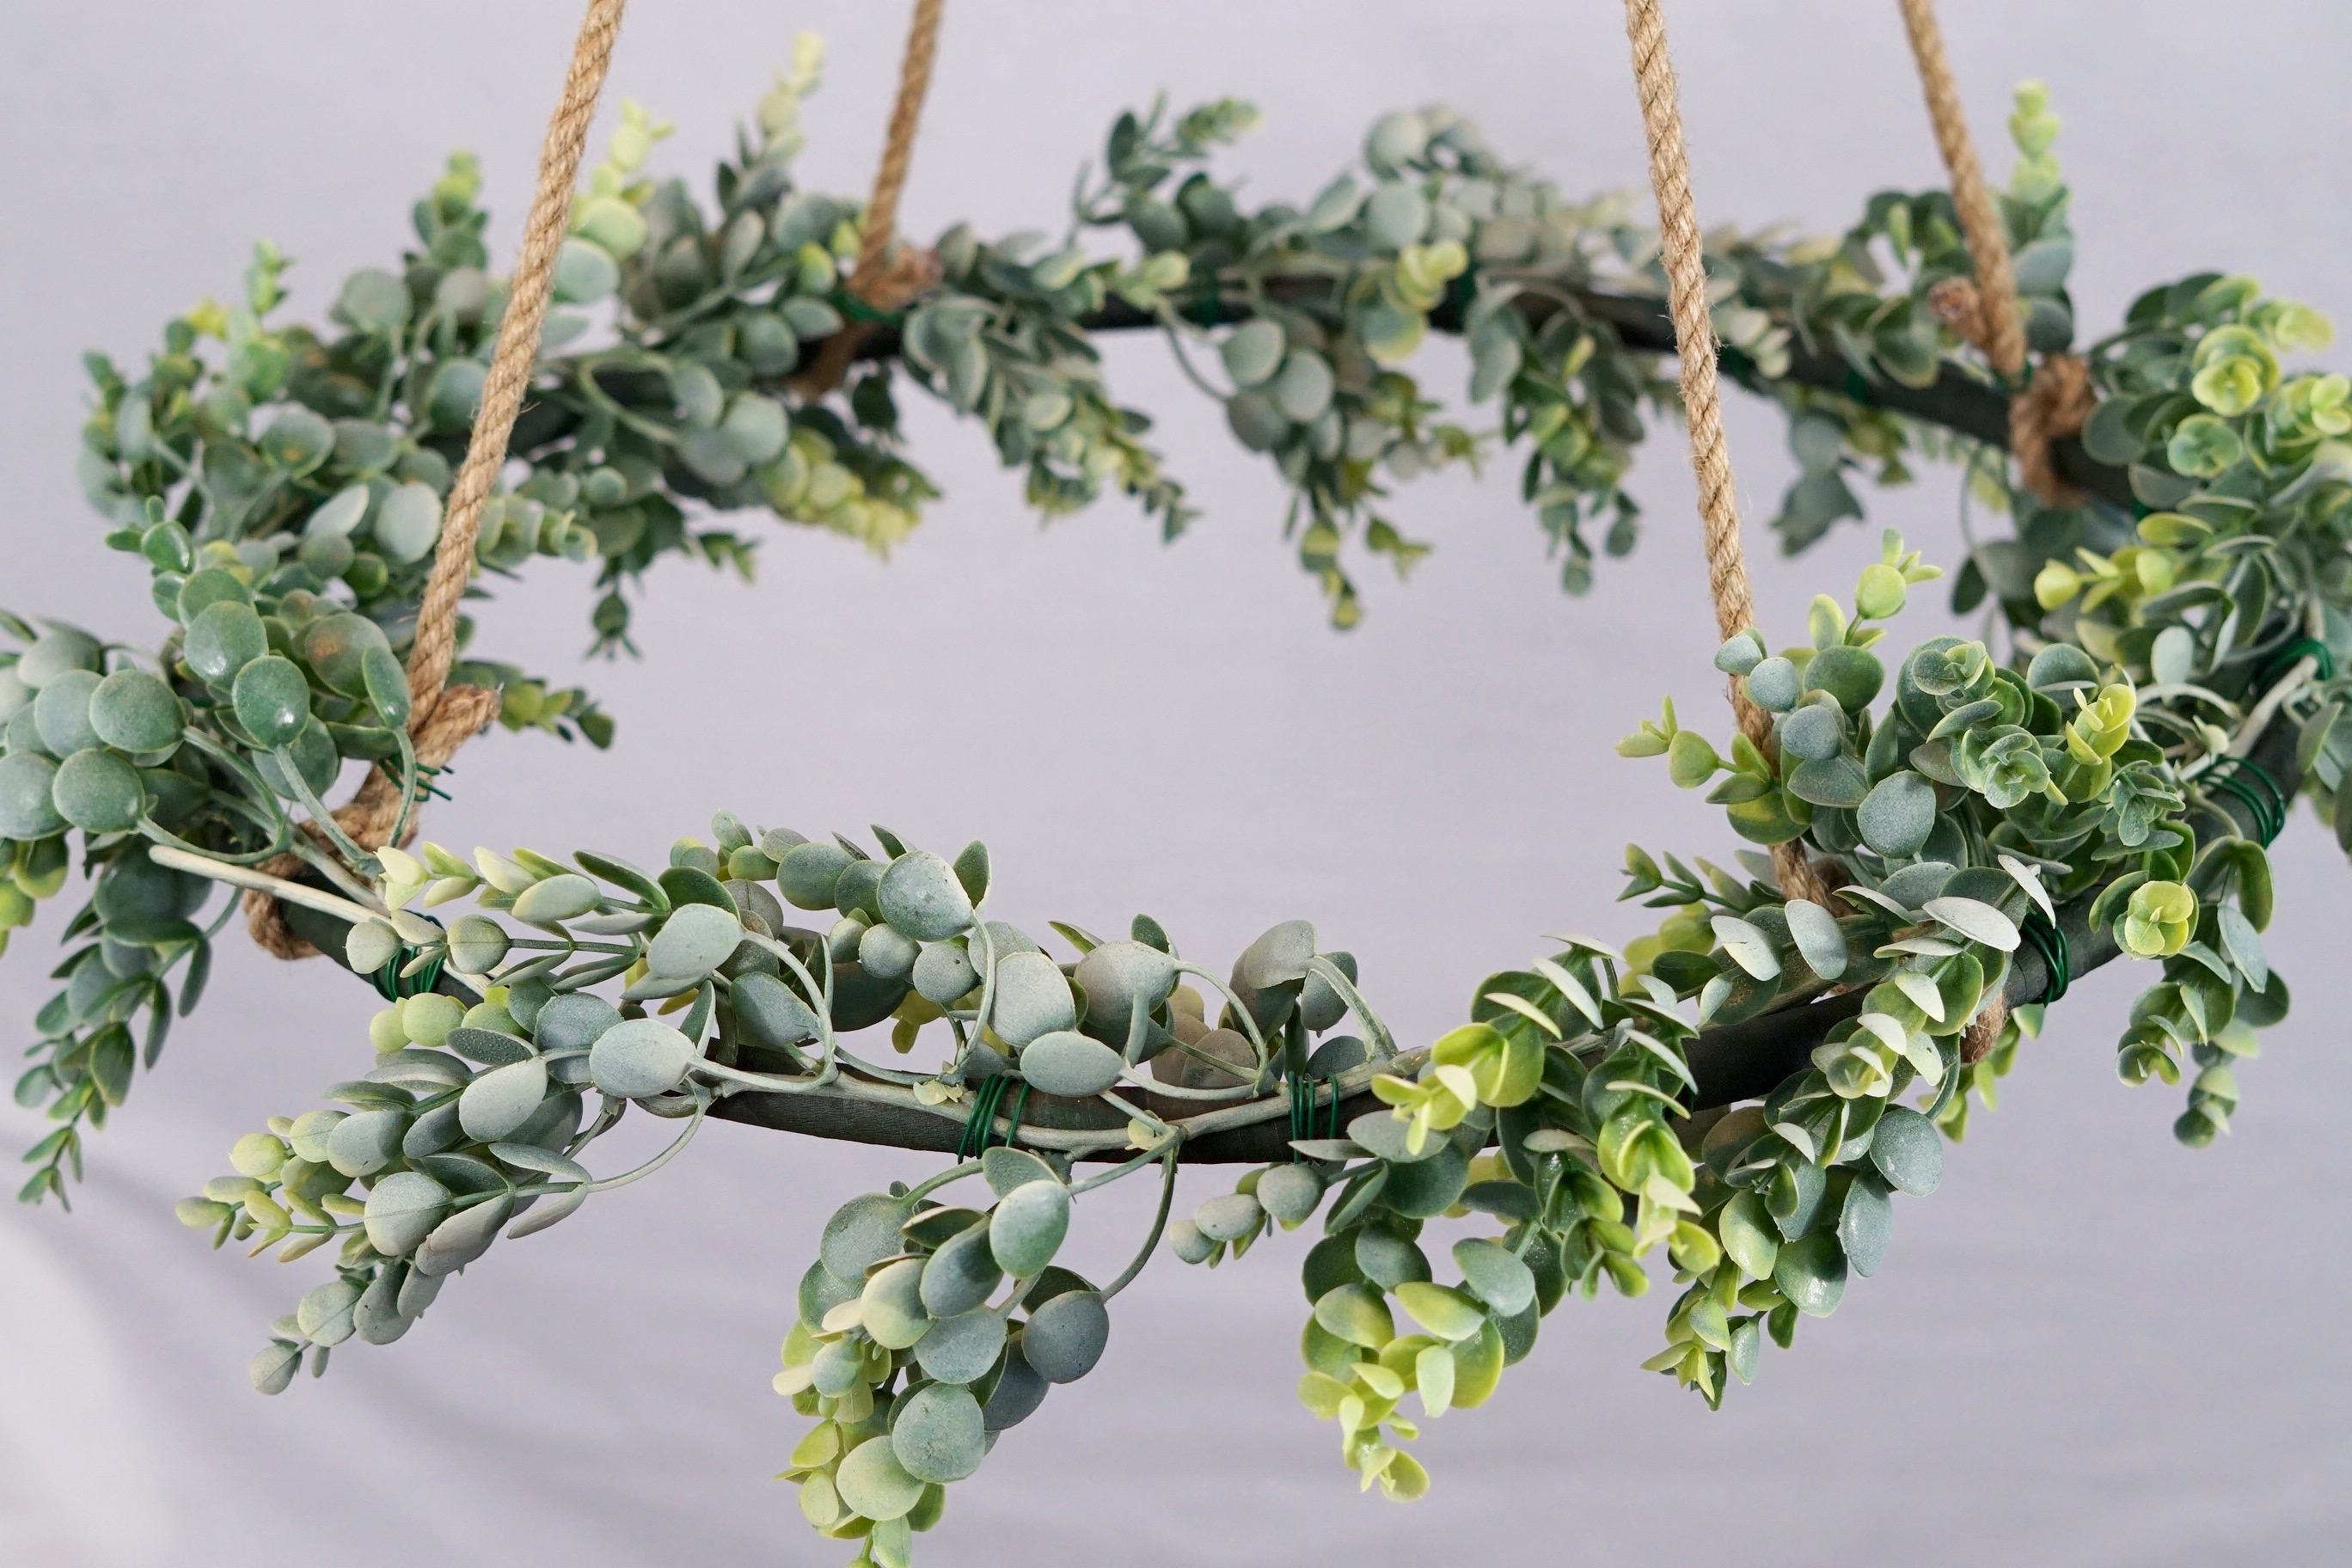
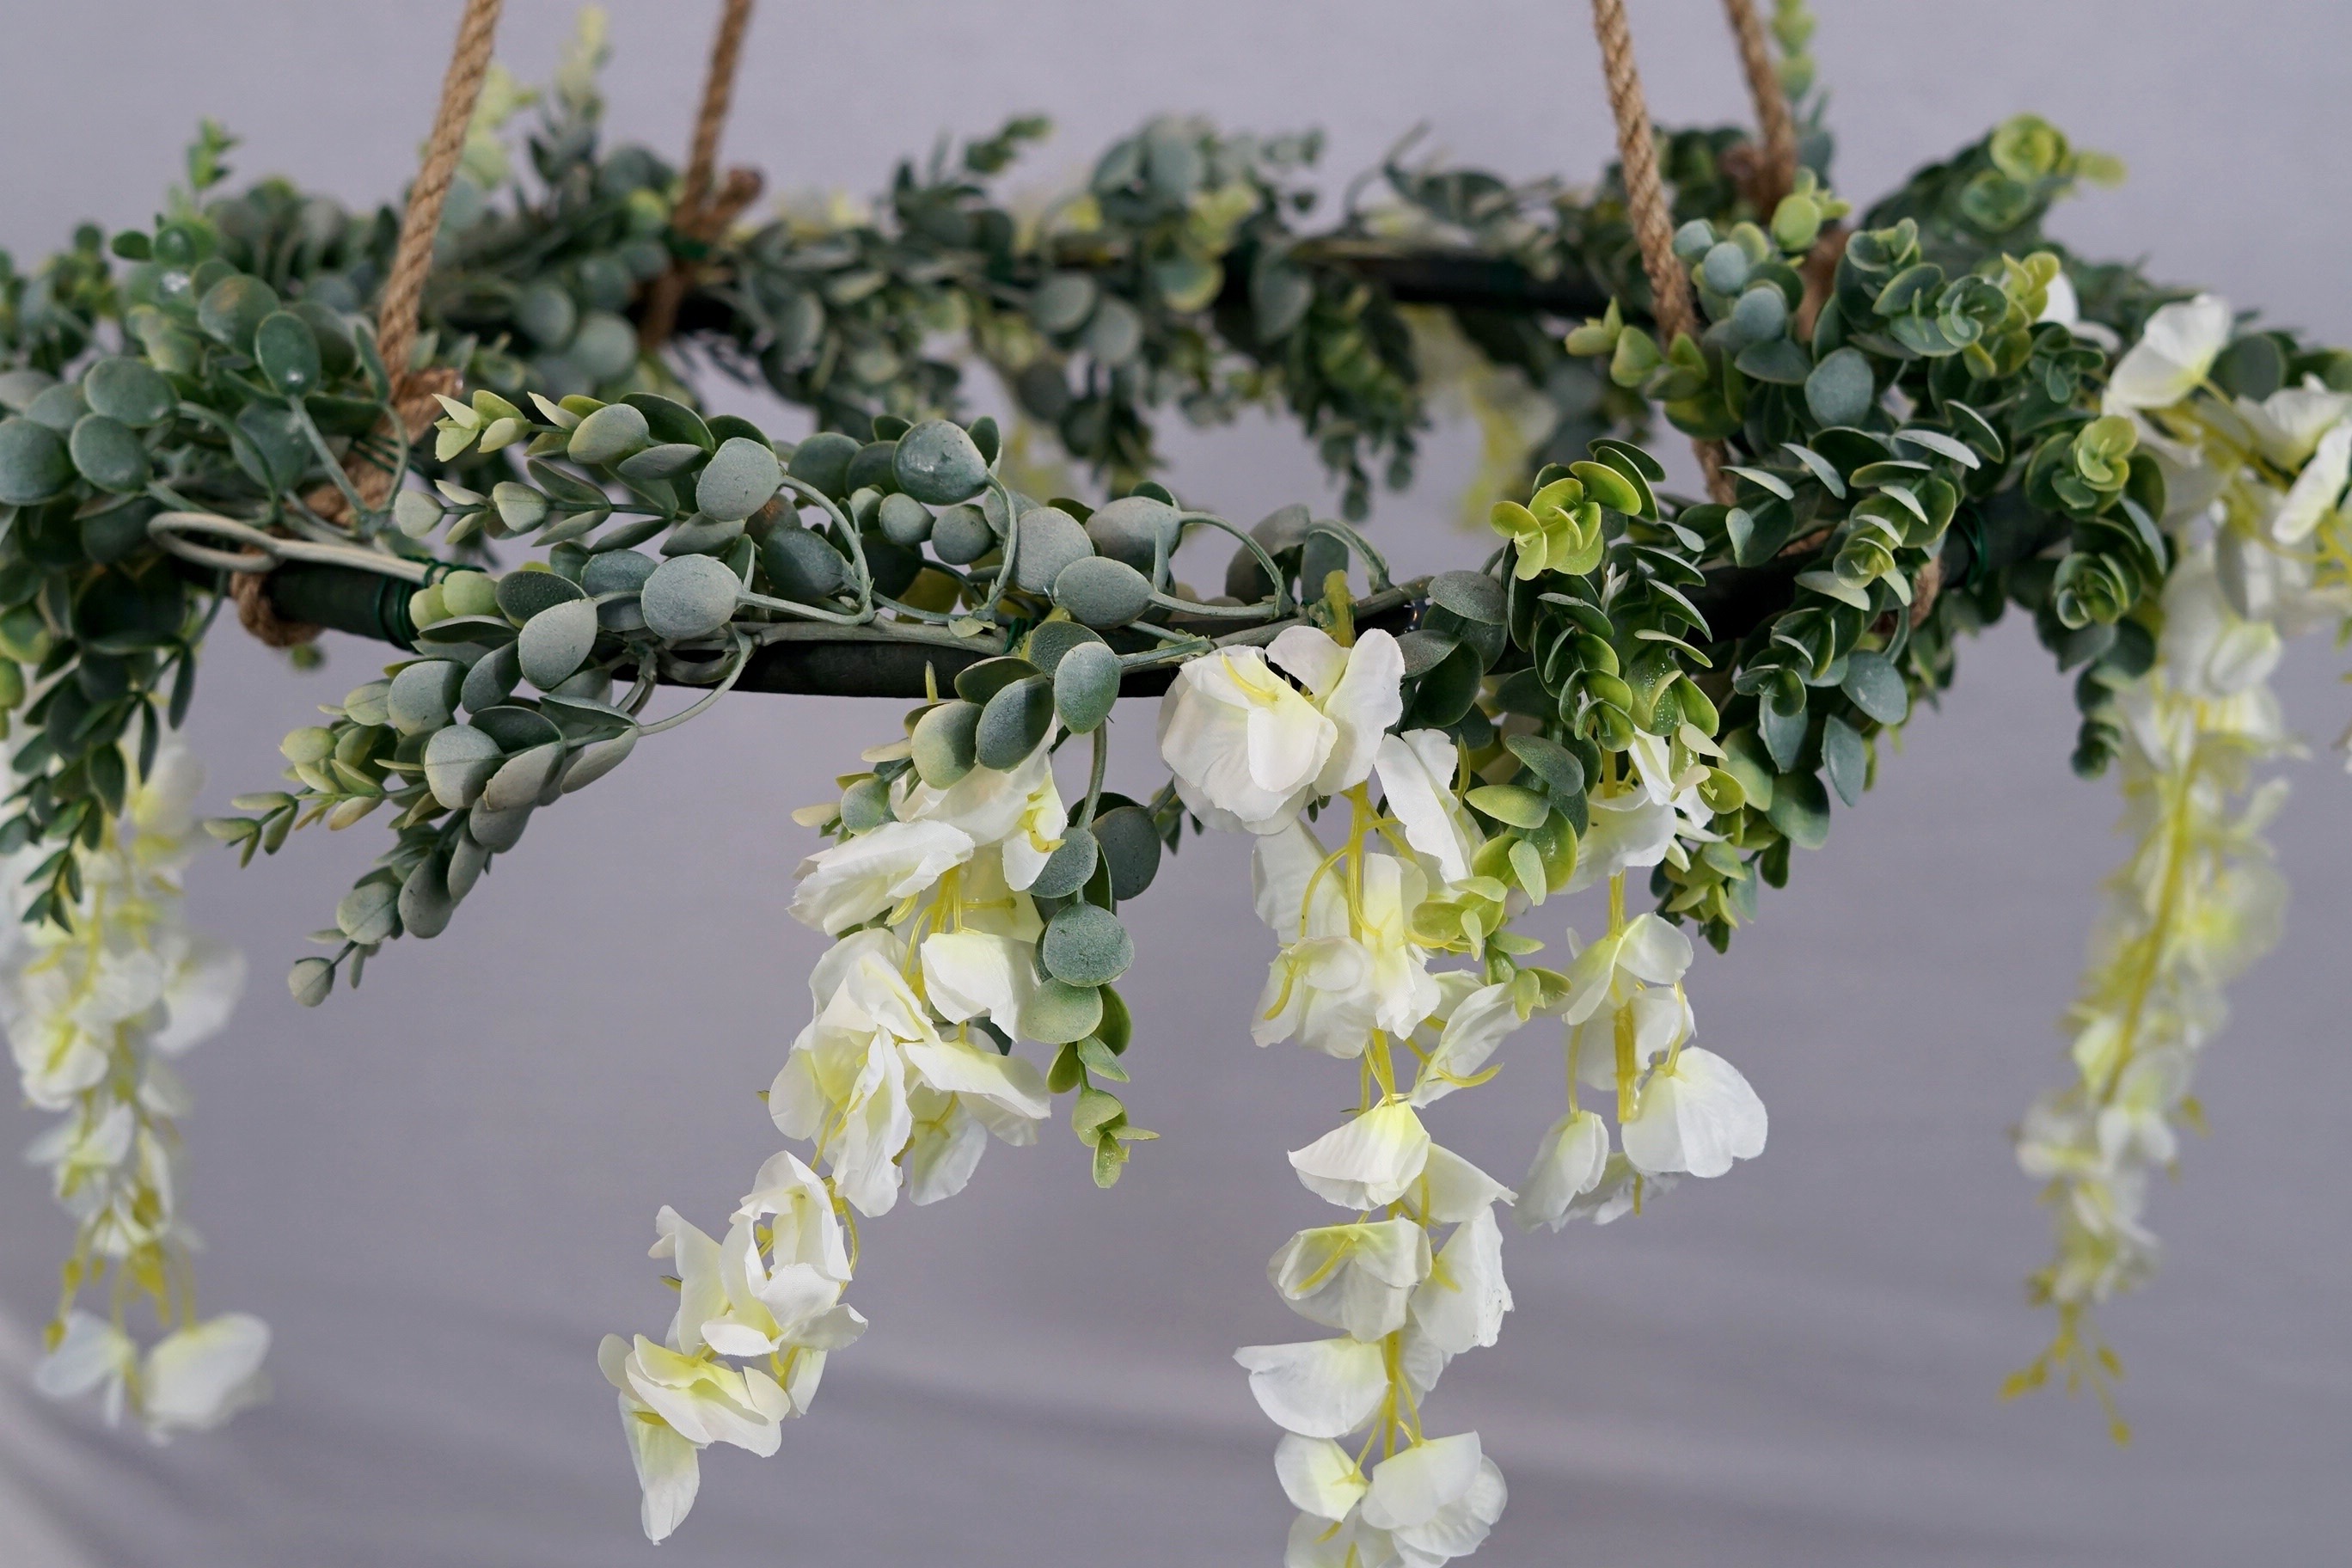
STEP 4:Attach 1 Amaranthus stem, 1 orchid stem, 1 large green and 1 large white hydrangea head. Be sure to repeat the pattern of flowers in all 4 sections.
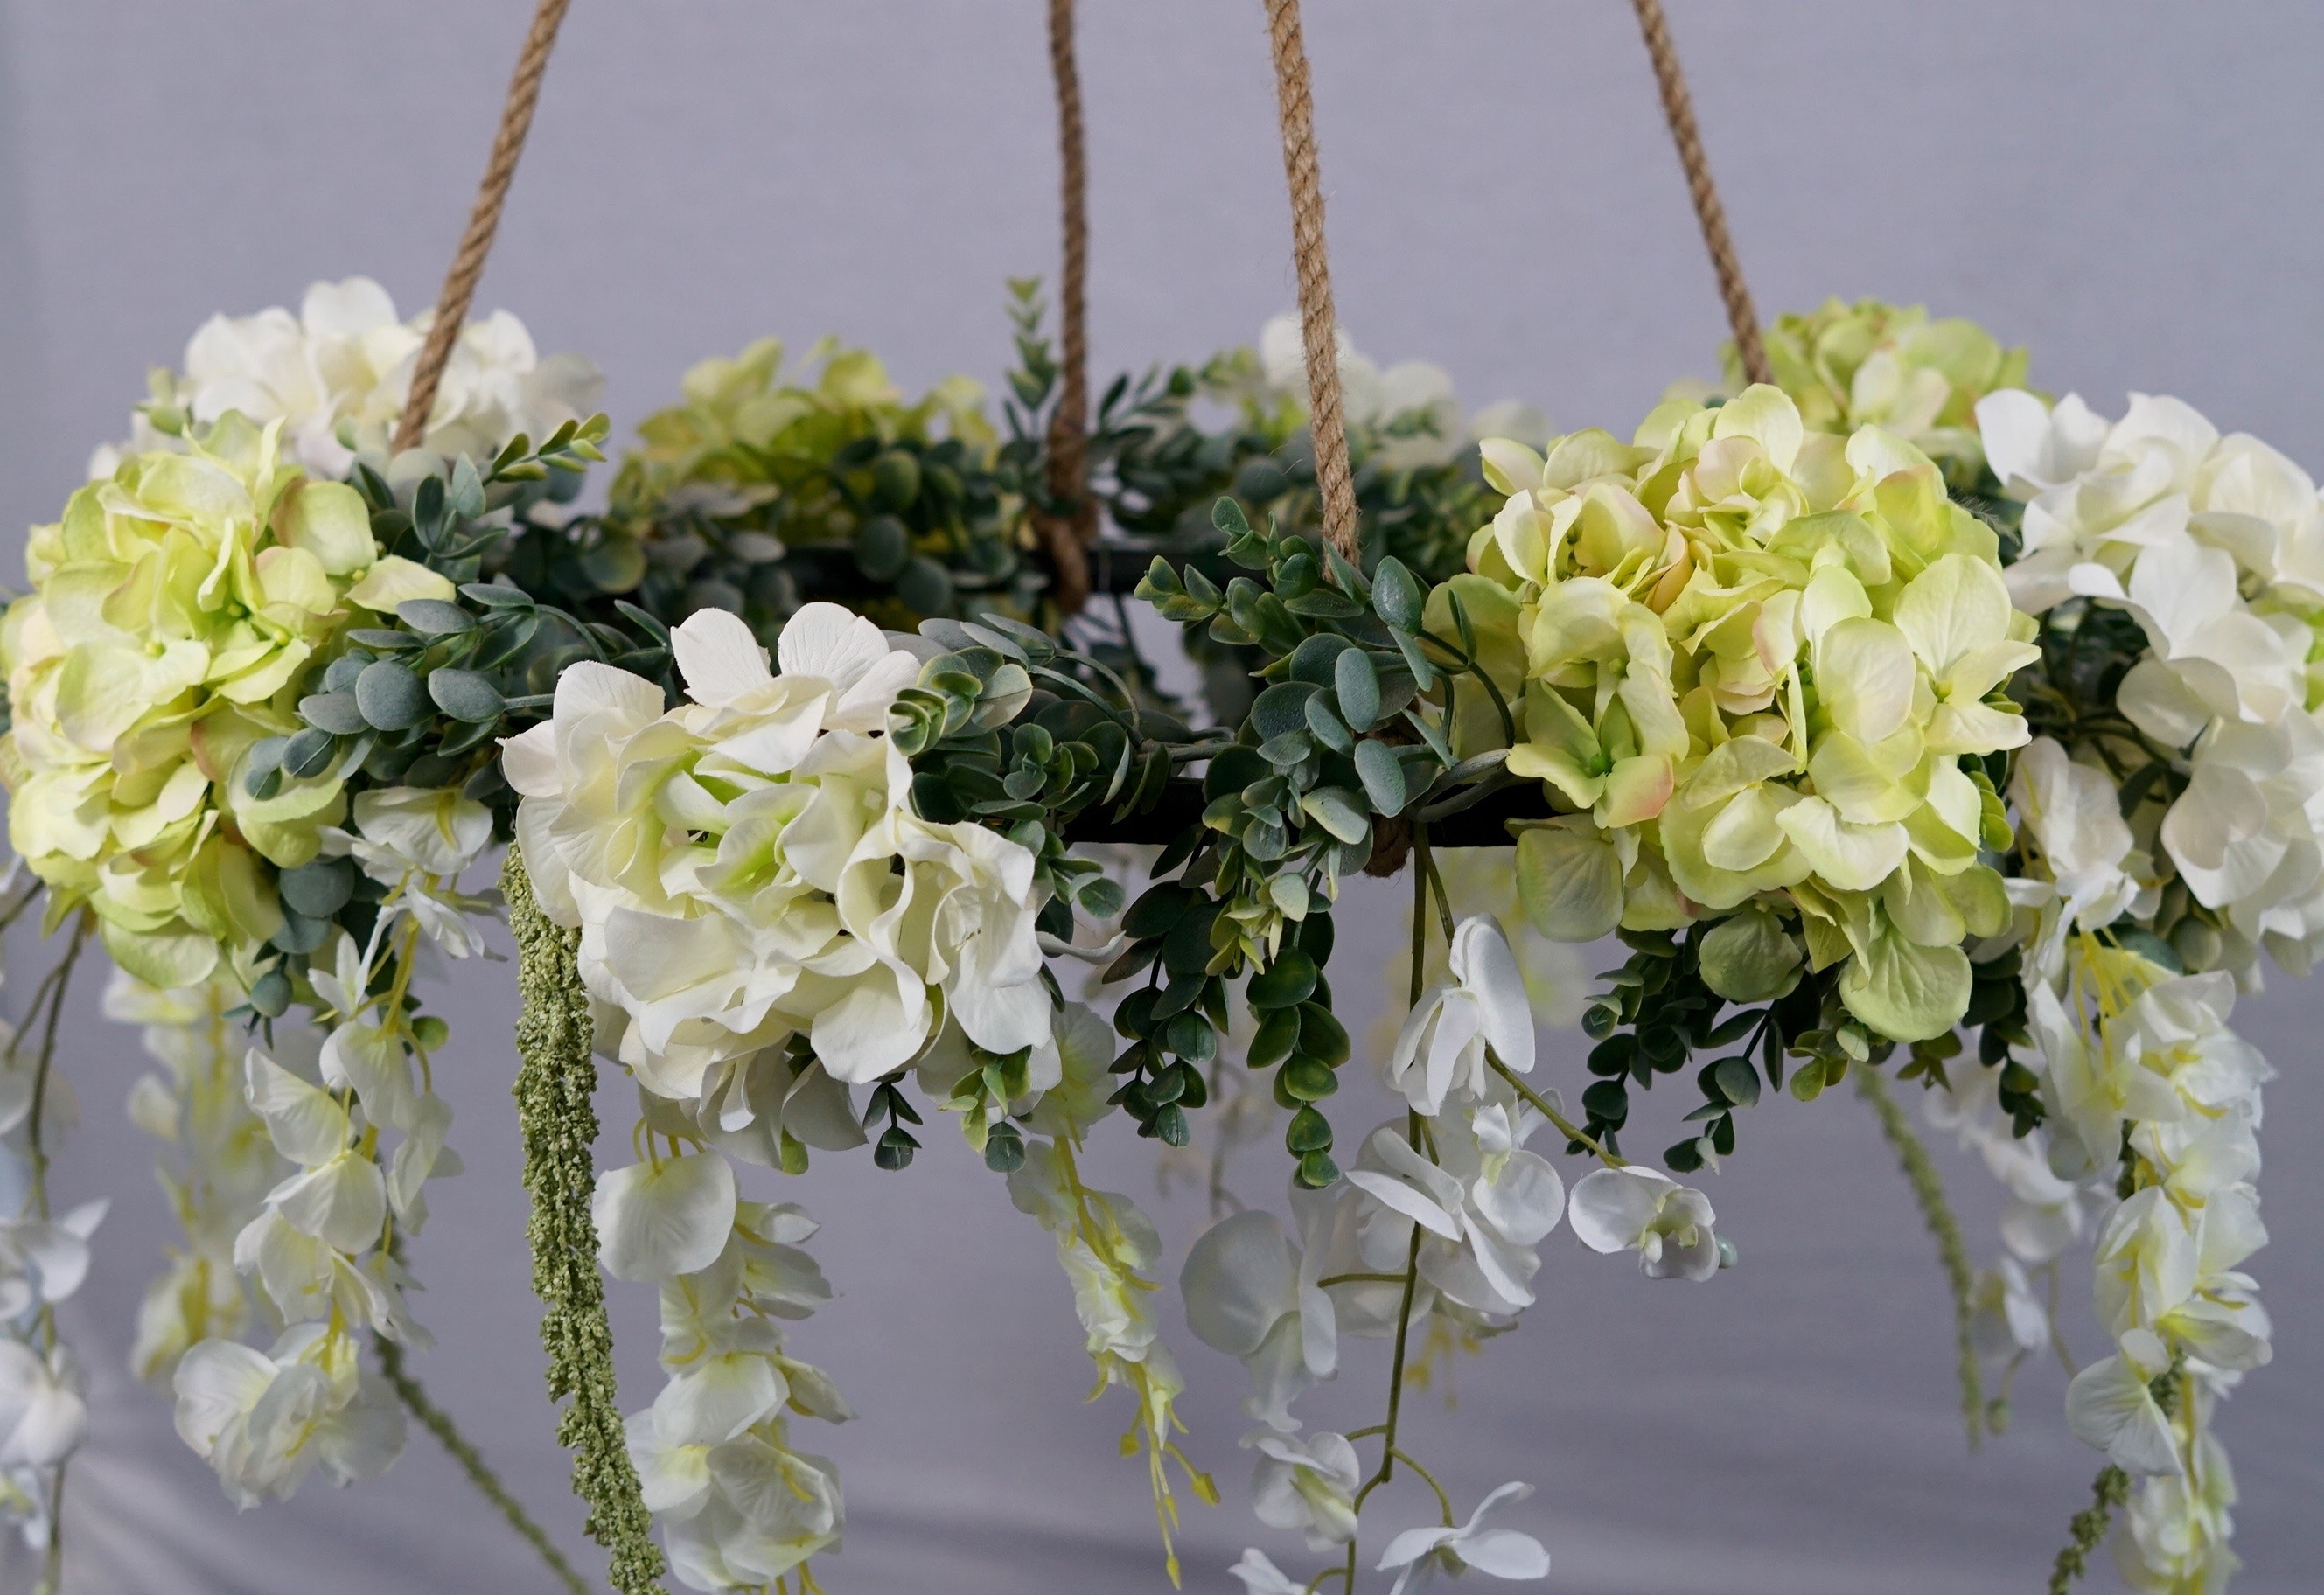
STEP 5: Attach 1 piece of greenery to each side of the white hydrangea head. Attach 1 peony and 1 rose between the hydrangeas.
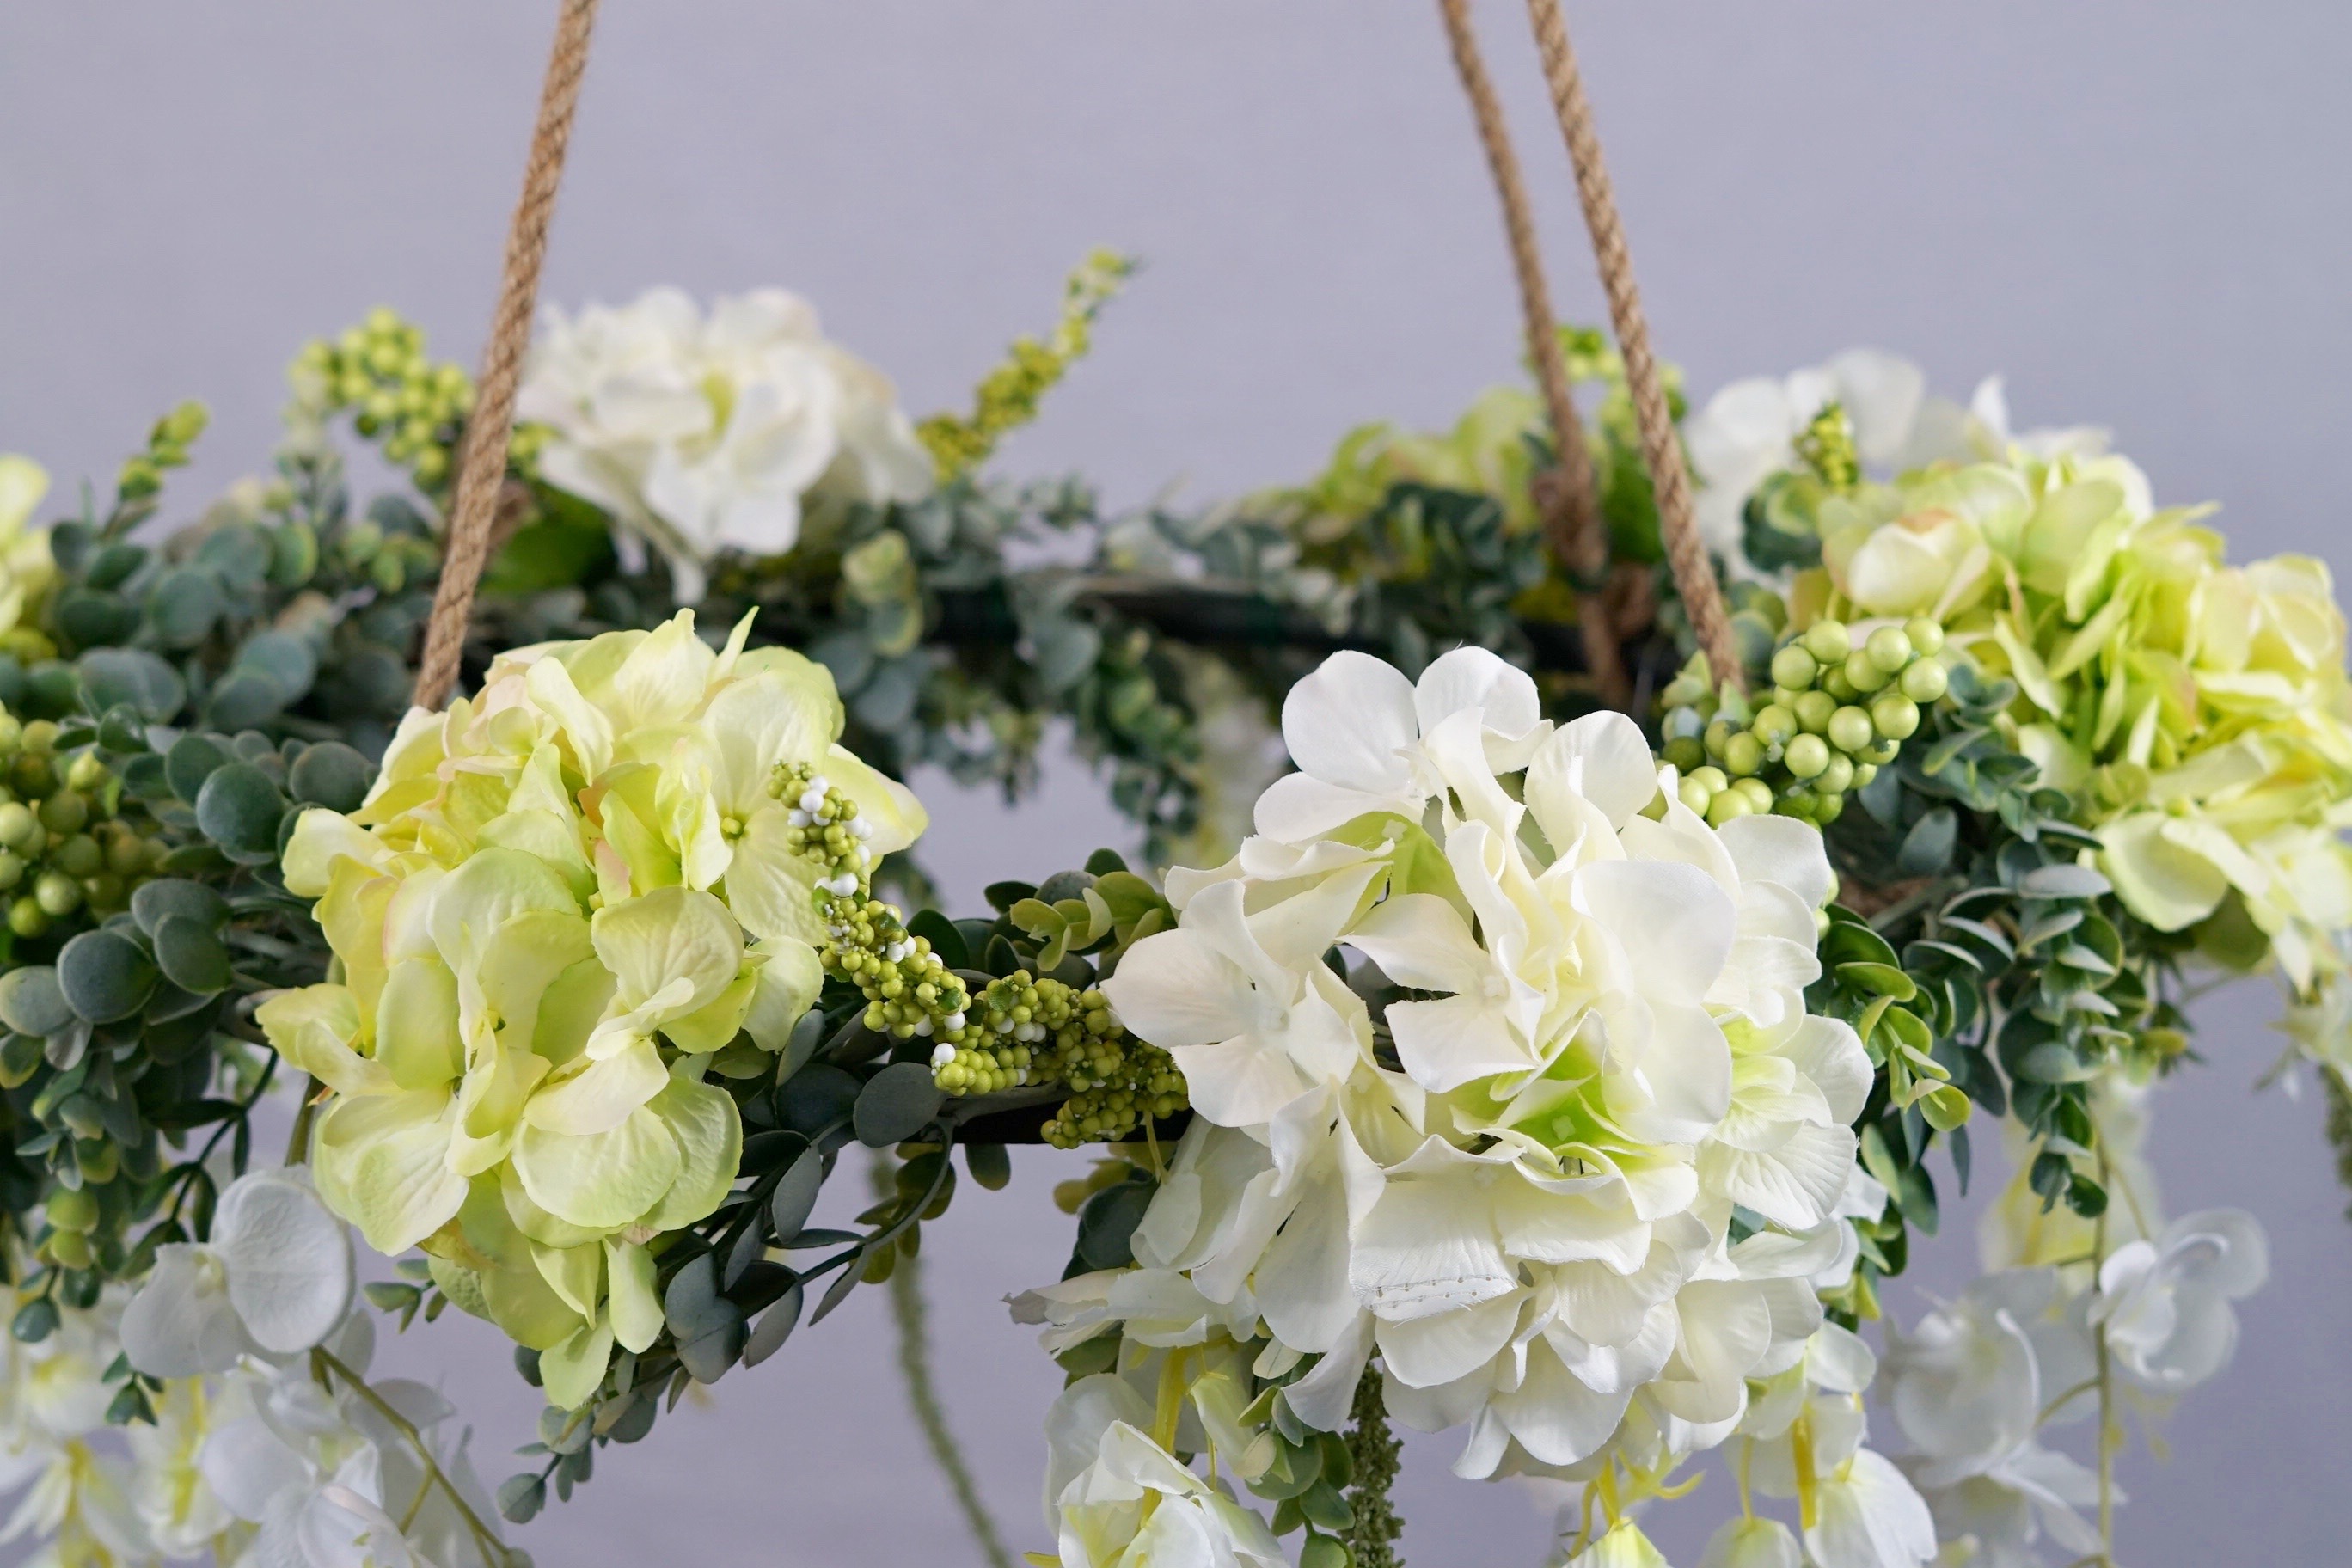
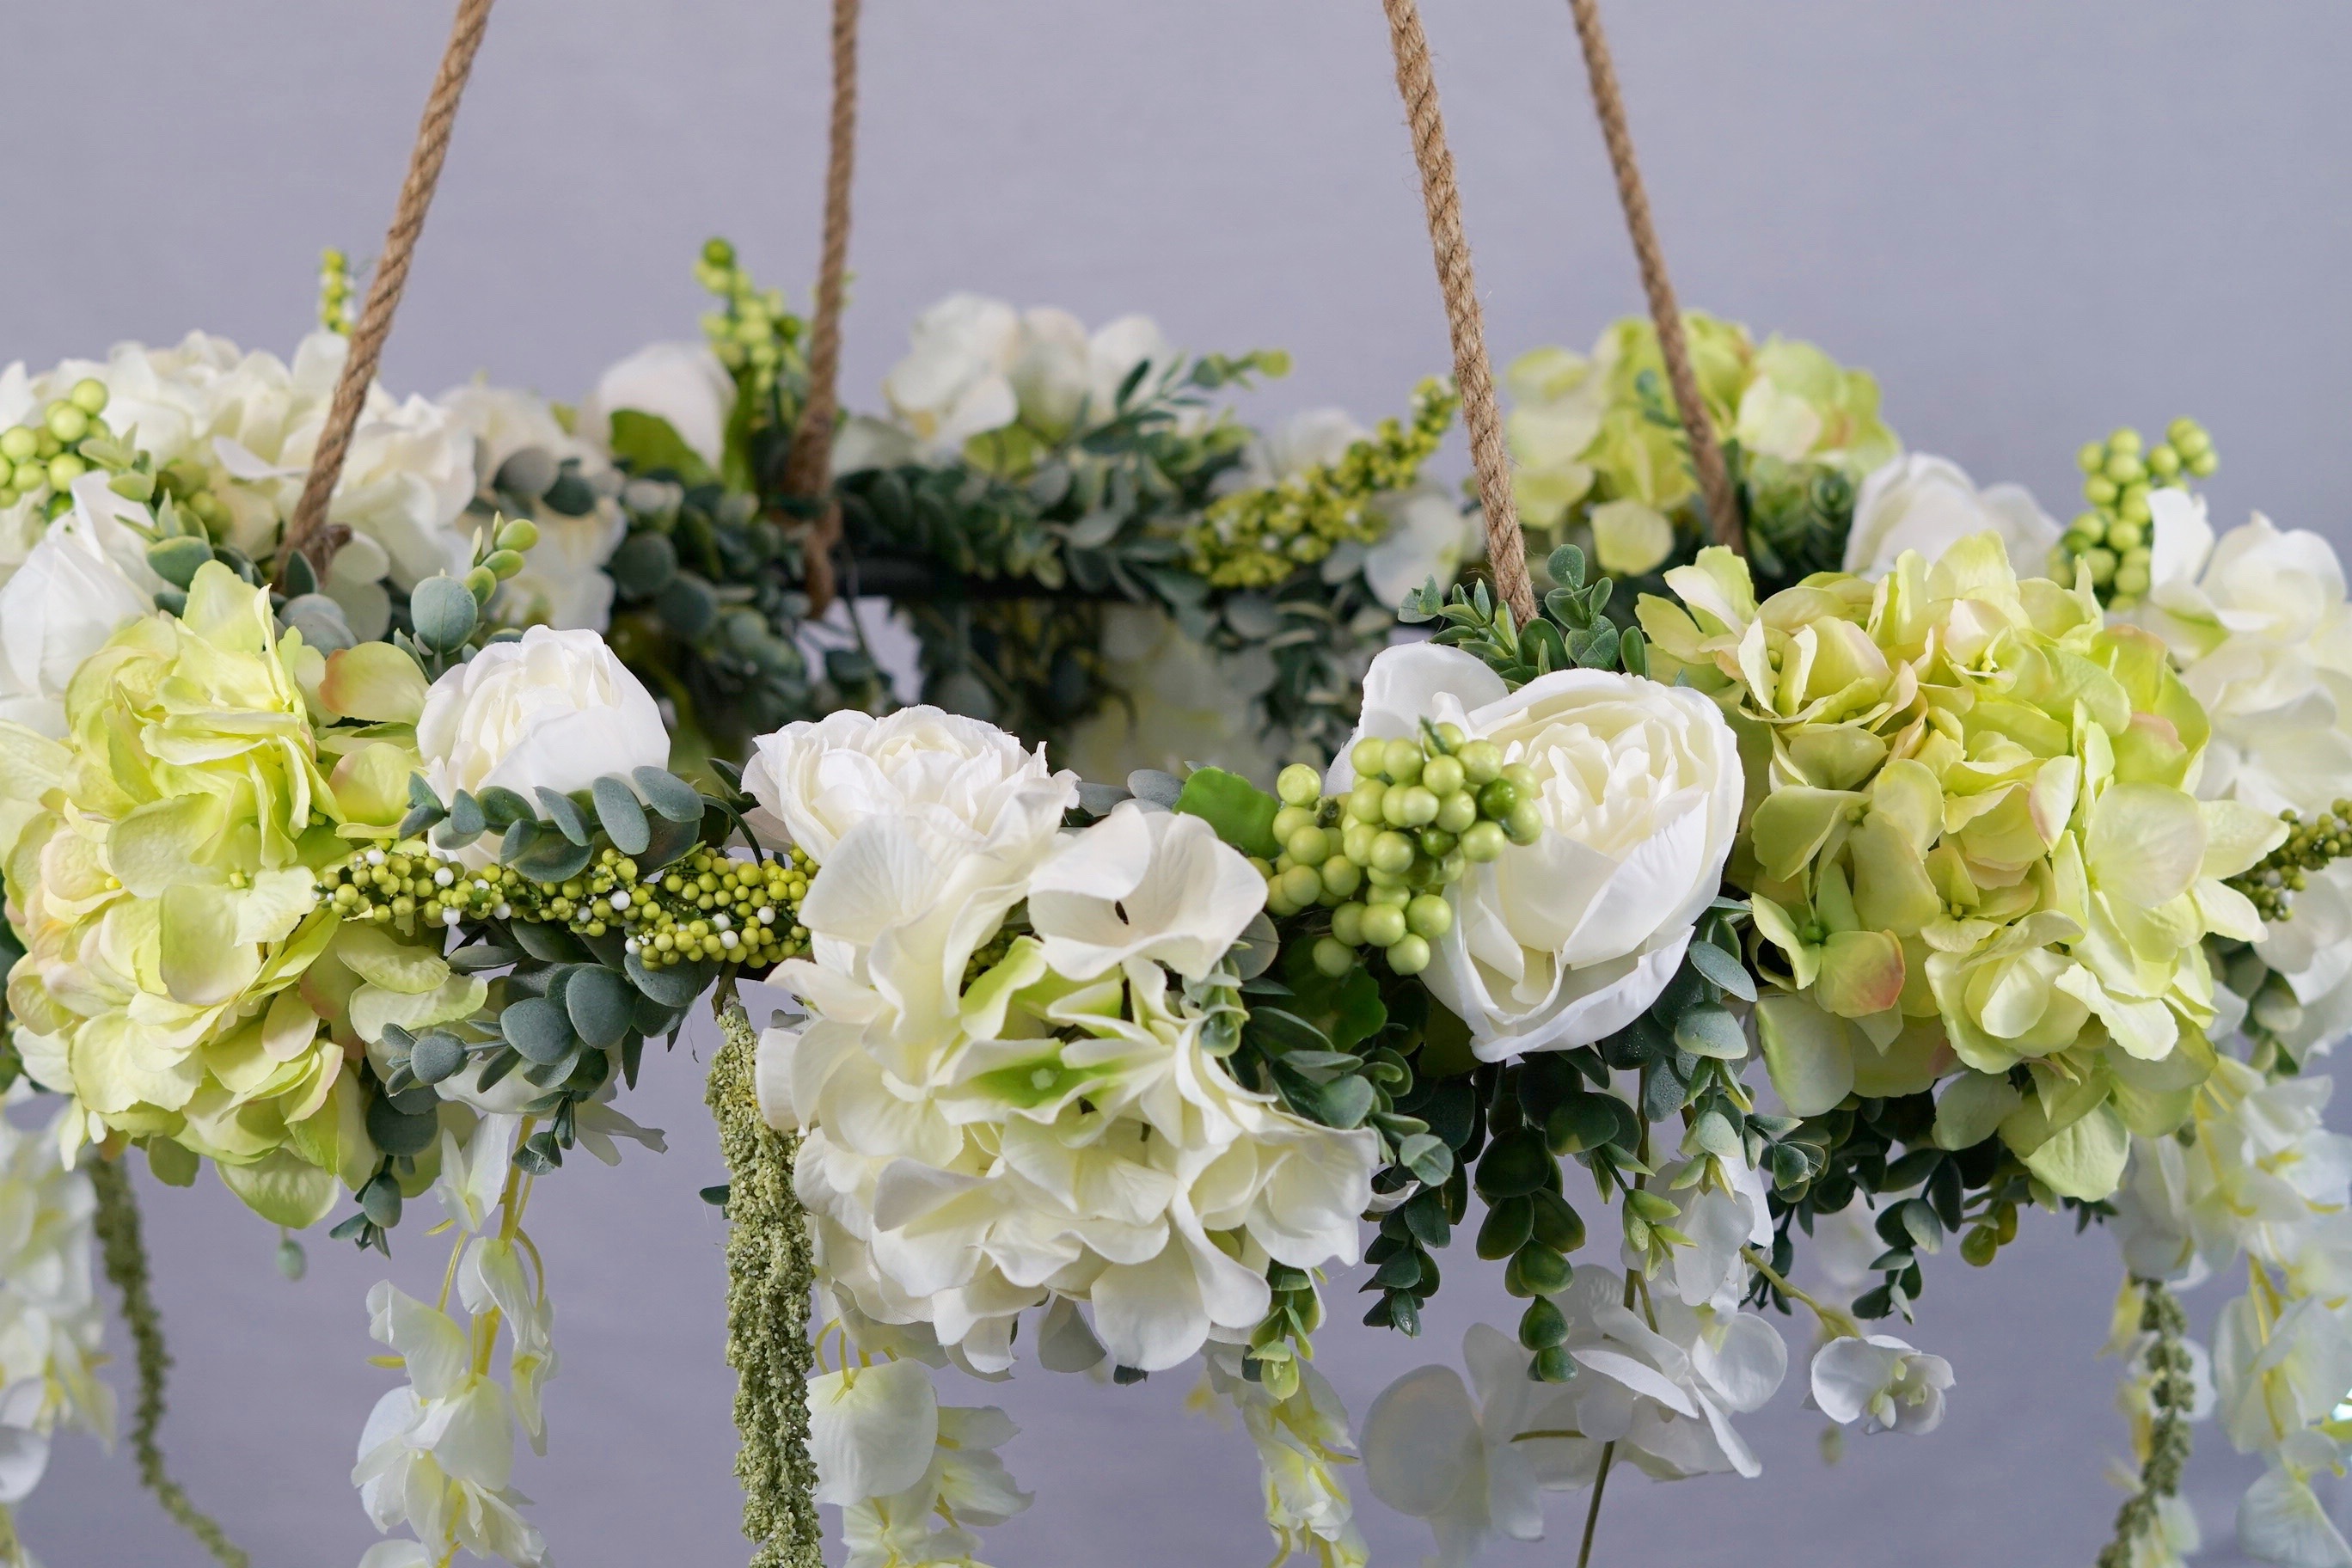
THE FINAL STEP
STEP 6: Set the table!
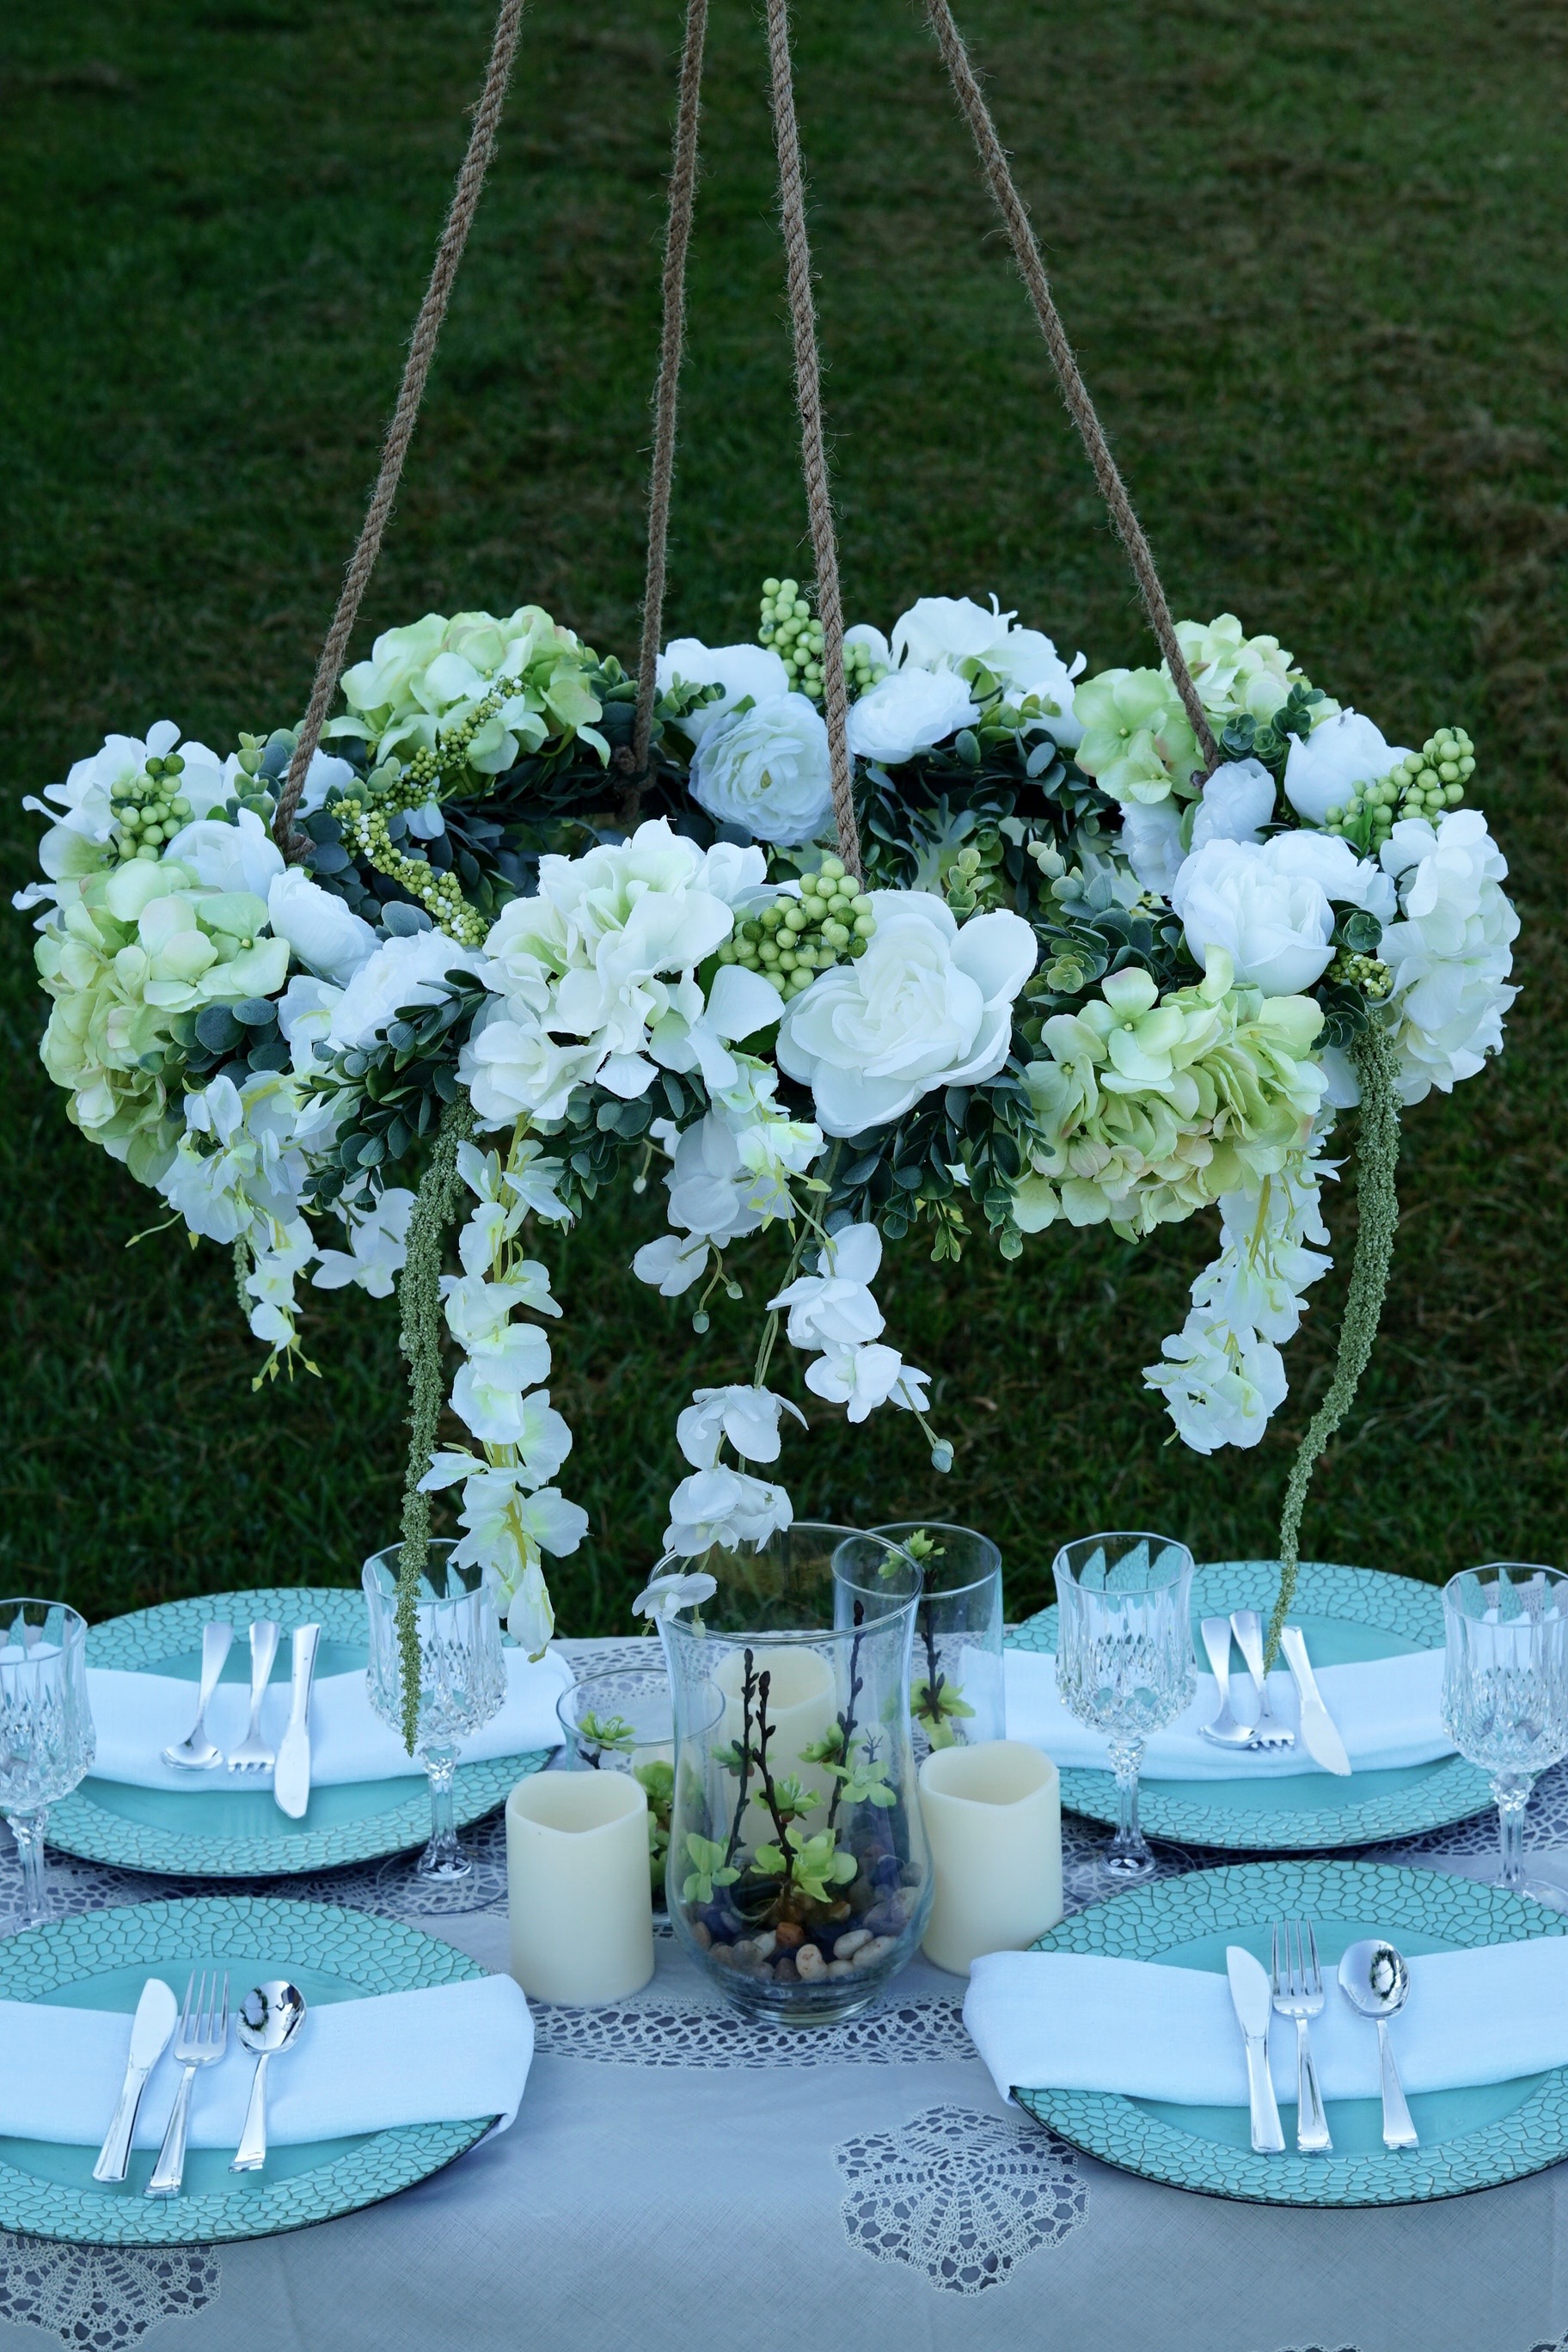
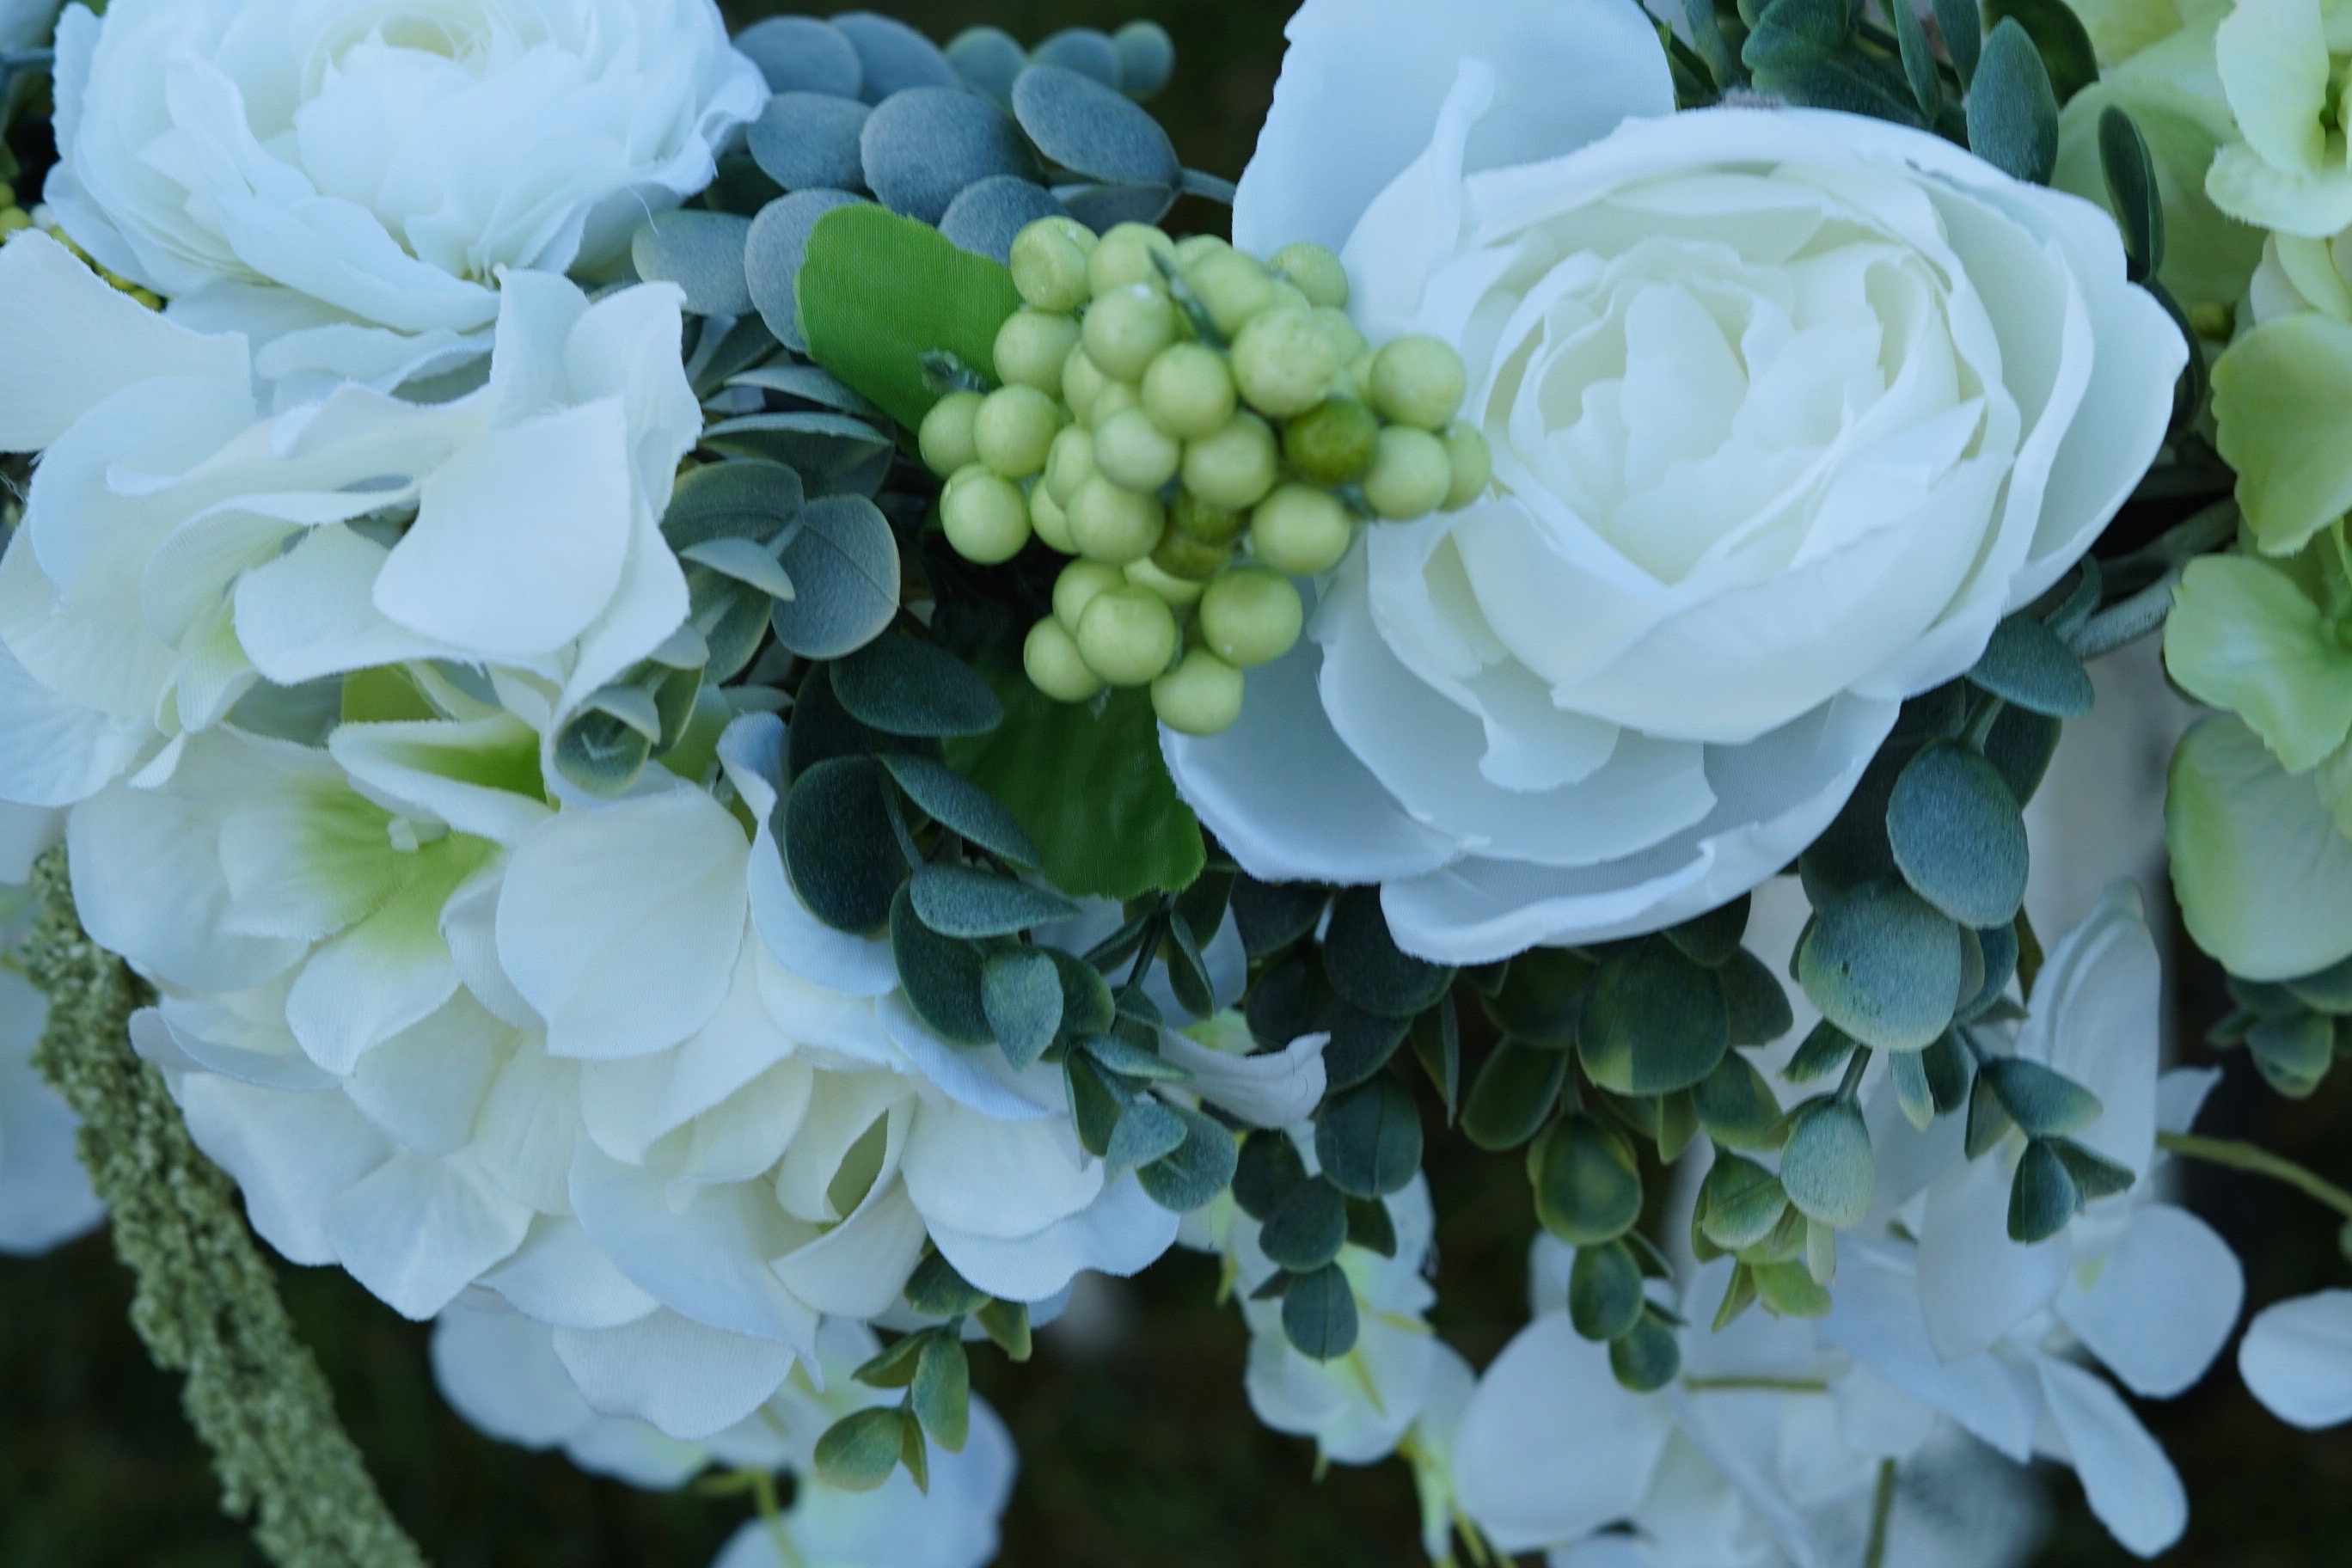
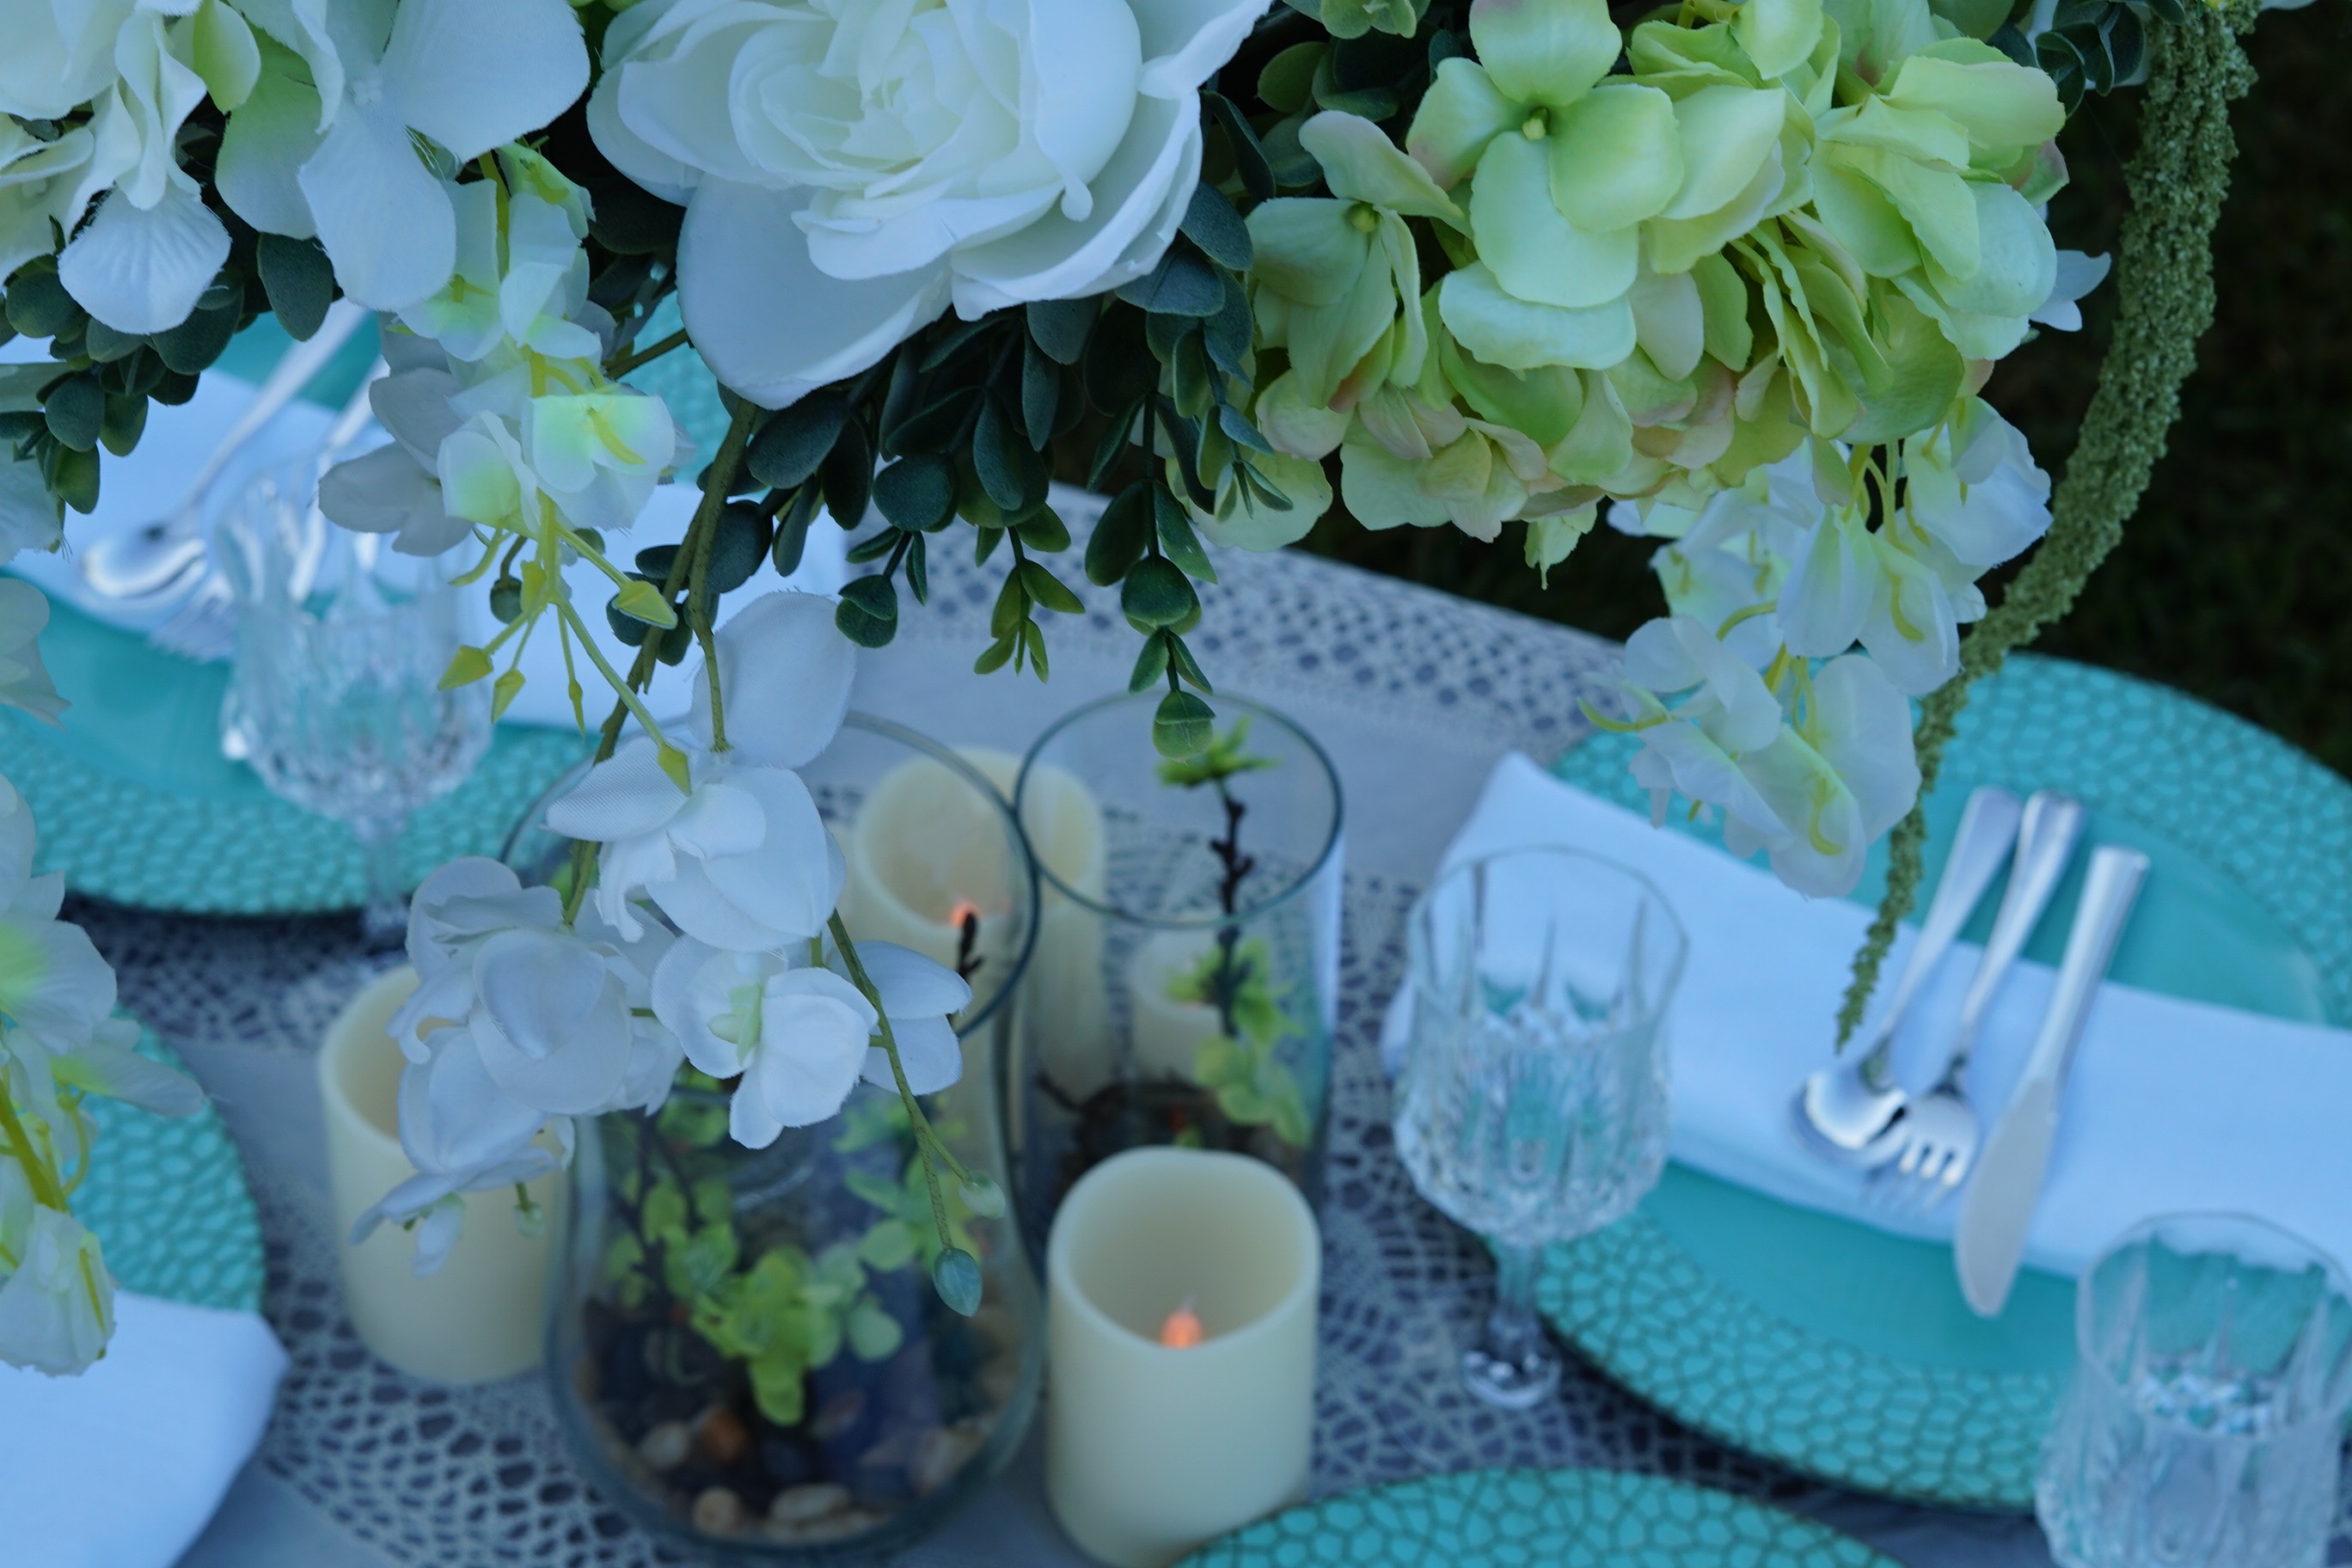
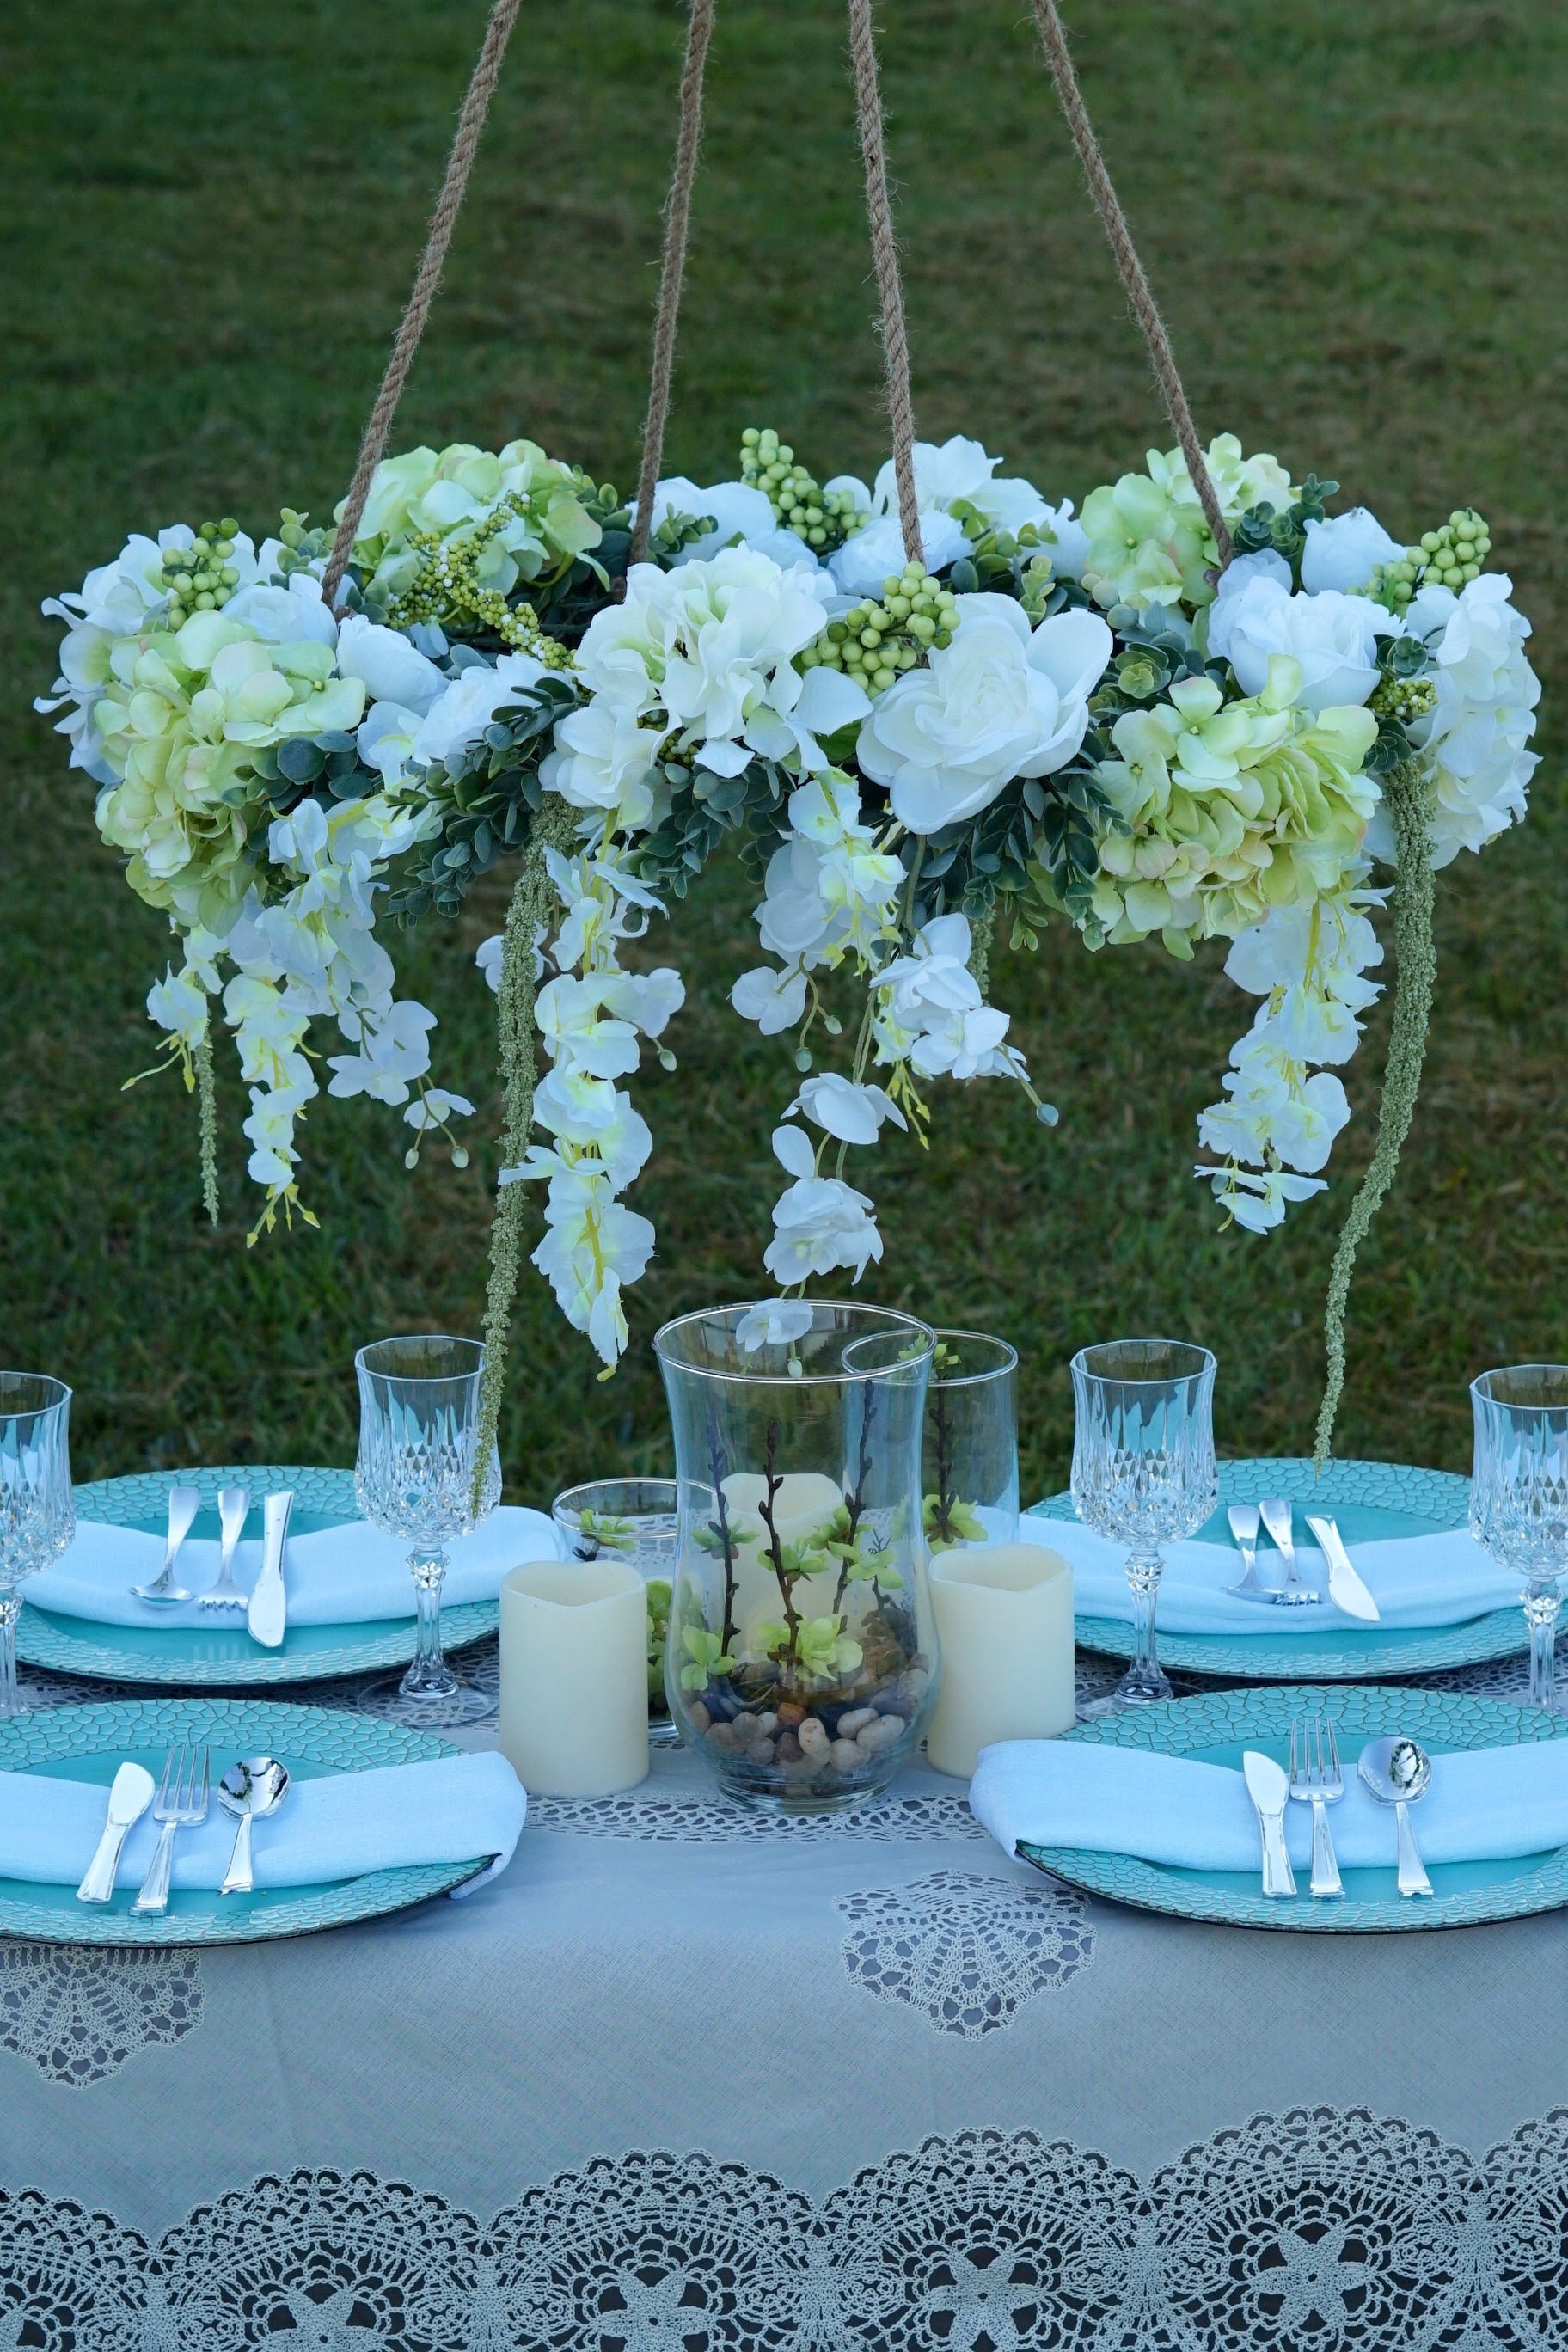
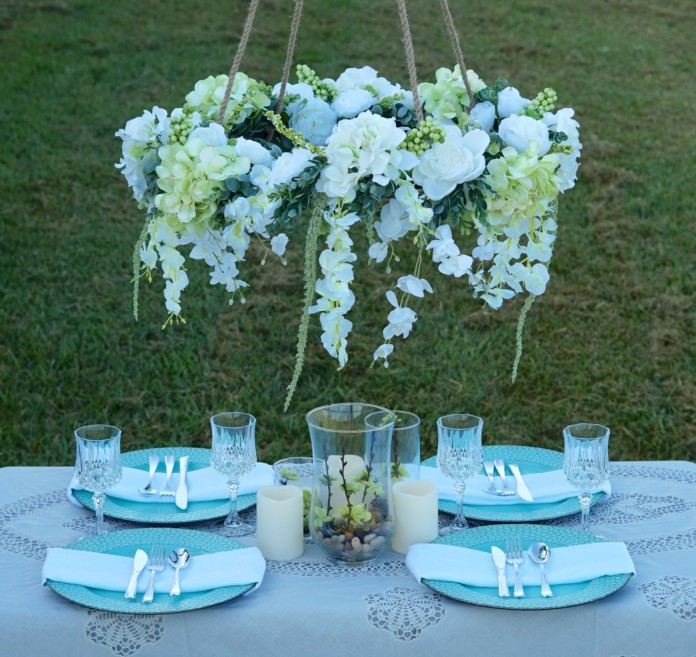
I absolutely love how this DIY Hula Hoop Wedding Centerpiece turned out, it turned out even more beautiful than I imagined!
If you like the outcome please let us know in the comments below? Also share your ideas on what you would have done differently?
Need help with an upcoming project? Be sure to send us a project request!
“Remember When Every Penny Counts, Count on MissPlanIt”


How is it held up, please show that part
Hello, please be sure to watch the video tutorial!
Beautiful. But how to hang it over the table?
Hi Anonymous!
We used a screw hook in the ceiling and hung from there. Hope this helps!
XOXO MissPlanIt
It looks like it’s outside. How would you hang it outside? If inside and you use a screw hook, wouldn’t that leave a hole in your ceiling?
Hi Stephanie,
Excellent question! I would definitely use command hooks to avoid leaving a whole. Hope this helps!
XOXO MissPlanIt