


If you are looking for cute and inexpensive wedding ideas for your wedding reception, this week’s DIY No Sew Groom’s Tuxedo Wedding Centerpieces are just what you need. The best part is you don’t have to know how to sew to make it. In just 7 easy steps, you can create adorable wedding decorations for your candy table or guest tables. So let’s get started. For video instructions, please check out the video tutorial below!
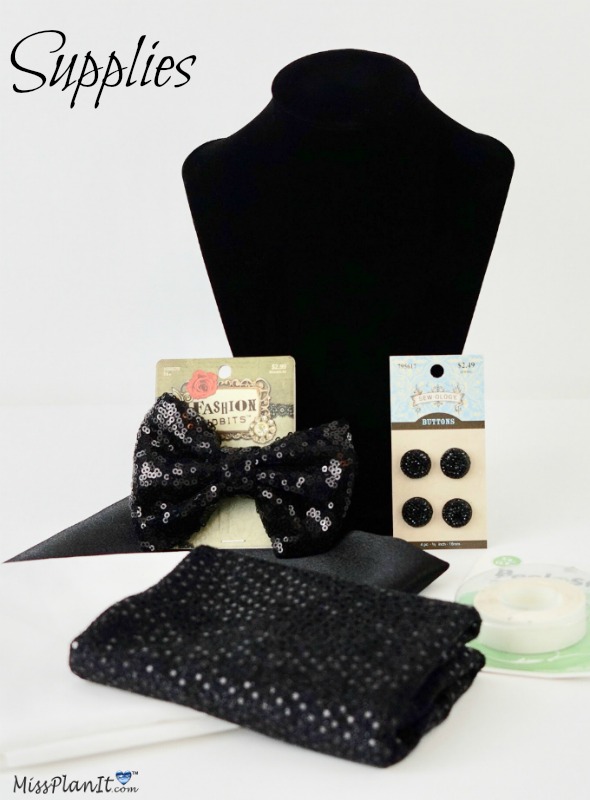
SUPPLIES:
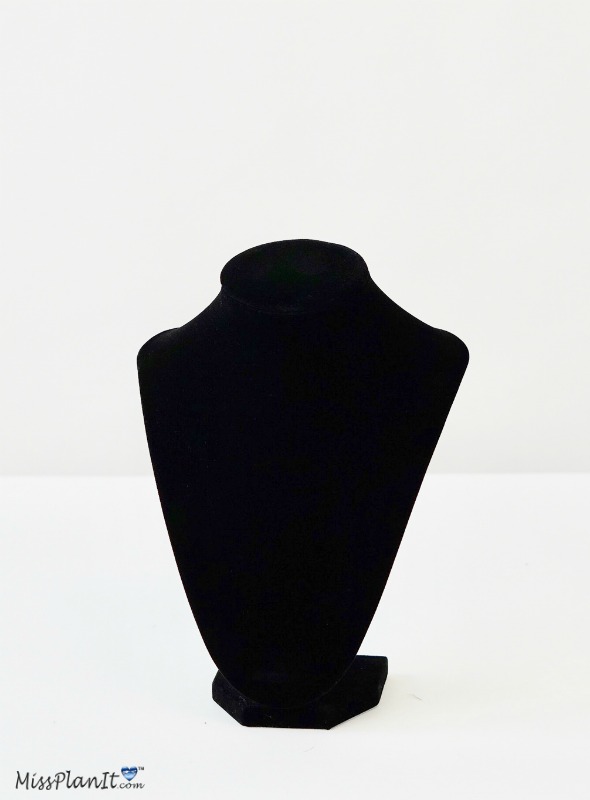
3-D Velvet Jewelry Stand 9×5 (Black)
Black Sequin Bow Hair Clip 3.5 L x 4.5 W
Peel-N-Stick Fabric Fuse
Black Glitzy Rhinestone Shank Buttons – 16mm
White Sheermist Batiste Fabric 1/2 yd
Sequin Fabric – 2mm 1/2 yd (Black)
Black Crepe Back Satin Fabric 1/2 yd
PROJECT COST *$27.38 (Some supplies cover more than 1 centerpiece) * Prices fluctuate depending on coupon discount amount. *Price based on current sale cost. (taxes not included)
For written instructions, please continue reading below:
How To Make DIY No-Sew Groom’s Tuxedo Wedding Centerpieces
Directions:
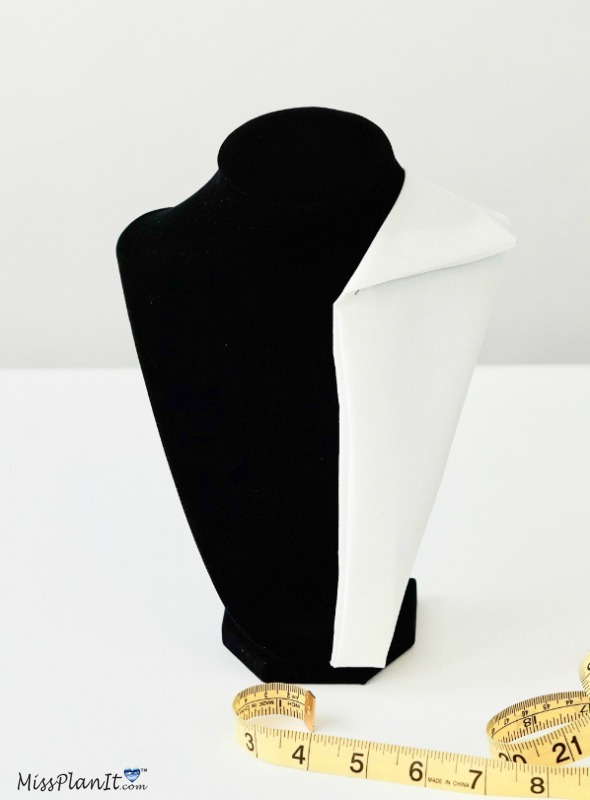
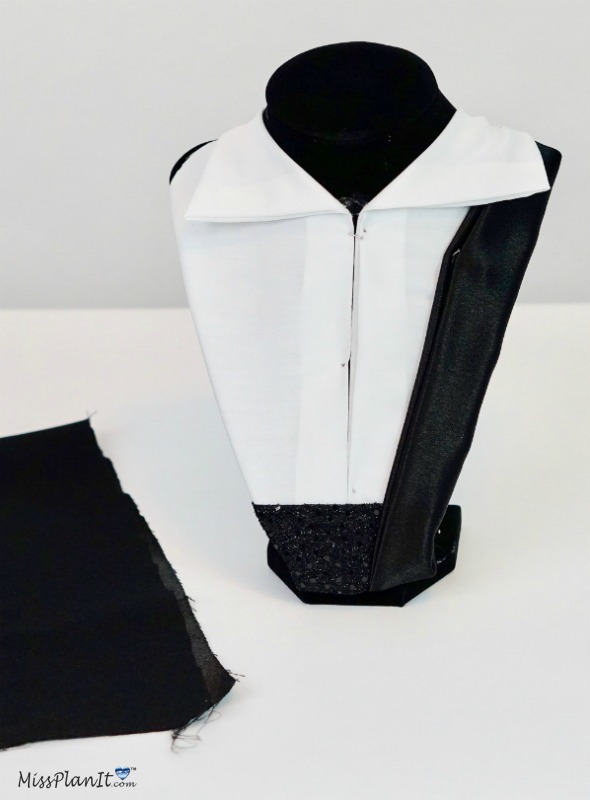
STEP 1: The first step is to create the white tuxedo shirt. Fold the white cotton fabric in half to double it. Measure and cut two strips of the white cotton fabric to 4inch X 12 inch strips. Next, cut and adhere a 12 inch strip of Peel N’ Stick fabric fuse to one side of the white cotton fabric strips. Fold the fabric over making sure that it sticks. Turn the fabric inside out, revealing the no-sew seam which will become your shirt and shirt collar. Fold the corners in half to create the collar and pin it in place to the necklace display holder with straight pins.
Determine the Centerpoint on the Necklace Display Holder
STEP 2: Draw a line in the center of the necklace display holder with a white colored pencil. This is so that you can make sure the shirt seam meets in the center. Once the centerpoint has been determined, add hot glue on the line and attach the white fabric to the line as well. Use straight pins to close up any gaps that may be noted.
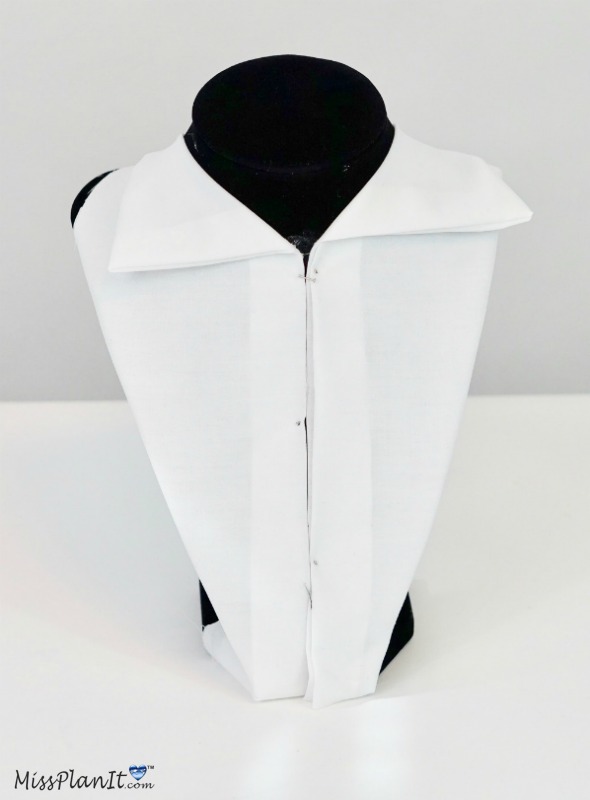
Adhere the Shirt to the Necklace Display Holder
STEP 3: Now that the front of the tuxedo shirt is exactly like you want it, remove any stick pins or tape that you may have used to keep it in place. Use hot glue to adhere the shirt to the necklace display holder. Once the glue has dried, cut off any excess fabric. Don’t worry if the edges are now rough as the white fabric will later be covered with black fabric, making it look seamless on the back and the front.
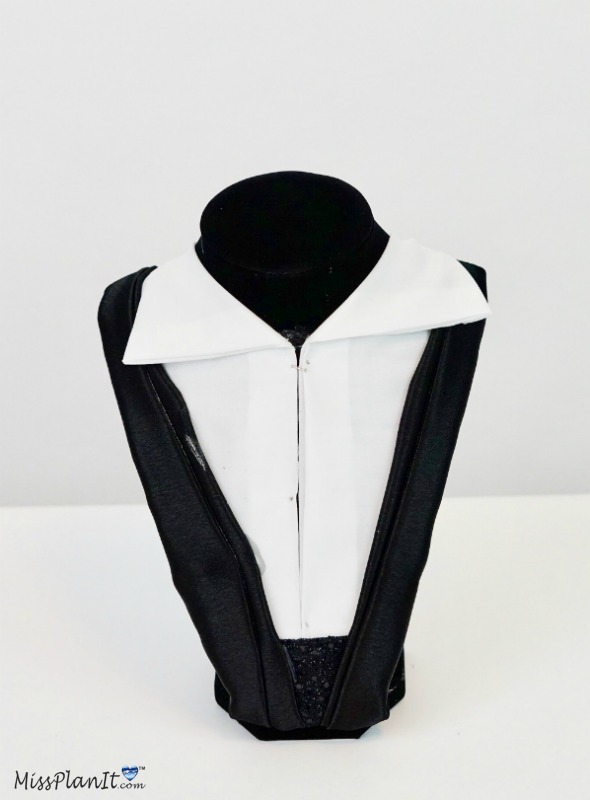
Make the Cummerbund
STEP 4: It’s now time to make the cummerbund. Cut a piece of black fabric into a 12 inch X 6 inch strip. Repeat Step 1 by adhering the Peel N’ Stick and folding the black fabric inside out. Apply hot glue and attach the black fabric to the white fabric. When you have the cummberbund exactly where you want it, cut the excess fabric, tuck it under and attach with hot glue.
Tip: I highly recommend you using the Peel N’ Stick on the front and the hot glue on the back.

Make the Tuxedo Jacket Lapel
STEP 5: To create the tuxedo jacket lapel, cut black crepe fabric into doubled 12 inch X 4 inch strips. Next repeat step 1 and attach the Peel N’ Stick to the fabric and turn it inside out, creating a beautiful no sew seam. Attach the fabric to the display stand at a diagonal to create the lapel look using straight pins and tape to keep it in place.
Tip: I highly recommend you using the Peel N’ Stick on the front and the hot glue on the back.
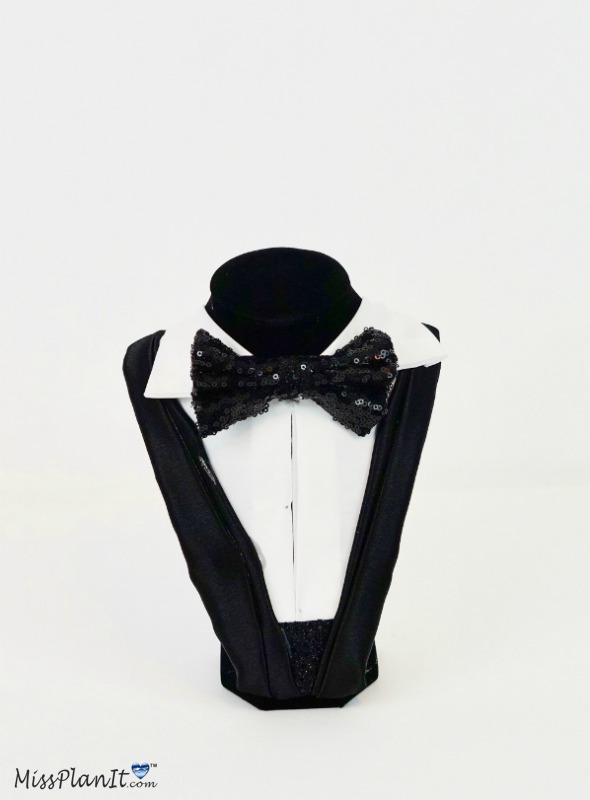
Use the Sequin Hair Bow as the Bow Tie
STEP 6: I was unable to find a tuxedo bow tie at a price I wanted to pay, so I decided to use a Sequin hair bow. Apply hot glue in the seams of the bow to press it together to create more of a bow tie look, instead of a baby bow look. This is a lot cheaper than spending $10 or more on a bow tie. I only spent $1.50 on this hair bow :-).
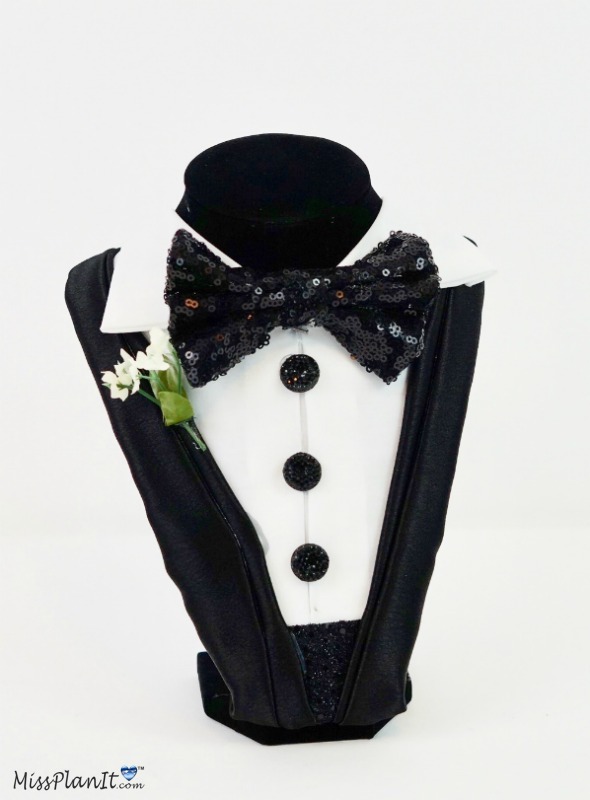
THE FINAL STEPS!
STEP 7: Lastly, attach the rhinestone buttons in the middle with hot glue and set the table.

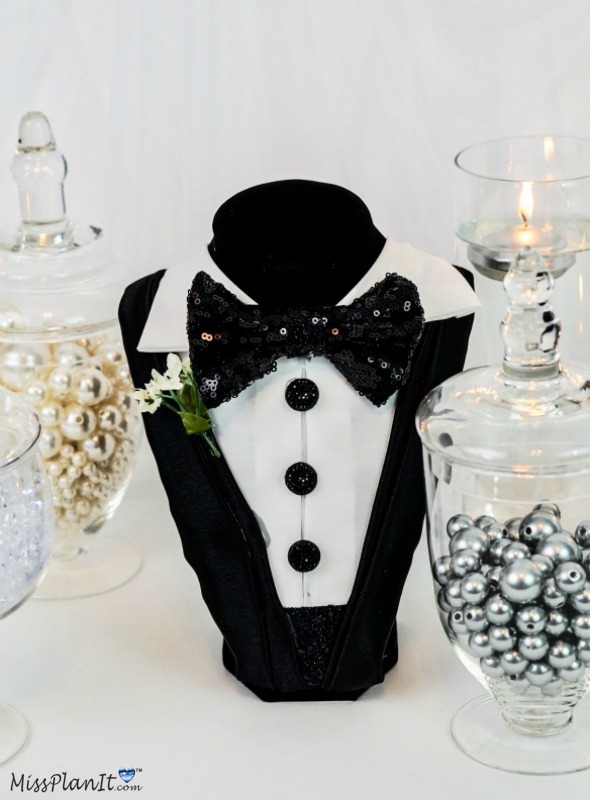 I absolutely love how this Tuxedo Wedding Centerpiece turned out! The outcome is amazing and definitely gives you an extra special touch to your wedding!
If you like the outcome please subscribe to our Youtube Channel for more DIY Videos and follow us on Facebook and Pinterest.
Need help with an upcoming project? Be sure to send us a project request!
“Remember When Every Penny Counts, Count on MissPlanIt”