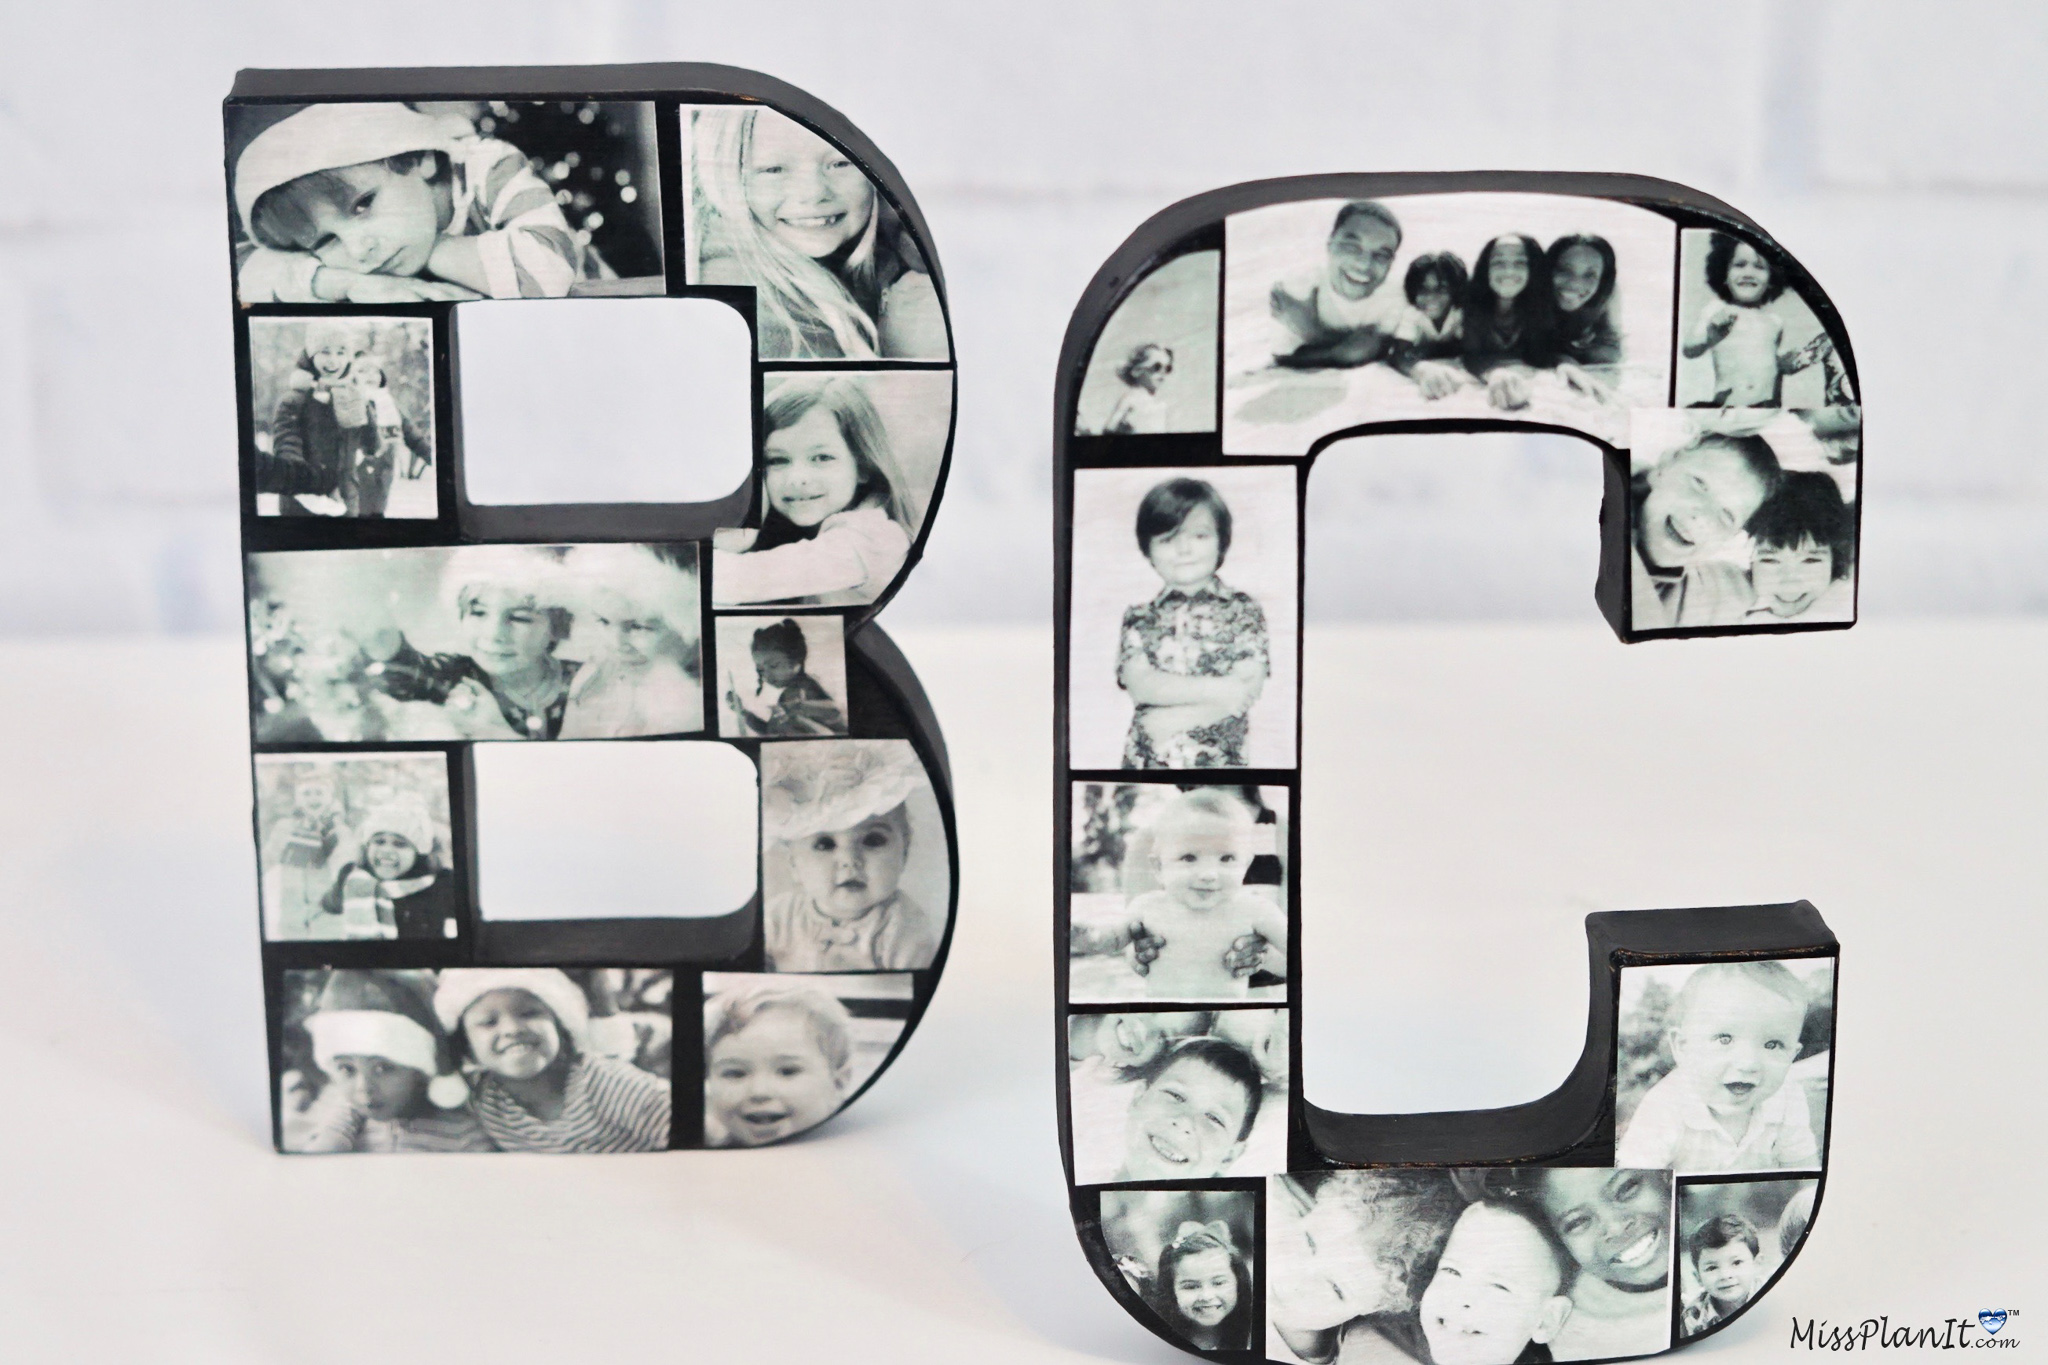
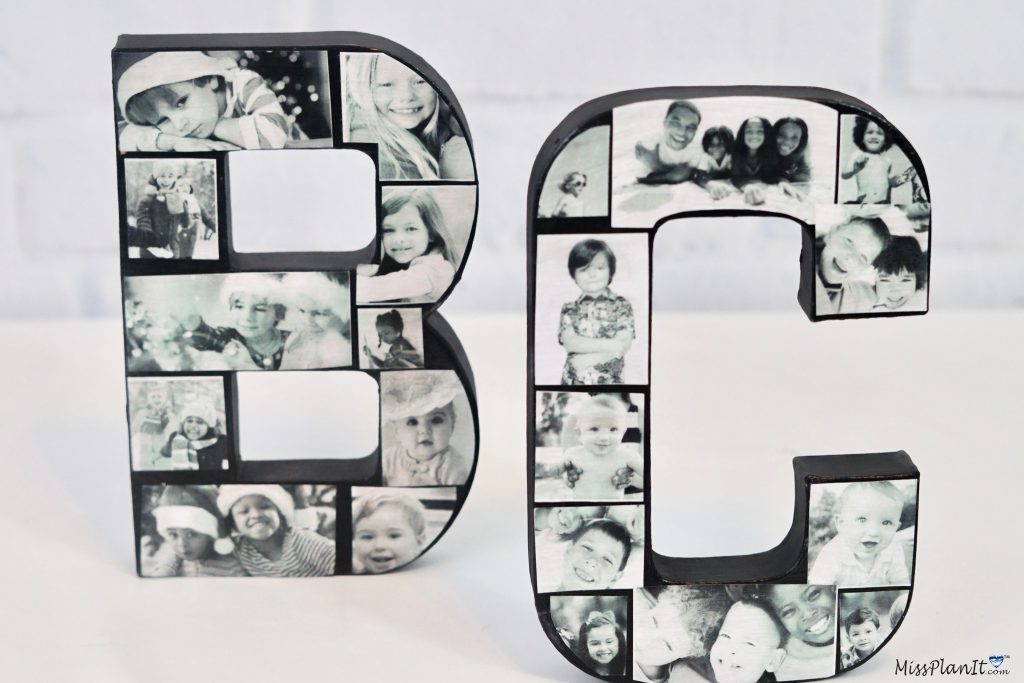
Creating Paper Mache Photo Letter Collages has to be one of the easiest, inexpensive, gifts you can make. However, it is also one of the most impactful gifts you can make. People love photos, especially if they are of someone they love such as their kids, grandkids, spouse, or friend. So what better way to show someone you care about them than with a thoughtful photo collage gift they will cherish. So let’s get started. For video instructions, please check out the video tutorial below!
BUT WAIT!
Before we get started I want to share an awesome tip on how you can earn cash back with your online purchases for all the items you will need to complete this project!
As our saying goes “When Every Penny Counts, Count on Miss PlanIt.” Furthermore, we love to save money and get great deals. Prior to us purchasing anything online, we check out Ebates, find the store, click the current deal for that store and complete our purchase.
If you have never used Ebates, you are MISSING OUT. So for this project, you would go to Ebates.com, sign up, and then type in the store you plan to purchase from.
Consequently, when completing a purchase through Ebates you earn cash back that you can have mailed to you or sent via PayPal. Be sure to check it out! Click here to sign up for Ebates, and RIGHT NOW when you sign up, you will receive a $10 cash welcome bonus when you spend $25.00!
Since you were already going to complete your purchase online, why not get some cash back on things you already planned to purchase!
For written instructions, please continue reading below:
How To Make $5 DIY Paper Mache Letter Collages
Directions:
STEP 1: Paint the front, back and insides of your 8 inch paper mache letters with black paint. Allow them to dry completely.
Copy Your Pictures on Printer Paper
STEP 2: Copy your pictures on a word document and resize as needed. Print your pictures out on regular printer paper. You can either use black and white copies or colored copies.
TIP: In my experience, printer paper is easier to use than the actual photos, as the printer paper tends to adhere better.
Arrange Your Pictures on Your Letters
STEP 3: Arrange your pictures on your letters as to how you want your collage to look. Cut your photos as needed for proper placement. Use your letter as a template and place it on your picture. Trace your letter on your picture and cut off the excess for a more professional look.
THE FINAL STEP:
STEP 4: Apply a little bit of modge podge to the back of your pictures and place them on your letters. Lastly, apply an even layer of modge podge on each picture.

I absolutely love how these $5 DIY Paper Mache Photo Letter Collages turned out! The outcome is stunning and will definitely have the person receiving this beautiful gift amazed!
Don’t forget to sign up for Ebates to earn cash back on your online purchases. Gift giving can be expensive, our goal is to help you stay within your budget and make every penny count. Click here to sign up for Ebates, and RIGHT NOW when you sign up, you will receive a $10 cash welcome bonus when you spend $25.00!
If you like the outcome please subscribe to our Youtube Channel for more DIY Videos and follow us on Facebook and Pinterest.
Need help with an upcoming project? Be sure to send us a project request!
“Remember When Every Penny Counts, Count on MissPlanIt”

