


Making a dreamy tall circle rose garden wedding centerpiece has never been easier! In just a few simple steps, I will show you how to make your own wooden stand to show off your beautiful flowers and greenery. This wooden stand can be used for a rustic wedding, rose garden wedding, or even a modern wedding. There are just so many different ways you can incorporate this wedding centerpiece into just about any wedding theme. So gather your supplies and let’s get started! For video instructions, please check out the video tutorial below!
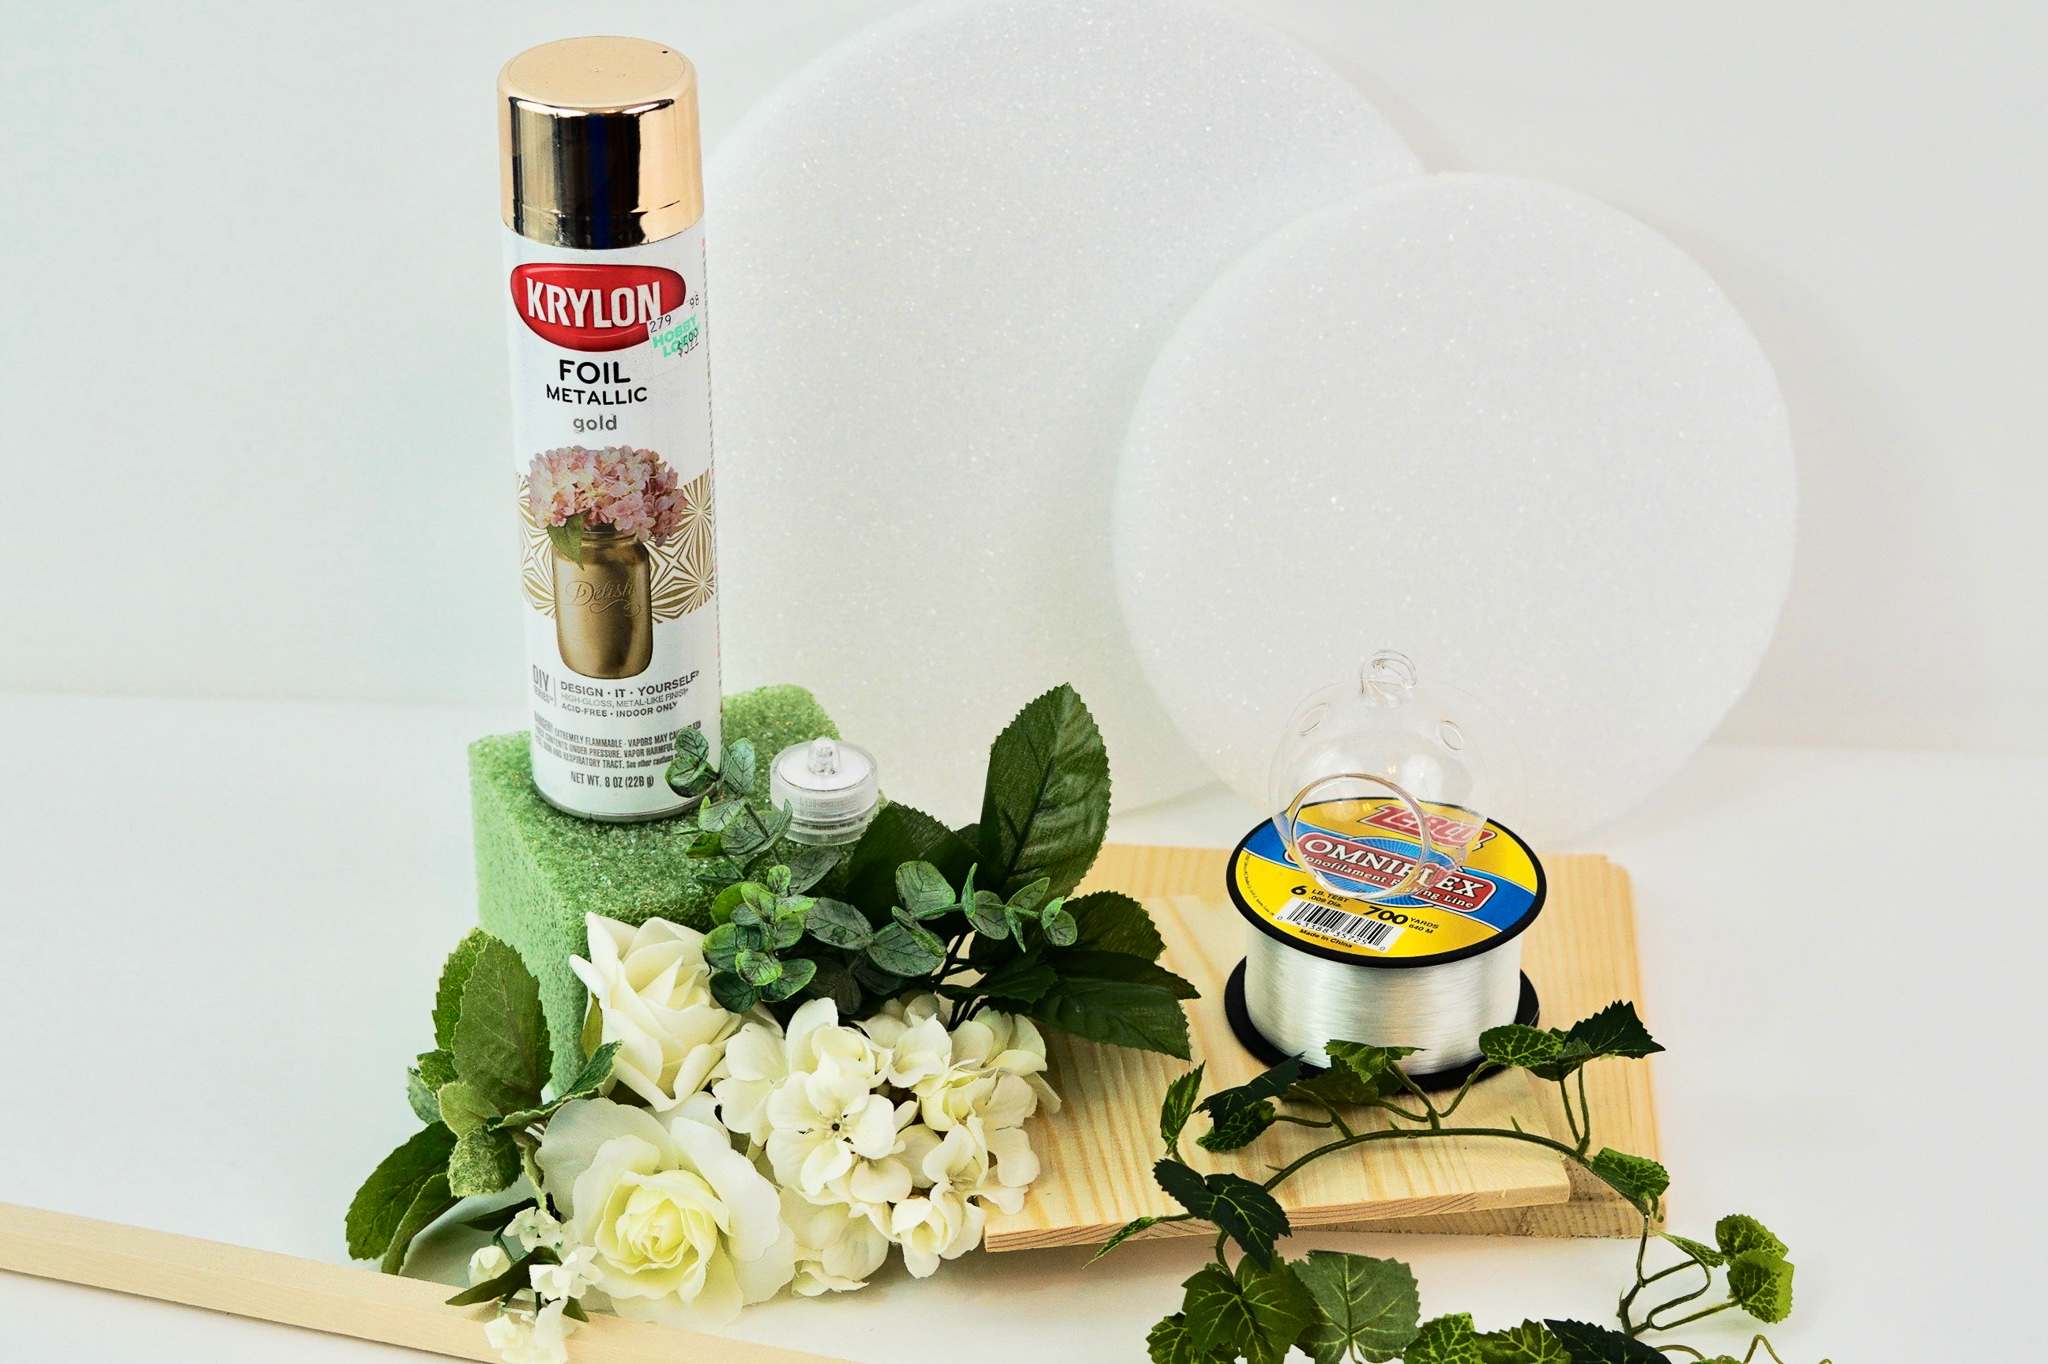
SUPPLIES:
White Foam Blocks, 3×4 in.
Floral Garden Artificial White Hydrangea Bushes
Artificial Greenery Bushes, 17 in.
Ivory Gypsophila Stem
Eucalyptus Bush
Green English Ivy Garland
7-Stem Queen Rose Bushes, 14.5 in.
Craft Utility Wood – 6″ x 6″
Styrofoam Disc – 8″
Foam Disc – 10″
6 3/4″ Square Wood Plaque
Hardwood Square Dowel – 1/2″
Wood Stik Mini Glue Gun
Gold Krylon Premium Foil Metallic Spray Paint
Waterproof LED Tea Light Candles
3inch Juvale Hanging Glass Terrarium – 6-Pack
FloraCraft Serrated Knife Tool Styrofoam Cutter 6 Inch with 2 Blades
Fish Line Strong Wire Roll Make DIY
Johnson Level Tool 9-Inch Torpedo Level
For written instructions, please continue reading below:
How To Make a Tall Circle Rose Garden Wedding Centerpiece
Directions:
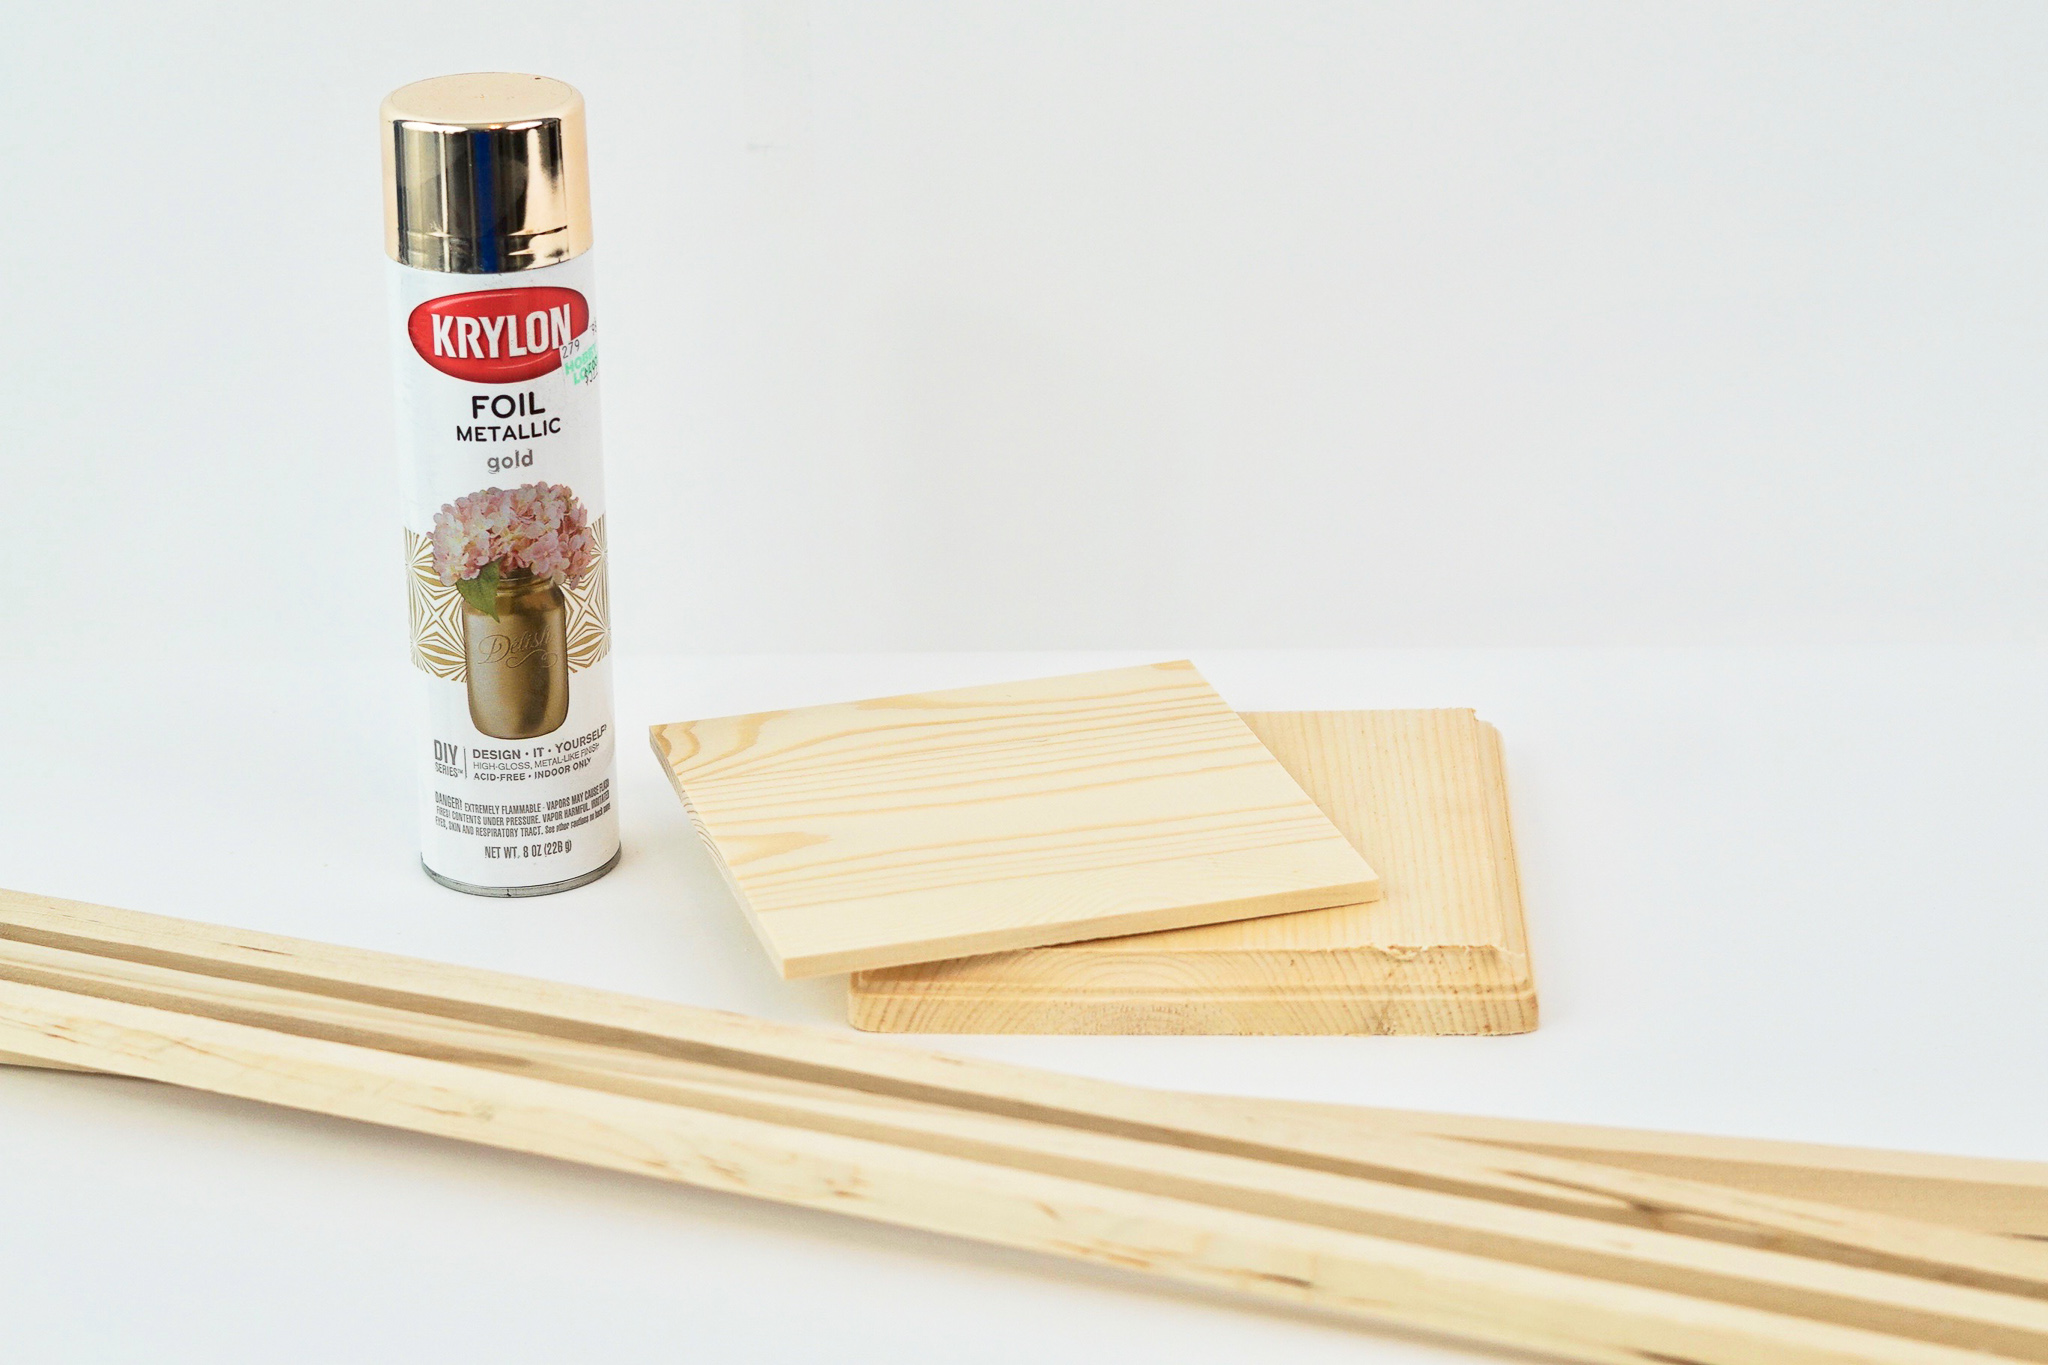
STEP 1: The first step in creating this DIY wedding centerpiece is to construct a strong foundation. To do that, cut four 1/2″ wooden square dowels down to 24″ in length. The dowels are originally 36″ in length. Spray paint all 4 of the now cut down dowels, a 6″ X 6″ utlilty square, and a 6 3/4″ wood plaque with gold foil metallic spray paint.
Cut Two Foam Blocks Into 8 Pieces
STEP 2: Cut two 4 inch foam blocks in half with a foam cutter and then cut the half foam blocks in half. This will give you 8 foam block pieces. Take one of the square wooden dowels and push it through each of the 8 foam block pieces to create a hole. Glue 4 foam block pieces to the corners of the wooden plaque using wood hot glue. Repeat this same step on the utility wood square. [See above video.]
Trace Around the Utility Plaque on the Foam Disc
STEP 3: Place the 6 inch utility plaque in the center of the 8 inch foam disc. Now trace the corners of the utility plaque with a pen. The corners are a guide on where you will poke holes in the foam with the hardwood dowel. Now poke 4 different holes in each corner of the foam disc. [See above video.]
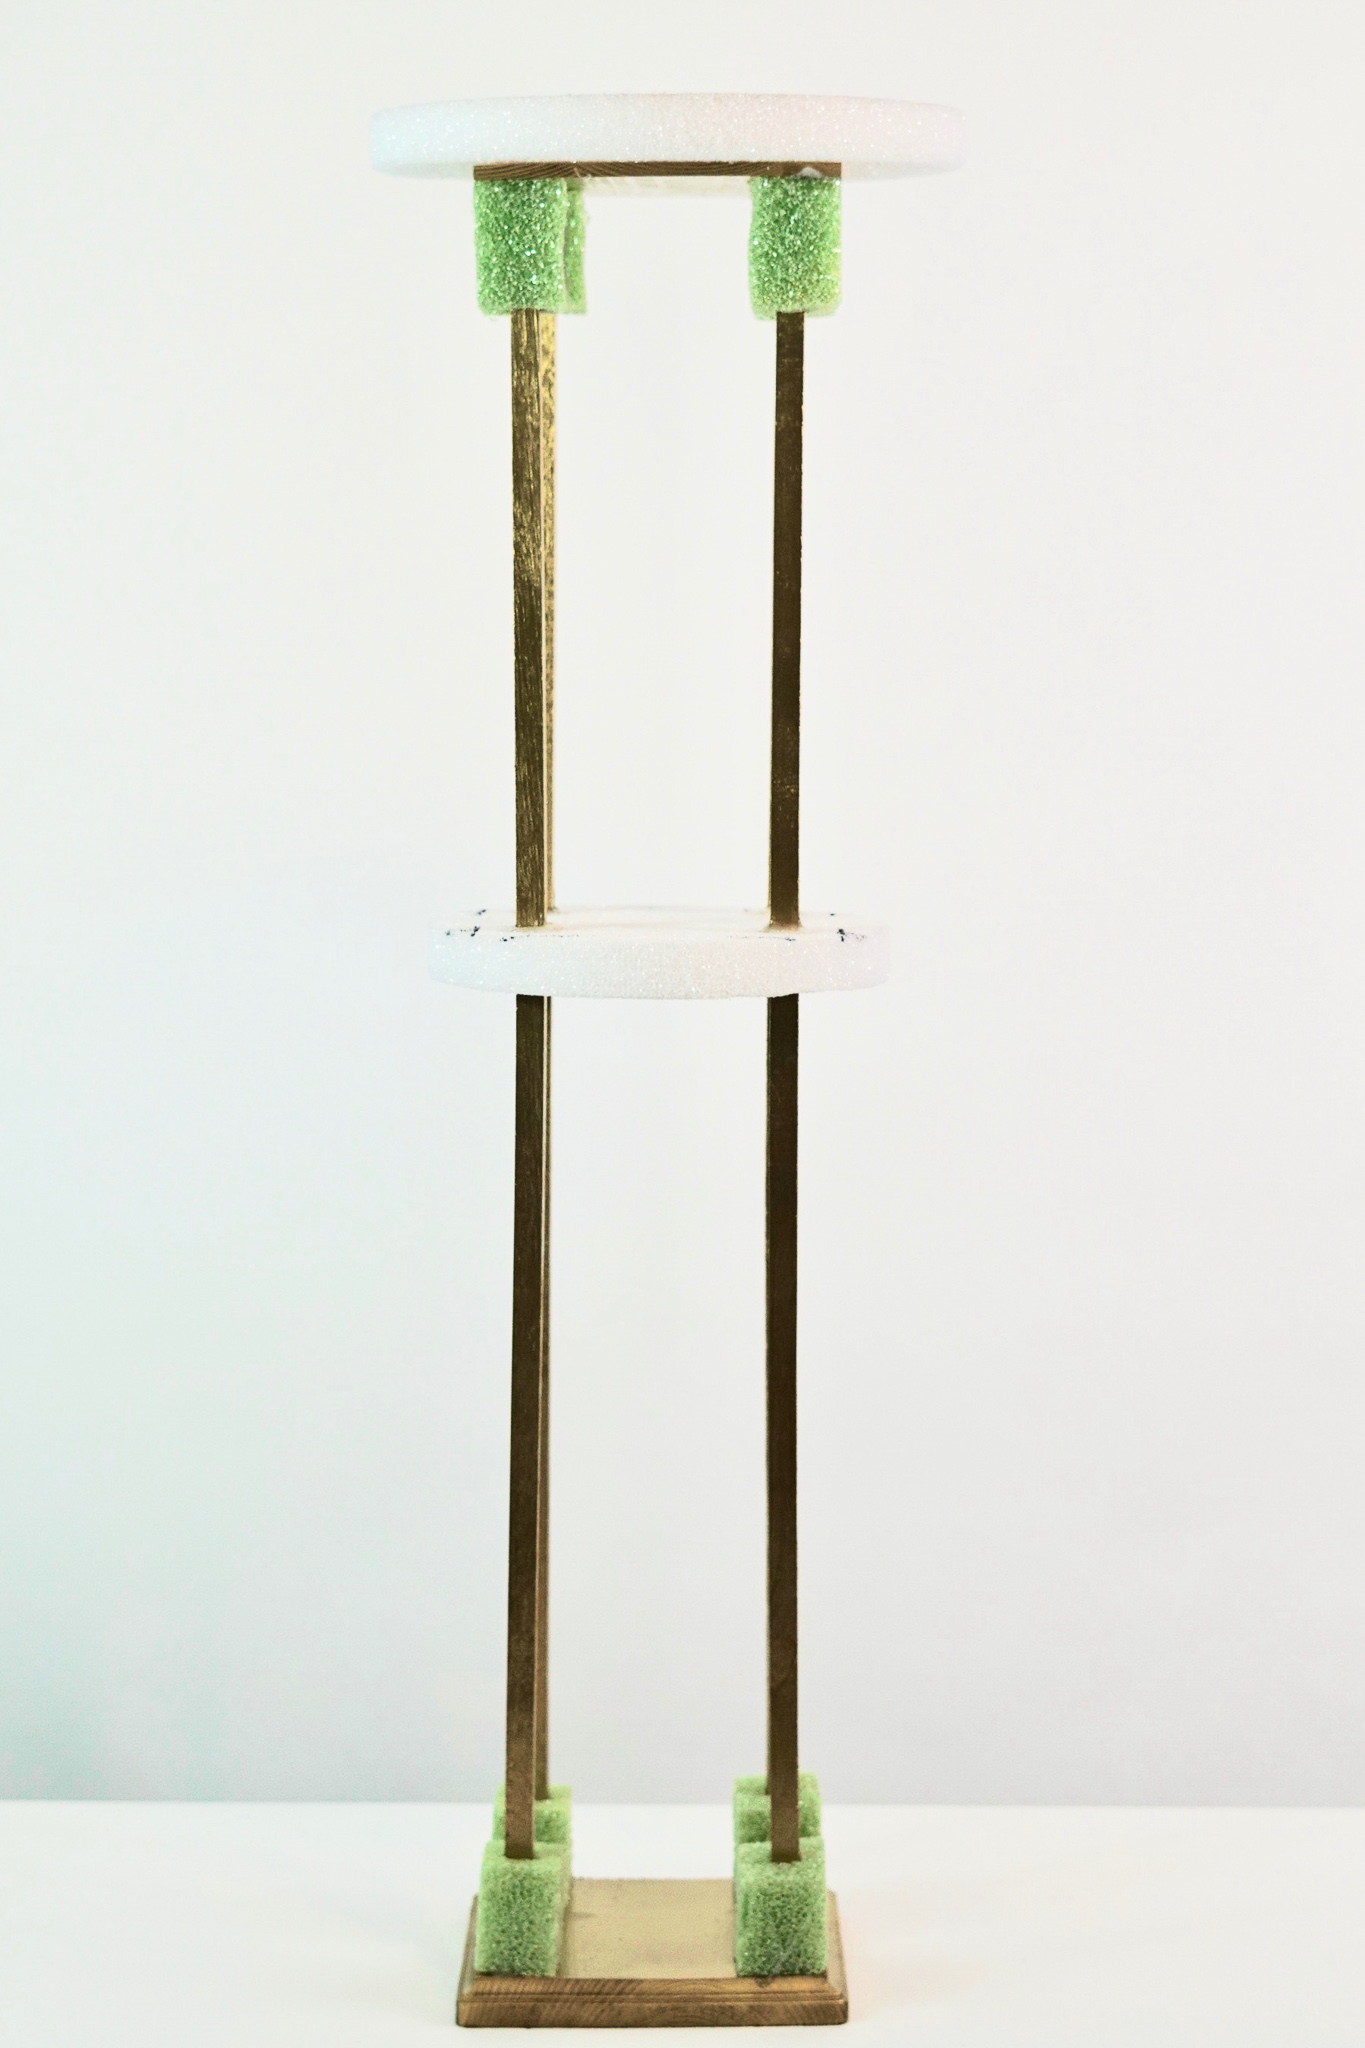
Create the Base and the Second Level of the Centerpiece
STEP 4: Take the wooden plaque from step 2 and apply wood hot glue in the center of all 4 of the foam blocks. Next place four wooden dowels from Step 1 in each of the foam blocks. Allow it to dry for 10 minutes. Now take the 8 inch foam disc from Step three and place it on the wooden dowels. Insert all of the wooden dowels through the holes that were made in Step 3. Push the foam disc down so it’s about 12 inches from the top. Use a level to make sure the foam disc is level. Once you make sure it is level, seal the hard wood dowels with wood glue in the space between the dowel and the foam. Let it dry for 15 minutes. Be sure it is level with your level. [See above video.]
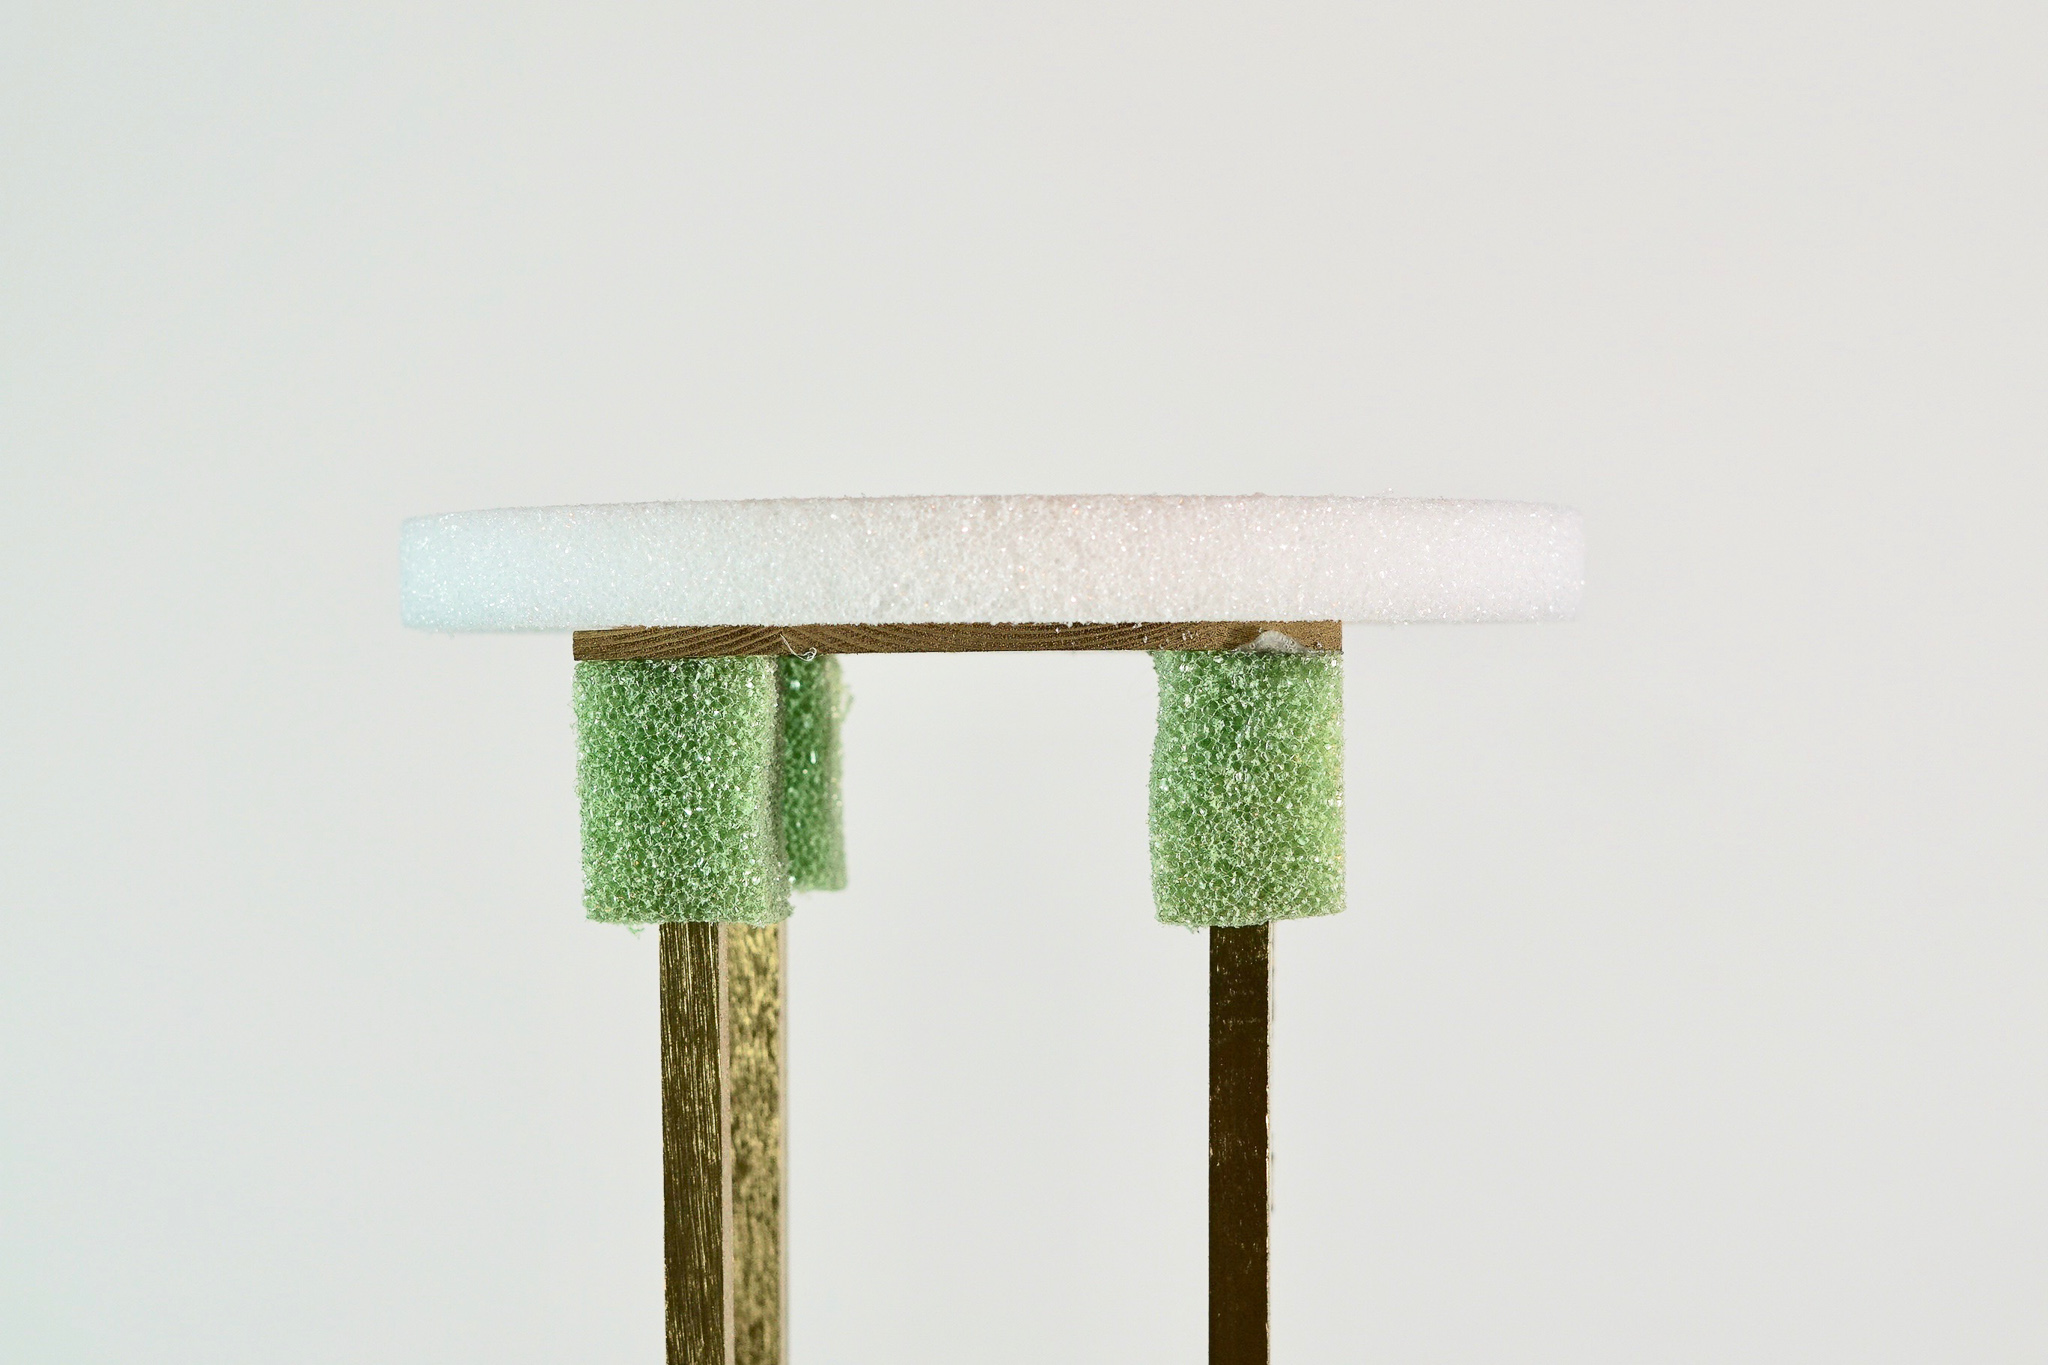
Make the Top Level of the Centerpiece
STEP 5: Add wood glue to the top of the wooden dowels. Now attach the utlity wood from Step two to the wooden dowels, placing the foam blocks over each dowel. Check with your level to make sure it is level and allow it to dry for 15 minutes. Now hot glue the 10 inch foam disc on top.
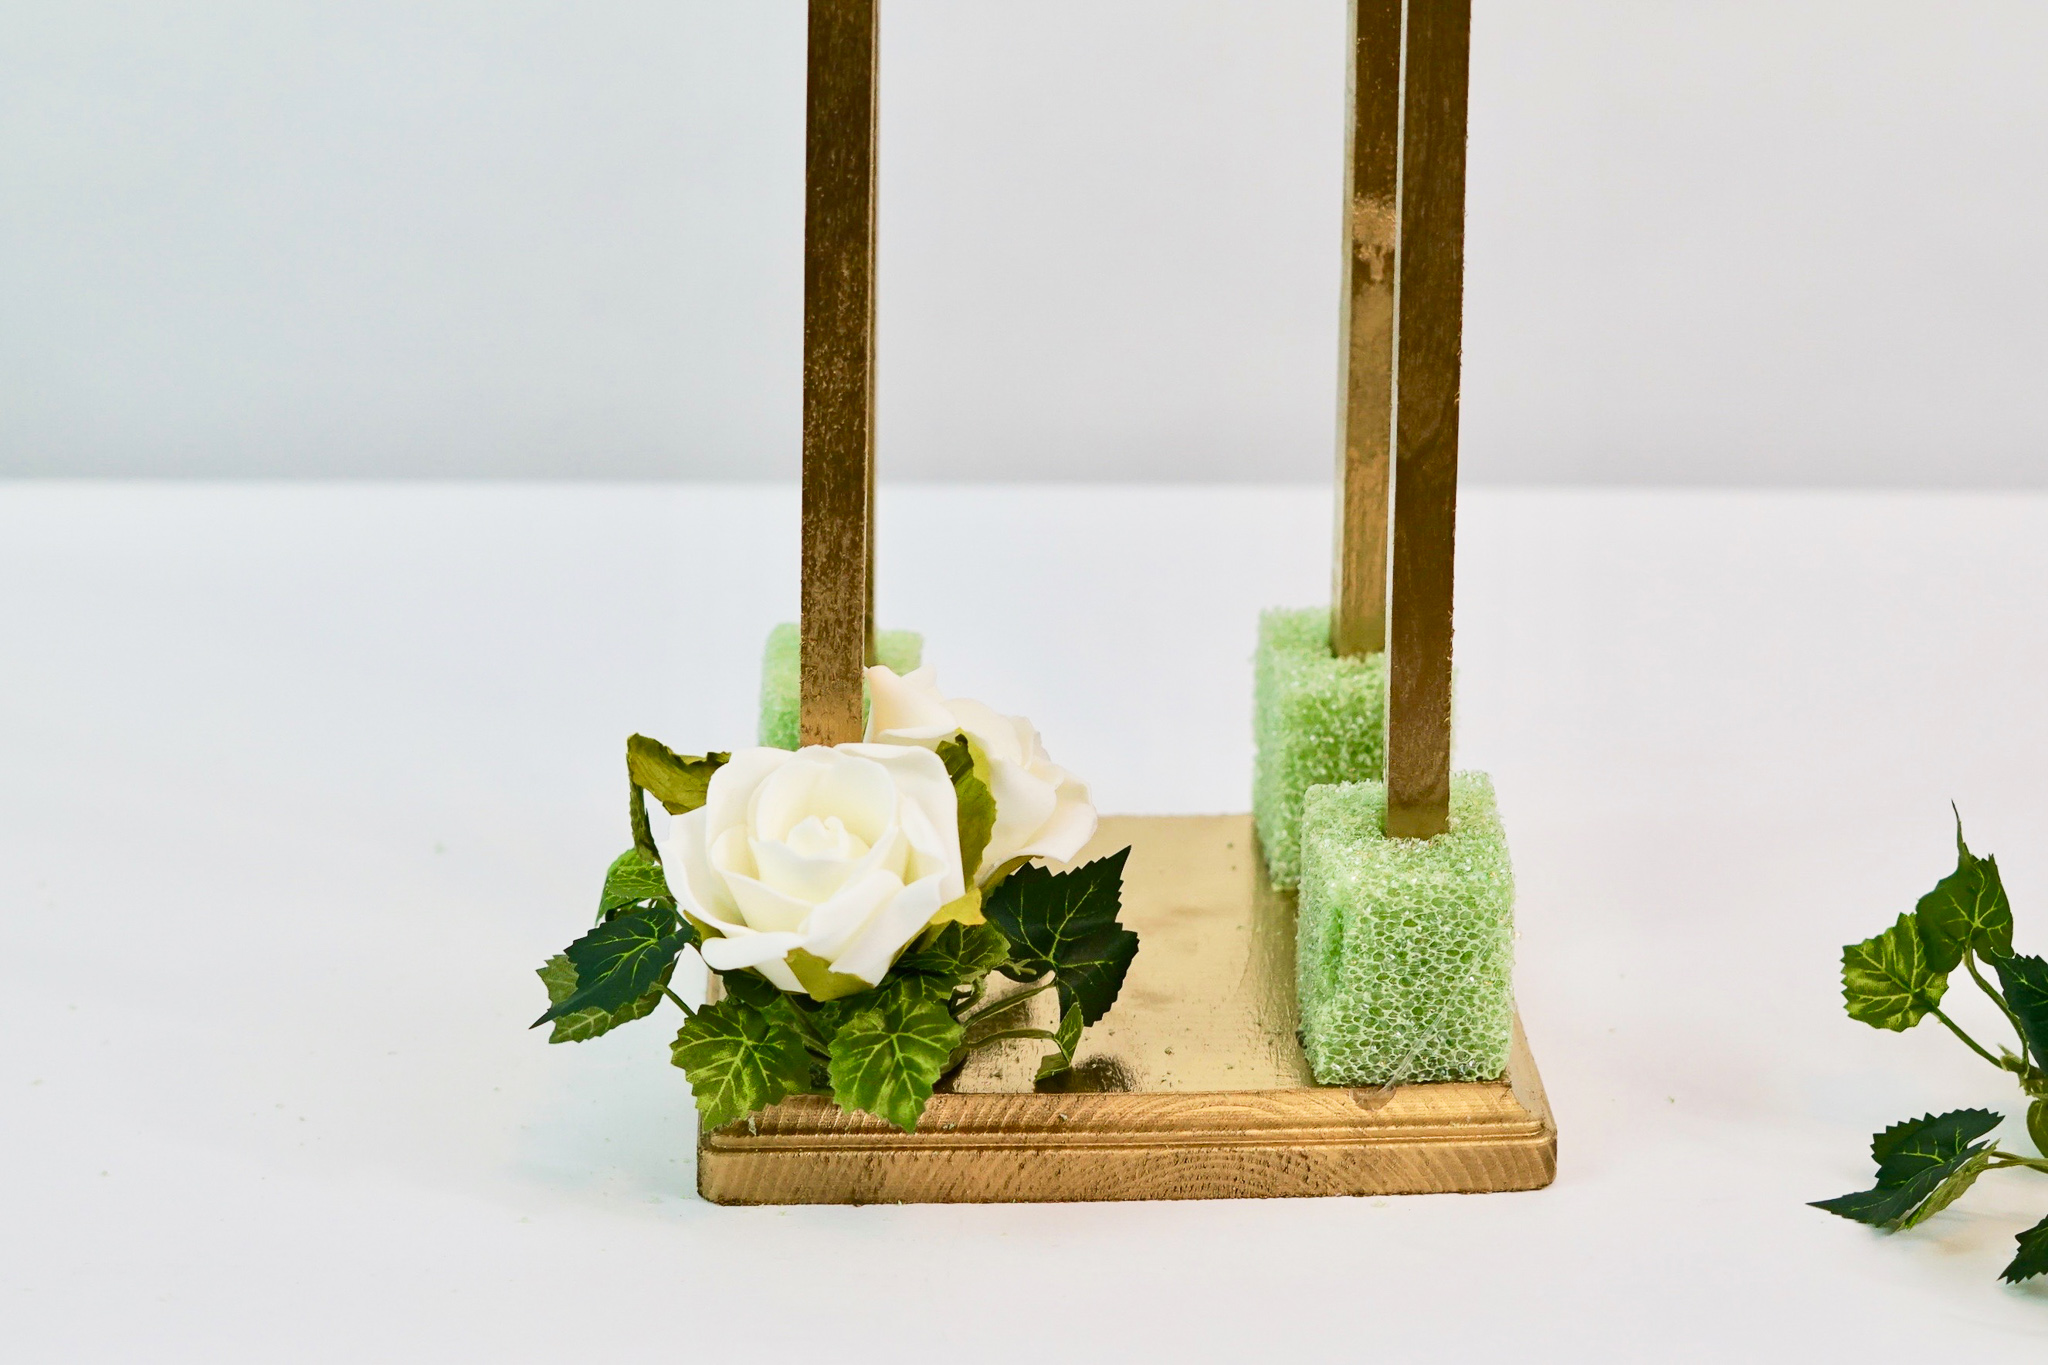
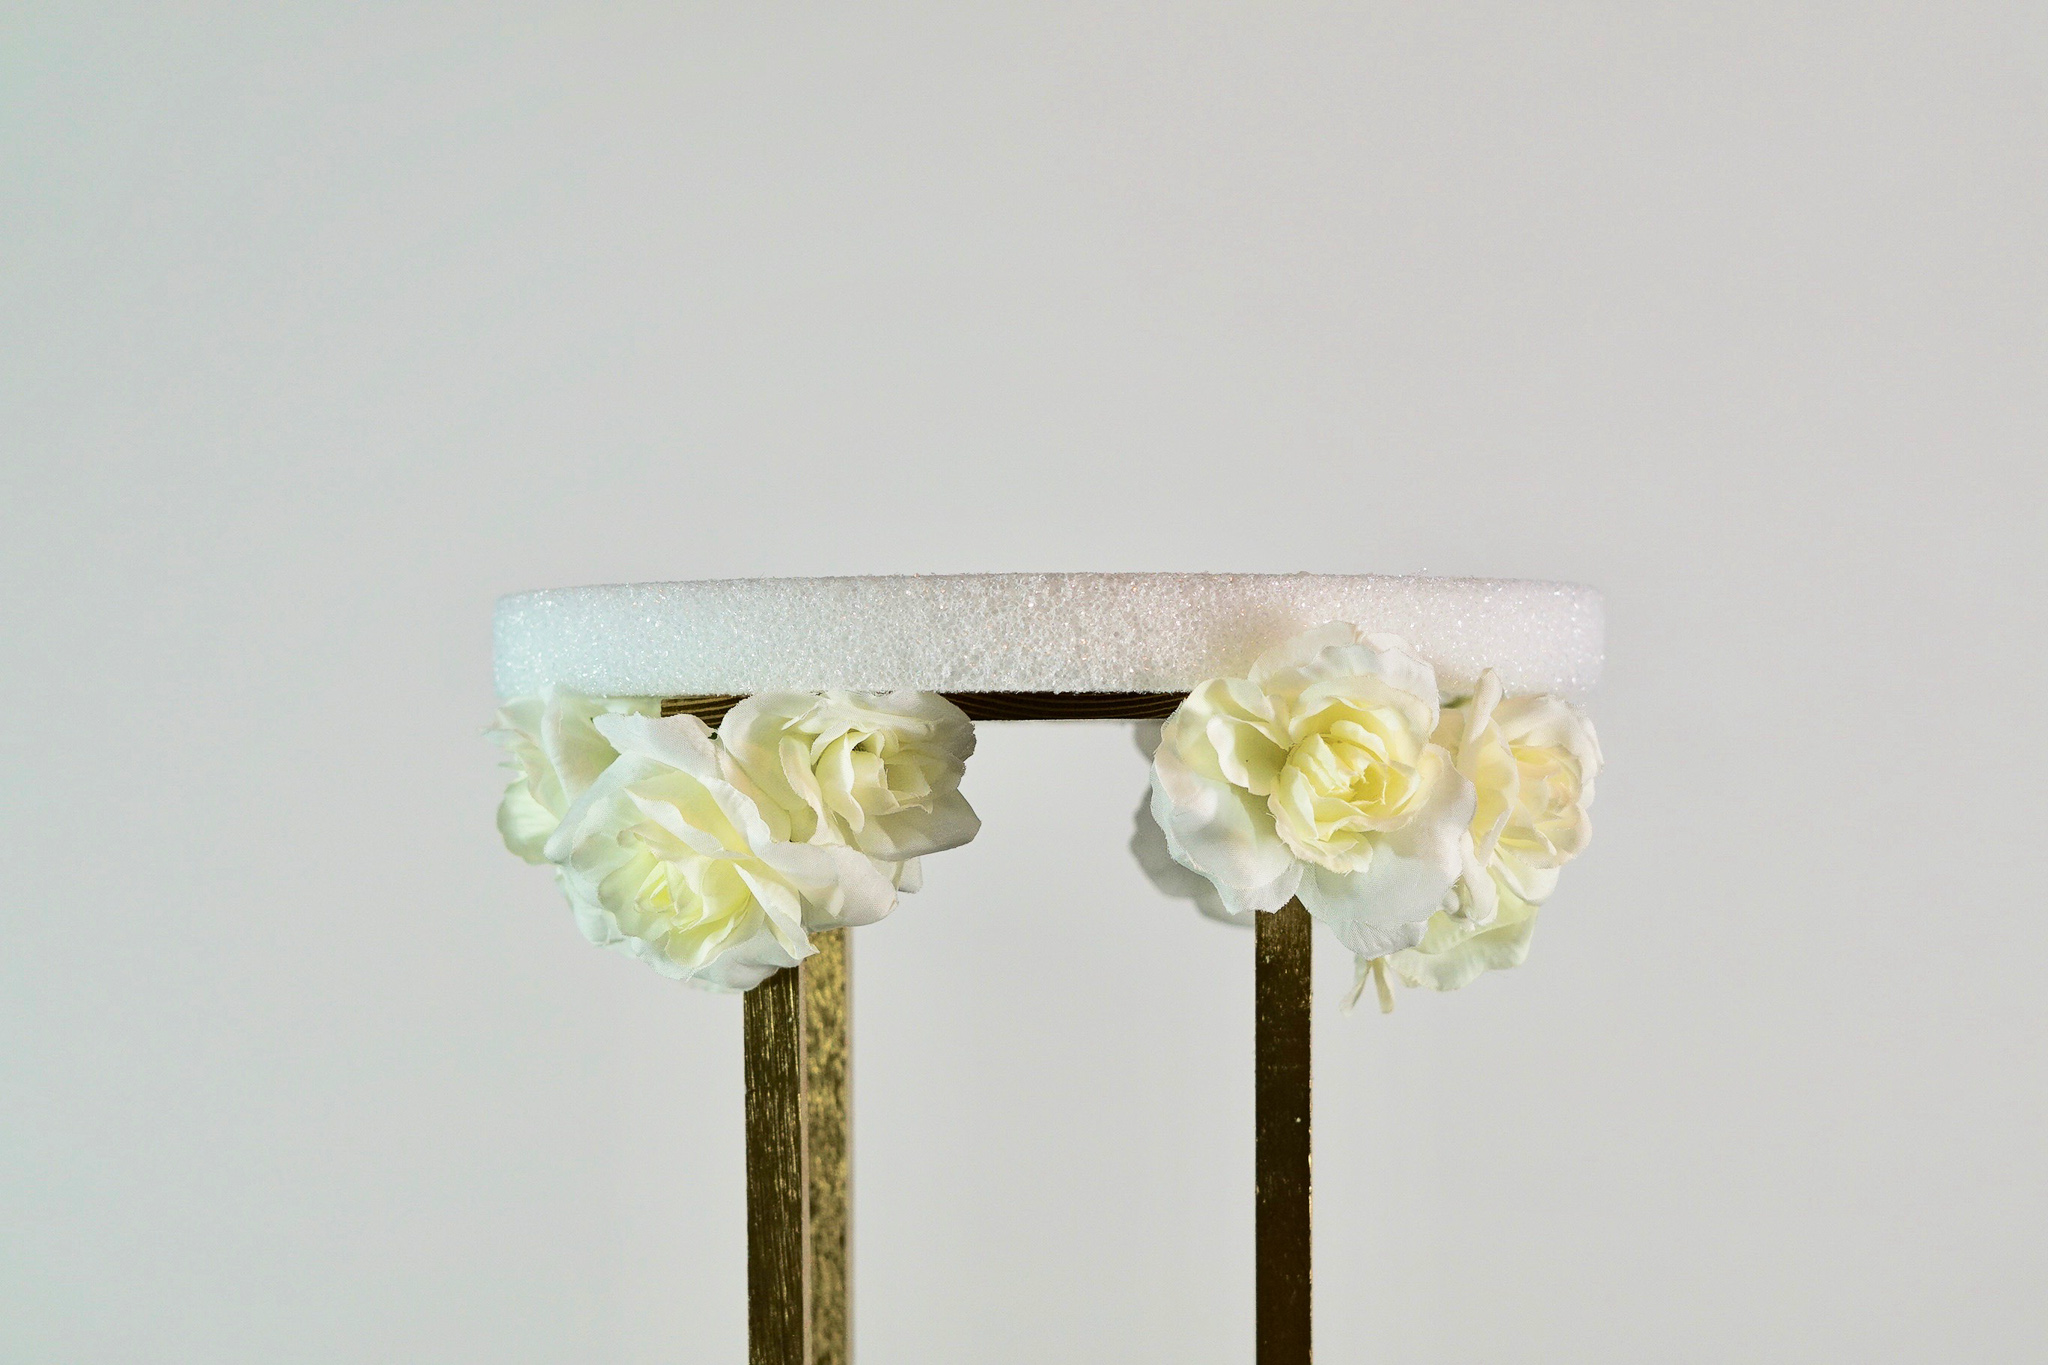
Add Flowers to the Base of the Centerpiece
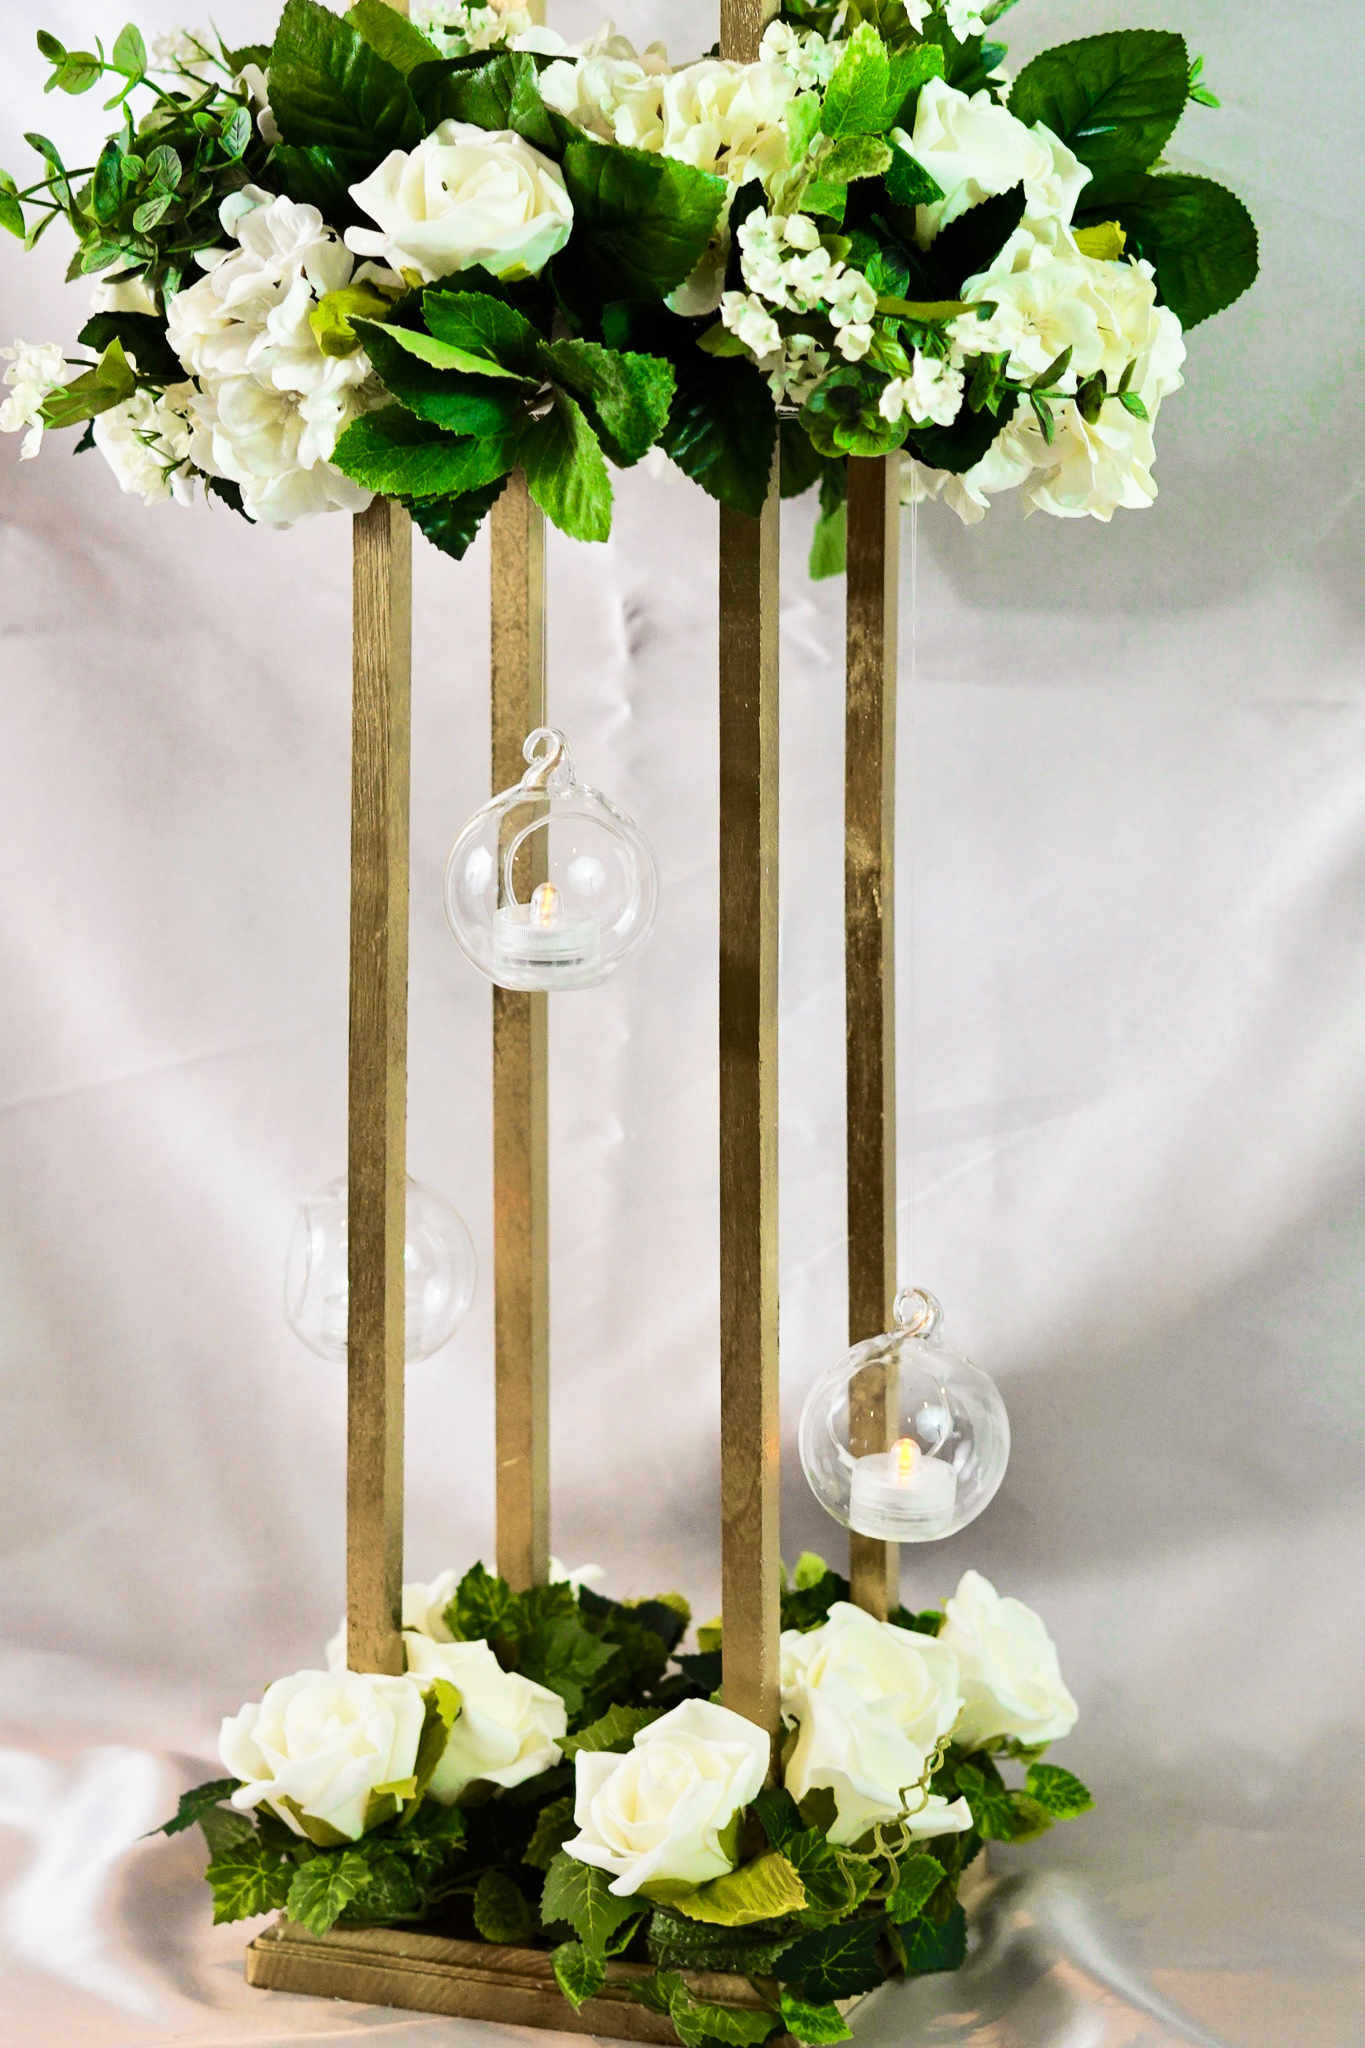
STEP 6: Cut the four foam pieces on the base of your wood construction down in half. Attach one 6 inch petite ivy garland around each of the foam blocks at the base, securing with a floral pin. Also attach 2 white roses to each. If there is any empty space, add additional ivy garland.
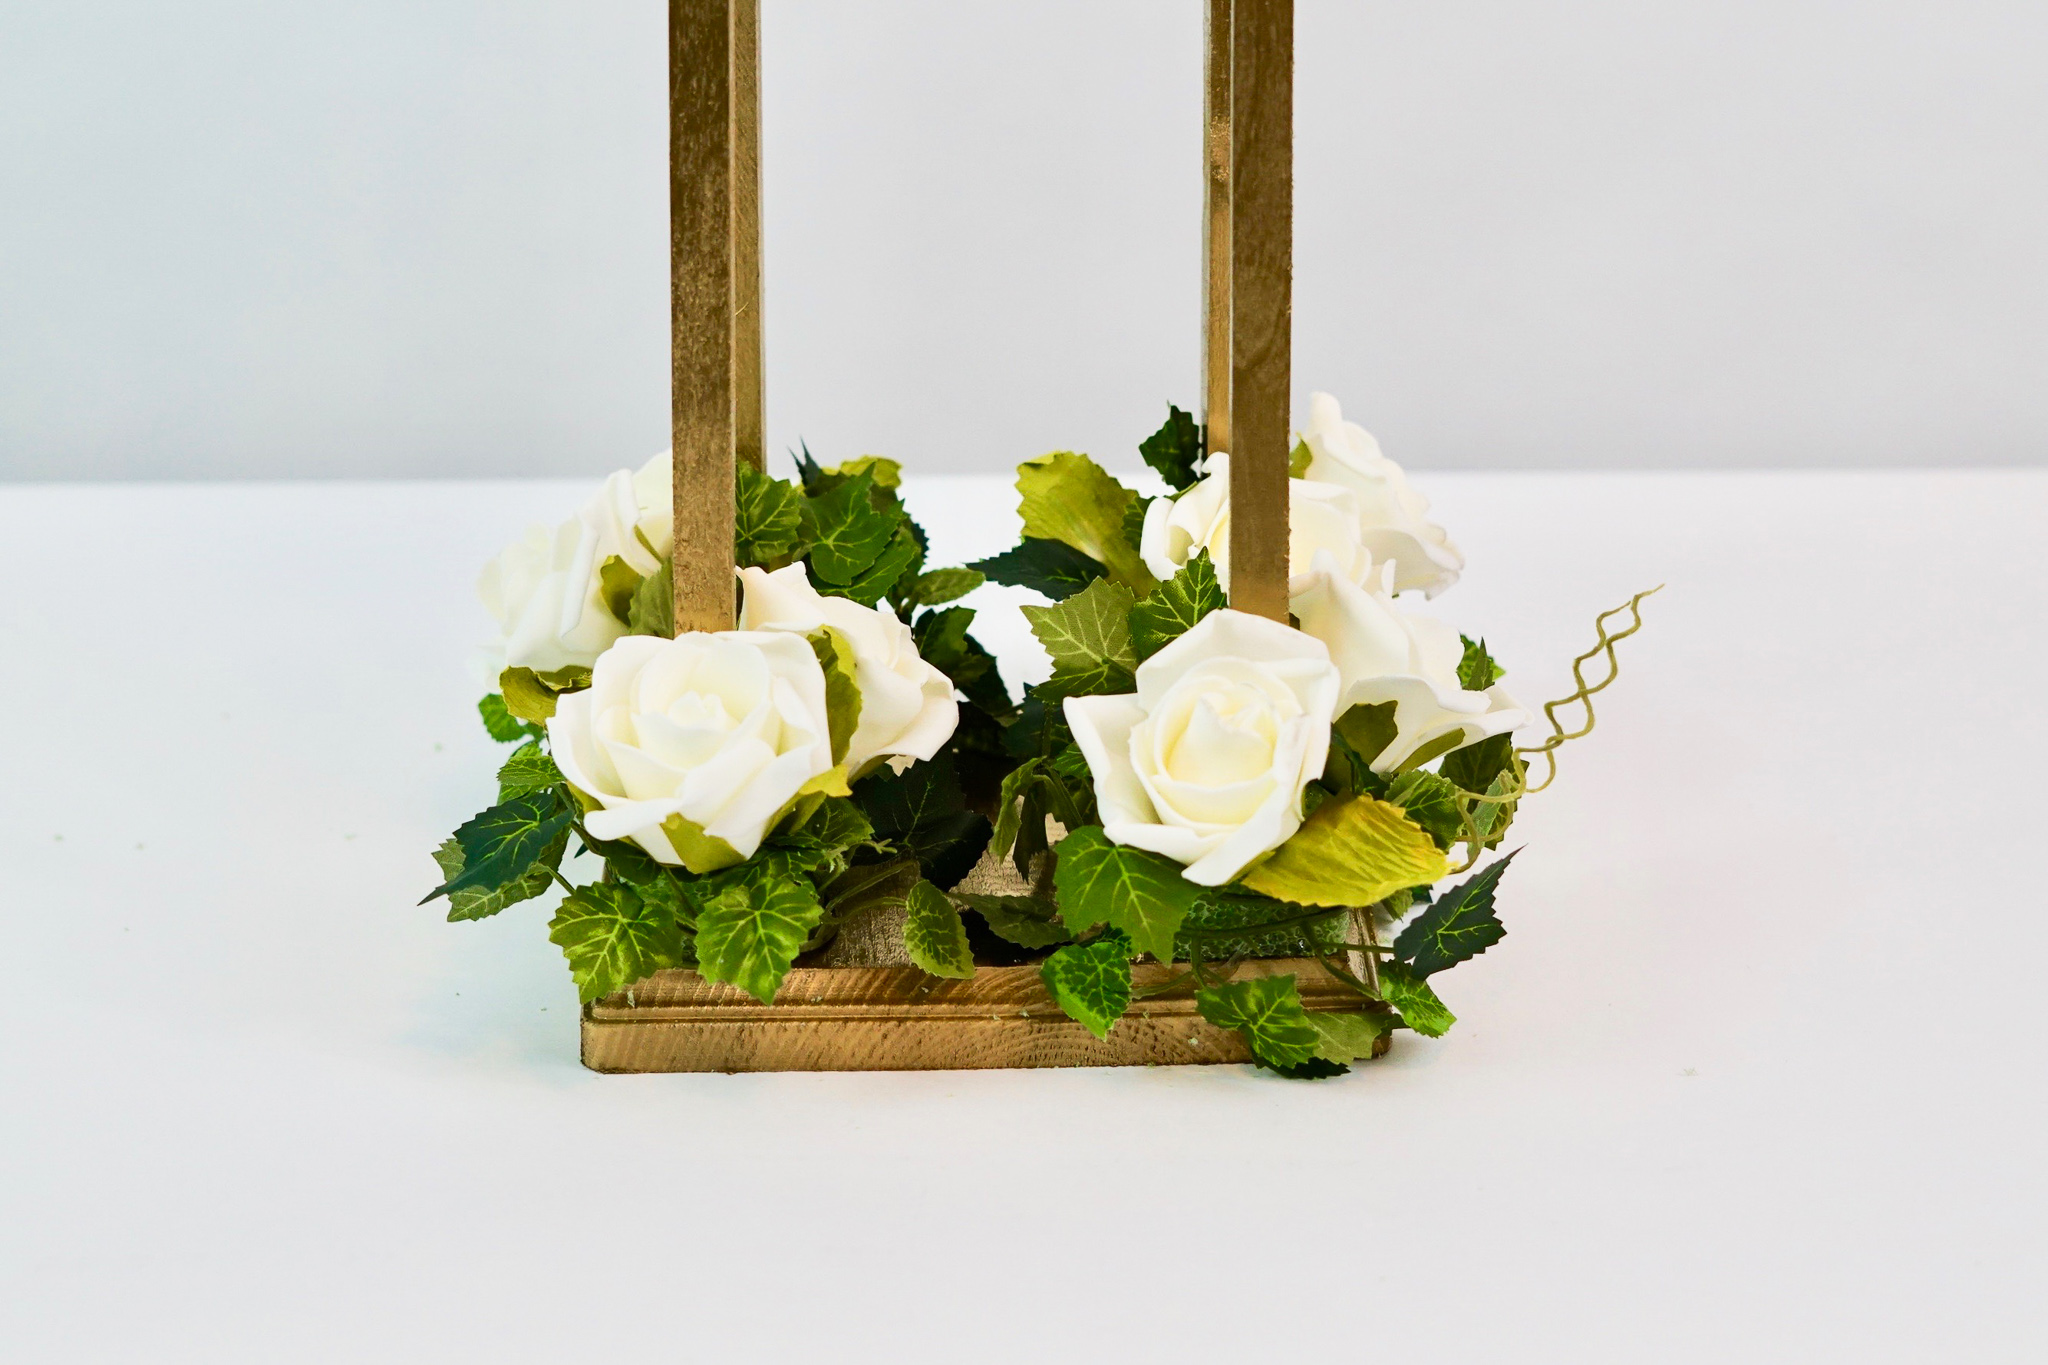
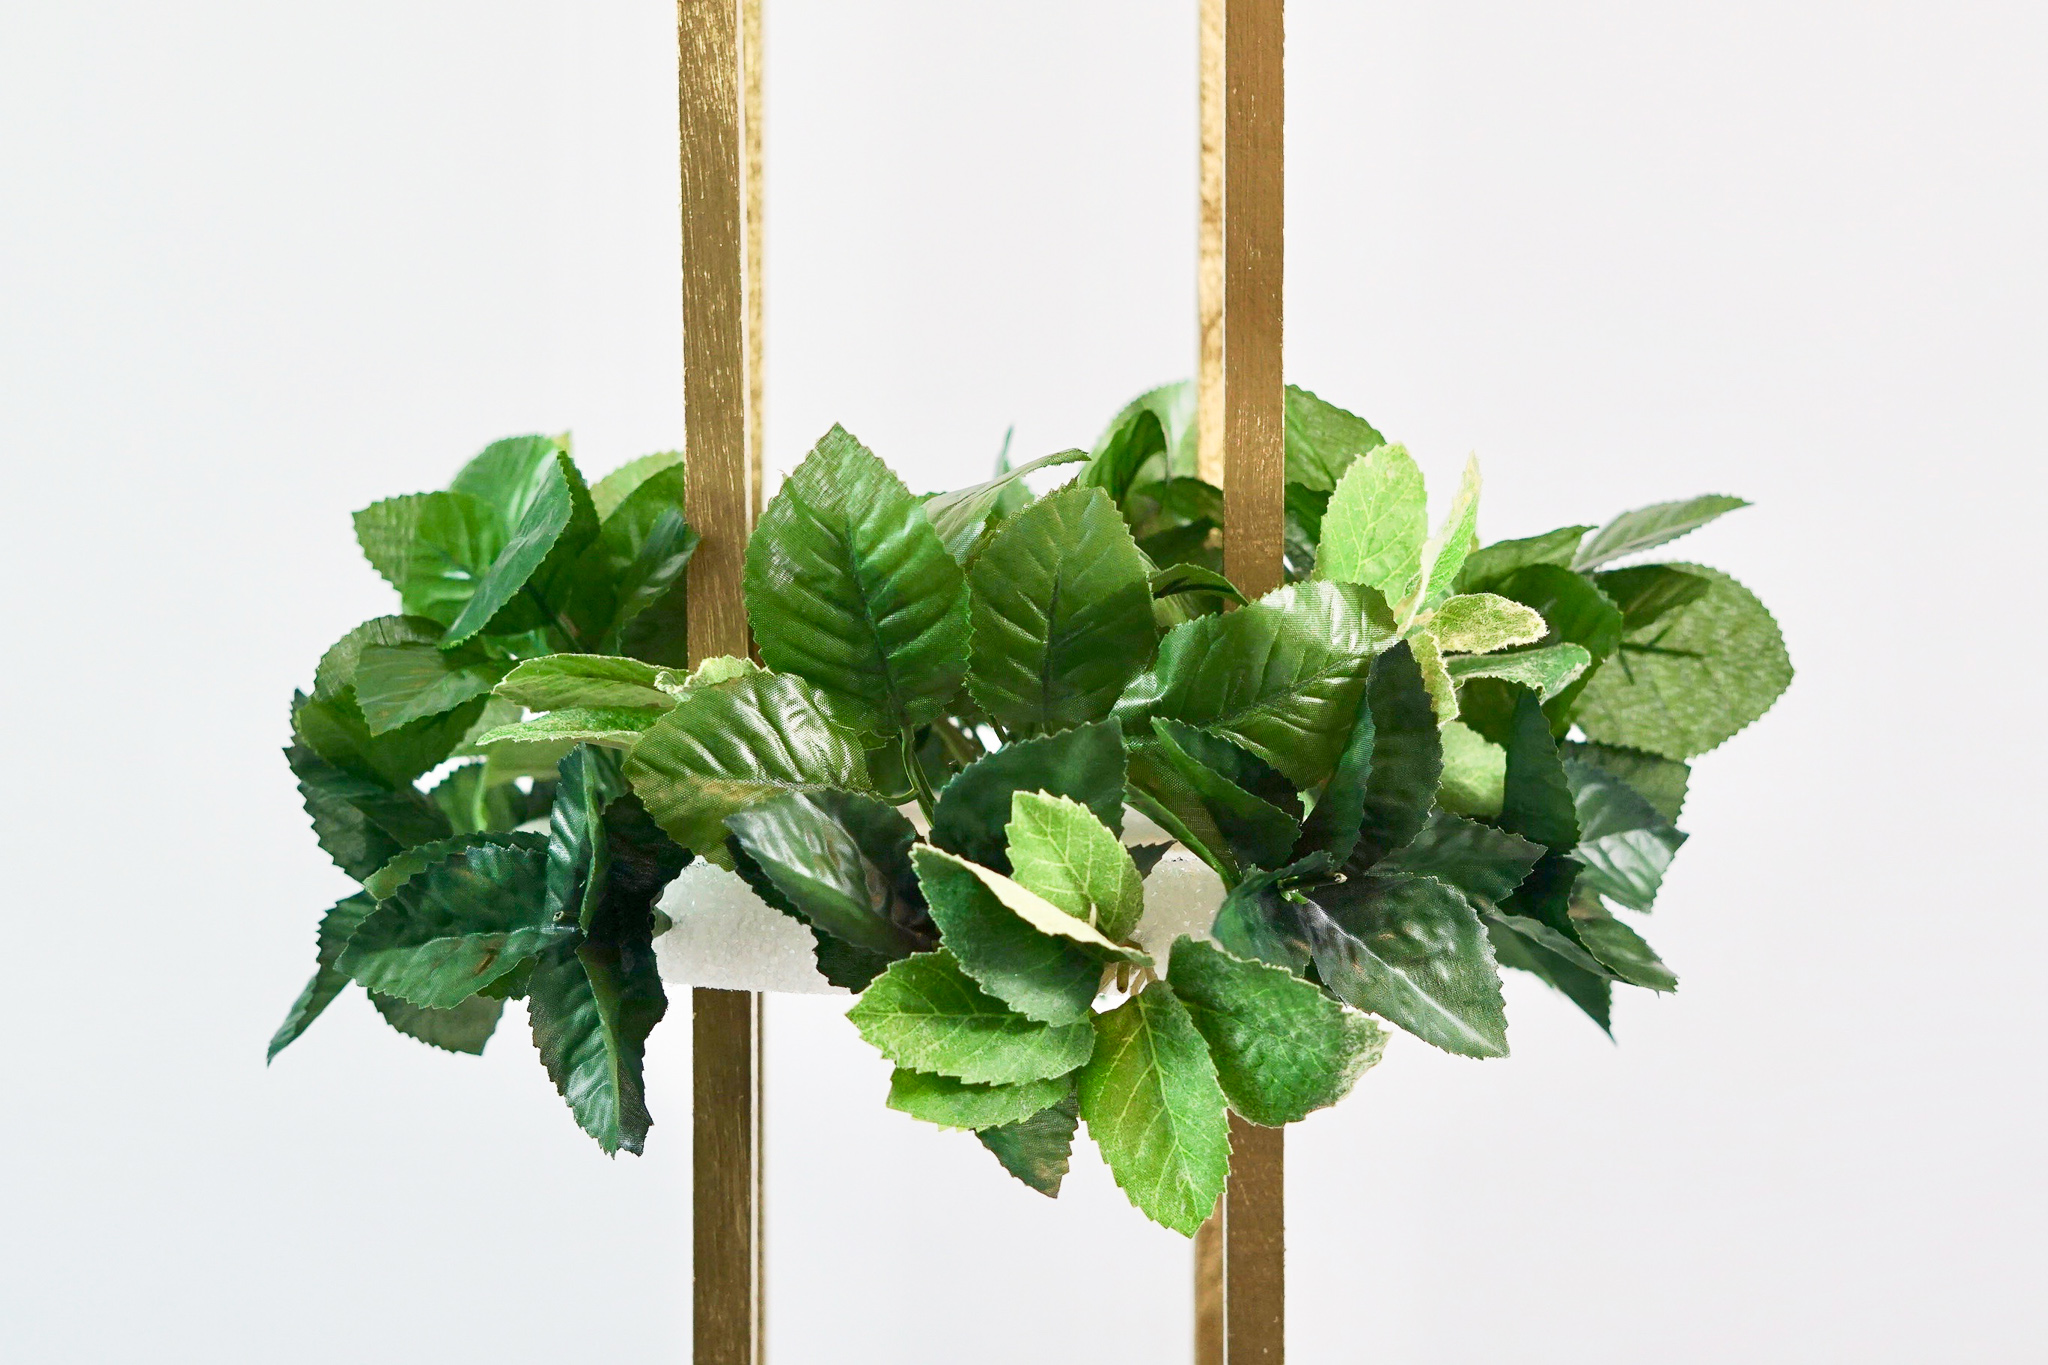
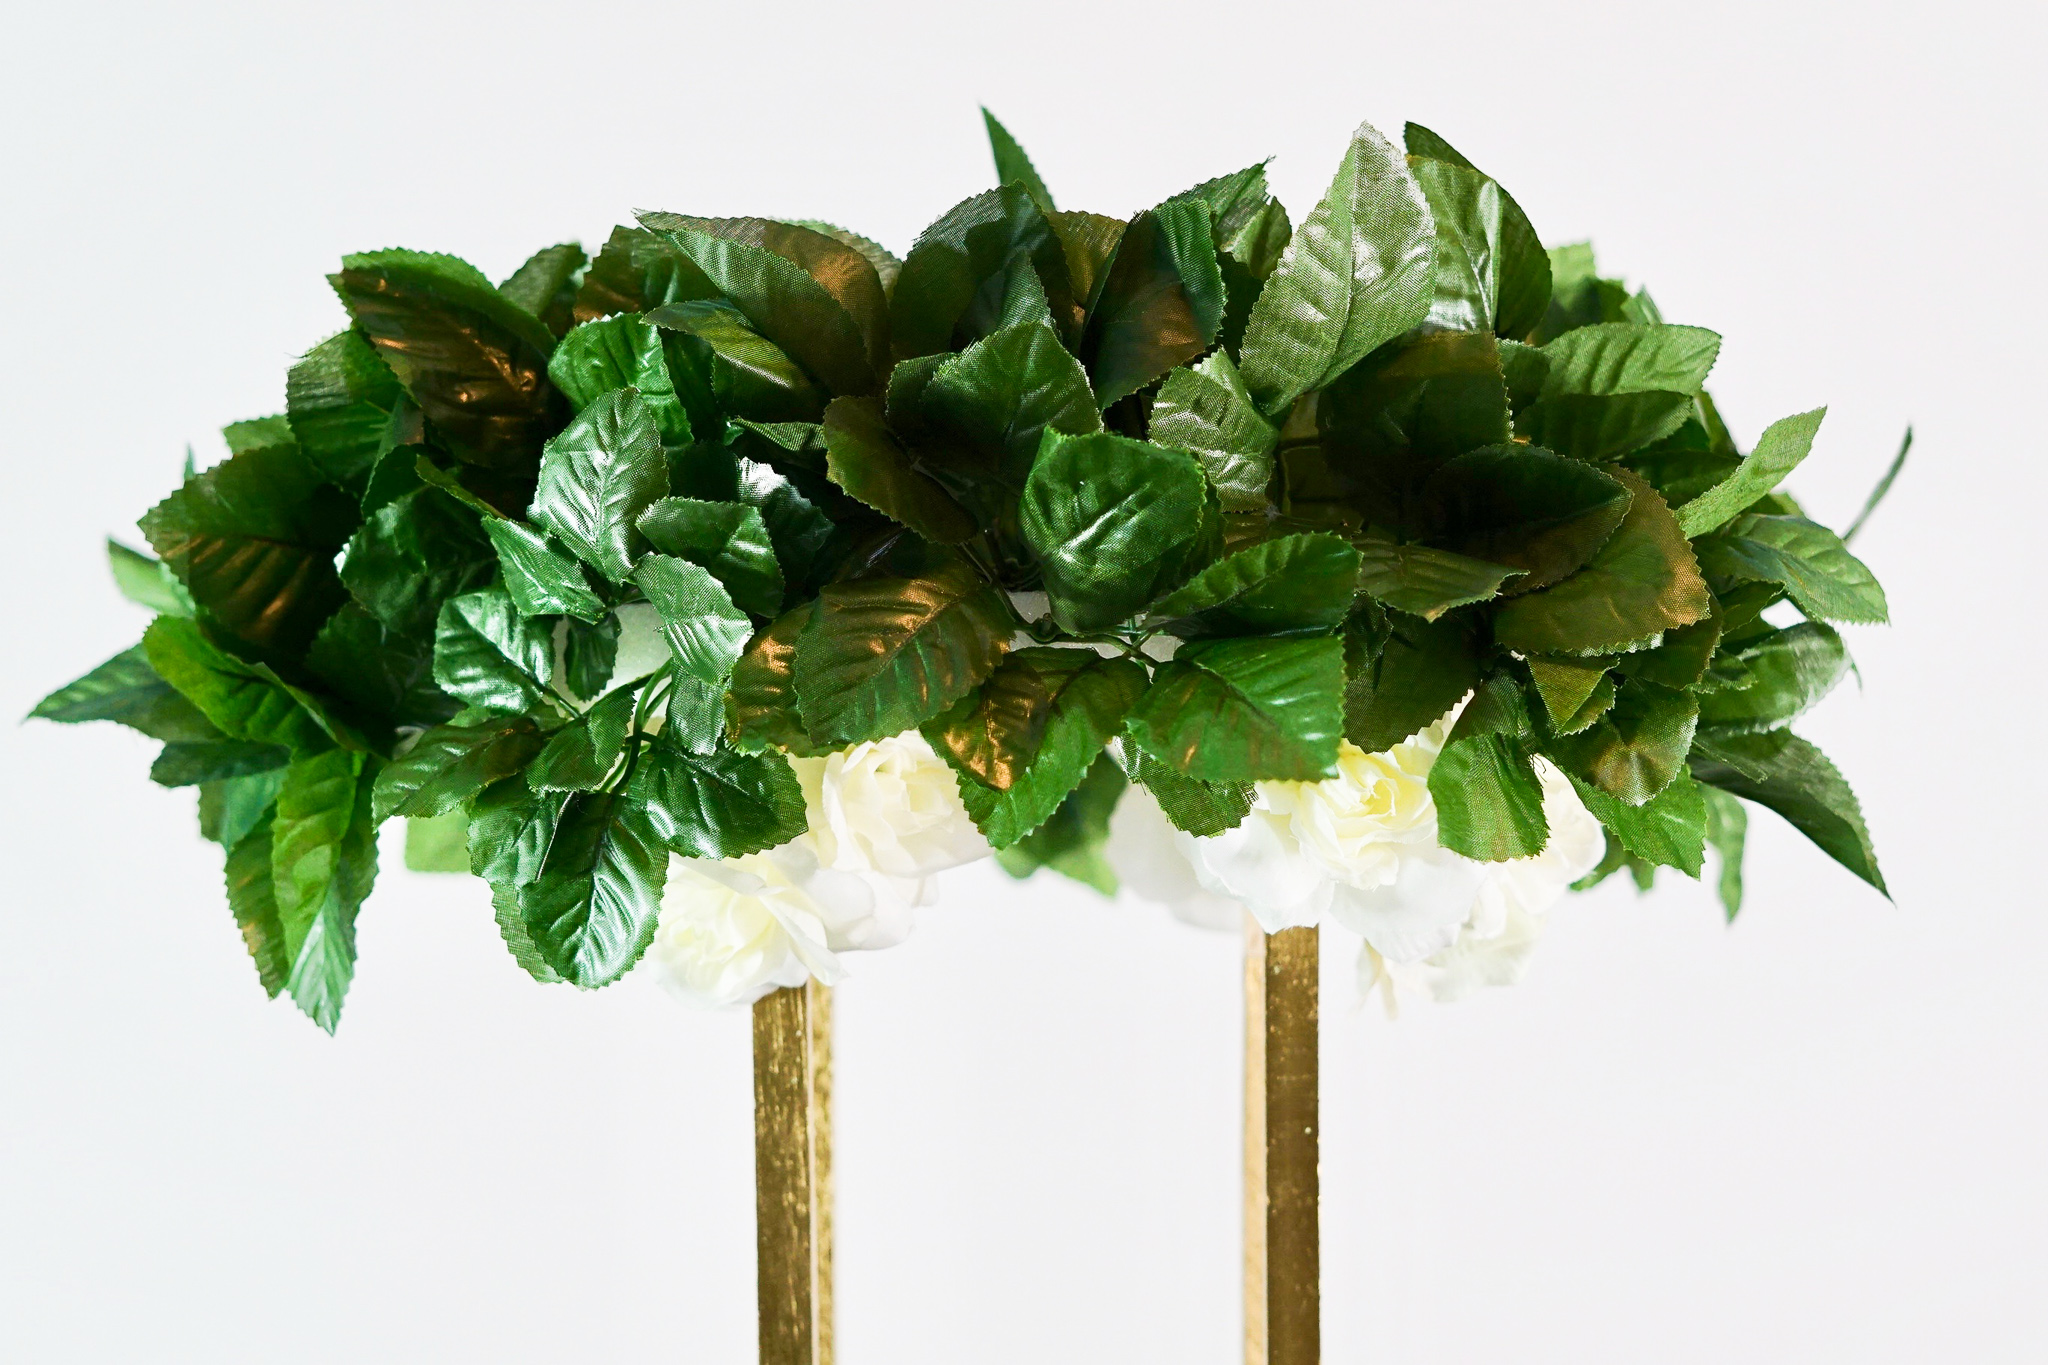
Attach Flowers to the Second Level
STEP 7: To the second level, attach 10-12 leaf stems, 6-8 small hydrangea heads, 4-6 rose blossoms, 3-5 eucalyptus stems, and 4-6 baby’s breath stems to the foam disc.
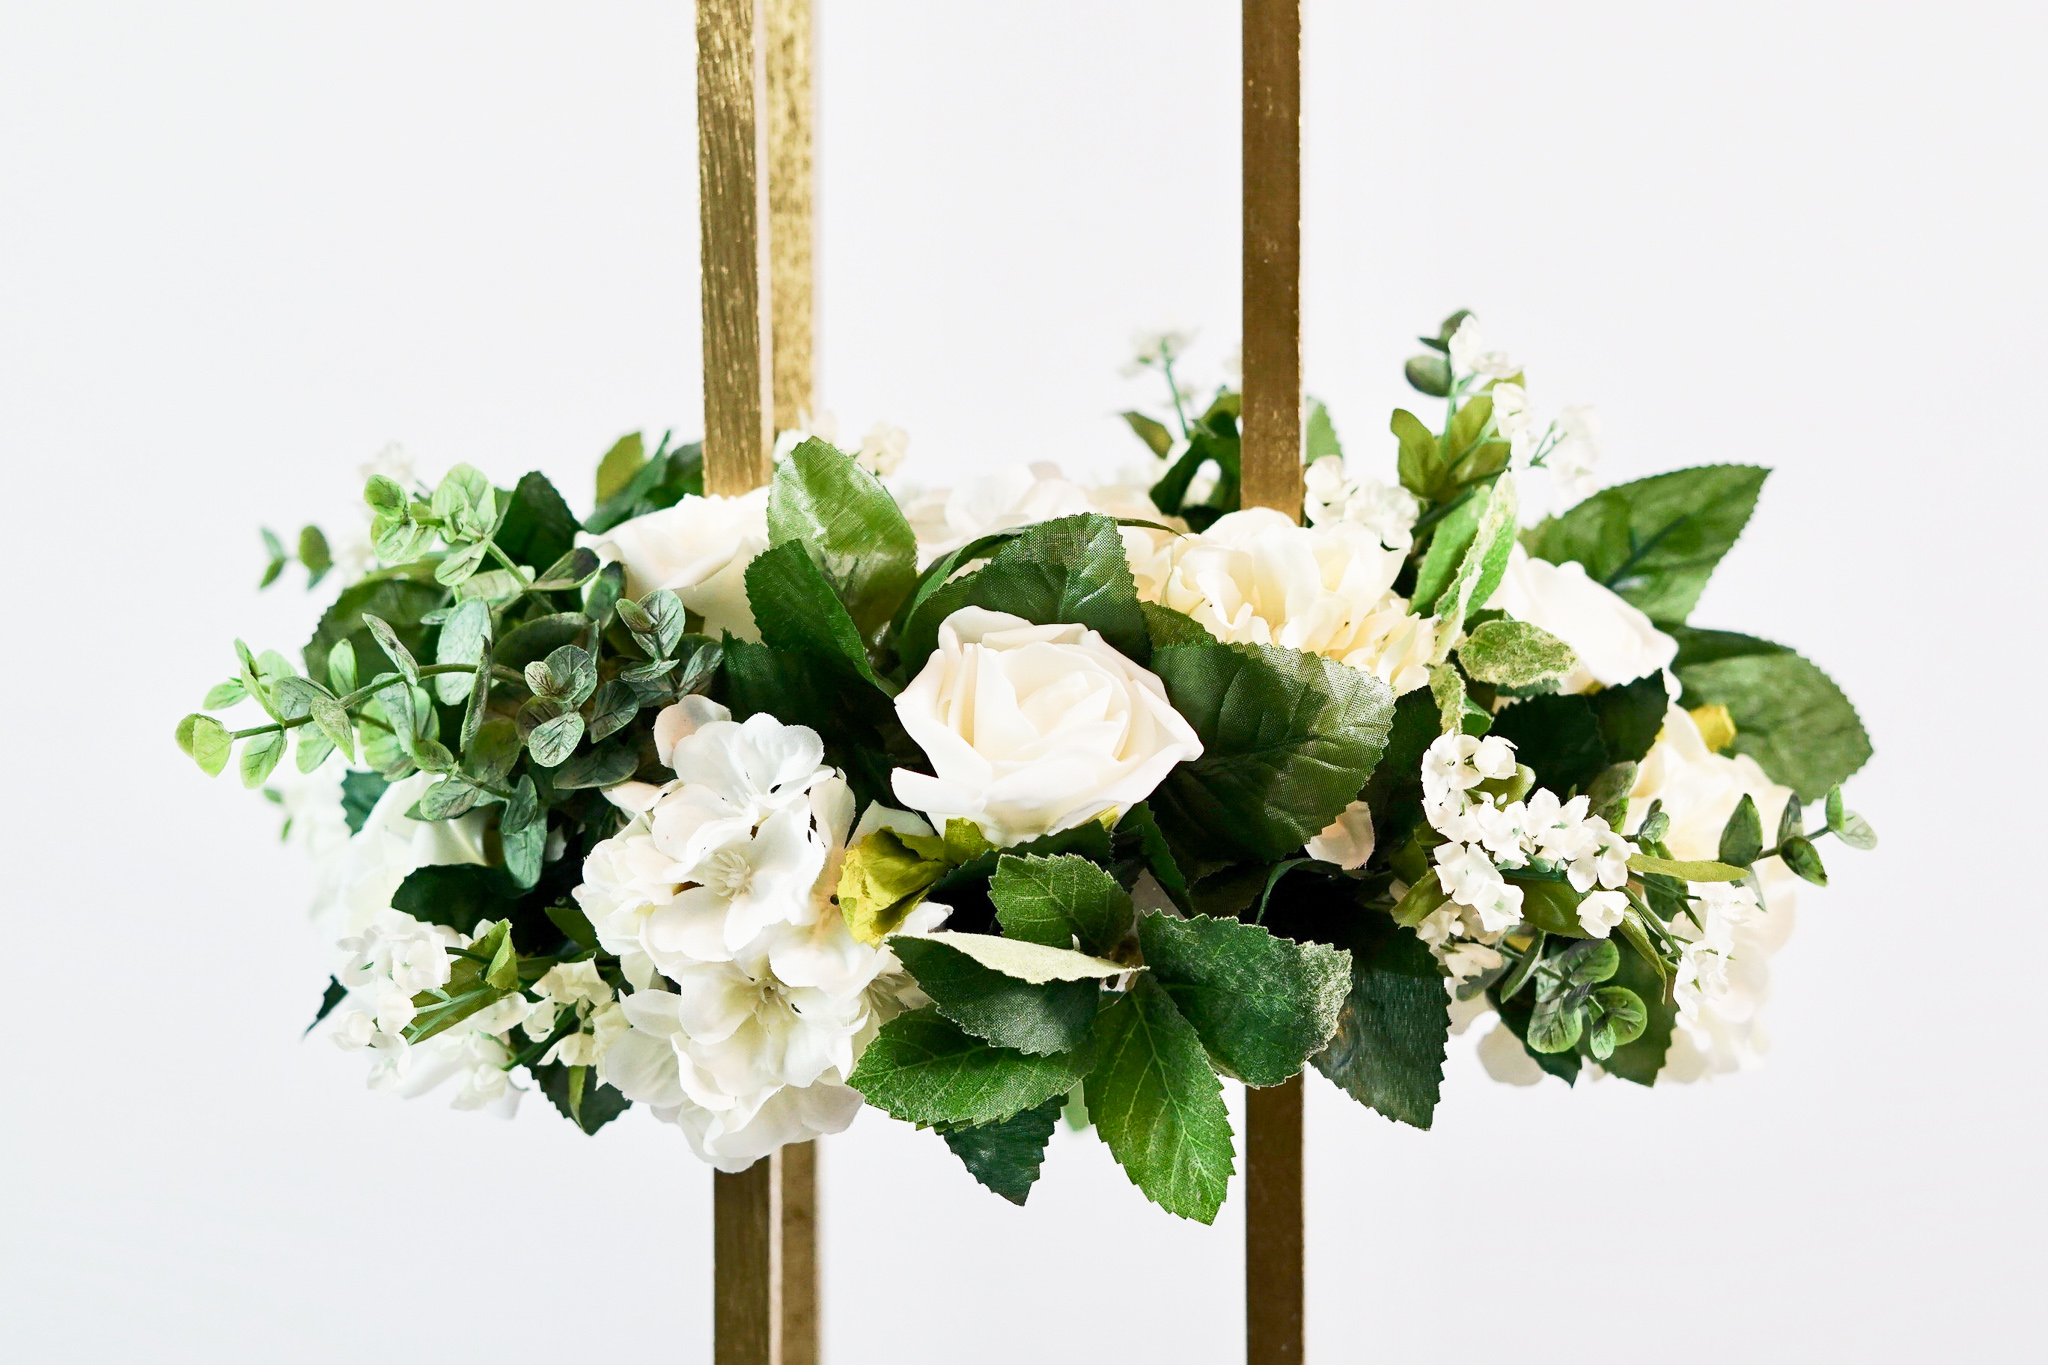
Add Flowers to the Top of the Centerpiece
STEP 8: Trim an inch of foam off all four foam blocks that are at the top of the centerpiece. Attach 2-3 roses to each foam block. Attach 15-18 leaf stems, 6-8 small hydrangea heads, 6-8 rose blossoms, 6-8 eucalytptus stems, and 6-8 baby’s breath stems to the foam disc.

THE FINAL STEPS!
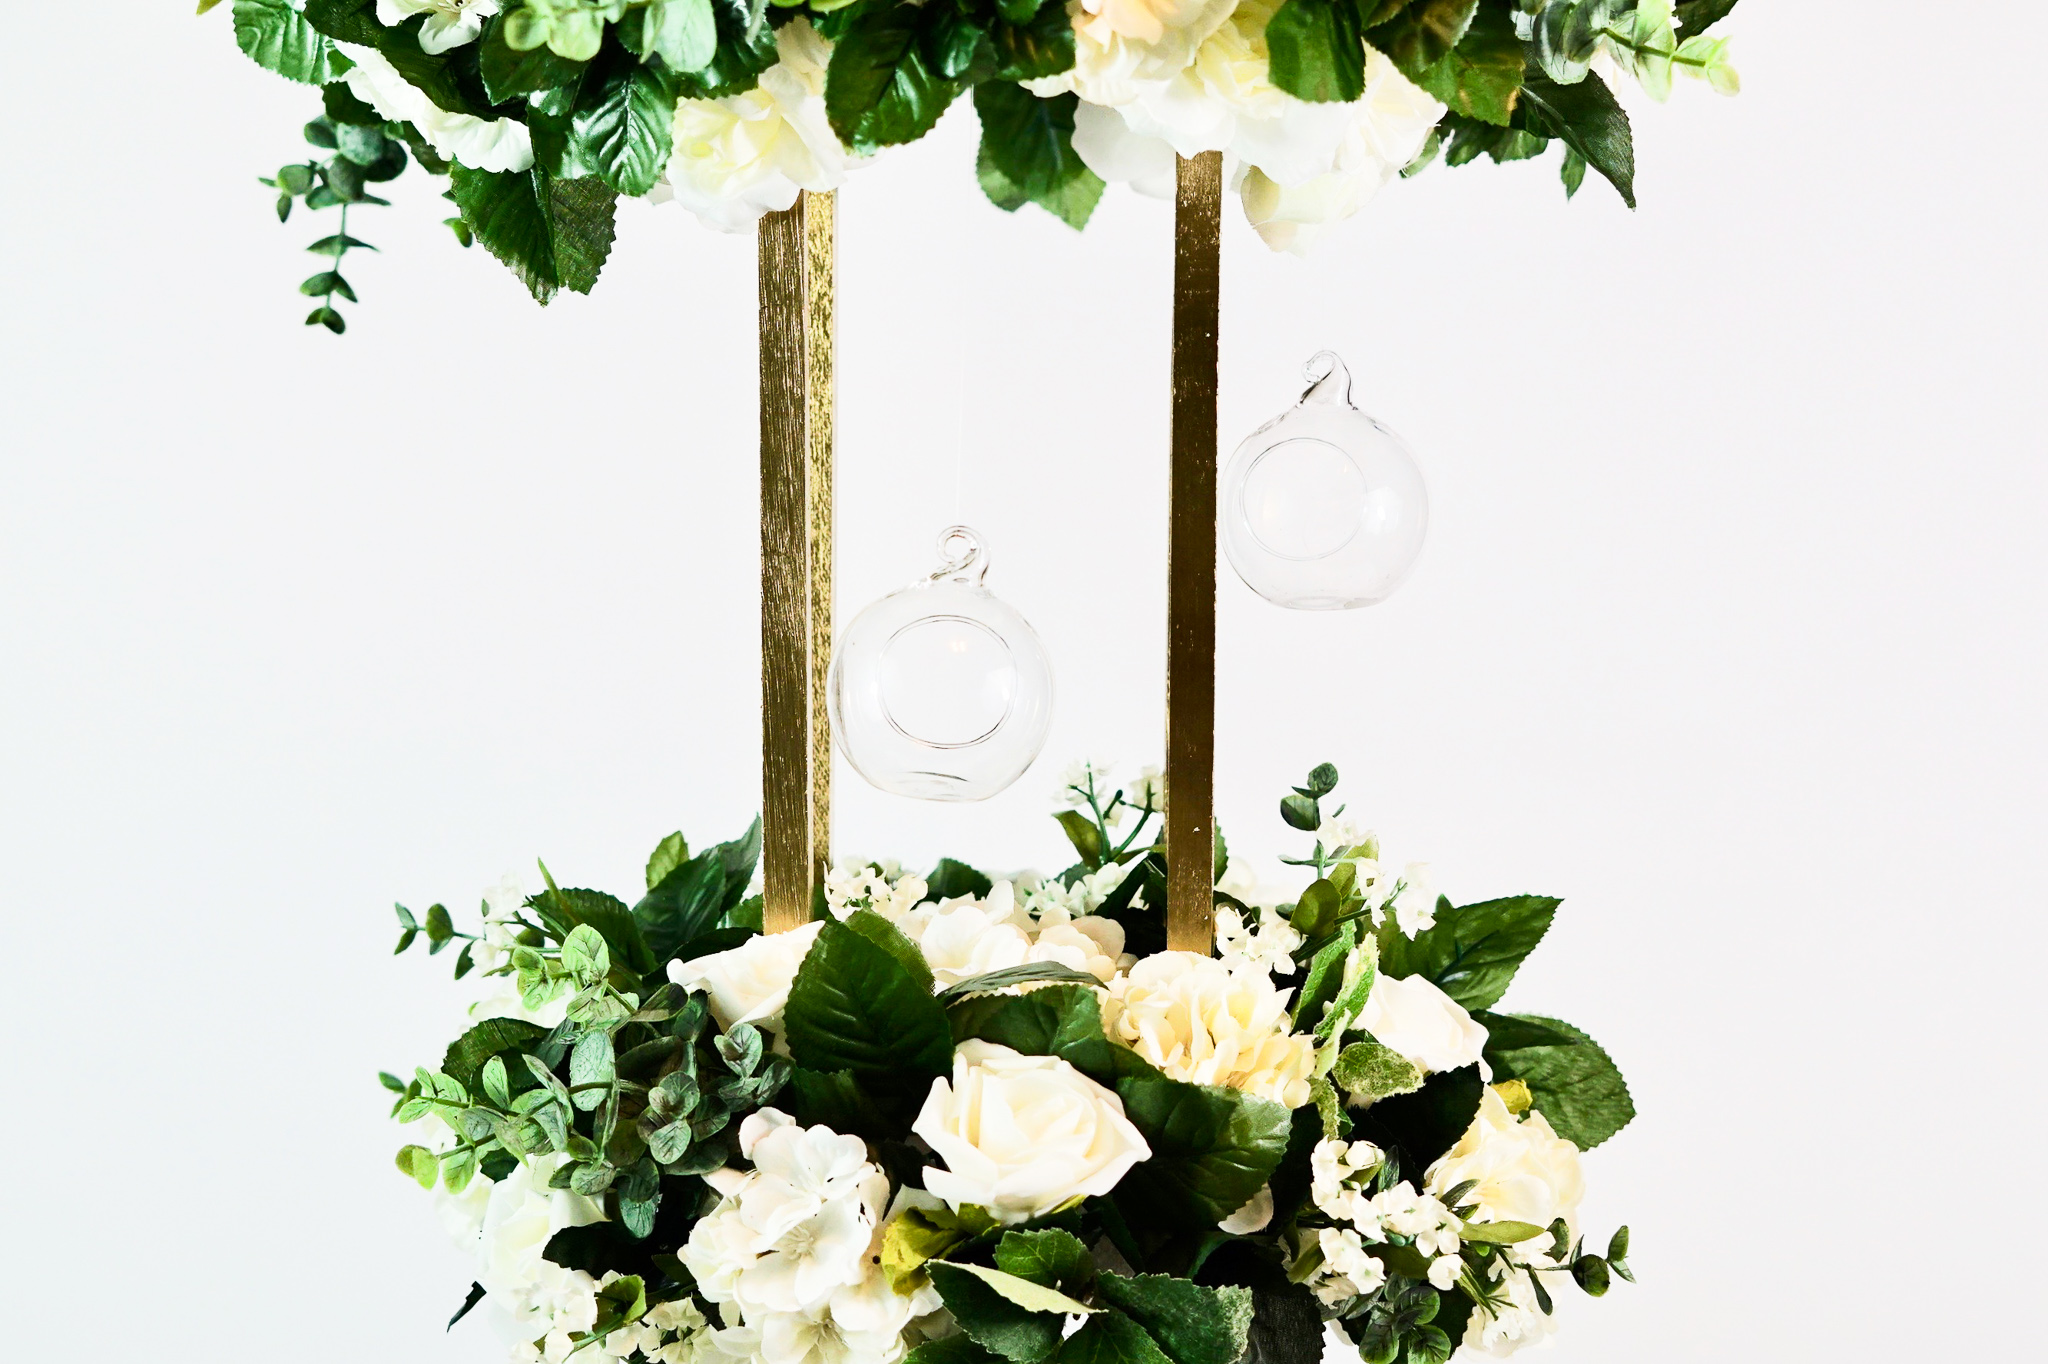
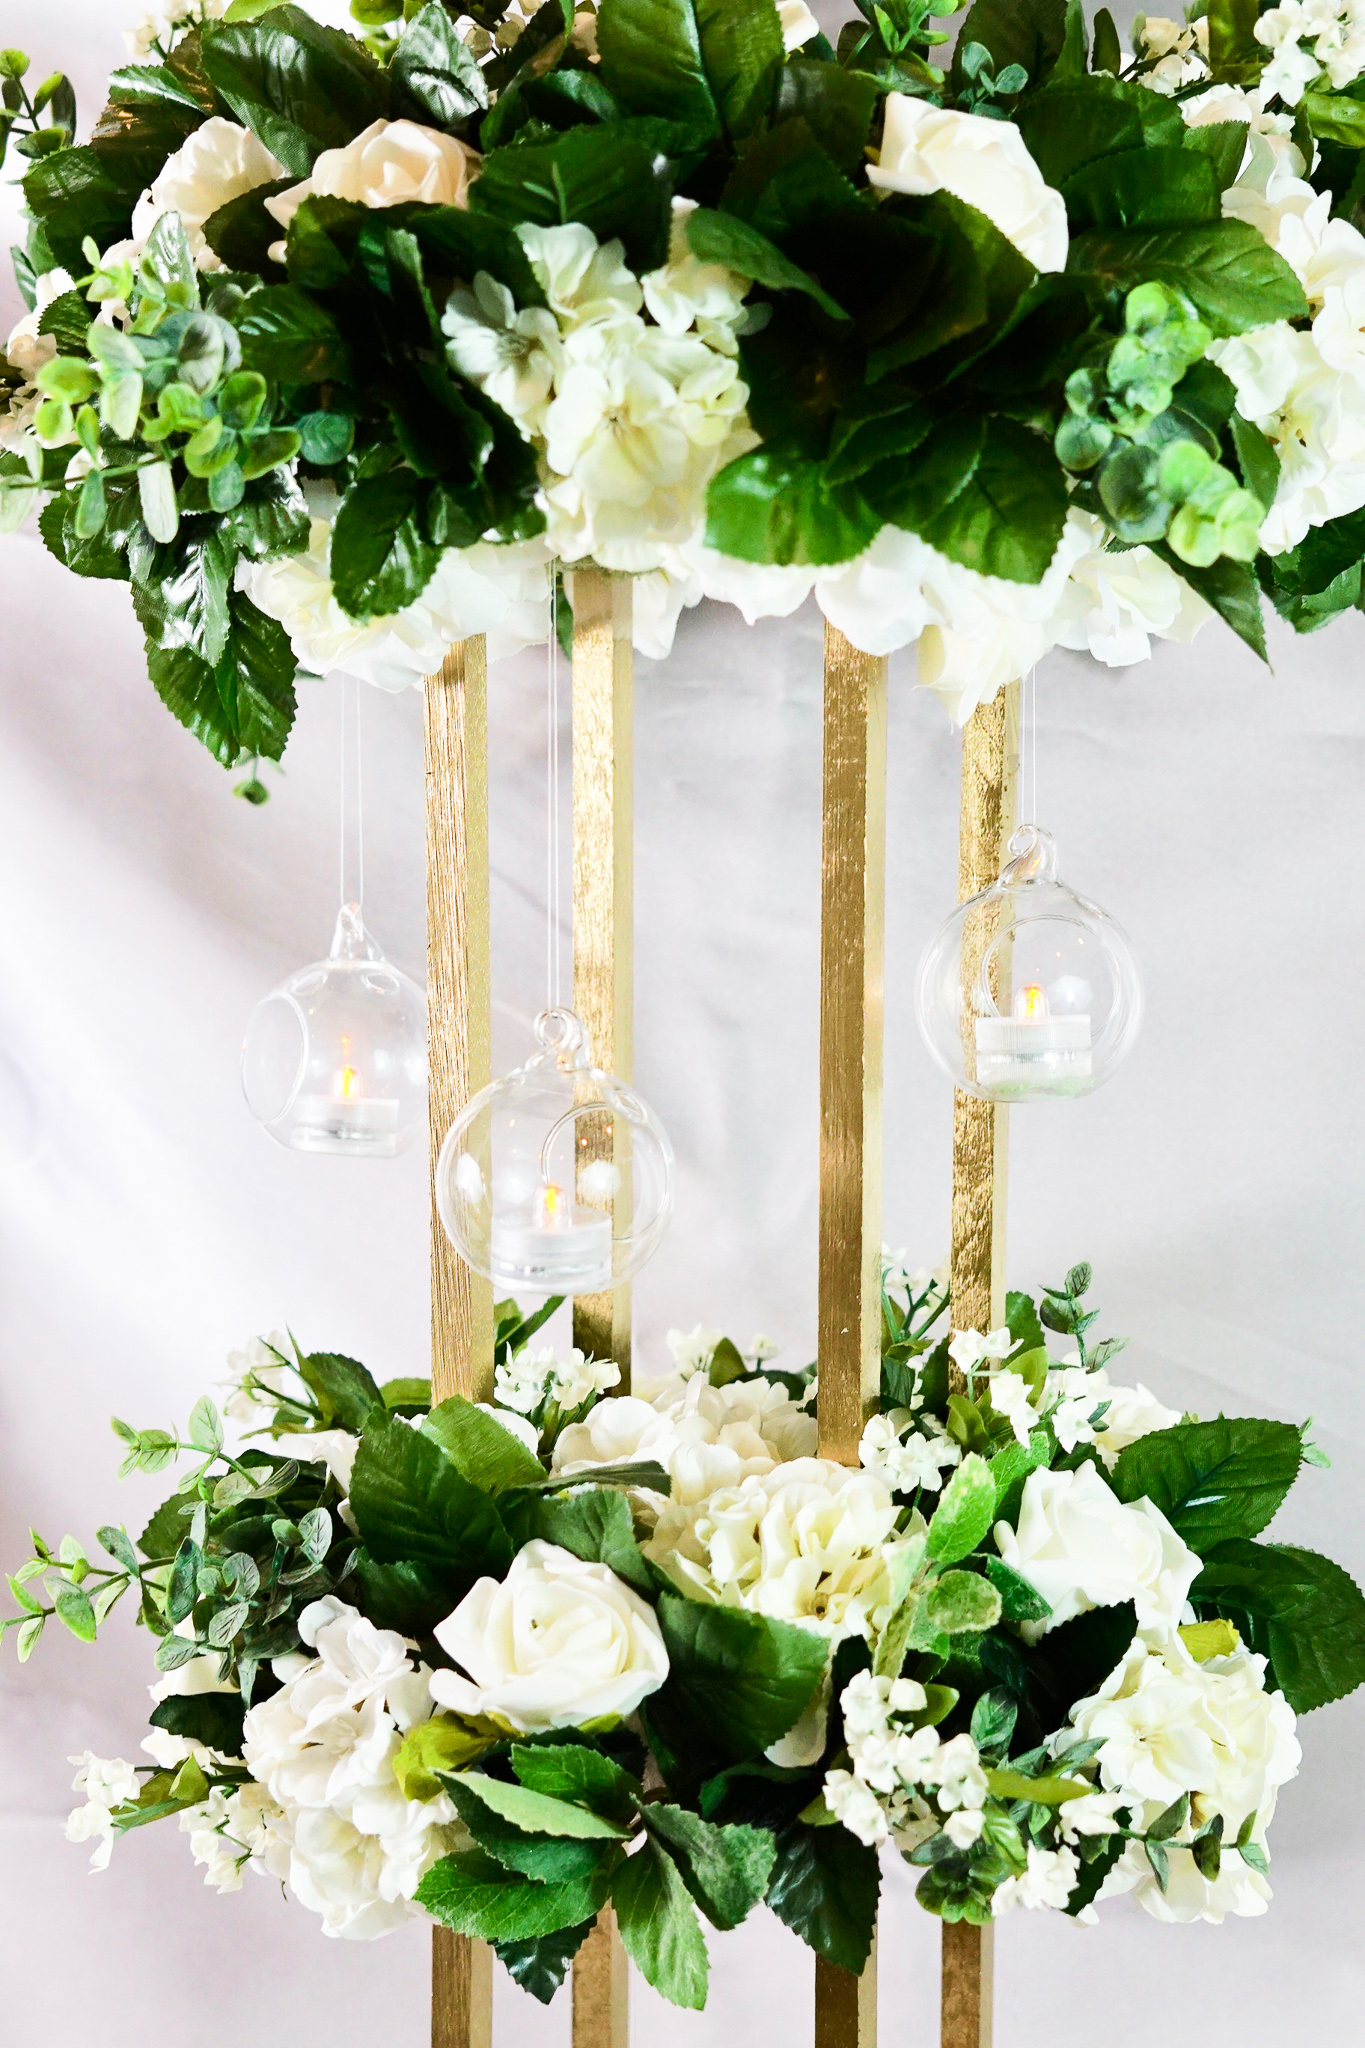
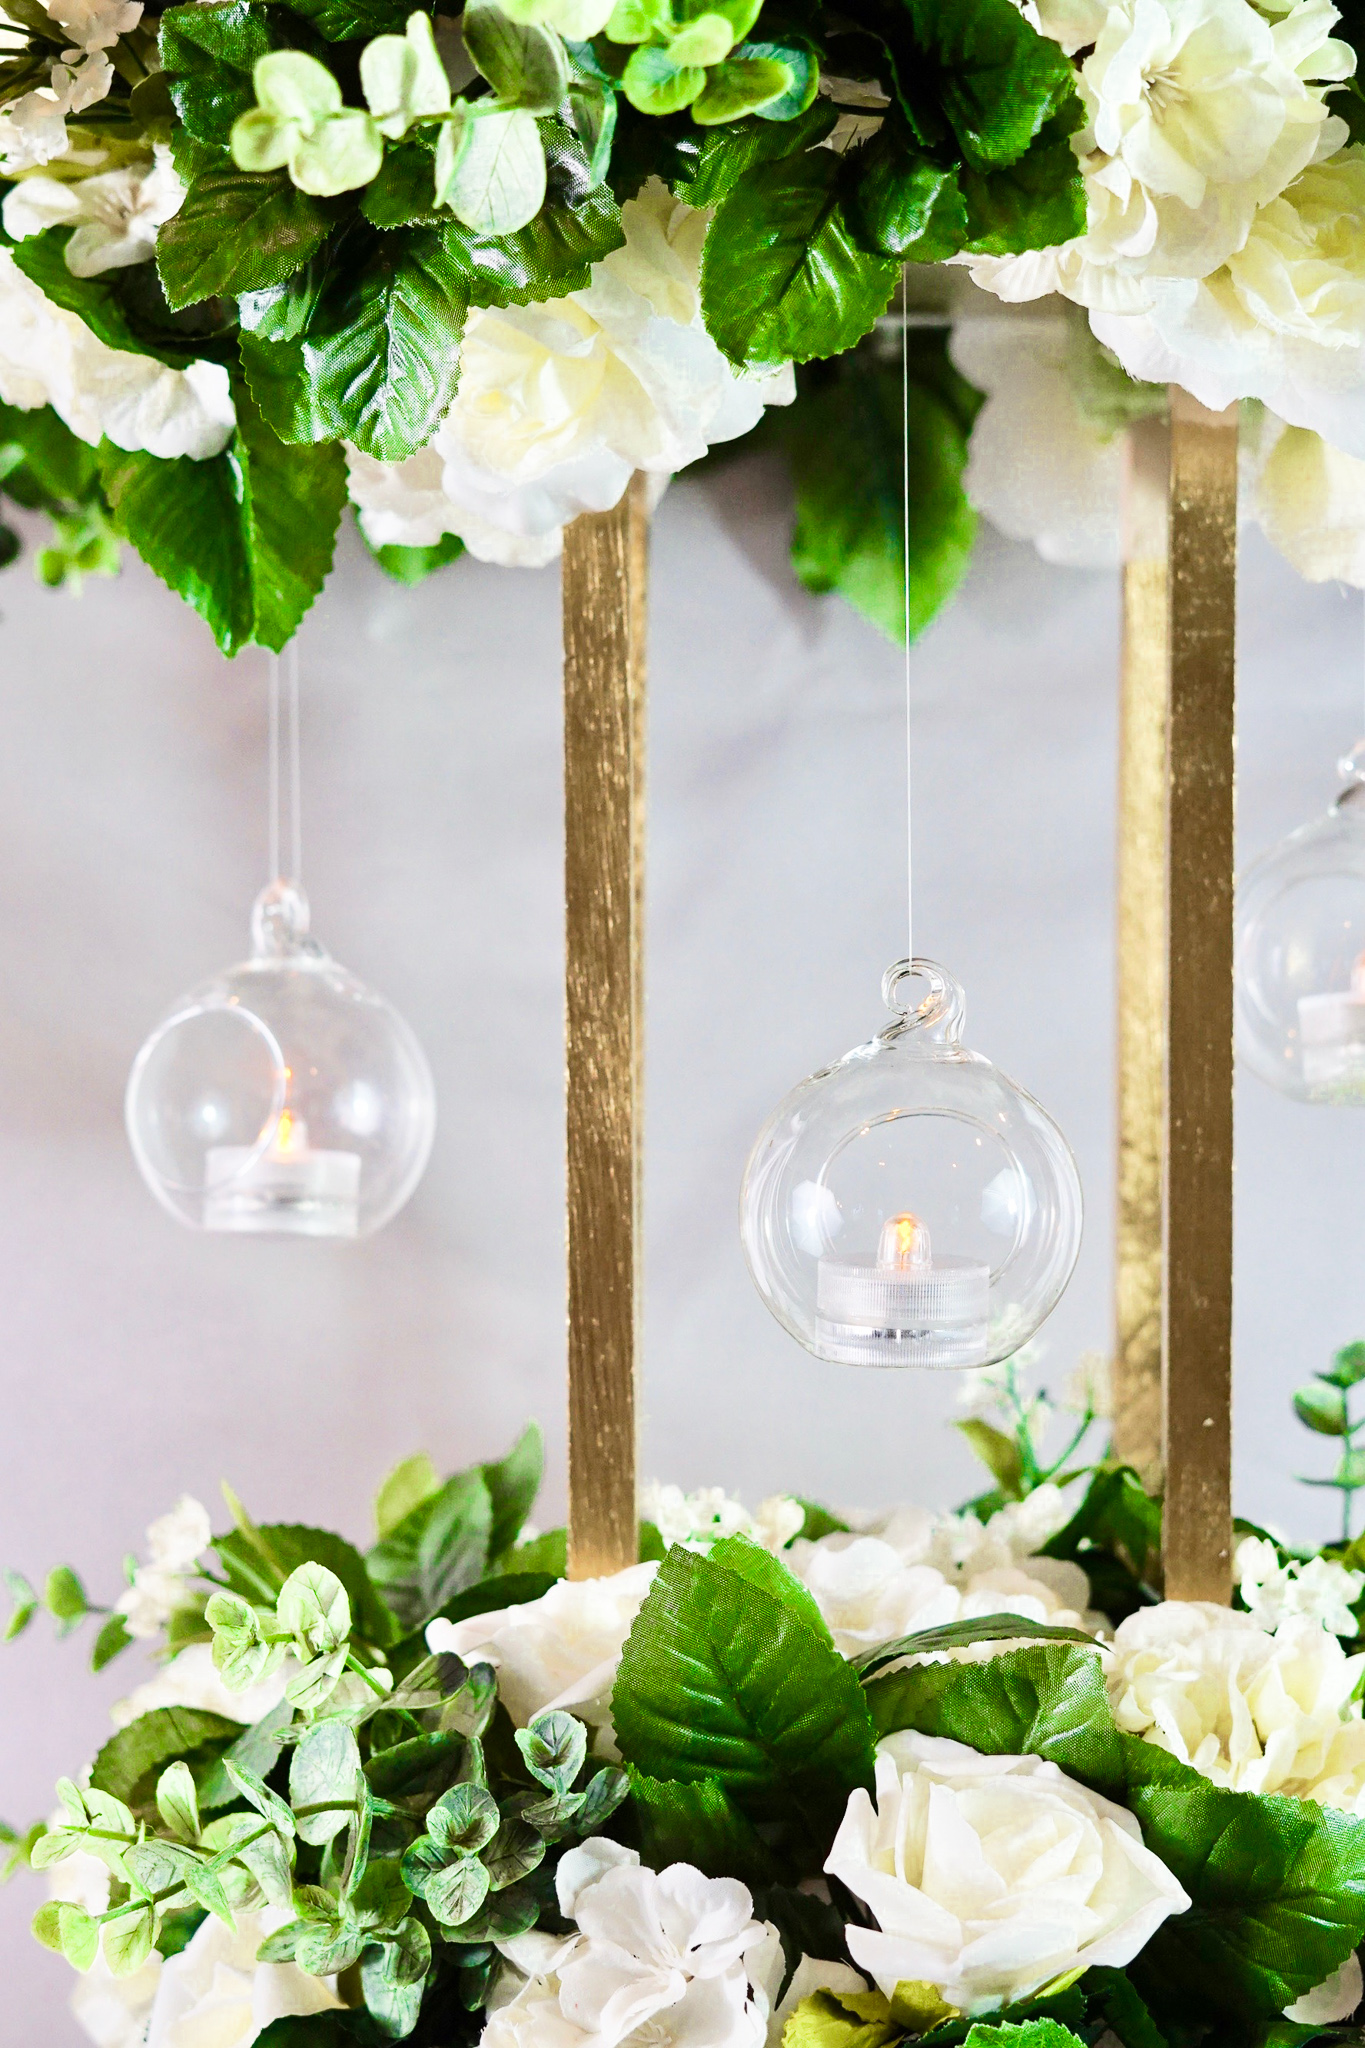
STEP 9: Decide the length you want 6 terrarium balls to hang and string fishing wire to each. Attach 3 to the top level and 3 to the second level with floral pins. Lastly, insert the LED tealights.

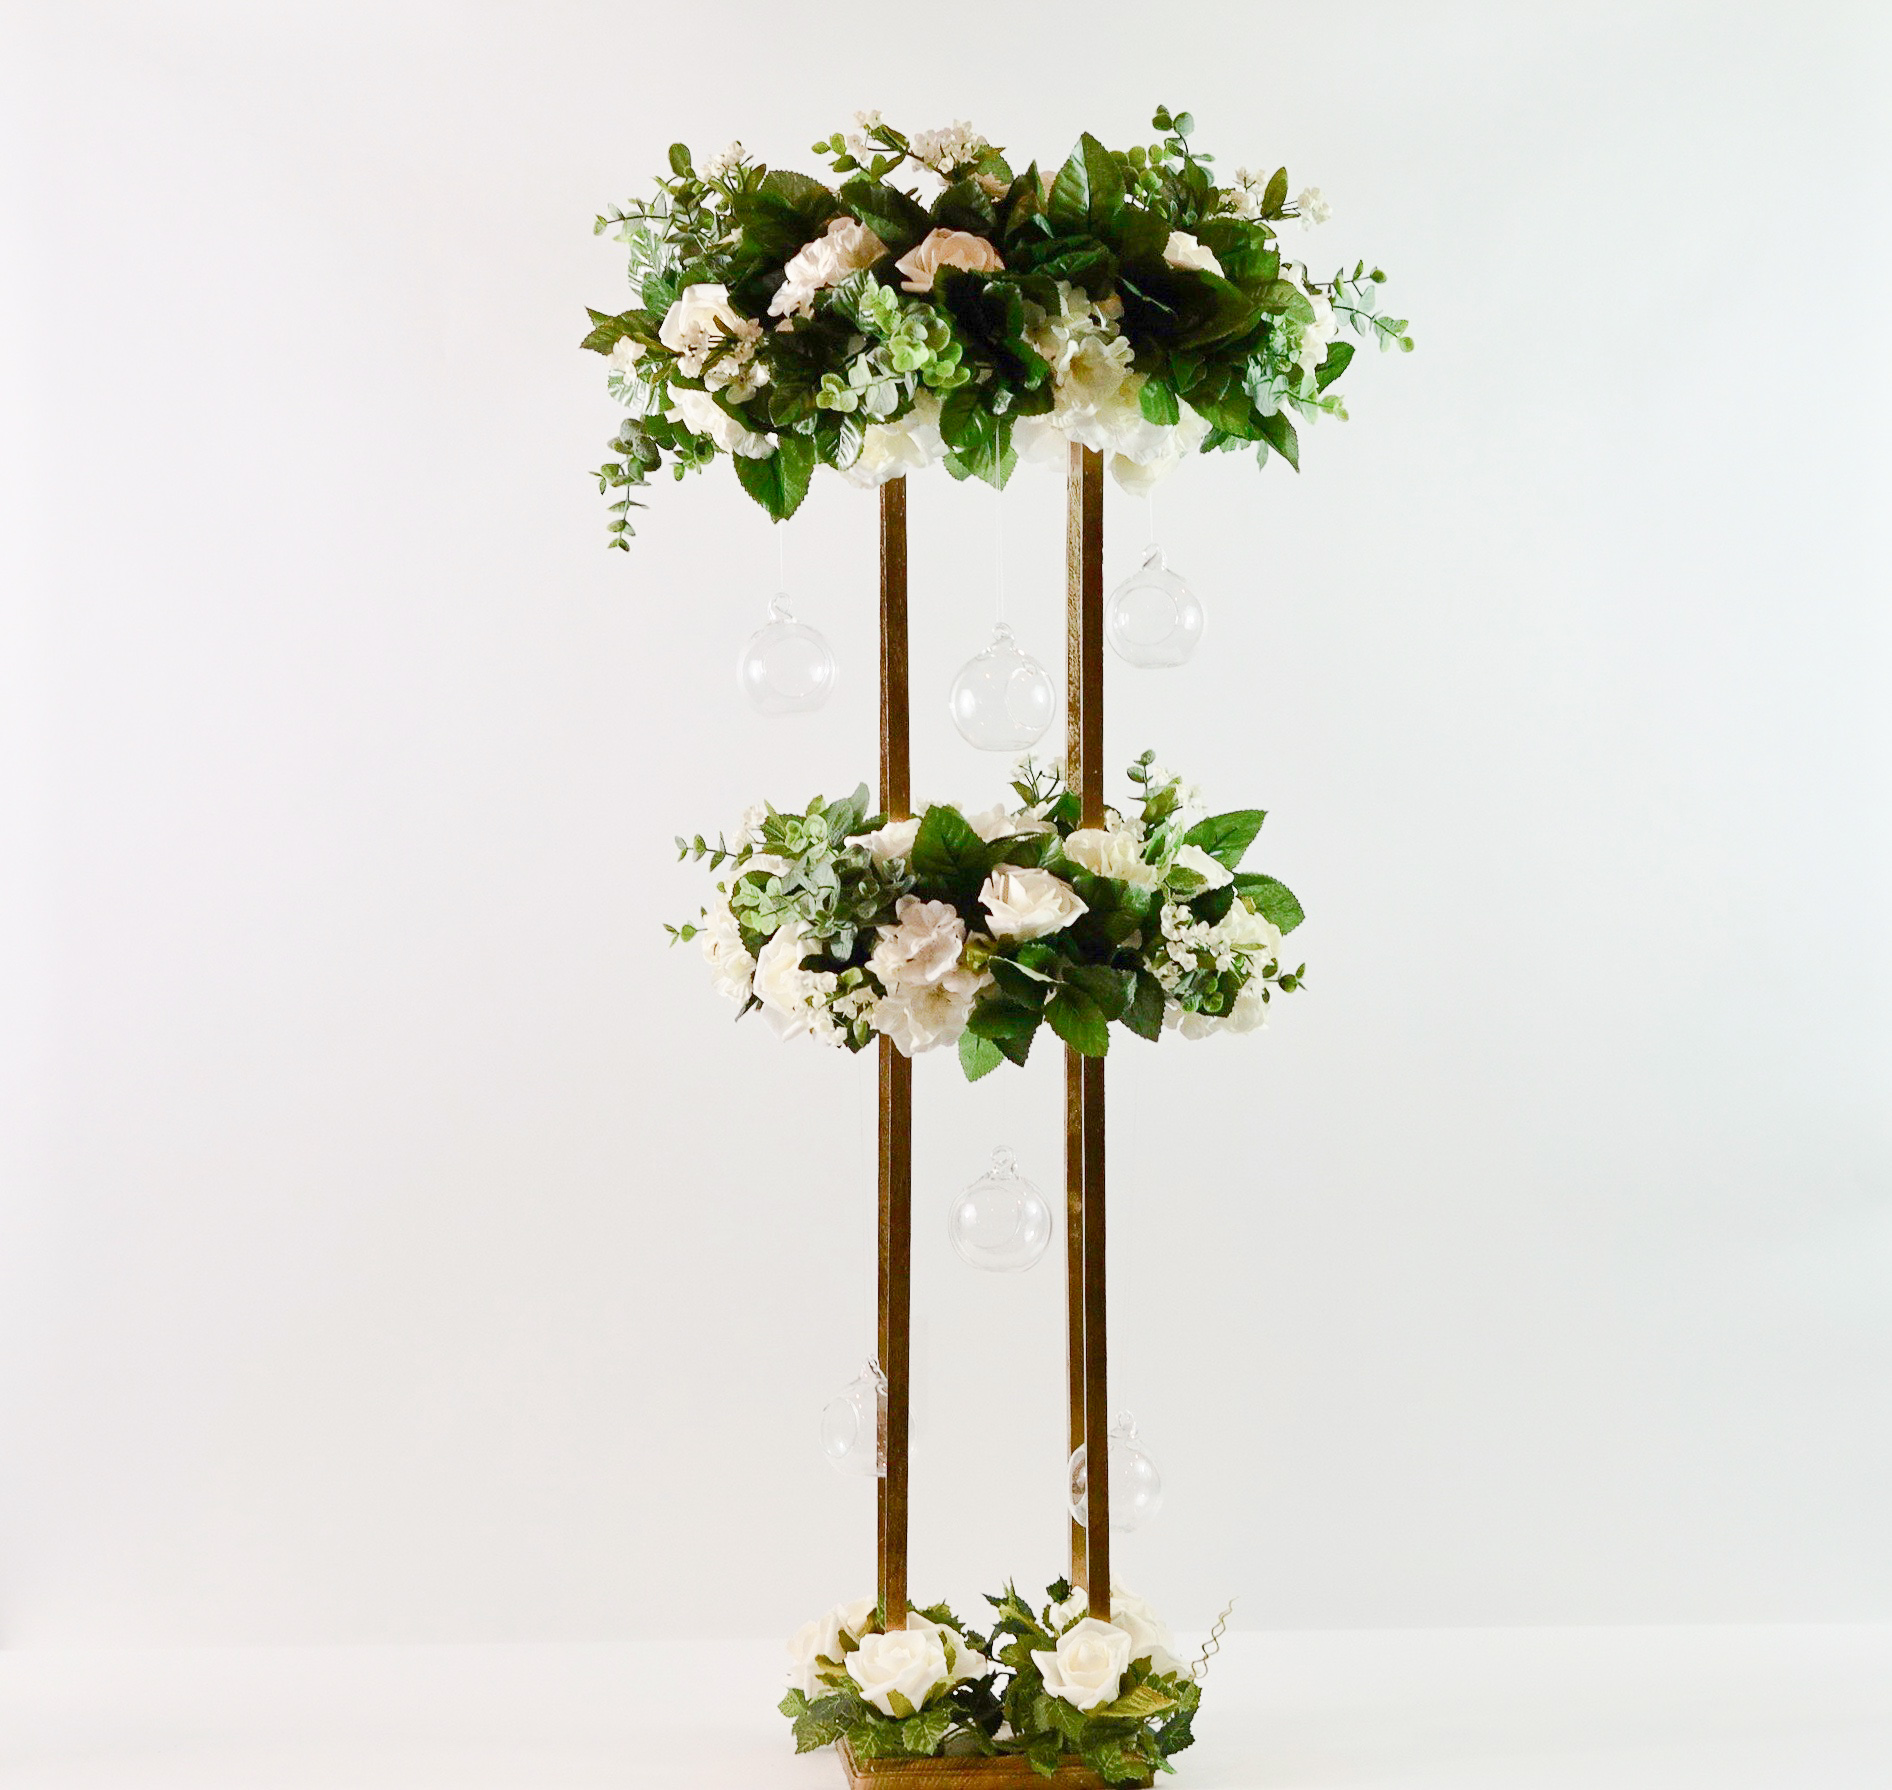
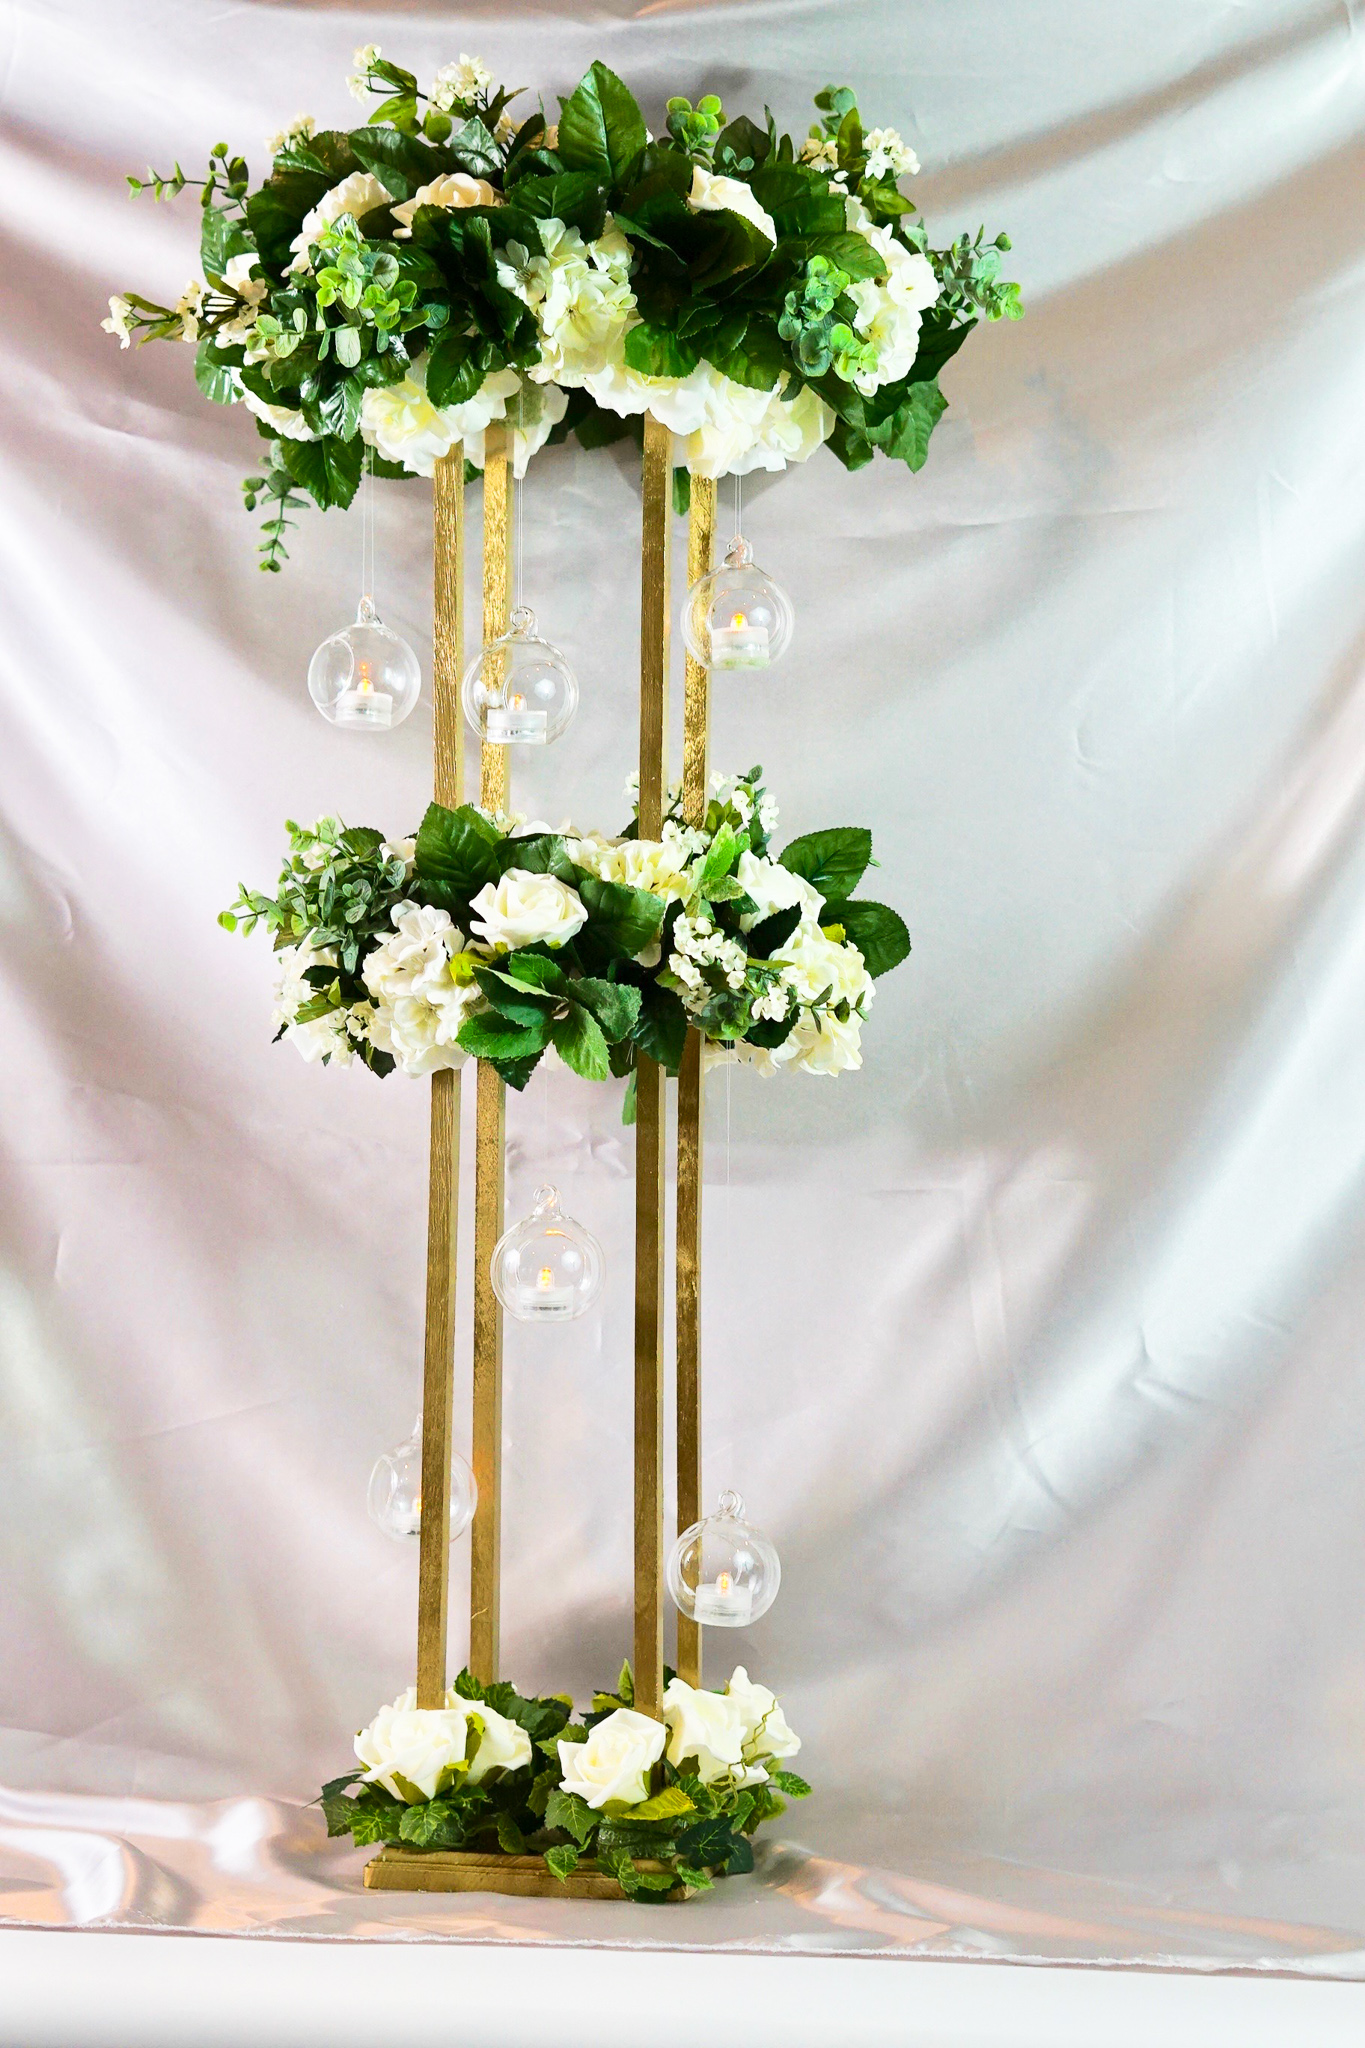
I absolutely love how this DIY circle rose garden wedding centerpiece turned out! The outcome is amazing and definitely gives you an extra special touch to your wedding!

If you like the outcome please subscribe to our Youtube Channel for more DIY Videos and follow us on Facebook and Pinterest.
Need help with an upcoming project? Be sure to send us a project request!
“Remember When Every Penny Counts, Count on MissPlanIt”
Great job, I absolutely love this idea. How much did it cost to make one? I need to make 7 or 8 and want to get an idea of the cost. Thanks!
Hello, I am so glad you love it! The total cost to make one is $68.04. Some supplies can be used for more than 1 centerpiece!