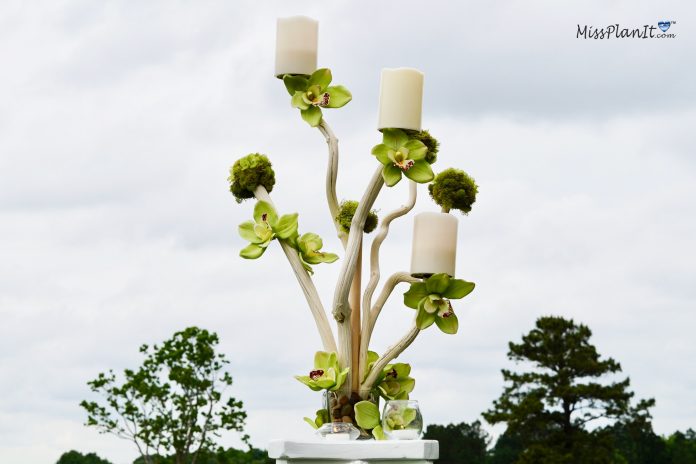
So you have a dilemma. You love all things glass and glam but your fiance loves wood rustic elements. And you are wondering, how do you mesh the two ideas together? Well I think this week’s project has the perfect solution. The orchids and pillar candles add the glam factors, while the driftwood brings in the rustic elements. Making this the perfect Glam Rustic Wedding Centerpiece that will meet both of your expectations. Plus it is super easy to make. Let’s get started! For video instructions, please check out the video tutorial below!
[convertkit form=917377]
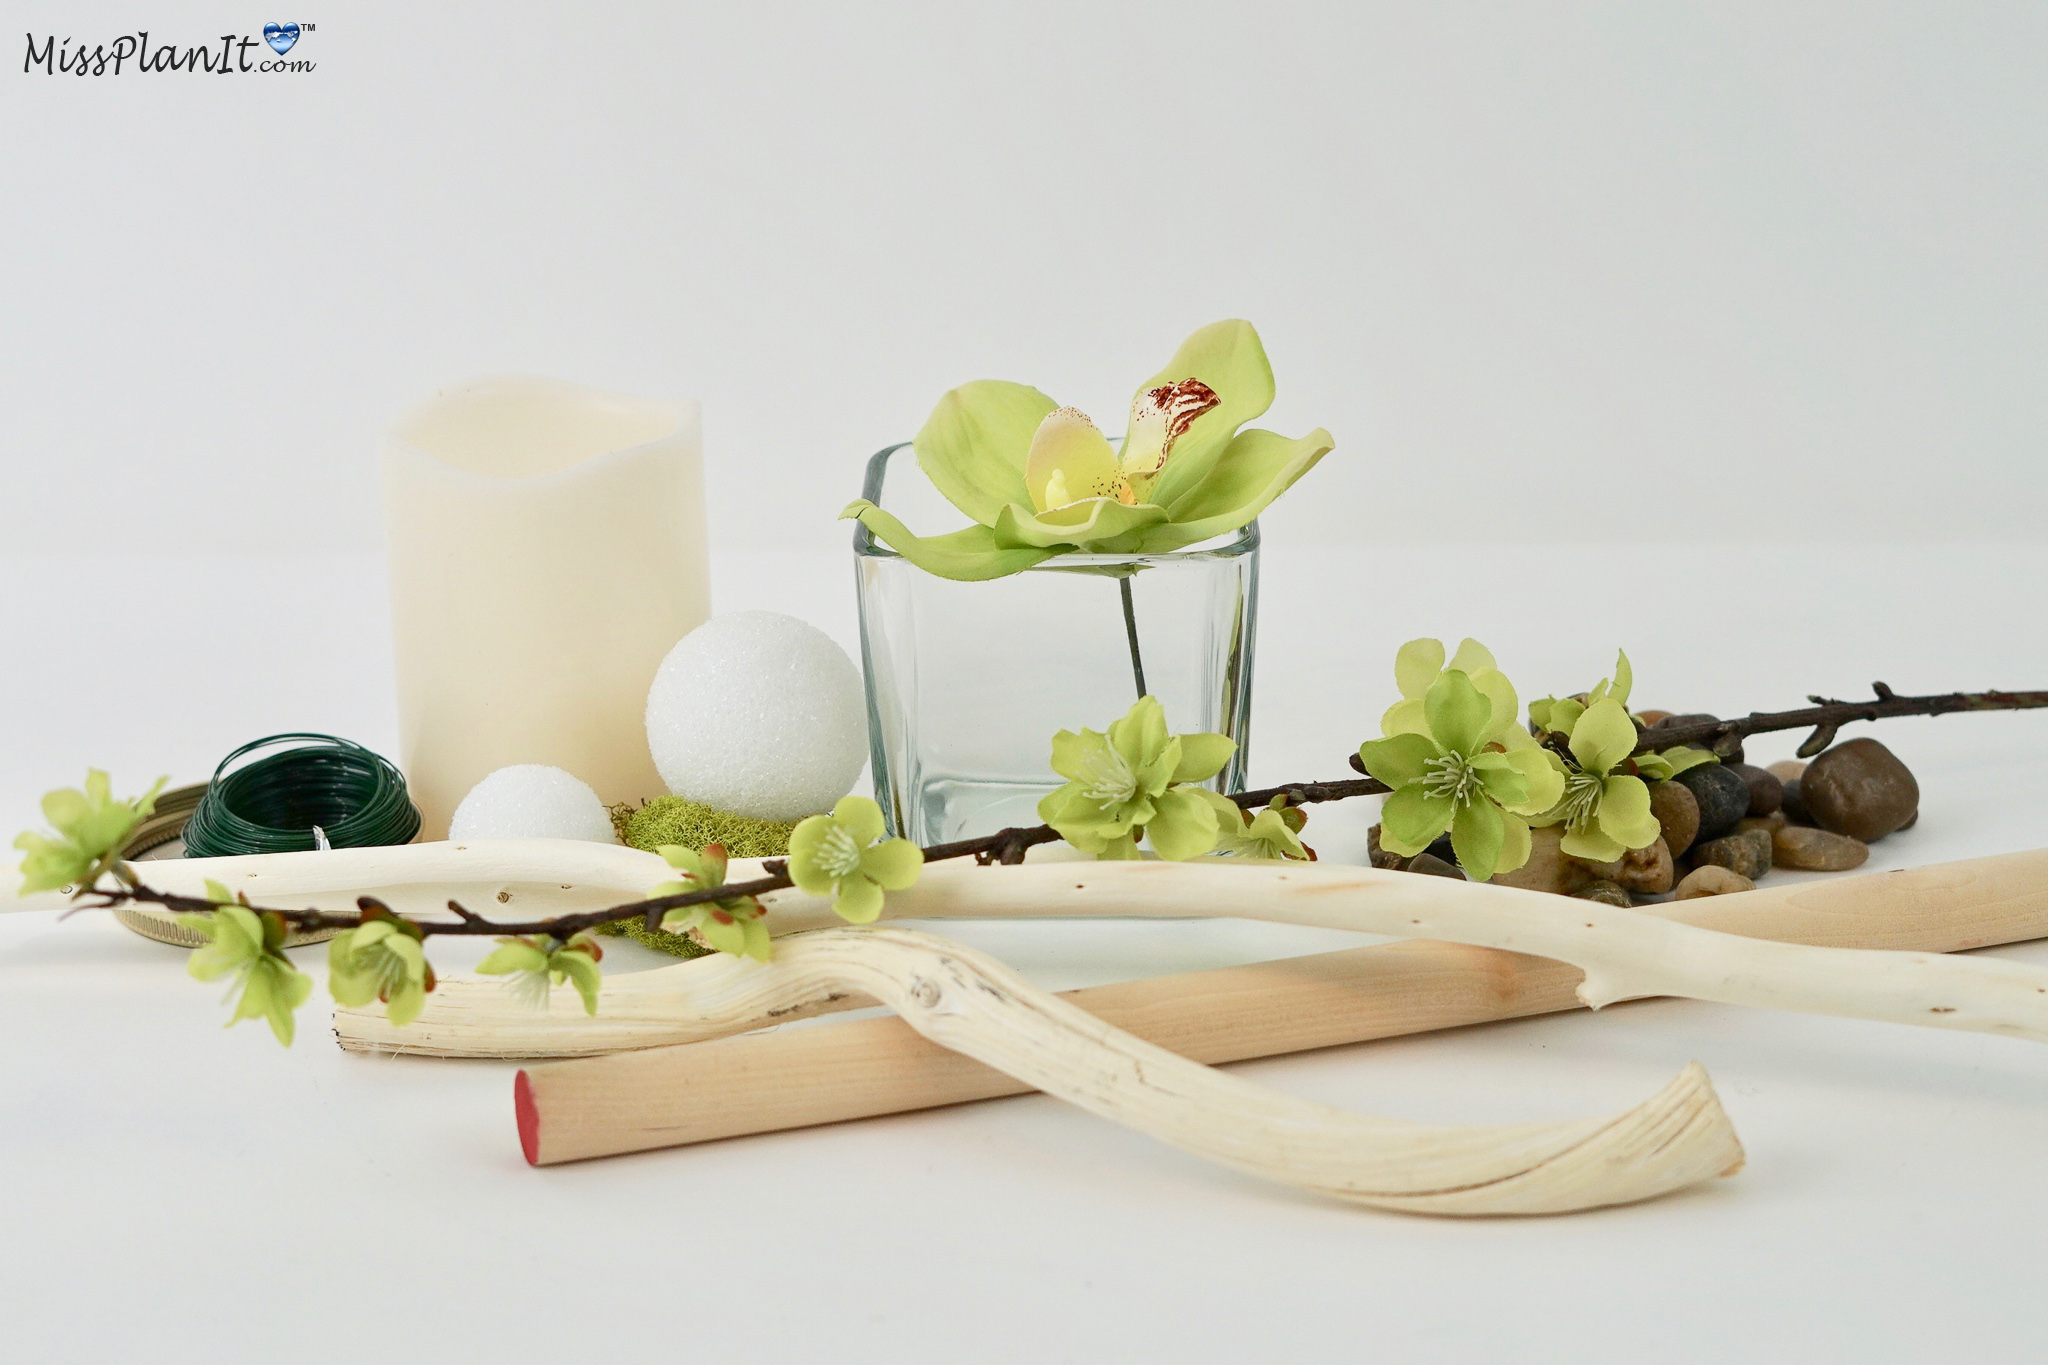
SUPPLIES:
Multi-Toned River Pebbles, 32 oz.
Square Glass Candleholders, 3 in.
Multi Pack Styrofoam Balls
Luminessence Battery-Operated Ivory Wax LED Pillar Candles, 4 in.
Green Preserved Mood Moss
Hardwood Dowel – 3/4″
Whitewash Dula Logs Length: 48″ Width: 7/8″ – 1 1/2″
Green Cymbidium Orchid Stem
1 Pcs Artificial Cherry Blossom Flowers
16 oz Mason Jar with Metal Lid
Handy Level
For written instructions, please continue reading below:
How To Make a DIY Tall Driftwood Orchid Glam Rustic Wedding Centerpiece
Directions:
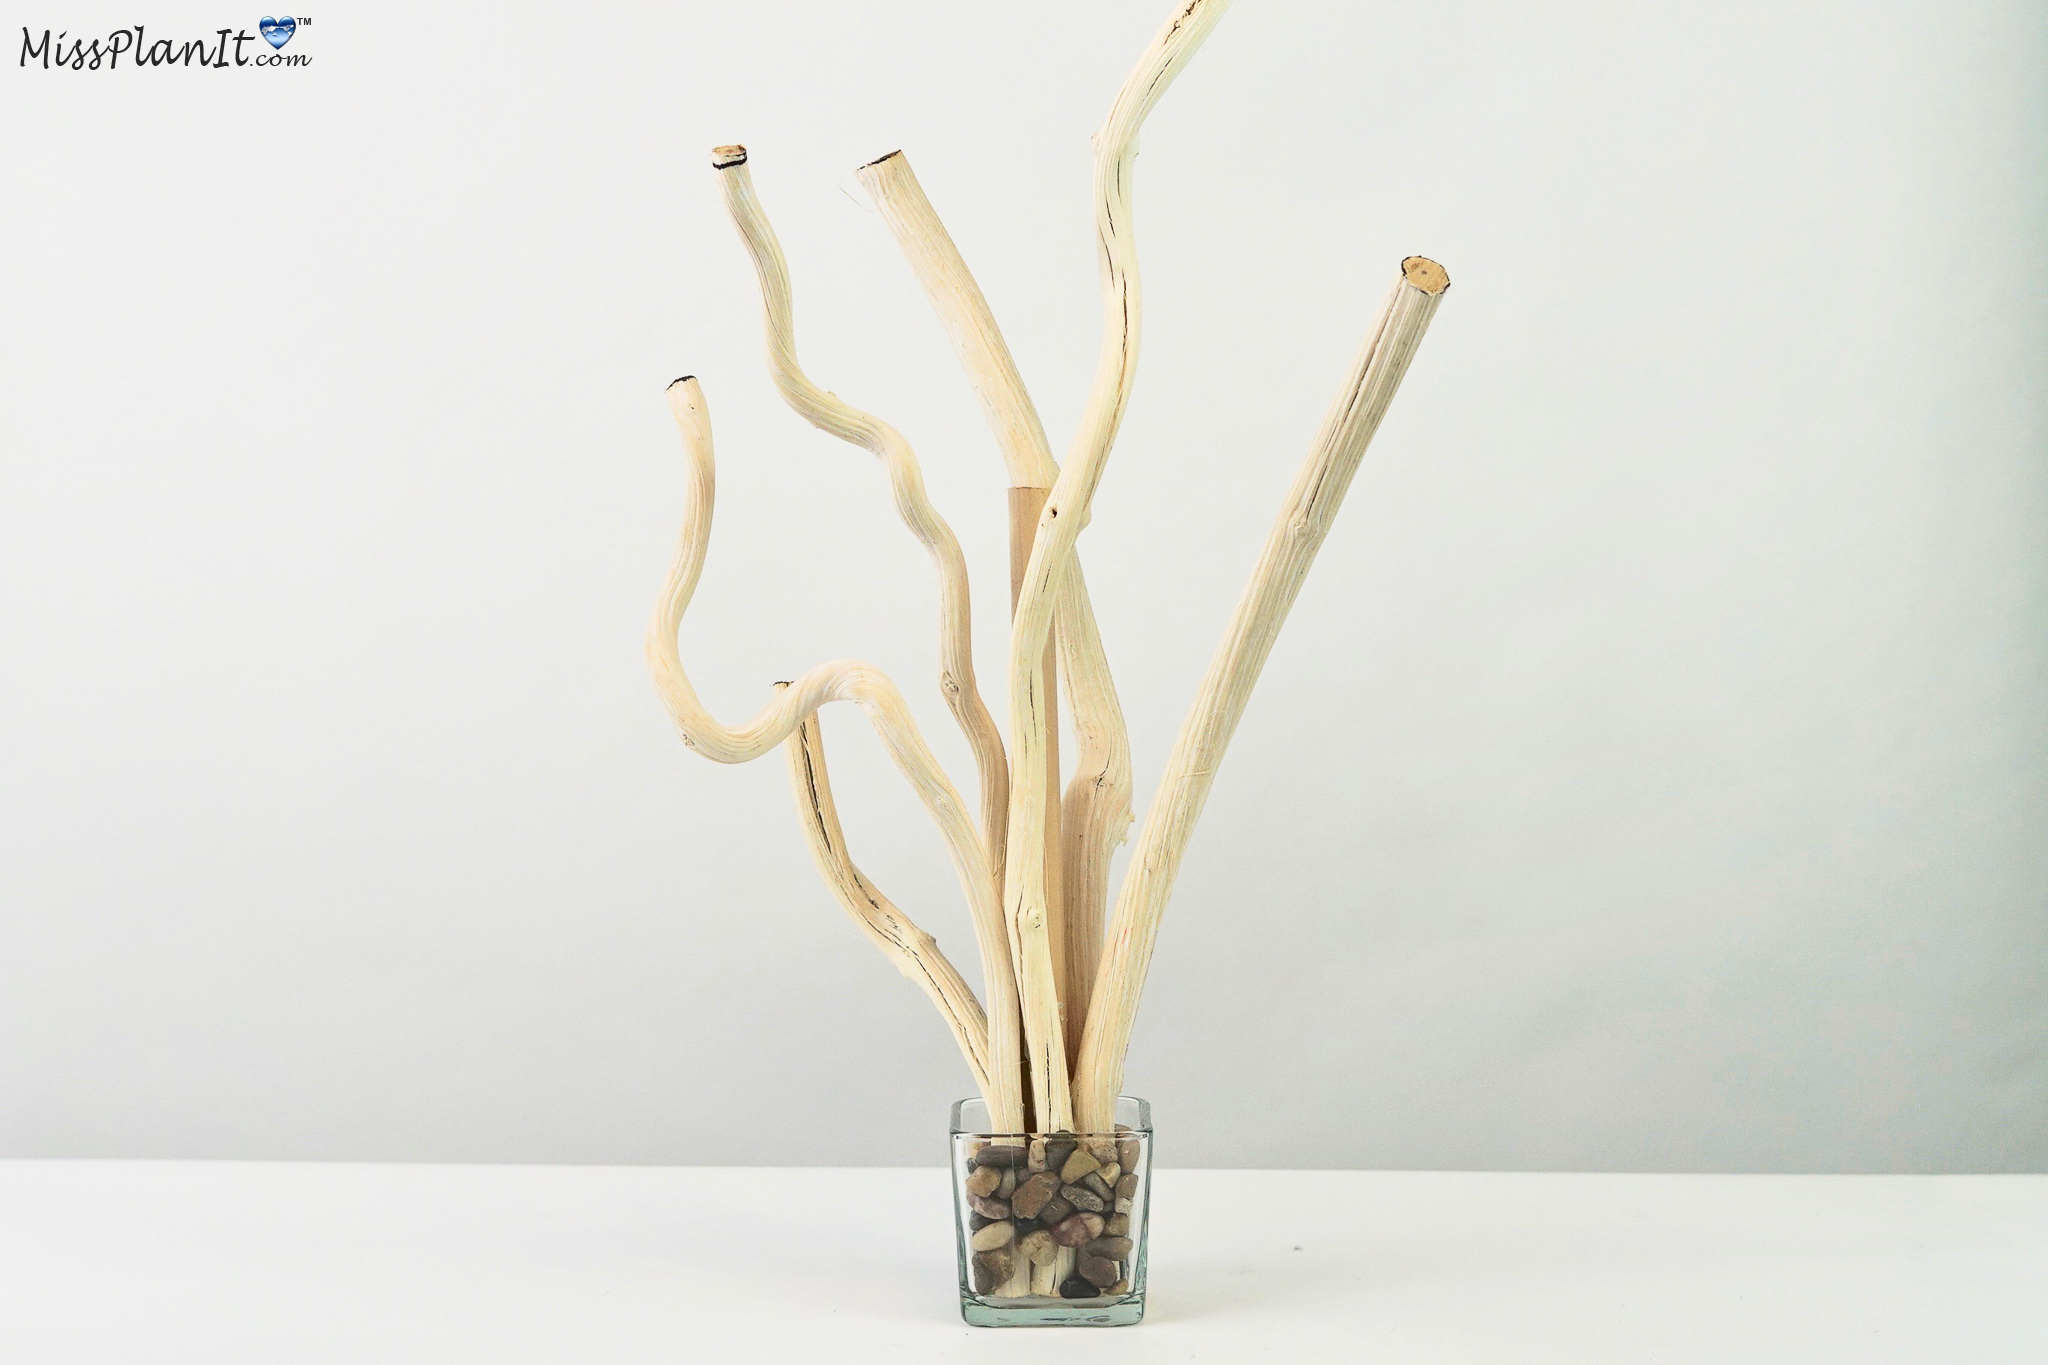
STEP 1: Trim the wooden dowel down to 14 inches. Apply high-heat hot glue to the end of the 3/4 inch wooden dowel and then insert it into the center of the 3 inch glass candleholder. Let it dry for 15 minutes before you start adding your dula logs to the dowel.
Hot Glue the Logs to the Glass Candleholder
STEP 2: Cut 3 of the whitewash dula logs down to your preferred height. Apply high-heat hot glue to the ends of each log, one at a time, and then place them in the candleholder surrounding your wooden dowel. Also apply high-heat hot glue in-between the dowel and the logs so the logs stick to the dowel. You can view the video above to see this step.
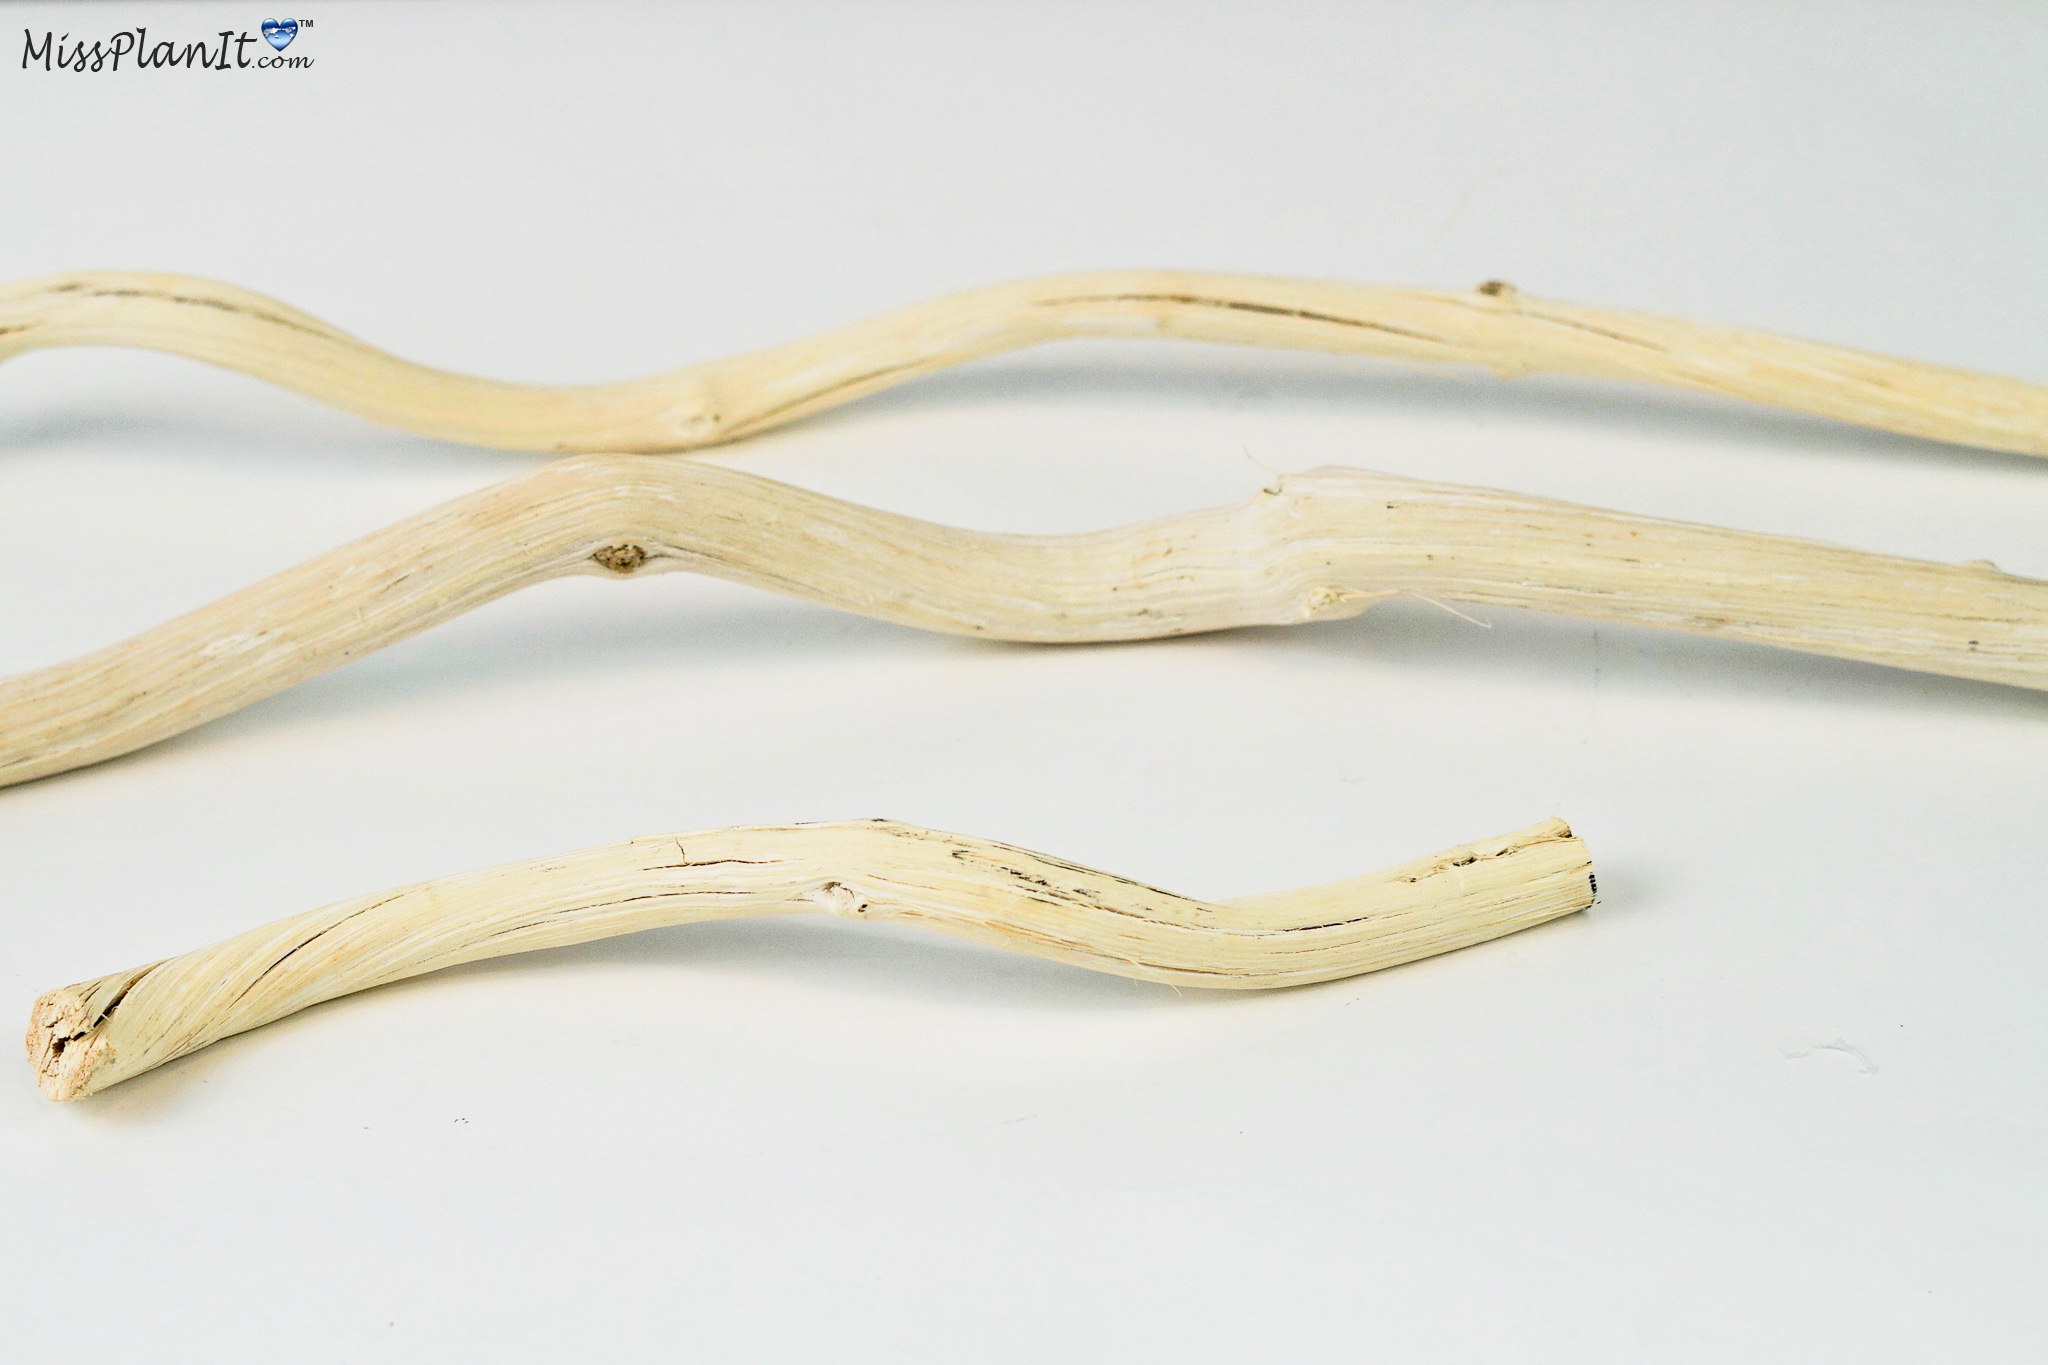
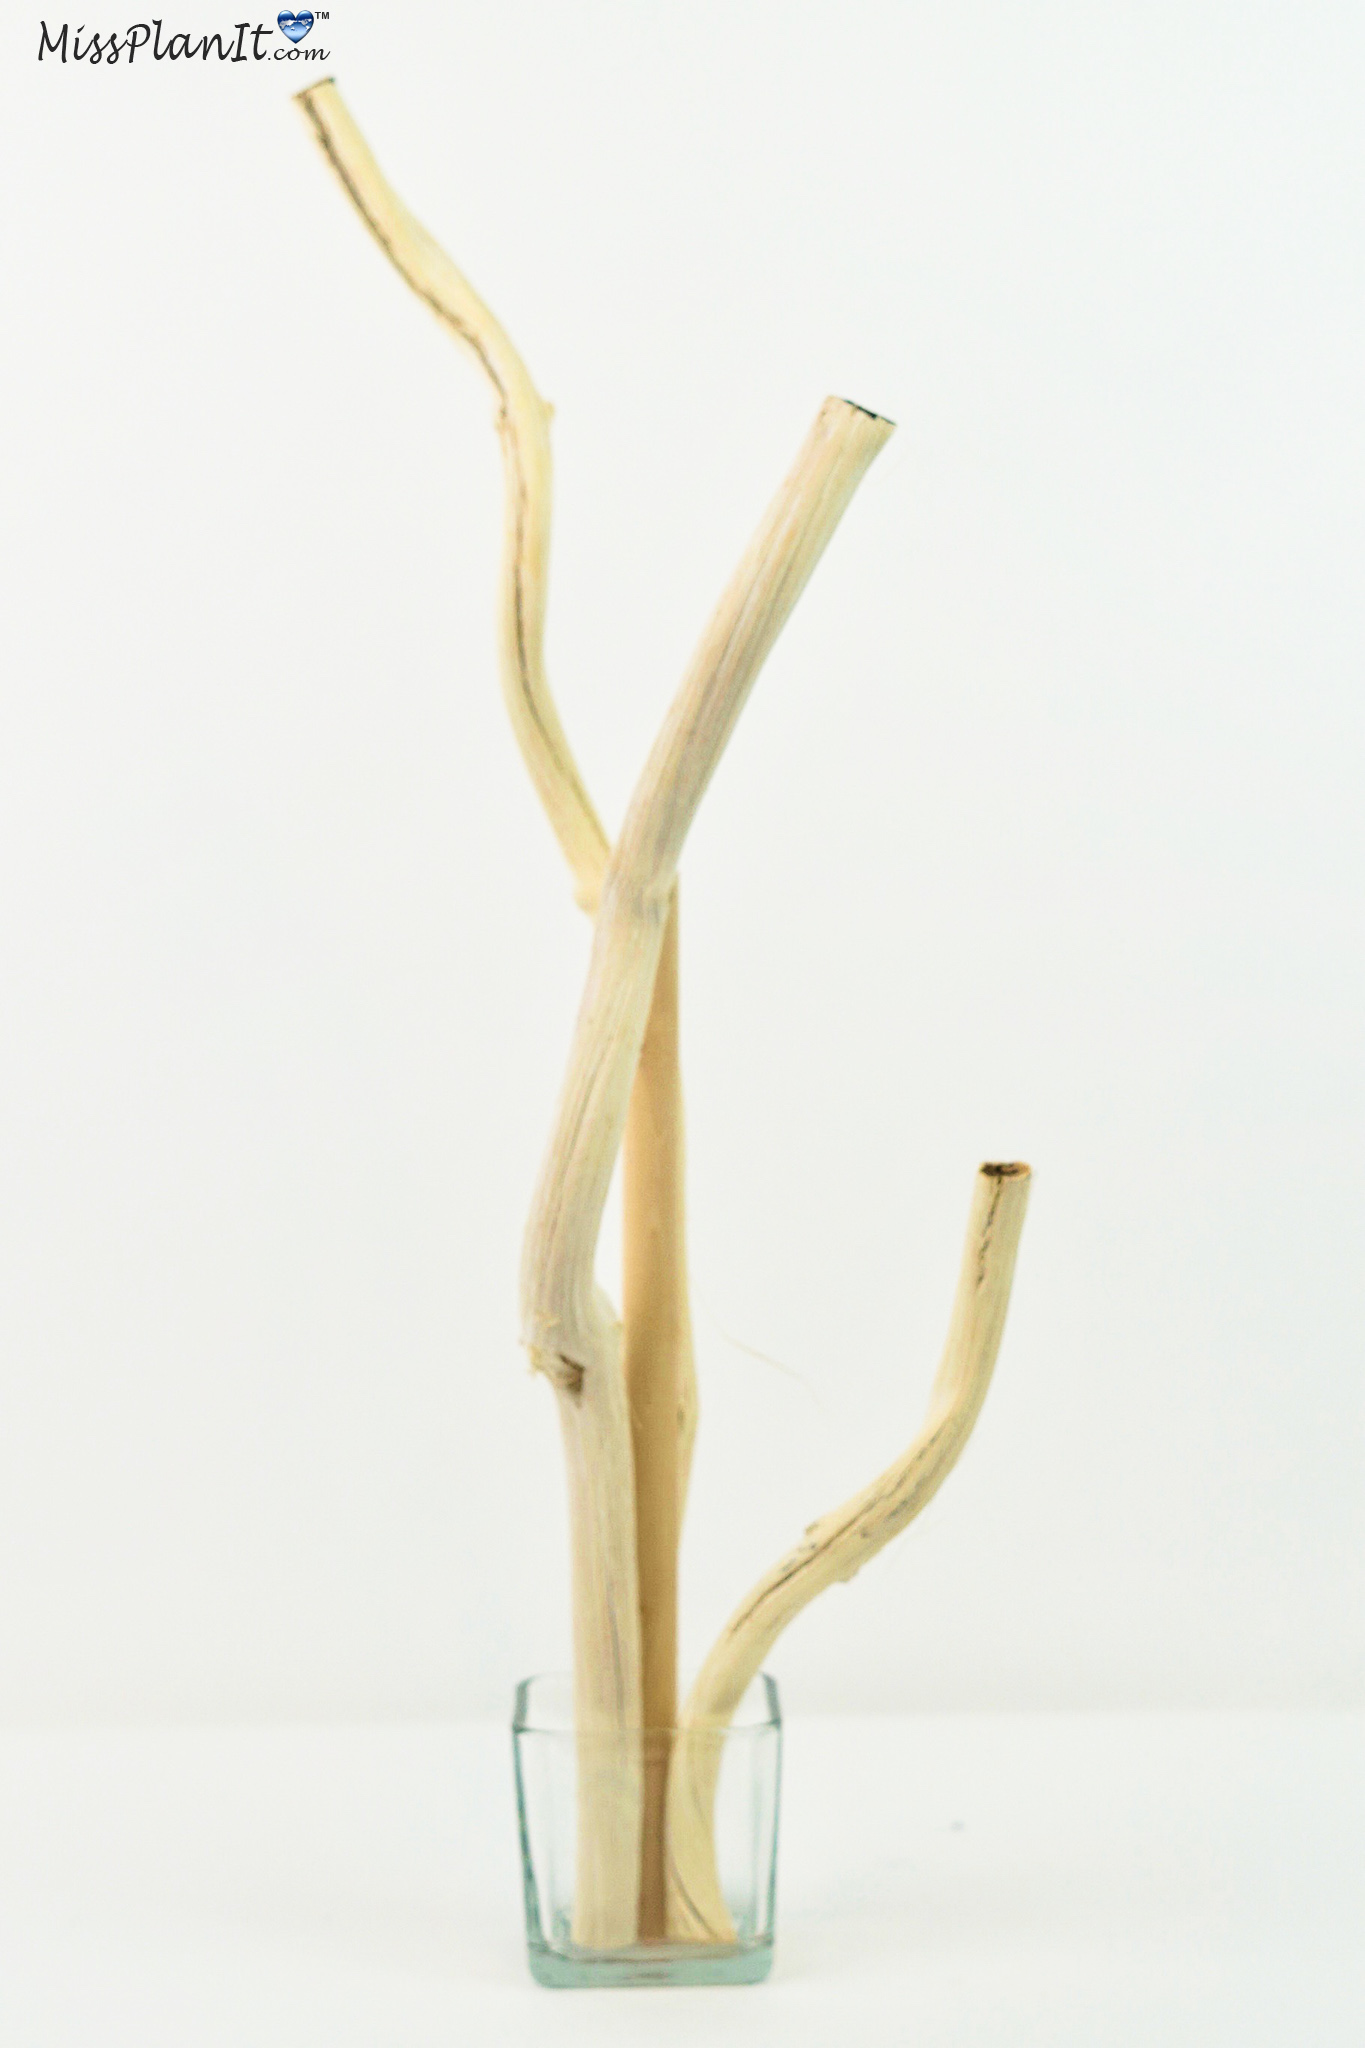
STEP 3: Attach floral wire around the logs and the dowel to keep it all in place and let it all dry for 15 minutes. Once everything is dry, attach an additional 3 logs. Wrap floral wire around all the logs and dowel and let this also dry for 15 minutes. To ensure the candleholder does not fall over, add multi-color river rocks for stability.
Make the Moss Balls
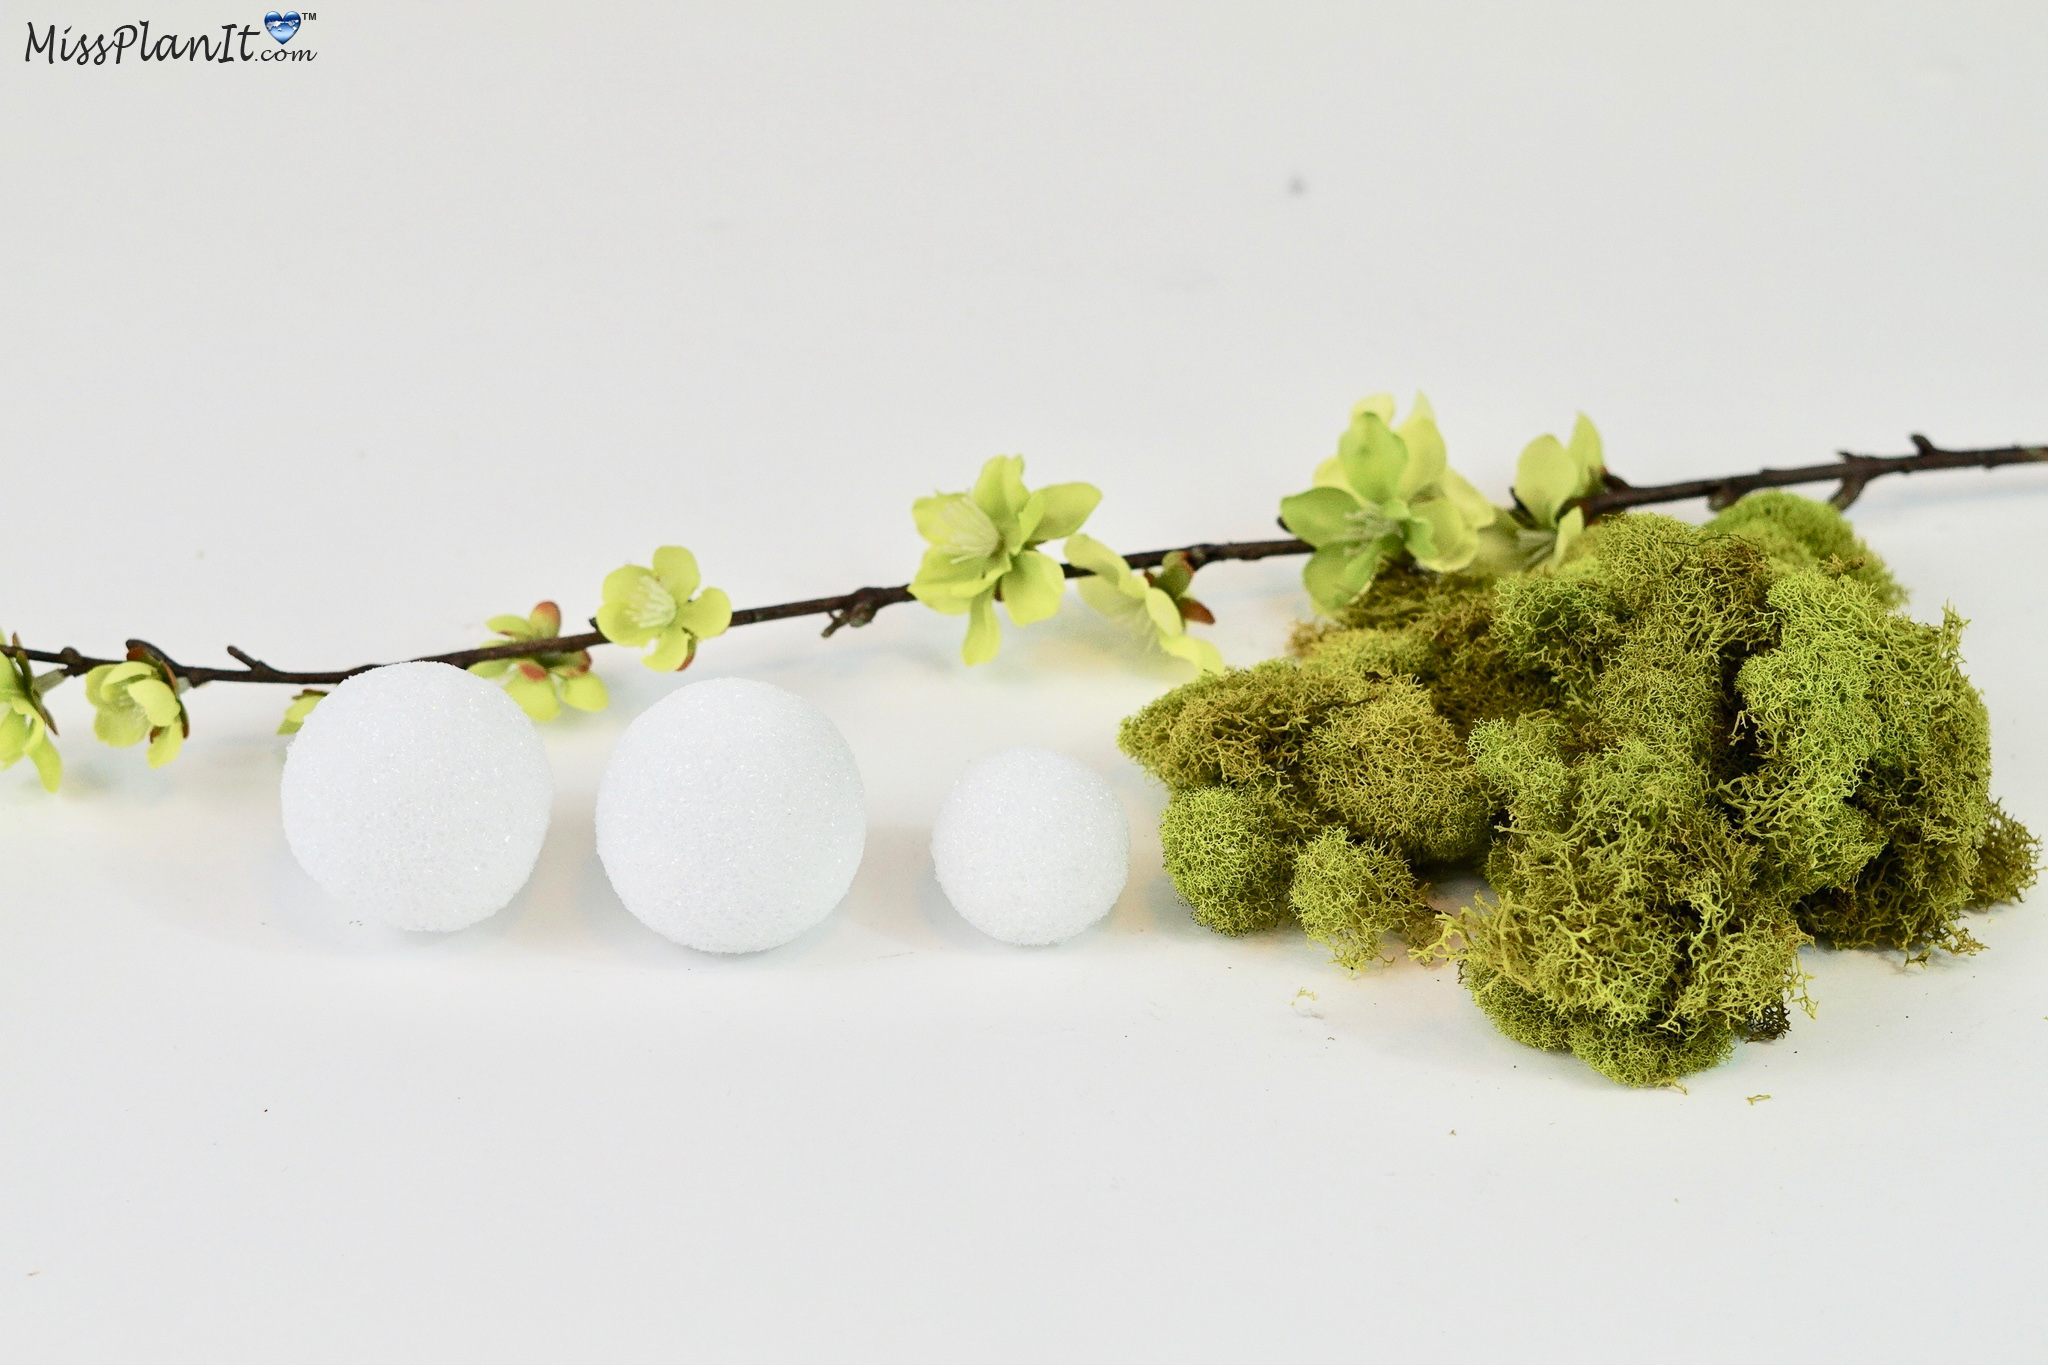
STEP 4: Press two 1 inch and two 3/4 inch foam balls against the end of the logs to make an indention. This will help it attach easily once you glue your moss balls to it. Next cover them with elmer’s glue and then attach your green moss. Leave a few white spaces on the foam ball. Remove the cherry blossoms from the stem and then hot glue them to the white spaces. Make a total of 4 of these and attach them to 4 of the logs with hot glue.
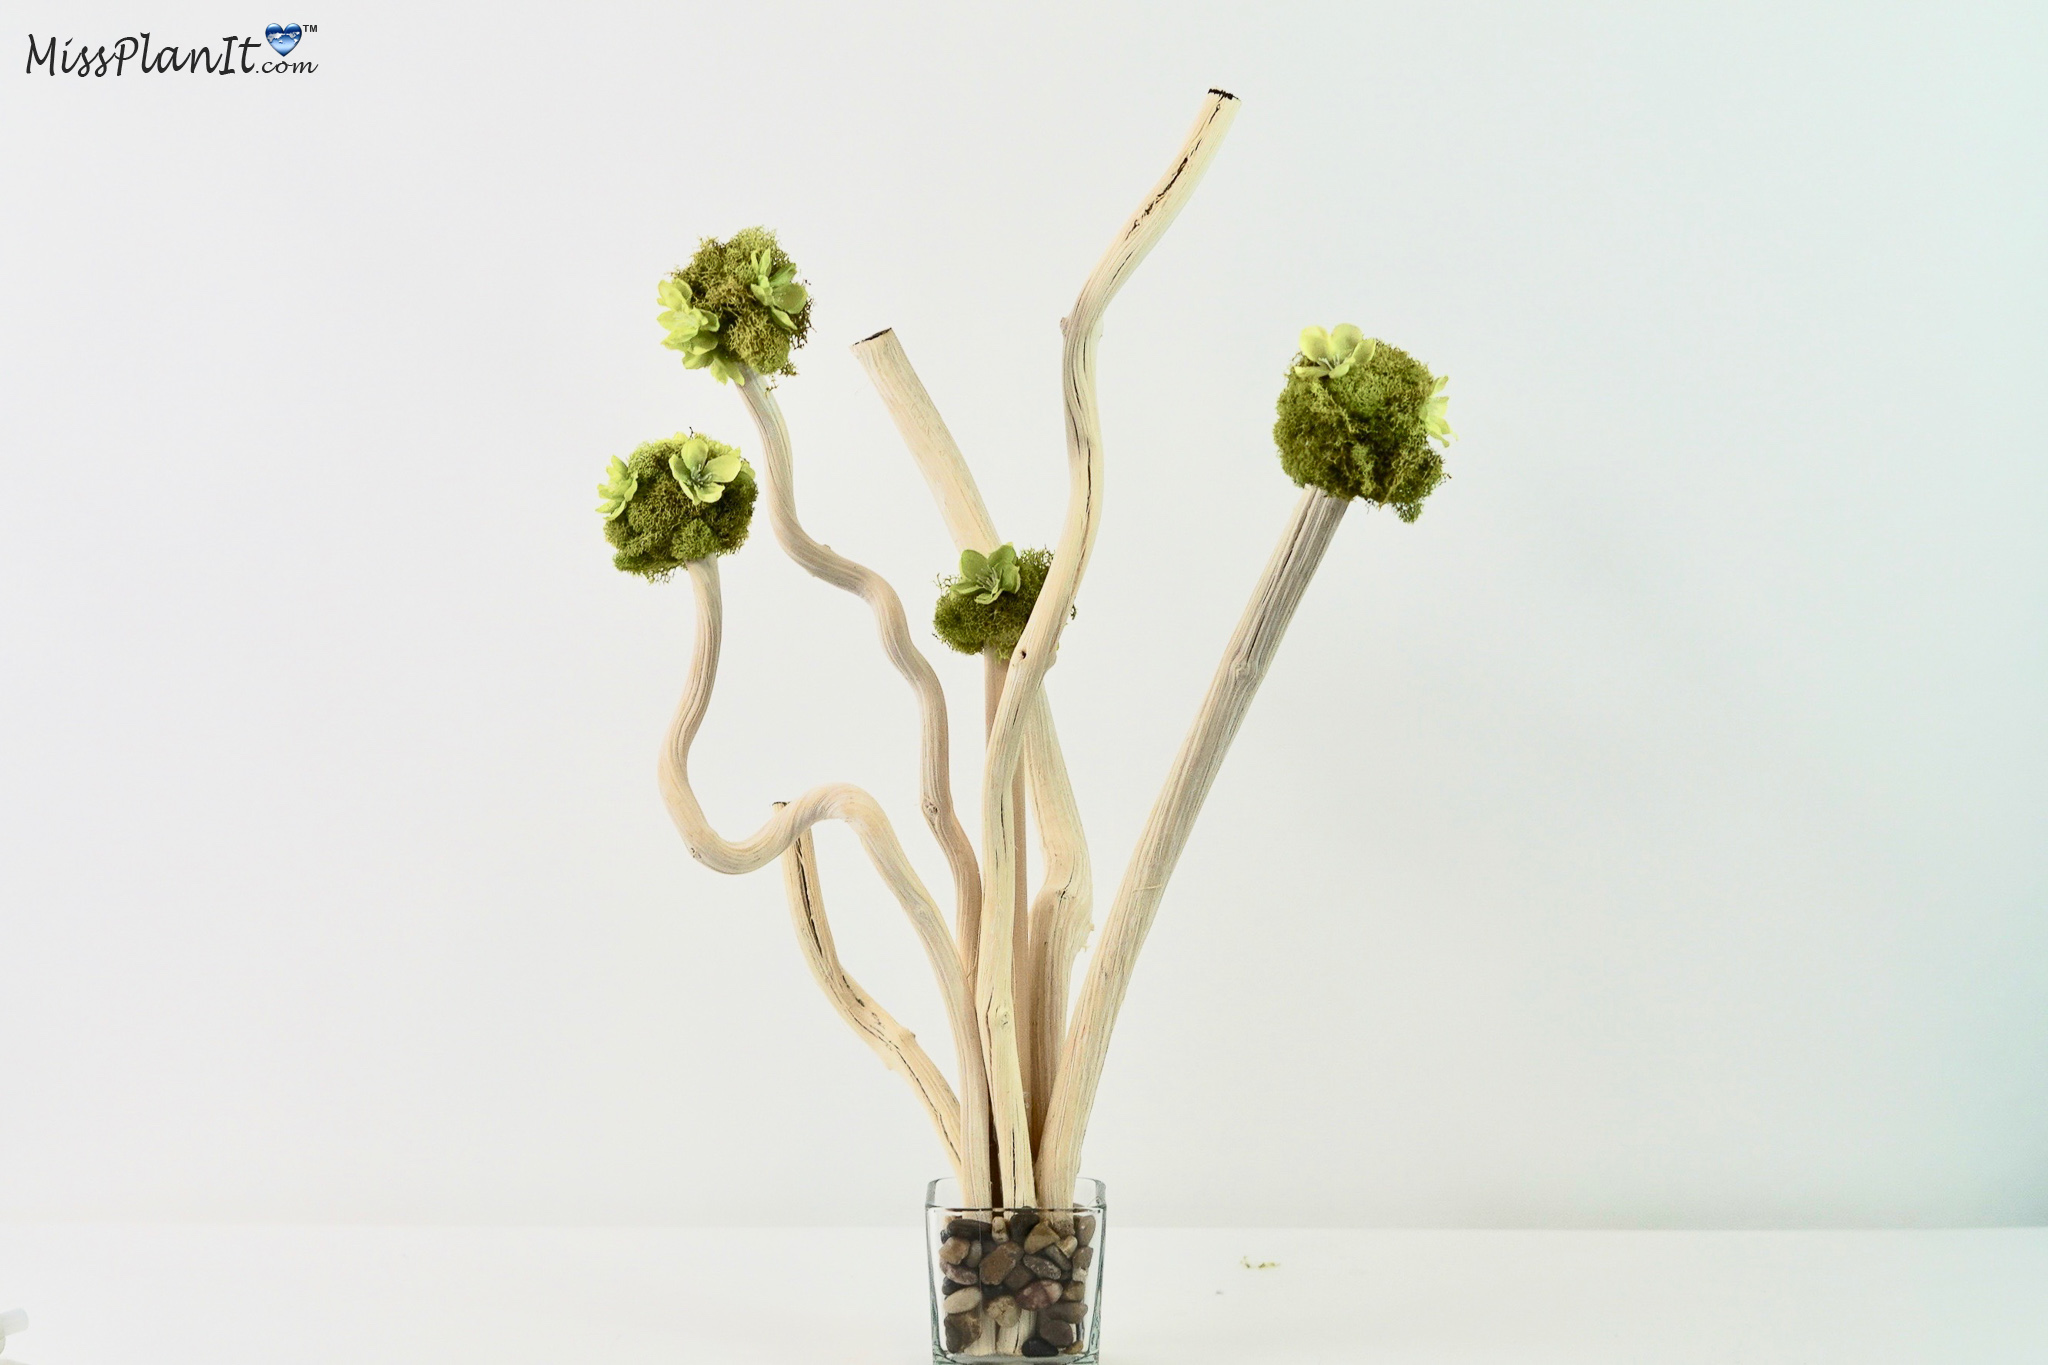
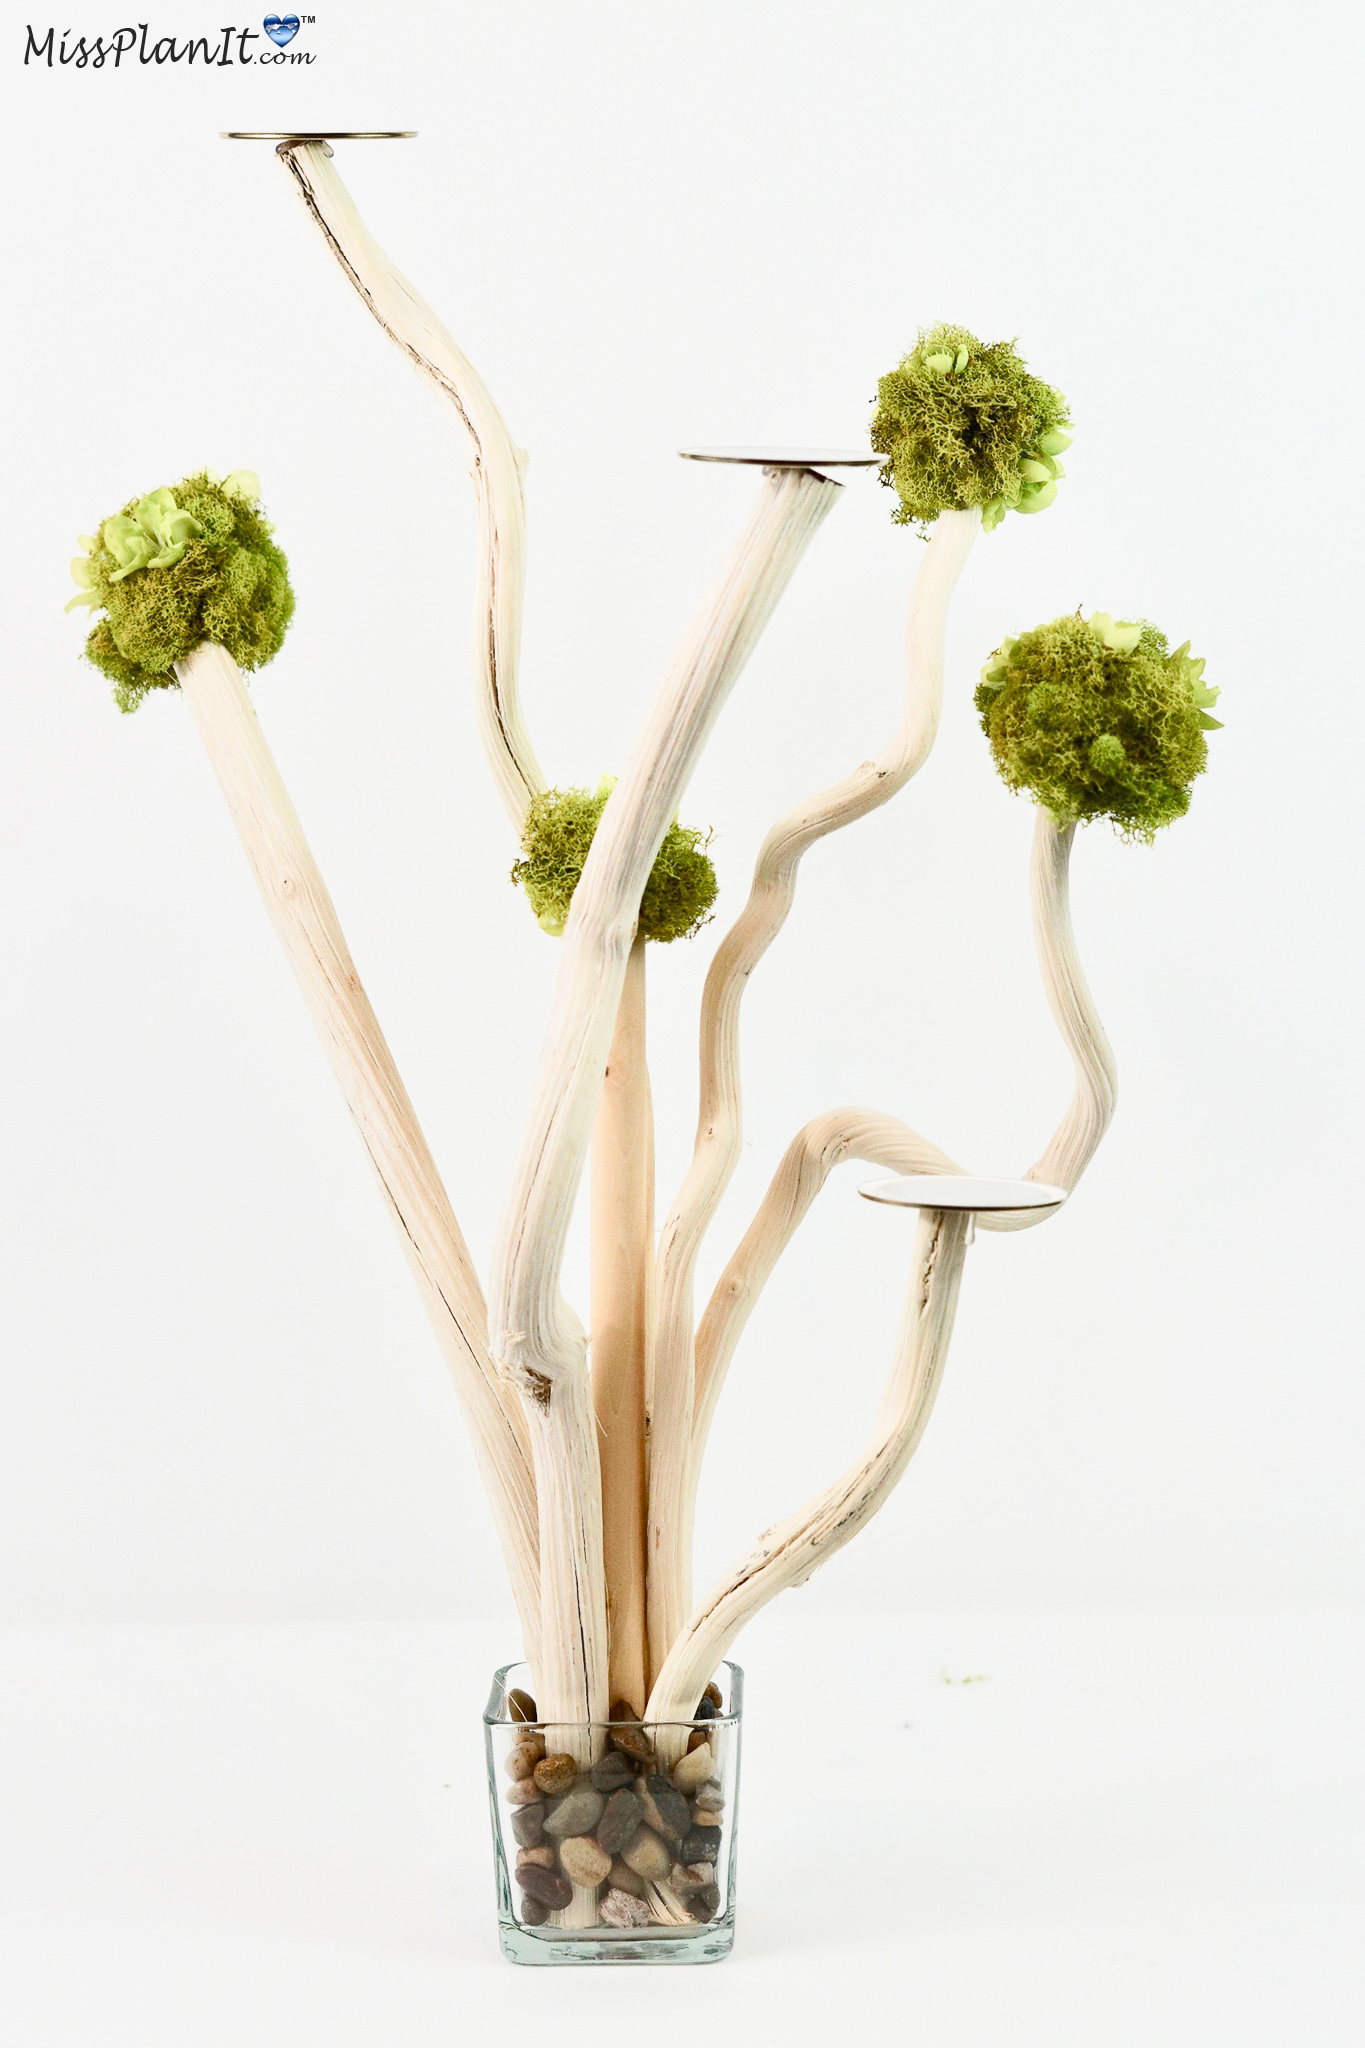
STEP 5: Remove the inner lid from two of the mason jars. Next apply hot glue to the two remaining logs. Place the lids on each log and use a handy level to be sure each lid is level. Look at the bubble on the level, if it is in the center, you know it is level. The candles will sit on each lid so you want to make sure the lids are level.
THE FINAL STEPS!
STEP 6: Hot glue 8-12 orchid stems to the candler holder base and to the logs. Lastly, place the LED pillar candles on the two lids.
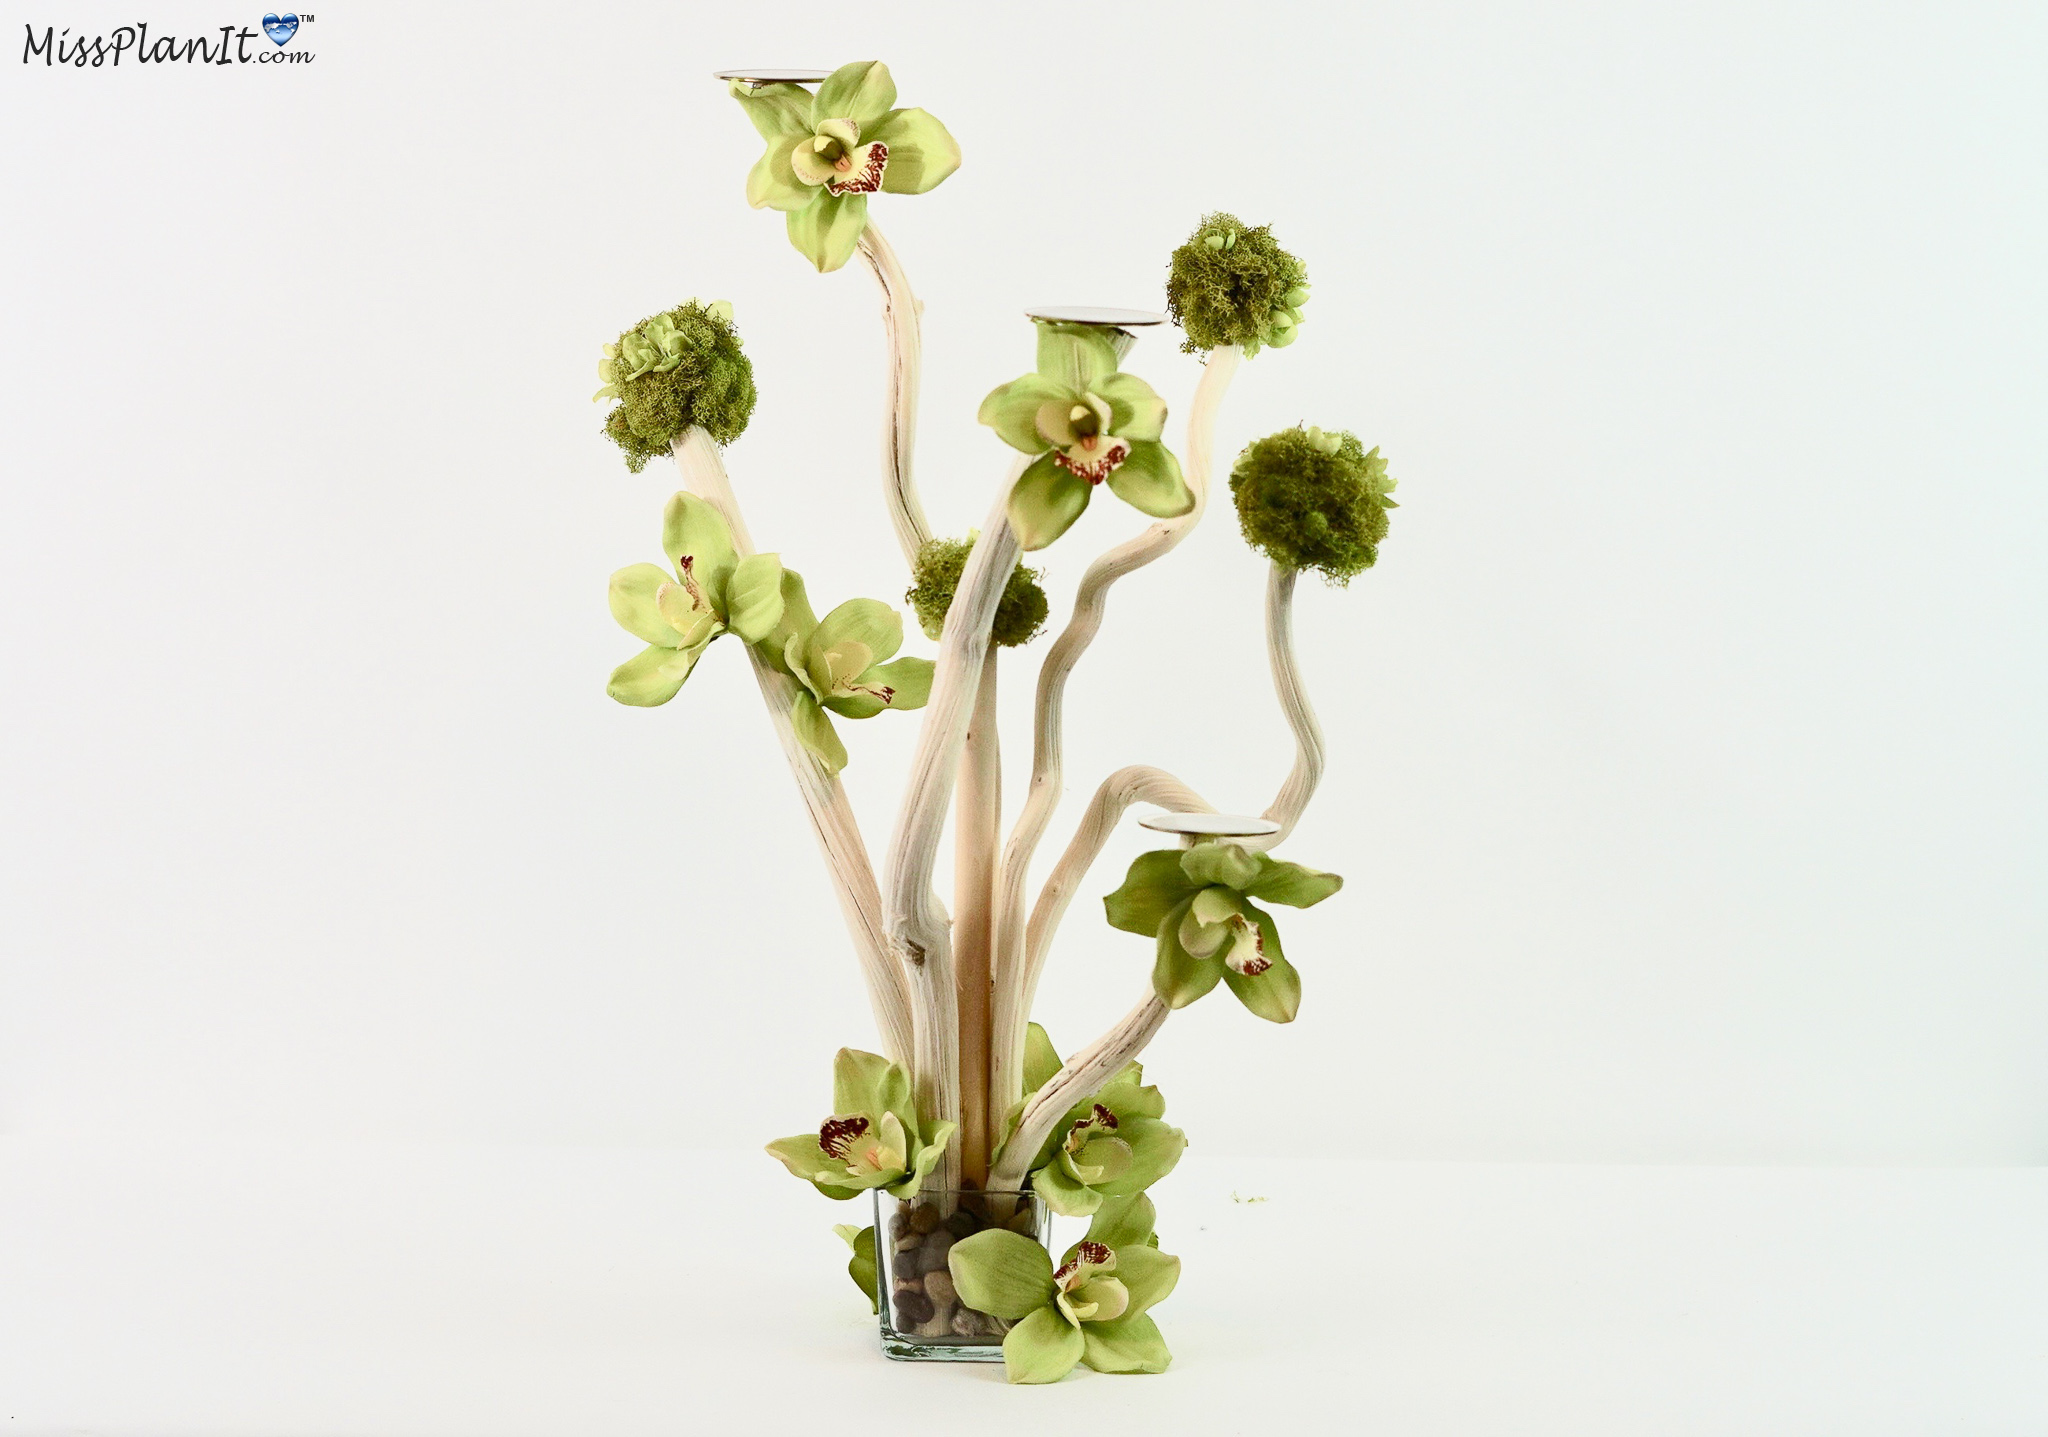
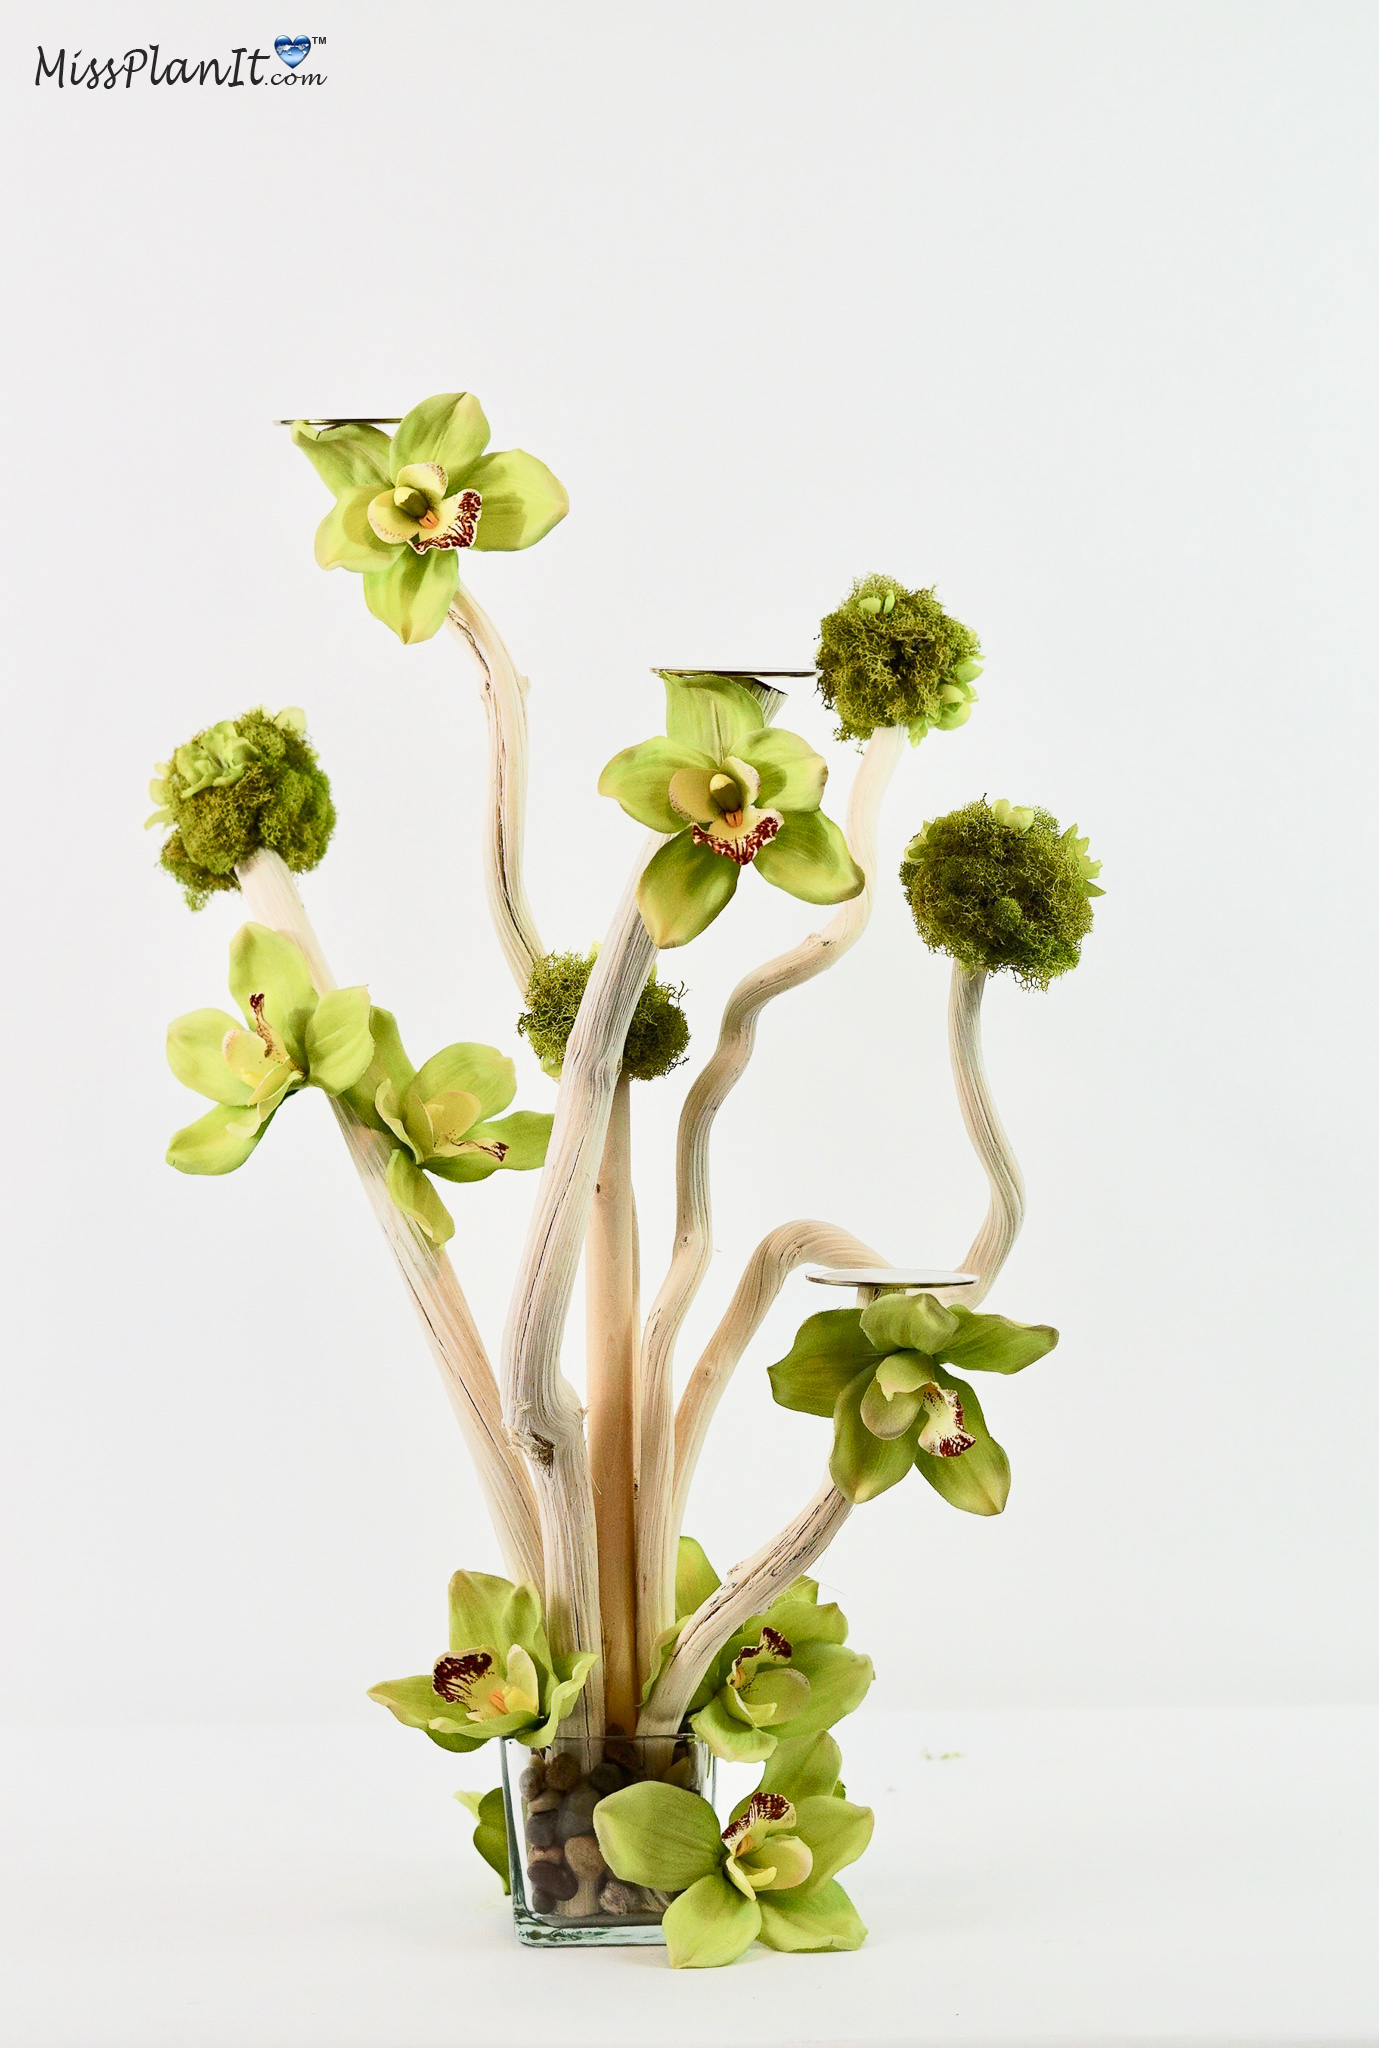

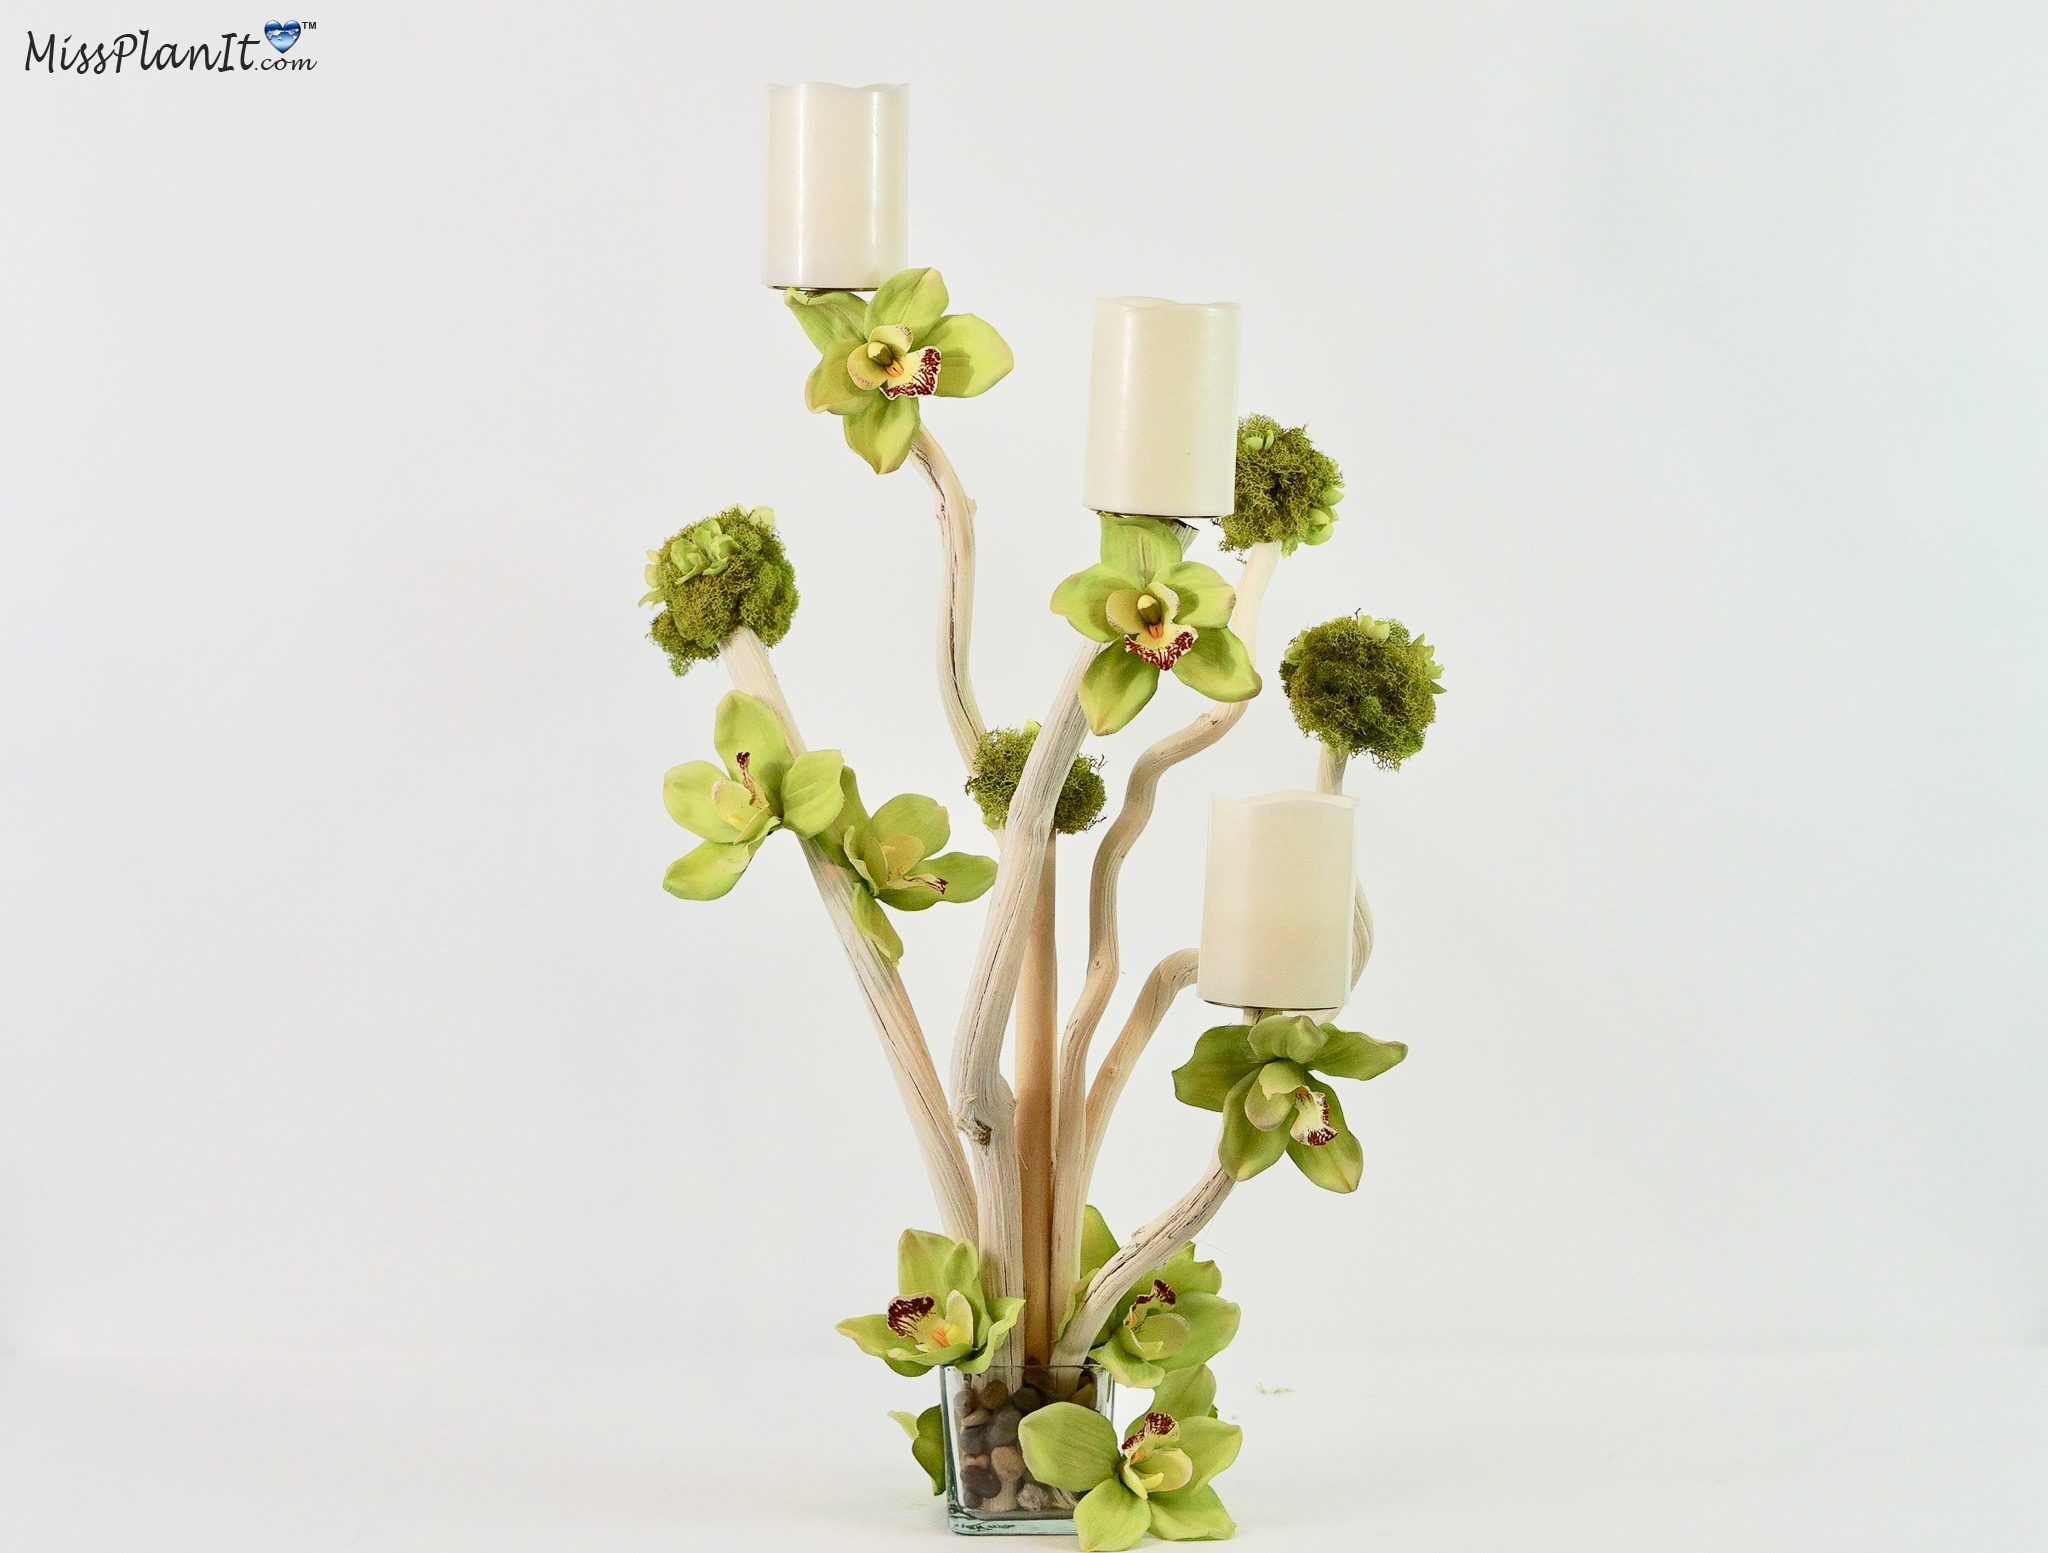
I absolutely love how this DIY glam rustic wedding centerpiece turned out! The outcome is amazing and definitely gives you an extra special touch to your wedding!
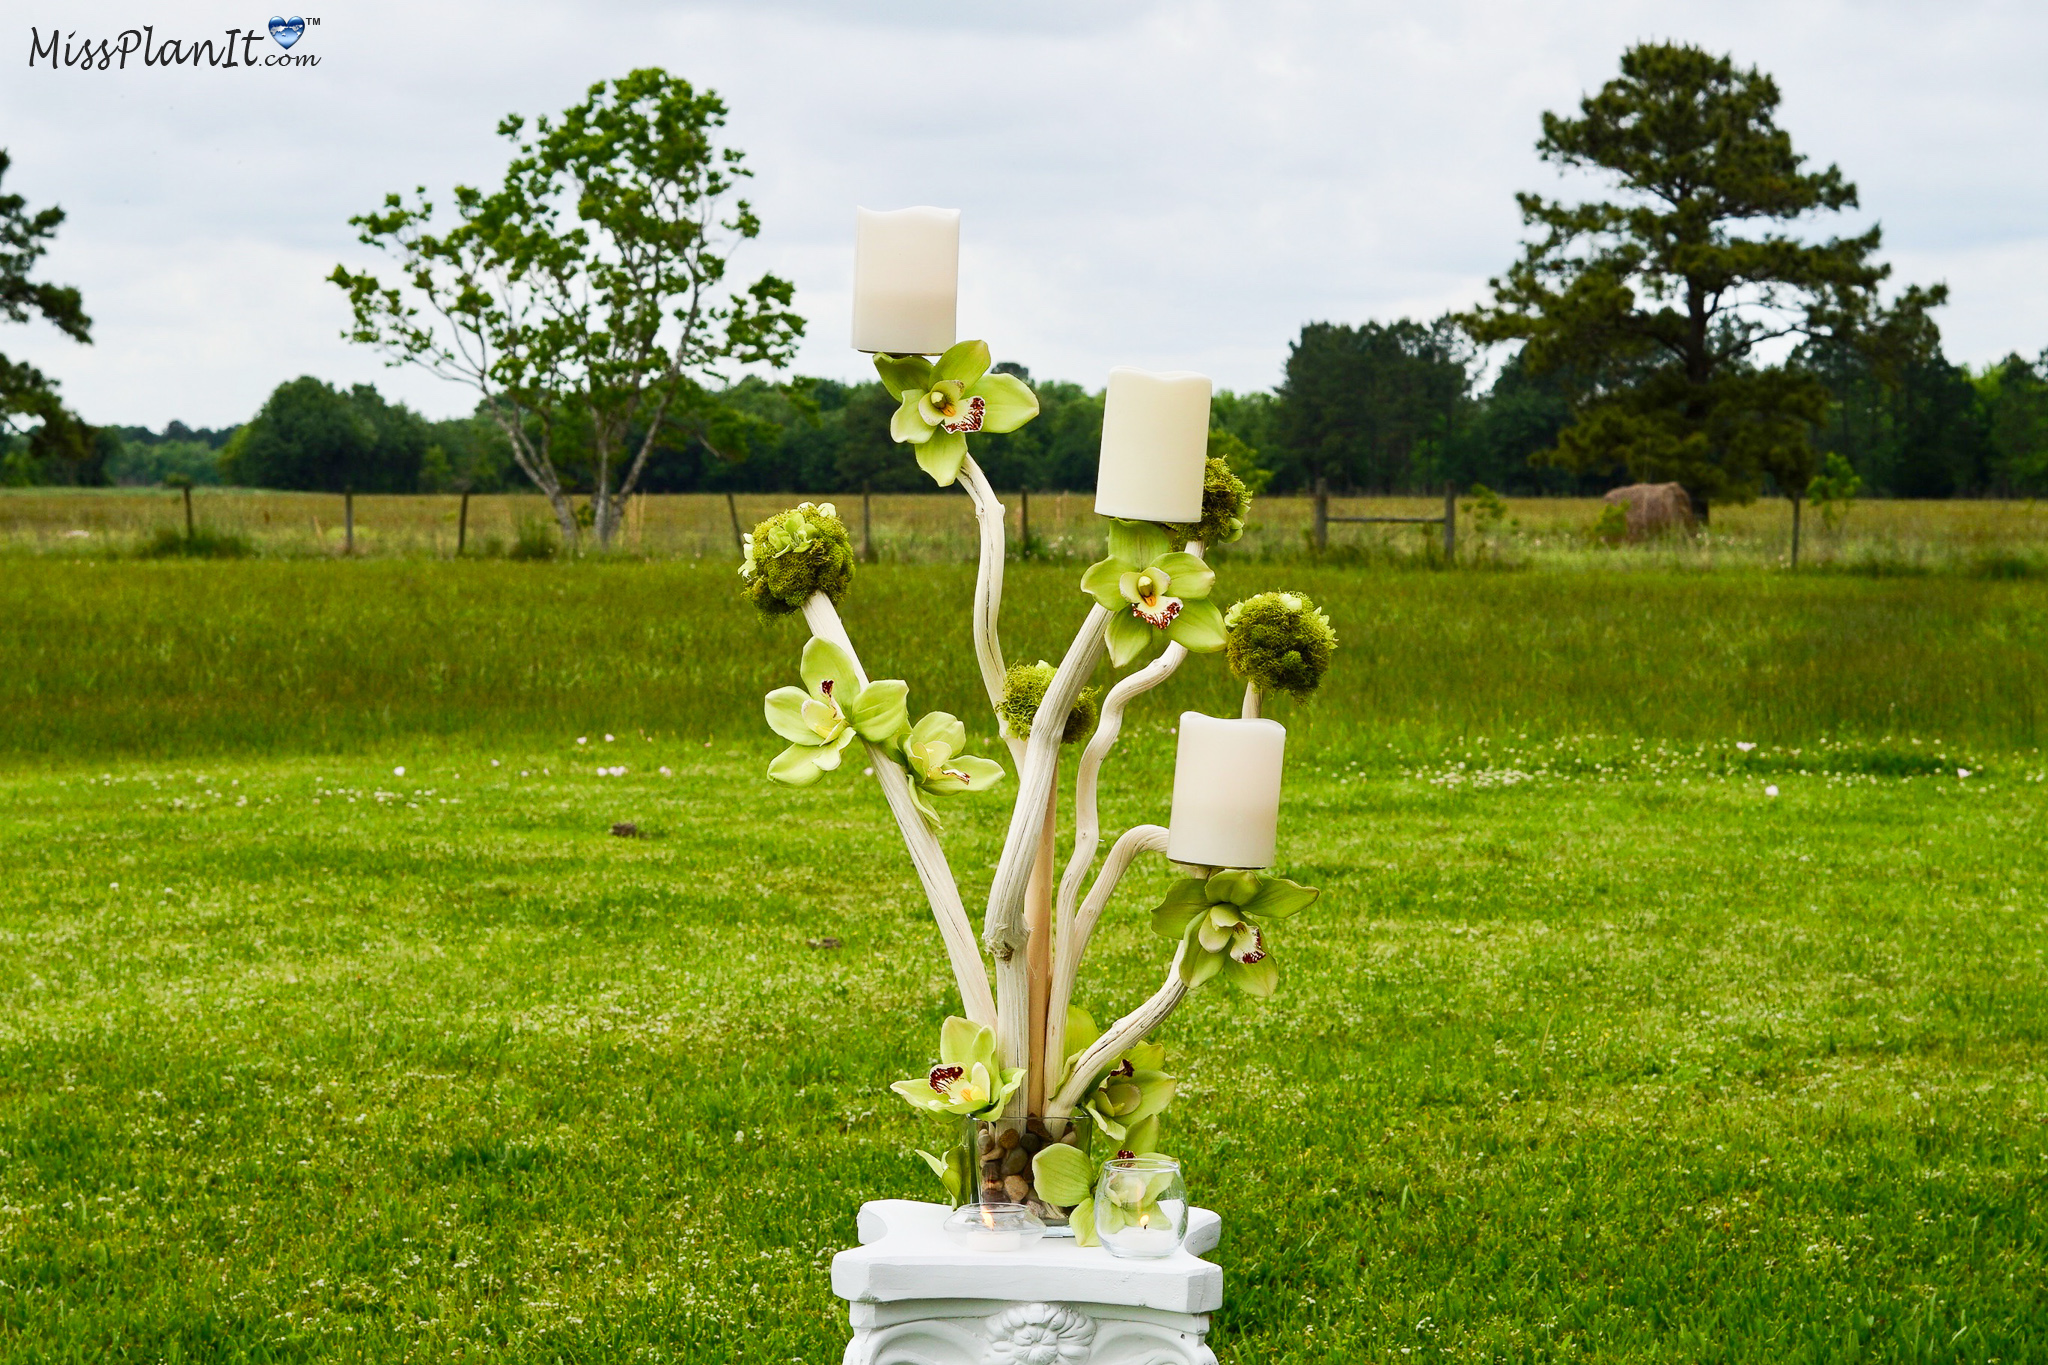
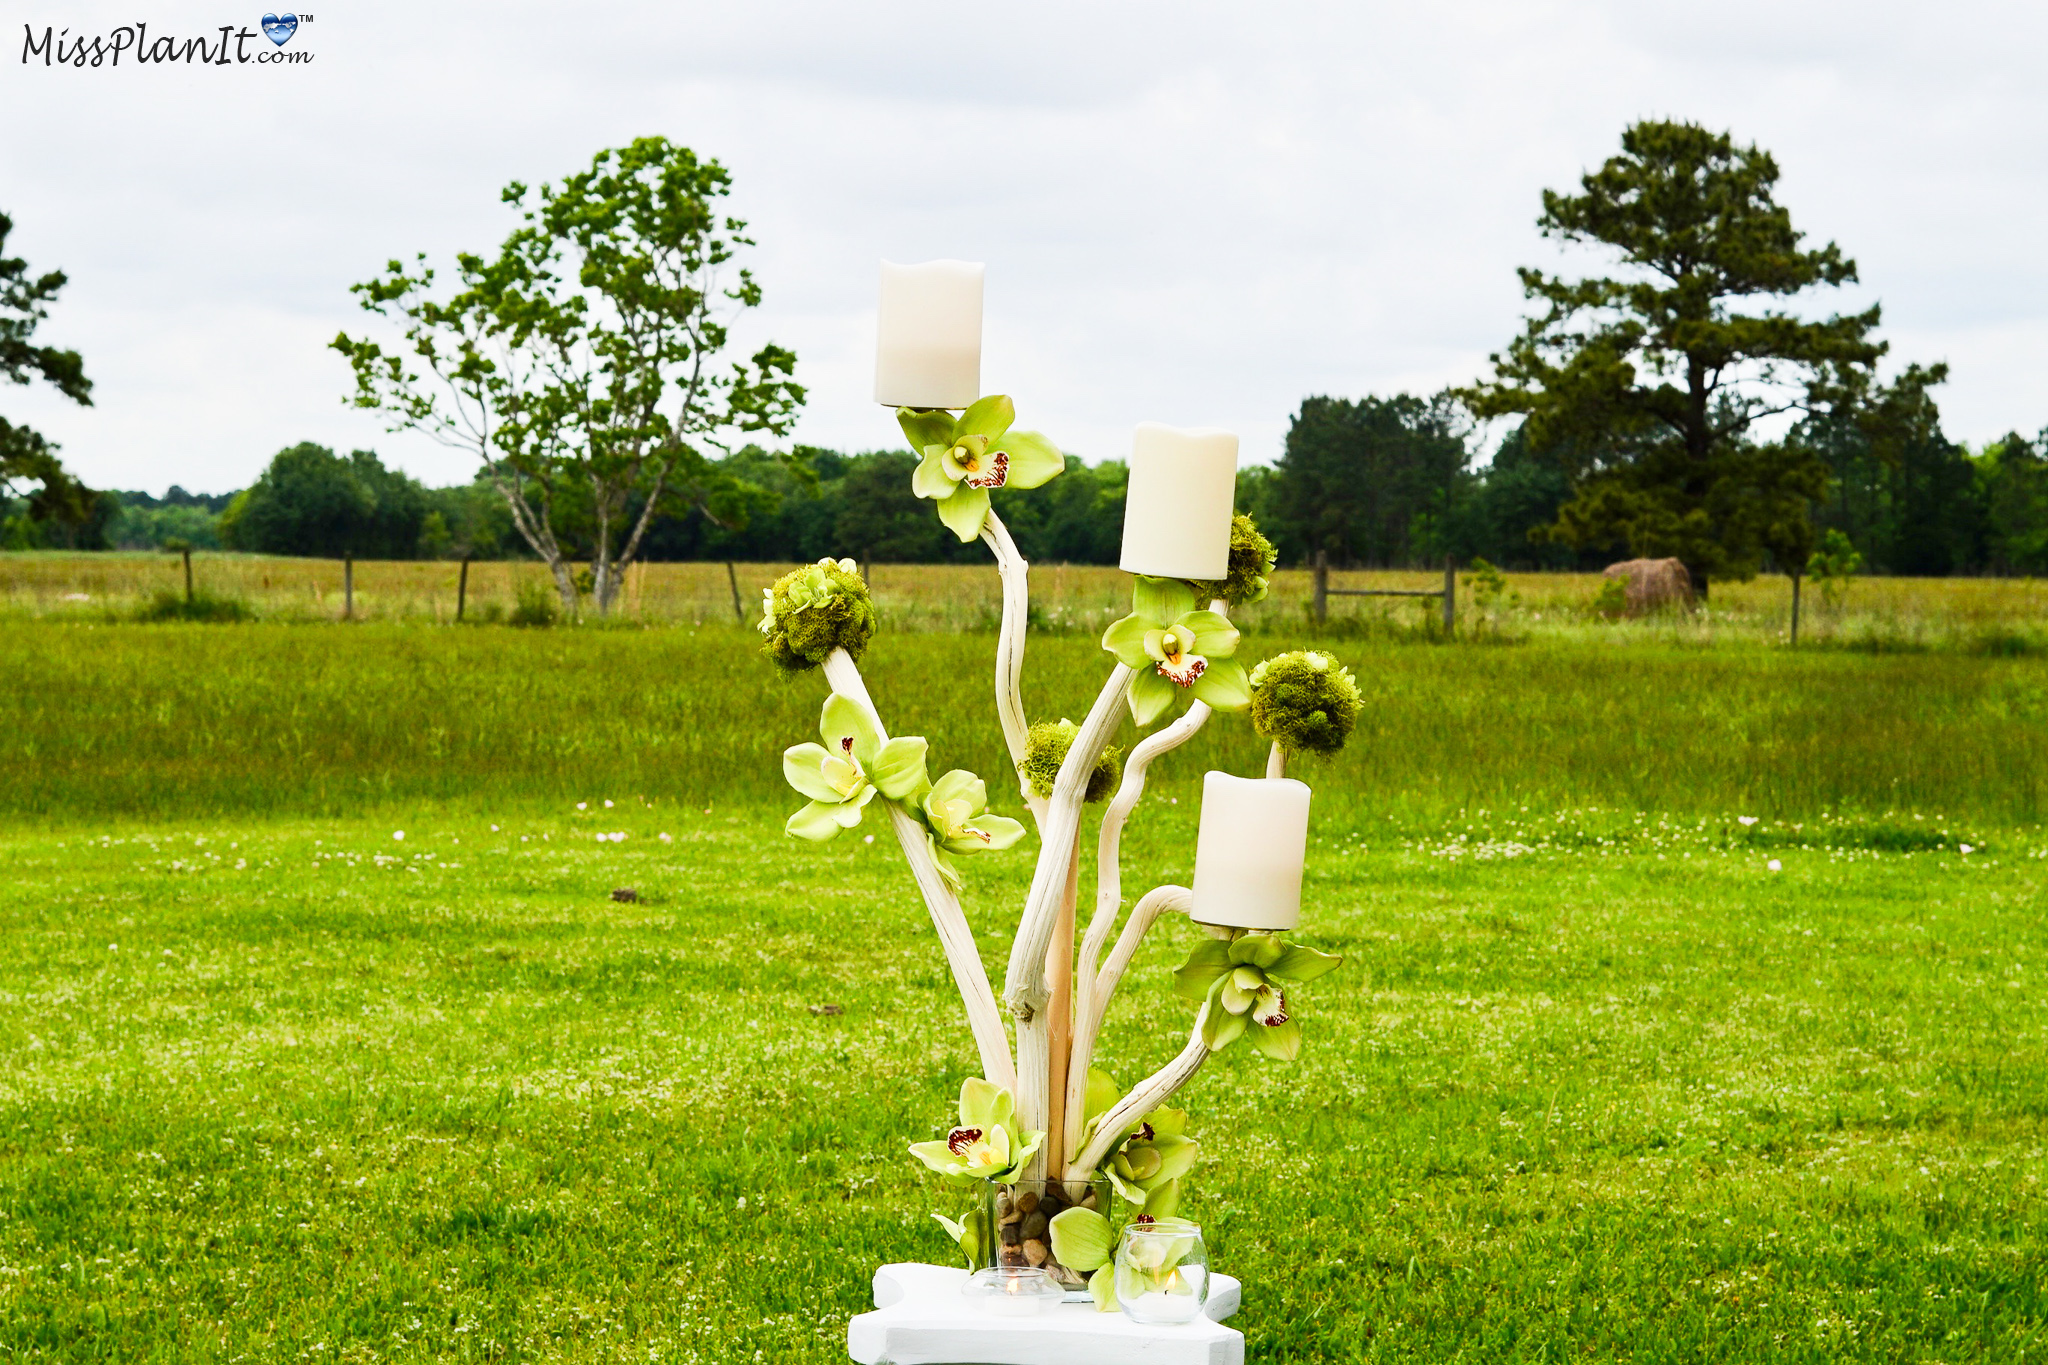
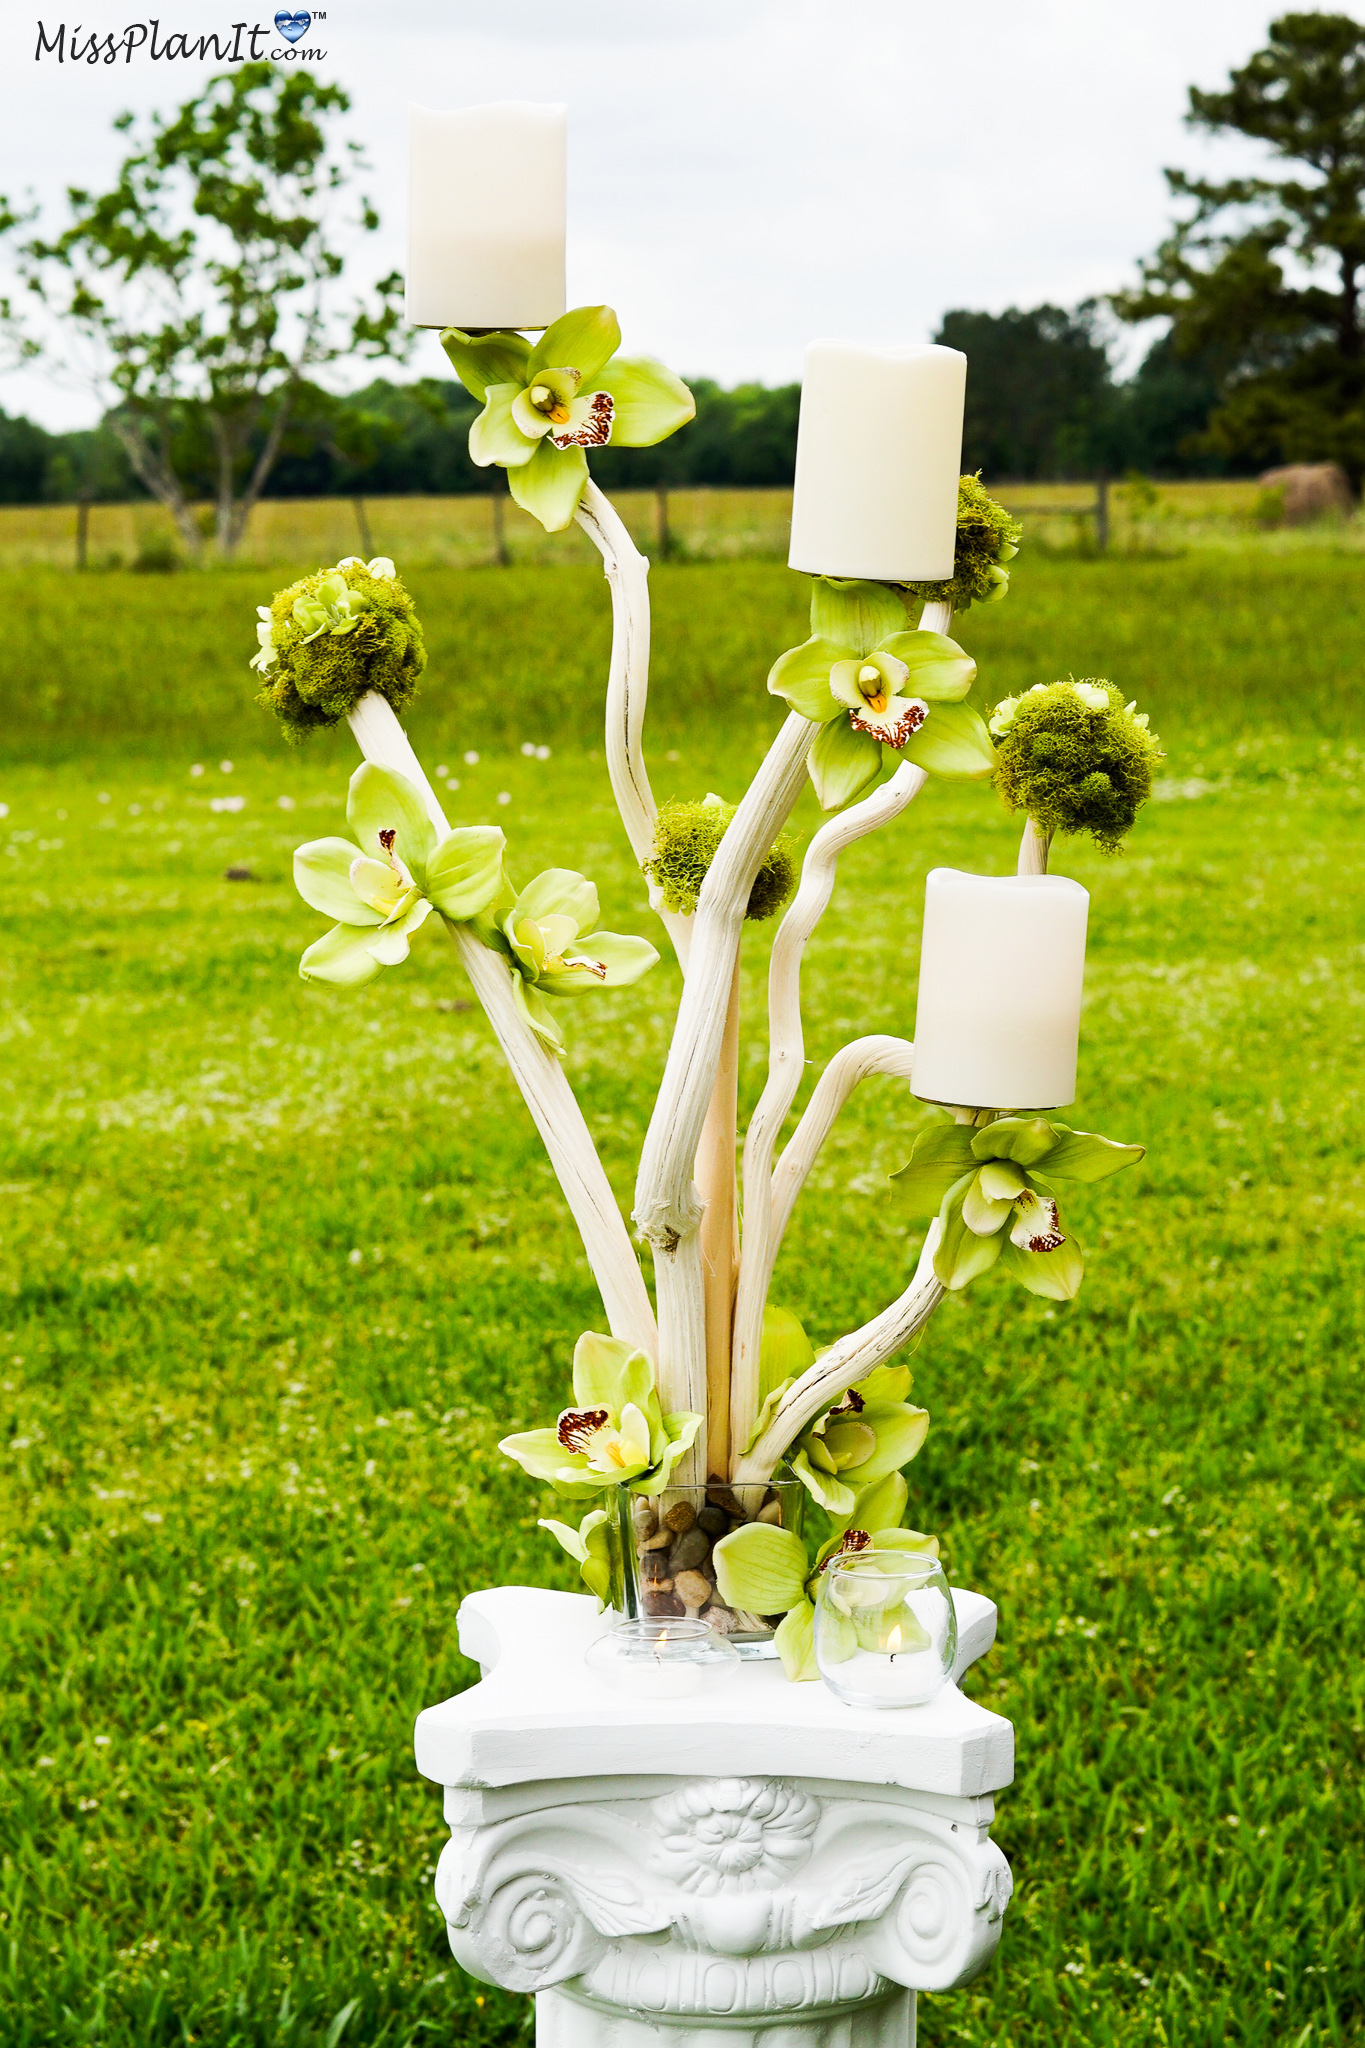
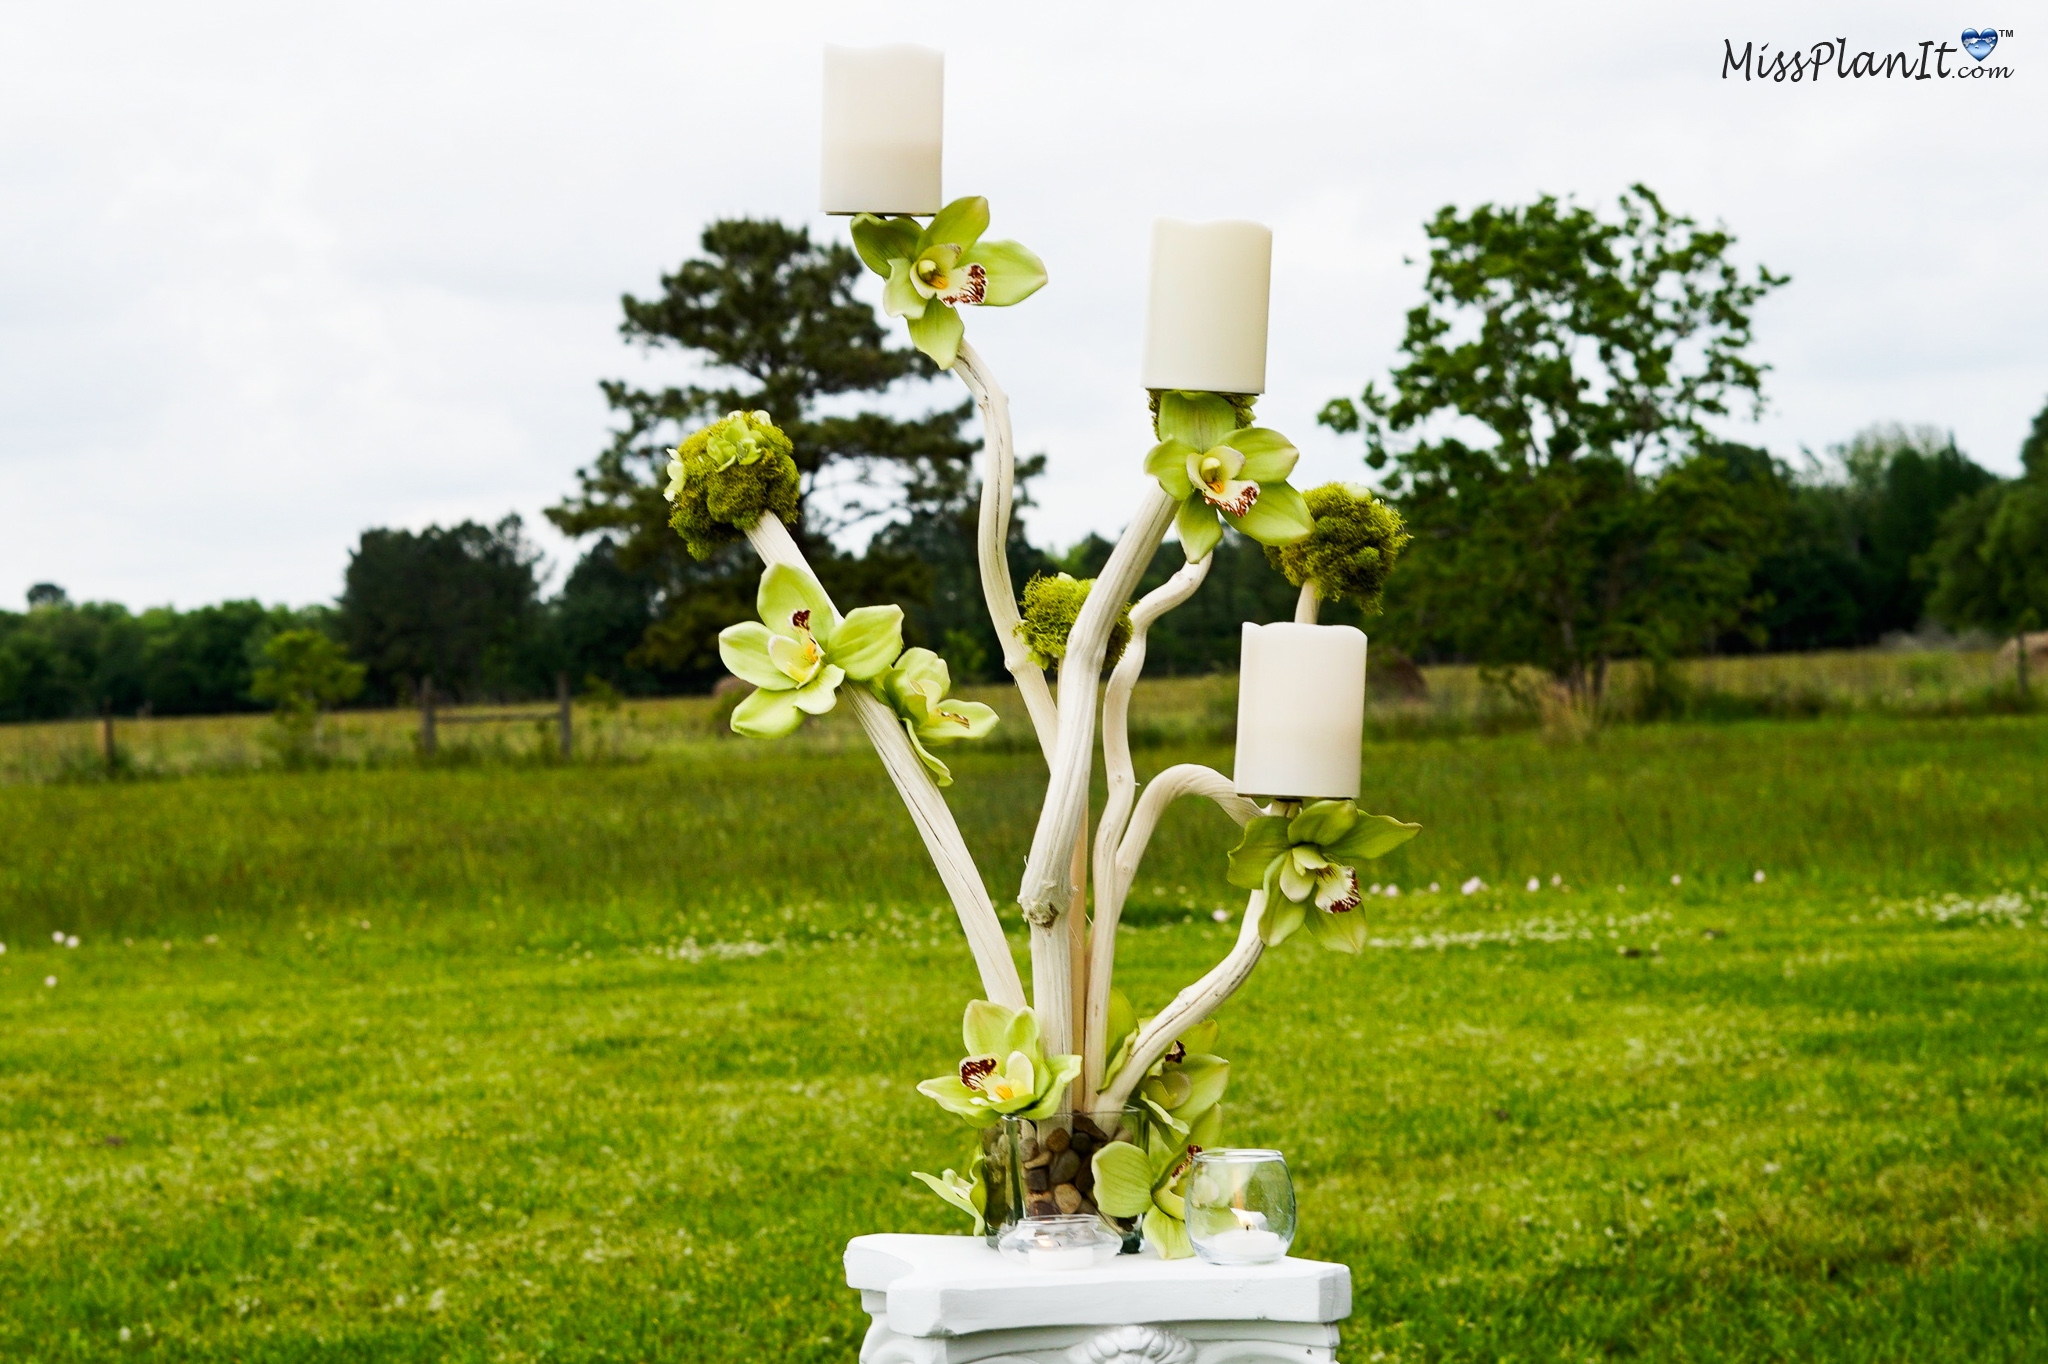
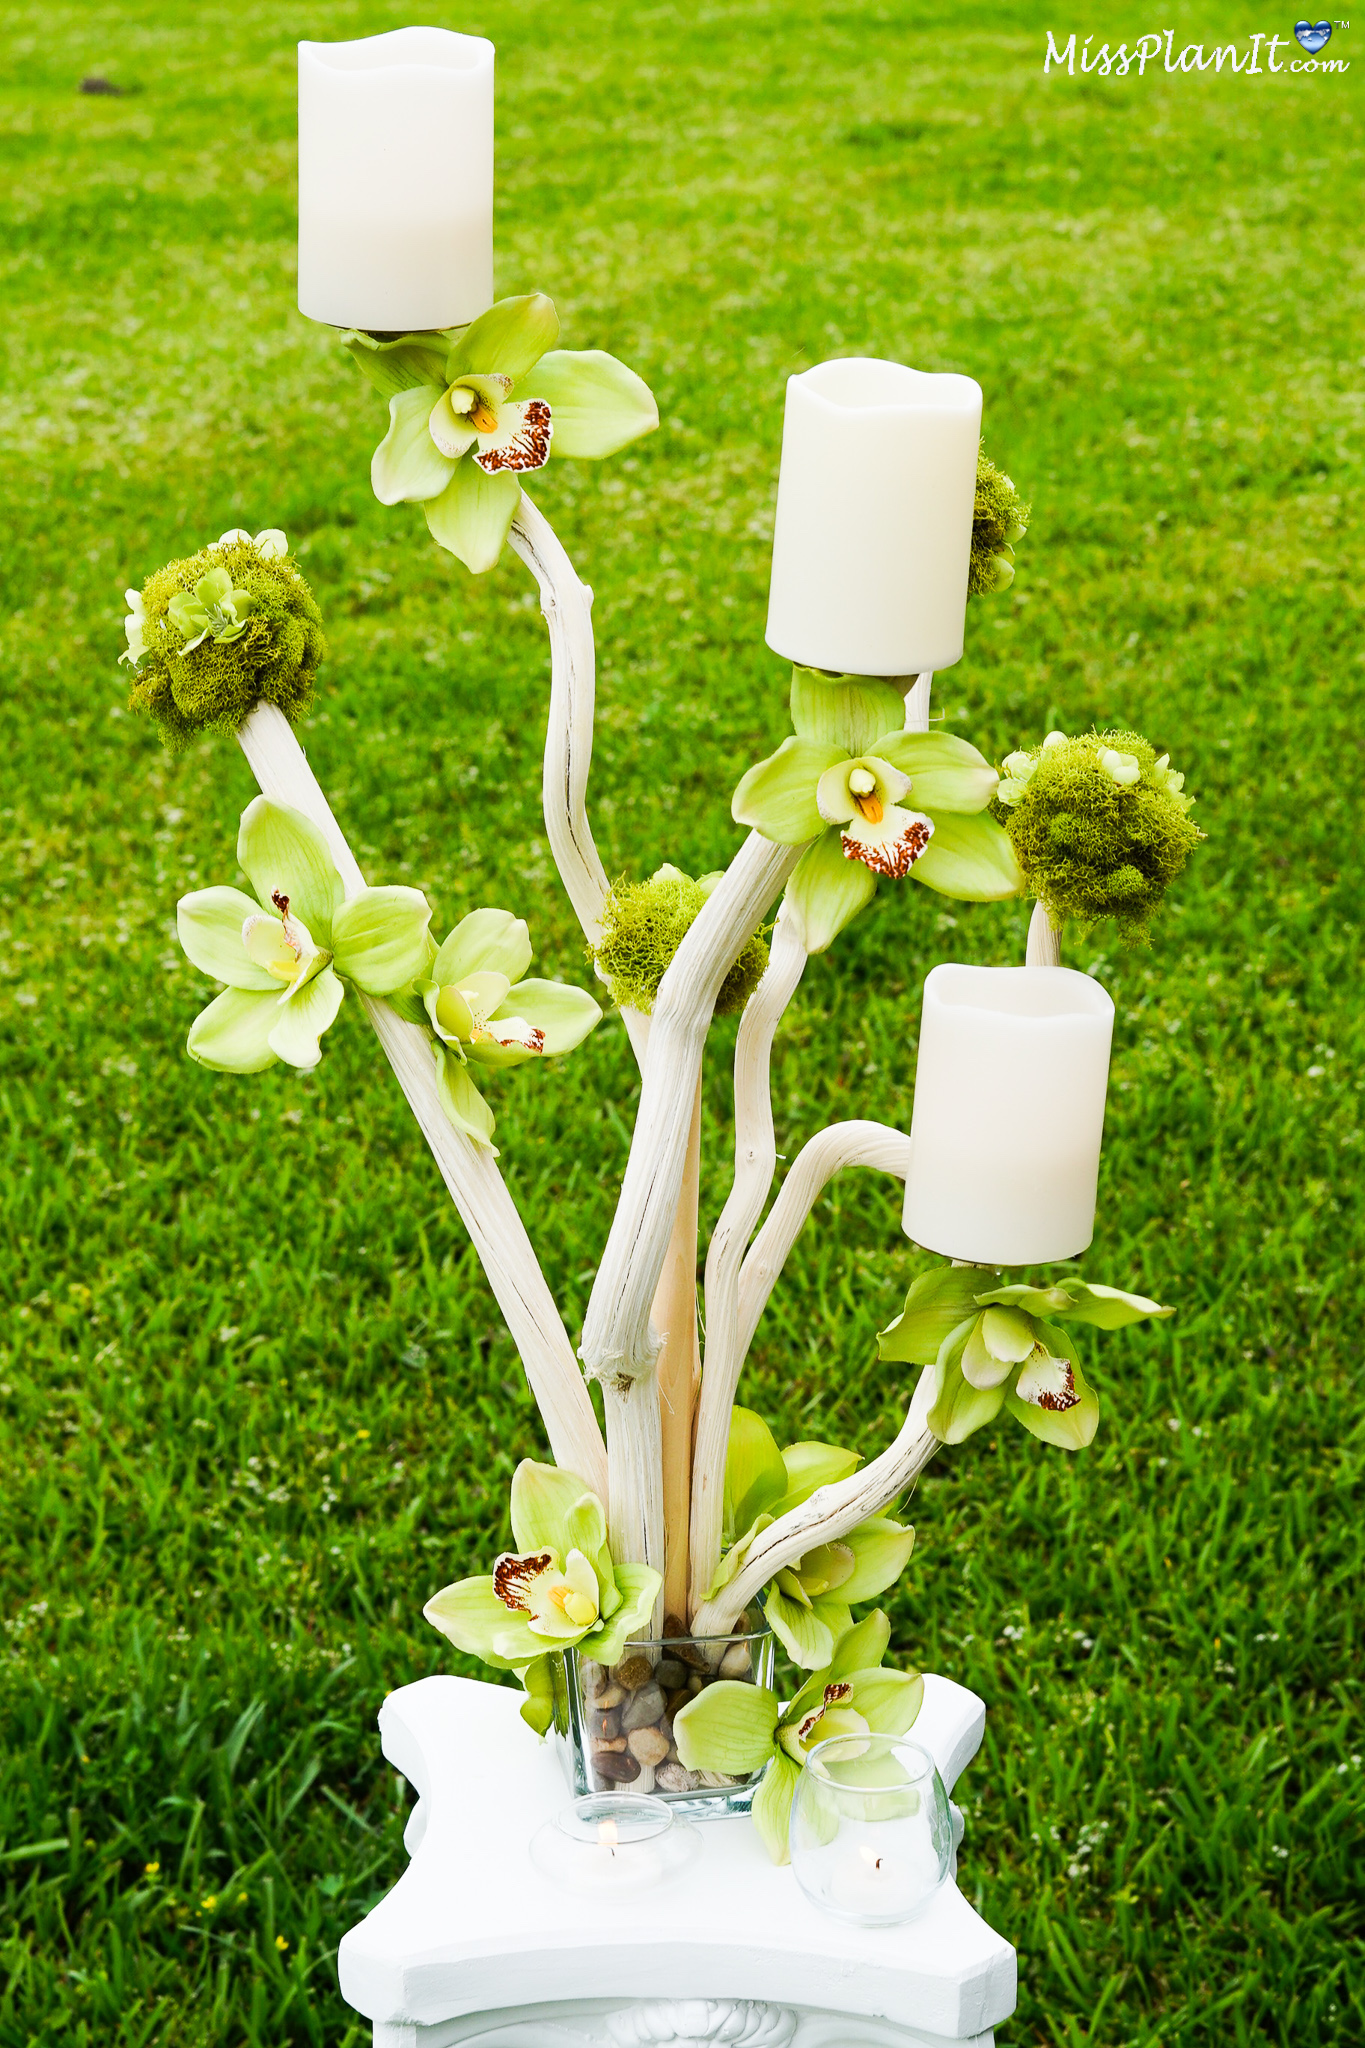
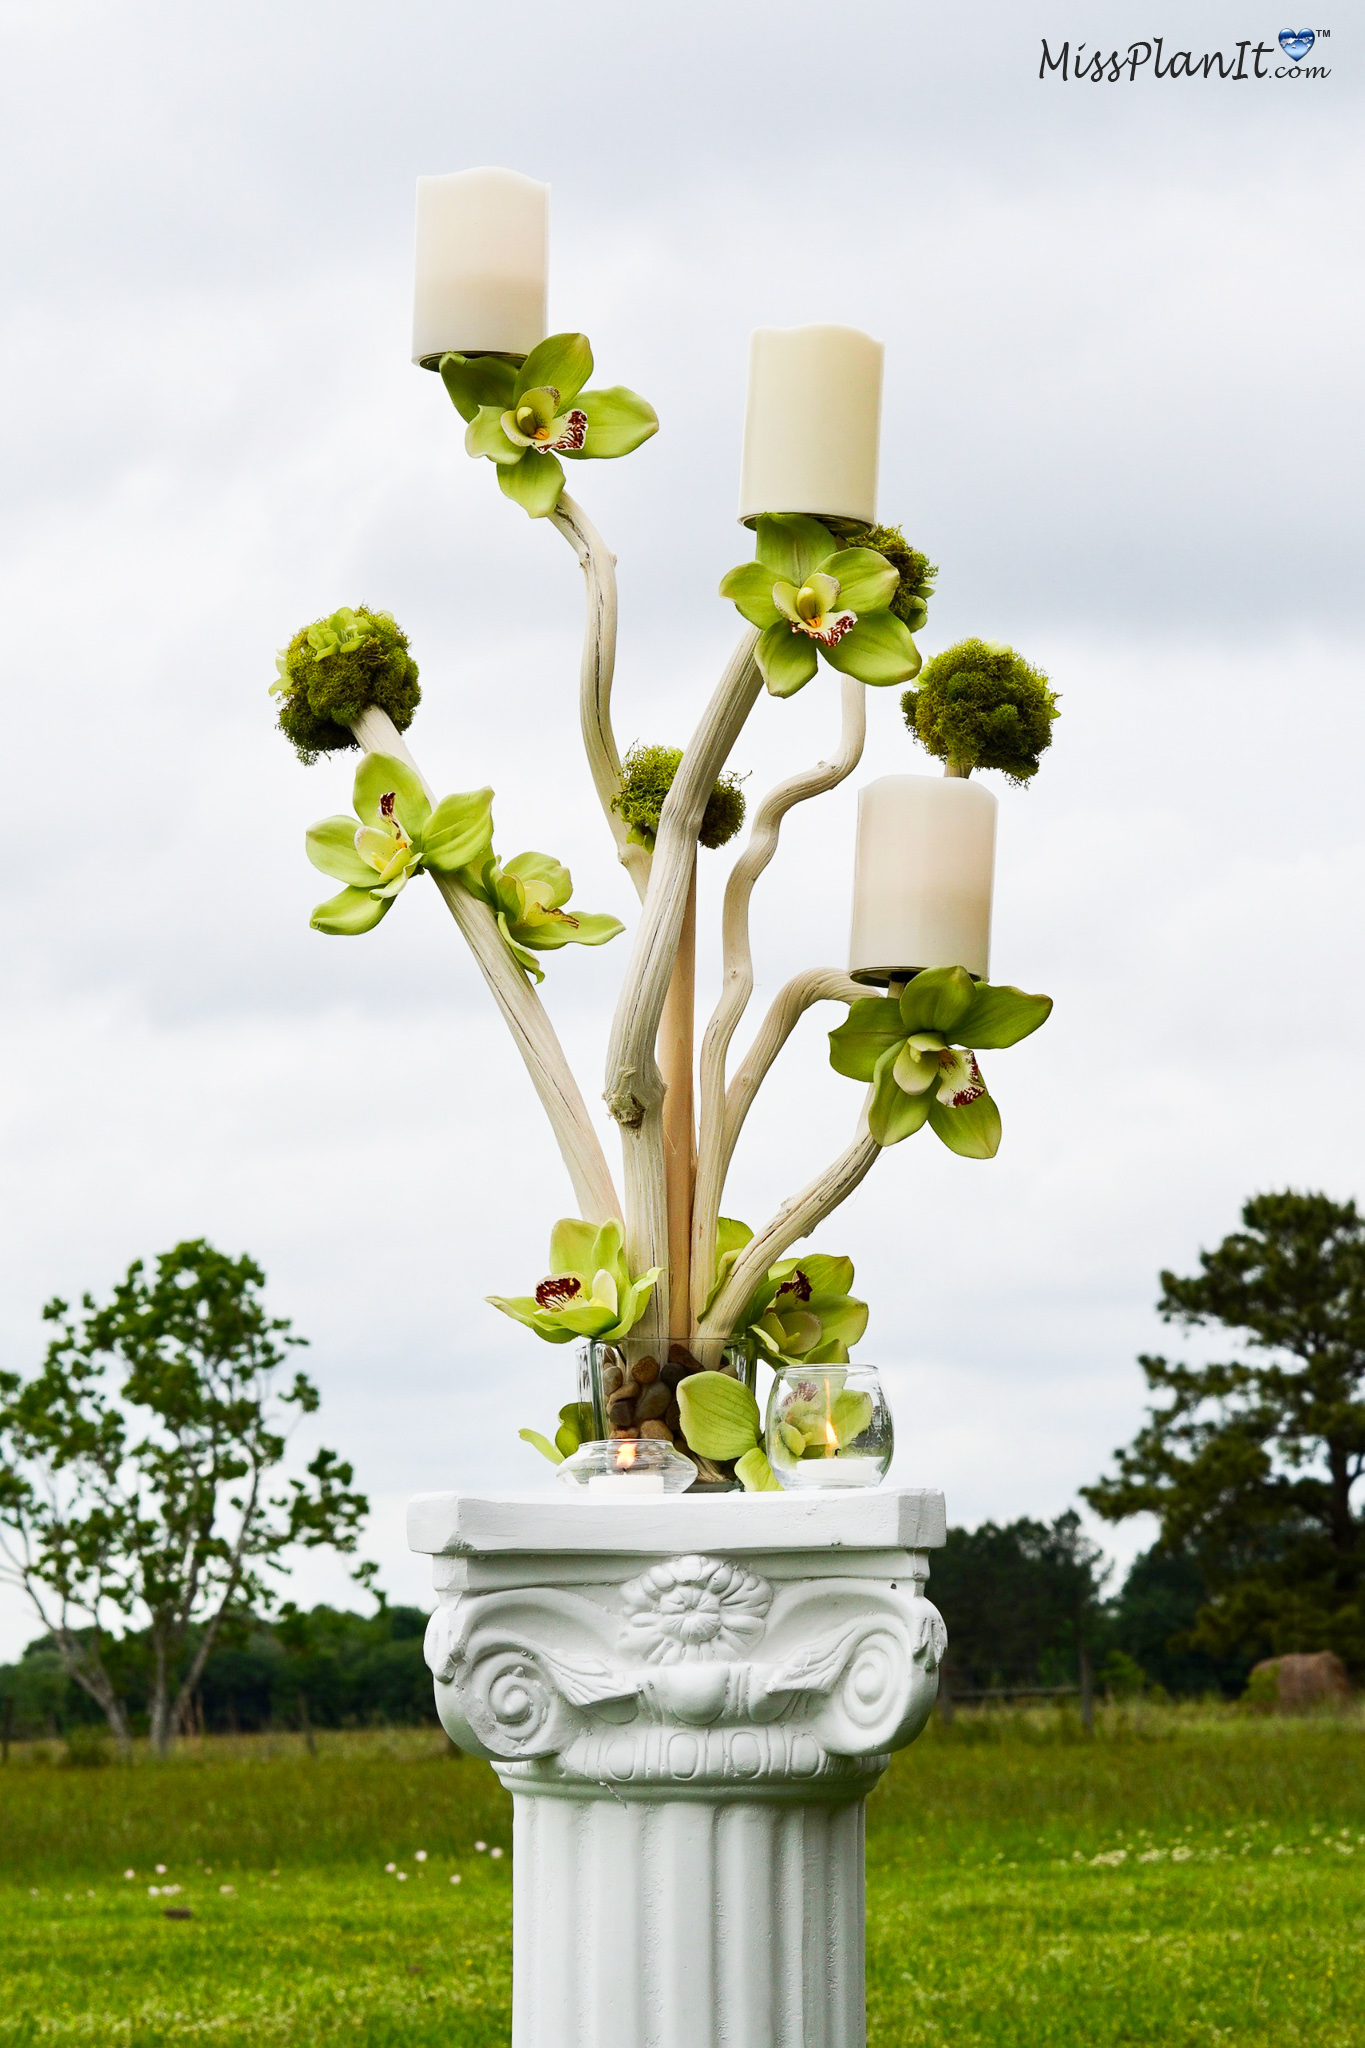
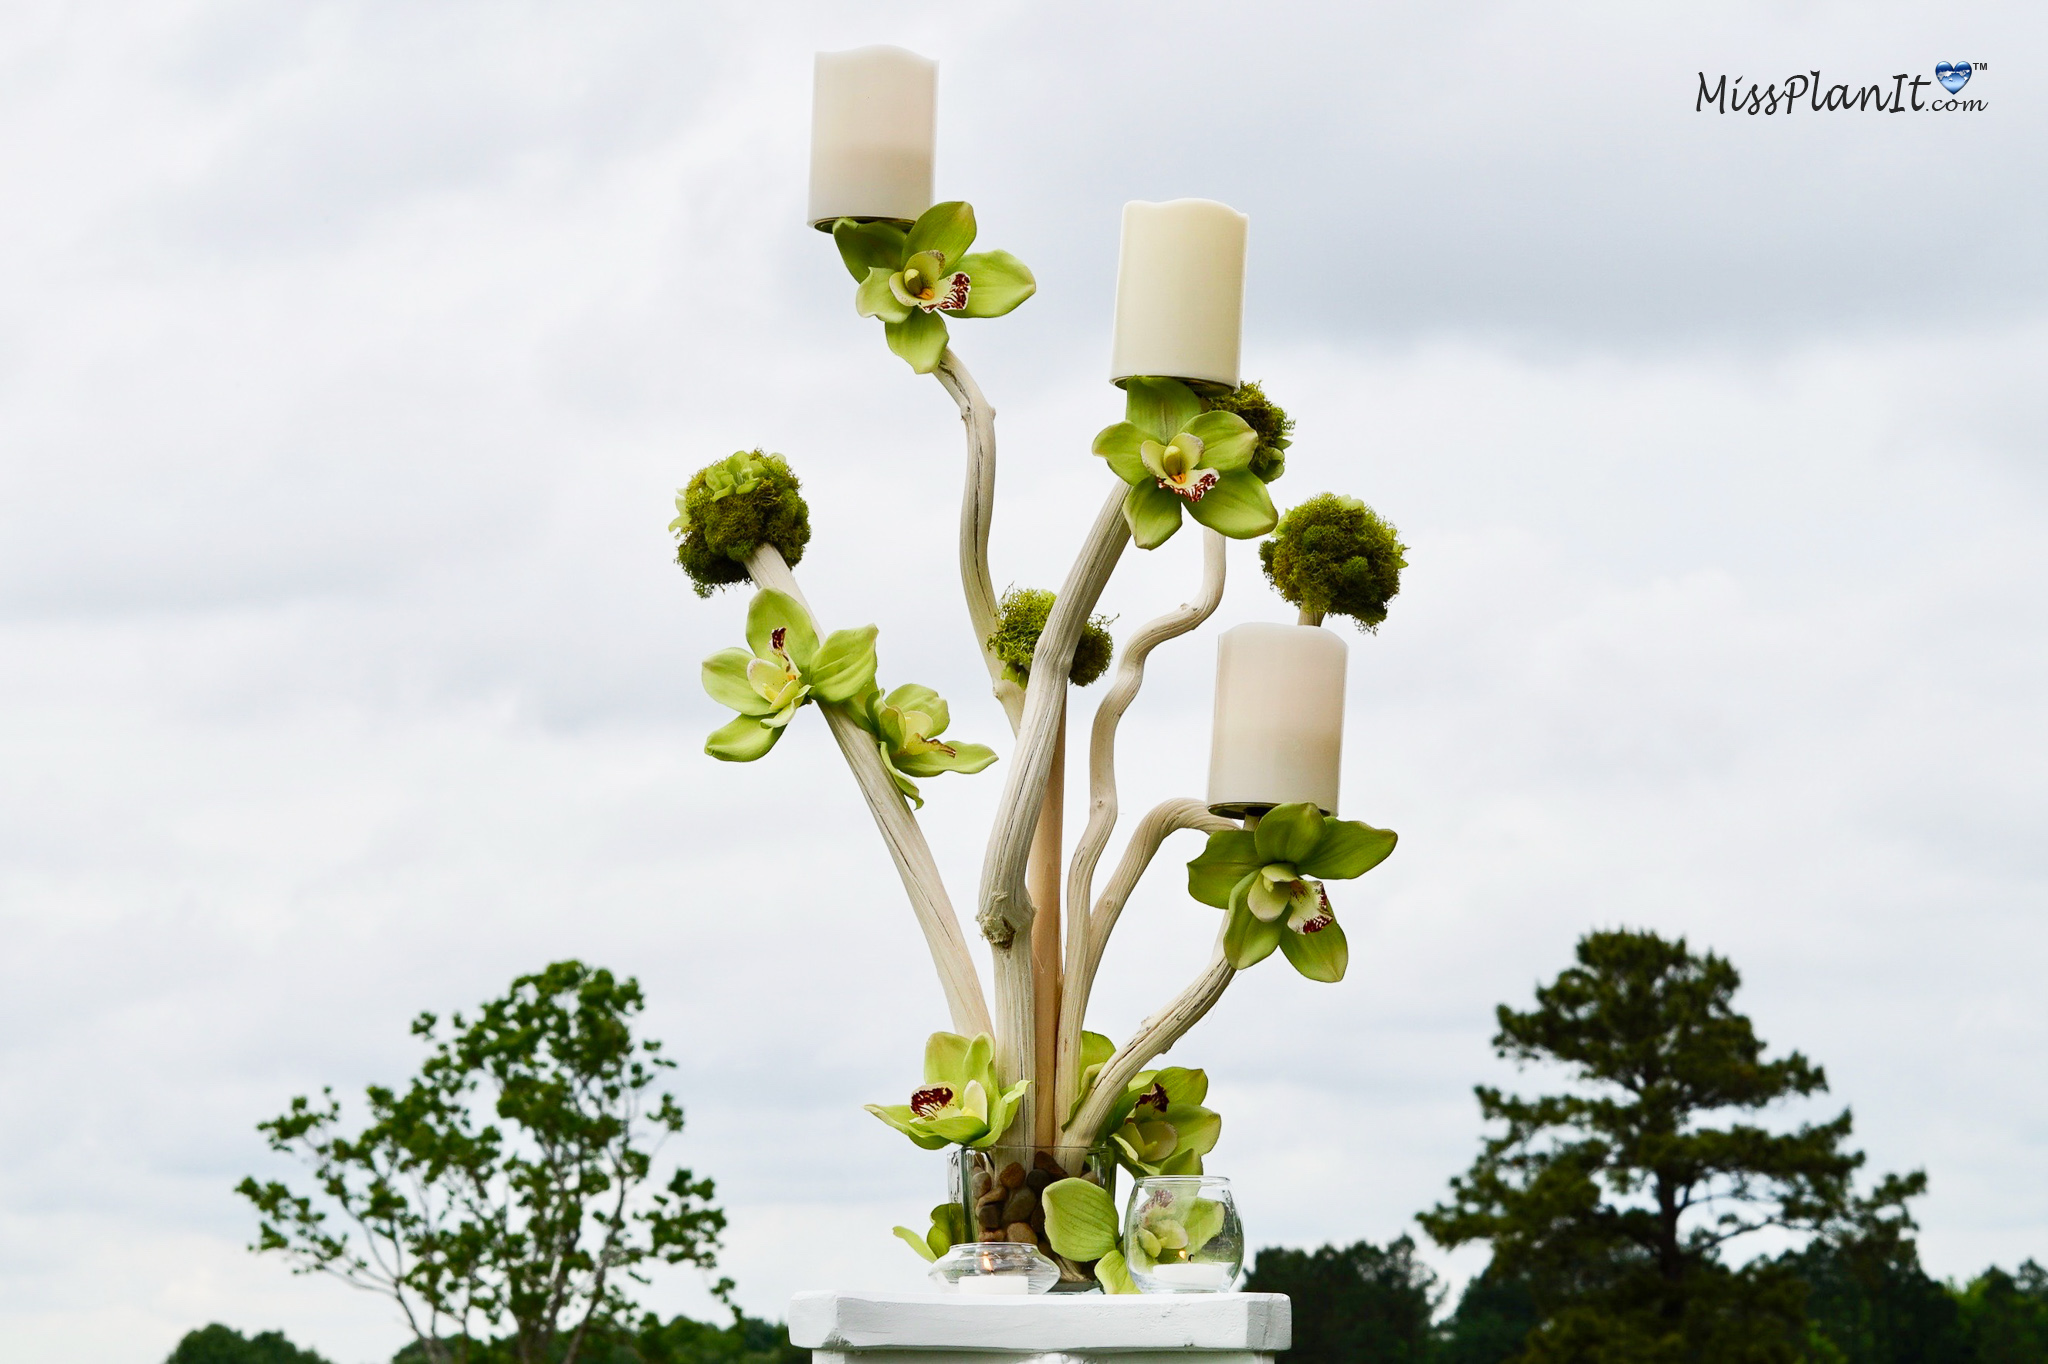
If you like the outcome please subscribe to our Youtube Channel for more DIY Videos and follow us on Facebook and Pinterest.
Need help with an upcoming project? Be sure to send us a project request!
“Remember When Every Penny Counts, Count on MissPlanIt”


