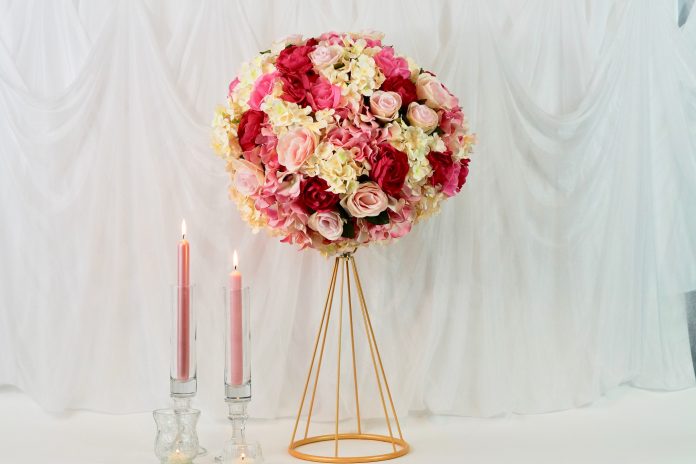
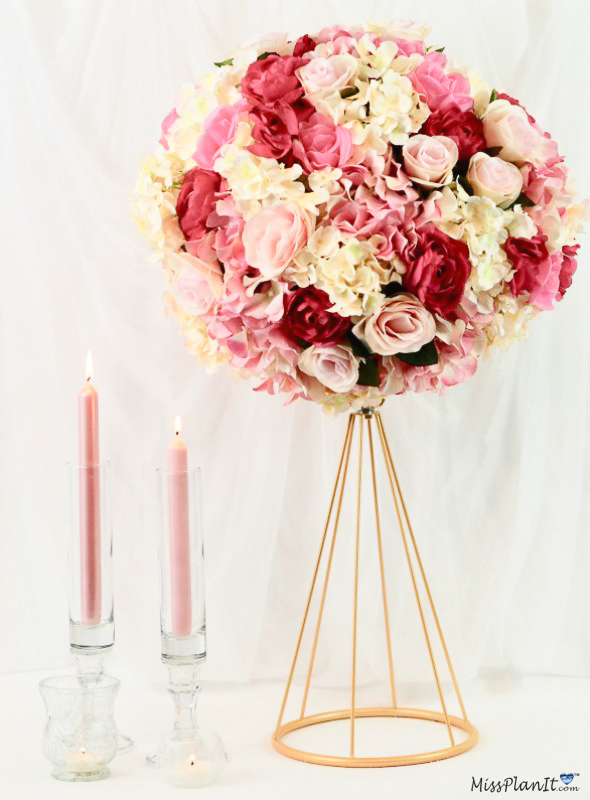
DIY Tall Gorgeous Geometric Pink Wedding Centerpiece You Will Love!
Hi guys!
I love it when soon-to-be brides send in a project request with an interesting vase choice for their wedding. Geometric wedding centerpieces are a new phenomenon brides love. For this week’s project tutorial, I used a geometric vase and beautiful pink flowers. Which fits the brides color scheme. After I finished this project tutorial, a light bulb went off and I had an idea of how to DIY this geometric vase for less. So I’m going to work on that and make a Quick Tip Card to save you even more money. I’ll let you know when it is uploaded to the Resource Library! Alrighty, let’s get started!
For video instructions, please check out the video tutorial below!
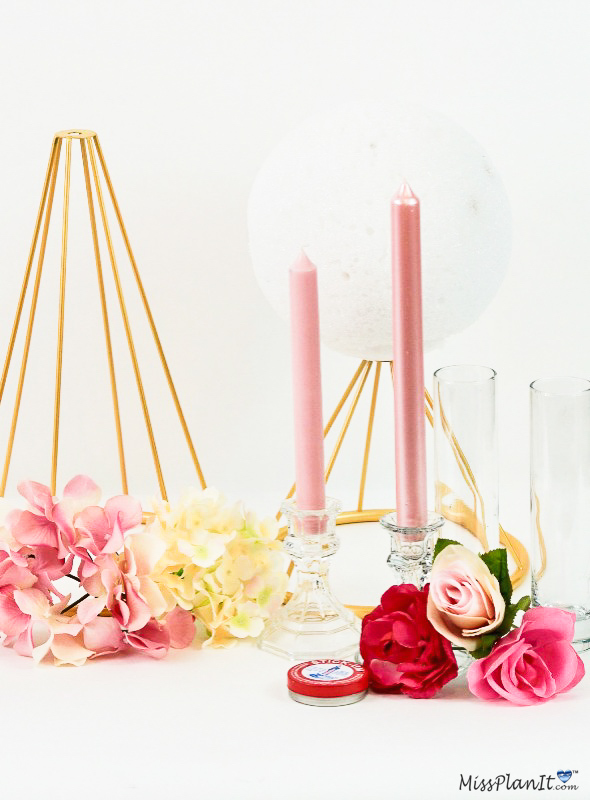
SUPPLIES:
Glass Taper Candleholders, 4”
Clear Crackled Glass Candleholders
Iridescent Round Glass Candleholders, 2.5×2.875 in.
(Pink) 7-Stem Queen Rose Bushes, 14.5 in.
(Fuchsia) 7-Stem Queen Rose Bushes, 14.5 in.
Styrofoam Ball – 8”
Pink Straight Taper Candle – 8”
Pearlized Pink Straight Taper Candle – 10”
Weighted Glass Cylinder Bud Vase
Light Pink Rose Bush
Stick-Um Candle Adhesive
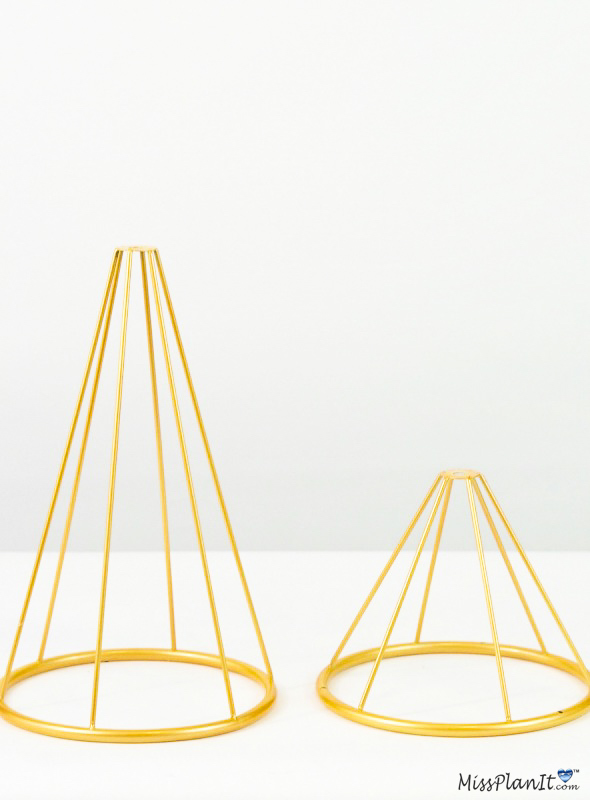
Set of 2 Geometric Metal Flower Column Stand
5 Head Hydrangea
E6000 Adhesive
4 Pack Blush | Rose Gold Artificial Silk Hydrangea Flowers
PROJECT COST *$83.27 (Some supplies cover more than 1 centerpiece) * Prices fluctuate depending on coupon discount amount. *Price based on current sale cost. (taxes not included)
For written instructions, please continue reading below:
How To Make Pink Geometric Wedding Centerpieces
Directions:
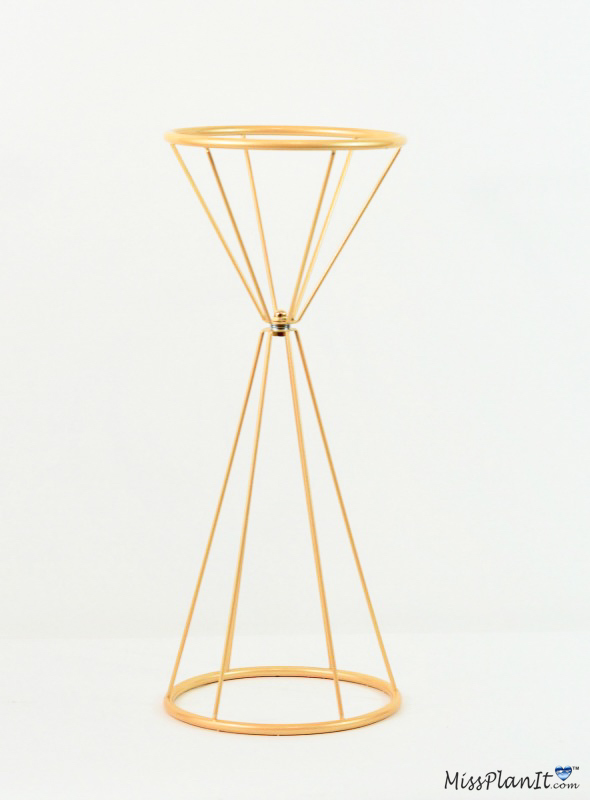
STEP 1: To create this unique look we are going to use 1 Geometric Metal Flower Column Stand. The stand comes in 2 pieces and is connected with a bolt and screw. I noticed that the connection was not as tight as I would have liked, so I added 3-1/4 inch Flat Washers. That did the trick!
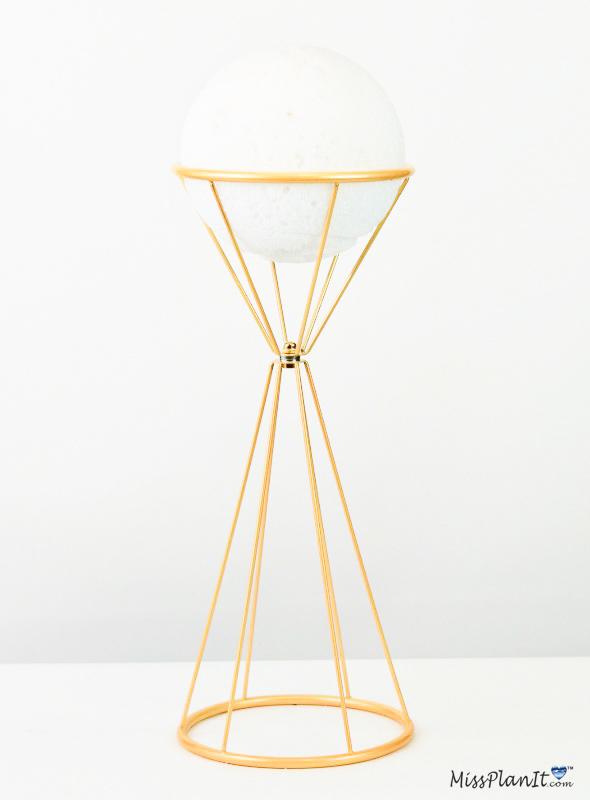
Add the 8 inch Foam Ball
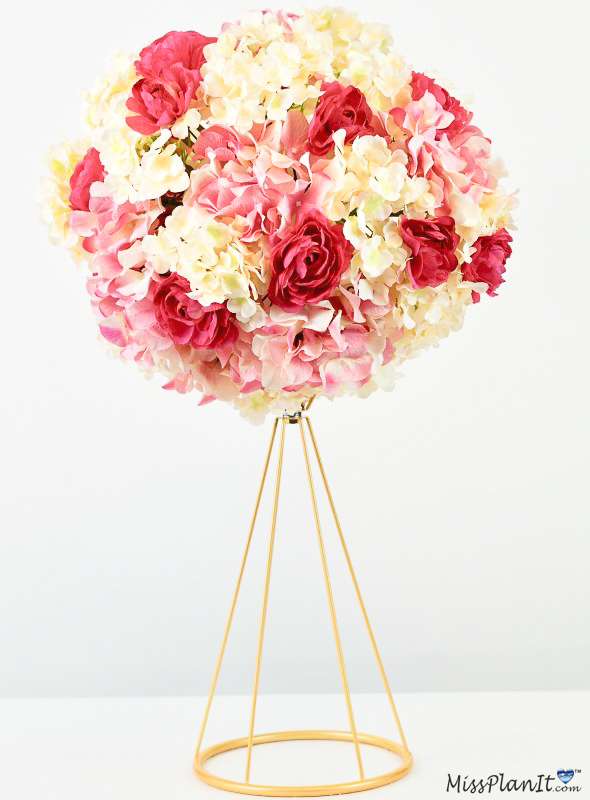
STEP 2: Now that our vase is right and tight, make sure that your 8-inch styrofoam ball is a snug fit. Next add 3- Pink Hydrangea heads and 3-Rose Gold Hydrangea Heads to the bottom of the styrofoam ball, then attach them to your vase.
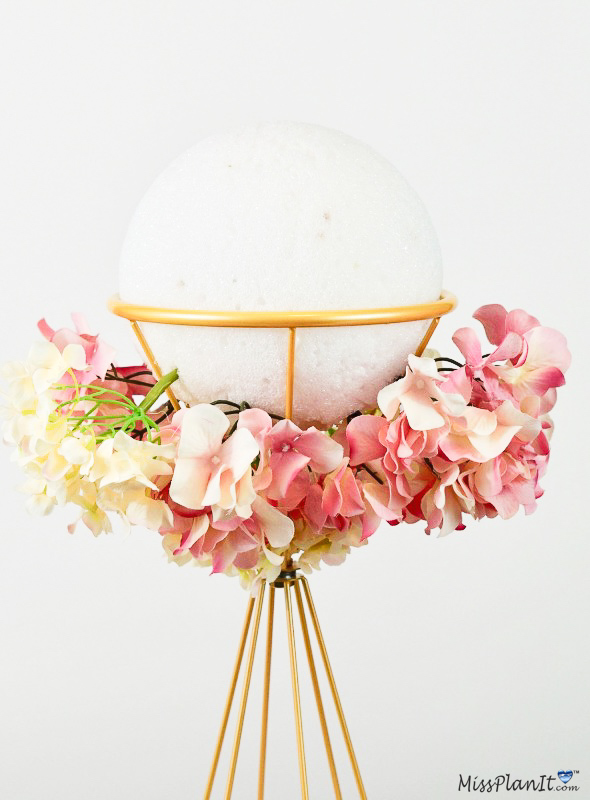
Insert the Hydranges in Your Foam Ball
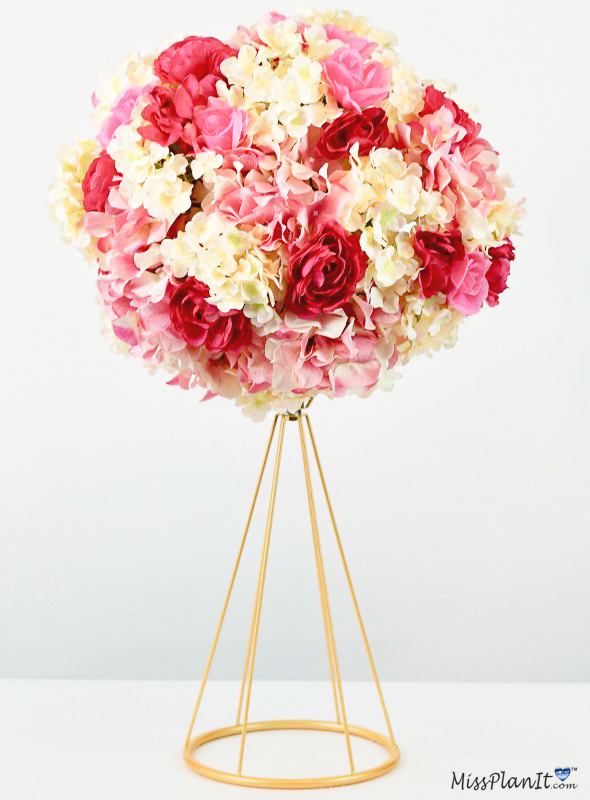
STEP 3: Attach 12-14 equal amounts of Rose Gold Hydrangea heads and Pink Hydrangea Heads to the styrofoam ball. Make sure you have at least 3-4 inches of stem to work with.
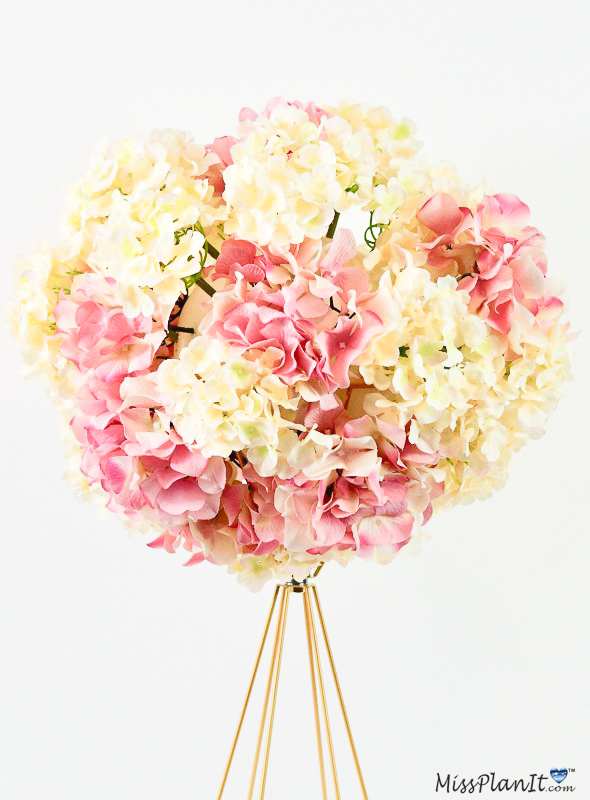
Attach Your Roses
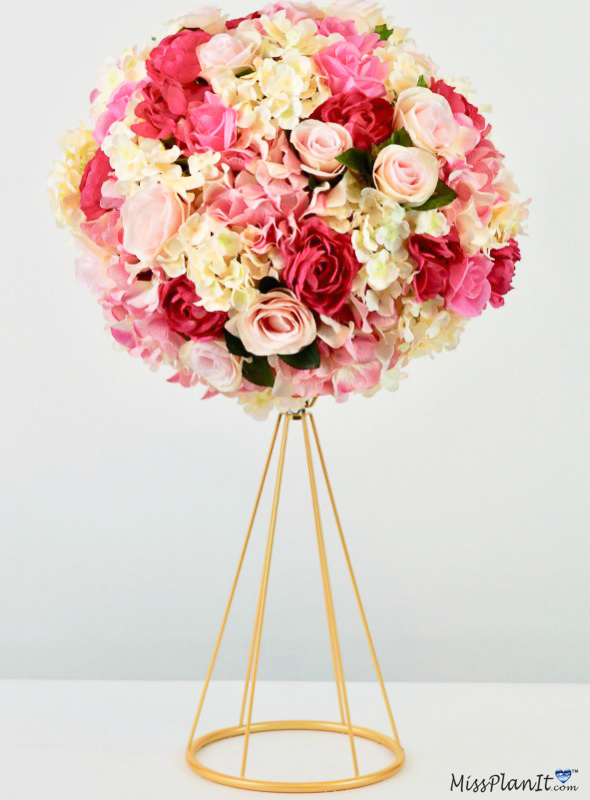
STEP 4: Add 12-14 Fuchsia Rose Blossoms and 12-14 Pink Rose Blossoms to your foam ball. Fill in any empty spaces with Blush Rose Blossoms.
Create the Hurricane Candleholders
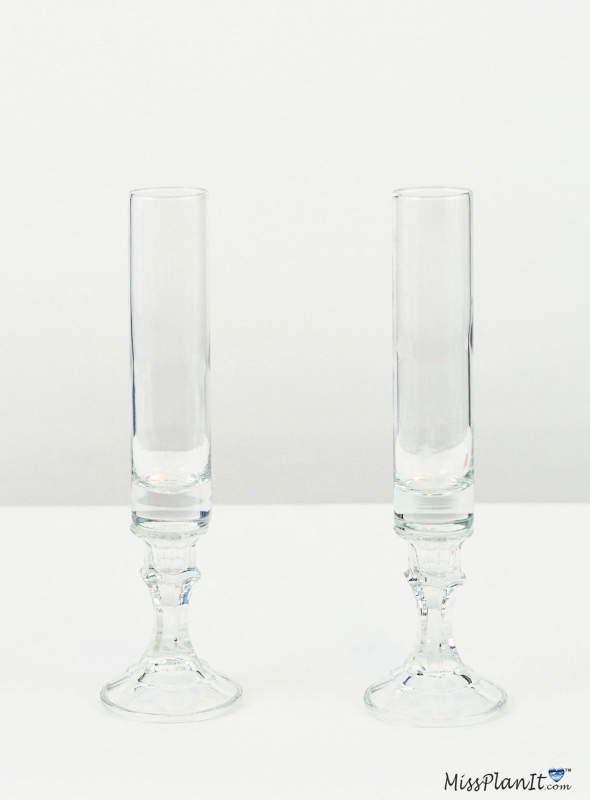
STEP 5: To create the hurricane candleholders you will need 2- 4 inch Glass Taper Candleholders, 2-Weighted Glass Cylinder Bud Vase, 1- 8 inch Straight Taper Candle , 1- 10 inch Straight Taper Candle and of course our trusty E6000.
Attach the Bud Vase to the top of the Glass Candleholders with E6000. Allow to dry overnight. Place 1 candle in each Vase. You can use Stick-Um Candle Adhesive for extra stability for the candles. Please know this is an open flame so you must use safety when placing candles near the centerpiece.
Final Step! Let’s put it all together for the complete Inspiration Look!
This Pink Geometric Wedding Centerpiece is perfect for a Banquet Style seating at a Wedding Reception! I would use 4 centerpieces per each 6 ft table. That way you have plenty of room to place your open flame candles out safely.
Remember Safety first!
Well guys, it’s been a pleasure! Until next week!
Always remember, when every penny counts, count on MissPlanIt. See you next week!
If you like the outcome please subscribe to our Youtube Channel for more DIY Videos and follow us on Facebook and Pinterest.
Need help with an upcoming project? Be sure to send us a project request!
“Remember When Every Penny Counts, Count on MissPlanIt”


