


DIY Tall Glam Paper Flower Centerpiece for Under $20 That Will Absolutely Wow Your Guests!
Hi guys!
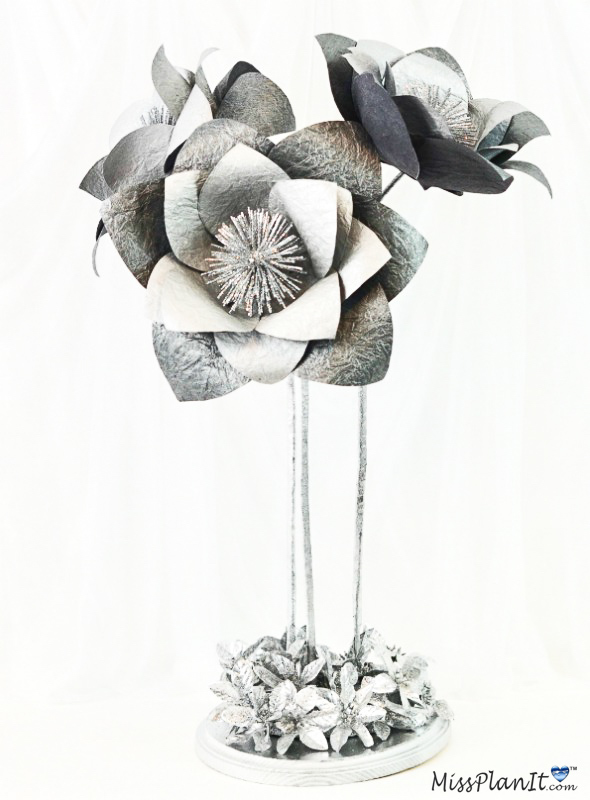
So glad you could join me for this week’s project! I am going to take you step-by-step in creating this beautiful paper flower centerpiece. From the base, stems, and large paper flowers, this gorgeous centerpiece will wow your guests for less than $20.00! So, let’s get started!
For video instructions, please check out the video tutorial below!
SUPPLIES:
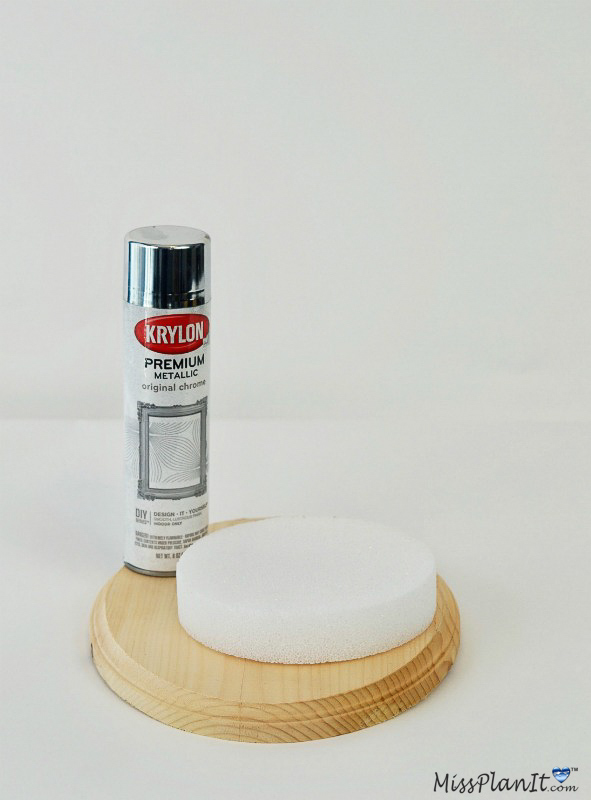
Styrofoam Disc – 6”
Oval Wood Plaque – 9″ x 12”
Charcoal Crinkle Scrapbook Paper – 12″ x 12”
Silver Crinkle Scrapbook Paper – 12″ x 12”
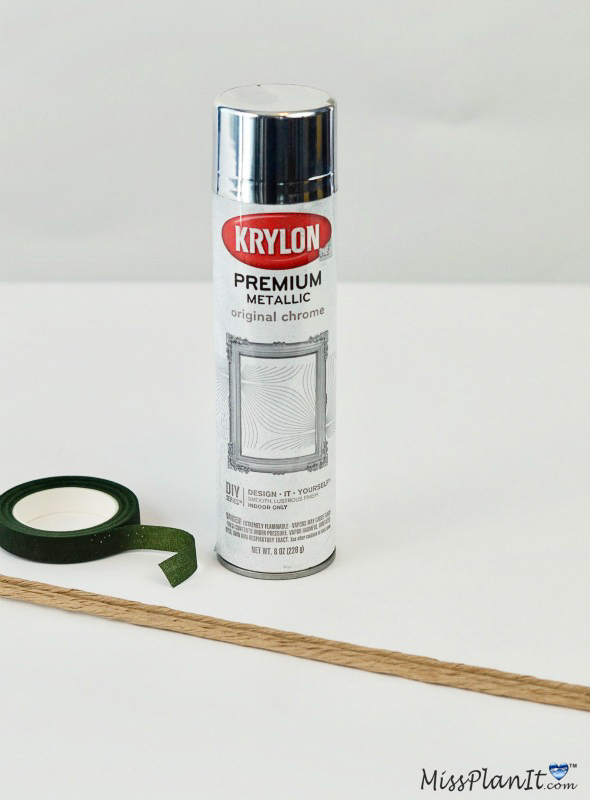
Floral Garden Floral Wire and Tape Rolls
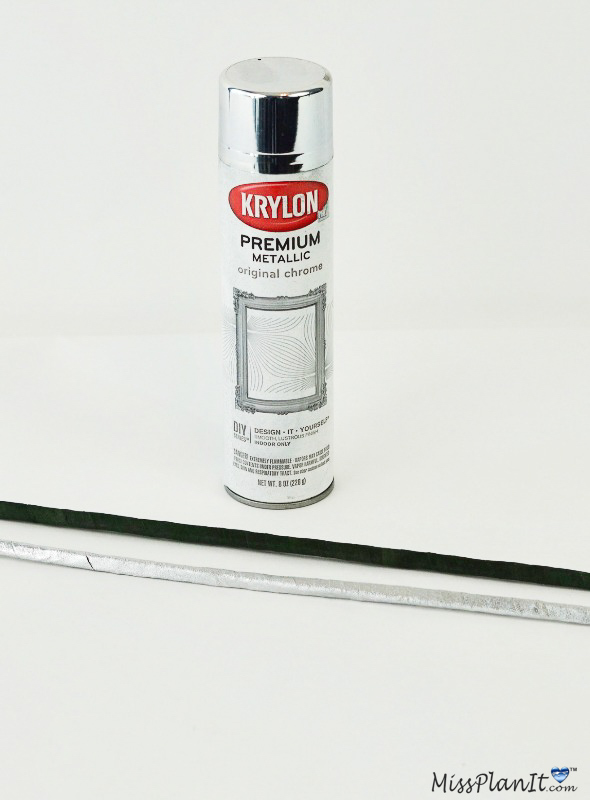
Silver Krylon Foil Metallic Spray Paint
Stem Wires Brown Paper Wrapped, 72Pieces, 18 Gauge
Silver Glitter Urchin Pick
PROJECT COST *$17.22 (Some supplies cover more than 1 centerpiece) * Prices fluctuate depending on coupon discount amount. *Price based on current sale cost. (taxes not included)

For written instructions, please continue reading below:
How To Make A Tall Glam Paper Flower Centerpiece for Under $20
Directions:
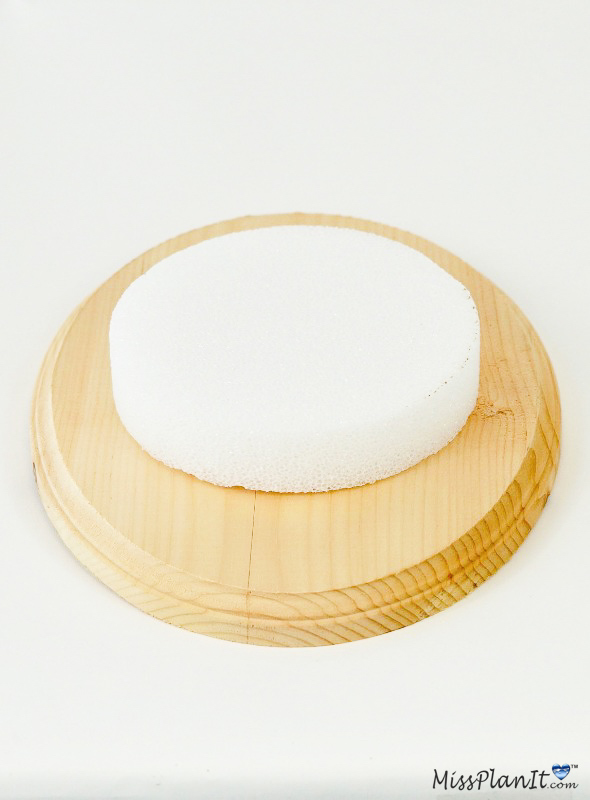
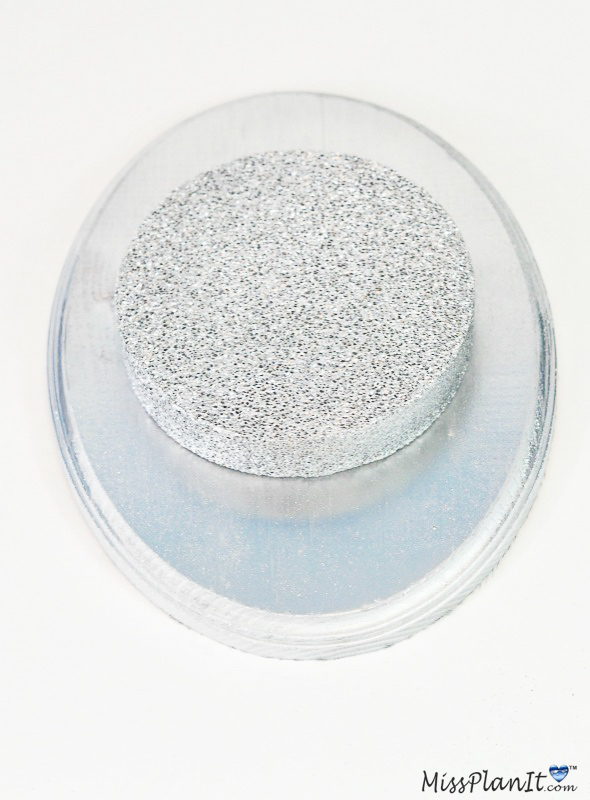
STEP 1: To create the base for our Paper Flower Centerpiece we are going to use 1- 9inch x 12 inch Oval Wood Plaque and 1- 6 inch Styrofoam Disc. Attach the disc to the wood plaque with hot glue. Allow 10-15 minutes for it dry, then spray paint your desired color.
Let’s Work On The Stems
STEP 2: Set the base aside to dry and let’s get to the stems. Attach 3- 18 inch, 18 gauge Stem Brown Paper Wrapped Wires with scotch tape. Be sure to use the third wire to determine your height. Next you are going to wrap your newly created stem with Floral Tape. Finally, spray paint the stem your desired color or leave green for a natural look. I chose to use silver spray paint. Remember, we give you the plan and you make it your own!
On To The Paper Flower
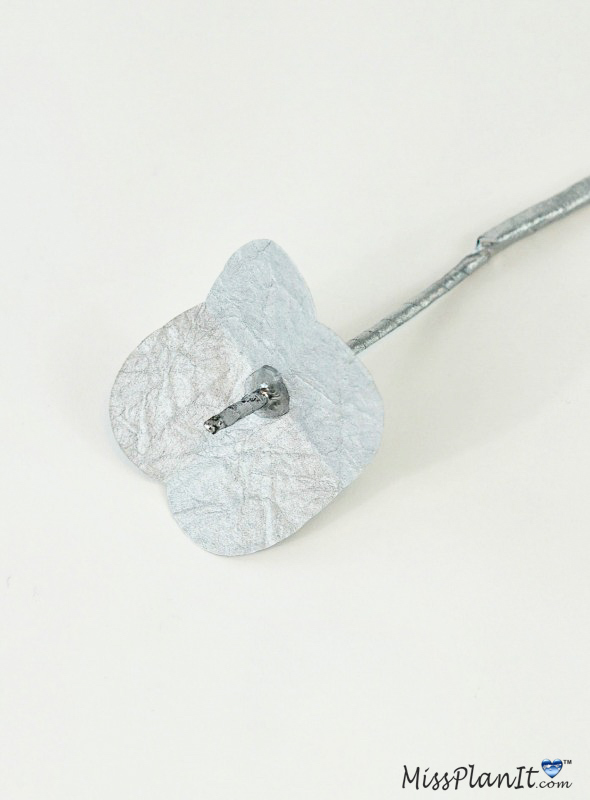
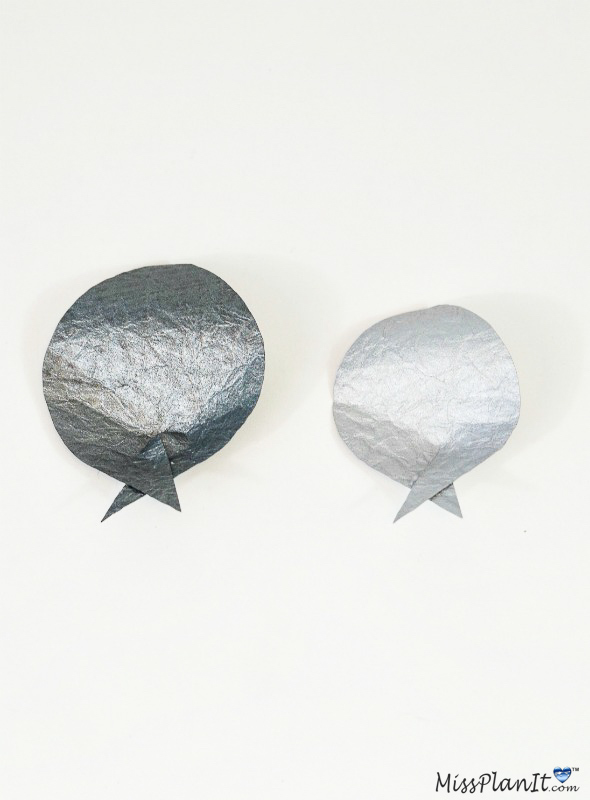
STEP 3: To create the paper flower, we must first take a 4 inch x 4 inch paper square of your desired paper. Silver Crinkle scrapbook paper in this case. Fold the paper 4 times and trim off about 1 inch. Then cut a snippet, make sure its very small snippet. If it’s too large the paper won’t seal to your stem. Attach the paper flower starter to the stem, sealing both the top and bottom with hot glue. Allow 10-15 minutes to dry.
Now On To Our Petals.
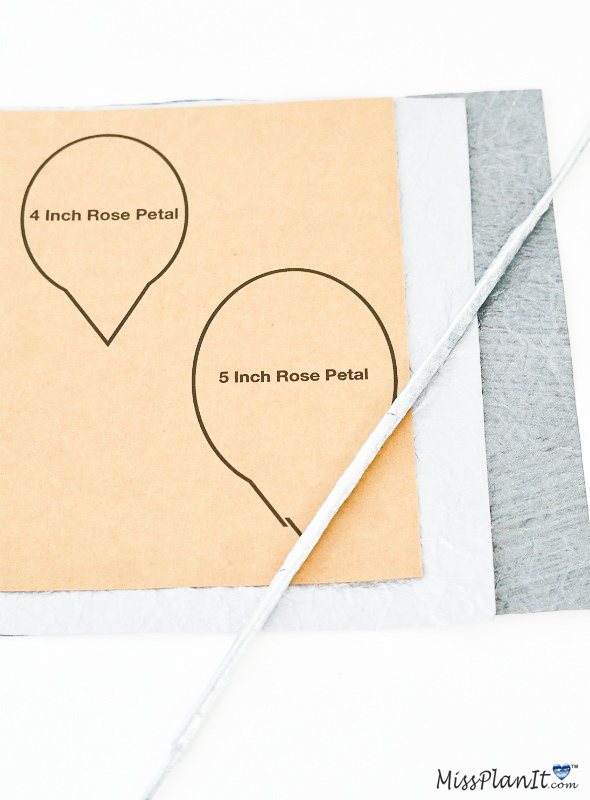
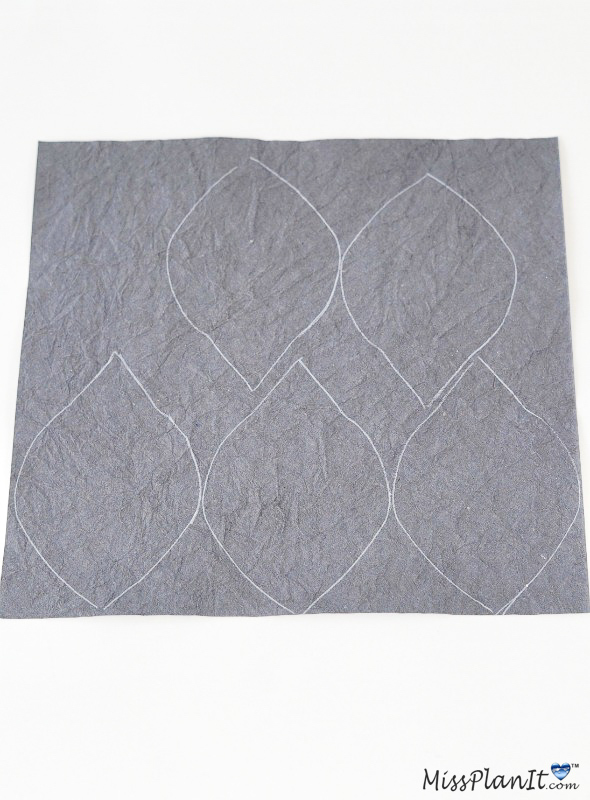
STEP 4: Make sure you get your Paper Rose Template here. Trace and cut out 6-8 / 5 inch petals and 9-12 /4 inch petals with your desired paper choice. For this project we used 12 x 12 Charcoal Crinkle Scrapbook Paper and Silver Crinkle Scrapbook Paper.

Finish Putting the Petals Together
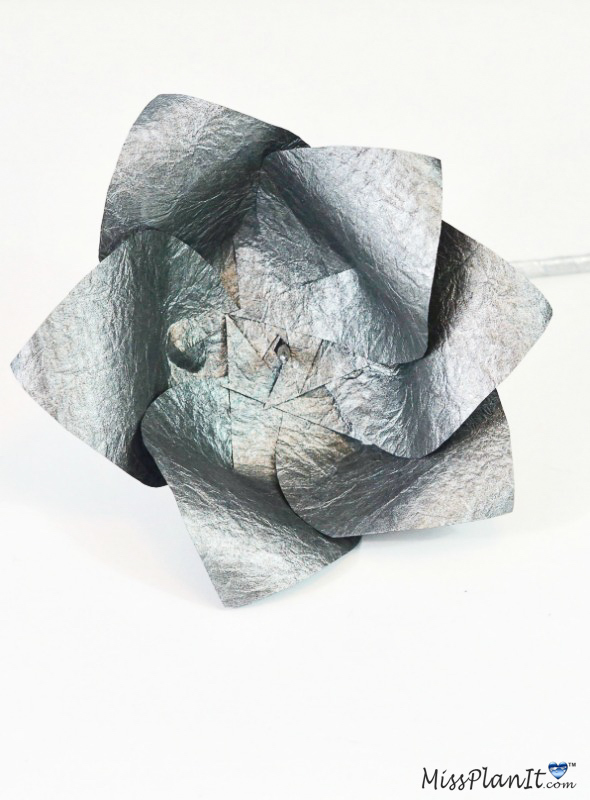
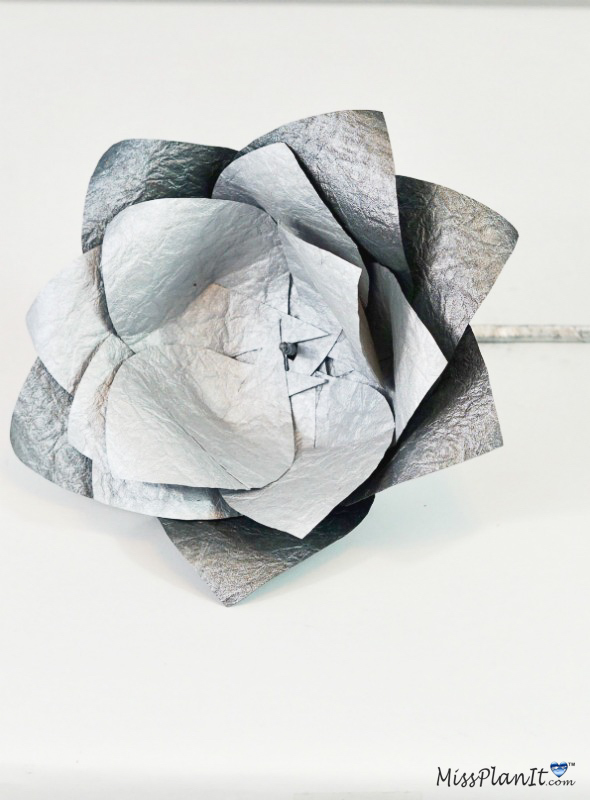
STEP 5: Cut a 1/2-1 inch slit at the bottom of your petals. Roll your petals using a regular size marker. Cross over the slit and seal with hot glue. Attach the 5 inch petals with hot glue followed by the 4 inch petals.
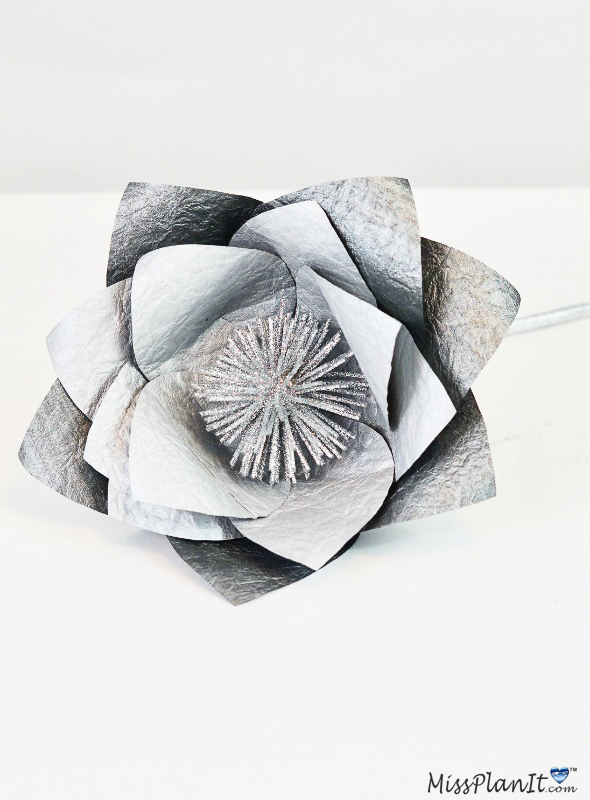
Attach a Silver Glitter Pick in the Center With Hot Glue
STEP 6: Pick a glittery ornament to finish off the center of this gorgeous paper flower. I’m using a silver glitter urchin pick cut down to fit the center perfectly! Attach the stems to the styrofoam base with hot glue. Let it set for 15-20 minutes then bend the stems to your desired placement.
Final Step! This step is optional. You can add complimentary flowers to the styrofoam base or leave it plain. Either way you have a stunning centerpiece that will WOW your guests!
So what do you think! Can you believe this project was under $20! This project is as versatile as your paper choices. It can be used for SOOOO many events! See you next week!
Always remember, when every penny counts, count on MissPlanIt. See you next week!
If you like the outcome please subscribe to our Youtube Channel for more DIY Videos and follow us on Facebook and Pinterest.
Need help with an upcoming project? Be sure to send us a project request!
“Remember When Every Penny Counts, Count on MissPlanIt”