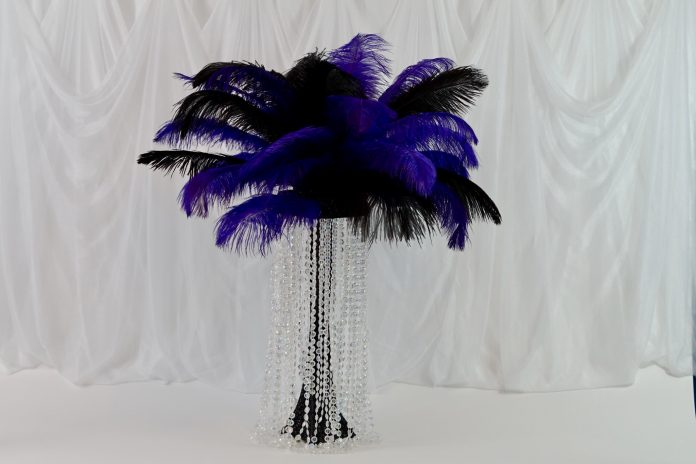
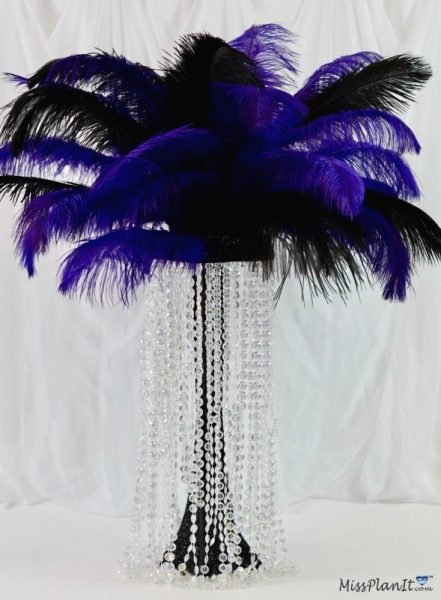
BRING YOUR HOLLYWOOD GLAM WEDDING TO THE NEXT LEVEL WITH GEM GARLAND AND PURPLE AND BLACK FEATHERS!
Hi guys!
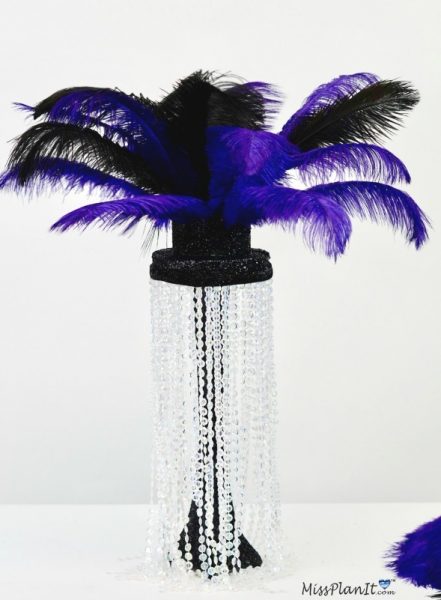
So excited for this week’s project! If you love glam you are going to LOVE this Tall Hollywood Glam Wedding Centerpiece! To top it off, I’ve added purple and black feathers with diamond gem garland to really bring it all together! Okay, let’s get started!
For video instructions, please check out the video tutorial below!
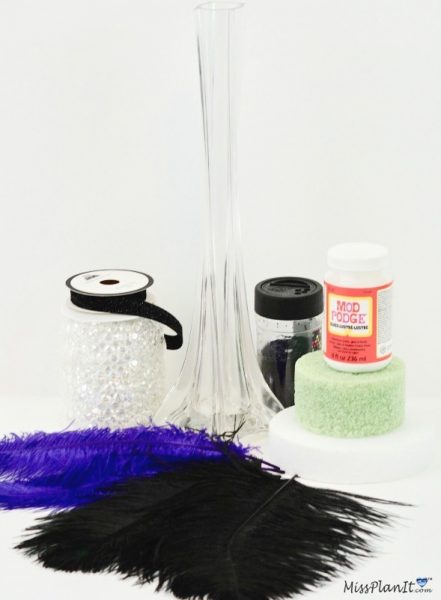
SUPPLIES:
Mod Podge Gloss Craft Adhesive, 2-oz. Bottles
Styrofoam Disc – 6”
Green Styrofoam Disc – 4”
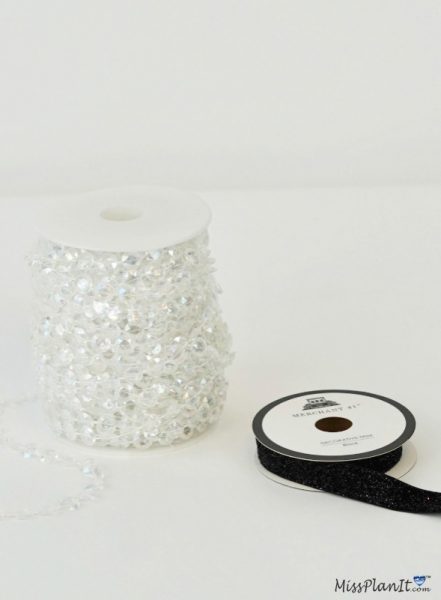
Glitter Elastic Trim – 1/2” (Black)
Black Extra Fine Glitter – 2 Ounce
Mega Vases Eiffel Tower Vase 1.5 Inch x 20 Inch
Black Sowder 10pcs Ostrich Feathers 12-14inch
Purple Sowder 10pcs Ostrich Feathers 12-14inch
Ambox Acrylic Clear Diamond Garland Strands Crystal Beads
Krylon K01303007 Acrylic Spray (Optional)
PROJECT COST *$55.62 (Some supplies cover more than 1 centerpiece) * Prices fluctuate depending on coupon discount amount. *Price based on current sale cost. (taxes not included)
For written instructions, please continue reading below:
How To Make Purple and Black Feather Hollywood Glam Wedding Centerpieces!
Directions:
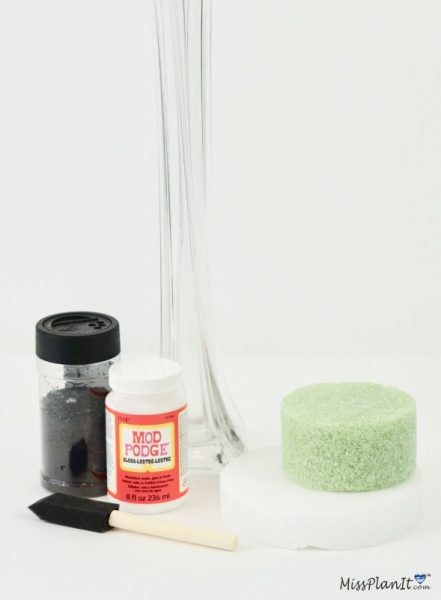
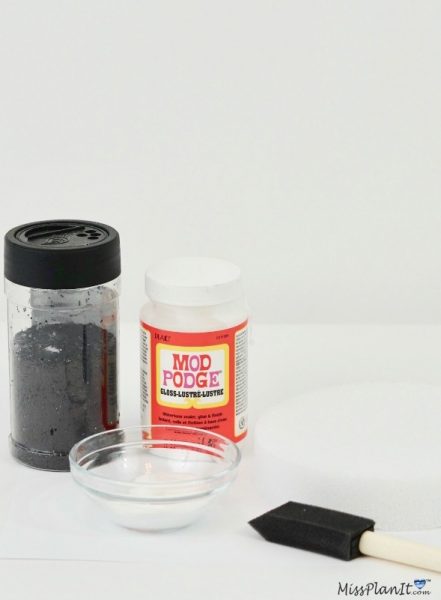
STEP 1: We always start with a solid construction. For this project we need a 1- 4 inch Styrofoam Disc, 1- 6 inch Styrofoam Disc, and 1- 20 inch Eiffel Tower Vase. Before we put our pieces together, let’s glitter them up! Use Mod Podge to attach Extra Fine Black Glitter to both pieces of foam and the Eiffel Tower Vase. To lessen glitter flaking, once dried, spray the pieces with Krylon Acrylic Clear Spray Paint. Allow to dry for at least 2-3 hours.
Let’s Create Our Gem Embellishment
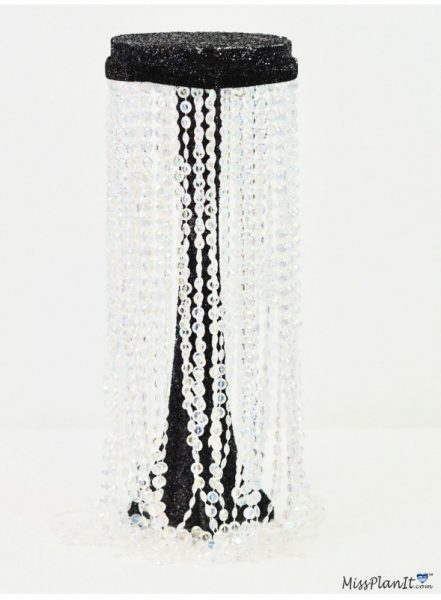
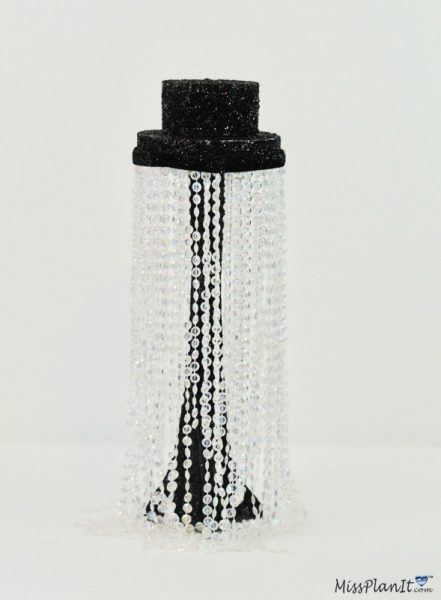
STEP 2: To create the gem embellishment, cut a 24 inch section of the black glitter elastic trim, and 50-52 strands of 22in – 24in long acrylic clear diamond garland. Attach each strand to the backside of the trim with hot glue. Then attach the gem embellishment to the 6 inch styrofoam disc. Next add a 6 inch disc to the eiffel tower vase with hot glue. Create the cascading effect by cutting the overlapping strands a shorter length at a diagonal.
If you like the outcome please subscribe to our Youtube Channel for more DIY Videos and follow us on Facebook and Pinterest.
Need help with an upcoming project? Be sure to send us a project request!
“Remember When Every Penny Counts, Count on MissPlanIt”


