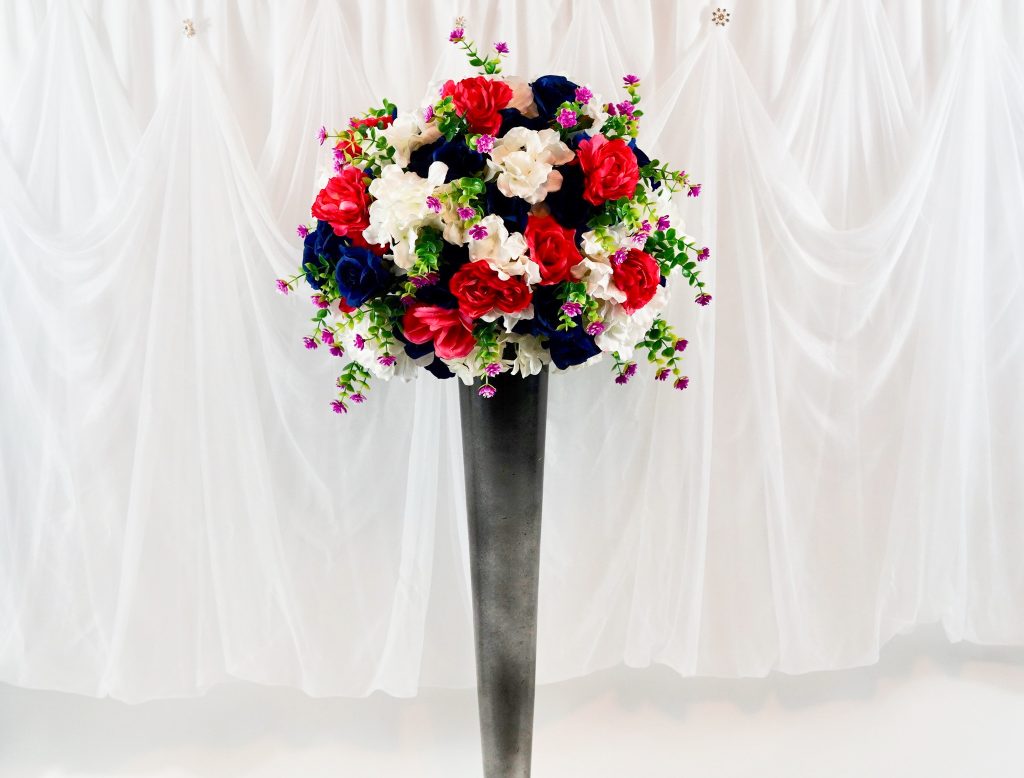
Spring Fuchsia Wedding Centerpieces That Are Absolutely Gorgeous!
Hi guys!
I am so excited to show you this week’s Spring Fuchsia Wedding Centerpiece project! We LOVE a pop of color and Fuchsia is one of my favorites! So, lets get started!
For video instructions, please check out the video tutorial below!
SUPPLIES:
Floral Garden 6-Stem Peony Bushes
Wedding Decoration 5 Bunches (Purple Red)
Artificial Hydrangea Flower Heads
Tall Pilsner Glass Vase
Styrofoam Ball – 8”
Black Krylon ColorMaster Gloss Spray Paint & Primer(optional)
Clear Blue Rose Bush
PROJECT COST *$51.55 (Some supplies cover more than 1 centerpiece) * Prices fluctuate depending on coupon discount amount. *Price based on current sale cost. (taxes not included)
For written instructions, please continue reading below:
How To Make Spring Fuchsia Wedding Centerpieces
Directions:
STEP 1: Let’s start with our 24 inch Pilsner Glass Vase. You have options here. You can keep it the lovely clear glass or you can give it a smoky look with Black Krylon Color Master Gloss Pray Paint. Simply step back 1 foot from the vase and spray a light even coat. Repeat to get your desired look.
If you like the outcome please subscribe to our Youtube Channel for more DIY Videos and follow us on Facebook and Pinterest.
Need help with an upcoming project? Be sure to send us a project request!
“Remember When Every Penny Counts, Count on MissPlanIt”

