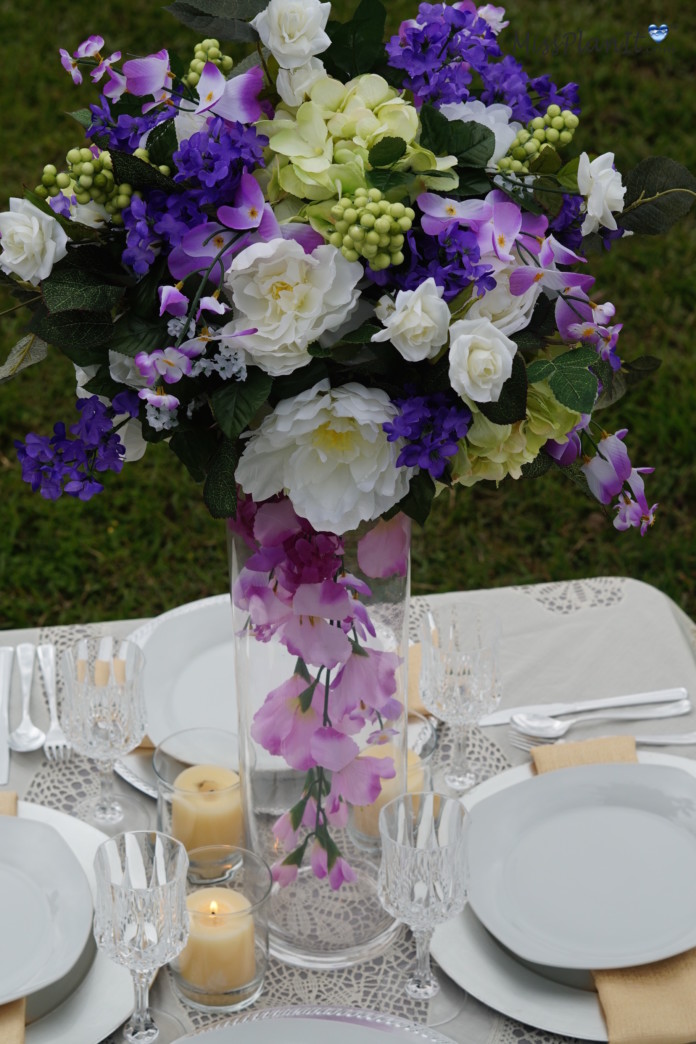
Spring is in the AIR! Join us this week as we create a plan for our Community Member Stacy! This beautiful wedding centerpiece will take your breath away!
Let’s Get Started:
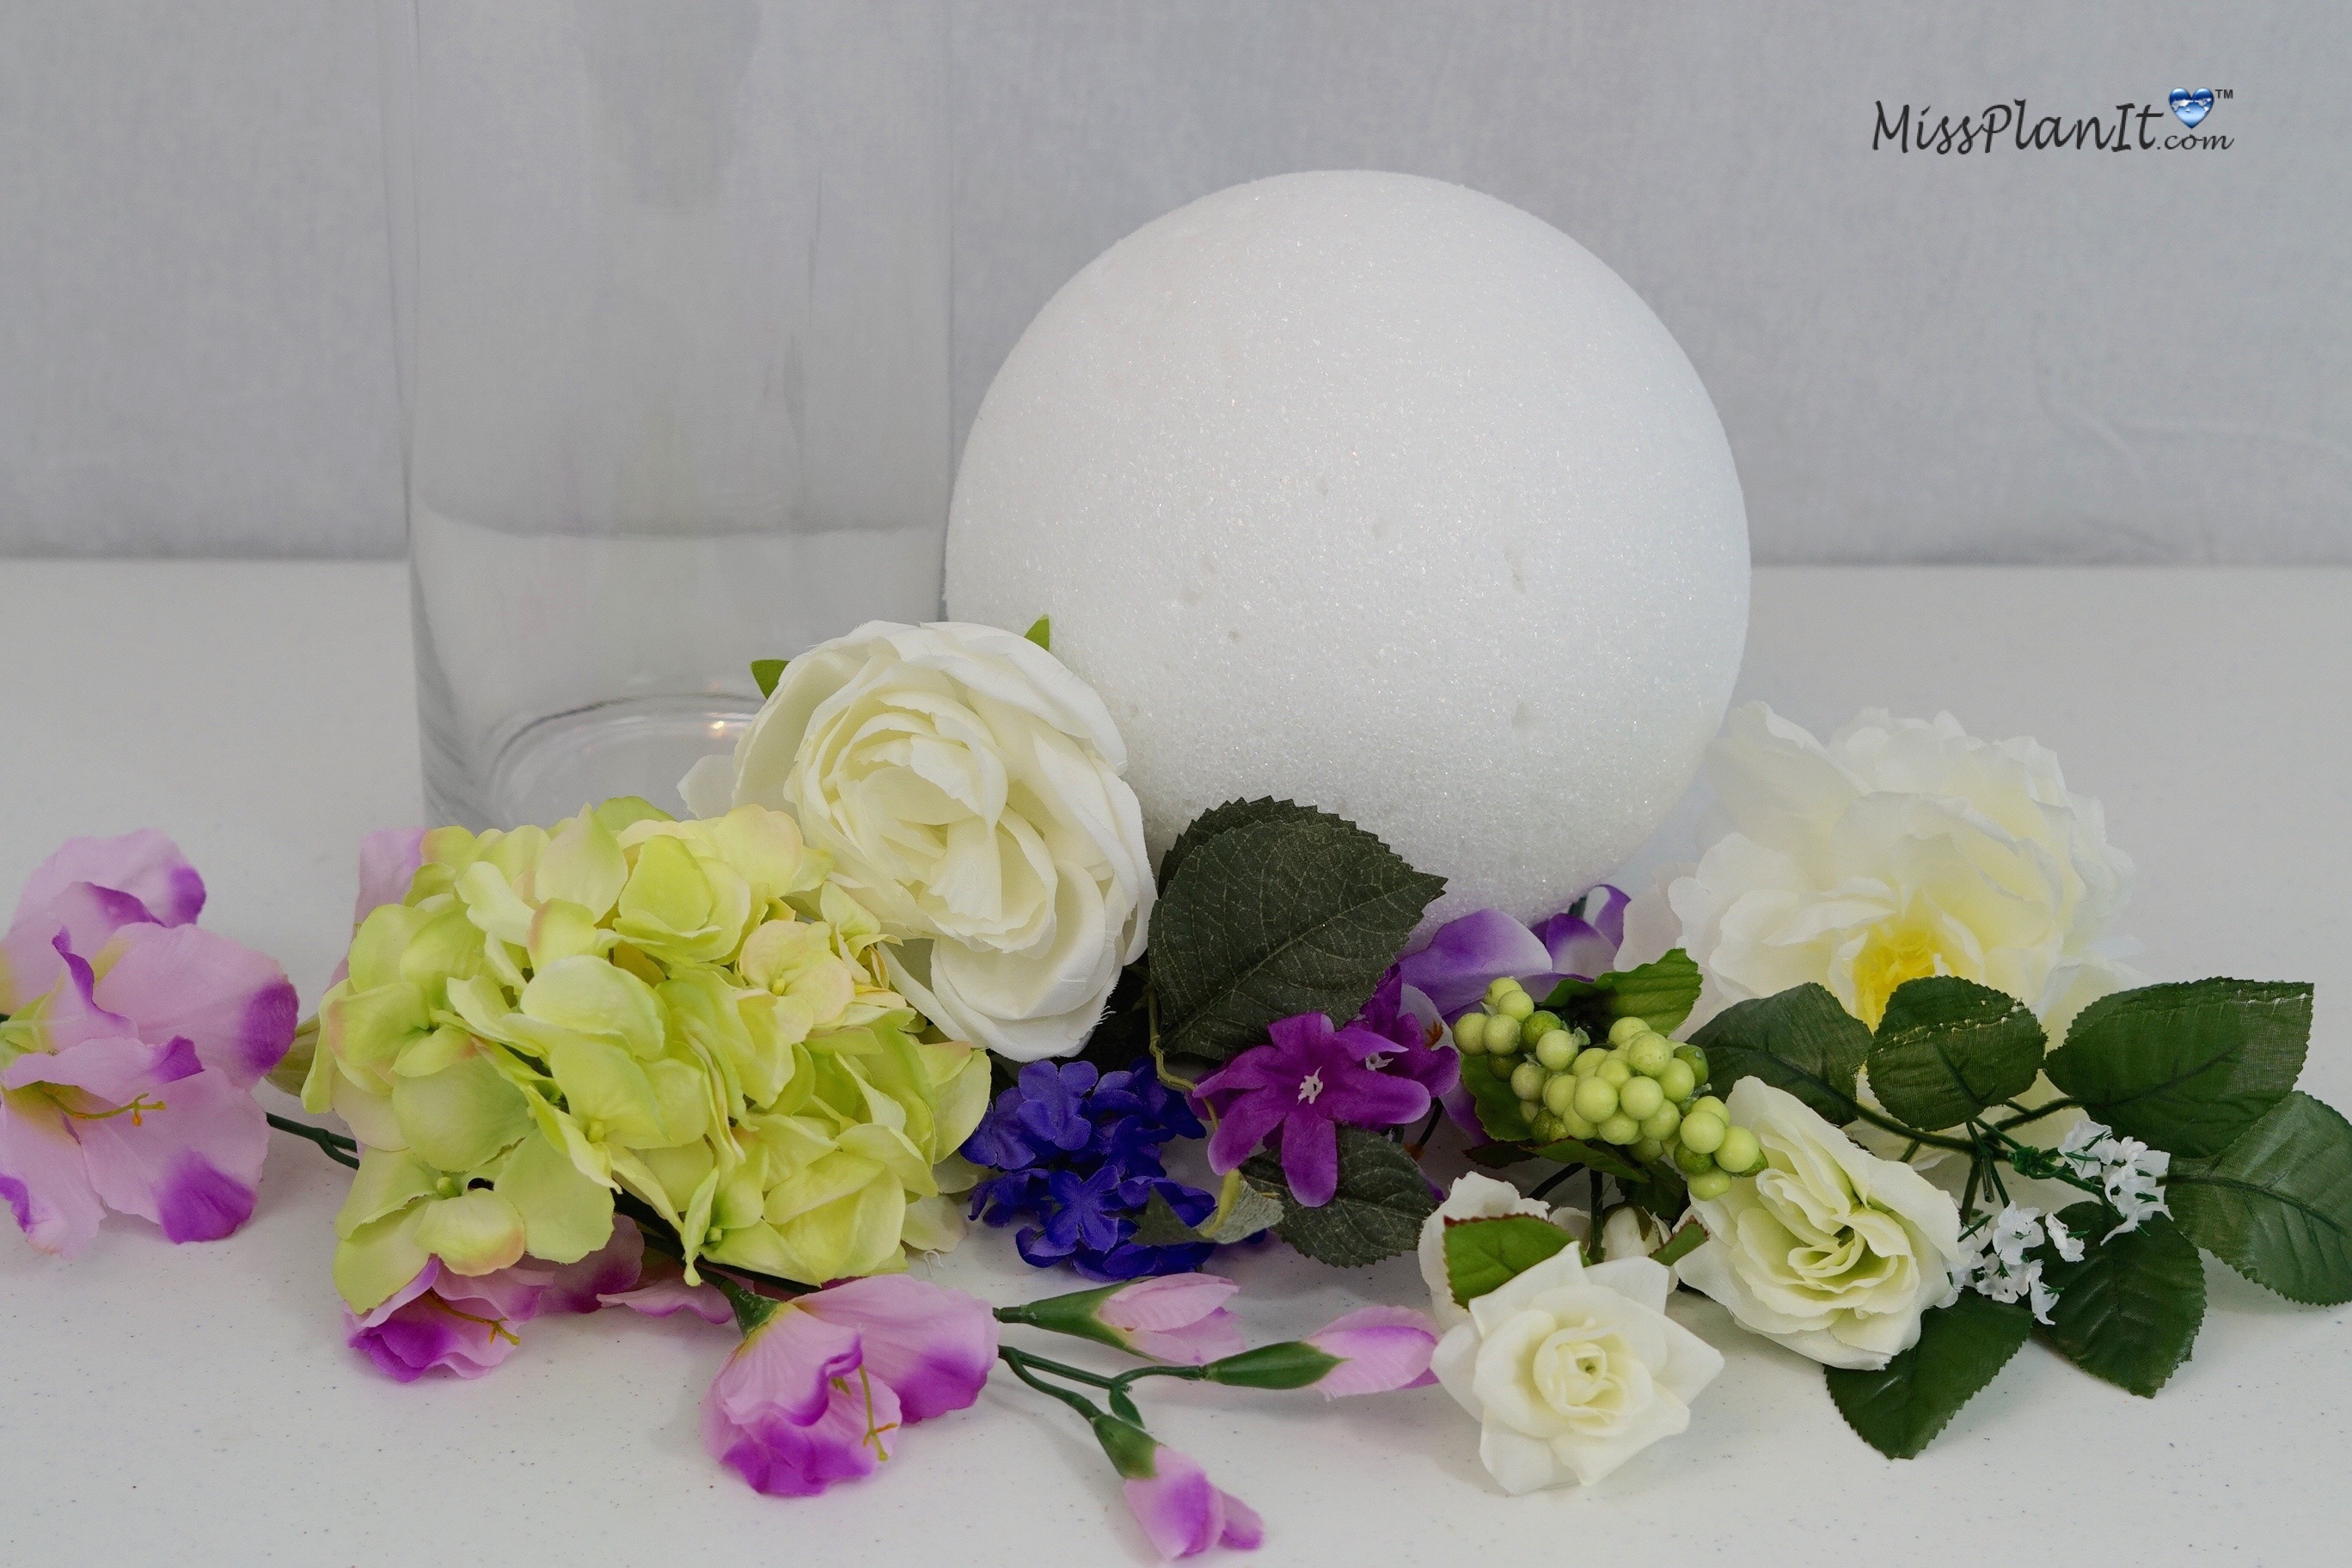
Supplies:
24in Tapered Trumpet Vase
8 in Foam Sphere
Cream Hydrangea
White Roses
Petite White Roses
Peonies
Wisteria
Lilac
Greenery
Hibiscus
Baby’s Breathe
Green Berries
E6000 Adhesive
X-acto knife
Glue Gun
Glue Sticks
Directions:
STEP 1: Place your foam ball on top of your vase, now trace on foam ball with a Sharpie where it will sit on your vase. Cut out a groove with your X-Acto knife to fit on top of the vase.
STEP 2: Add hot glue to your foam groove and adhere to the top of the vase. For a more secure hold, use E6000.
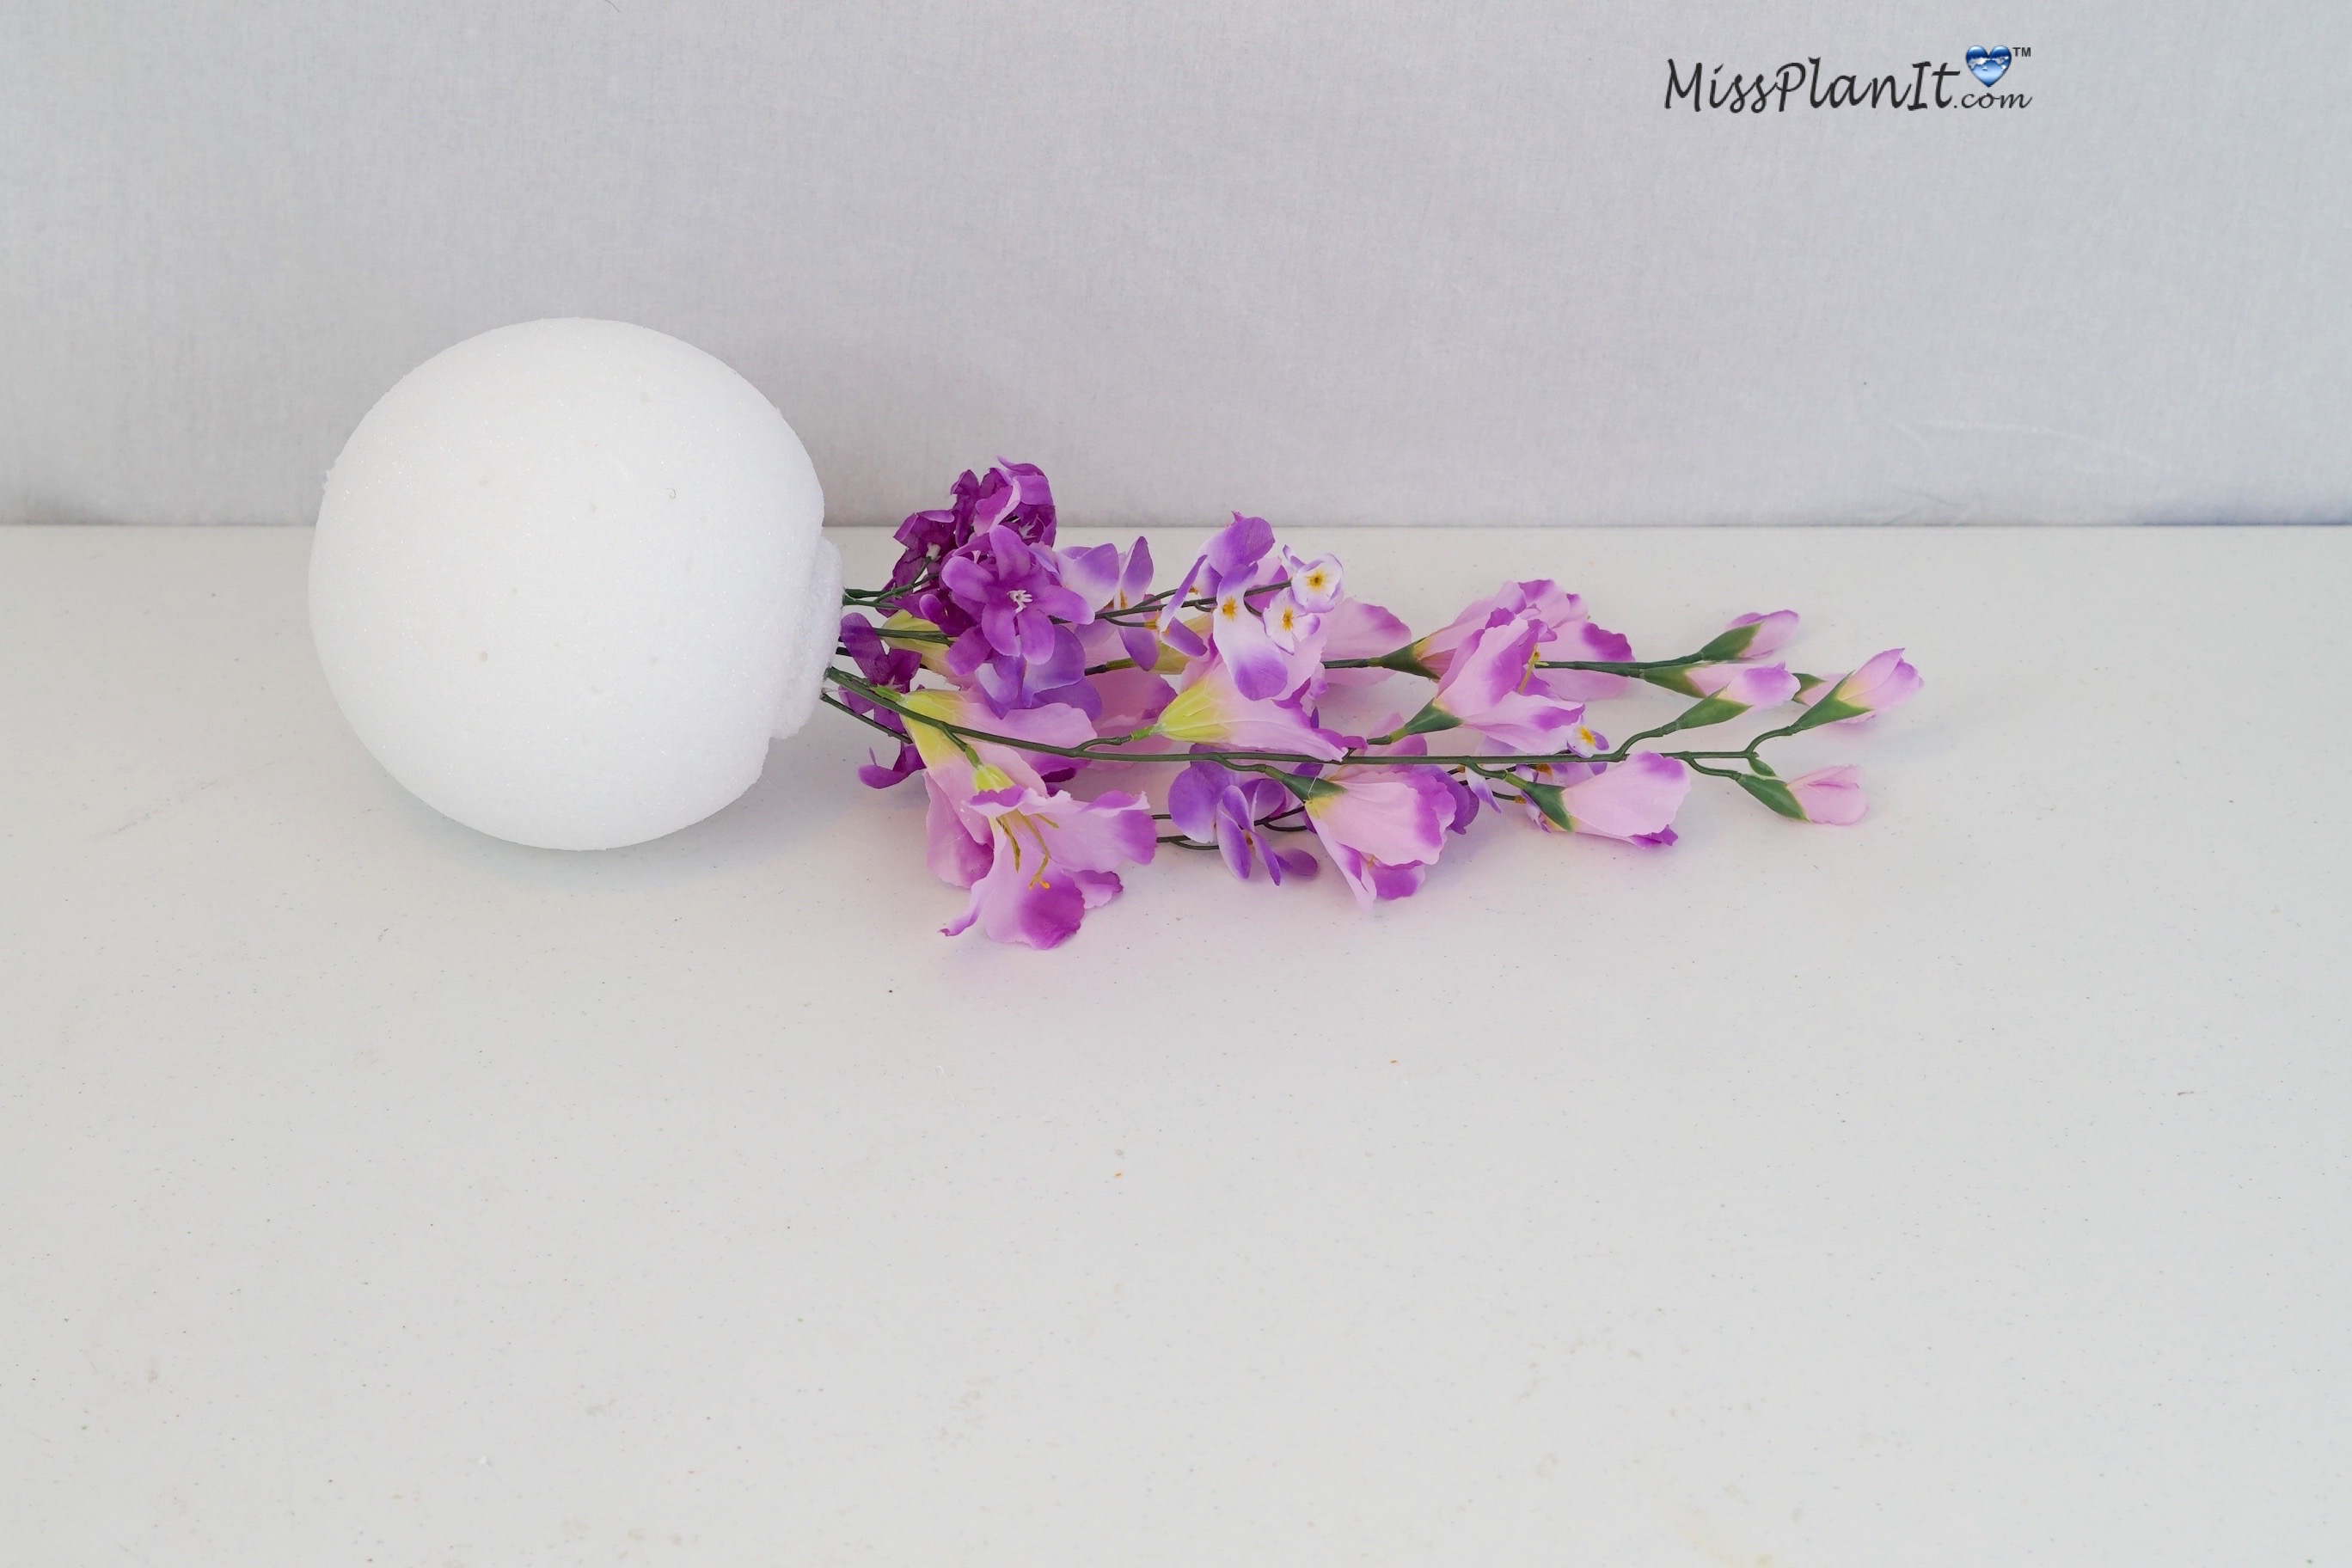
STEP 3: Add 2 Hibiscus, 2 Wisteria, and 3 Lilac Vines to the bottom of your foam ball.
TIP: Add hot glue to stems prior to inserting any of your flowers and stems into your foam.
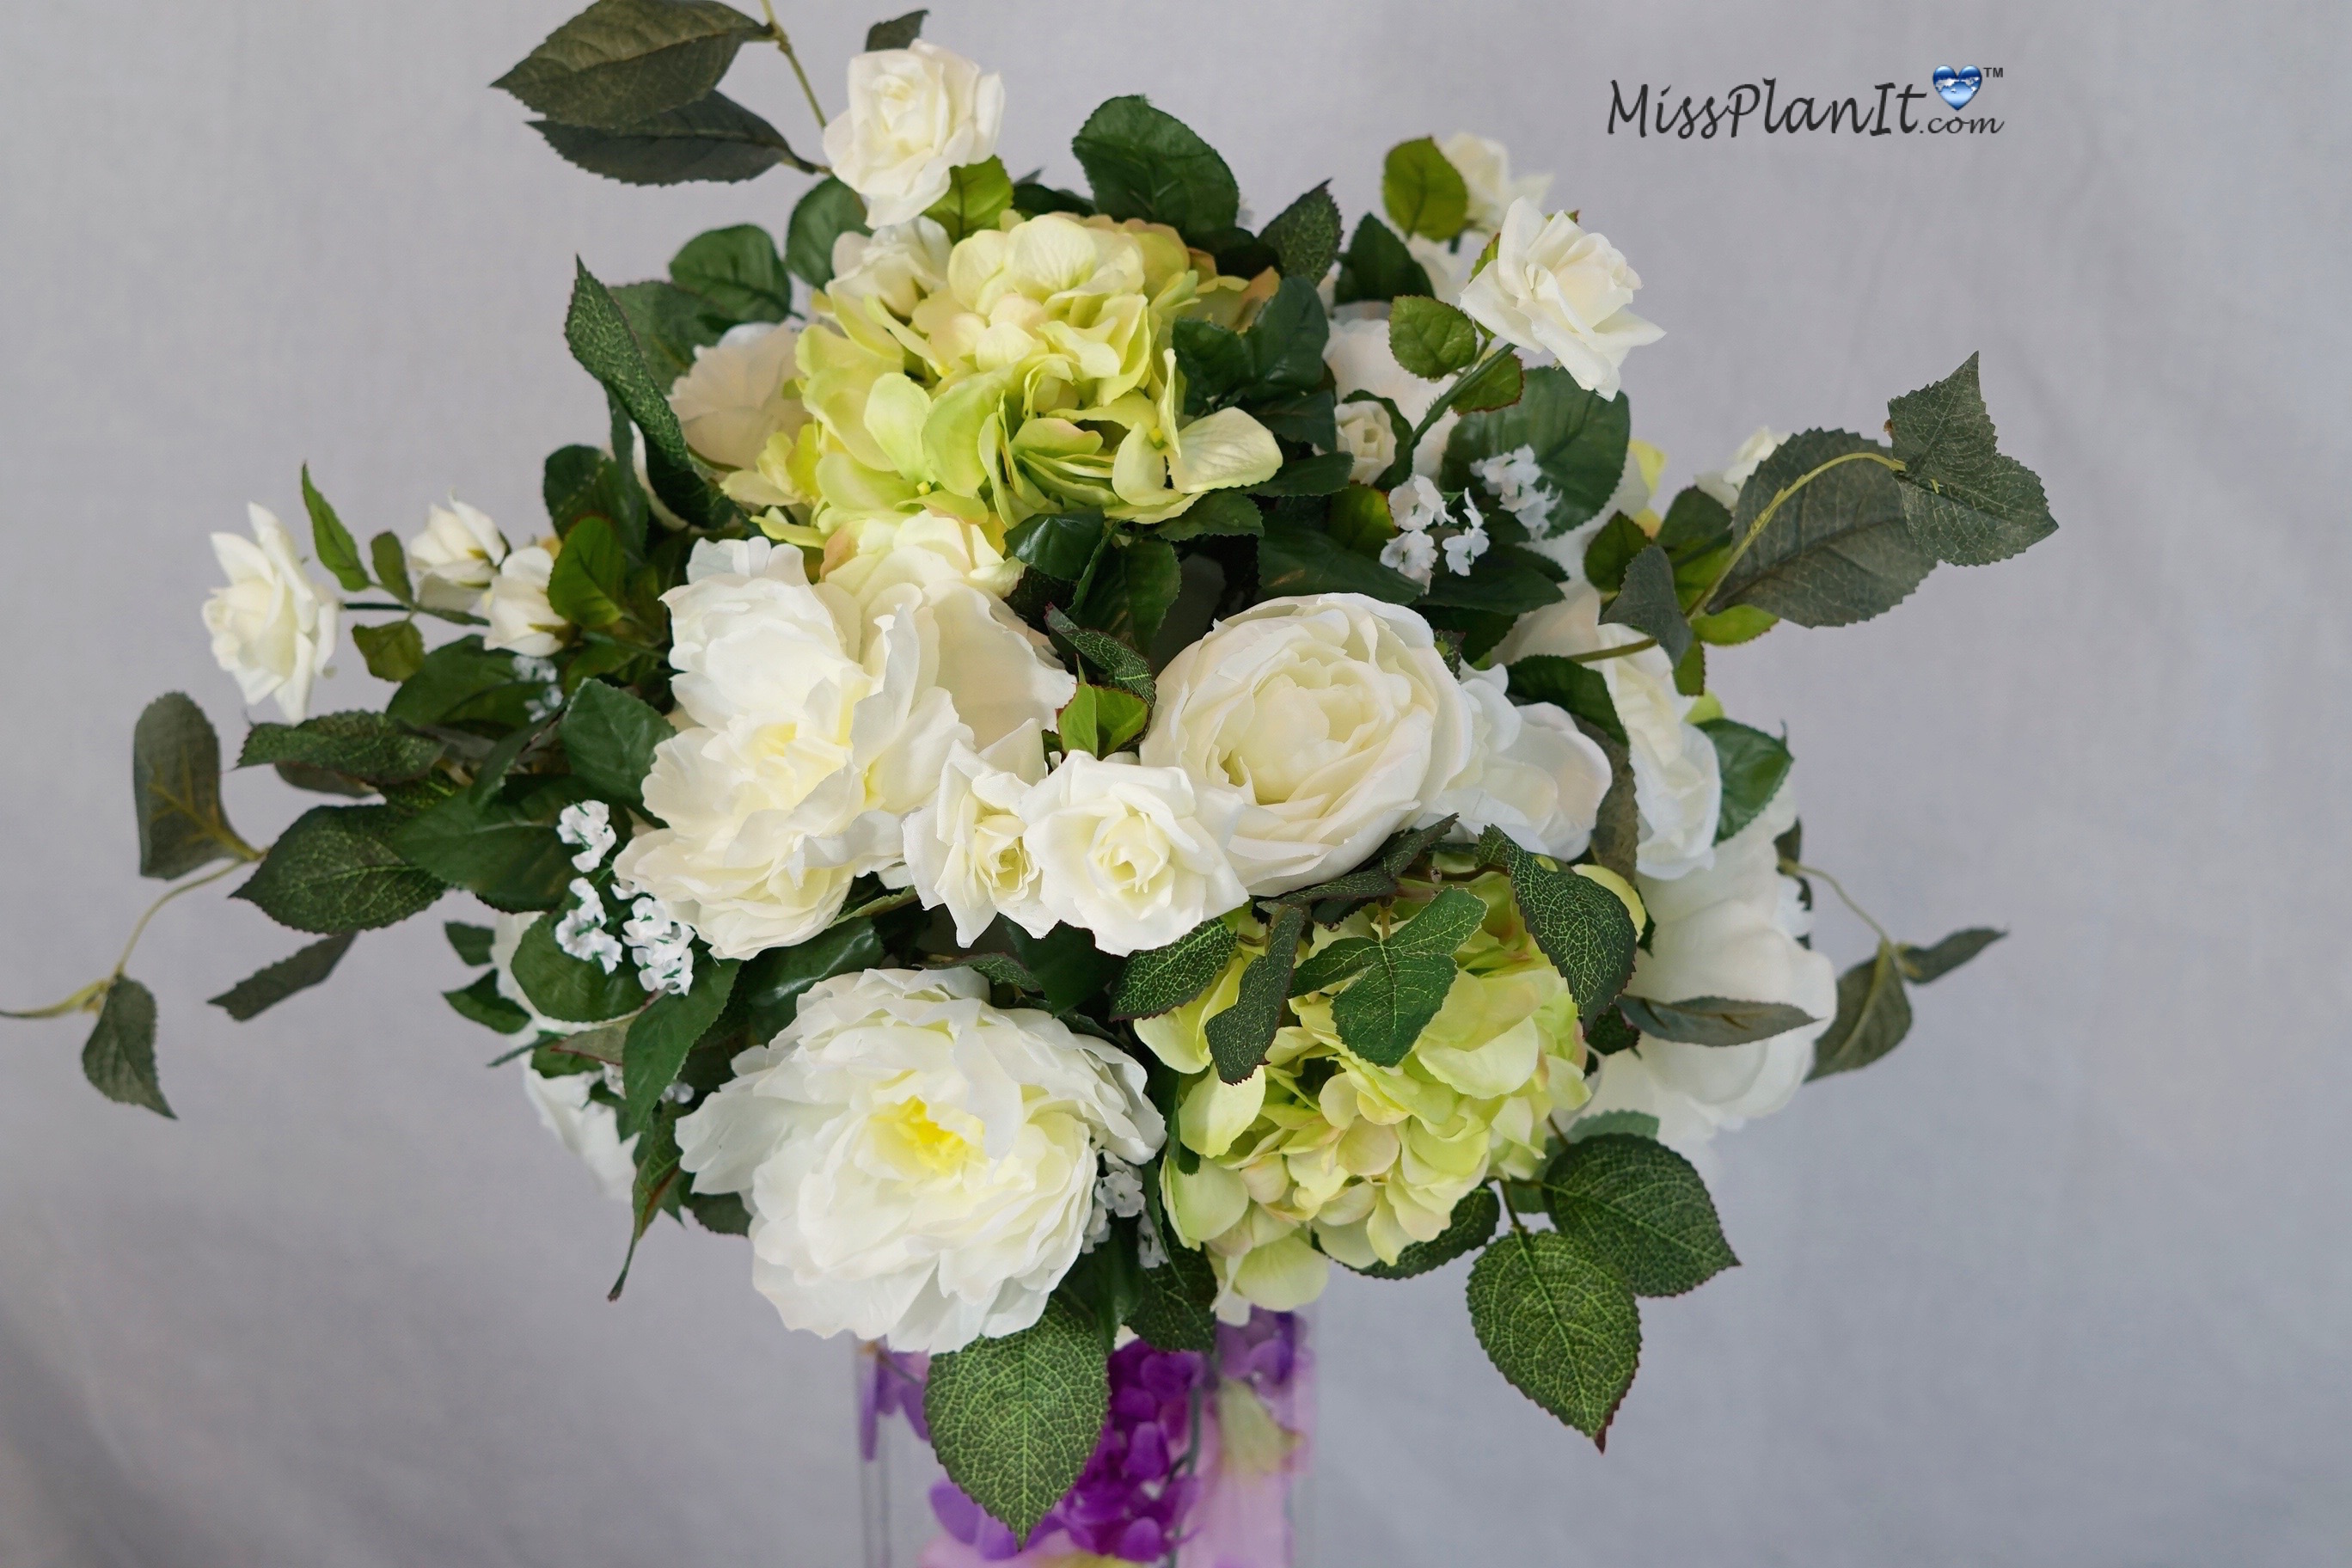
STEP 4: Add 10-12 Petite Cream Roses, 10 bushels of greenery, and several baby’s breath to your foam ball.
STEP 5: Add 4 Large Green Hydrangea Blooms, 4-6 Large White Roses, and 4-6 Large White Peonies to your foam ball.
STEP 6: Add 1 Bushel of Petite White Rose Vines, 1 Bushel of Listeria and Lilac Vines to your foam ball
STEP 7: Add 1 Bushel of Green Berries to your foam ball.
THE FINAL STEP
STEP 8: Set the table!
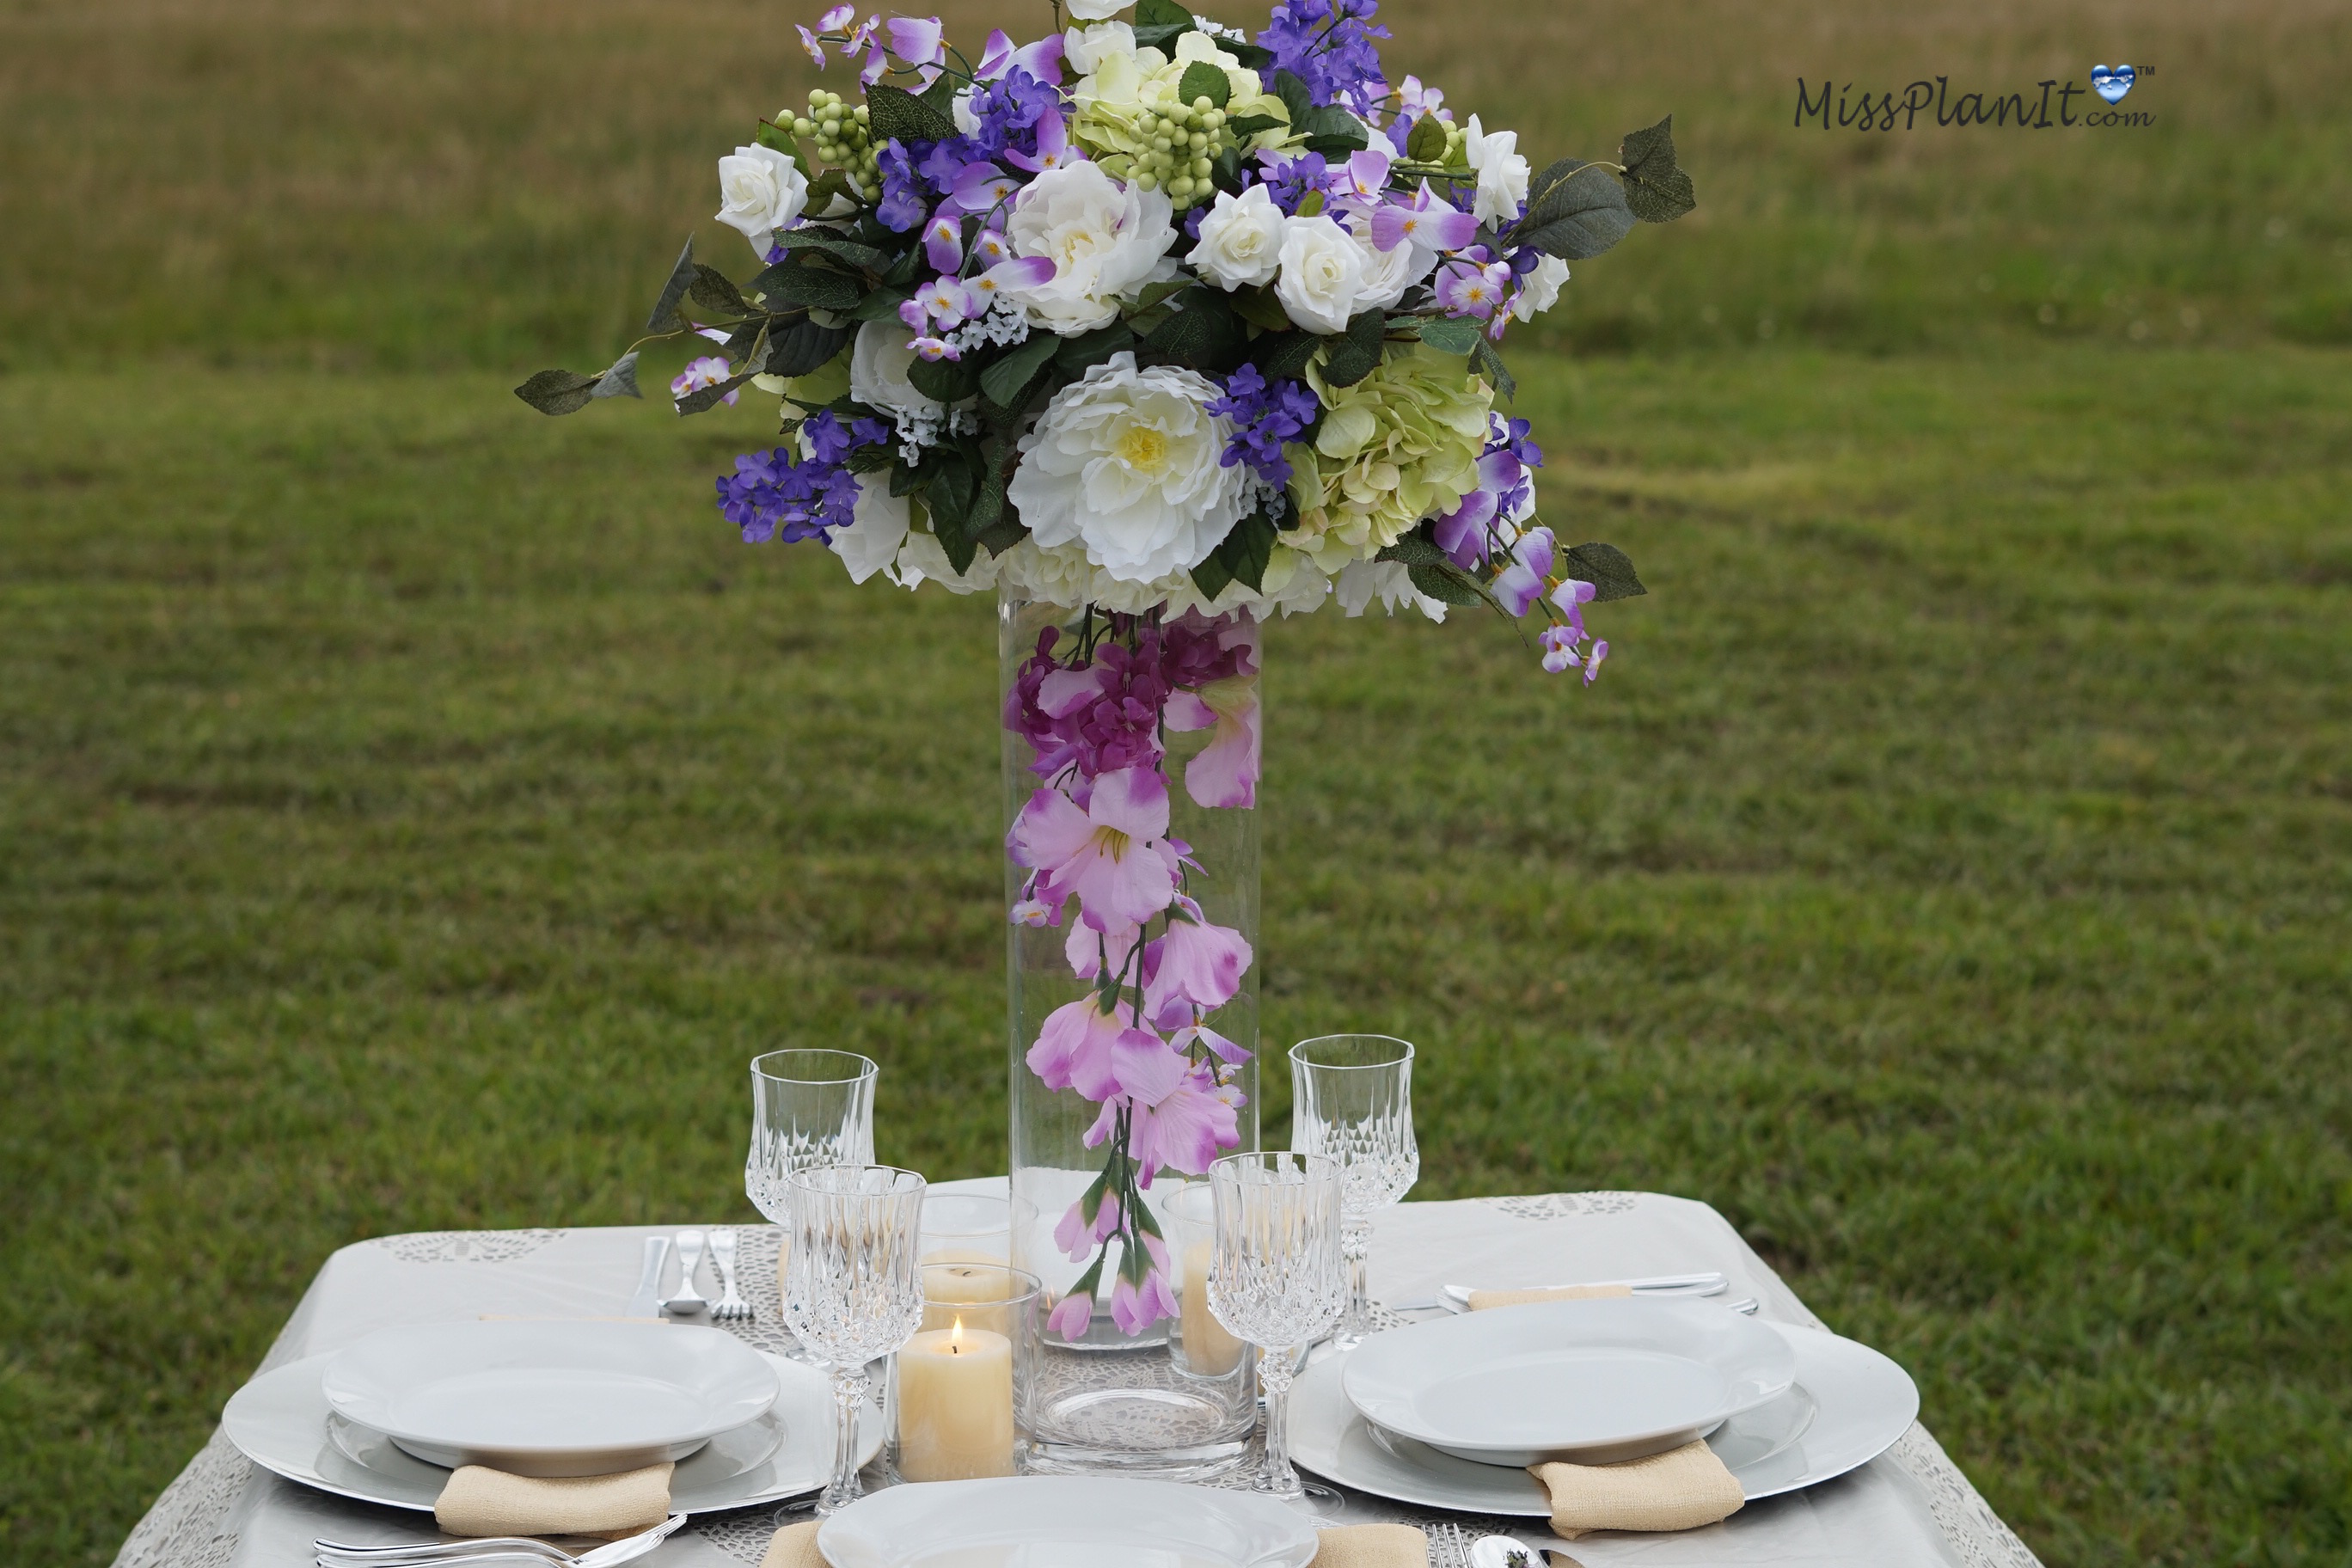
I absolutely love how this wedding centerpiece turned out. Stacey, thank you so much for allowing us to be apart of your special day!
If you like the outcome please let us know in the comments below? Also share your ideas on what you would have done differently?
Need help with an upcoming project? Be sure to send us a project request!
“Remember When Every Penny Counts, Count on MissPlanIt”


