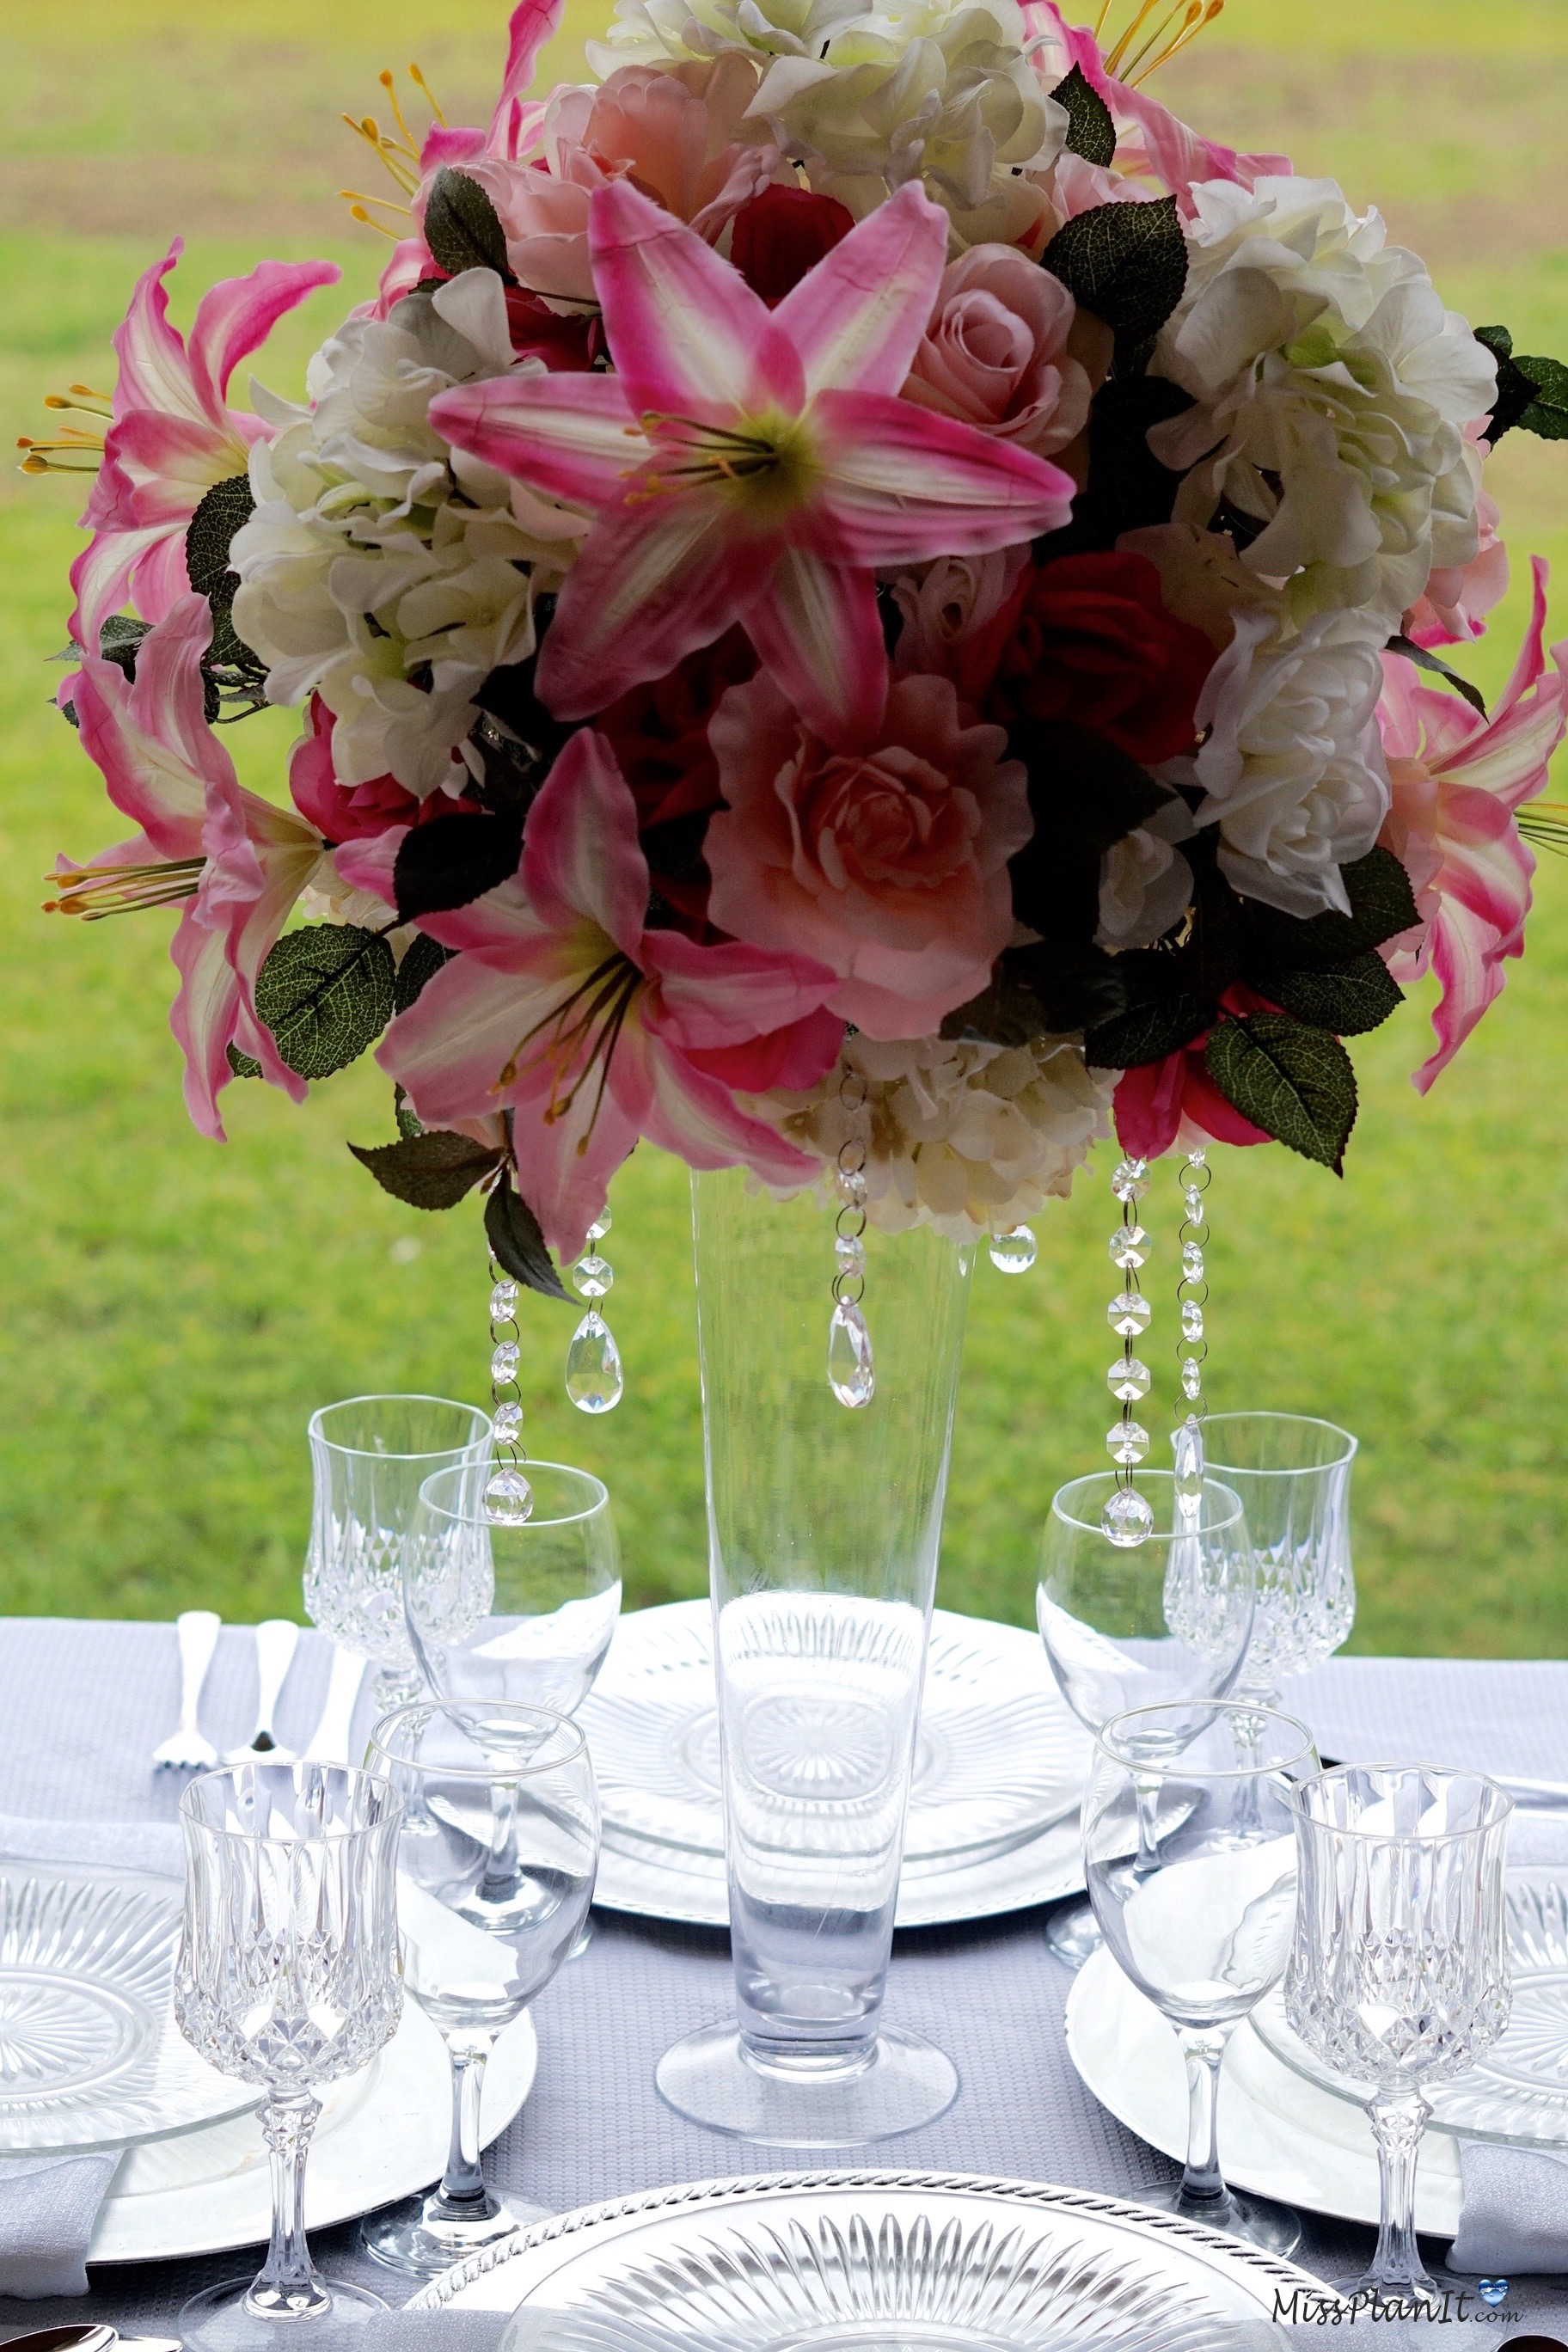
Bonjour! Take a journey with us to Paris this week with this Springtime in Paris Tall Centerpiece. Inspired by our community member Monique. Have you ever planned an event or maybe even your own wedding and unexpected things happened?
Not just your typical mishaps but something so alarming it caused you to go into panic mode. Well this is what happened to our DIY bride Monique, she was all set when the person who was going to make her centerpieces for her wedding suddenly became ill and is no longer able to do so.
Monique wants to have her dream wedding without putting a financial strain on her family but with this unexpected occurrence Monique is no longer confident she will remain within her budget.
There is nothing more disturbing than to have your dream wedding but afterwards you are left with a pile of debt. See how we create this beautiful wedding centerpiece without breaking the bank!
Let’s Get Started:
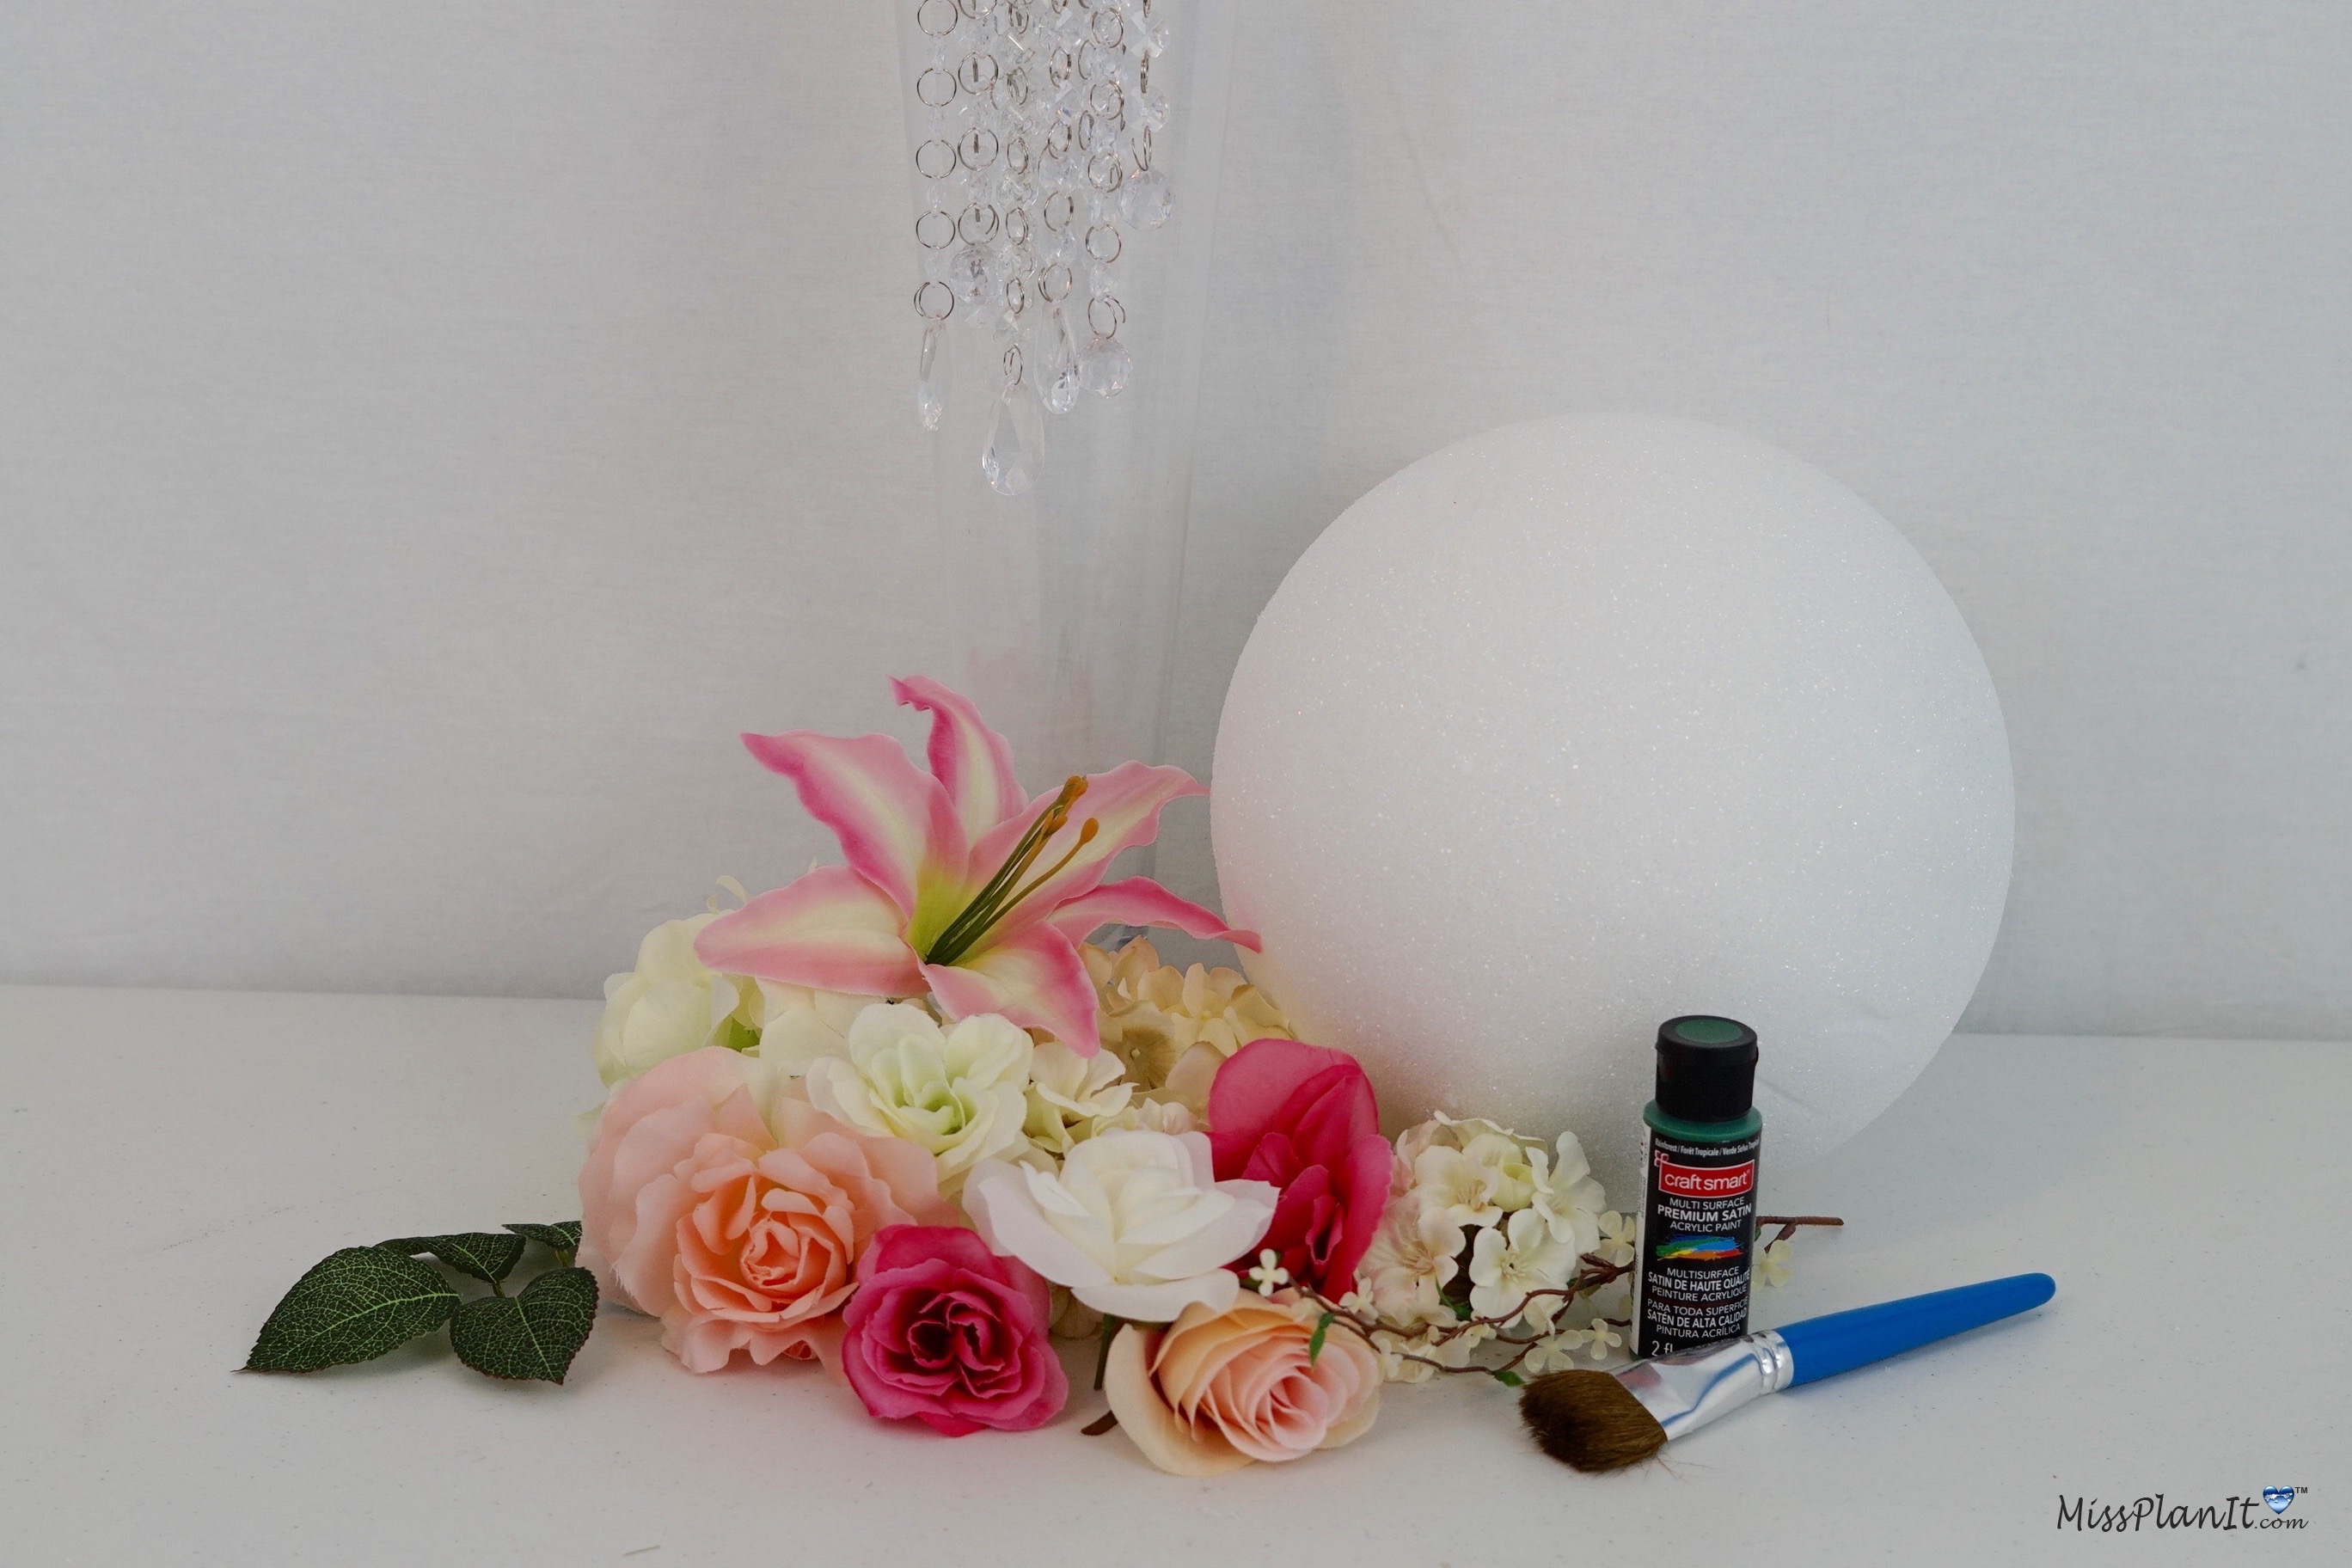
Supplies:

STEP 2: Apply green paint to your entire foam ball using a paintbrush. Allow paint to dry, now pull leaf stems from your flowers and attach to foam sphere.
STEP 3: Attach 4-6 jewel garlands at varying lengths using floral pins, then attach 6-8 large lilies.
STEP 4: Attach 6-8 large cream or white hydrangea heads, 6-8 large pink roses, 8-10 medium cream roses, and 6-8 medium fuchsia roses.
THE FINAL STEP
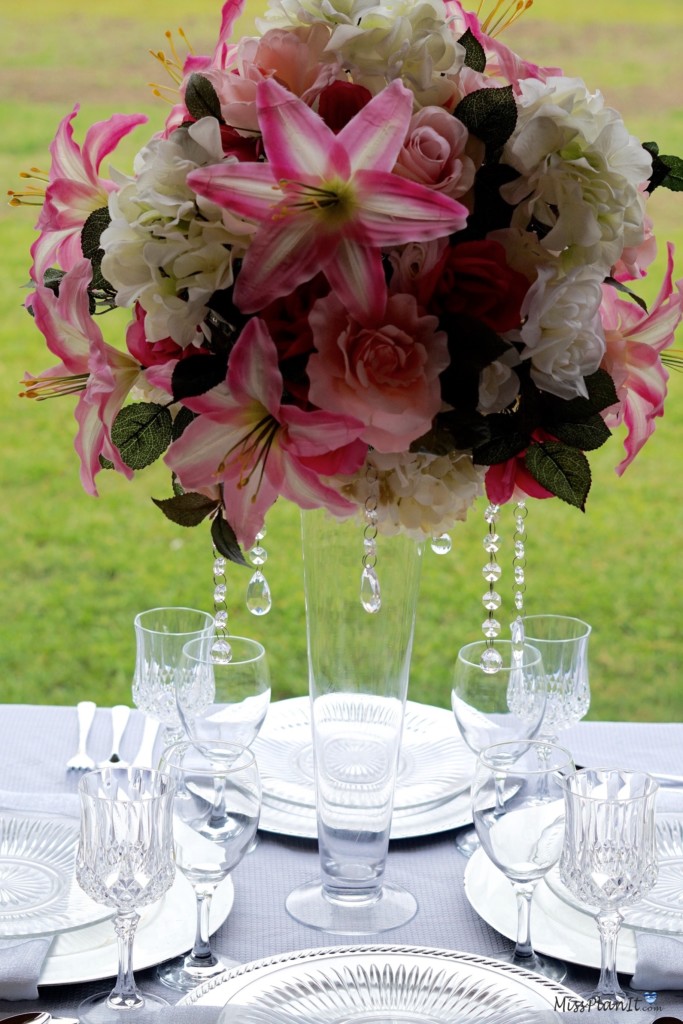
STEP 5: Set the table!

I absolutely love how this wedding centerpiece turned out! If you like the outcome please let us know in the comments below? Also share your ideas on what you would have done differently?
Need help with an upcoming project? Be sure to send us a project request!
“Remember When Every Penny Counts, Count on MissPlanIt”
