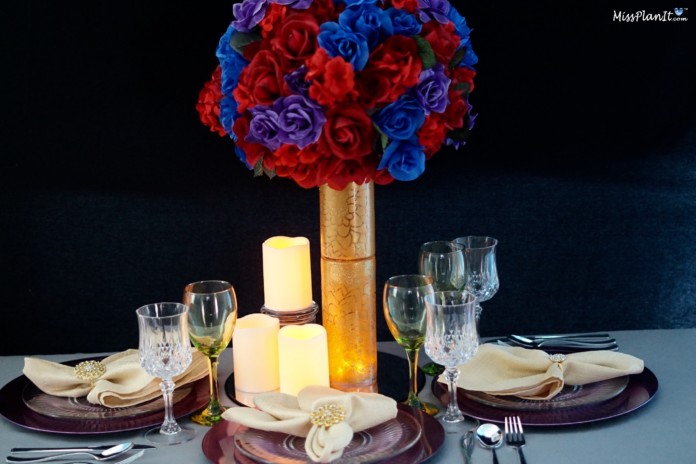
There is nothing more frustrating for a DIY Bride than trying to recreate wedding centerpieces she found online that are just not turning out to look anything like her inspiration picture. She spends hours and hours tweaking her wedding centerpieces but no matter what she does “something just doesn’t look right.”
Sound familiar?
Well if you are stumped on what to do for your wedding centerpieces, be sure to check out this week’s Vintage Glam Tall DIY Wedding Centerpiece. In just a few simple steps, let us show you how to have stunning table decor without the frustration!
[convertkit form=917377]
Let’s Get Started:
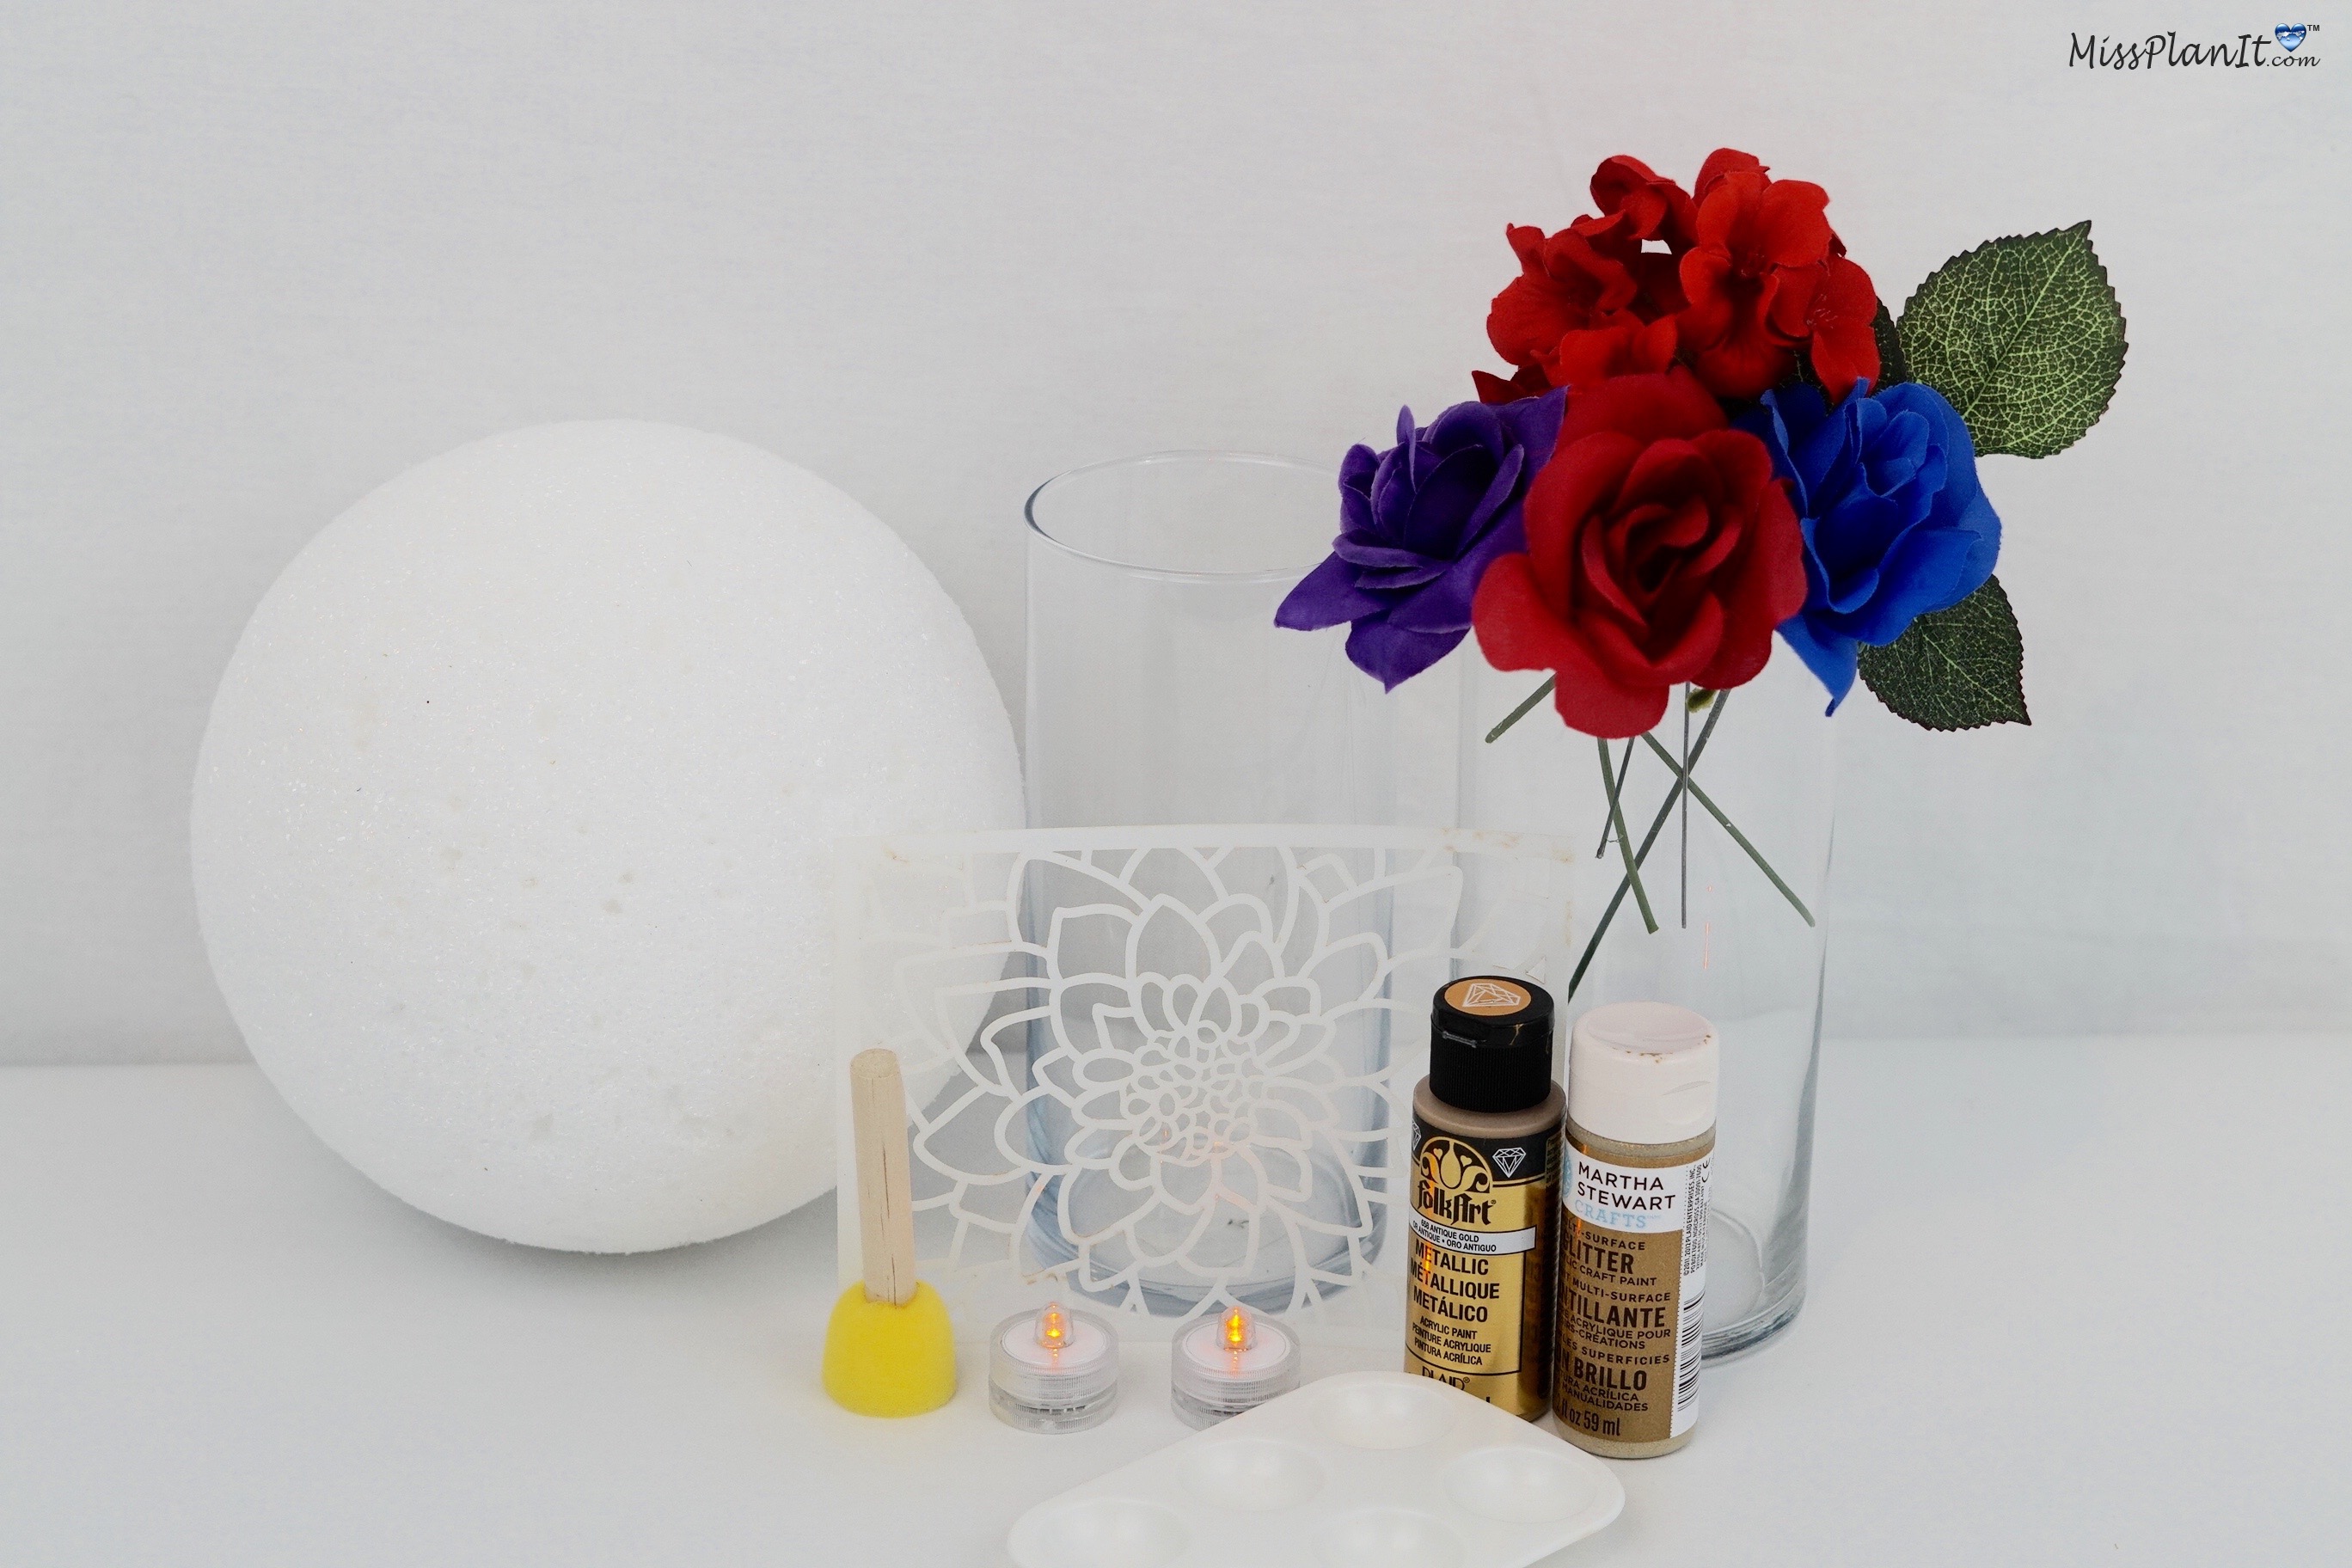
Click our affiliate links below to purchase the supplies needed for this project:
2 fl oz Gold Metallic Paint
2 fl oz Gold Glitter Paint
Stencil
9 inch Cylinder Vase
Dark Purple Roses
Navy Blue Roses
Red Foam Roses
Red Roses
Geranium Stems
Velvet Red Rose Buds
Greenery
LED Pillar Candles
LED Tea Lights
8 inch Foam Ball
E6000
Directions:
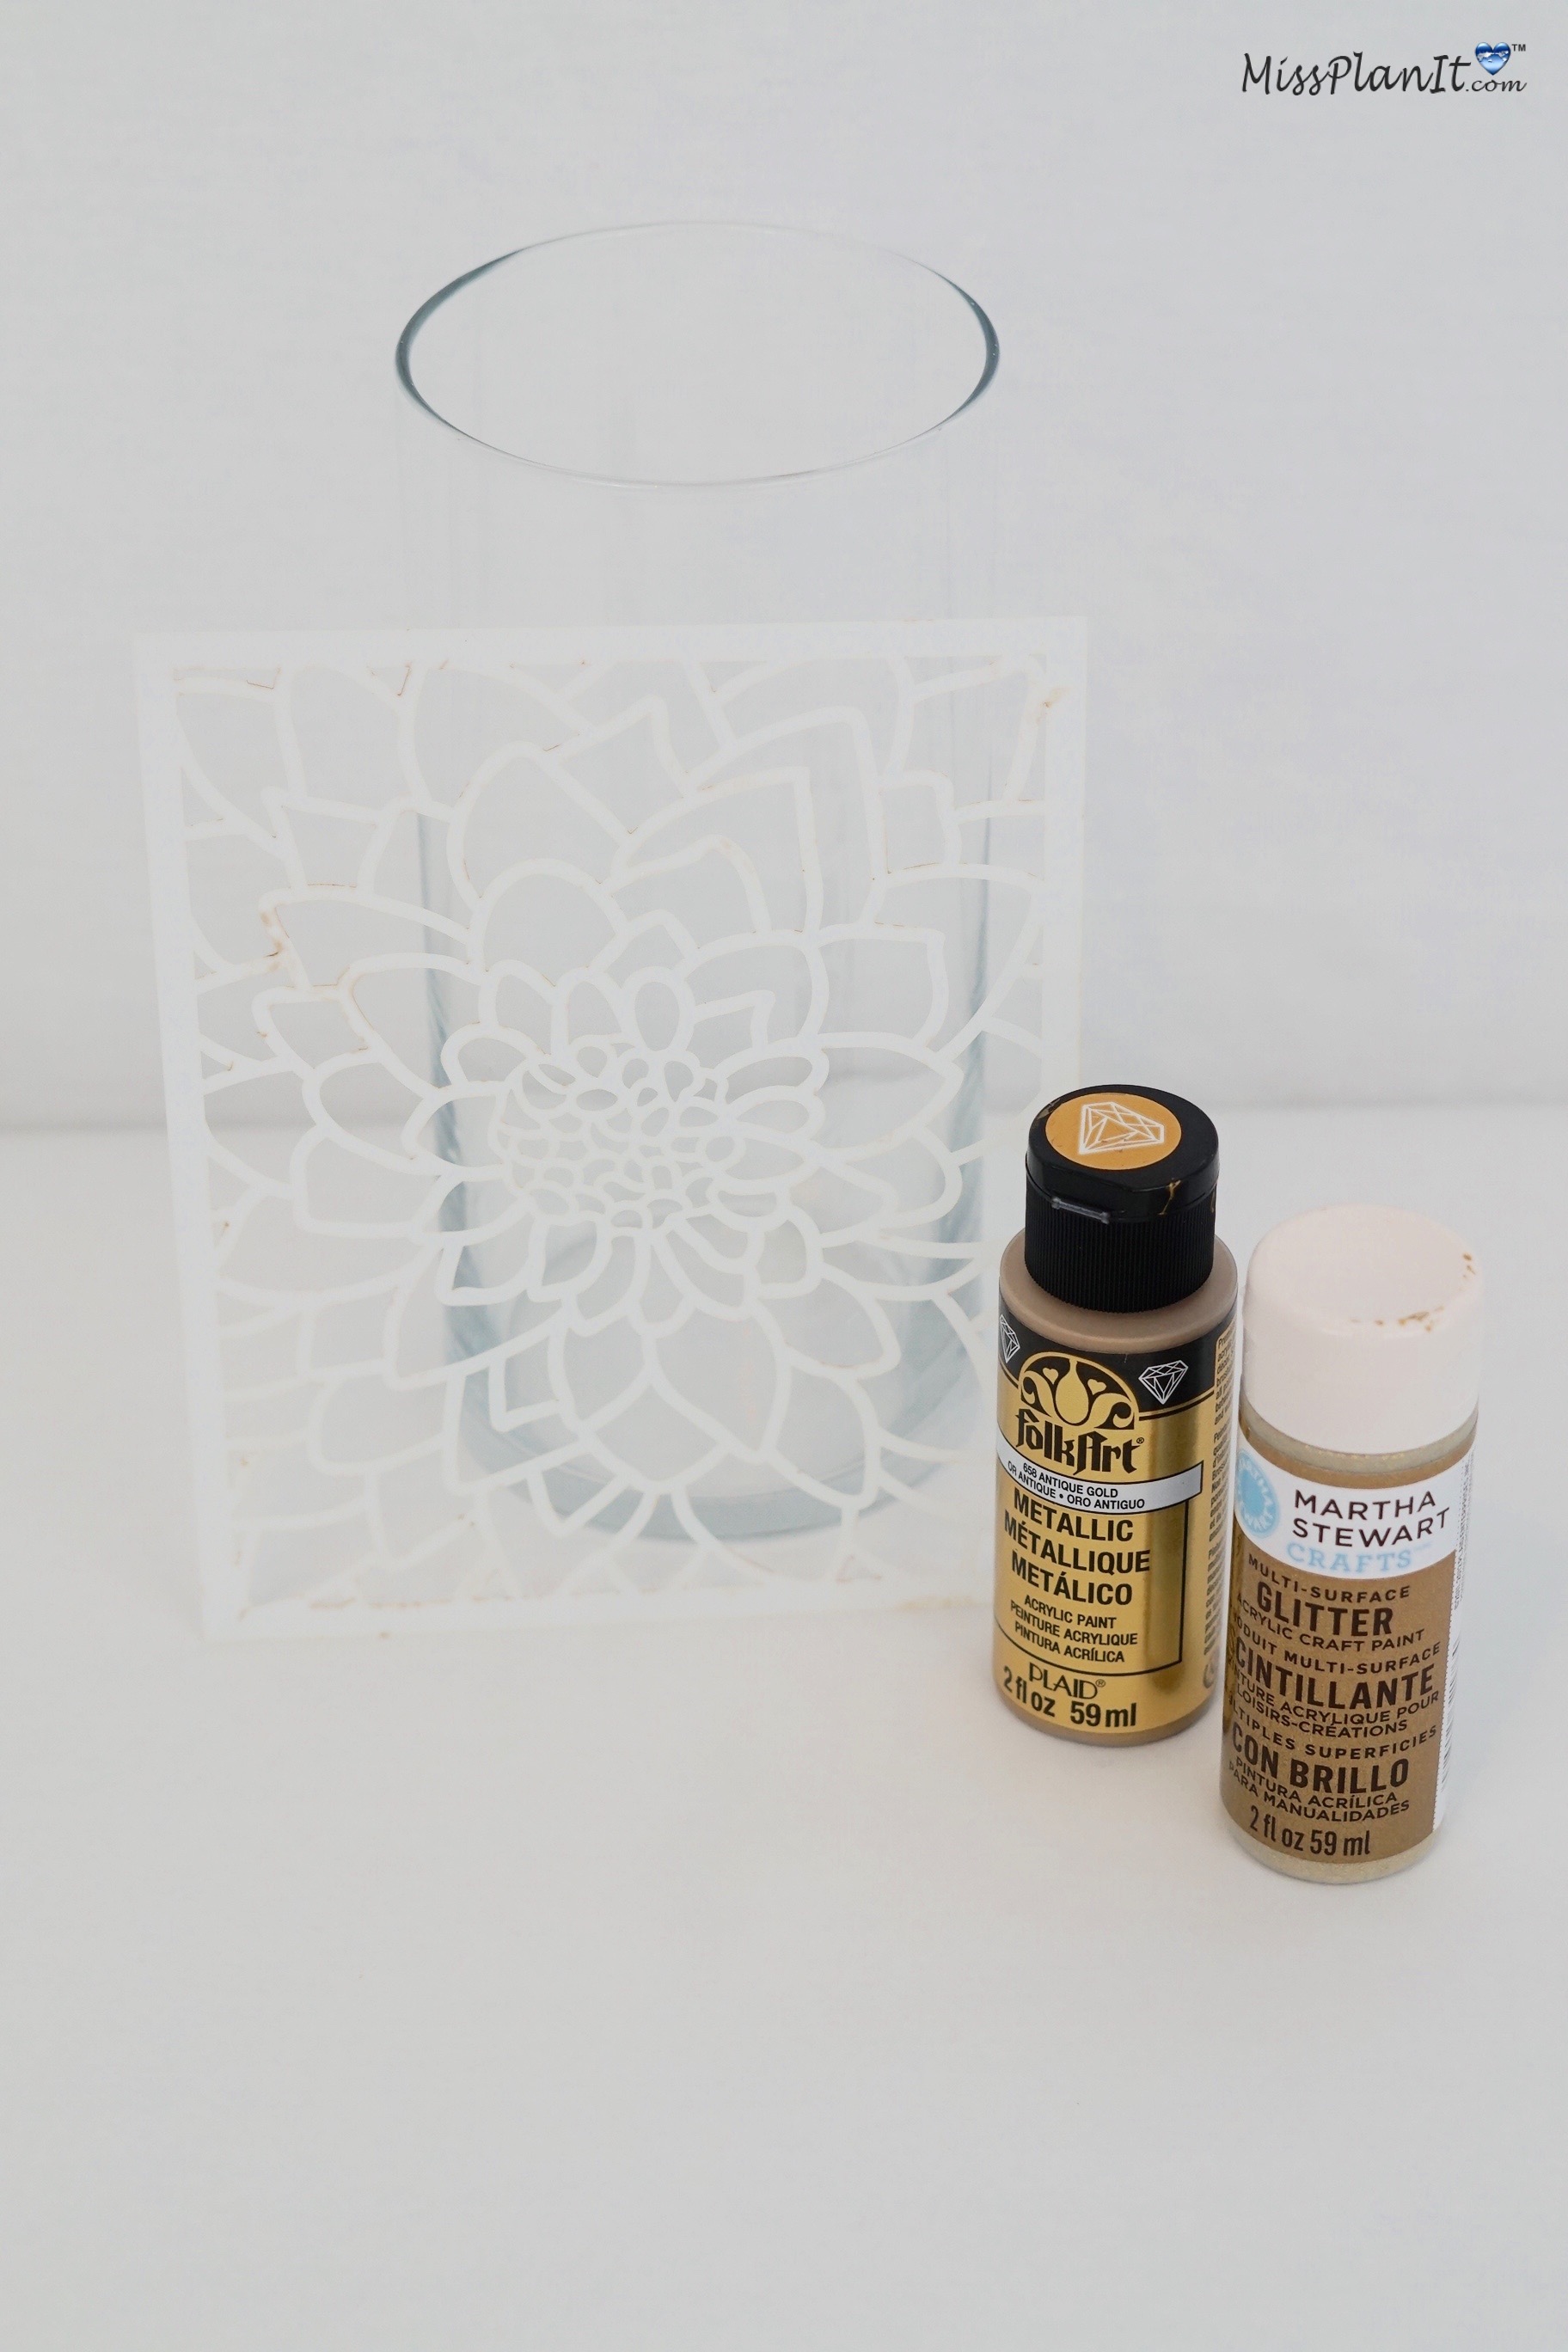
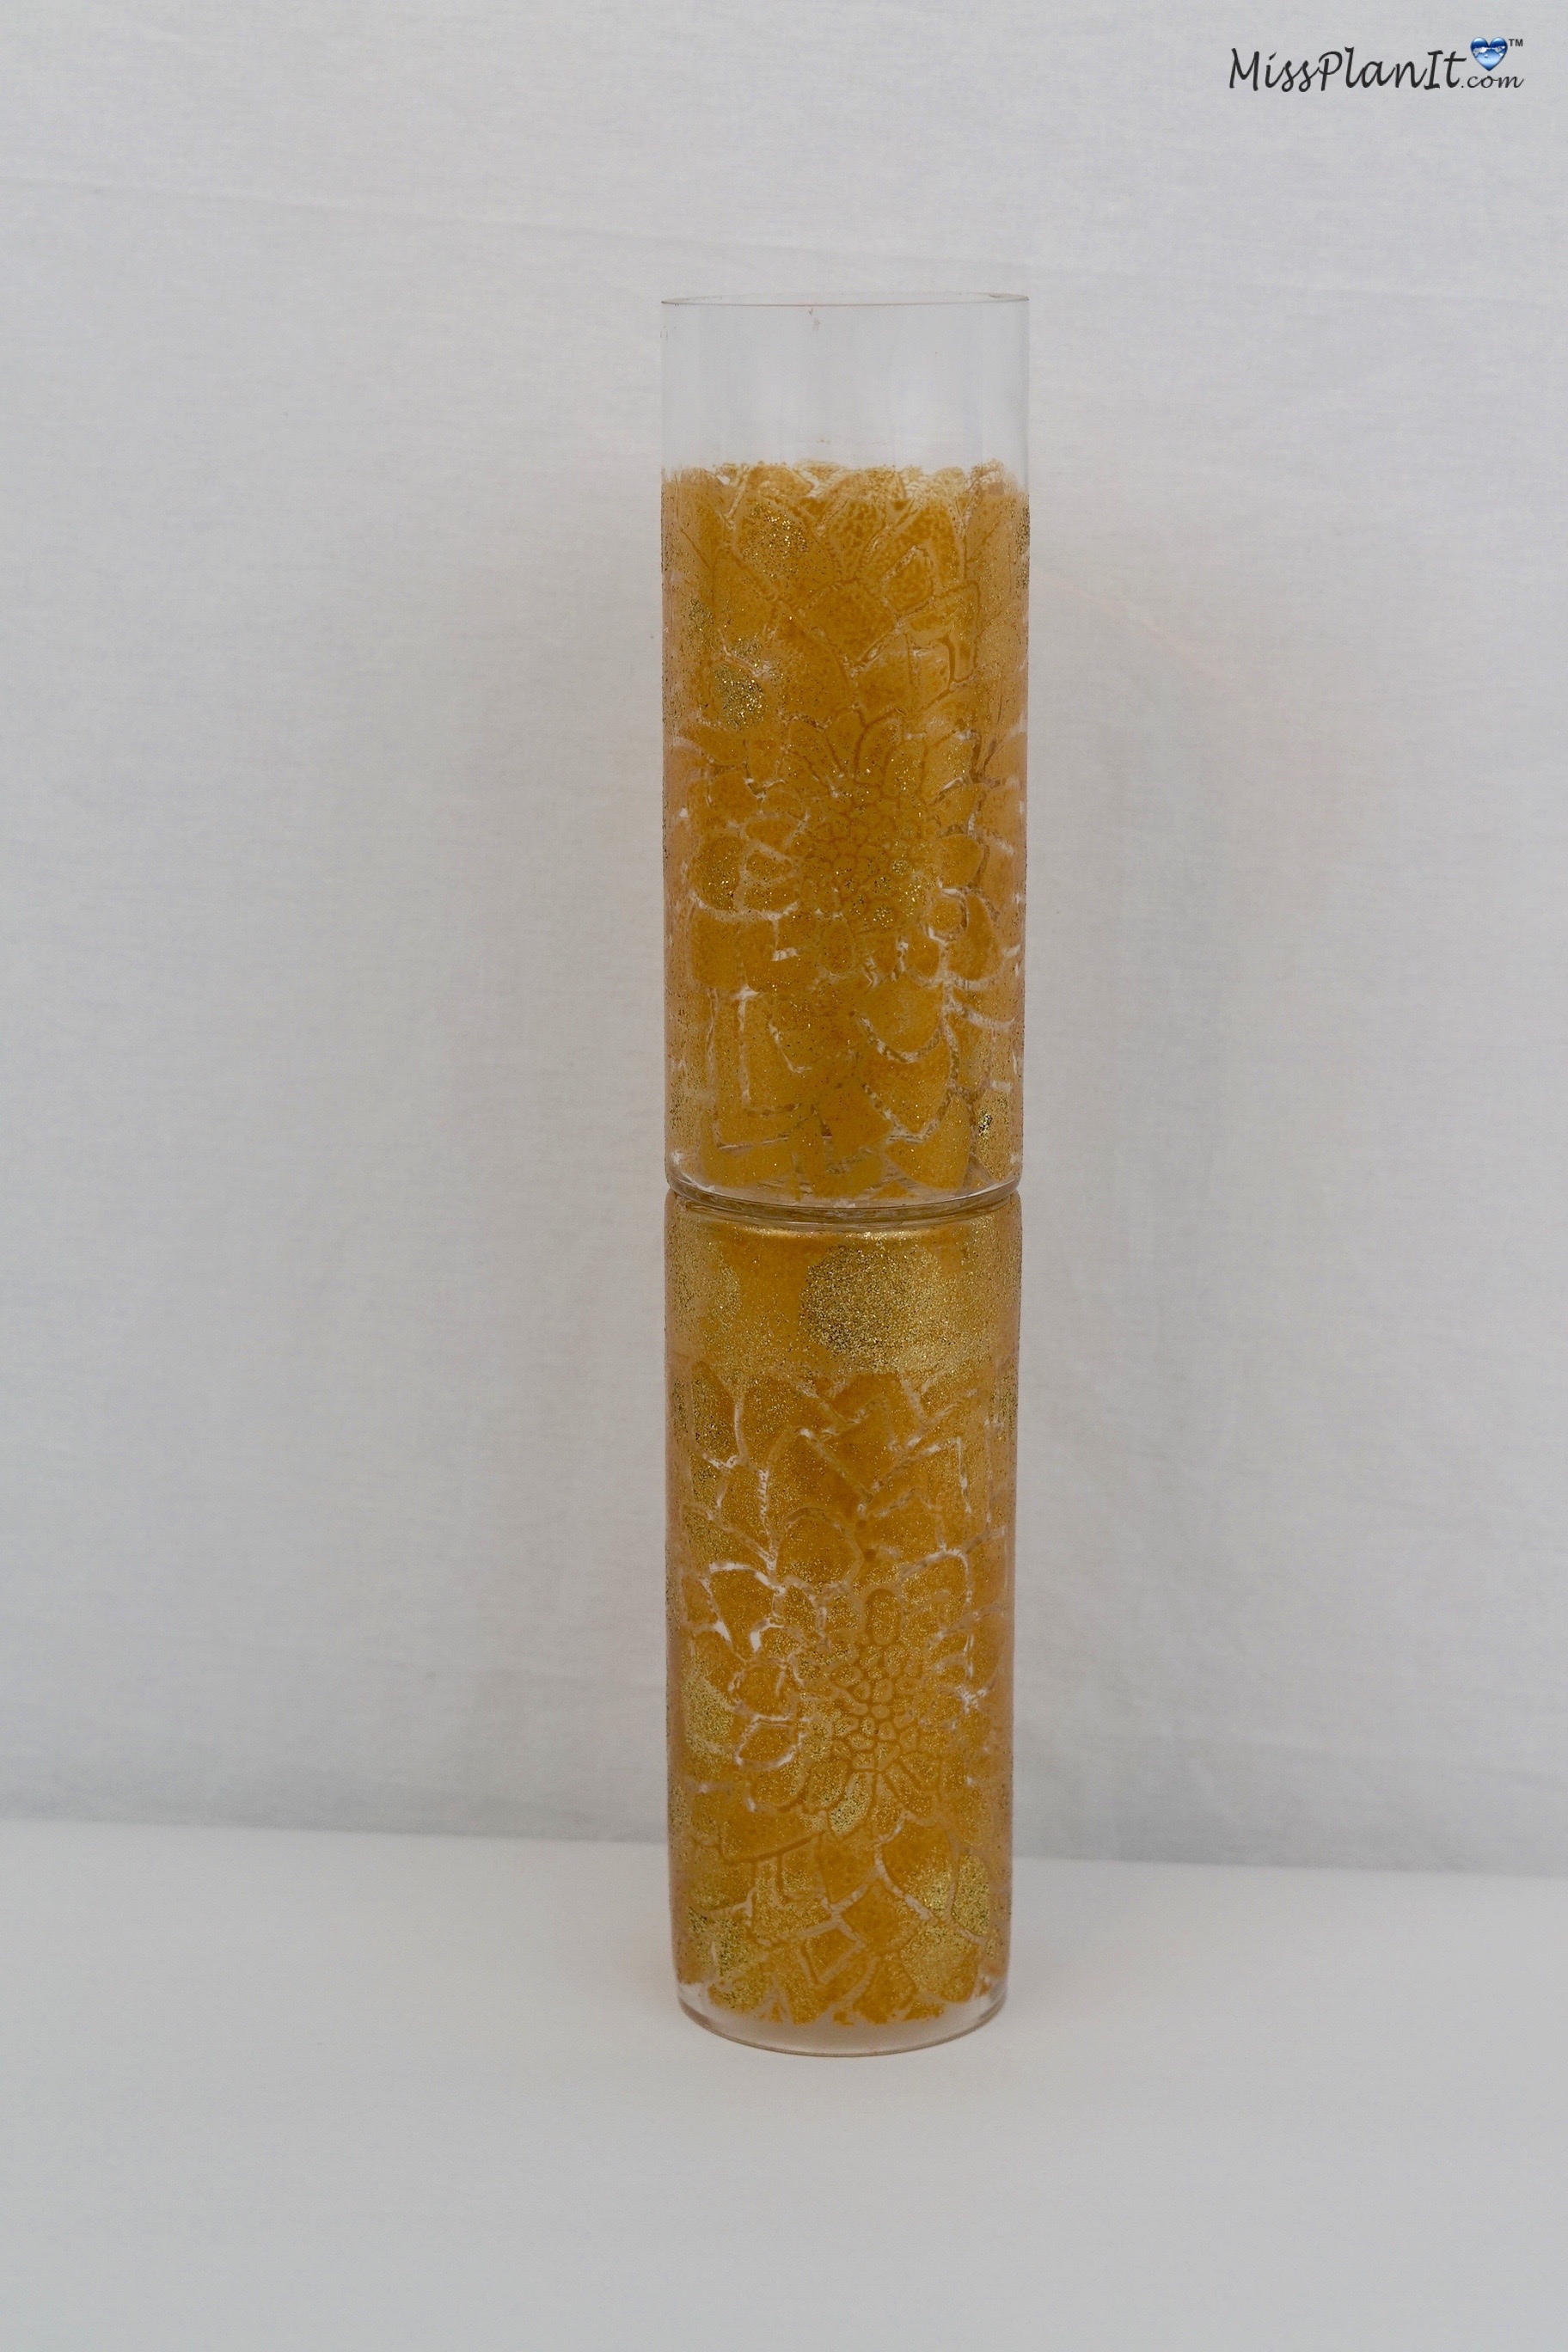
STEP 1: Take your masking tape and tape your stencil to your vase. Now paint over your stencil using two different types of paint, one being a metallic gold and the other being a glitter gold.
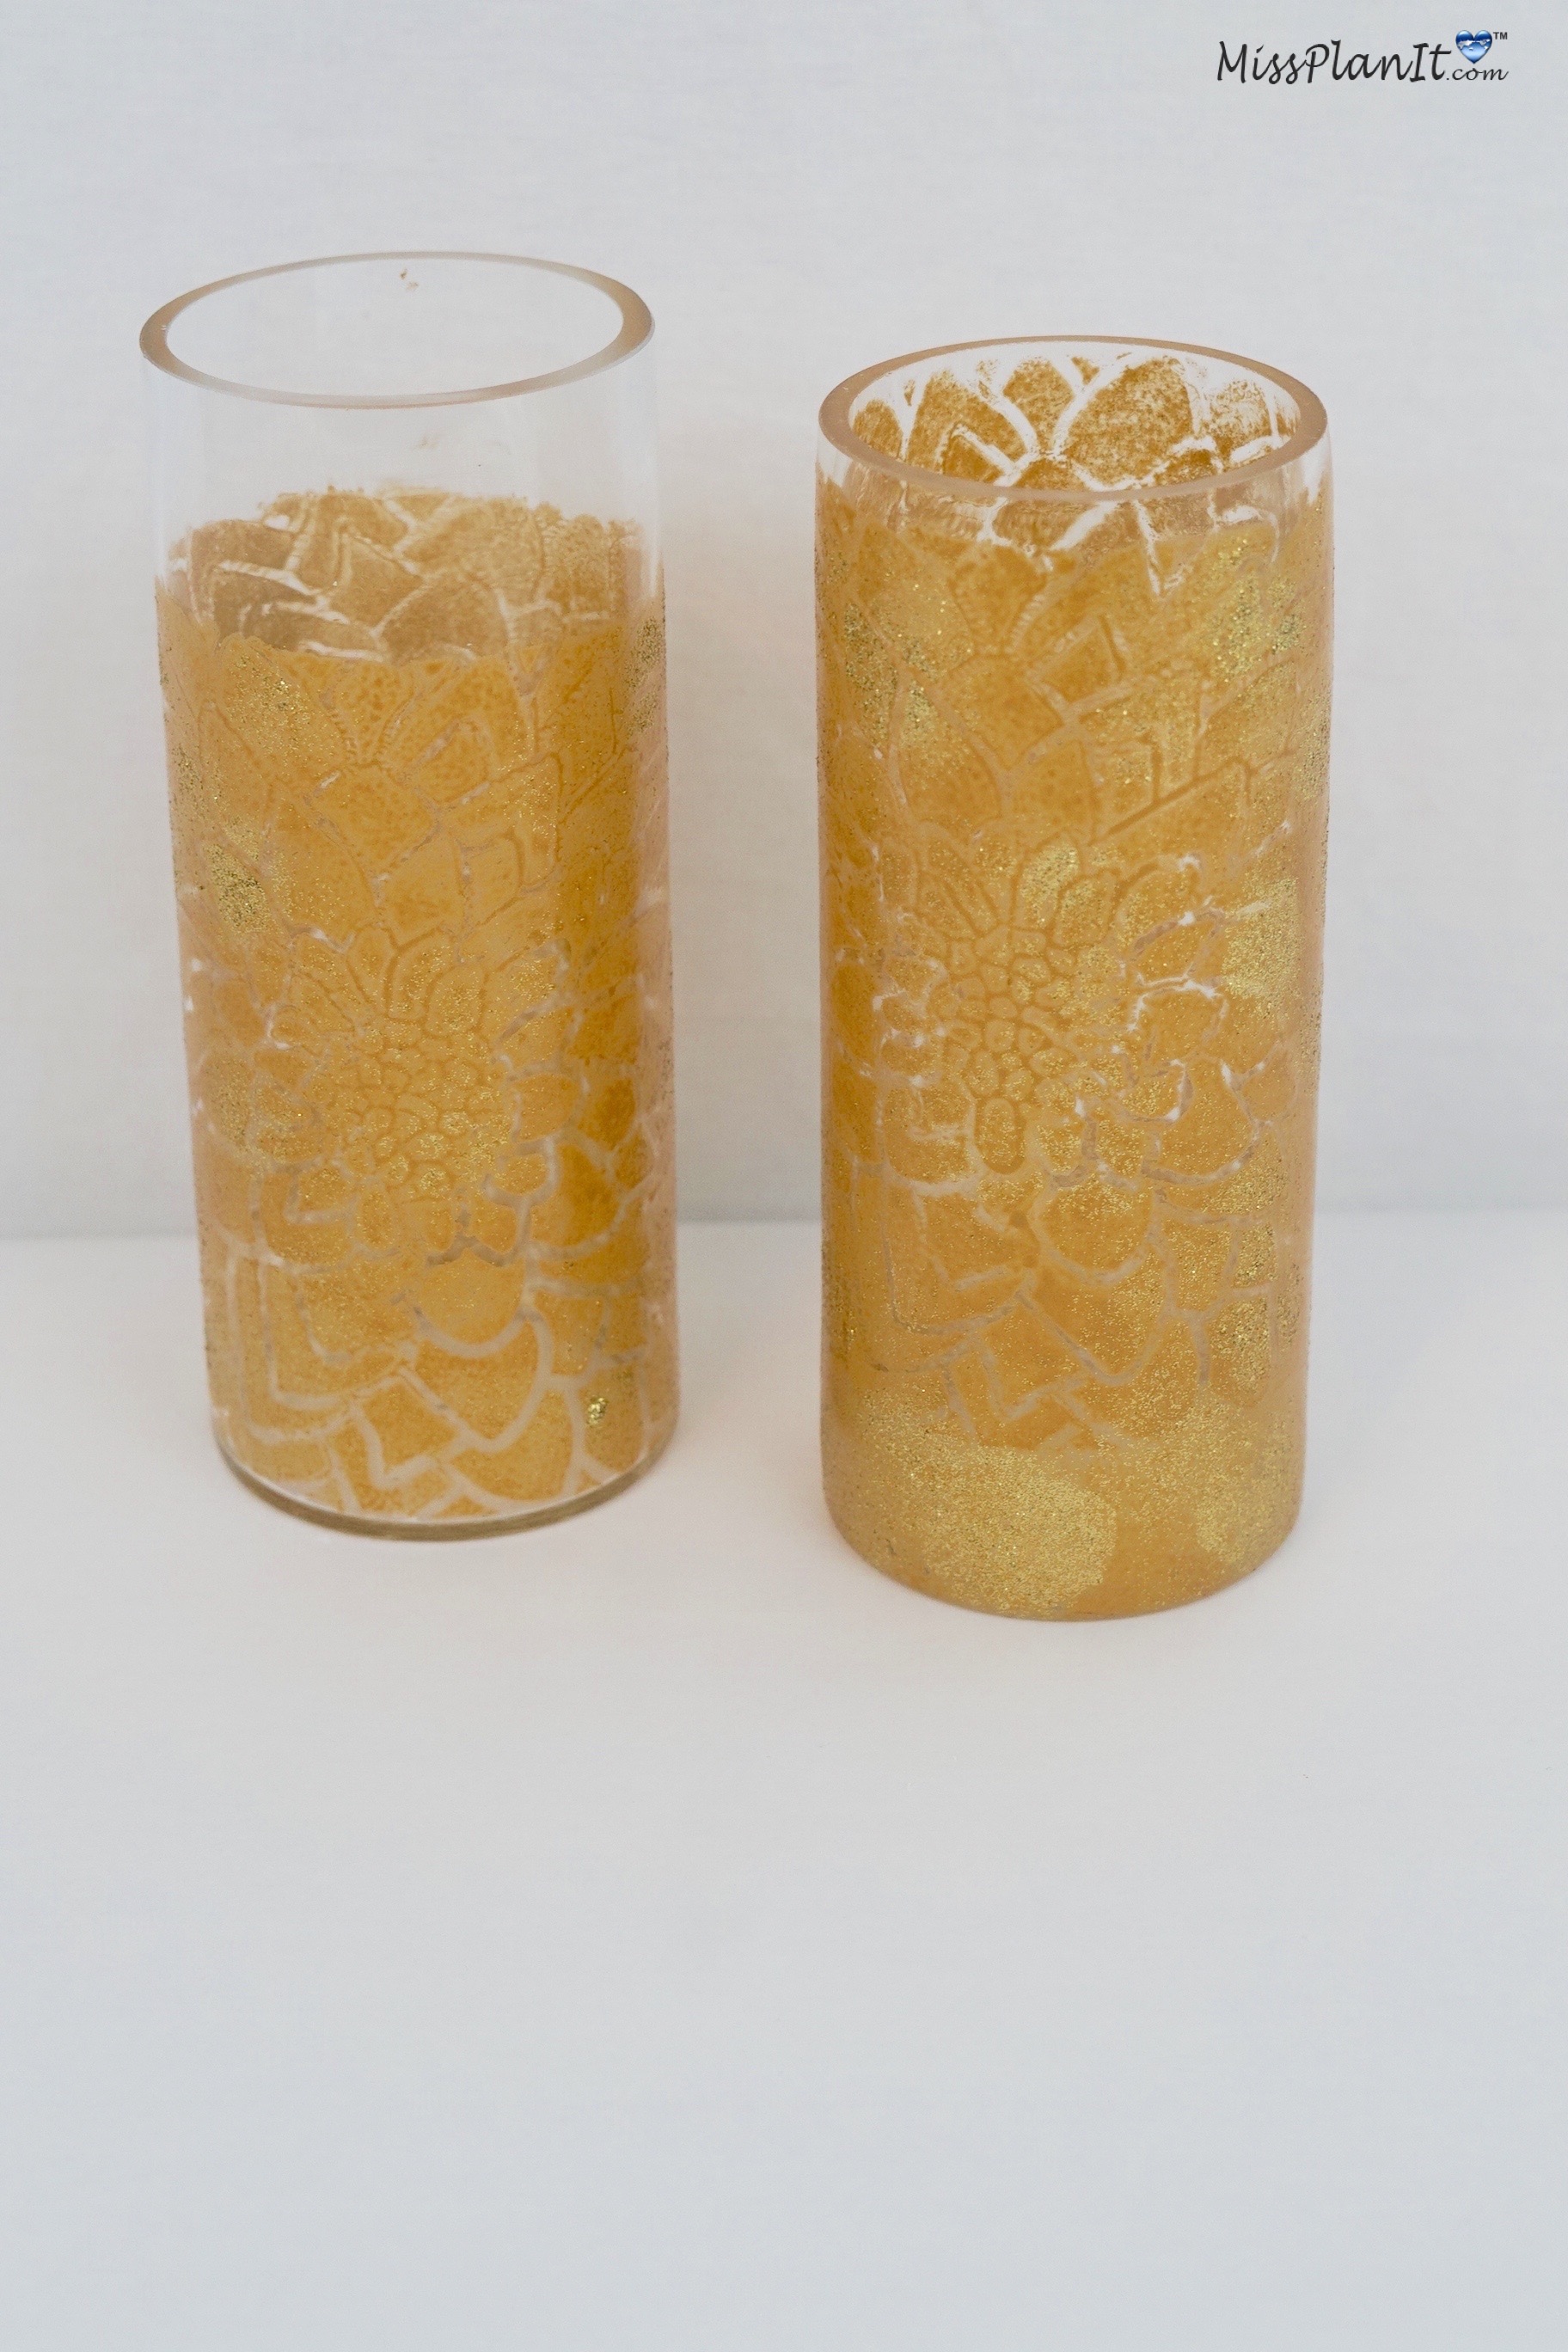
QUICK TIP: Turn 2 smaller vases into one large vase.
STEP 2: Remove masking tape and stencil once it is dry. Now attach both ends of your $1 Dollar Tree 9 inch vases together using E6000 adhesive. You now have an 18 inch vase.
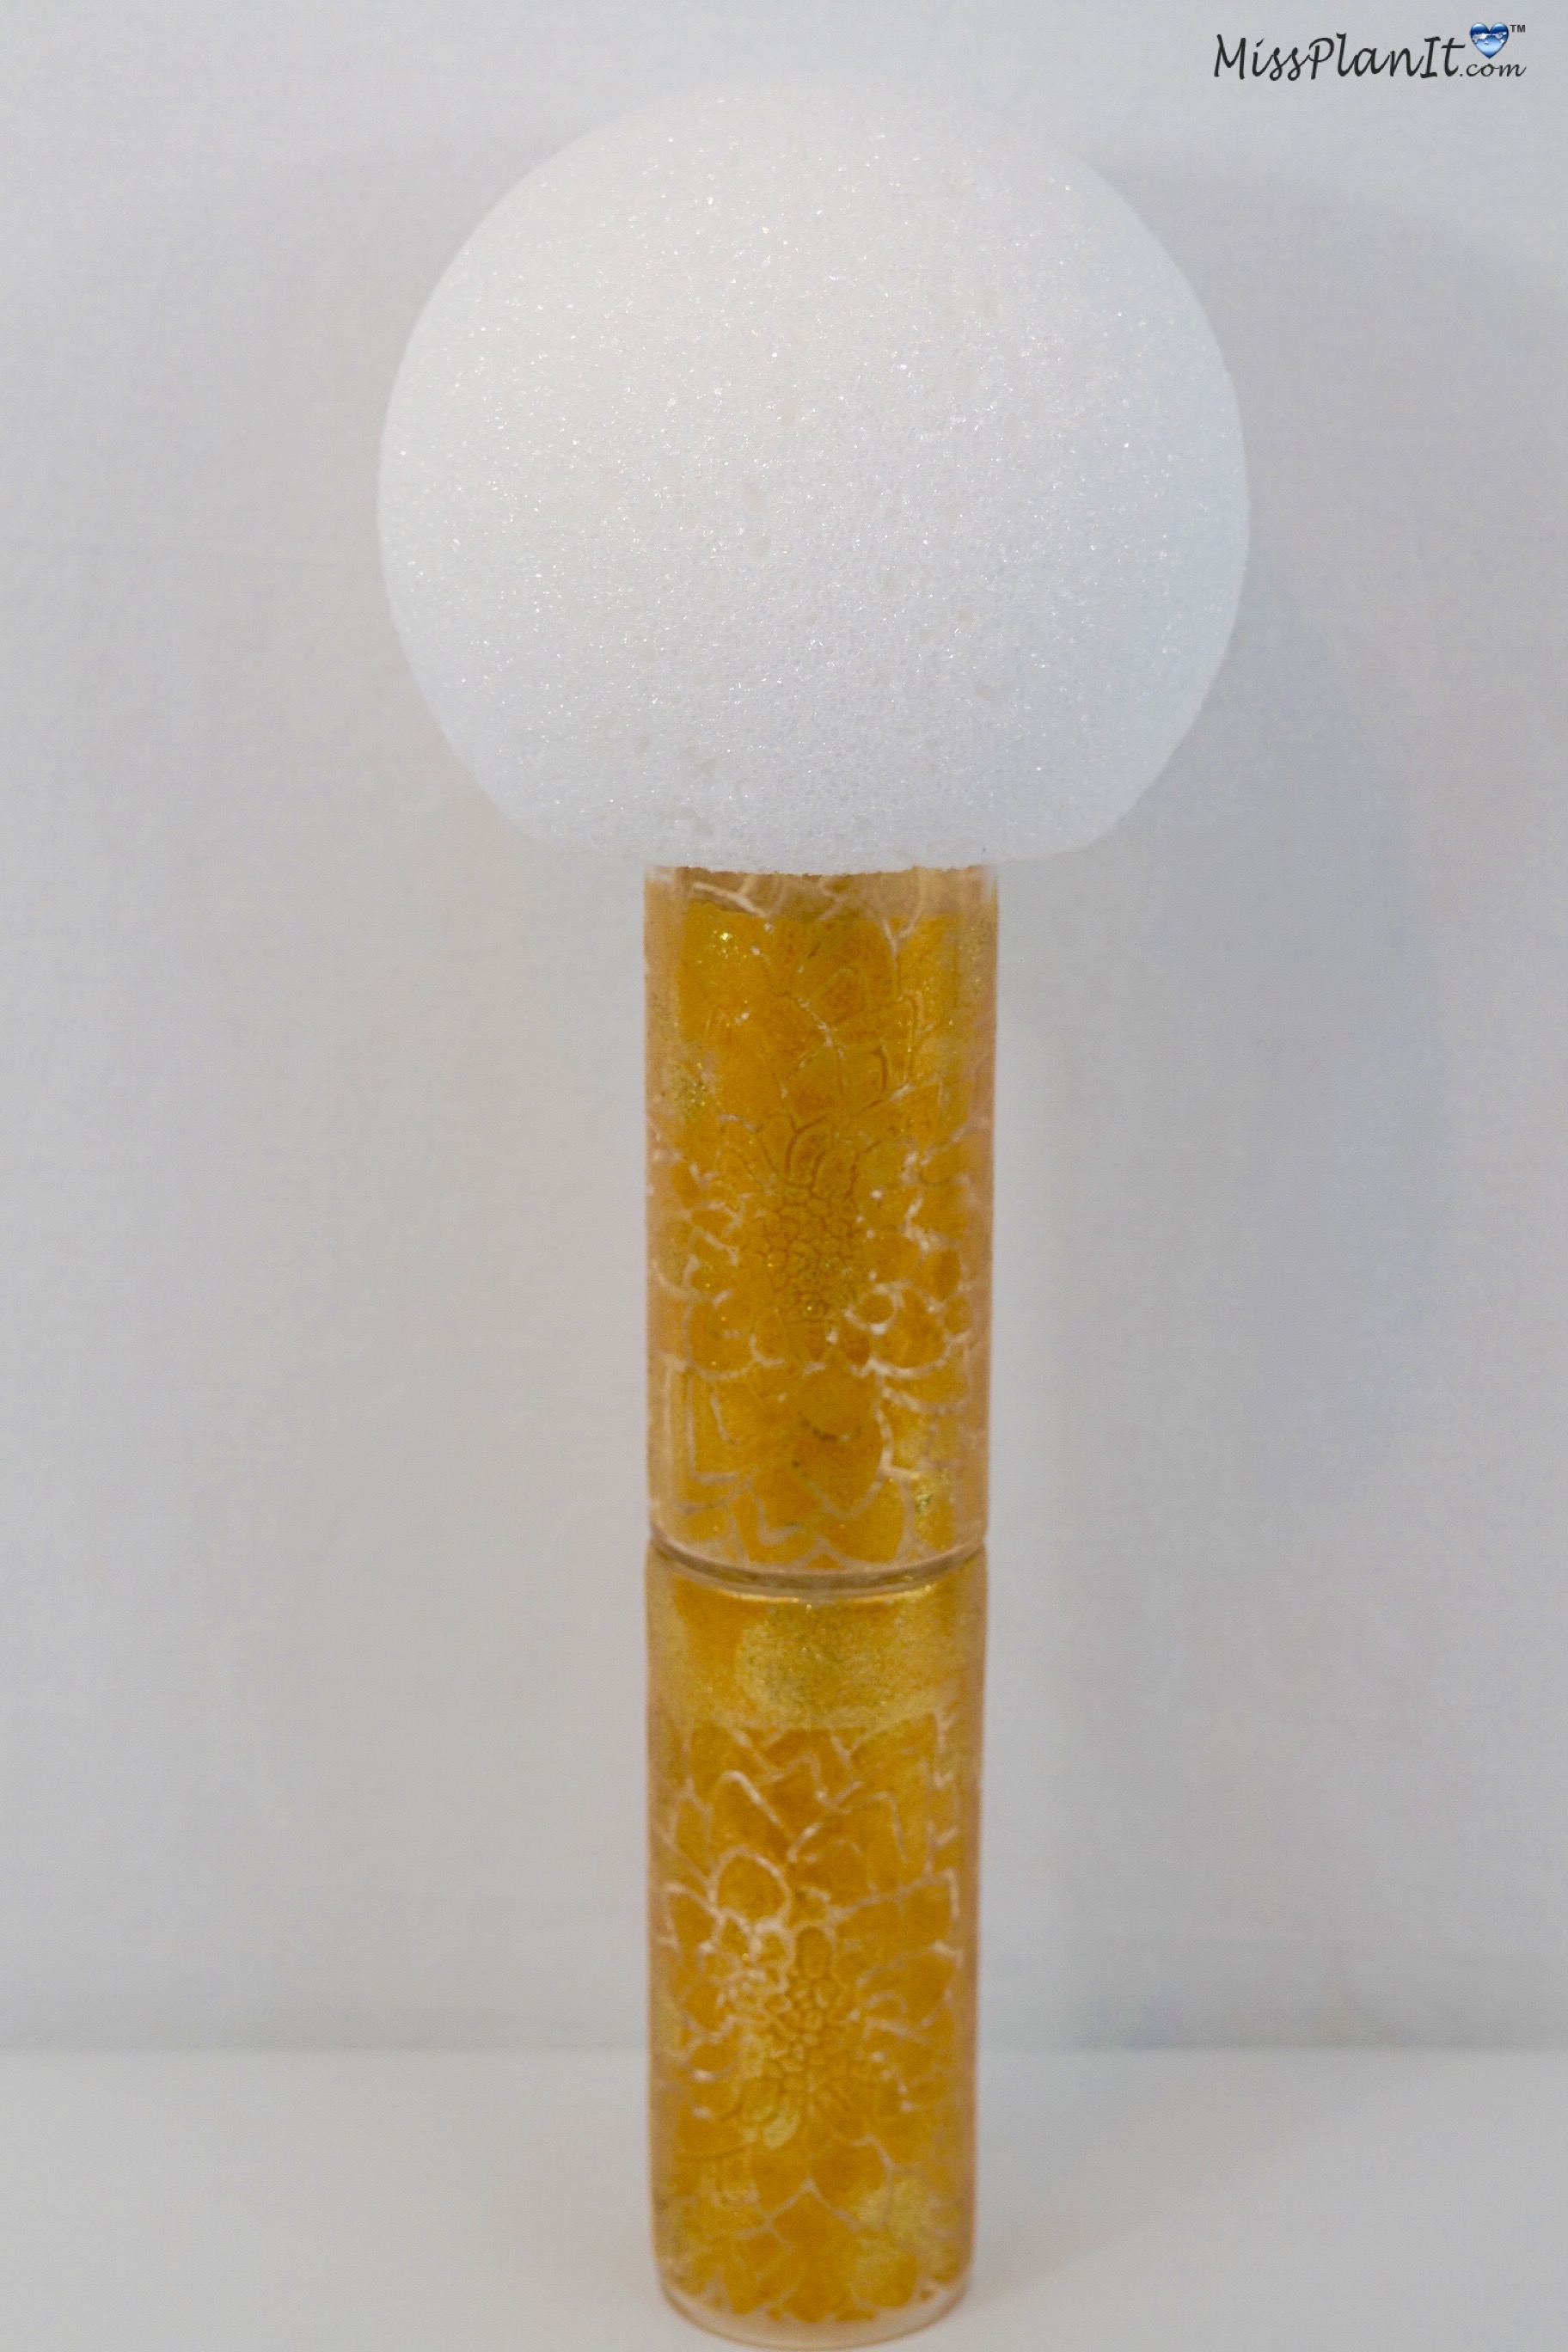
STEP 3: Now attach your 8 inch foam ball to the rim of your vase using hot glue to adhere.
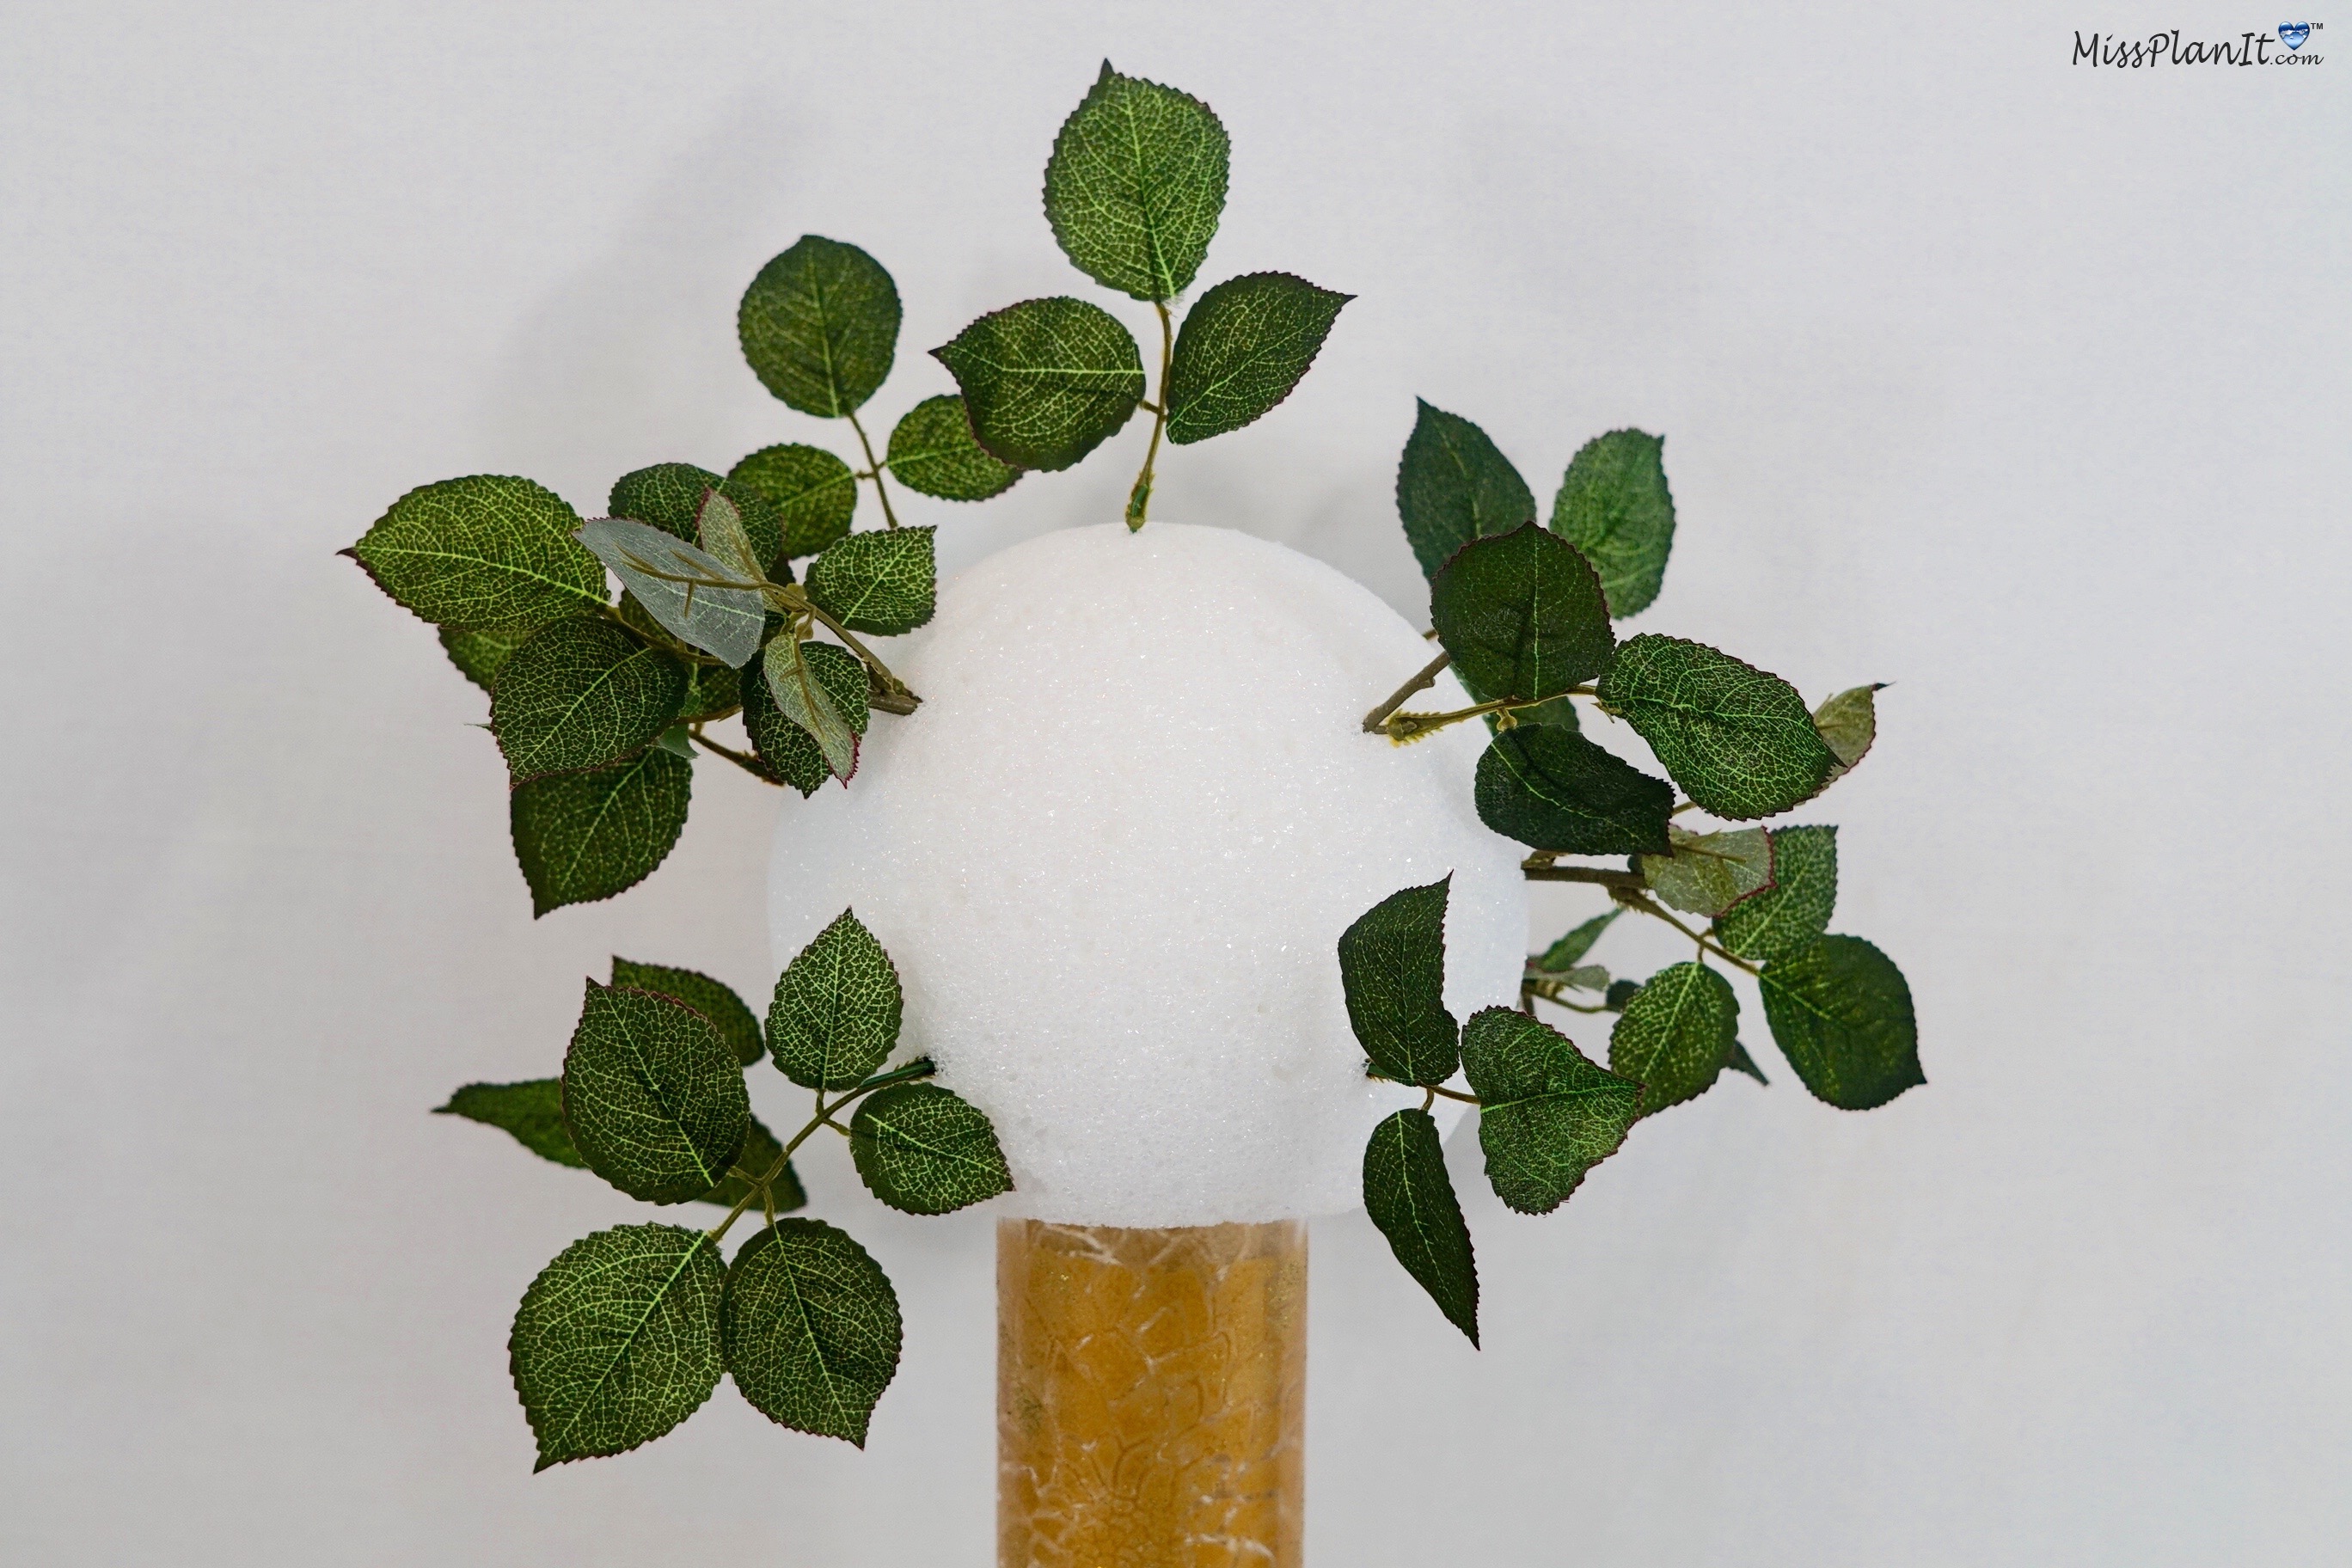
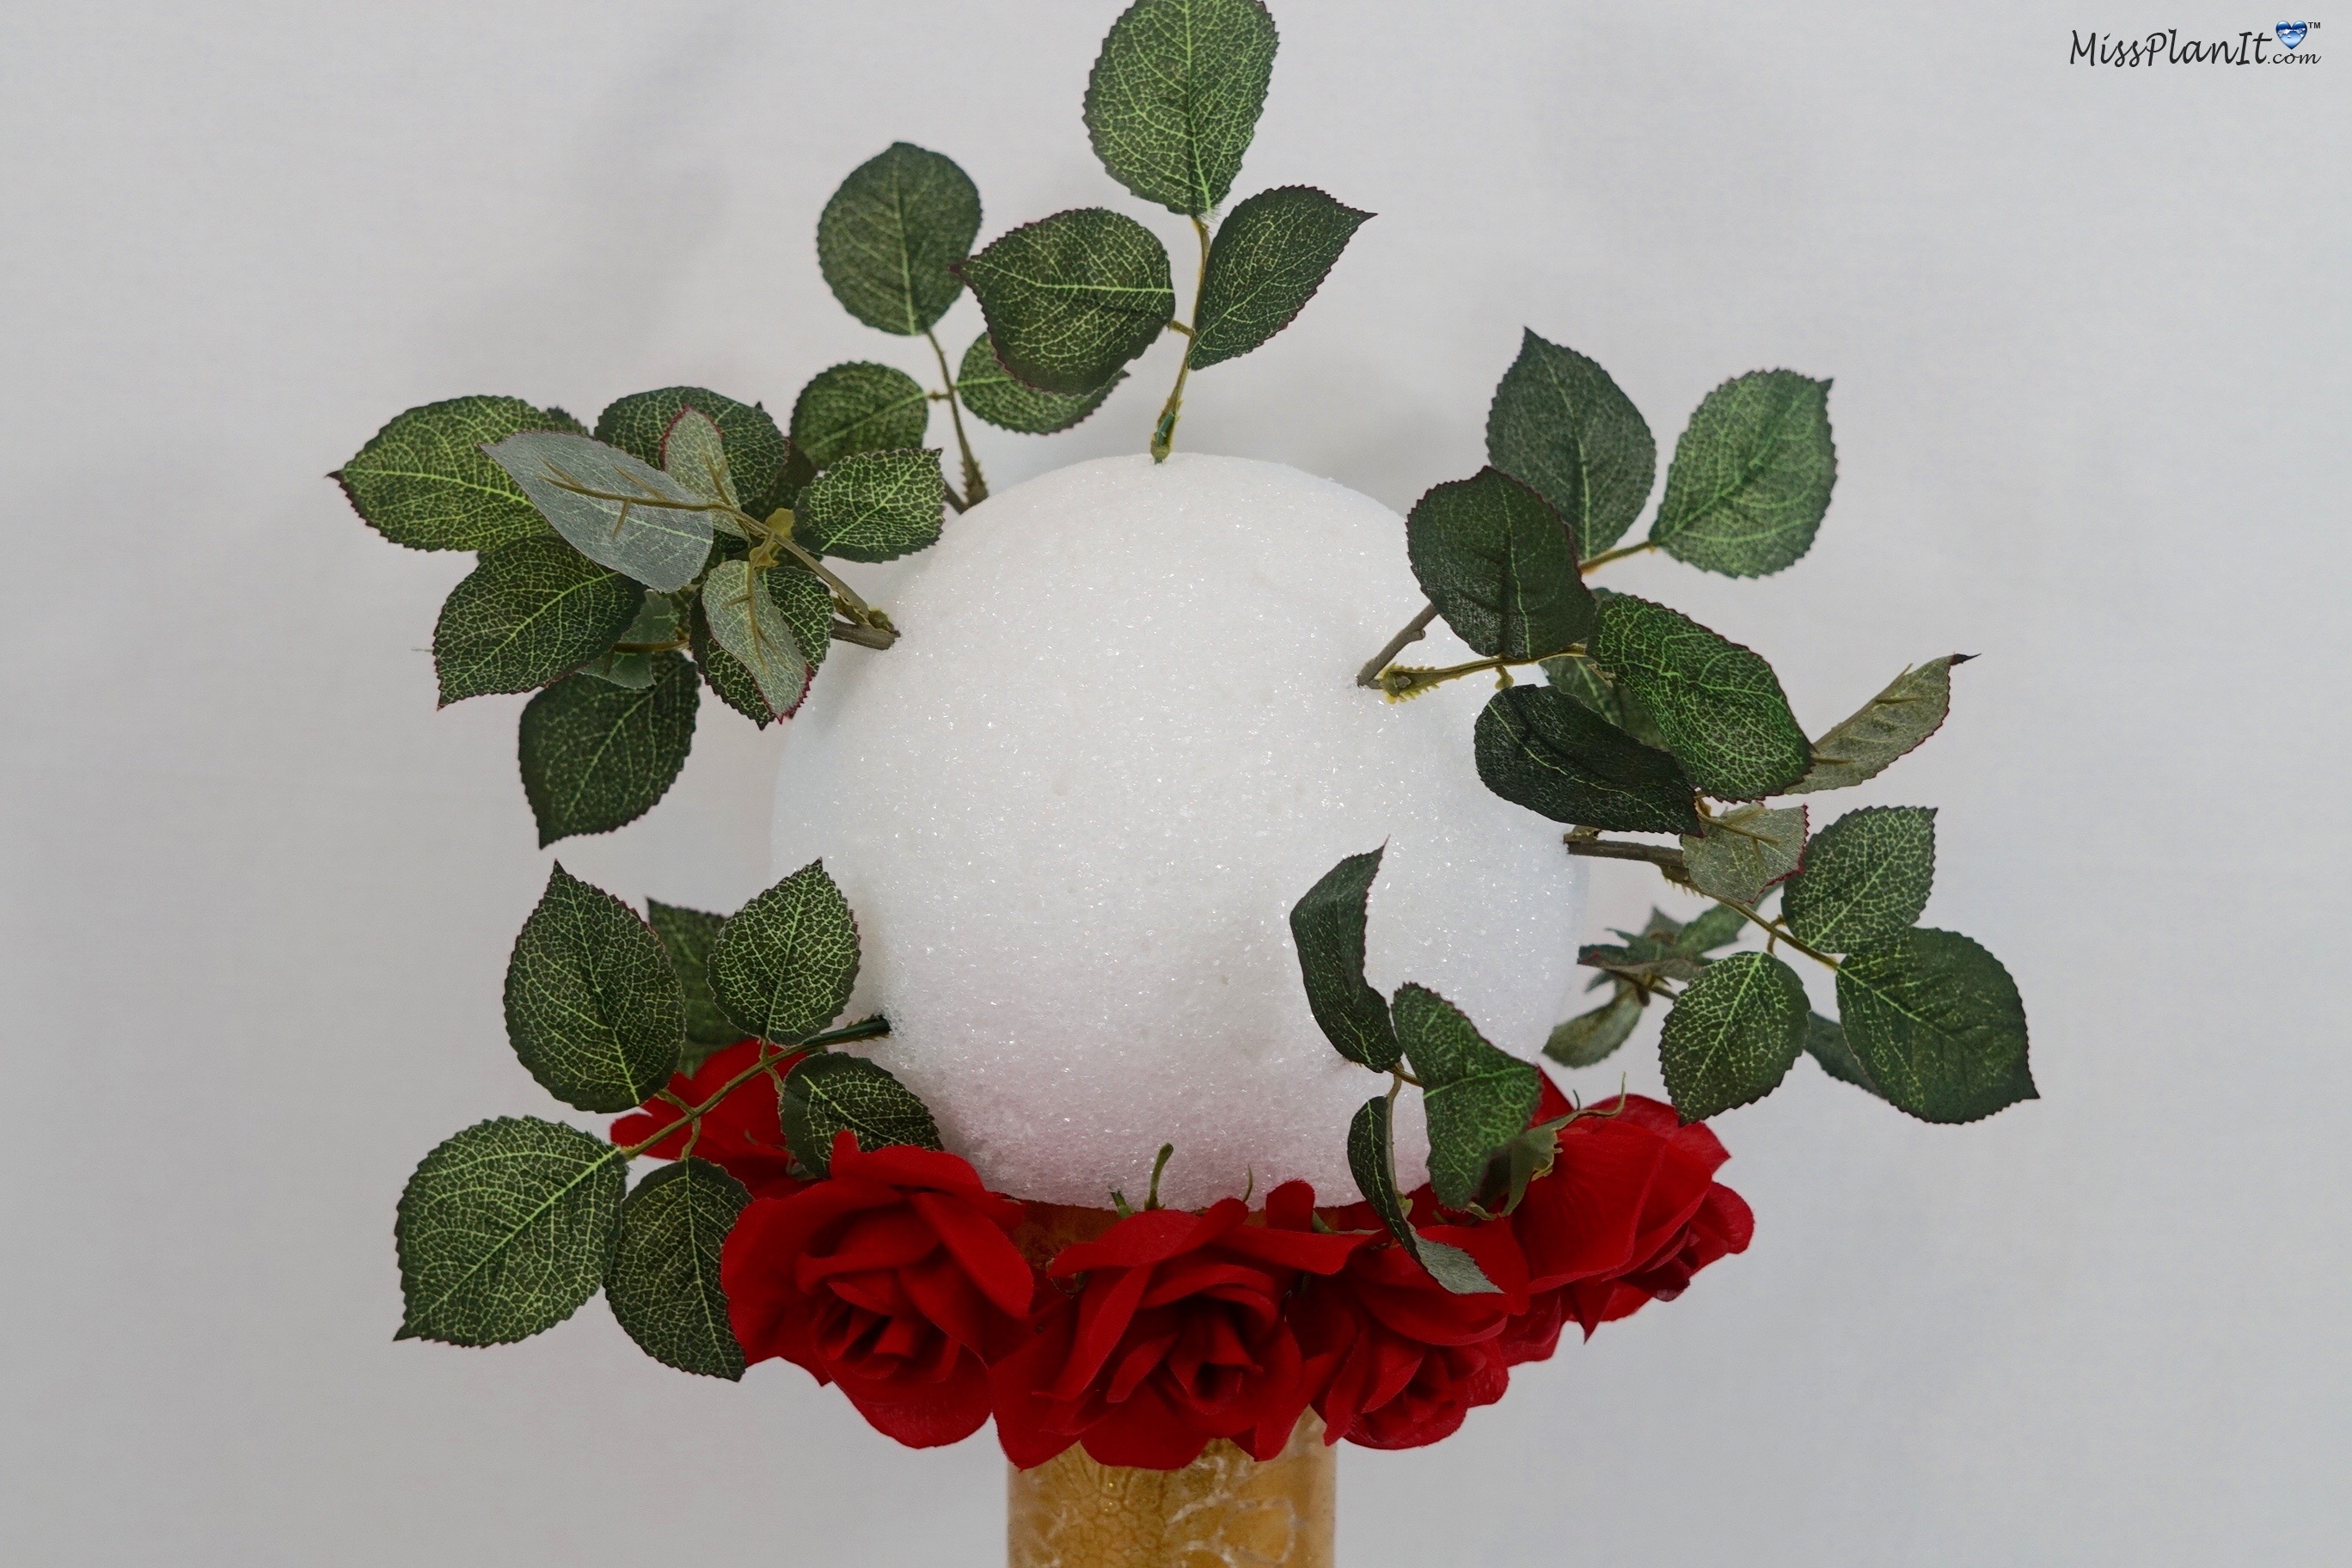
STEP 4: Attach 12-16 leaf stems, 8-10 red roses, 8-12 red geranium stems, 6-8 red foam roses, 12-18 navy blue roses, 14-18 purple roses, and 8-10 velvet red roses buds.
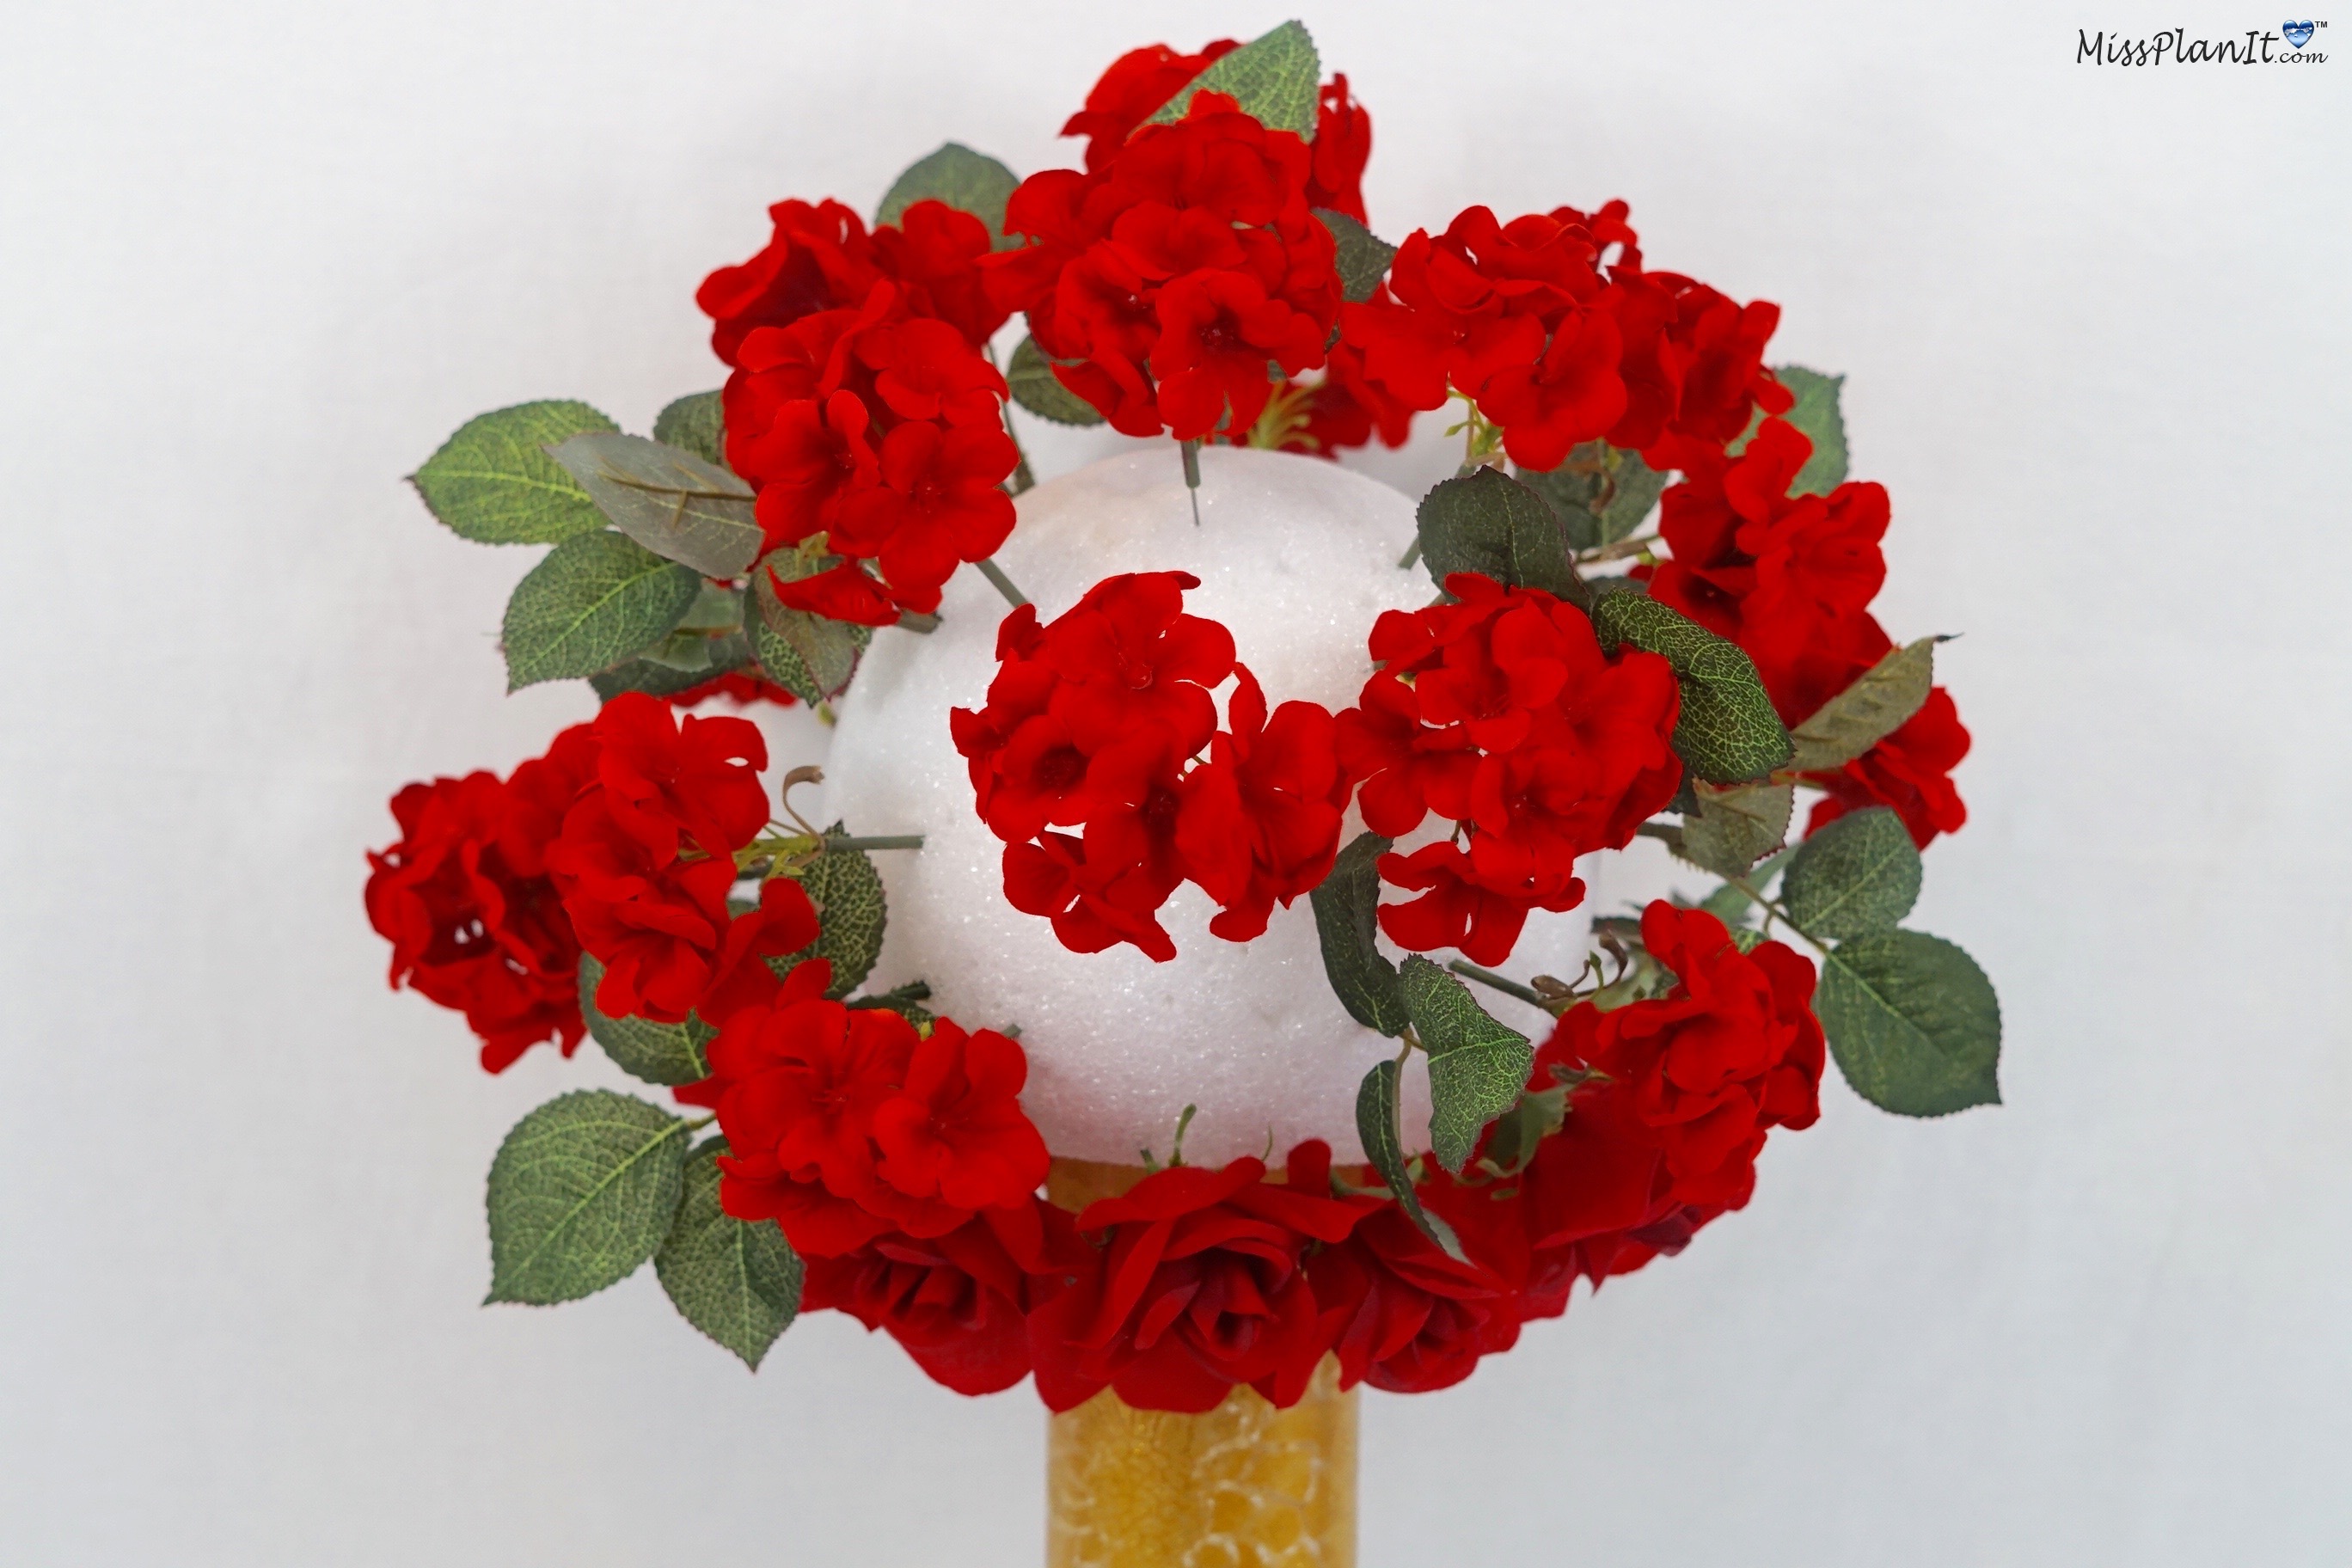
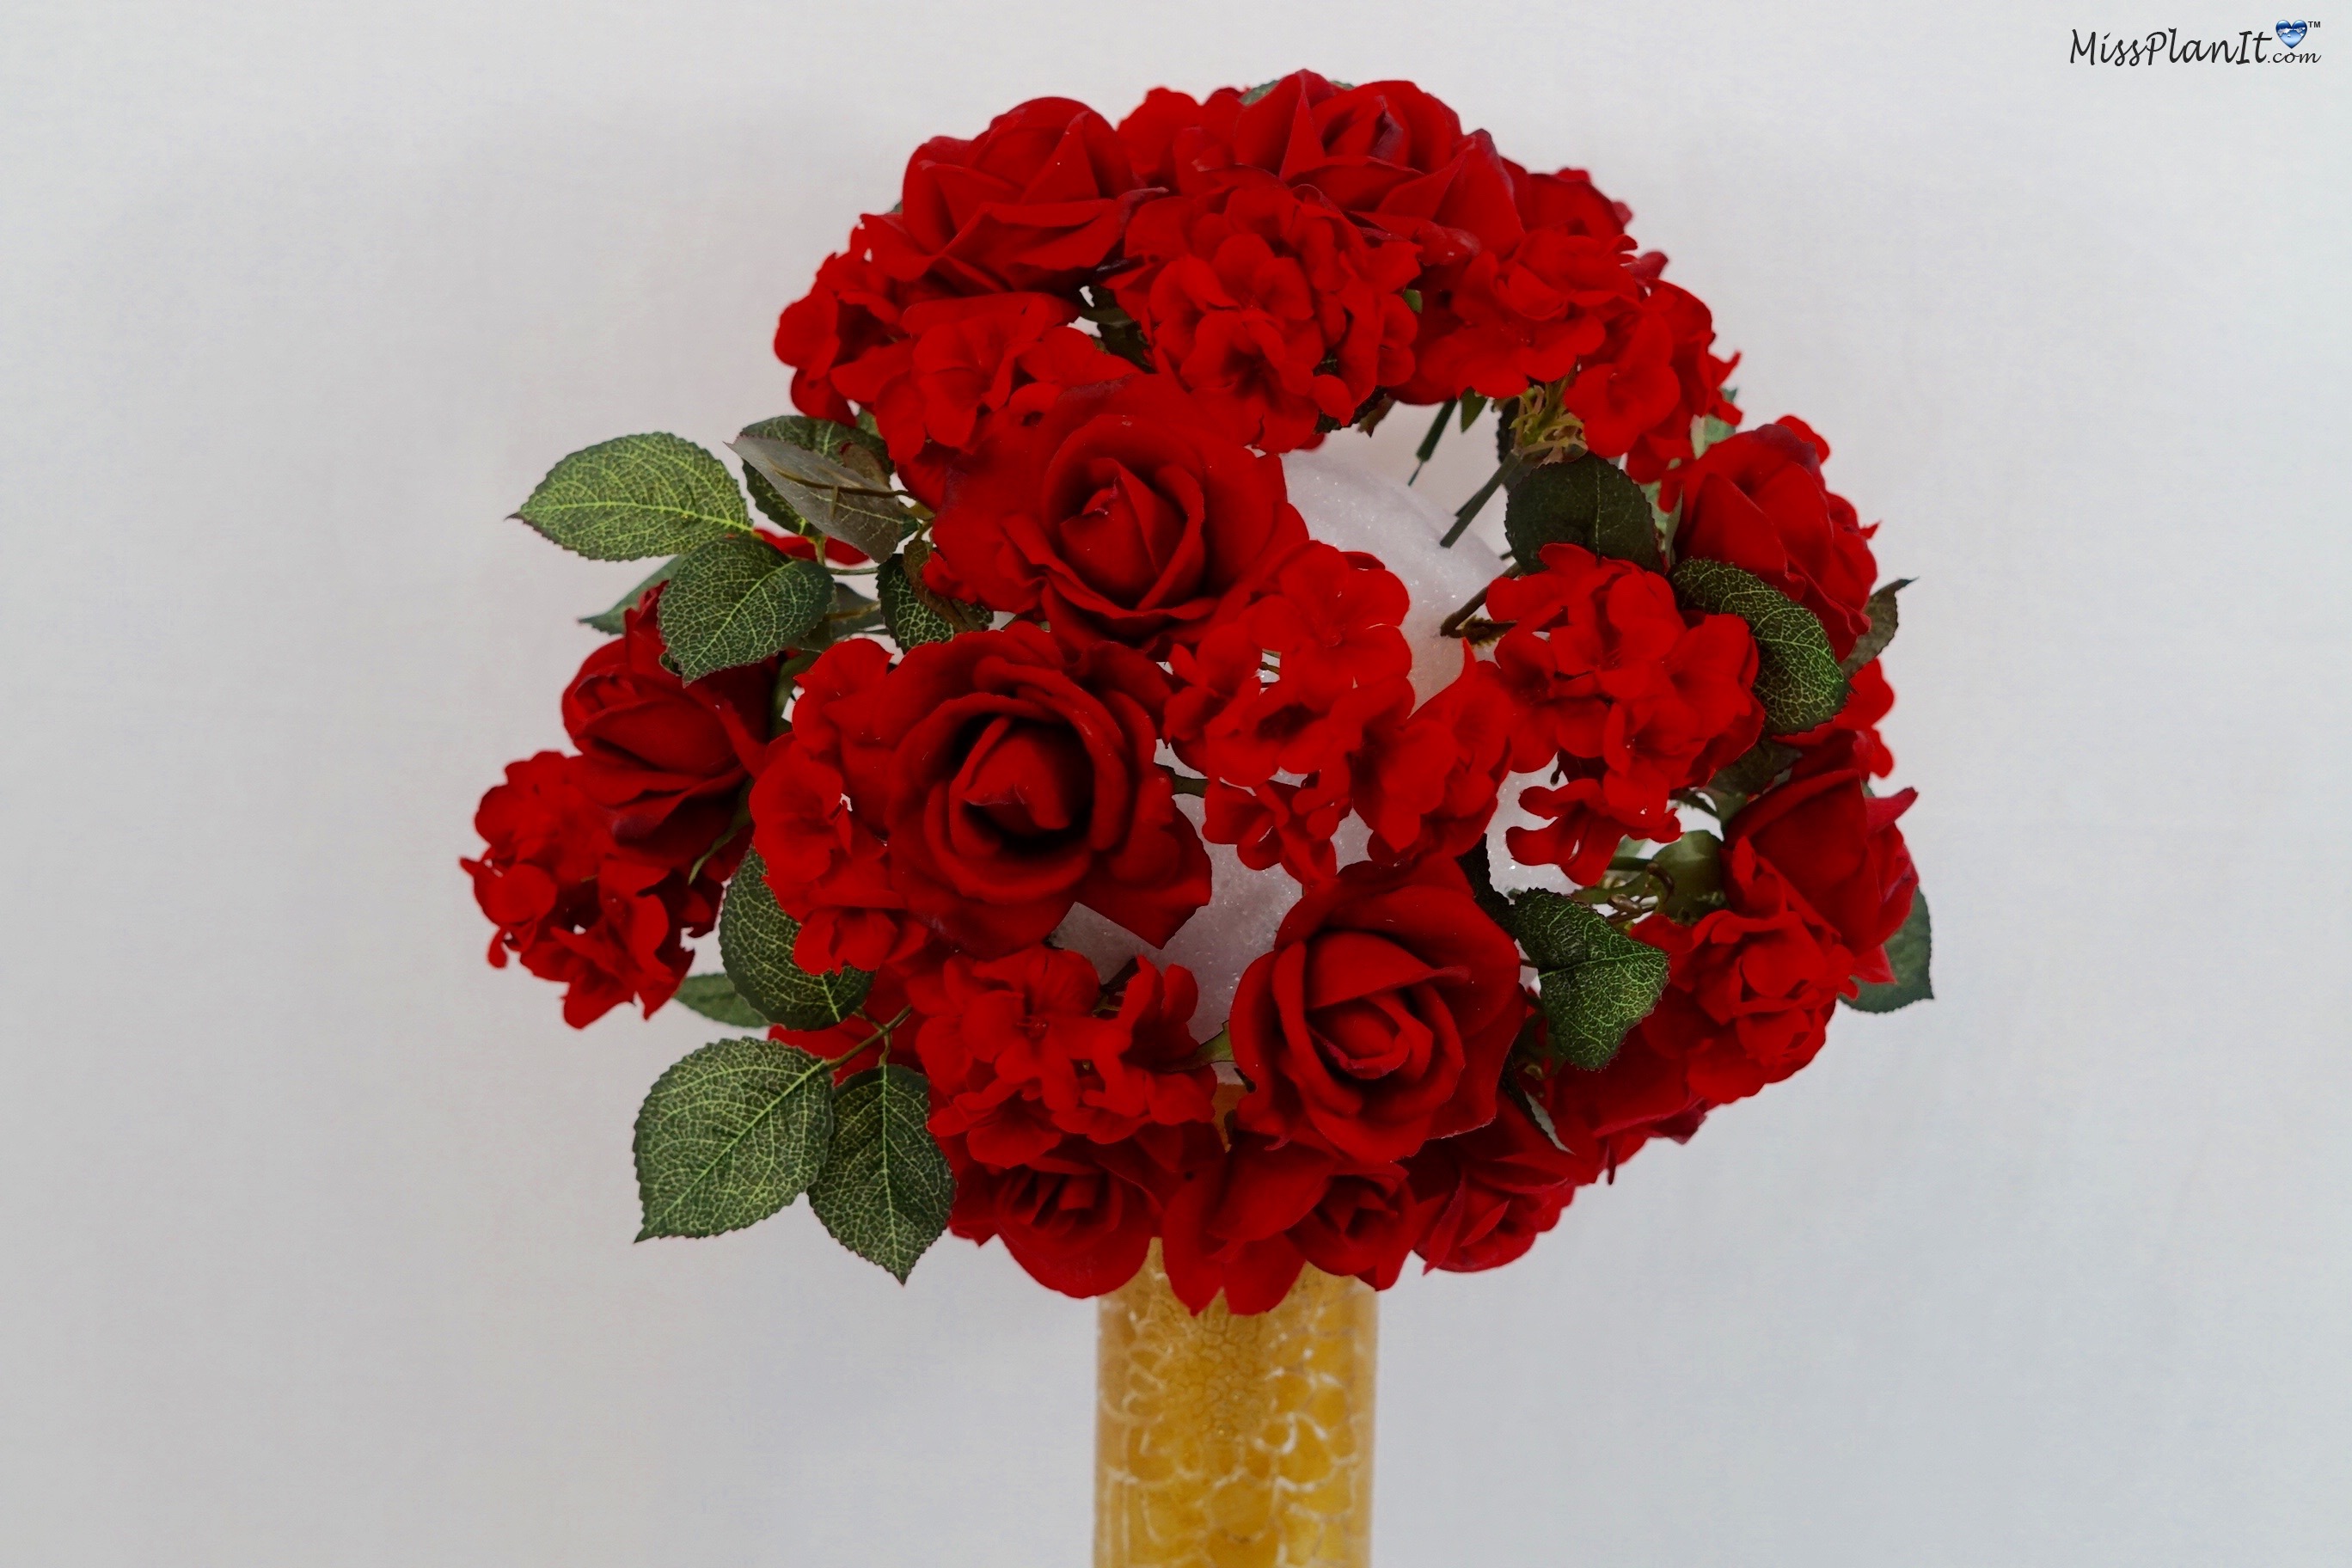
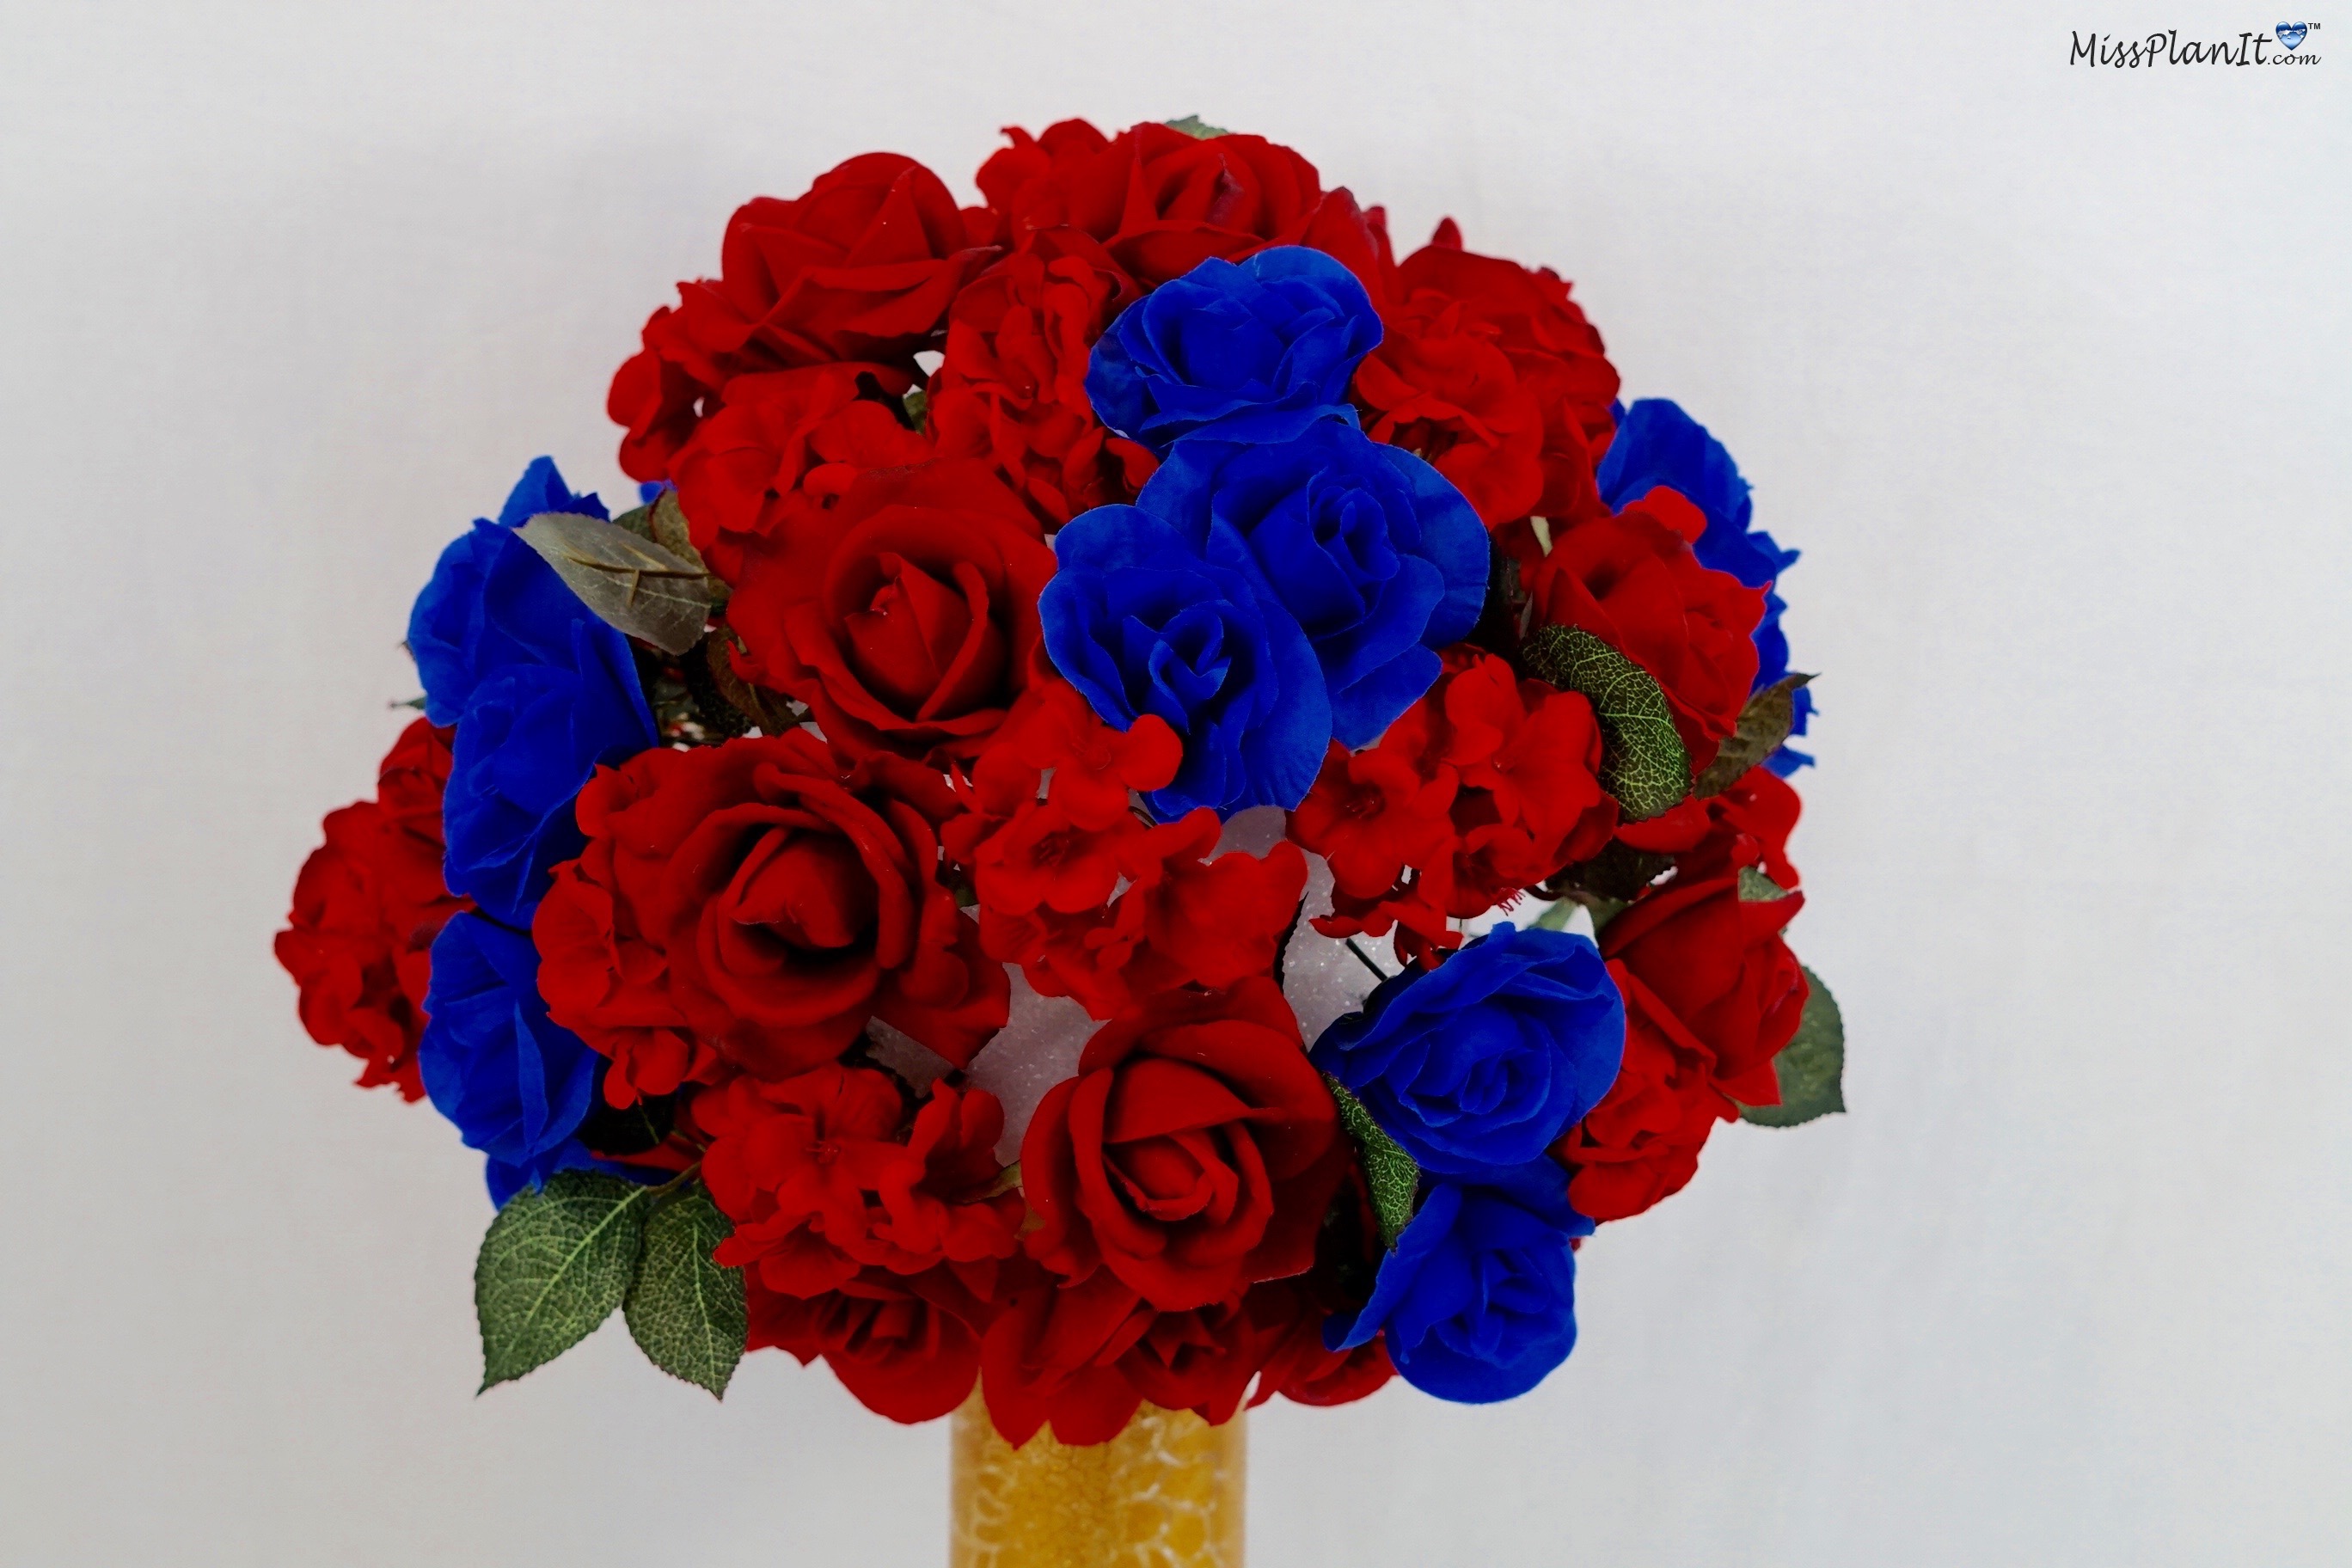
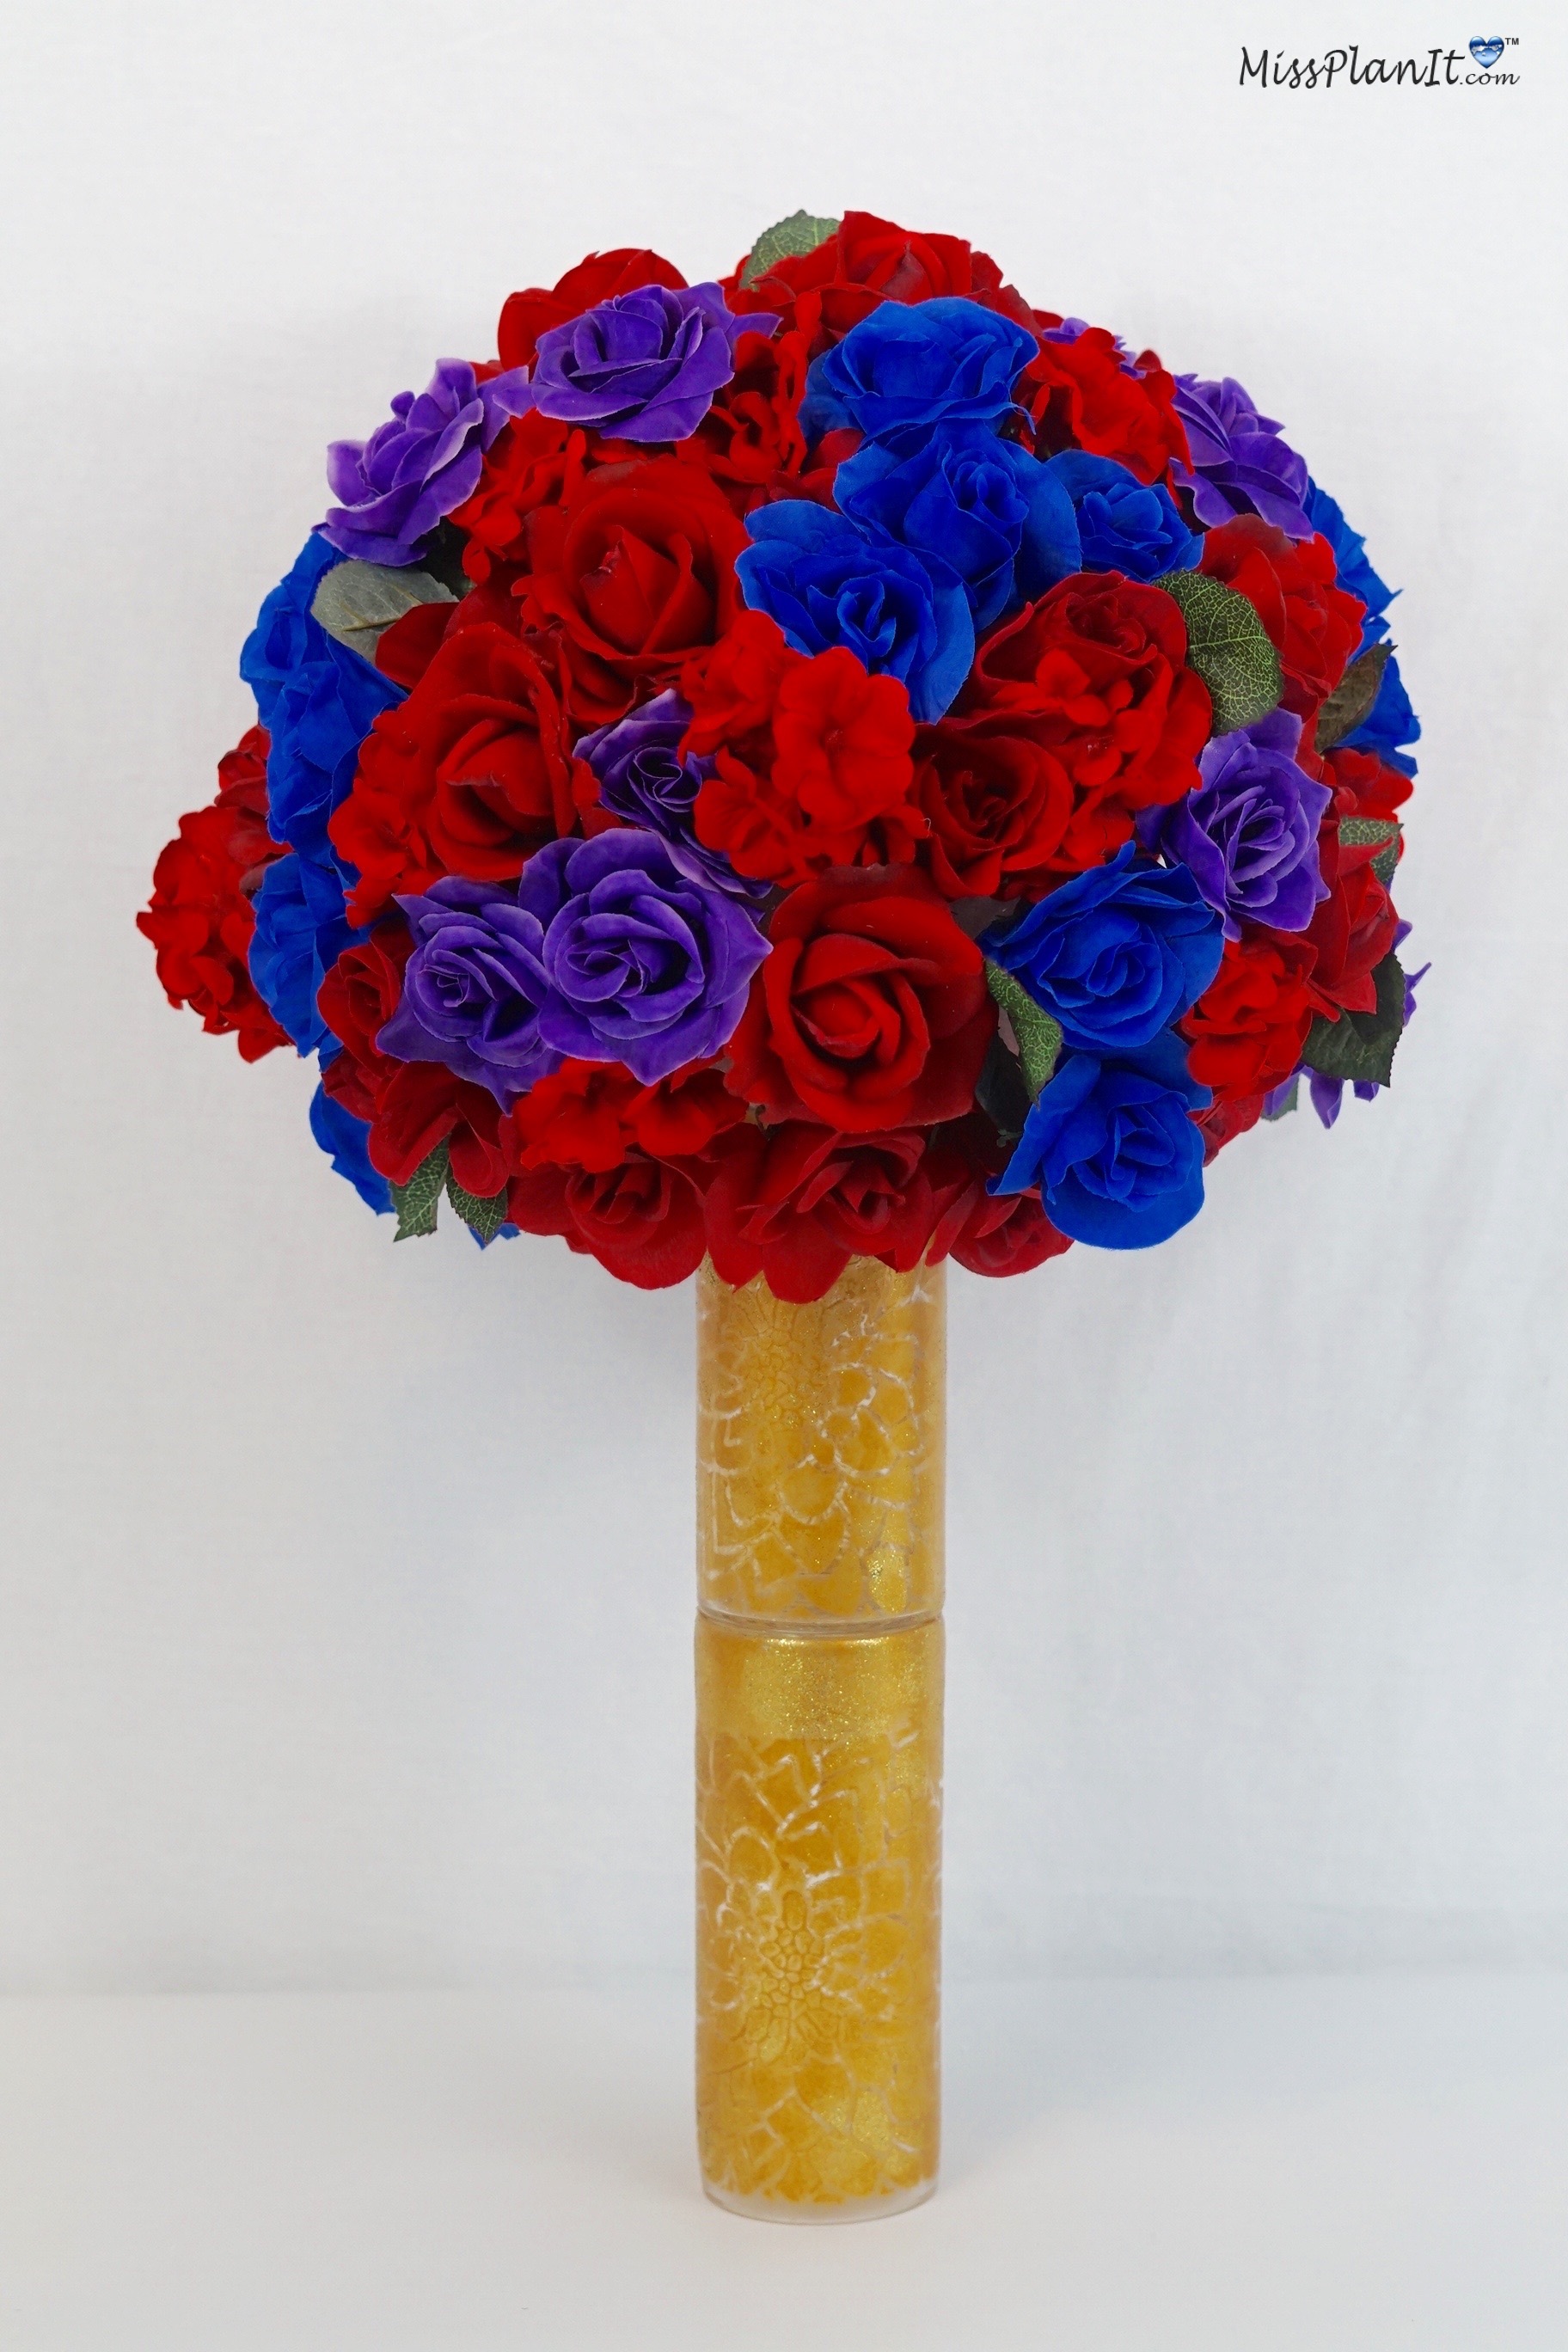
THE FINAL STEP
STEP 5: Set the table with LED Pillar Candles!
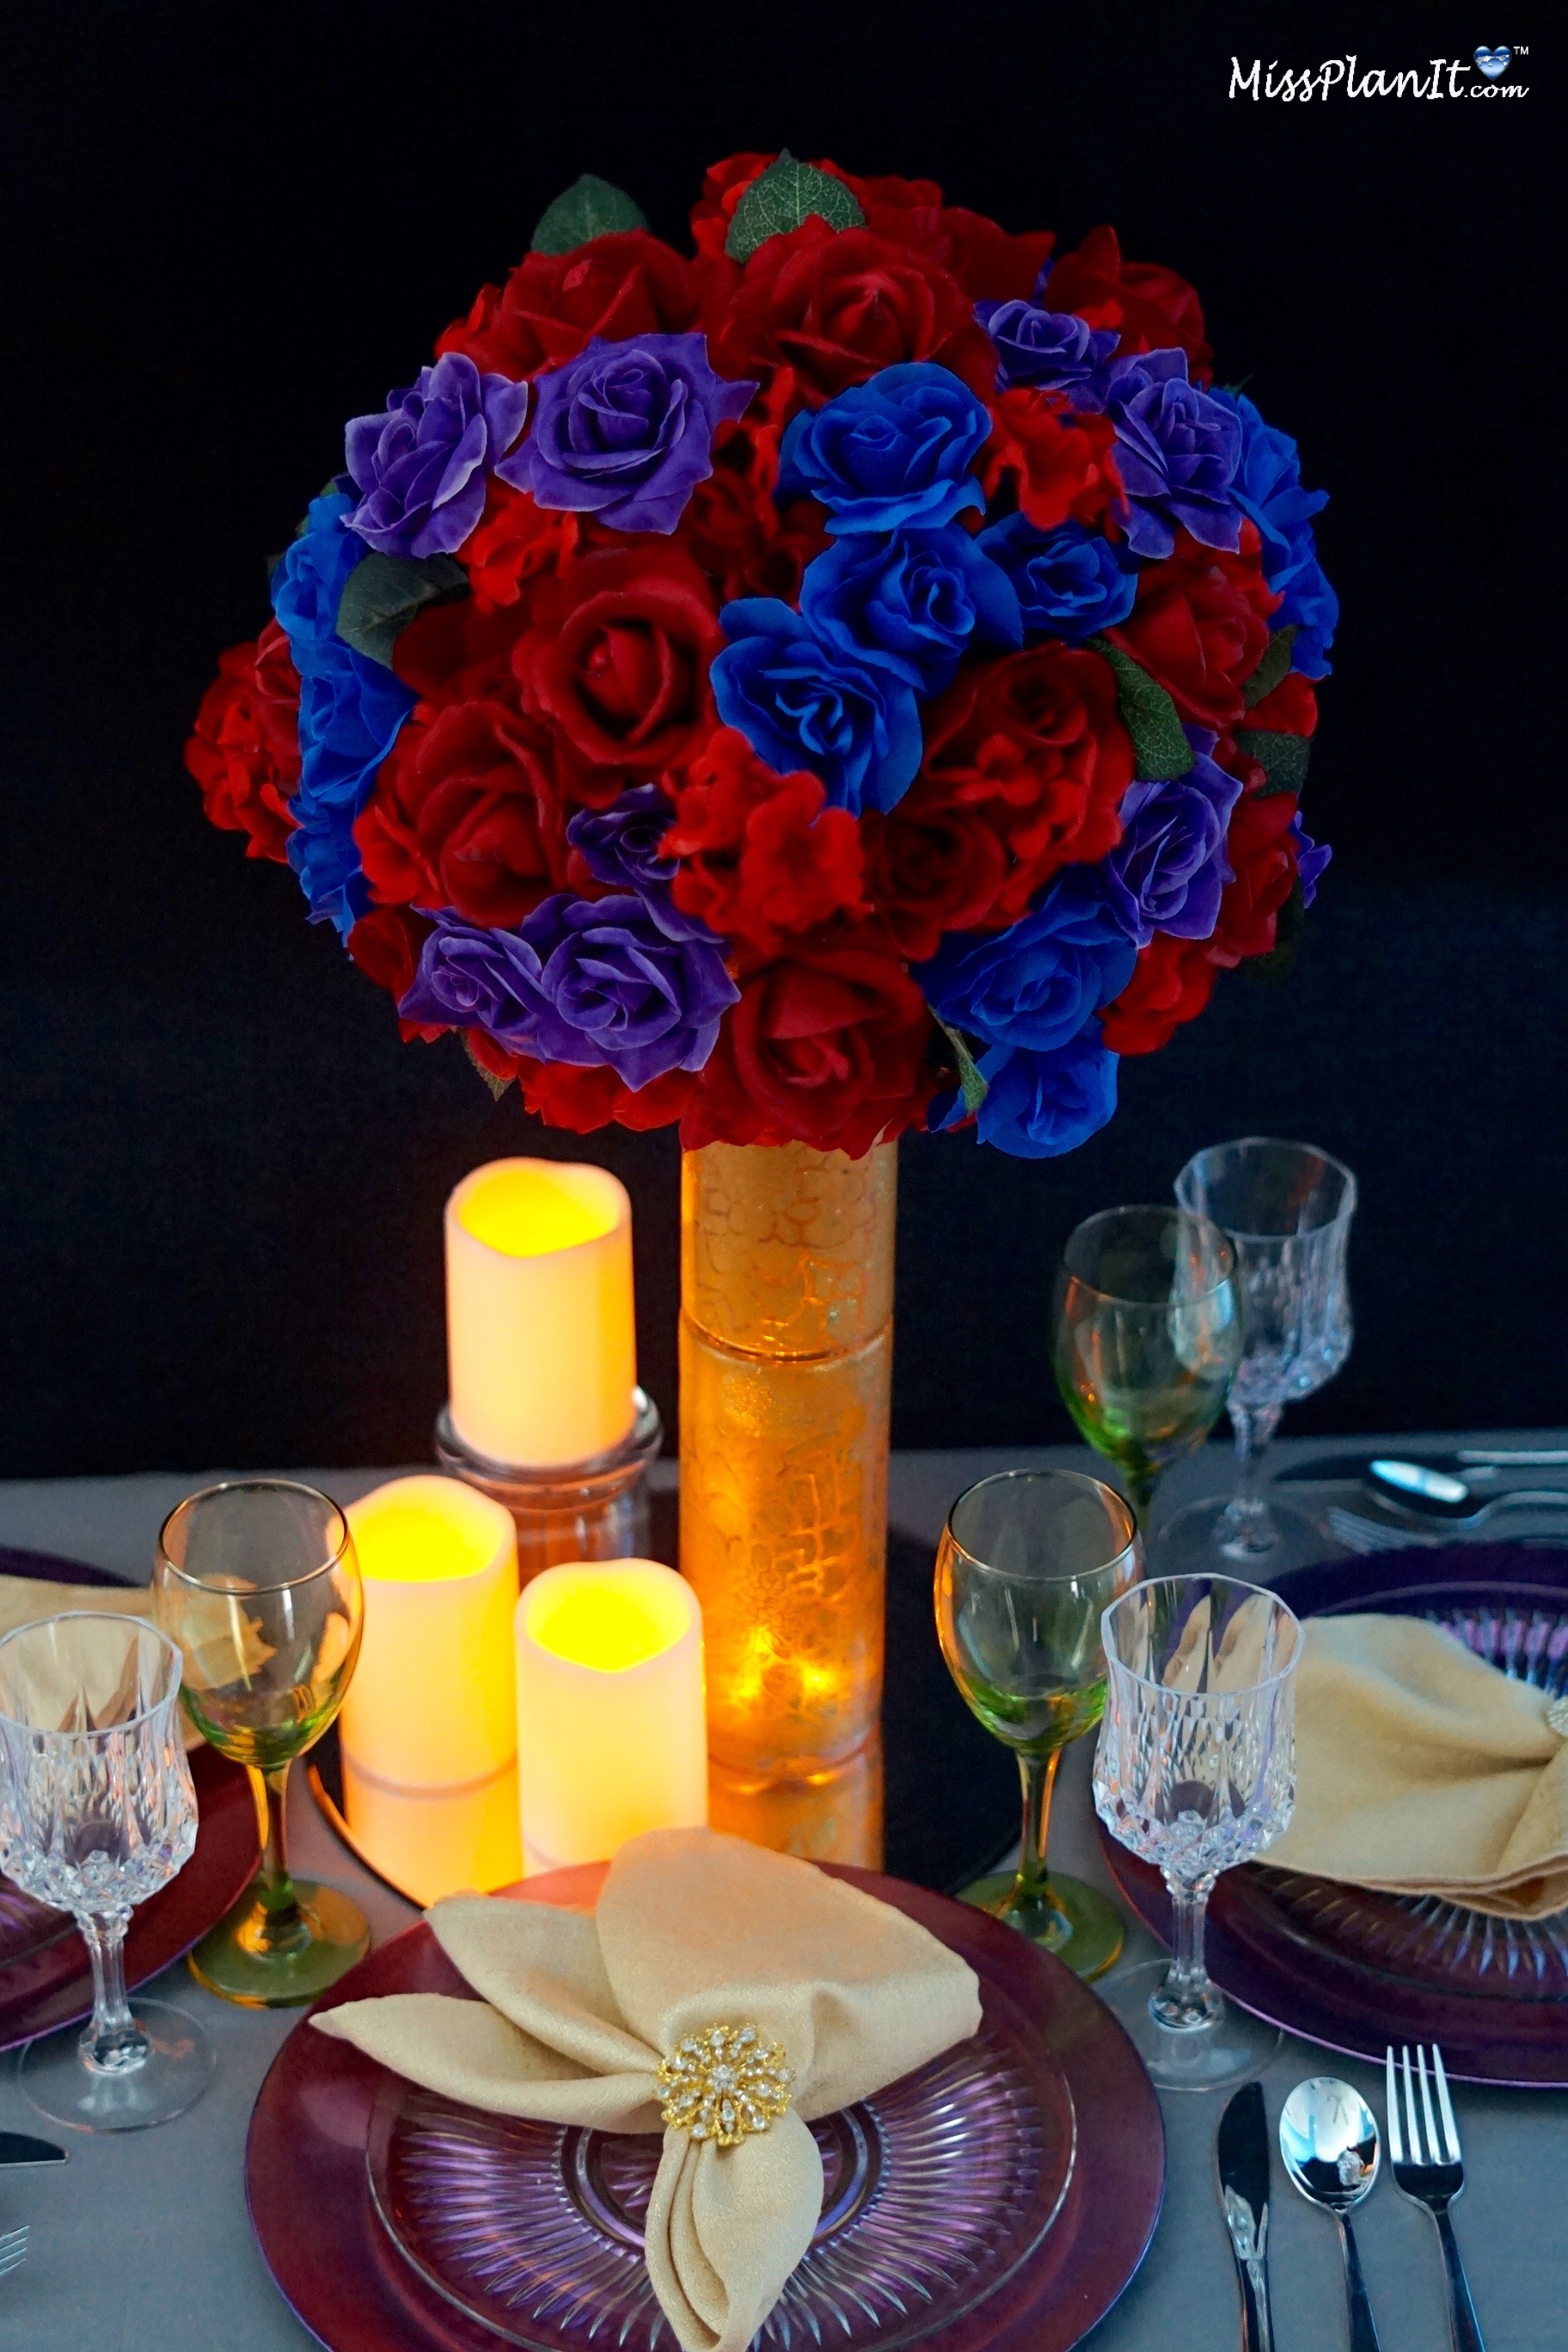
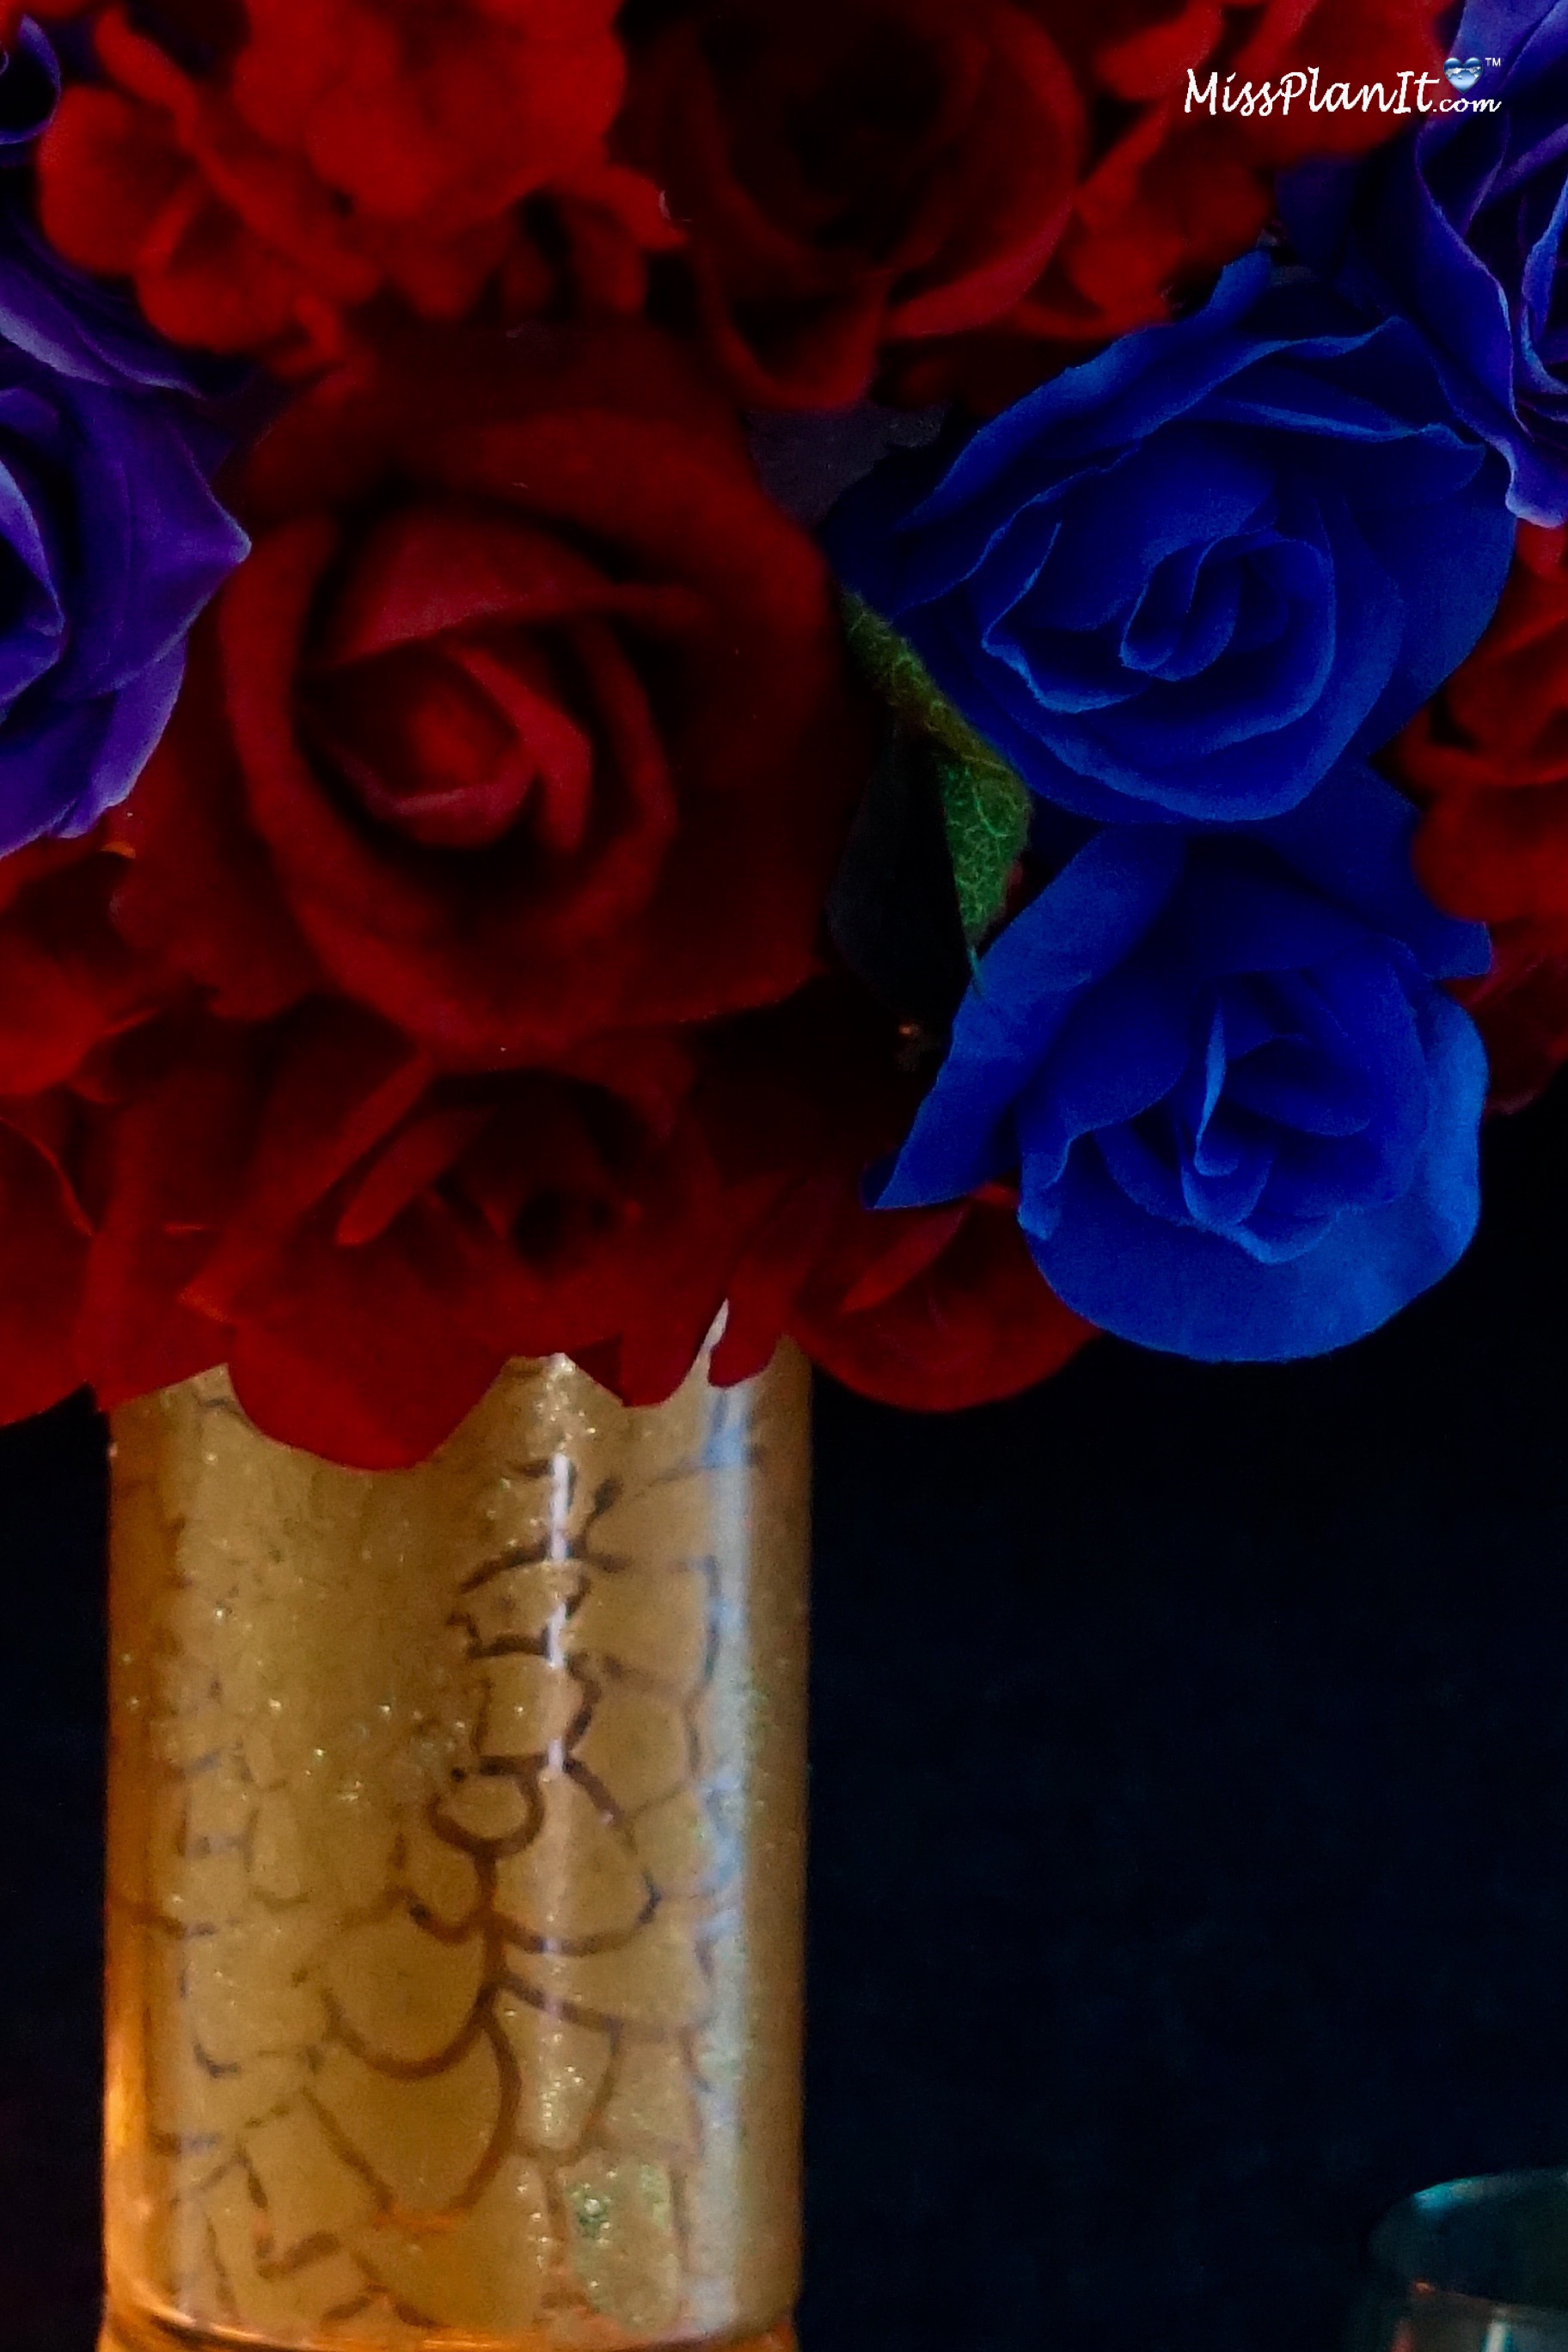
I absolutely love how this wedding centerpiece turned out. Stevajanice, thank you so much for allowing us to be apart of your special day!
If you like the outcome please let us know in the comments below? Also share your ideas on what you would have done differently?
Need help with an upcoming project? Be sure to send us a project request!
“Remember When Every Penny Counts, Count on MissPlanIt”


