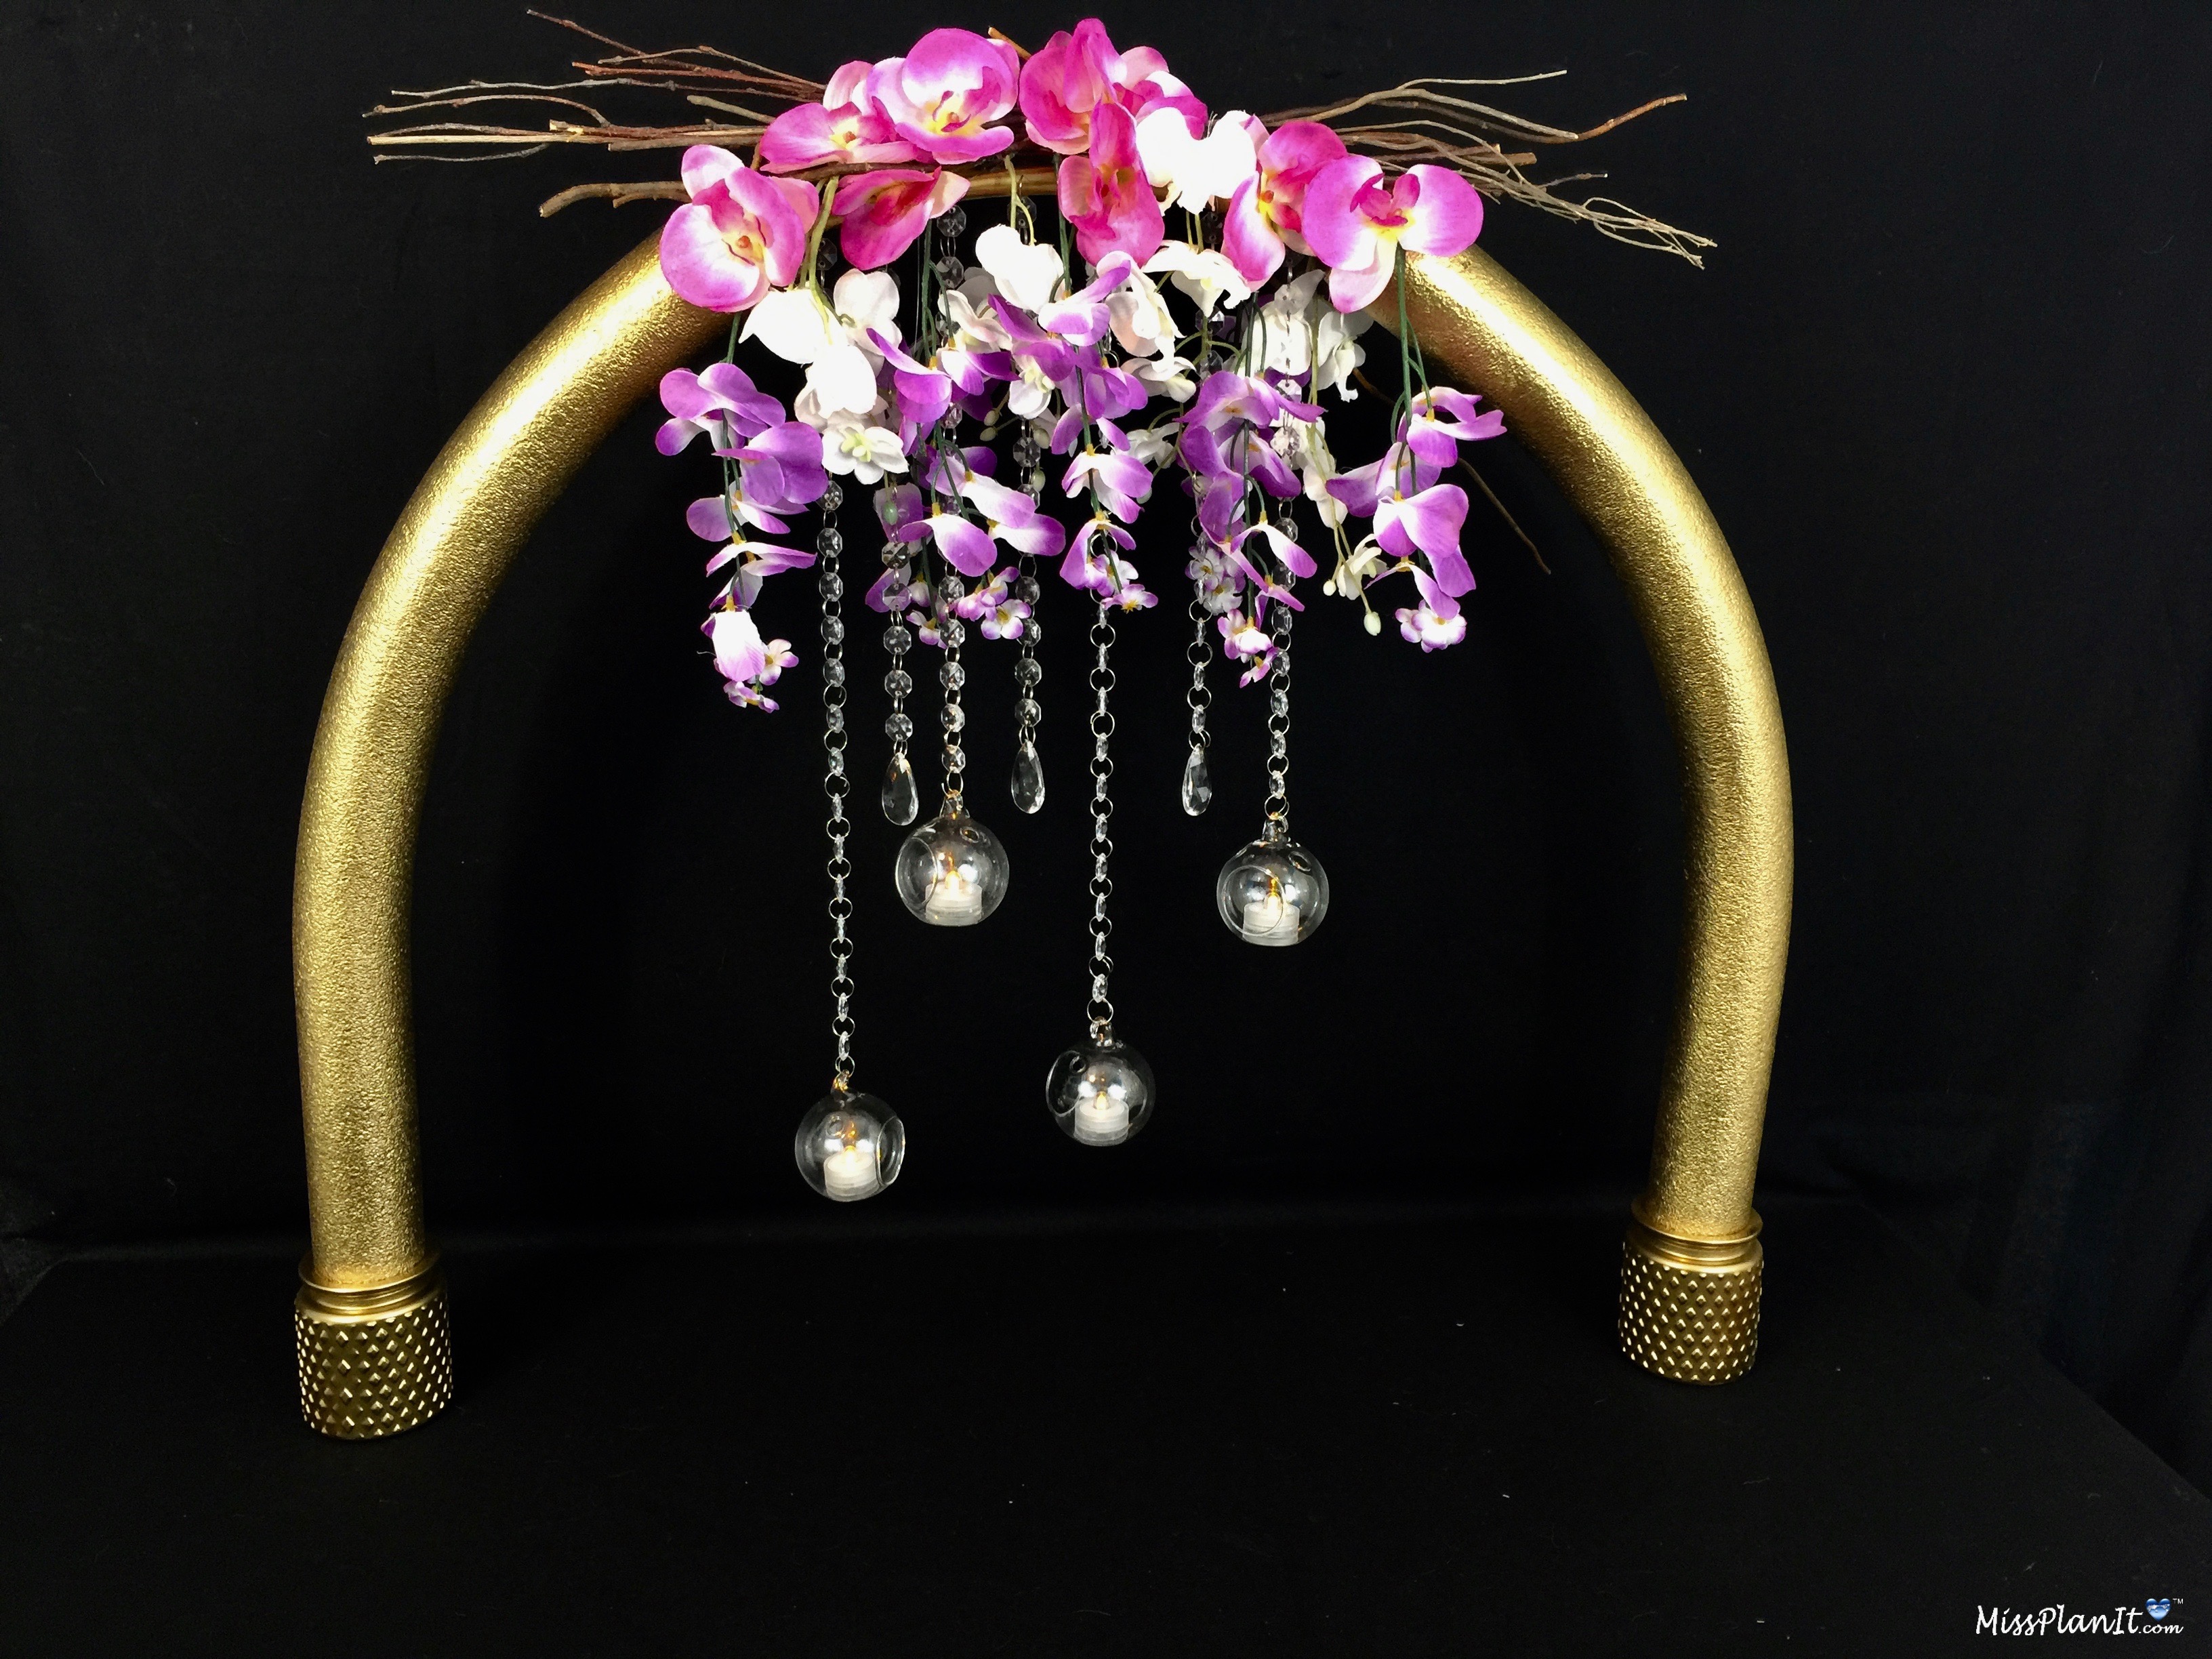
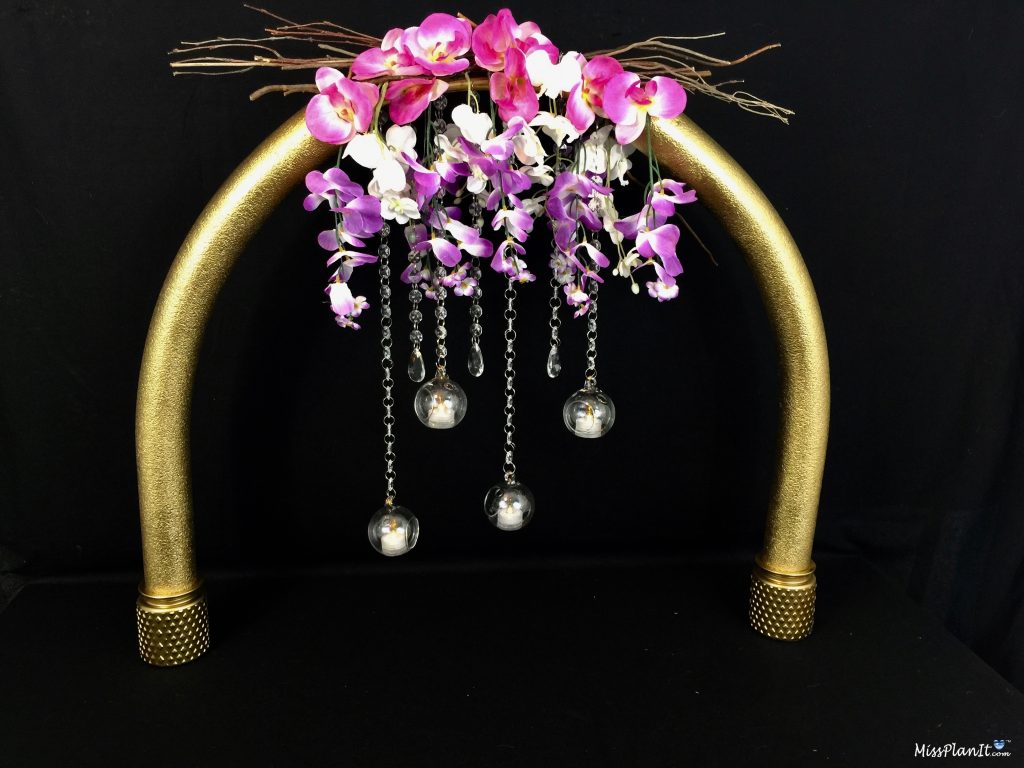
The idea of using a $1 Hula Hoop and a $1 Pool Noodle from the Dollar Tree to create a wedding arch may be hard to imagine for some people. But the way my creative brain works, this is exactly what I chose to create a stunning wedding arch for a soon-to-be-bride.
My goal to save brides money so they can have their dream wedding really does help in my creativity.
So before we get started, I want to warn you that unfortunately right now Dollar Tree does not have pool noodles or hula hoops available online or in my local Dollar Tree Stores. These are typically seasonal items that should be back available around February of next year, as Spring approaches.
But you can still check out your local Dollar Tree just in case there are any available. On another note, I have provided you with links for Hula Hoops and Pool Noodles that can be found on Amazon all year long. The costs is alot more than $1 though.
My advice would be if you can wait until next year to purchase your hula hoops and pool noodles from Dollar Tree do so.
This will significantly reduce the costs for your wedding arch. Okay with all that said, let’s get started. For video instructions, please check out the video tutorial below!
BUT WAIT, ONE MORE THING!
Before we get started I want to share an awesome tip on how you can earn cash back with your online purchases for all the items you will need to complete this project!
As our saying goes “When Every Penny Counts, Count on Miss PlanIt.” Furthermore, we love to save money and get great deals. Prior to us purchasing anything online, we check out Ebates, find the store, click the current deal for that store and complete our purchase.
If you have never used Ebates, you are MISSING OUT. So for this project, you would go to Ebates.com, sign up, and then type in the store you plan to purchase from.
Consequently, when completing a purchase through Ebates you earn cash back that you can have mailed to you or sent via PayPal. Be sure to check it out! Click here to sign up for Ebates, and RIGHT NOW when you sign up, you will receive a $10 cash welcome bonus when you spend $25.00!
Since you were already going to complete your purchase online, why not get some cash back on things you already planned to purchase!
[convertkit form=917377]
Supplies needed for this project:
Pool Noodle
Clear Glass Accent Gems, 14-oz. Bags
Gold Glass Candle Holder
Purple Orchid Bushels
Pink Orchid Bushels
24.5 inch Hula Hoop
White Orchid Bushel
Wooden Dowel
Floral Garden Floral Wire and Tape Rolls
Krylon Gold Foil Spray Paint
Magnificent 16 Feet Crystal Acrylic Gems Bead Strands
3″ Hanging Glass Globe Terrarium Candle Holders
Waterproof LED Tea Light Candles
Natural Hog Huck Branches
For written instructions, please continue reading below:
How to Make a Dollar Tree Hula Hoop and Pool Noodle DIY Wedding Arch
Directions:
STEP 1: Cut your pool noodles into two 24 inch strips. Next fill your 2 votive candle holders with clear gems at about an inch to an inch and a half. Place your wooden dowels in each end of your pool noodles. Insert one pool noodle into one of your candle holders and the other pool noodle into the other candle holder.
YOU MAY ALSO LIKE:
- $1 Hula Hoop Wedding Hack. How to Make a Chandelier Wedding Centerpiece
- How to Make a Tall Fall Wedding Centerpiece with a $3 DIY Dollar Tree Wedding Vase
- Simple Beautiful Willow and Birch Branch Wedding Centerpiece
- DIY Dollar Tree Inspired Elegant Wedding Centerpieces on a Budget
- Amazing Modern Wedding Centerpieces Using Dollar Tree Products
Attach Your Hula Hoop to Your Pool Noodles
STEP 2: Open up your 24 inch hula hoop and remove the beads. Cut 6-8 inches off each side of your hula hoop. Now insert each side of your hula hoop into each side of your pool noodles. Take your time while doing this step as you do not want to punch a hole in your pool noodle. Also trim more off your hula hoop as needed to make the arch your desired height. I trimmed mine to be 36 inches tall.
Spray Paint Your Arch, Connect the Branches, Gem Garland and Tealight Holders
STEP 3: Spray paint your entire arch with gold foil spray paint. Connect your branches with floral wire. Then apply hot glue to the top of your arch and attach your bundle of branches. Next attach 4 six inch garland strands to your arch. In addition, attach one 8 inch garland strand, two 6 inch garland strands, and 3-4 terrarium ball tealight holders.
Add Your Flowers and Tea Lights
STEP 4: Finally, attach 6-8 white orchid stems, 4-6 purple orchid stems, and 8-12 pink orchid blossoms. Add tea lights to your terrarium ball tealight holders.

I absolutely love how this DIY Wedding Arch turned out! The outcome is amazing and will definitely add that extra special touch to any wedding!
Don’t forget to sign up for Ebates to earn cash back on your online purchases. Planning a wedding is expensive, our goal is to help you stay within your budget and make every penny count. Click here to sign up for Ebates, and RIGHT NOW when you sign up, you will receive a $10 cash welcome bonus when you spend $25.00!
If you like the outcome please subscribe to our Youtube Channel for more DIY Videos and follow us on Facebook and Pinterest.
Need help with an upcoming project? Be sure to send us a project request!
“Remember When Every Penny Counts, Count on MissPlanIt”

