
THIS POST MAY CONTAIN AFFILIATE LINKS. PLEASE READ MY DISCLOSURE FOR MORE INFO.
IT’S FALL YA’LL!
Ya’ll know I love a challenge! And what better place to start than the Dollar Tree! When saw two fall centerpieces on our Pinterest page and was inspired! So I set off to my local Dollar Tree to see if I could recreate the look . I cannot wait to show you what we were able to create with these Dollar Tree finds. What are we waiting for? Let’s get started!
BUT WAIT!
Before we get started I want to share an awesome tip on how you can earn cash back with your online purchases for all the items you will need to complete this project!
As our saying goes “When Every Penny Counts, Count on Miss PlanIt.” We love to save money and get great deals. Prior to us purchasing anything online, we check out Rakuten, find the store, click the current deal for that store and complete our purchase.
If you have never used Rakuten, you are MISSING OUT. So for this project, you would go to Rakuten.com, sign up, and then type in the store you plan to purchase from.
When completing a purchase through Rakuten you earn cash back that you can have mailed to you or sent via PayPal. Be sure to check it out! Click here to sign up for Rakuten, and RIGHT NOW when you sign up, you will receive a $10 cash welcome bonus through my link when you spend $25.00!
You were already going to complete your purchase online, so why not get some cash back on things you already planned to purchase!
Let’s Get Started:

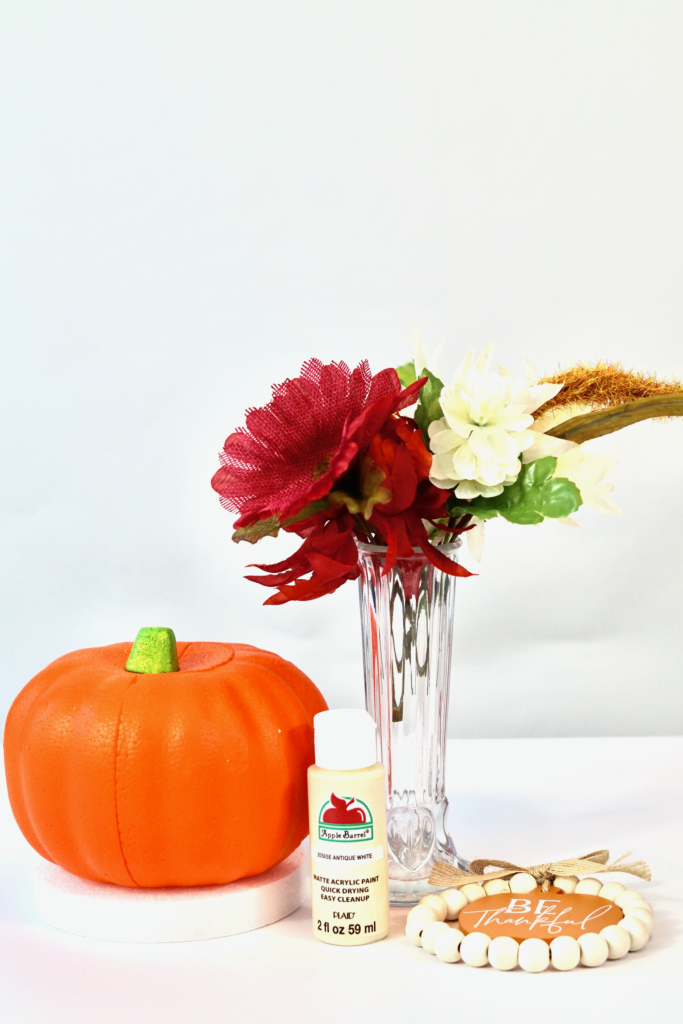
Click the links below to purchase the supplies needed for this project:
- Cream Mum Bush
- Burgundy Mum Bush
- Rustic Cattail Stems
- Carvable Foam Pumpkin
- Green Foliage Bushes
- 6-Stem Hop Bushes
- Fall Ornament
- White Foam Disk
- Gerber Daisies
- Antique White Paint
- Foam Cutter
Project Video:

If you prefer written instructions, please continue reading.
How to Make This Fall Pumpkin Centerpiece!
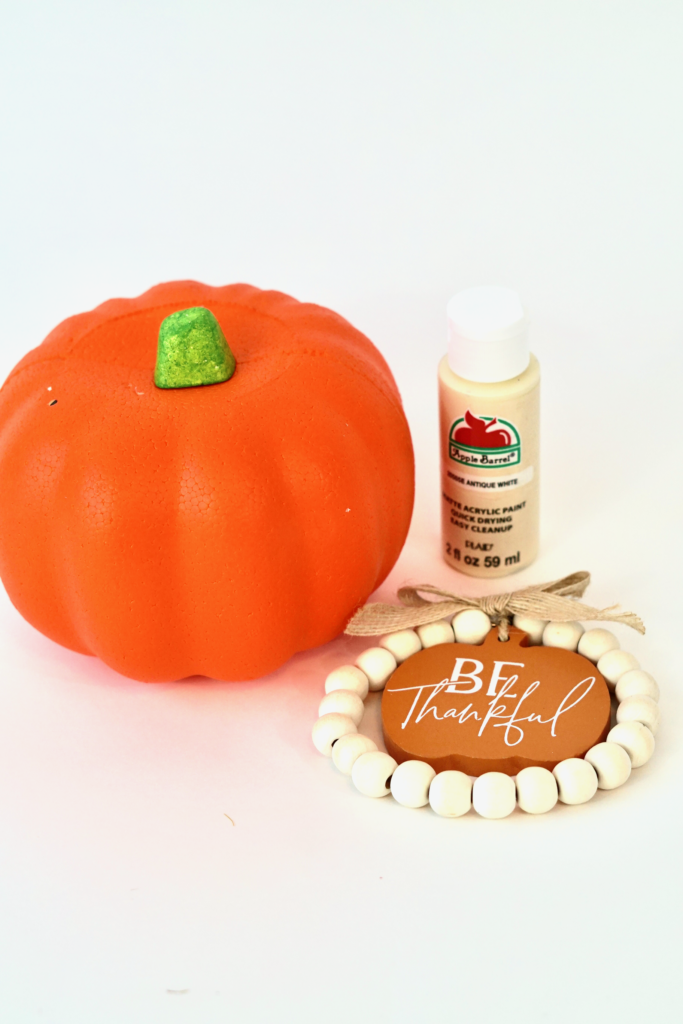
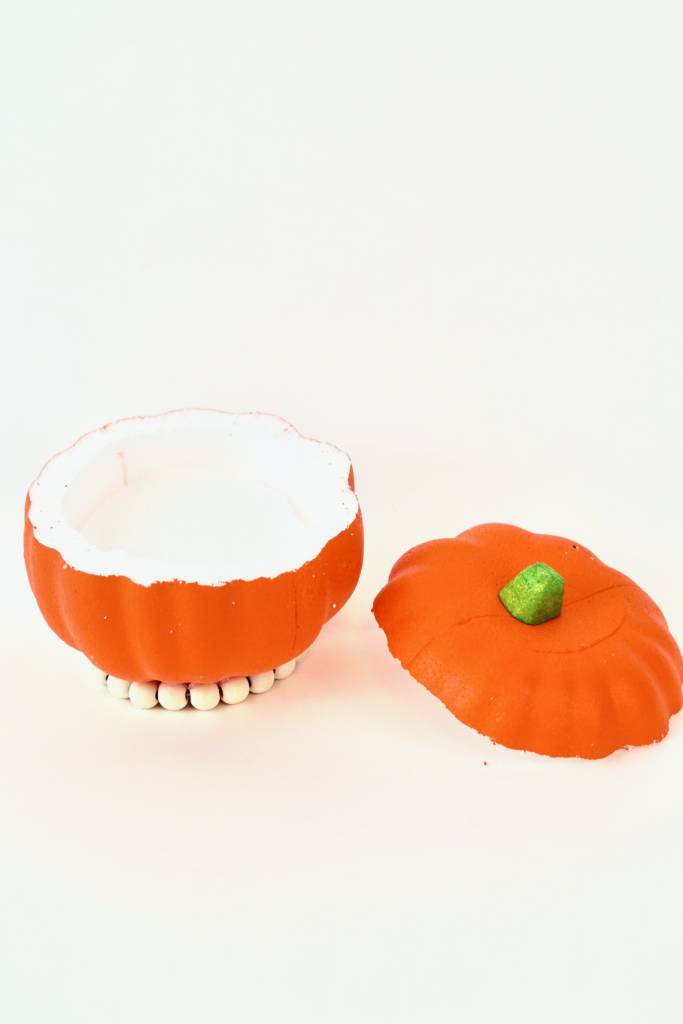
STEP 1:
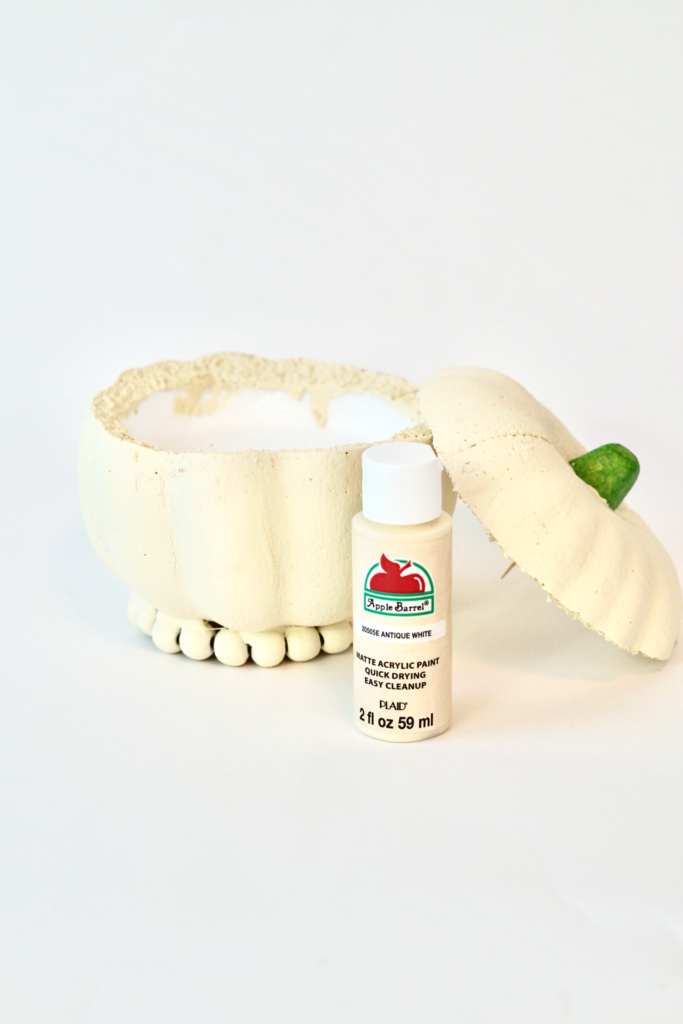
We will start by cutting the top of the Pumpkin off. Set the 2 pieces aside for later. Next remove the the center section of the Fall Ornament leaving the beaded ring. Attach the beaded ring with hot glue to the bottom of the foam pumpkin.
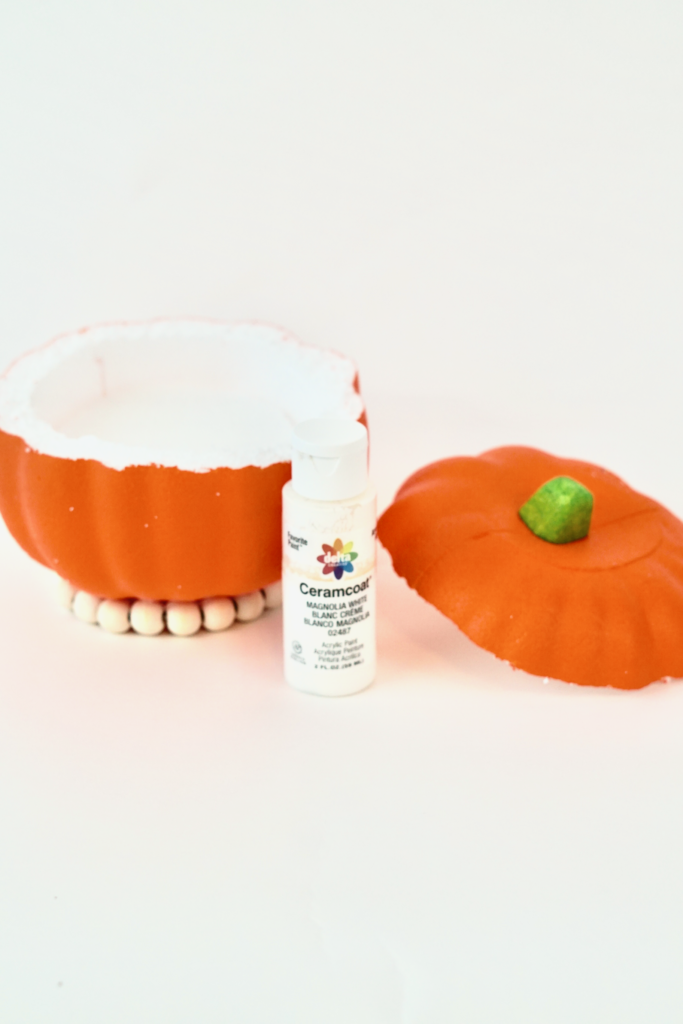
STEP 2:
Paint the both parts of the pumpkin your desired color. For this project we are going with Antique White. Allow to dry for at least 1 hour.
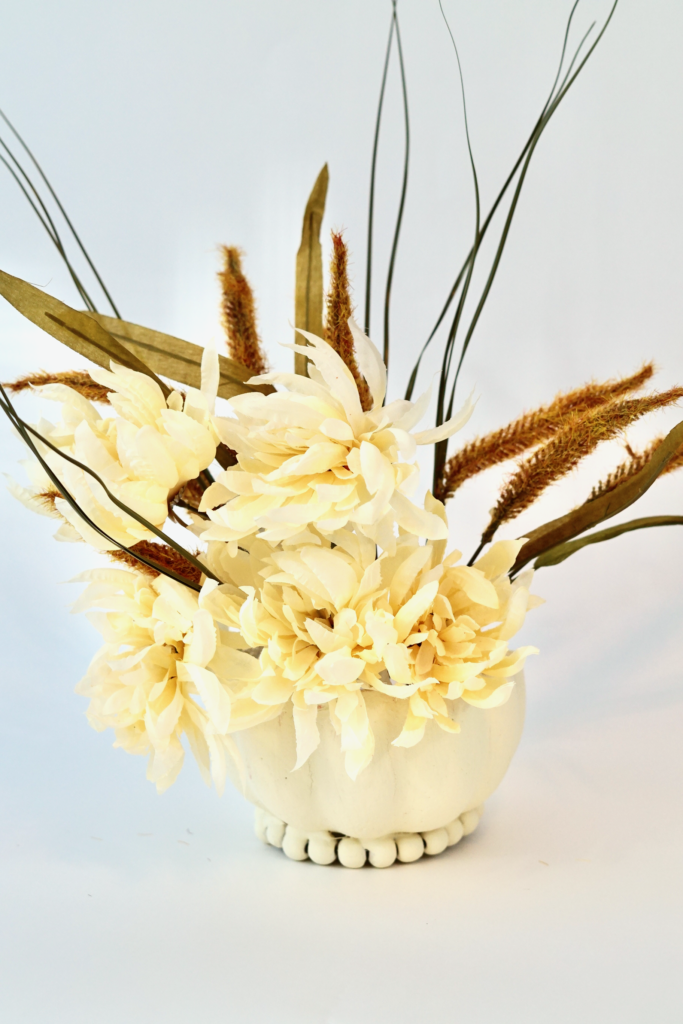
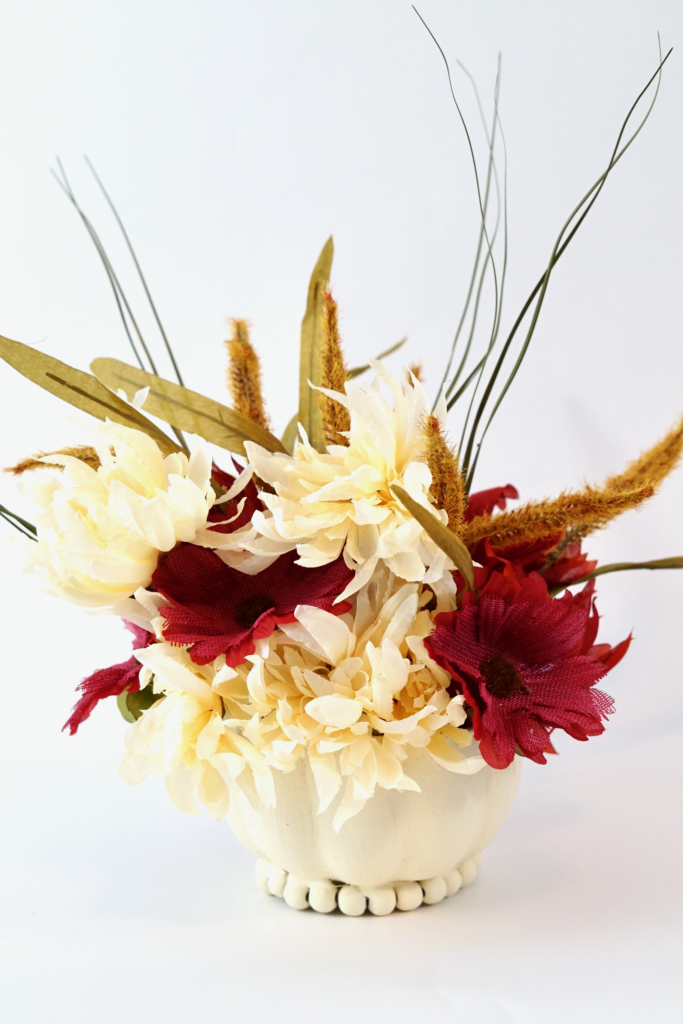
STEP 3:
Trim down and glue Styrofoam disc inside the bottom portion of the pumpkin. Attach 9-12 Cattail Stems, 4-6 Cream Mum Blossom and 4-6 Gerber Daisies. Add a dab of hot glue to the end of the stems before inserting into the styrofoam for extra security.
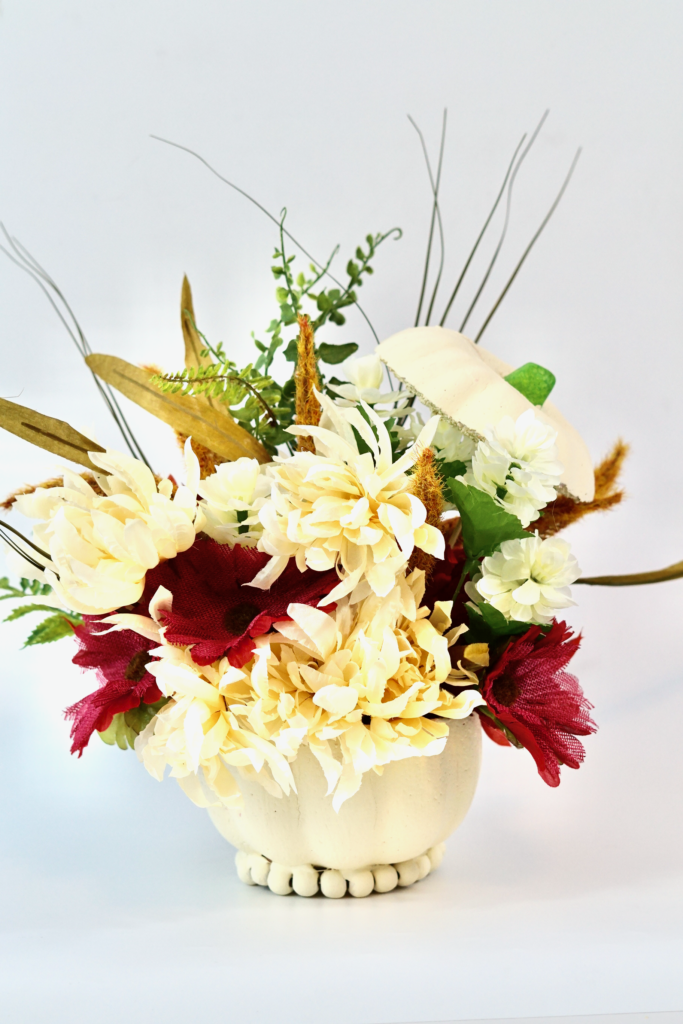
STEP 4:
Next attach 3-6 Fern Stems and 4-6 Hop Blossom Stems. Top it off by attaching the top portion of the pumpkin with a skewer.
THE FINAL STEP:
The Finishing Touch!
Either as an addition to your Fall themed wedding or as a centerpiece on your Thanksgiving table this is your go to! Who knew something so stunning would be so easy and affordable to achieve.
Don’t forget to sign up for Rakuten to earn cash back on your online purchases. Planning a wedding is expensive, our goal is to help you stay within your budget and make every penny count. Click here to sign up for Rakuten, and RIGHT NOW when you sign up, you will receive a $10 cash welcome bonus through my link when you spend $25.00!
If you like the outcome please subscribe to our Youtube Channel for more DIY Videos and follow us on Facebook and Pinterest. Also if you need help with an upcoming project be sure to send us a project request! “Remember When Every Penny Counts, Count on MissPlanIt”