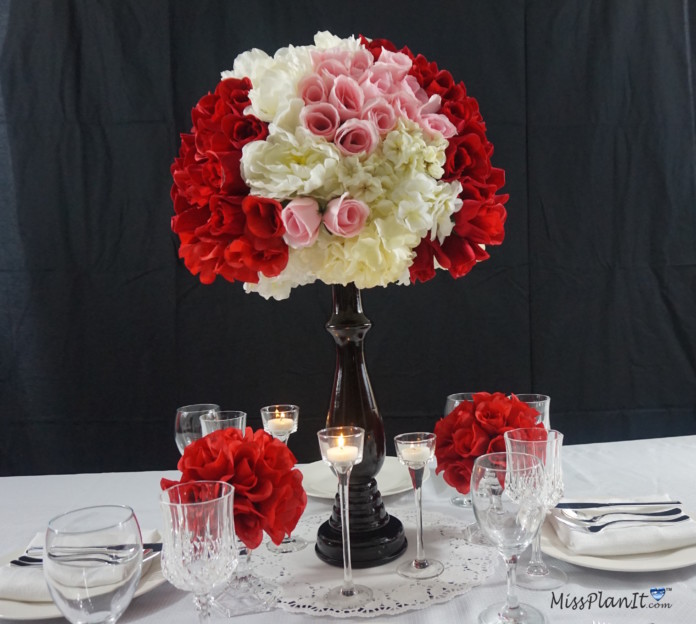
Inspired by our Community Member Kendale. We received a project request from Kendale to help bring her wedding centerpiece vision to life. We will begin this week with the first inspiration picture we received and will continue the second inspiration picture next week!
Kendale sent us a very heart felt request. A request that as you read it you tear up, let me explain to you why. Kendale had gotten engaged the previous year and was very excited to share this wonderful news with her mother.
Once her mother heard of her engagement, she was elated and she and Kendale began planning Kendale’s dream wedding. Unfortunately, shortly after, Kendale’s mother received a devastating diagnosis of stomach cancer.
Kendale’s mother went through numerous stomach surgeries but the cancer spread and she eventually passed away. With Kendale now feeling lost, alone, and filled with sadness, she reached out to us for help and we were not only more than willing but we were also honored to assist with such a special request.
Kendale, thank you for allowing us to be apart of your wedding day, we know your mother was your only true friend but we are so happy you chose us to help. We hope you love how much your centerpiece turned out just as much as we do!
Let’s Get Started:
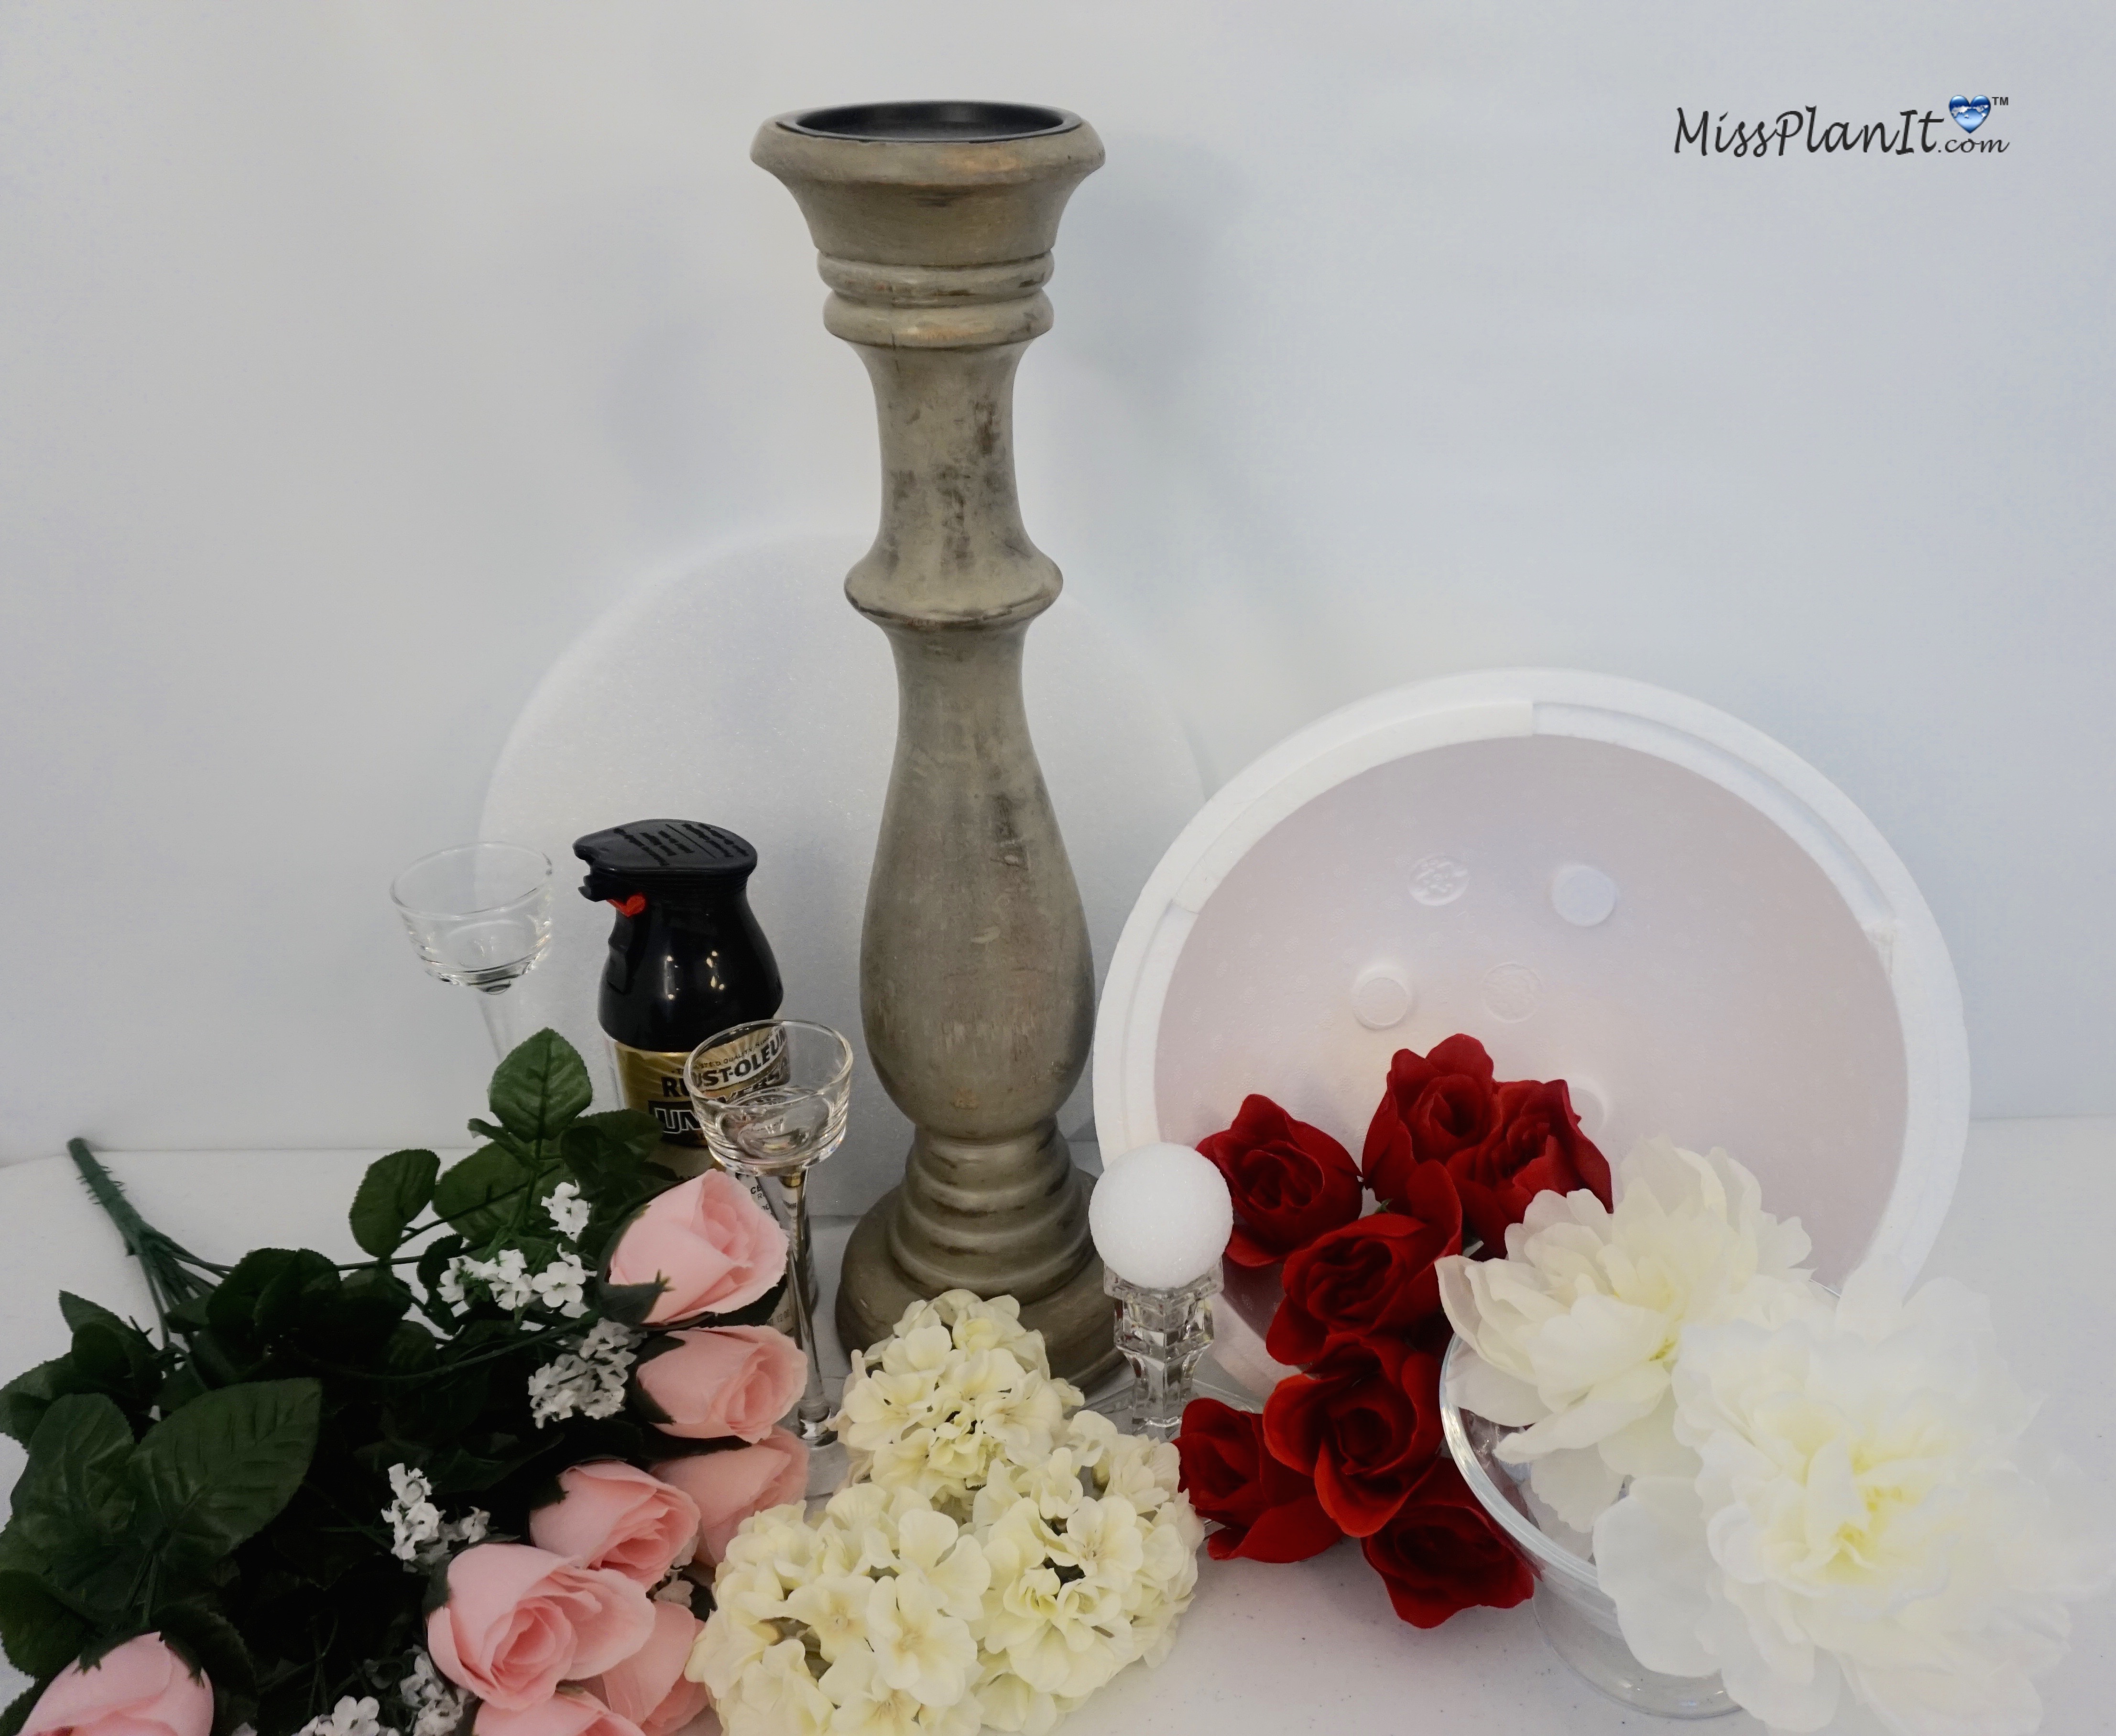
SUPPLIES:
10-6 Stem Floral Garden Velvety Red Roses
4-5 Stem Velvety Pink Roses
1-4ct 2 in Foam Craft Ball
2-4in Glass Taper Candle Holders
10-7 Stem Hydrangea White
1-2oz Tube Tempera Paint Red
2-8in Long Stem Candle Holders
1-7in Long Stem Candle Holders
1-16 ct Luminessence Unscented Tealight candles
4- 6 Steam Floral Garden Artificial White Carnations
1-16 inch Wood Candle Stick
1-12 oz Rustoleum Paint and Primer in One Gloss Black
1-12in Half Ball Dome
1- 11.8 Inch Foam Disc
Directions
STEP 1: Spray your 16 in. Wood Candle Stick with about 2 coats of Rustoleum Paint and Primer in One Gloss Black spray paint. After coating your entire candlestick with spray paint, let it dry completely.
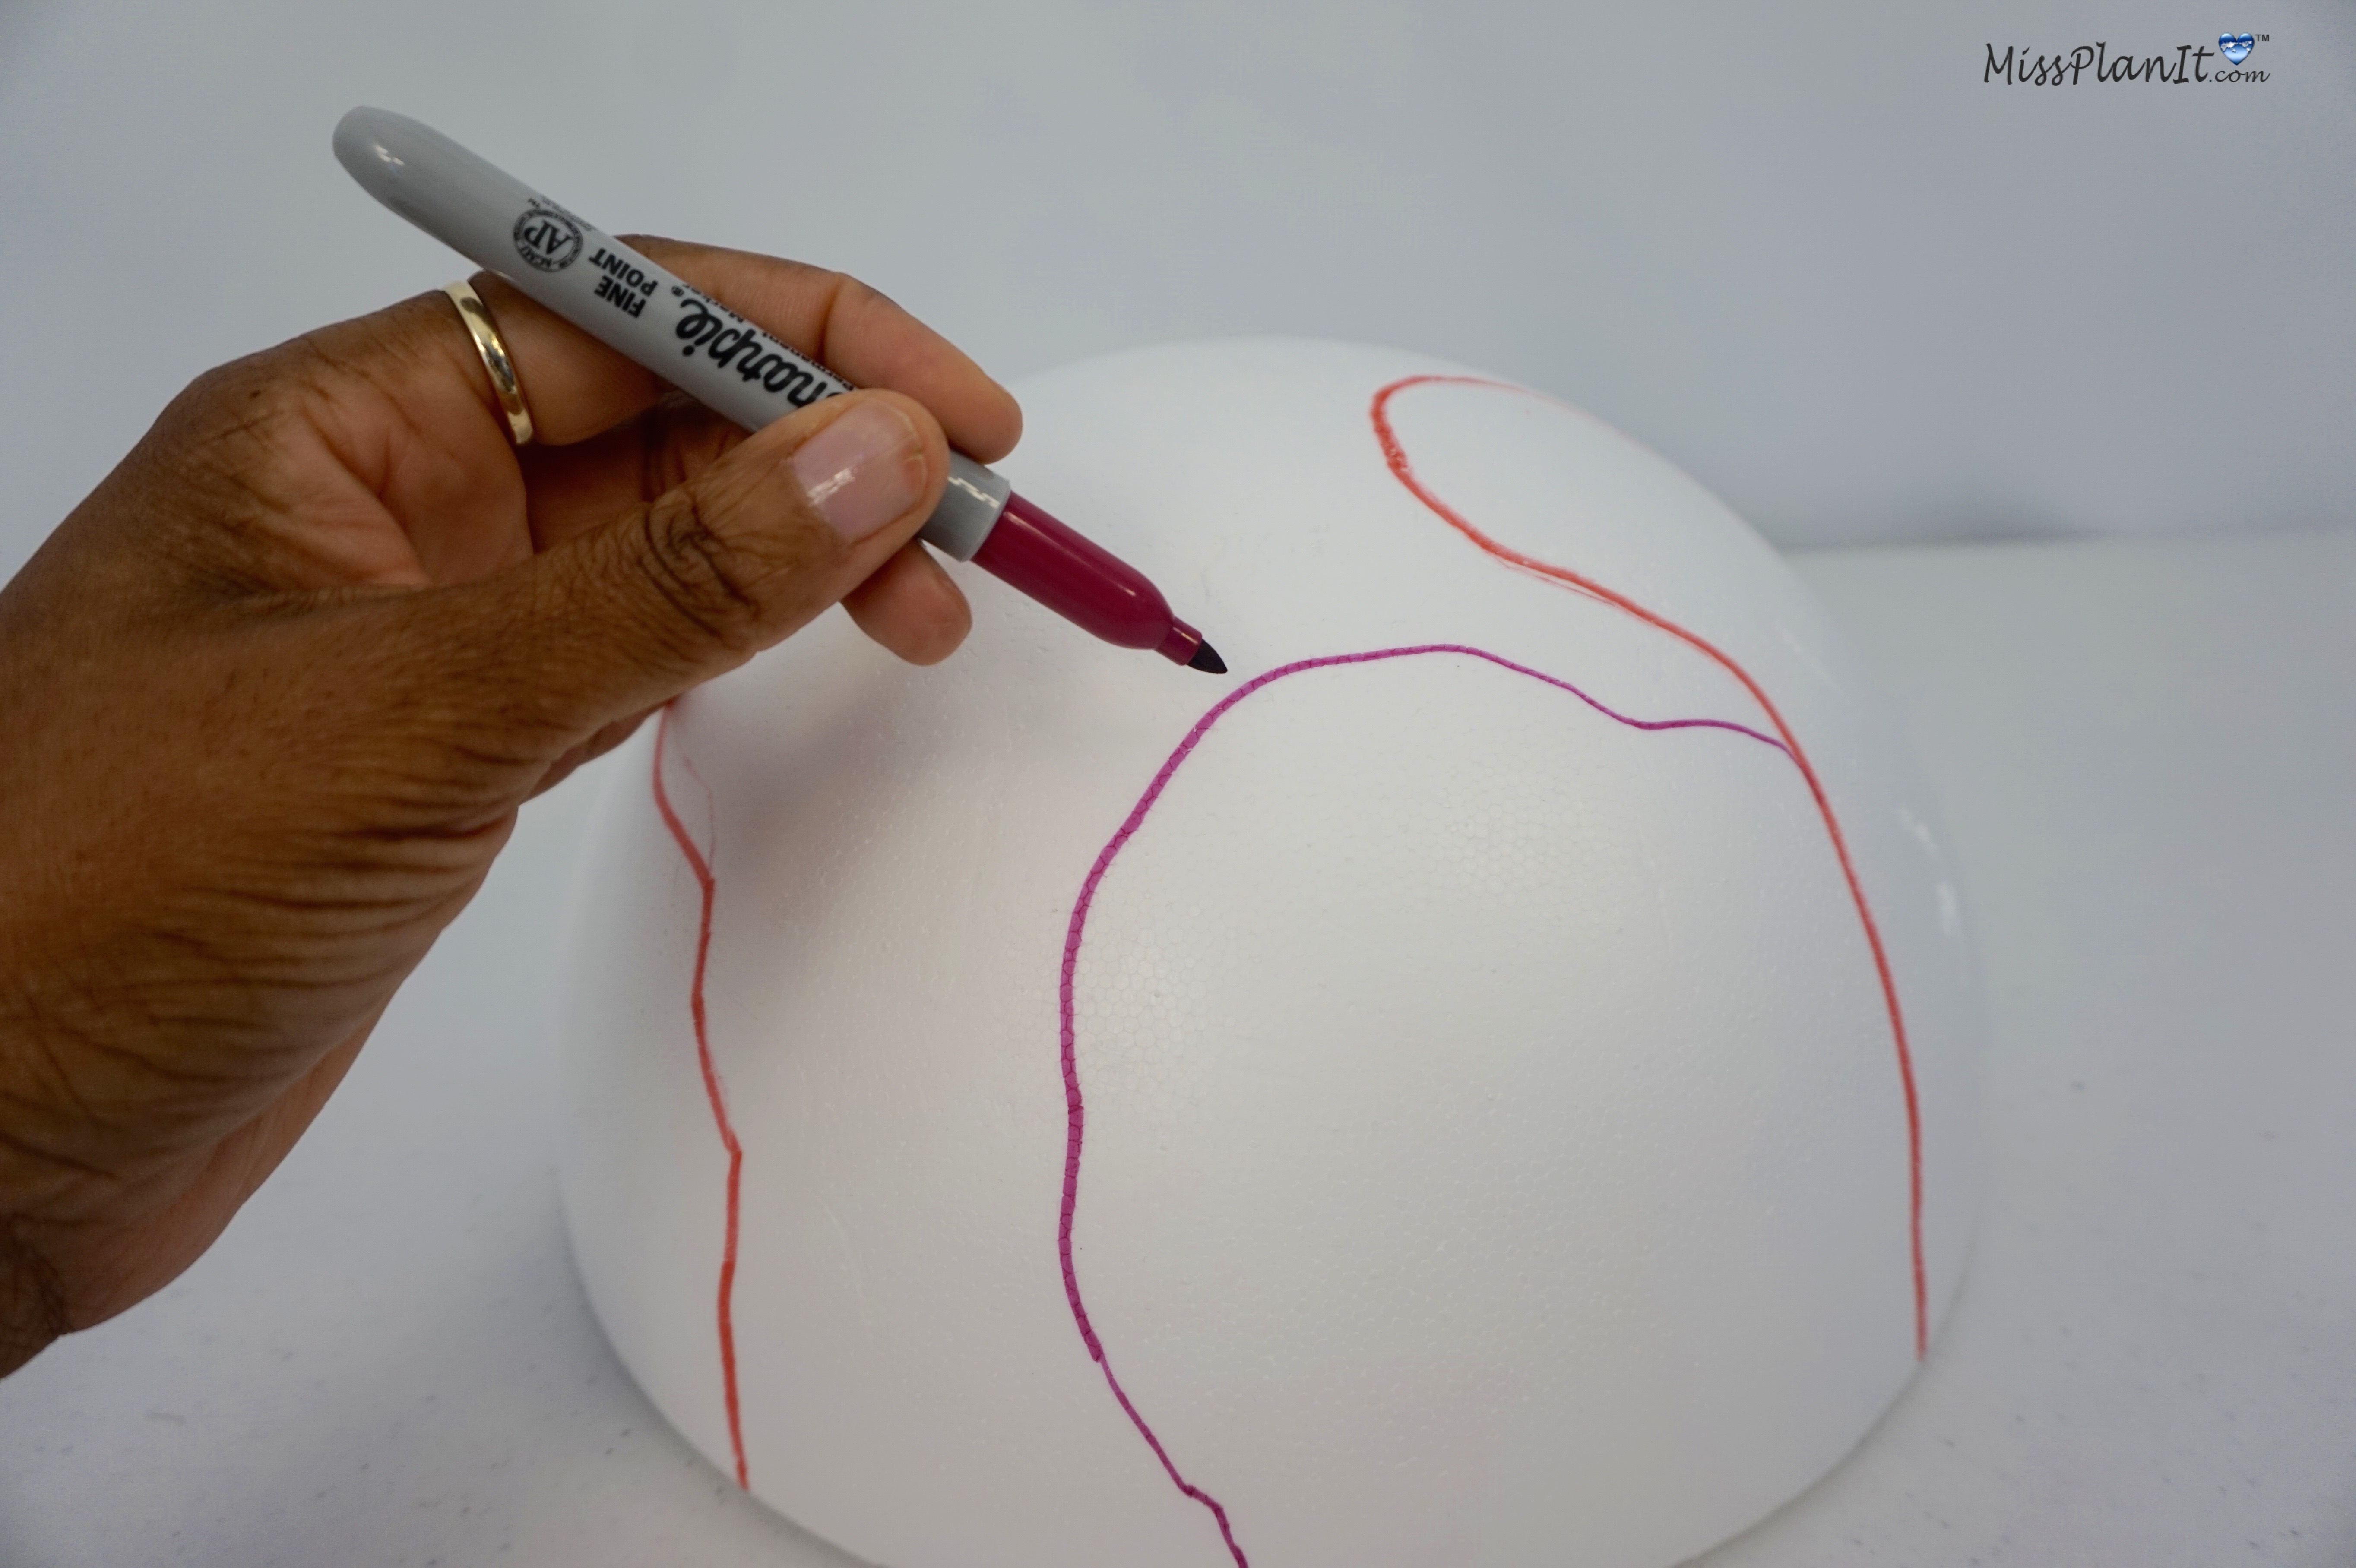
STEP 2: Take your Sharpie Marker and section off the areas where you want your flower pattern to be.
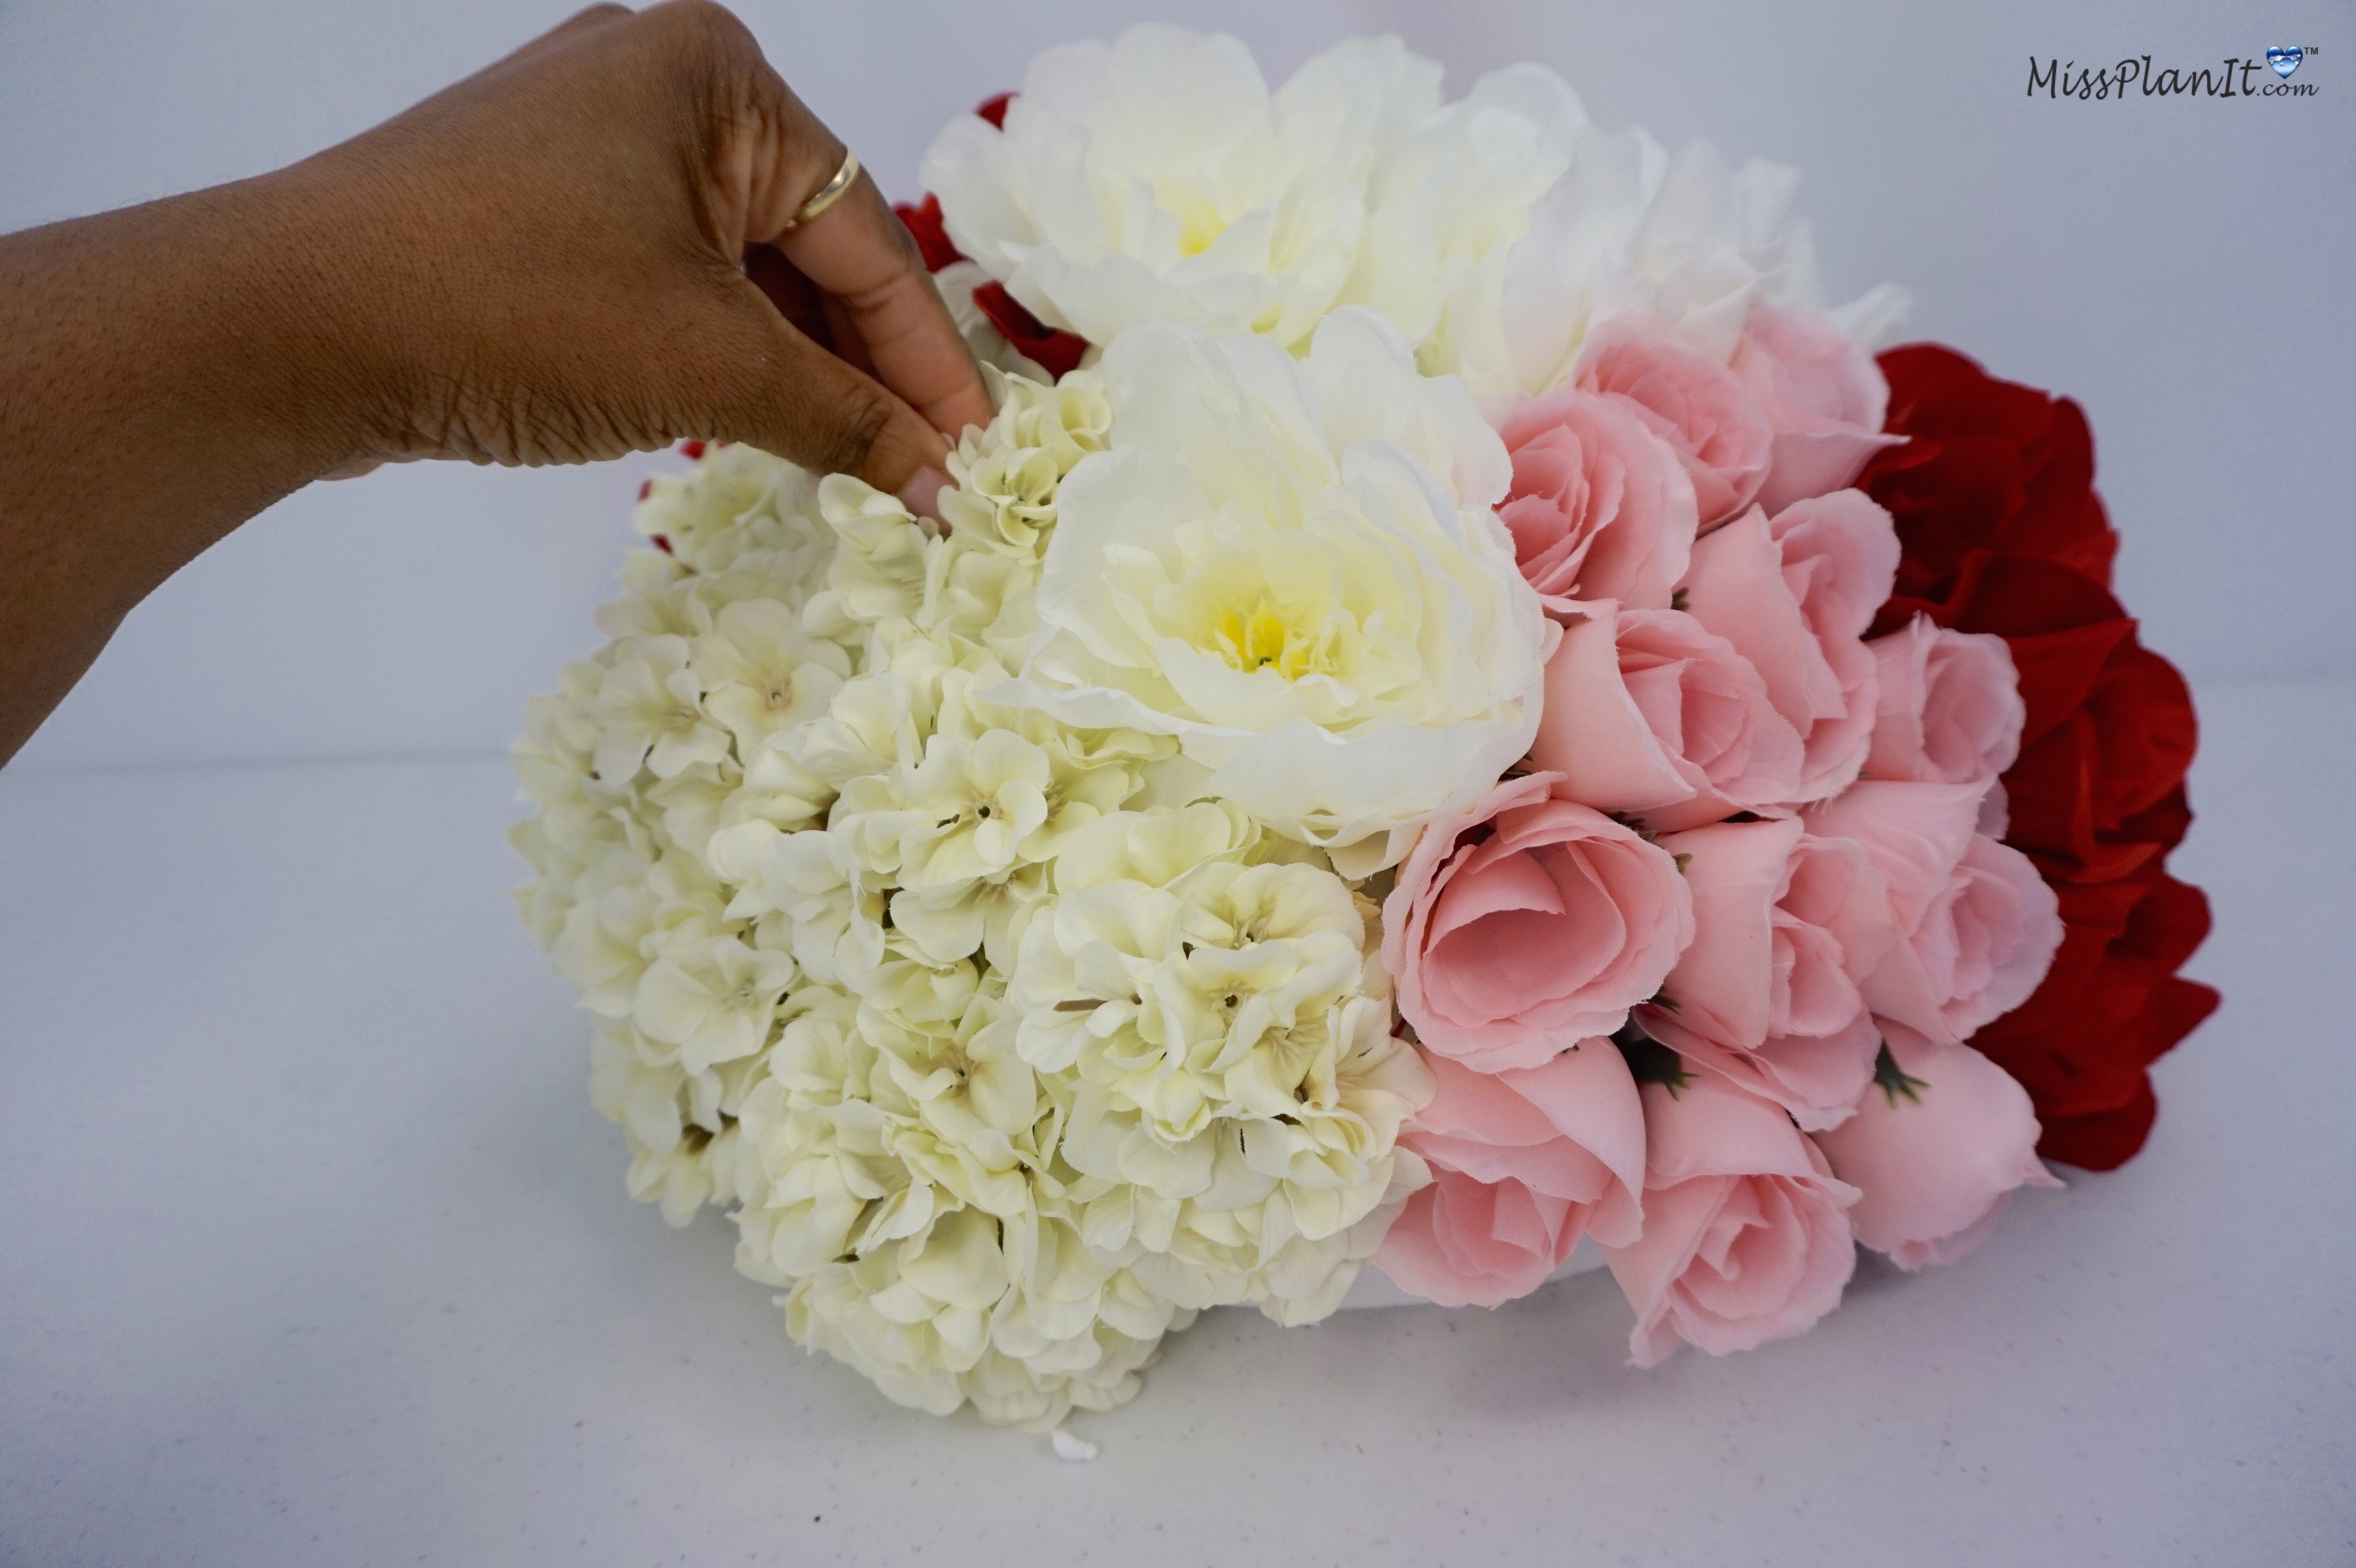
STEP 3: Place your flowers in your 12in Half Ball Dome in the pattern and color scheme of your choice. We are using the flower colors from Kendale’s inspiration picture, which are pink, red, and white flowers.
STEP 4: Next, place your 12inch wood candlestick on top of your 11.8 Inch Foam Disc . Now take a sharpie and trace around the vase, you will notice when finished it’s in the shape of a circle. You will then use an x-acto knife to cut out the circle.
TIP: Be sure to carefully cut out your circle, you do not want to accidentally cut outside the border you created and ruin your foam.
STEP 5: Add your hydrangeas around the 11.8inch foam; now glue your 11.8inch foam to the top of your 12inch candlestick with E6000 adhesive. Now continue filling in all the spaces of your half dome with your red, white, and pink flowers. This way the white foam does not show.
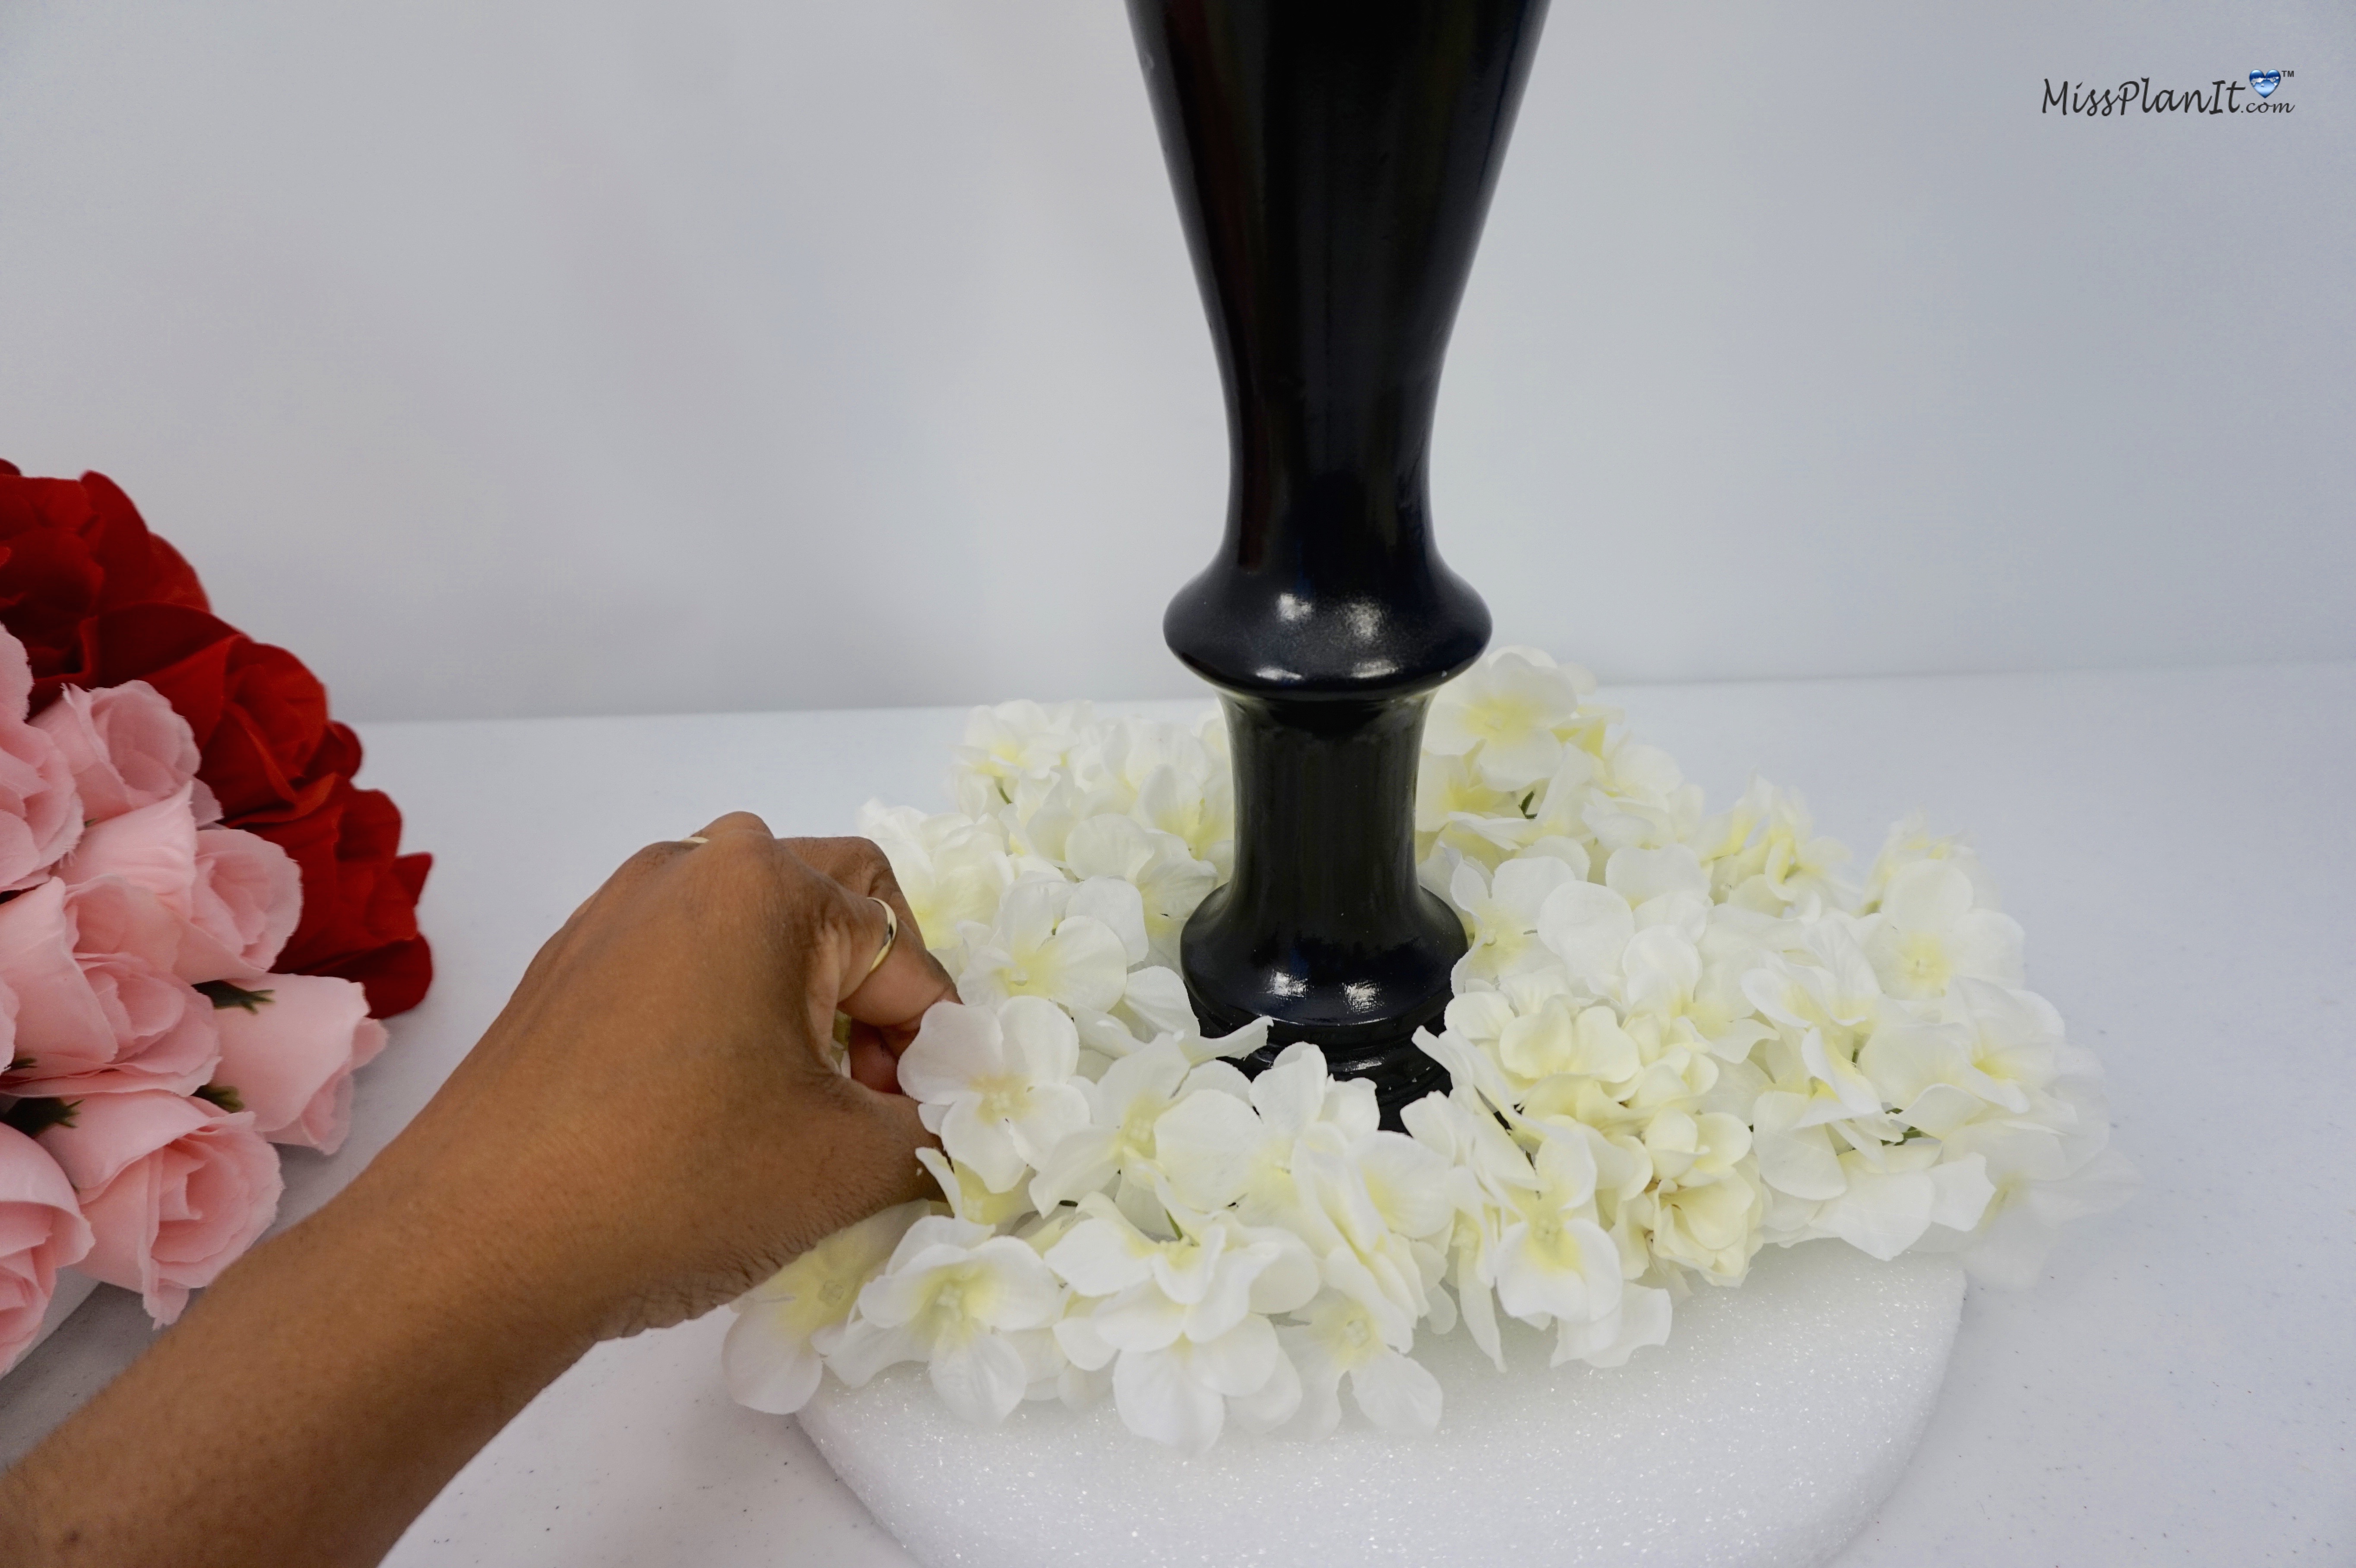
STEP 6: Glue your half dome on top of your round foam disc with E6000 adhesive. Although, we used a hot glue gun, we highly recommend using E6000 as the hold is more secure.
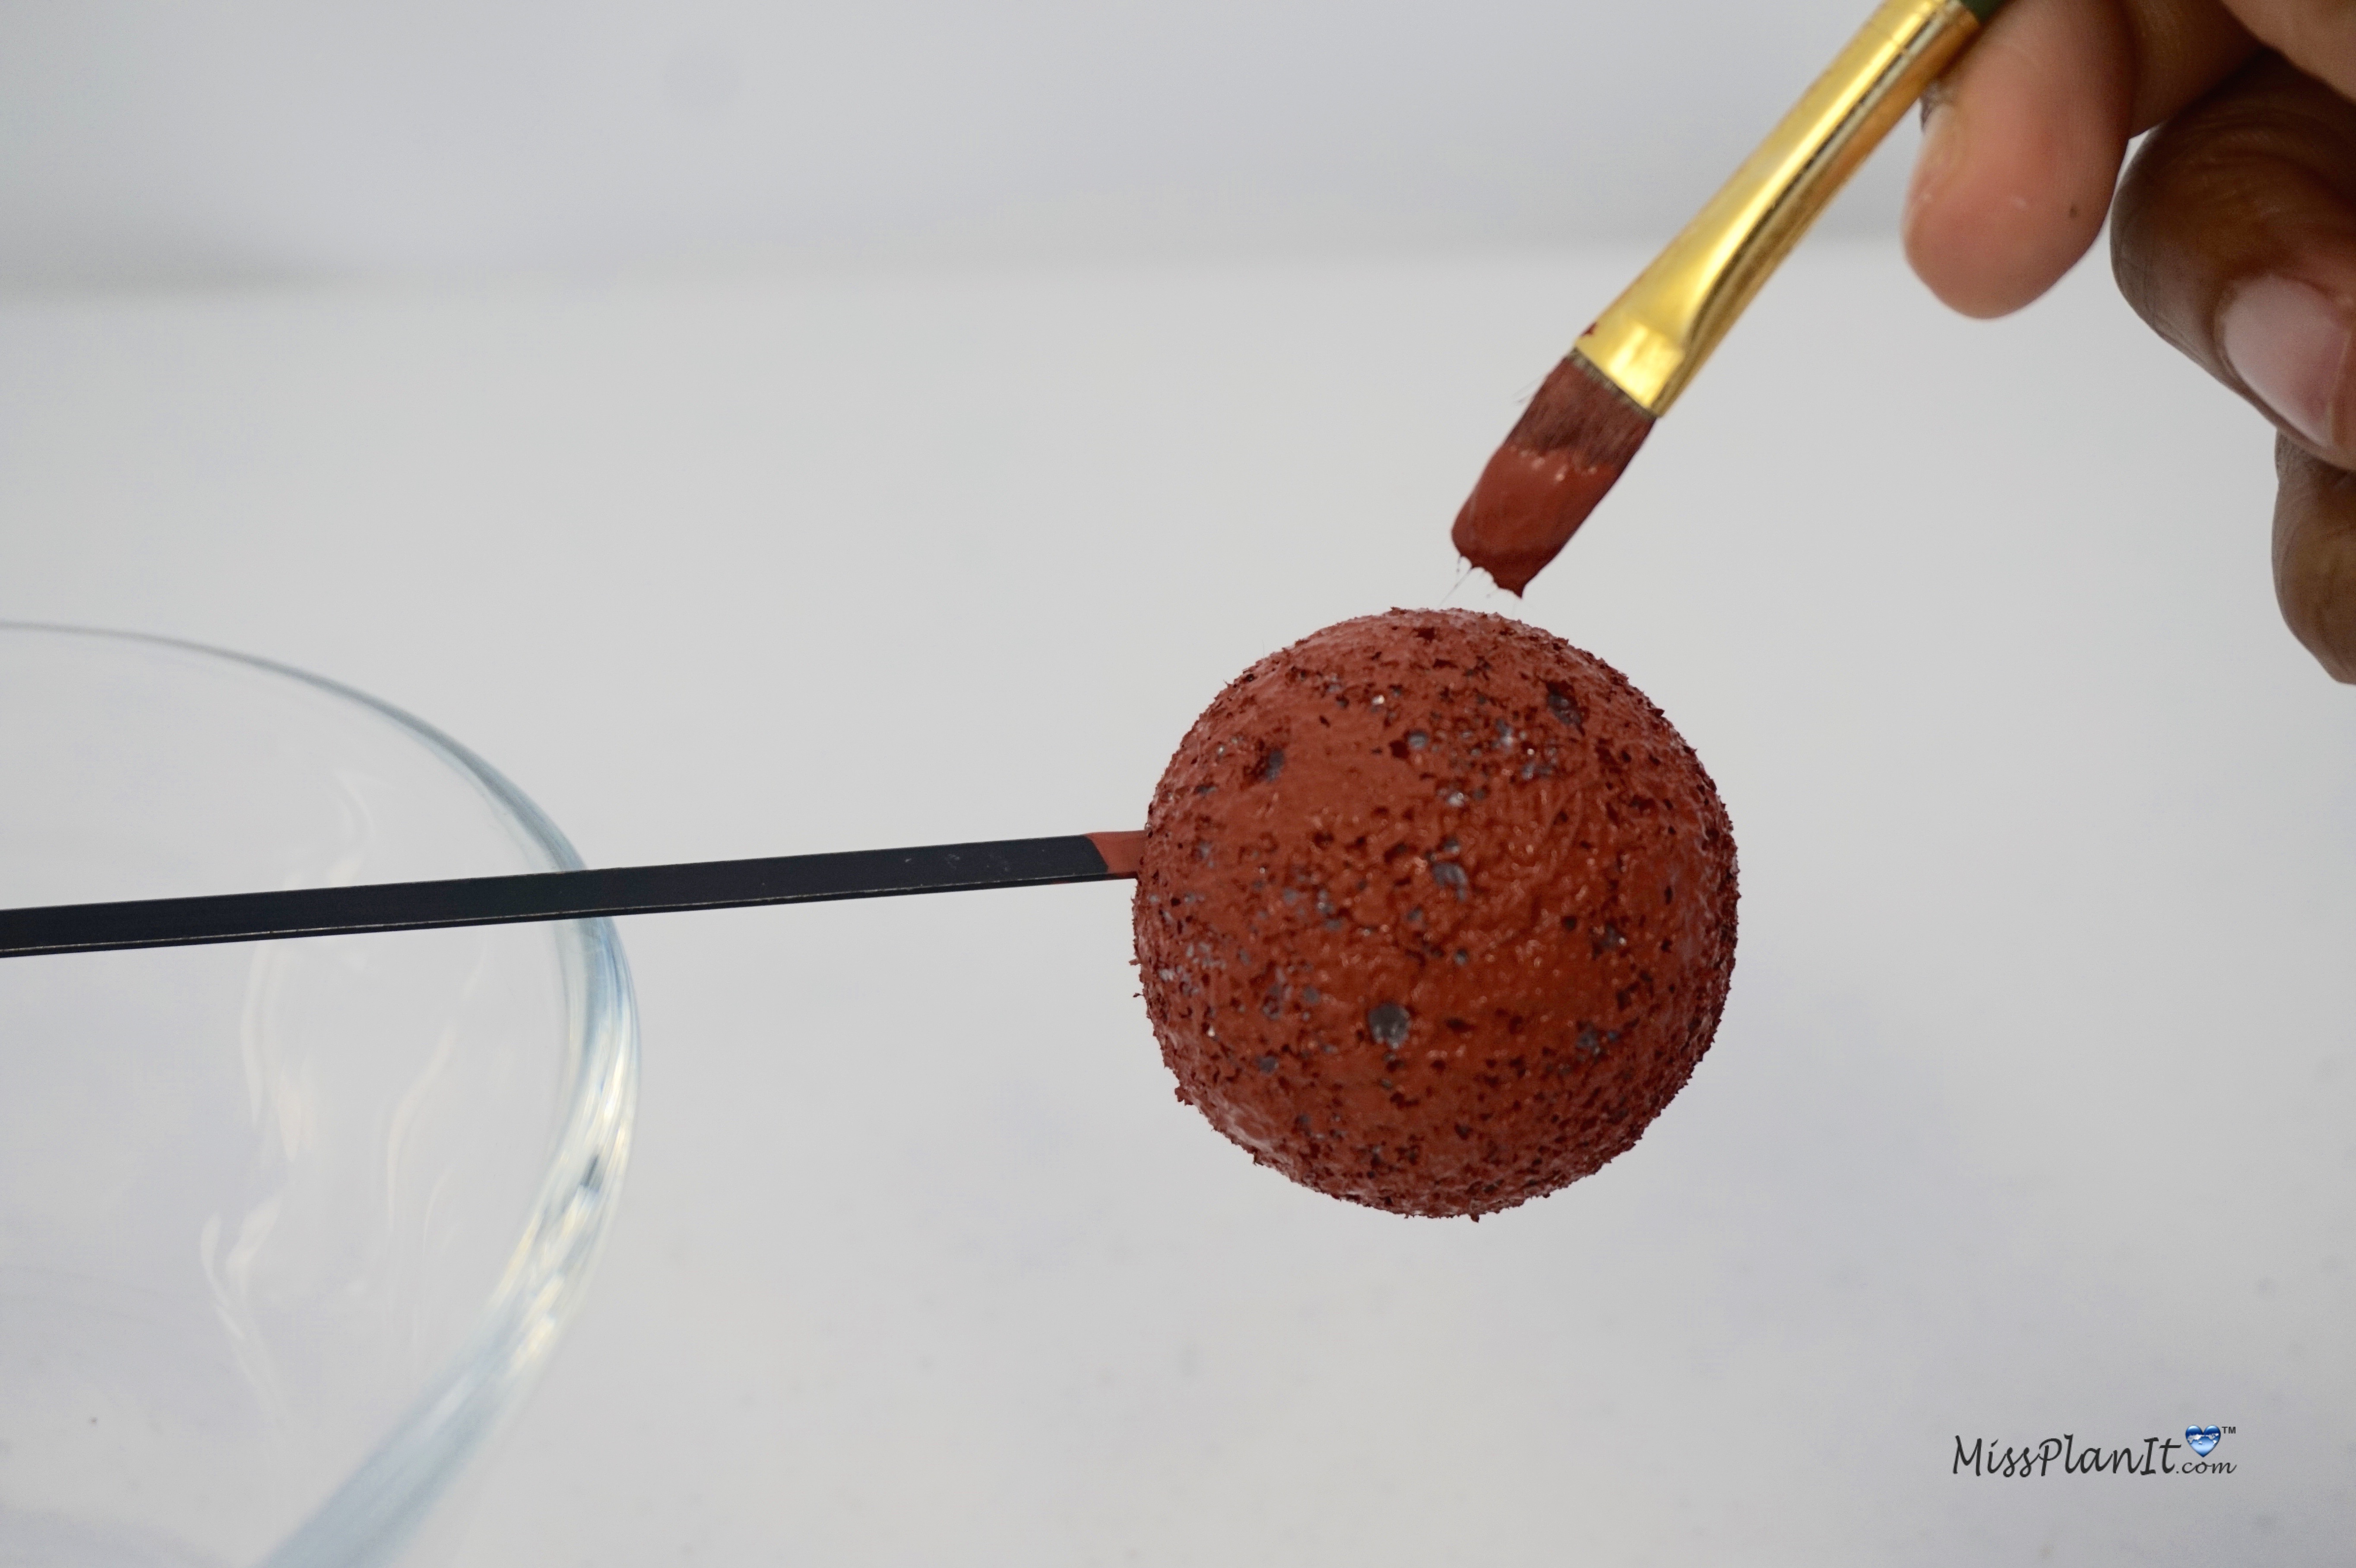
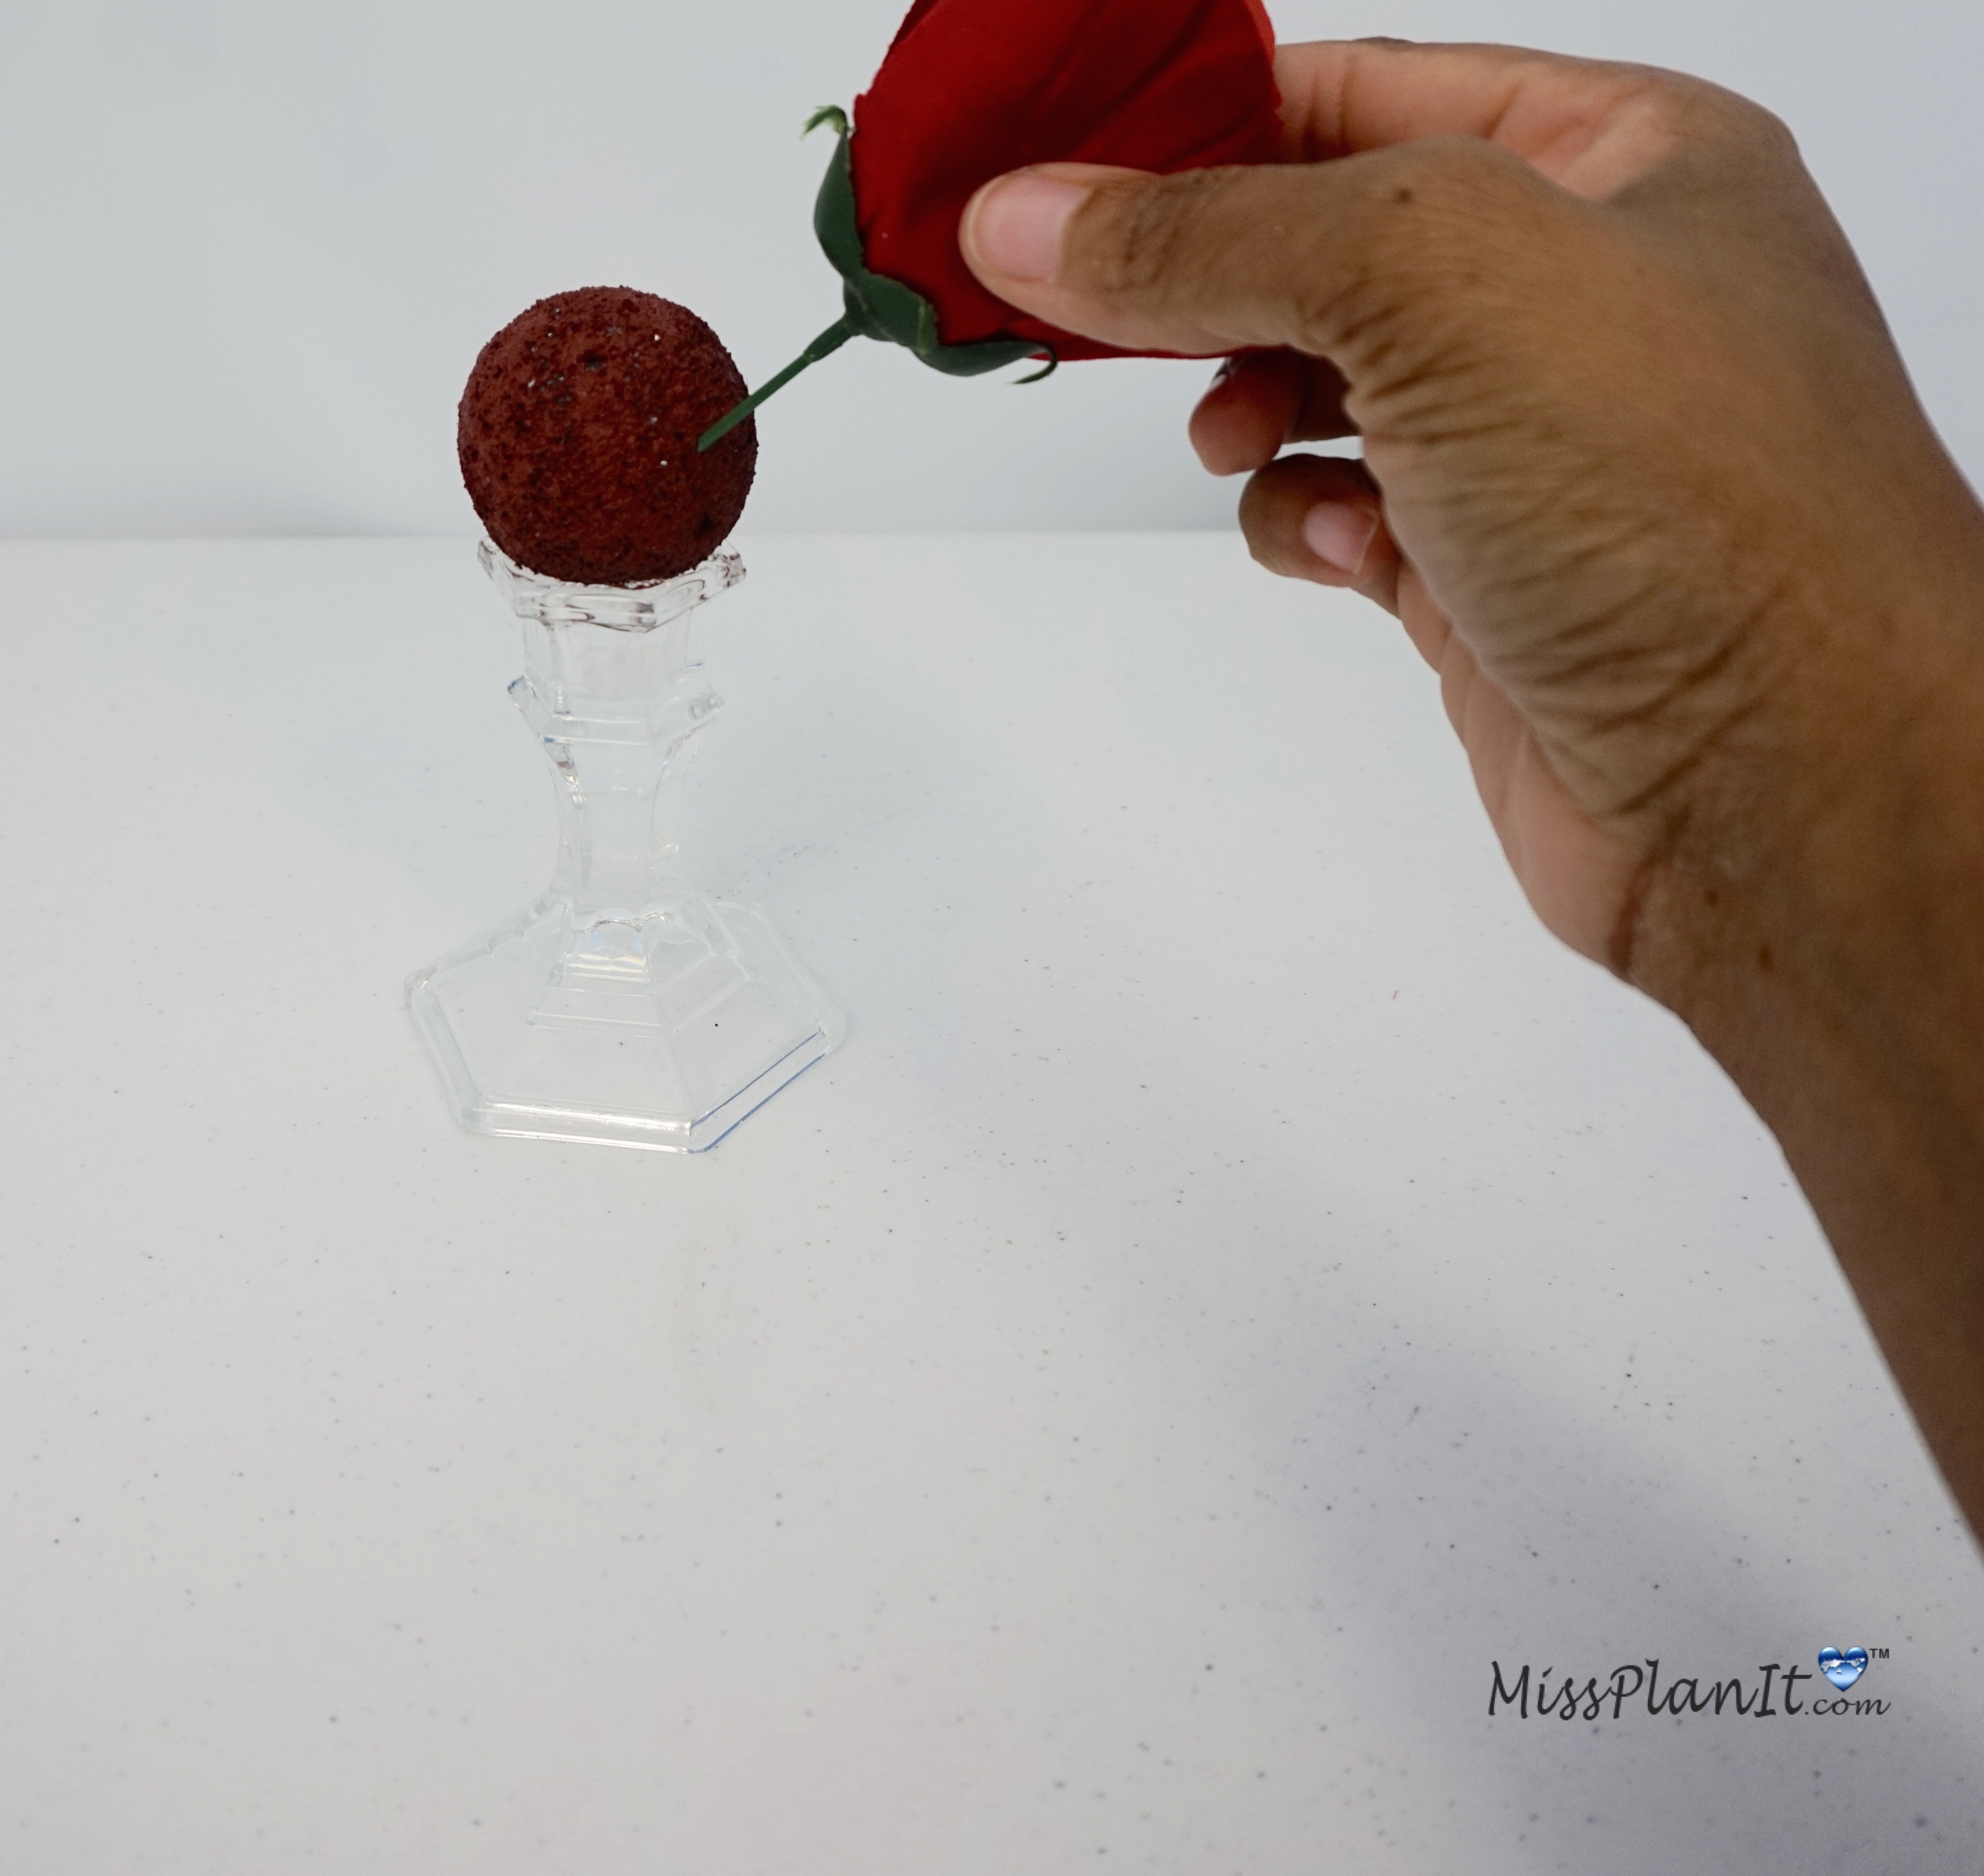
STEP 7: Paint your foam ball with red paint and let dry. After it has dried, glue your foam ball on top of your Glass Taper Holder, we used hot glue but remember E6000 has a more secure hold, insert your red roses in your foam ball. Now insert your red roses in your foam ball.
Tip: Insert a Kabob skewer inside the foam, this allows you to paint your foam ball without getting your hands dirty.
THE FINAL STEP:
It’s Time to Add the Details!
Add your tea lights to your Long Stem Candle Holders.
TIP: When you have a tealight and don’t want the silver rim to show, simply remove the tealight from your silver accent, and place in your Long Stem Candle Holders.
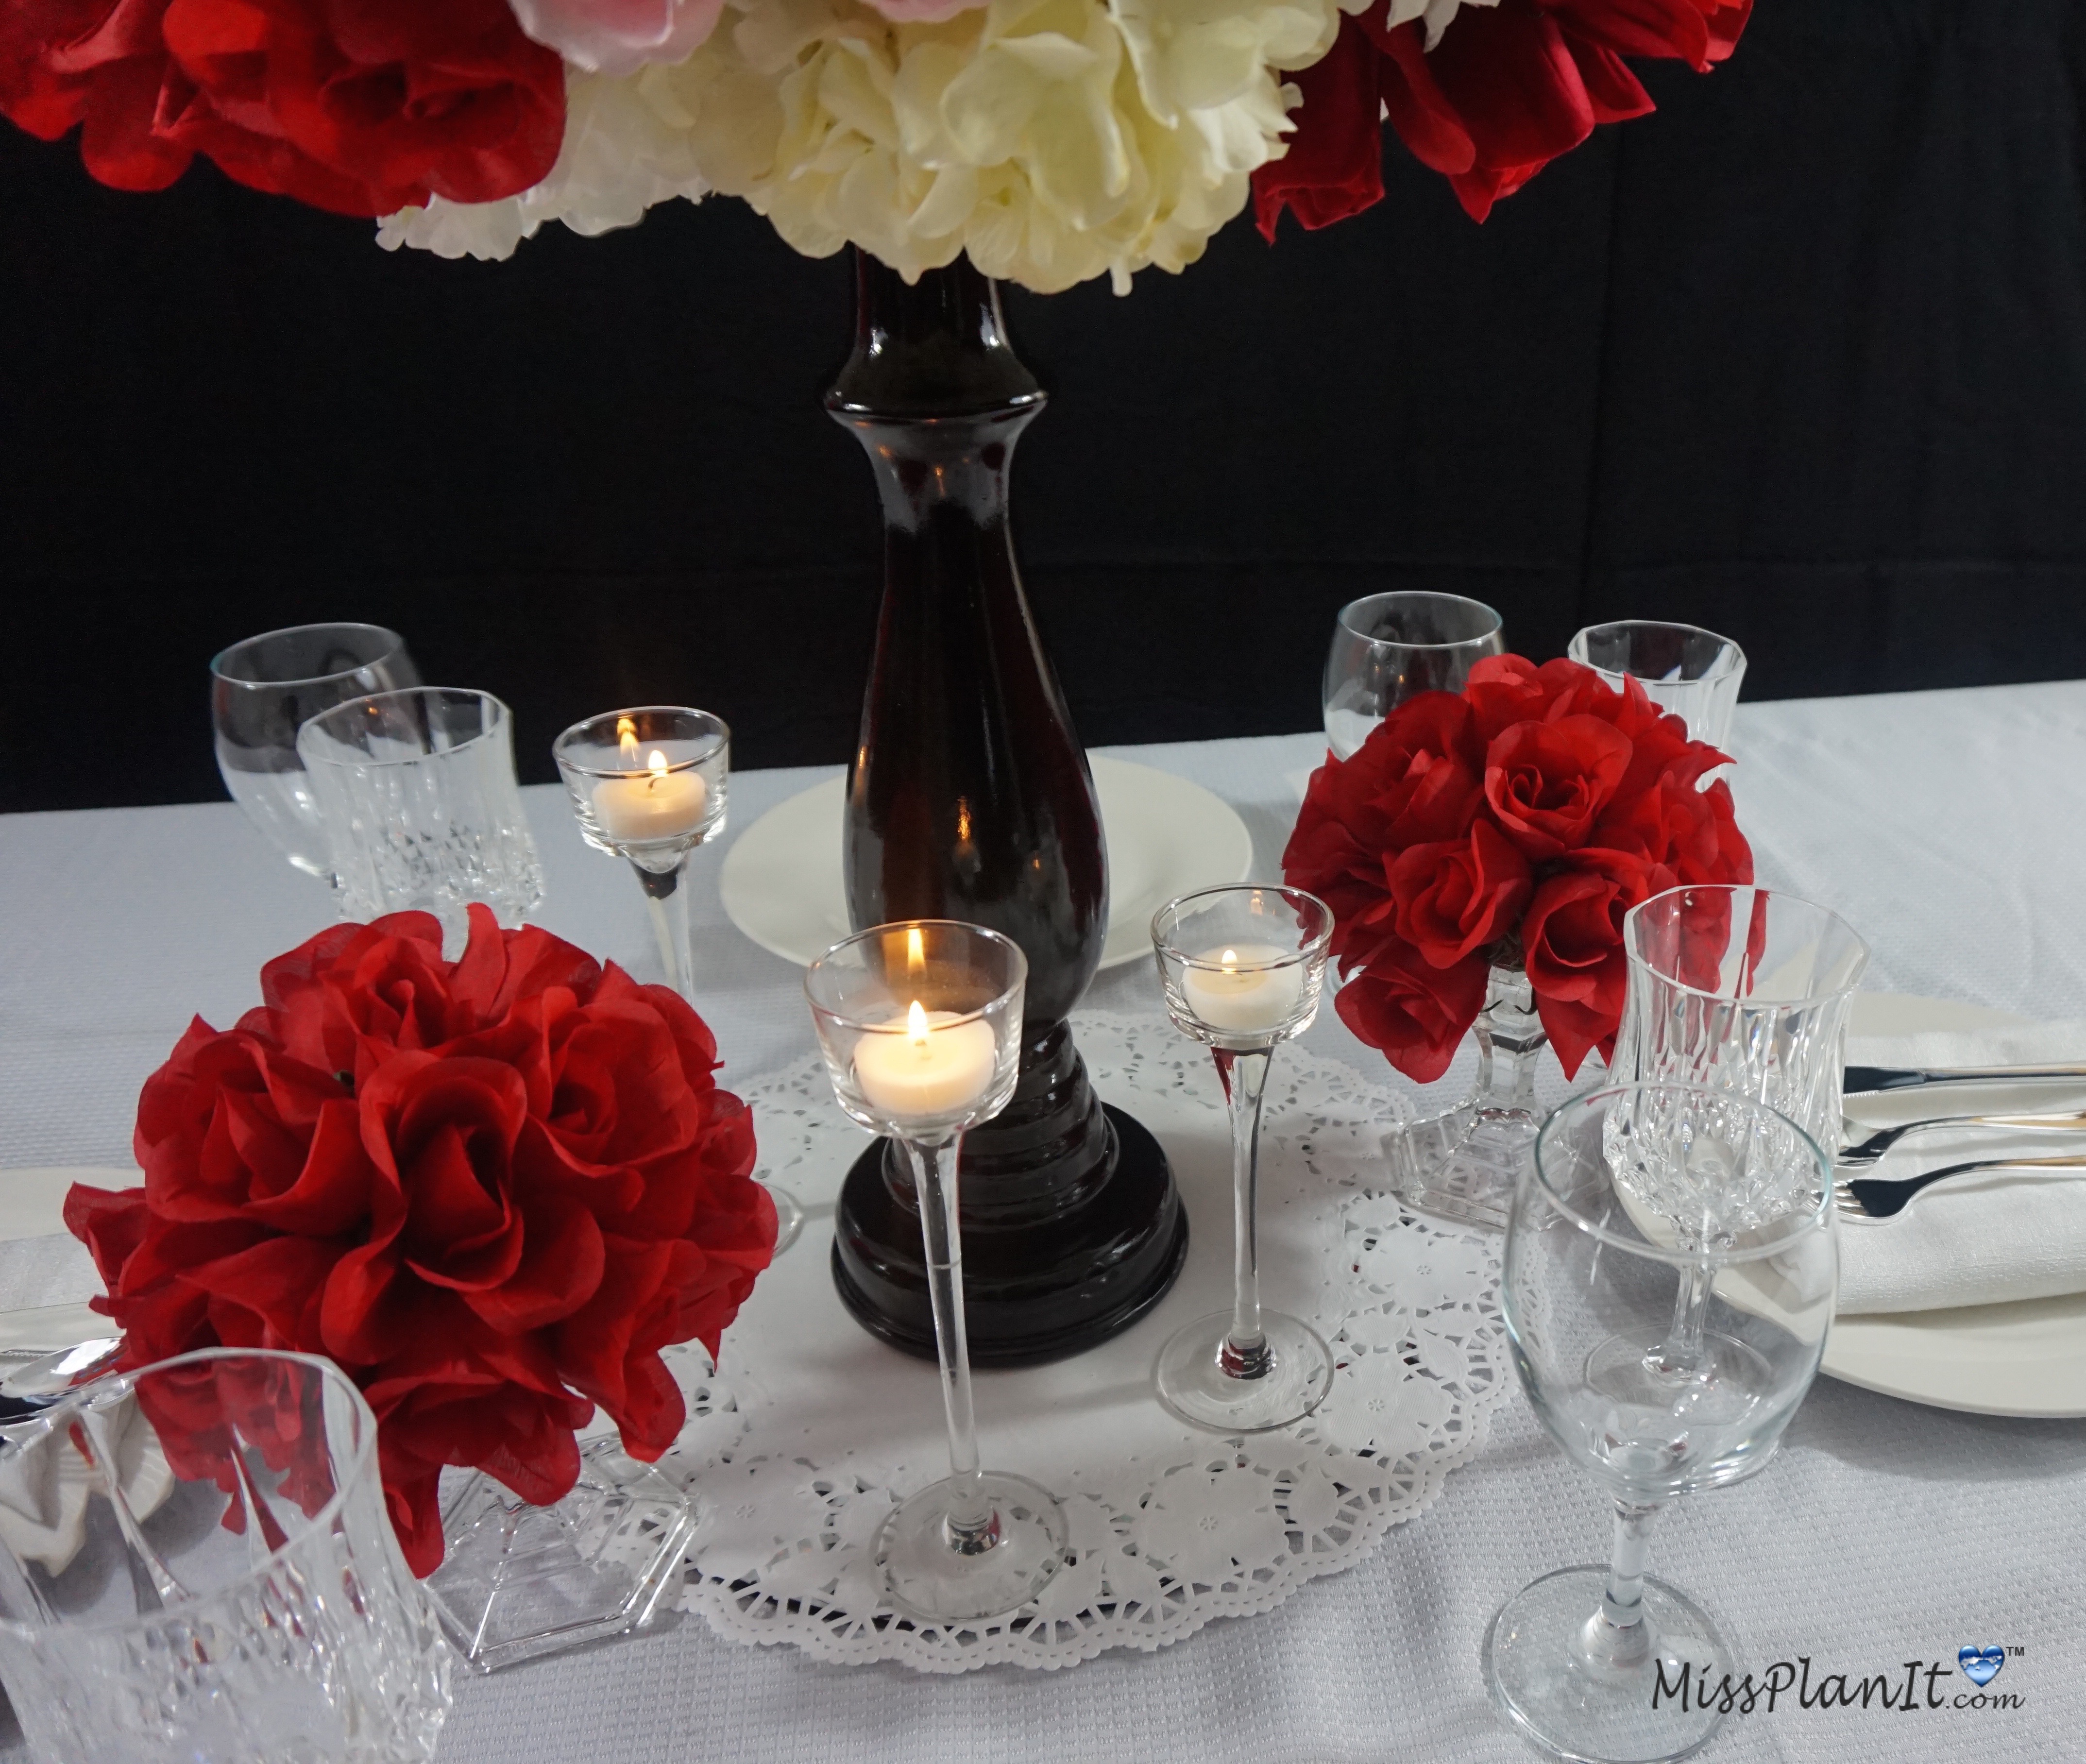
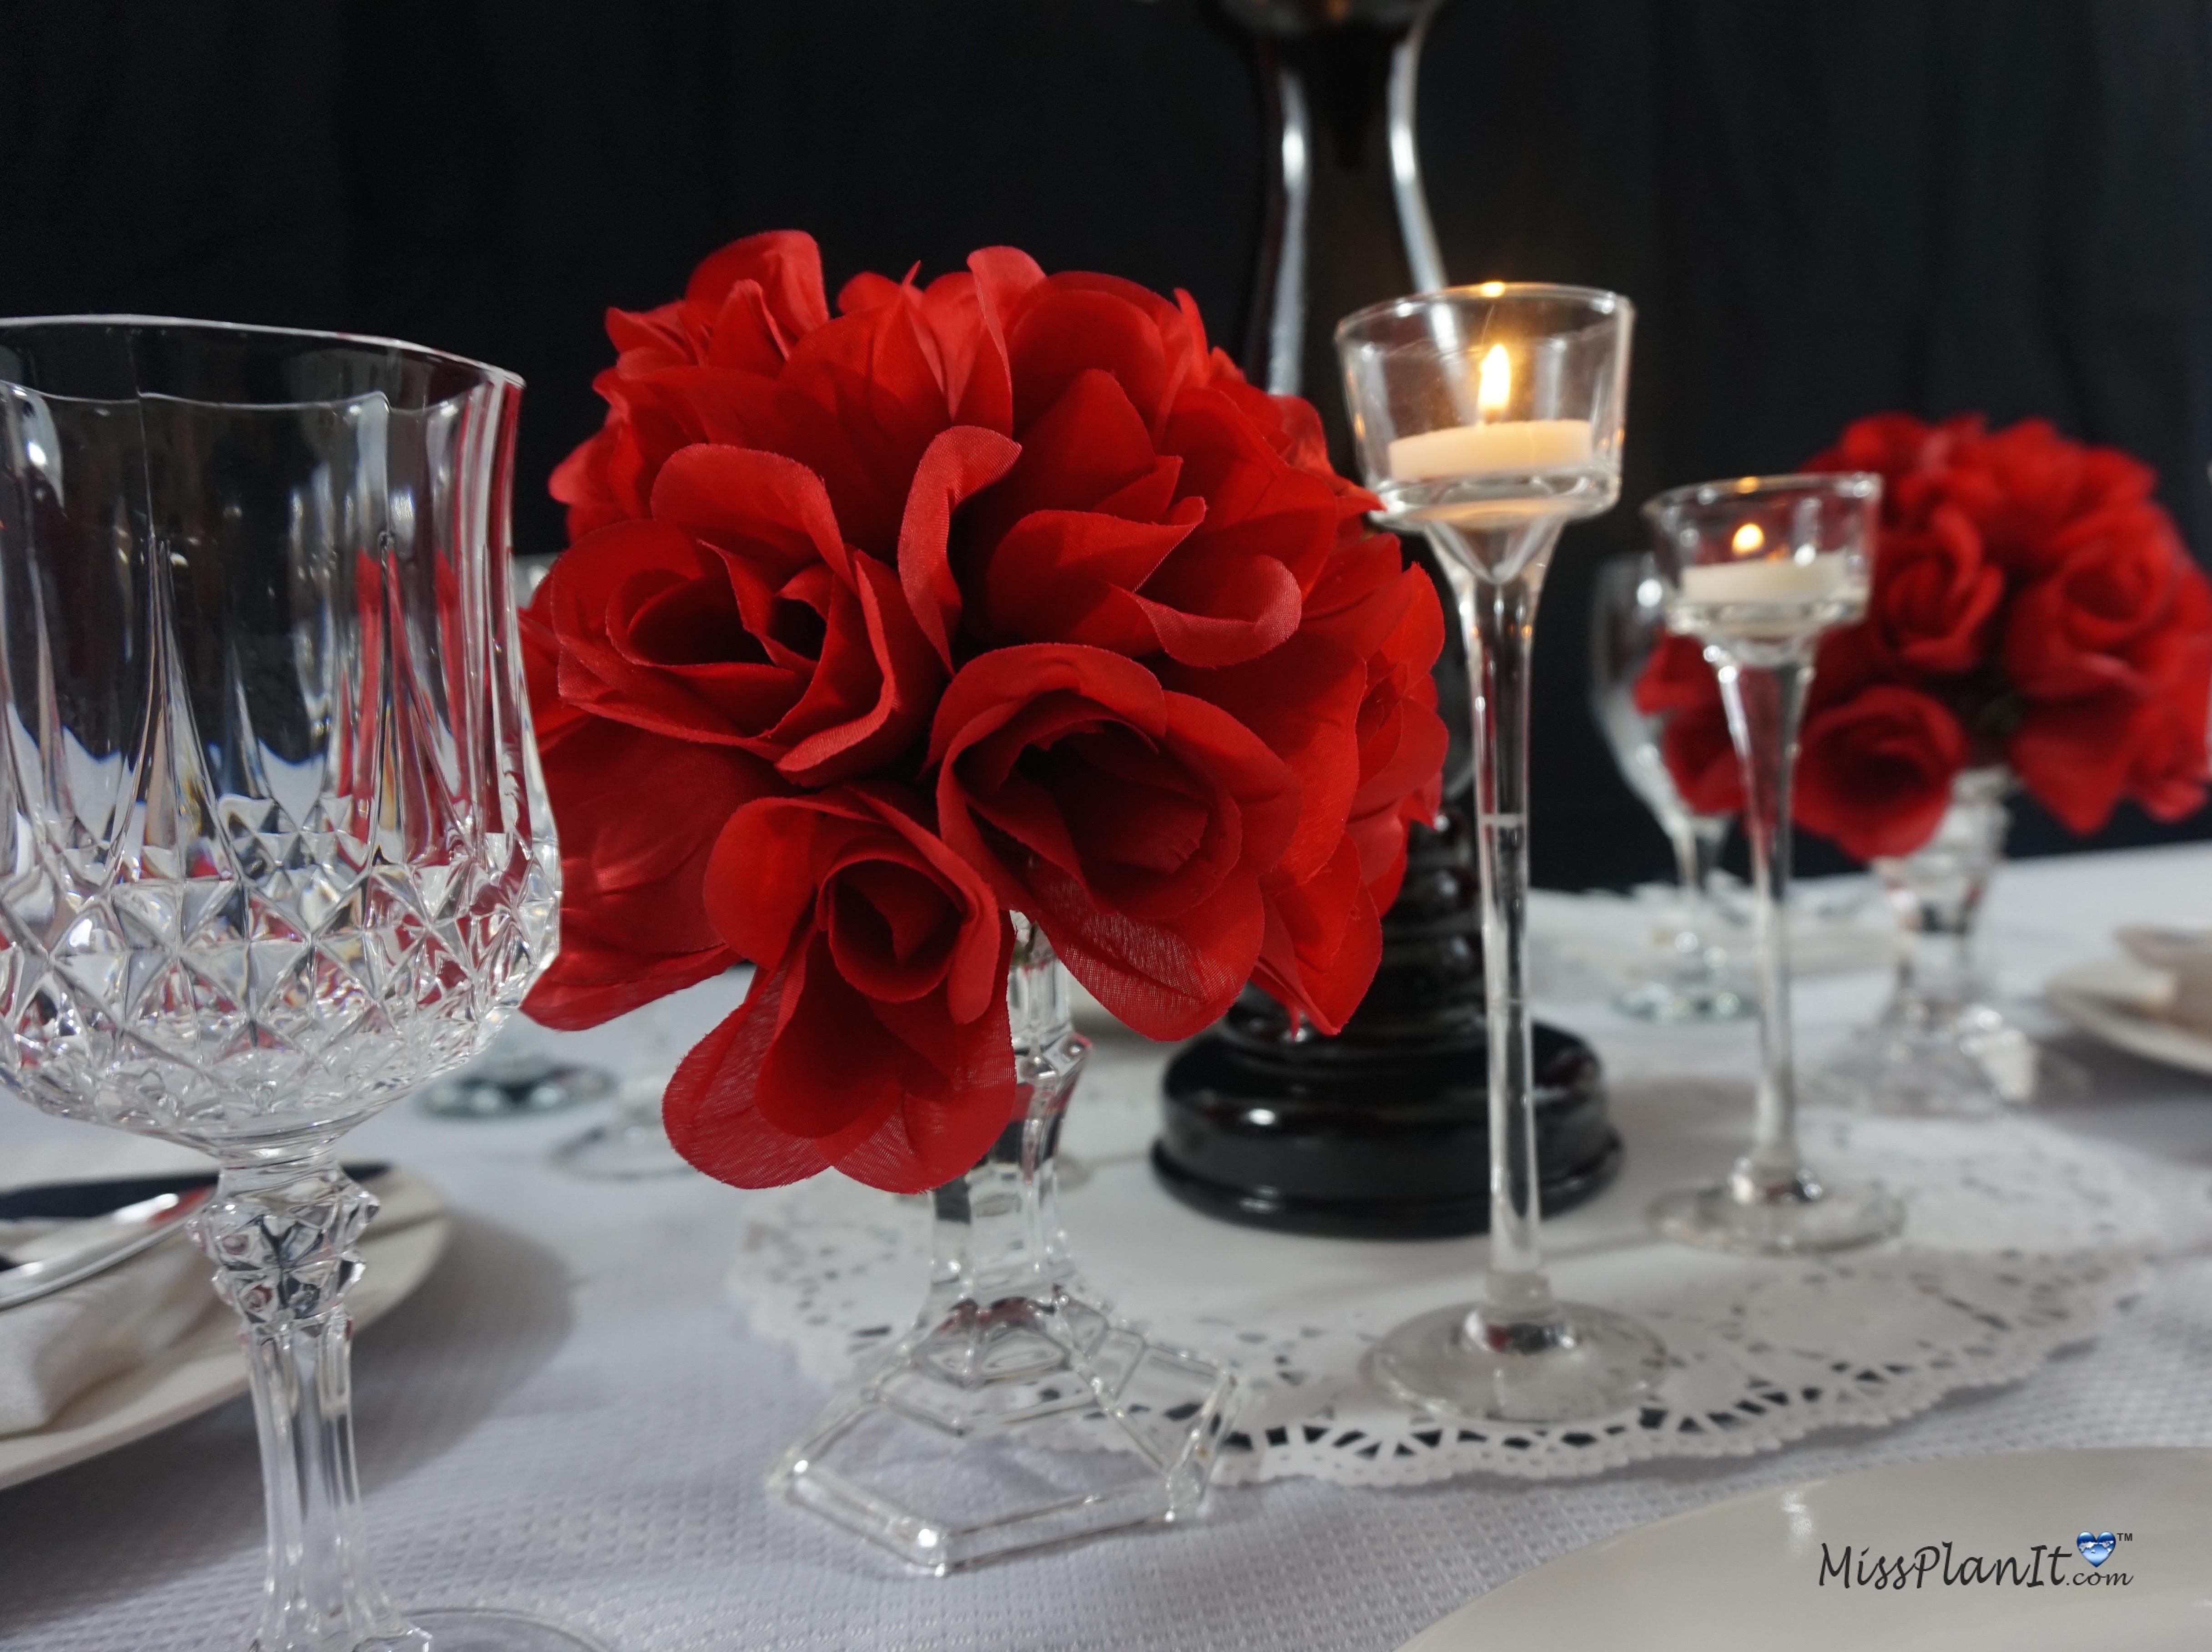
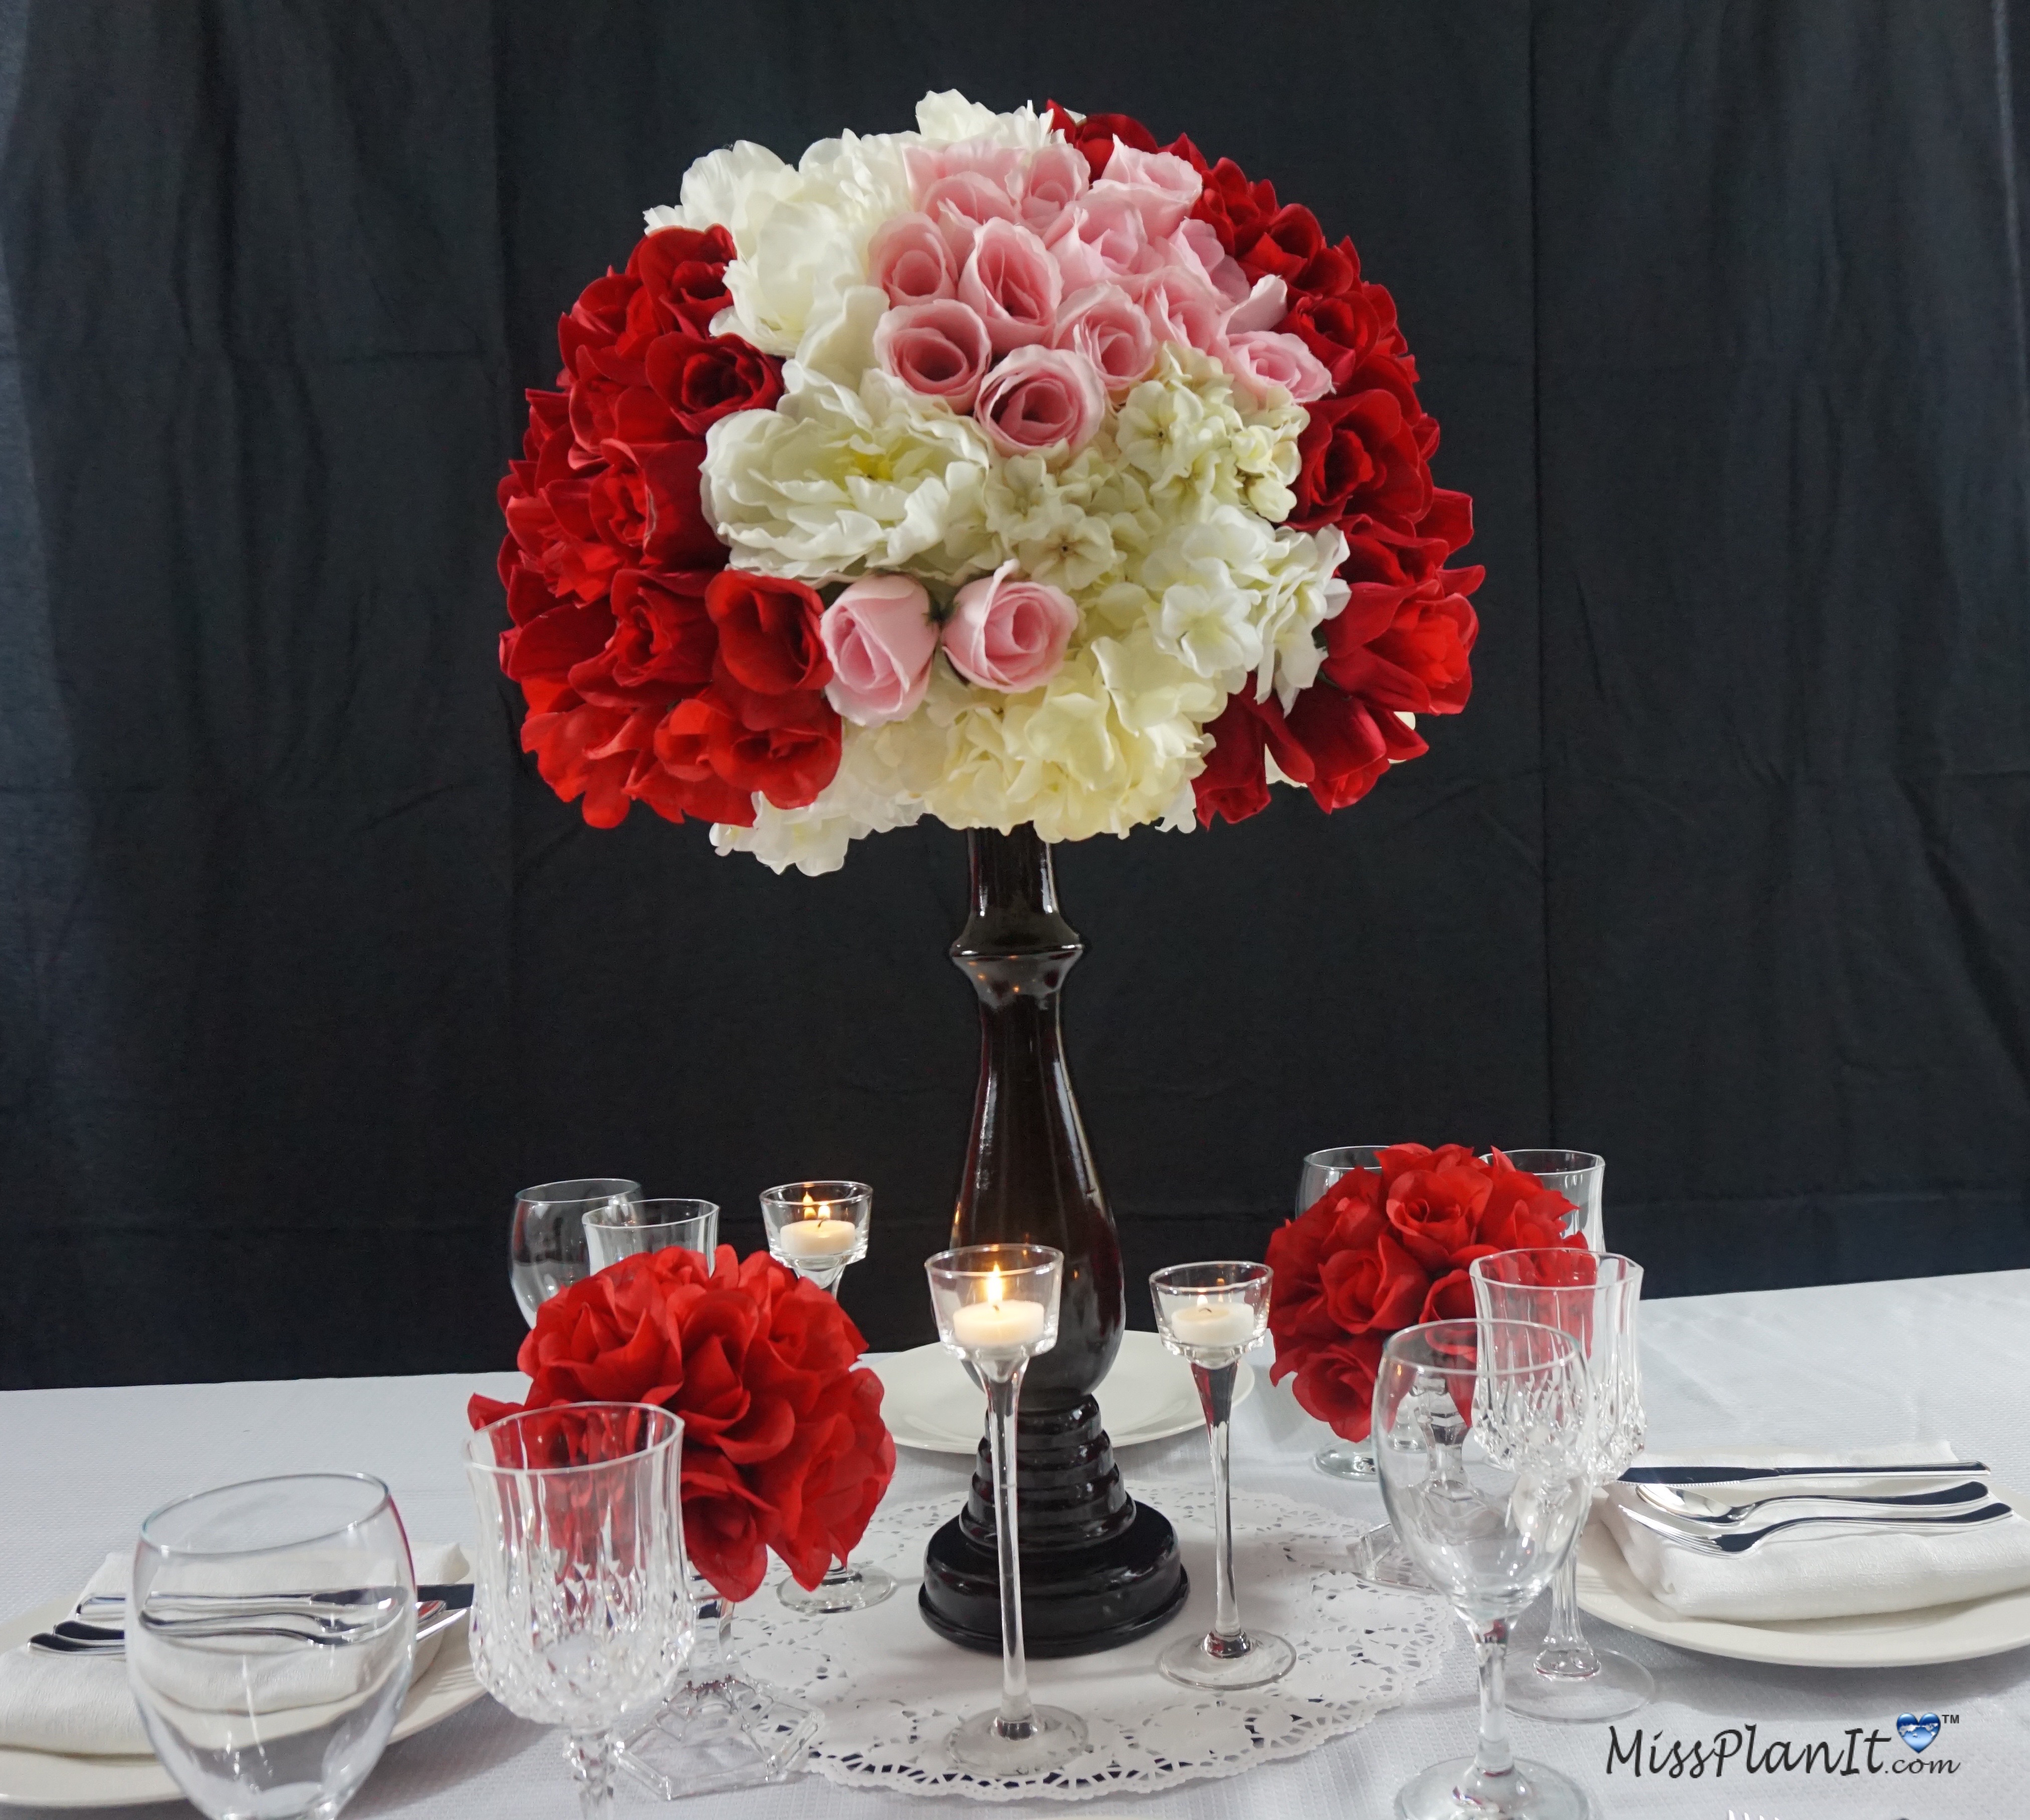
I absolutely love how this wedding centerpiece turned out. Kendale, thank you so much for allowing us to be apart of your special day!
If you like the outcome please let us know in the comments below? Also share your ideas on what you would have done differently?
Need help with an upcoming project? Be sure to send us a project request!
“Remember When Every Penny Counts, Count on MissPlanIt”
P.S. Don’t forget to come back tomorrow to see our full video tutorial!


