Planning a beach wedding on a budget? If so, this DIY dolphin beach wedding centerpiece is the perfect solution. This $3 Dollar Tree vase alone will save you hundreds of dollars on your wedding centerpieces. To top it off, a cute dolphin embellishment has been added to bring in that beachy feel. So let’s get started on this dolphin beach wedding centerpiece. For video instructions, please check out the video tutorial below. Also you don’t want to miss the special BONUS VIDEO at the end of this post!
BUT WAIT!
Before we get started I want to share an awesome tip on how you can earn cash back with your online purchases for all the items you will need to complete this project!
As our saying goes “When Every Penny Counts, Count on Miss PlanIt.” Furthermore, we love to save money and get great deals. Prior to us purchasing anything online, we check out Ebates, find the store, click the current deal for that store and complete our purchase.
If you have never used Ebates, you are MISSING OUT. So for this project, you would go to Ebates.com, sign up, and then type in the store you plan to purchase from.
Consequently, when completing a purchase through Ebates you earn cash back that you can have mailed to you or sent via PayPal. Be sure to check it out! Click here to sign up for Ebates, and RIGHT NOW when you sign up, you will receive a $10 cash welcome bonus when you spend $25.00!
Since you were already going to complete your purchase online, why not get some cash back on things you already planned to purchase!
[convertkit form=917377]
Let’s Get Started:
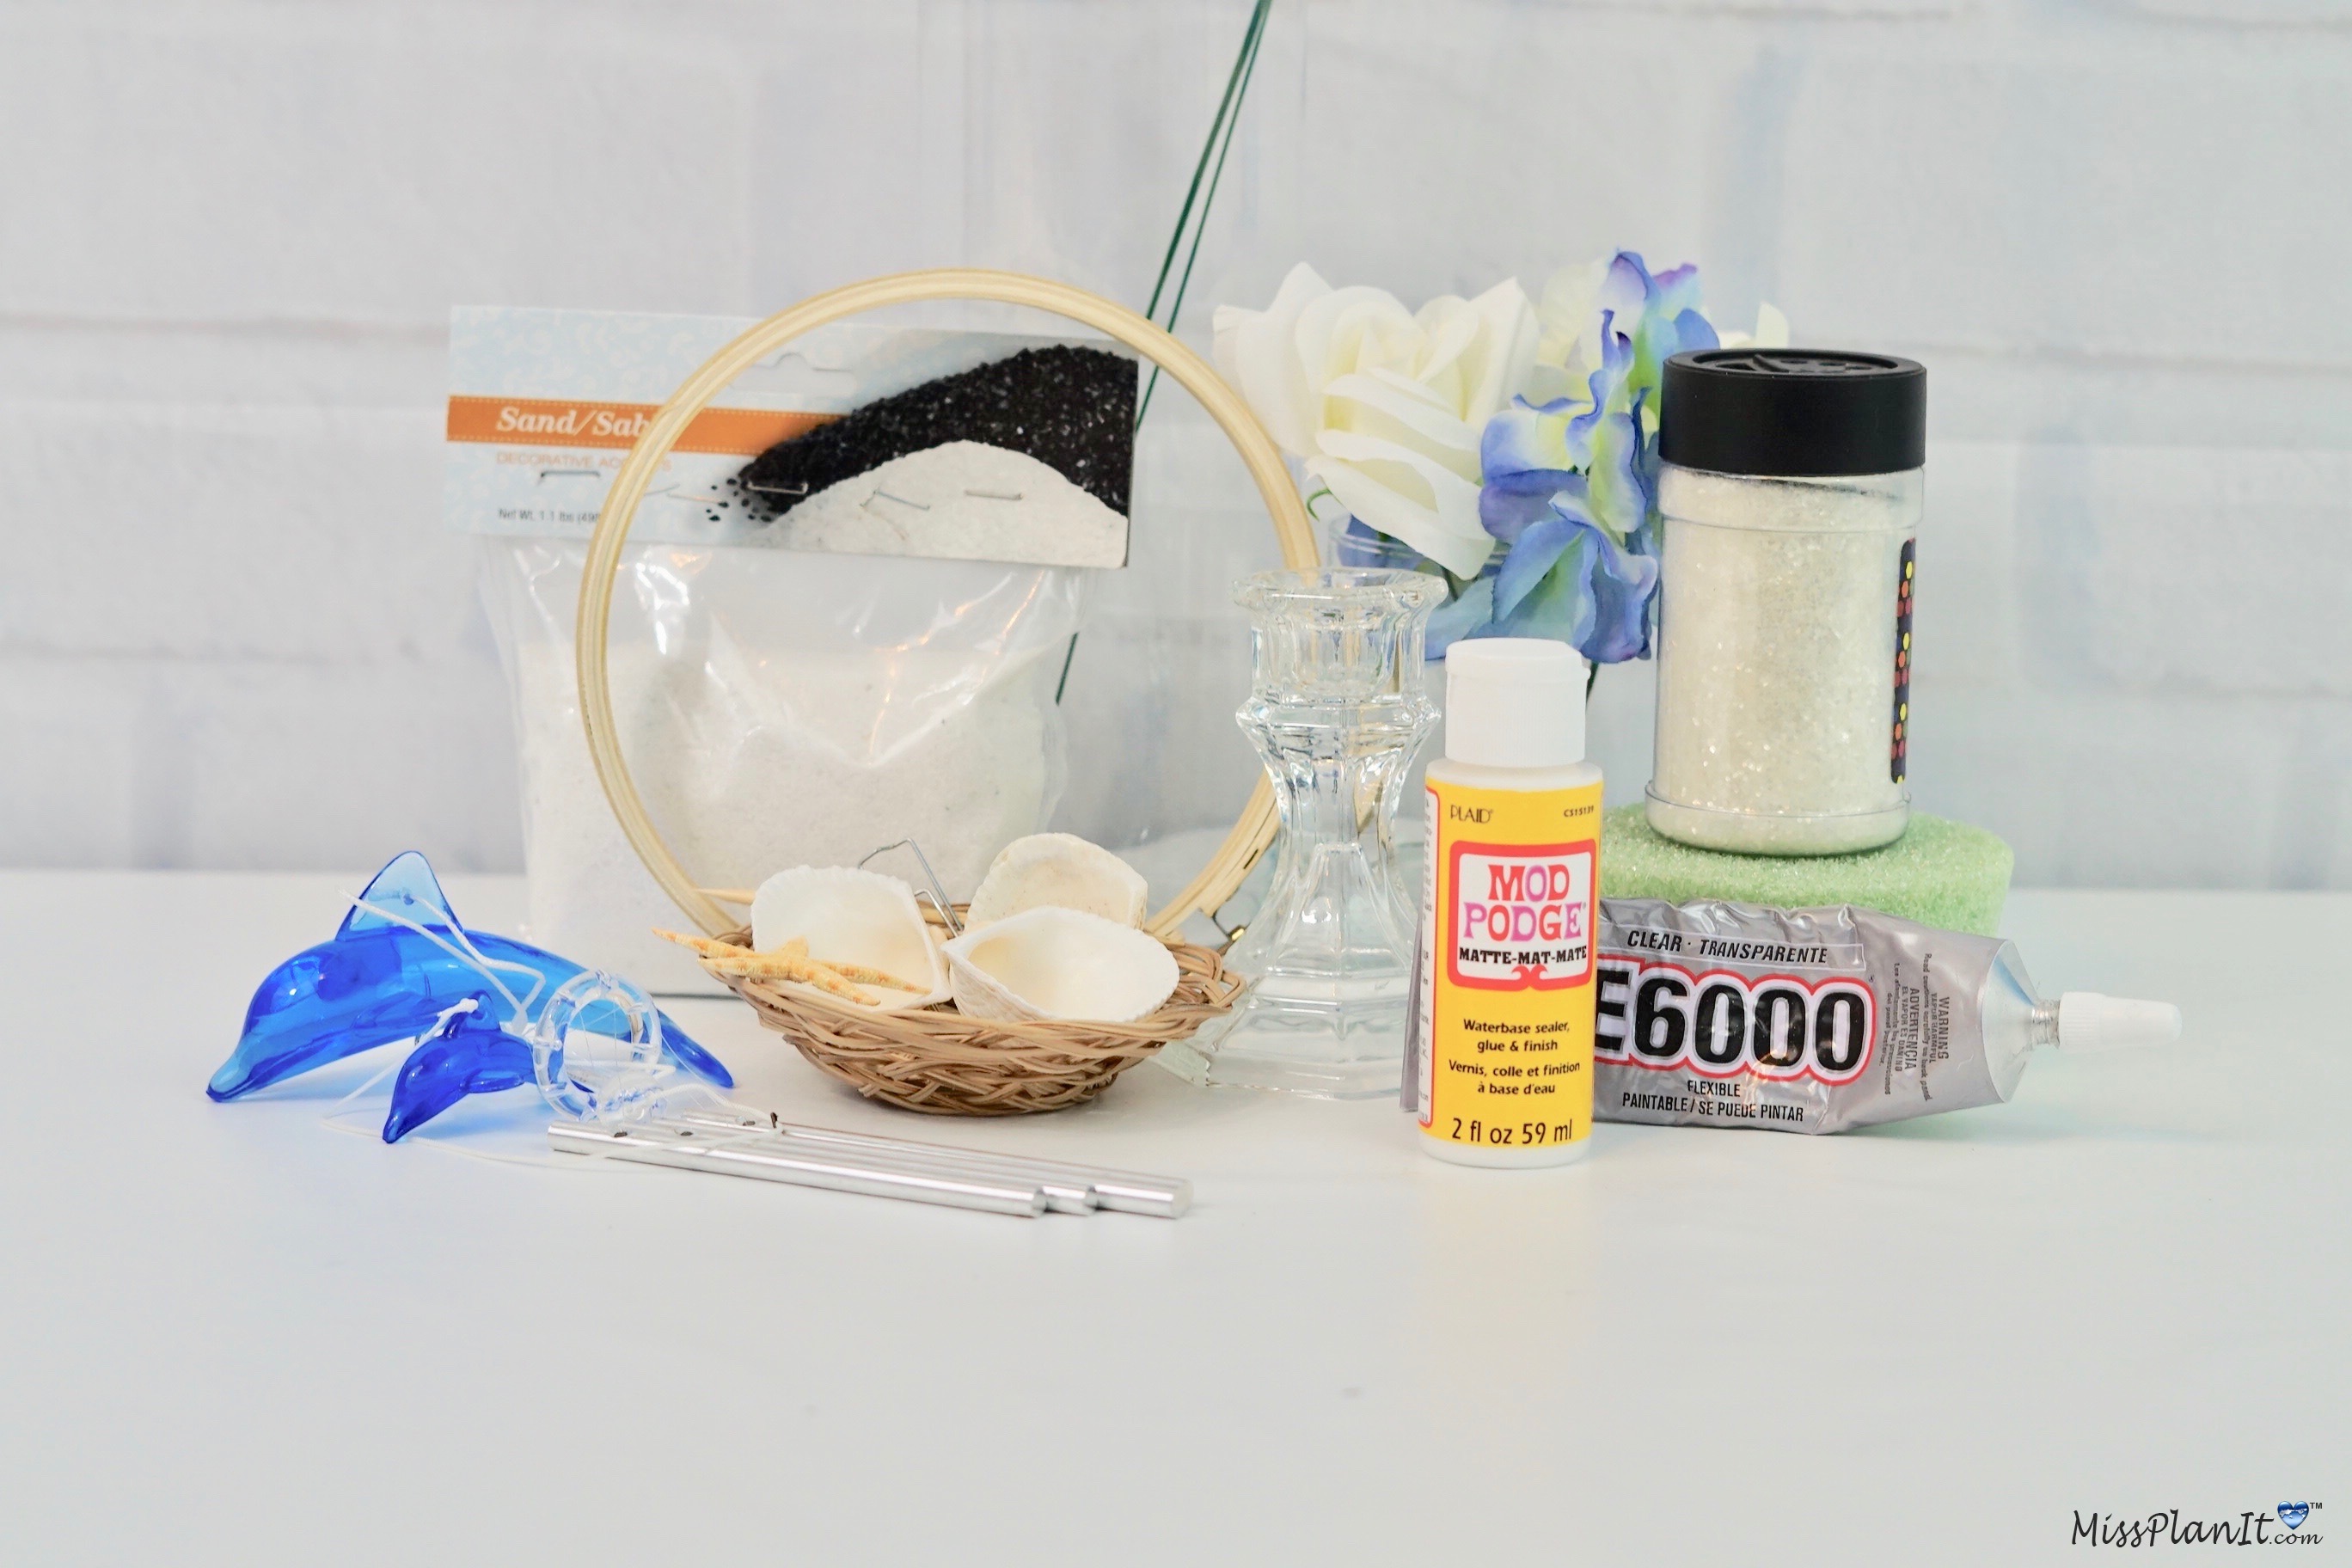
Click our affiliate links below to purchase the supplies needed for this project:
Glass Cylinder Vases, 9 in.
Roman Urn Glass Candleholders, 3.5 in.
Glass Taper Candleholders, 4″
Green Foam Pot Inserts
White Decorative Sand, 1.1-lb. Bags
Mod Podge Matte Craft Adhesive, 2-oz. Bottles
Assorted Decorative Accent Shells, 8.8-oz. Bags
7-Stem Queen Rose Bushes, 14.5 in.
6″ Embroidery Hoop
Mini Starfish Bezel Fillers
Blue Hydrangea-In Stores/Not Online at Dollar Tree
White Hydrangea-In Stores/Not Online at Dollar Tree
Cooking Concepts Wood Toothpicks, 500-ct. Boxes
Crystal Glitter – 4 Ounces
Dolphin Wind Chime
Hydrangea Blue Flower with 6 Heads Flower Bunch
Hydrangea White Flower with 6 Heads Flower Bunch Bouquet
VIDEO TUTORIAL:
For written instructions, please continue reading below:
How to Make a DIY Tall Dolphin Beach Wedding Centerpiece with $3 Dollar Tree Vase
Directions:
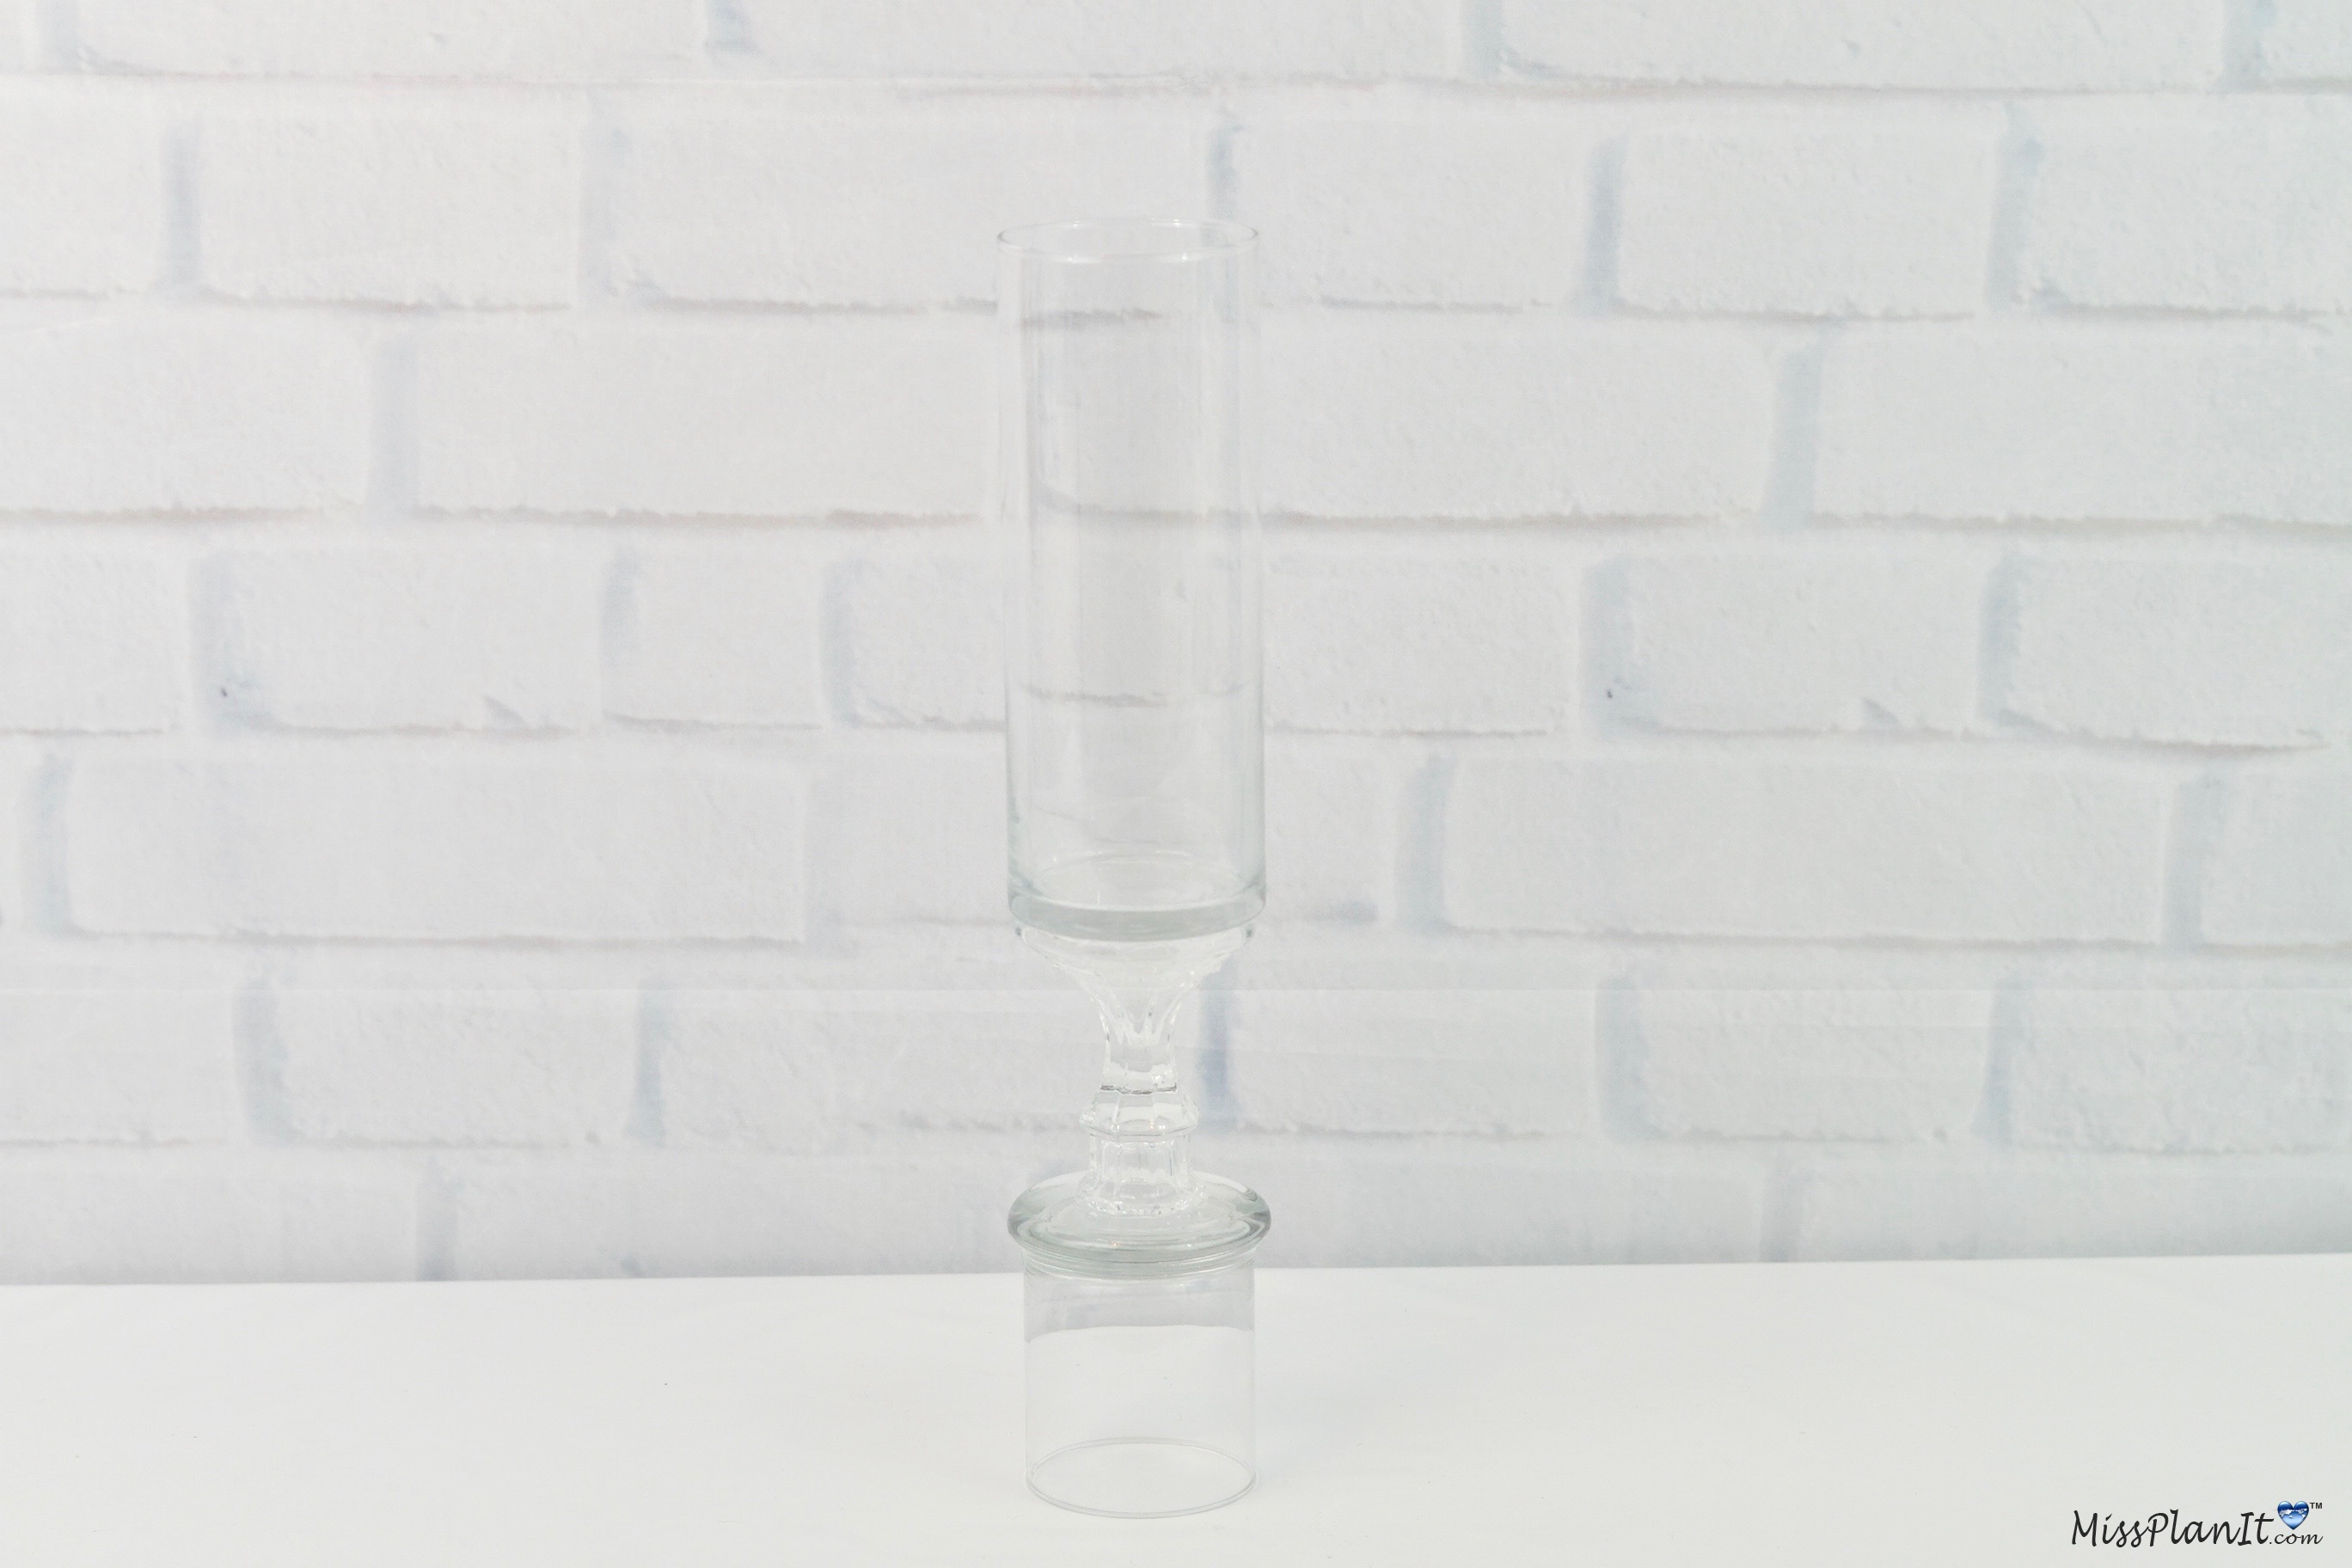
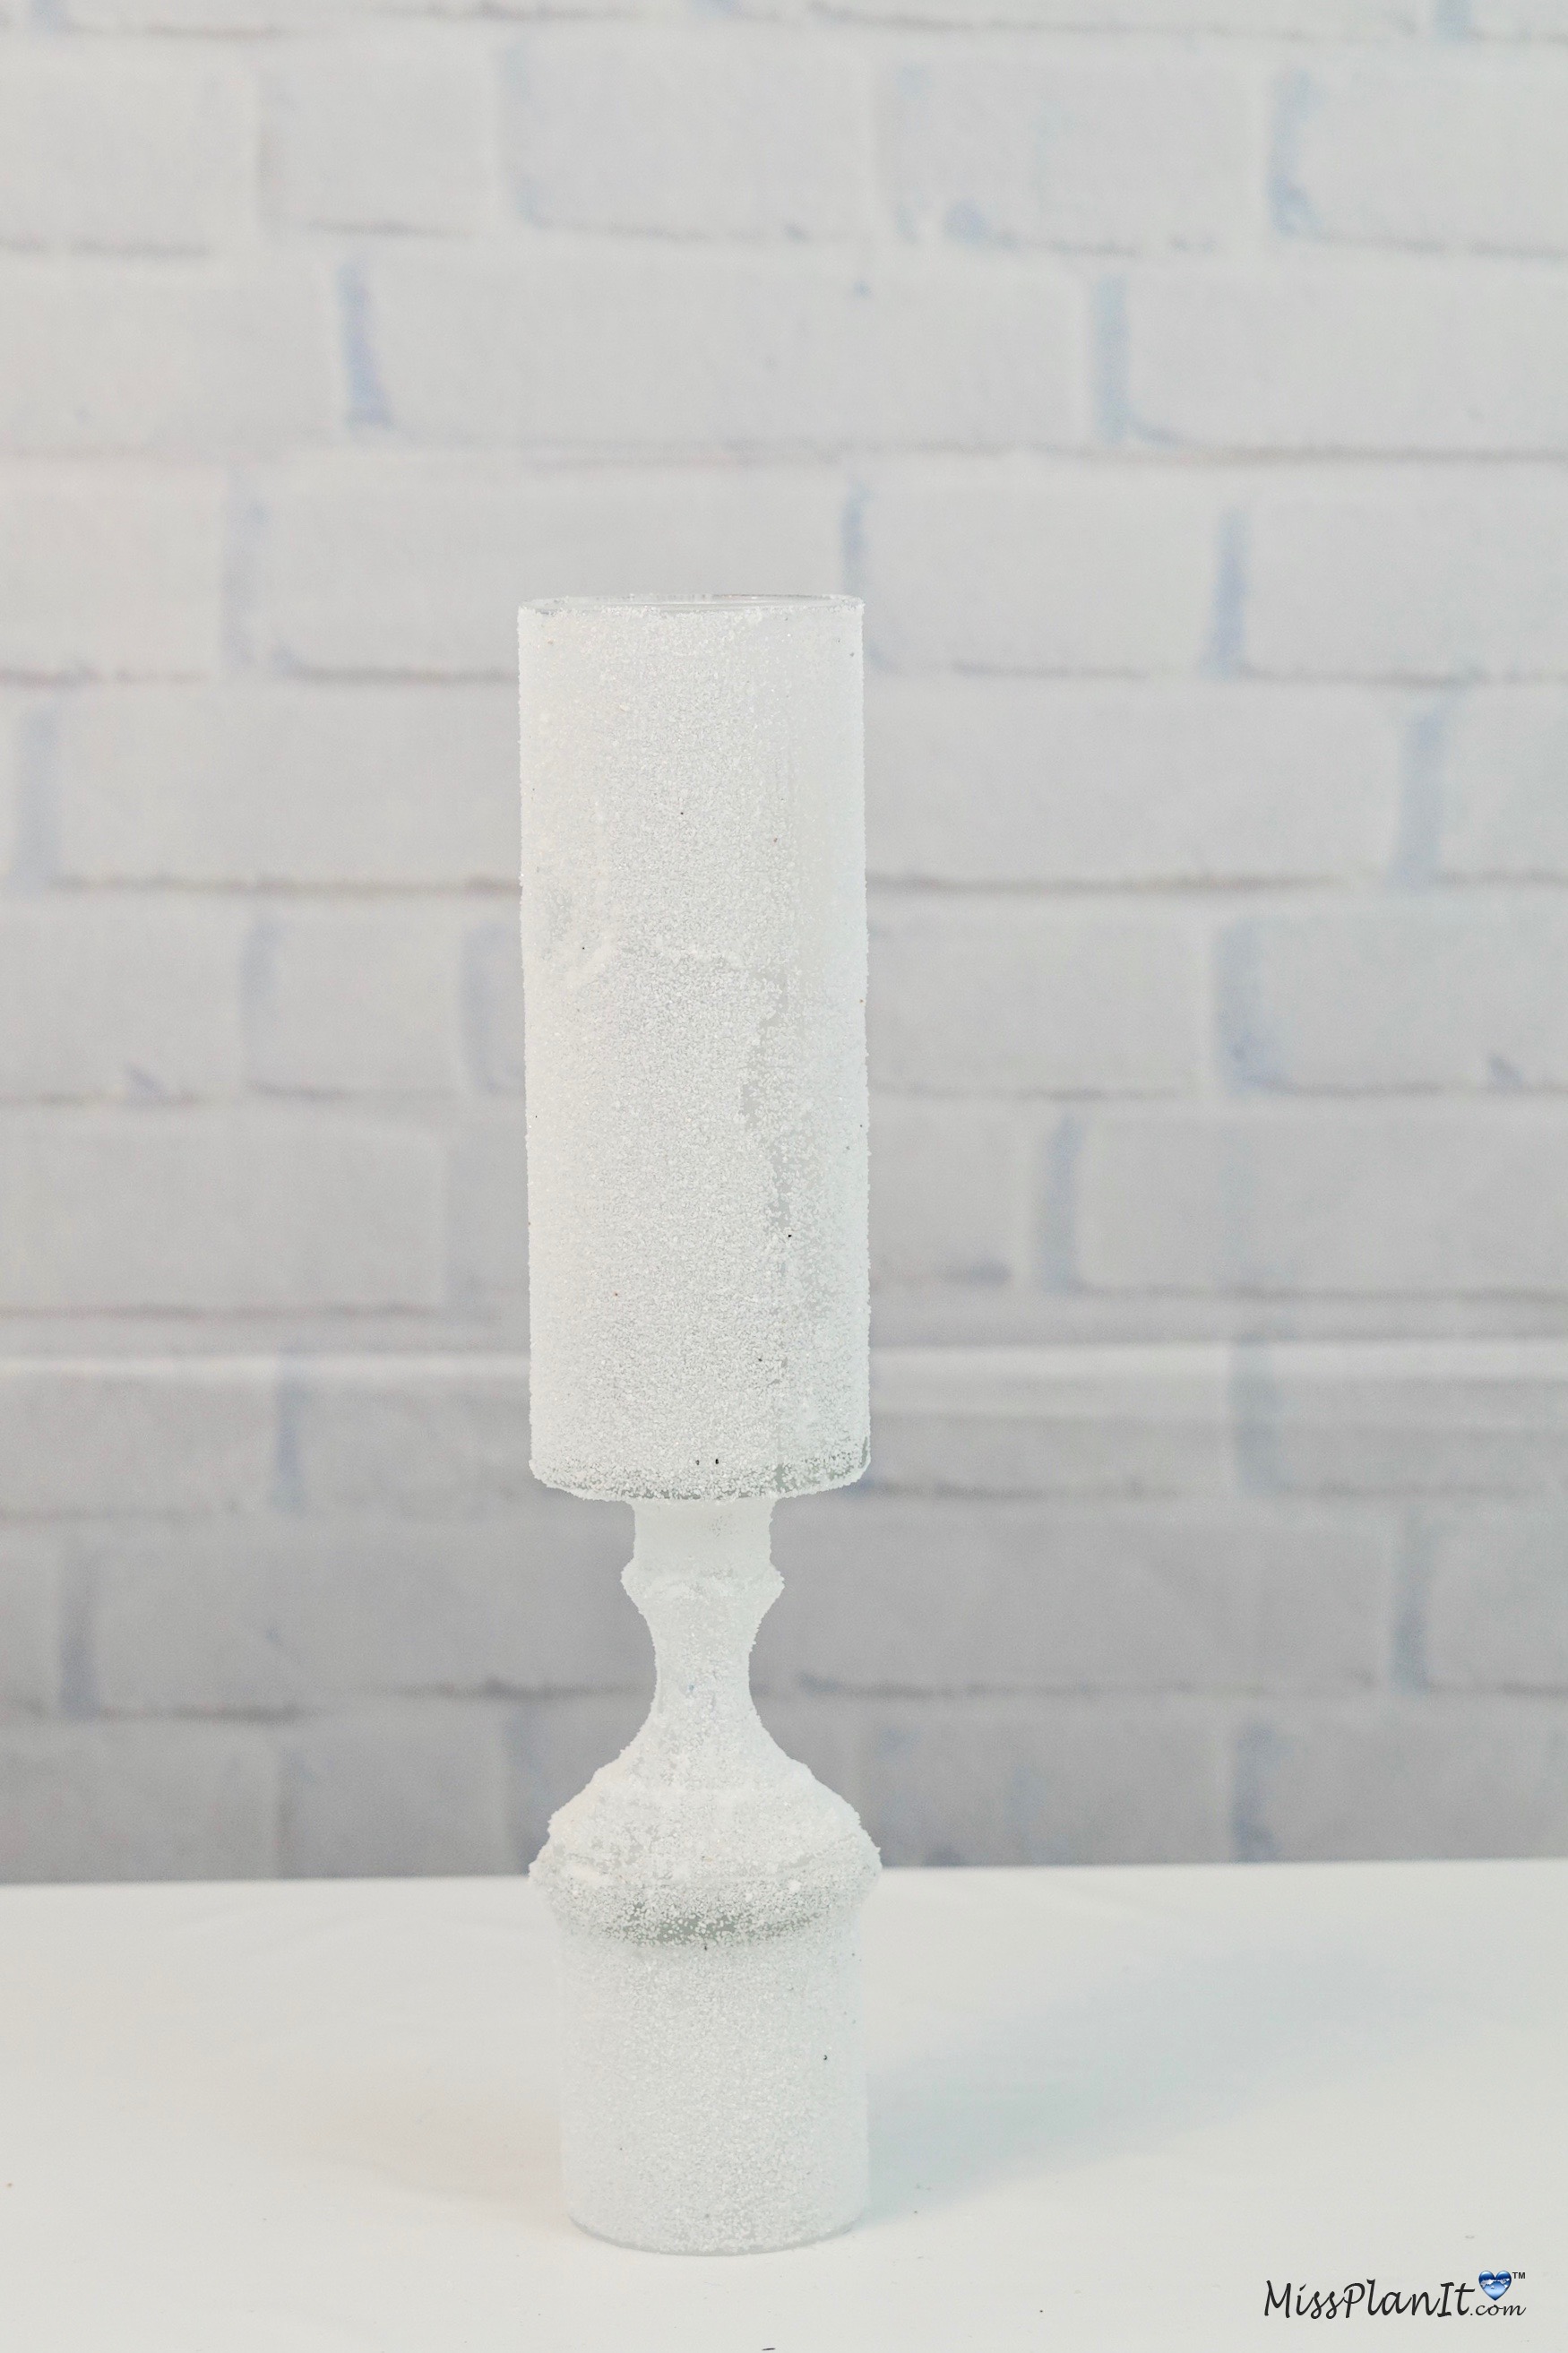
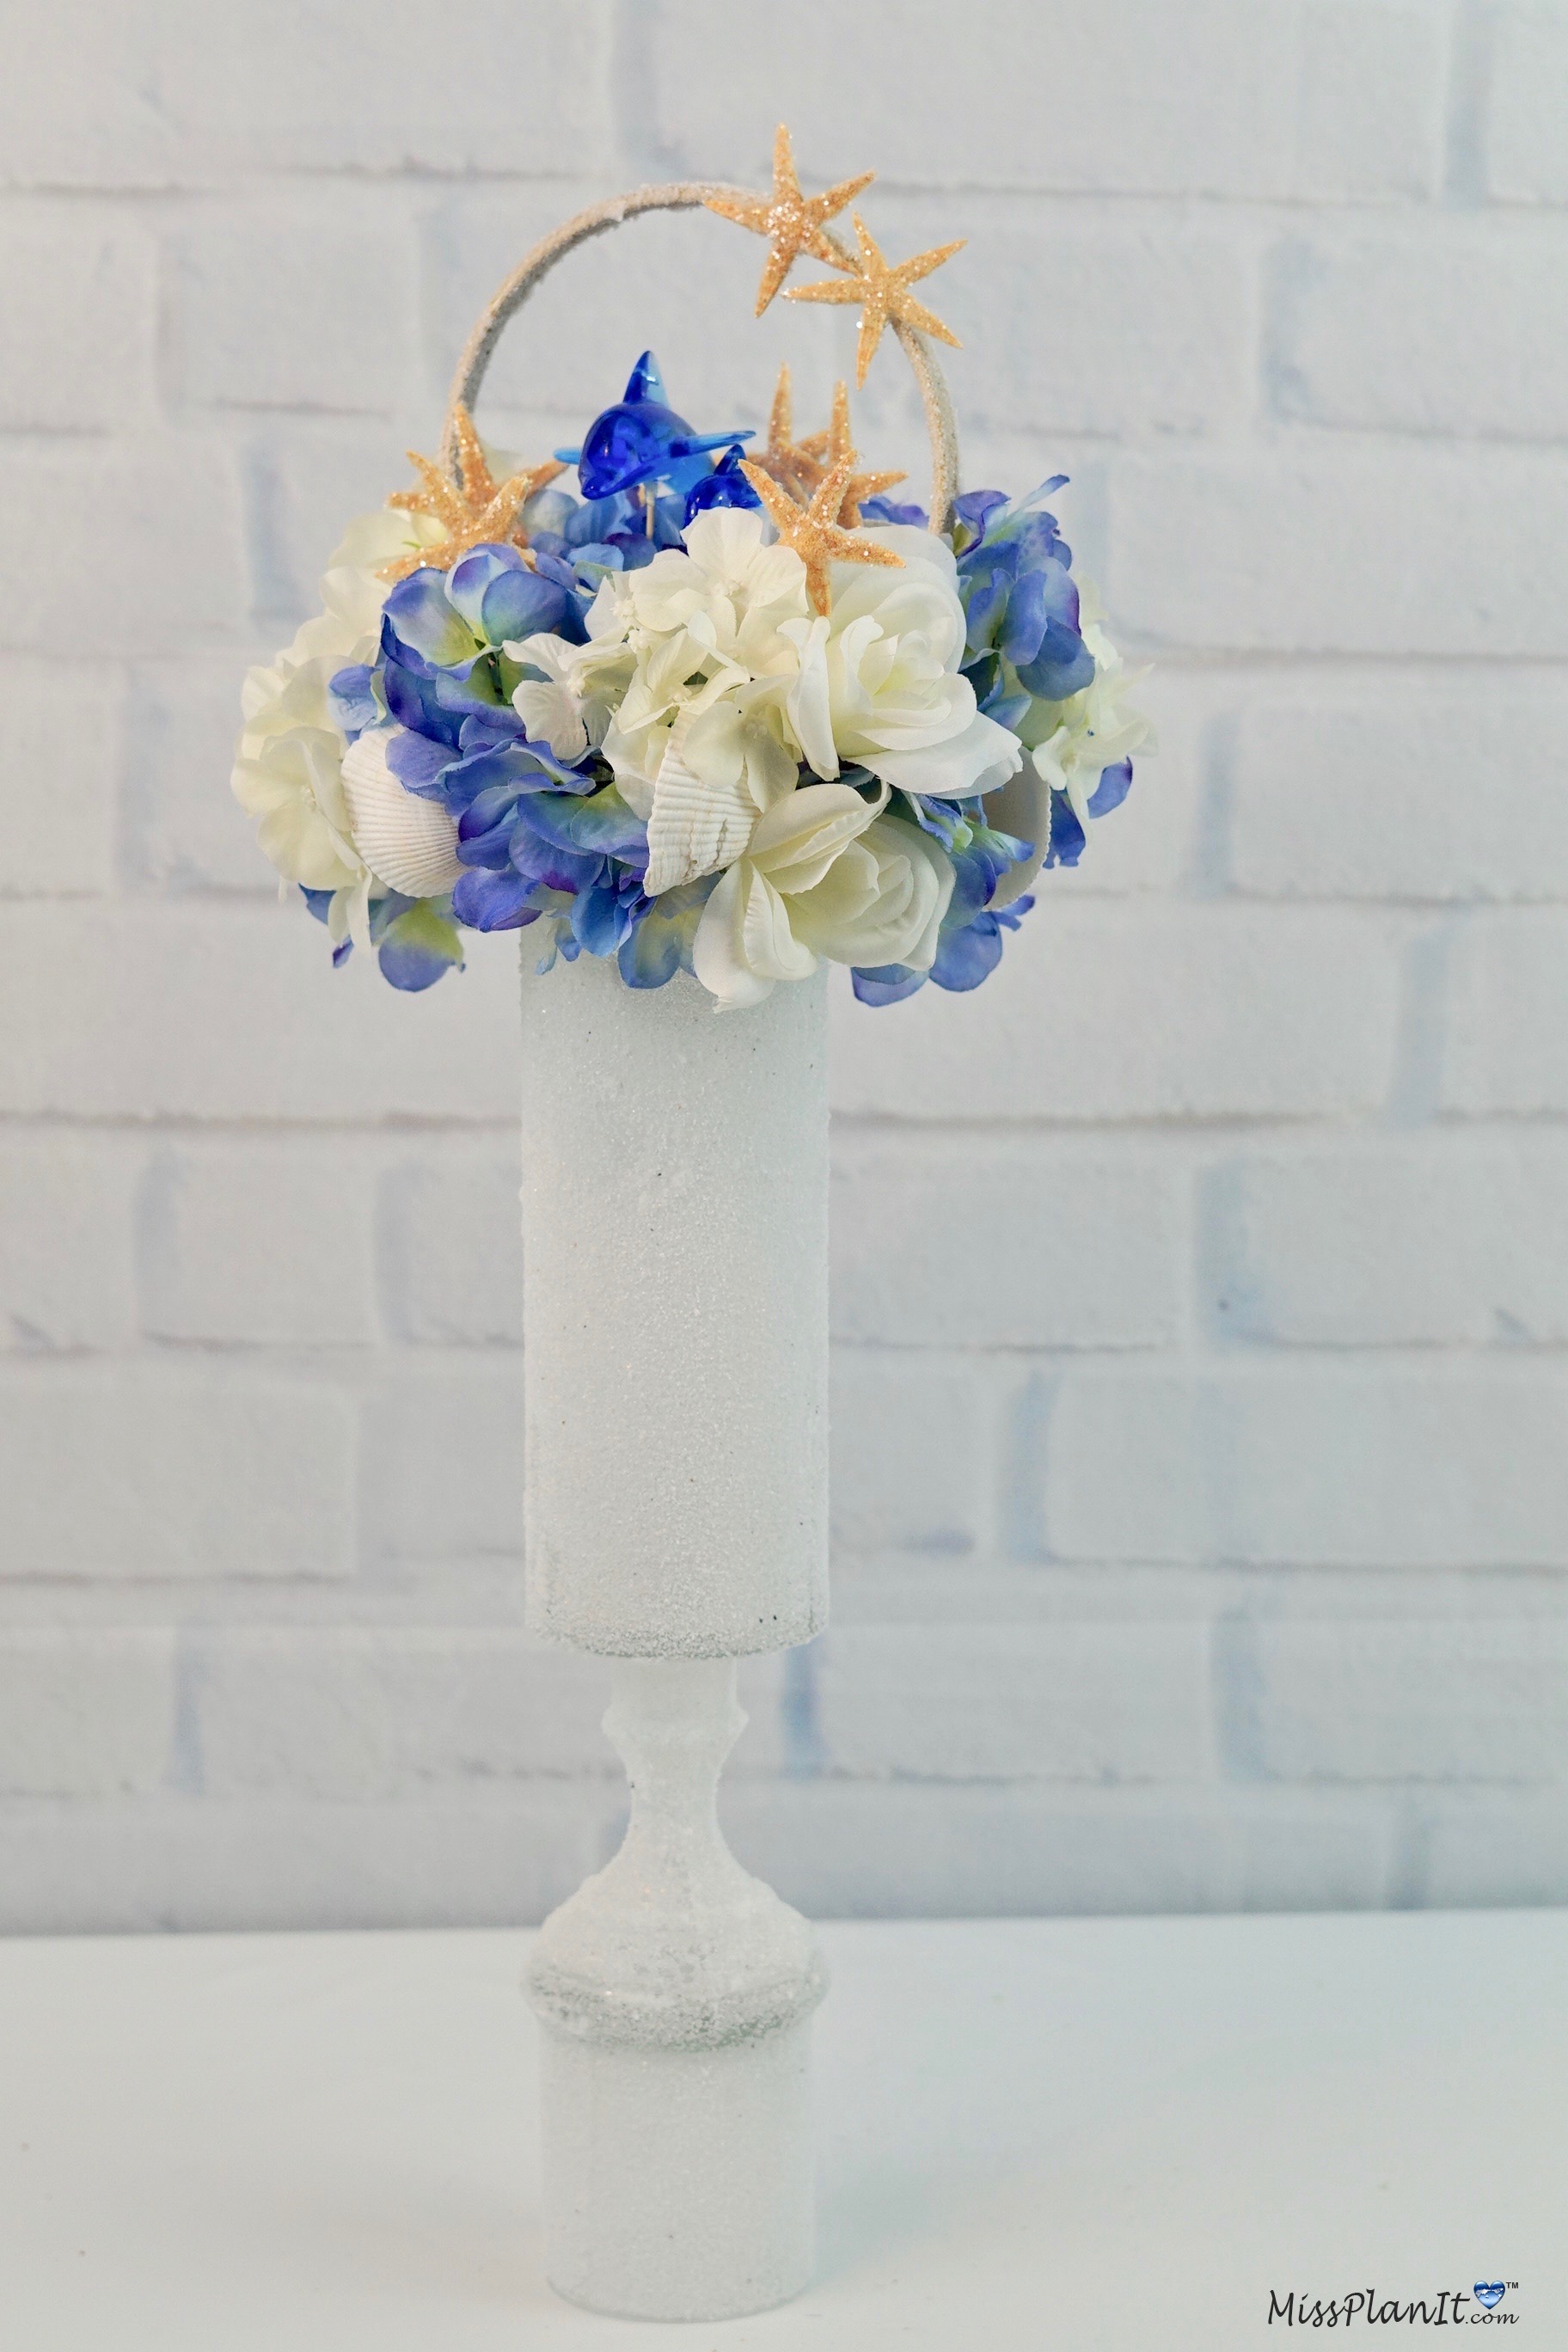
STEP 1: I’m going to start by demonstrating how to make another $3 Dollar Tree Vase. Flip your roman urn candleholder bottom side up and apply E6000. Next, attach your glass taper candleholder bottom side up as well and apply E000. Lastly, attach your 9 inch cylinder vase.
Tip: Let your vase dry overnight before applying sand to the vase.
YOU MAY ALSO LIKE:
- DIY Magical Tall Enchanted Rustic Elegant Wedding Centerpiece
- Romantic Wedding Centerpiece That is Absolutely Stunning
- Simple Beautiful Willow and Birch Branch Wedding Centerpiece
- DIY Dollar Tree Inspired Elegant Wedding Centerpieces on a Budget
- Amazing Modern Wedding Centerpieces Using Dollar Tree Products
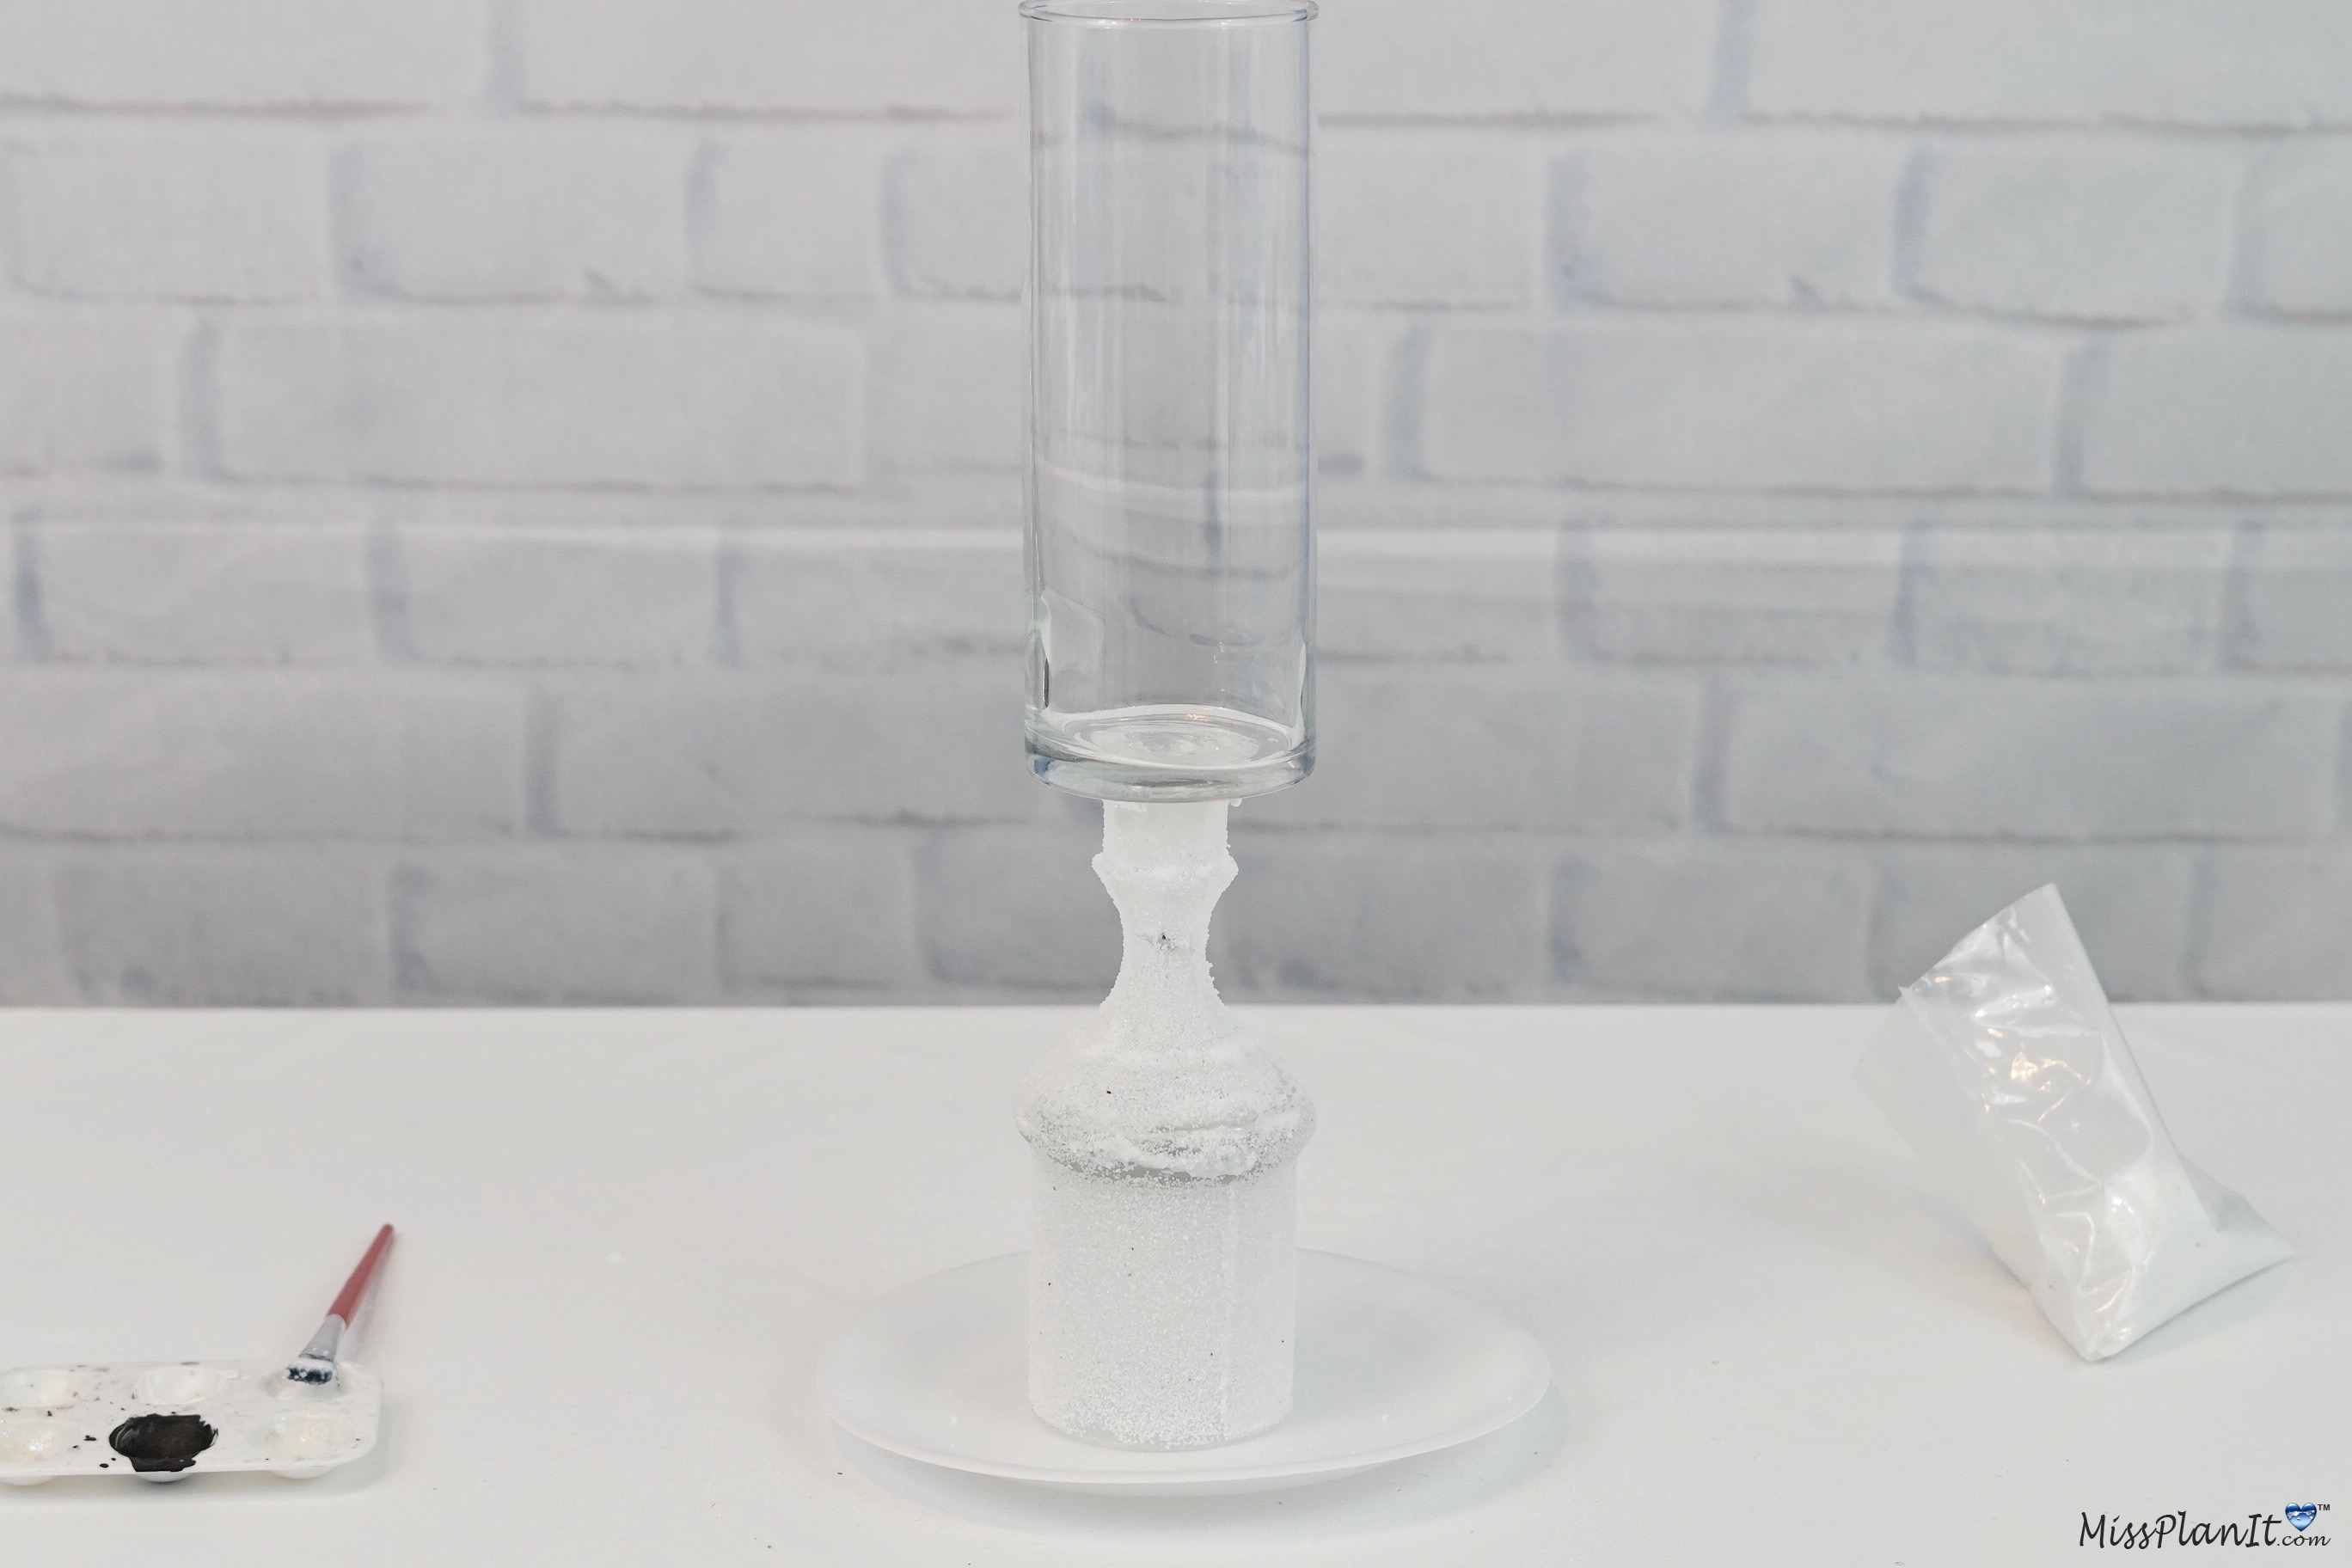
Adhere sand to your vase using mod podge
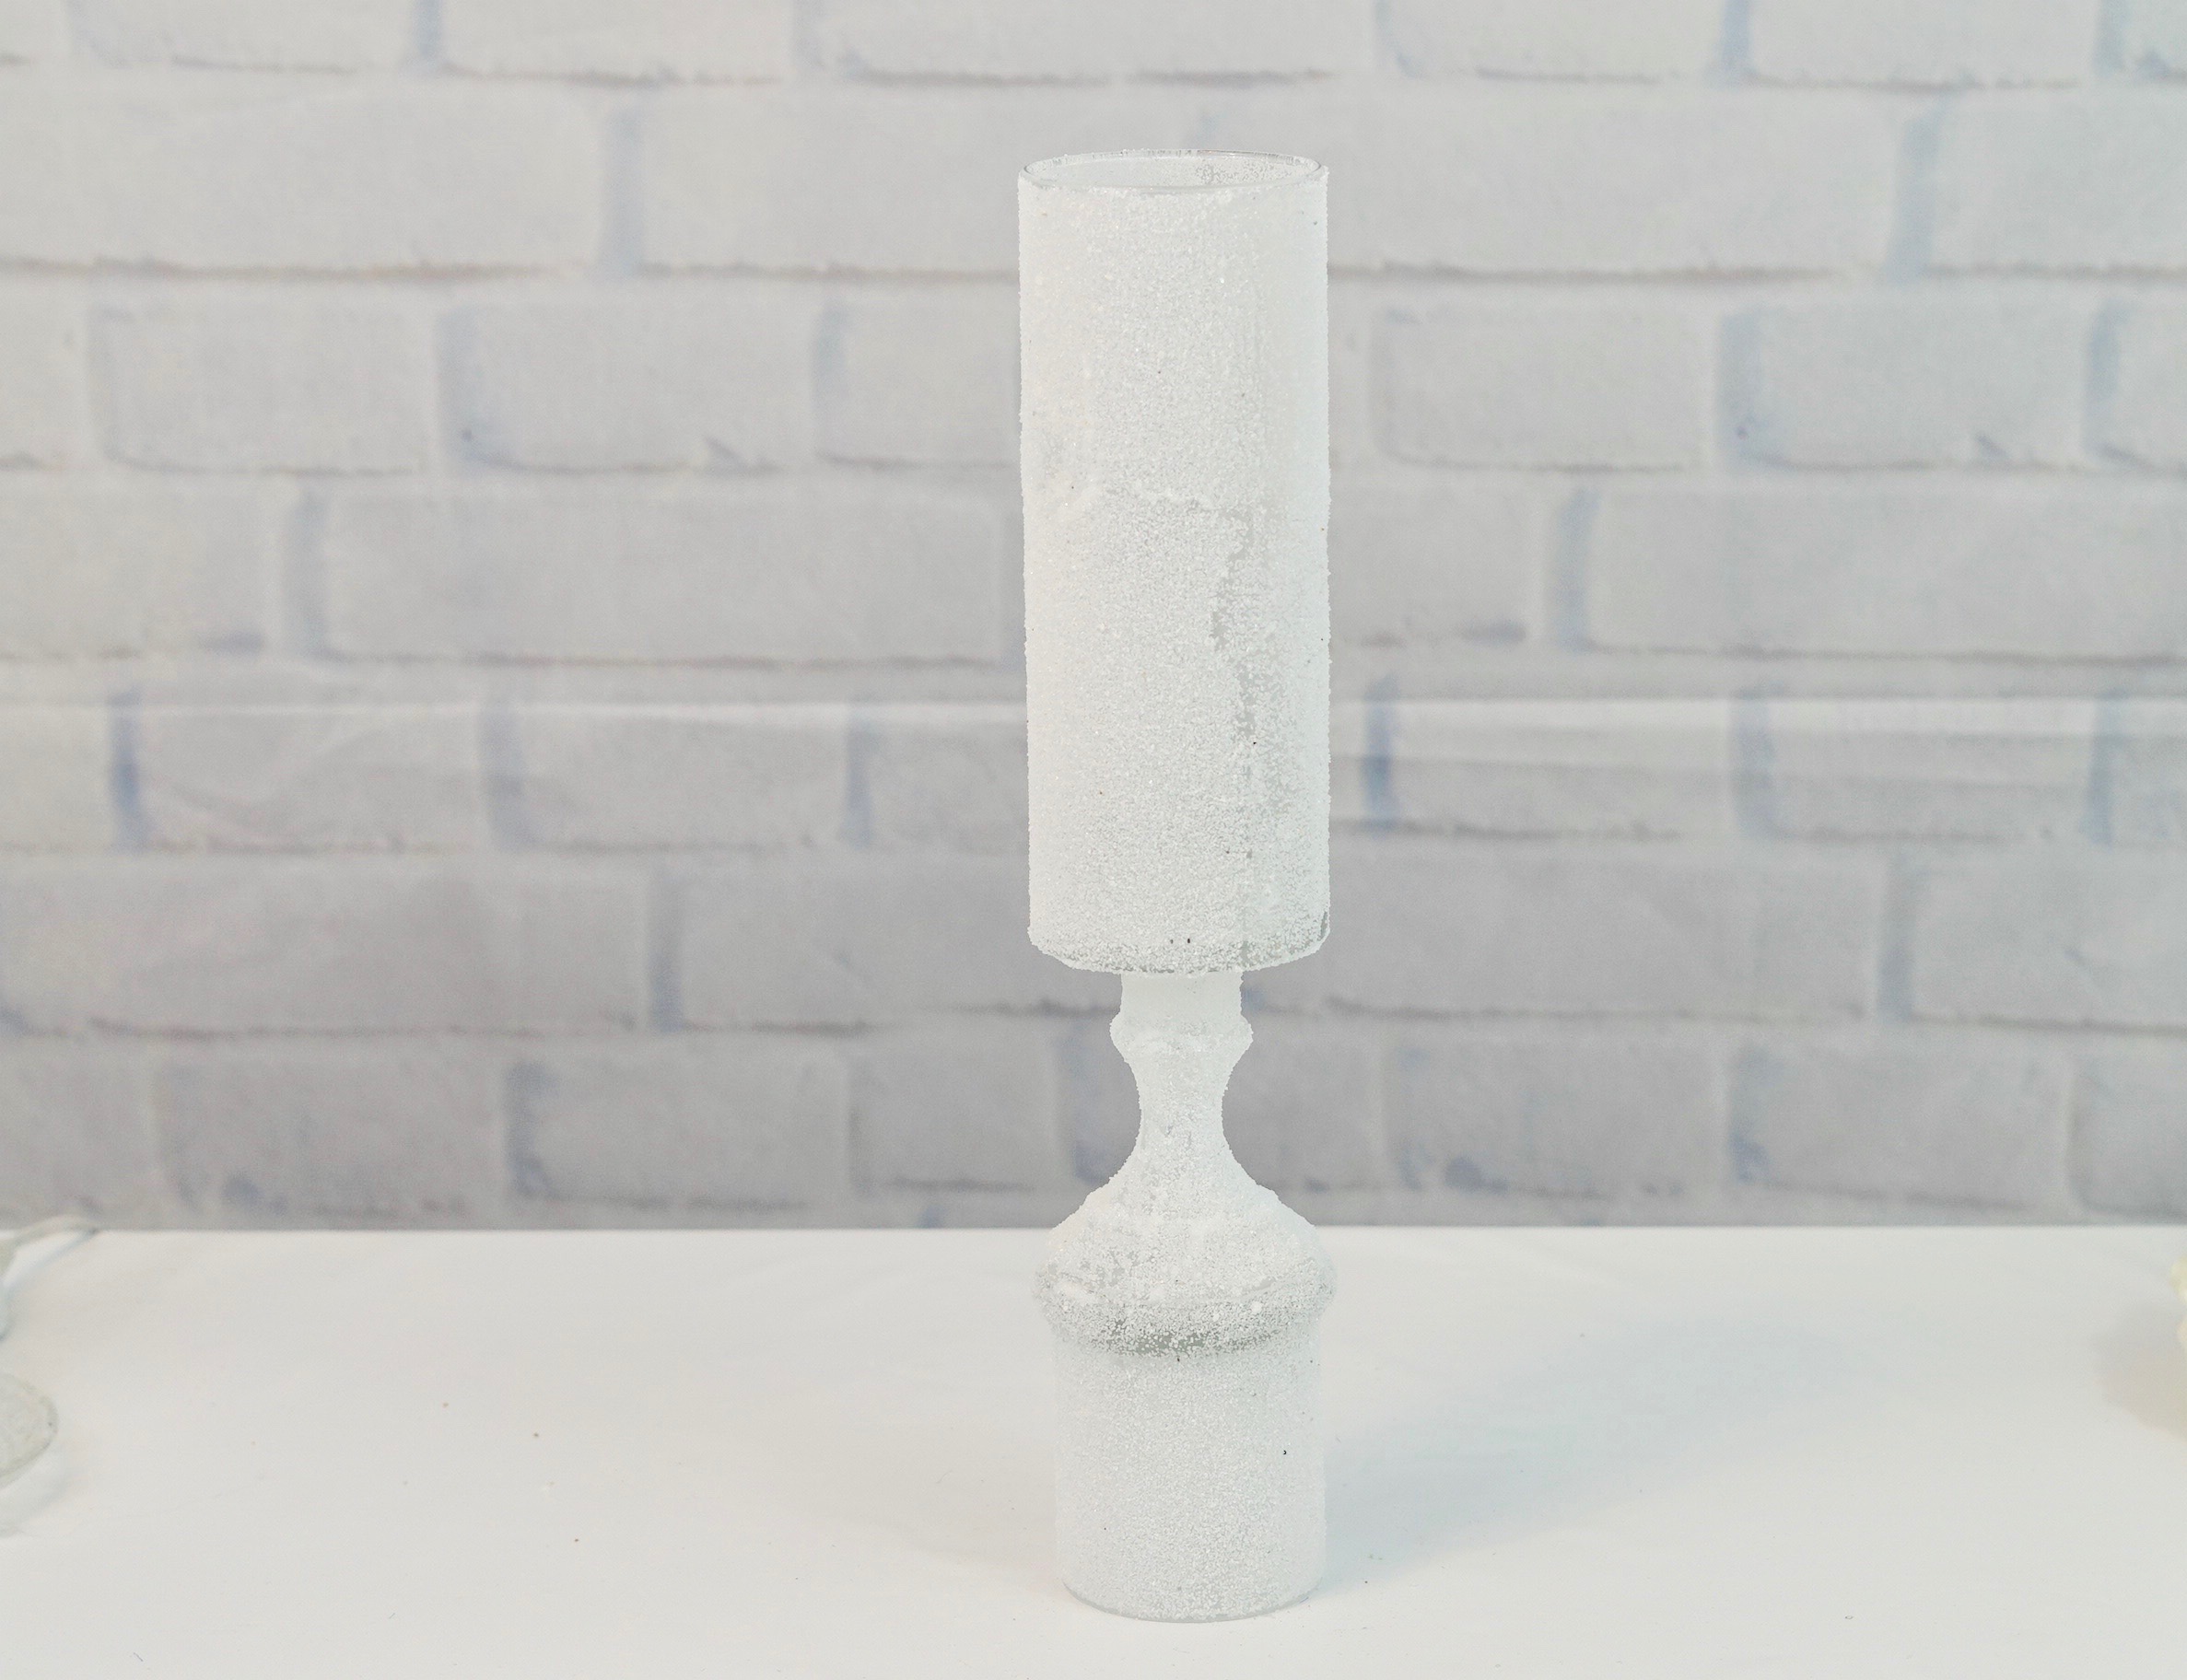
STEP 2: Apply mod podge to your entire vase and then sprinkle on your sand. I usually do this step in sections starting with the bottom, then the middle and then the top. Let it dry for about 2 to 3 hours.
Embellish your starfish with…
STEP 3: Embellish your starfish with glitter. First you will add mod podge to your starfish with a paint brush and then sprinkle on your glitter. Allow it to dry for 30 to 45 minutes and then hot glue a toothpick to your starfish.
Hot Glue Floral Pins to Seashells and Take Your Dolphin Wind Chime Apart
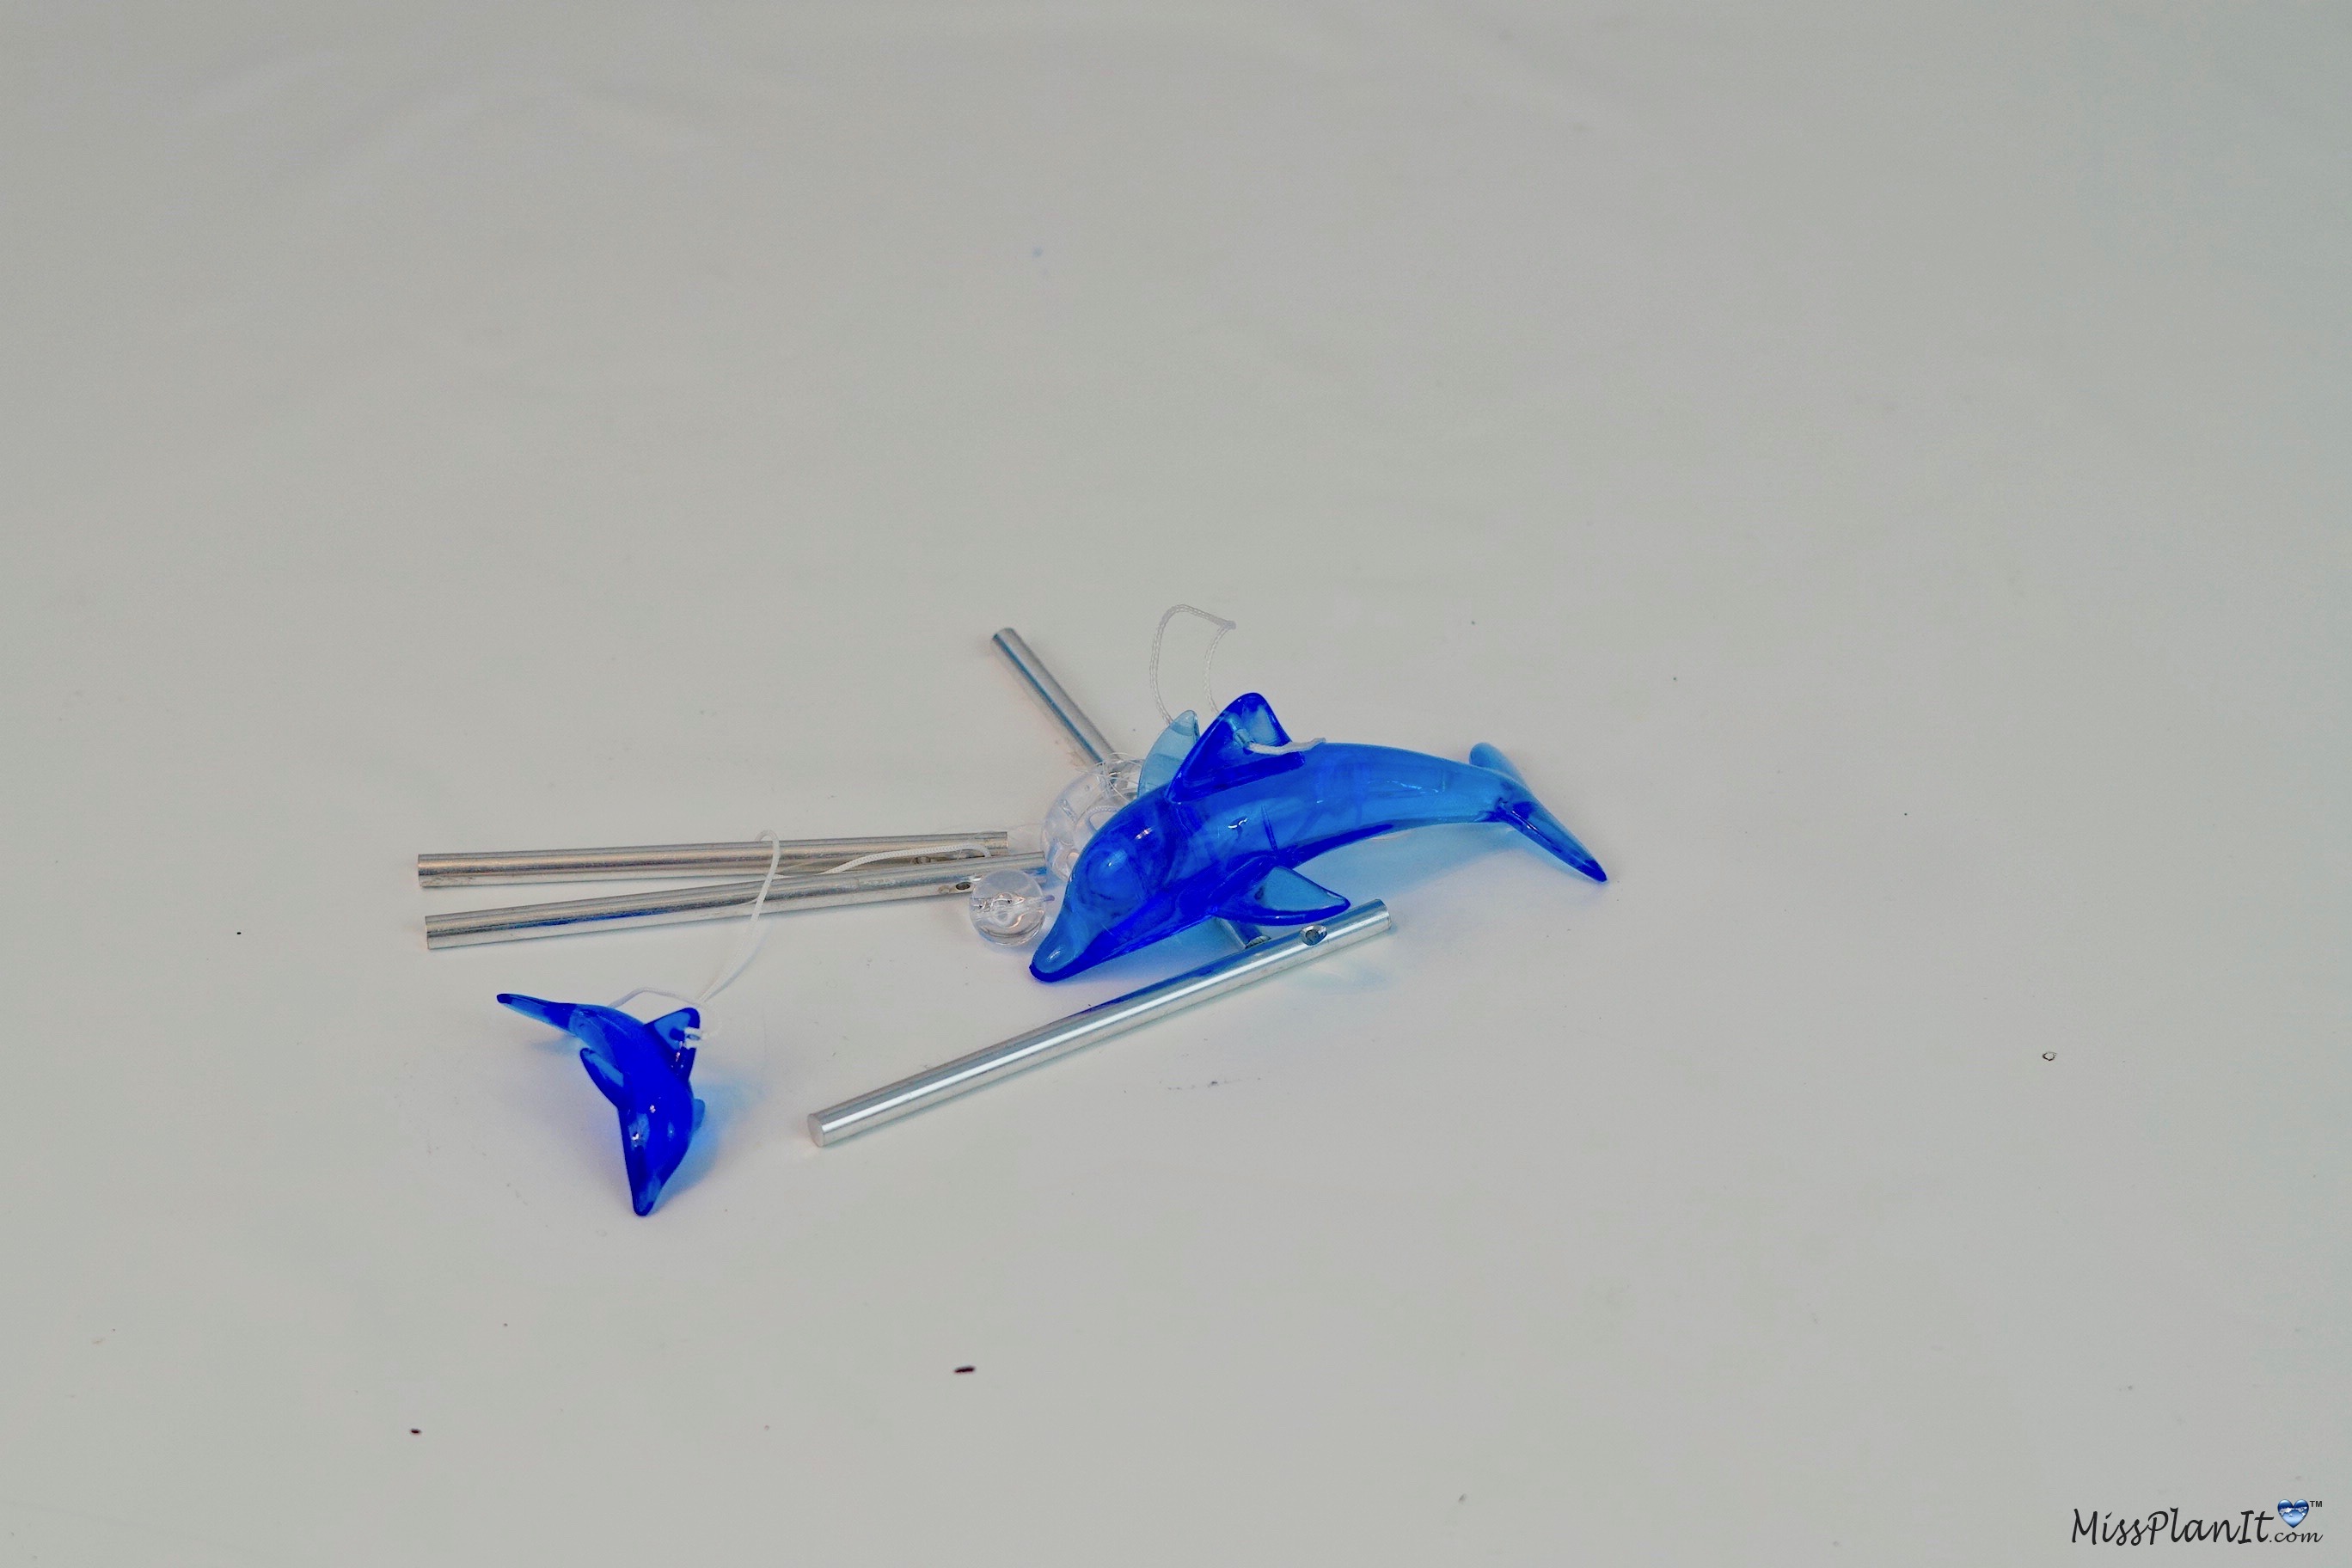
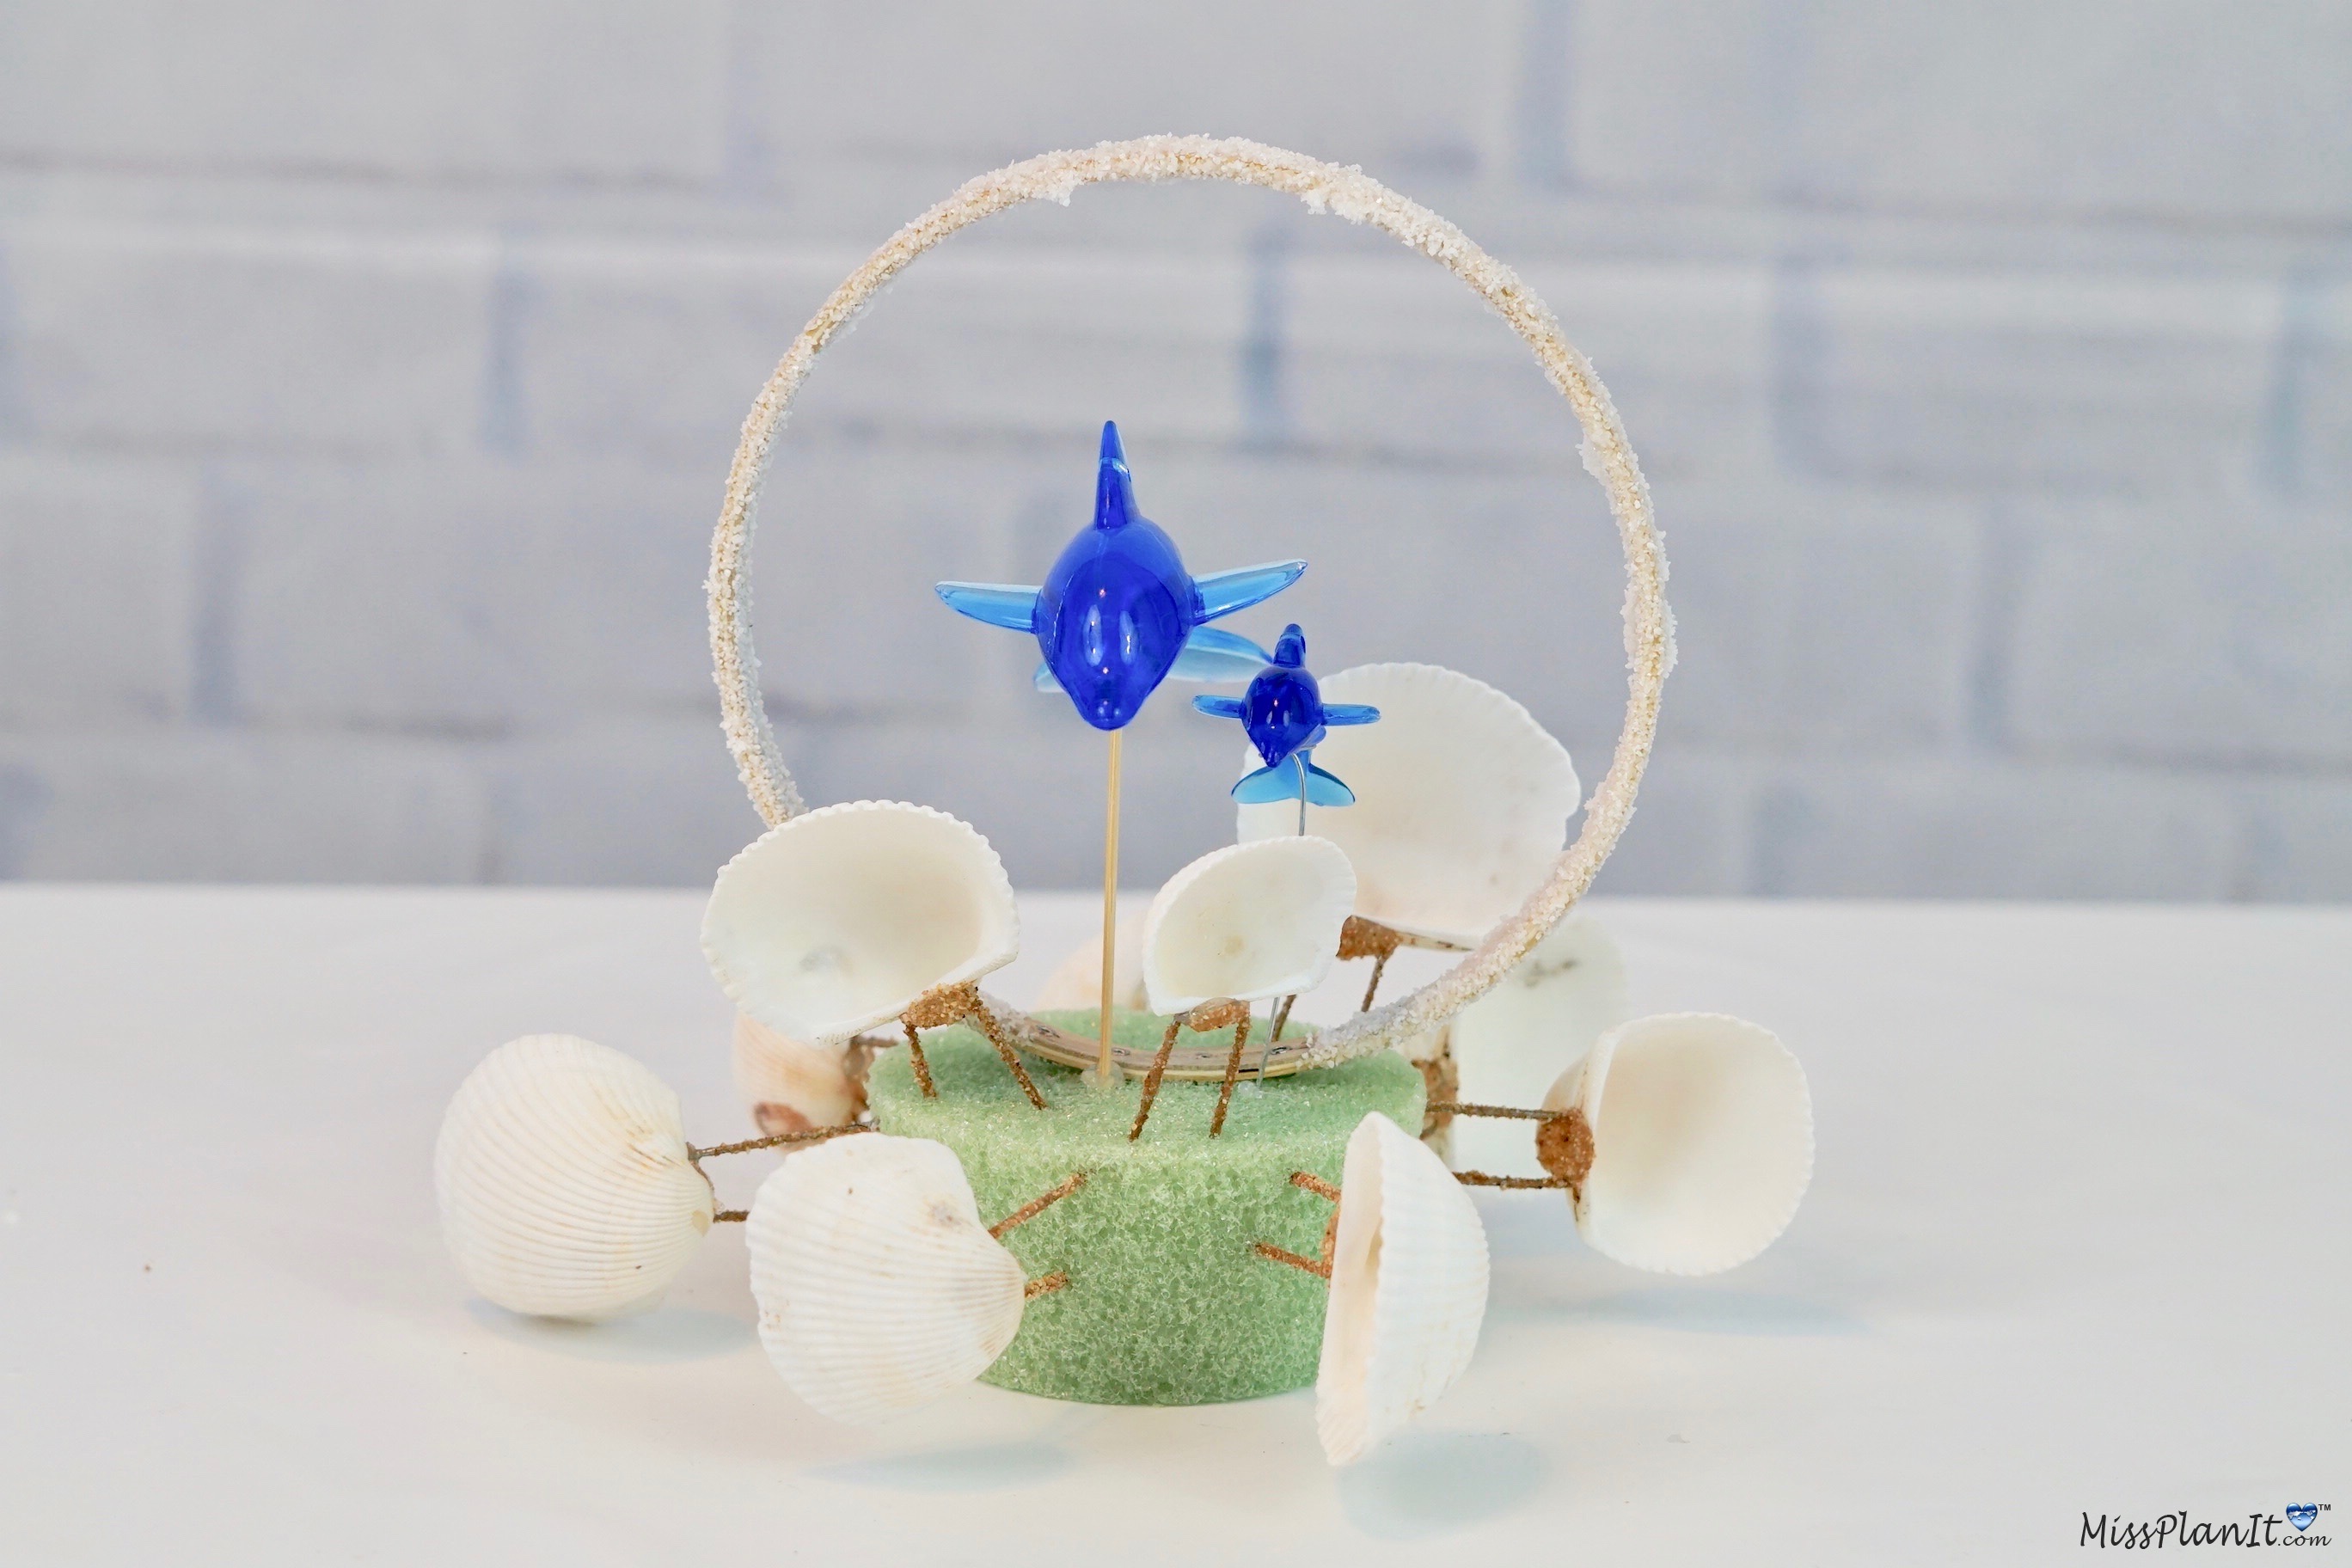
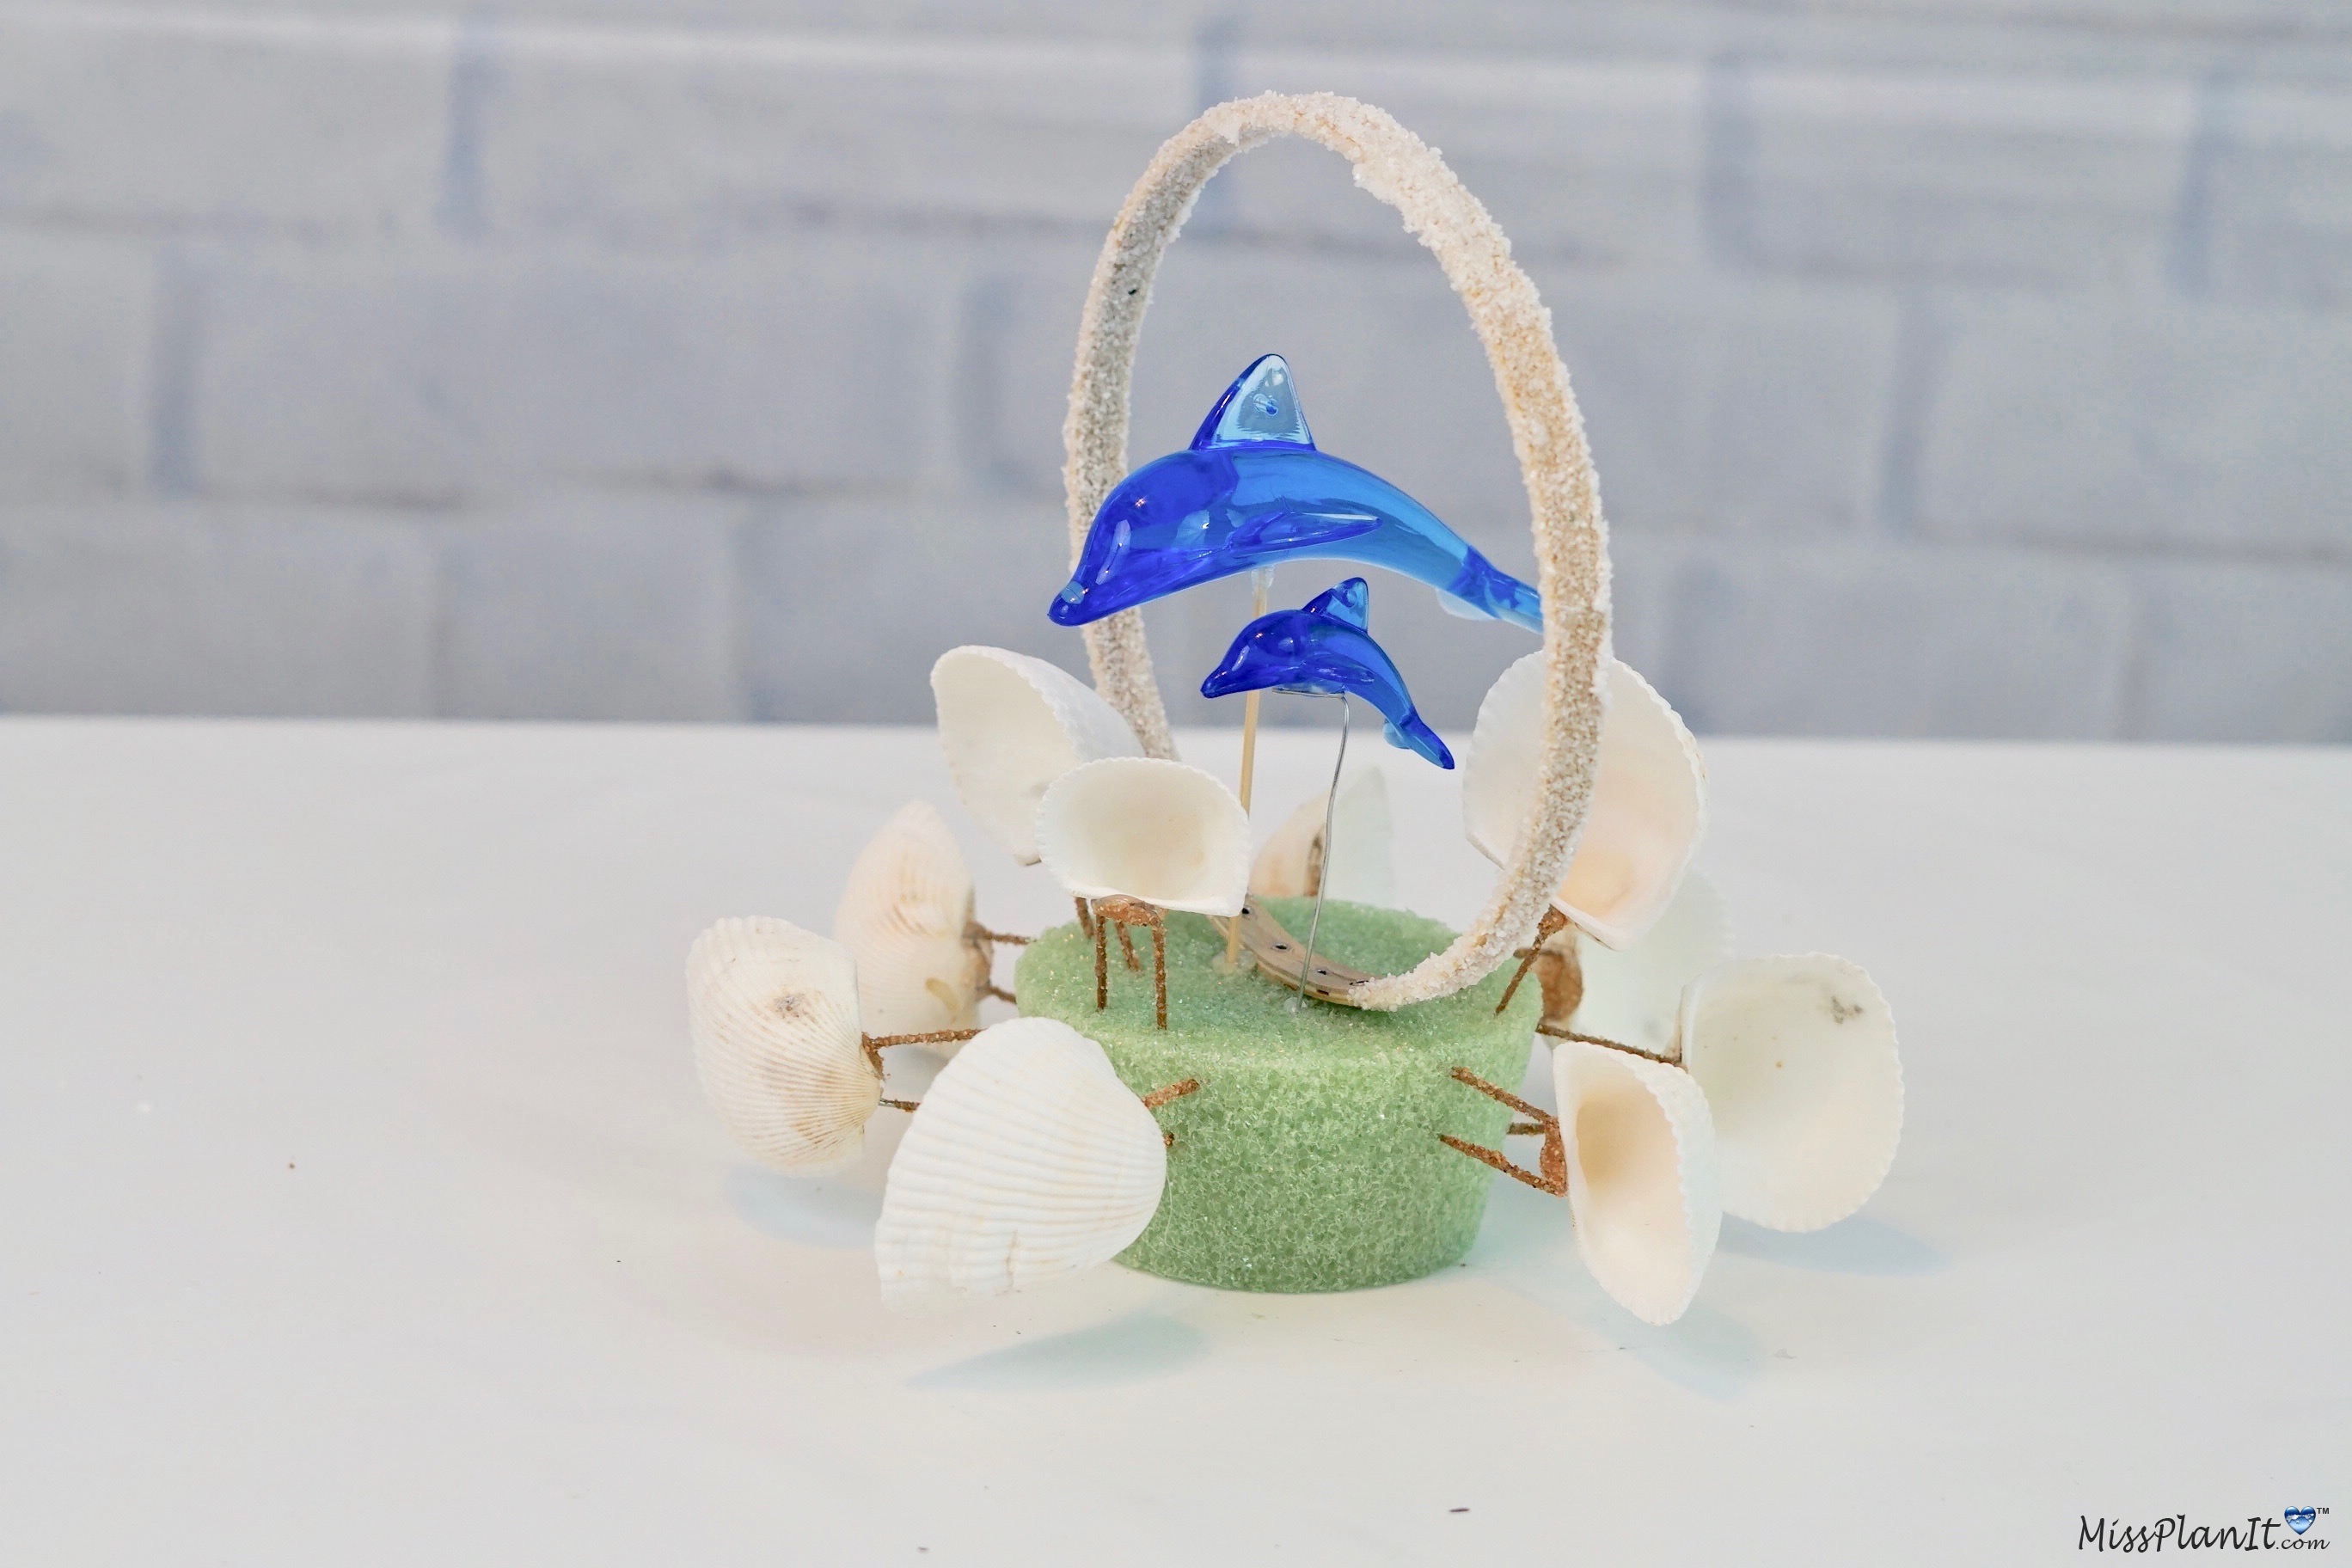
STEP 4: Hot glue a floral pin to your seashells and allow them to dry. While they are drying, we will begin working on taking our dolphin wind chime apart. Since I only want to add the dolphins to this beach wedding centerpiece and not the wind chimes.
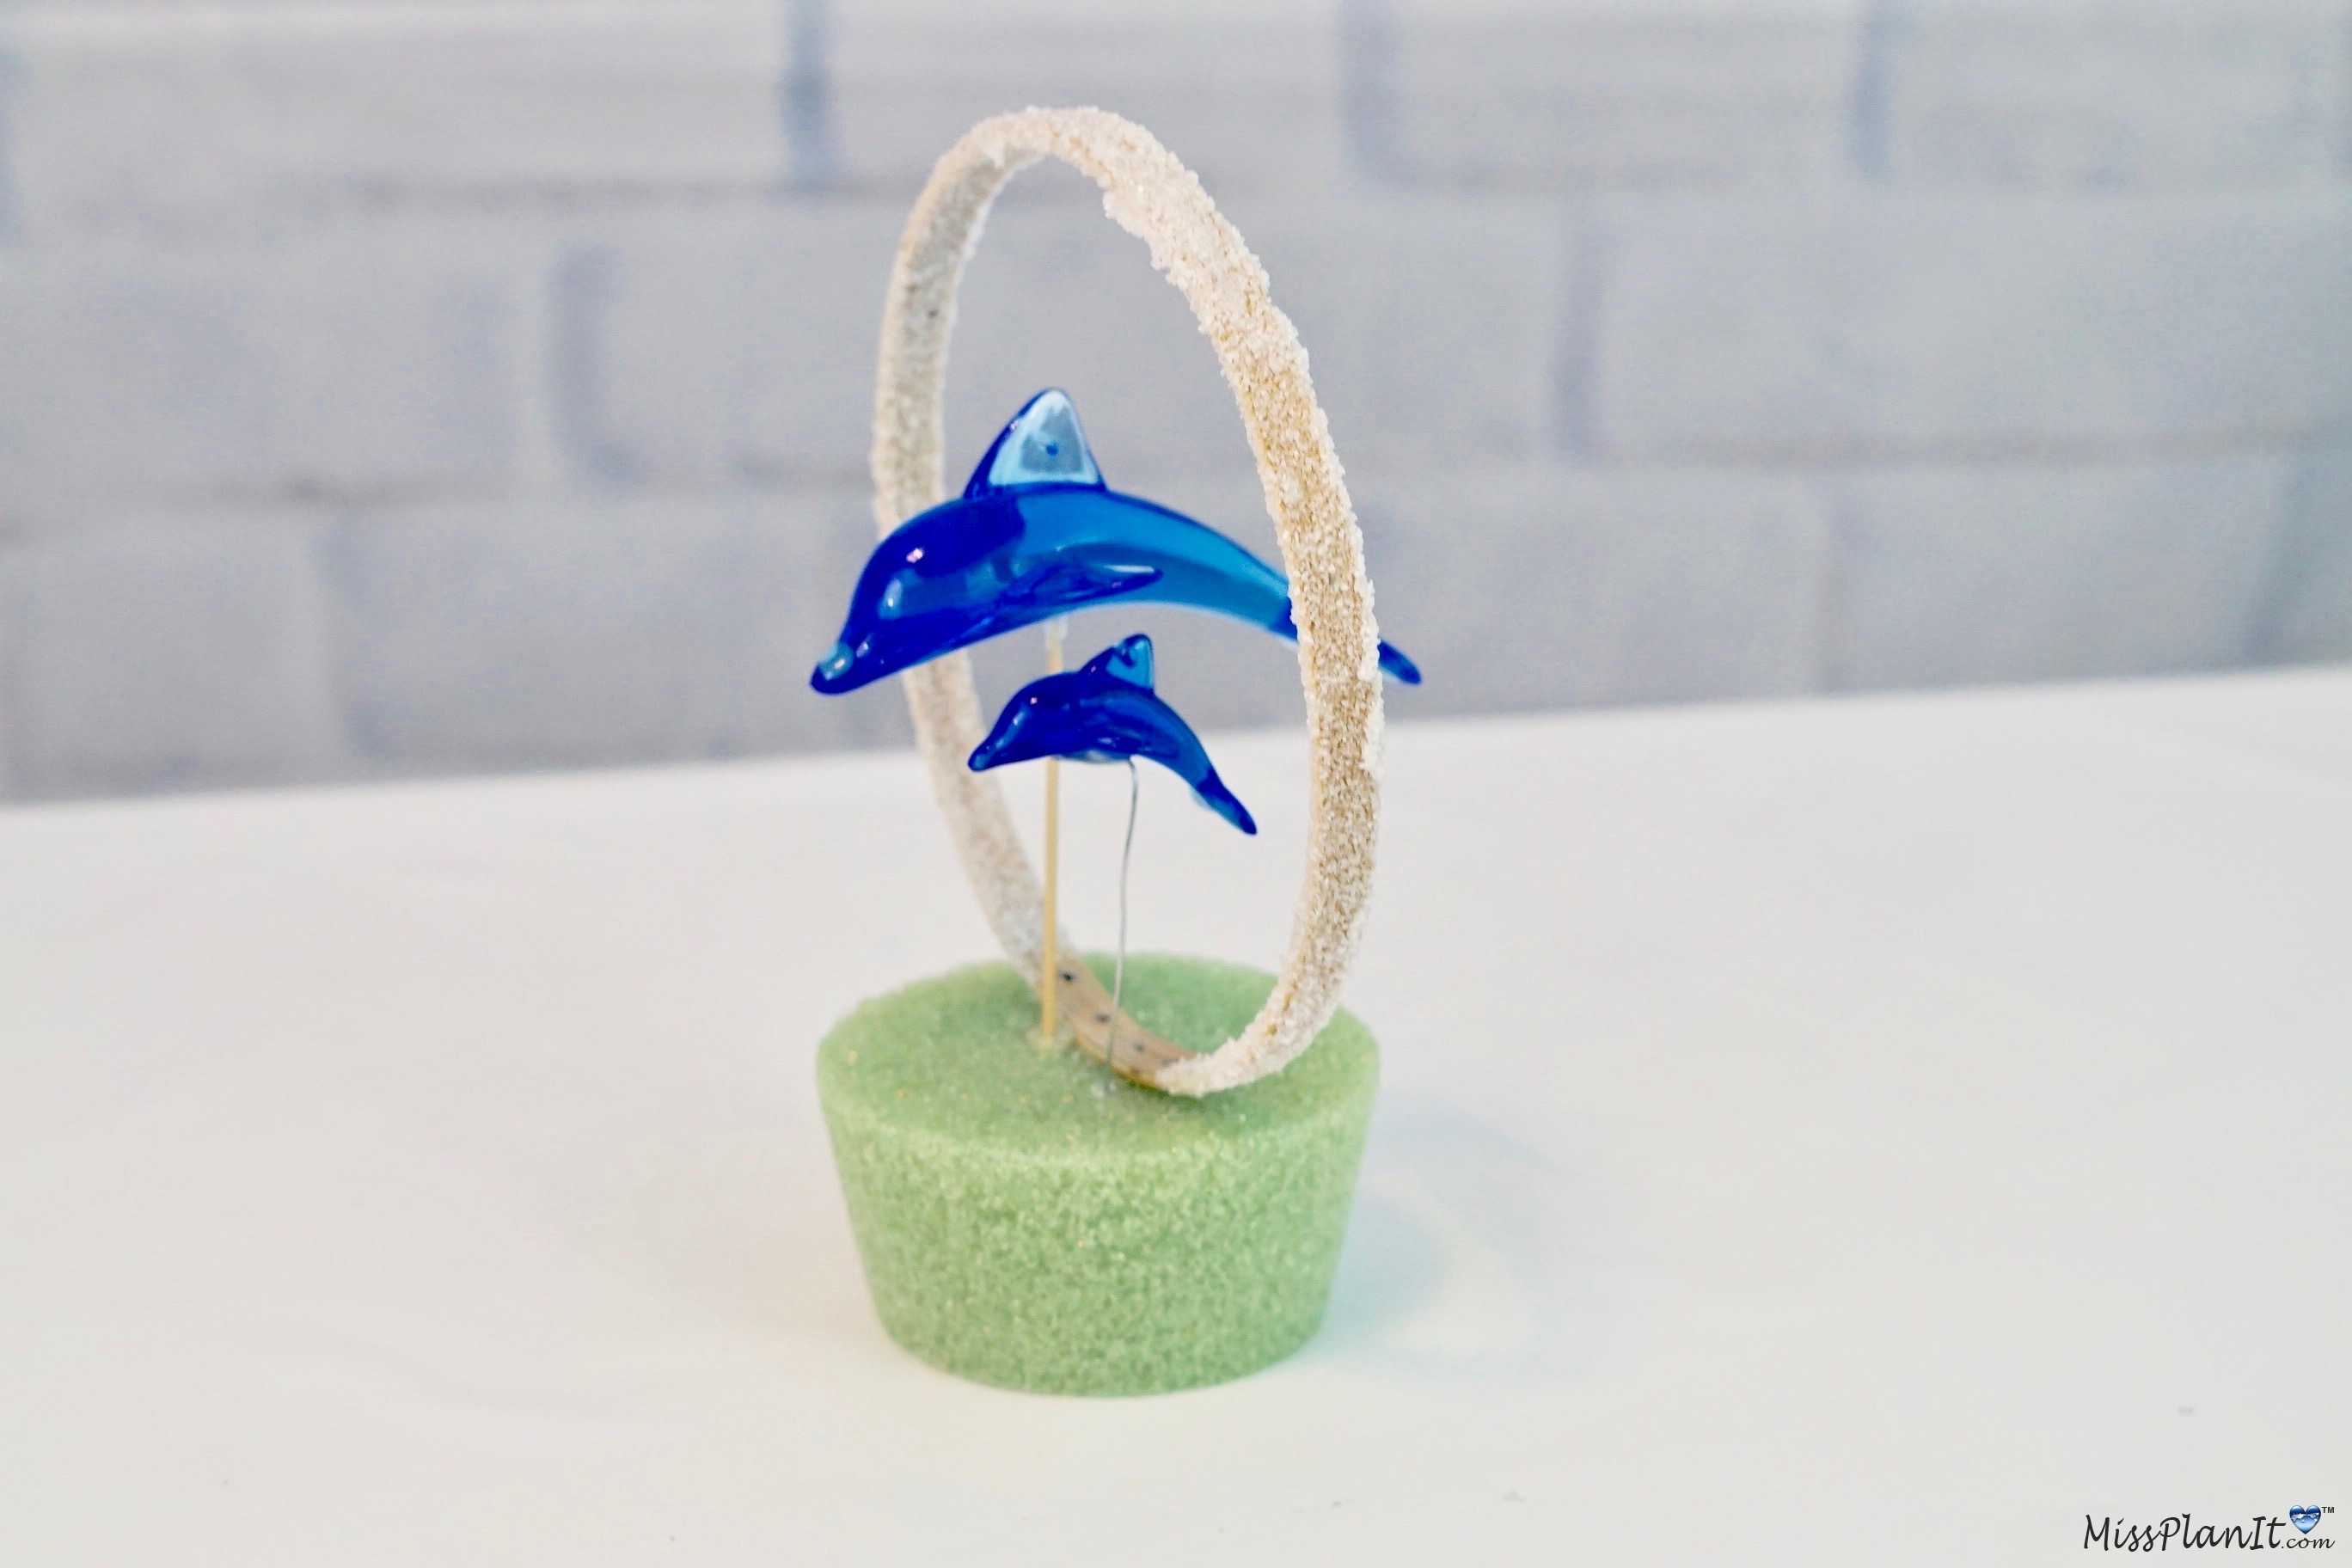
To take the dolphin wind chime apart, first cut the strings that are attaching the wind chimes. Next, unscrew the hook from the bottom of the large dolphin. Attach a toothpick to the large dolphin in the spot you removed the hook by adding hot glue.
To Attach Your Smaller Dolphin to Your Beach Wedding Centerpiece…
STEP 5: Cut your 24 gauge floral wire in half. Next wrap the tip of your floral wire around your finger into a hook. Bend your hook, making sure it is flat and hot glue it to your smaller dolphin.
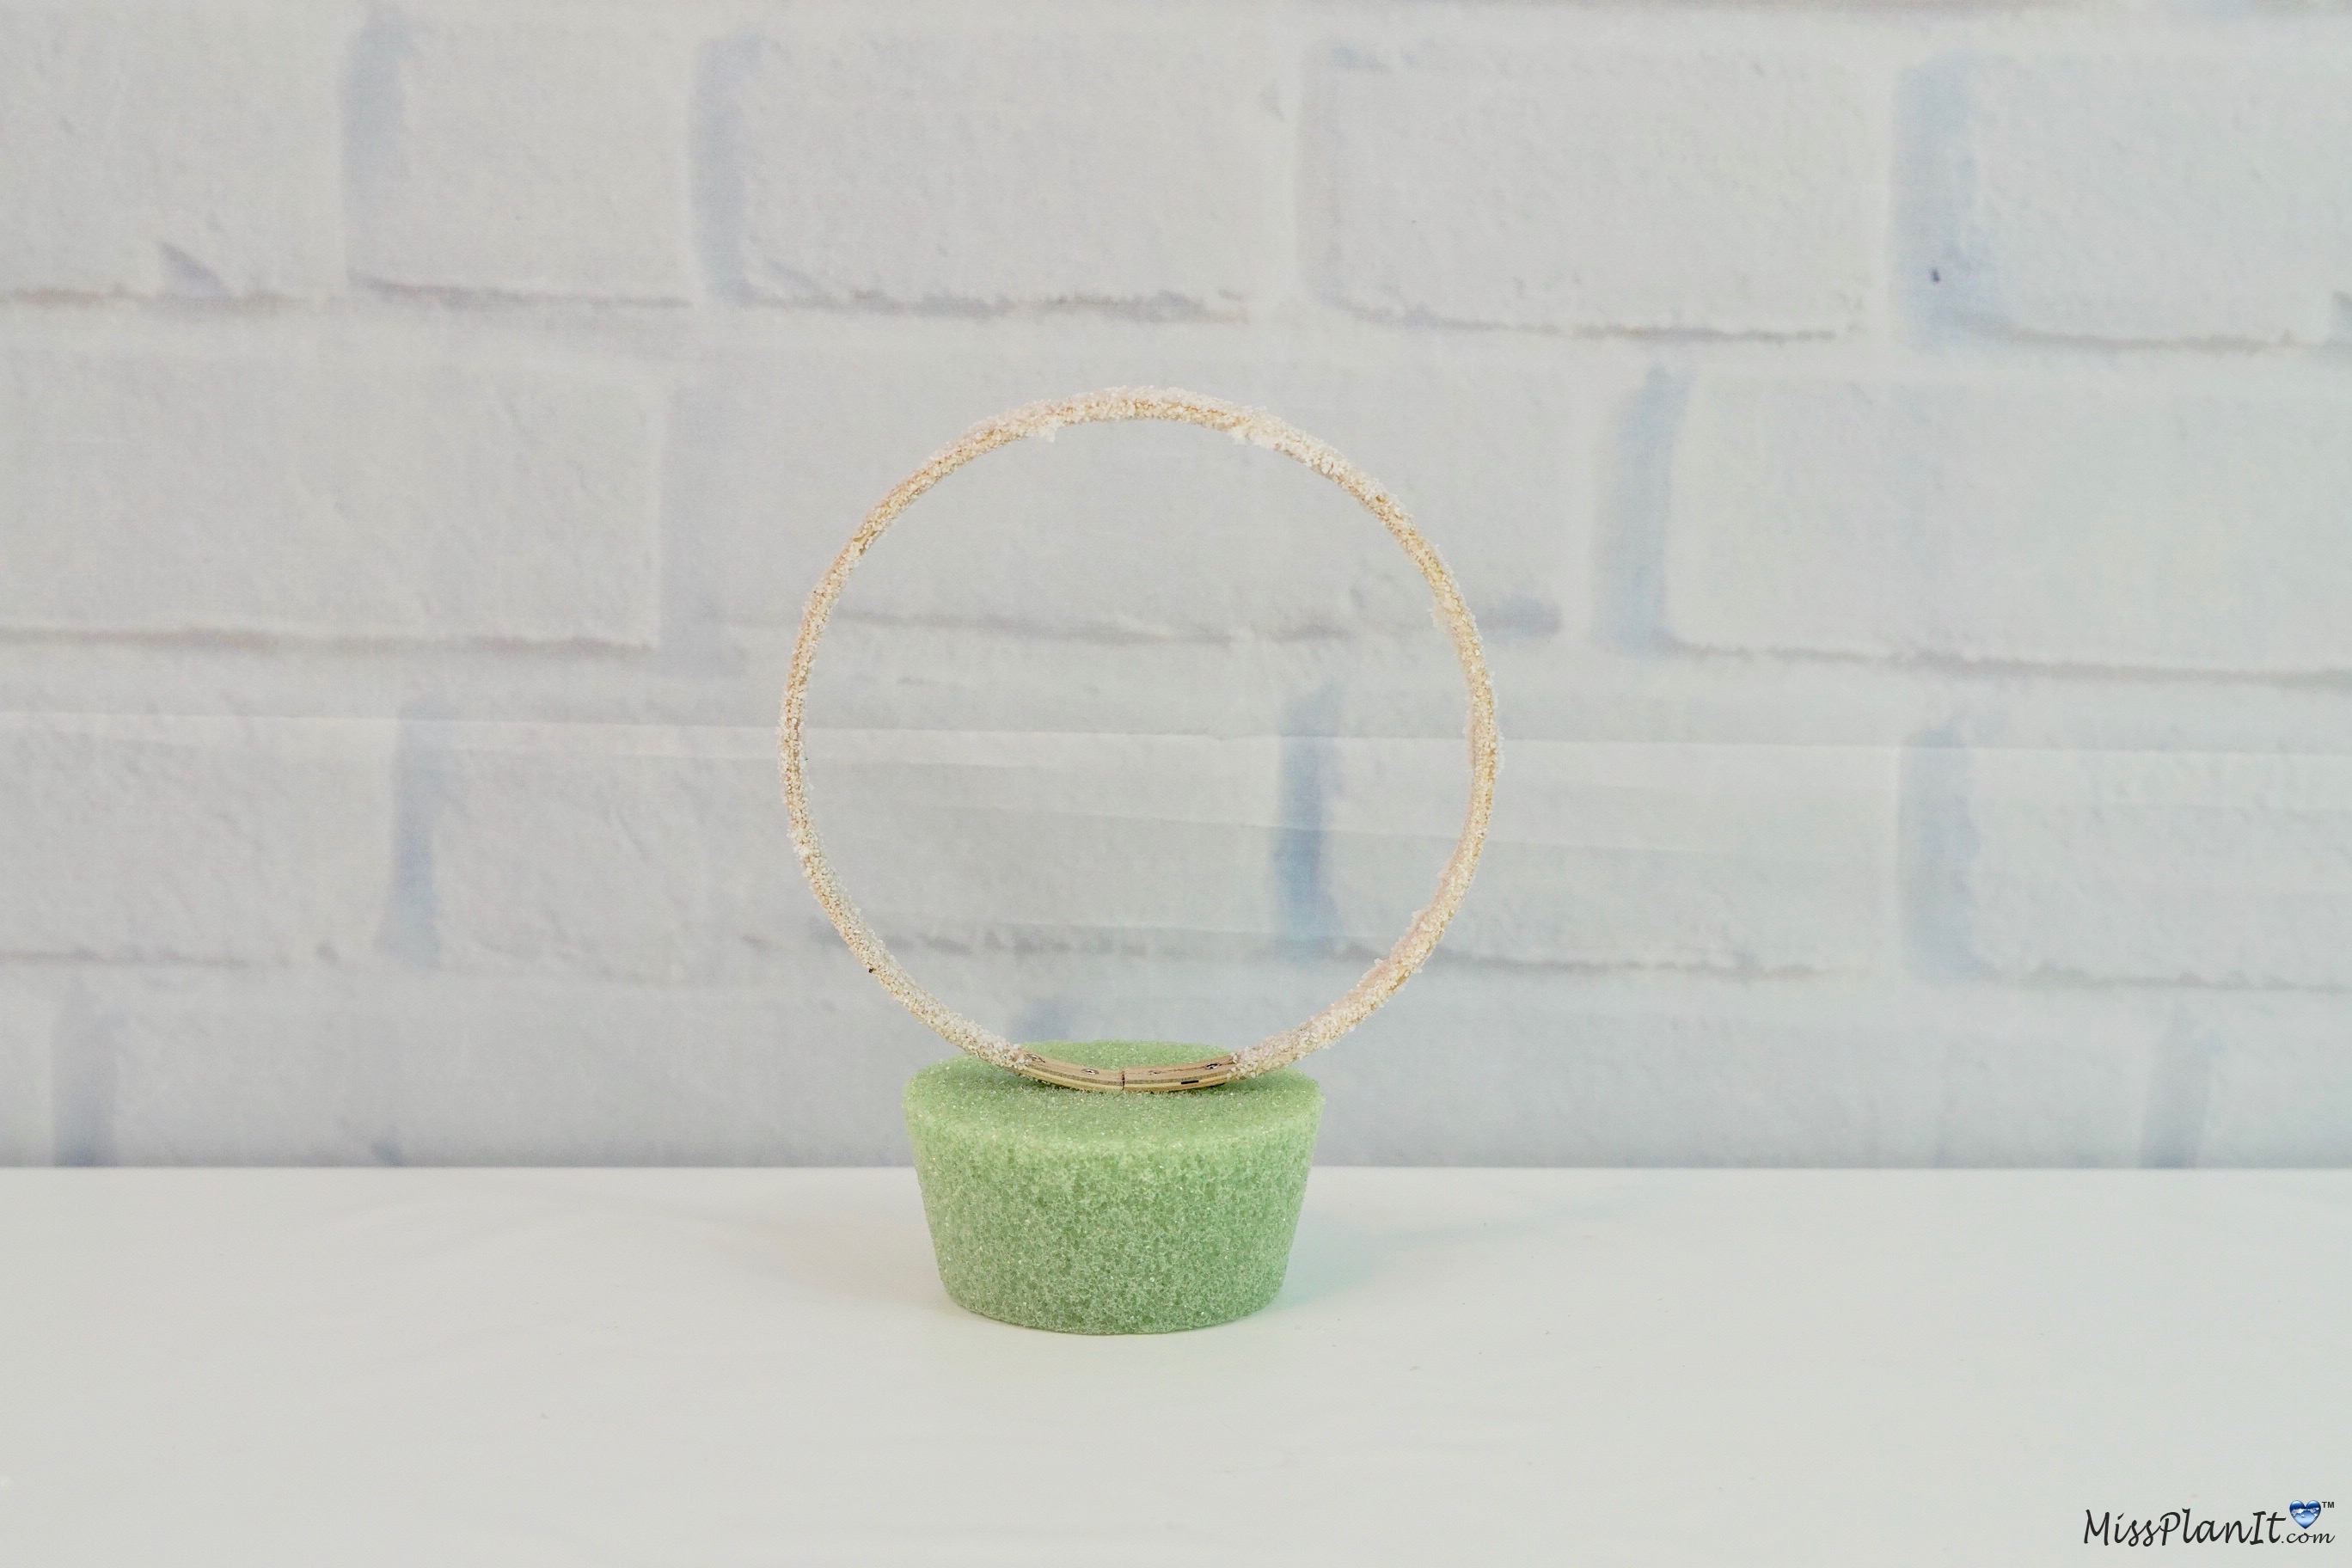
STEP 6: Paint your embroidery hoop with mod podge and sprinkle on your sand. Once your embroidery hoop is dry, attach it your your foam insert. First, make an indention in your foam with the embroidery hoop. Next apply hot glue to that indention and attach your embroidery hoop.
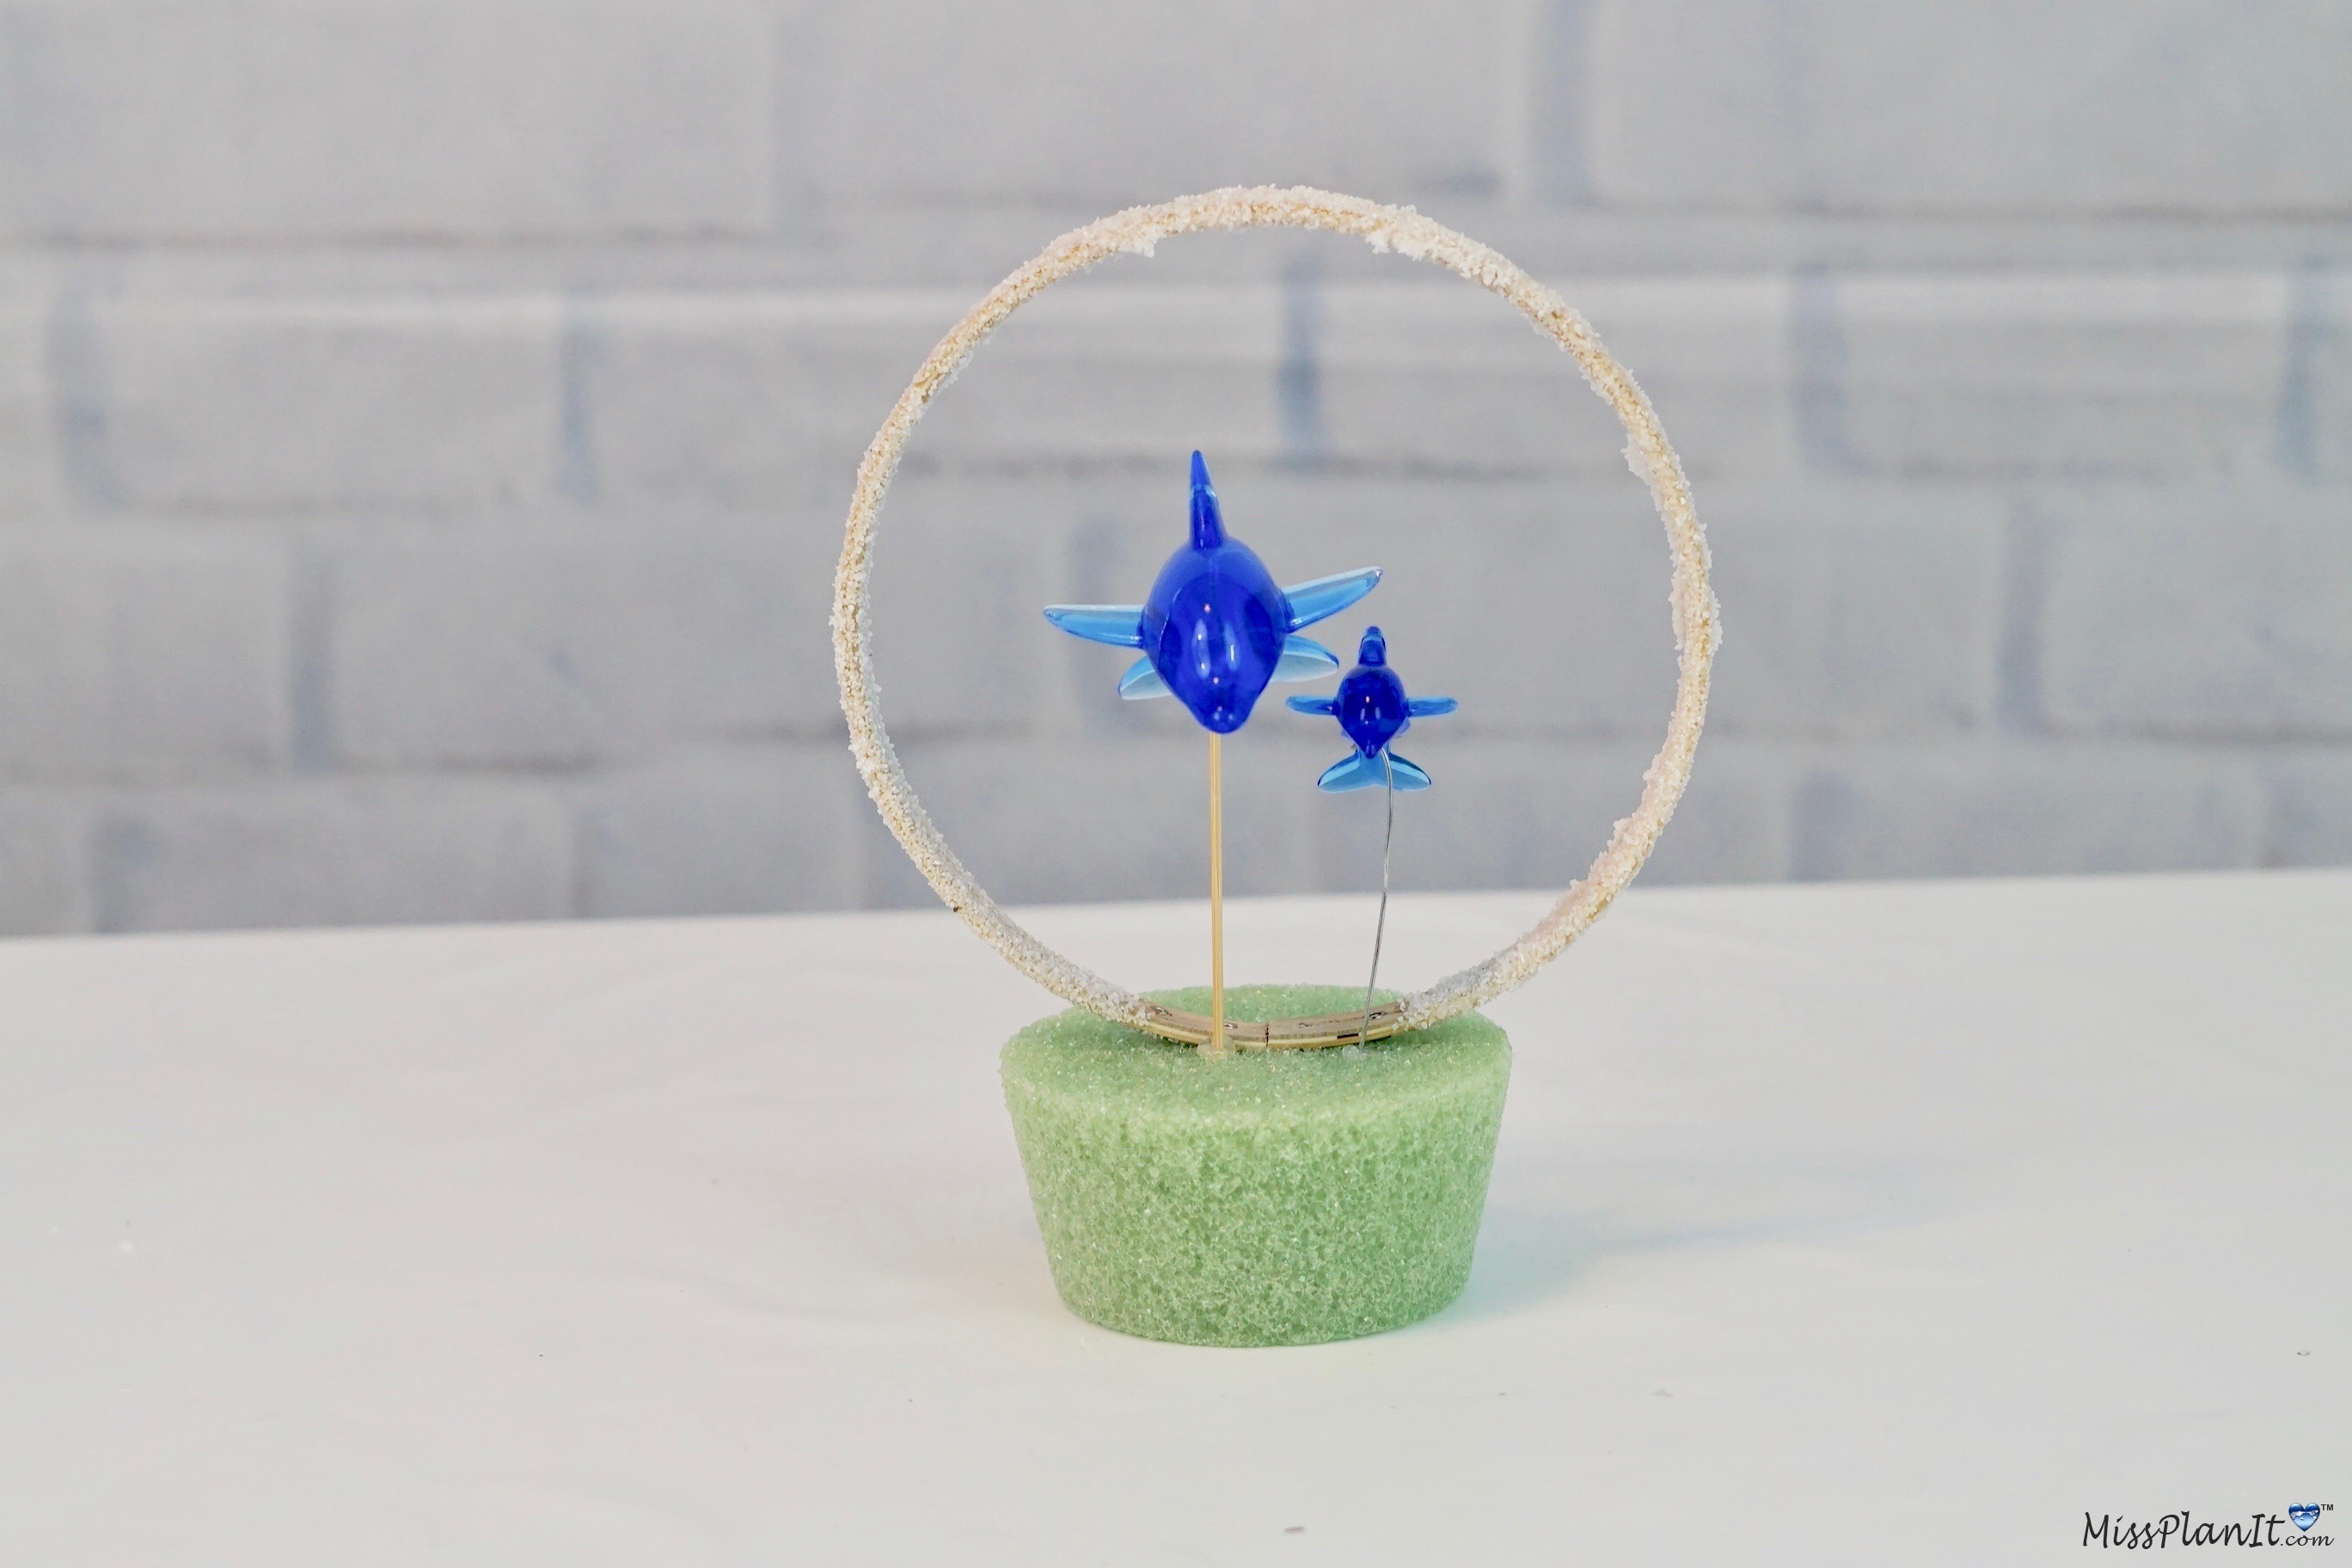
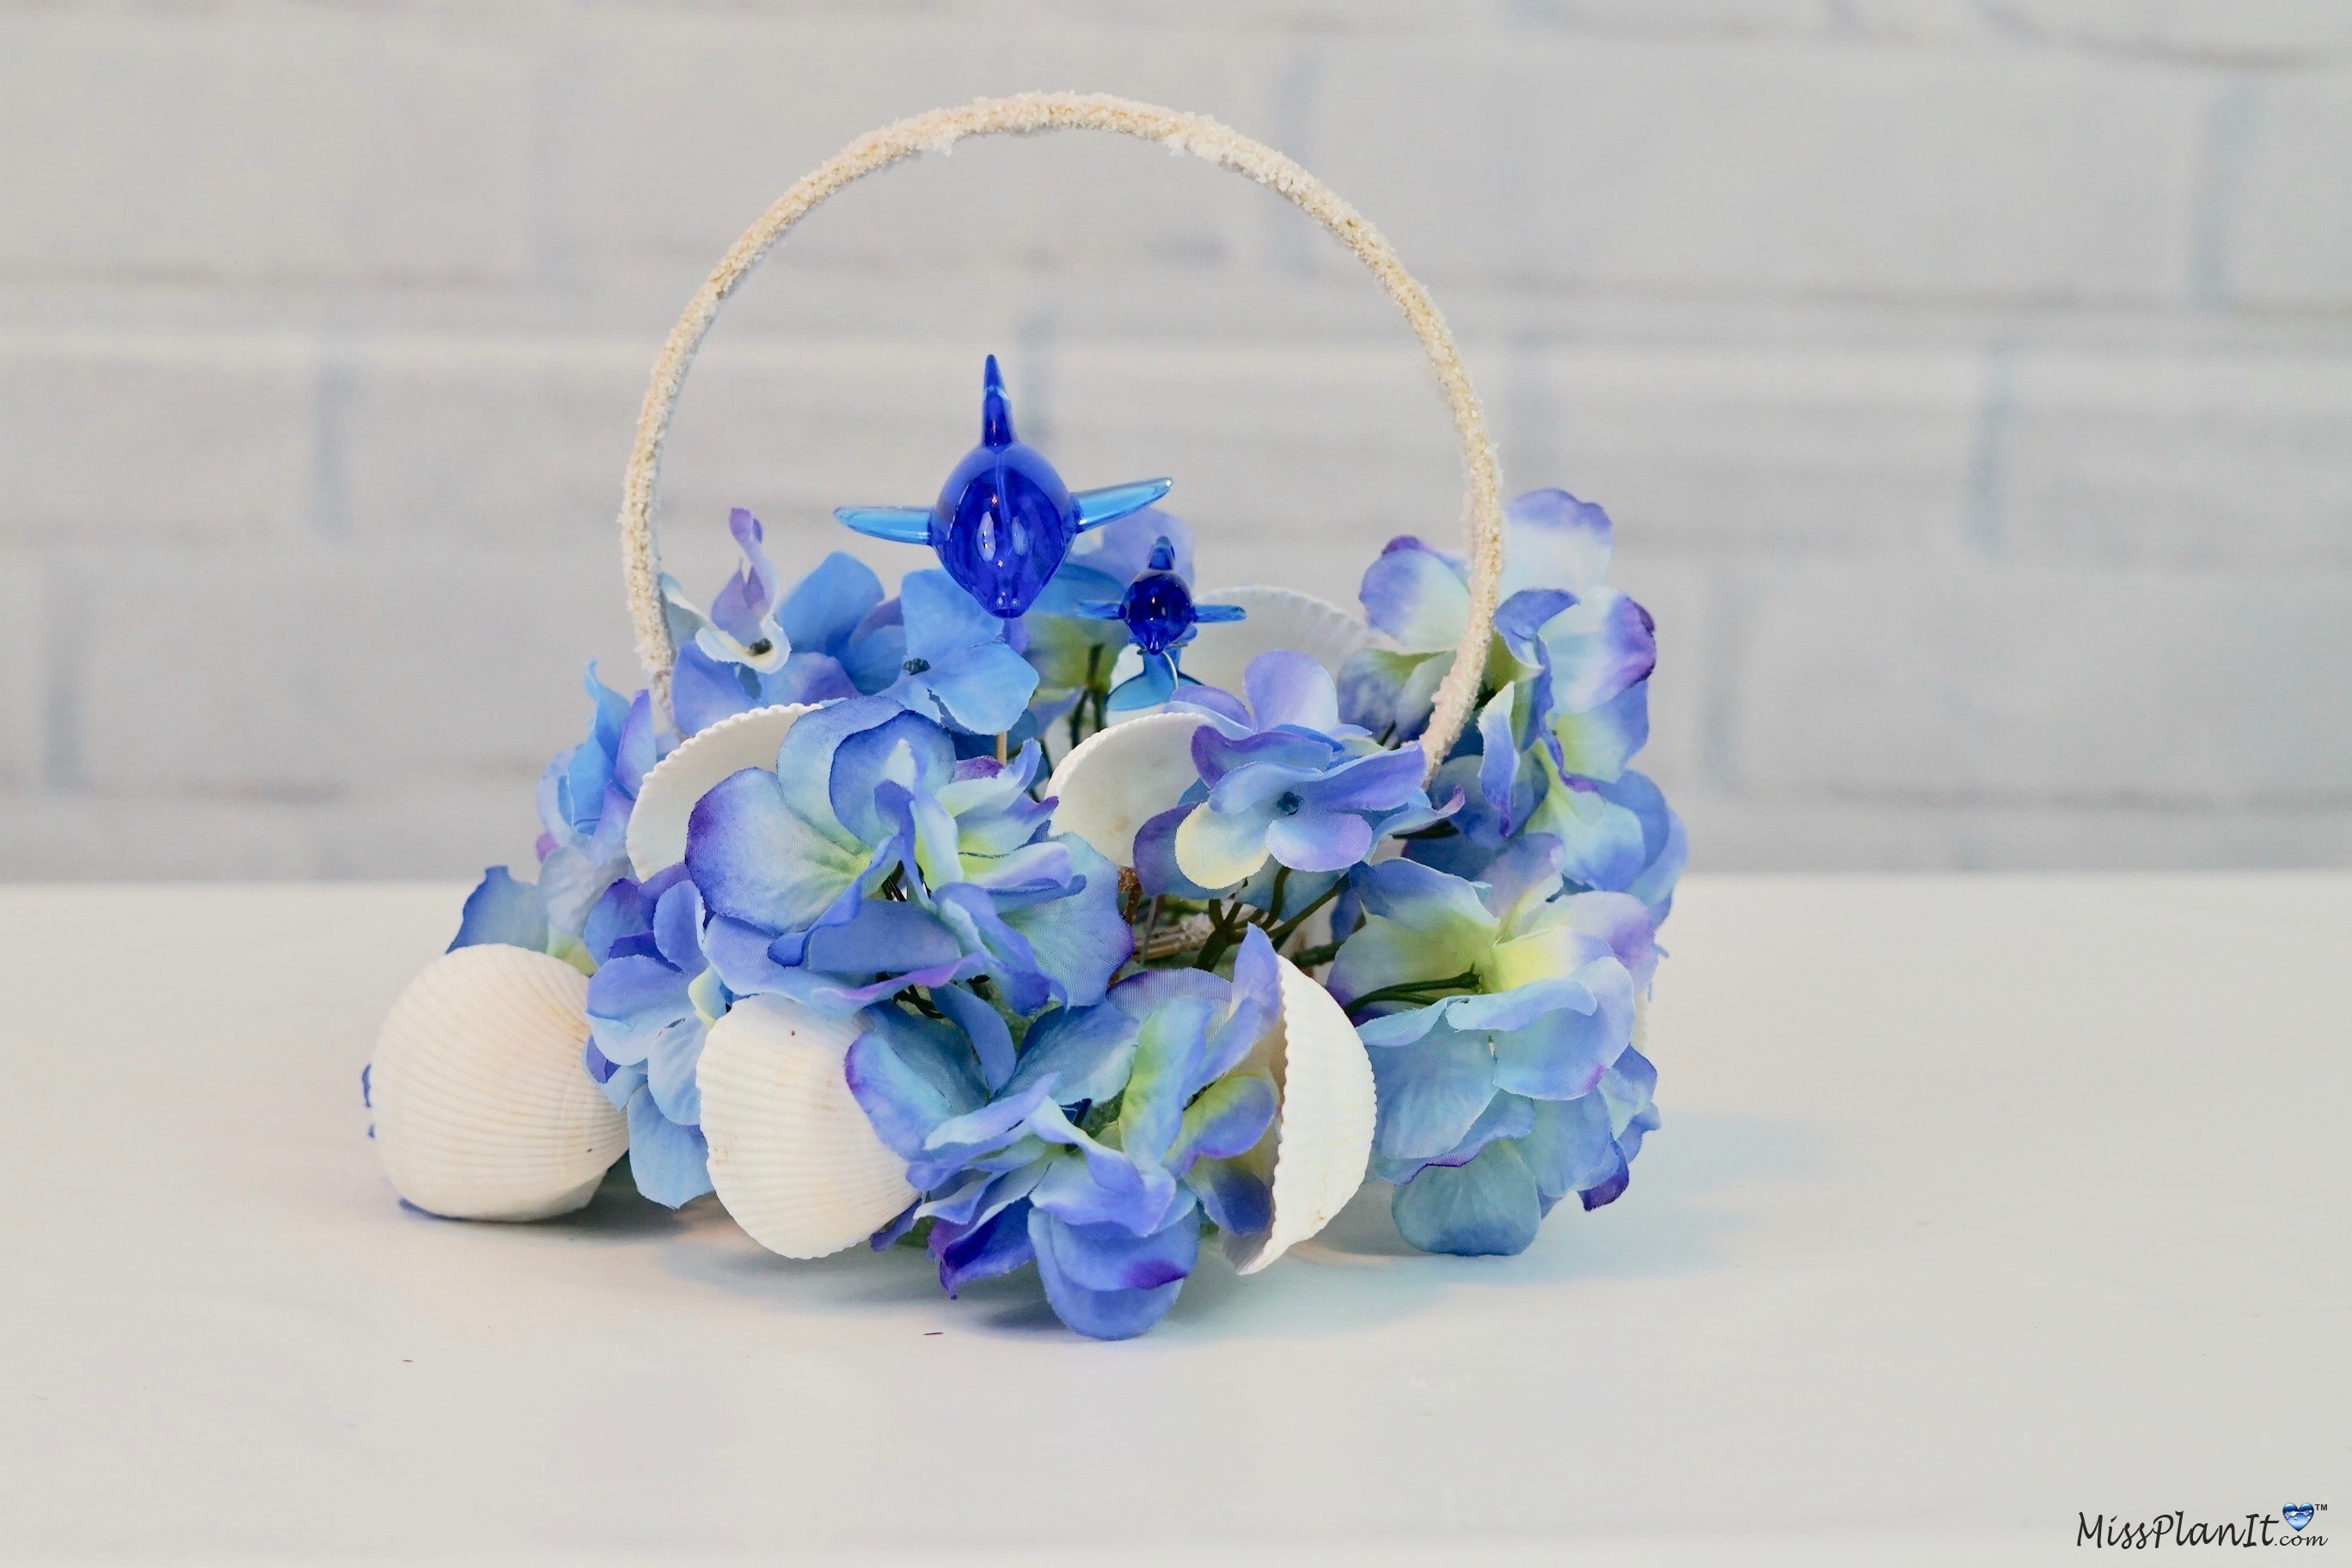
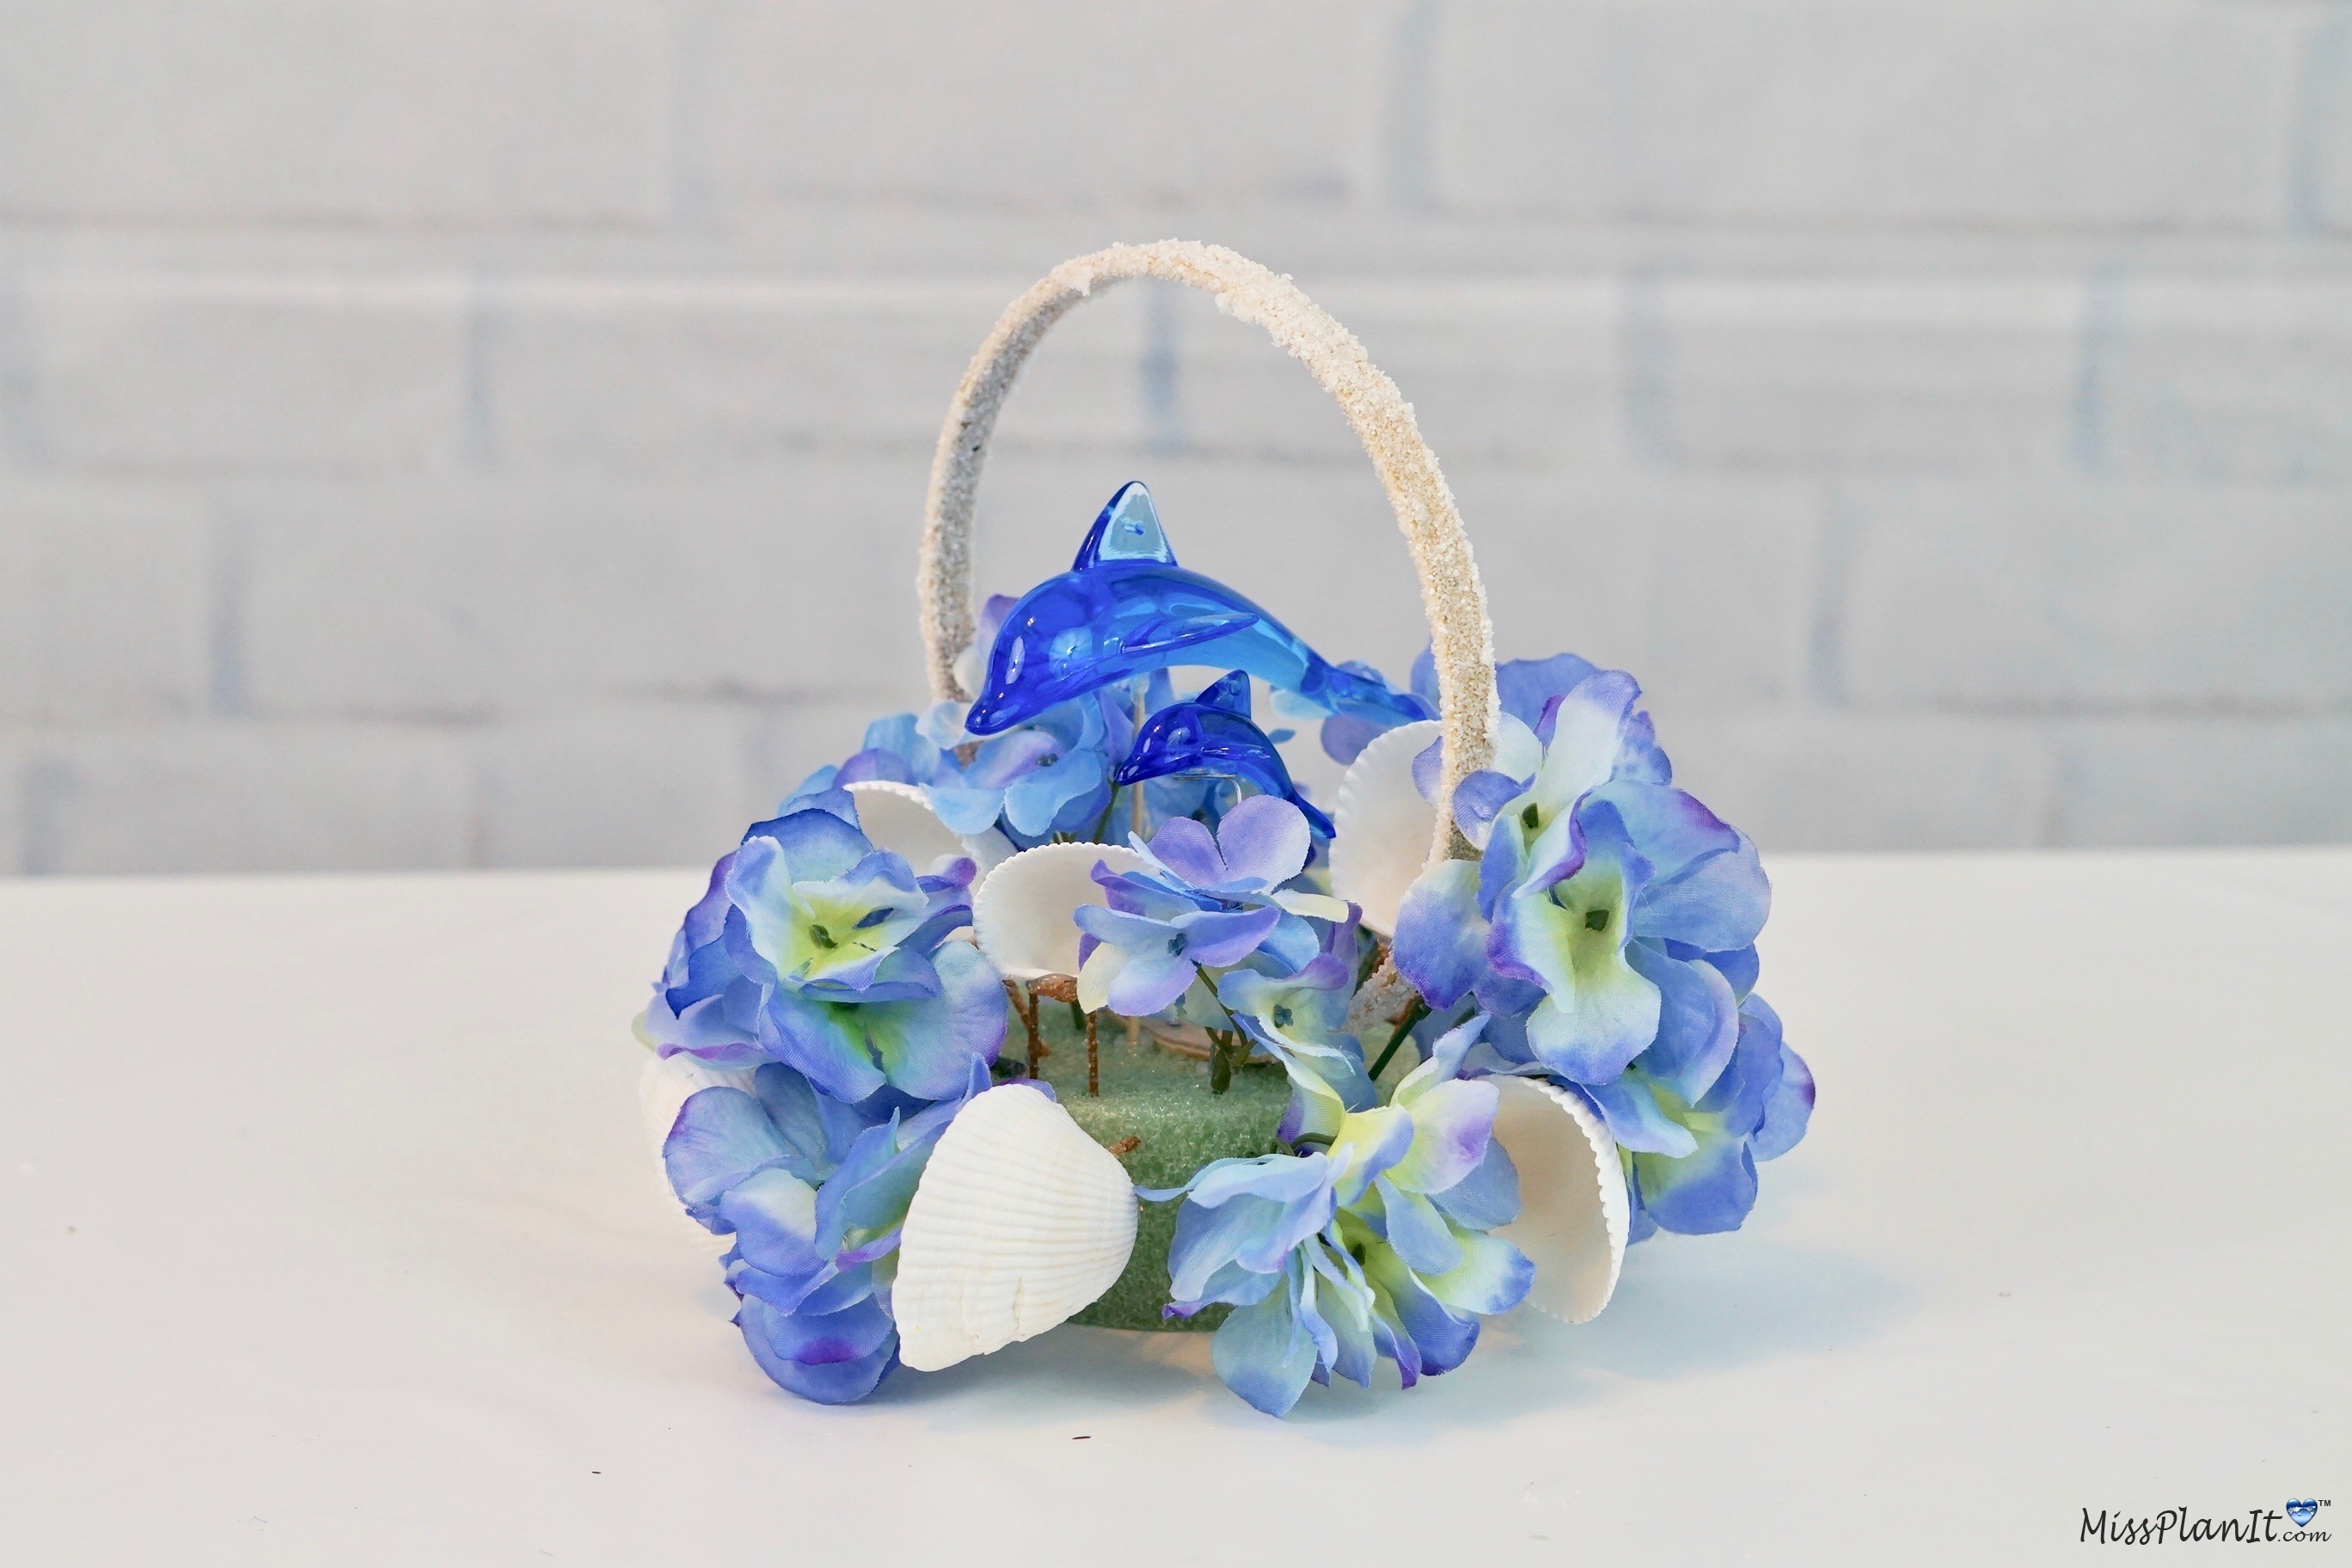
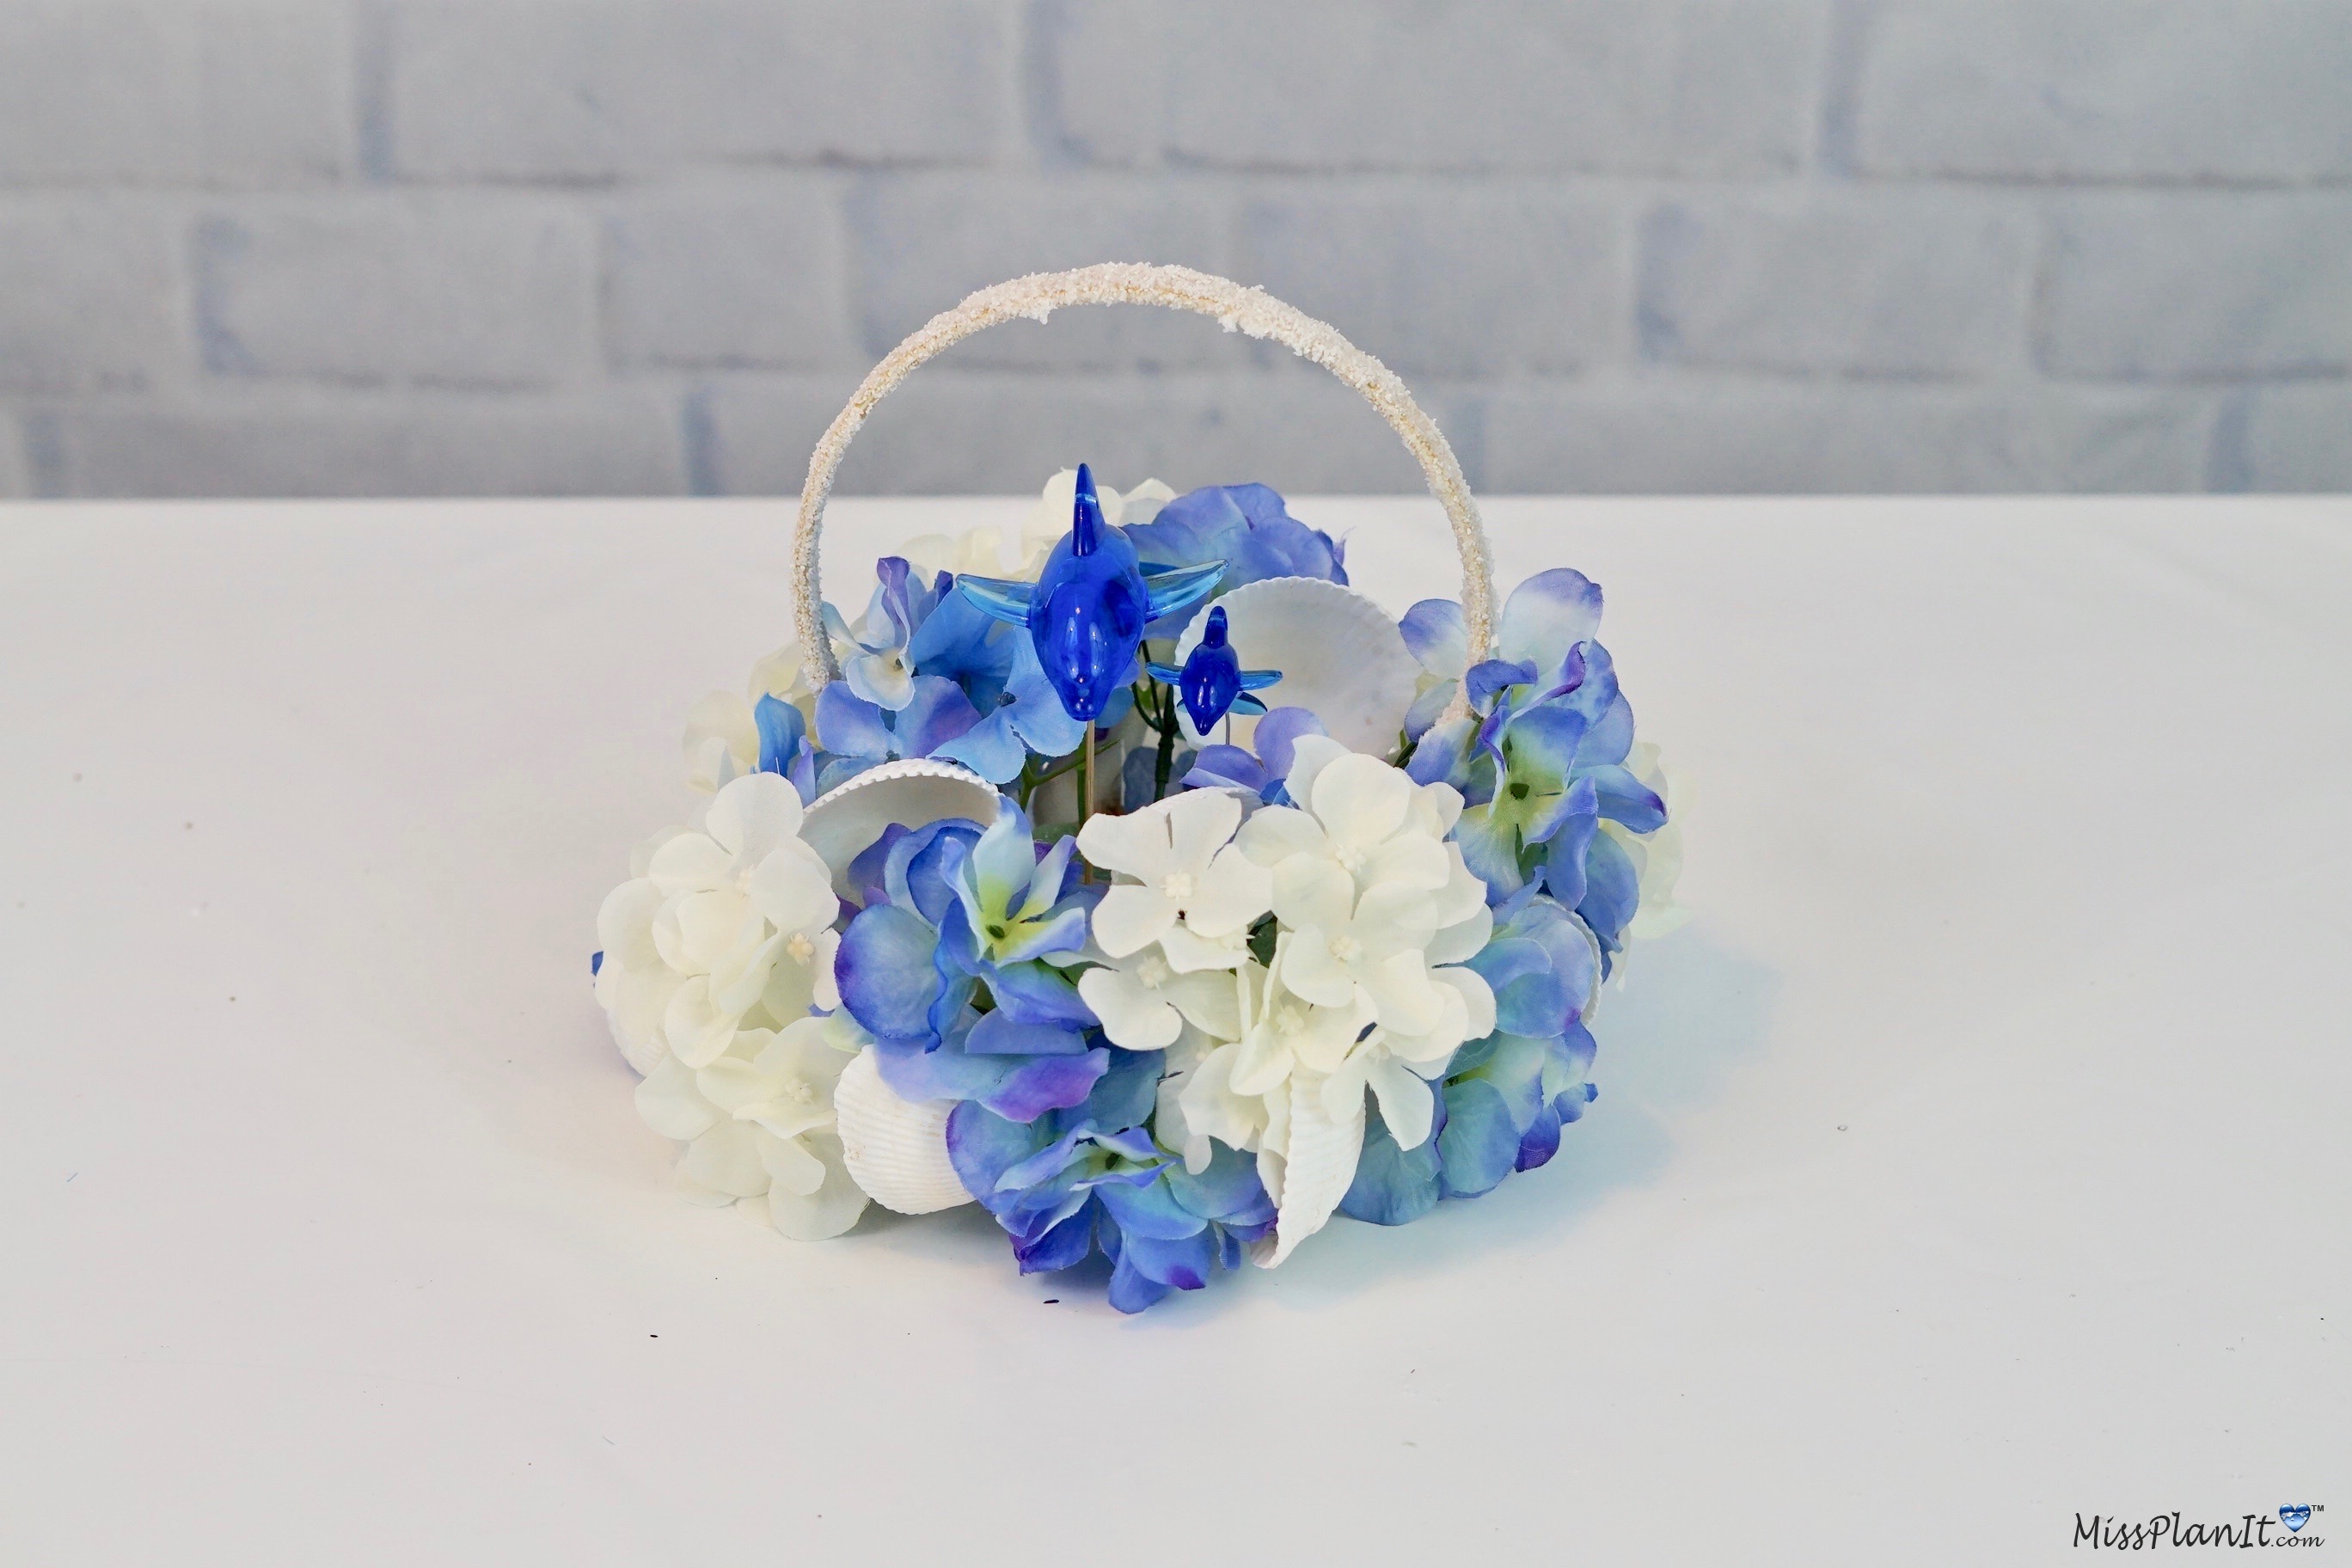
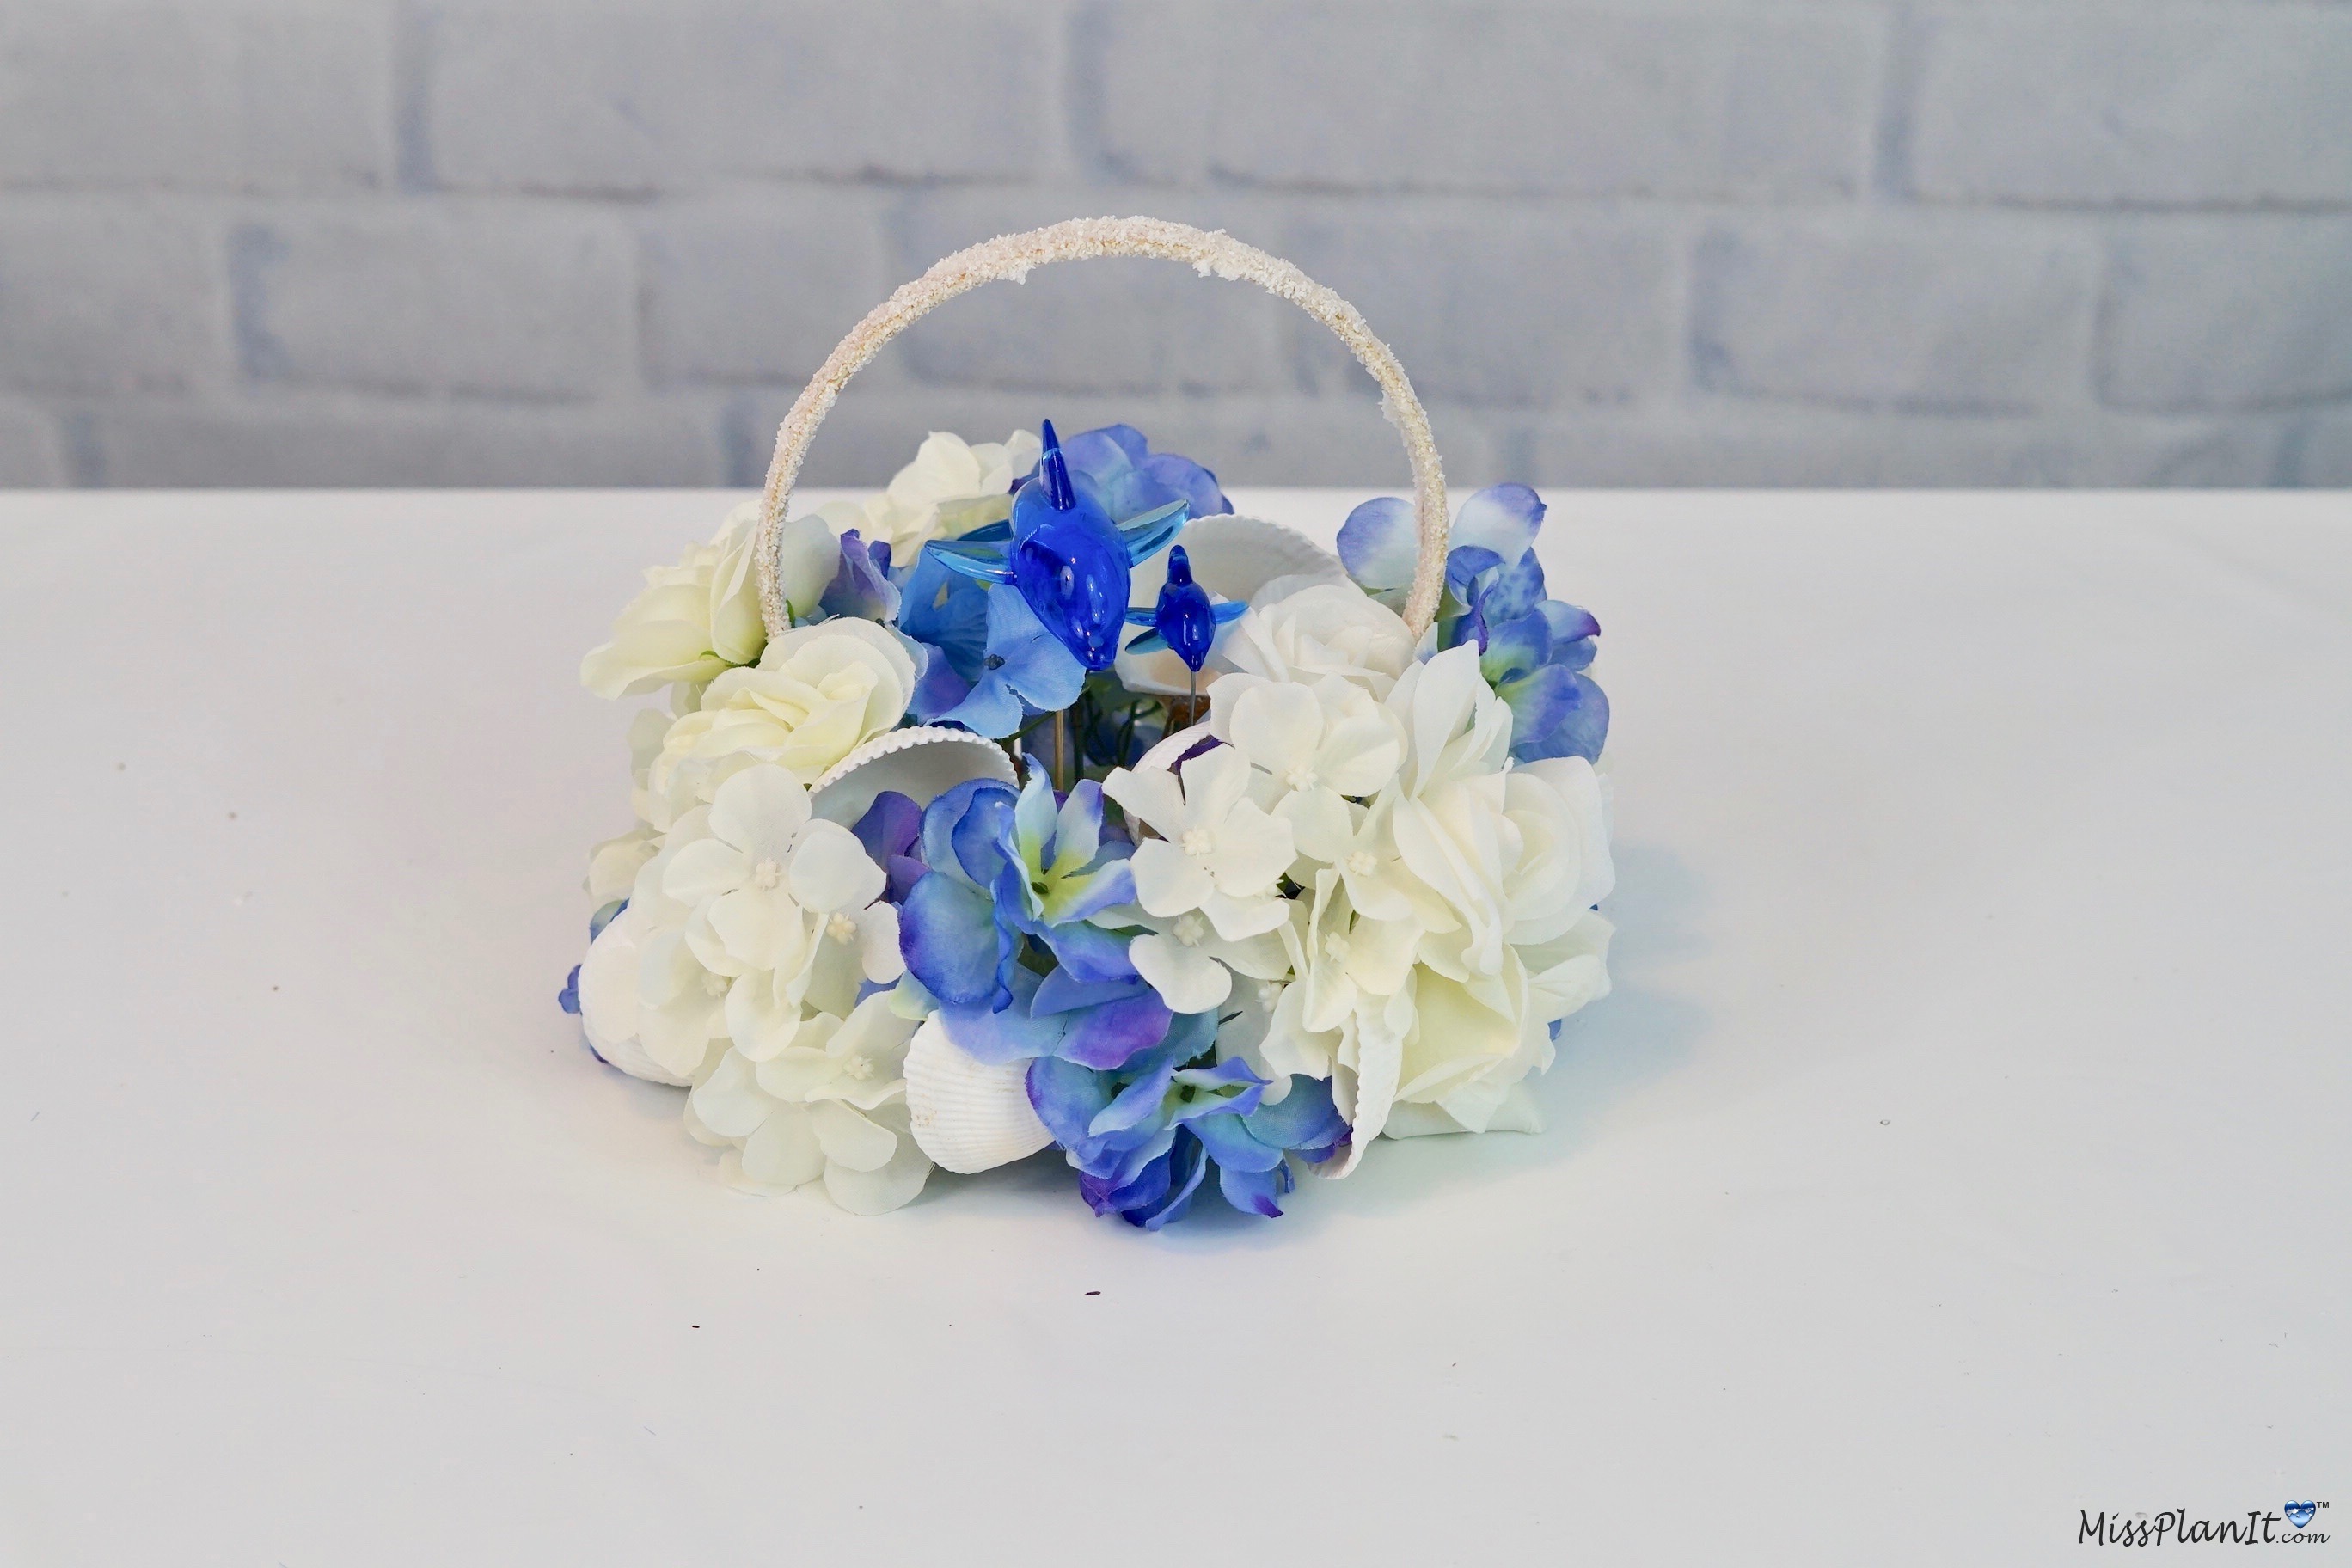
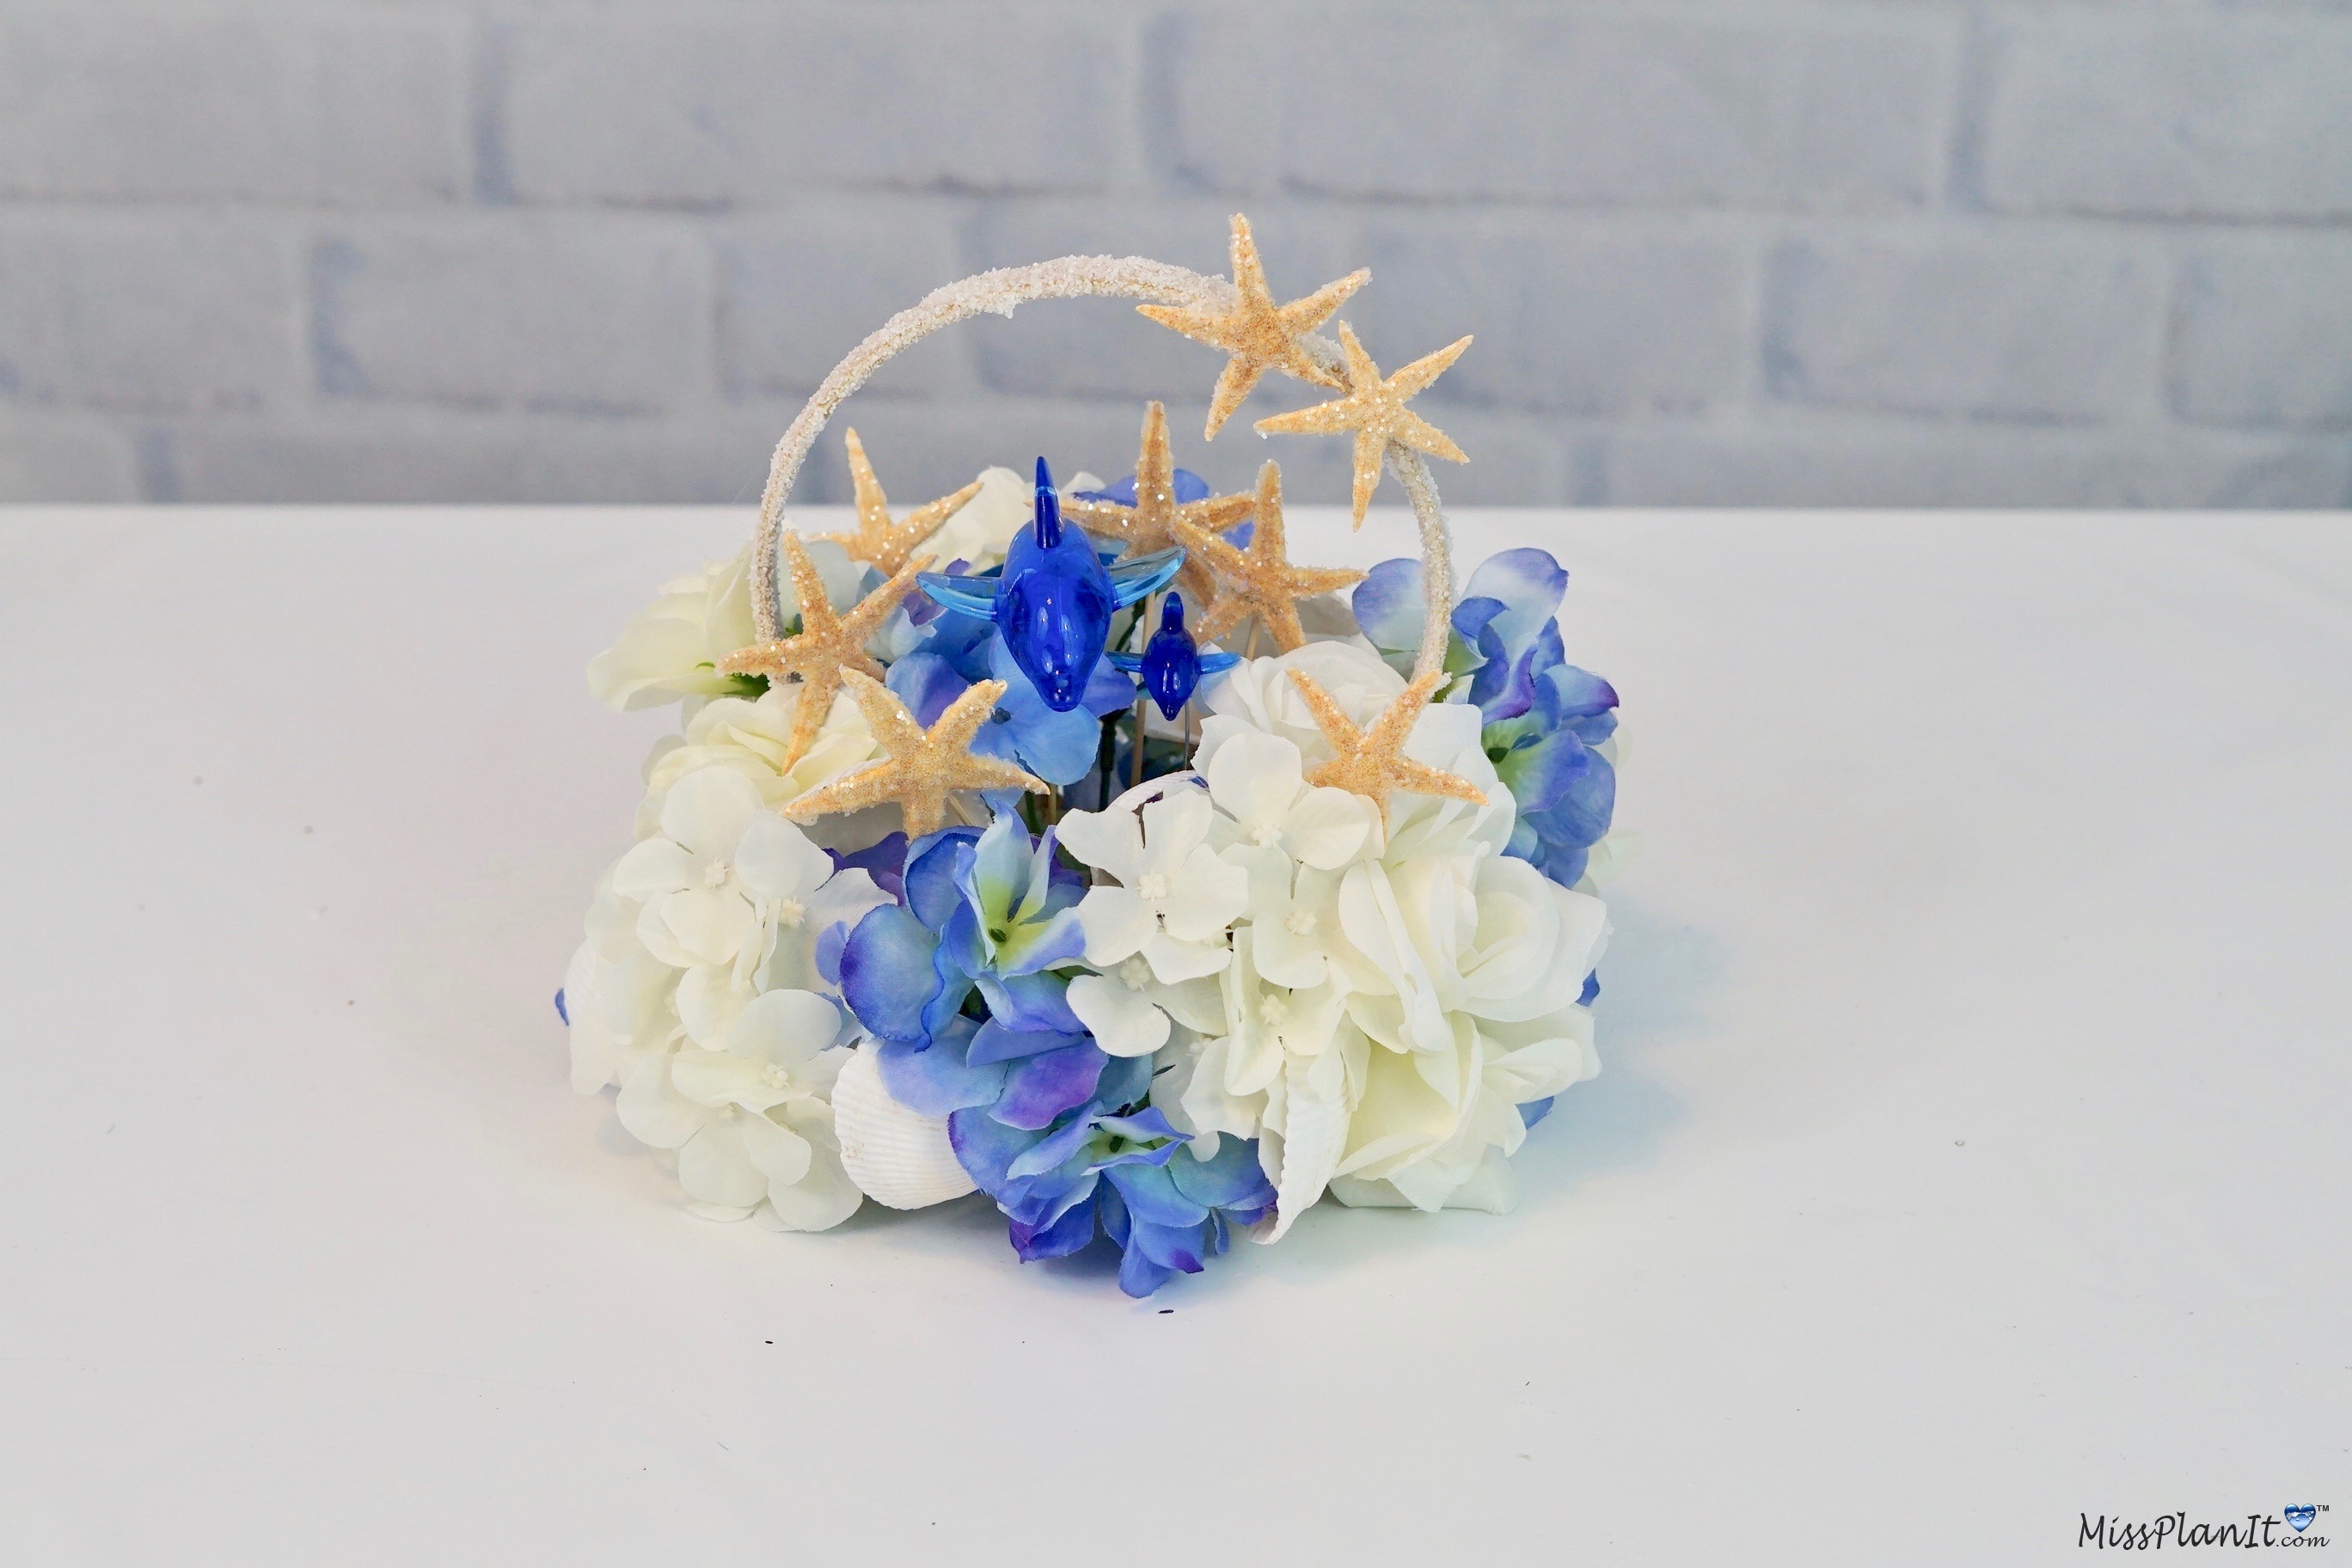
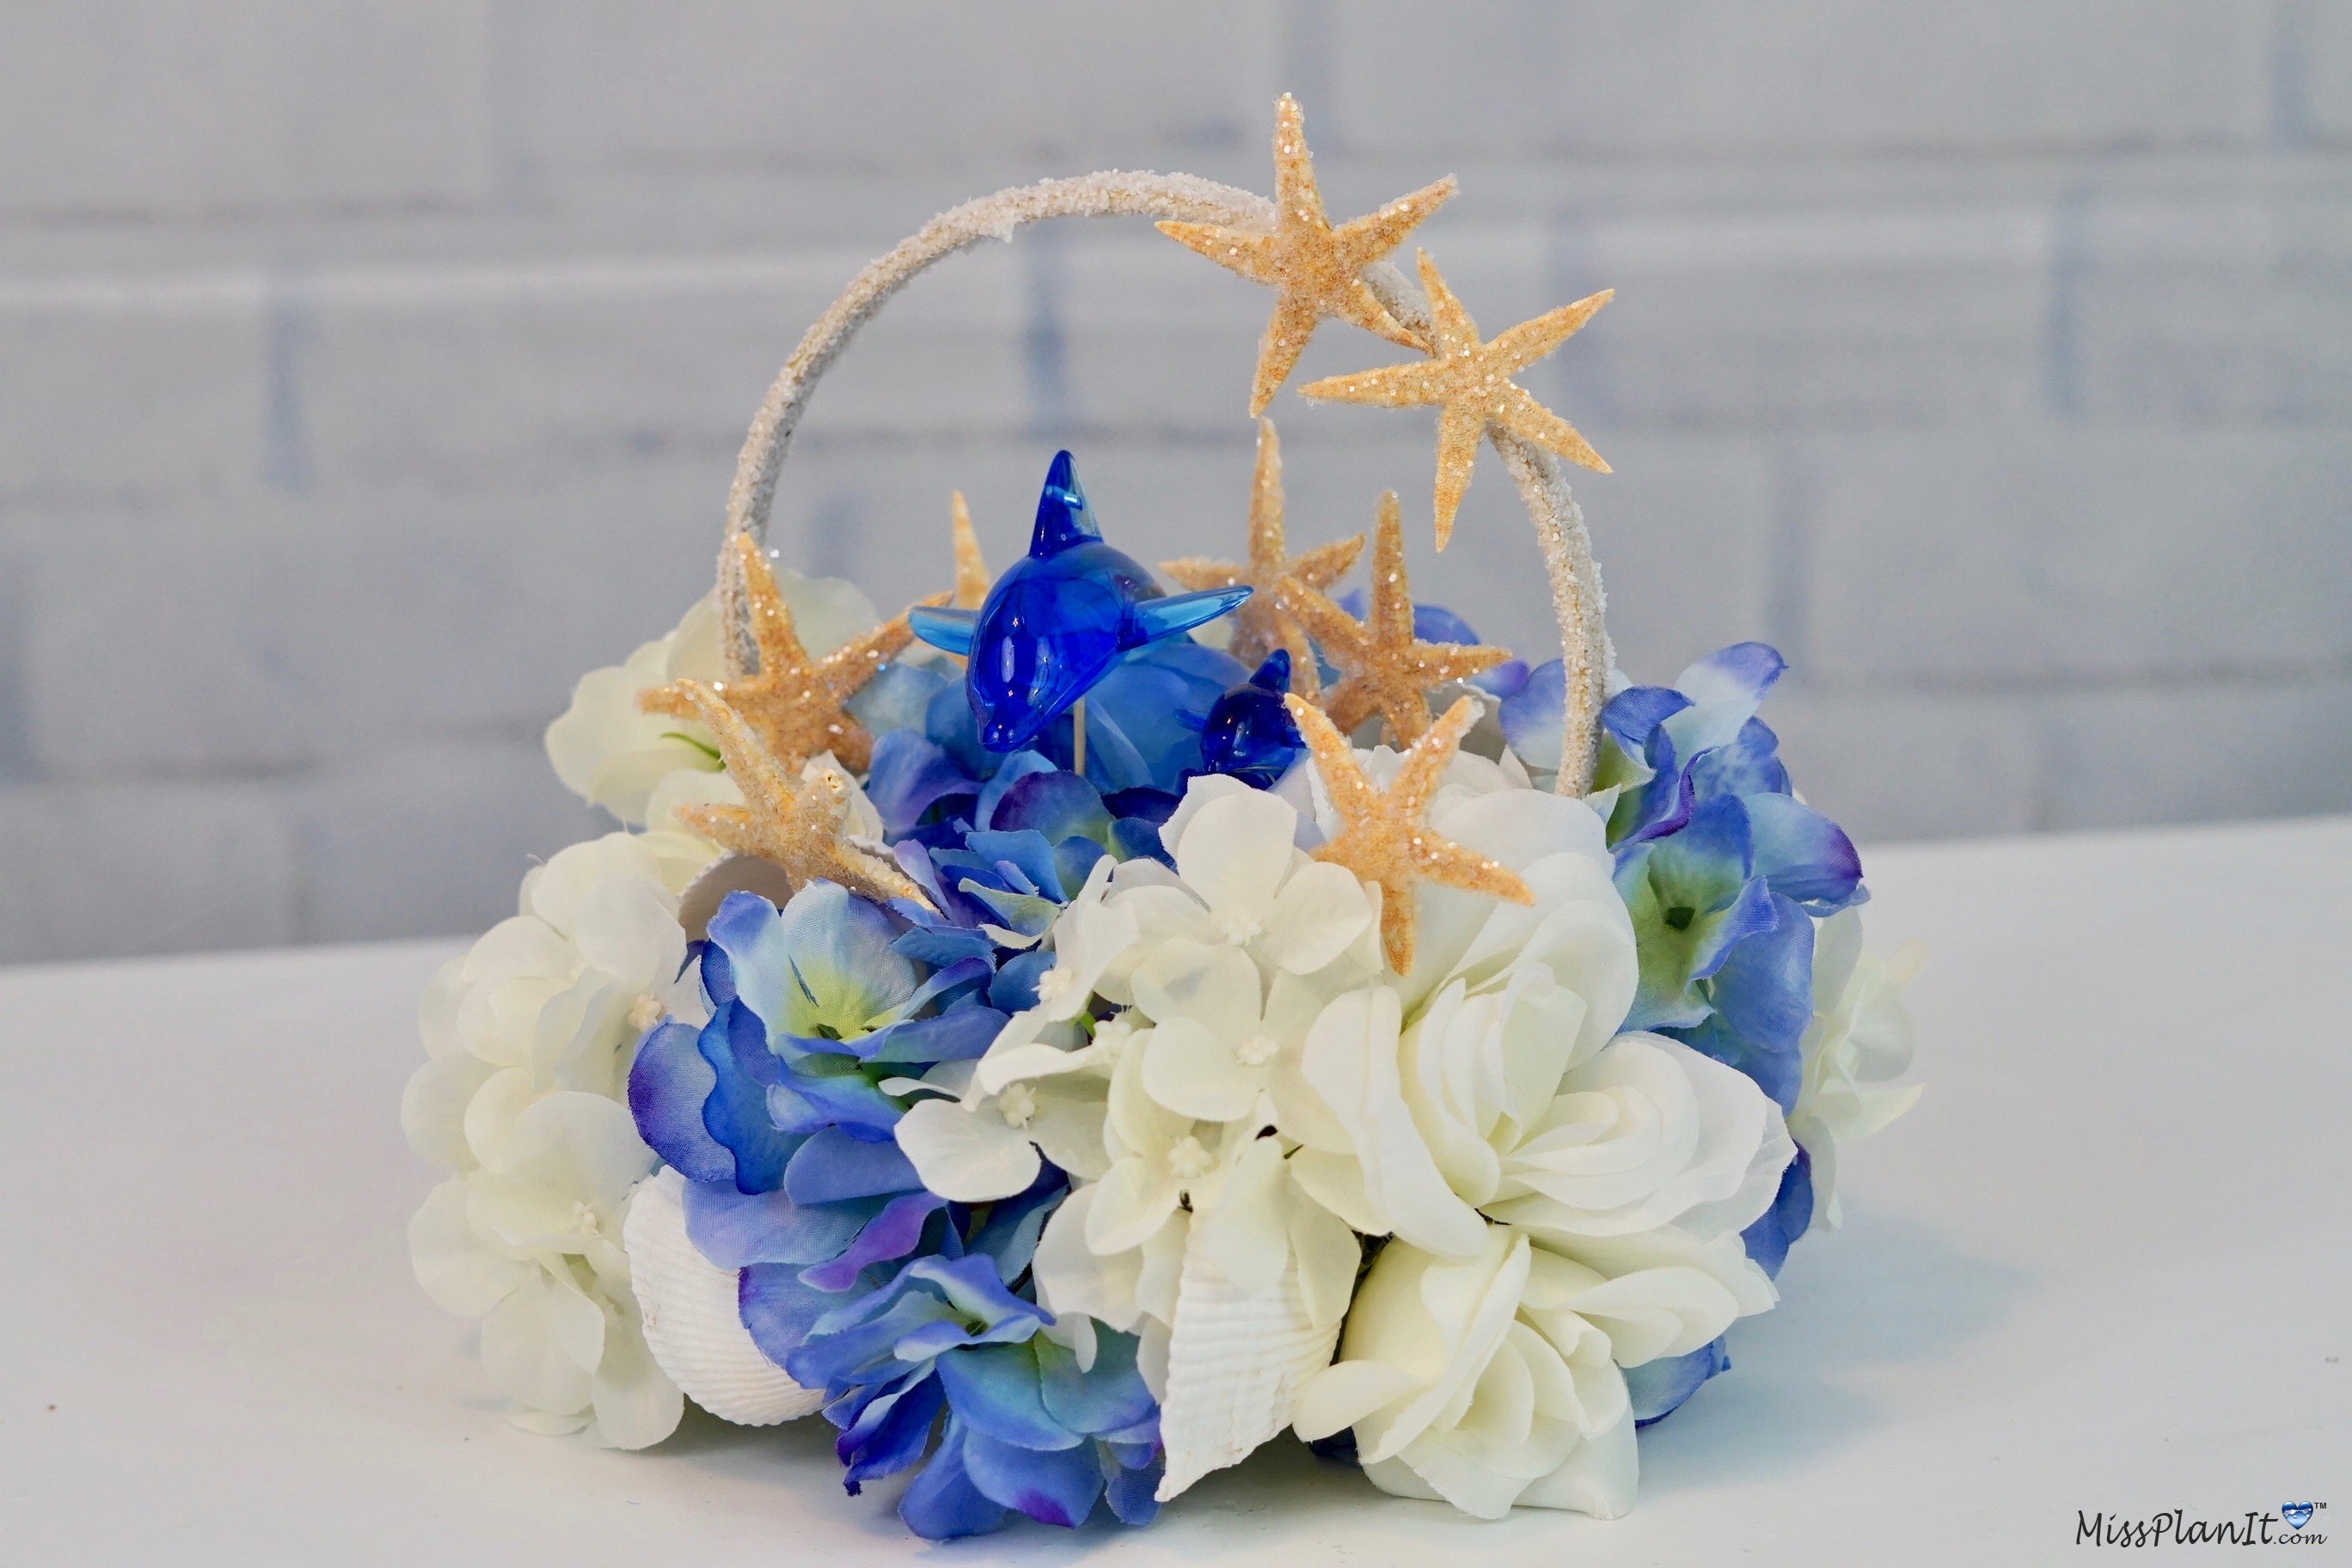
STEP 7: Attach the 2 dolphins and 8-10 of your seashell embellishments to the foam insert. Next attach 2-3 bushels of blue hydrangea blossoms, 1-2 bushels of white hydrangea blossoms, 4-6 roses, 8-10 starfish embellishments to your foam insert.
Hot glue starfish to your embroidery hoop and fill in the remaining spaces on your foam insert with hydrangea blossoms. Lastly, attach your foam insert to the rim of your vase with hot glue.
THE FINAL STEP:
Set the table!
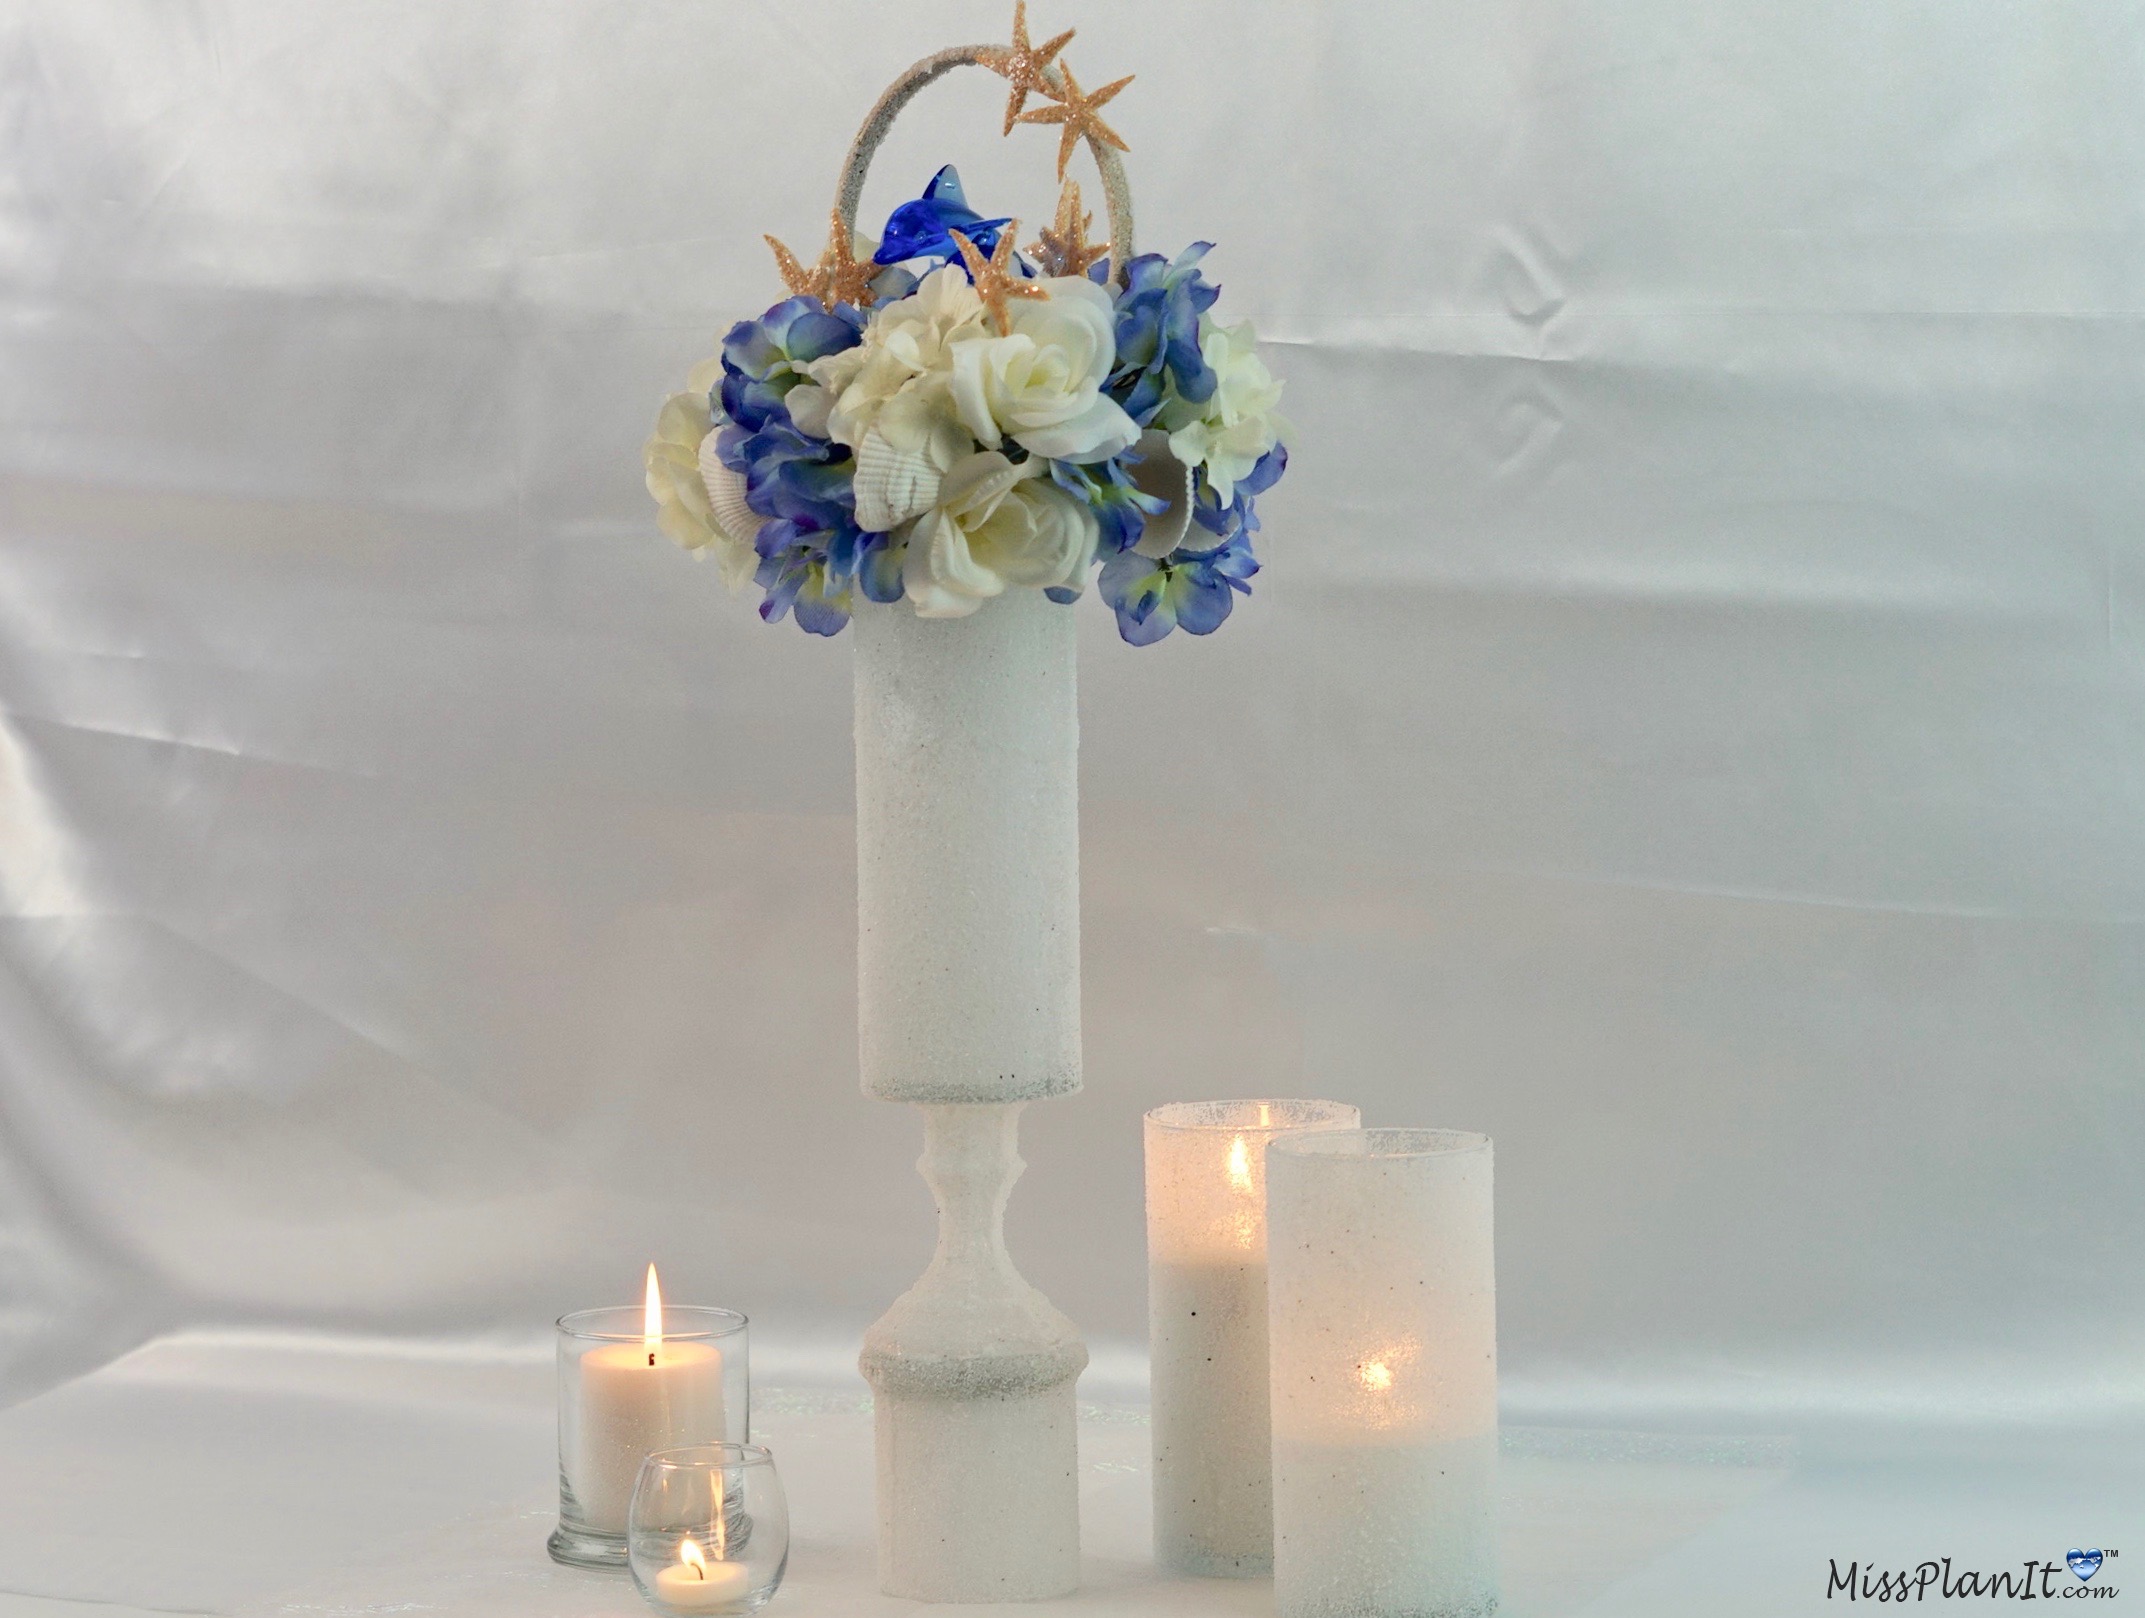
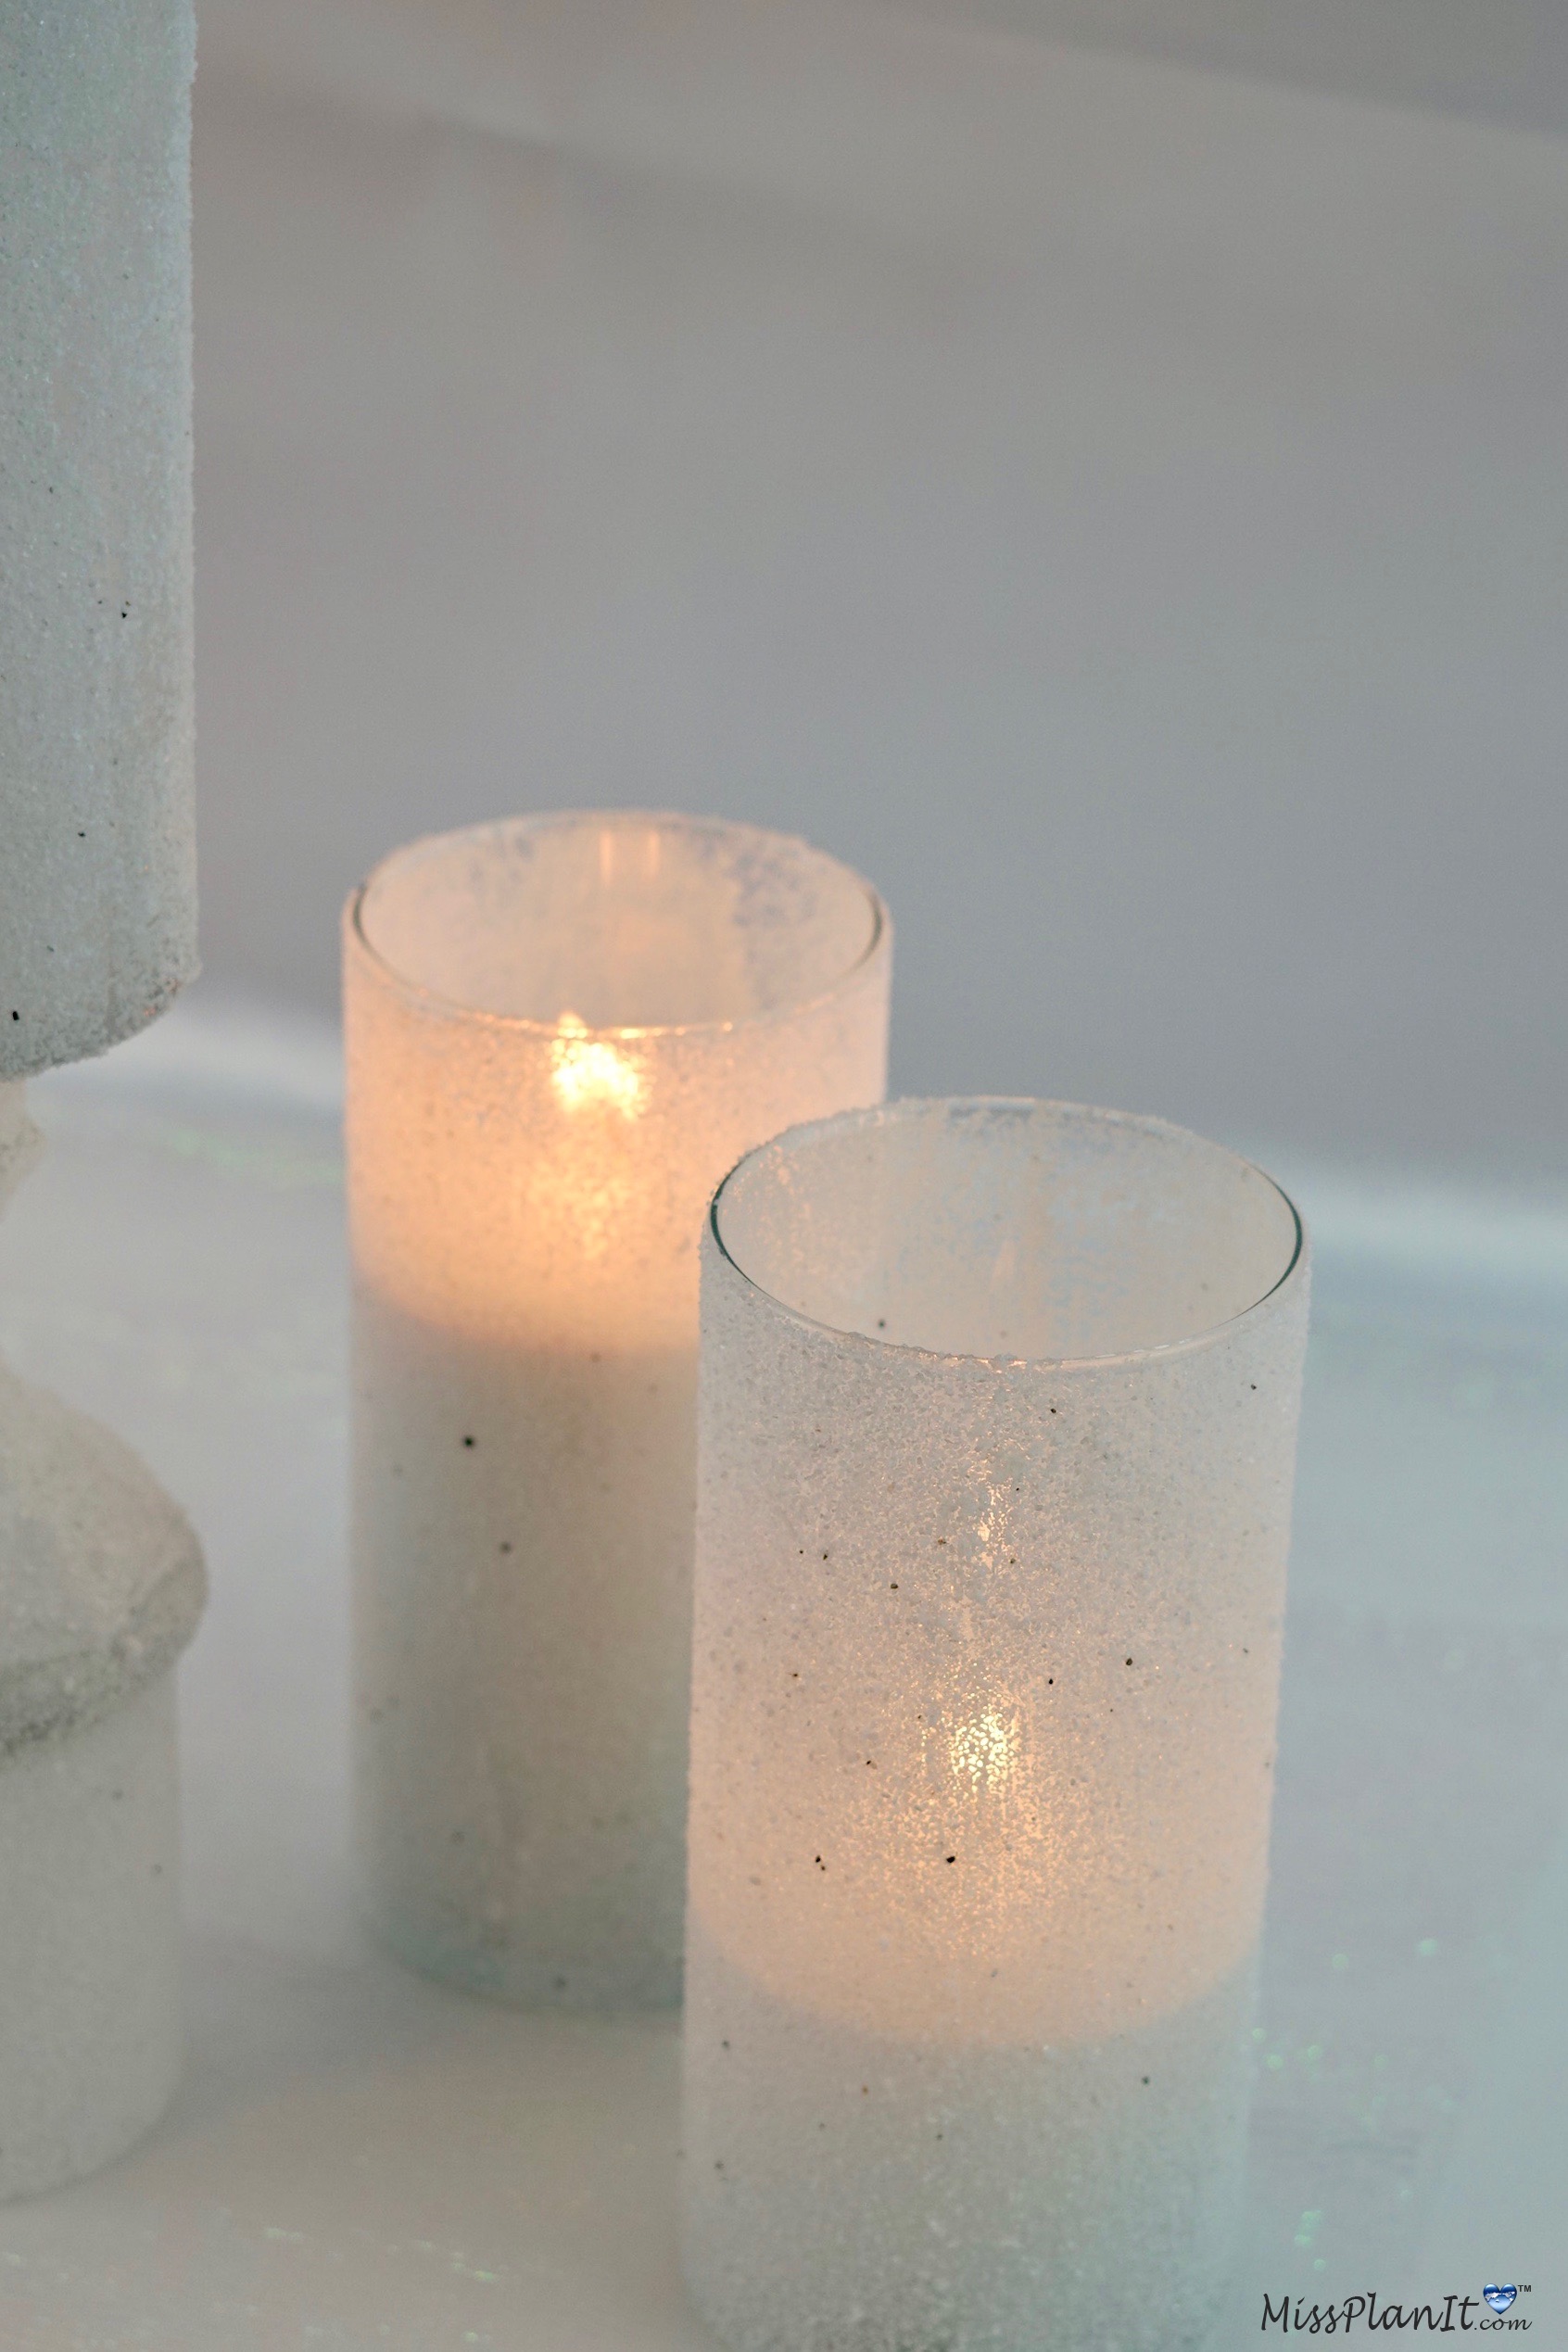
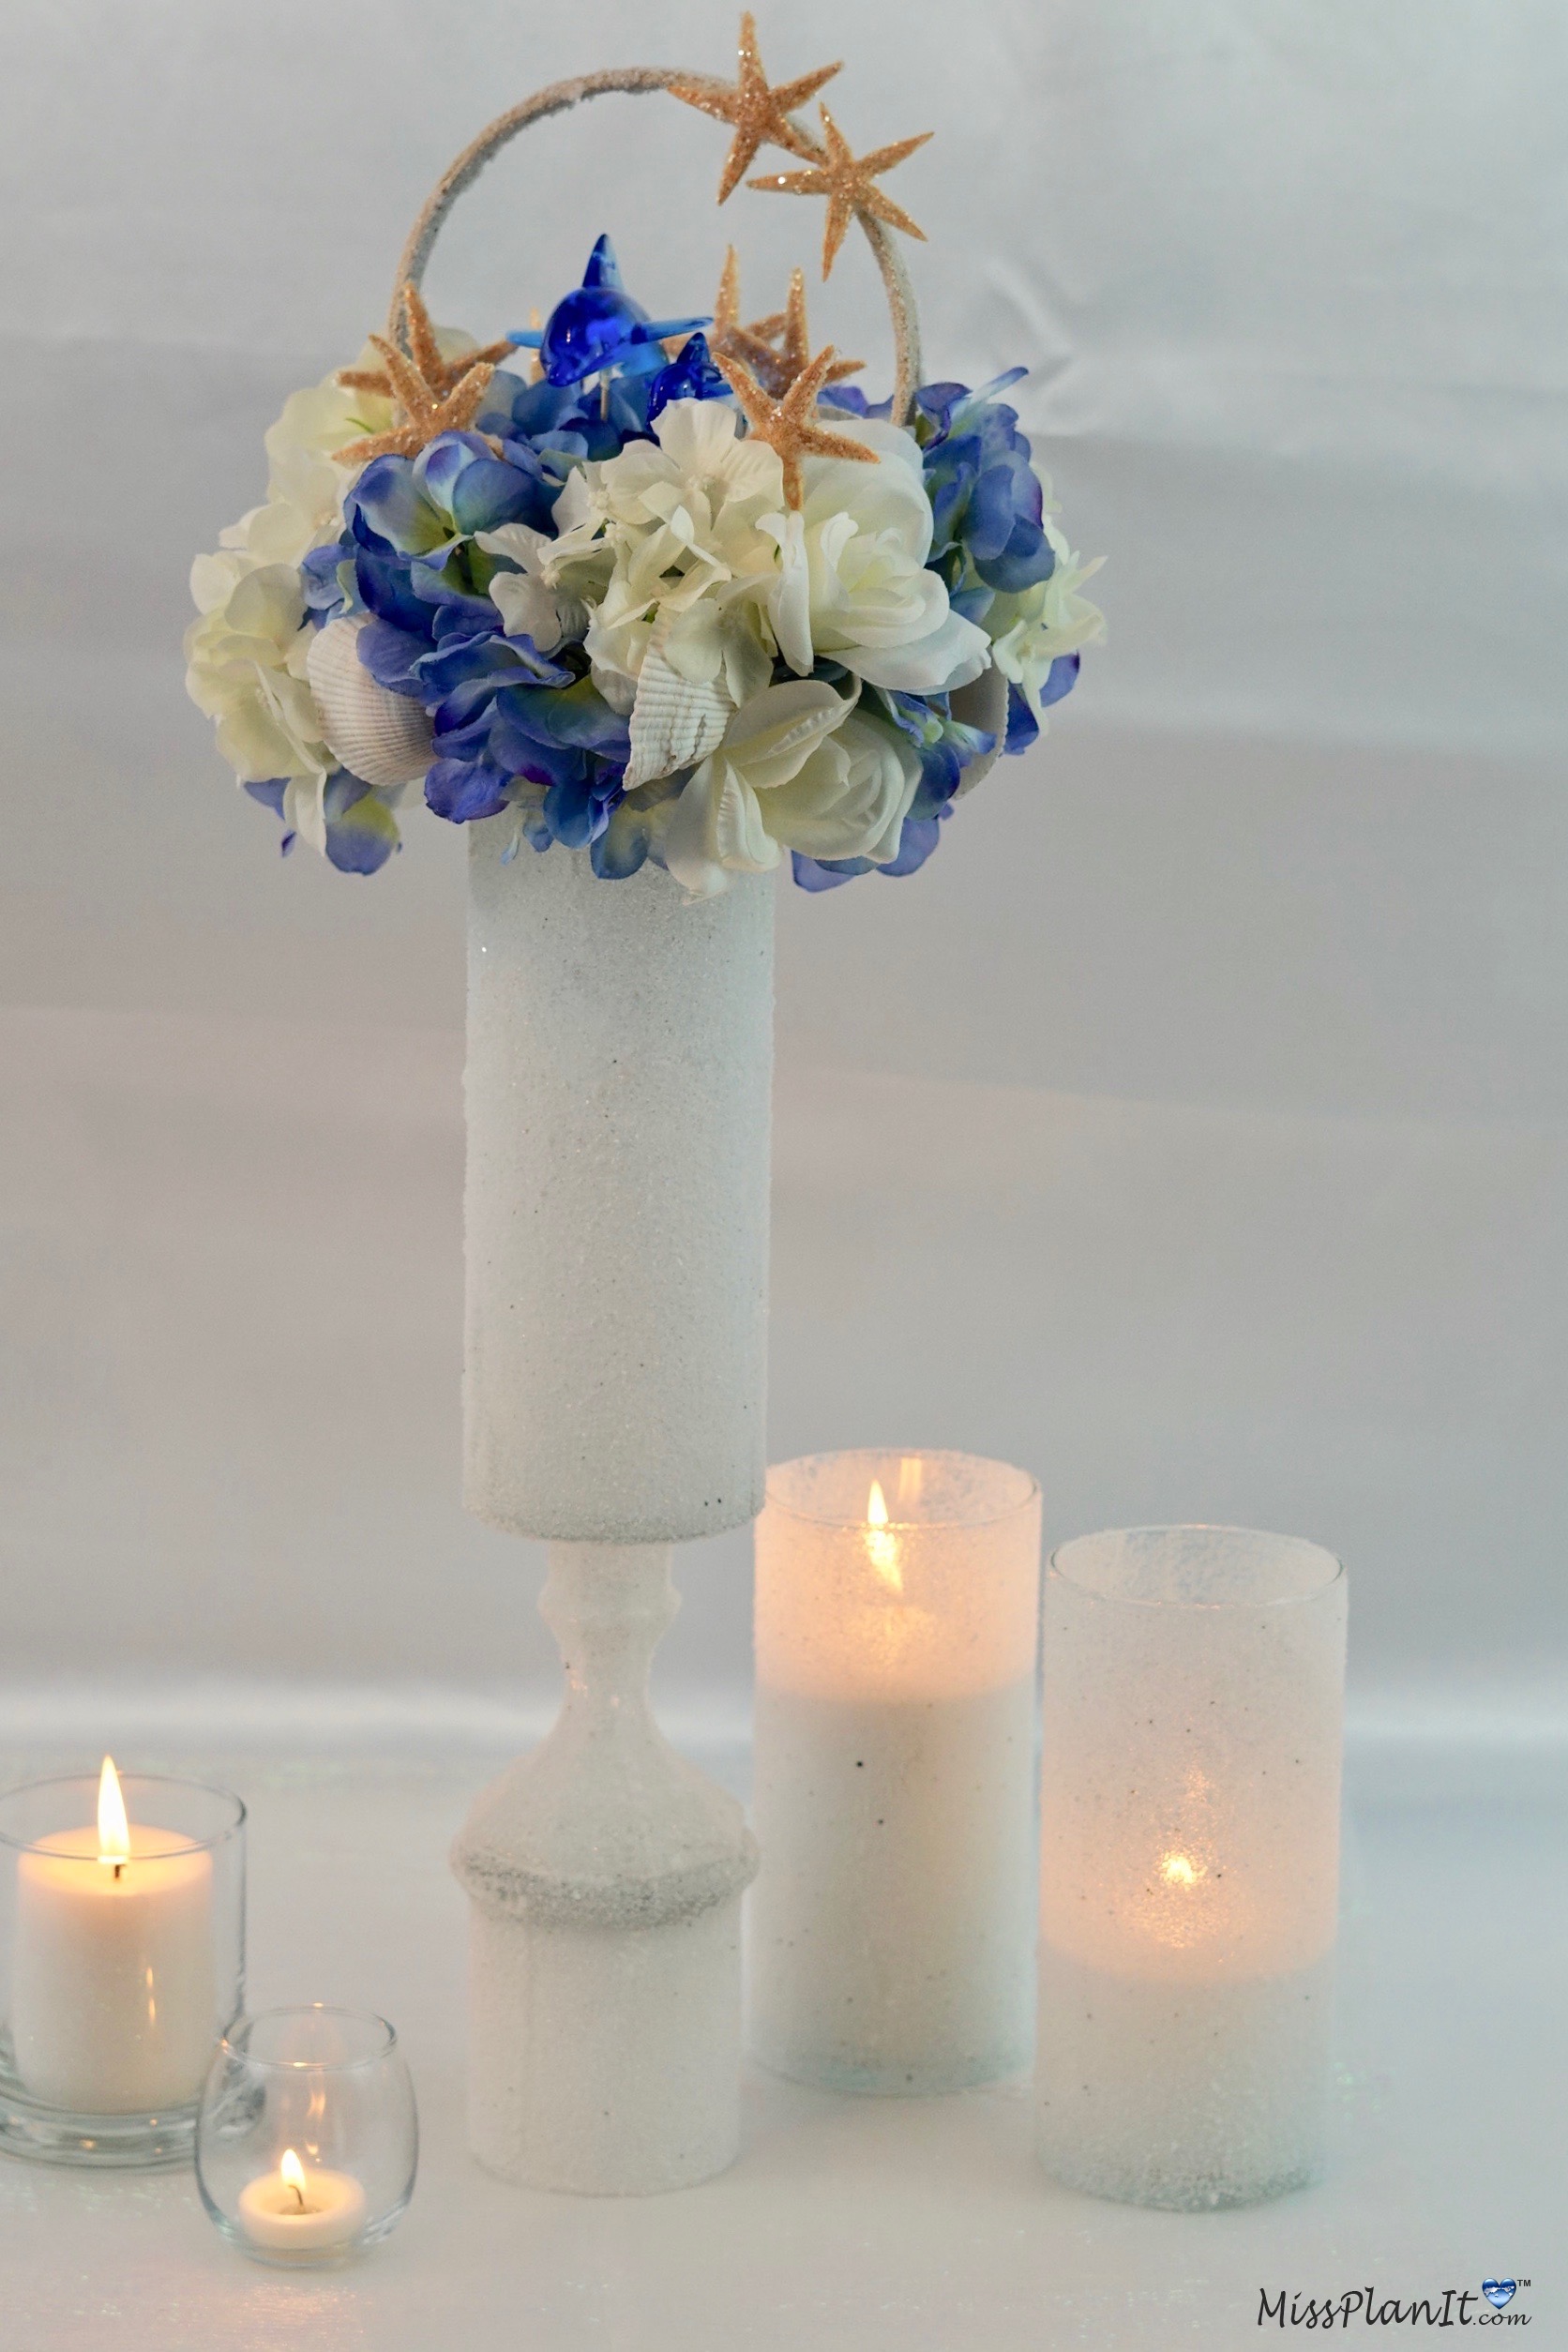
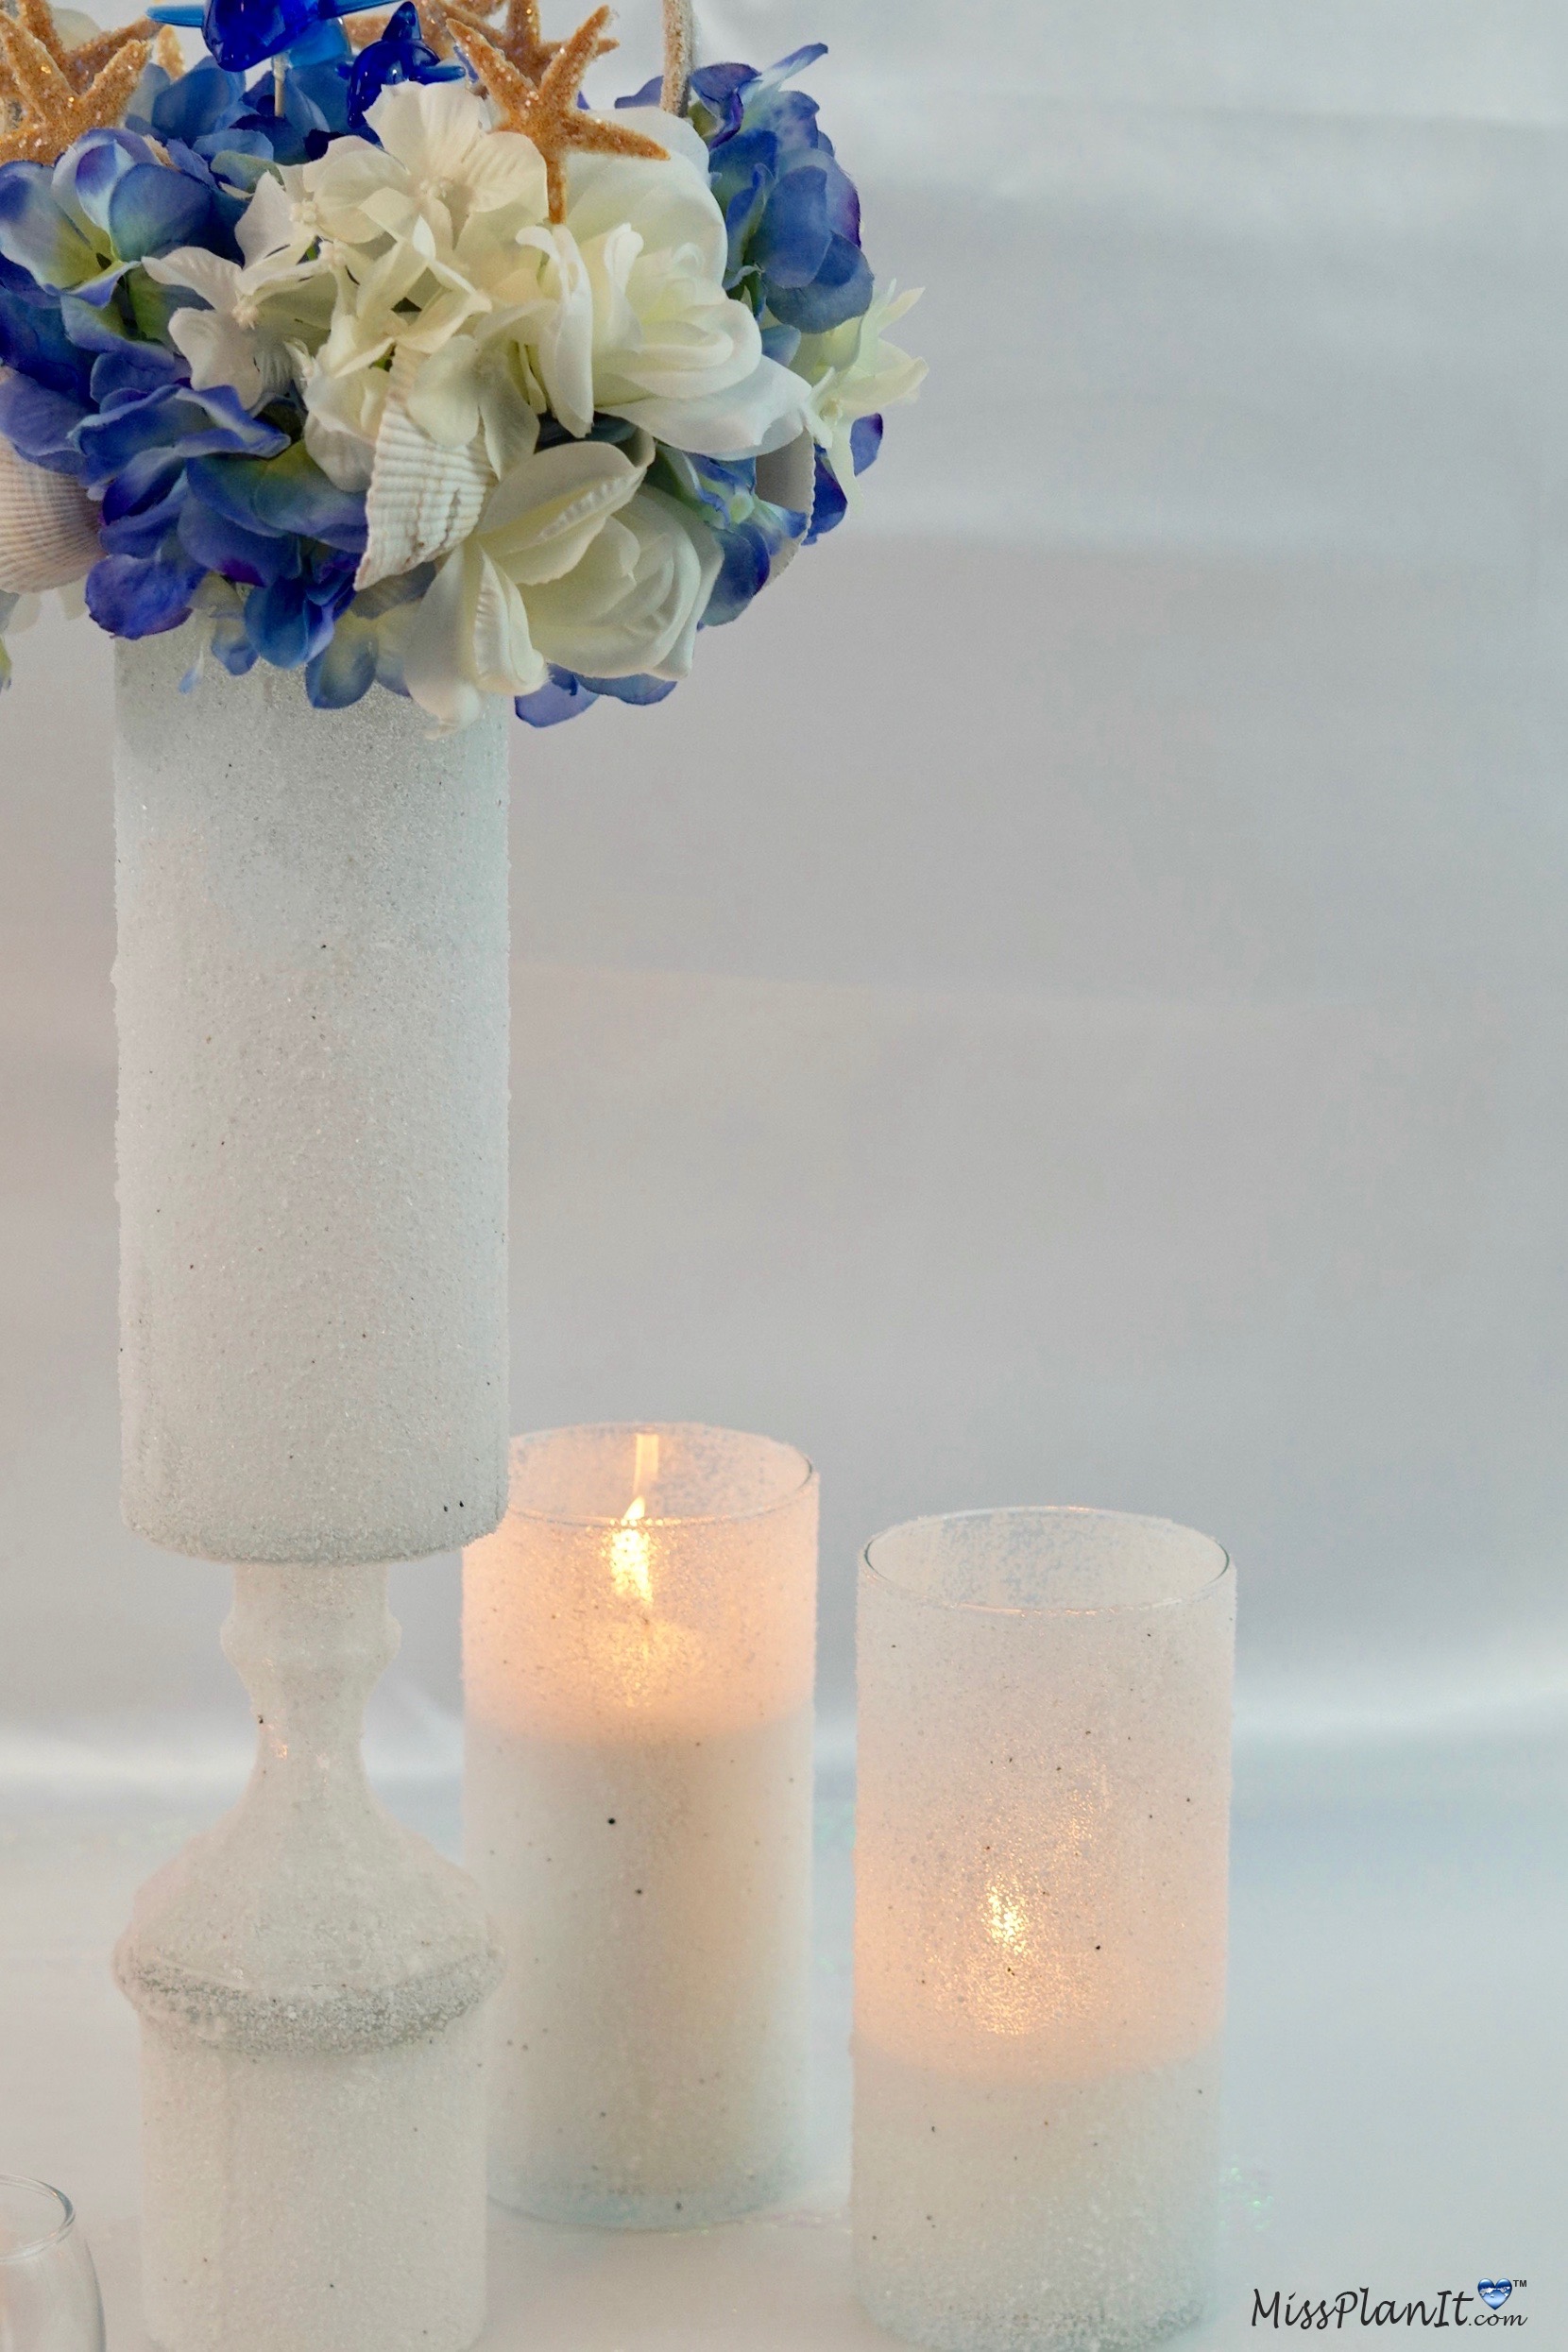
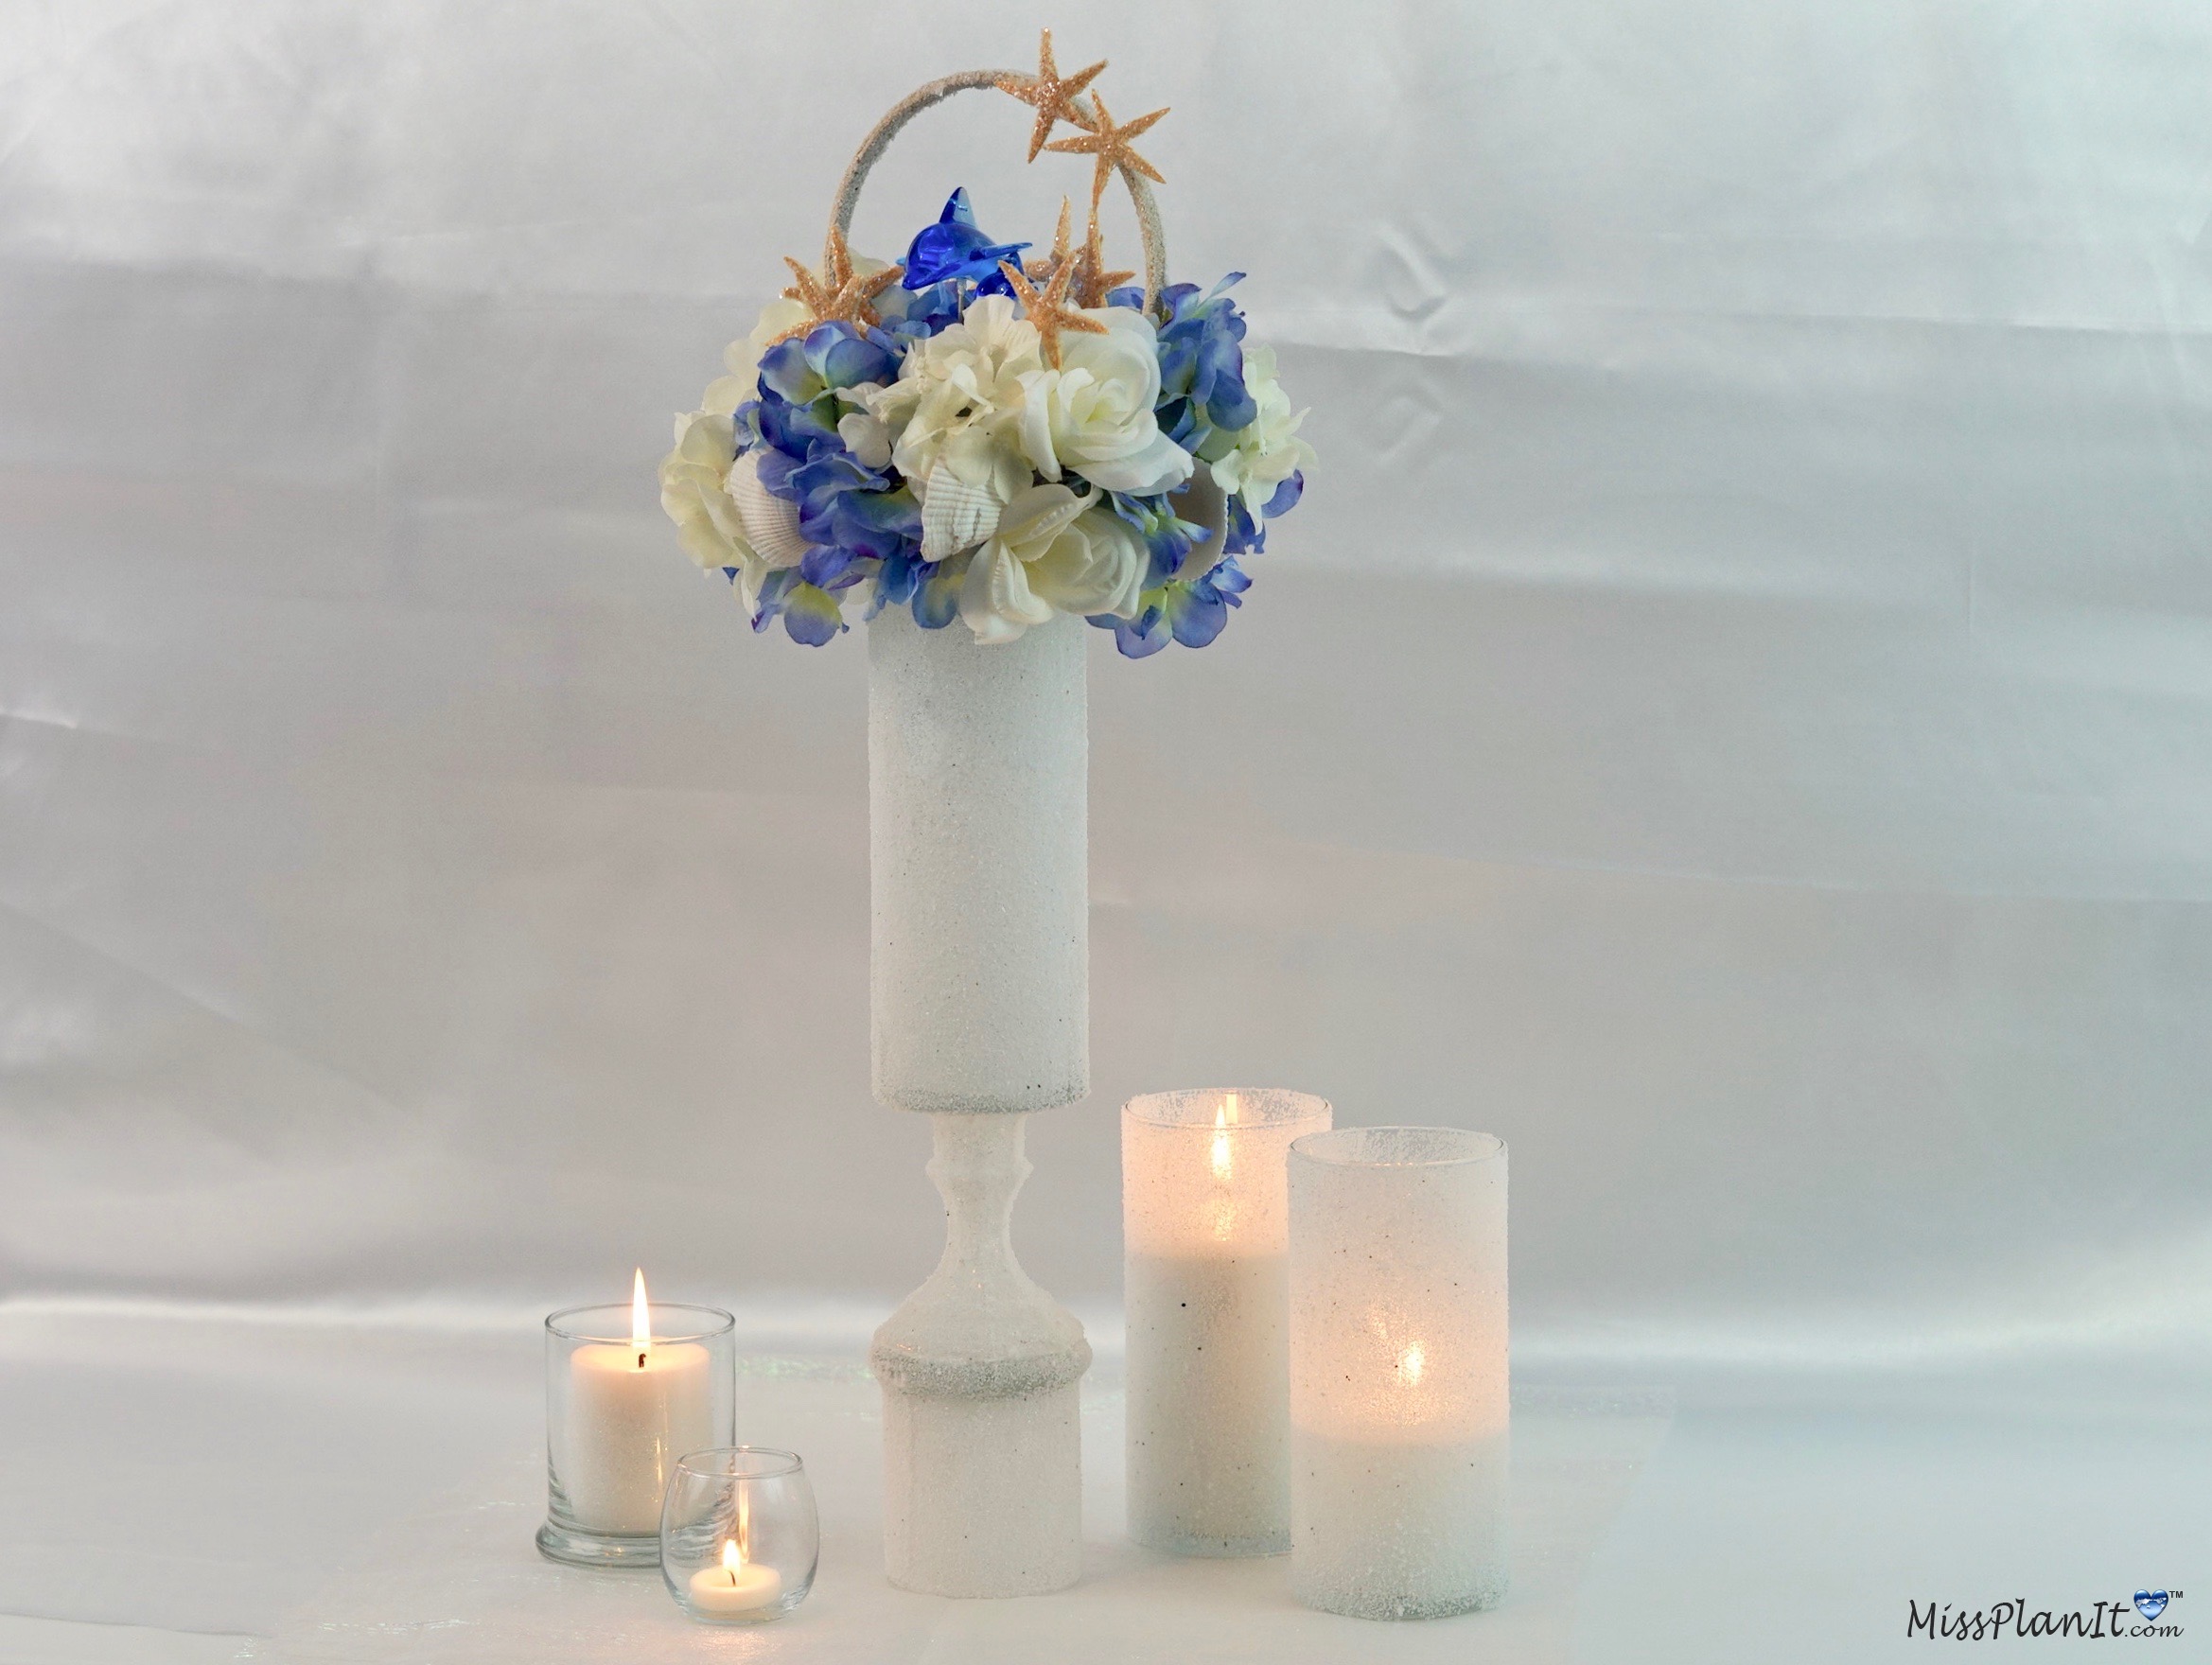
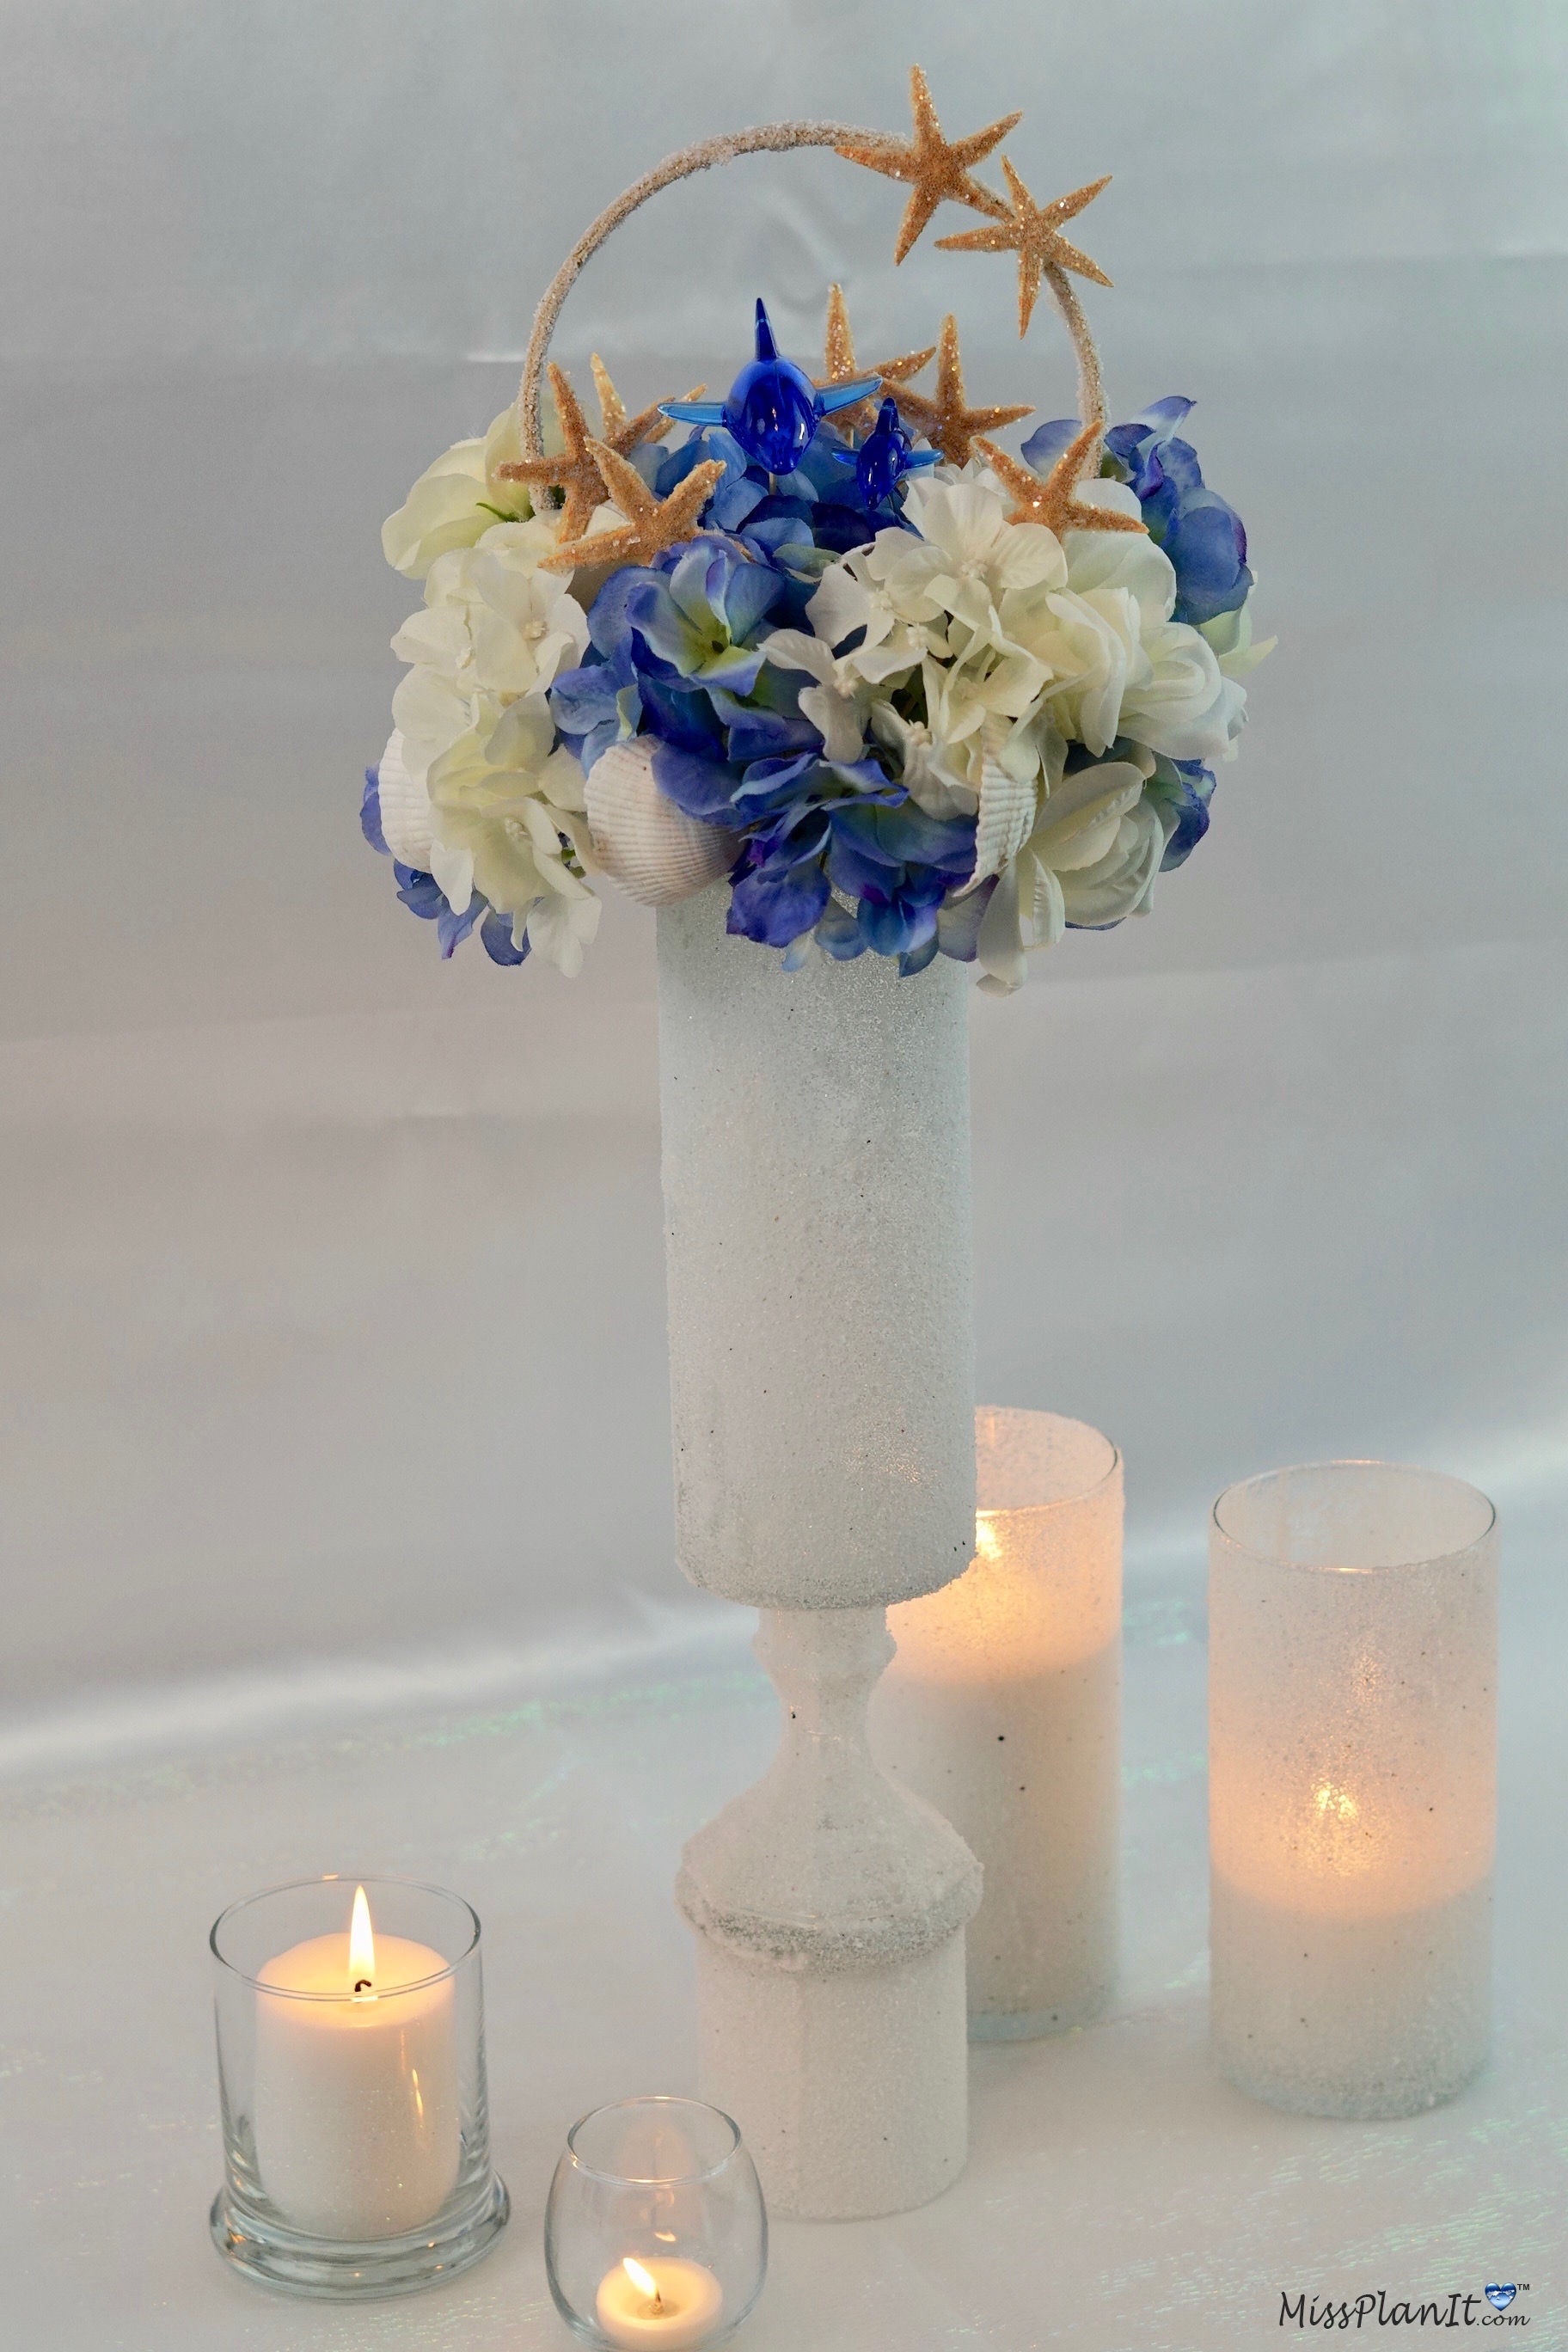
I absolutely love how this Tall DIY Dolphin Beach Wedding Centerpiece turned out! The outcome is amazing and will definitely add that extra special touch to any wedding!
BONUS VIDEO CLIP & SUPPLY LIST BELOW:
Don’t forget to sign up for Ebates to earn cash back on your online purchases. Planning a wedding is expensive, our goal is to help you stay within your budget and make every penny count. Click here to sign up for Ebates, and RIGHT NOW when you sign up, you will receive a $10 cash welcome bonus when you spend $25.00!
If you like the outcome please subscribe to our Youtube Channel for more DIY Videos and follow us on Facebook and Pinterest.
Need help with an upcoming project? Be sure to send us a project request!
“Remember When Every Penny Counts, Count on MissPlanIt”


I really like this centerpiece for a beach wedding. My future daughter-n-law loves Dolphins like I do. I also was looking for something to budget friendly. I think this would be a nice center piece for Rehearsal dinner table. I like your ideas along with other people helping. I will check out your websit in future.
Thank you, Janet
Hi Janet,
I am so happy that you found something to add to your future daughter in laws special day!
Thank you for your kind words!
XOXO MissPlanIt