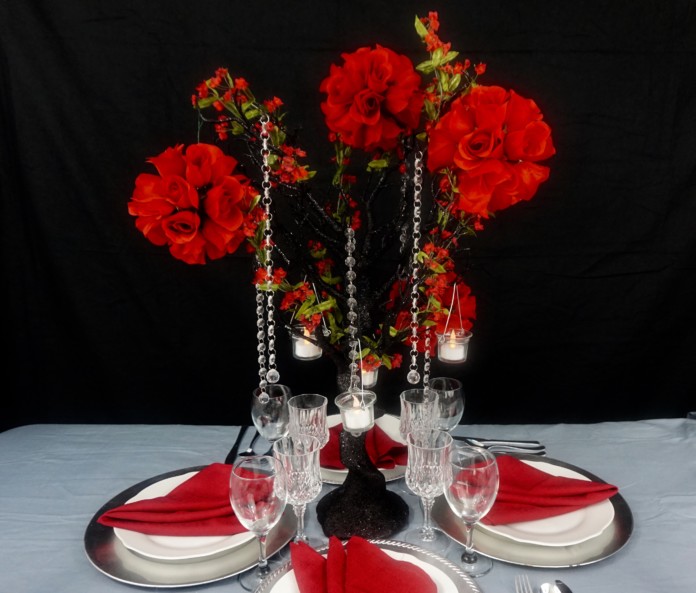
Let’s continue our 2 Part series for our Community Member Kendale. If you remember from last week, we received a project request from Kendale to help her create 2 different centerpiece ideas for her dream wedding.
To recap, just as Kendale and her mom began the planning phase for her wedding, her mom passed away. This devastating news took a toll on Kendale, halting her wedding plans. So when she reached out to us we were more than happy to help.
Typically, due to the amount of requests we receive to assist DIY brides with their wedding projects, we usually only choose 1 of our community member’s projects to feature on our Miss PlanIt Channel.
However, Kendale had an extraordinary story, and we decided although we cannot replace her mom, we would do our best to help Kendale as much as we could!
Let’s Get Started:
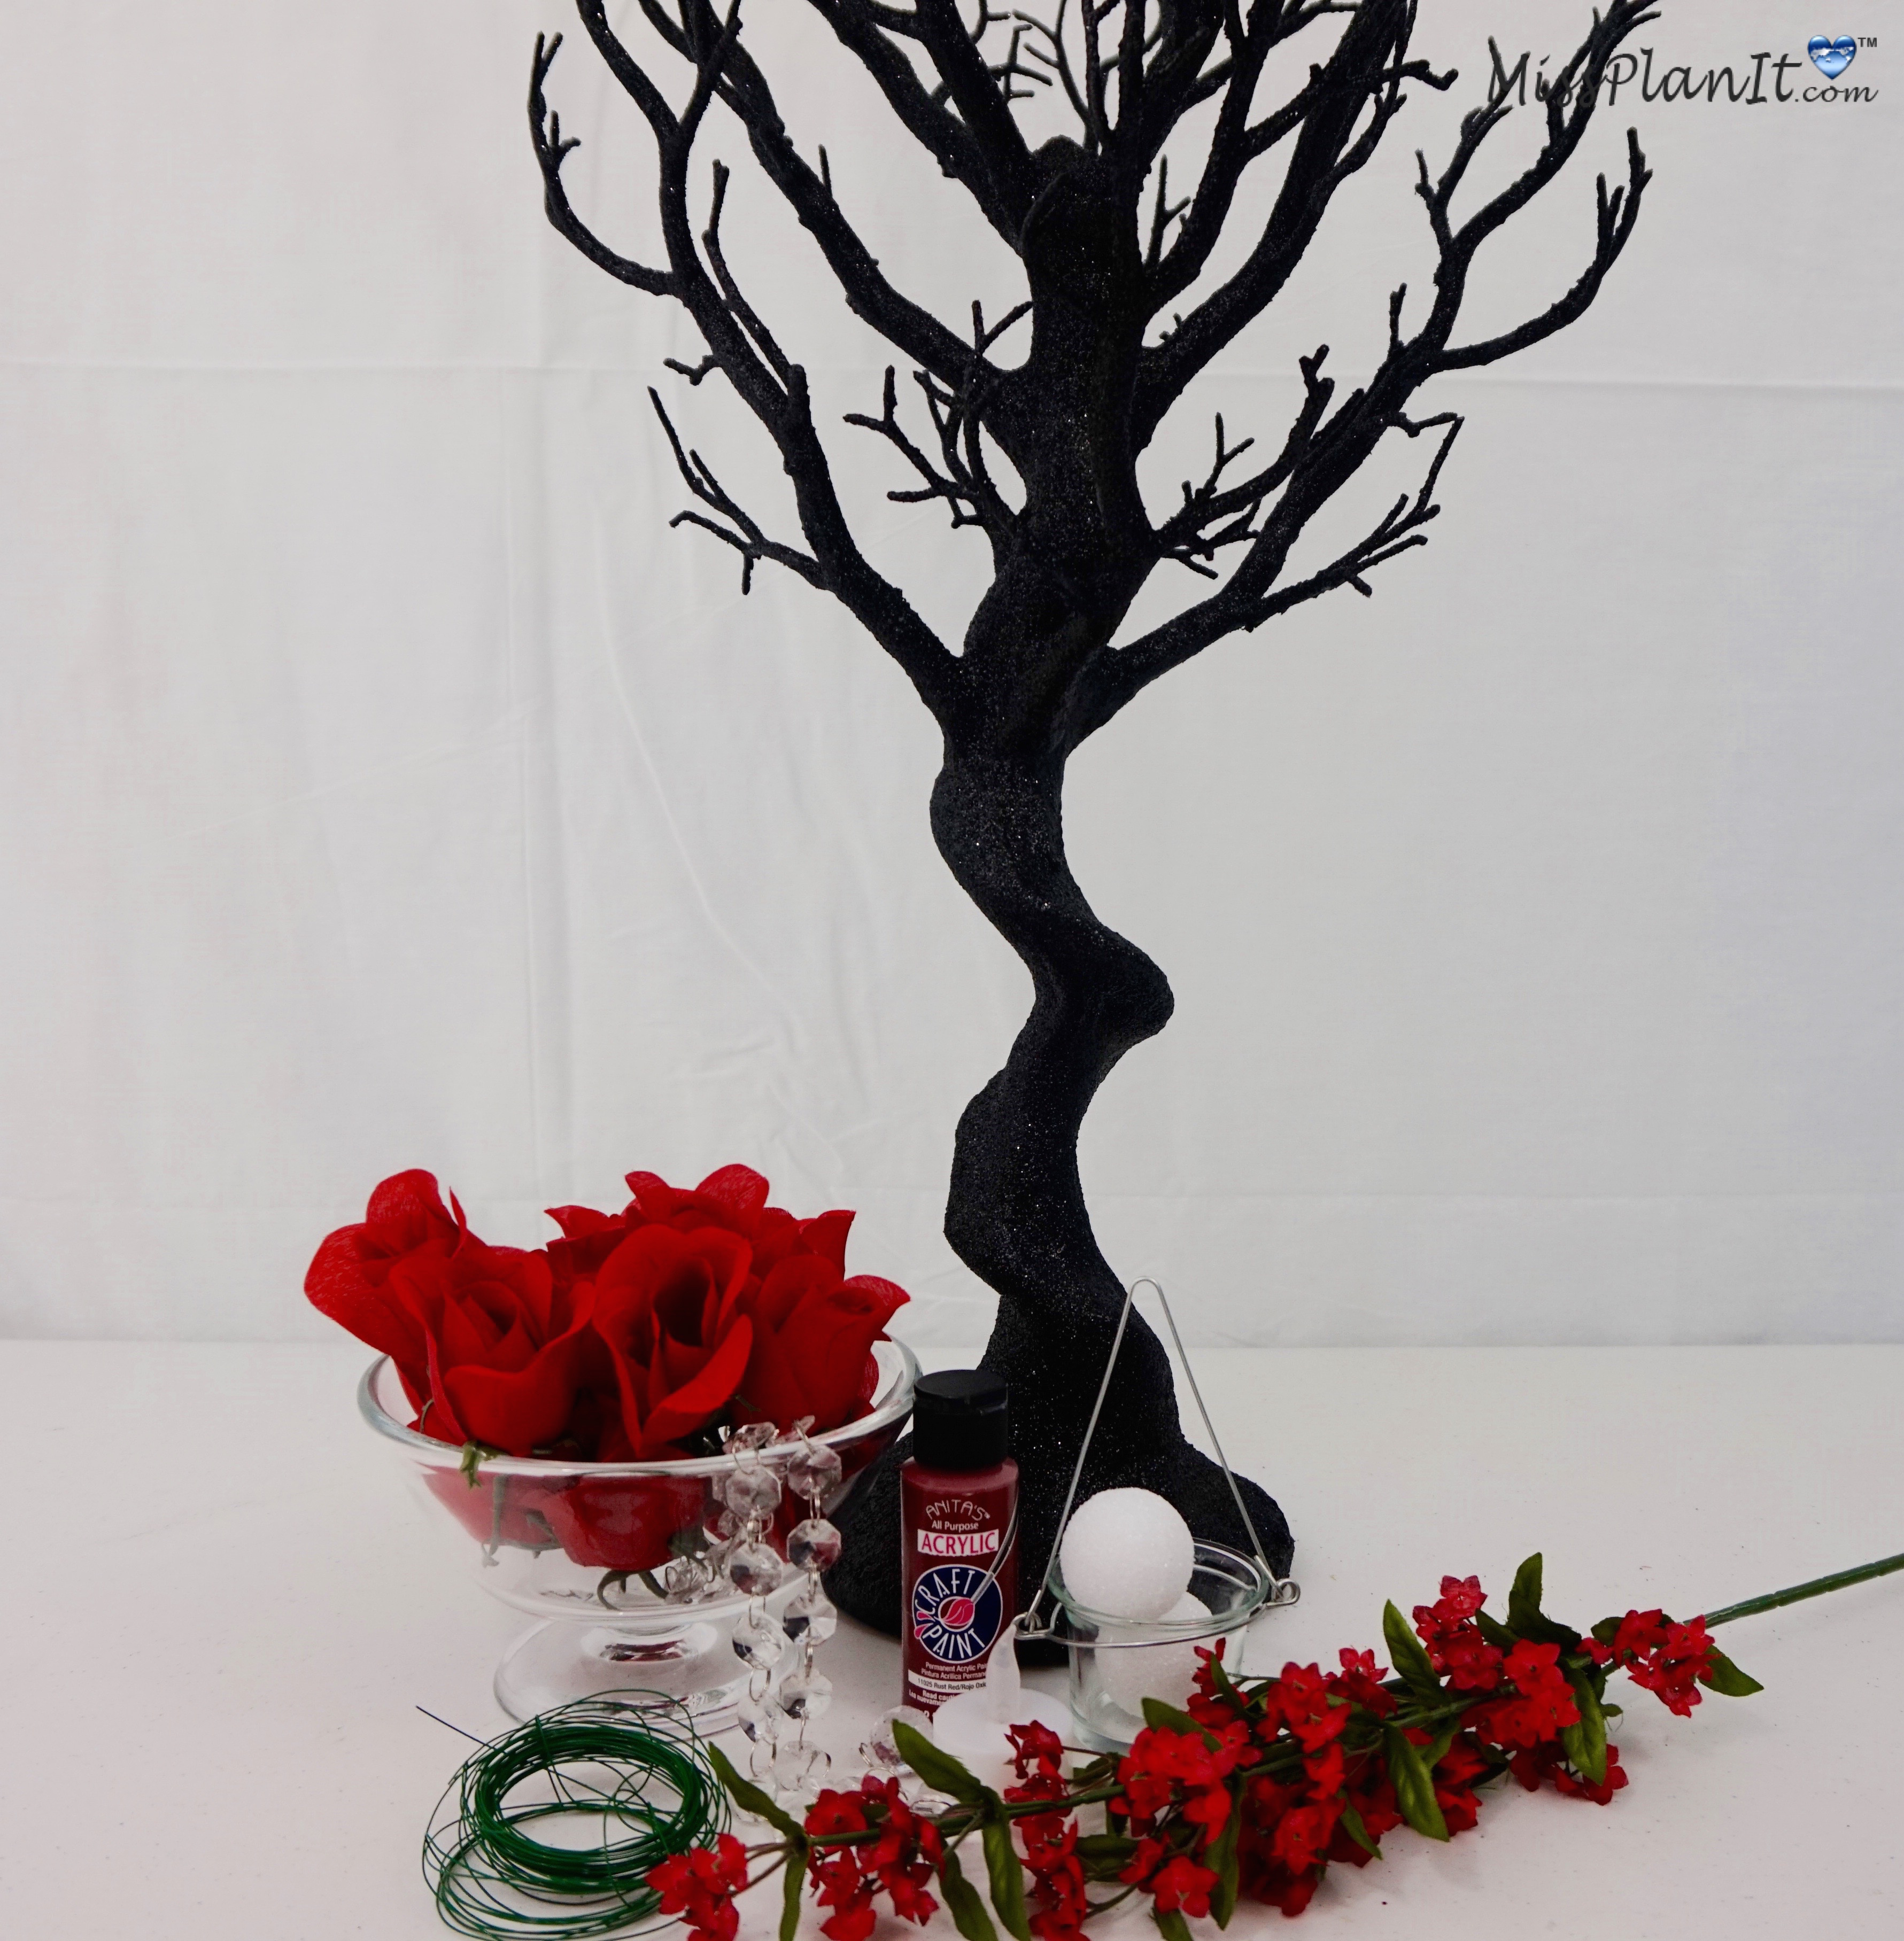
SUPPLIES:
6-5 Stem Floral Garden Velvety Red Roses
1-4ct 2 in Foam Craft Balls
1-Tempera Paint Red
2- Inspirational Led Tea lights 2pack
1- Floral Wire
4-Artificial Red Blossom Branches
1-30in Glittered Vogue Centerpiece Tree Black (Crystal Garland Included)
1- 6ct We Can Package Hanging Tealight Holders
1-Hot Glue Gun
1-Glue sticks
1-E6000
Directions:
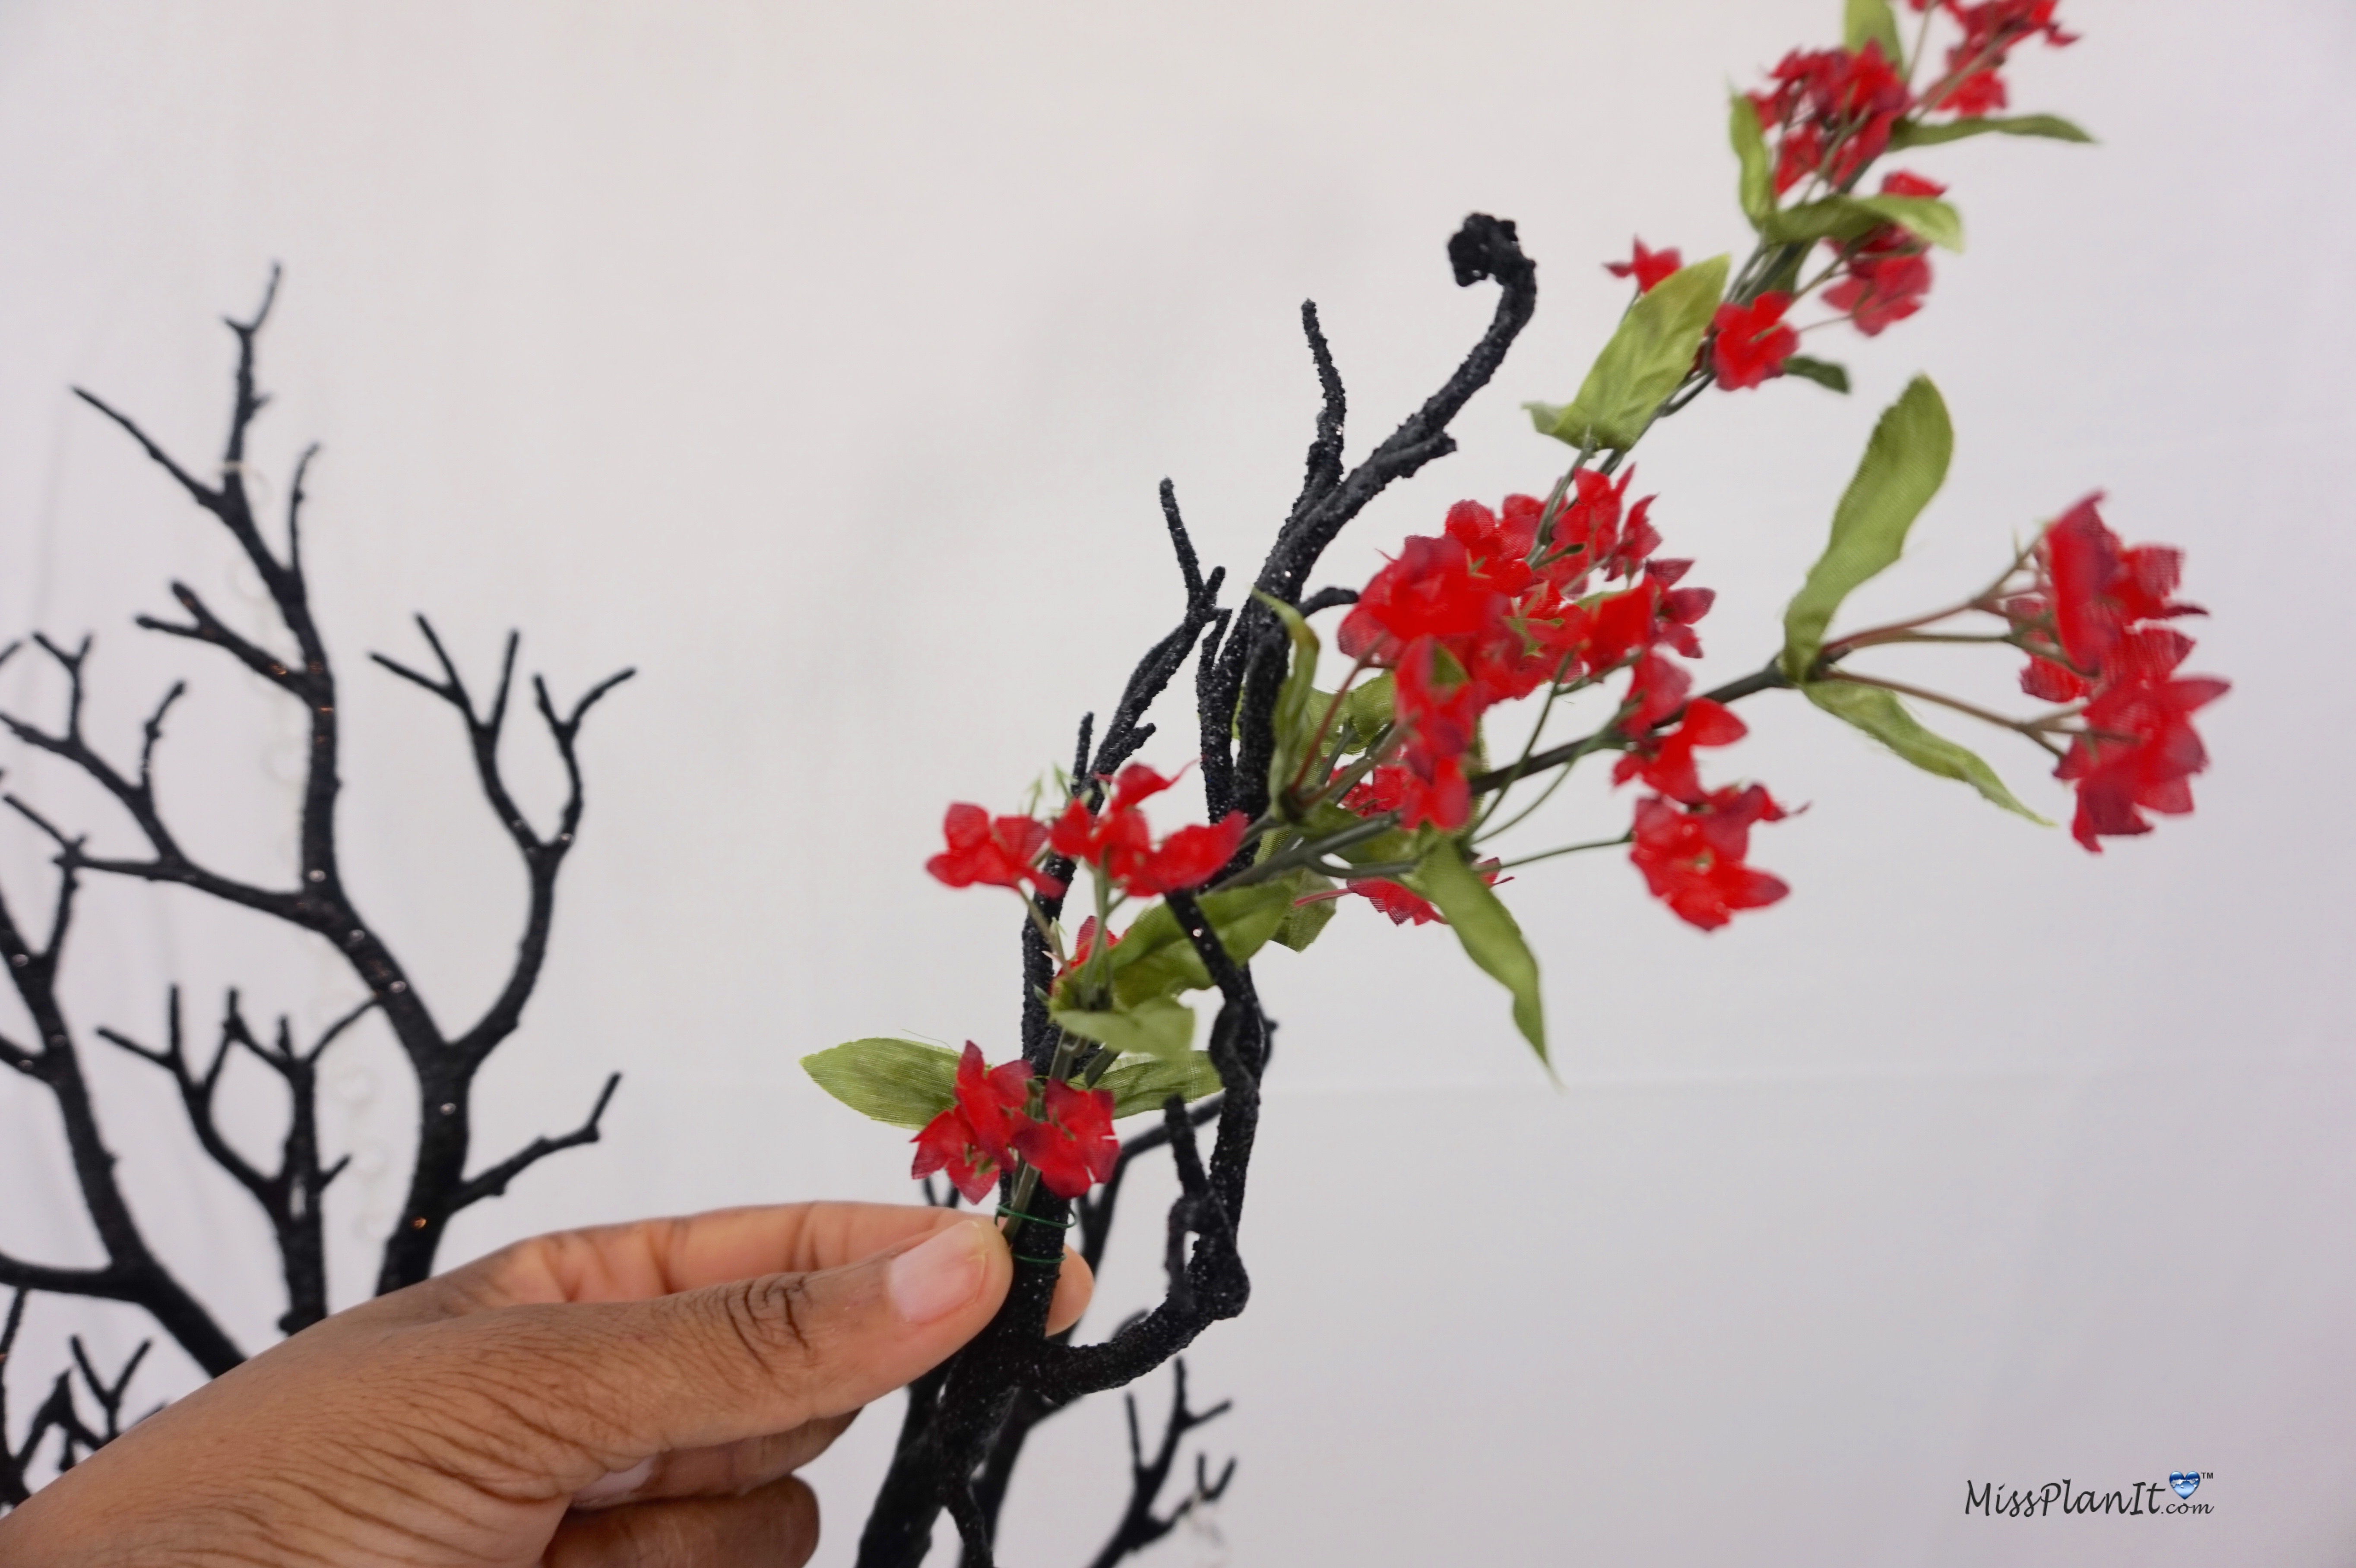
STEP 1: Begin by wrapping your Artificial Red Blossom Branches around the branches of your 30in Glittered Vogue Black Centerpiece Tree with floral wire.
NOTE: Usually we DIY everything… one reason being we love to DIY and secondly to save money! However, for this particular project, it was actually cheaper to purchase the completed Glittered Tree than make it ourselves which is exactly what we did.
STEP 2: Take your remaining Artificial Red Blossom Branches and remove the flowers from the stem. Use your hot glue gun to glue the flowers over your floral wire.
TIP: Although, we used a hot glue gun, we highly recommend using E6000 as the hold is more secure. Keep in mind, once you place your E6000 adhesive it is going to be very difficult to remove , but with hot glue it can easily be removed.
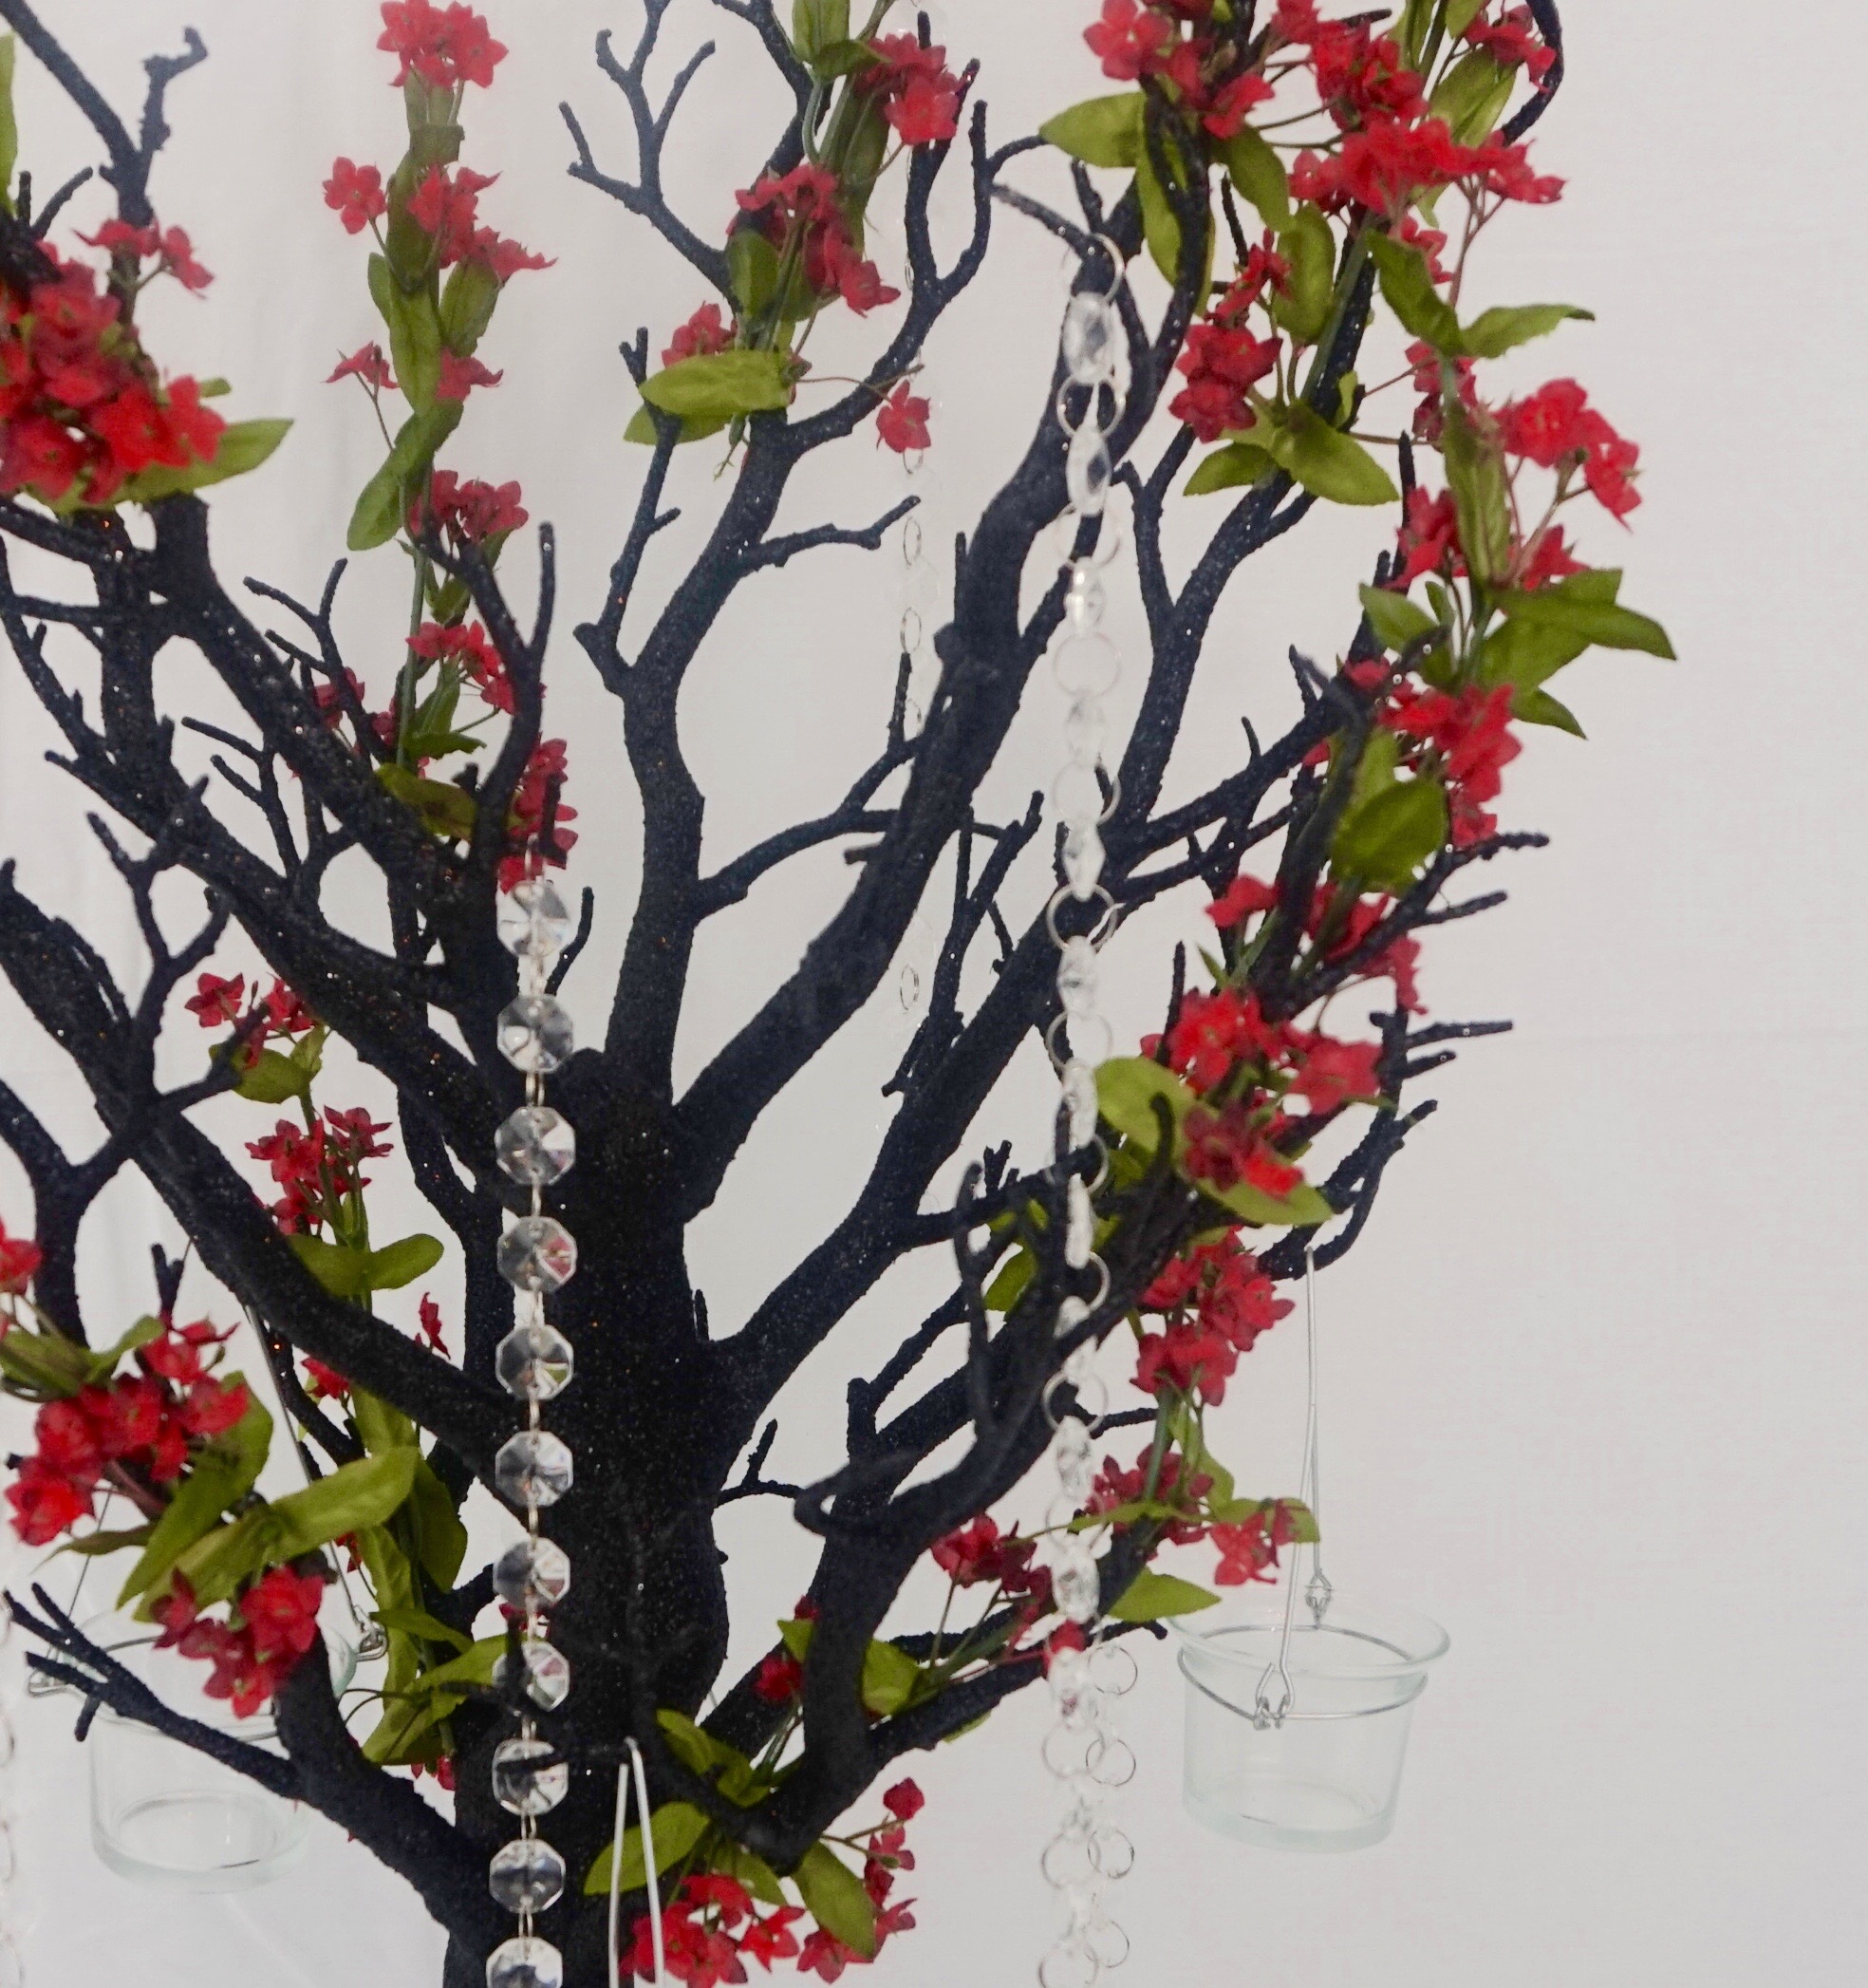
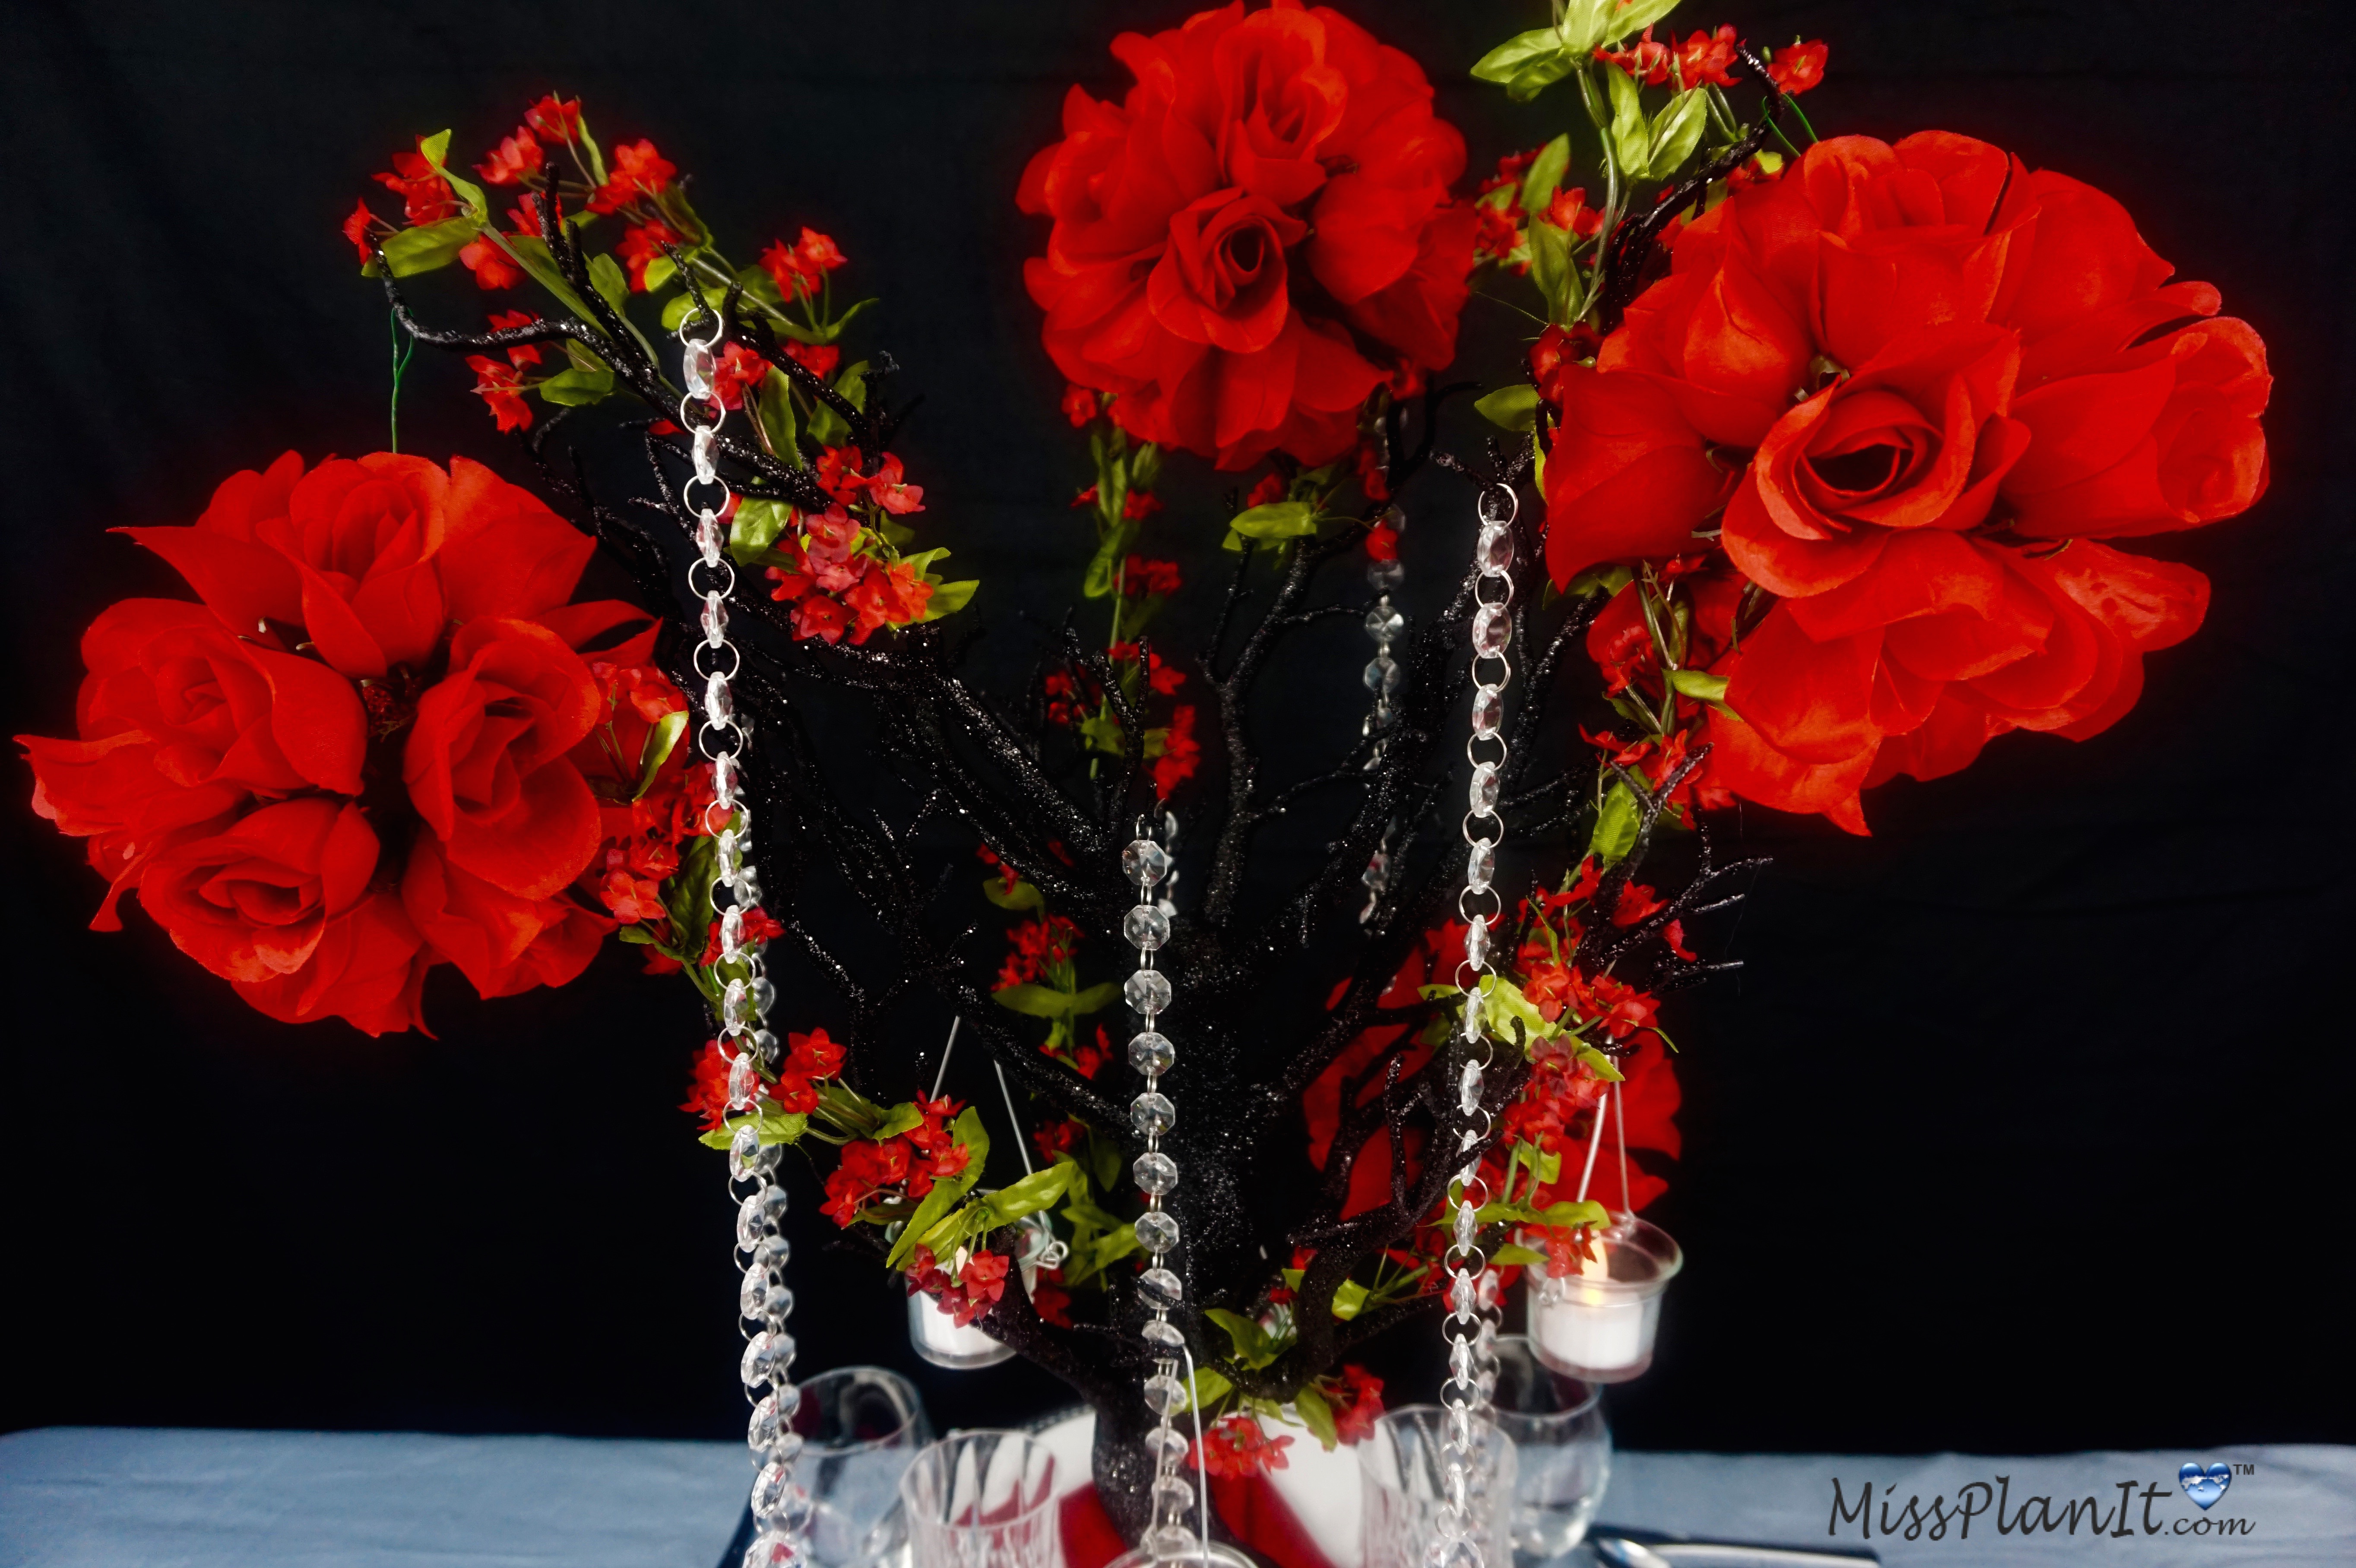
STEP 3: It’s time to add some bling! Don your Crystal Garland on your tree branches. Now add your tea light holders to your additional branches. It’s completely up to you how you want to space them out. Lastly, add your LED tea lights to your tea-light holder.
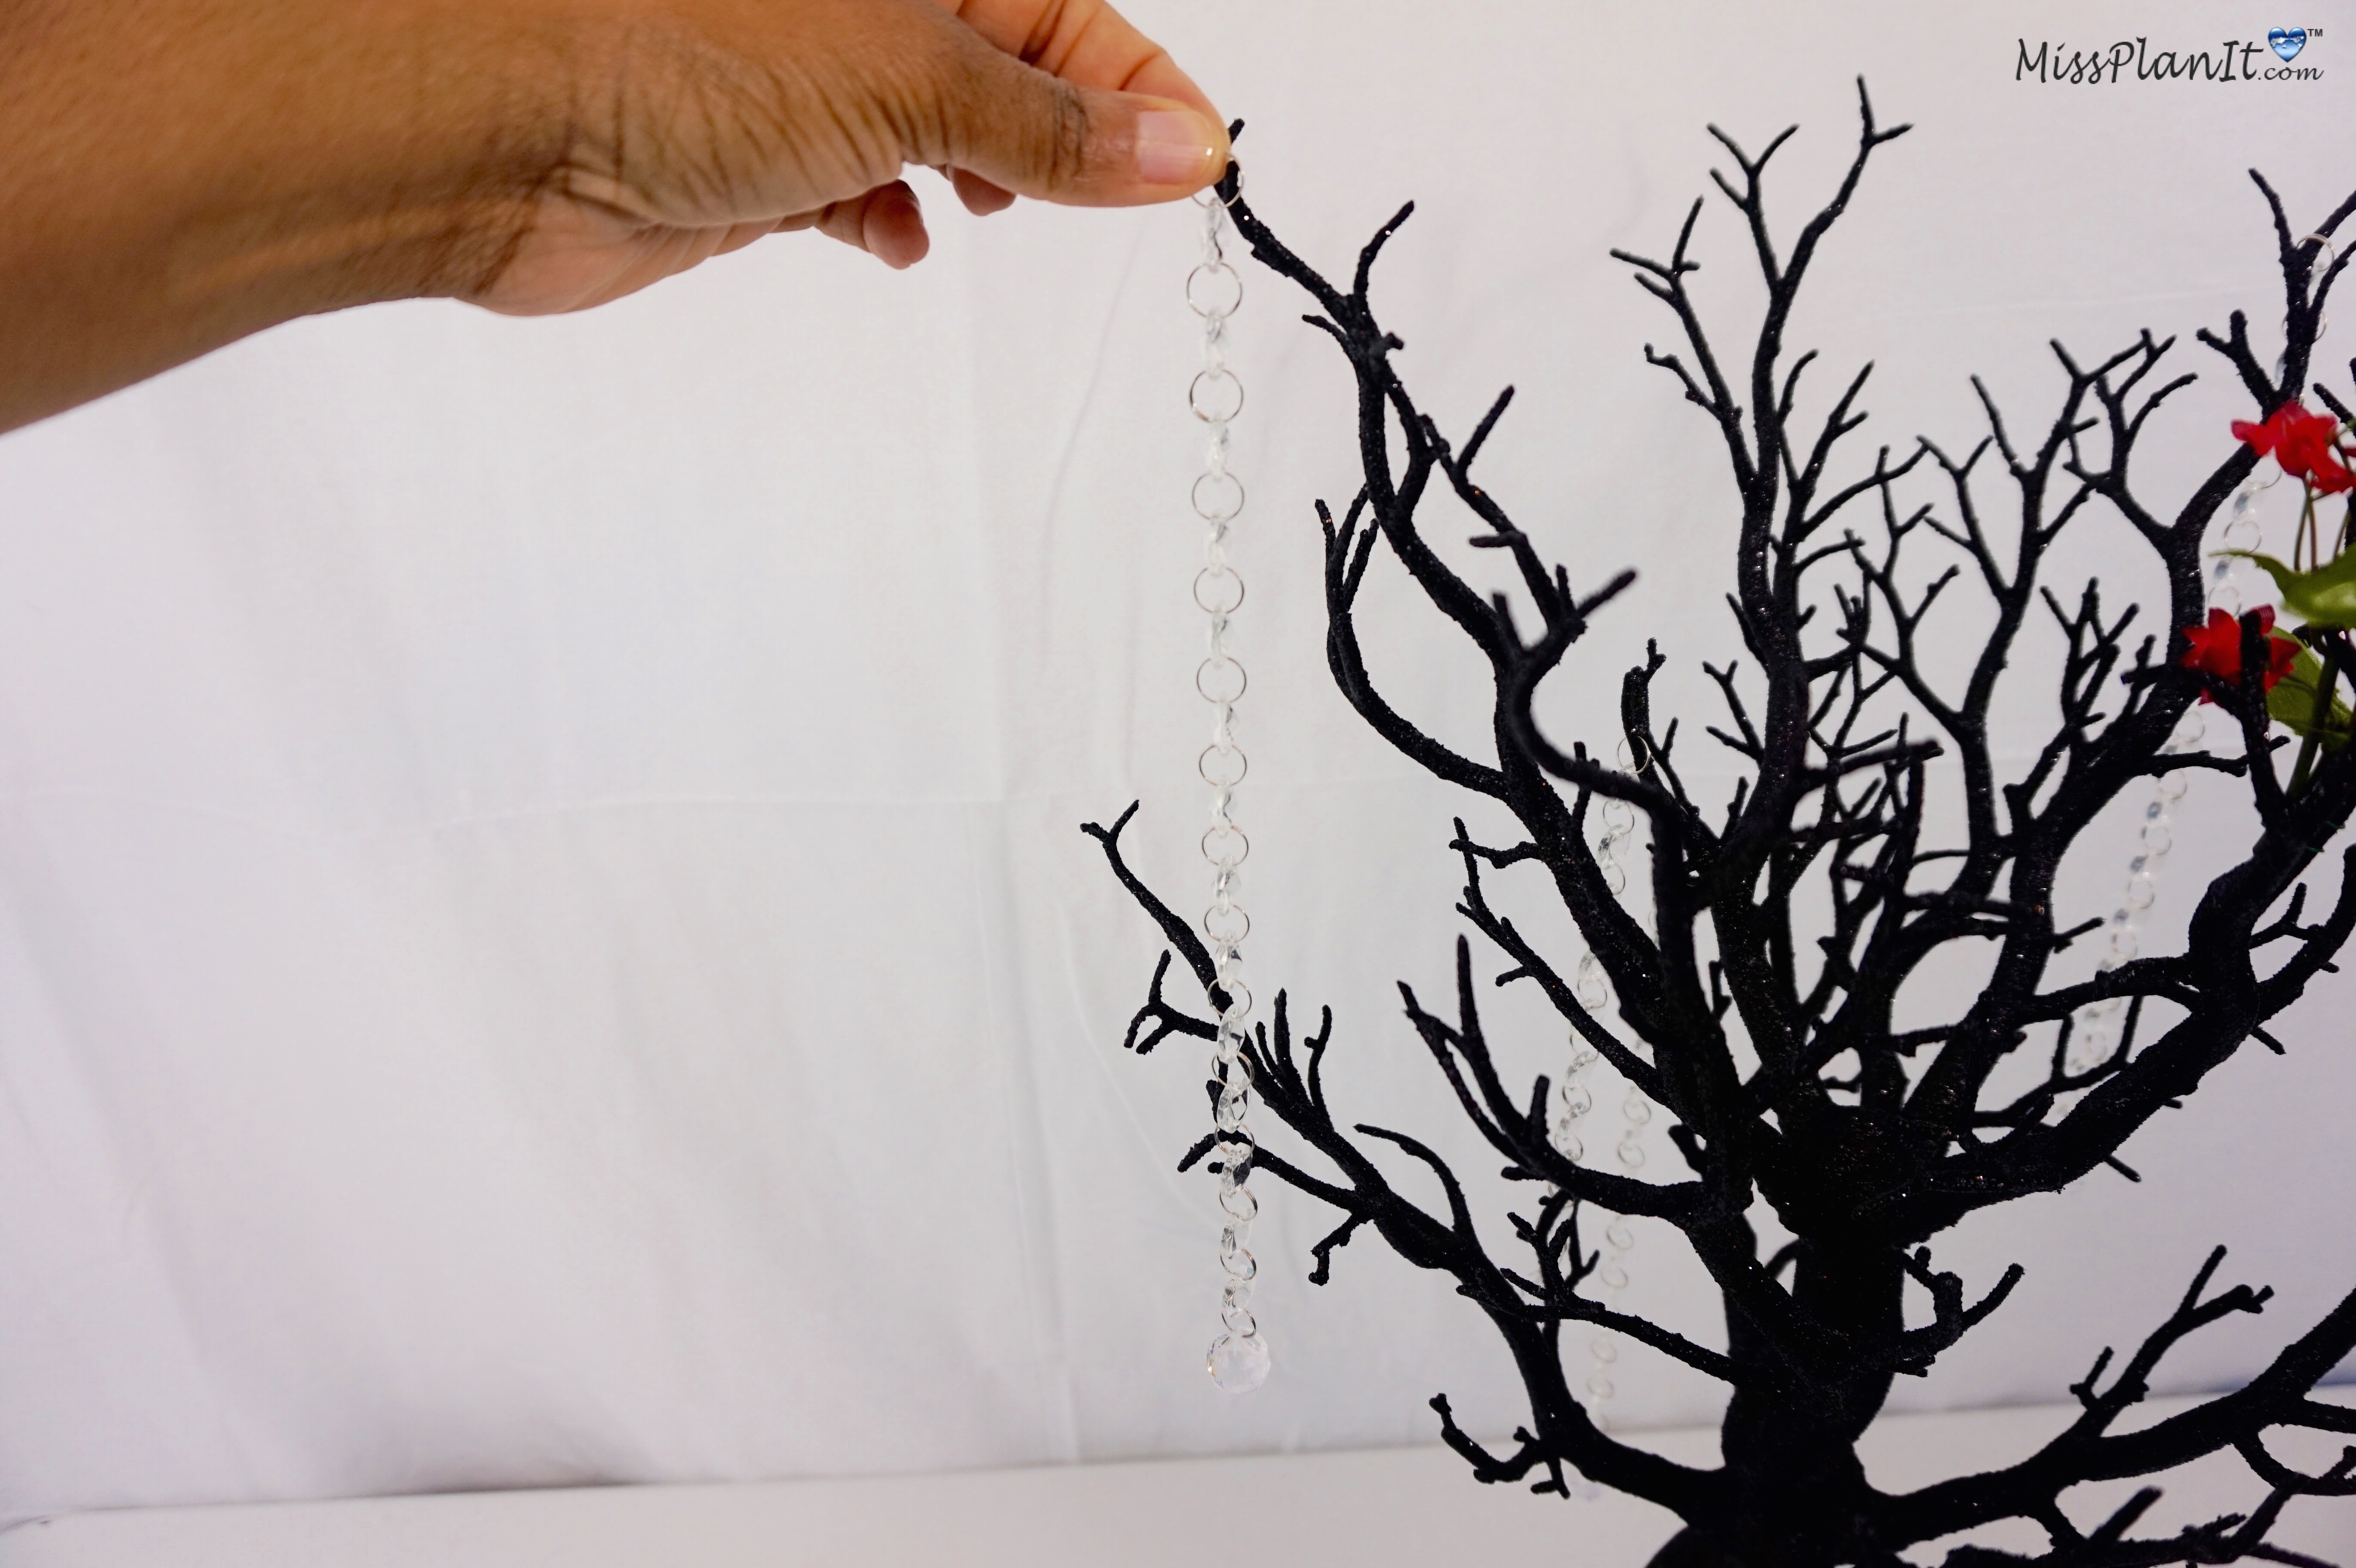
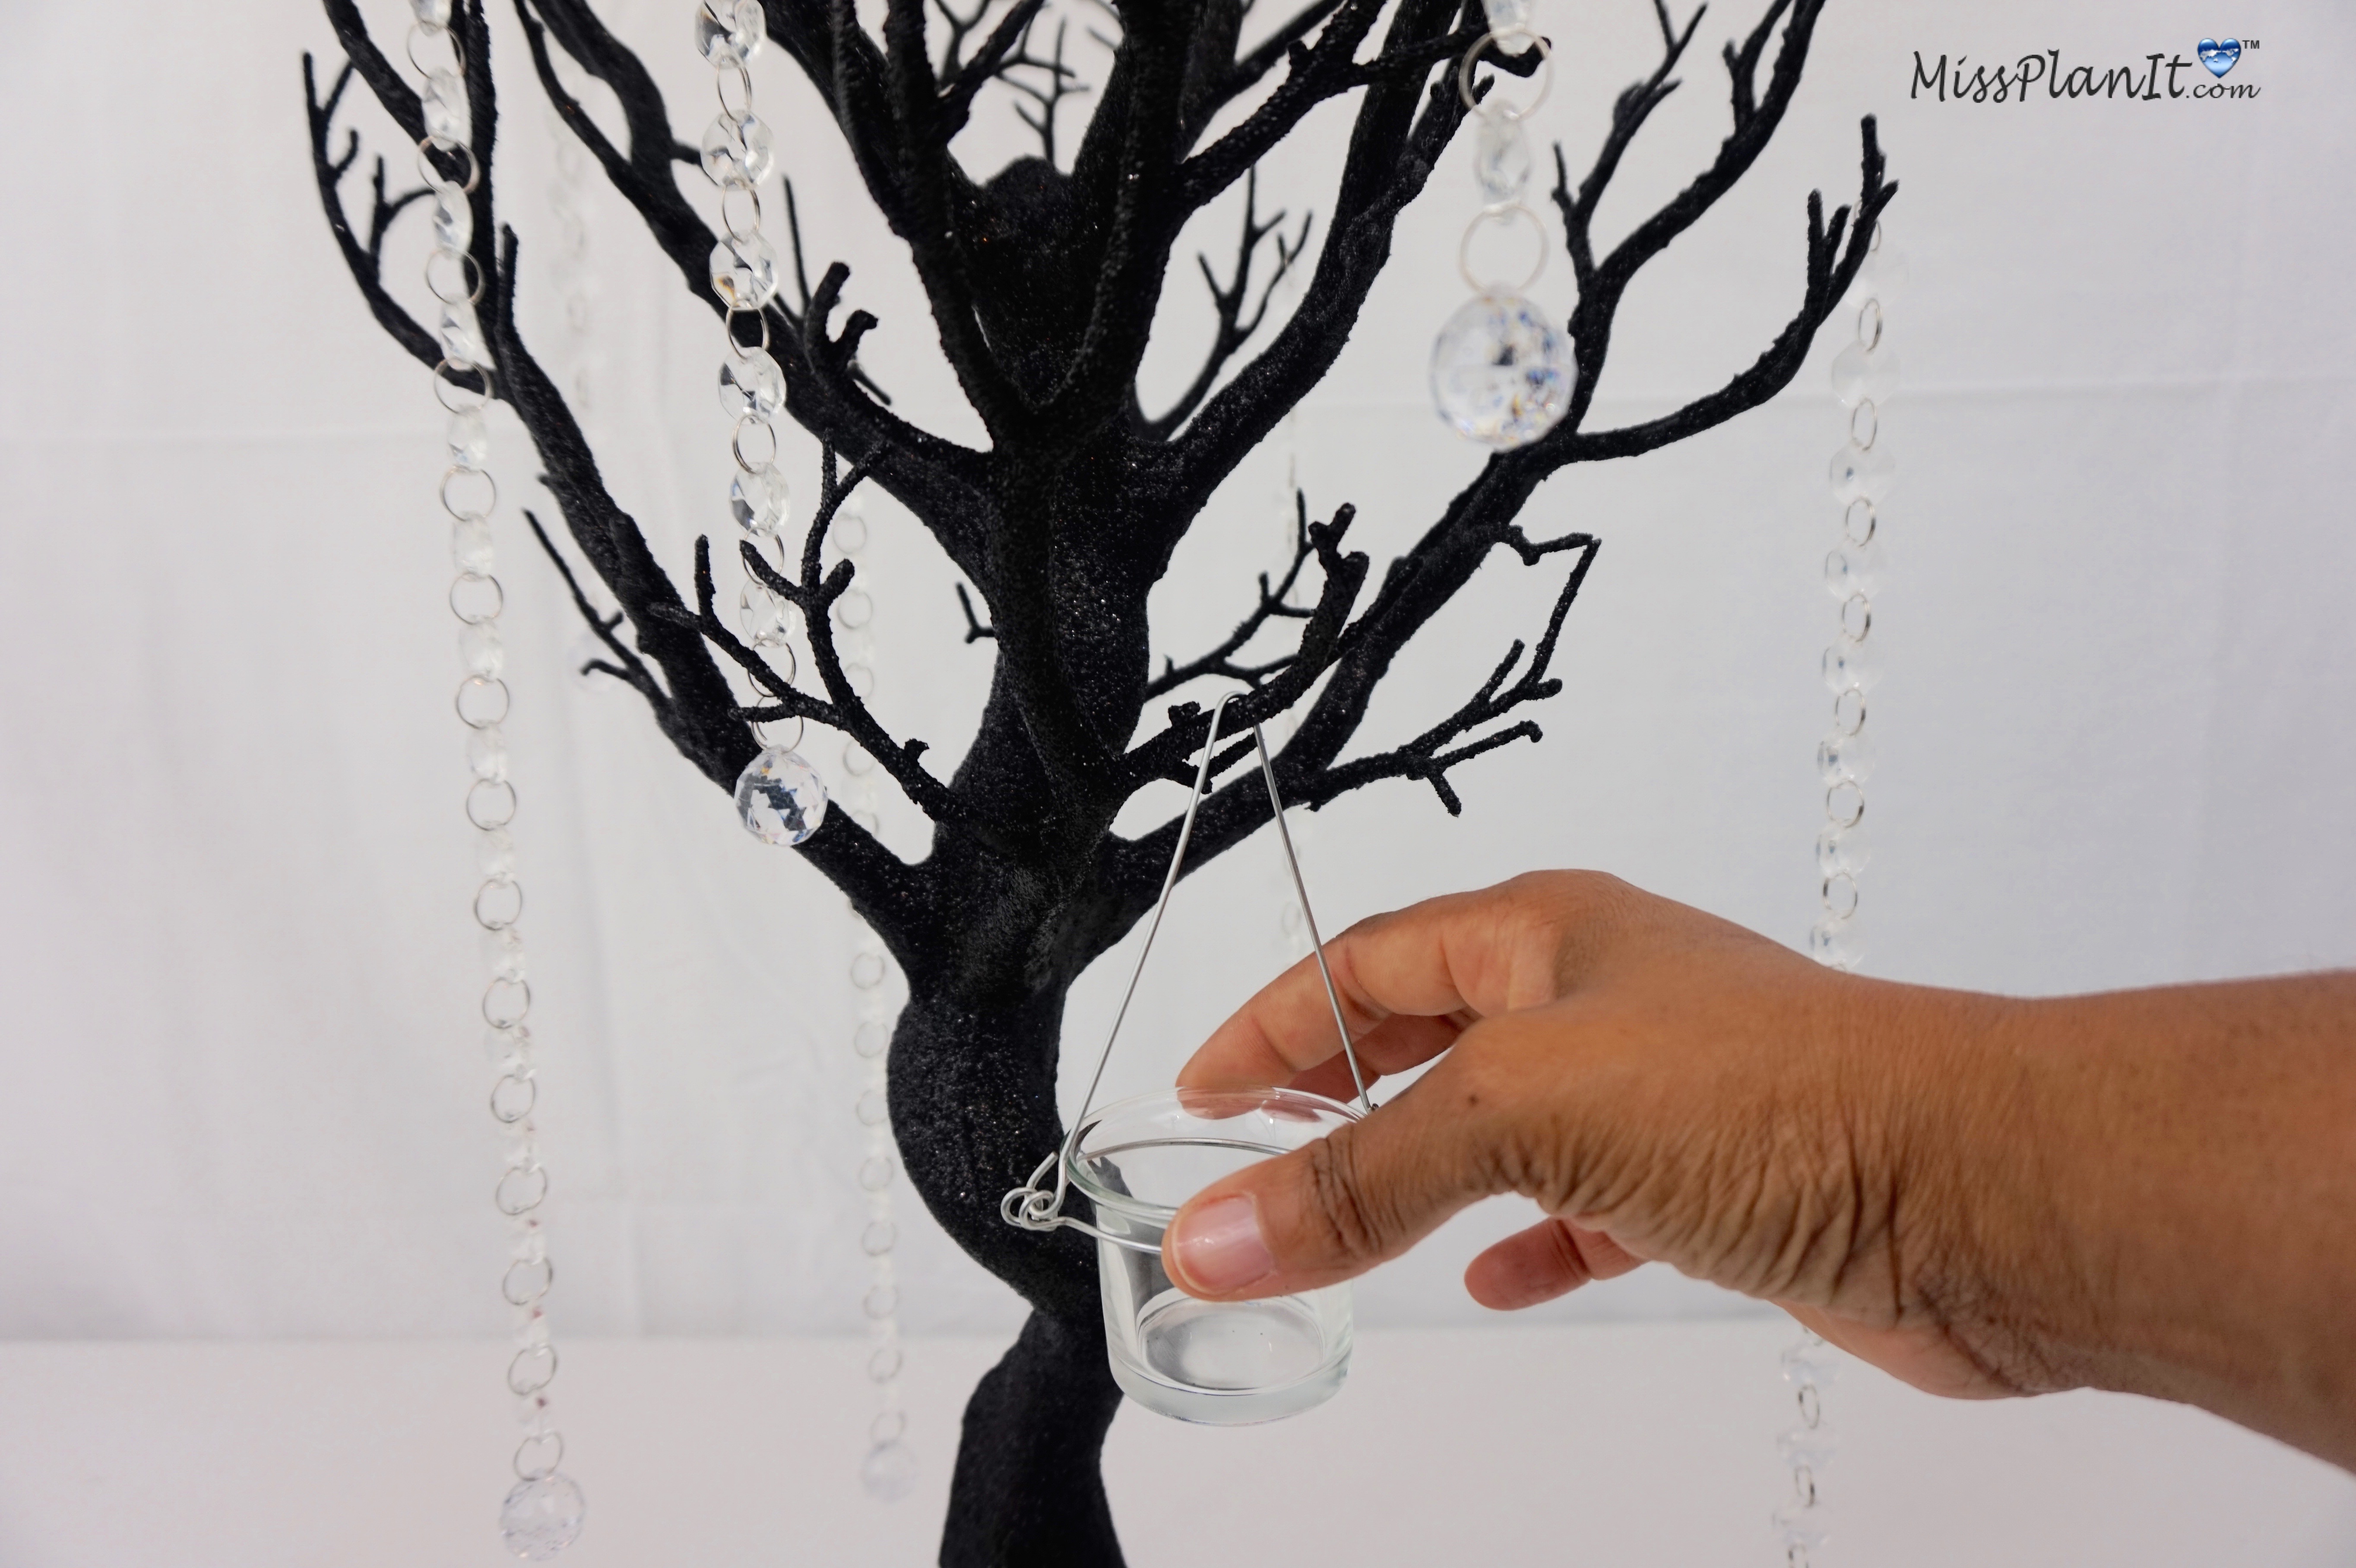
THE FINAL STEP:
Let’s Create Some Rose Balls!
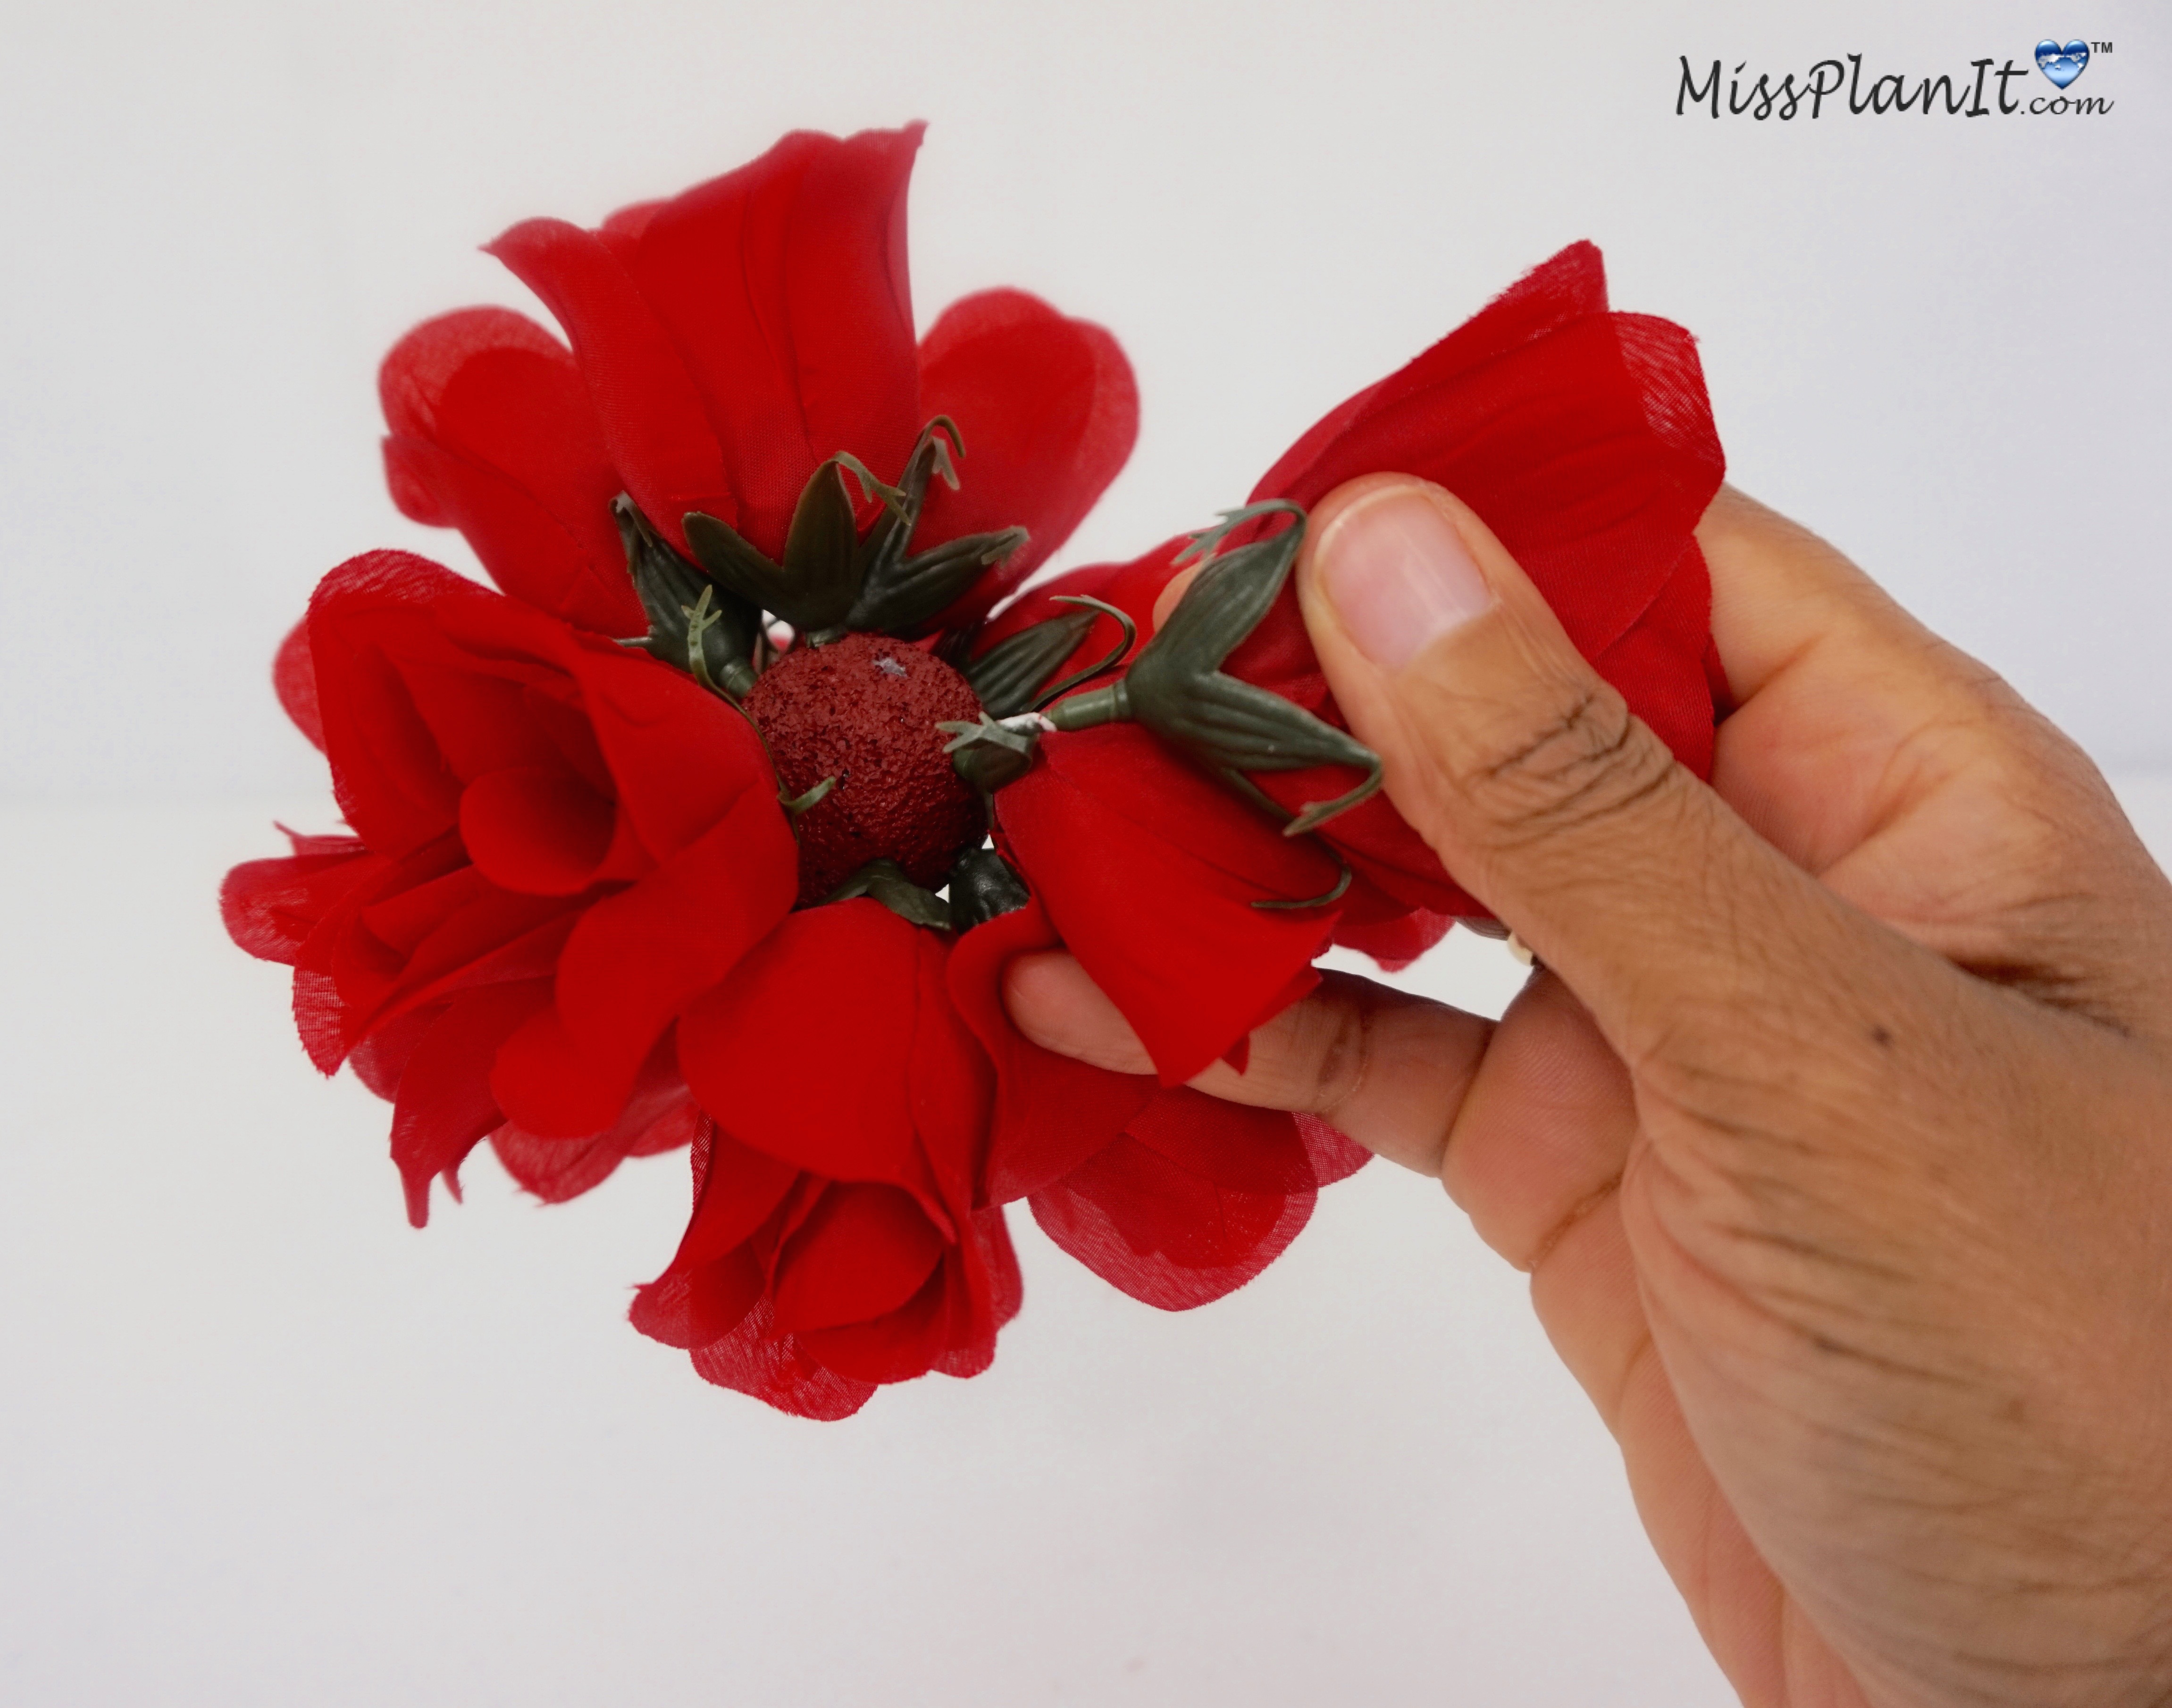
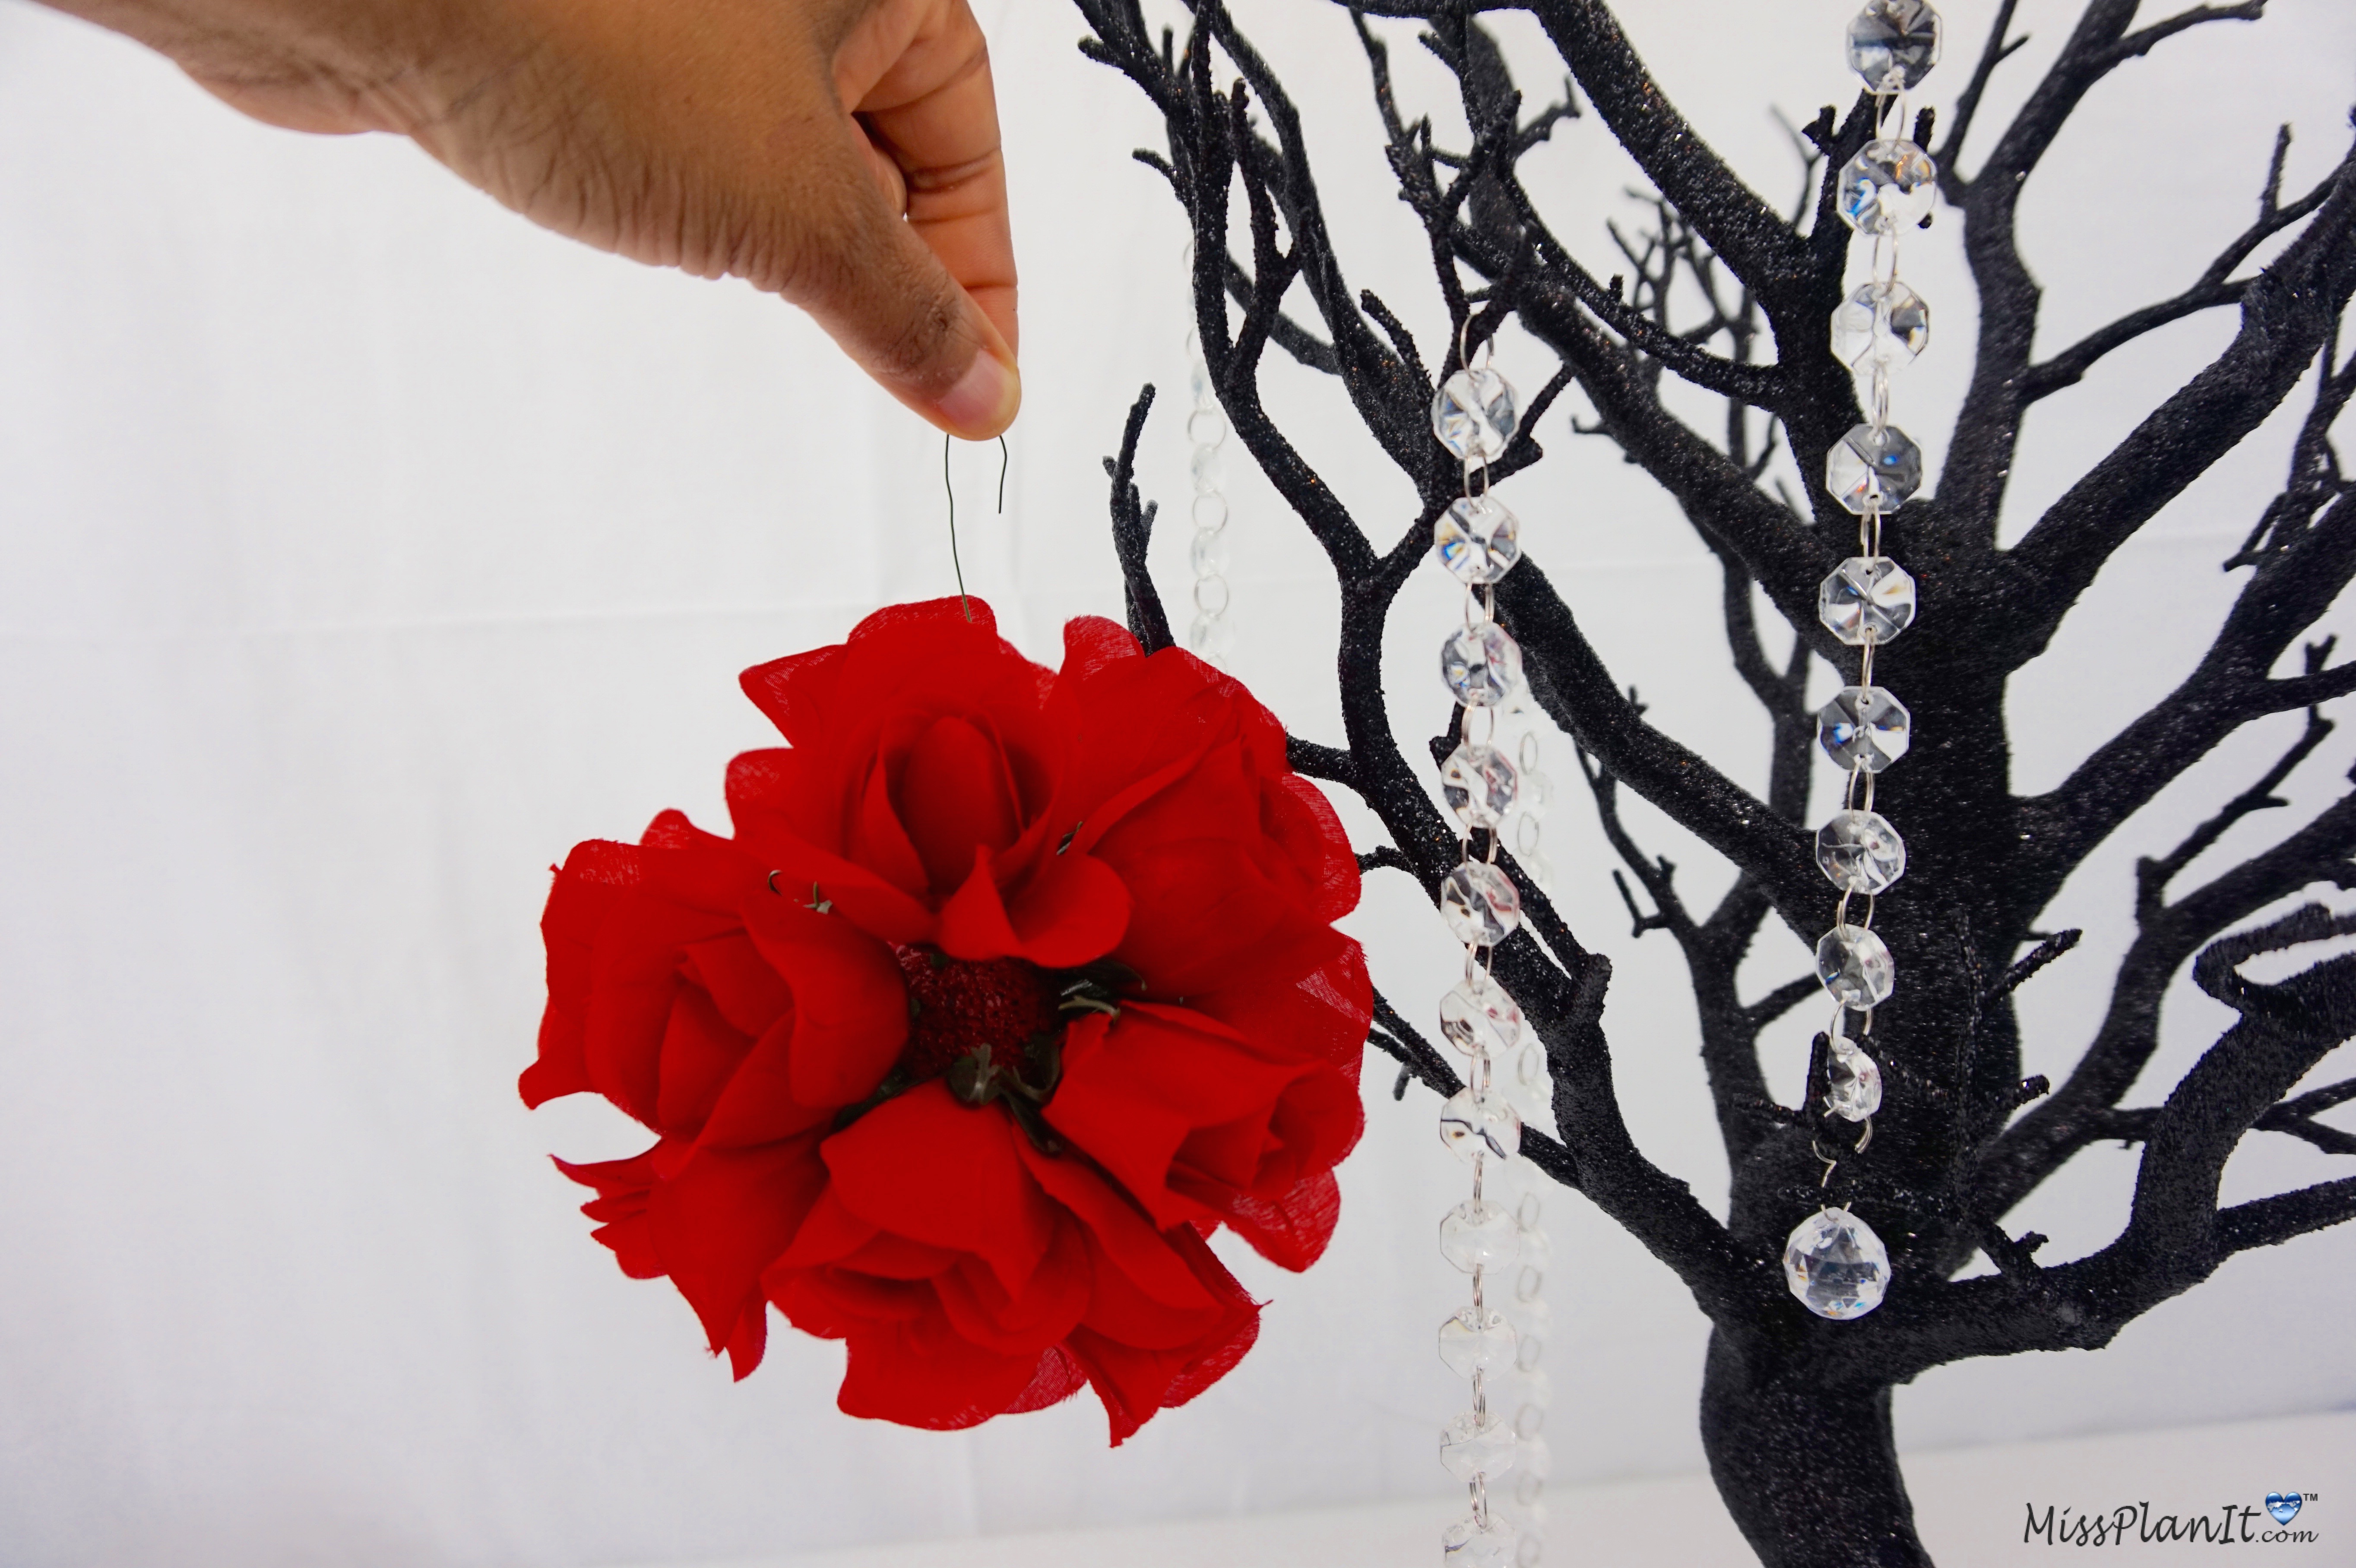
STEP 4: Paint your foam ball with red paint and let dry. Now insert your red roses in your foam ball. Wrap the stem tip of the last rose with 4 inches of floral wire, add a dab of hot glue, and insert your roses into your foam ball. Take the other end of your floral wire and wrap it around your tree branch. Repeat this step to create as many rose balls as you would like to hang on your tree.
Tip: Insert a Kabob skewer inside the foam, this allows you to paint your foam ball without getting your hands dirty. Also you can cut as much or less floral wire based on how far down you want your rose ball to hang.
I absolutely love how this wedding centerpiece turned out. Kendale, thank you so much for allowing us to be apart of your special day!
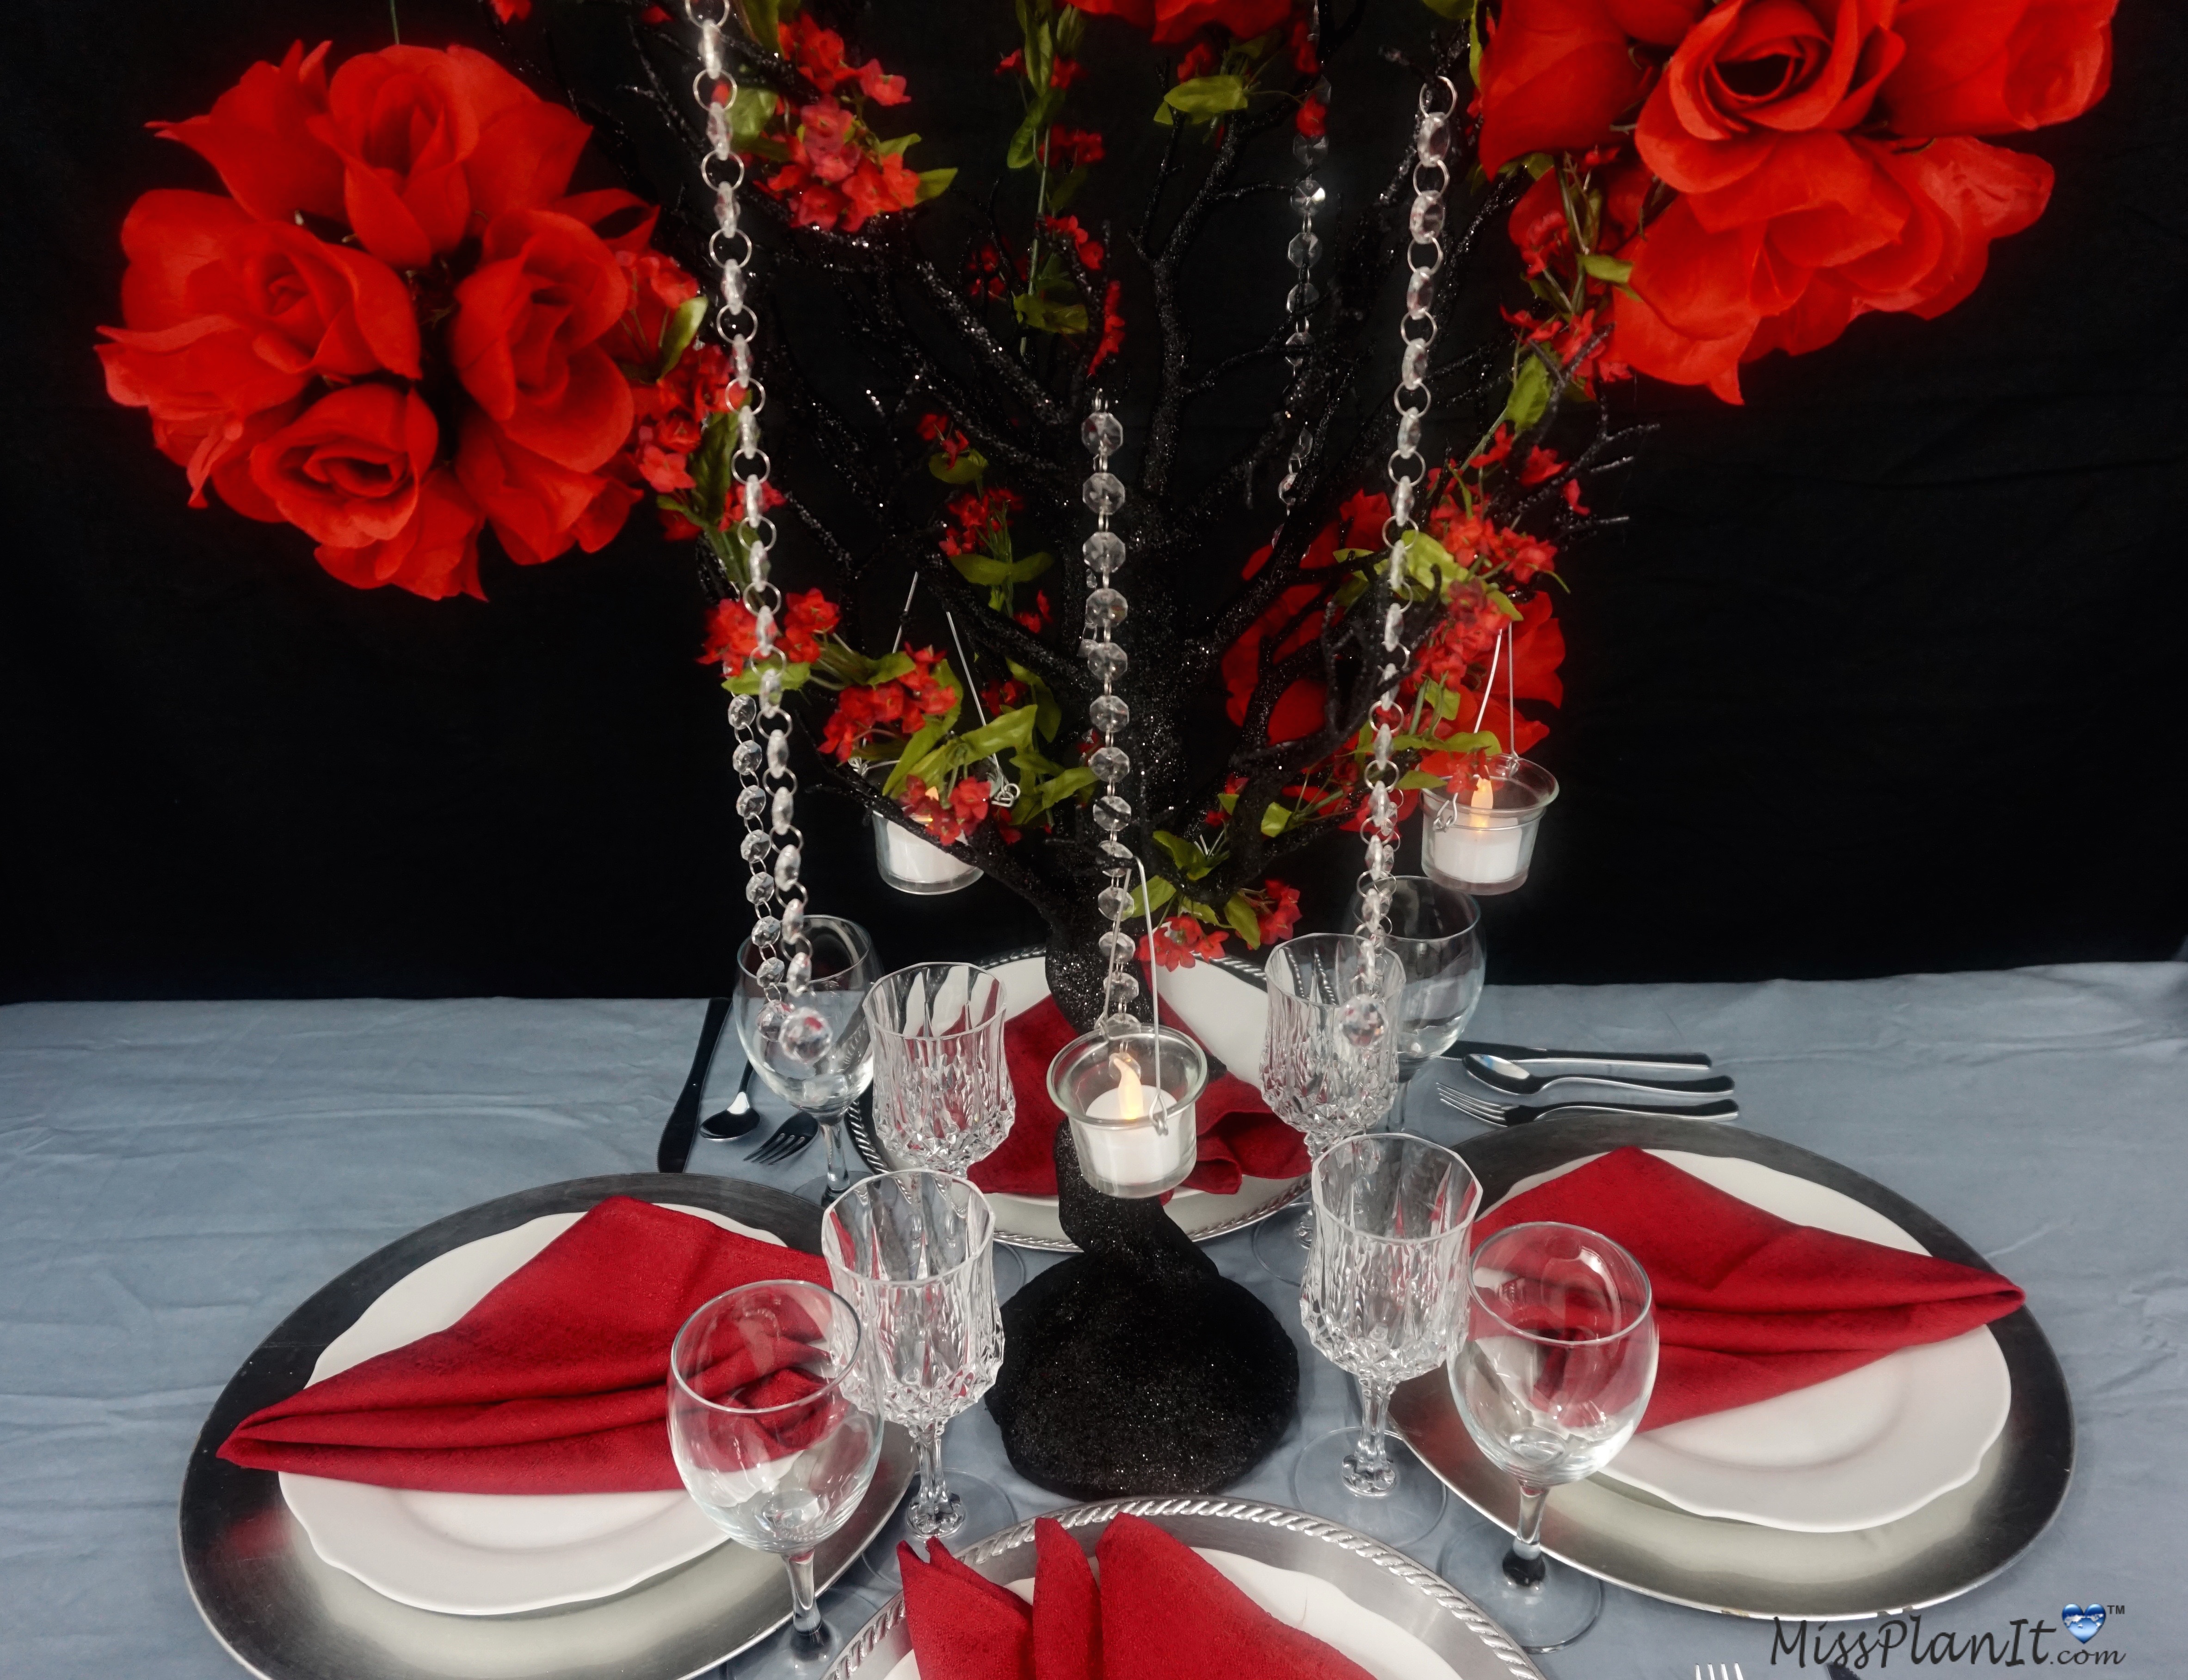
If you like the outcome please let us know in the comments below? Also share your ideas on what you would have done differently?
Need help with an upcoming project? Be sure to send us a project request!
“Remember When Every Penny Counts, Count on MissPlanIt”
P.S. Don’t forget to come back tomorrow to see our full video tutorial!


