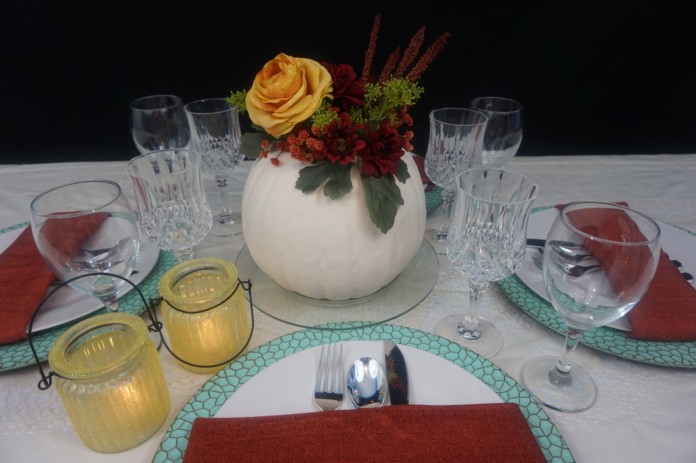
As many of you may know, planning a wedding can be very expensive, especially if you live in an area where the cost of living is higher, let’s say California, but what if I told you it doesn’t have to be. Yes, you can have your dream wedding on a small budget!
This week we are featuring a special request we received from Erica, who is currently in college and plans to get married this fall in California, but like many brides, Erica wants the perfect wedding but does not have millions of dollars to spend. Well Erica, you did the right thing by reaching out to us!
Let’s Get Started:
All the flowers, leaves, etc were purchased at Hobby Lobby. To help stay within budget and or save money, check out Hobby Lobby’s weekly sales. We were able to buy everything we needed at 50% off.
Also they have a 40% off coupon you can use on one item for non-sale items. This post is not sponsored by Hobby Lobby, we just love shopping there for our project needs. However, the lanterns were purchased and the Dollar Tree and the pumpkin was purchased at Orientaltrading.com.
Erica’s budget is $20/centerpiece, we came very close with the centerpiece total being $24.29. We are super proud of how close we were at meeting Erica’s budget and know if she shops early, catches every sale she can, and uses coupons, she definitely can stay within or even below her budget.
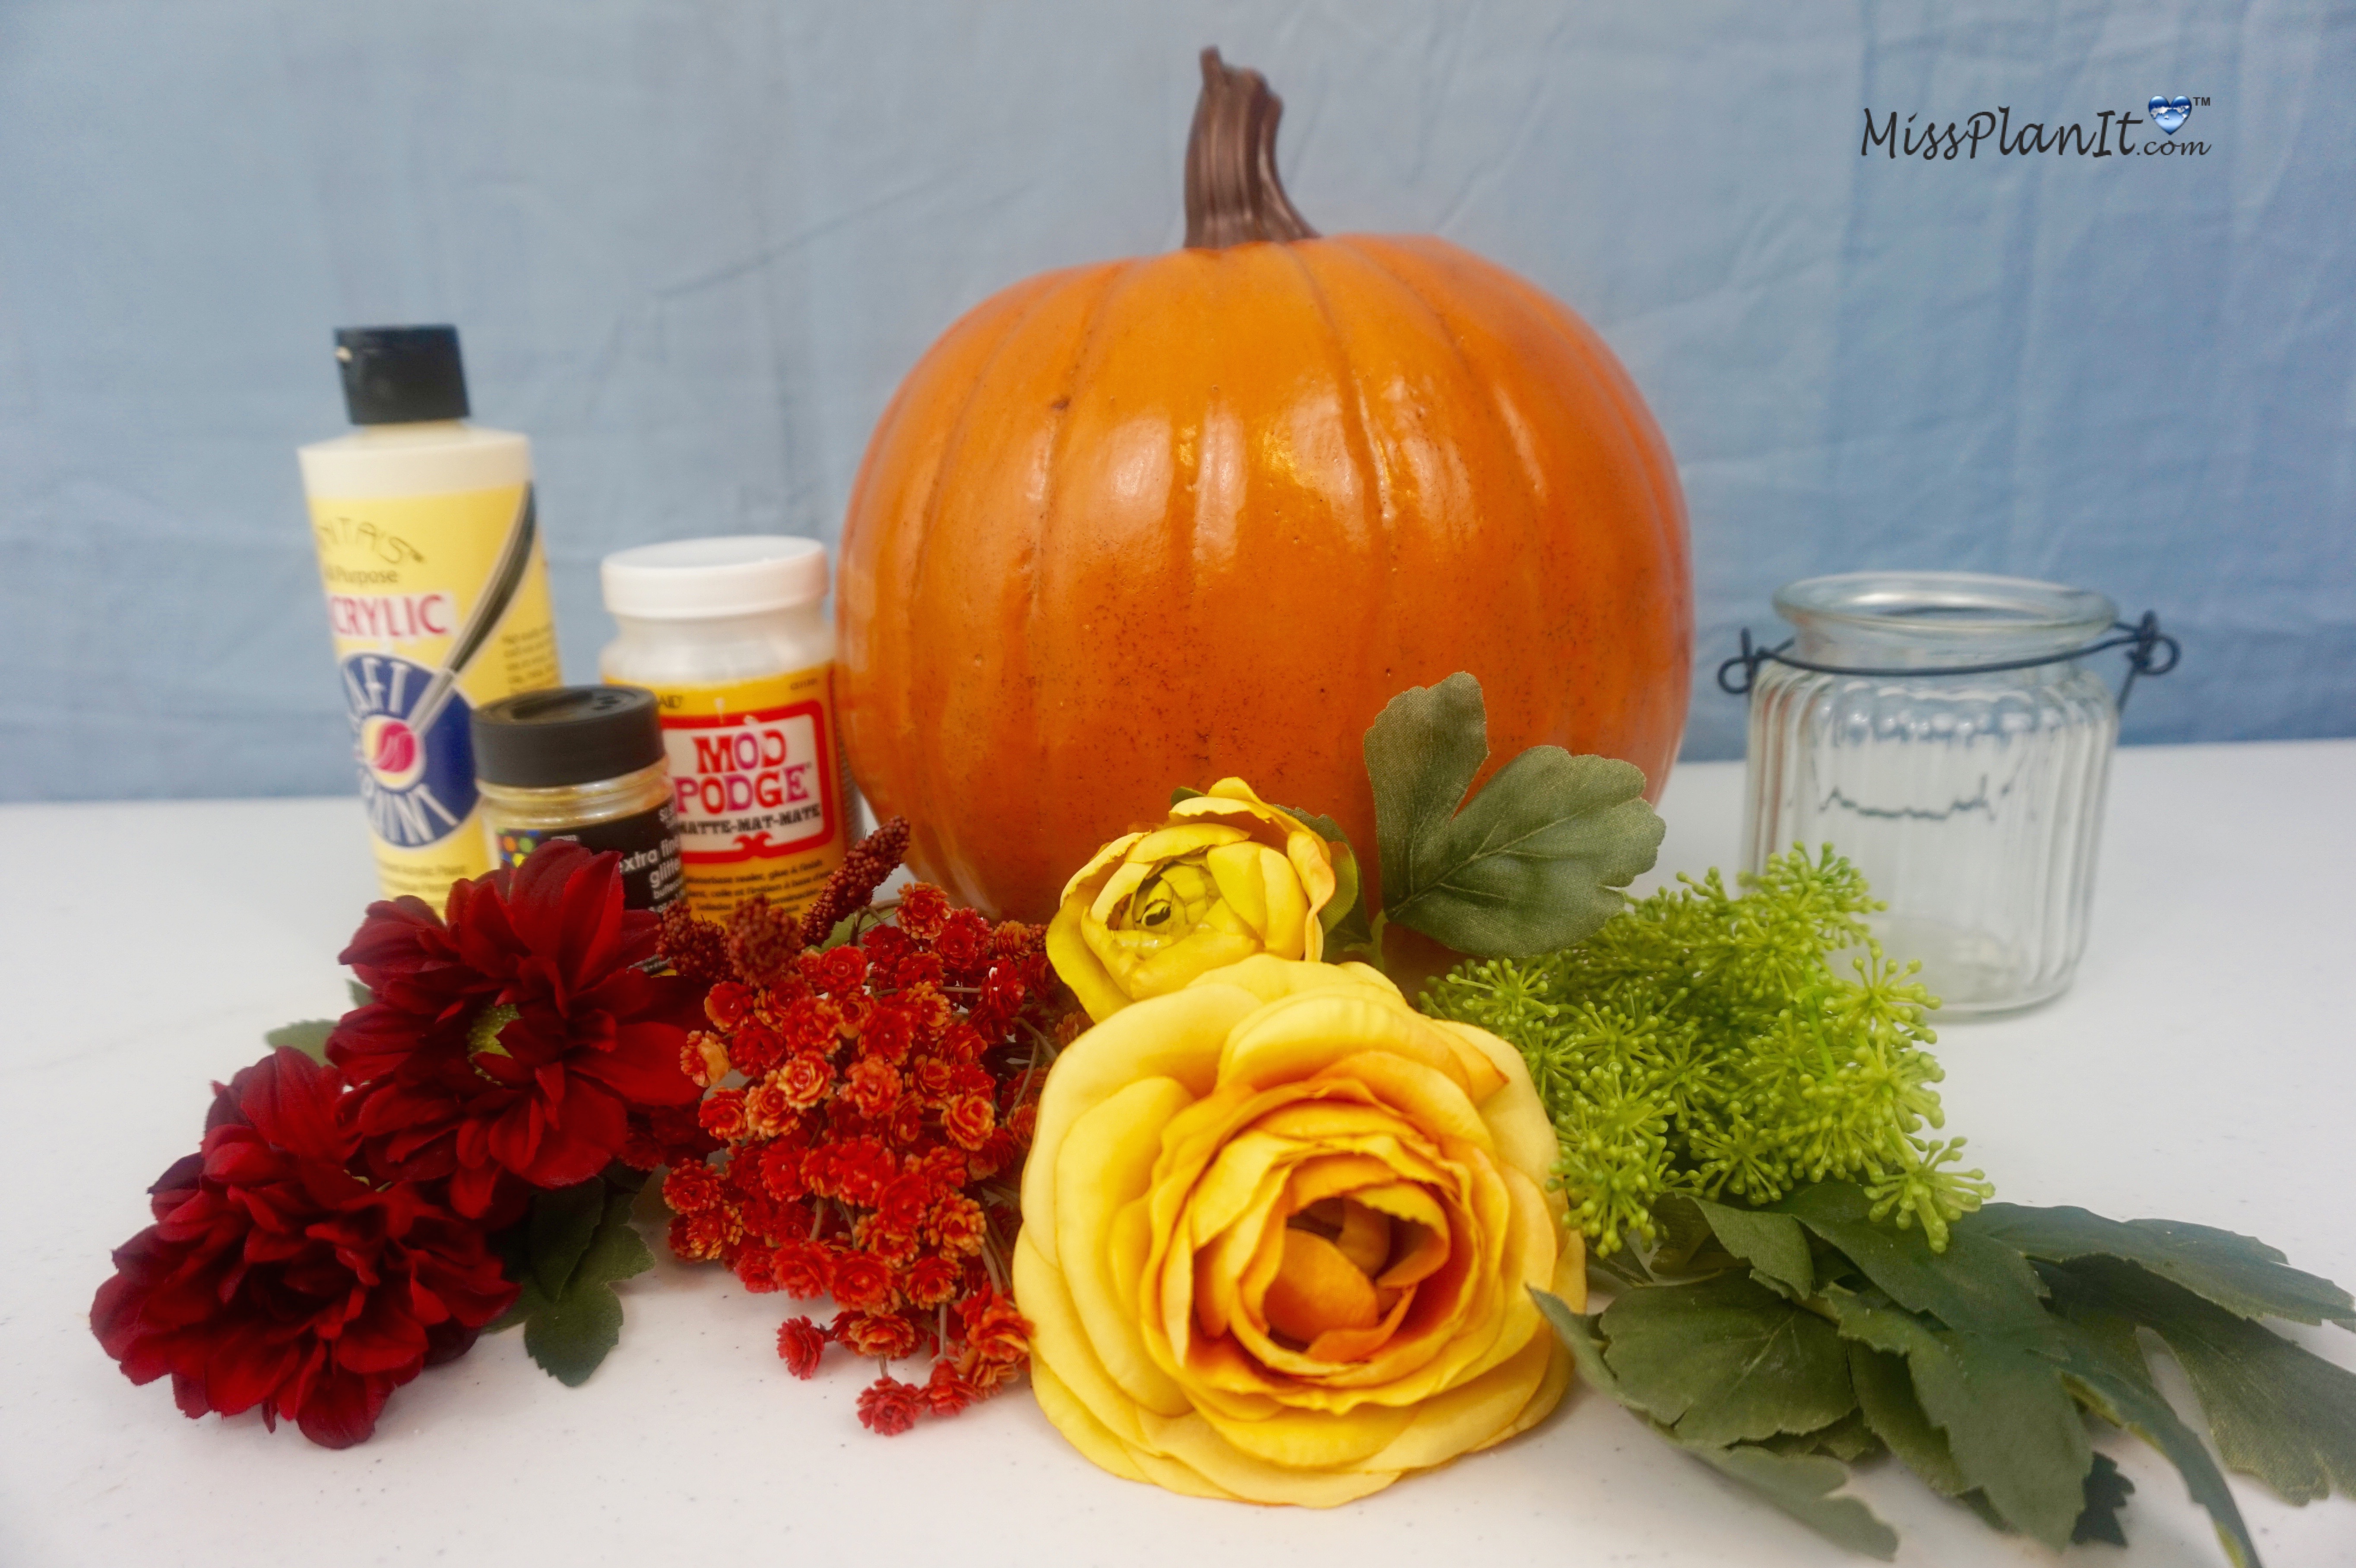
SUPPLIES:
1-8 1/4 x9 inch Foam Pumpkin
1- Stem Burgundy Mums
1-Peonies Stem
1-Burgundy Babies Breath
1-Stem Fern
1-Stem Cattail
1-6oz Butter Cream Paint
1-Hot Glue Gun
1-Glue sticks
1-E6000
1-X-Acto Knife
1-16-ct Pack Tealight candles
Directions:
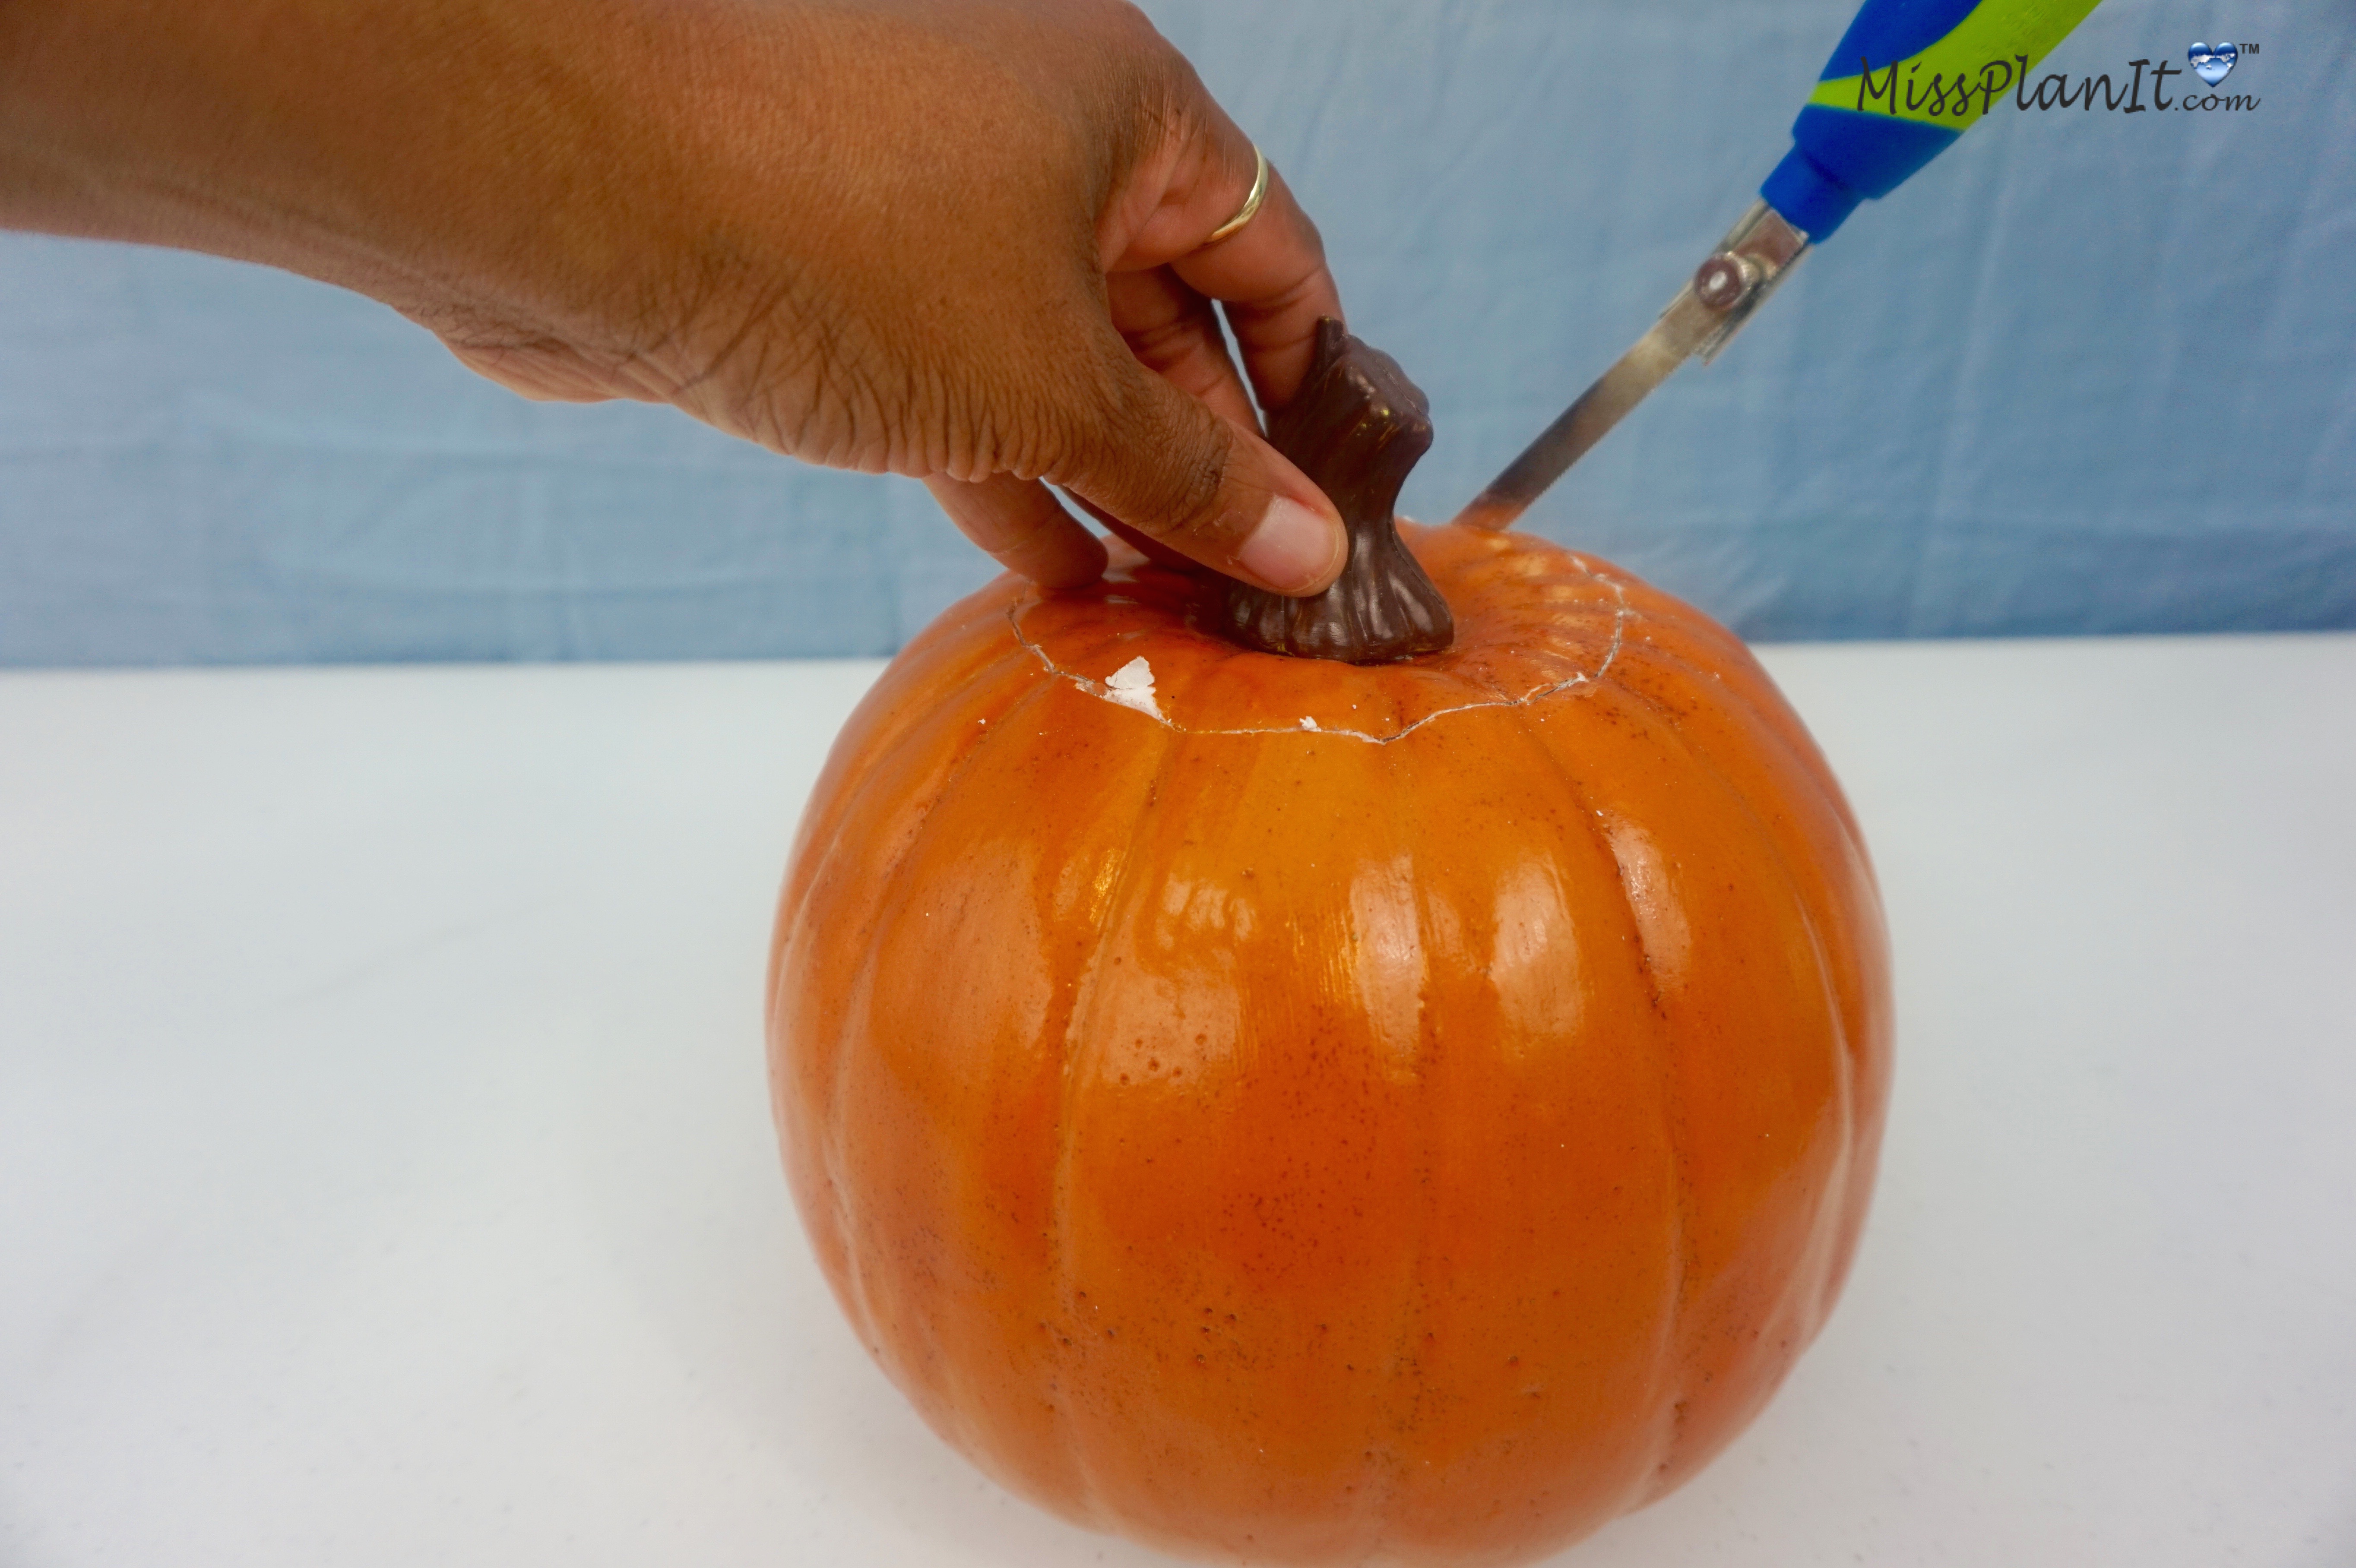
STEP 1: Let’s get to carving! Take your X-Acto Knife to carve out the stem of your 8 ¼ X 9 inch Foam pumpkin. Be sure to only cut out about 1 inch of foam as the additional foam will be needed to anchor all your flowers.
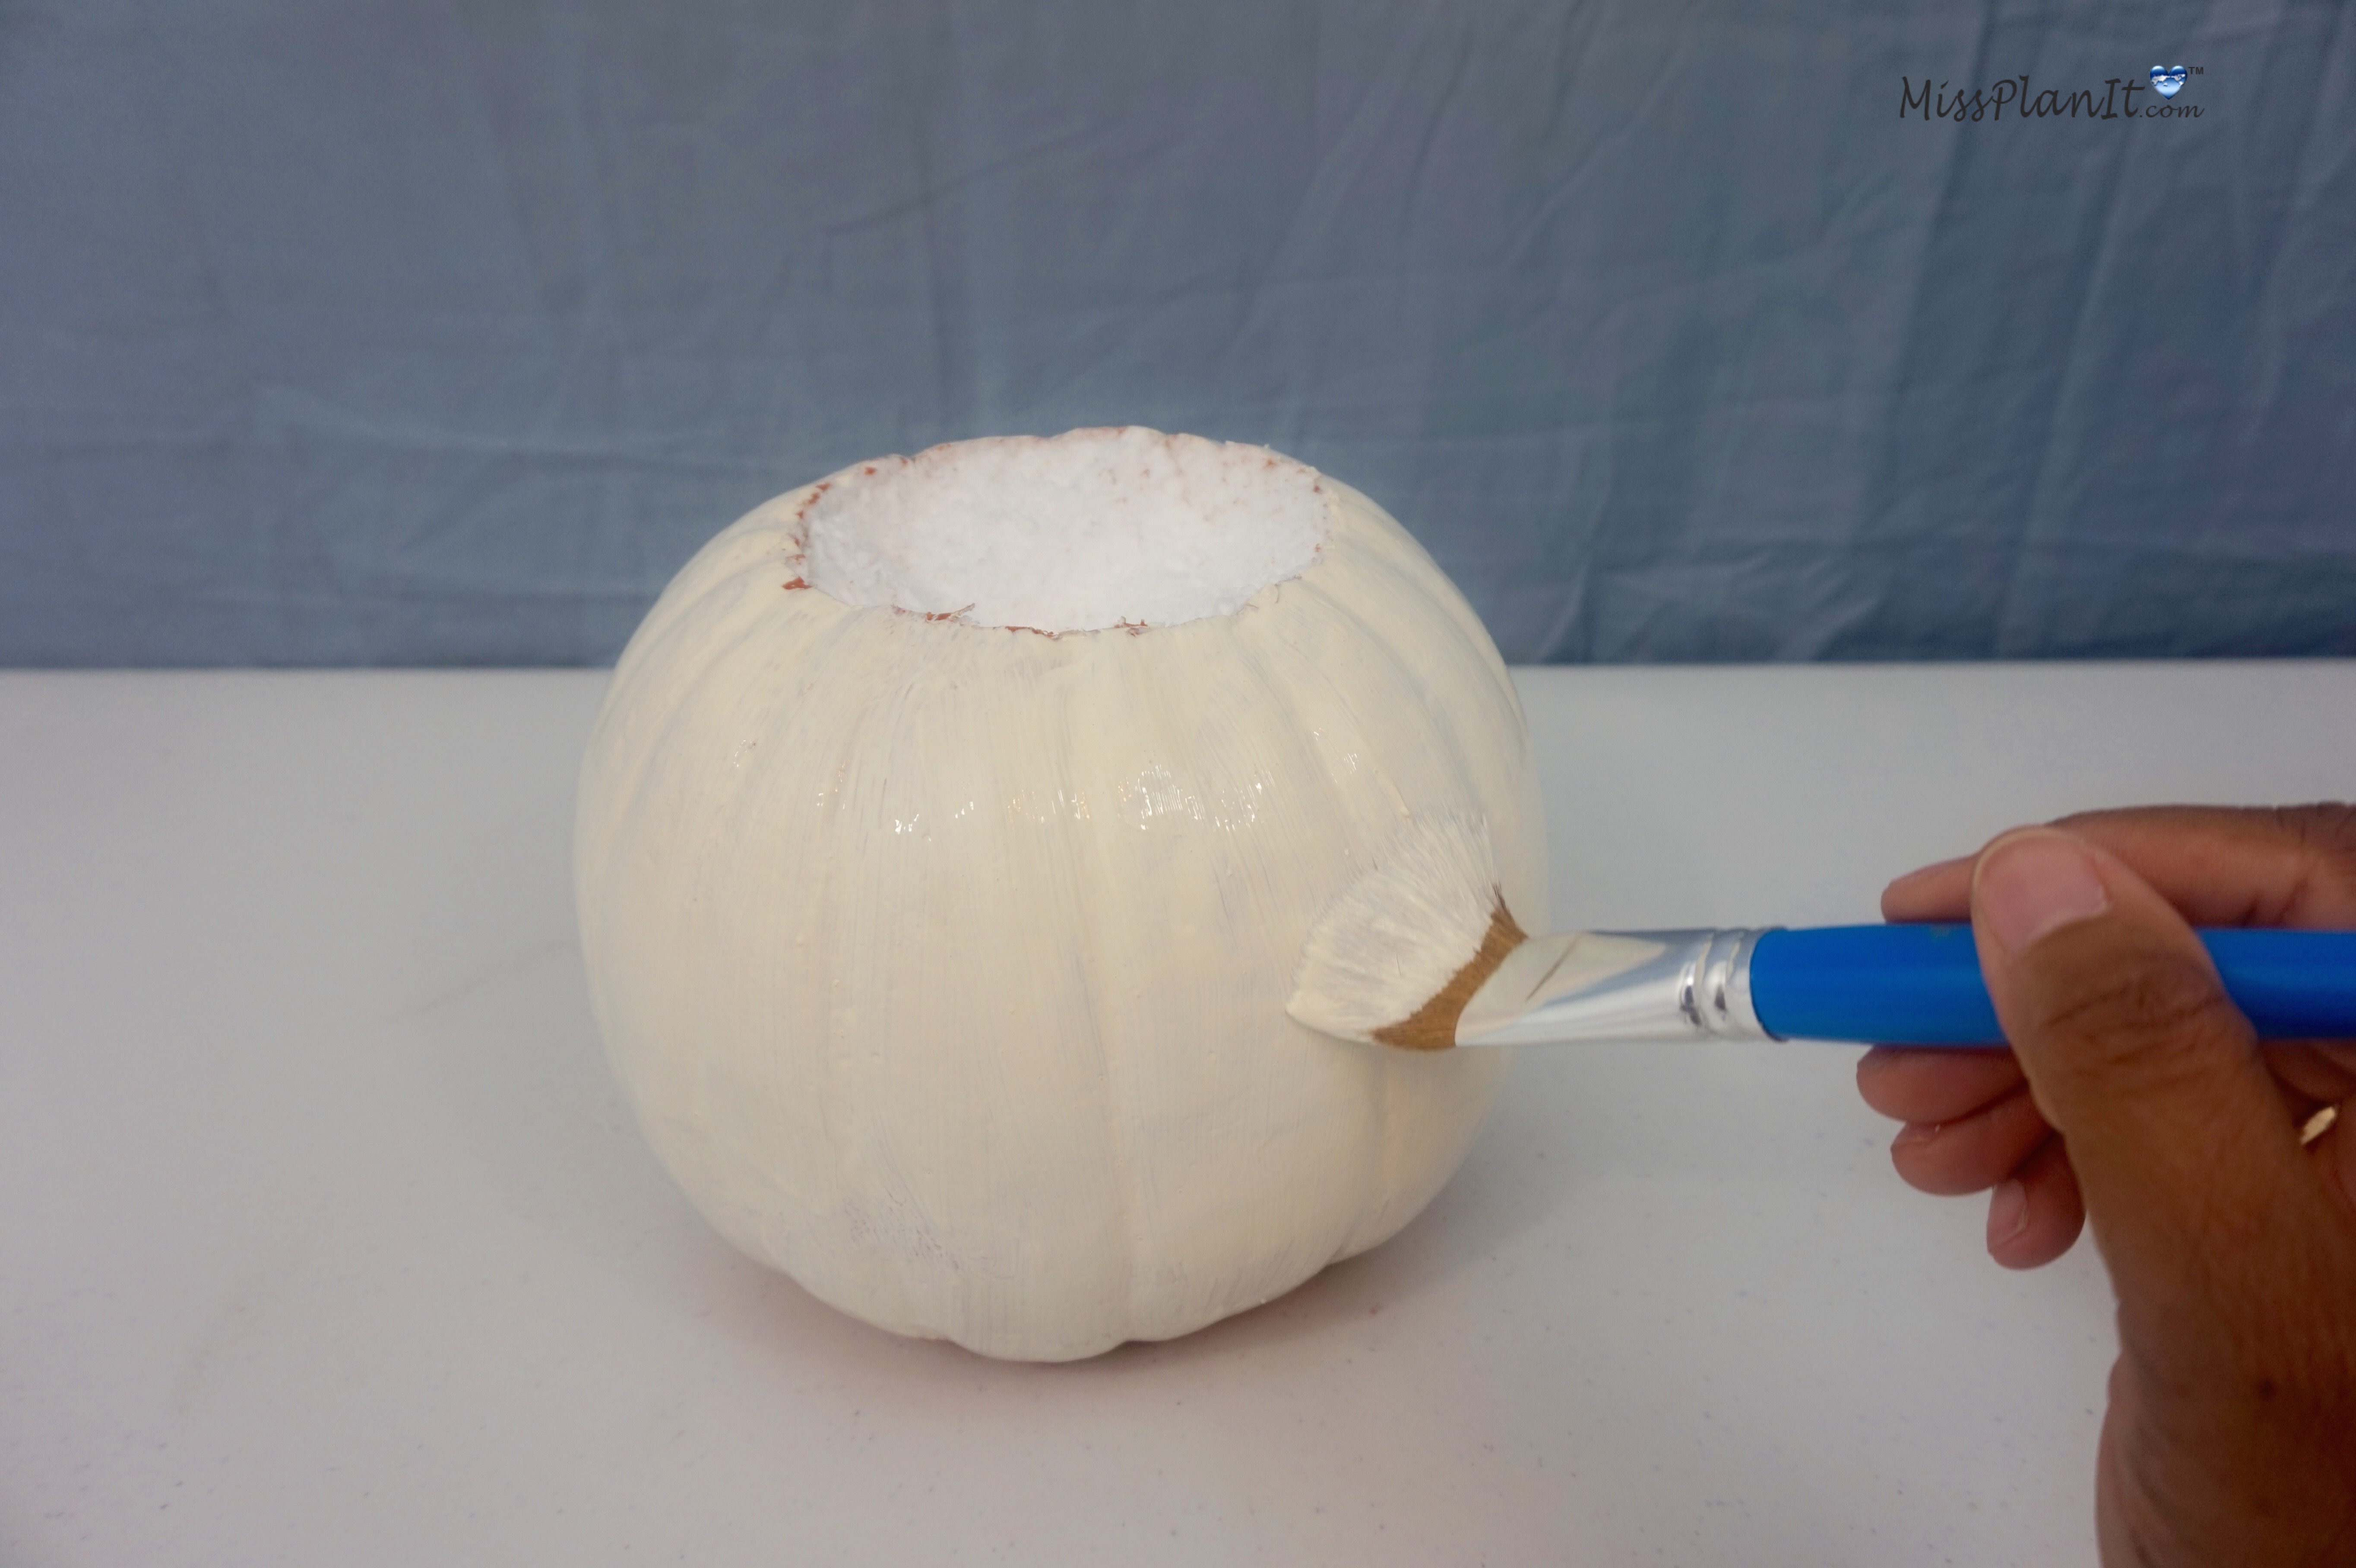
STEP 2: It’s time to Paint! Grab your paint brush and 6oz Butter Cream Paint and paint your pumpkin. 1 to 2 coats should do it. Add more coats of paint if needed.
TIP: For this particular project, I chose to paint my pumpkin in a matte finish. This gives it a more natural look!
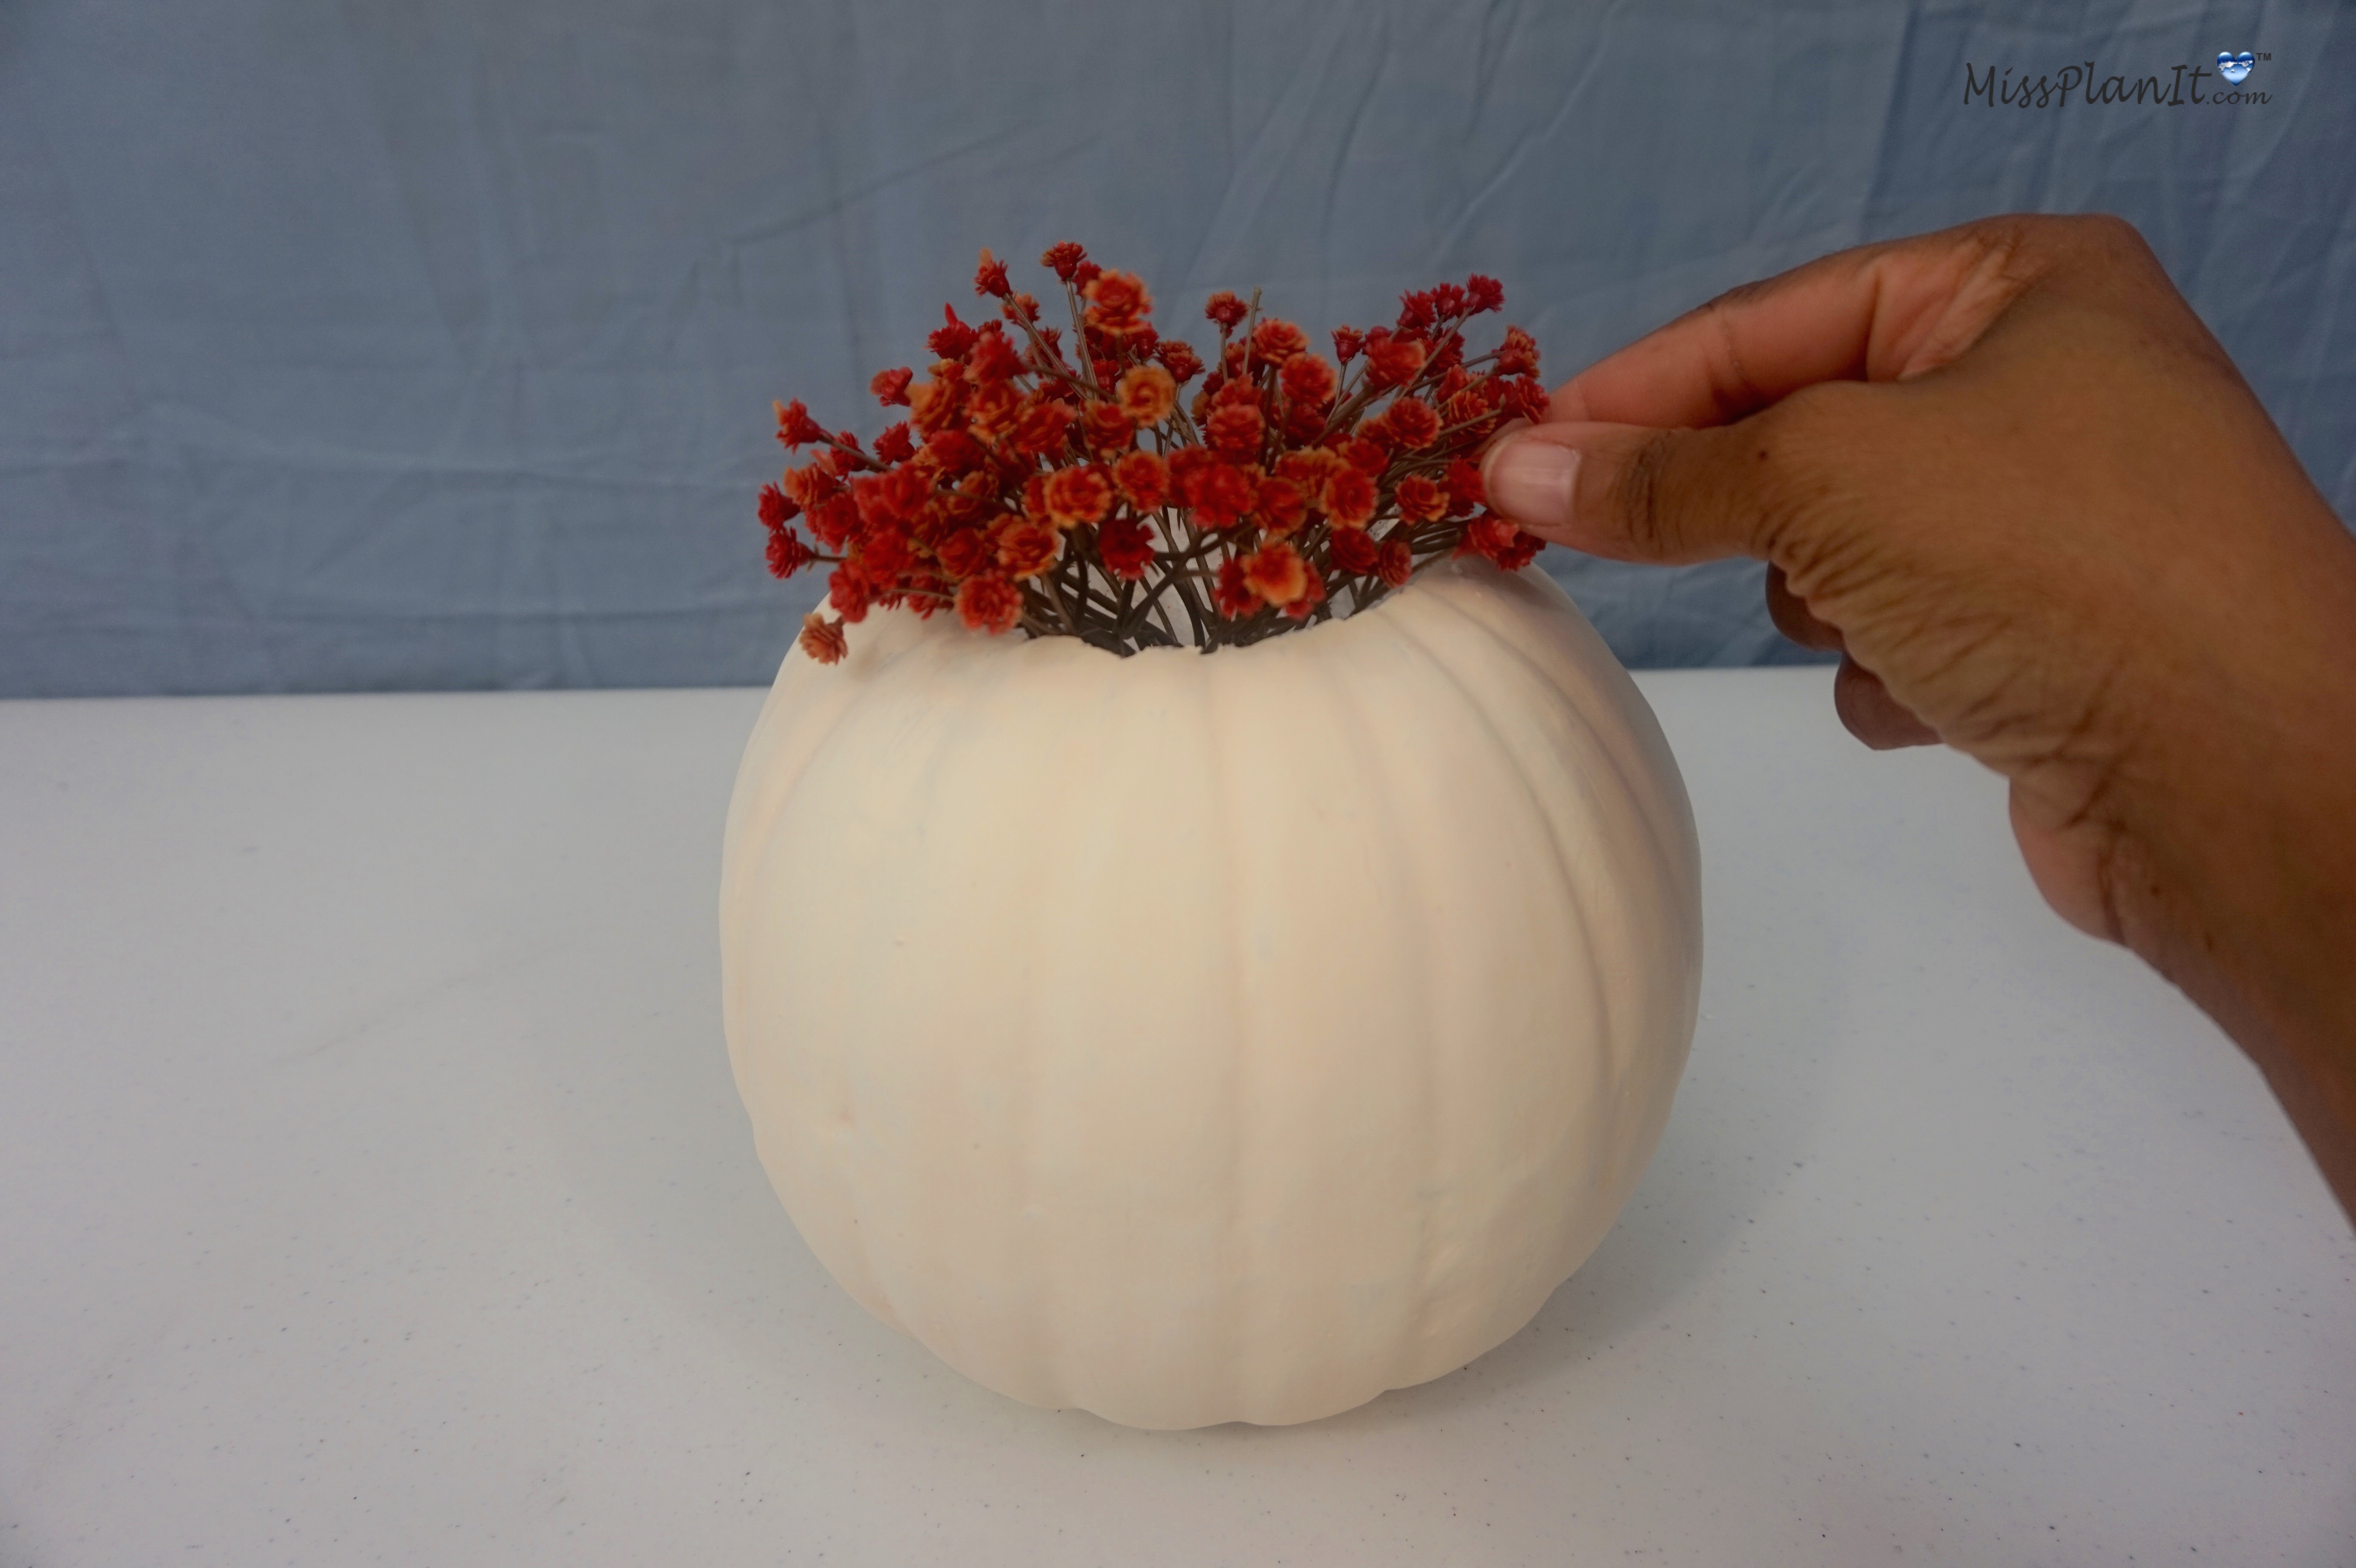
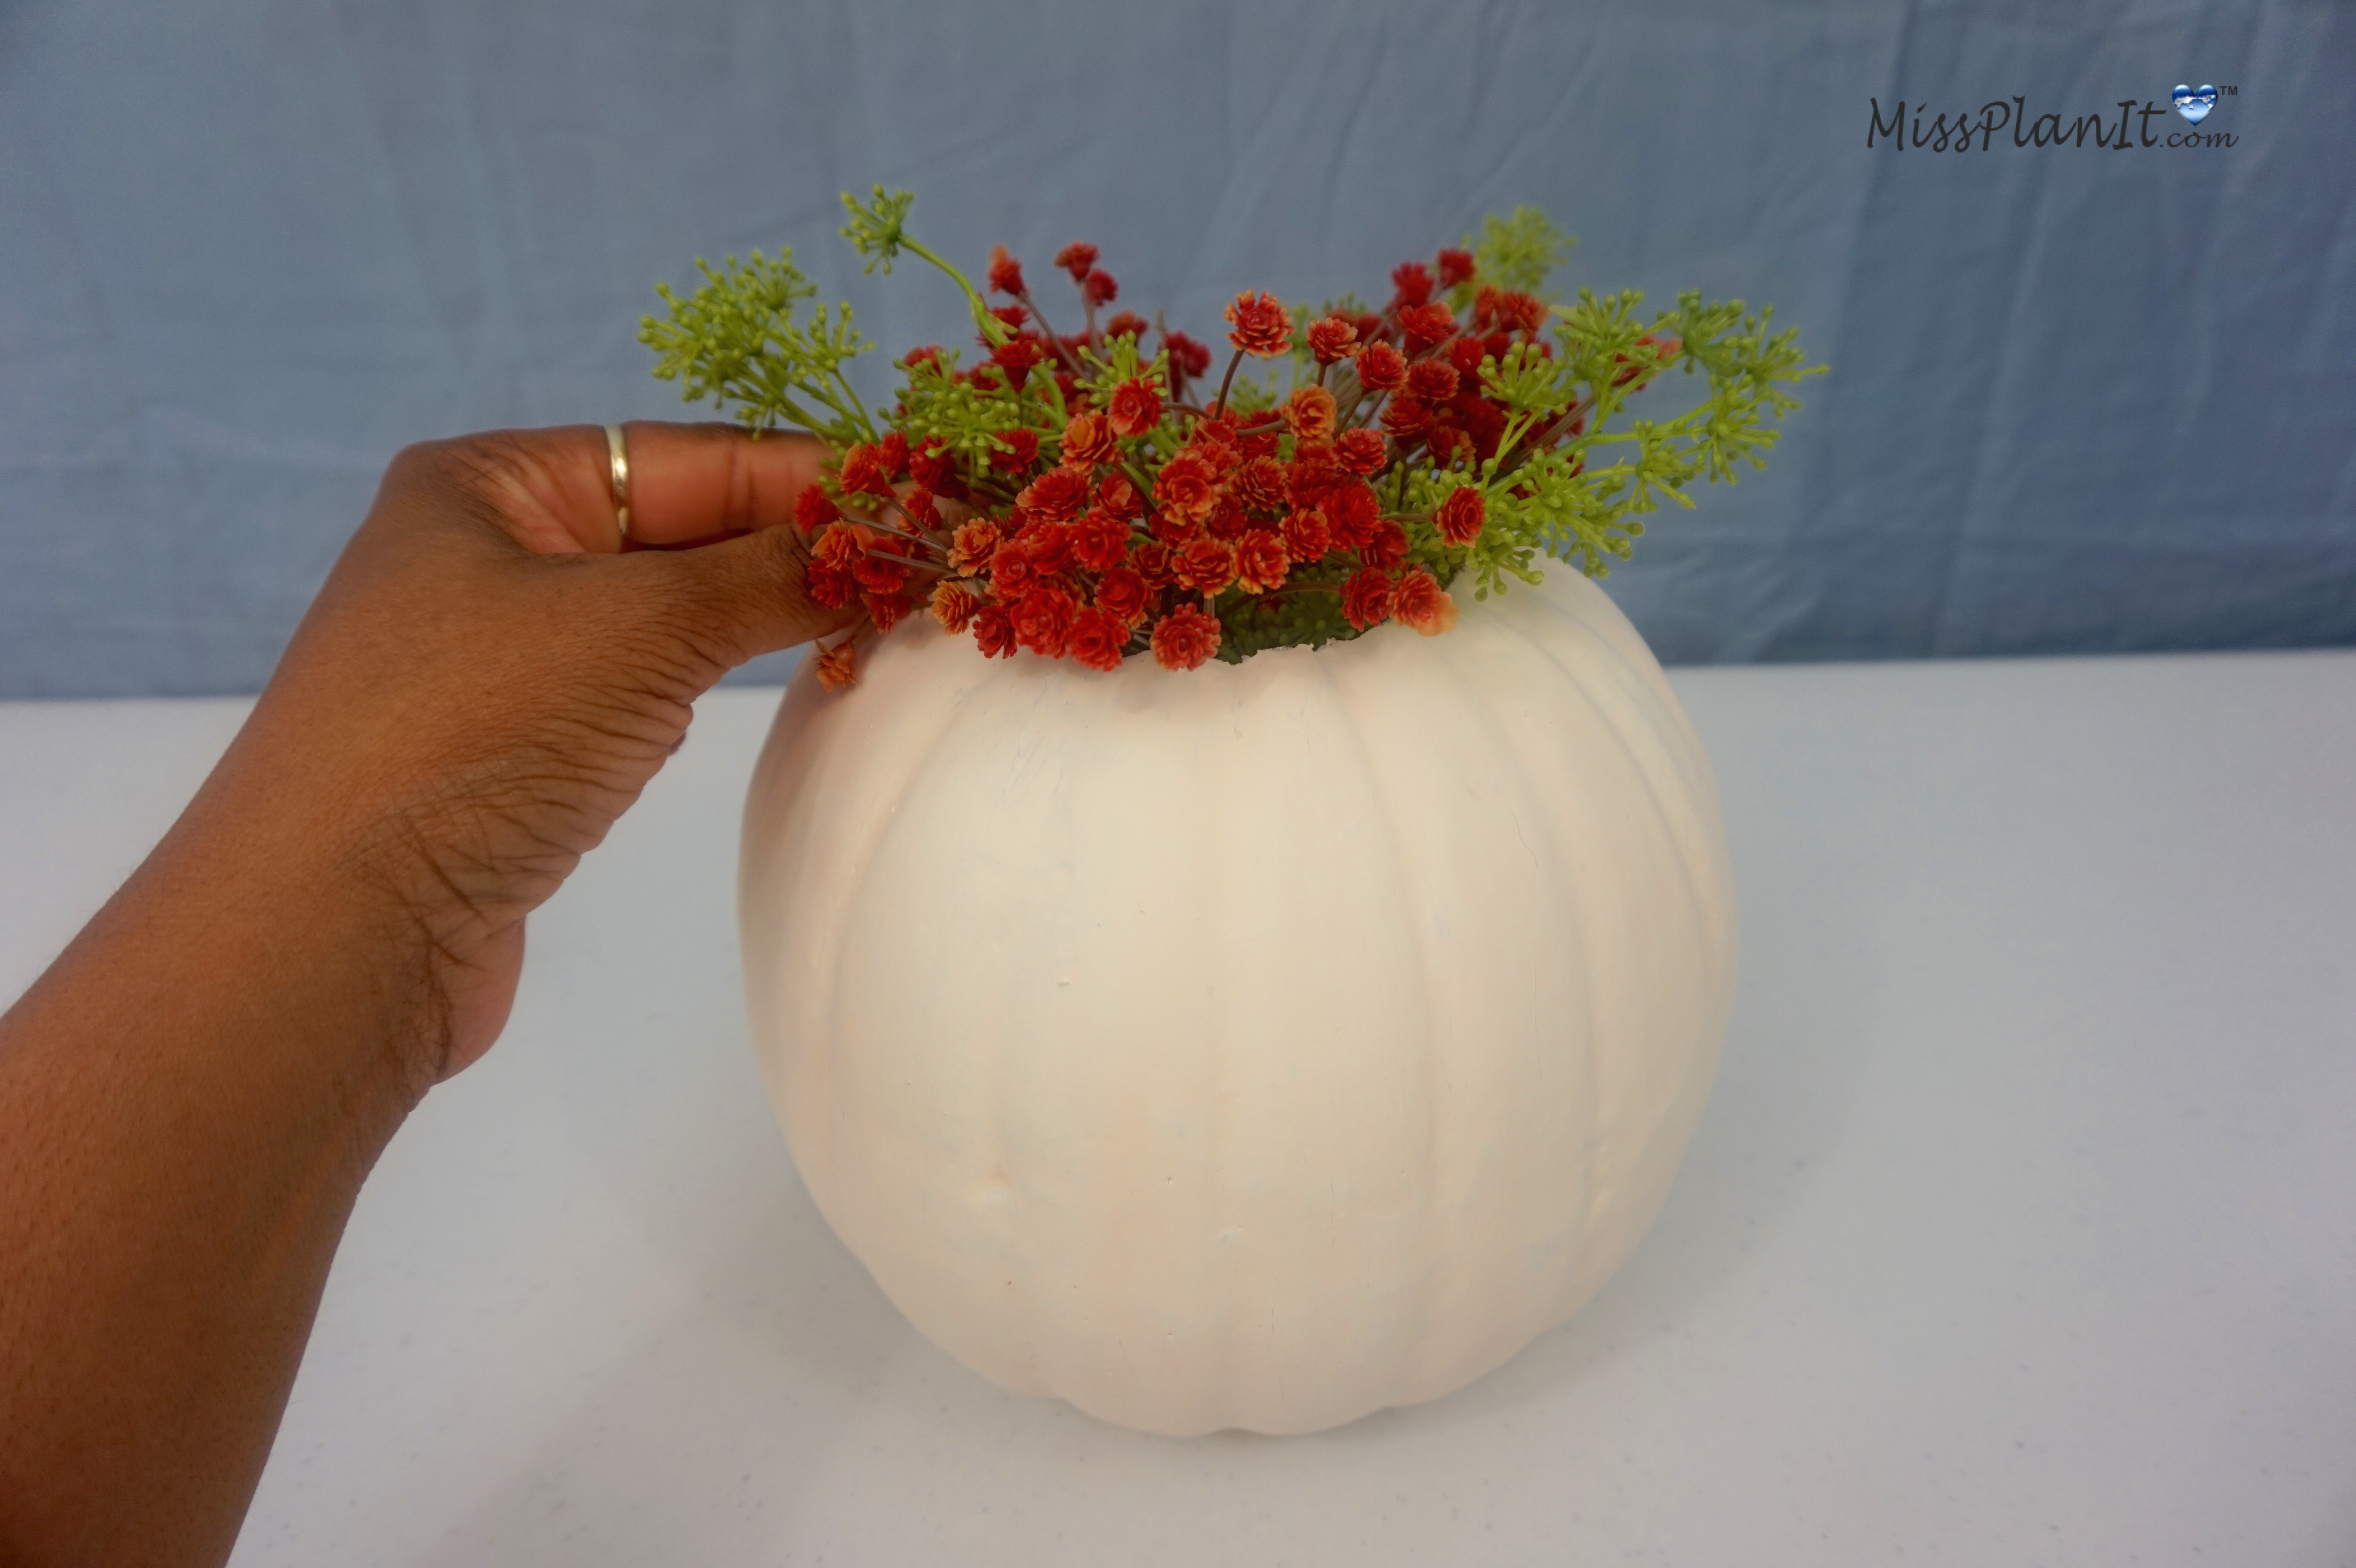
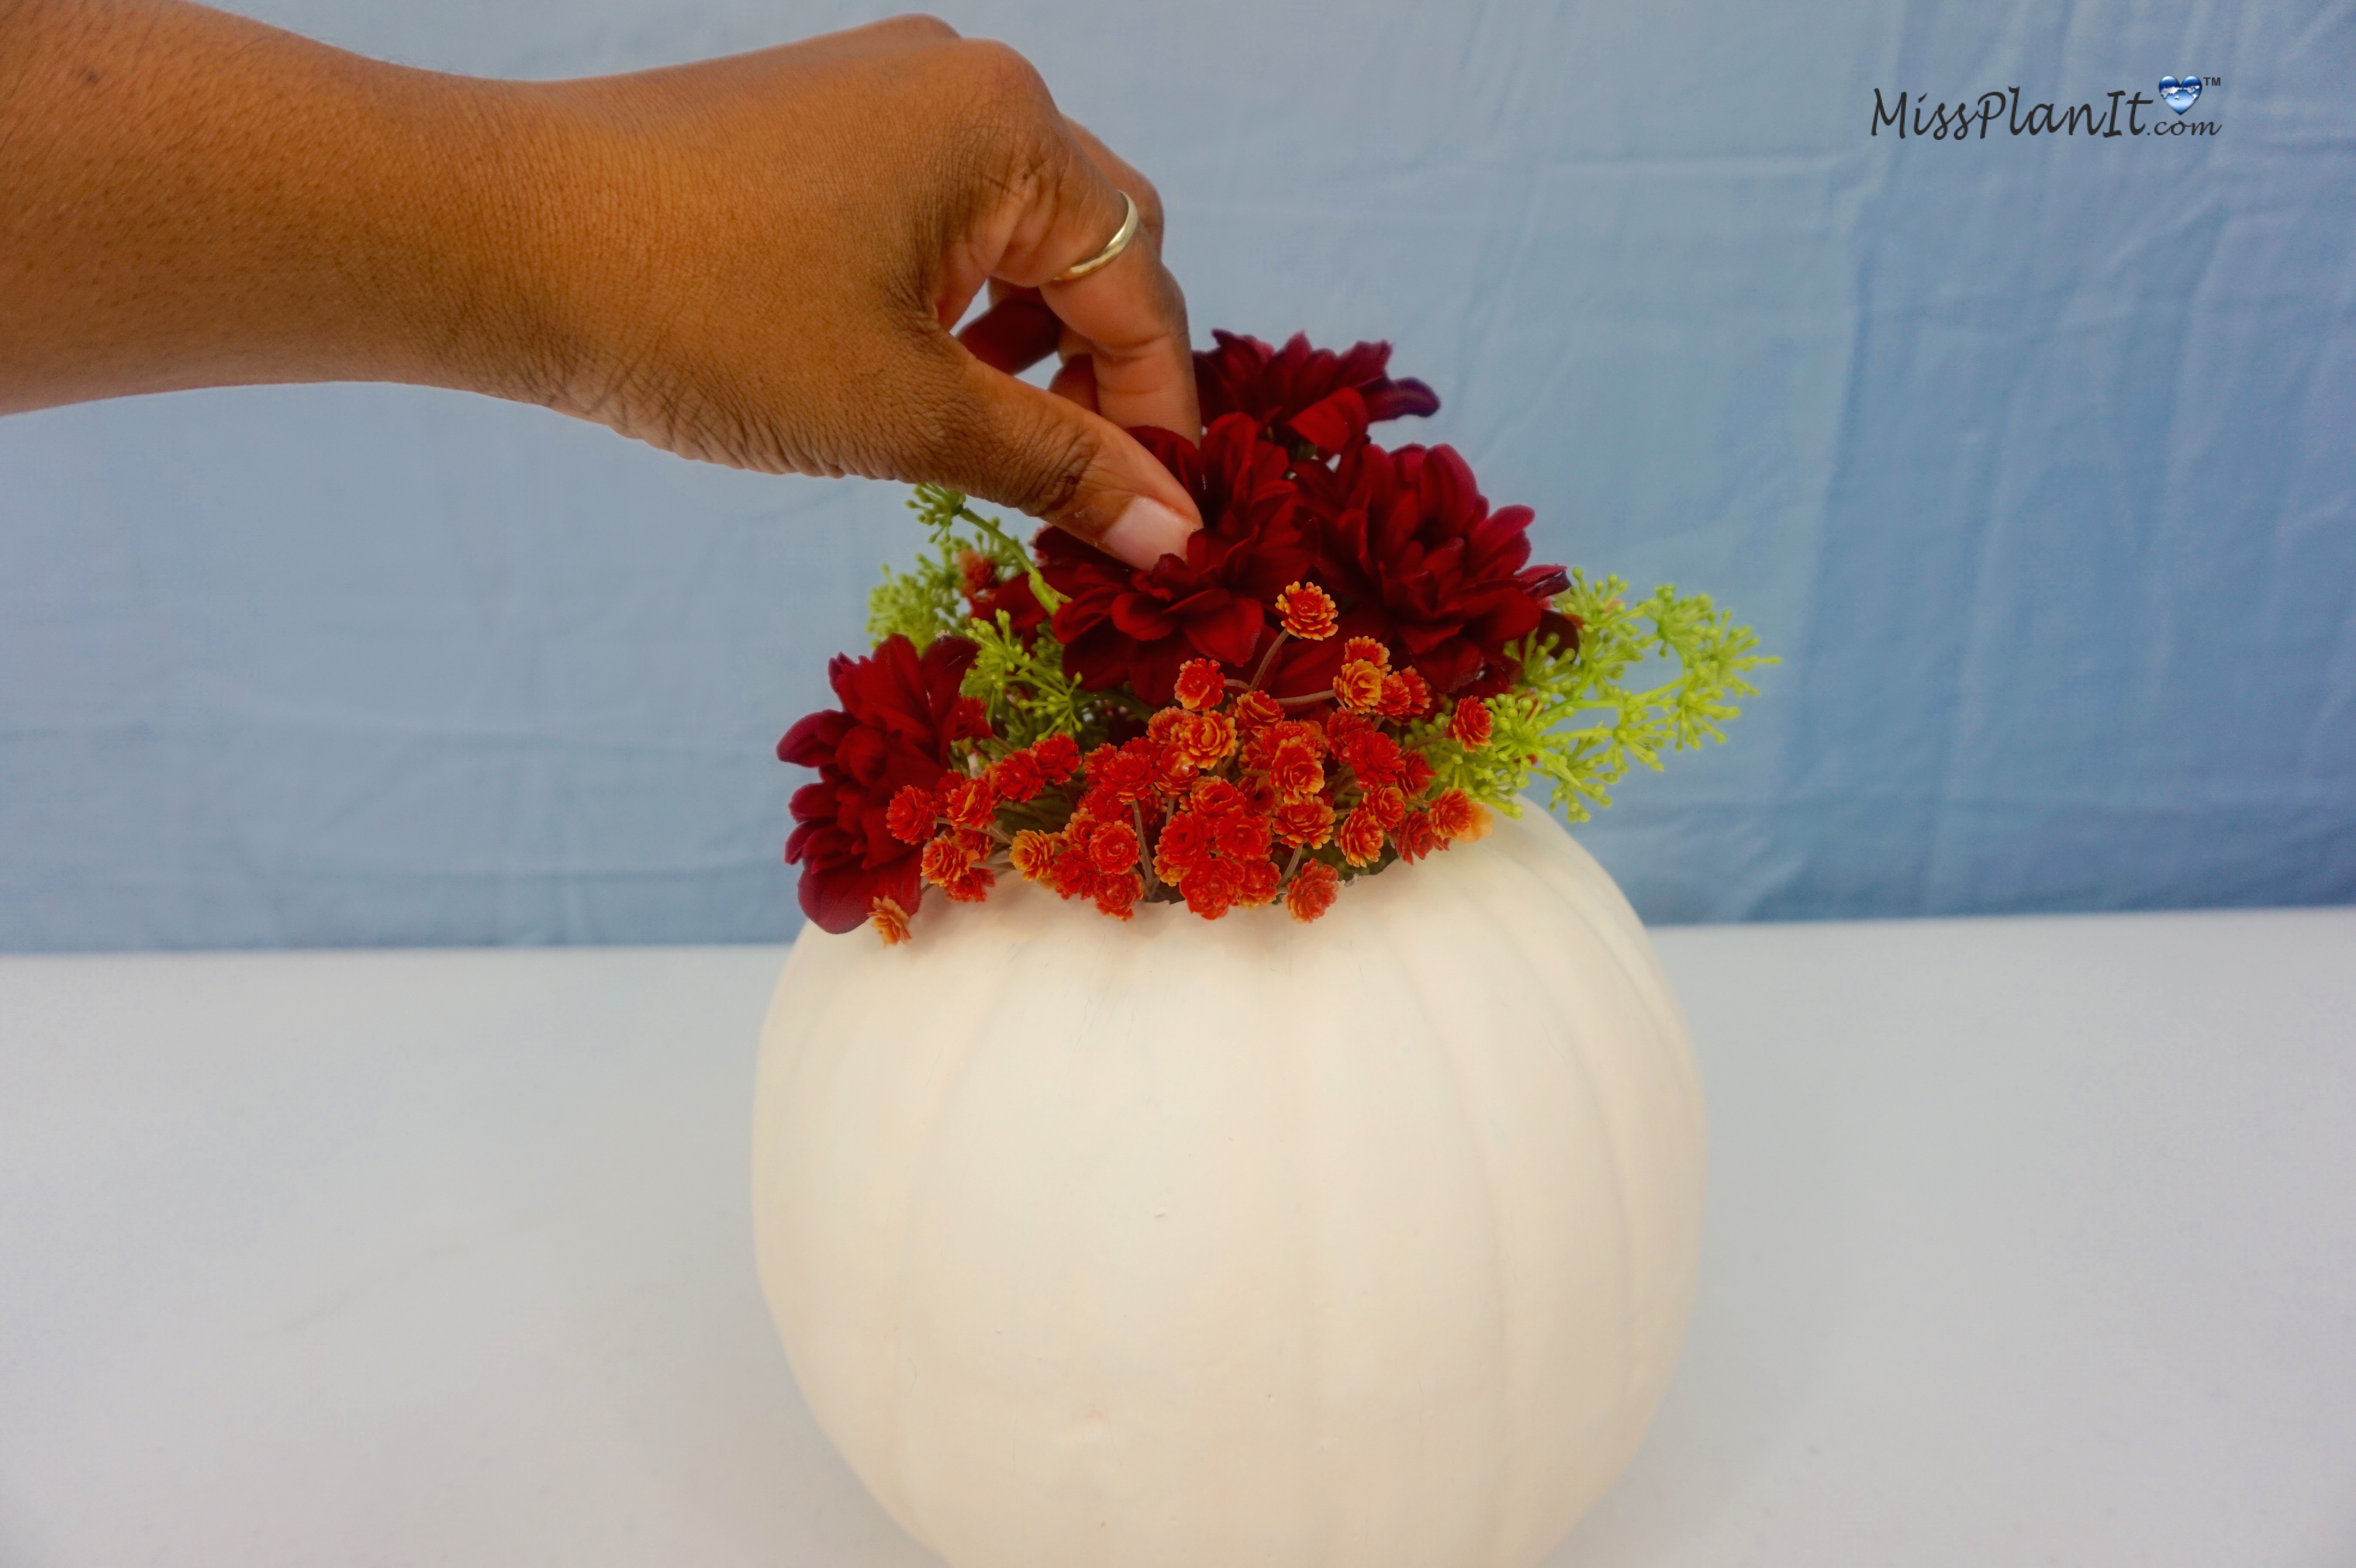
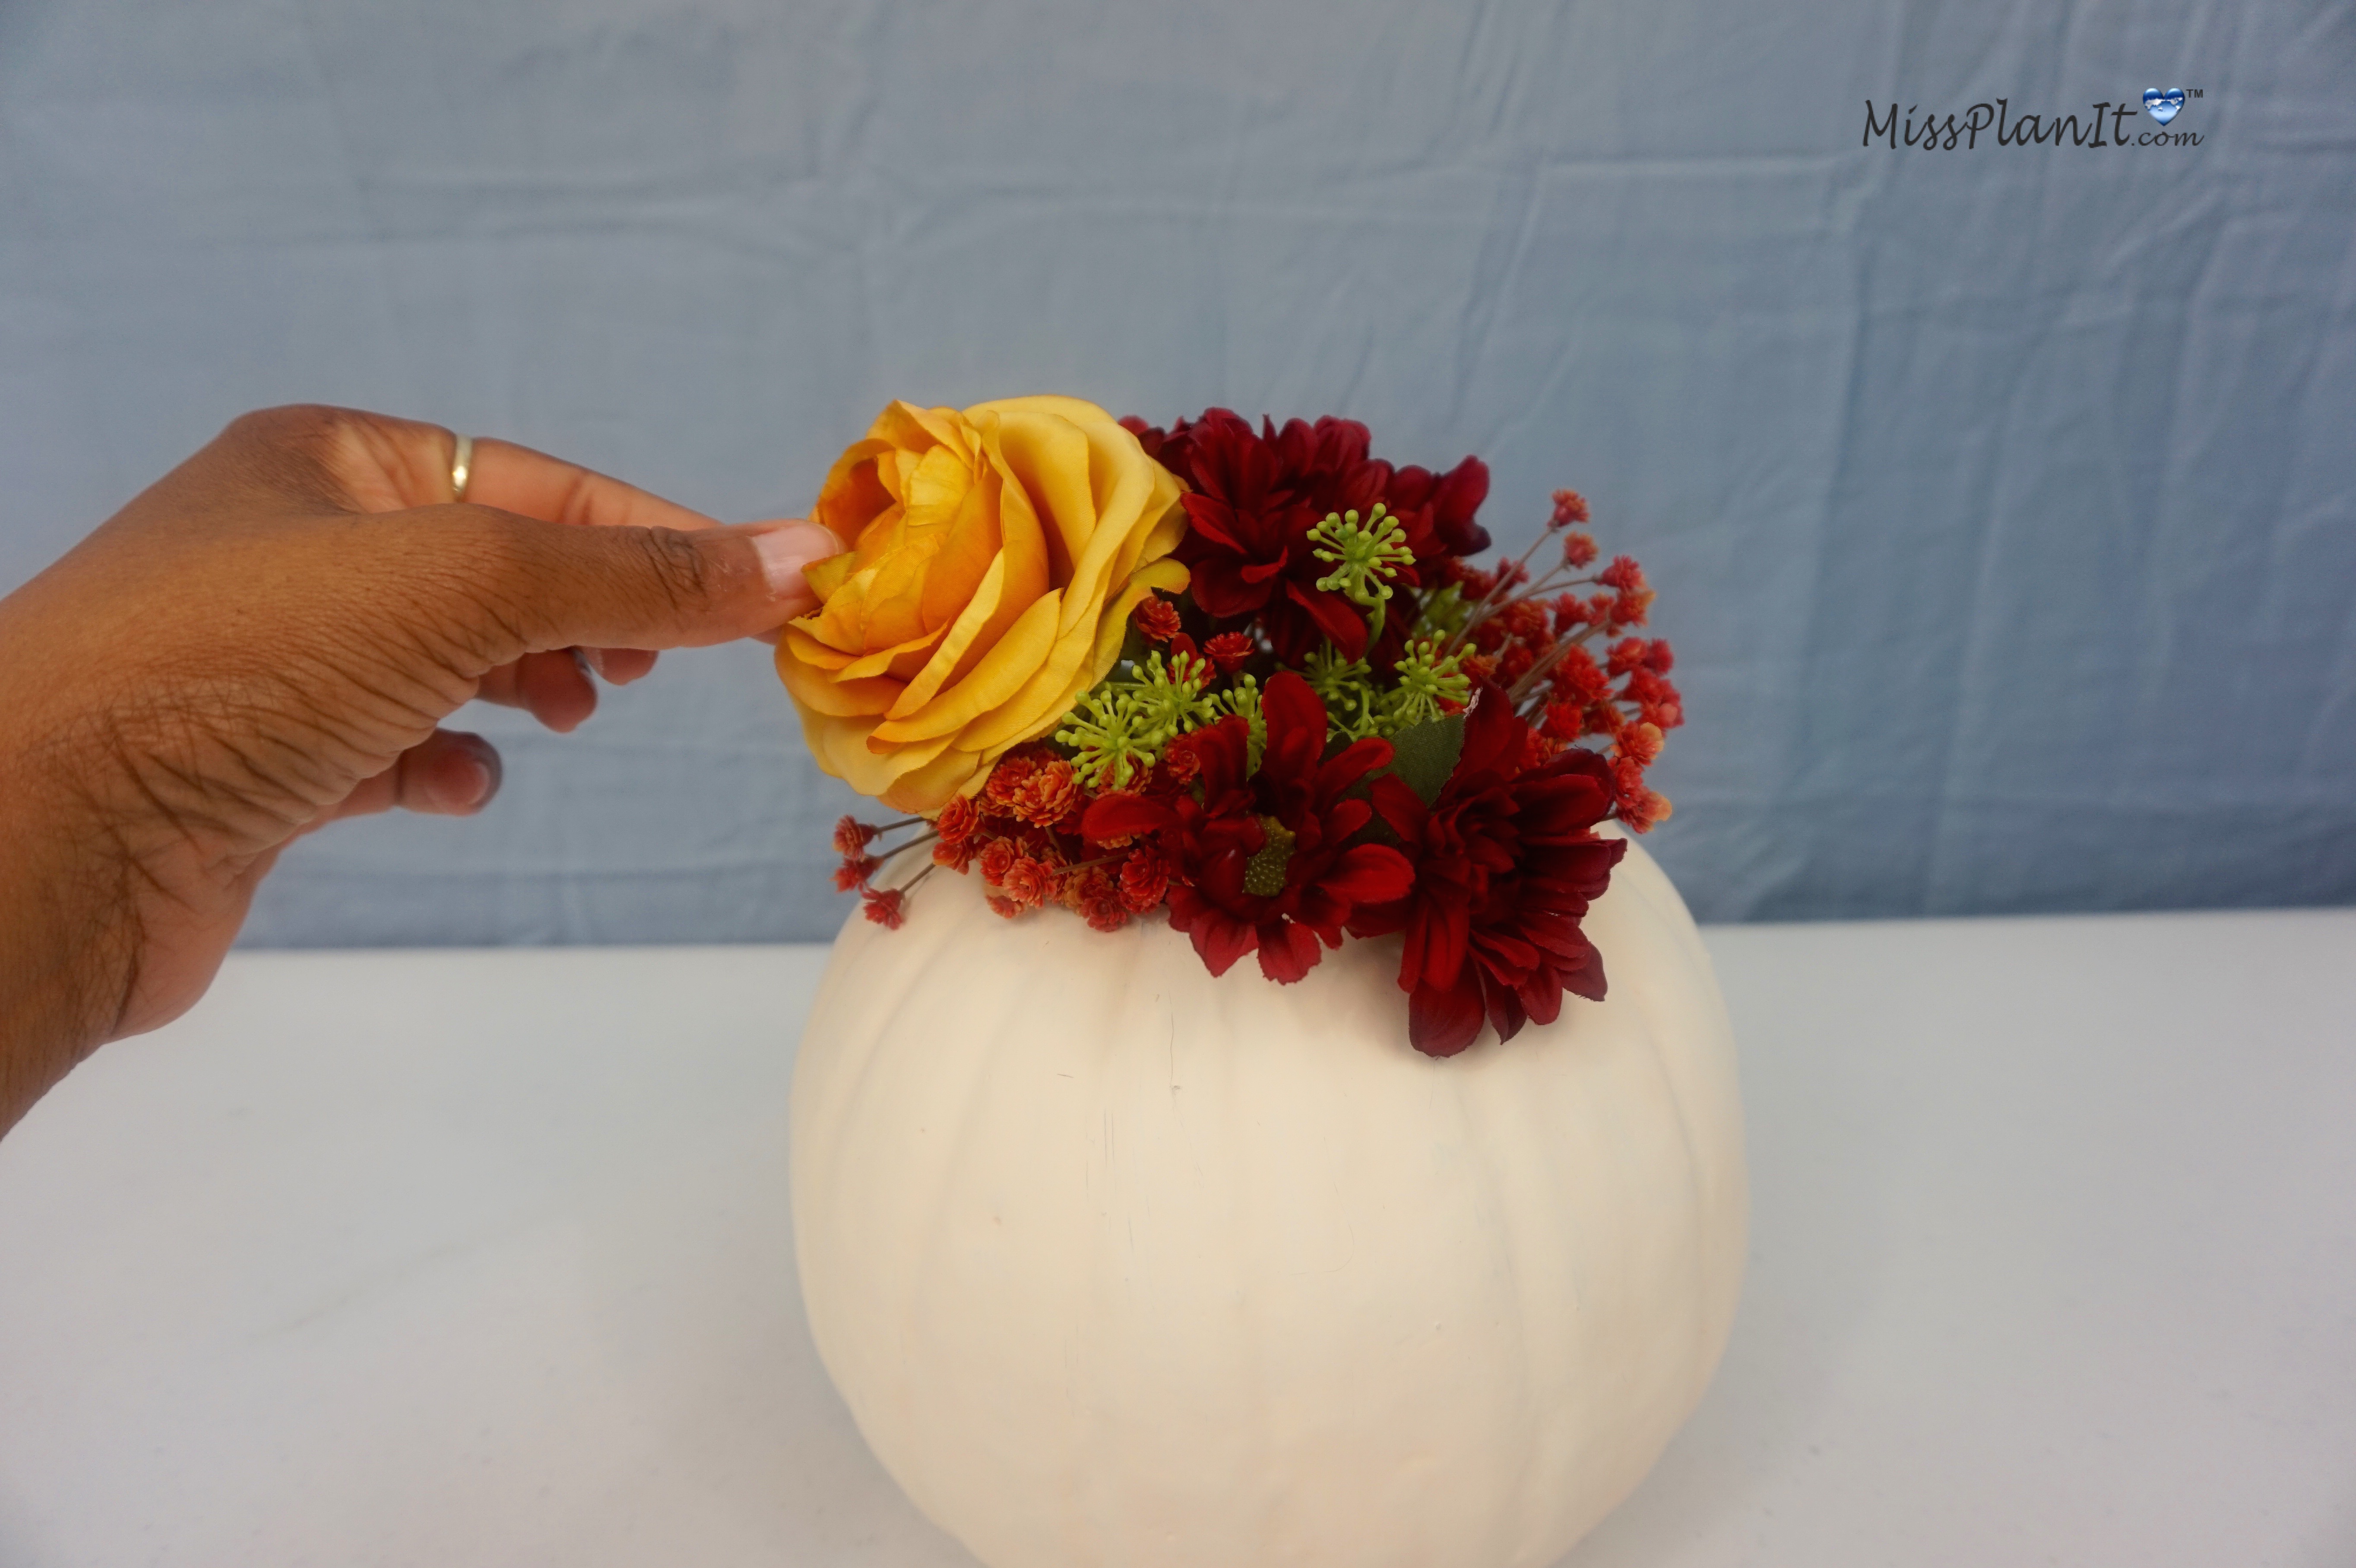
STEP 3: Add your flowers! Prior to inserting your flowers in the foam, make sure you decide your placement. After you have finalized where you want each flower to go, dab your hot glue on the end of the stem and then insert into your foam. I suggest placing your flowers in the below order:
1st-Burgundy Babies Breath:
2nd-Stem Fern:
3rd-Stem Burgundy Mums, remove leaves from mums, those will be inserted at the end:
4th-Peonies Stem:
5th-Stem Cattail and Burgundy Mum Leaves:
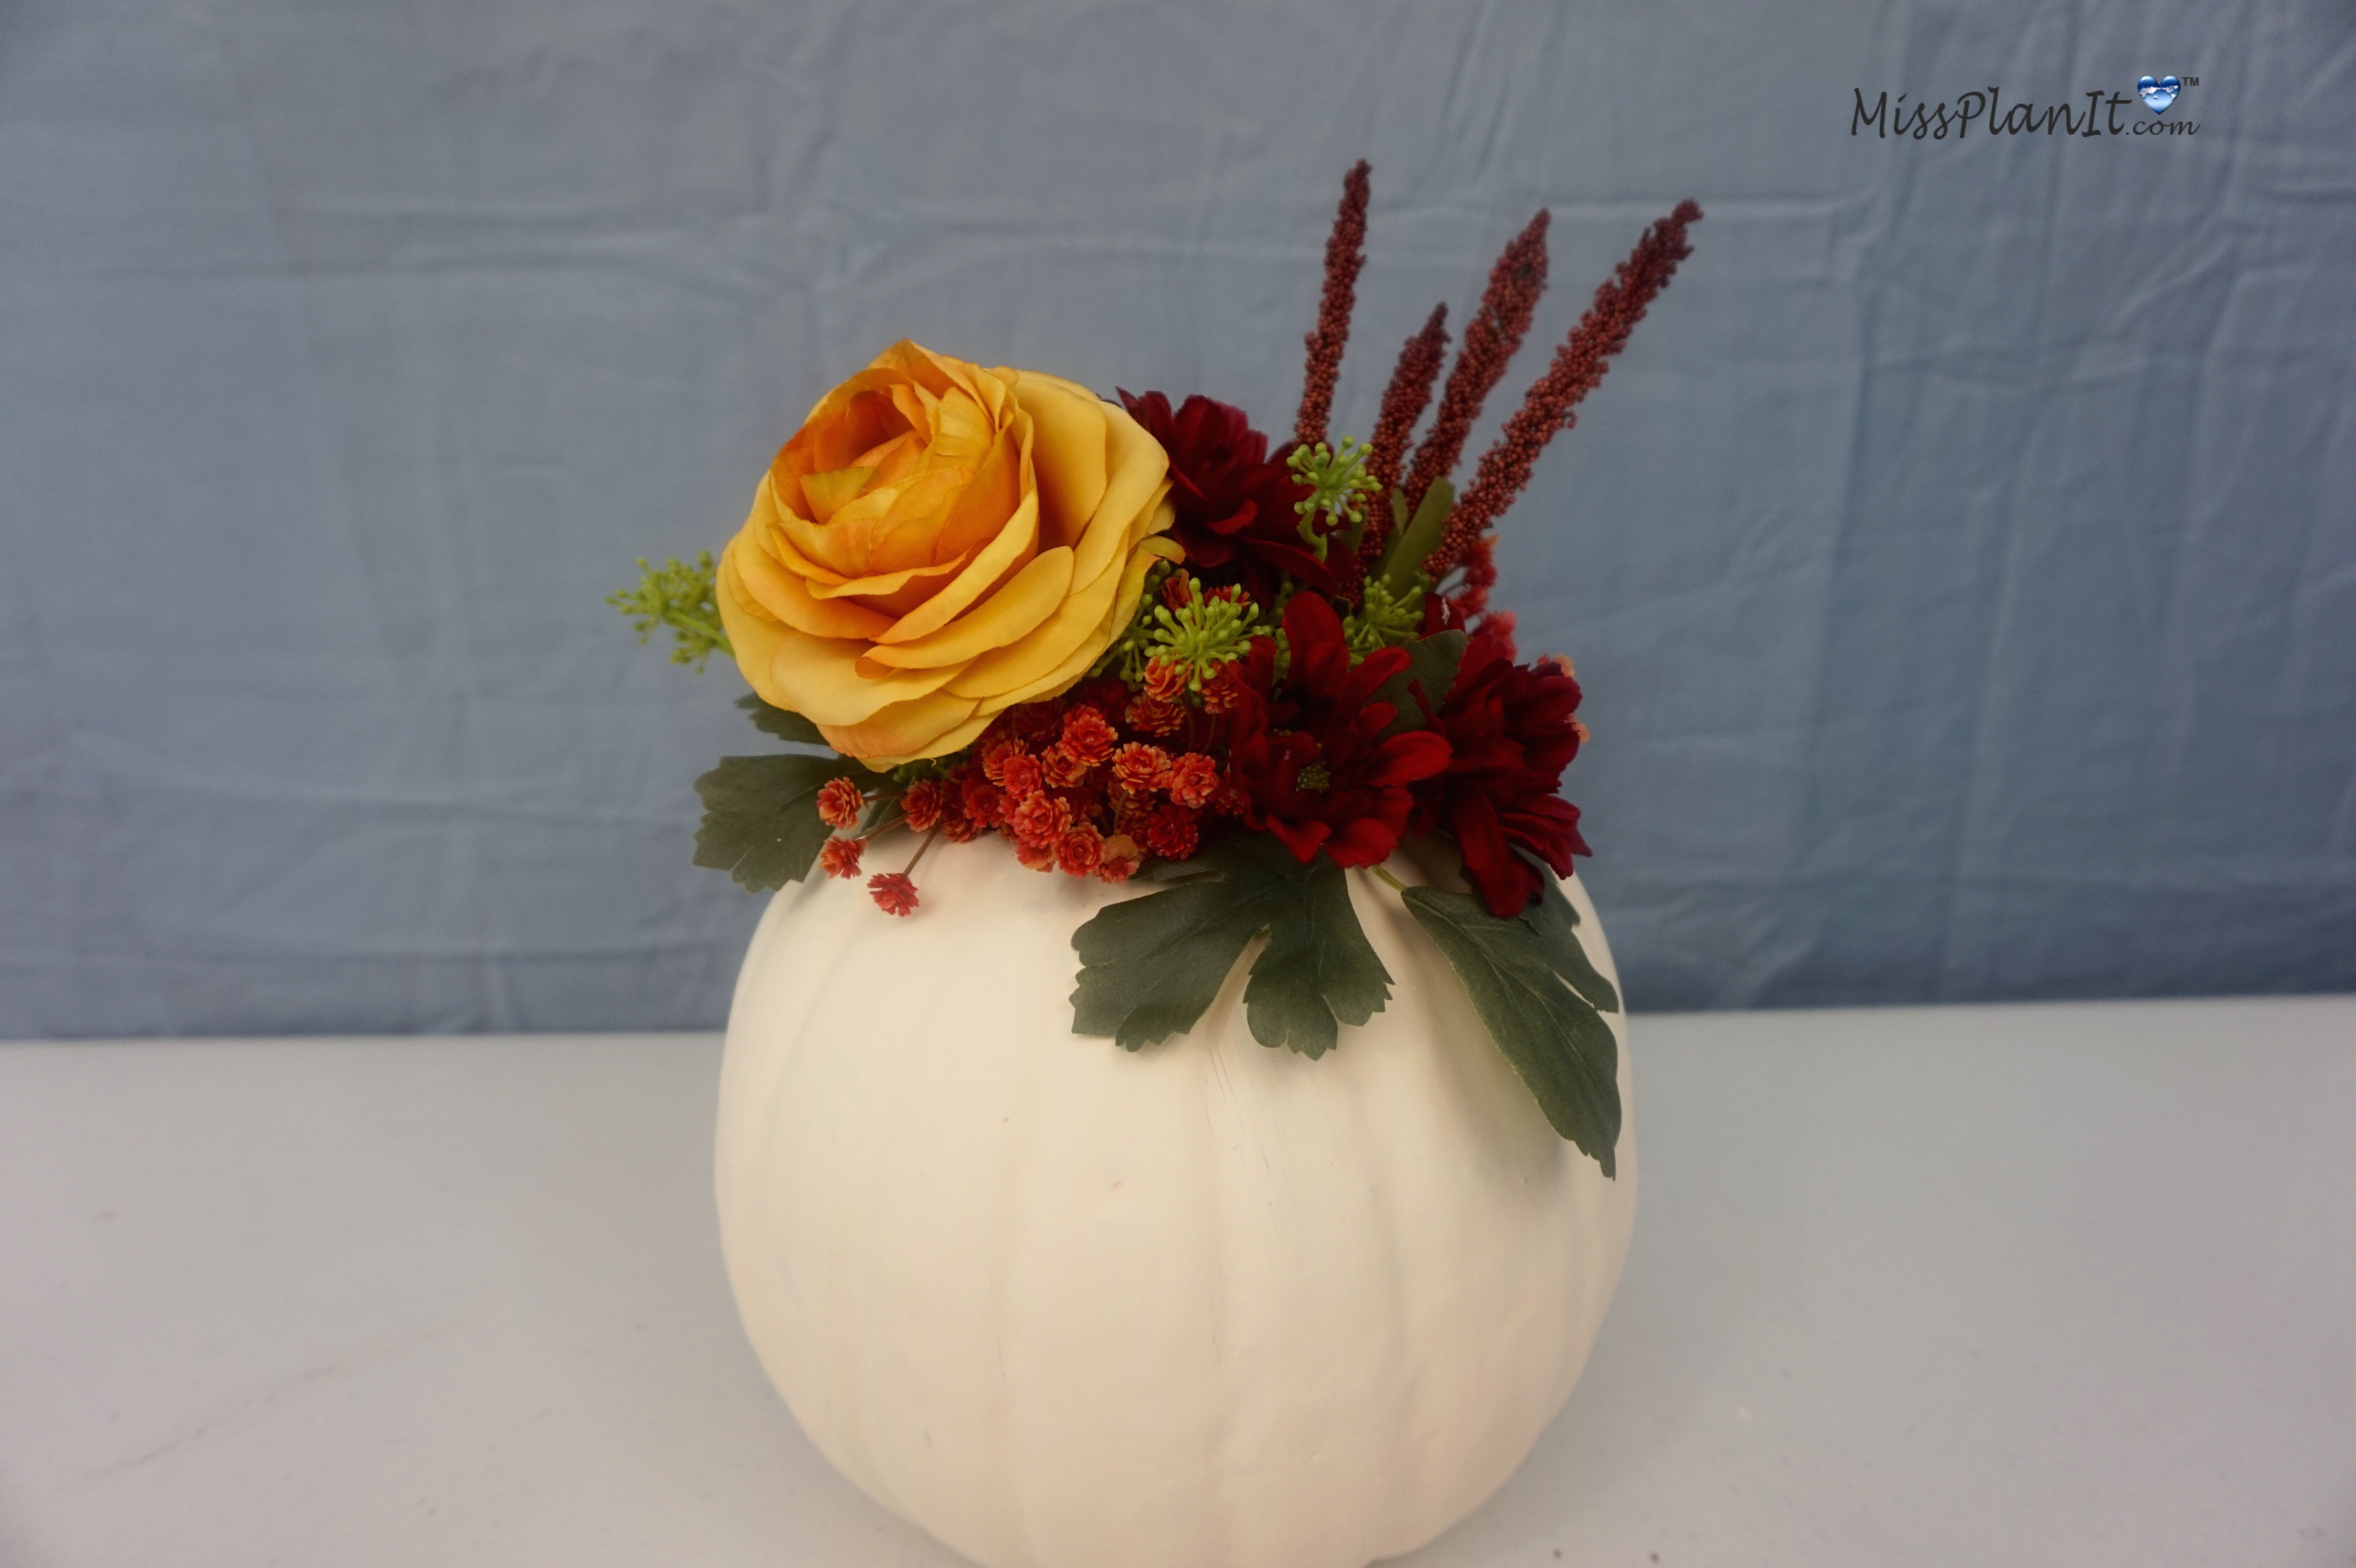
TIP: Although, we used a hot glue gun, we highly recommend using E6000 if you want a more secure hold, but if you plan to reuse any of your items, hot glue is a better choice.
THE FINAL STEP:
STEP 4: Give your Lanterns a makeover! Remove handles from each of your lanterns. Apply mod podge, and sprinkle your gold glitter to each and let it dry. Now add a tea light candle to each lantern.
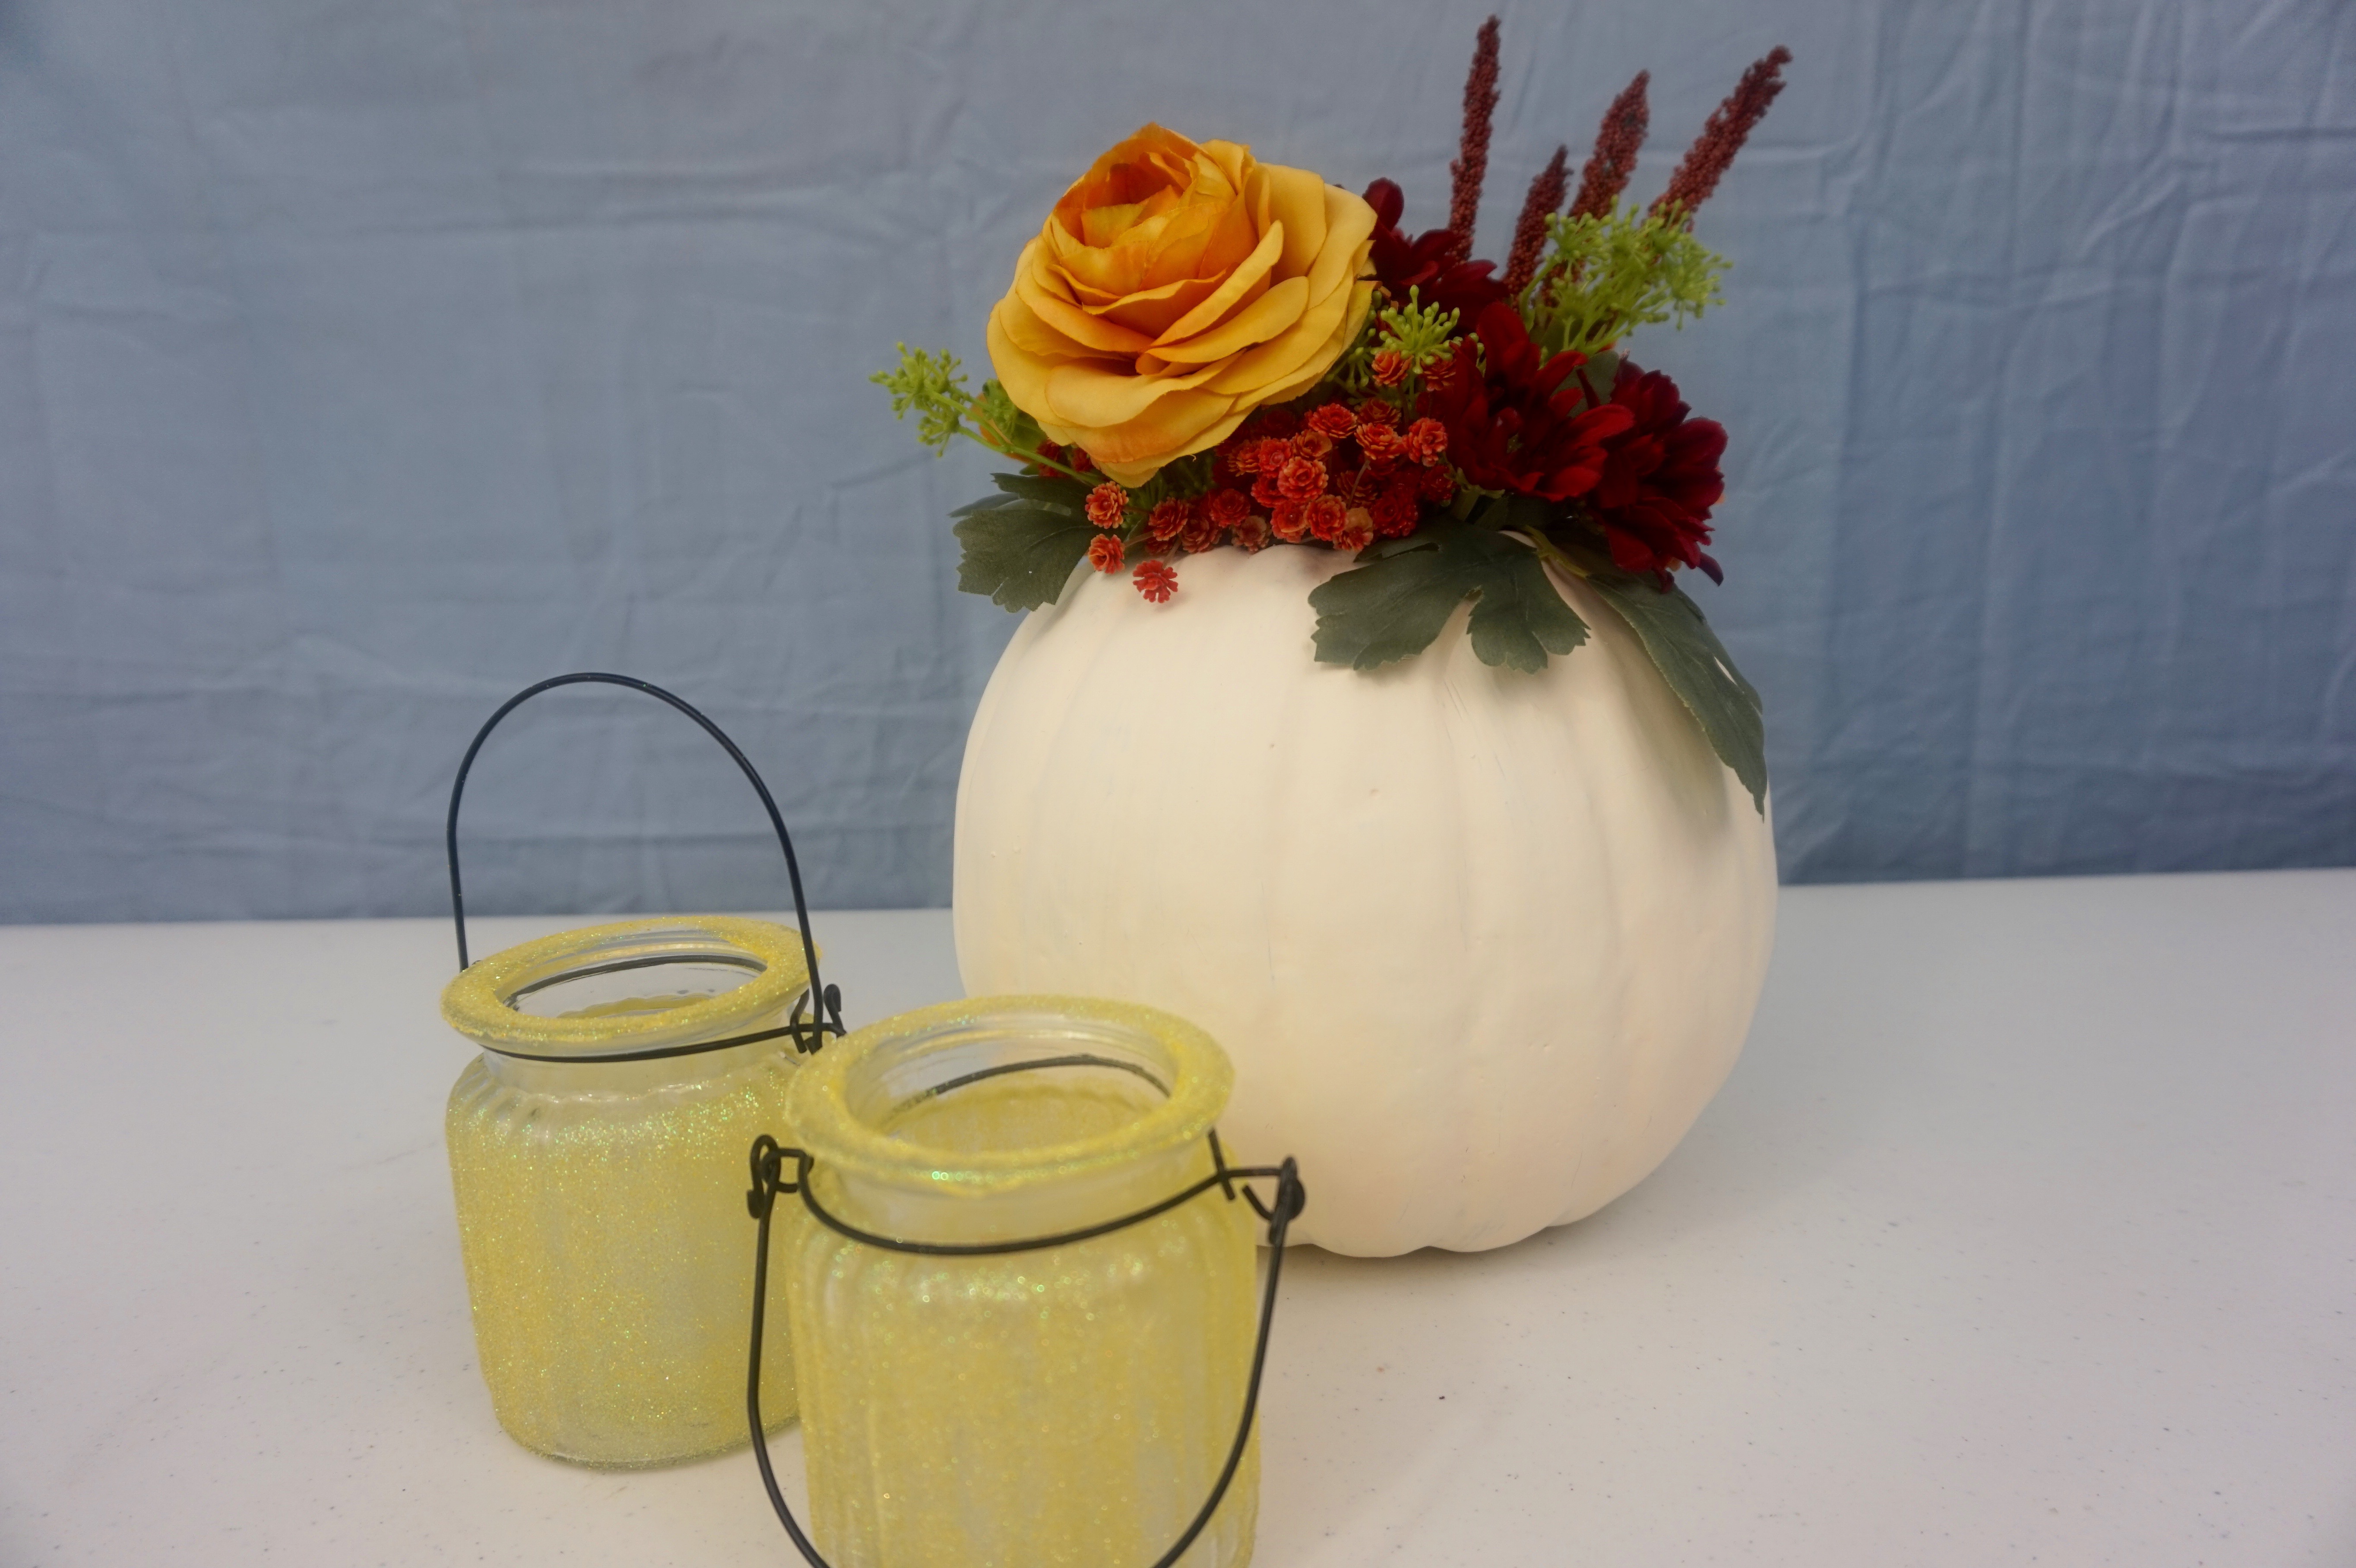
I absolutely love how this wedding centerpiece turned out. Erica, thank you so much for allowing us to be apart of your special day!
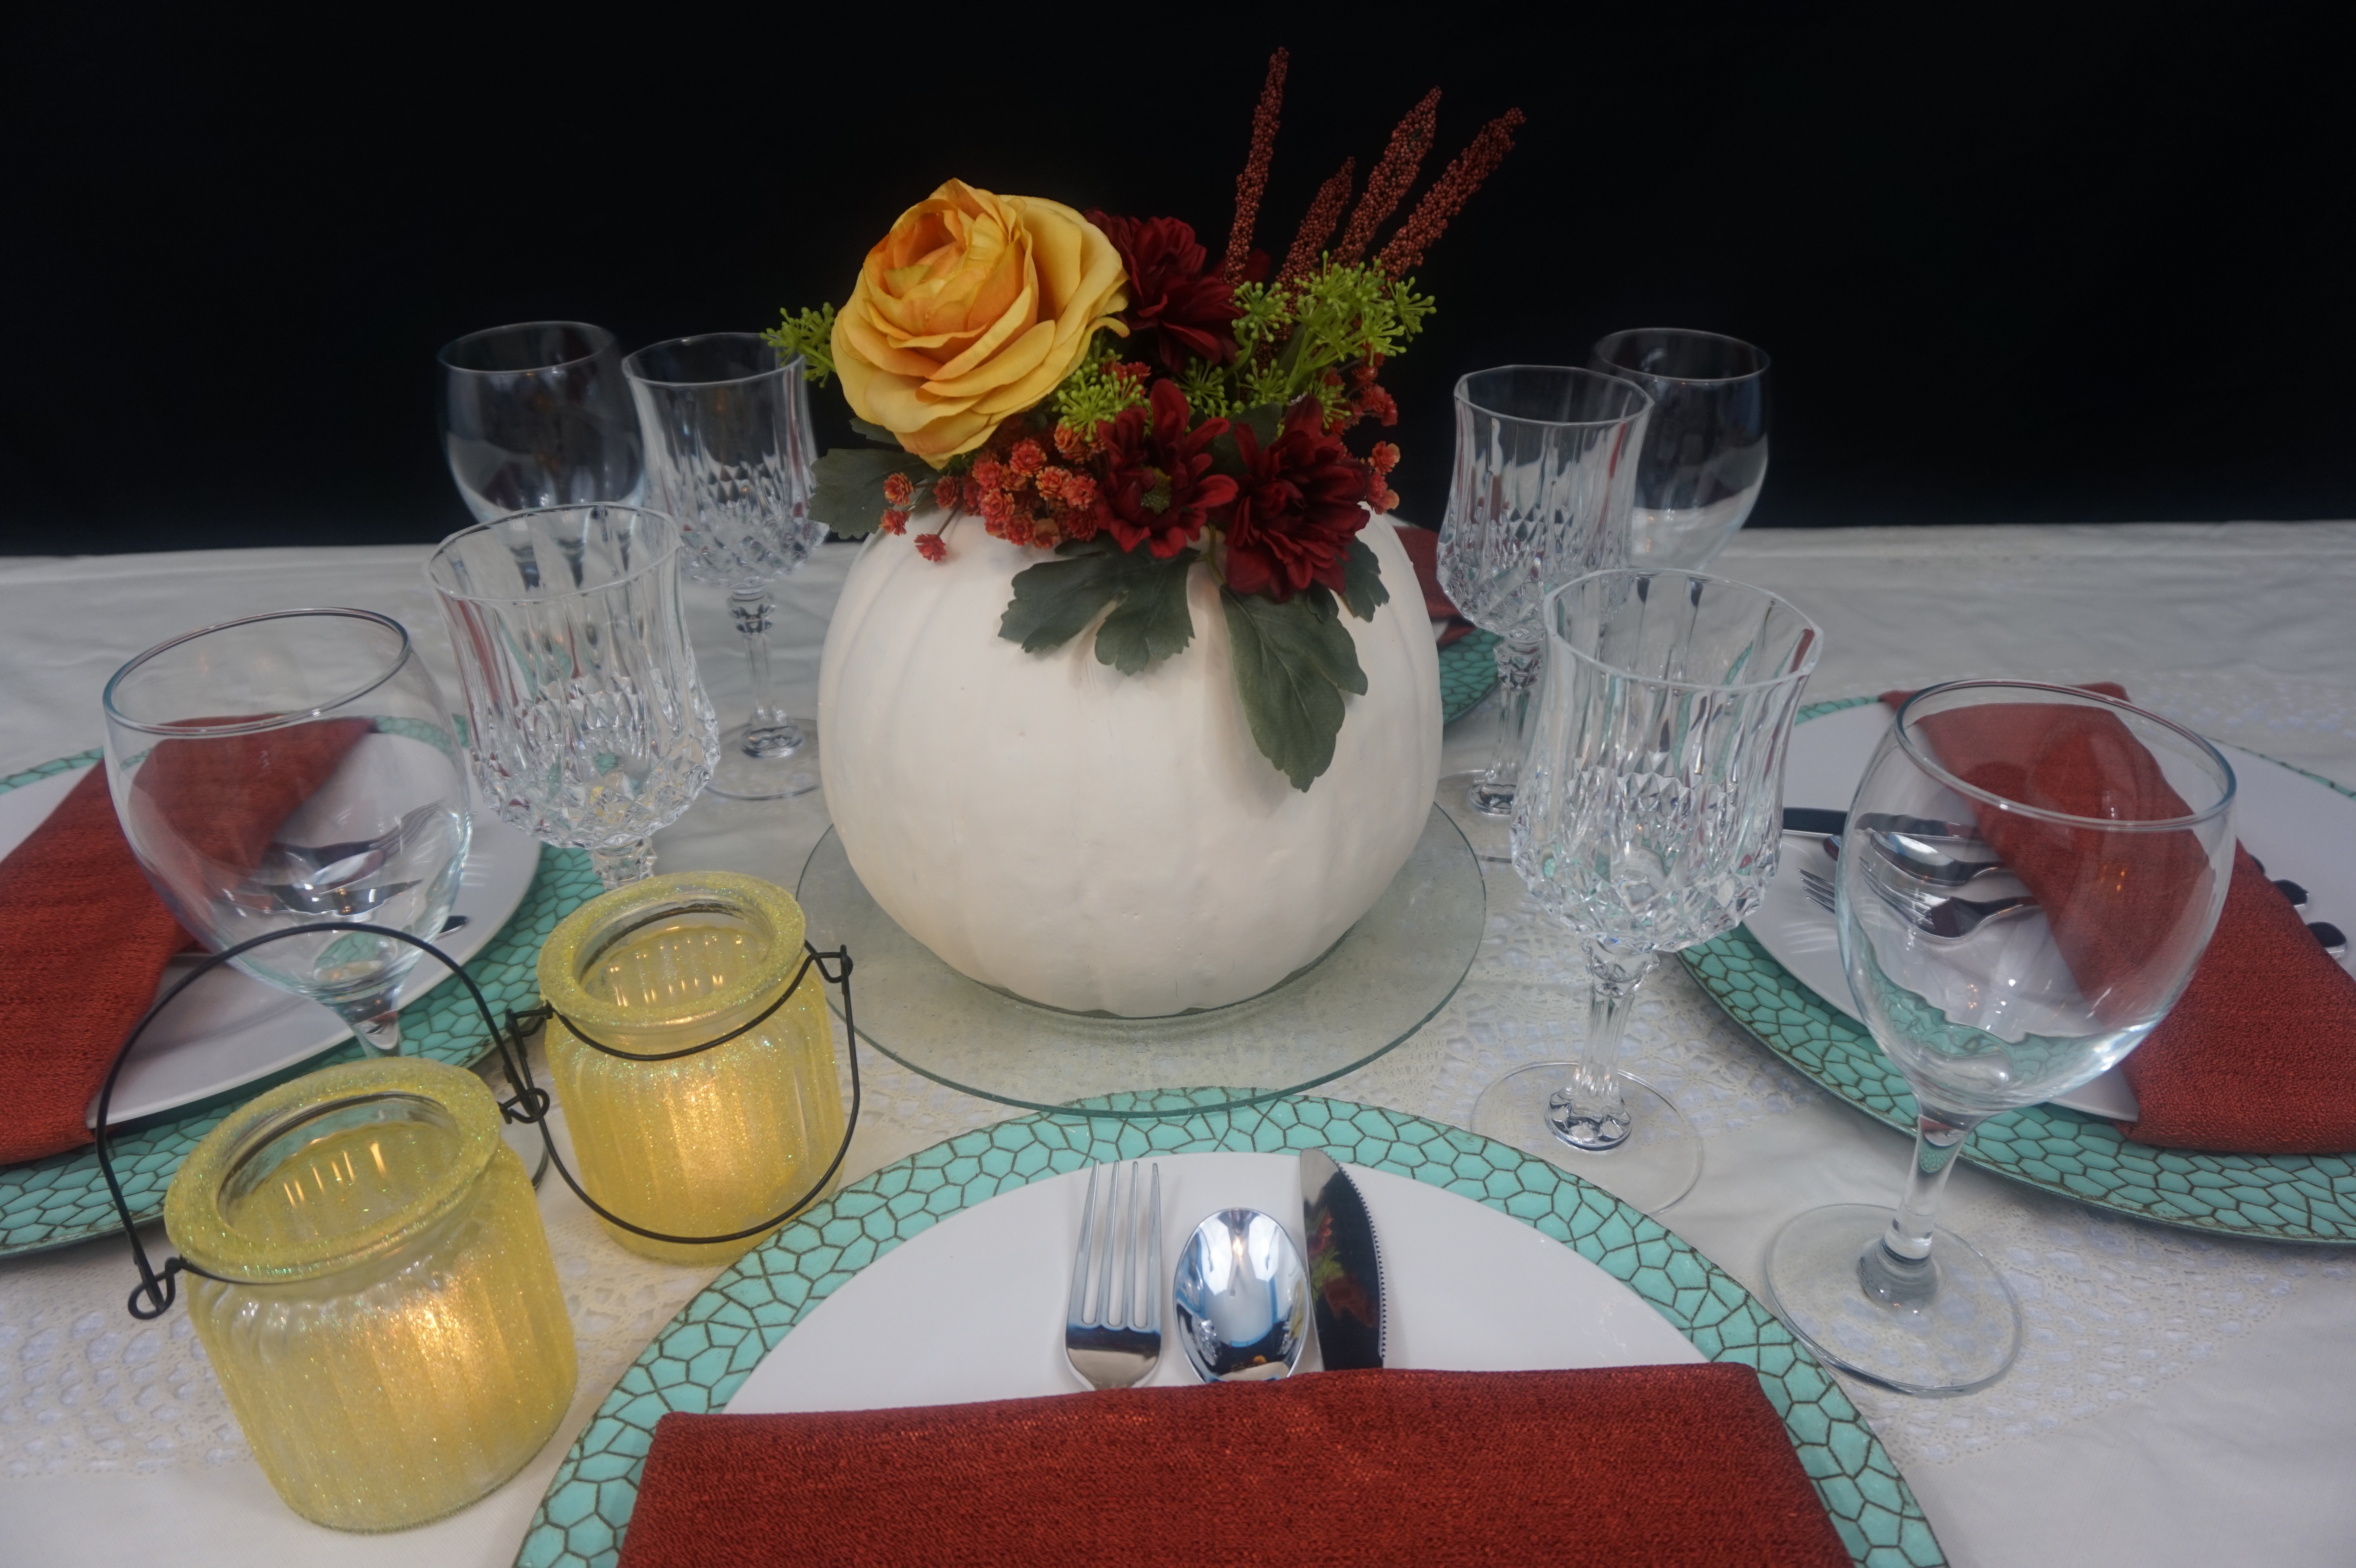
If you like the outcome please let us know in the comments below? Also share your ideas on what you would have done differently?
Need help with an upcoming project? Be sure to send us a project request!
“Remember When Every Penny Counts, Count on MissPlanIt”
P.S. Don’t forget to come back tomorrow to see our full video tutorial!


