On one of our previous wedding centerpiece project request, the vase cost us a total of $25. At Miss PlanIt, we always strive to do our projects on the lowest budget possible. Recently, we received an awesome tip from one of our Community Members on our Youtube Channel.
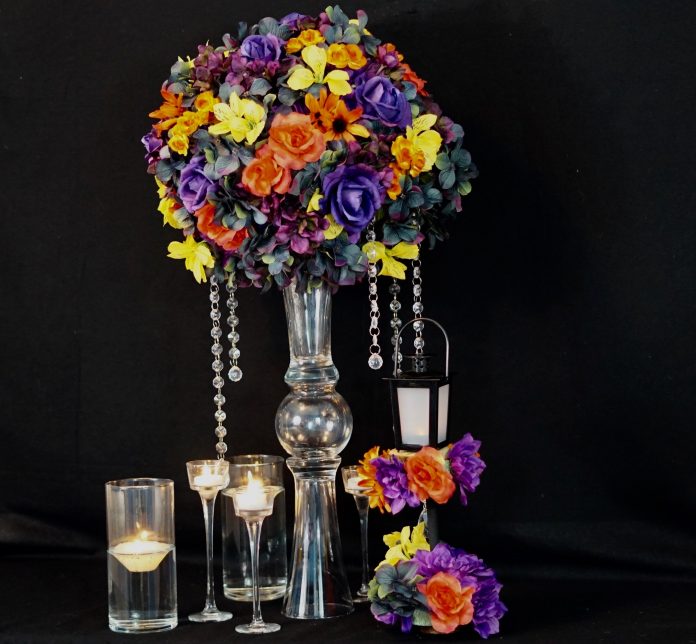
Her tip was we could DIY a $3 Dollar Tree Wedding Vase to acheive the same look as the $25 vase! And guess what, she was right. So we were able to make a $3 Dollar Tree Wedding vase for this weeks bride’s fall wedding centerpieces. Which looked very similar to the $25 vase project!
This will save this soon to be bride so MUCH MONEY. The vibrant colors also gives this fall wedding centerpiece a beautiful expensive look for a fraction of the cost! So let’s get started. For video instructions, please check out the video tutorial below. Also you don’t want to miss the special BONUS VIDEO at the end of this post!
[convertkit form=1807279]
Let’s Get Started:
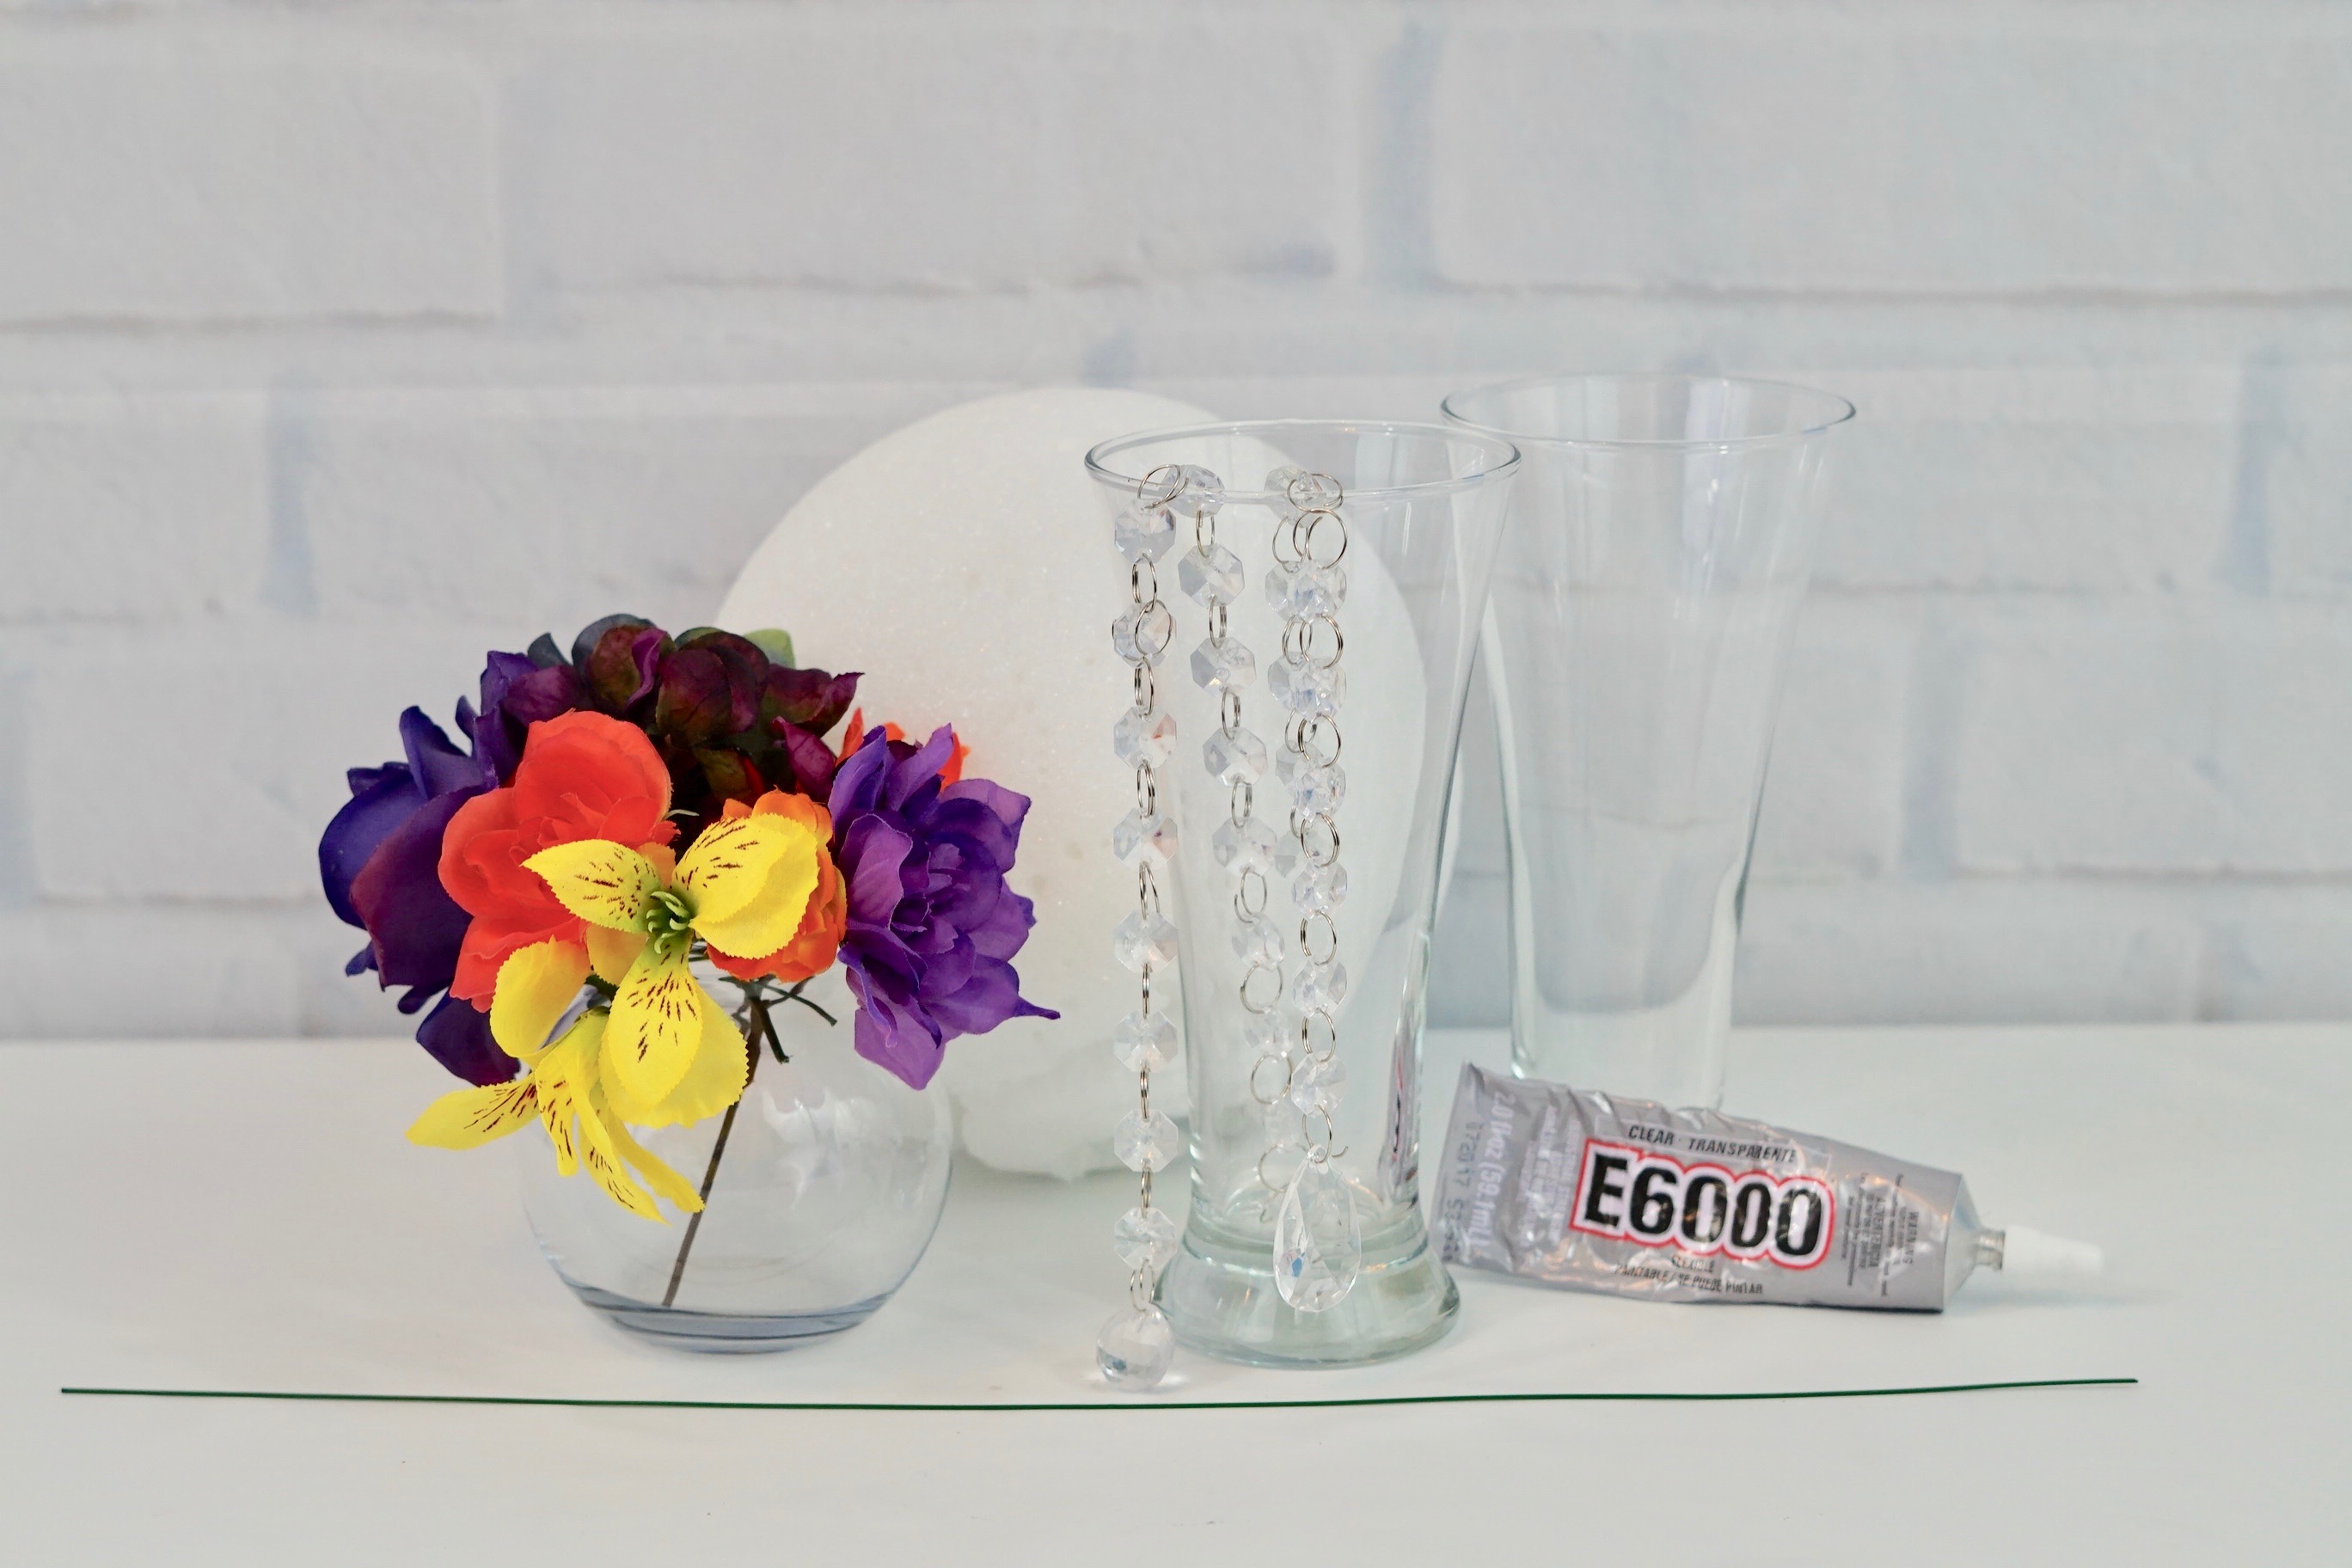
Click our affiliate links below to purchase the supplies needed for this project:
7-Stem Queen Rose Bushes, 14.5 in.
6-Stem Floral Garden Dahlia and Peony Bushes, 13 in.
5-Stem Purple Dahlia Flowers, 13 in.
6-Stem Marigold Bushes, 13 in.
5-Stem Orange Dahlia Flowers, 13 in.
Flared Glass Pilsner Glasses, 19.25 oz.
Styrofoam Ball – 6”
Fall Purple Hydrangea
E6000 Clear Industrial Strength Adhesive
Alstroemeria Bush
4 in Bubble Ball Vase
Gem Garland
VIDEO TUTORIAL:
For written instructions, please continue reading below:
How to Make a Tall Fall Wedding Centerpiece with a $3 DIY Dollar Tree Wedding Vase
Directions:
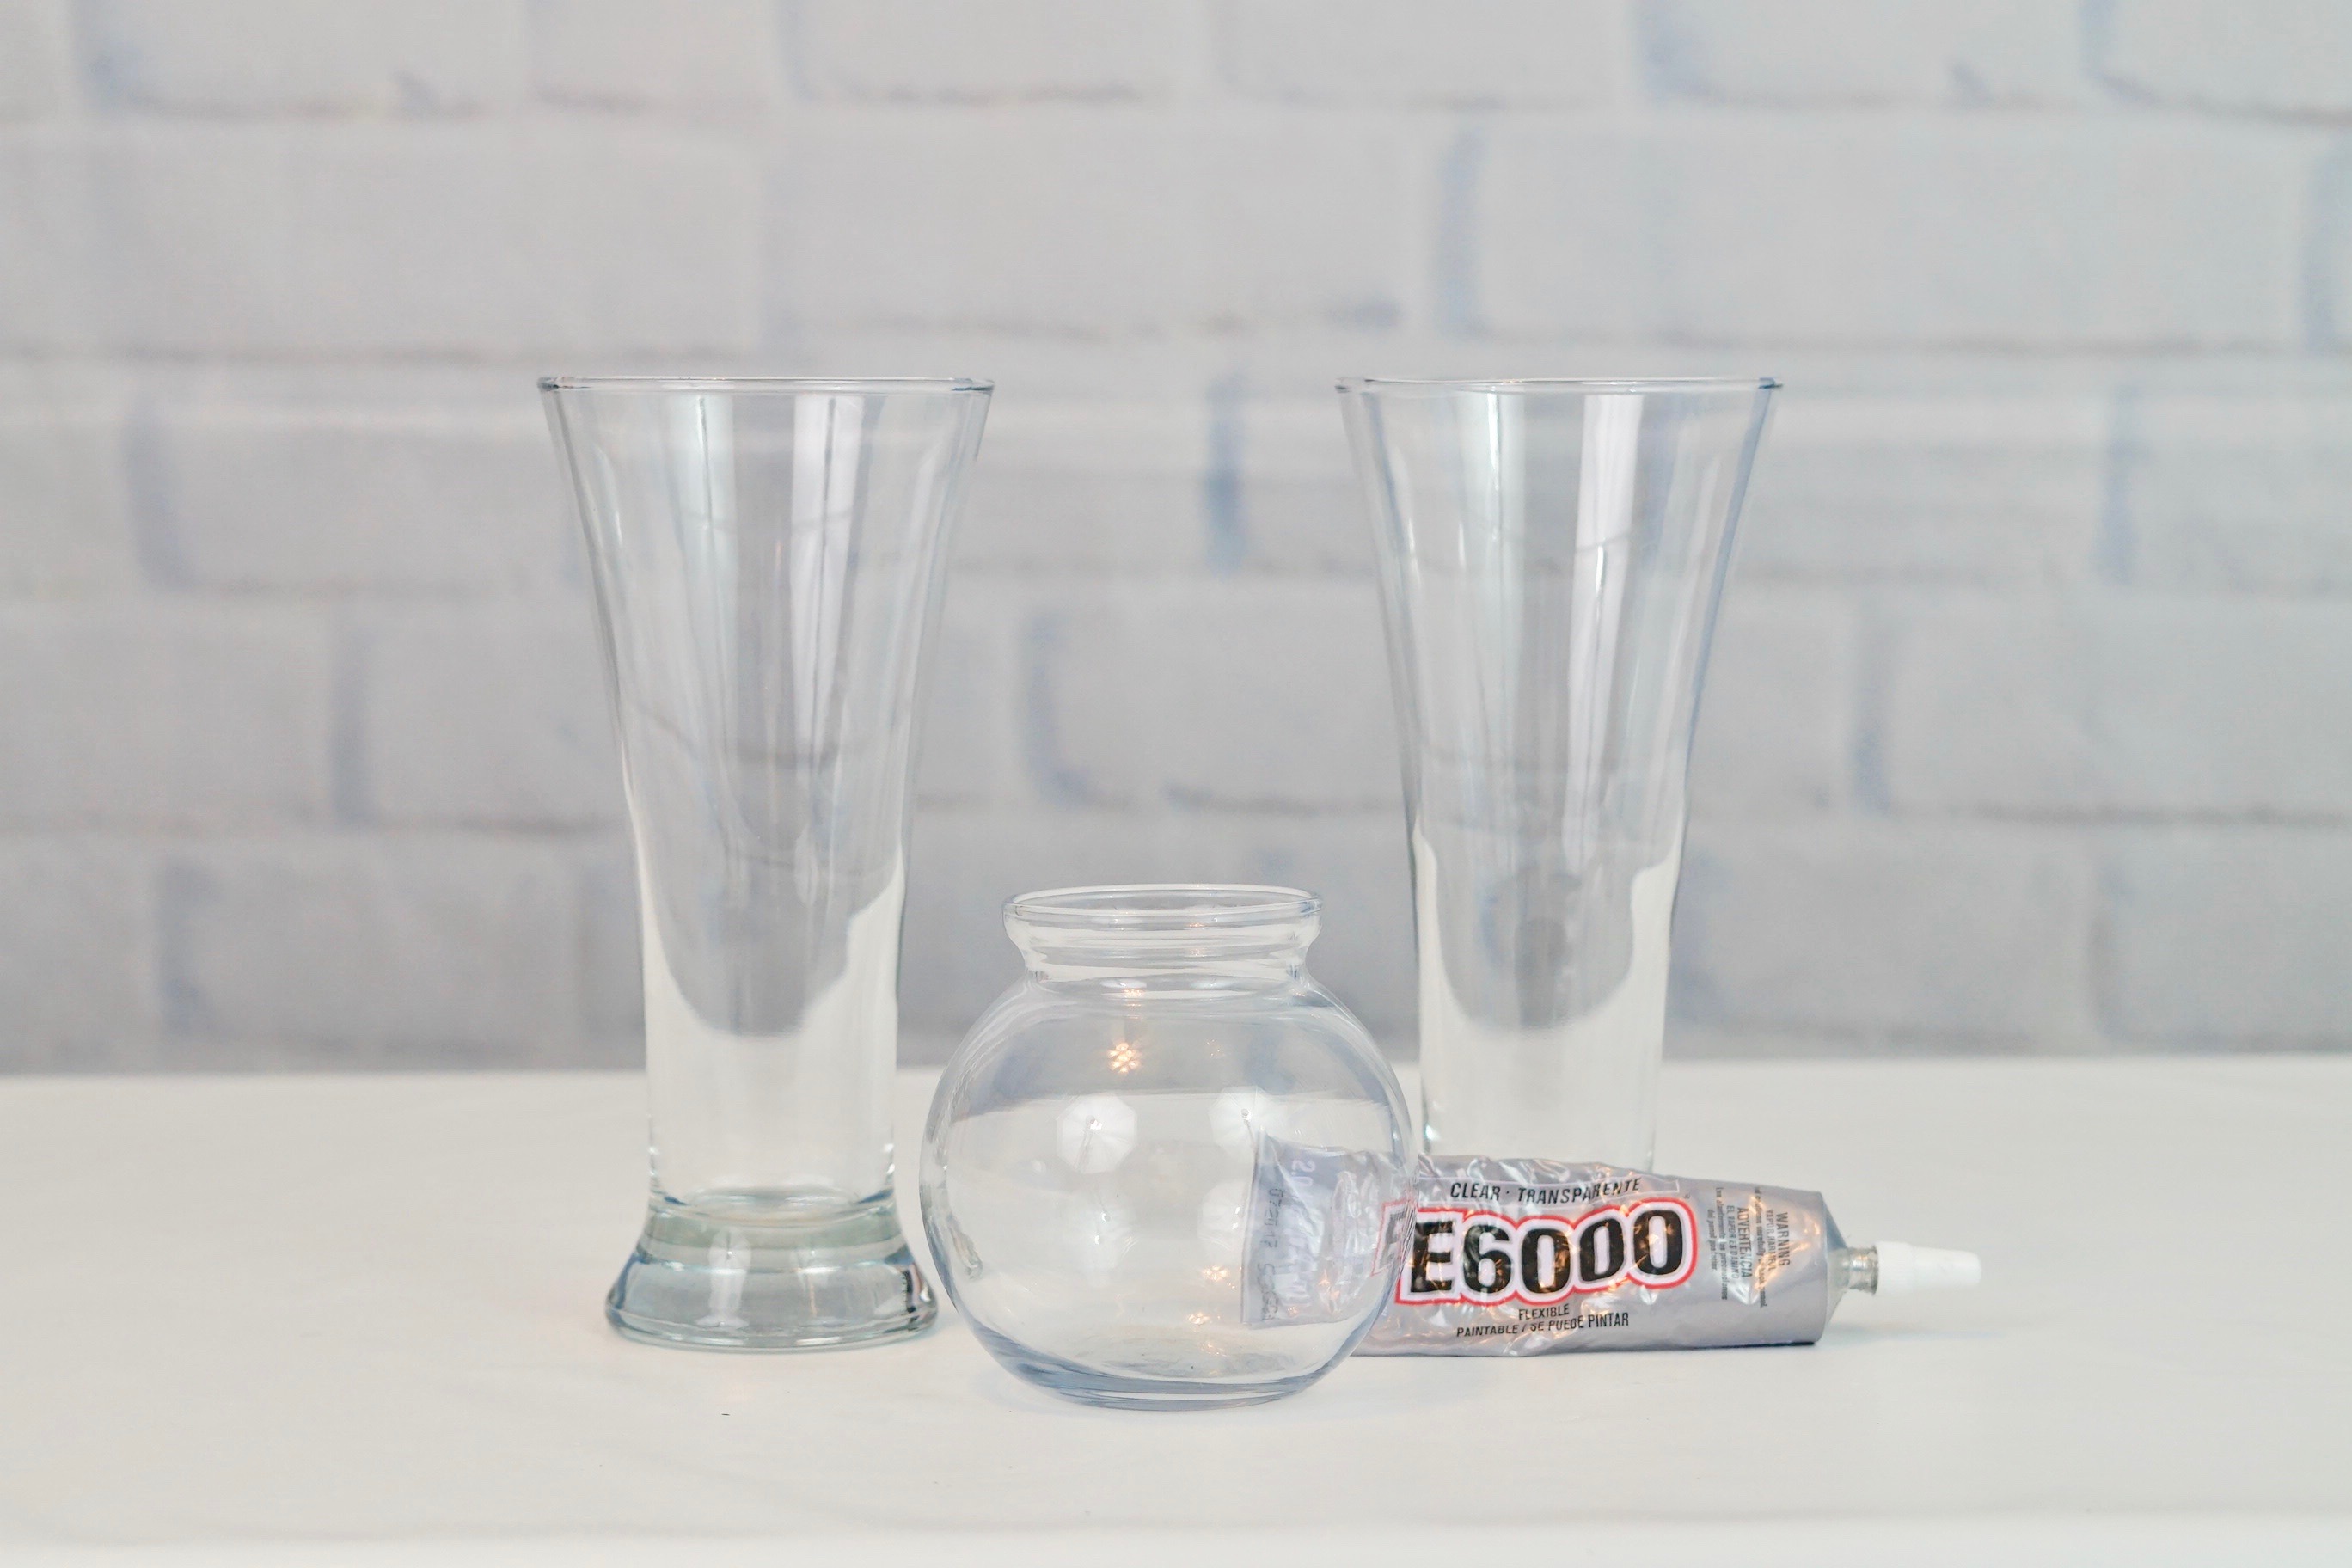
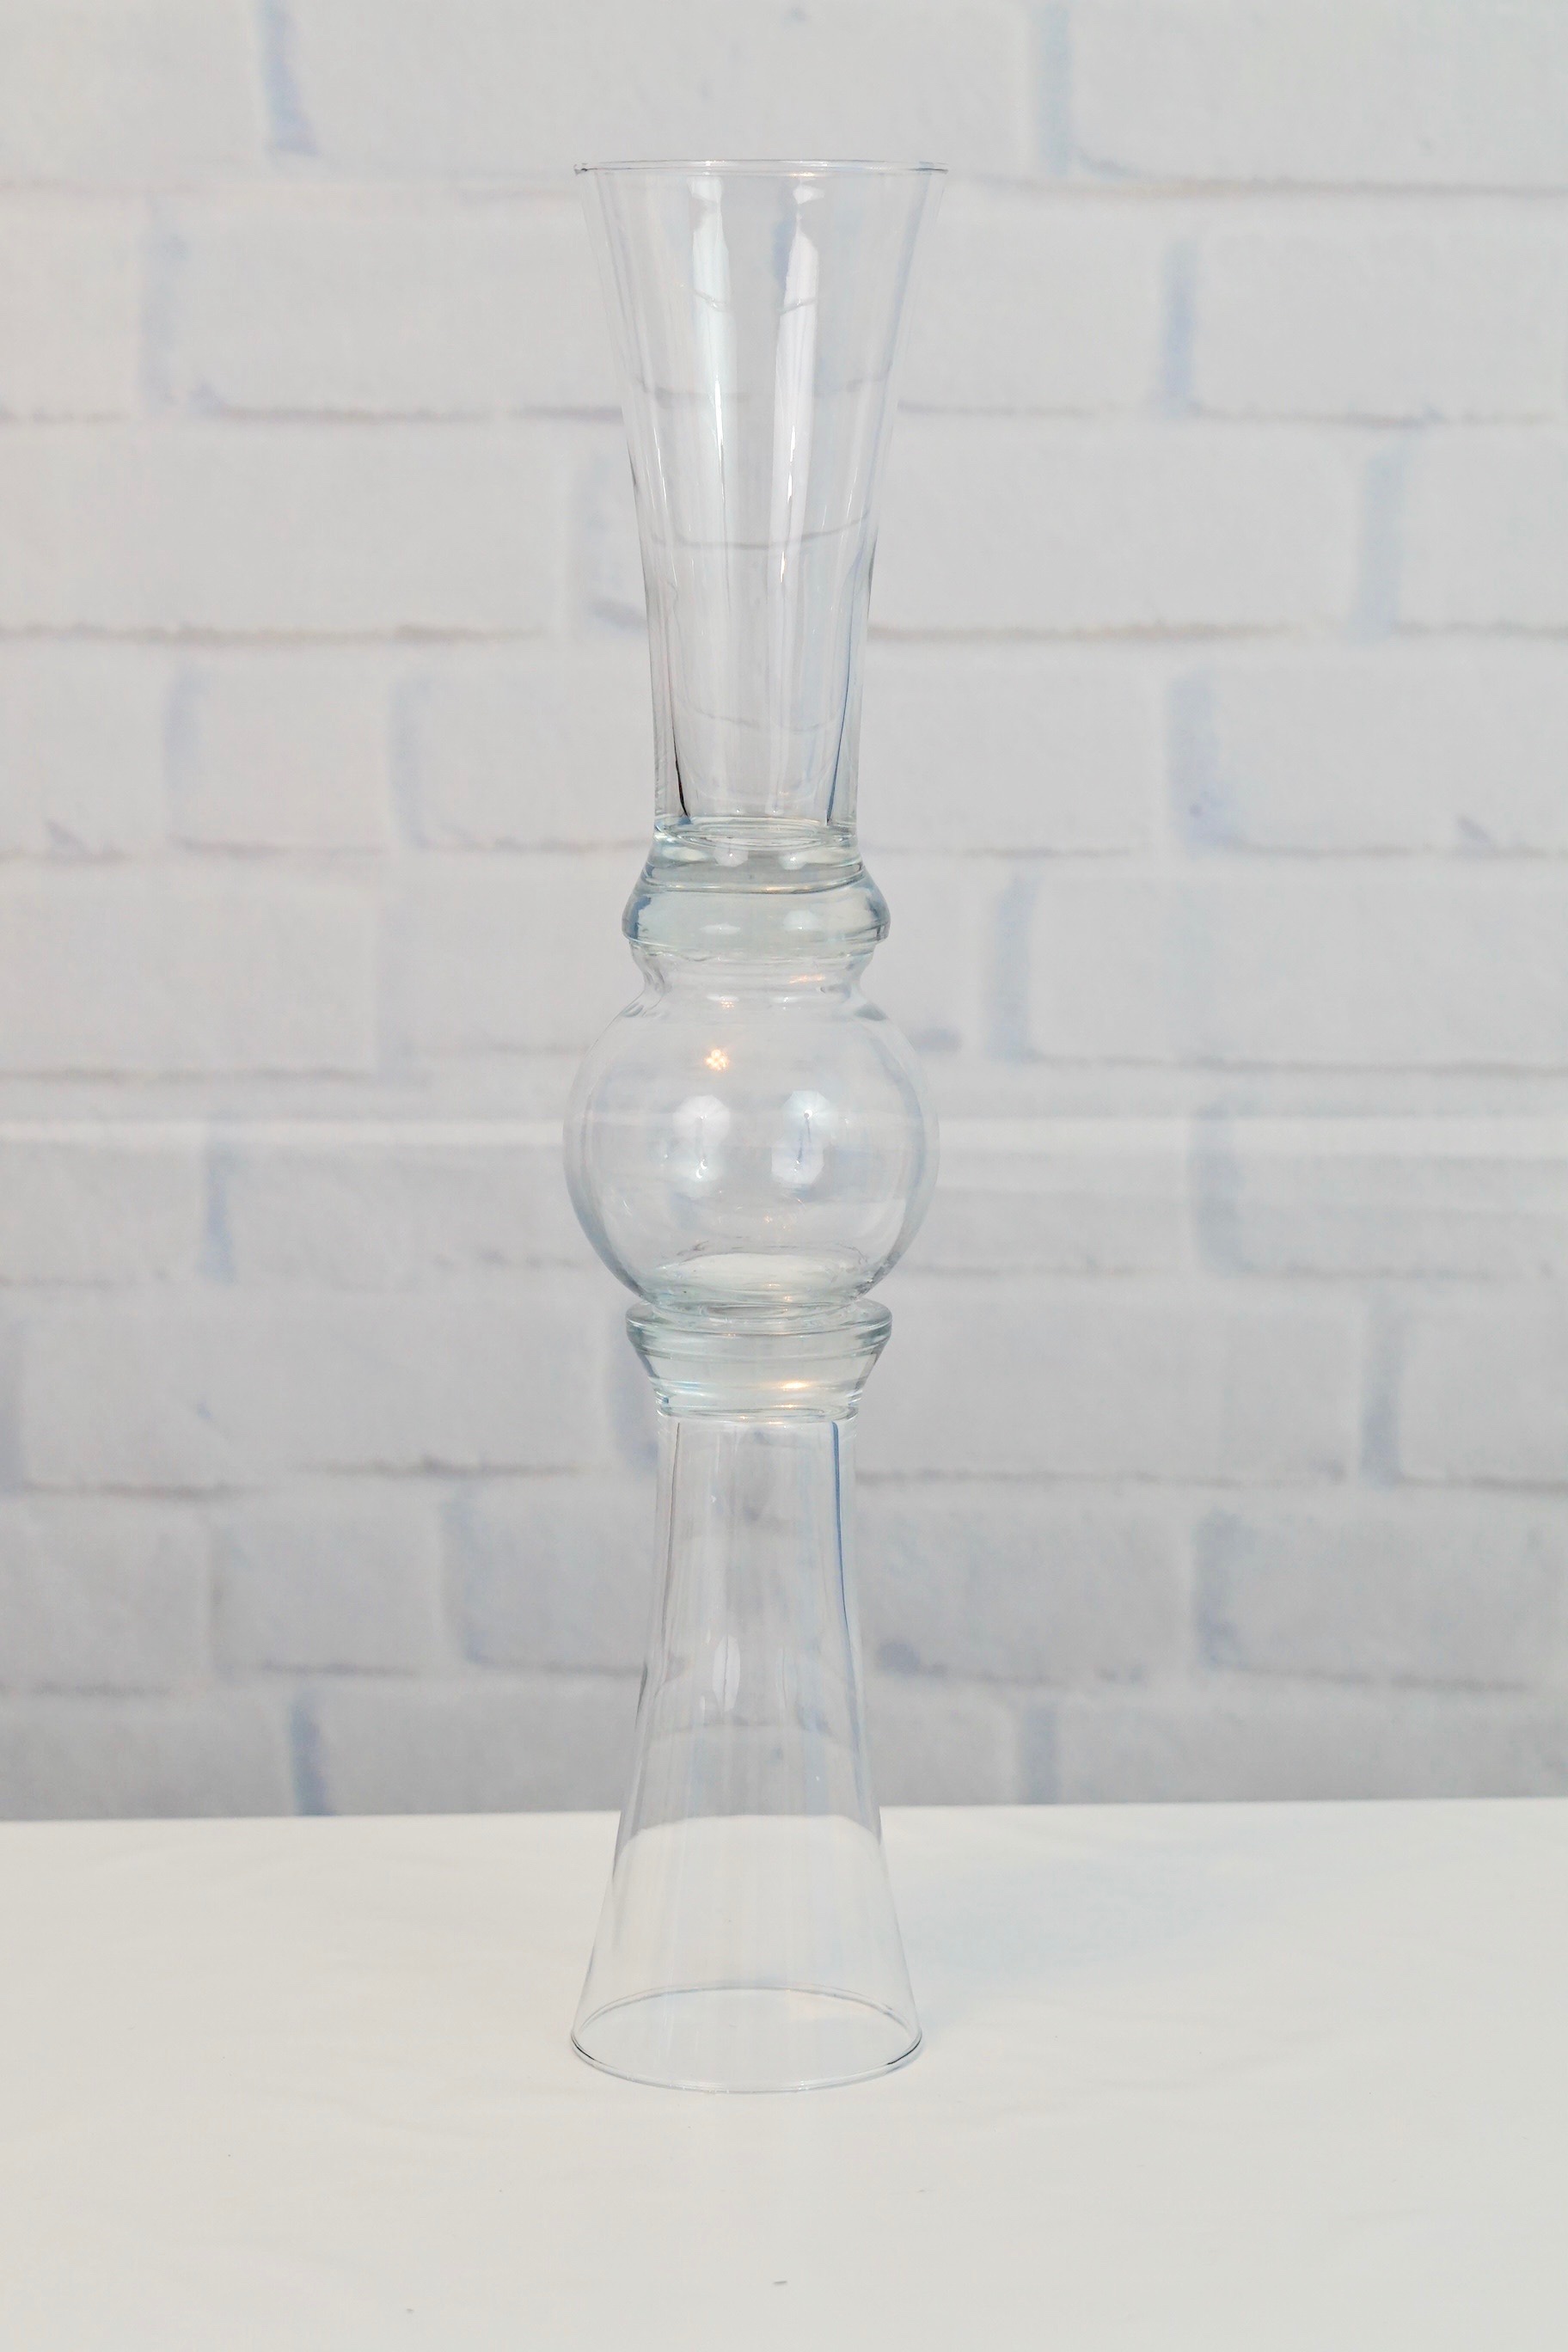
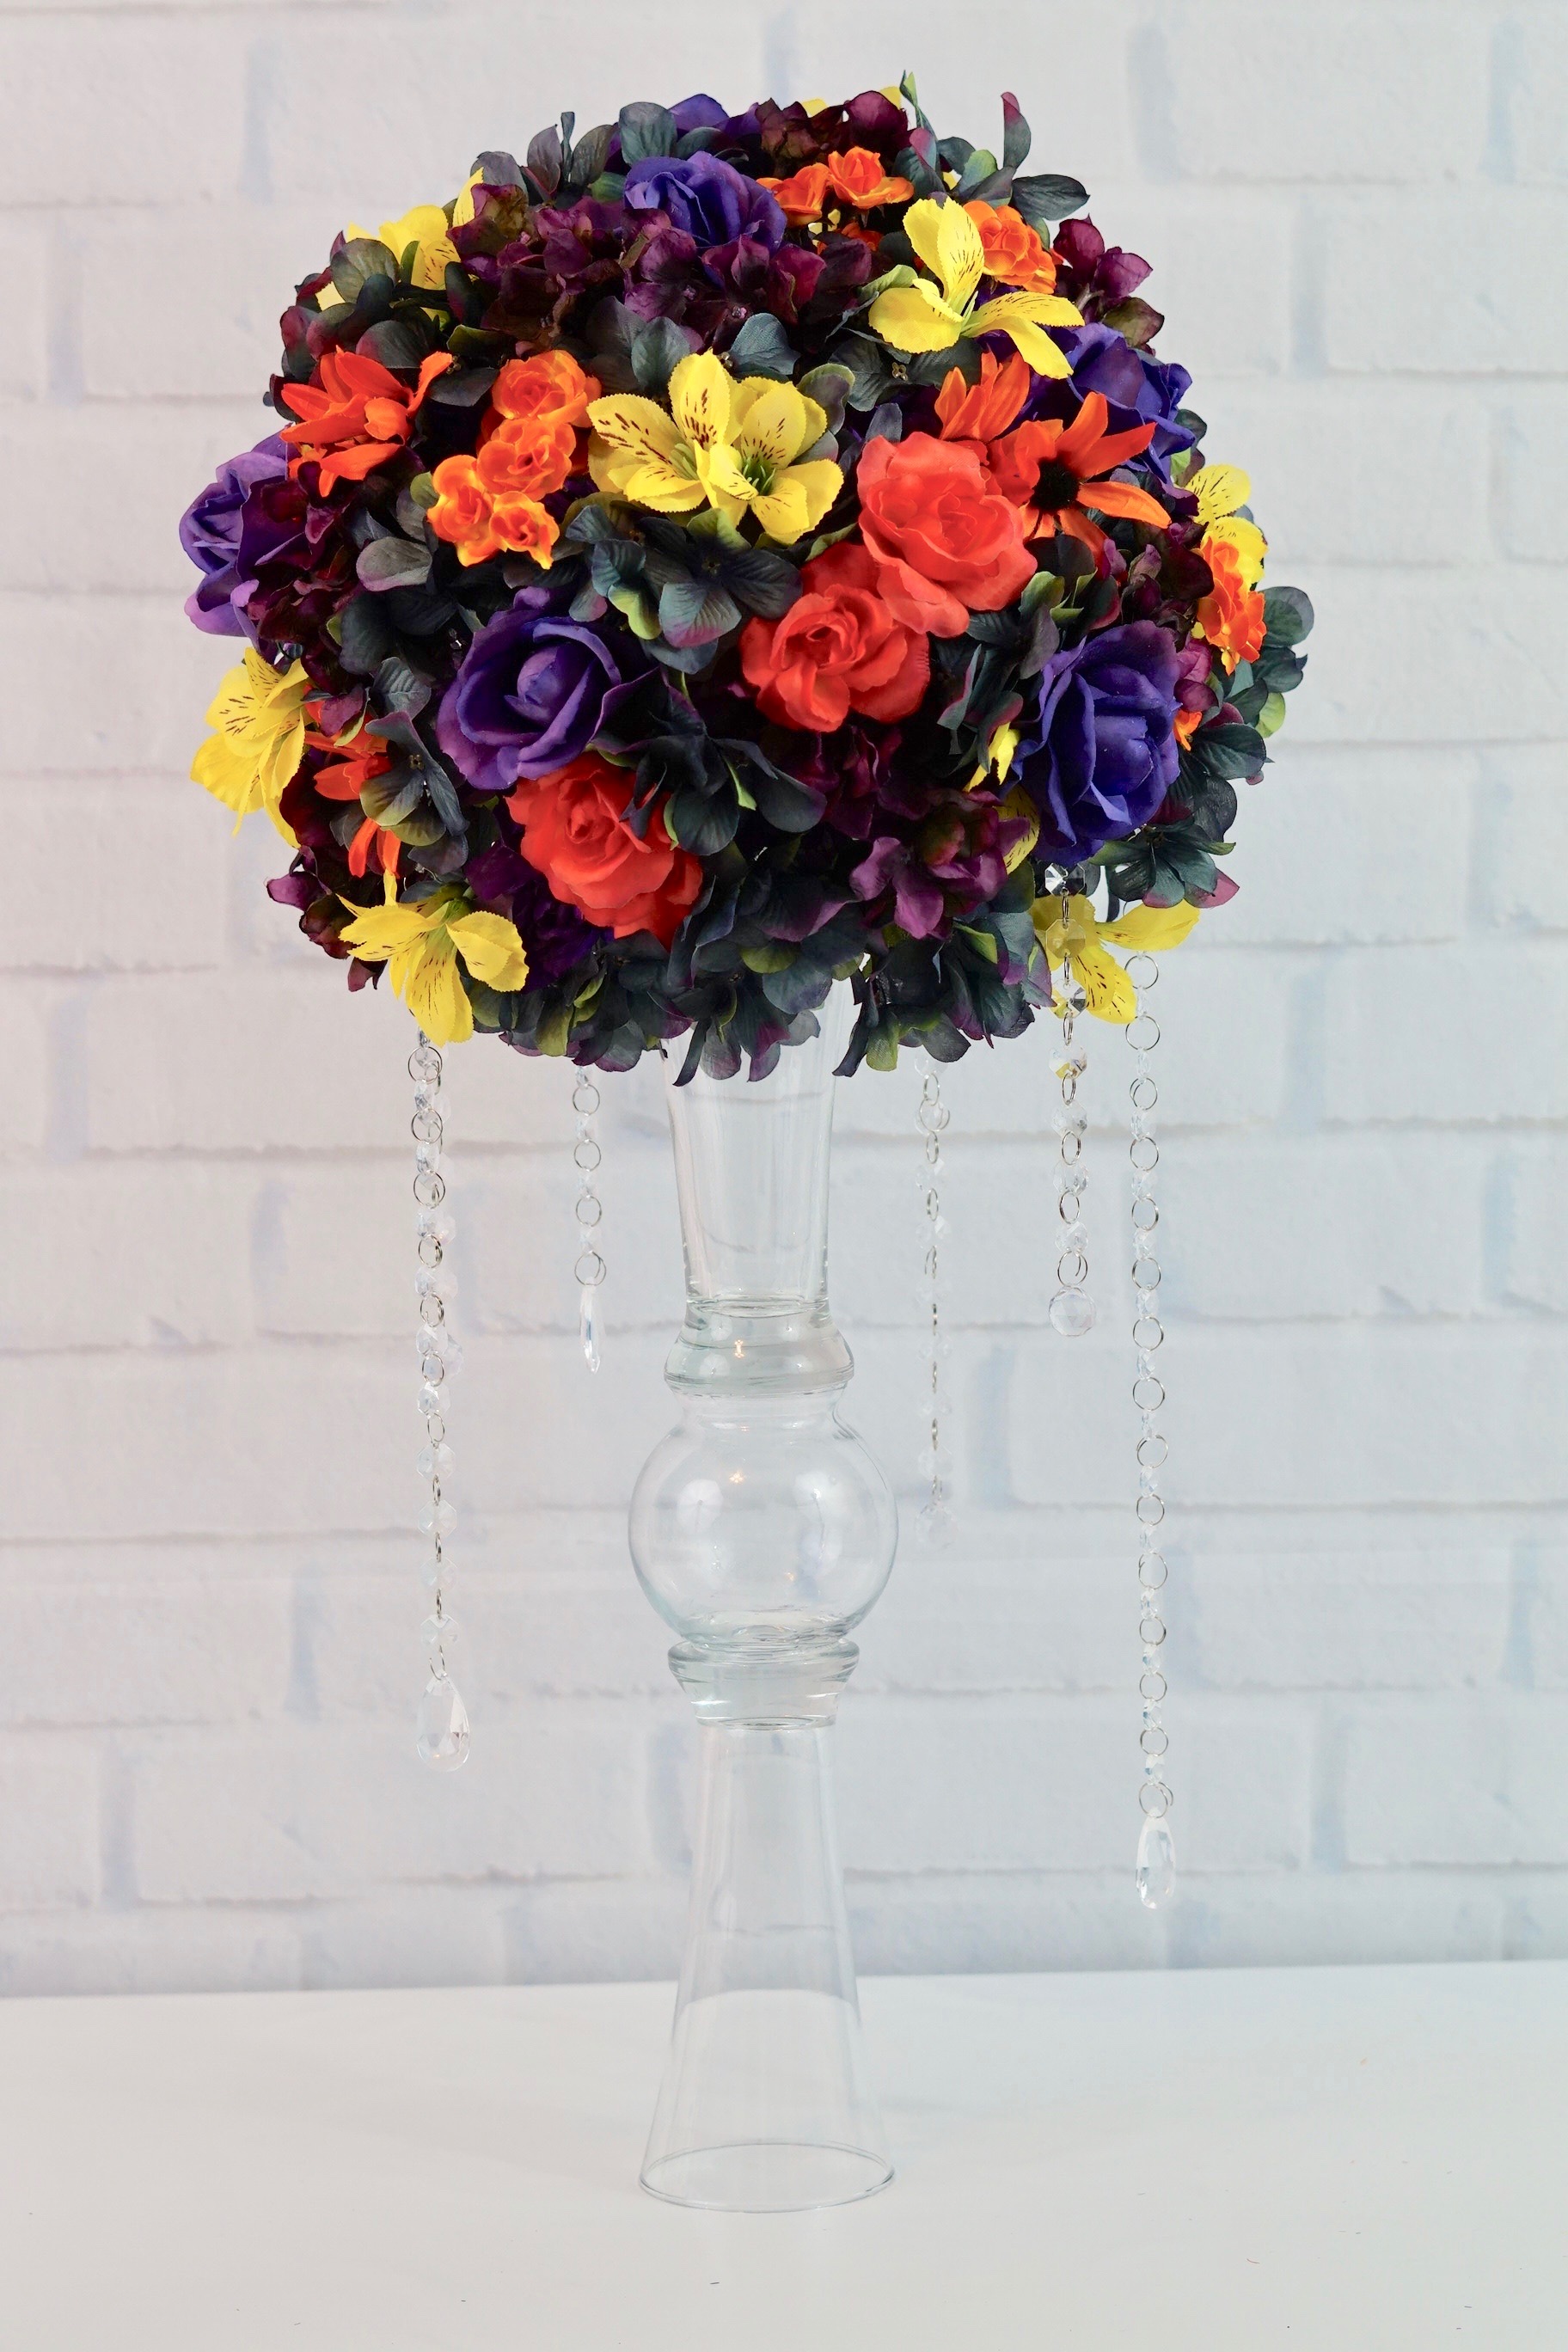
STEP 1: Take one of your Pilsner glasses and flip the glass over with the rim facing down. Next apply E6000 to the bottom of your Pilsner glass and then attach your fish bowl/bubble ball vase. Let it dry for about 1-2 hours and then apply E6000 to the fish bowl rim and attach your other Pilsner glass. Allow it to dry for another hour or two. You now have a beautiful vase that only costs you $3!
TIP: I actually purchased the bubble vase/fish bowl at my local Hobby Lobby for $1.99 but used a 40% off coupon which brought it down to $1.19. Unfortunately, I didn’t see them online so I provided a link to Amazon for a comparable vase where you can get 12 for about $16 which would be about $1.29 a piece!
If you need more than one, Amazon may be a better deal as you don’t need a coupon. Also, if you are a Amazo Prime Member you will receive your order in 2 days. If you are not a Prime Member, you can start a 30 day free trial today!
YOU MAY ALSO LIKE:
- DIY Magical Tall Enchanted Rustic Elegant Wedding Centerpiece
- Romantic Wedding Centerpiece That is Absolutely Stunning
- Simple Beautiful Willow and Birch Branch Wedding Centerpiece
- DIY Dollar Tree Inspired Elegant Wedding Centerpieces on a Budget
- Amazing Modern Wedding Centerpieces Using Dollar Tree Products
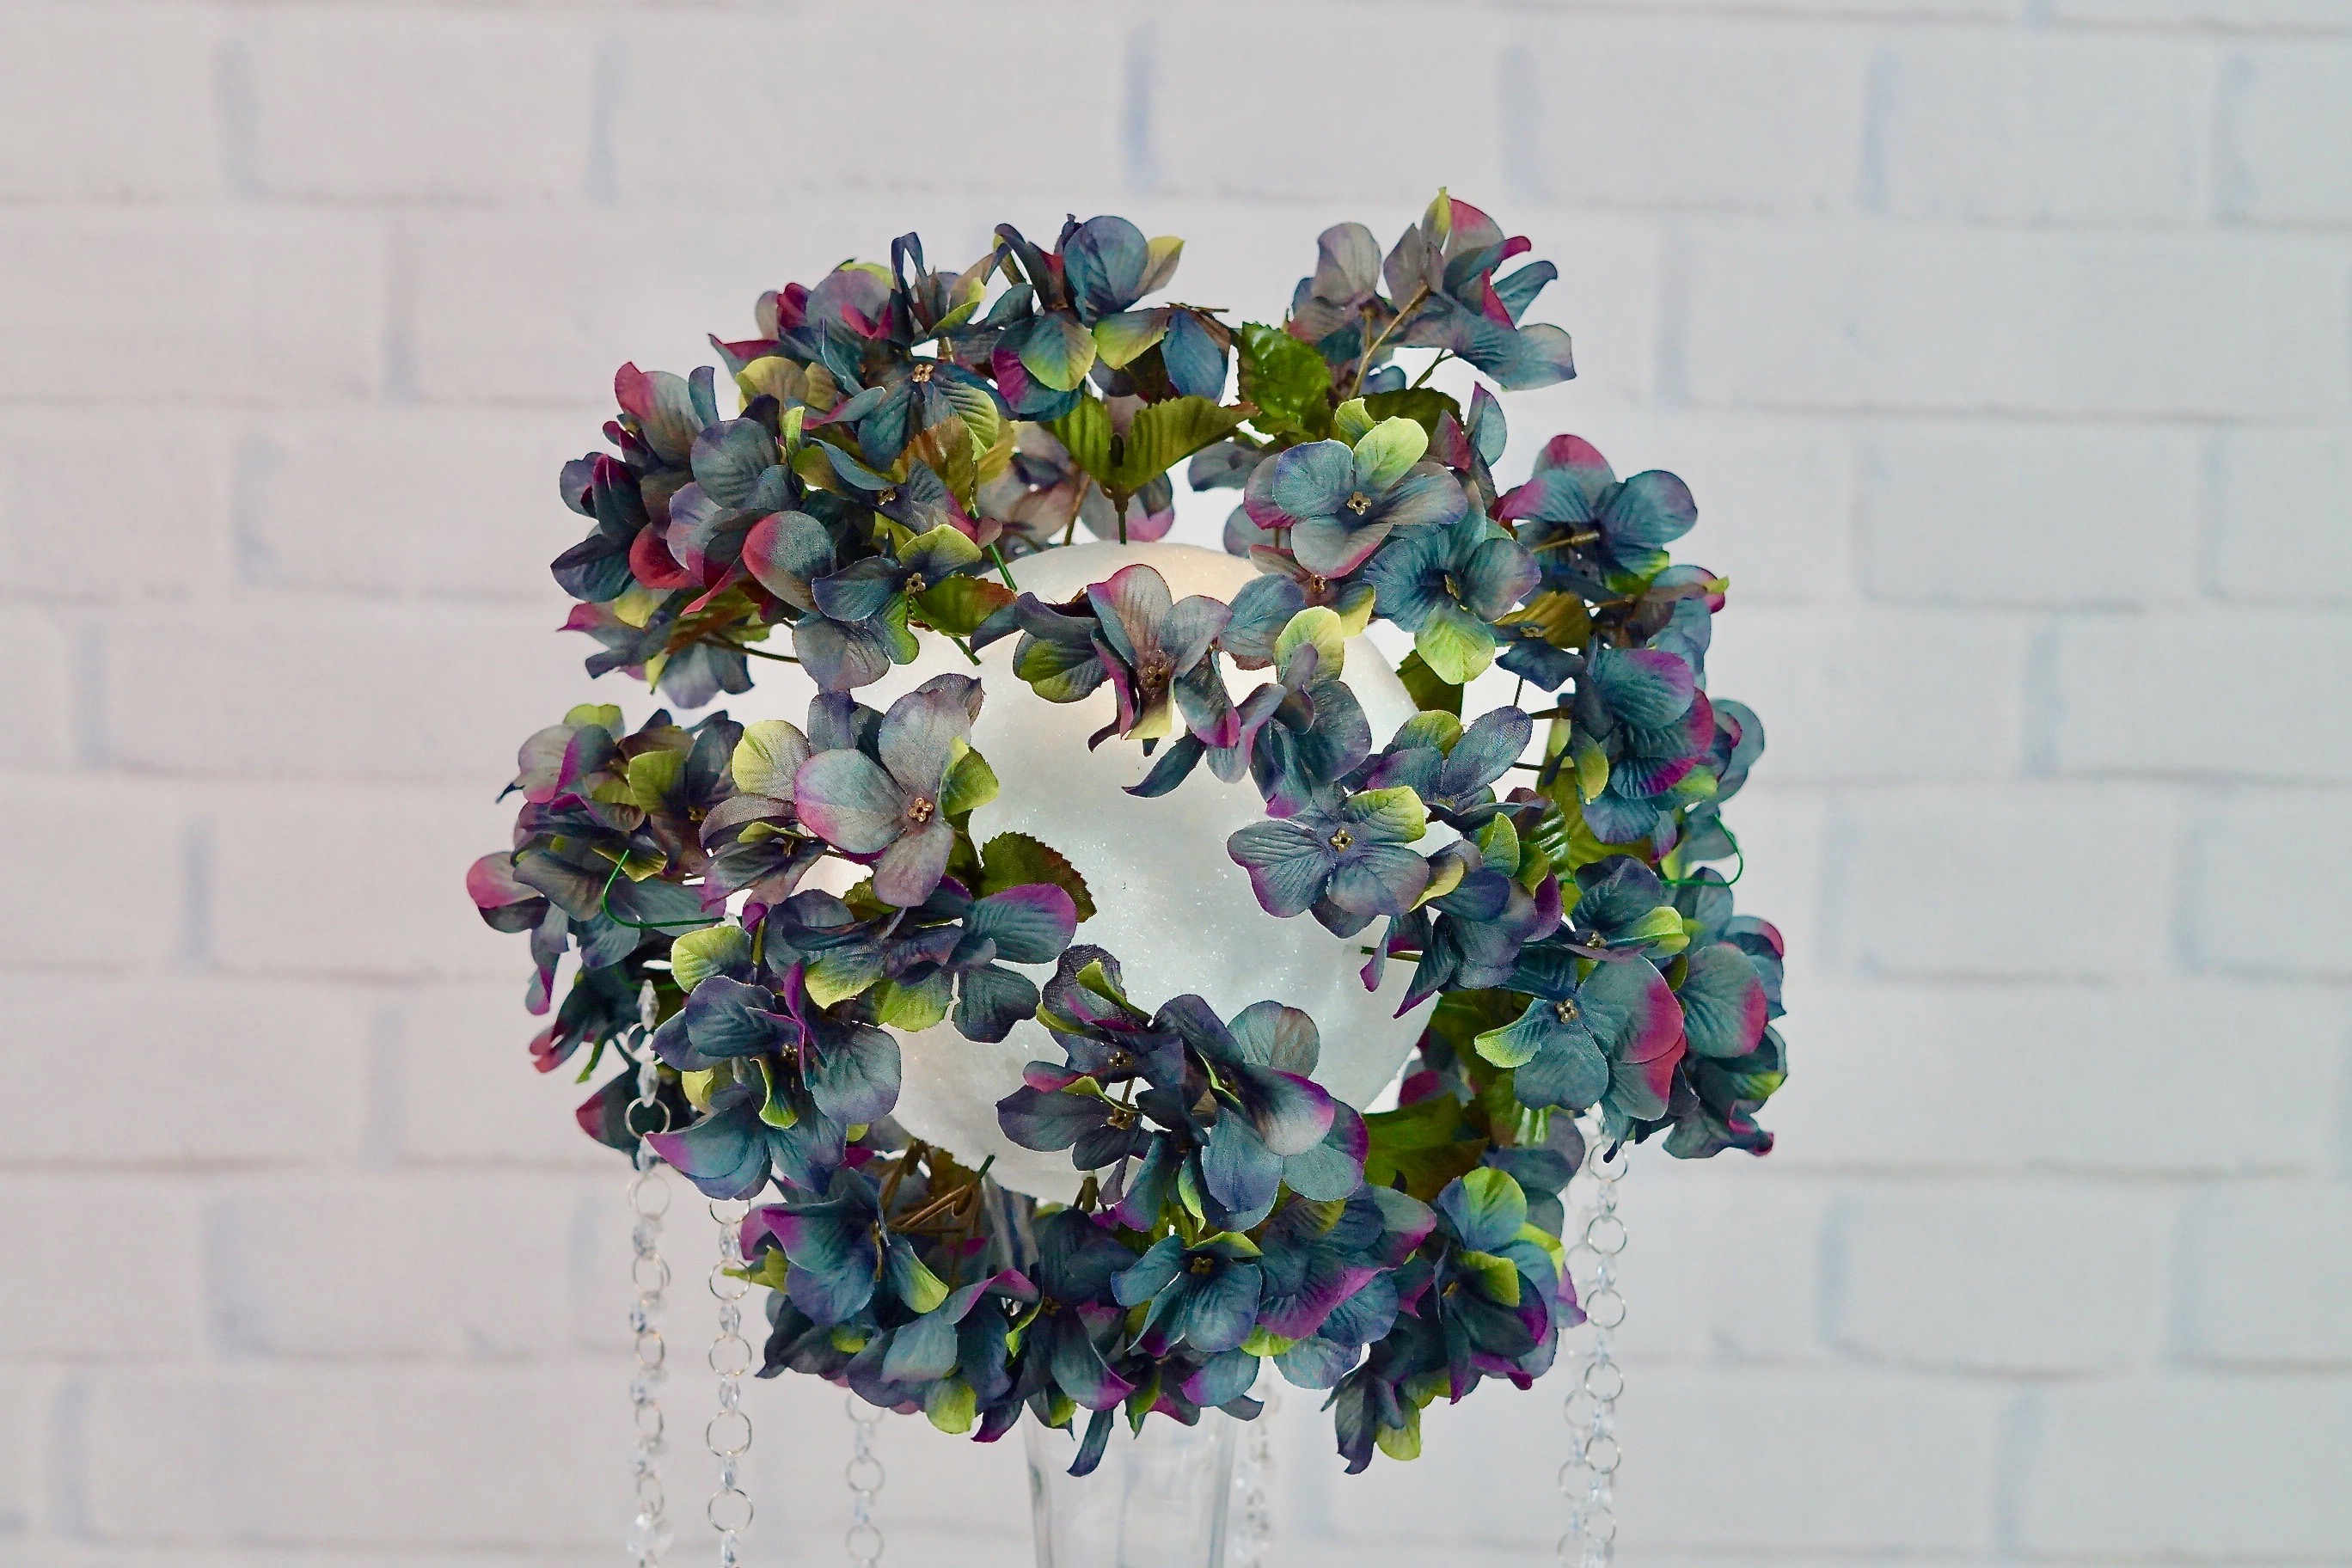
STEP 2: Apply hot glue to the rim of your vase and then attach your 6 inch foam ball. Cut your 24 gauge floral wire to about 6 inch pieces and insert into your foam ball. Make sure you have a hook at the end of your floral wire to attach your gem garland. Now attach six 6-12 inch long gem garland strand to your floral wire.
Add your flowers
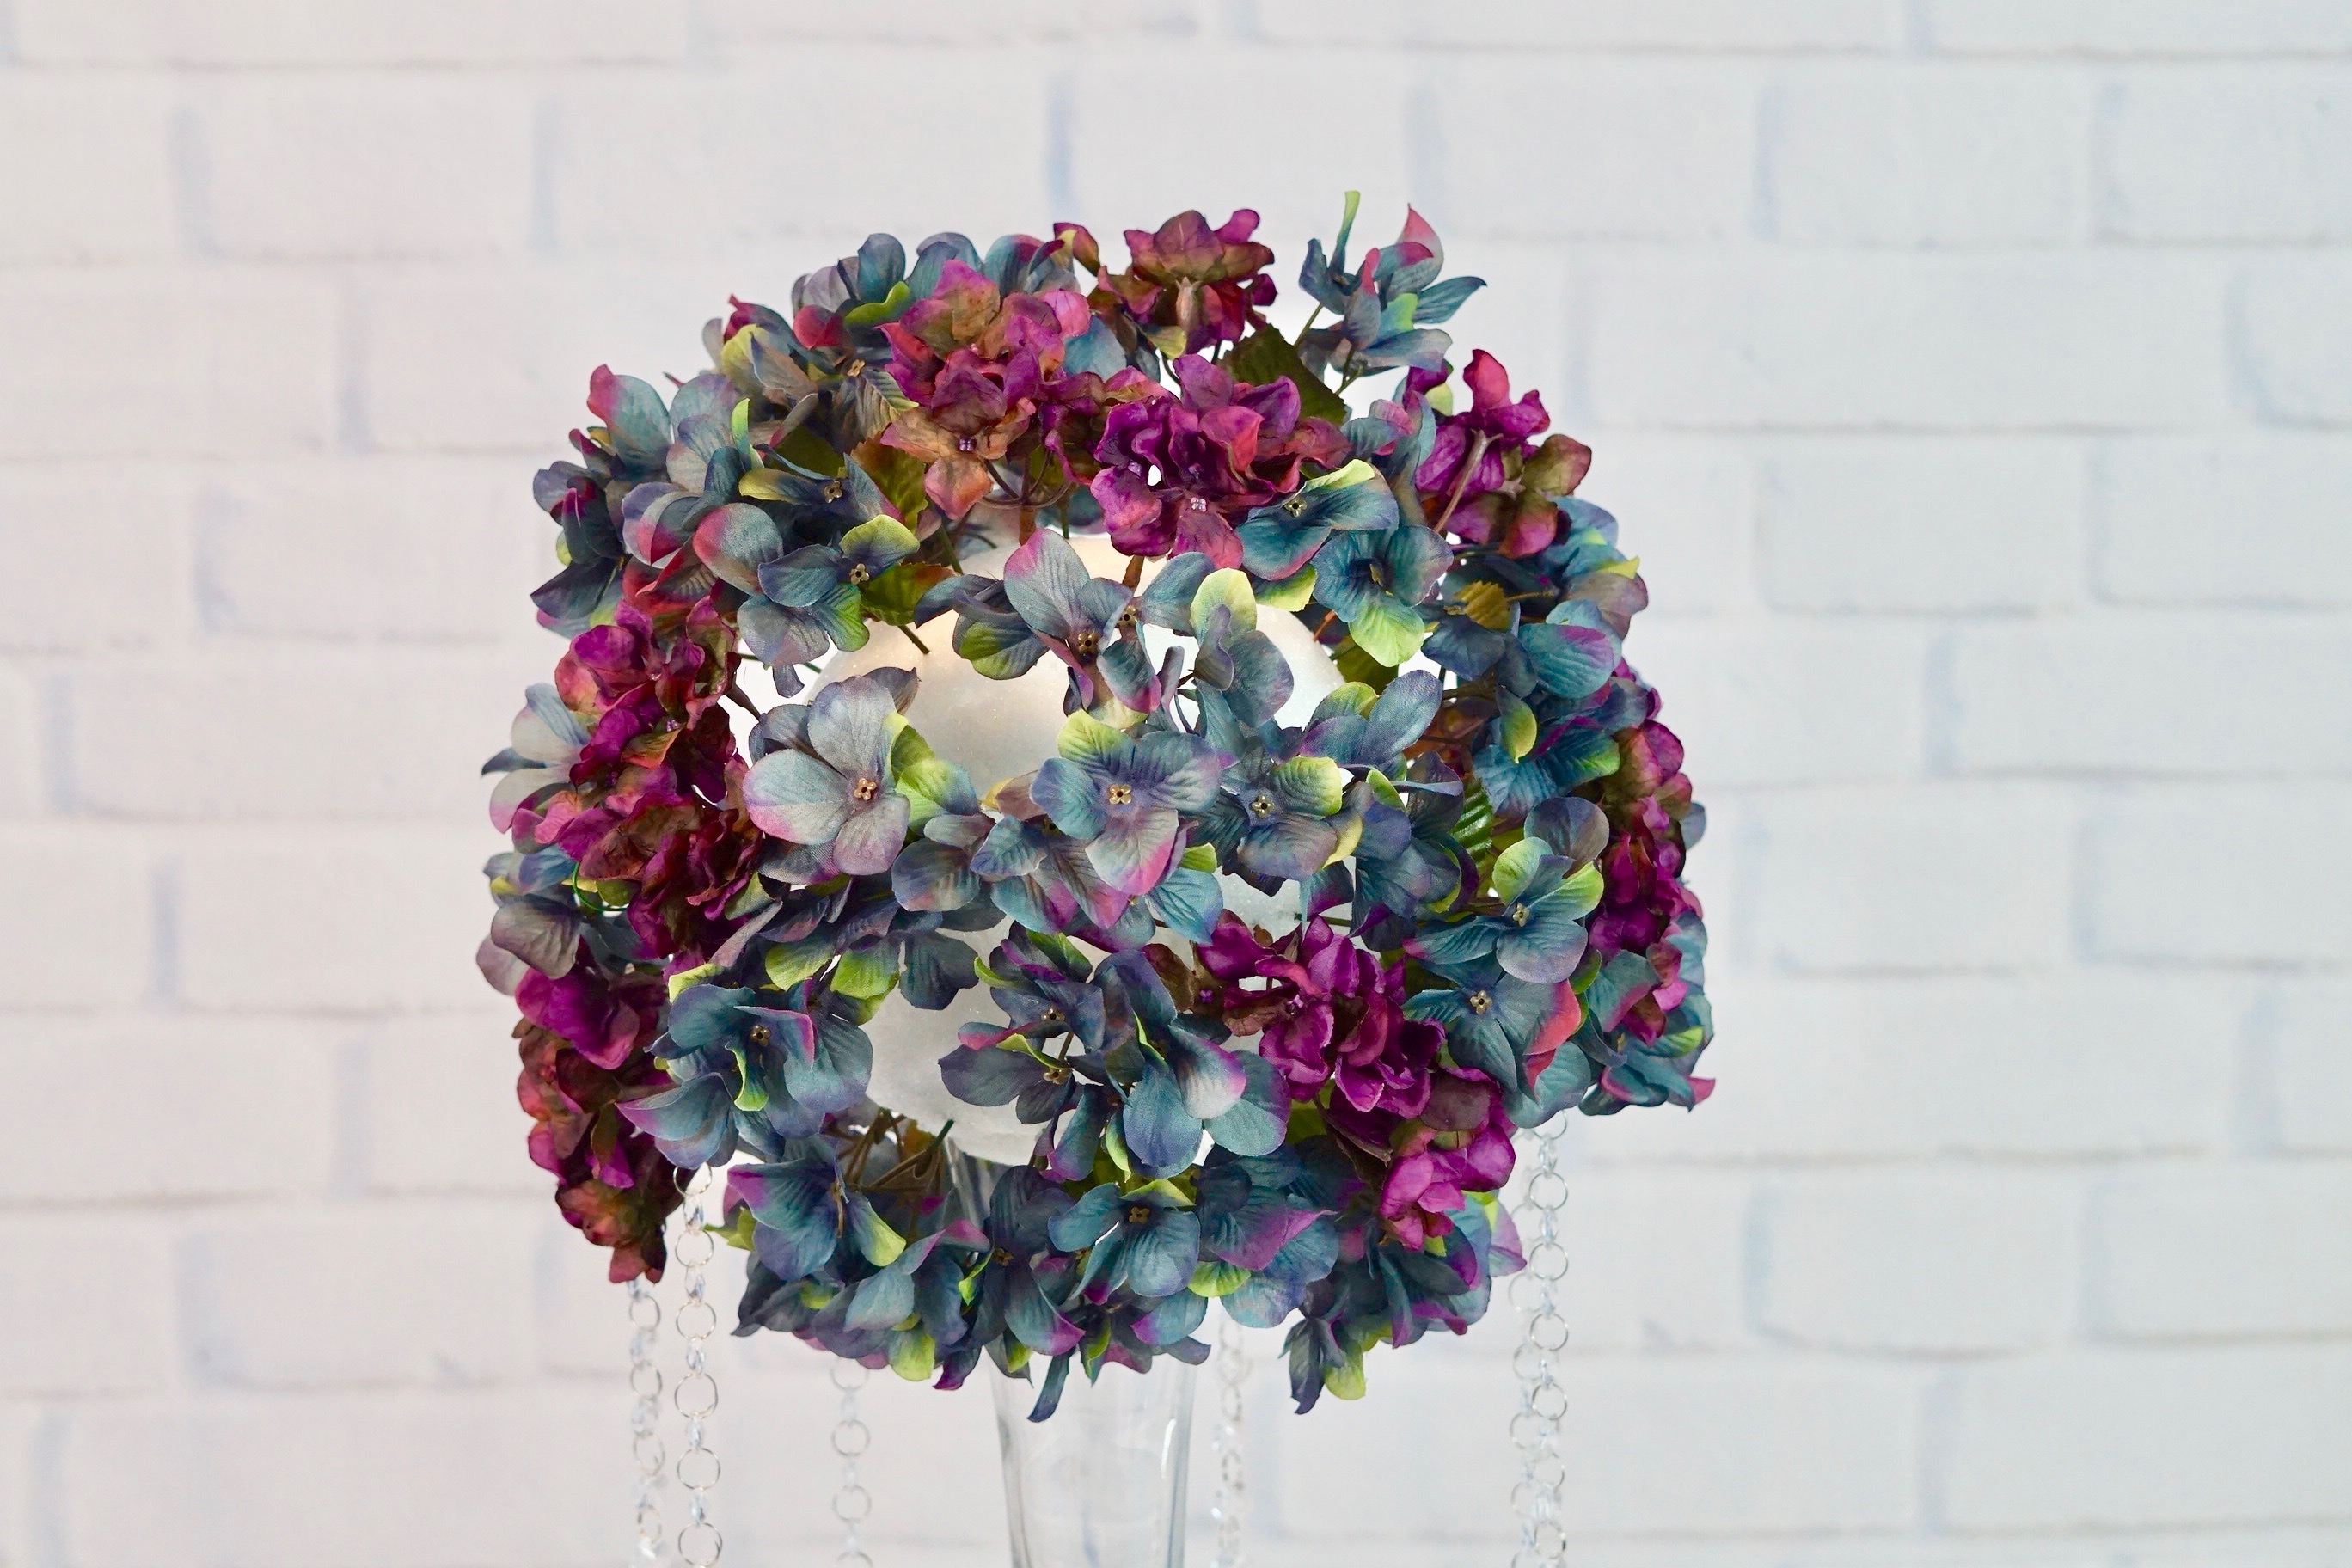
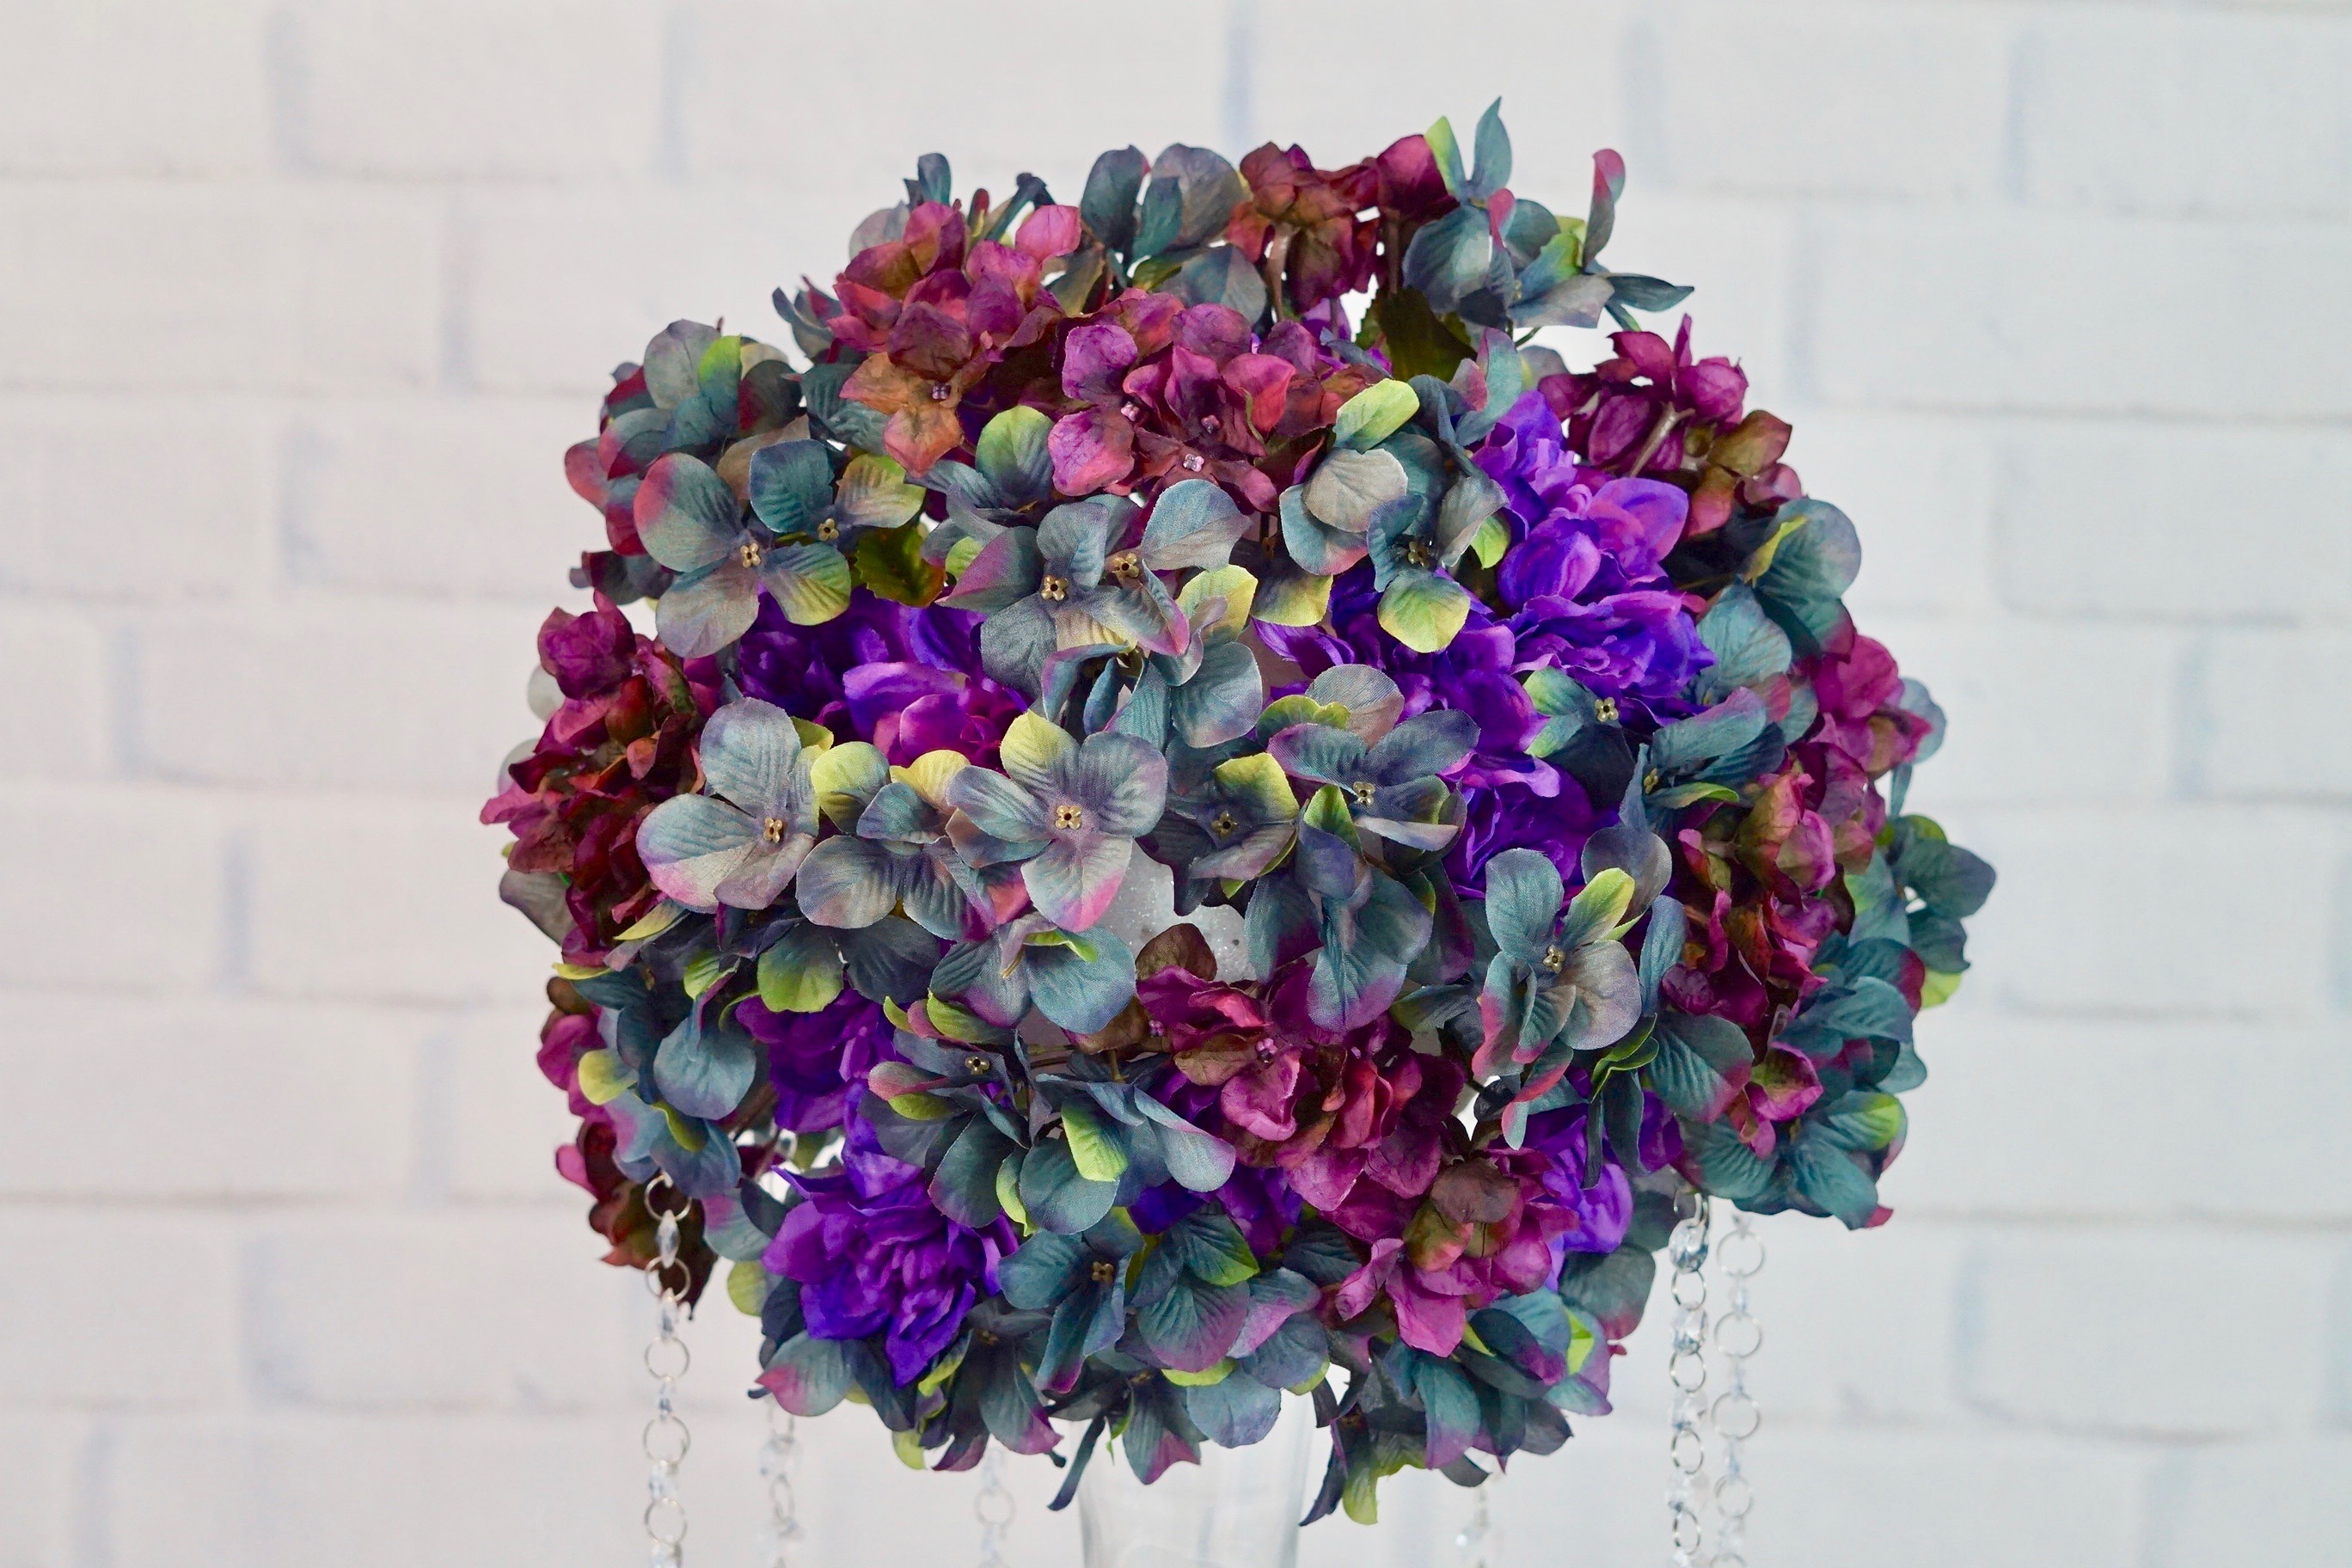
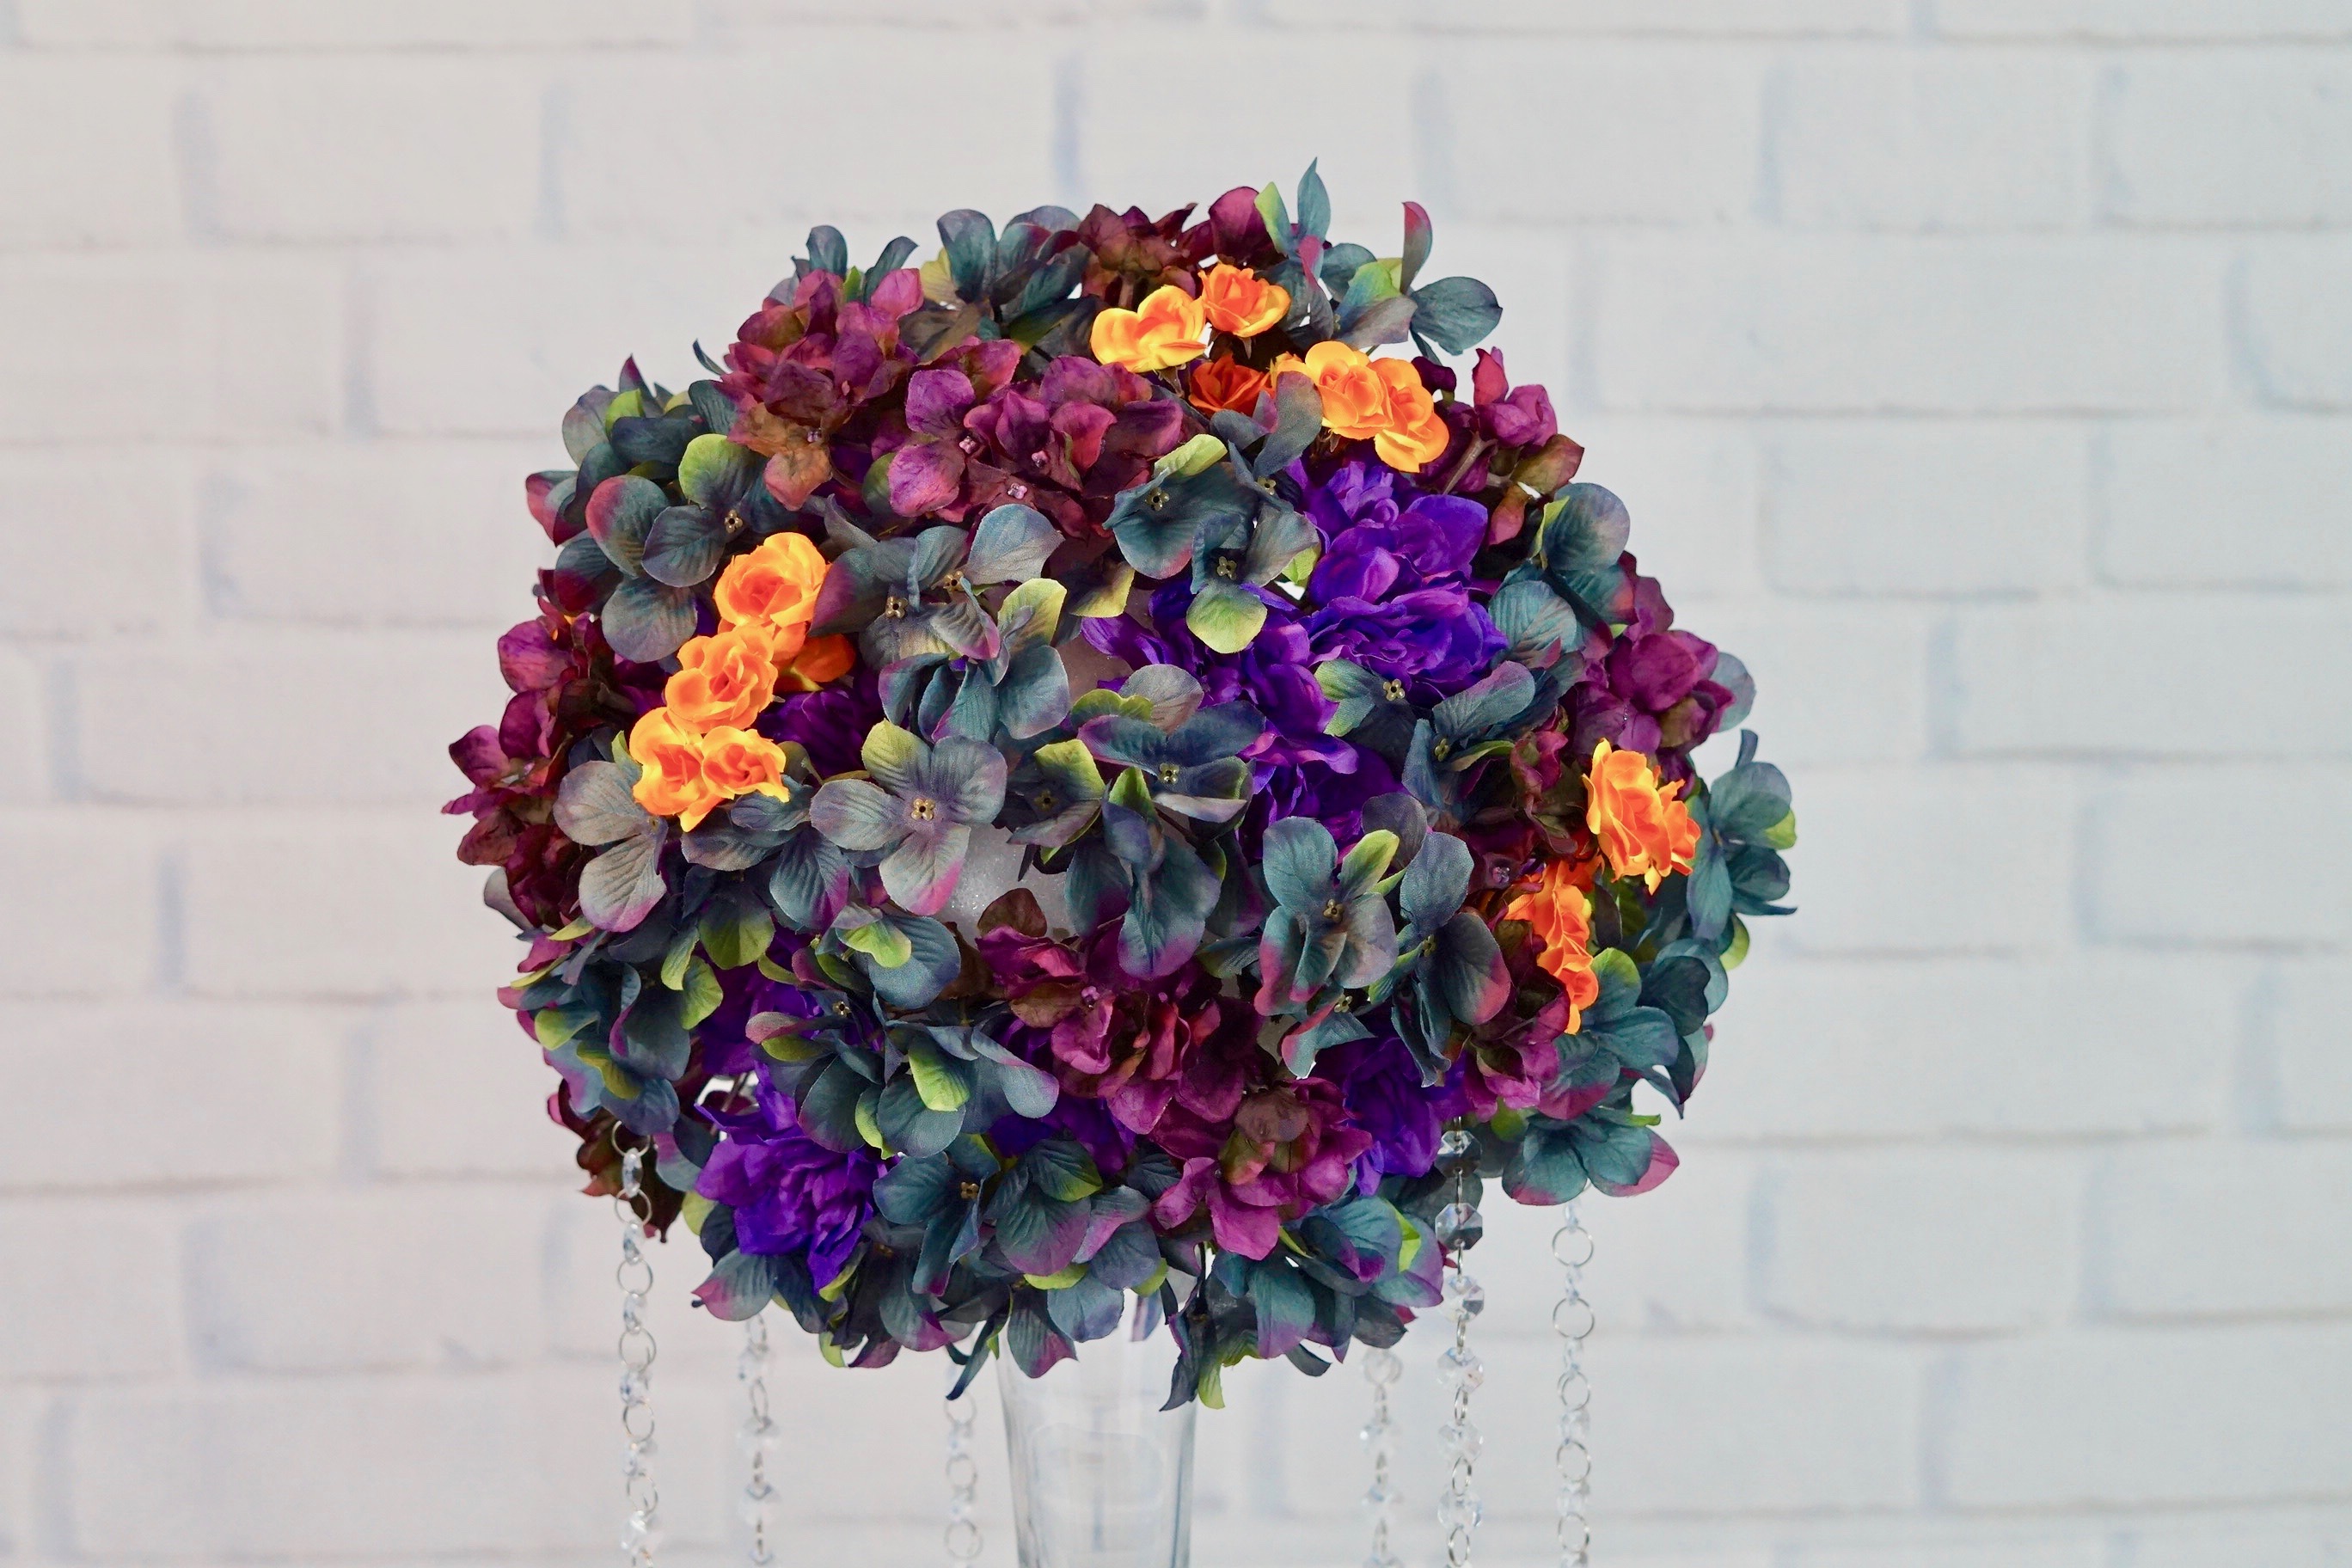
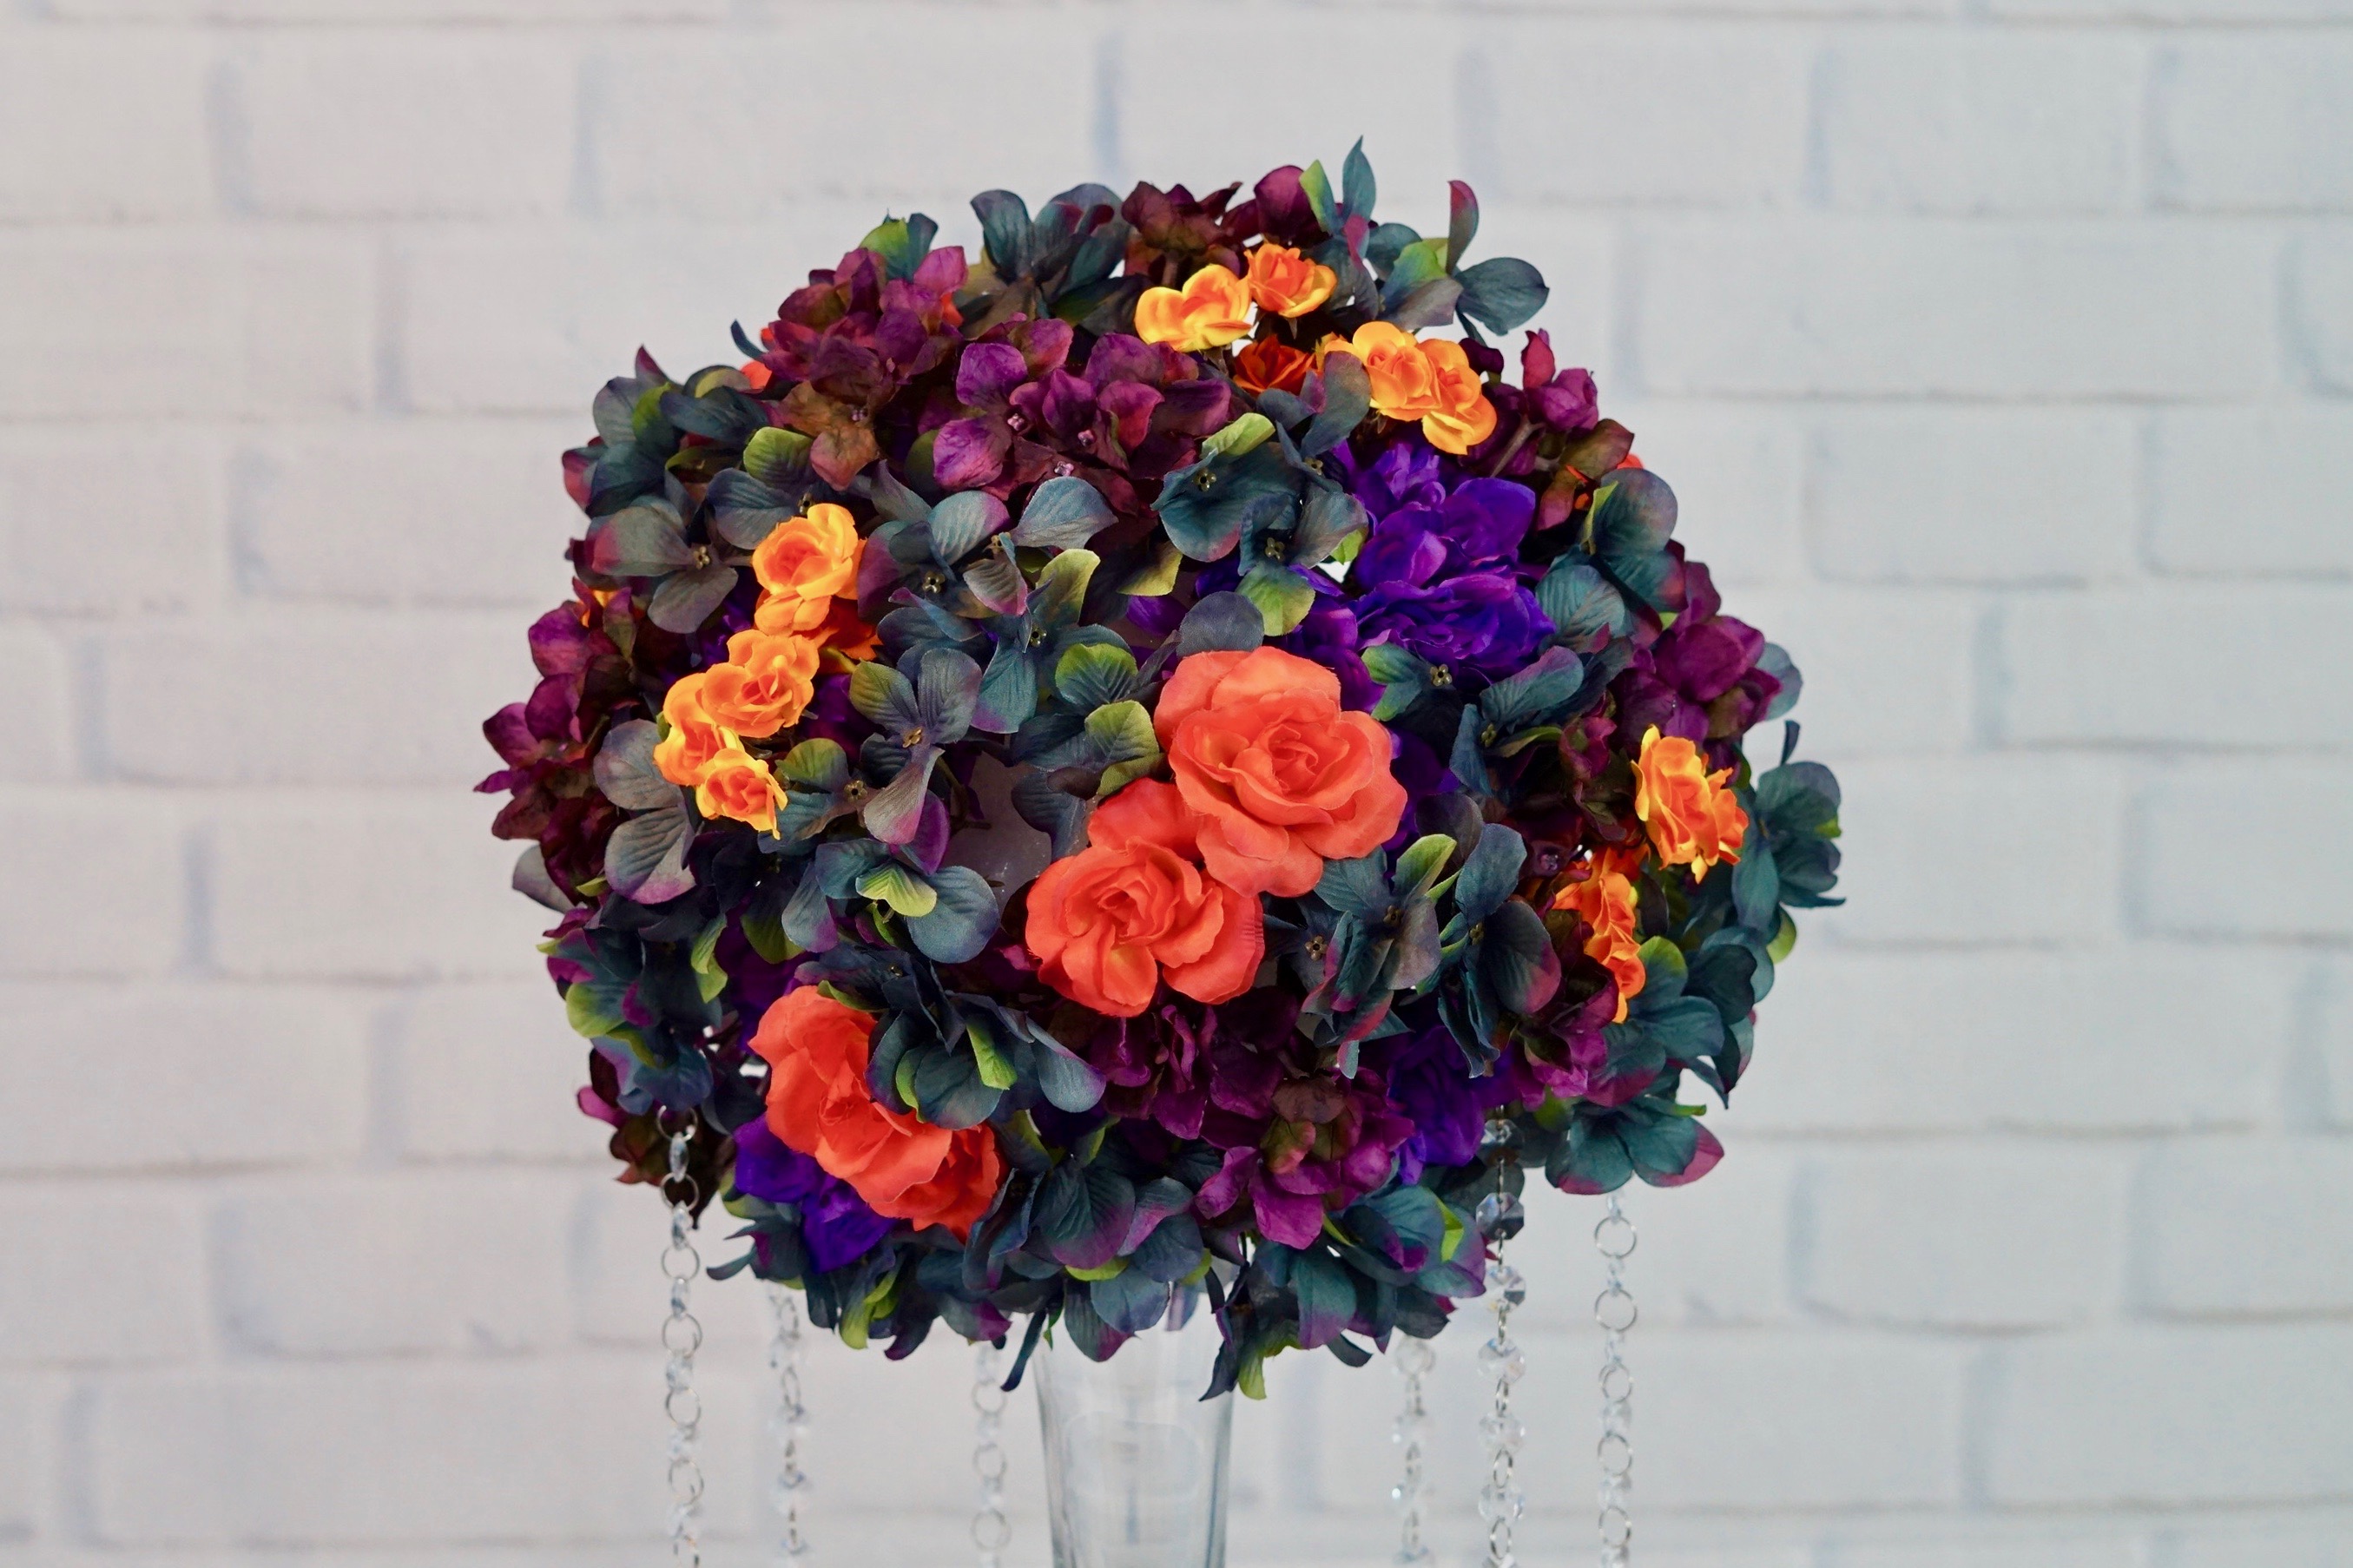
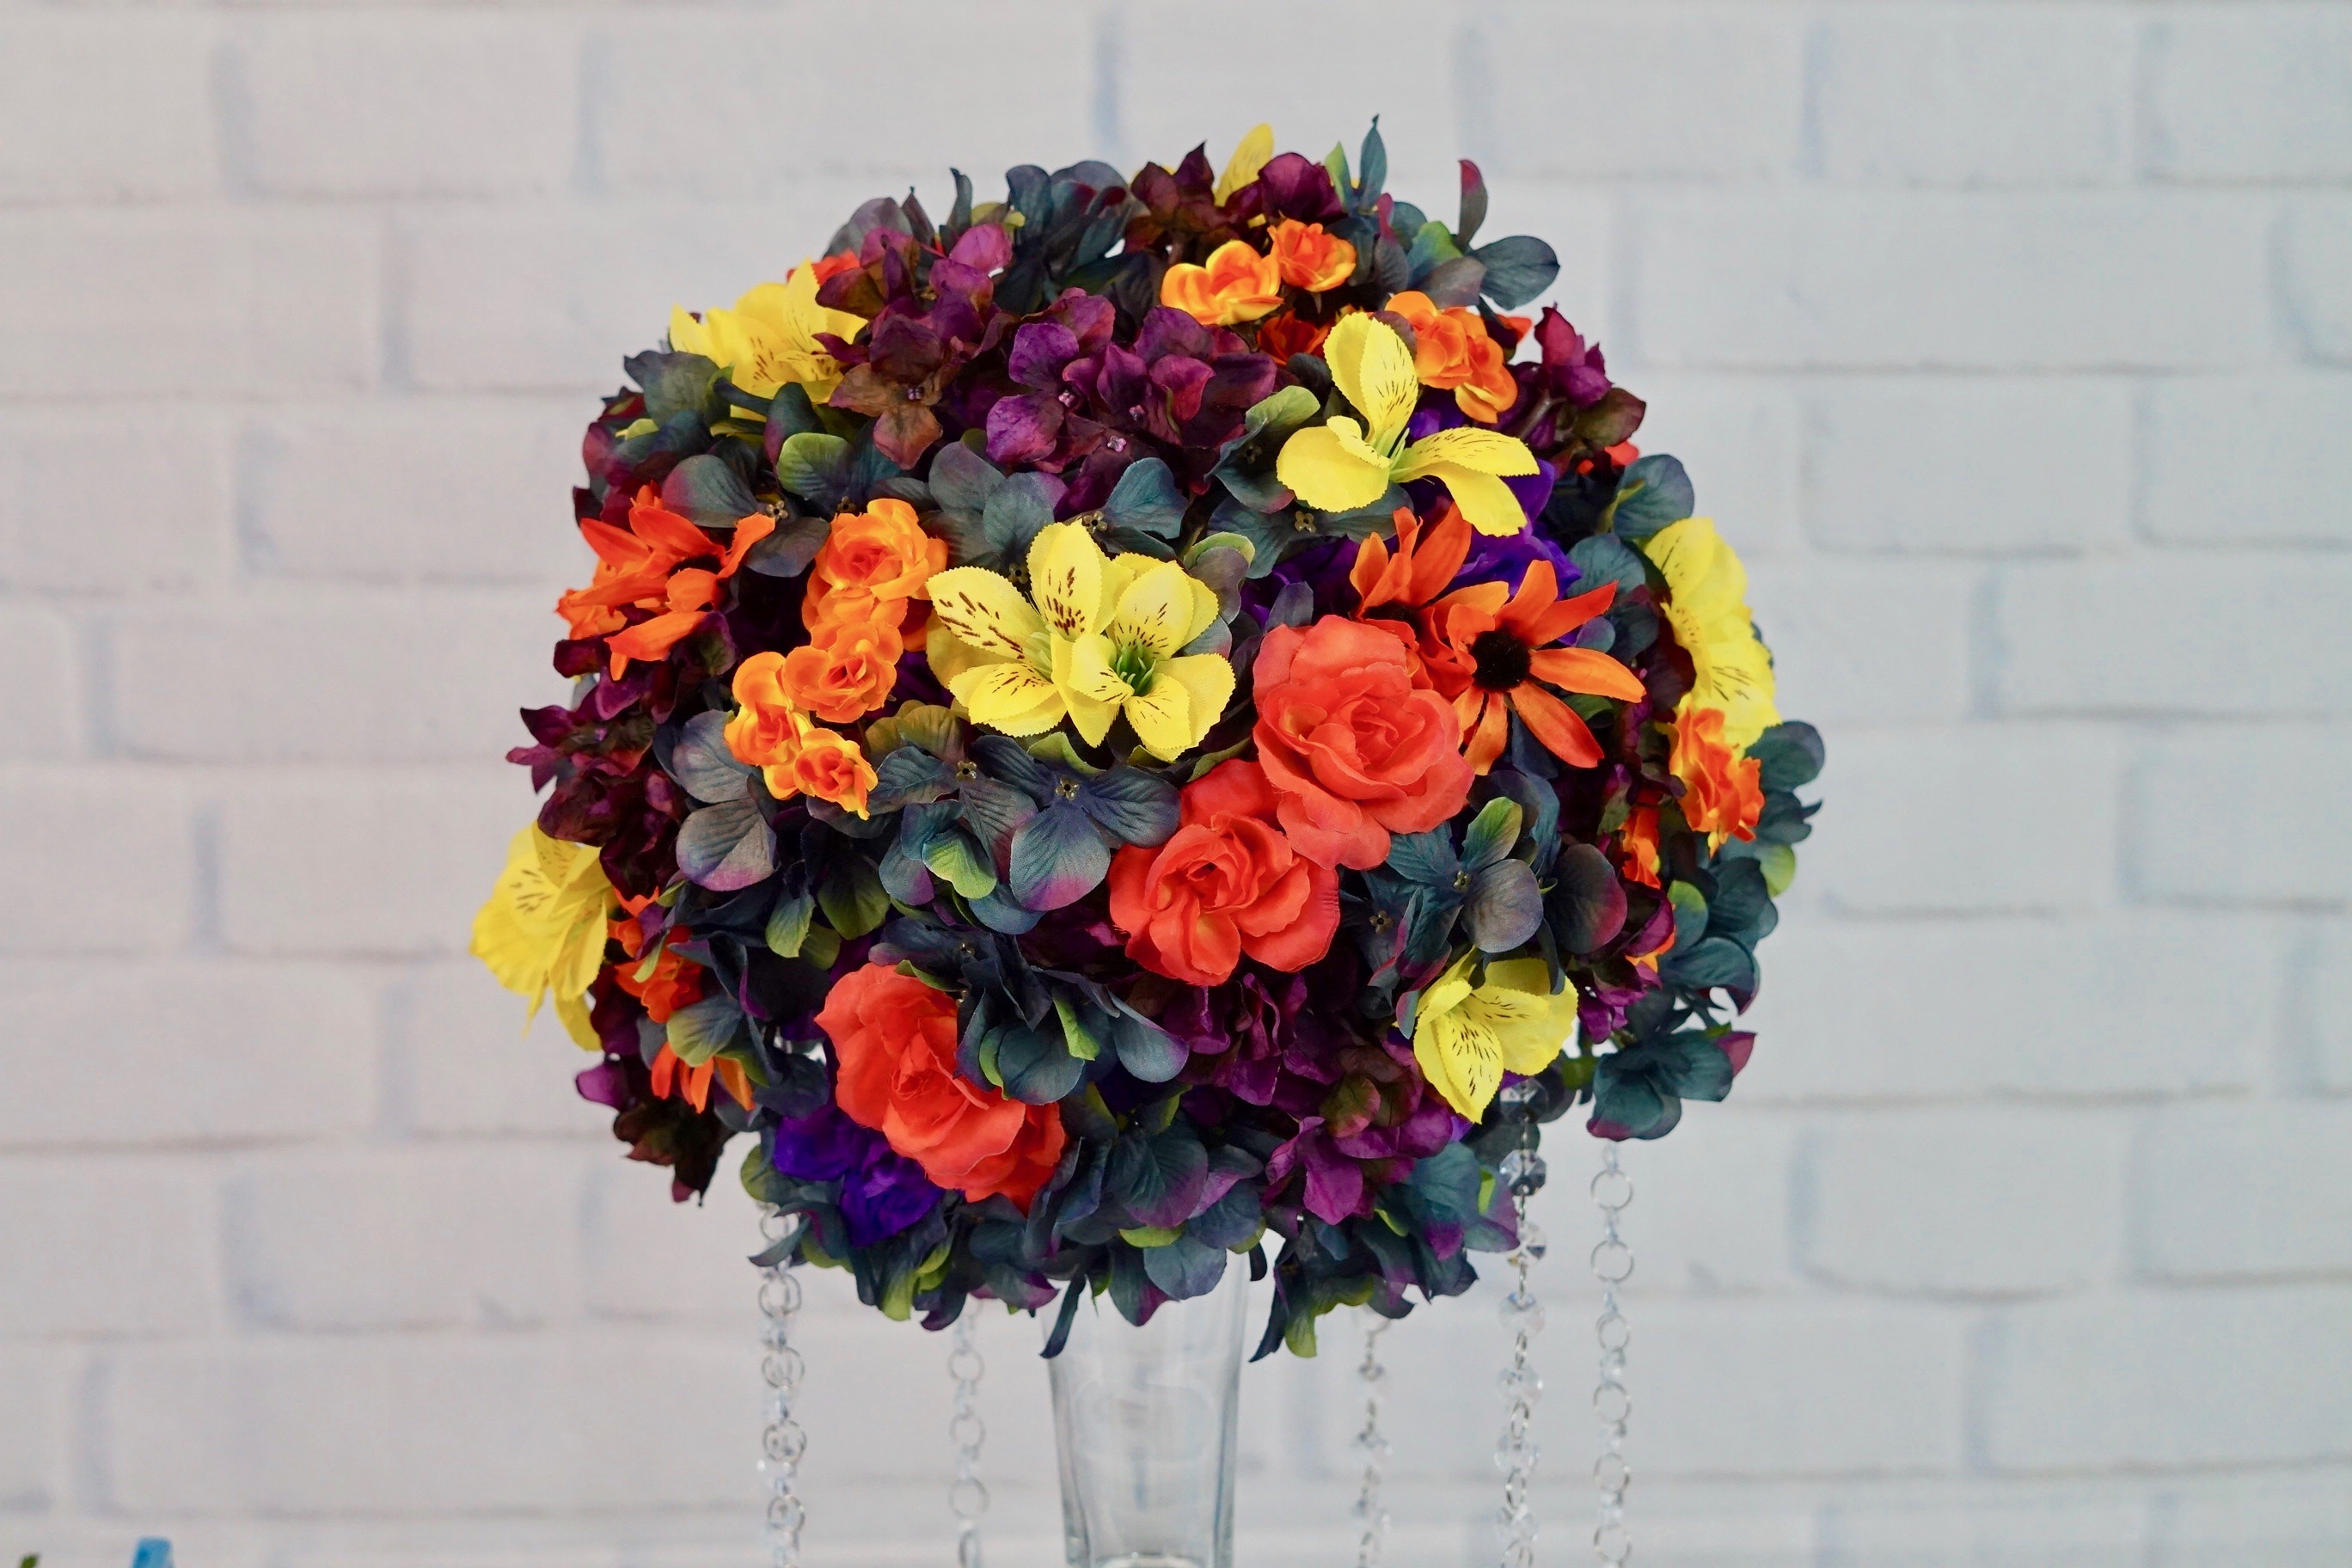
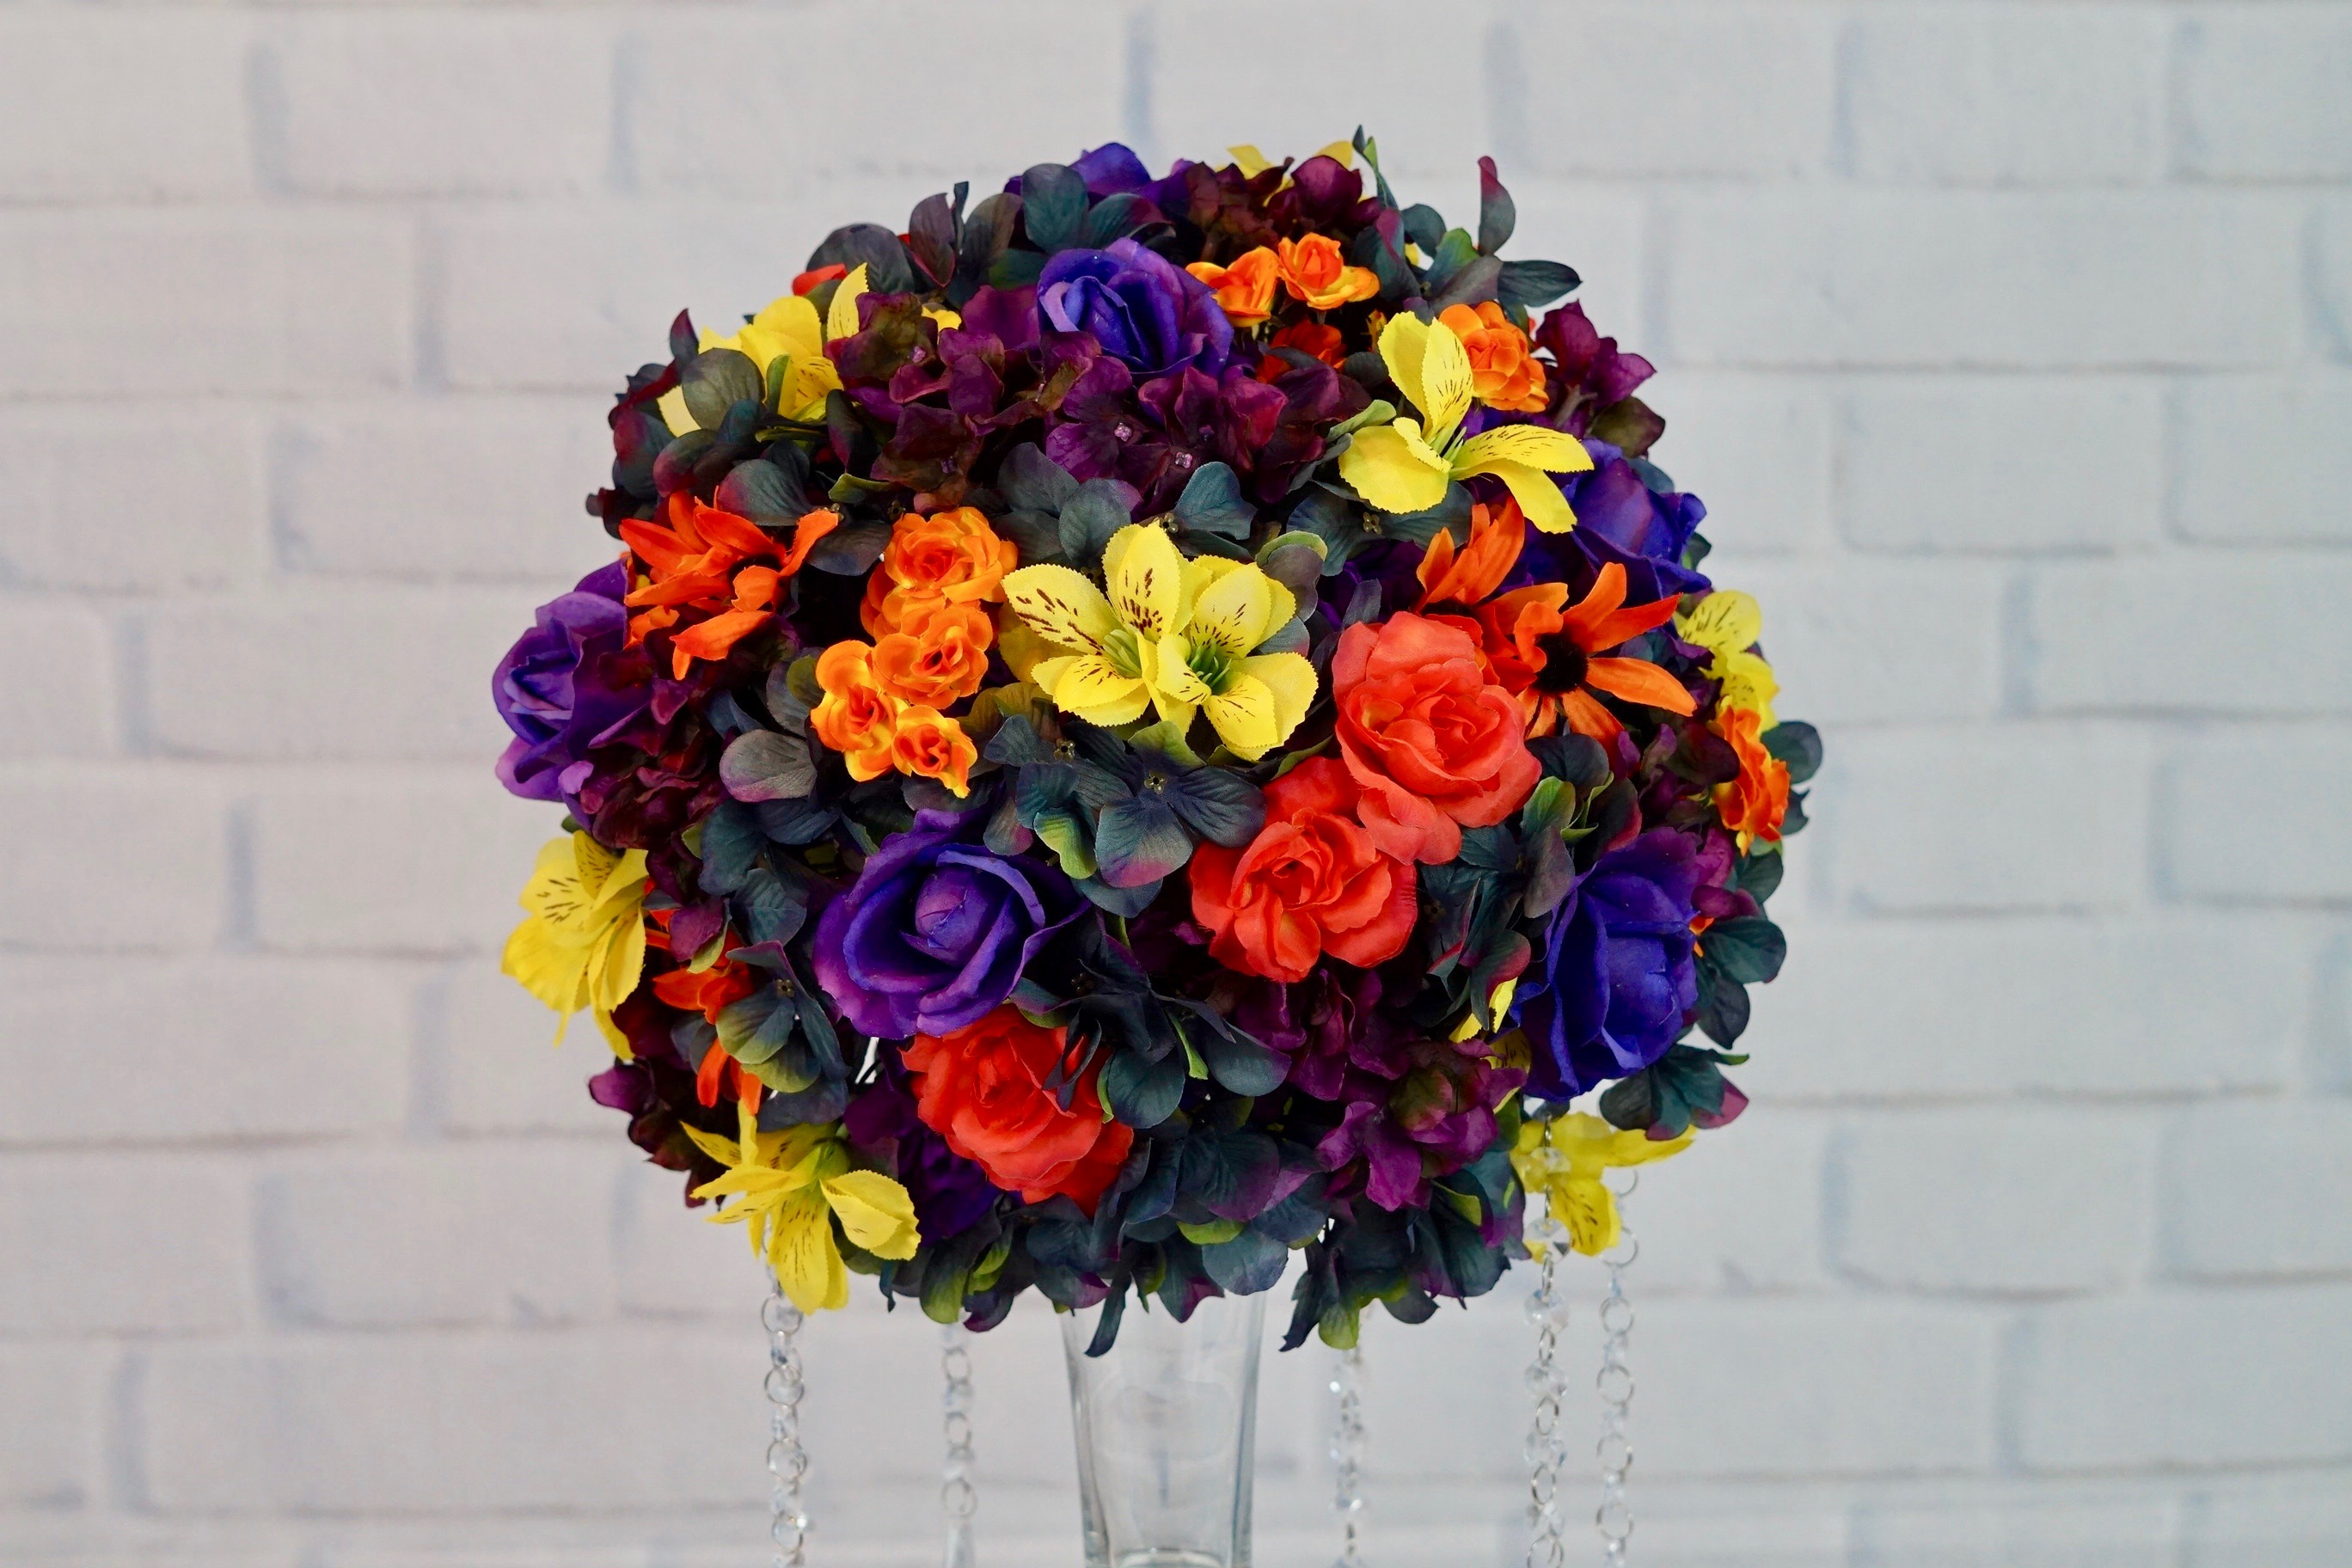
STEP 3: Attach 8-10 bushels of hydrangea blossoms, 12-16 dahlia blossoms, 8-12 orange tea rose stems, 6-8 black-eyed susan blossoms, 8-12 alstroemeria blossoms, and 8-12 roses.
THE FINAL STEP:
Set the table!
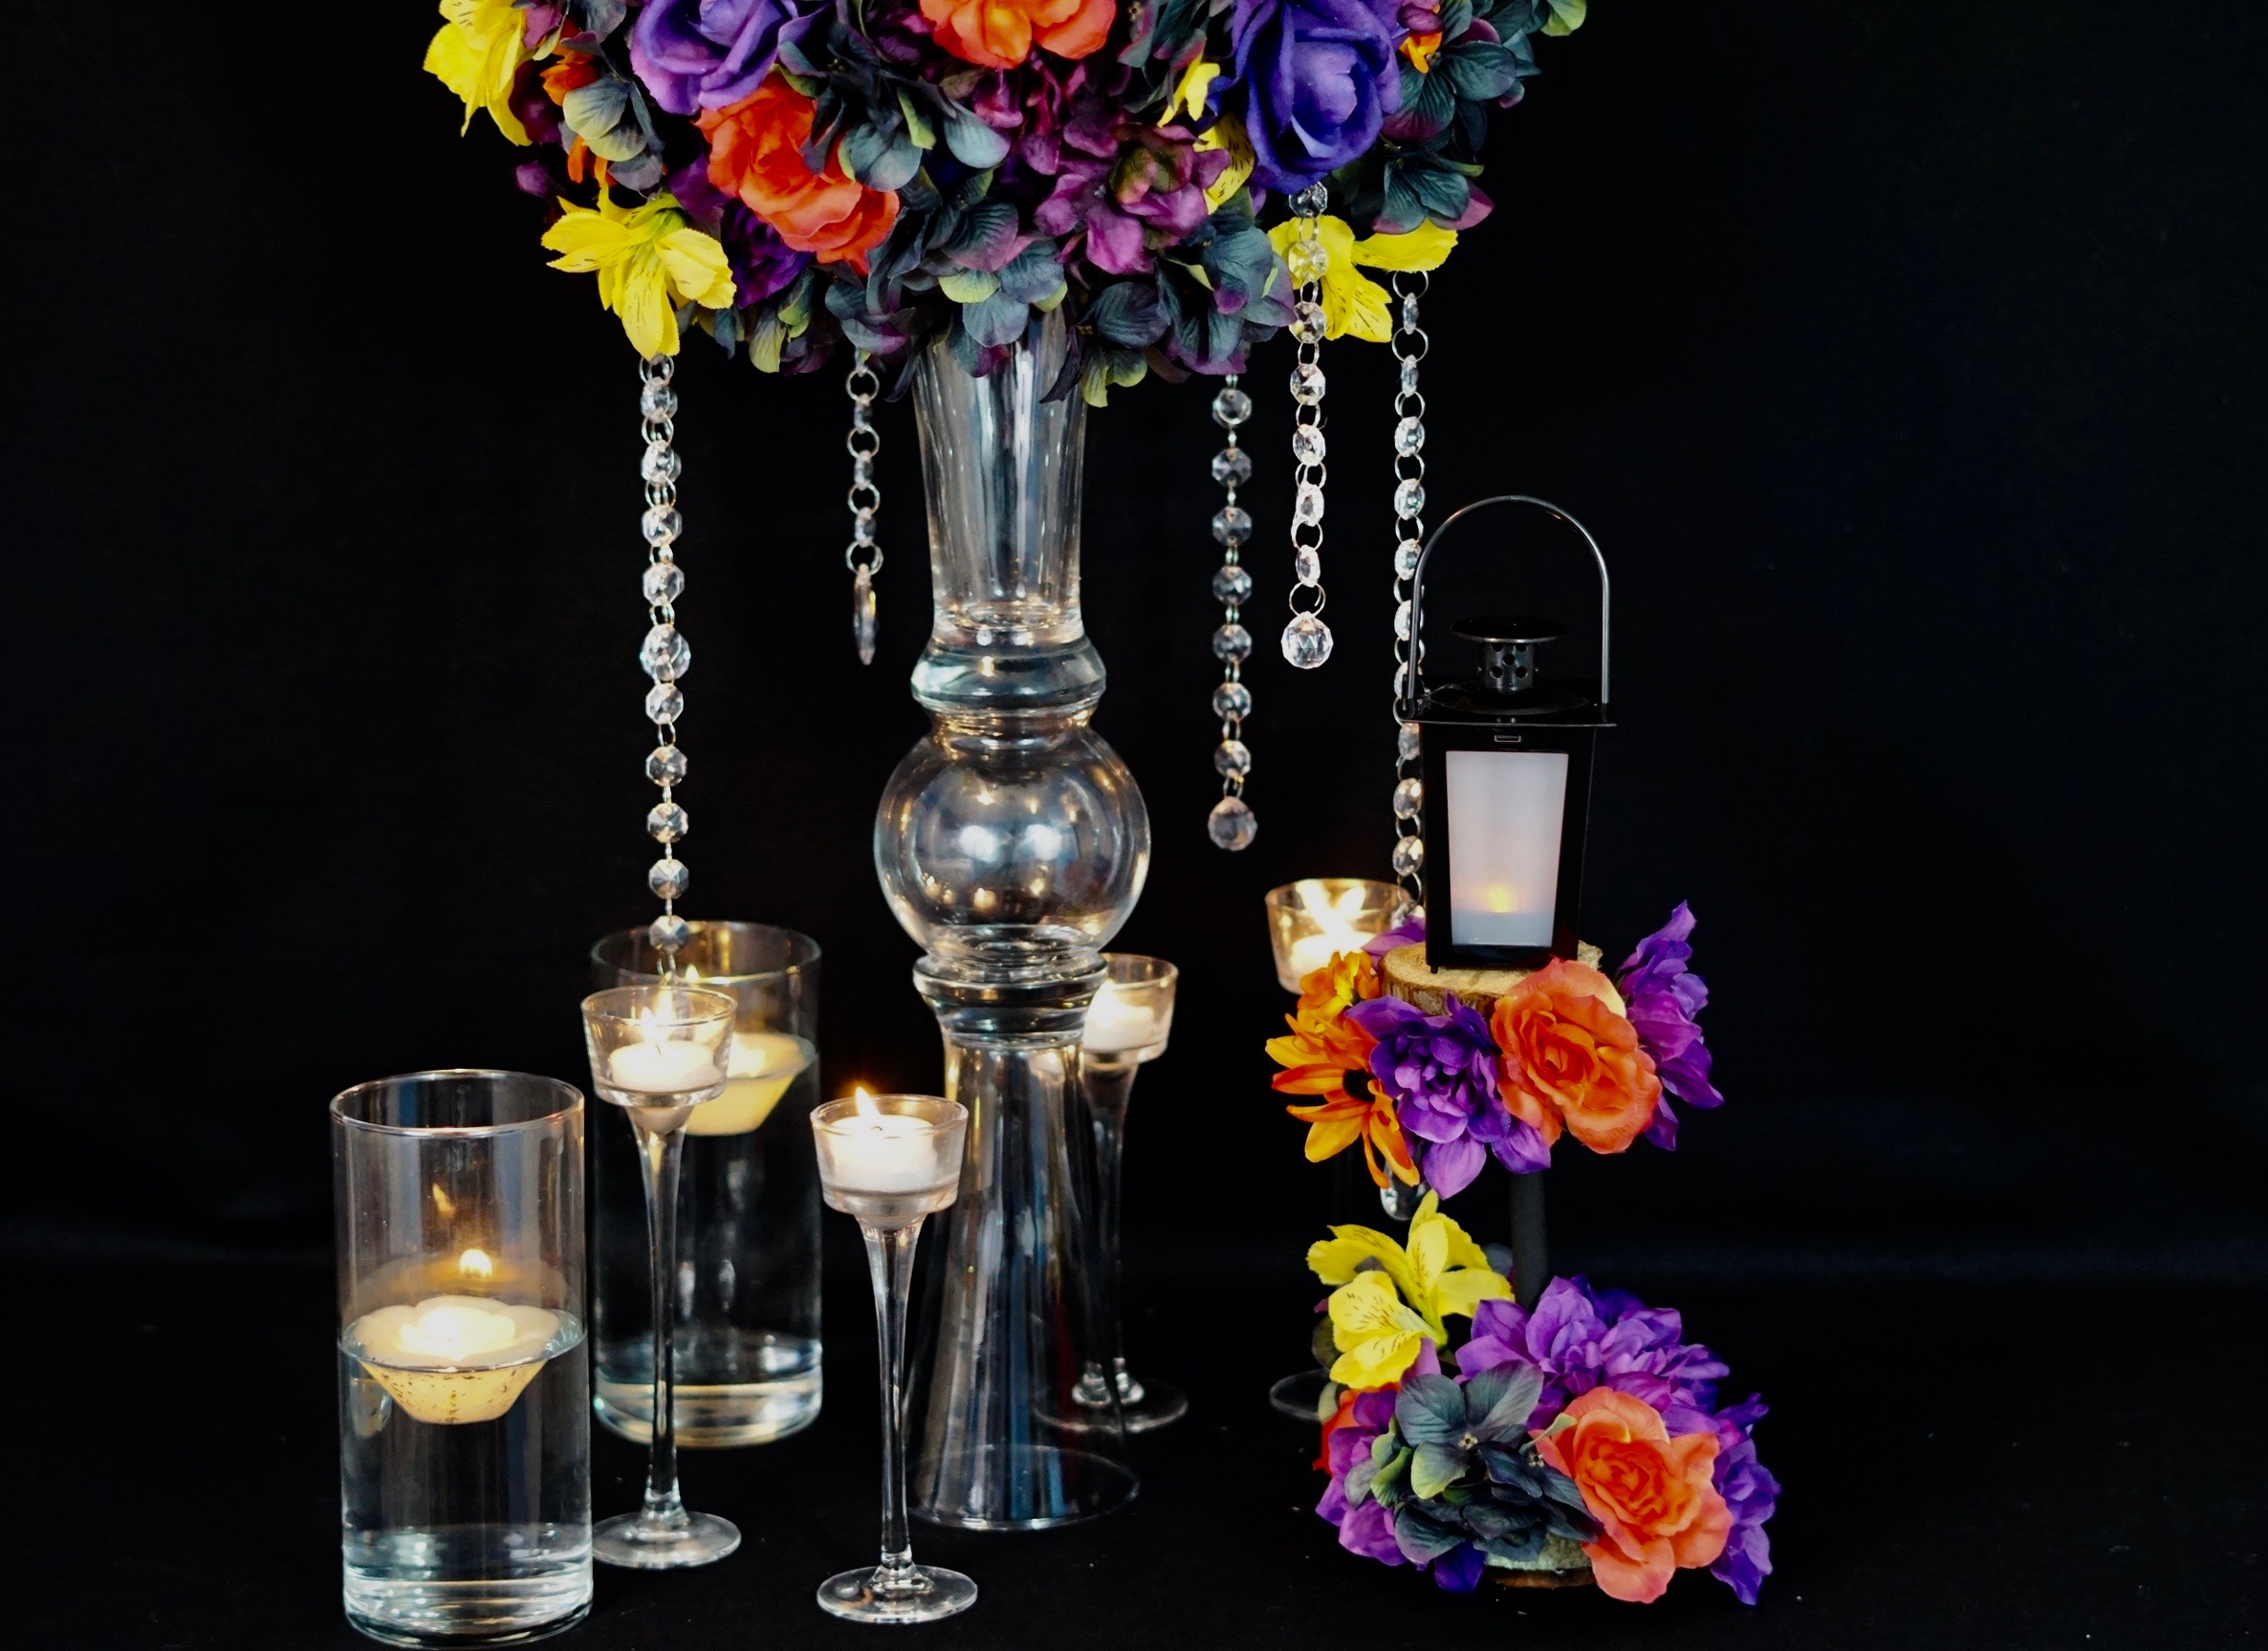
I absolutely love how this Tall Fall Wedding Centerpiece turned out! The outcome is amazing and will definitely add that extra special touch to any wedding!
BONUS VIDEO CLIP & SUPPLY LIST BELOW:
- Green Foam Pot Inserts
- Floral Craft Green Foam Block, 3×4 in.
- Battery-Operated Plastic LED Lanterns (Found In Store at DollarTree Not Available Online)
- Queen Rose Bushes, 14.5 in.
- Garden Dahlia and Peony Bushes, 13 in.
- Purple Dahlia Flowers, 13 in.
- Marigold Bushes, 13 in.
- Floral Garden 5-Stem Orange Dahlia Flowers, 13 in.
- Lumberjack Pine Wood Discs
- Black Anita’s Acrylic Craft Paint – 2 Ounces
- Wood Dowel Value Pack – 3/8”
Don’t forget to sign up for Ebates to earn cash back on your online purchases. Planning a wedding is expensive, our goal is to help you stay within your budget and make every penny count. Click here to sign up for Ebates, and RIGHT NOW when you sign up, you will receive a $10 cash welcome bonus when you spend $25.00!
If you like the outcome please subscribe to our Youtube Channel for more DIY Videos and follow us on Facebook and Pinterest.
Need help with an upcoming project? Be sure to send us a project request!
“Remember When Every Penny Counts, Count on MissPlanIt”


Hmm it seems like your website ate my first comment (it was super long) so I guess I’ll just sum it up
what I submitted and say, I’m thoroughly enjoying your blog.
I too am an aspiring blog blogger but I’m still new to the whole thing.
Do you have any tips for novice blog writers? I’d certainly
appreciate it. https://shethequeen.com/blog/blog/priyanka-chopra-and-nick-jonass-wedding/
Hello, thank you, I am so happy you are enjoying the blog. Write things that will help solve someone’s problem. That’s my number 1 tip 🙂
Are the fish bowls suppose to be plastic? Or glass? The ones on amazon are plastic.
Hi! As long as you are using E6000 (which is what I recommend) you can use either one!
how tall does this vase come put to be
Hi Jennifer,
The vase is 20 inches once constructed. Hope this helps!
XOXO MissPlanIt