


Ditch the traditional floral bridal bouquet and create a show-stopping beautiful pearl bridal bouquet masterpiece. Although, I truly love some of the aspects of traditional wedding decor, I also love to think outside of the box and use unconventional pieces. This bridal bouquet is most definitely a twist on tradition!
BUT WAIT!
Before we get started I want to share an awesome tip on how you can earn cash back with your online purchases for all the items you will need to complete this project!
As our saying goes “When Every Penny Counts, Count on Miss PlanIt.” Furthermore, we love to save money and get great deals. Prior to us purchasing anything online, we check out Ebates, find the store, click the current deal for that store and complete our purchase.
If you have never used Ebates, you are MISSING OUT. So for this project, you would go to Ebates.com, sign up, and then type in the store you plan to purchase from.
Consequently, when completing a purchase through Ebates you earn cash back that you can have mailed to you or sent via PayPal. Be sure to check it out! Click here to sign up for Ebates, and RIGHT NOW when you sign up, you will receive a $10 cash welcome bonus when you spend $25.00!
Since you were already going to complete your purchase online, why not get some cash back on things you already planned to purchase!
[convertkit form=917377]
Let’s Get Started:
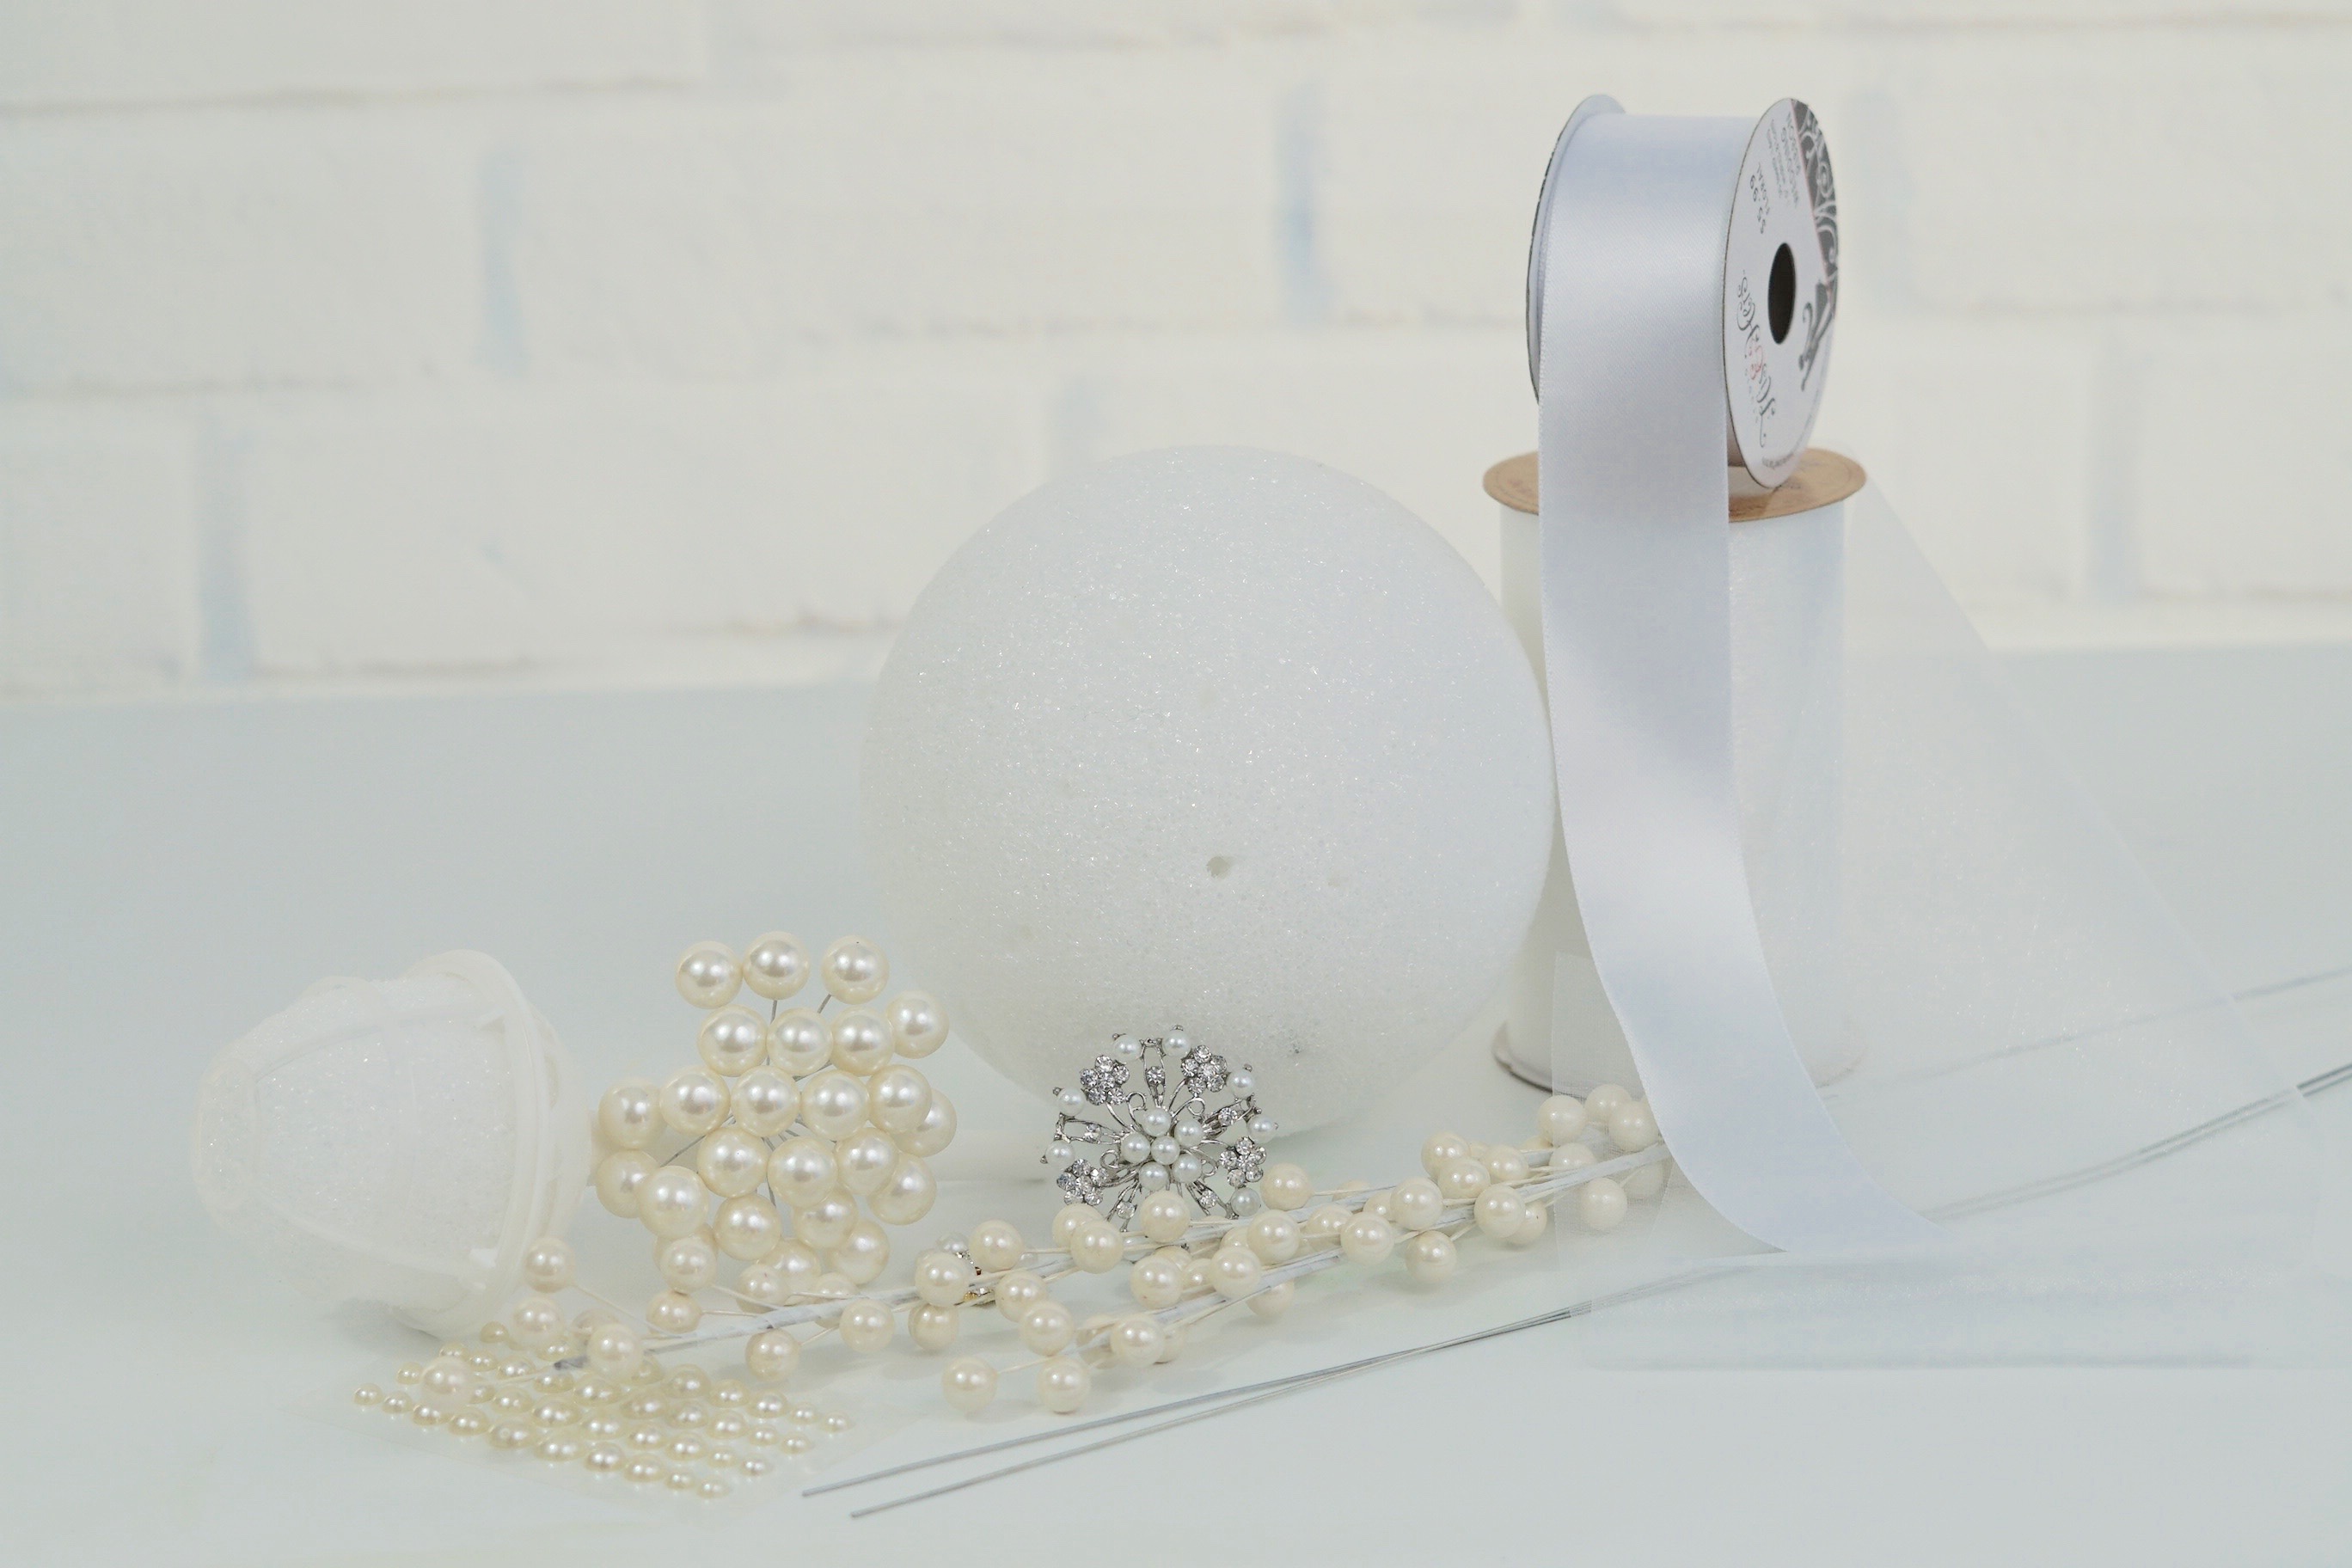
Click our affiliate links below to purchase the supplies needed for this project:
Pearl White Berry Cluster Stem
Large Straight Handle Bouquet Holder
Ivory Pearl Ball Pick
White 10mm Round Pearl Embellishment Stickers
White Single Face Satin Ribbon – 1 1/2”
White 5″ Organza Ribbon
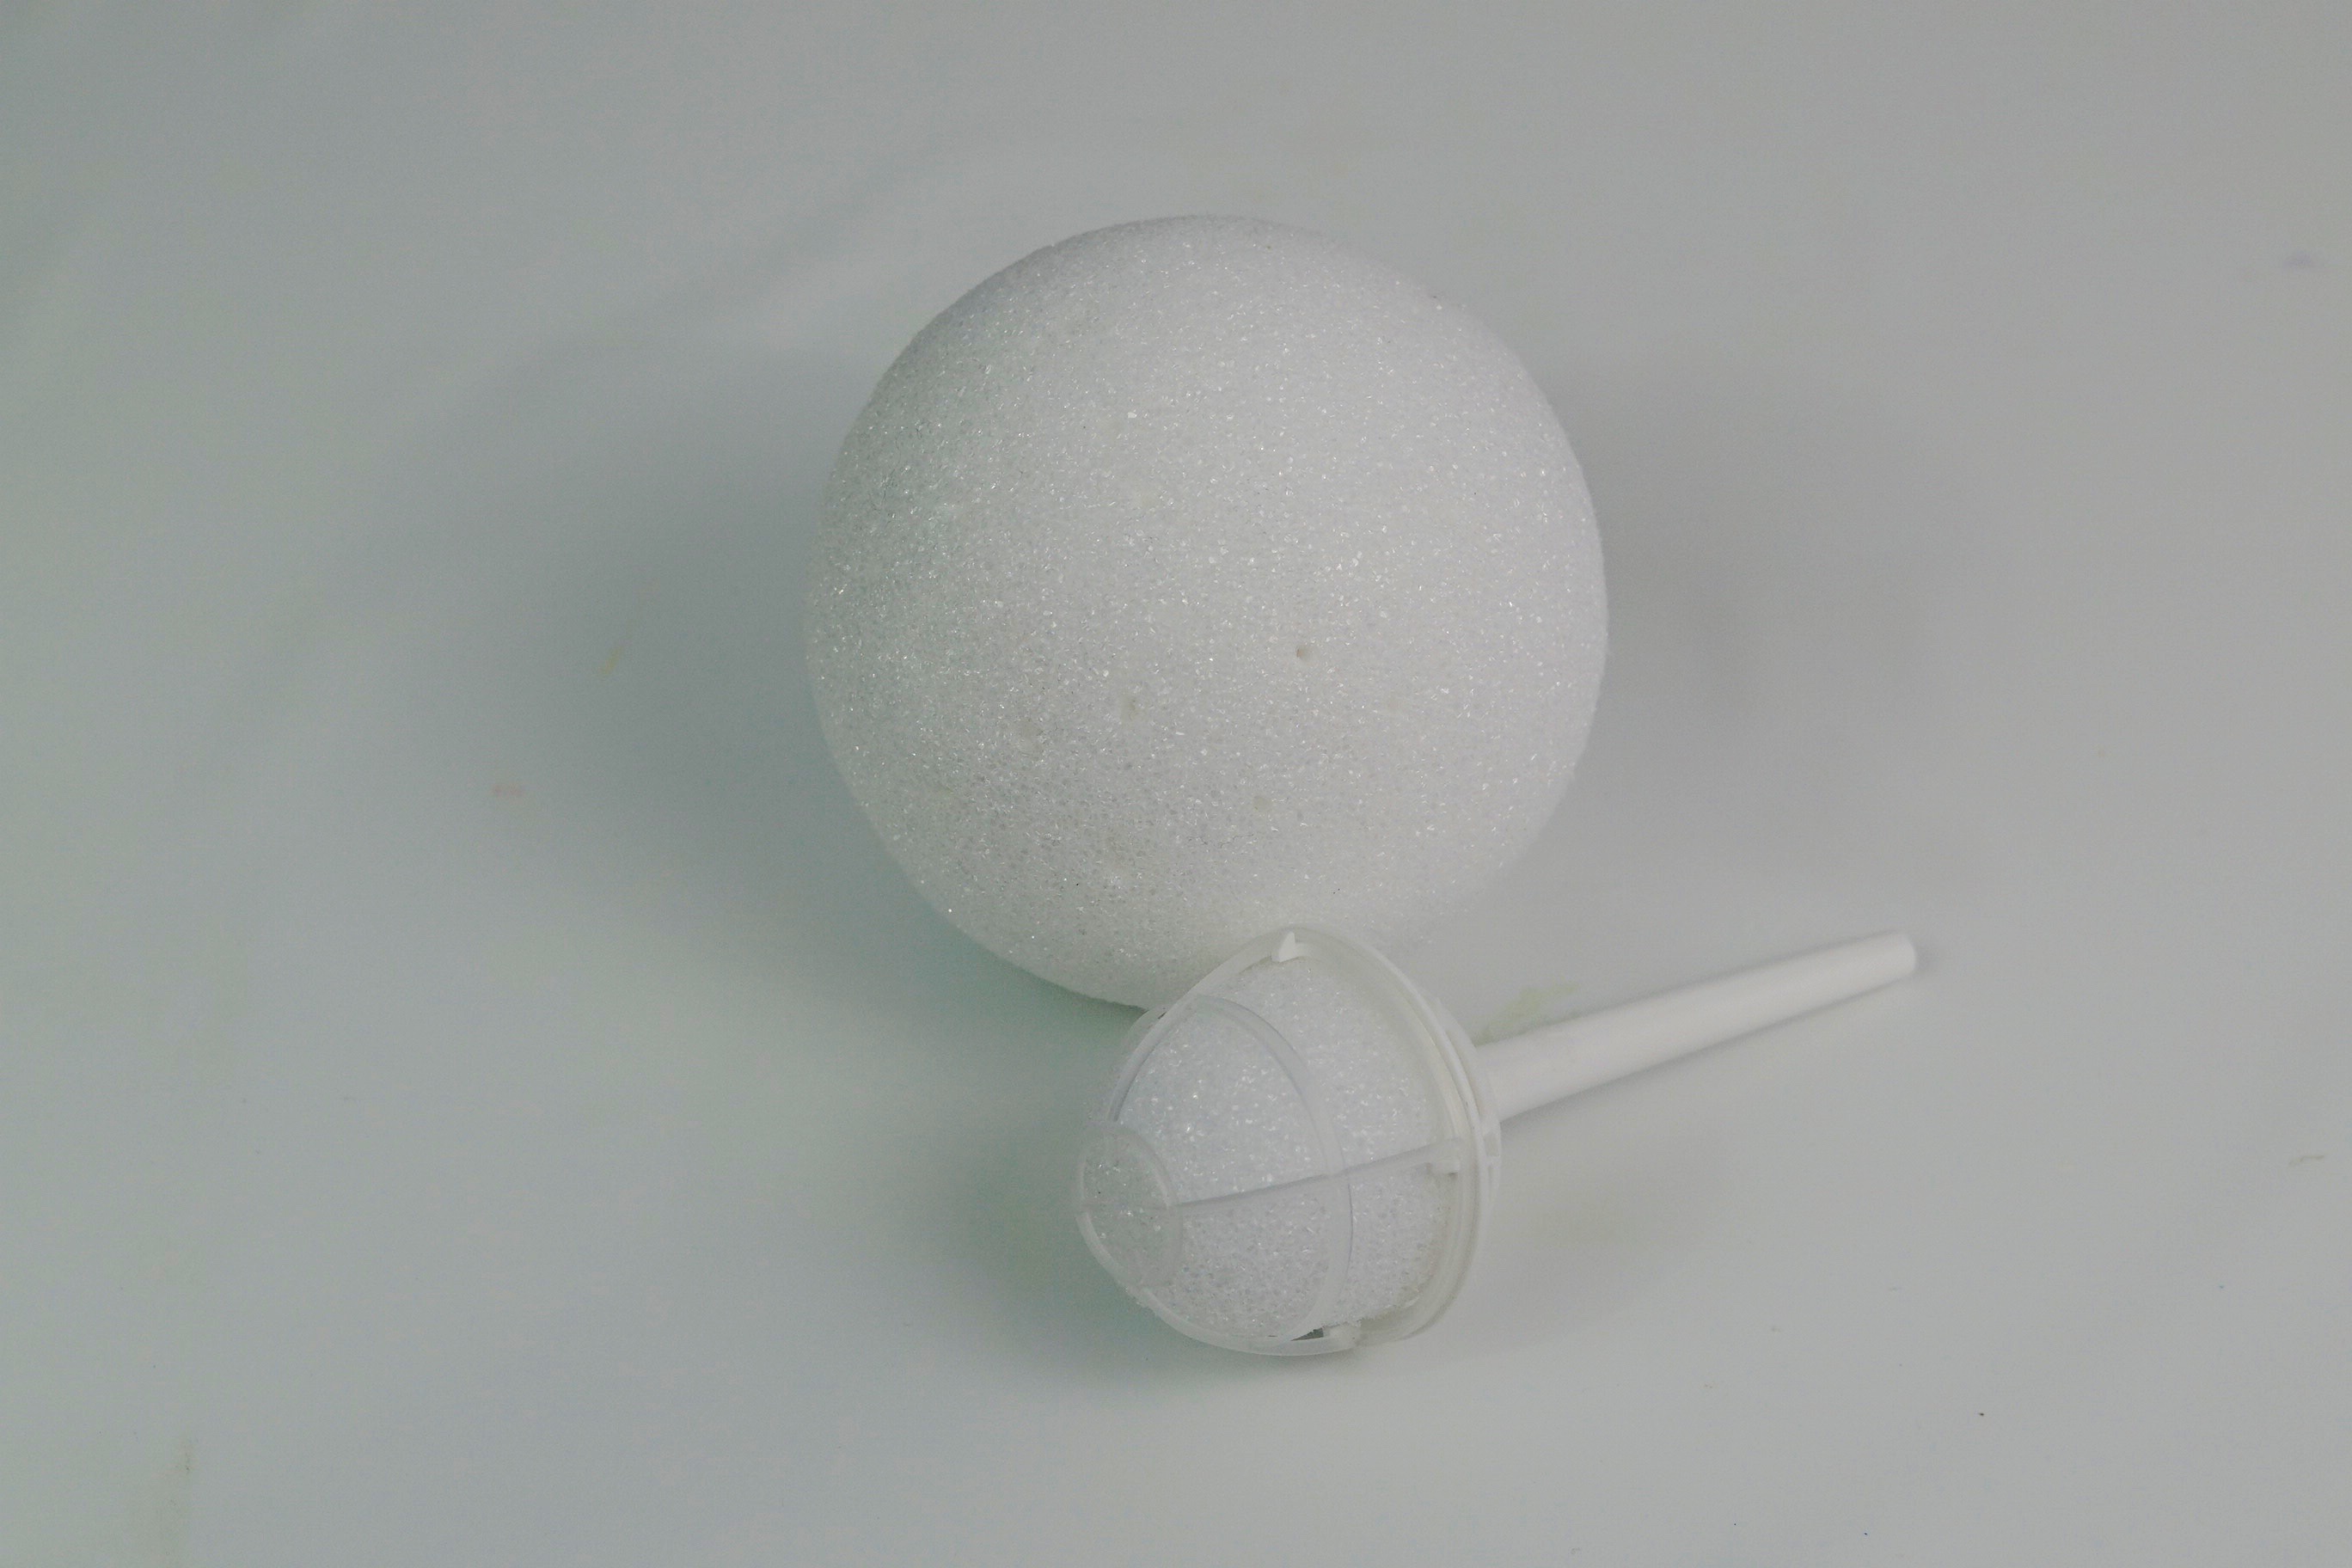
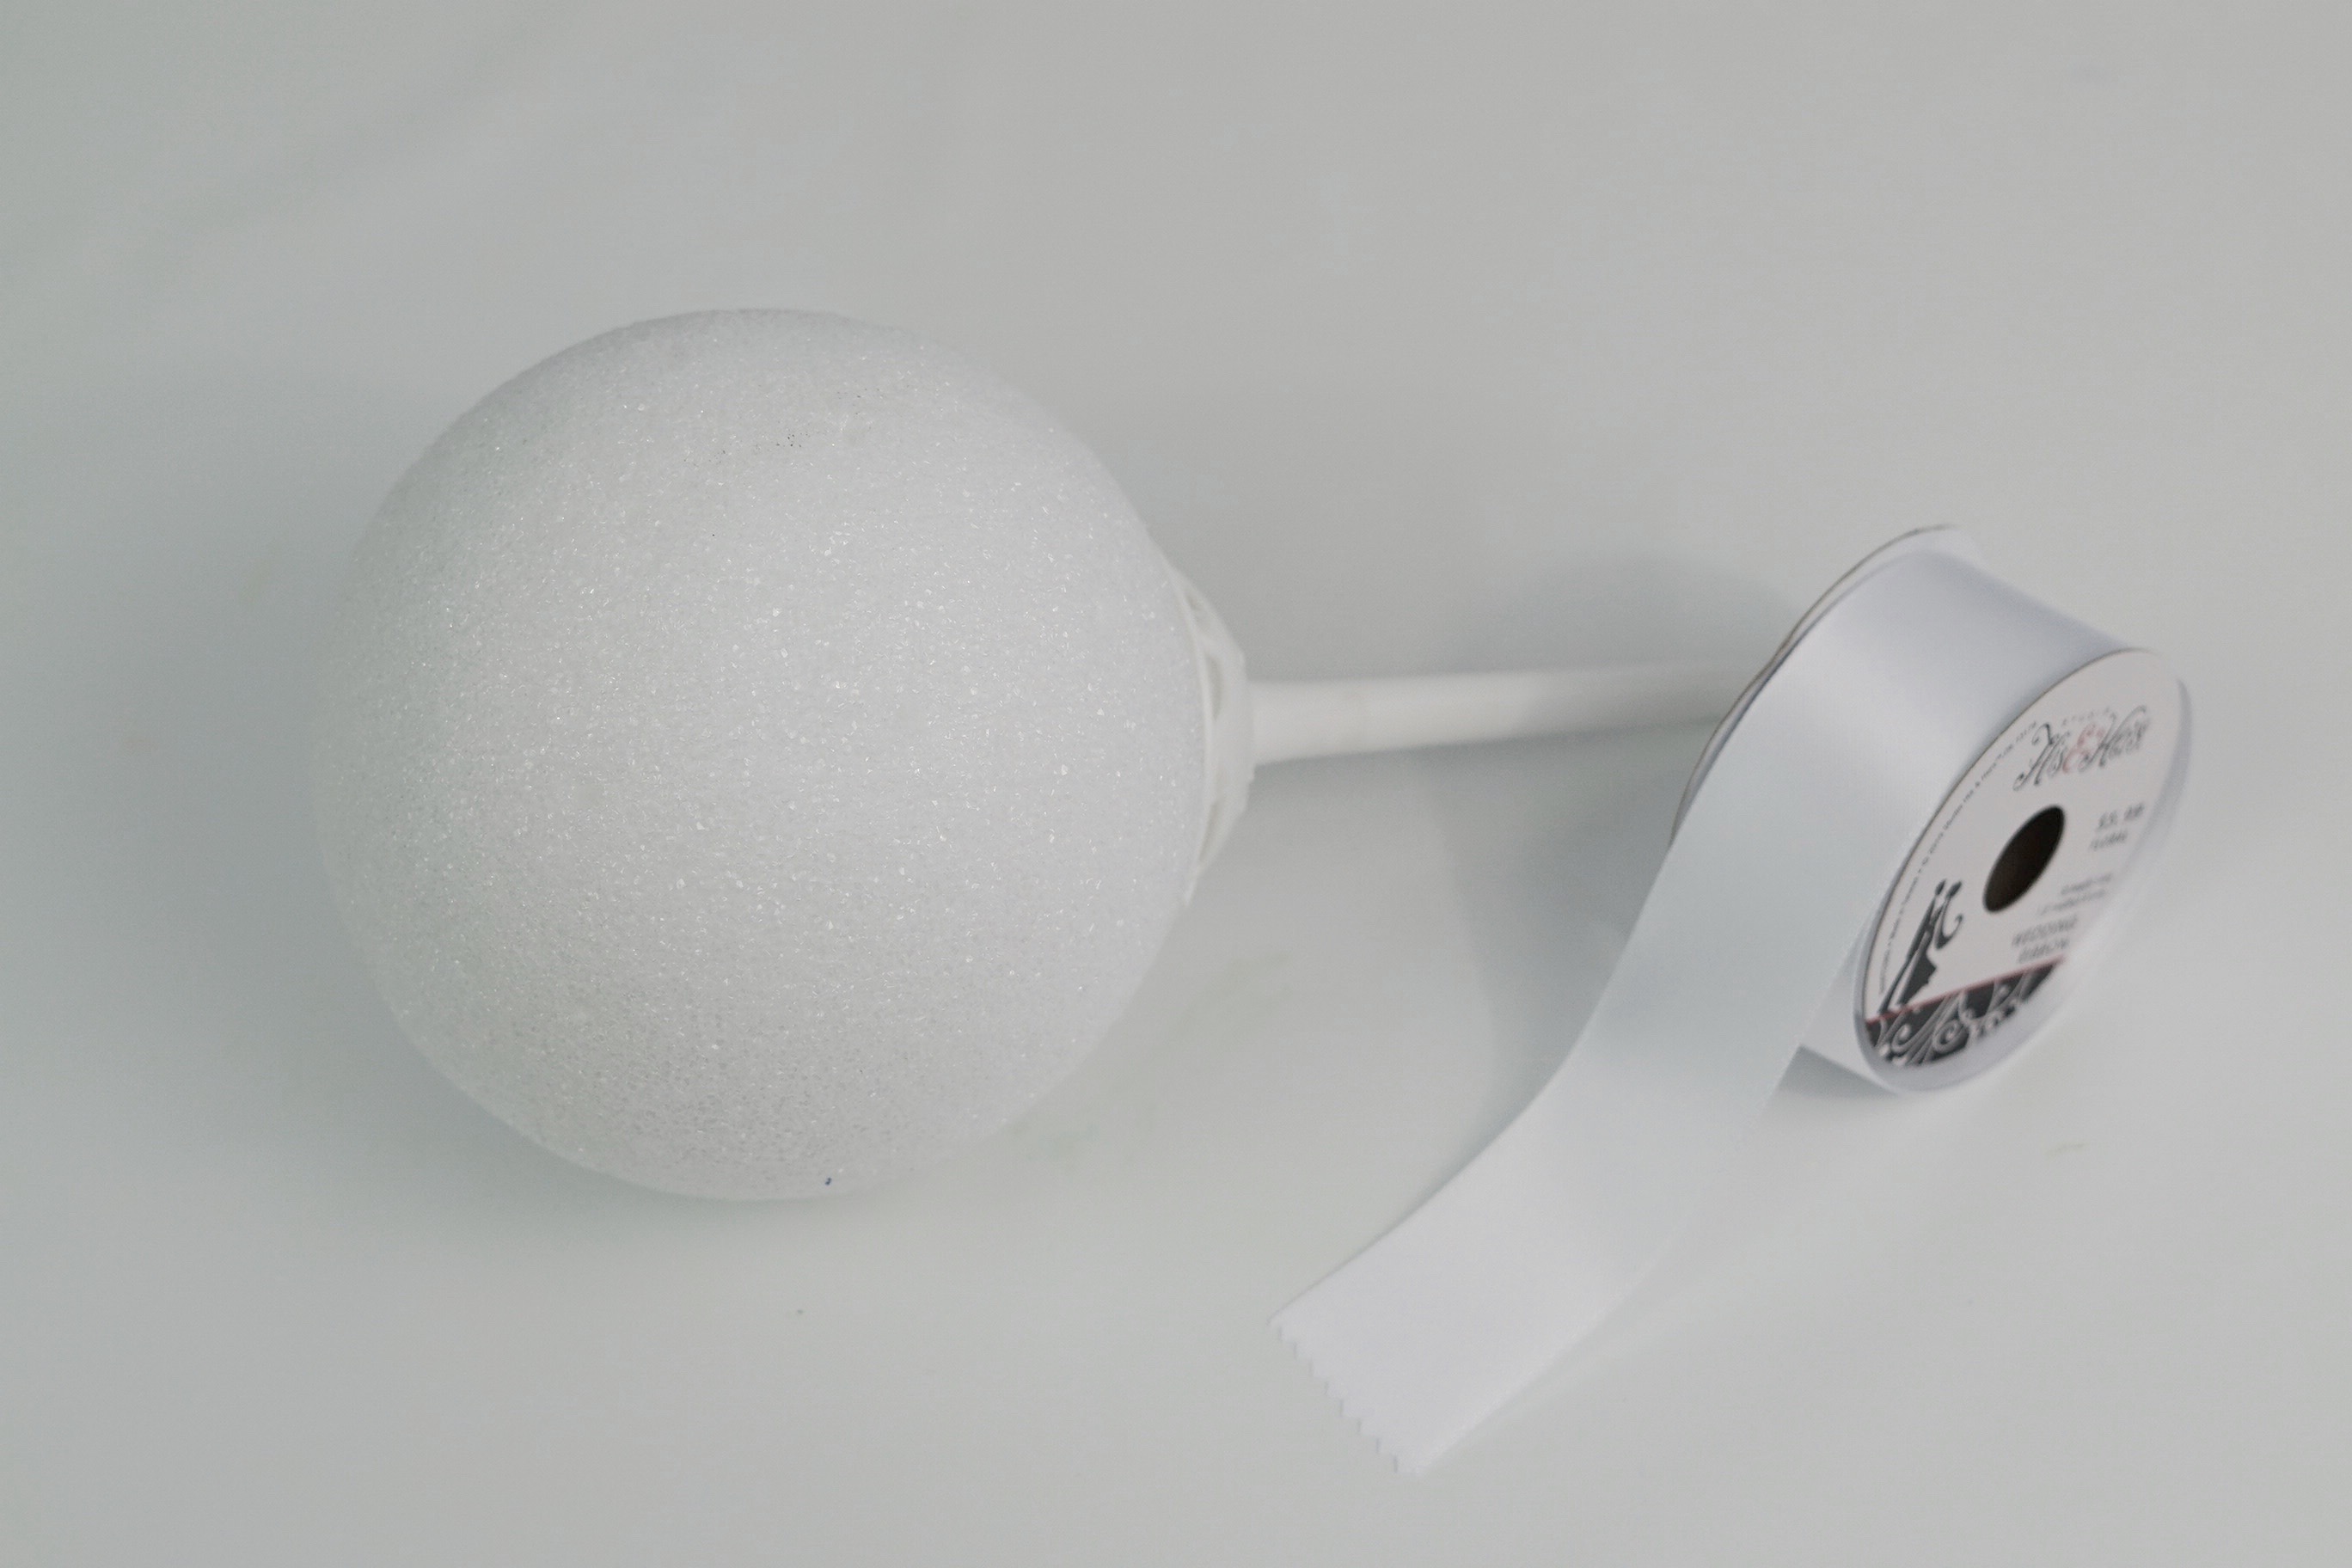
Styrofoam Ball – 5”
White 22 Gauge – 70 Pieces 18″ Cloth Floral Stem Wire
E6000 Adhesive
Floral Pins – 1 3/4”
How To Make a Pearl Bridal Bouquet
Directions:
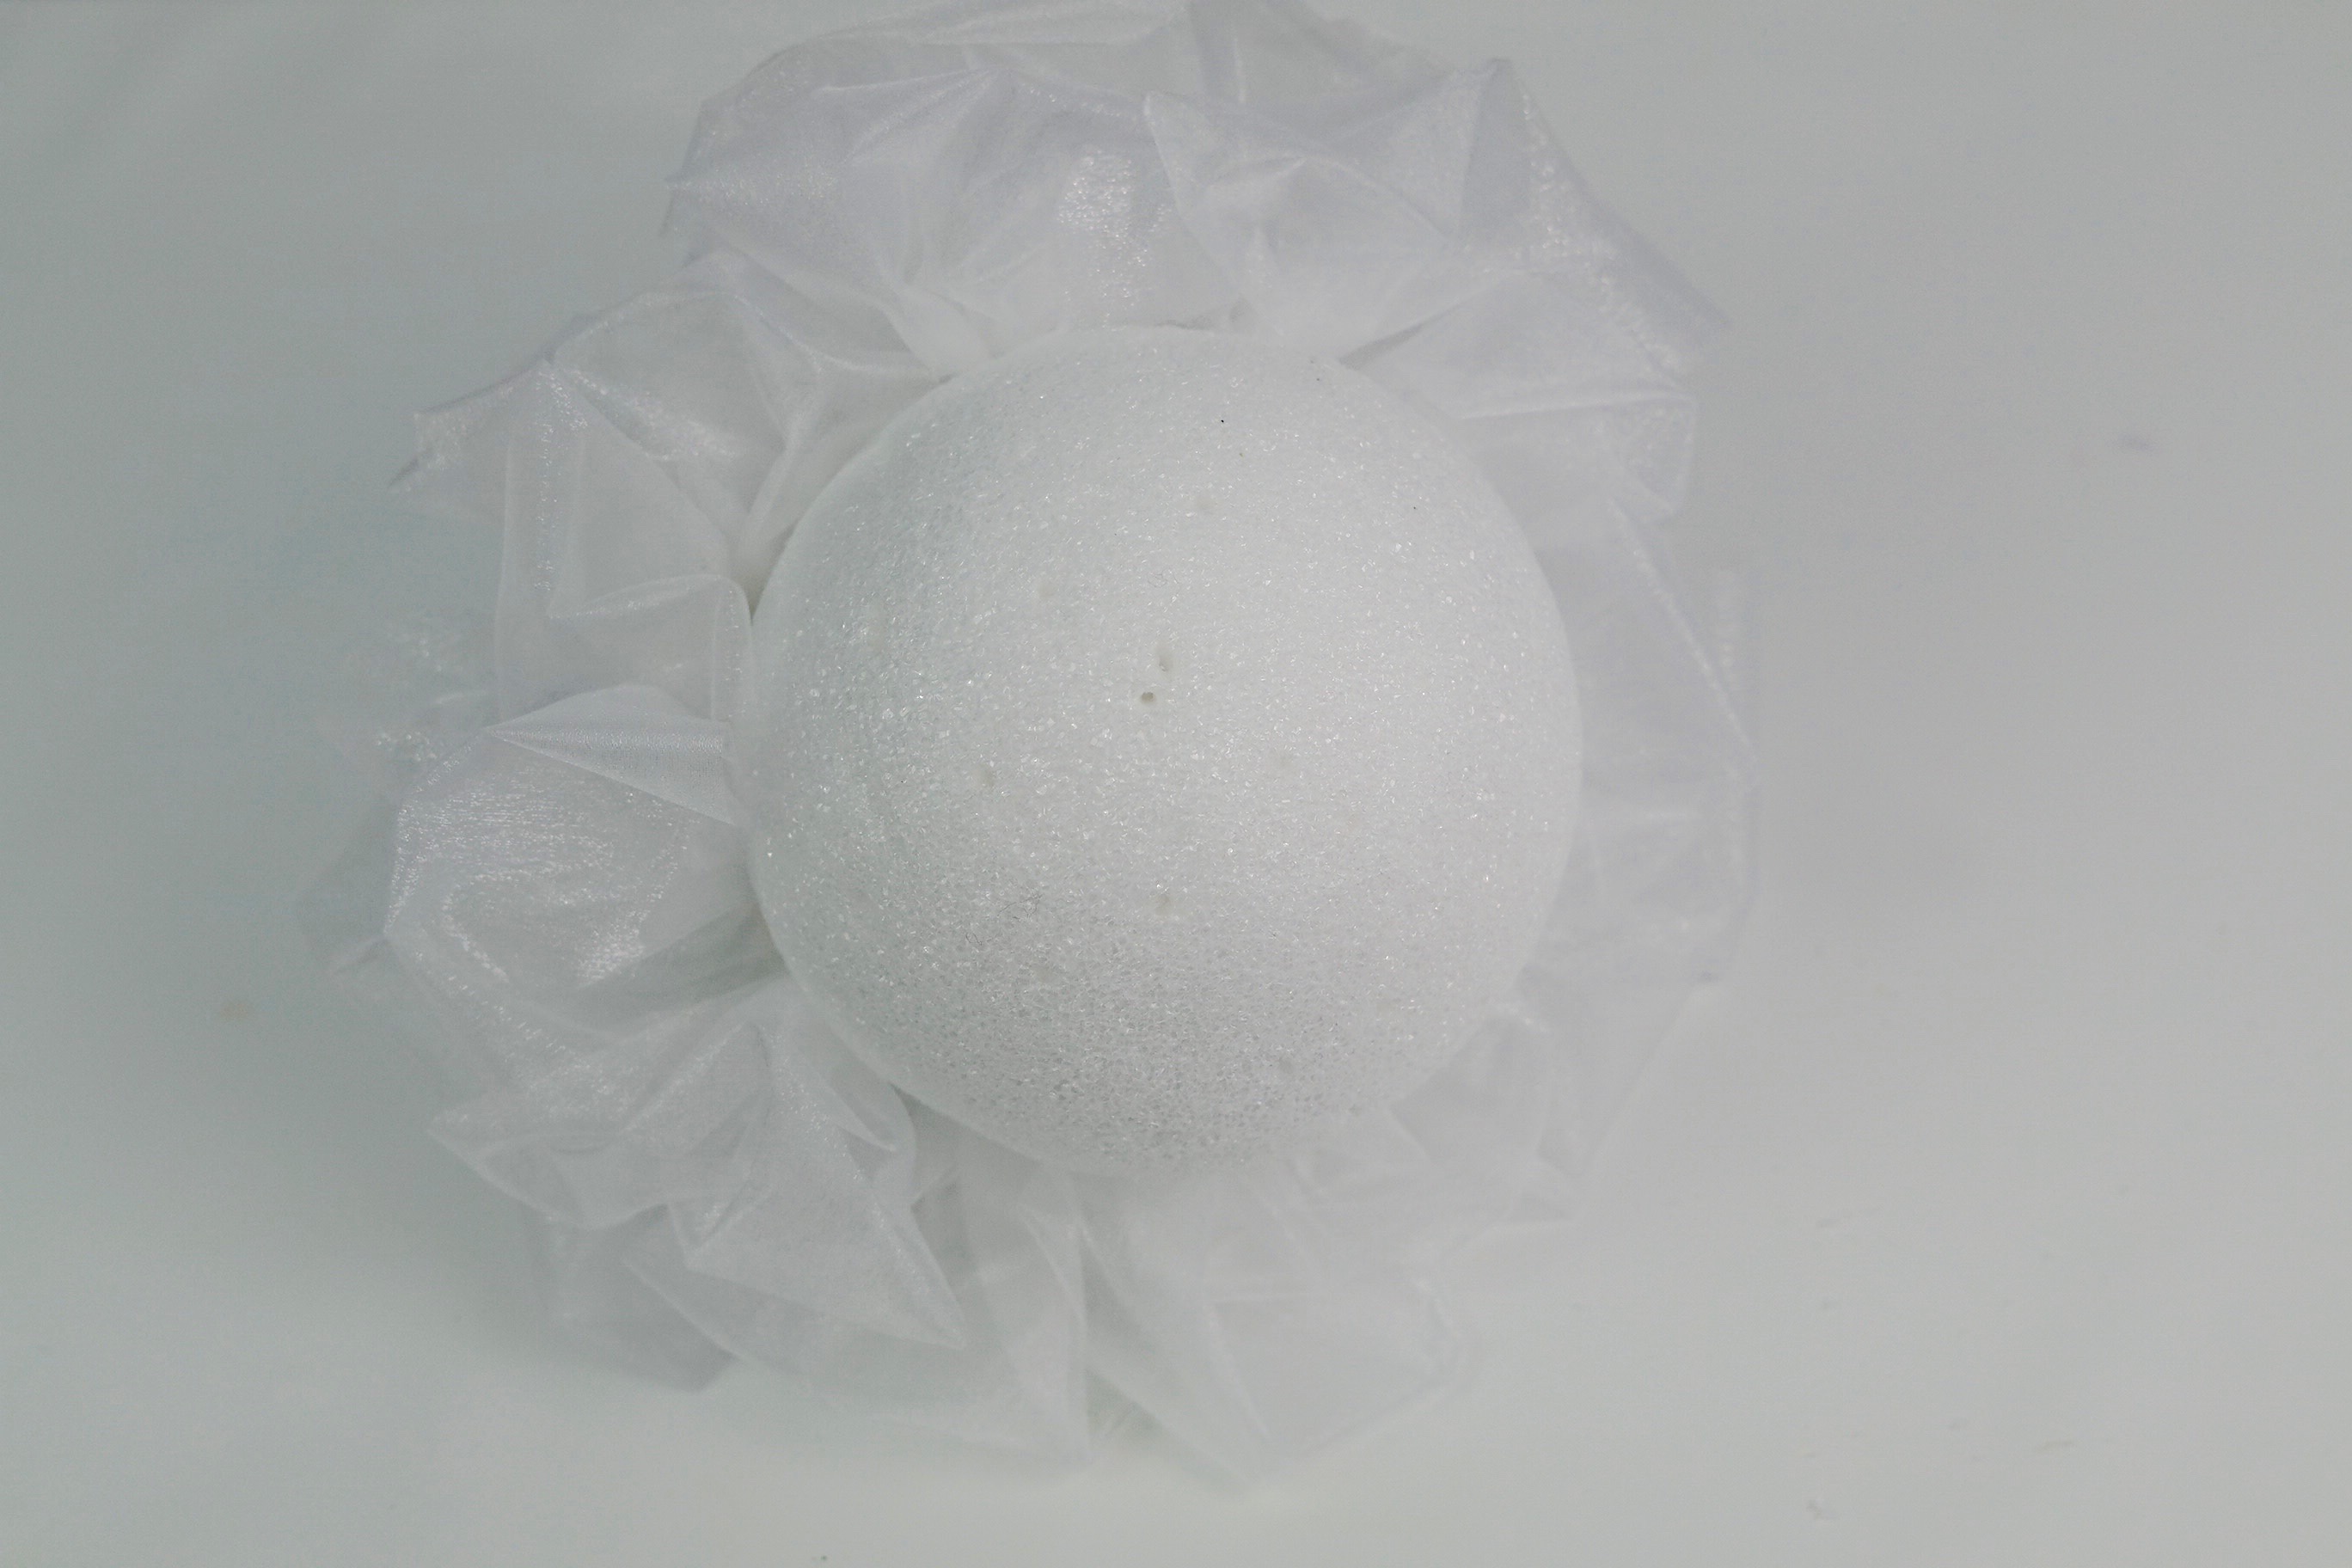
STEP 1: The first step is to cut out a center circle in your 5 inch styrofoam ball. Then add hot glue to your bridal bouquet holder and attach it to your styrofoam ball. Next attach your 1 1/2 inch statin ribbon to your bridal bouquet holder using hot glue.
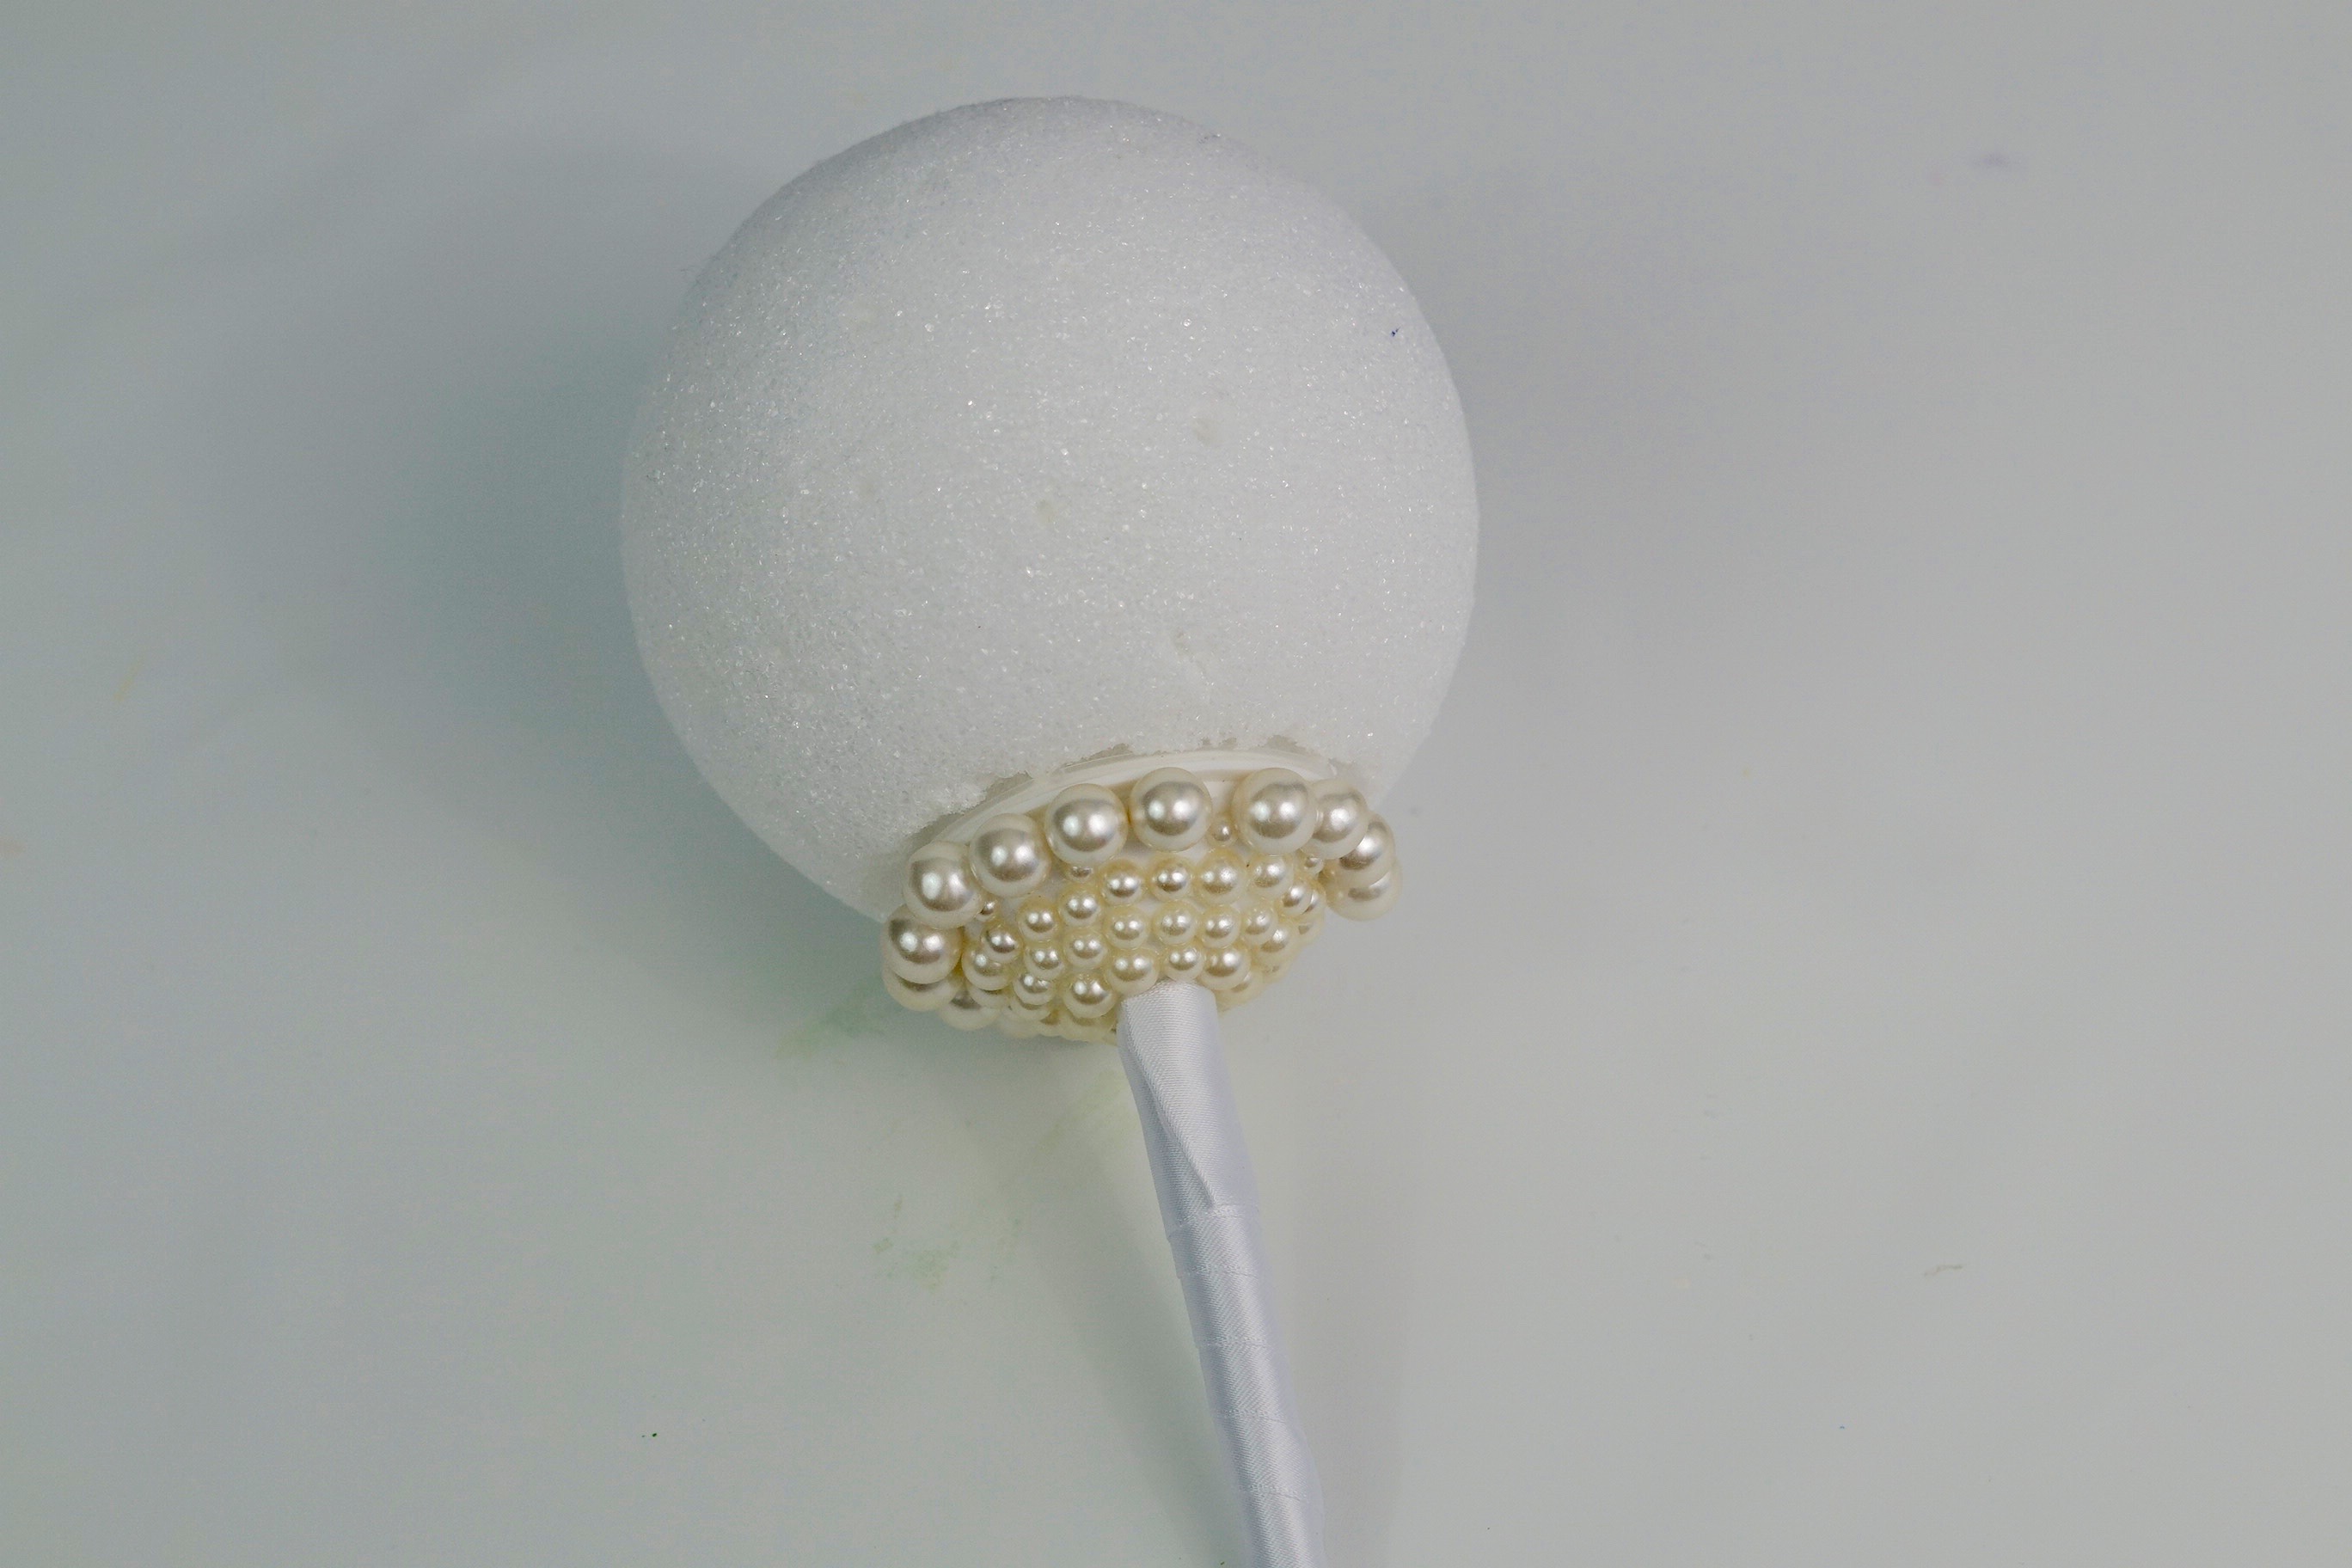
Embellish your bridal bouquet base
STEP 2: Apply E6000 to the base of your bridal bouquet holder and then add your pearl embellishment stickers to it. To finish it off add ivory pearl balls to the base.
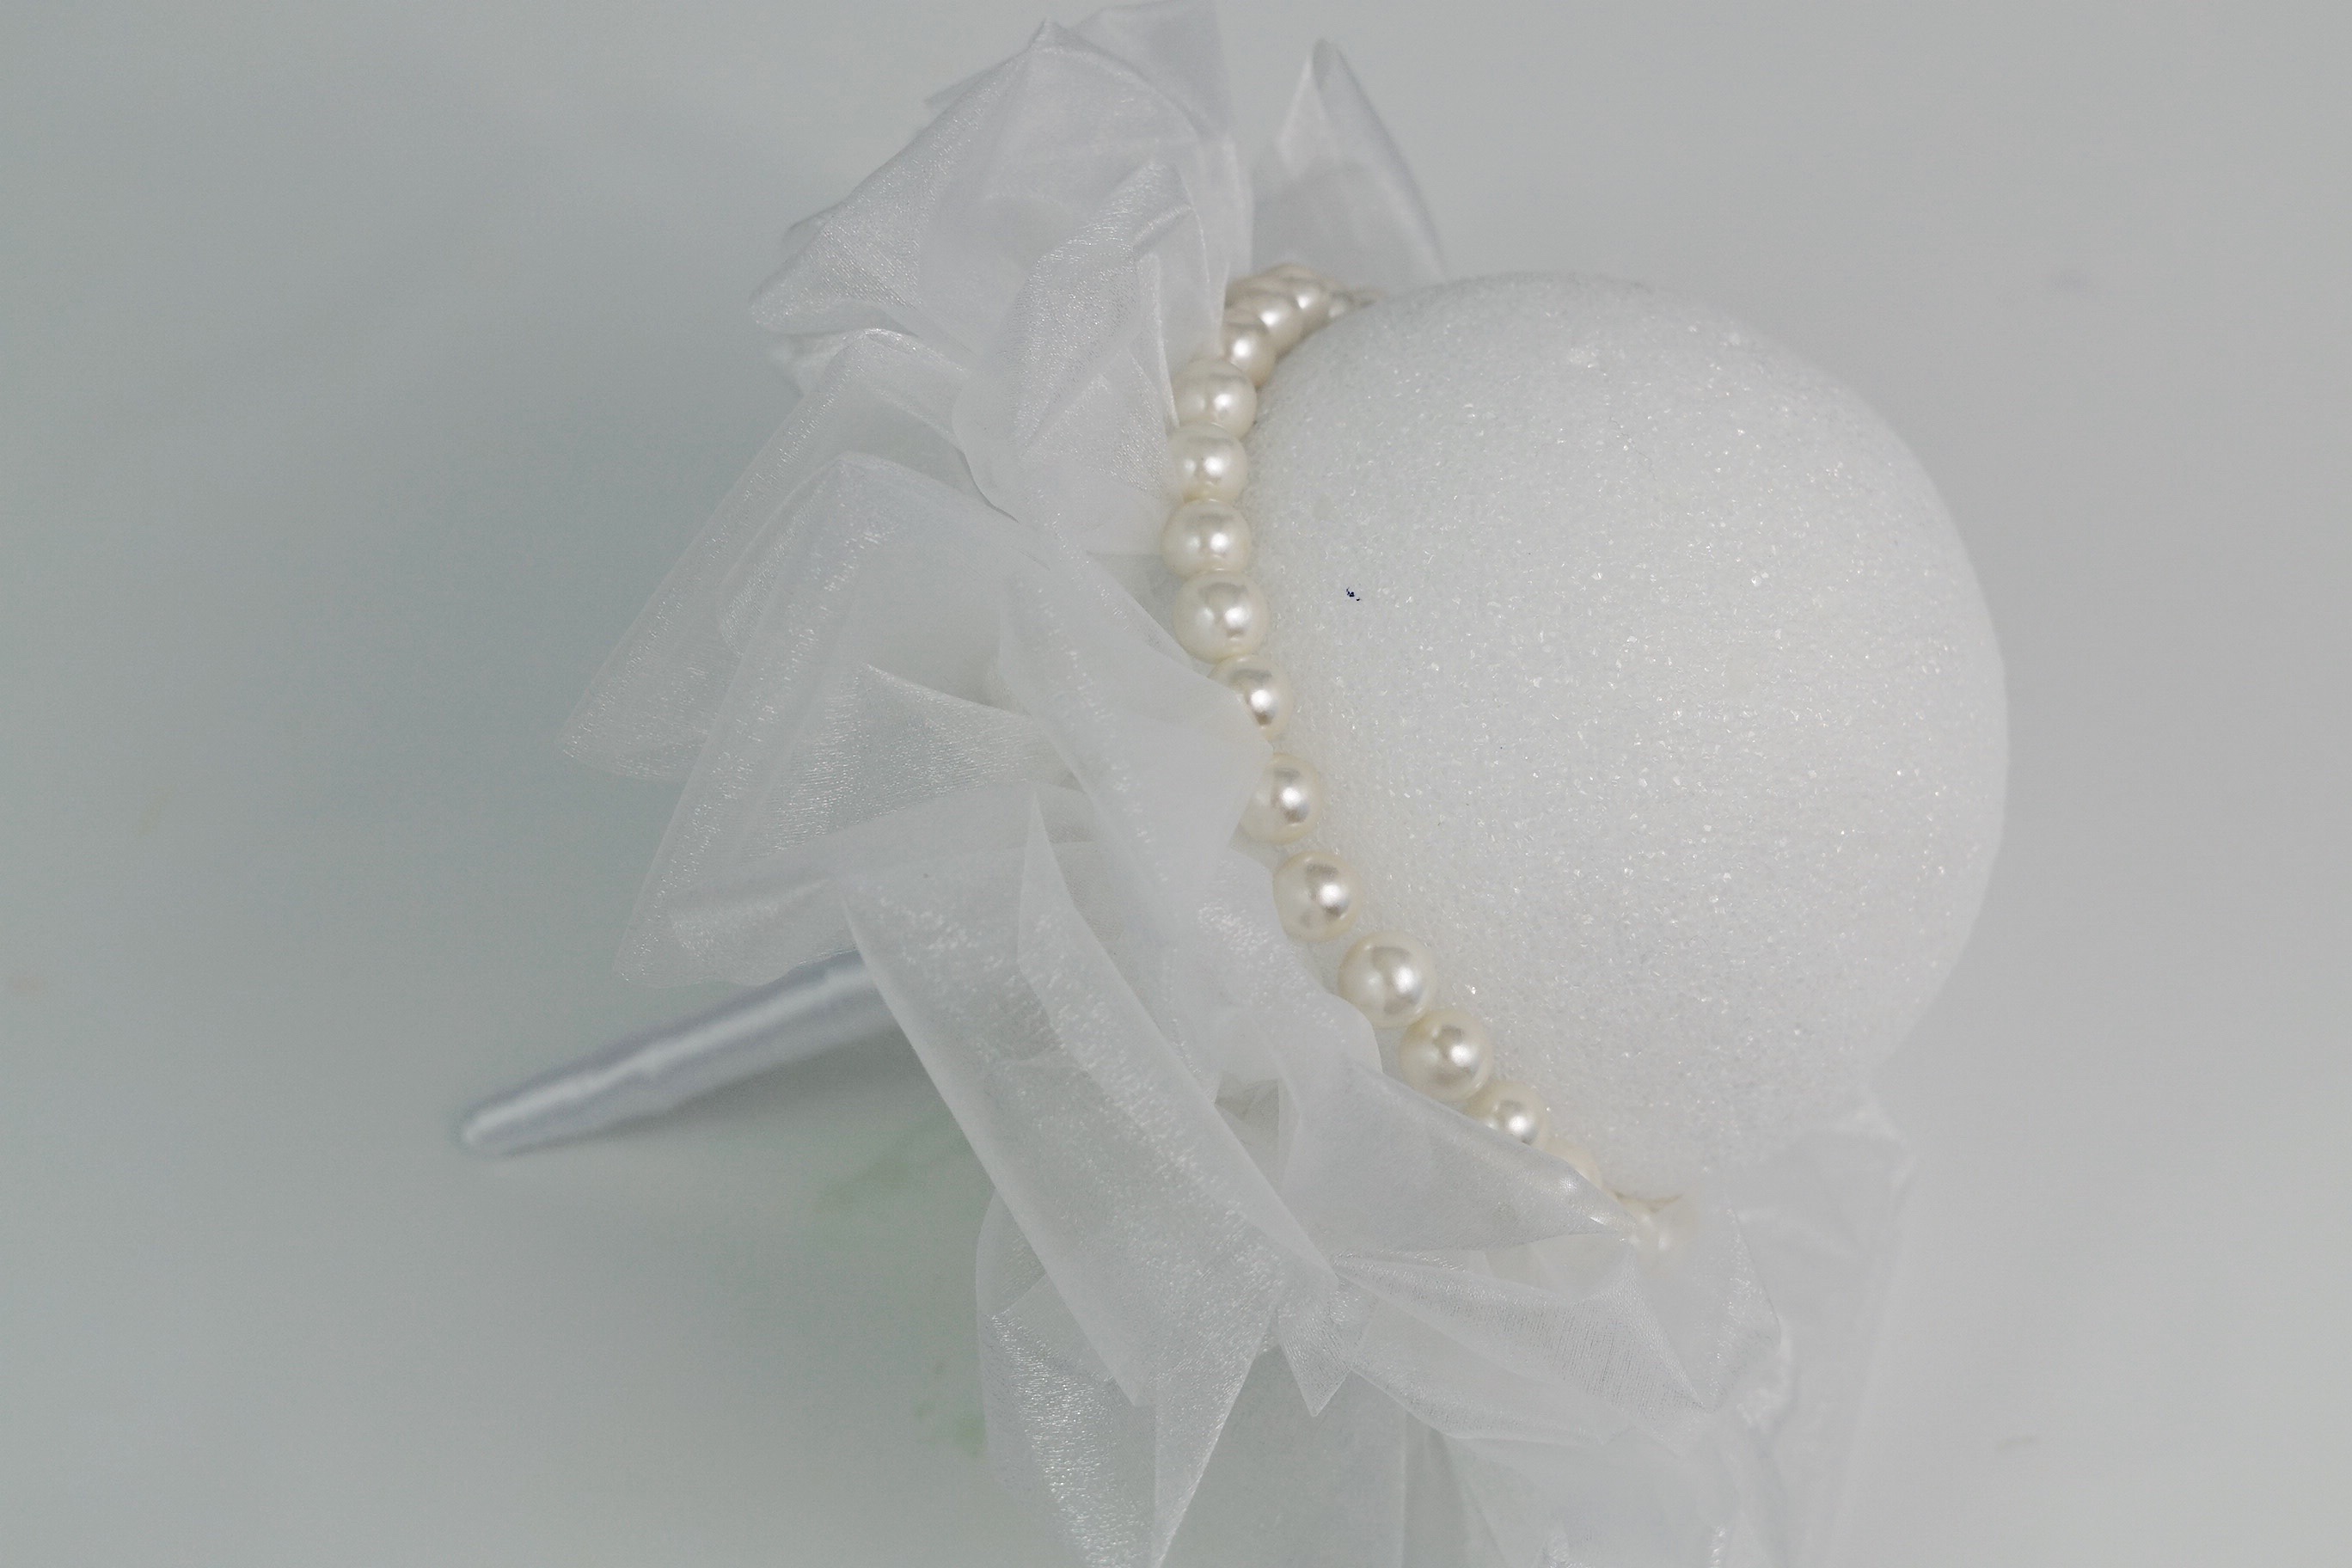
Add your organza ribbon
STEP 3: Cut a 5 to 6 inch strip of organza ribbon, fold it in half and then fold it like a fan. Next attach it to your foam ball with your floral pin.
Pull the ribbon down and fluff it out so it covers where the handle and the ball are attached. Continue this pattern all around the base. Use pearl balls to cover up the floral pins as well as the space in between.
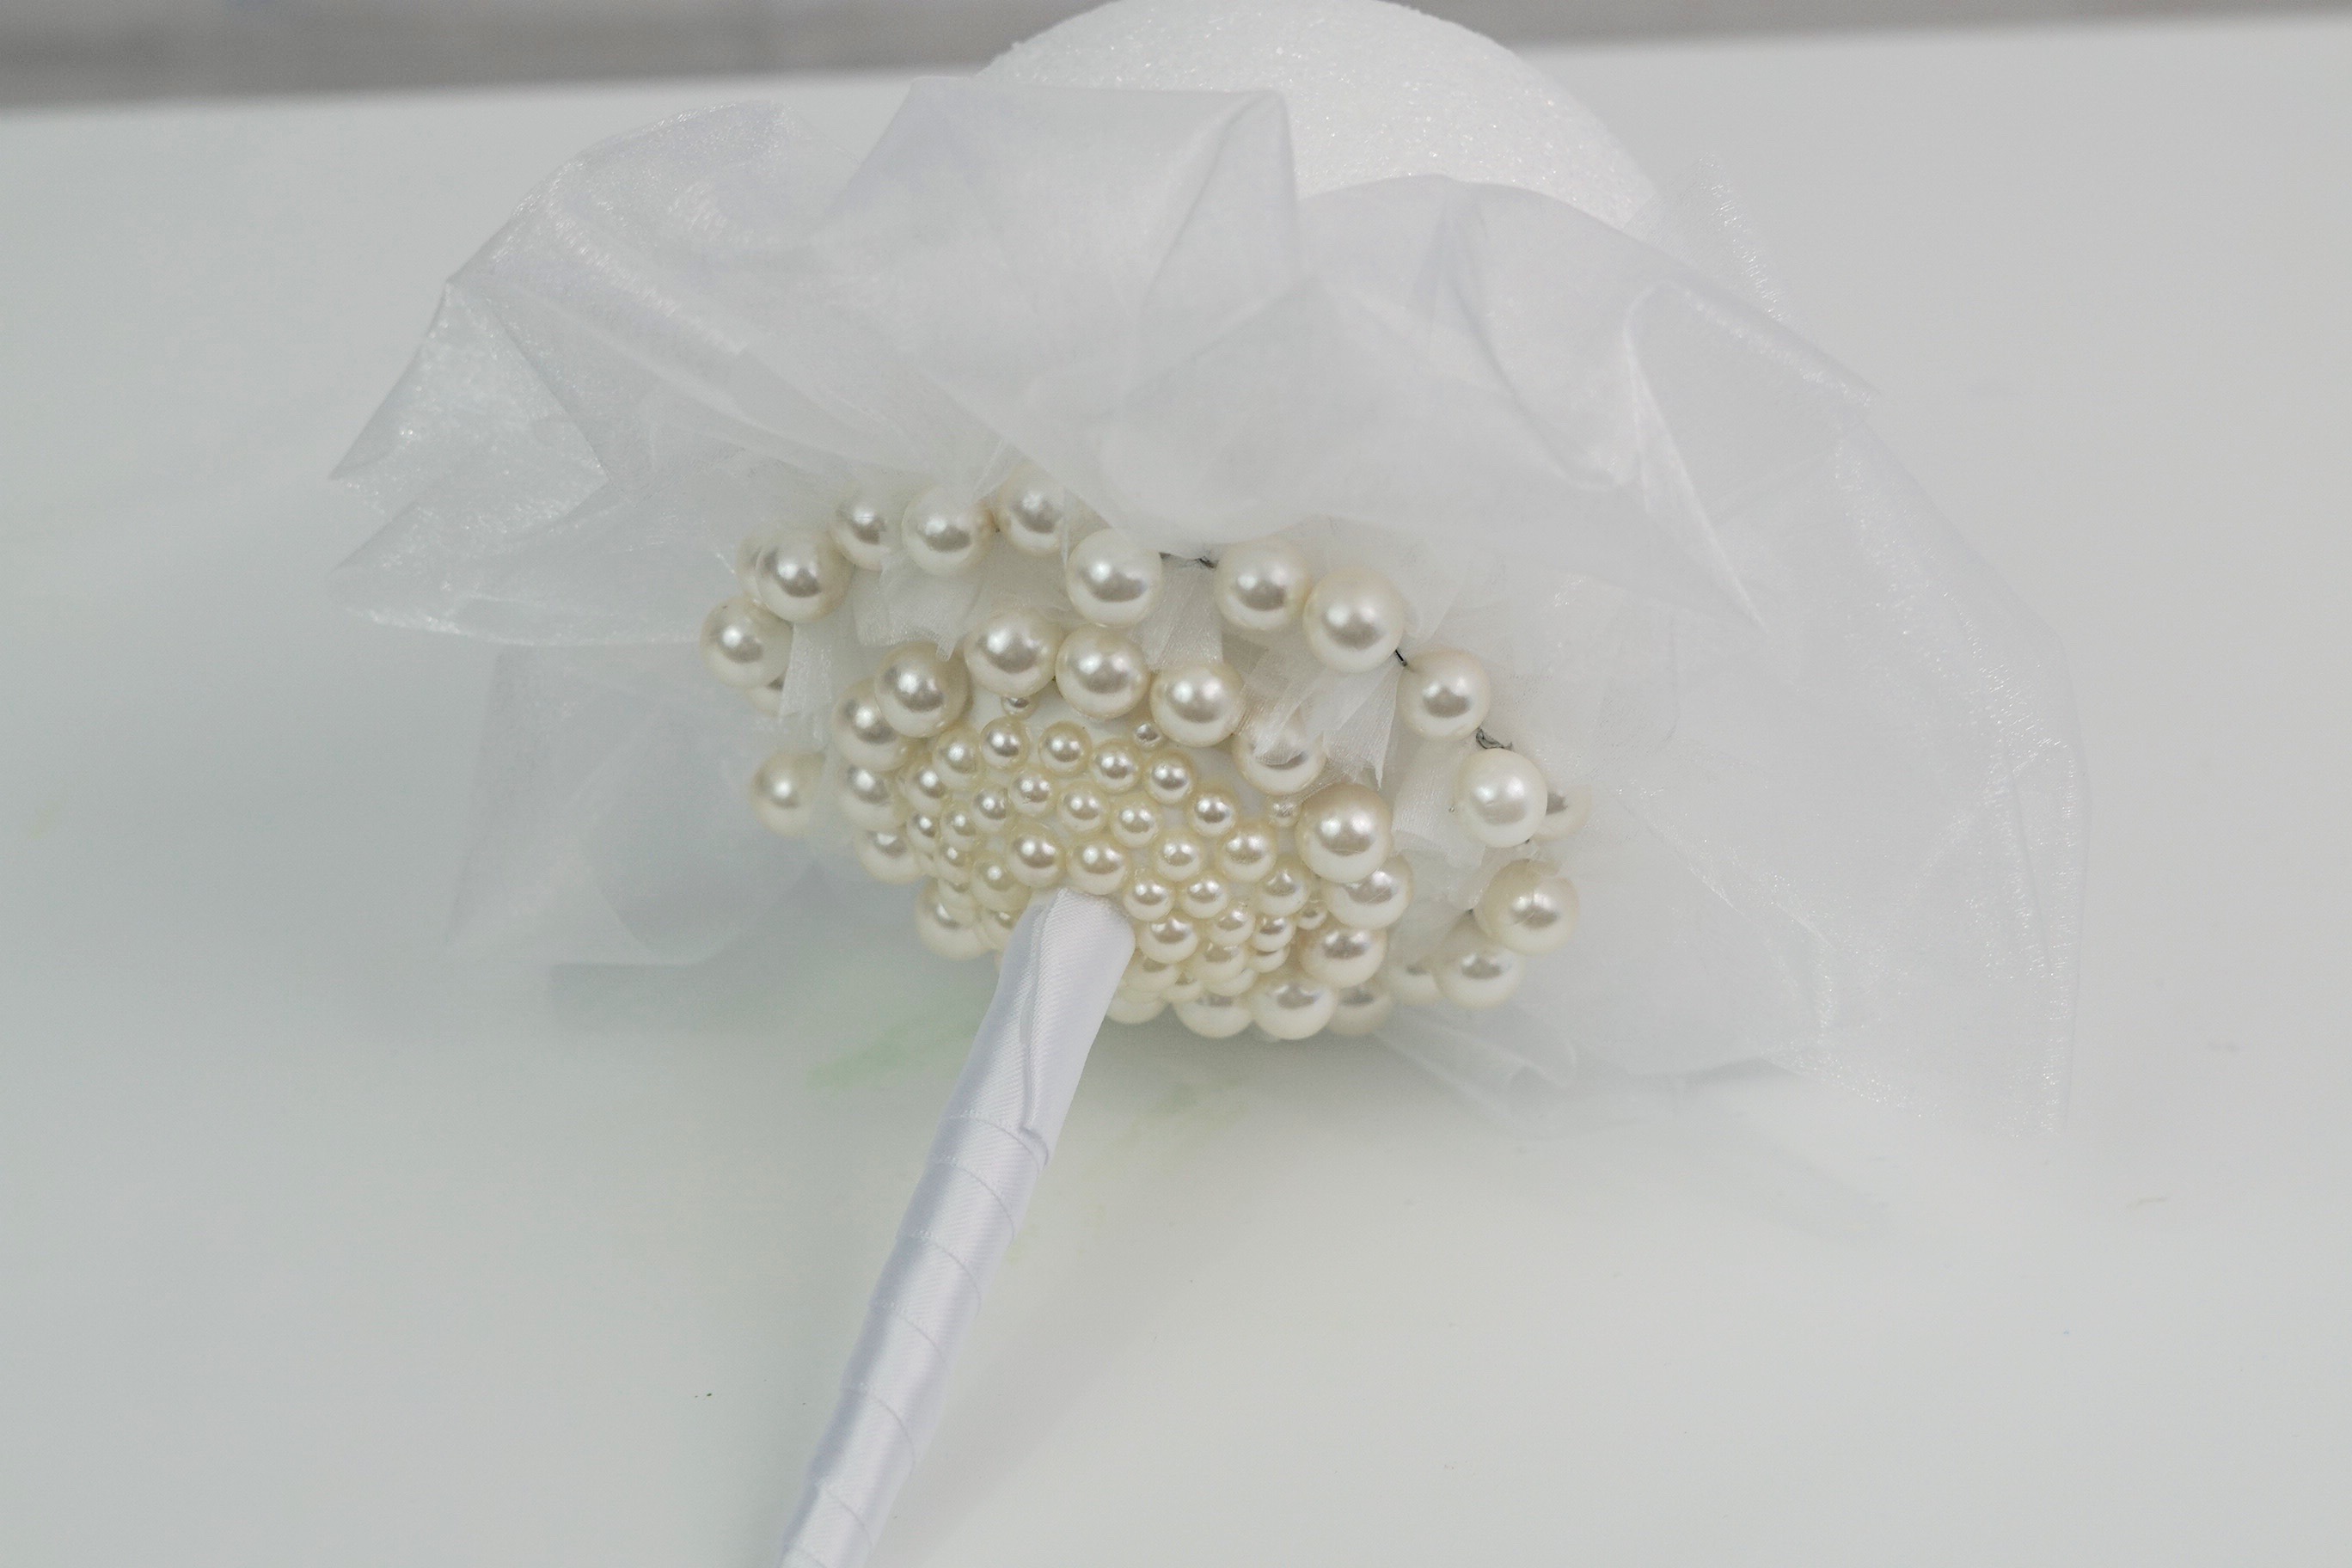
STEP 4: Attach a second row of organza using 4 inch strips of ribbon completing the same steps that were completed in Step 3.
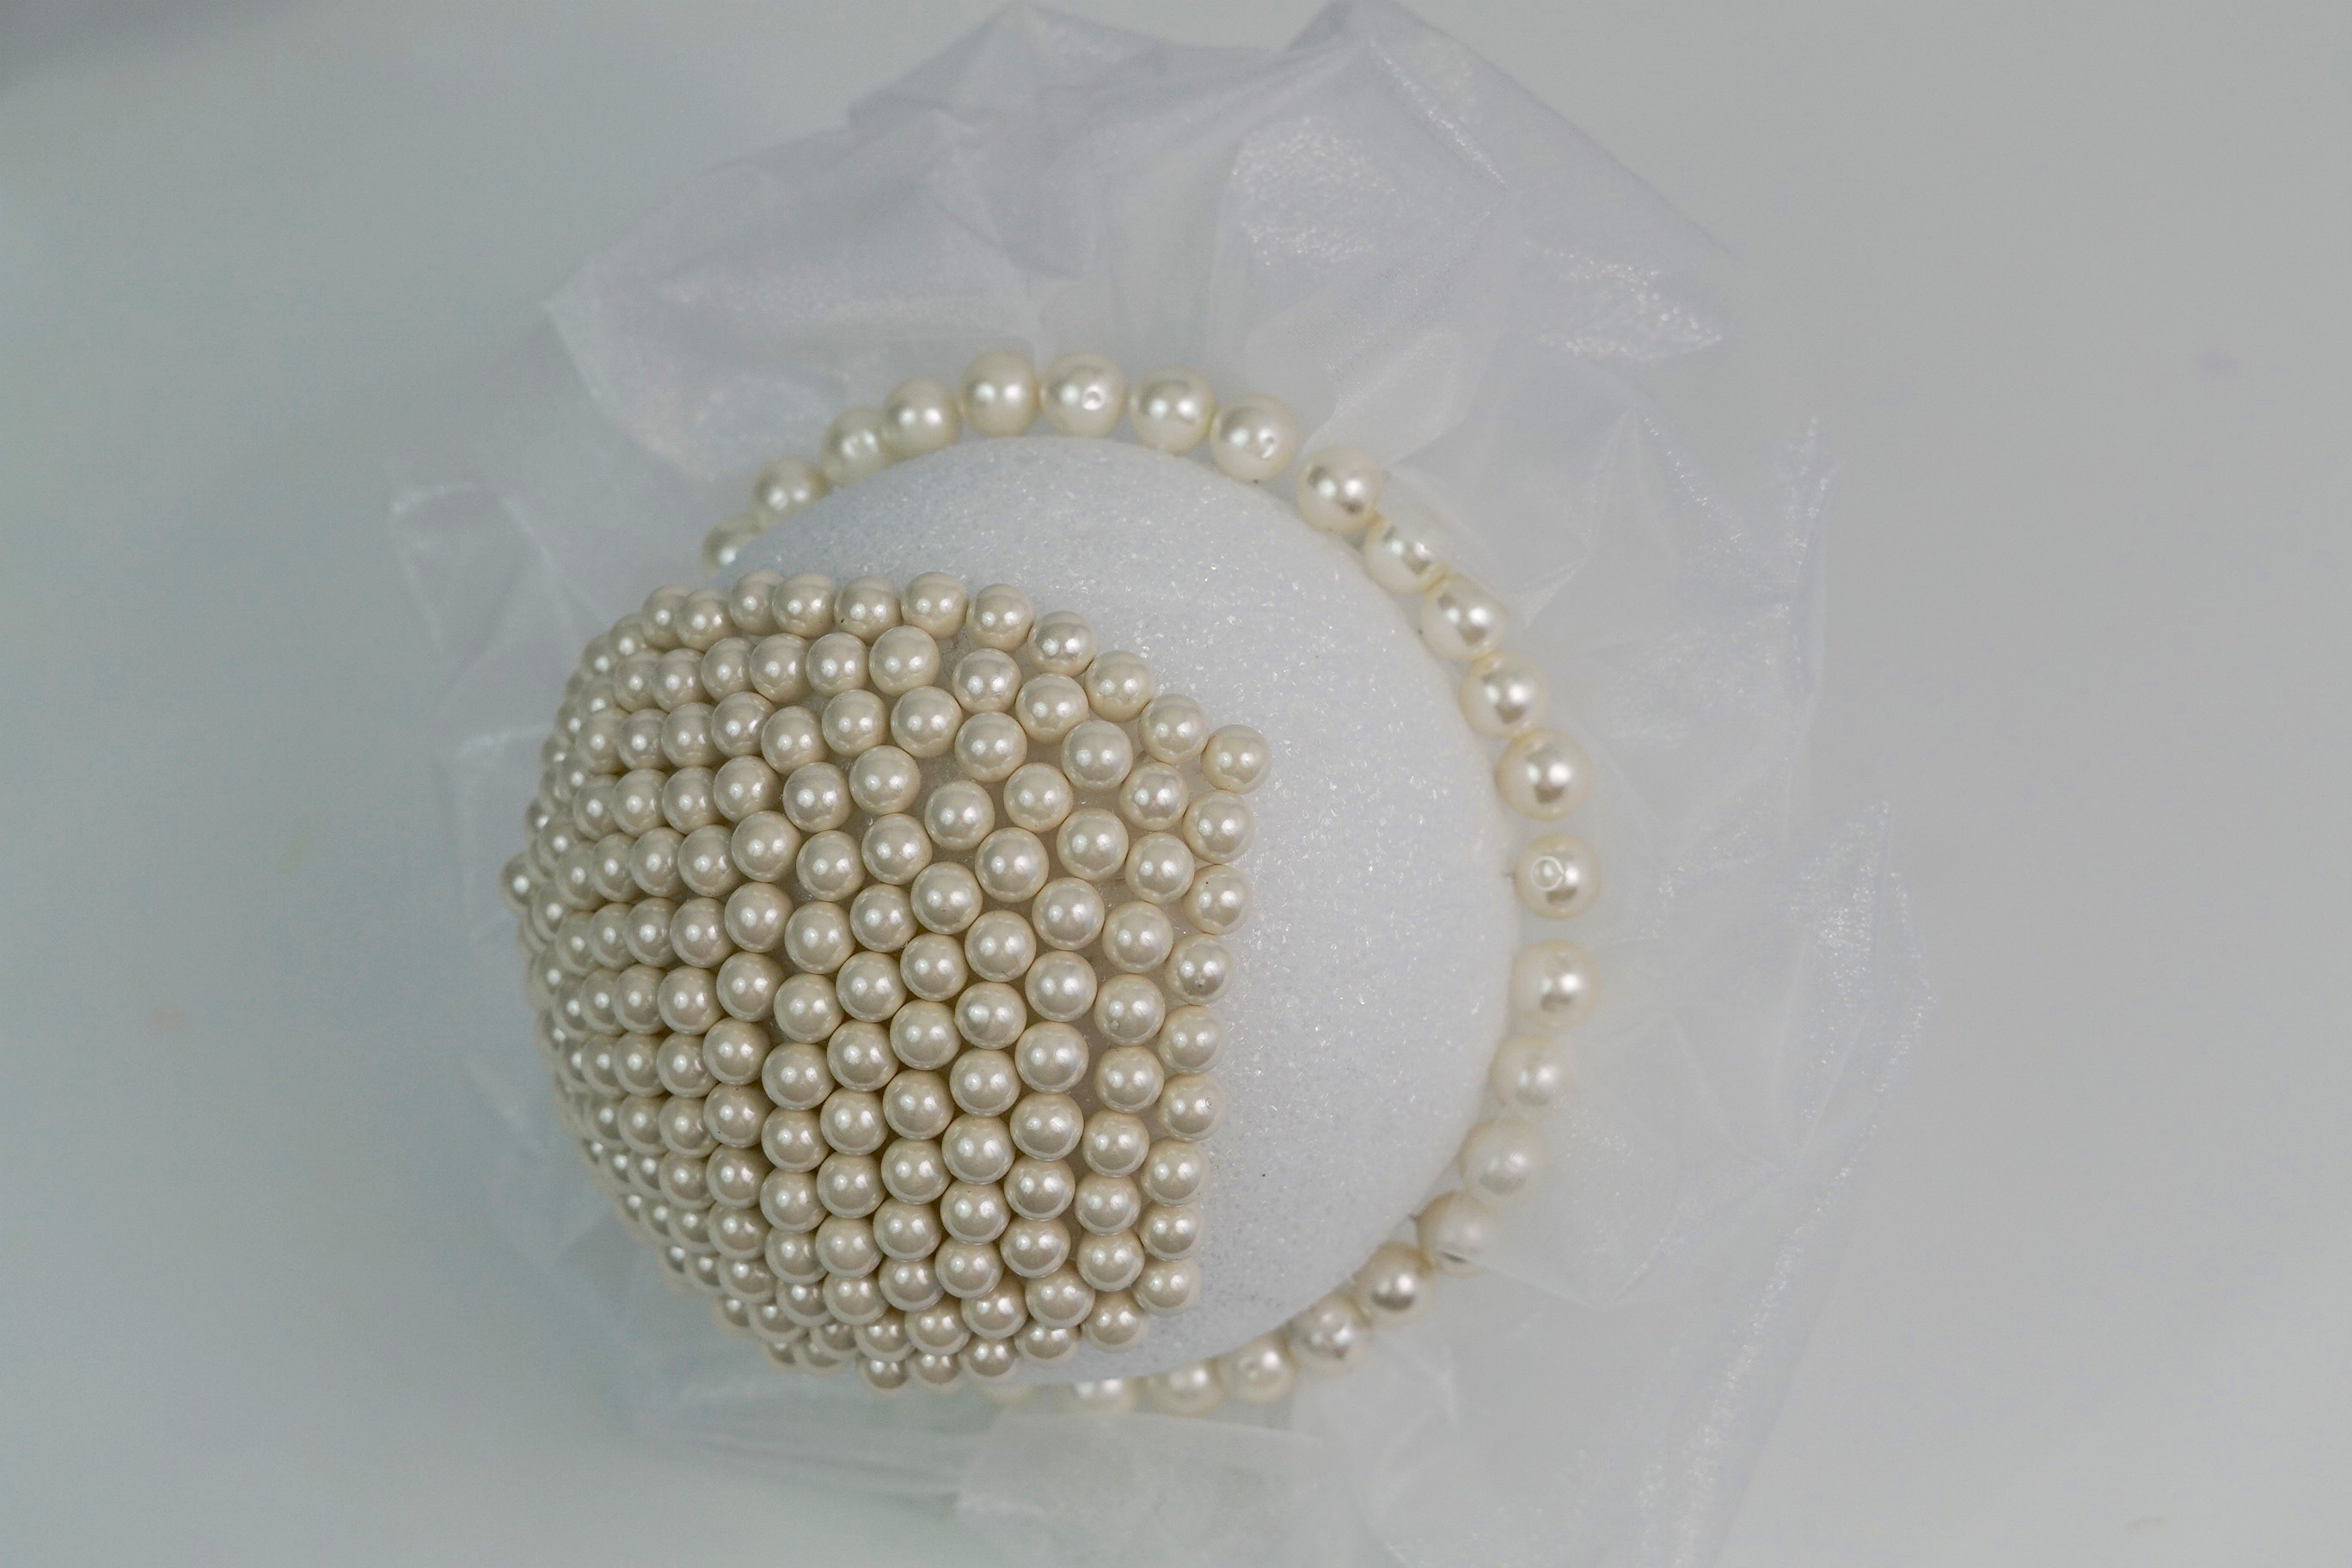
Cover your foam ball with ivory pearls
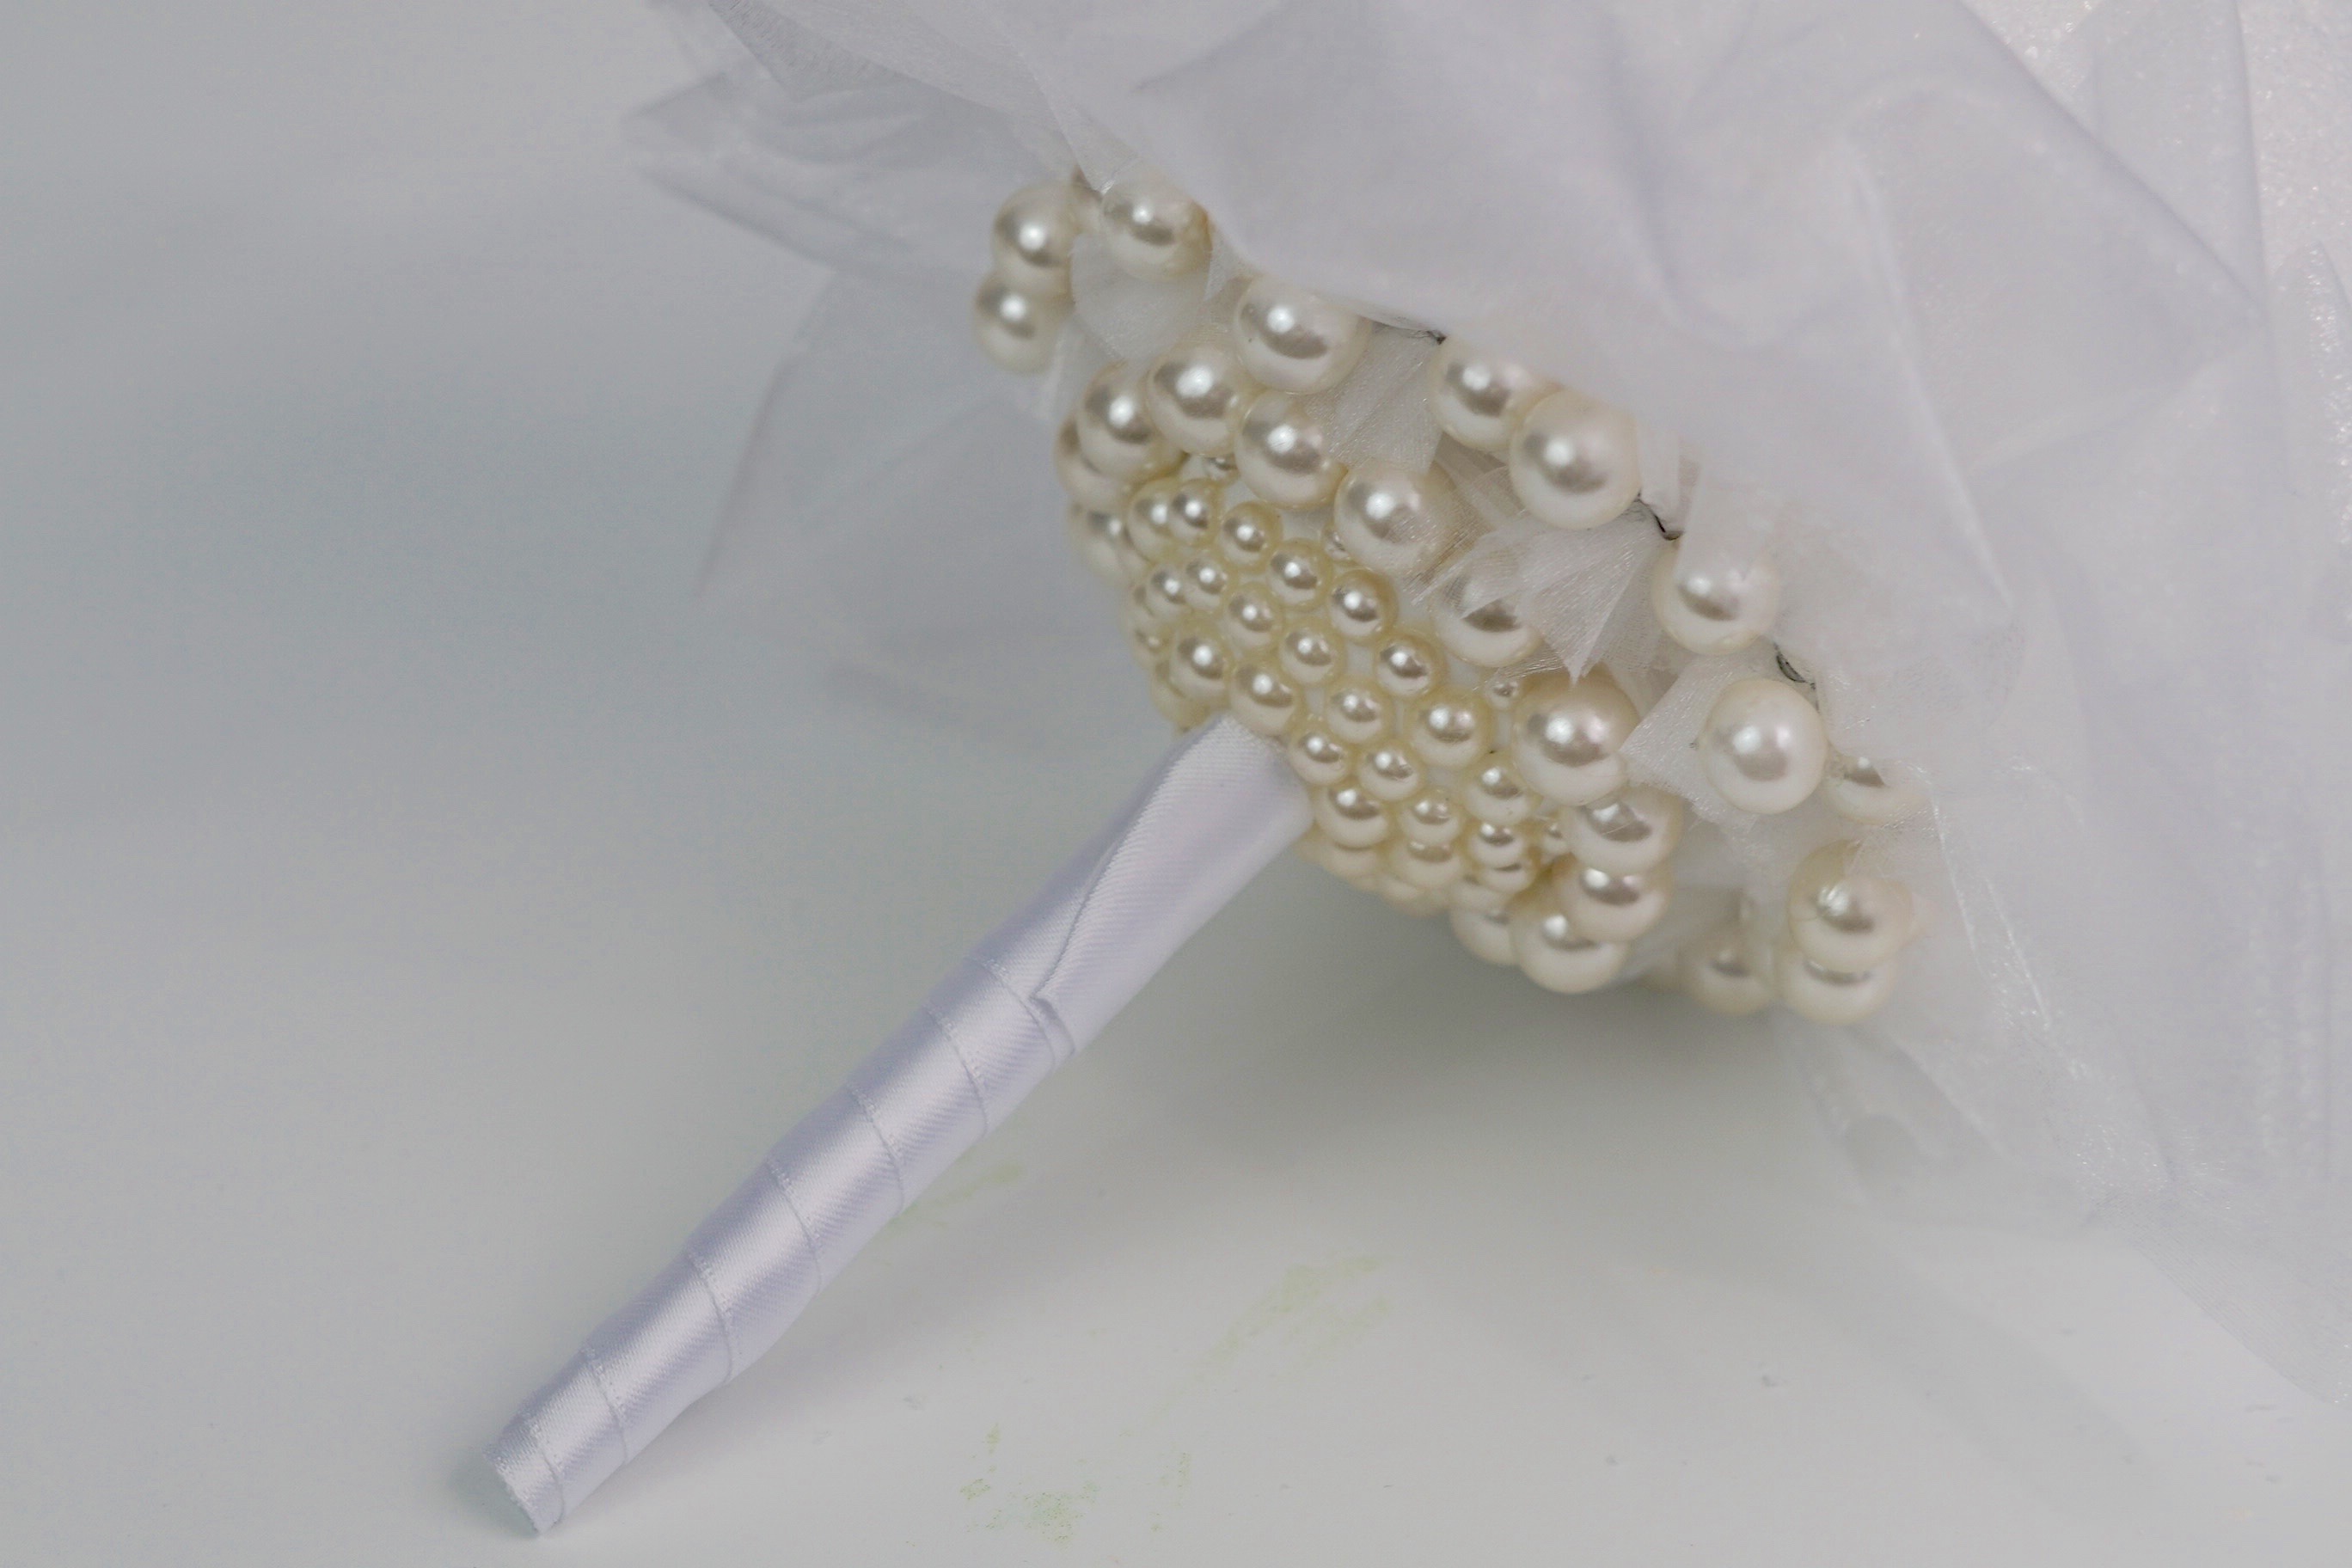
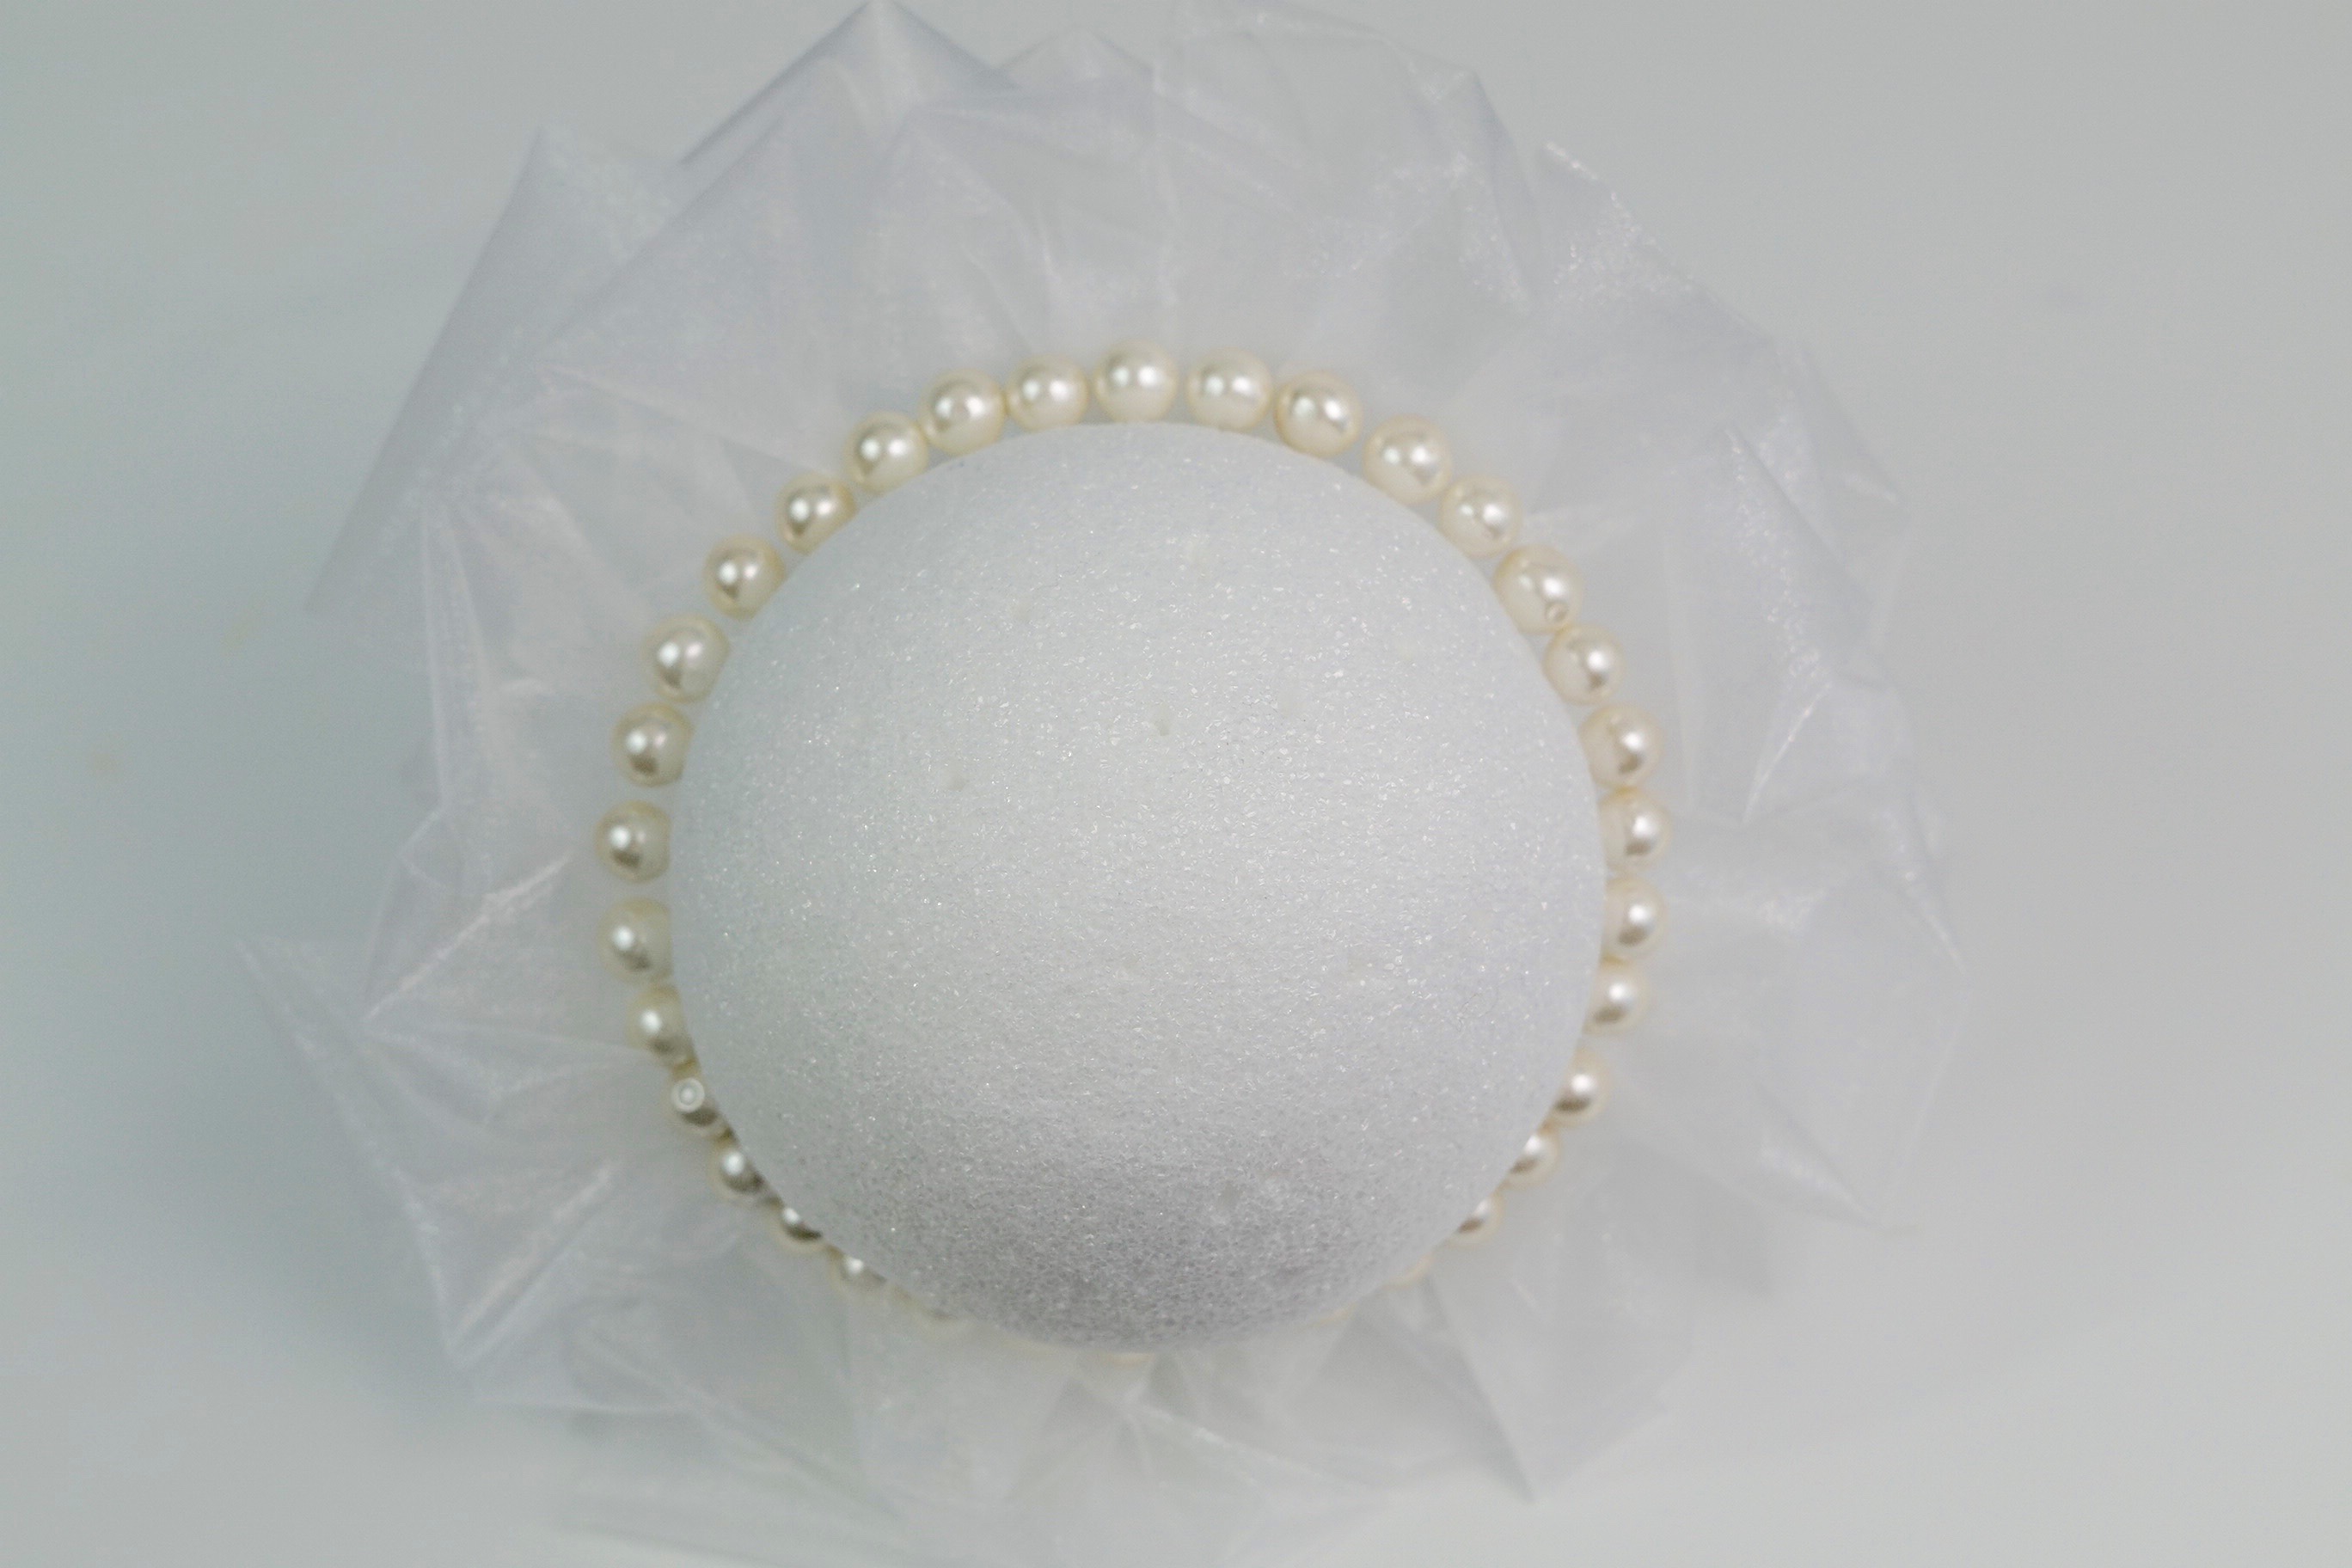
STEP 5: Create a border for your pearl embellishment by adding your pearl balls around your foam ball above your organza ribbon. Now take your ivory berry cluster stem apart, keeping the stem about a 1/2 an inch in length.
Apply E6000 to the ivory pearl stem and then insert it into your foam ball, being sure to start at the center of your foam ball. Continue this step until your entire foam ball is covered.
Let’s add some bling to our bridal bouquet
STEP 6: Take a pearl button and attach 22 inch gauge floral wire to your button using hot glue. Cut the wire down with wire cutters prior to attaching.
THE FINAL STEP!
STEP 7: Use the pin part of your brooch and insert your brooch into your foam ball. Then use the same floral wire to secure your brooch to your foam ball. Attach the remaining pearl button embellishments to your foam ball!
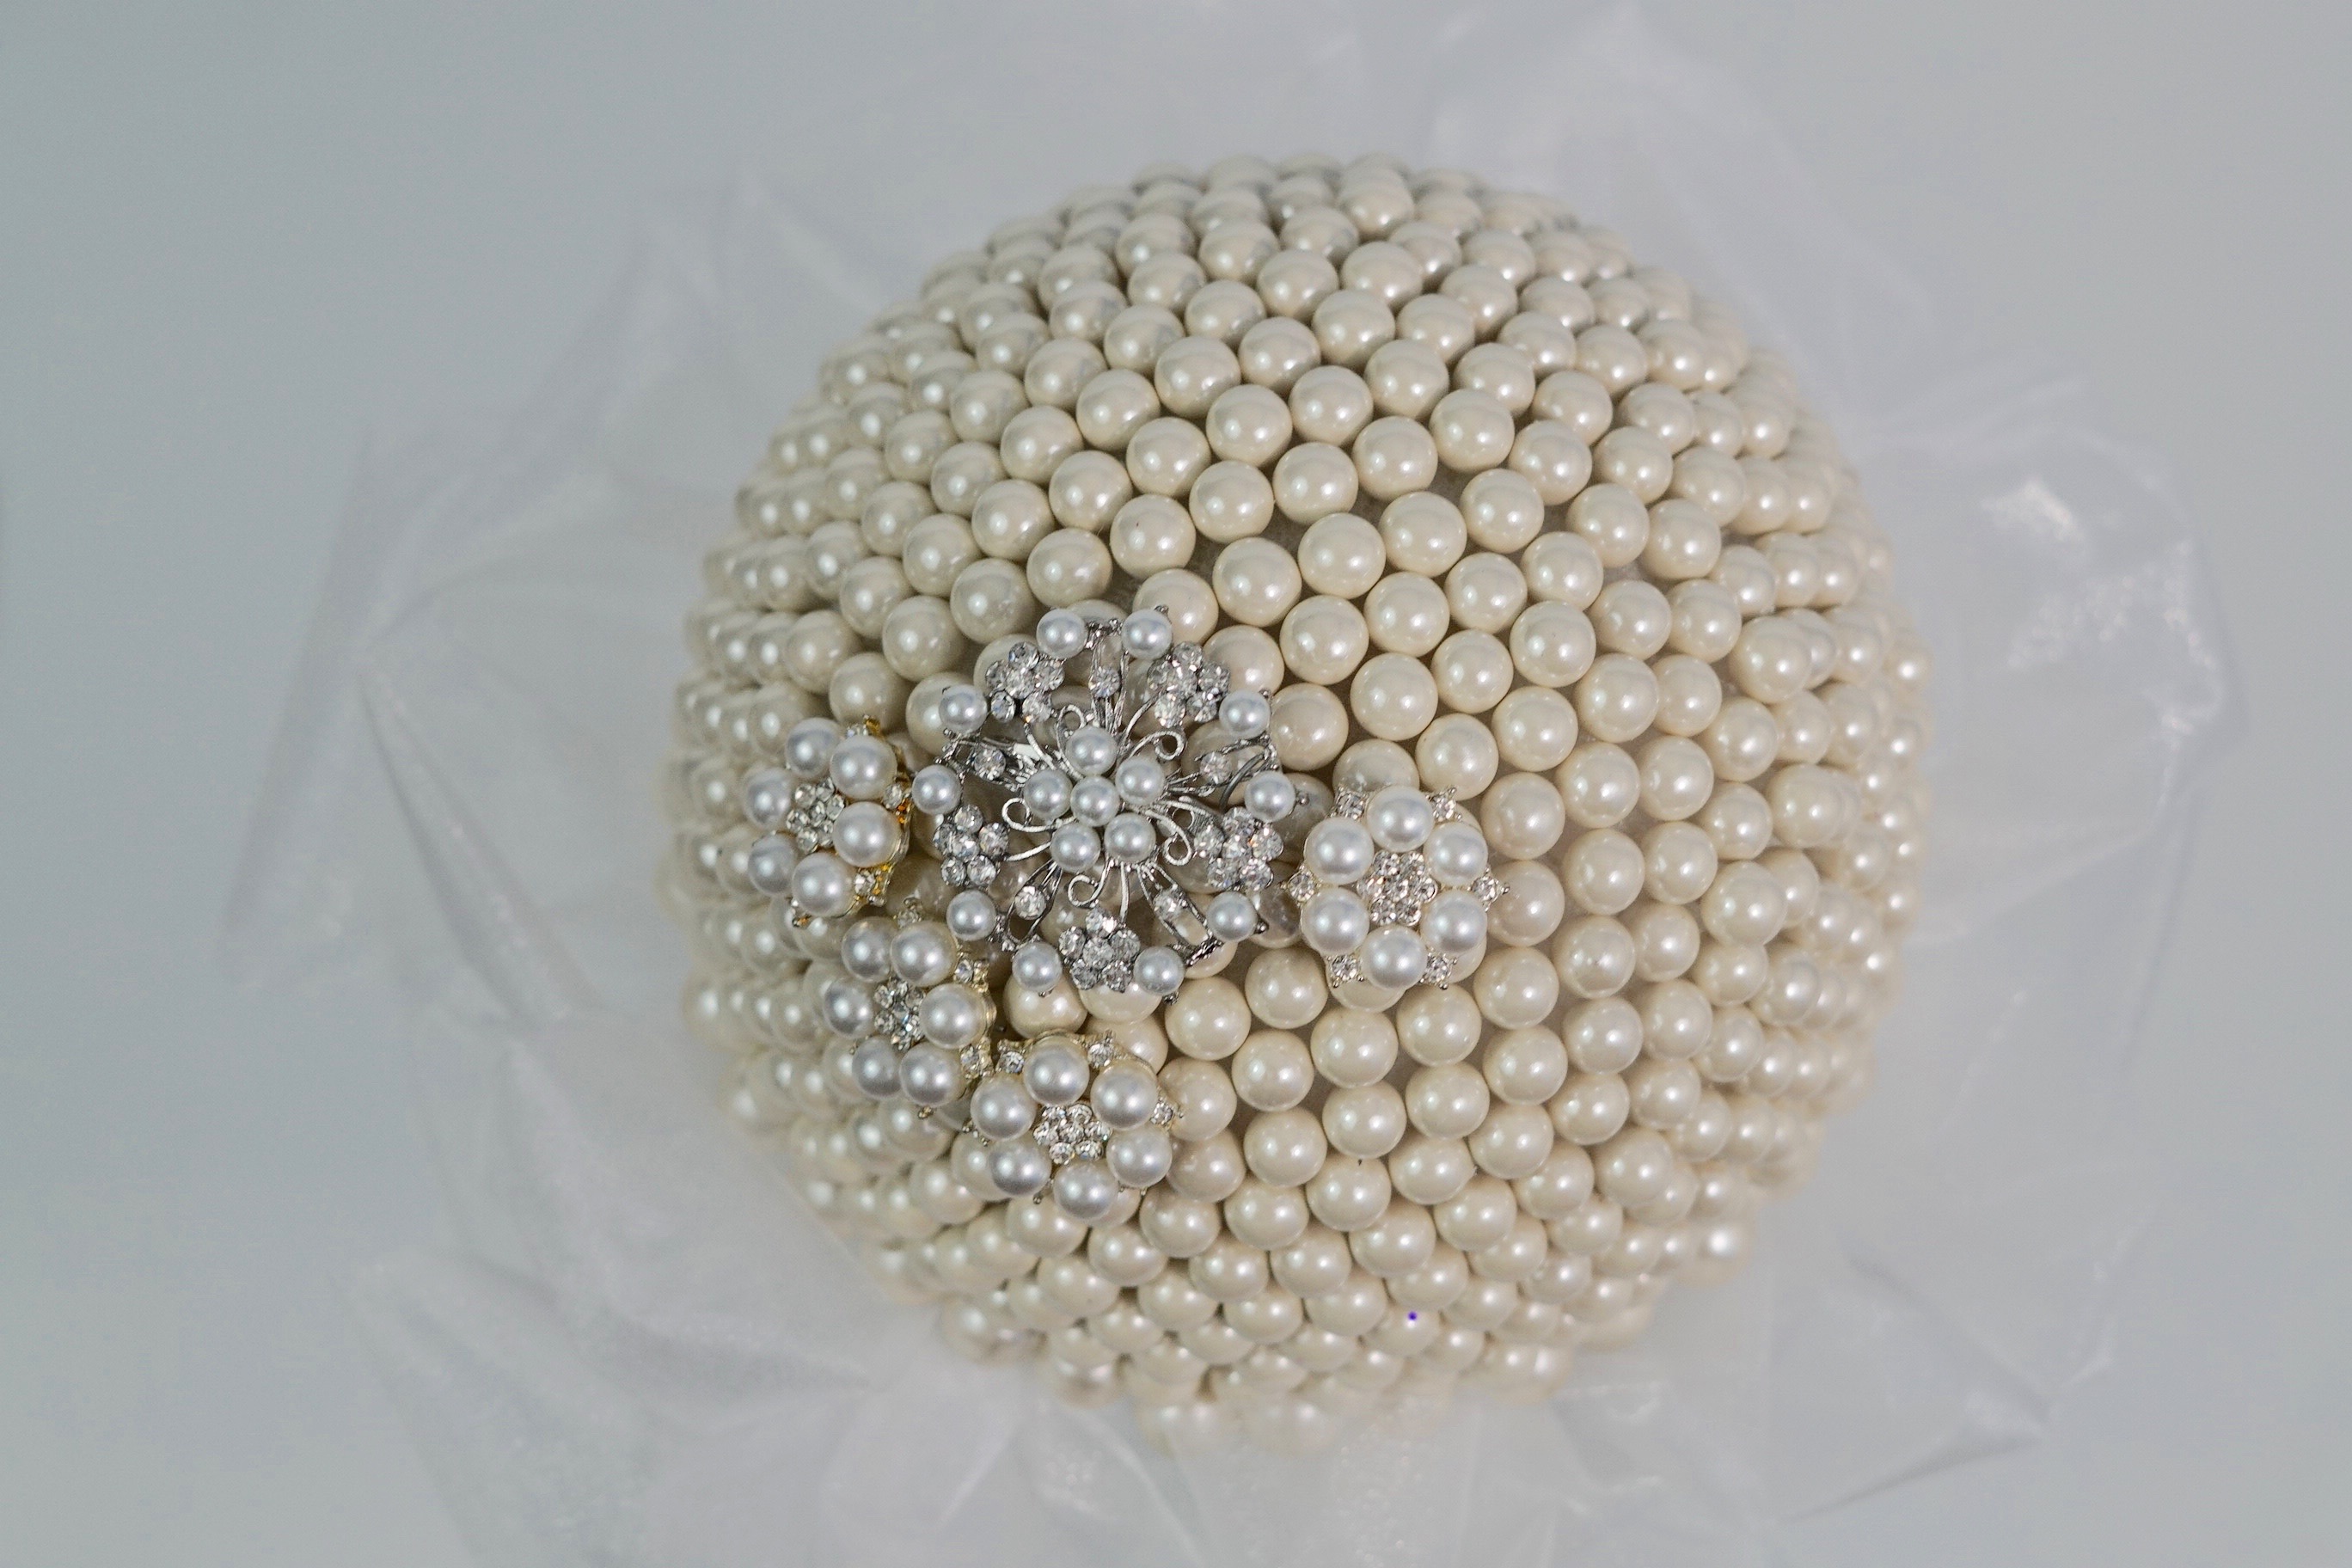
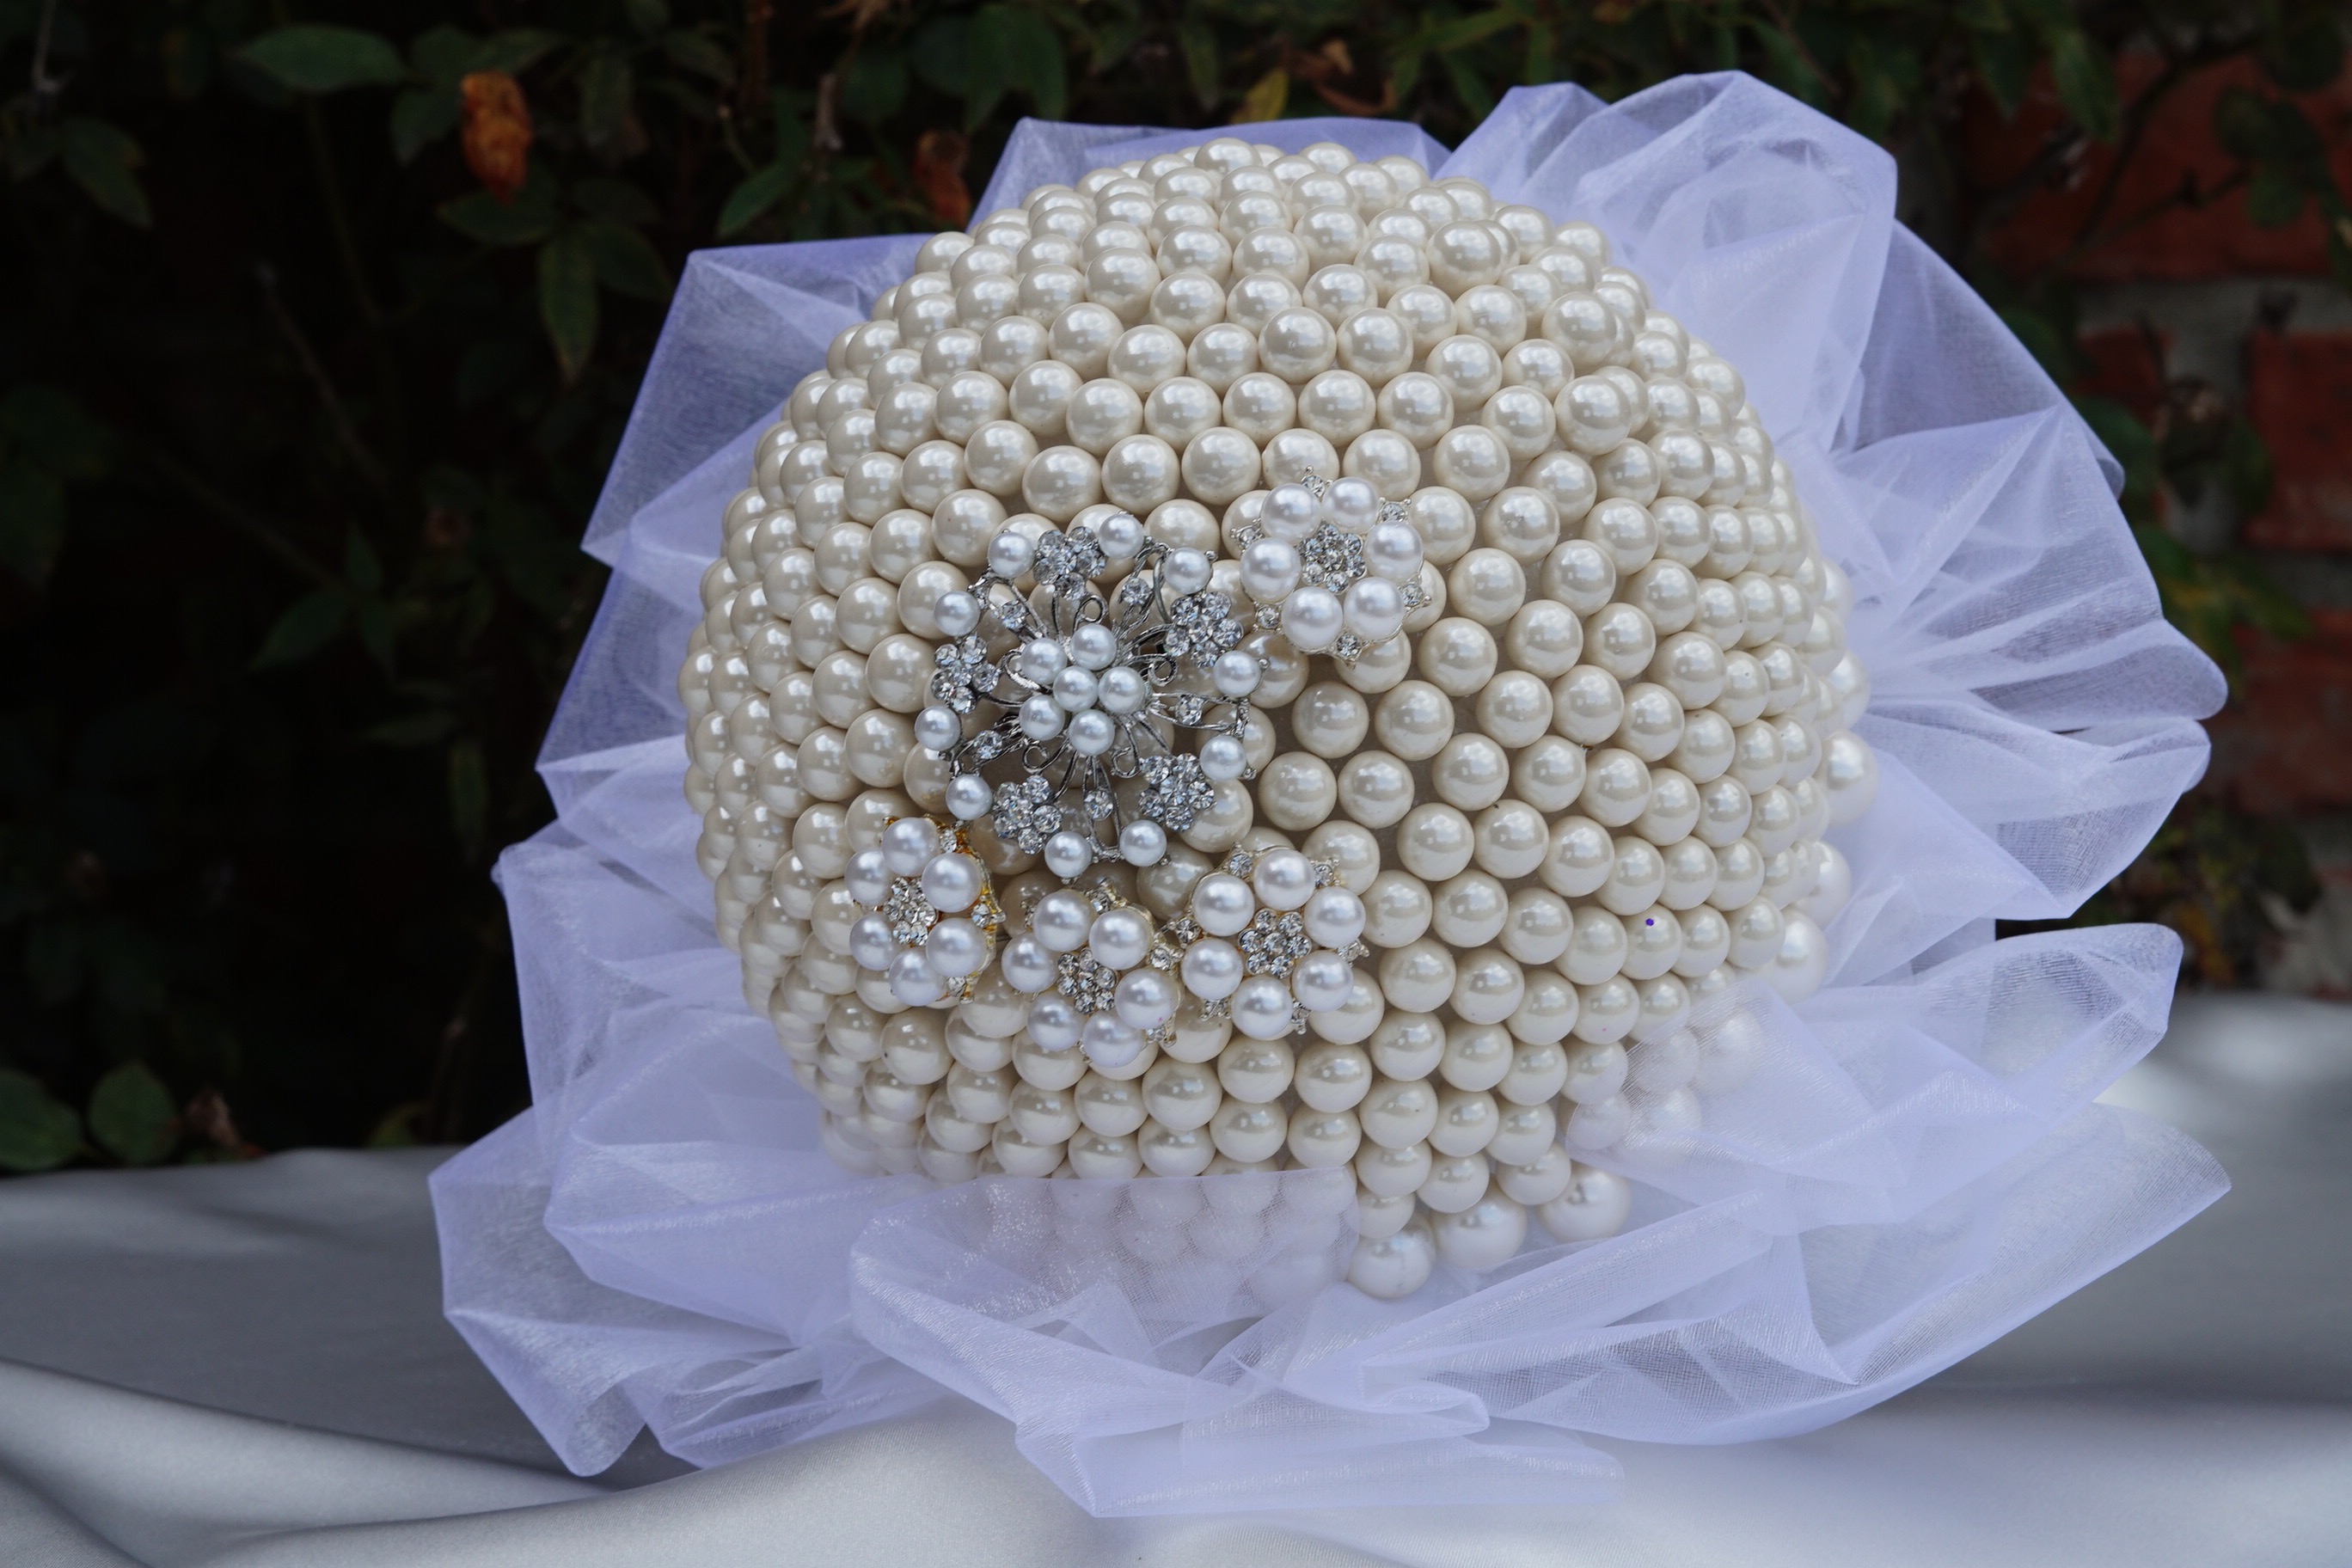
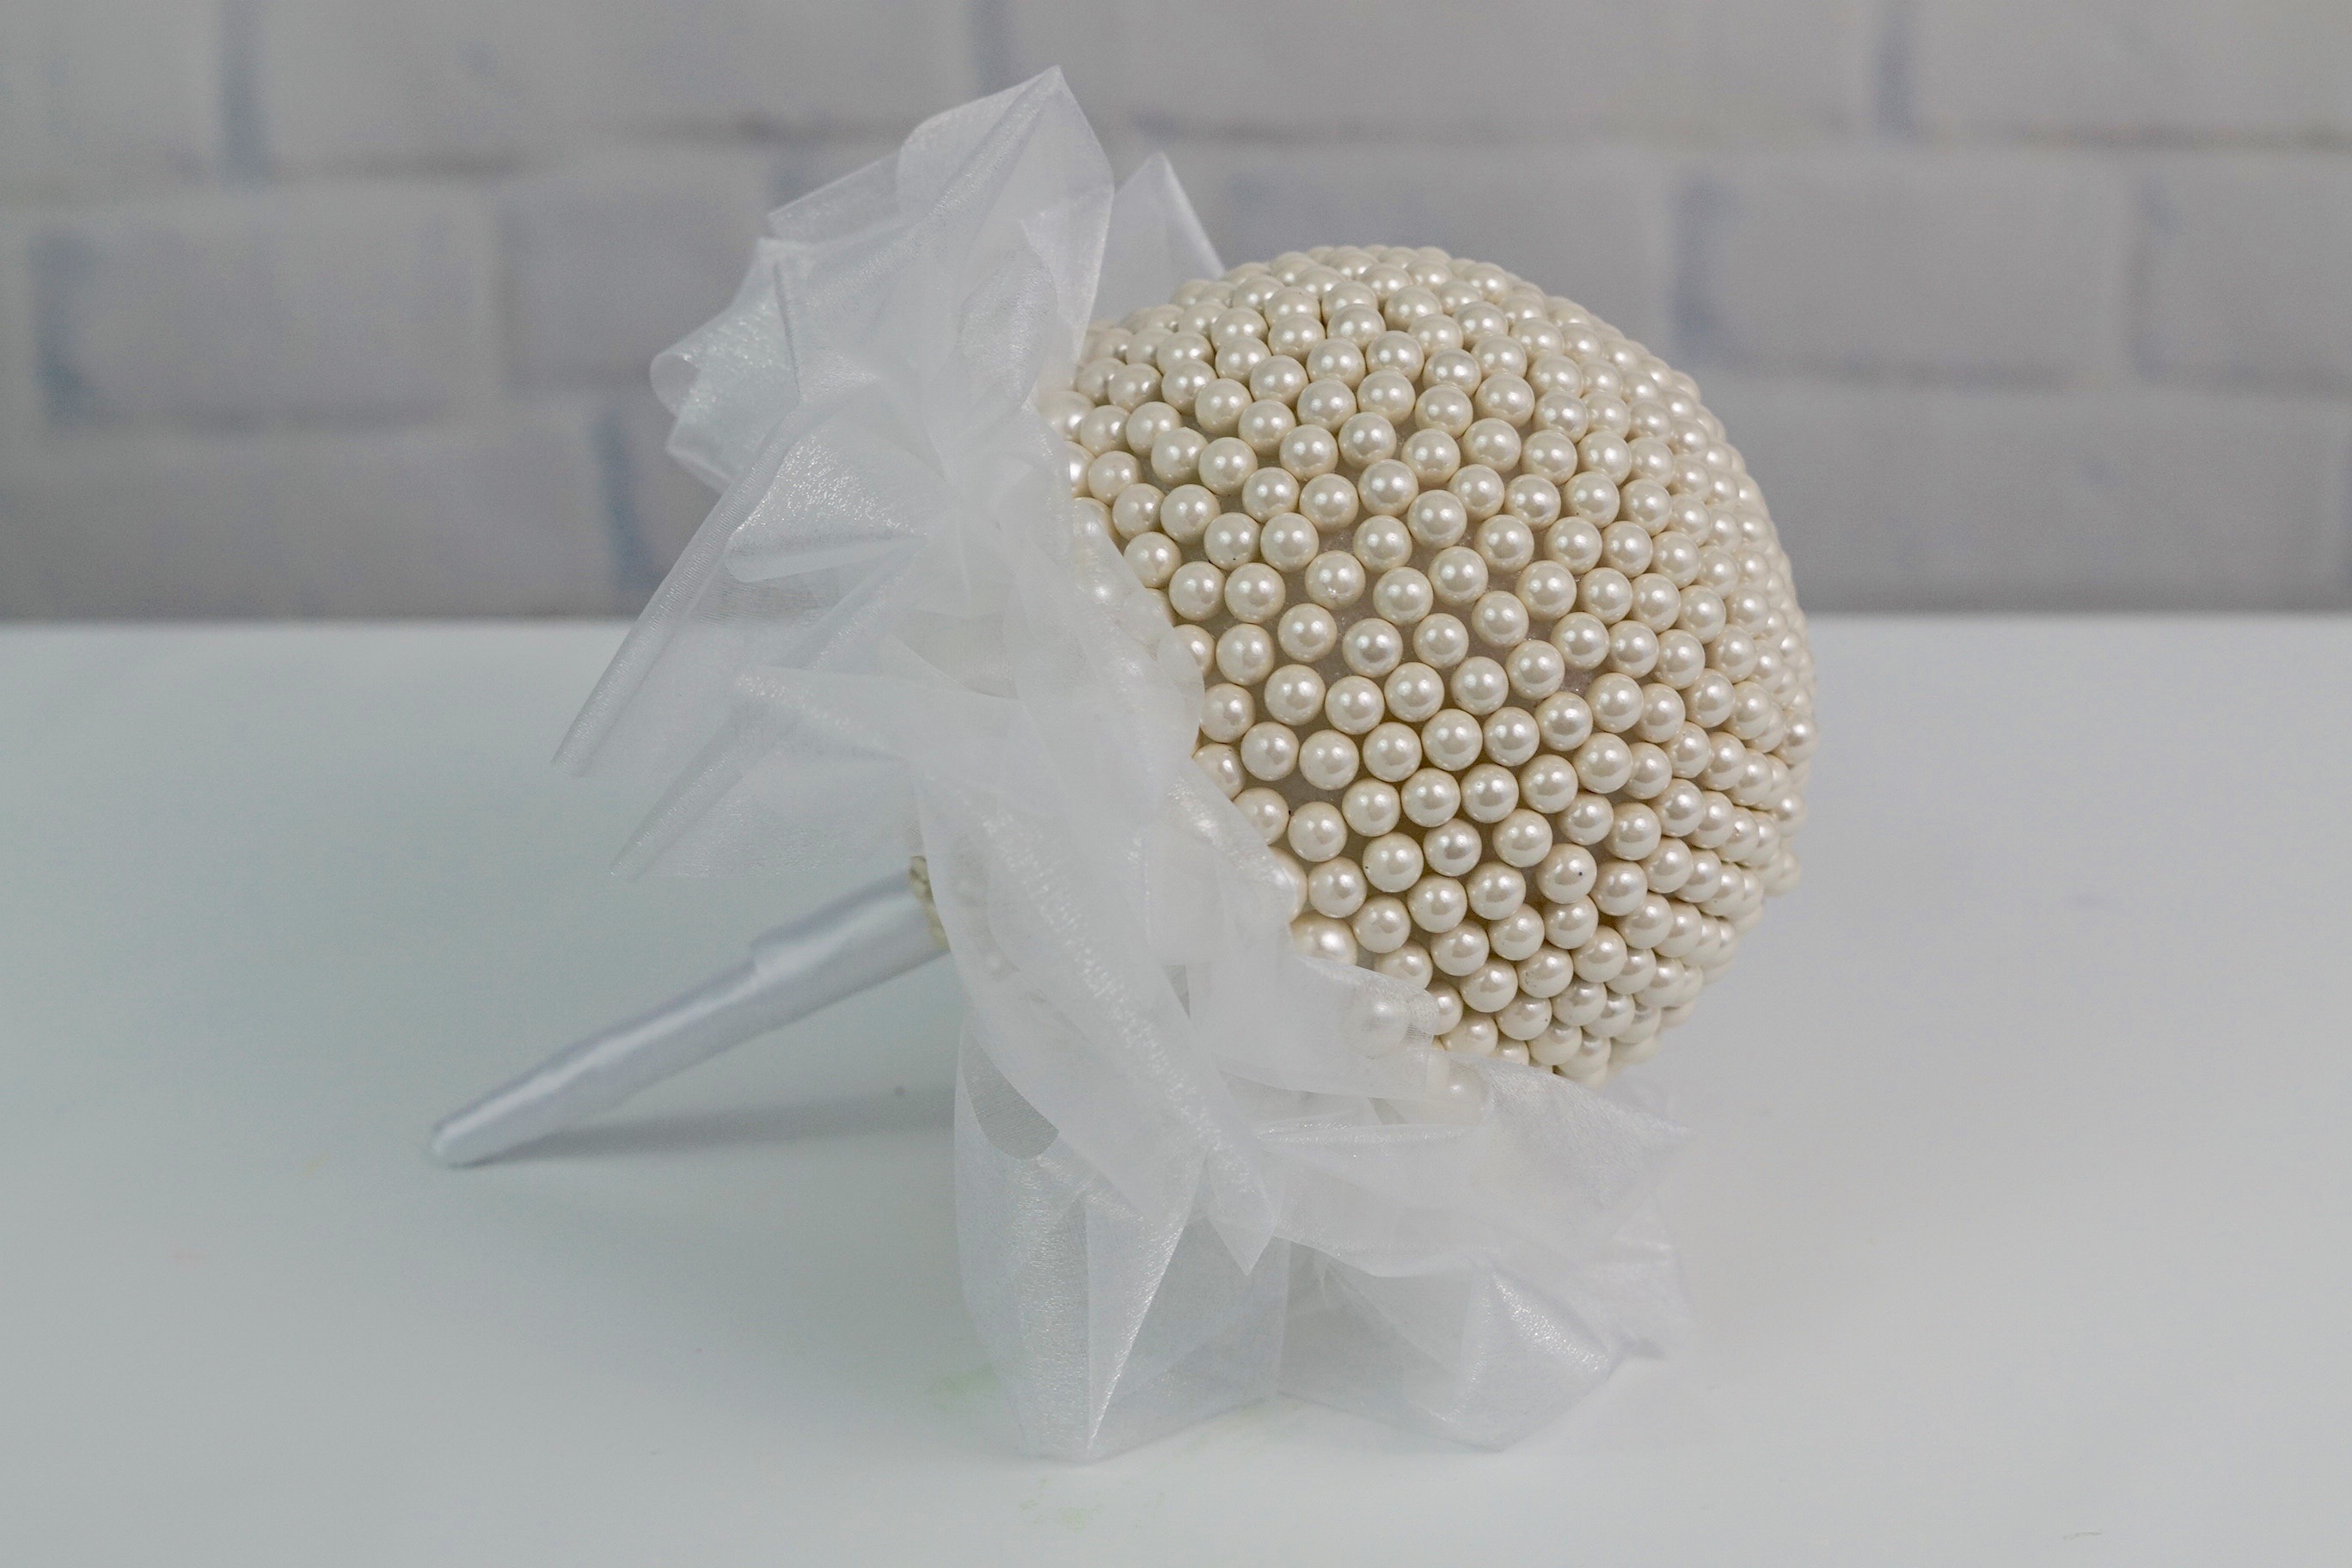
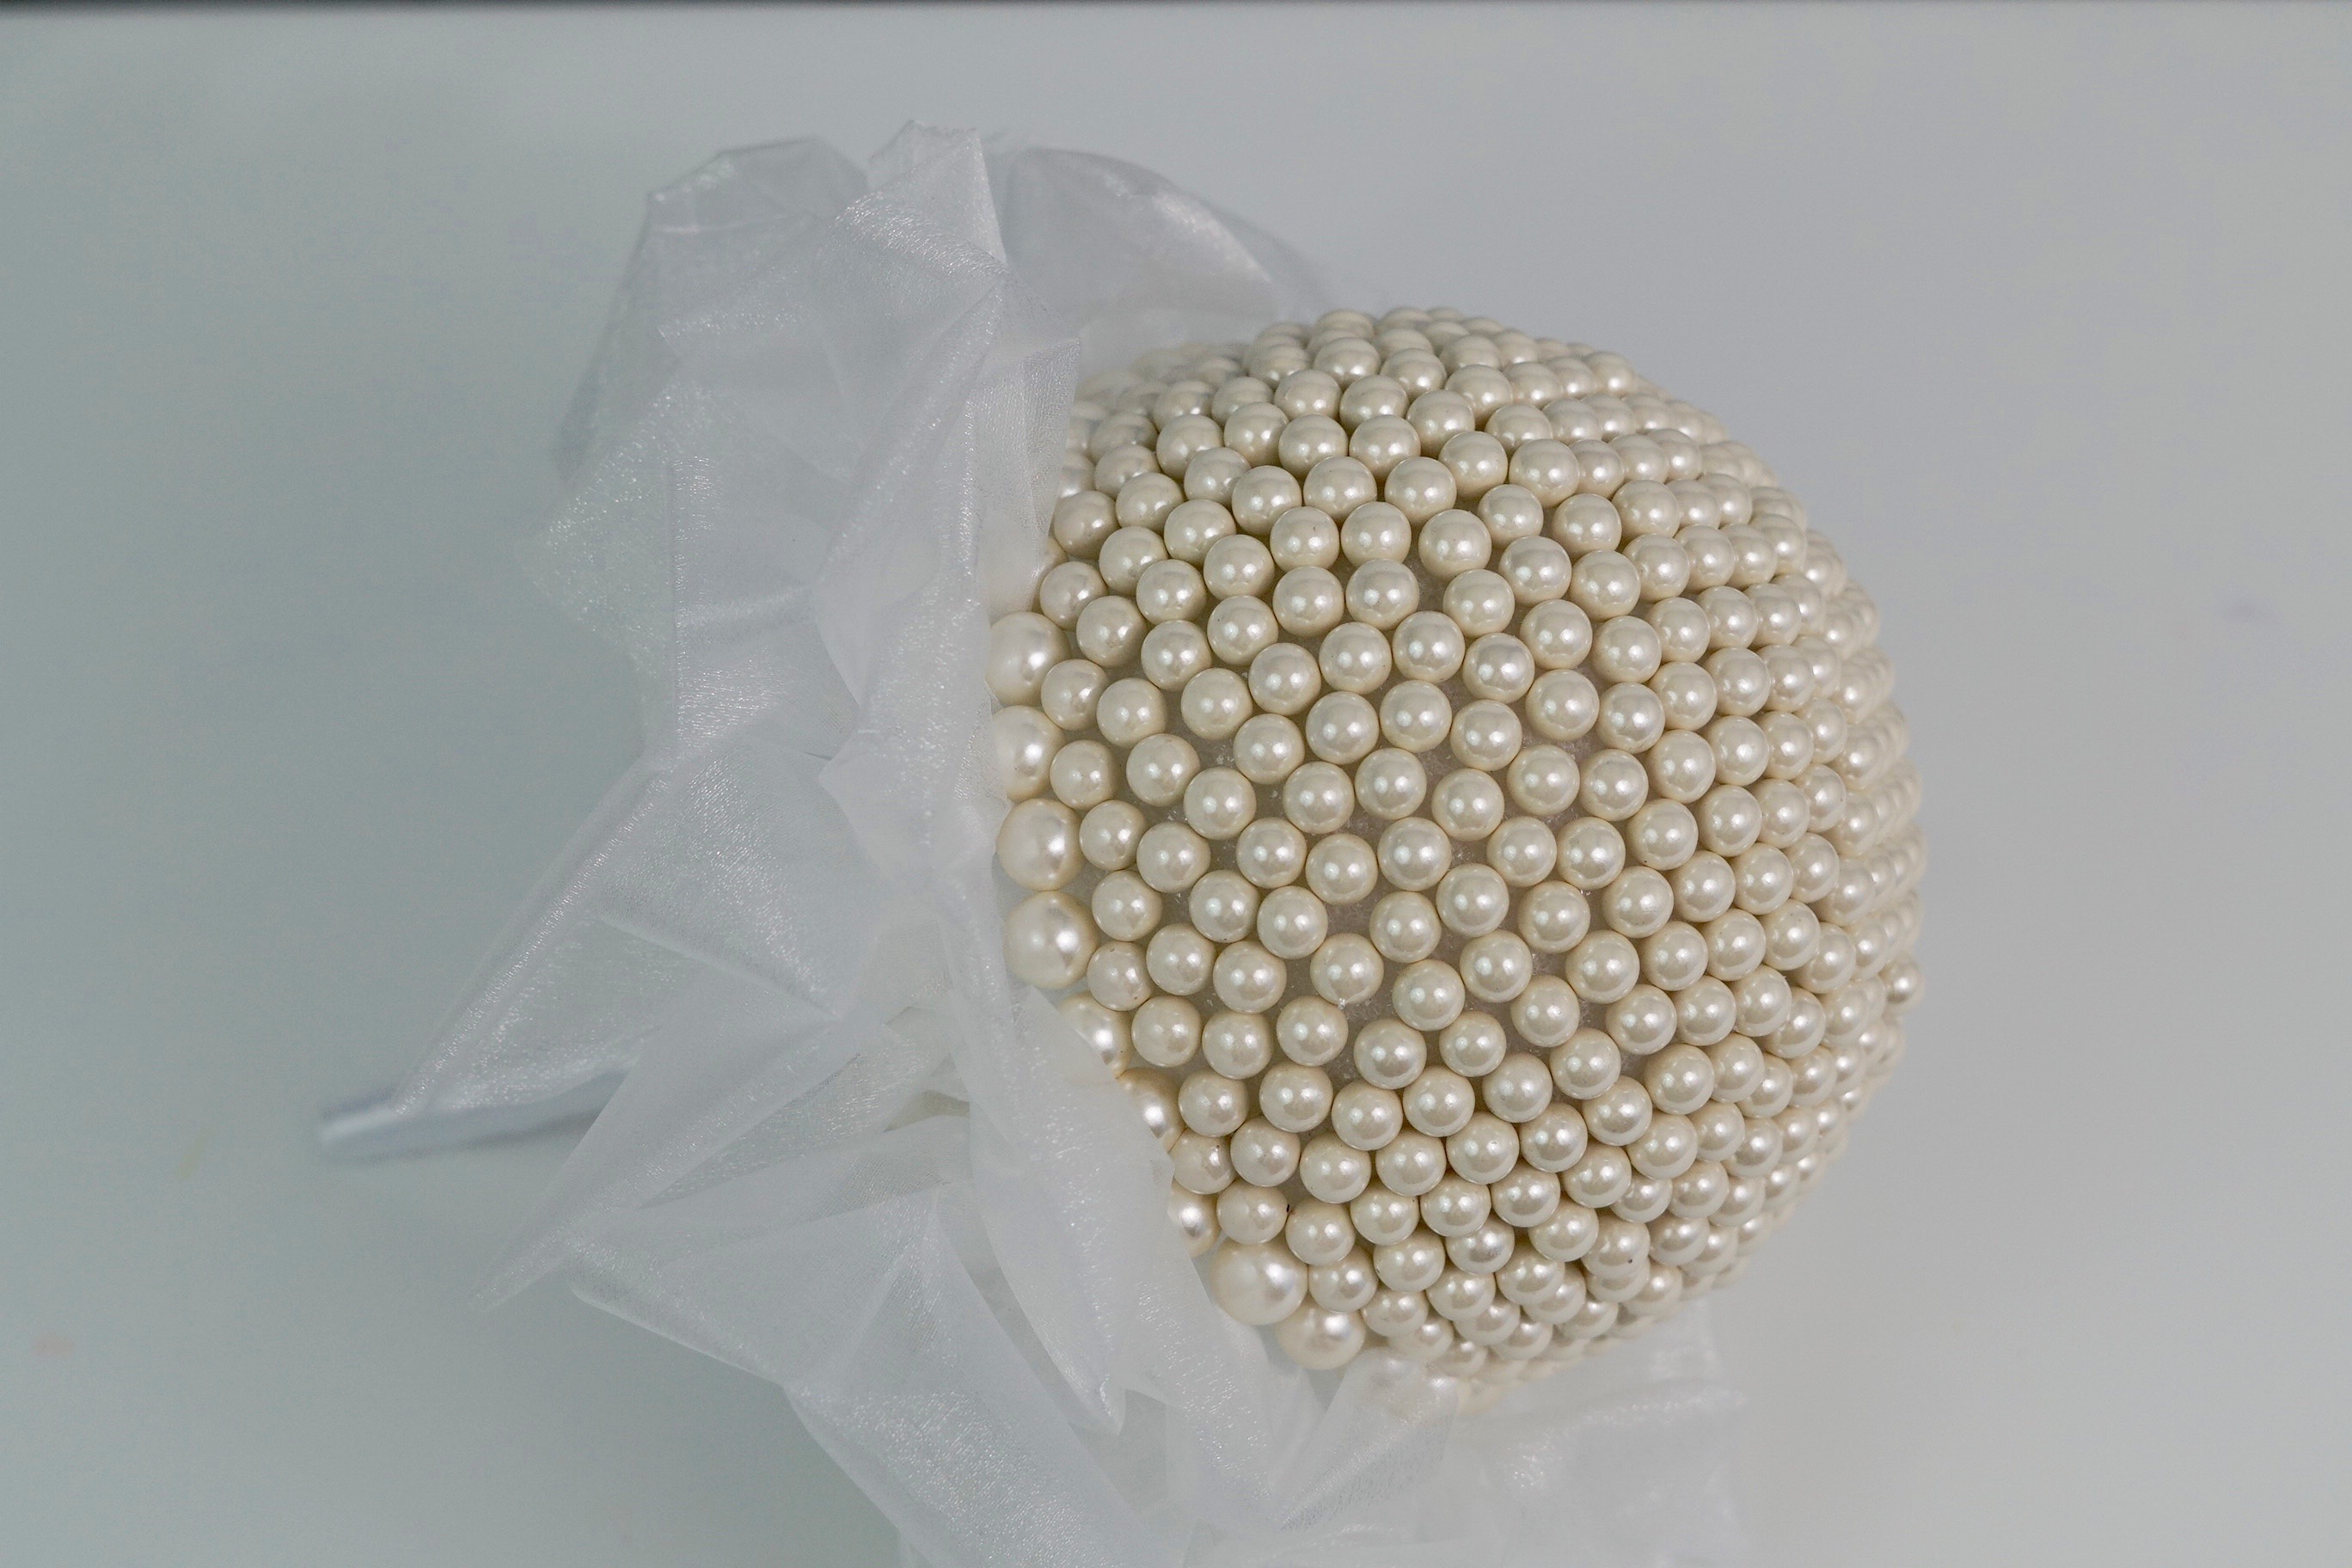
I absolutely love how this pearl bridal bouquet turned out! The outcome is amazing and will definitely add that extra special touch to any wedding!
Don’t forget to sign up for Ebates to earn cash back on your online purchases. Planning a wedding is expensive, our goal is to help you stay within your budget and make every penny count. Click here to sign up for Ebates, and RIGHT NOW when you sign up, you will receive a $10 cash welcome bonus when you spend $25.00!
If you like the outcome please subscribe to our Youtube Channel for more DIY Videos and follow us on Facebook and Pinterest.
Need help with an upcoming project? Be sure to send us a project request!
“Remember When Every Penny Counts, Count on MissPlanIt”