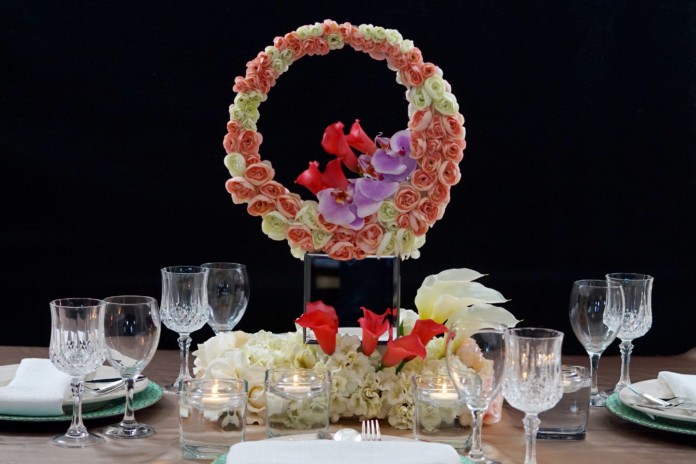
Your wedding day should be everything you have envisioned and more. This week we are completing a fairytale wedding centerpiece to inspire you to add this dreamy centerpiece to your upcoming wedding. Embellished with beautiful flowers, this centerpiece will surely exceed the expectations of every bride!
BUT WAIT!
Before we get started I want to share an oh so awesome tip on how you can earn cash back with your online purchases for all the items you will need to complete this project!
As our saying goes “When Every Penny Counts, Count on Miss PlanIt.” We love to save money and get great deals. Prior to us purchasing anything online, we check out Ebates, find the store, click the current deal for that store and complete our purchase.
If you have never used Ebates, you are MISSING OUT. So for this project, you would go to Ebates.com, sign up, and then type in the Dollar Tree.
When completing a purchase through Ebates you earn cash back that you can have mailed to you or sent via PayPal. Be sure to check it out! Click here to sign up for Ebates, and RIGHT NOW when you sign up, you will receive a $10 cash welcome bonus when you spend $25.00!
You were already going to complete your purchase online, so why not get some cash back on things you already planned to purchase!
[convertkit form=917377]
Let’s Get Started:
Click our affiliate links below to purchase the supplies needed for this project:
3X4 Foam Block
Foam Cube
5×12 Foam Block
12 in Foam Wreath
Pink Baby Peonies
Cream Baby Peonies
Cream Hydrangea
Cream Calla Lilies
Hot Pink Calla Lilies
Cream Real Touch Roses
Fuchsia Roses
Pink Roses
Square Mirrors
Butterfly Orchid
1/8 inch Wood Dowels
Silver Glitter Ribbon
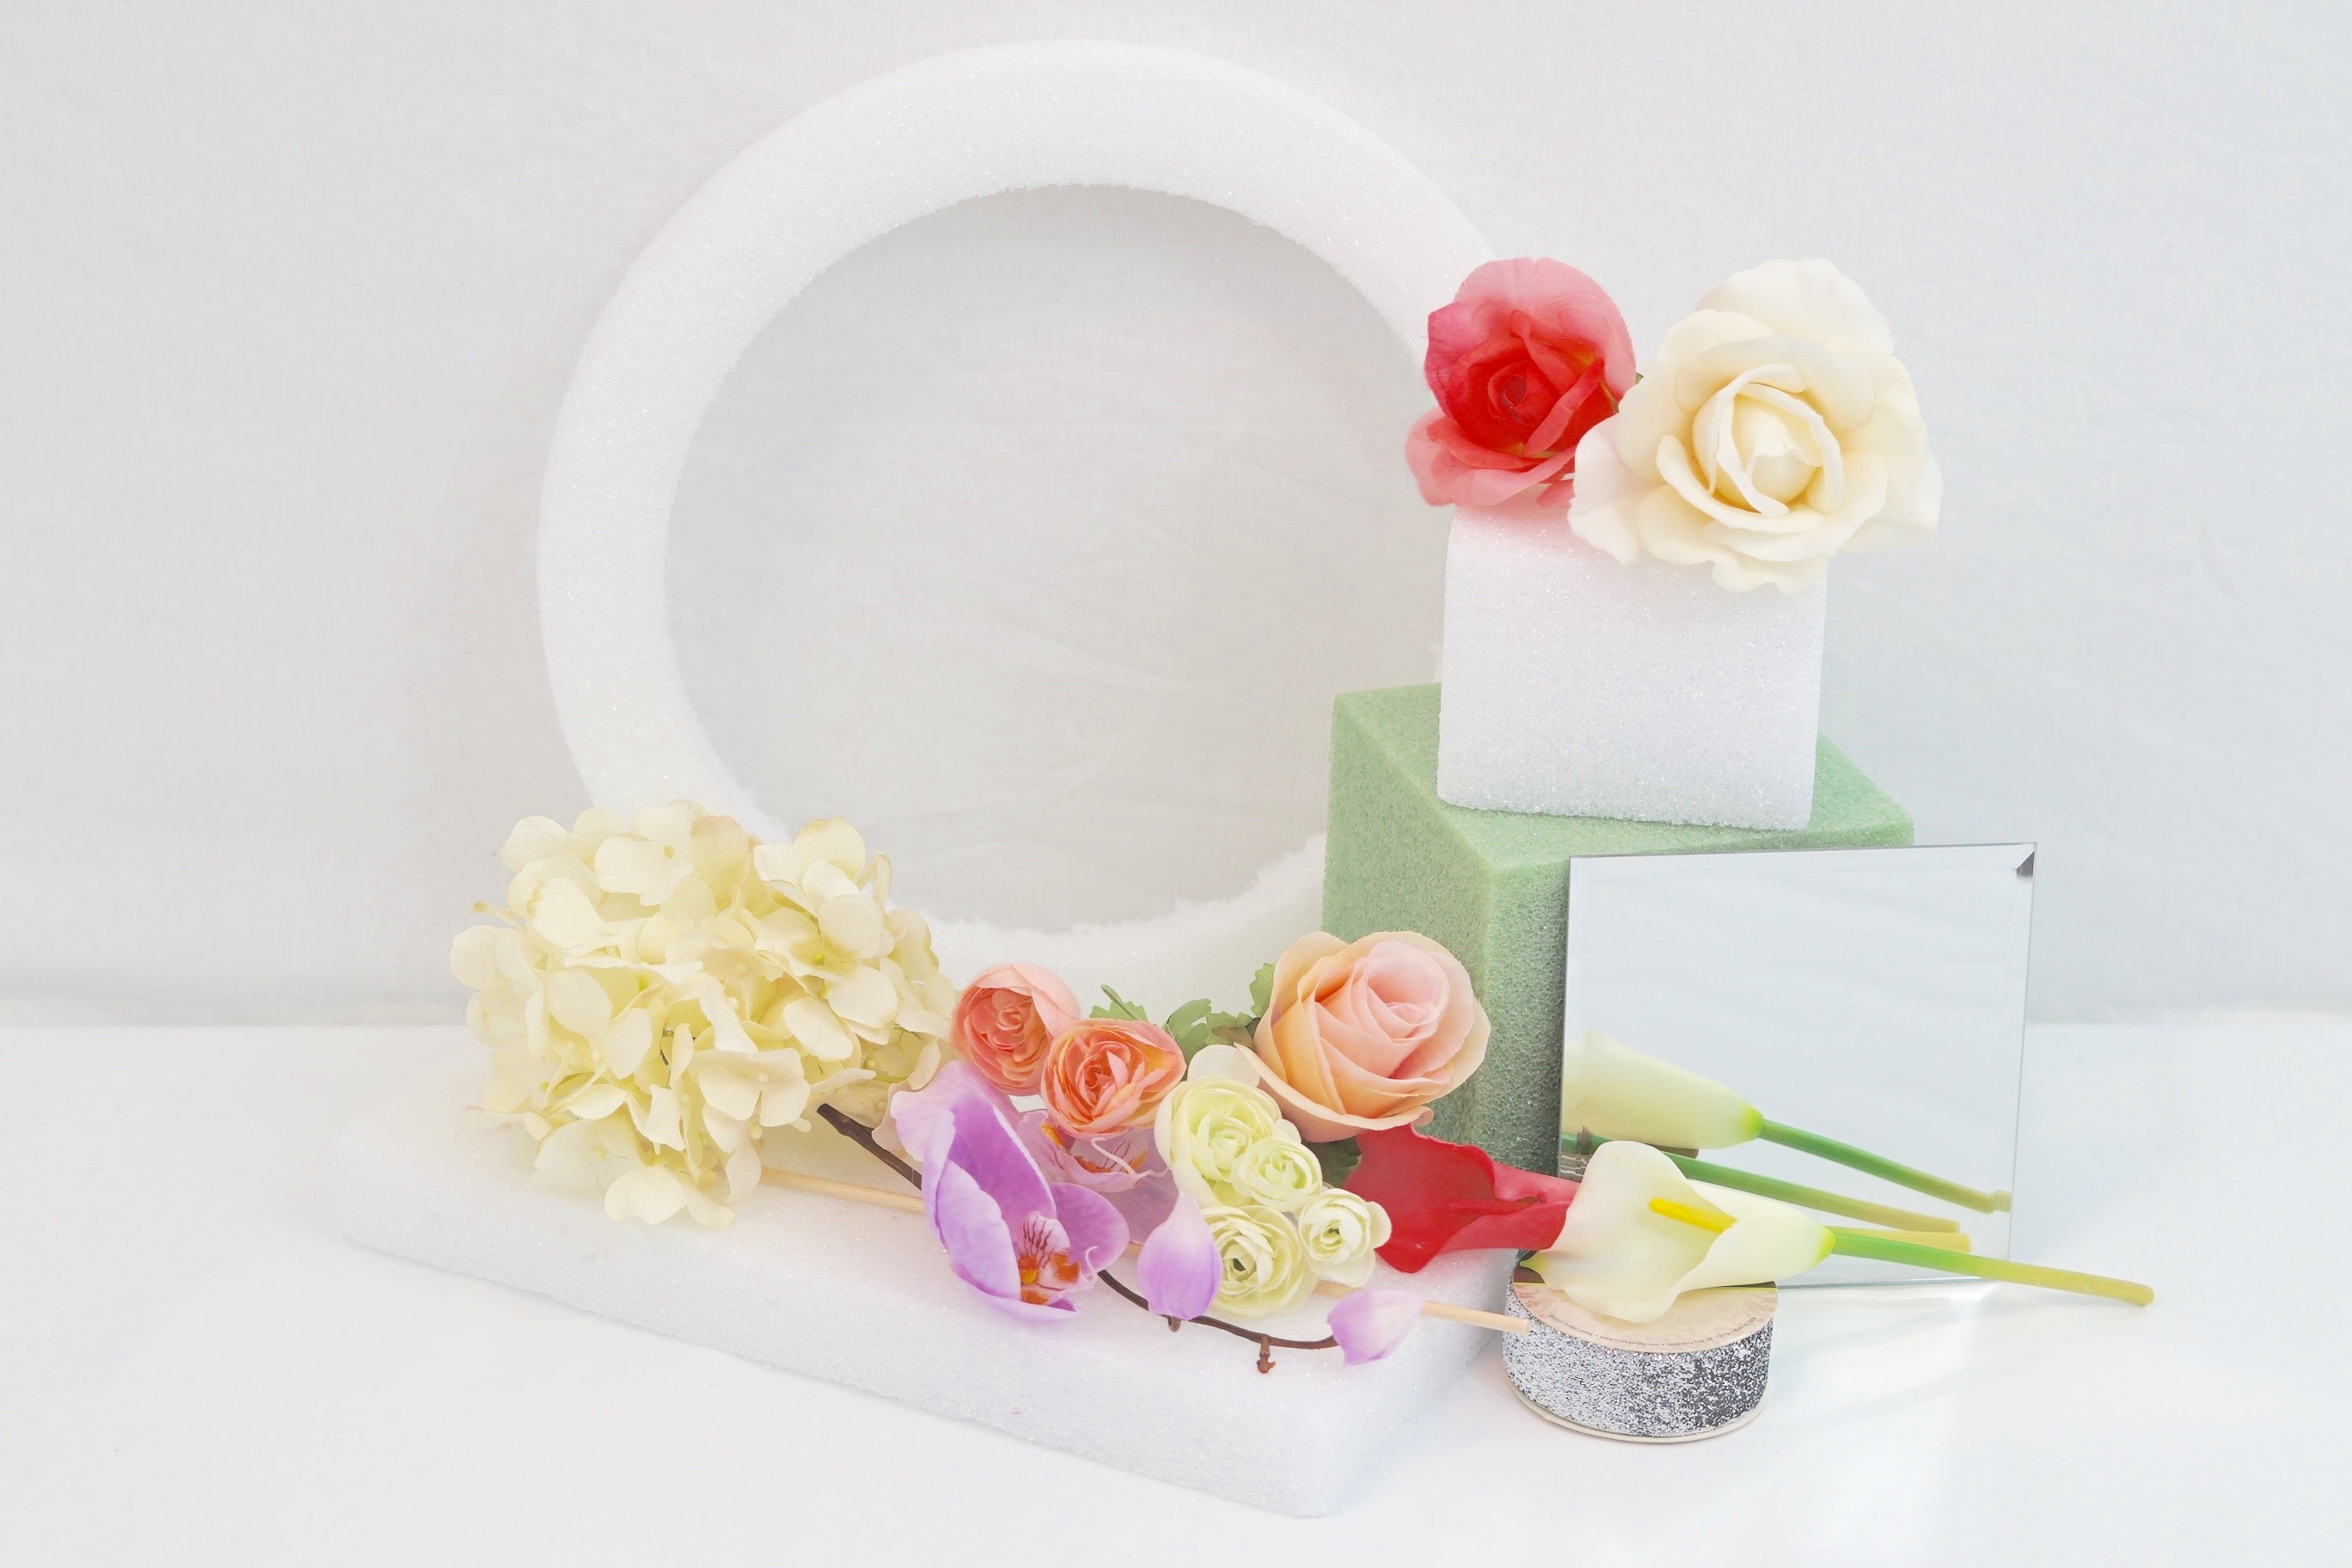
If you prefer written instructions, please continue reading.
How to Make a Fairytale Wedding Centerpiece
Directions:
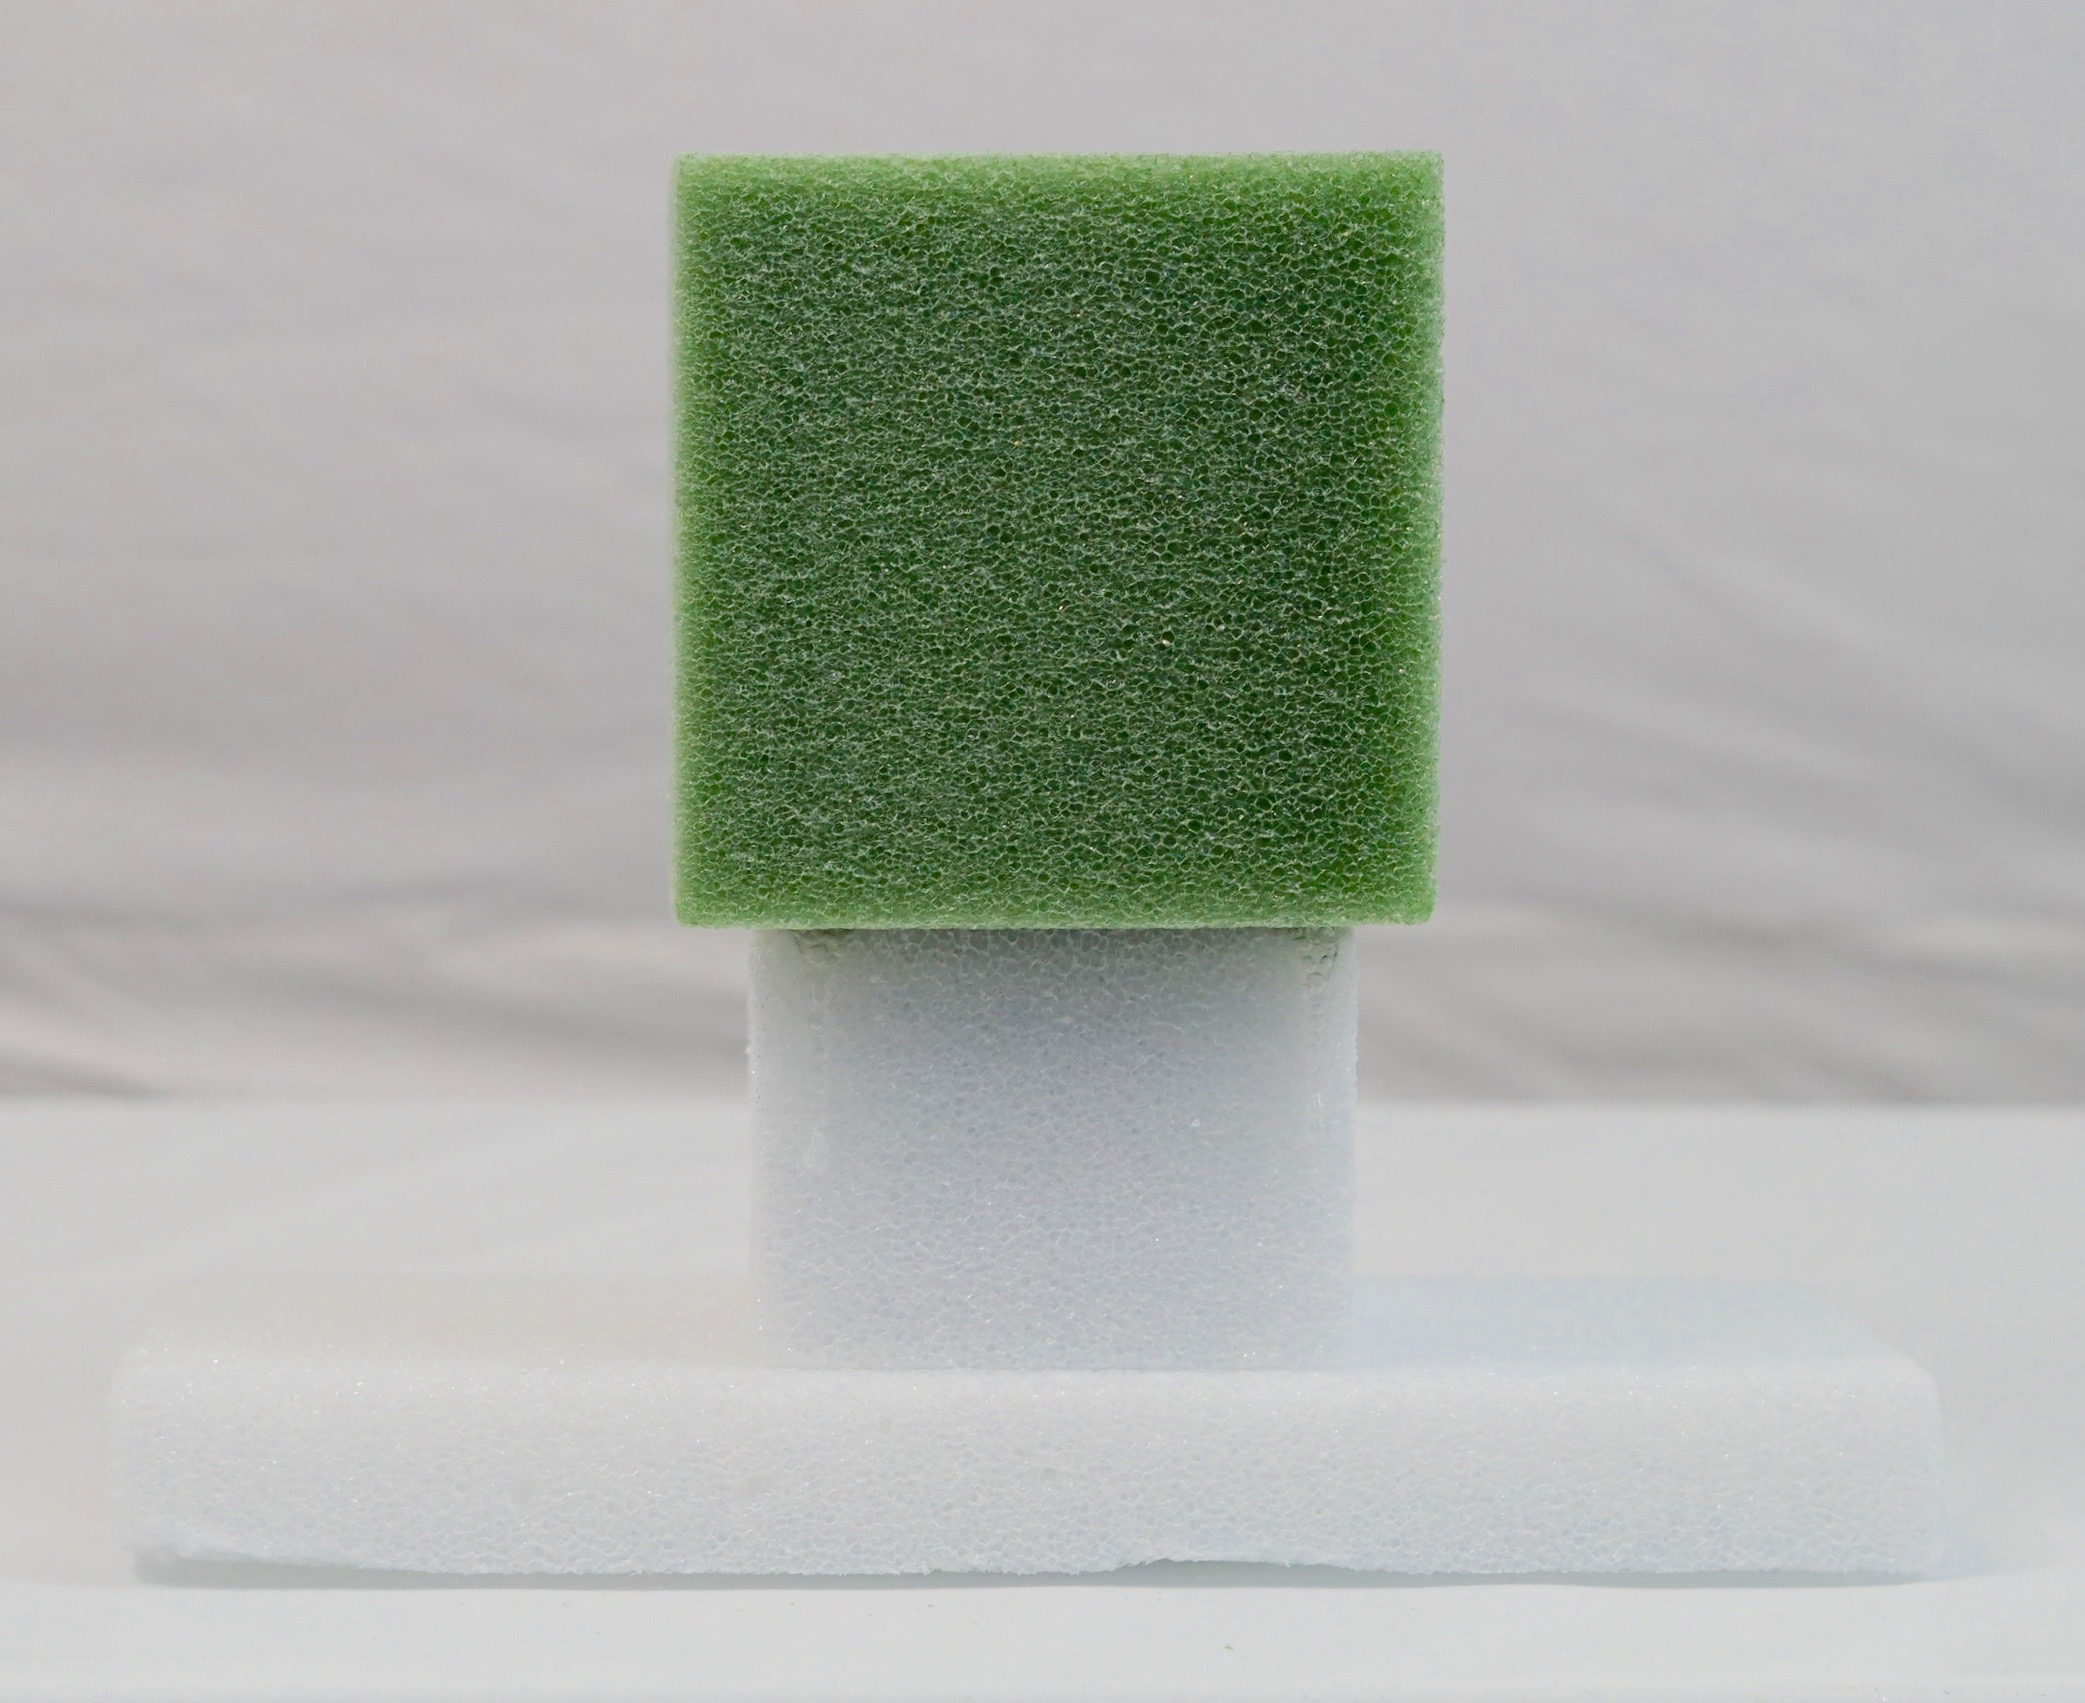
STEP 1: First let’s begin by making our base. Take your 5 X 12 inch Styrofoam block, add hot glue to each corner of the styrofoam block and attach to your 3 X 4 inch styrofoam block. Then hot glue your 5 inch styrofoam cube on top of your 5 X 22 inch Styrofoam block.
Add Extra Support
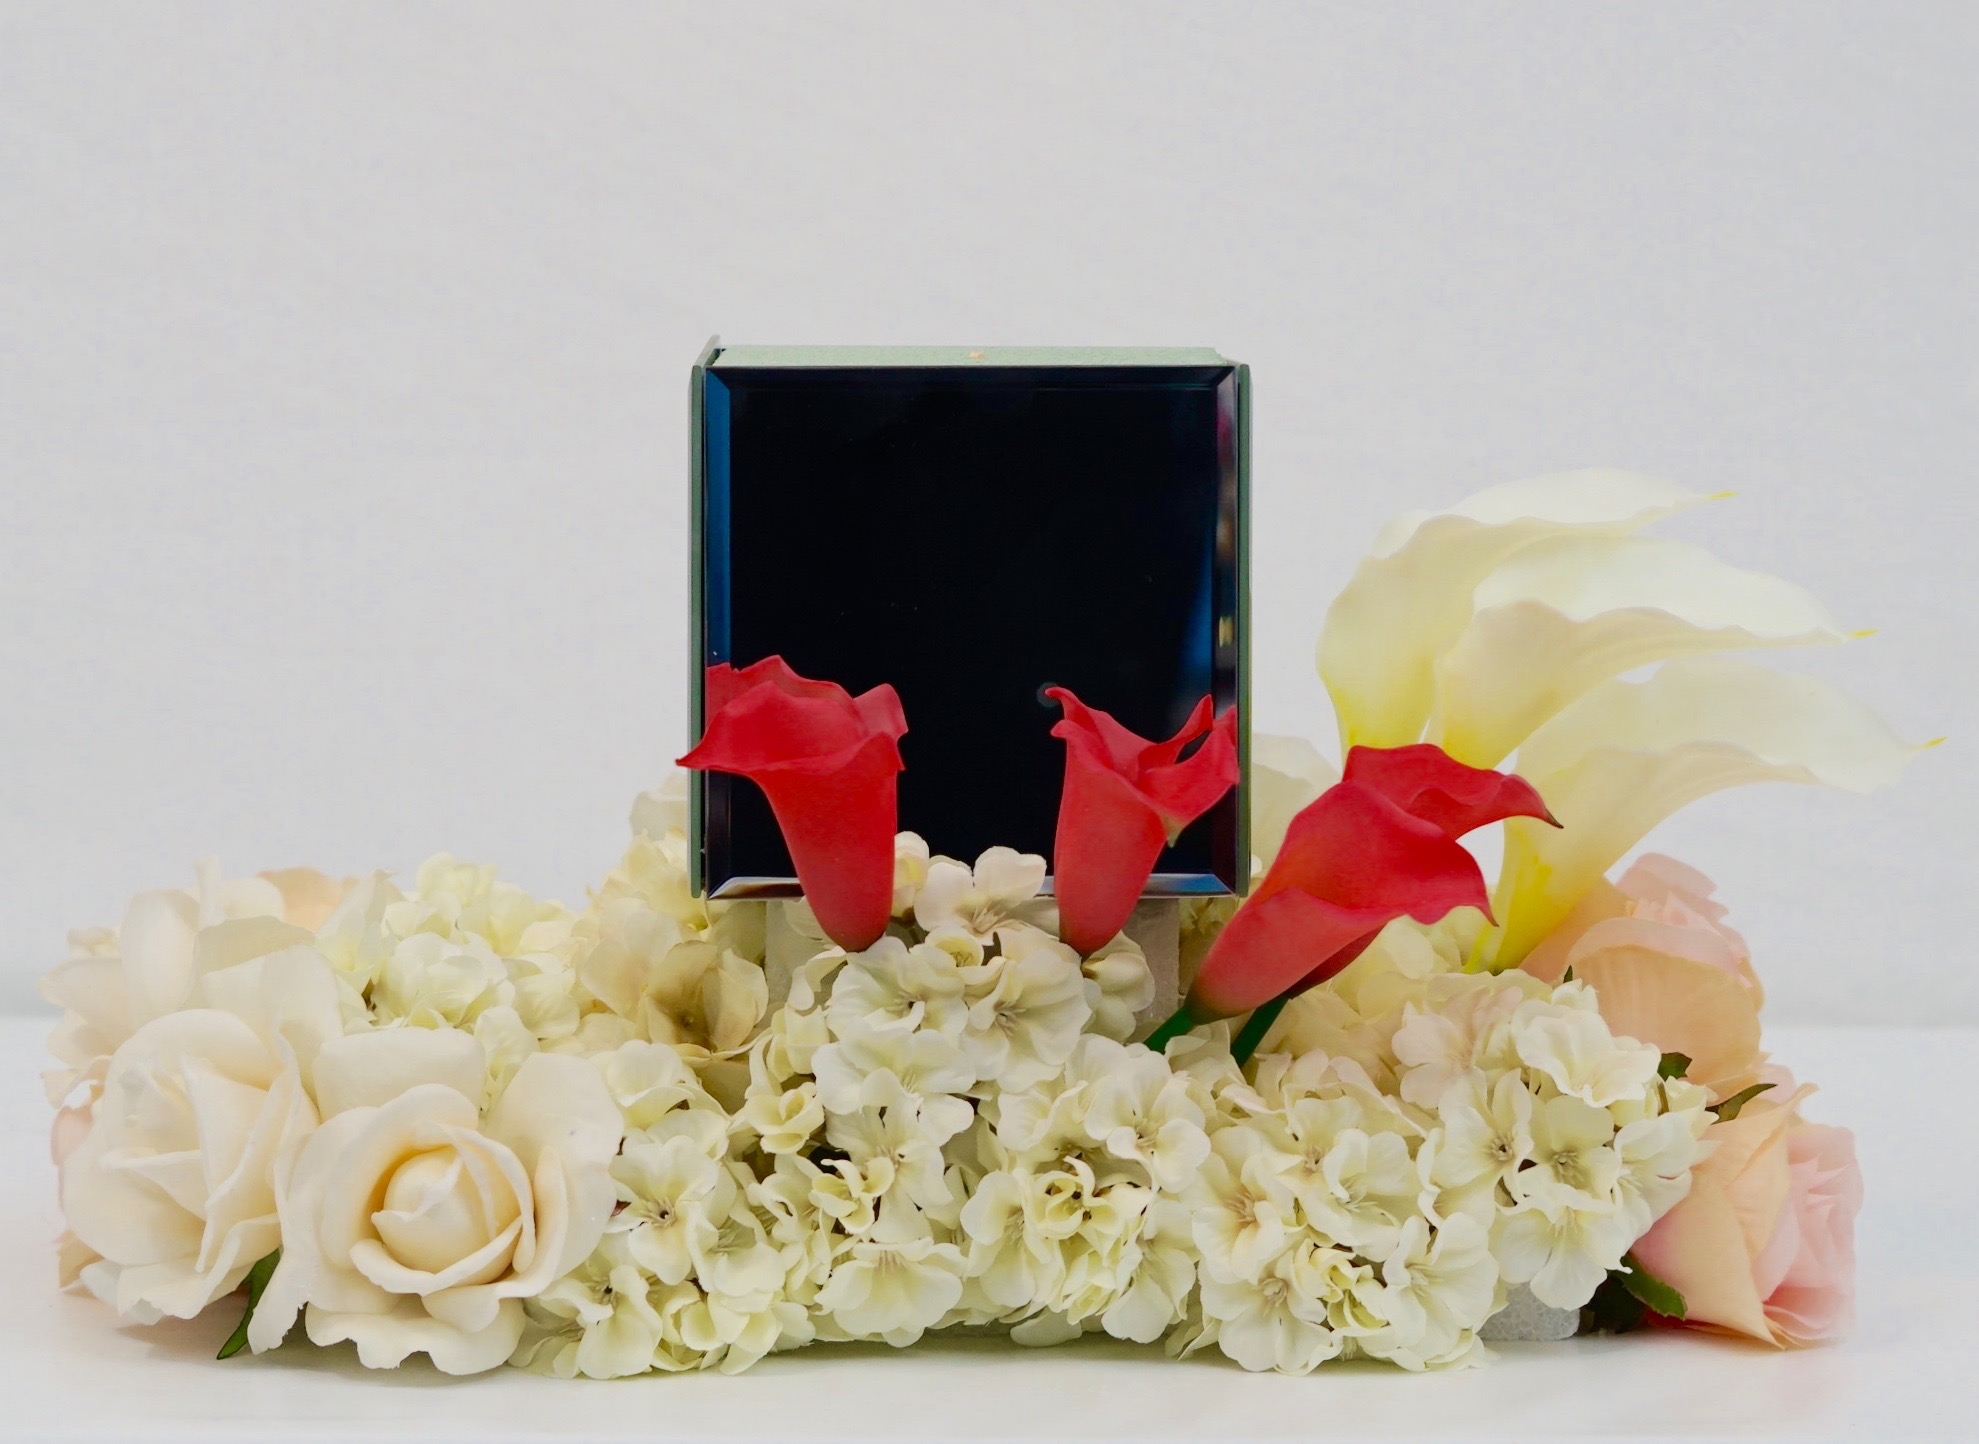
STEP 2: To add extra support, take a 1/8 inch wooden dowel and place it in the center of all 3 styrofoam pieces. Push the wooden dowel all the way to the bottom and clip off the top of the wooden dowel with your wire cutters. Place your 5 inch mirrors to the sides of your 5 inch cube using hot glue to adhere.
STEP 3: It’s time to start attaching your flowers to your base. Attach 4 hot pink calla lilies, 10-12 hydrangea heads, 3 white calla lilies, 6-8 cream roses, and 6-10 pink roses.
STEP 4: Now that the base is done, it’s time to move to the top. Take your 12 inch styrofoam wreath and cut out about a quarter of an inch of your styrofoam wreath into the shape of a crescent moon. Now reattach it to the outside if the wreath using hot glue. This creates the geometric shape that is in our inspiration picture.
STEP 5: Attach your silver glitter ribbon to your wreath on the inside and outside using hot glue. Be sure to leave a 2 inch space on the inside and outside rim of your wreath as this is where additional flowers and your wooden dowel will be added. .
Add Flowers to Your Wreath
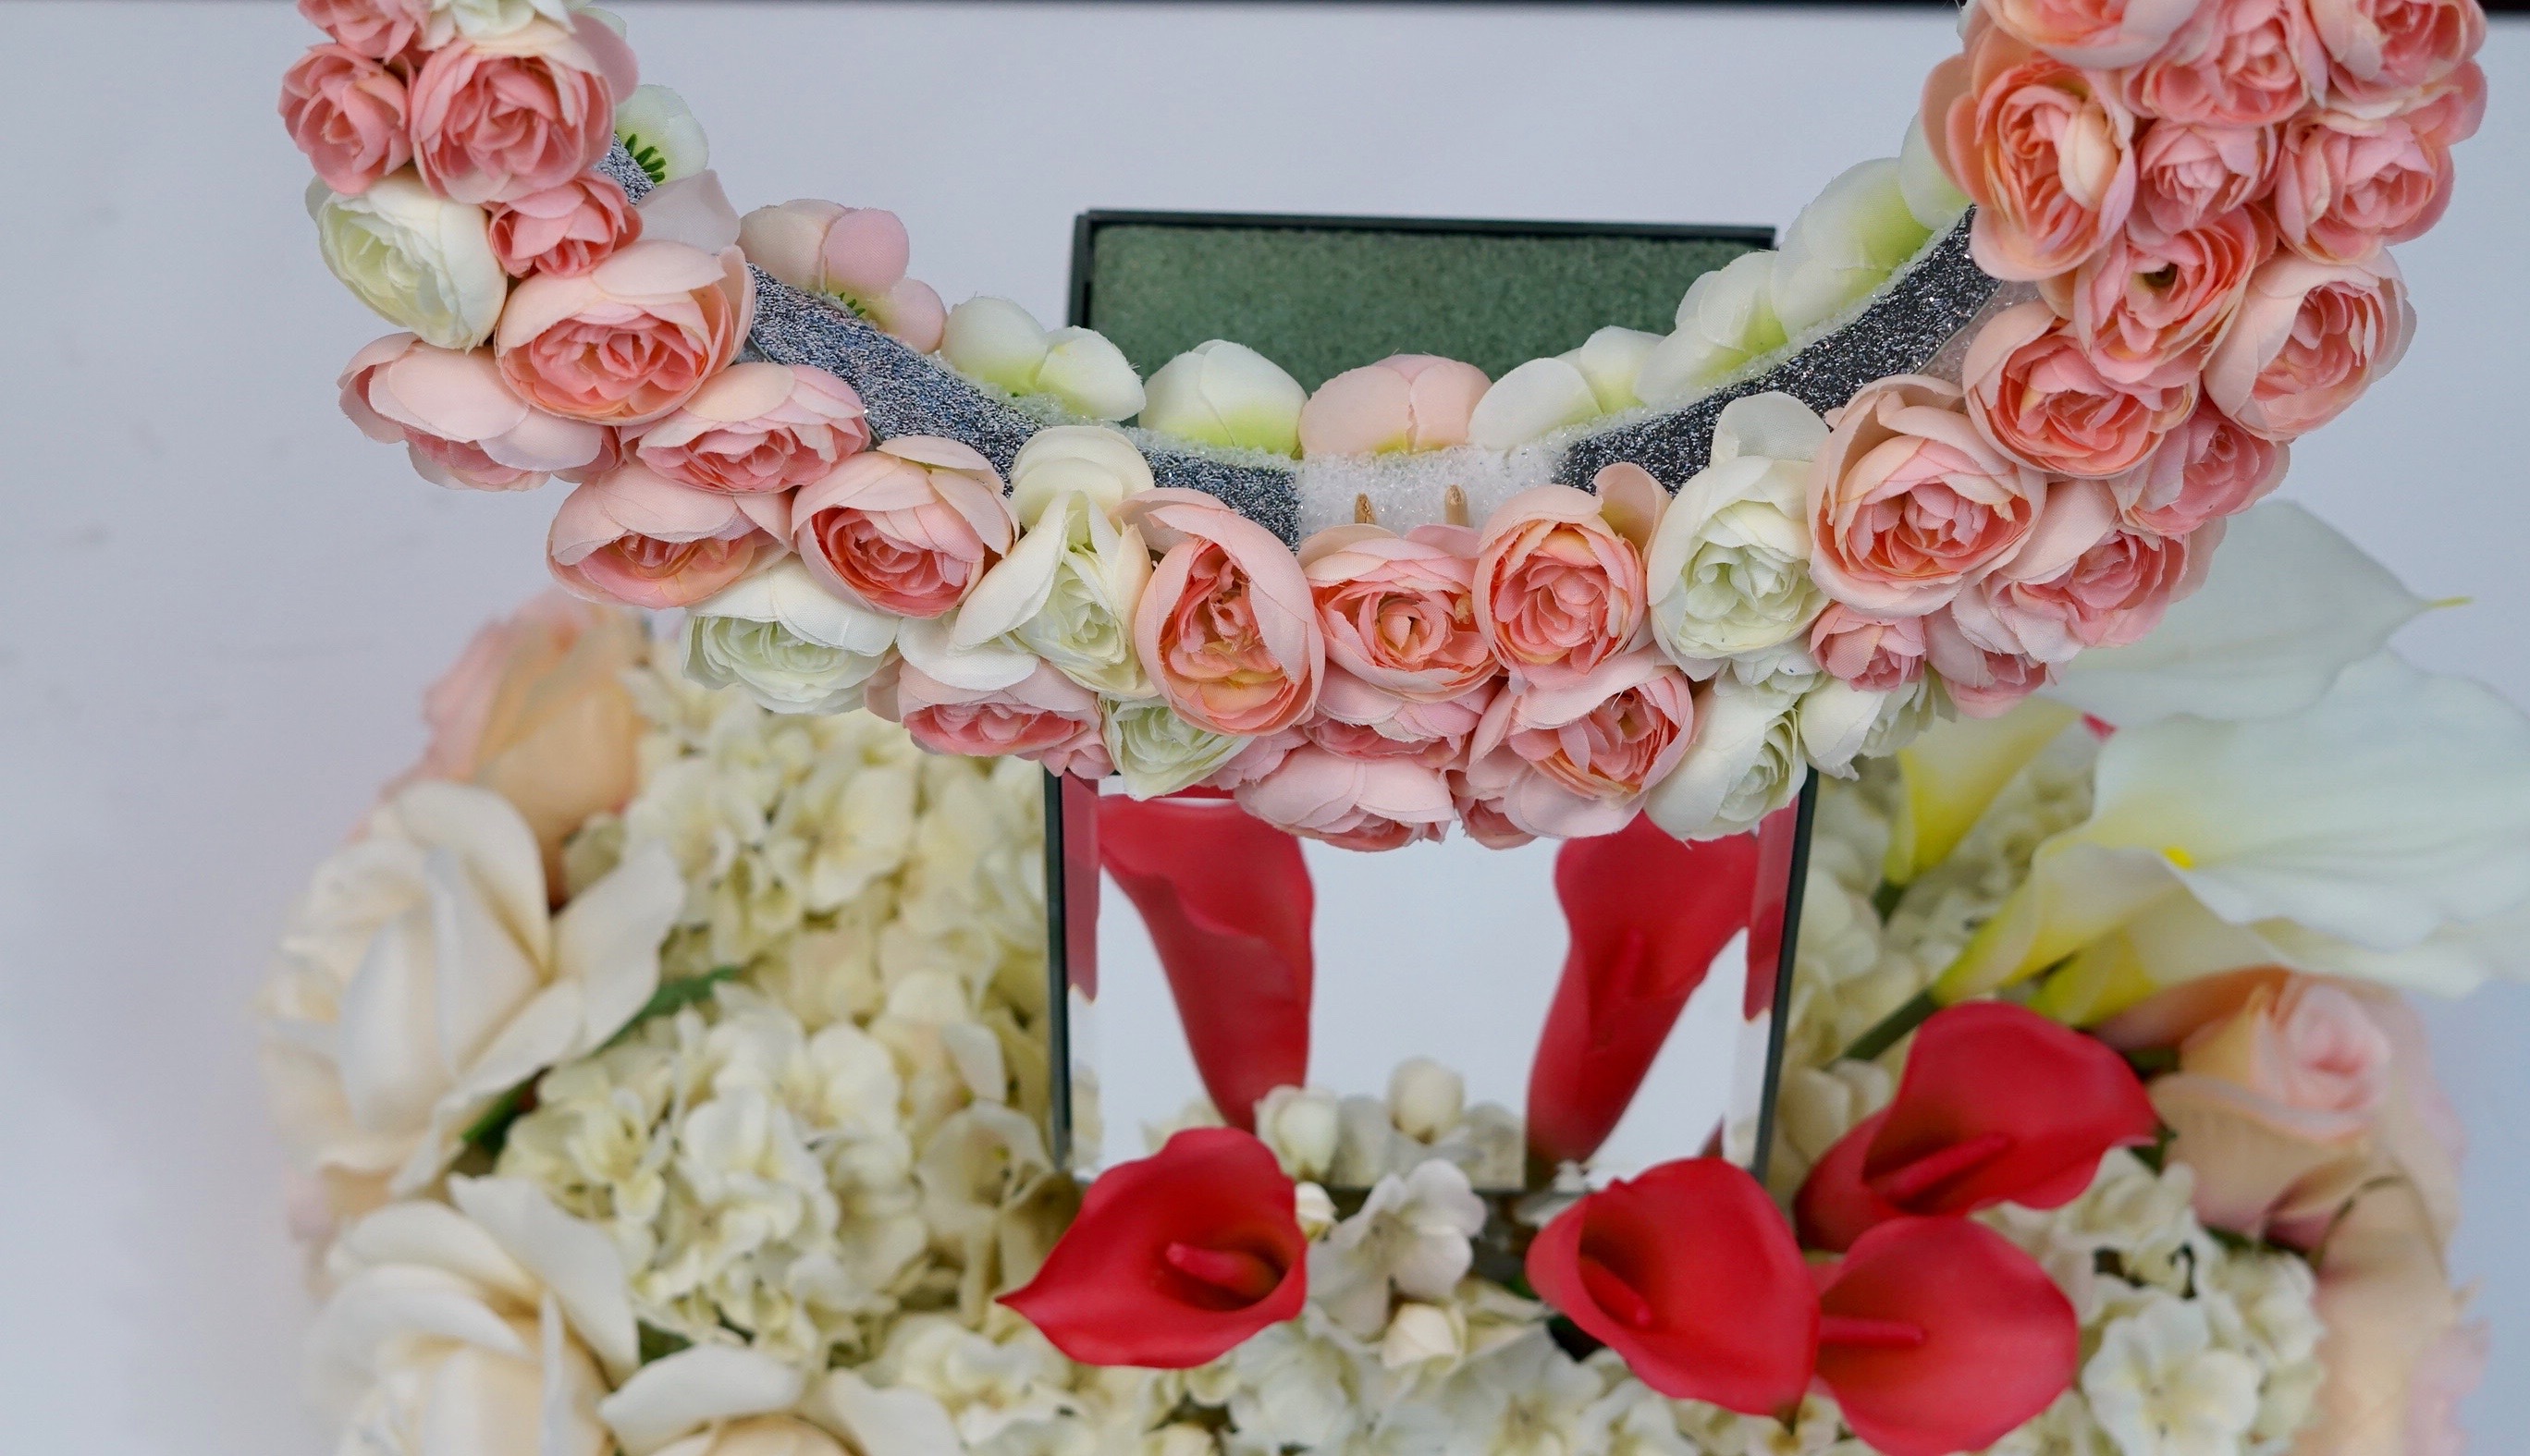
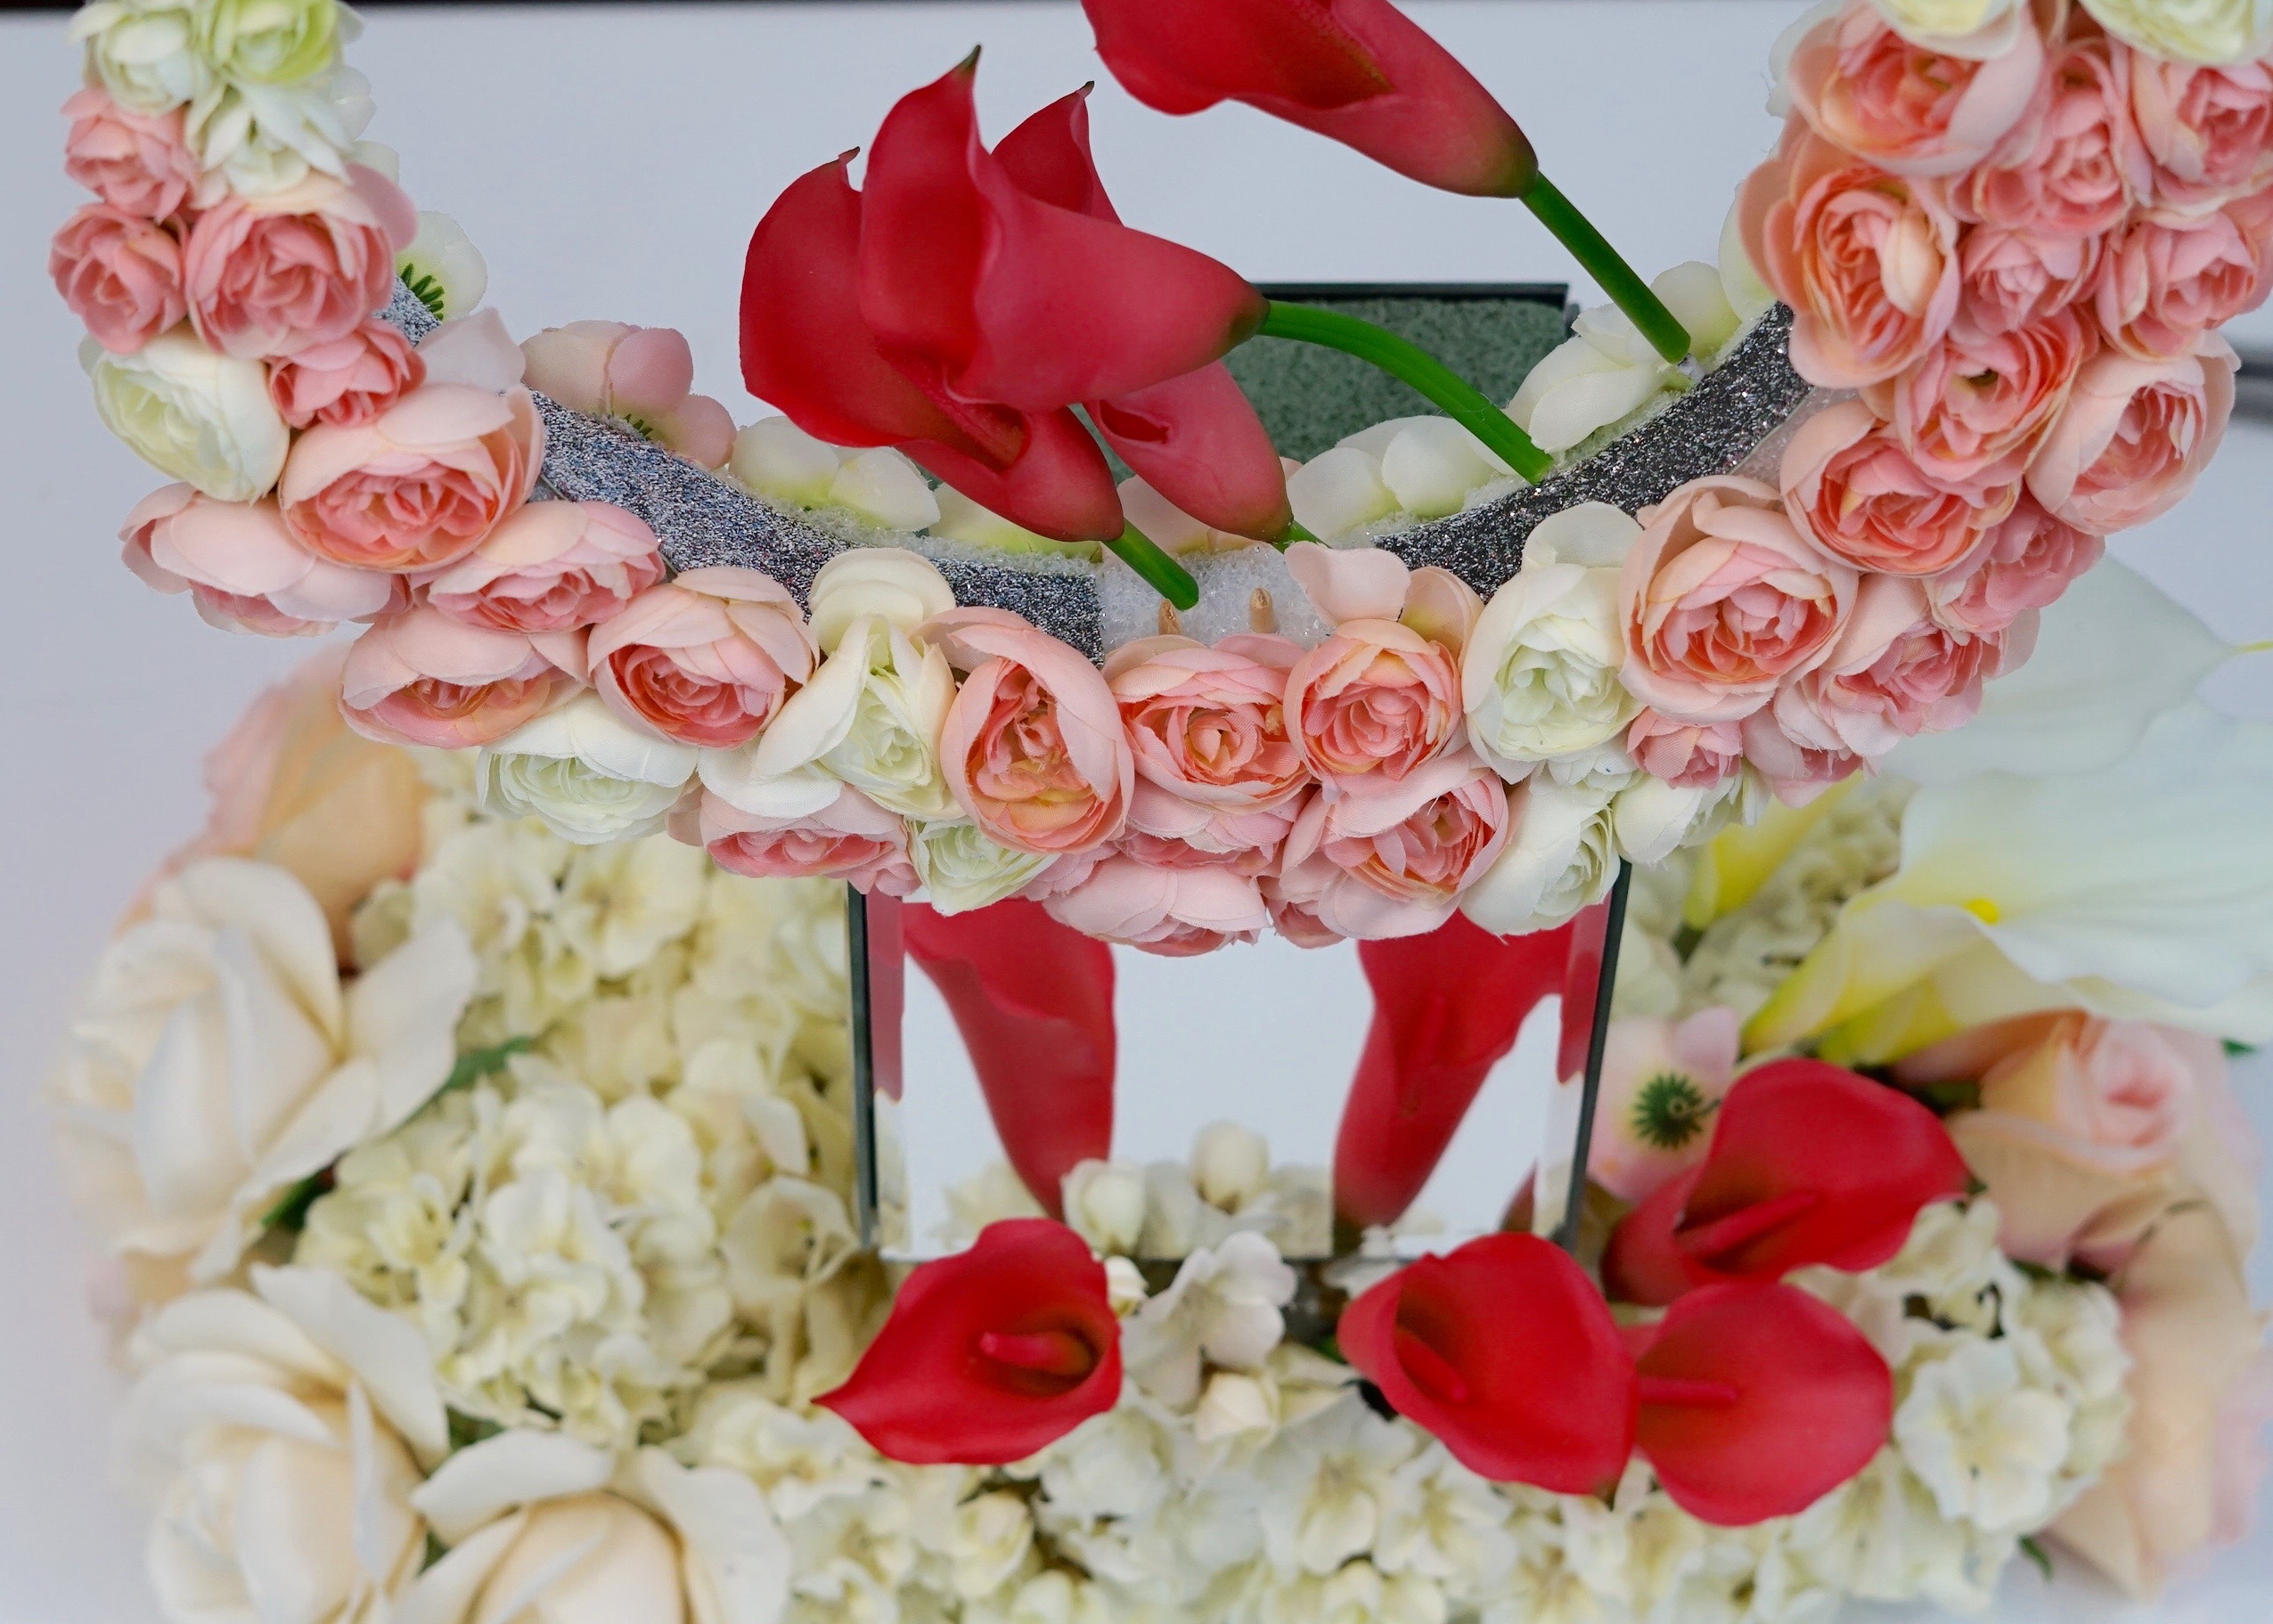
STEP 6: Attach 2 bushels of pink and 2 bushels of cream mini peonies to the front and back of the wreath. Now clip your 1/8 inch dowel in half and add hot glue to your 5 inch cube. Next attach your wreath to the cube using your 2 dowel pieces by pushing them through your foam wreath to hold your wreath in place, then clip the top of the wooden dowels.
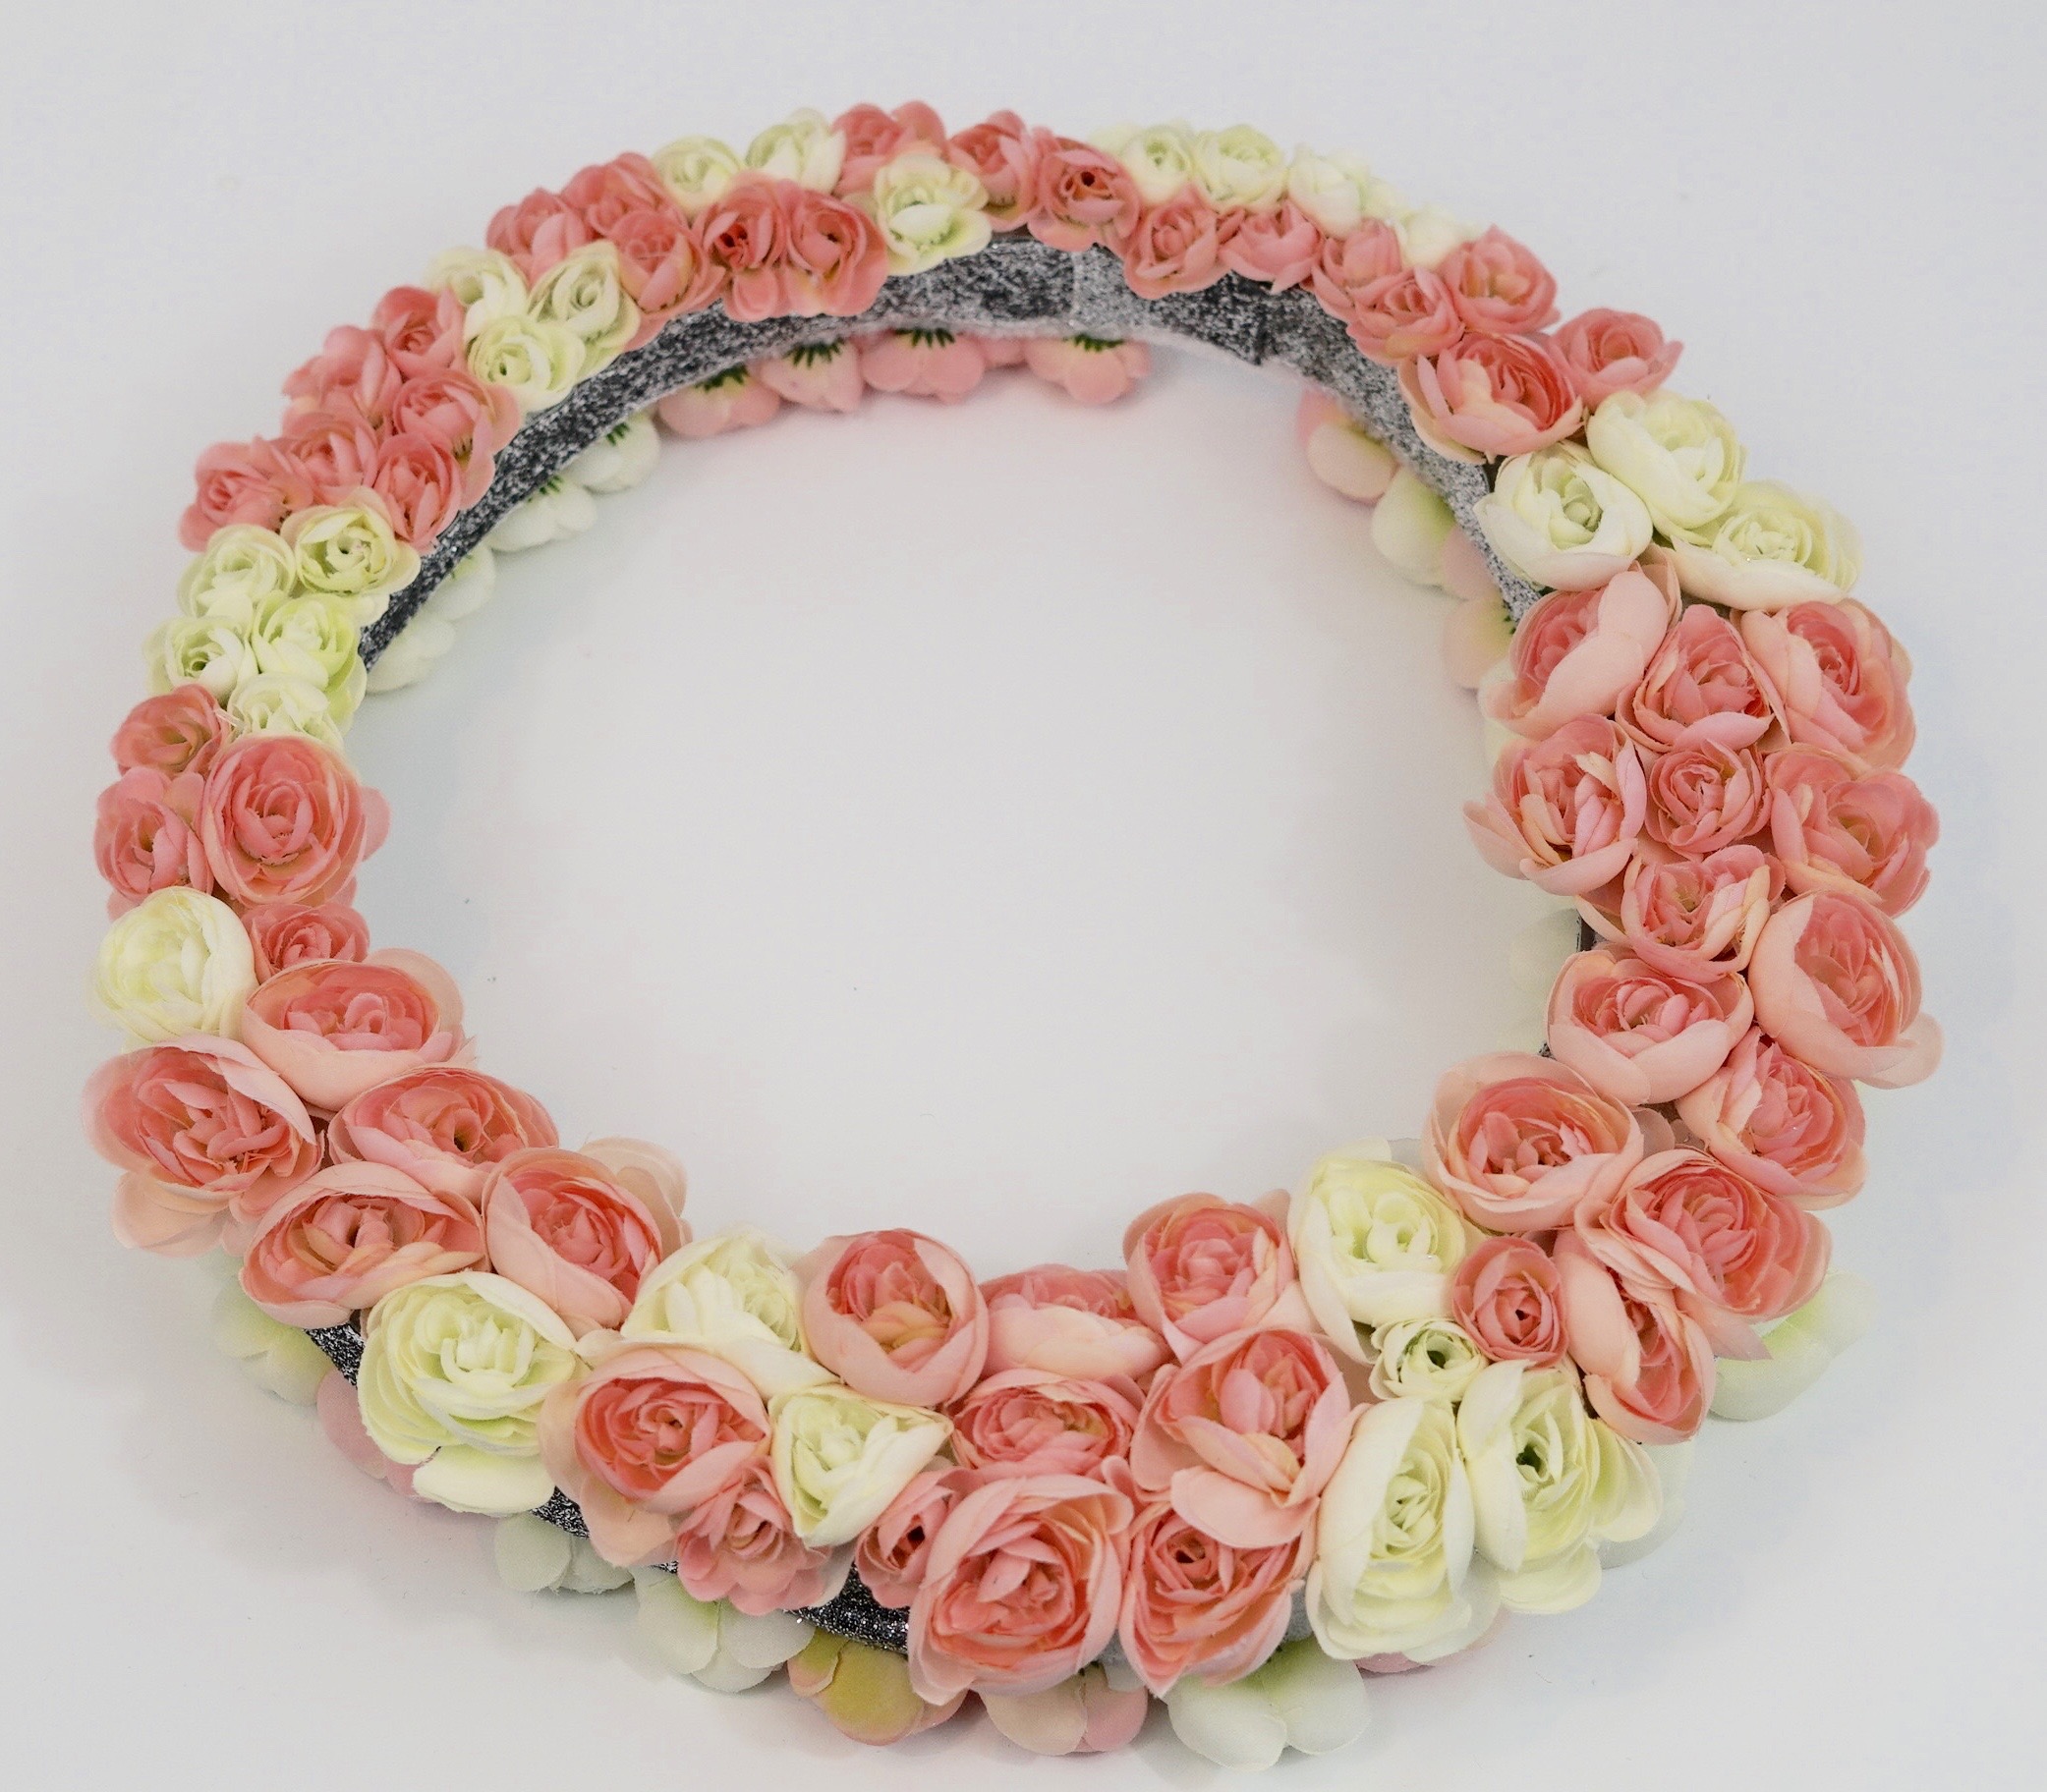
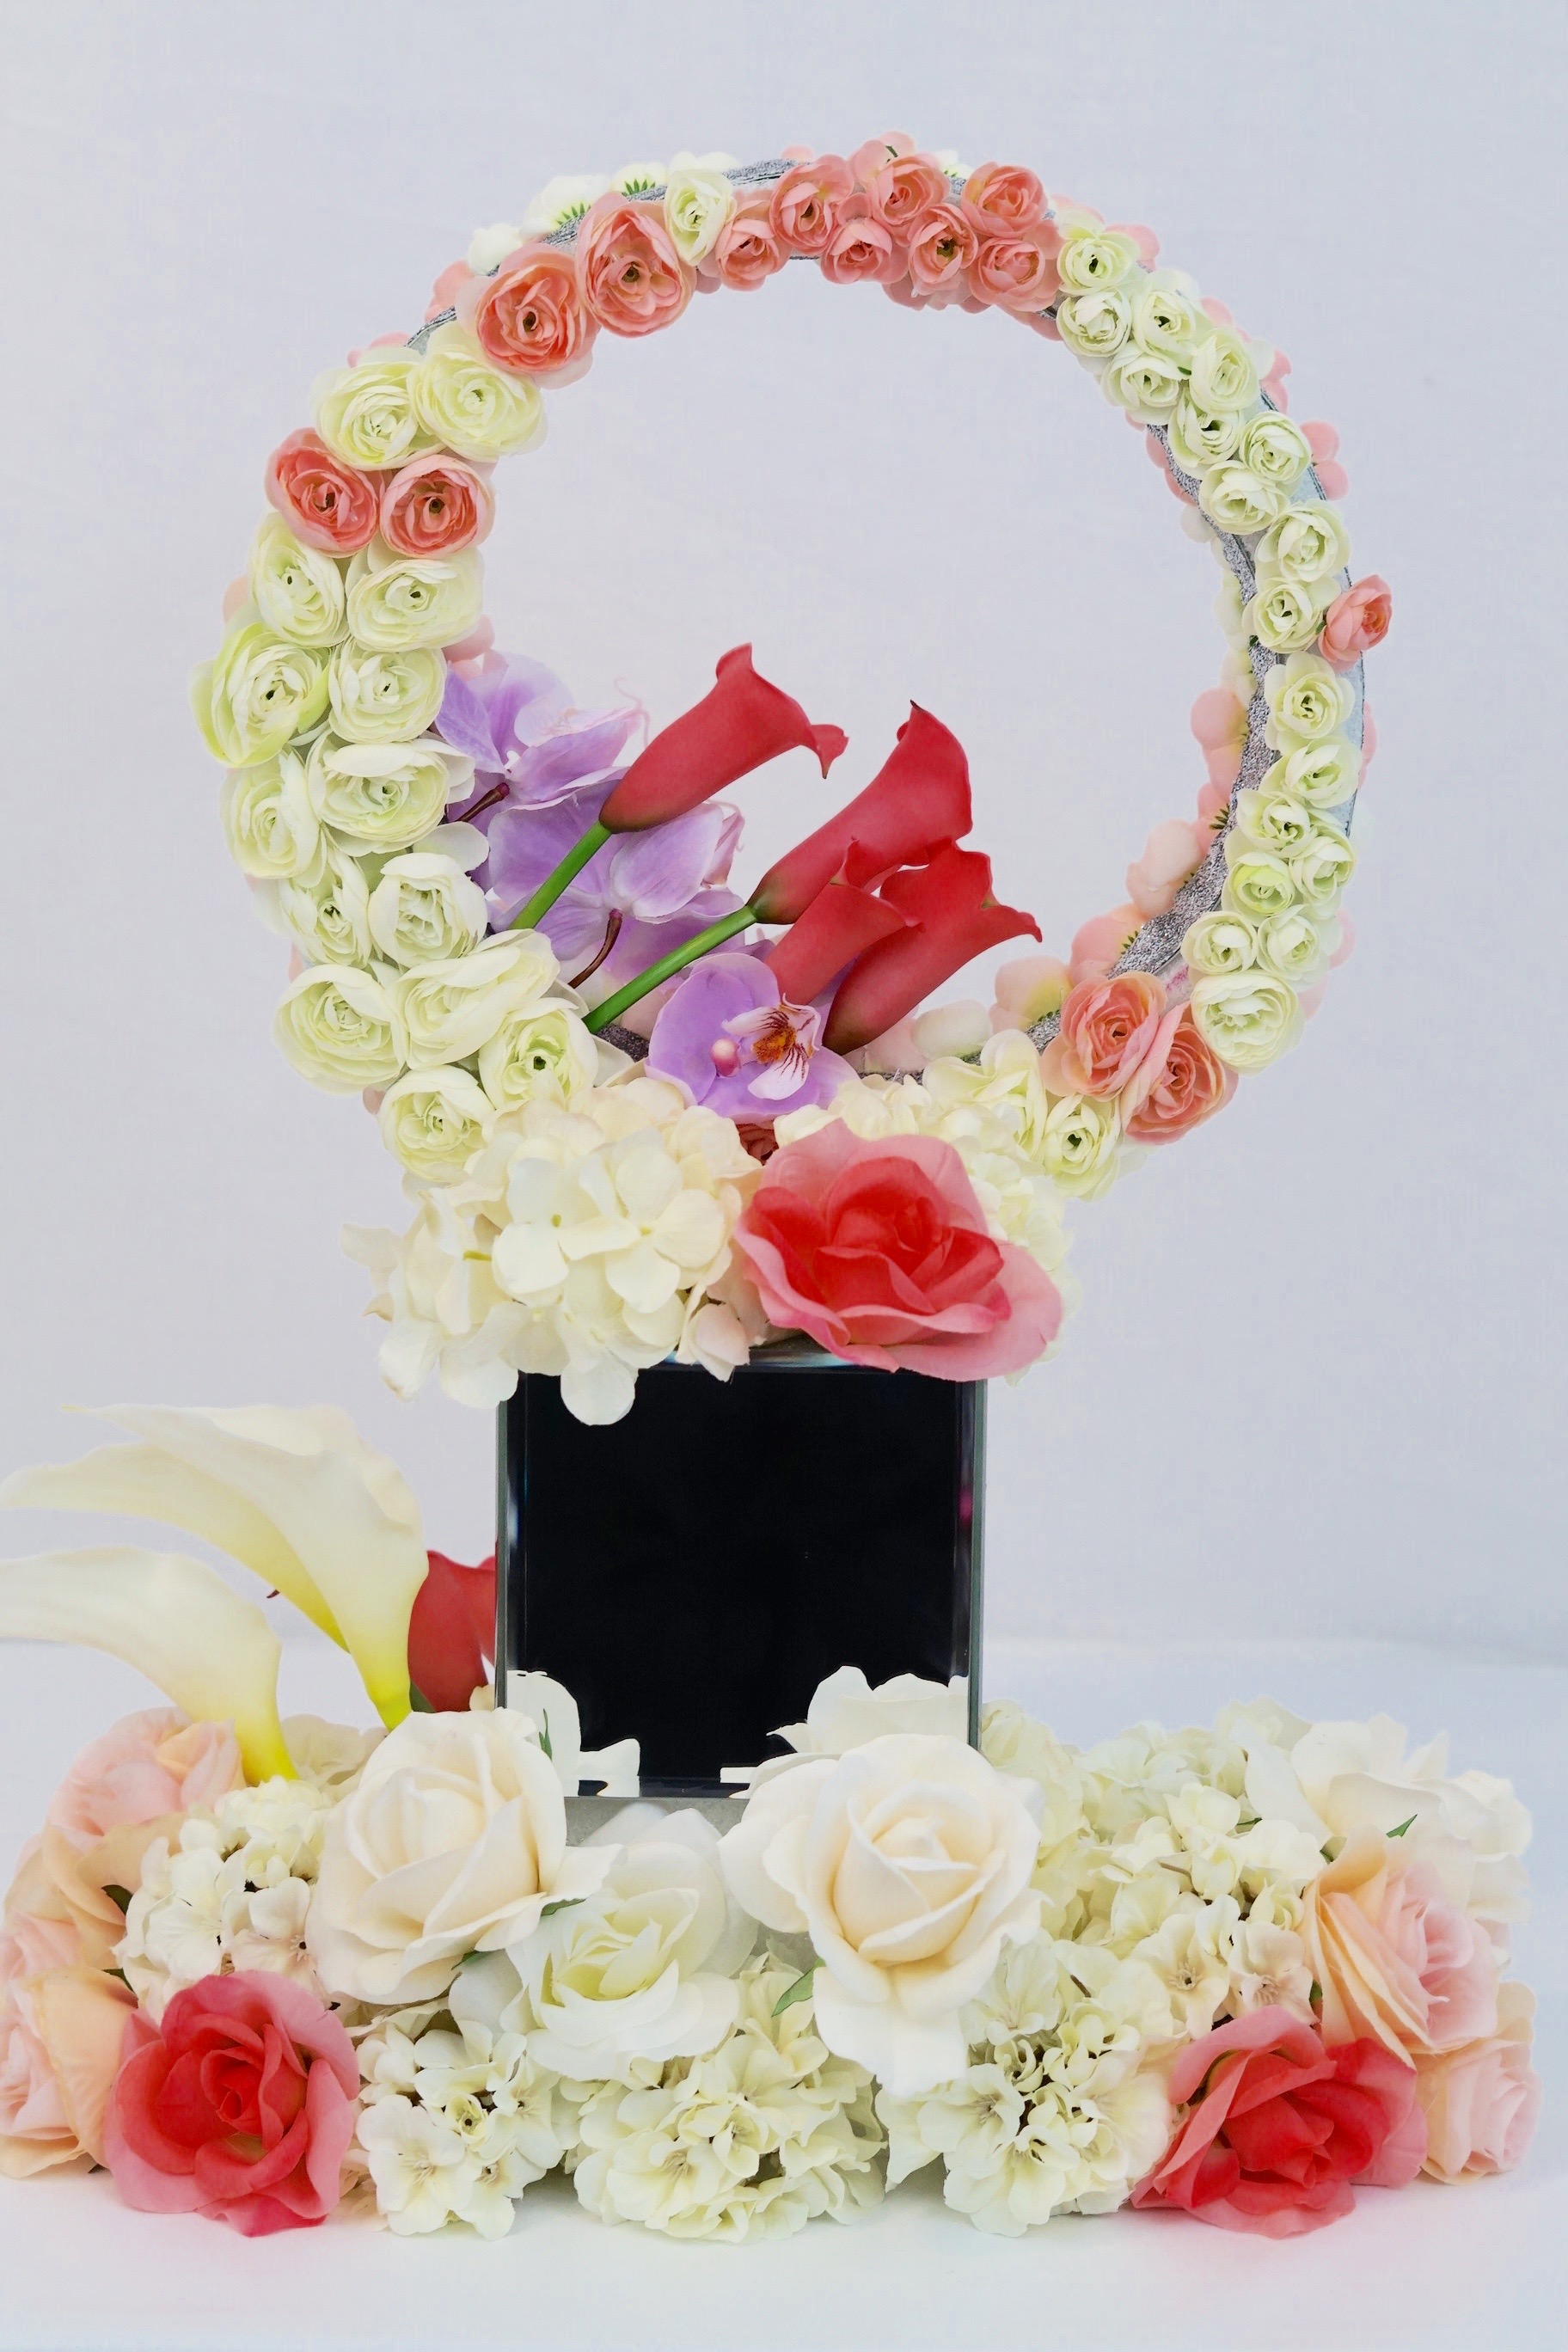
STEP 7: Lastly, attach 4 more hot pink calla lilies to the 2 inch space you left open. Now attach your butterfly orchids 3 to the front and 1 to the back in the same 2 inch space. We will finish off our fairytale wedding centerpiece by adding 2 hydrangea heads and 1 fushcia rose to the backside of your centerpiece.
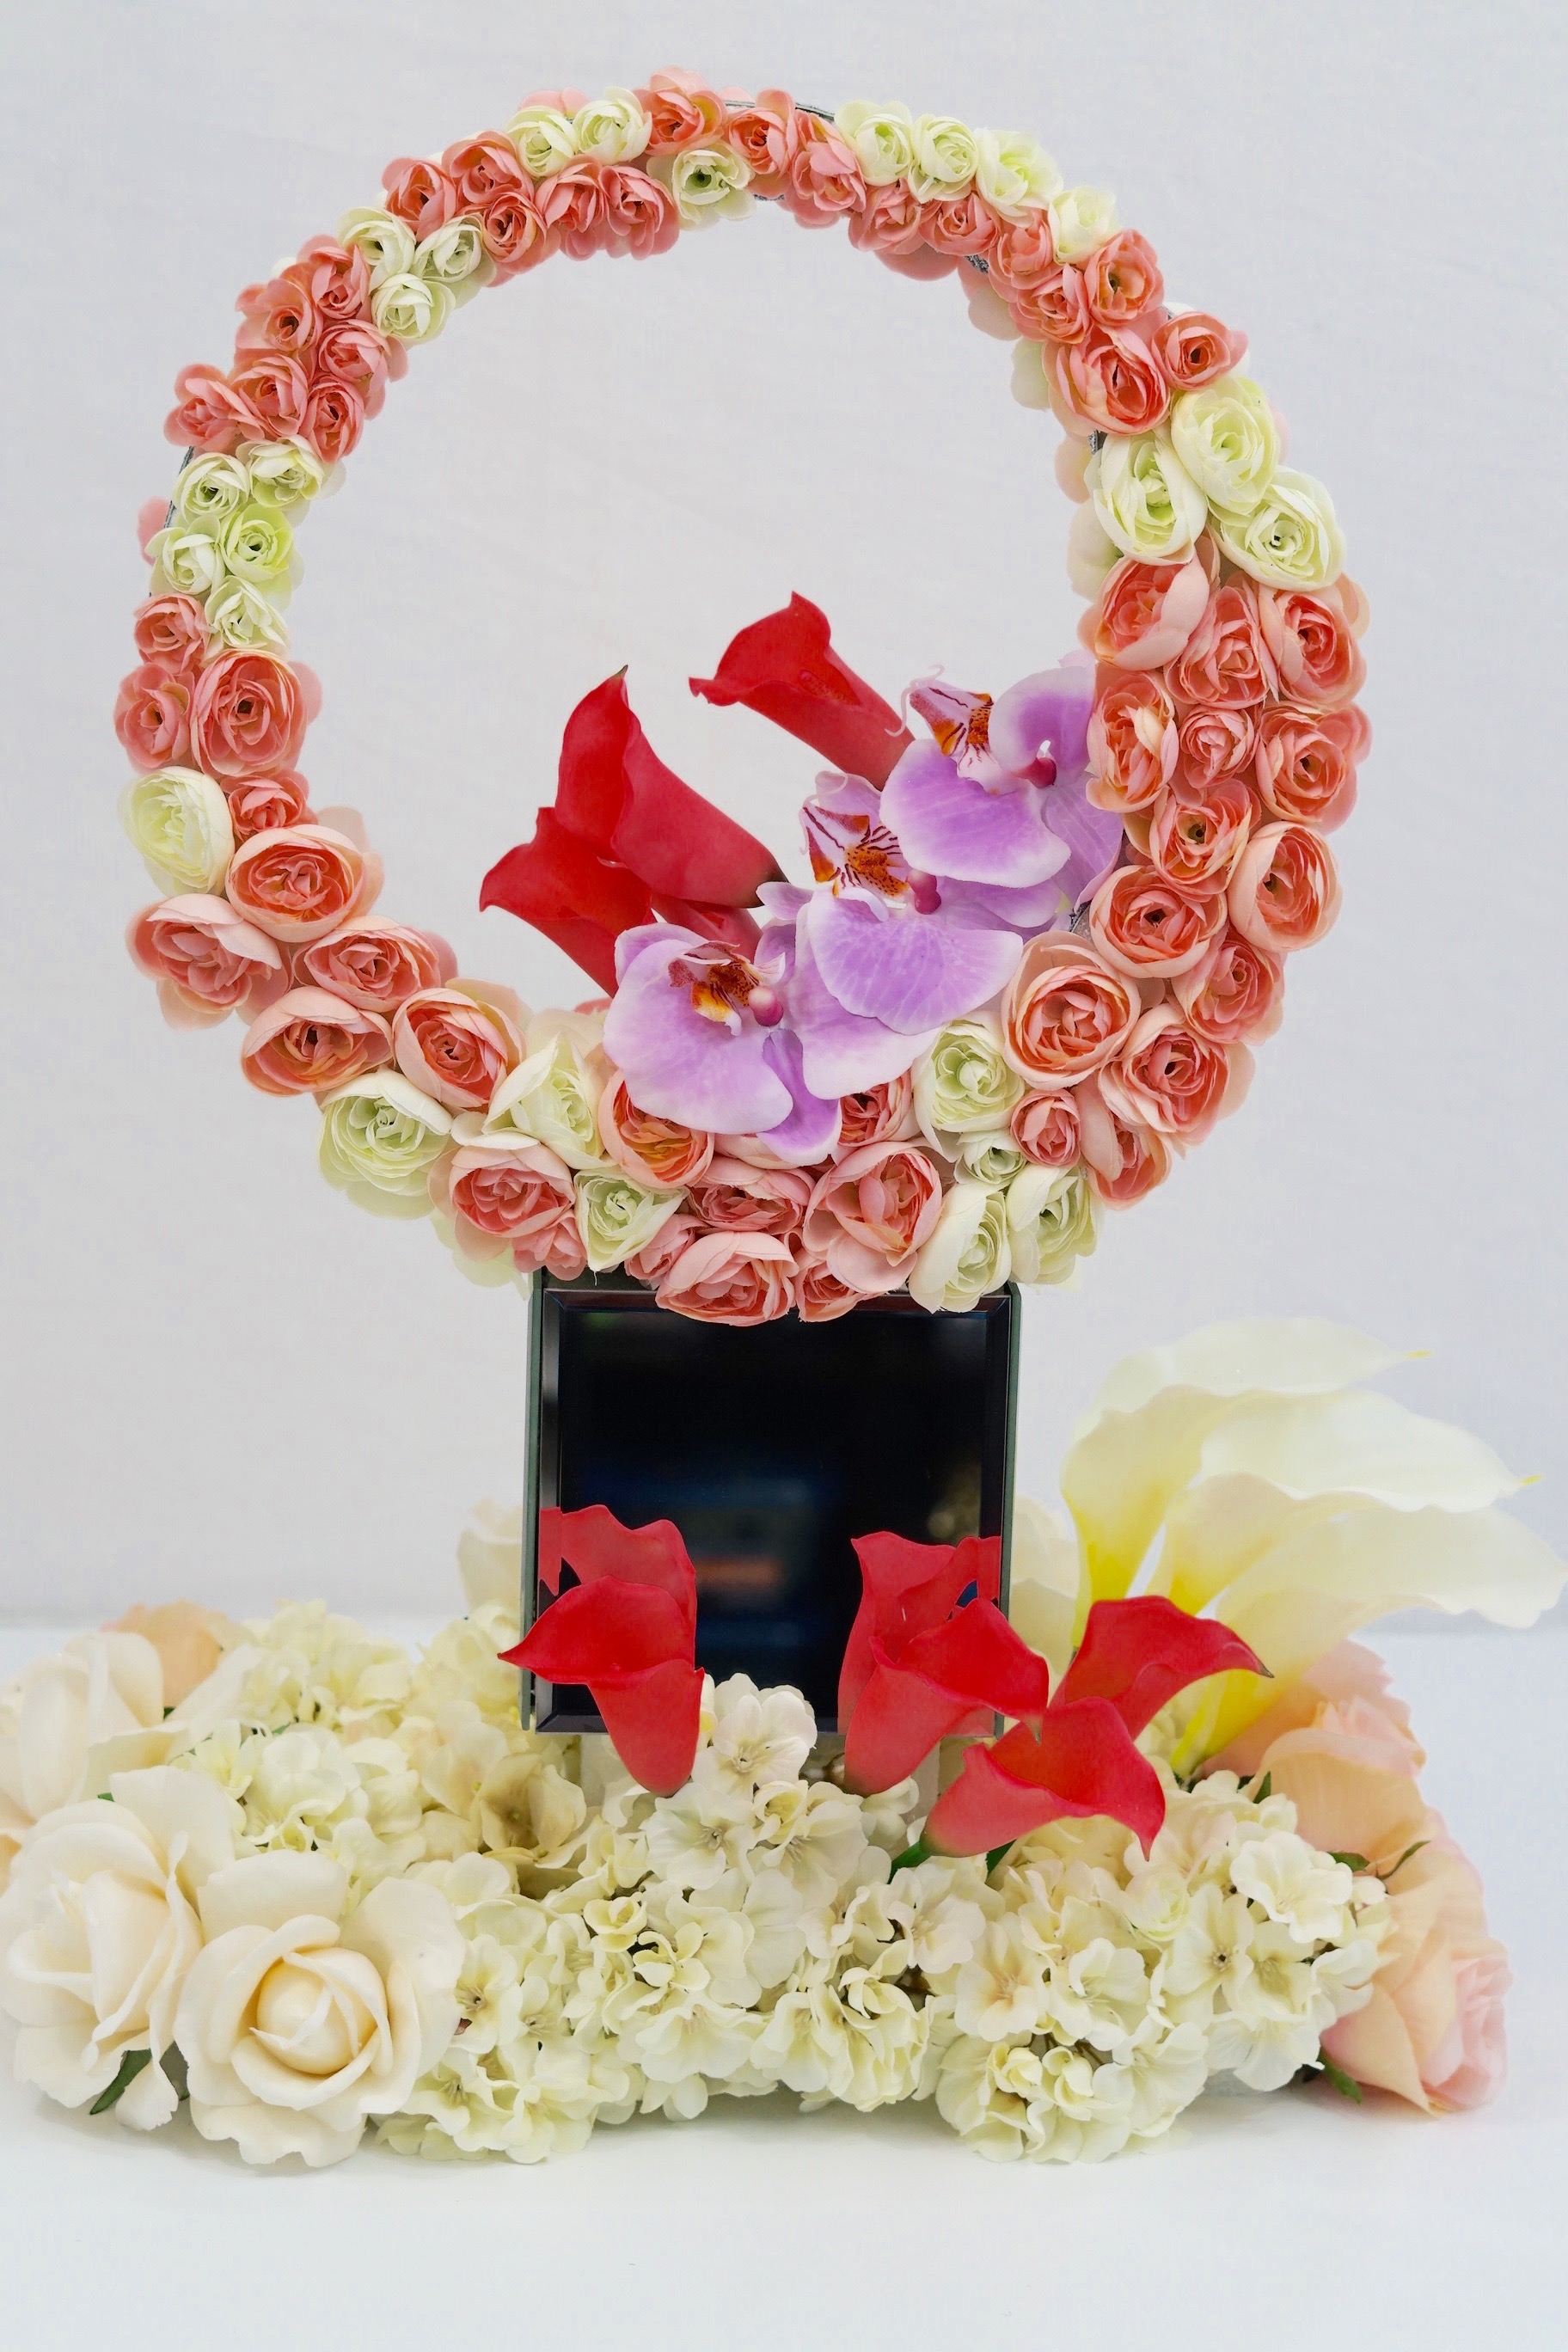
THE FINAL STEP
STEP 8: Set the table!
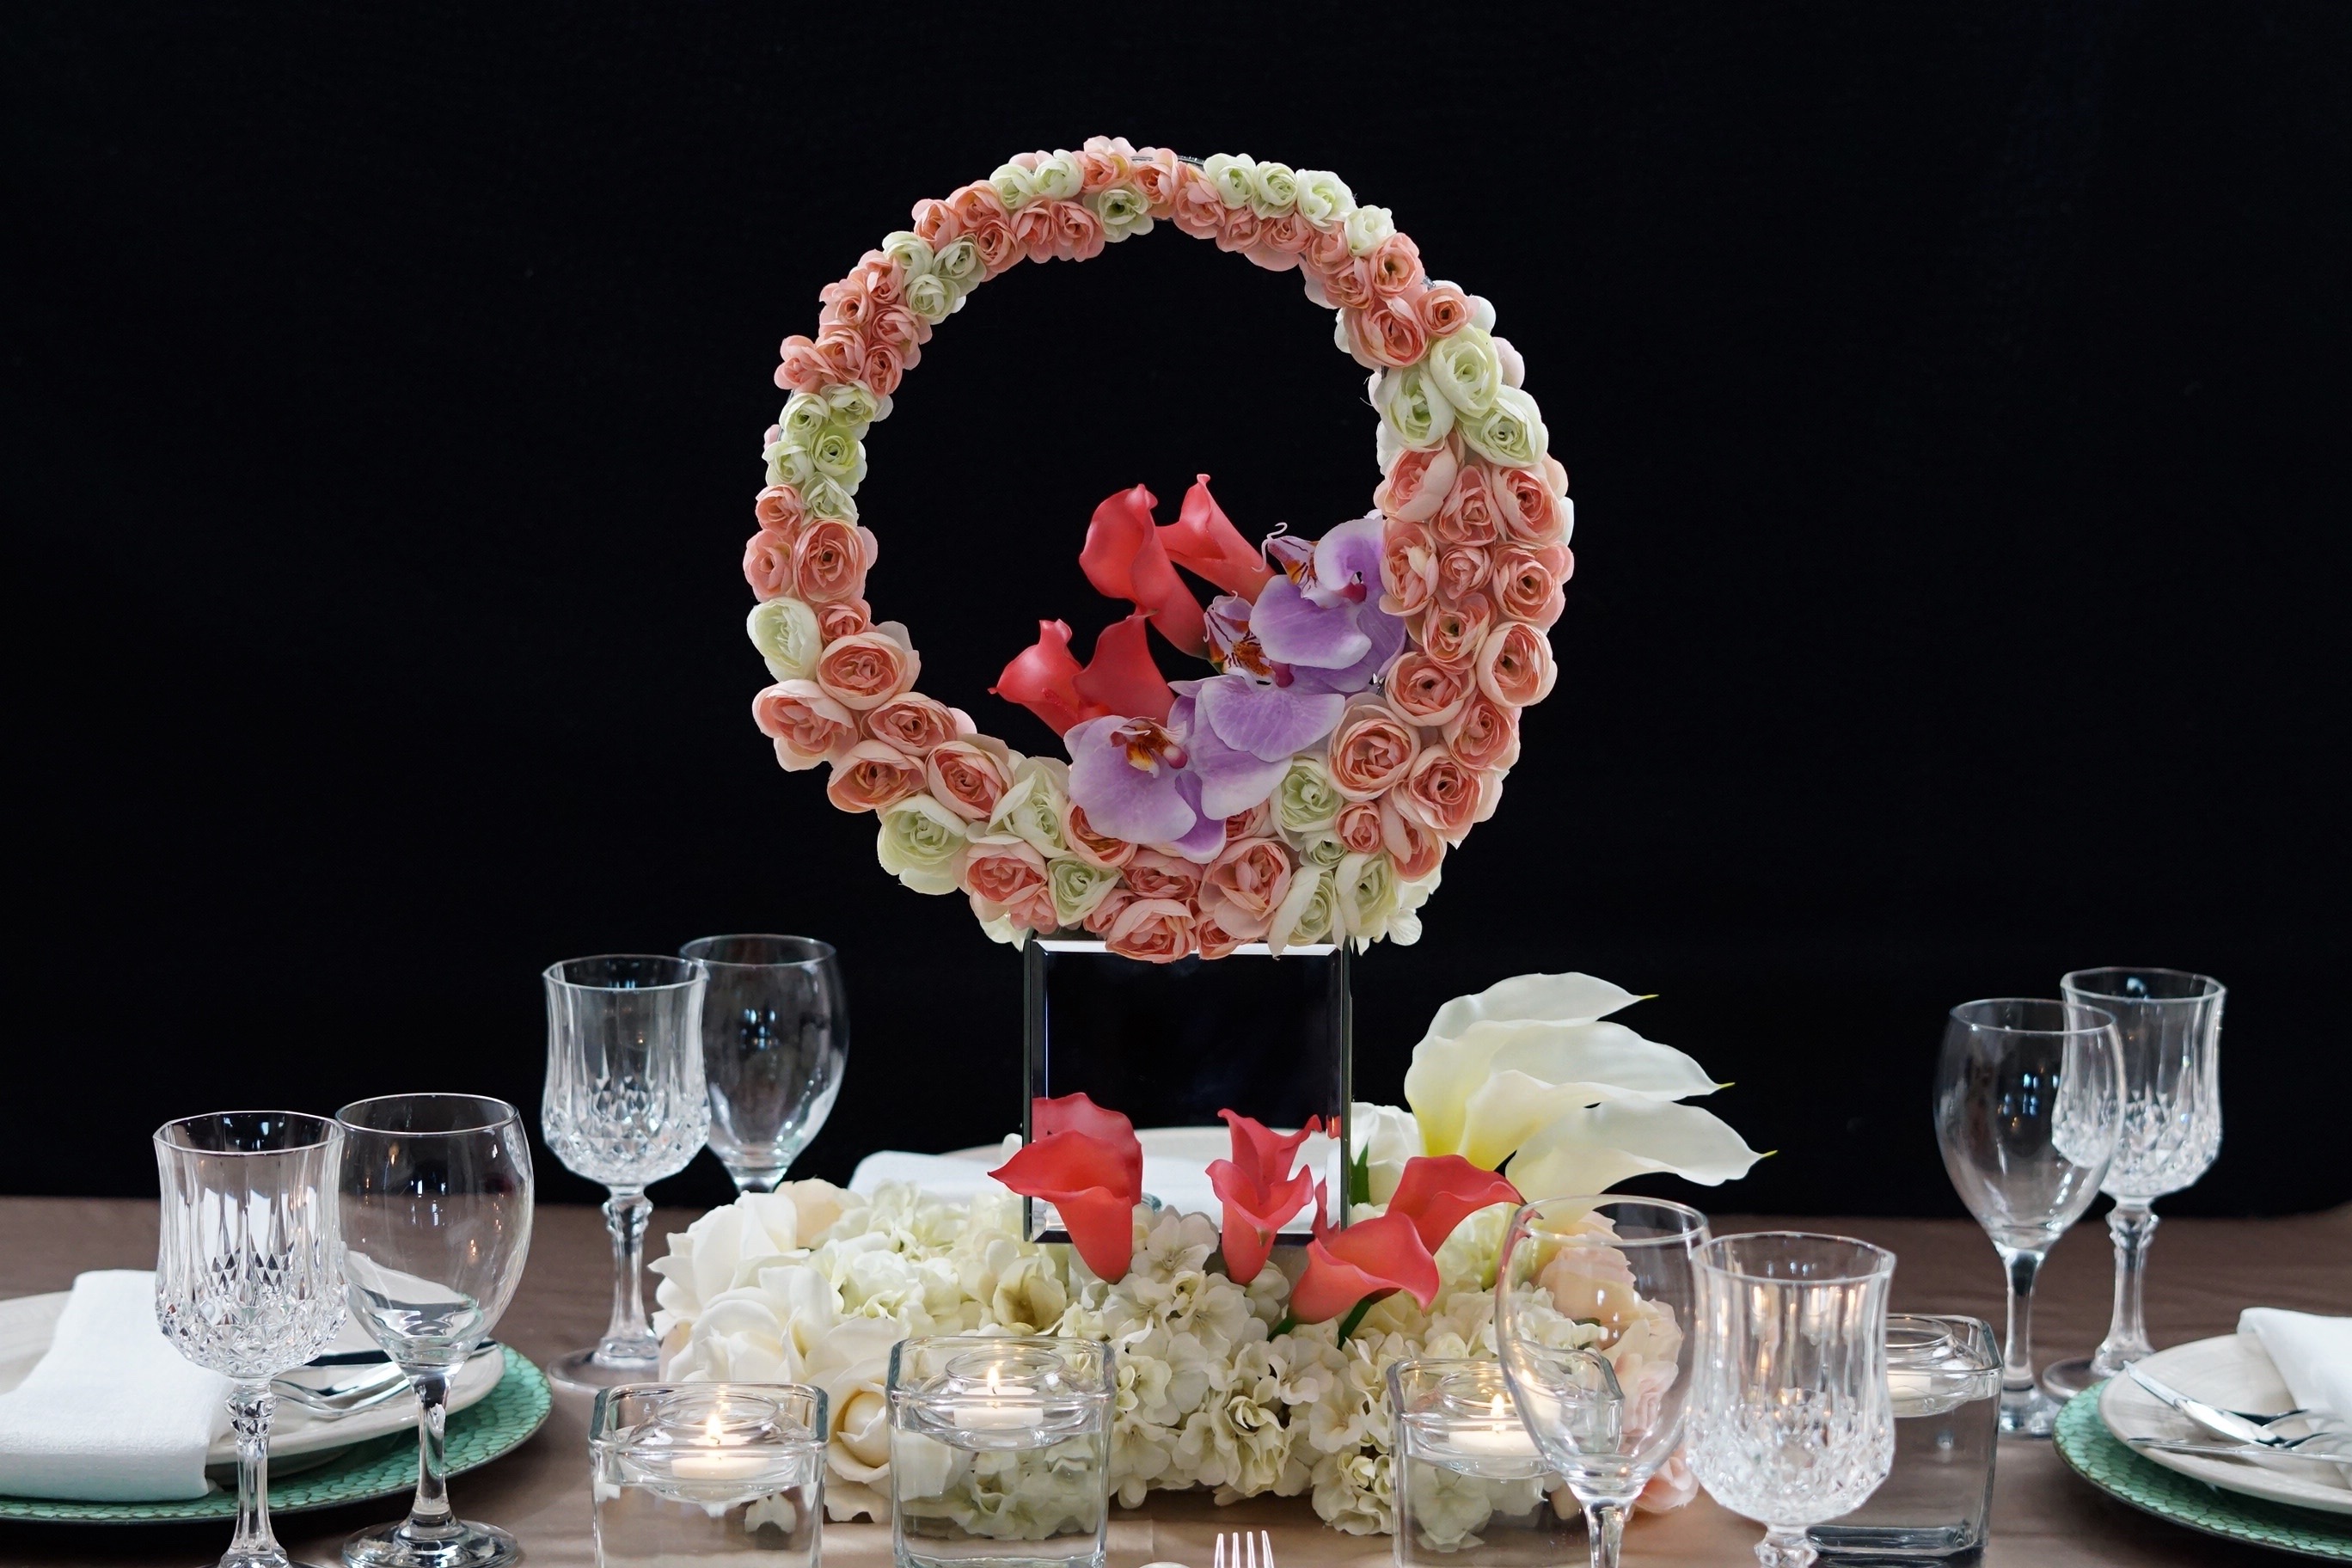
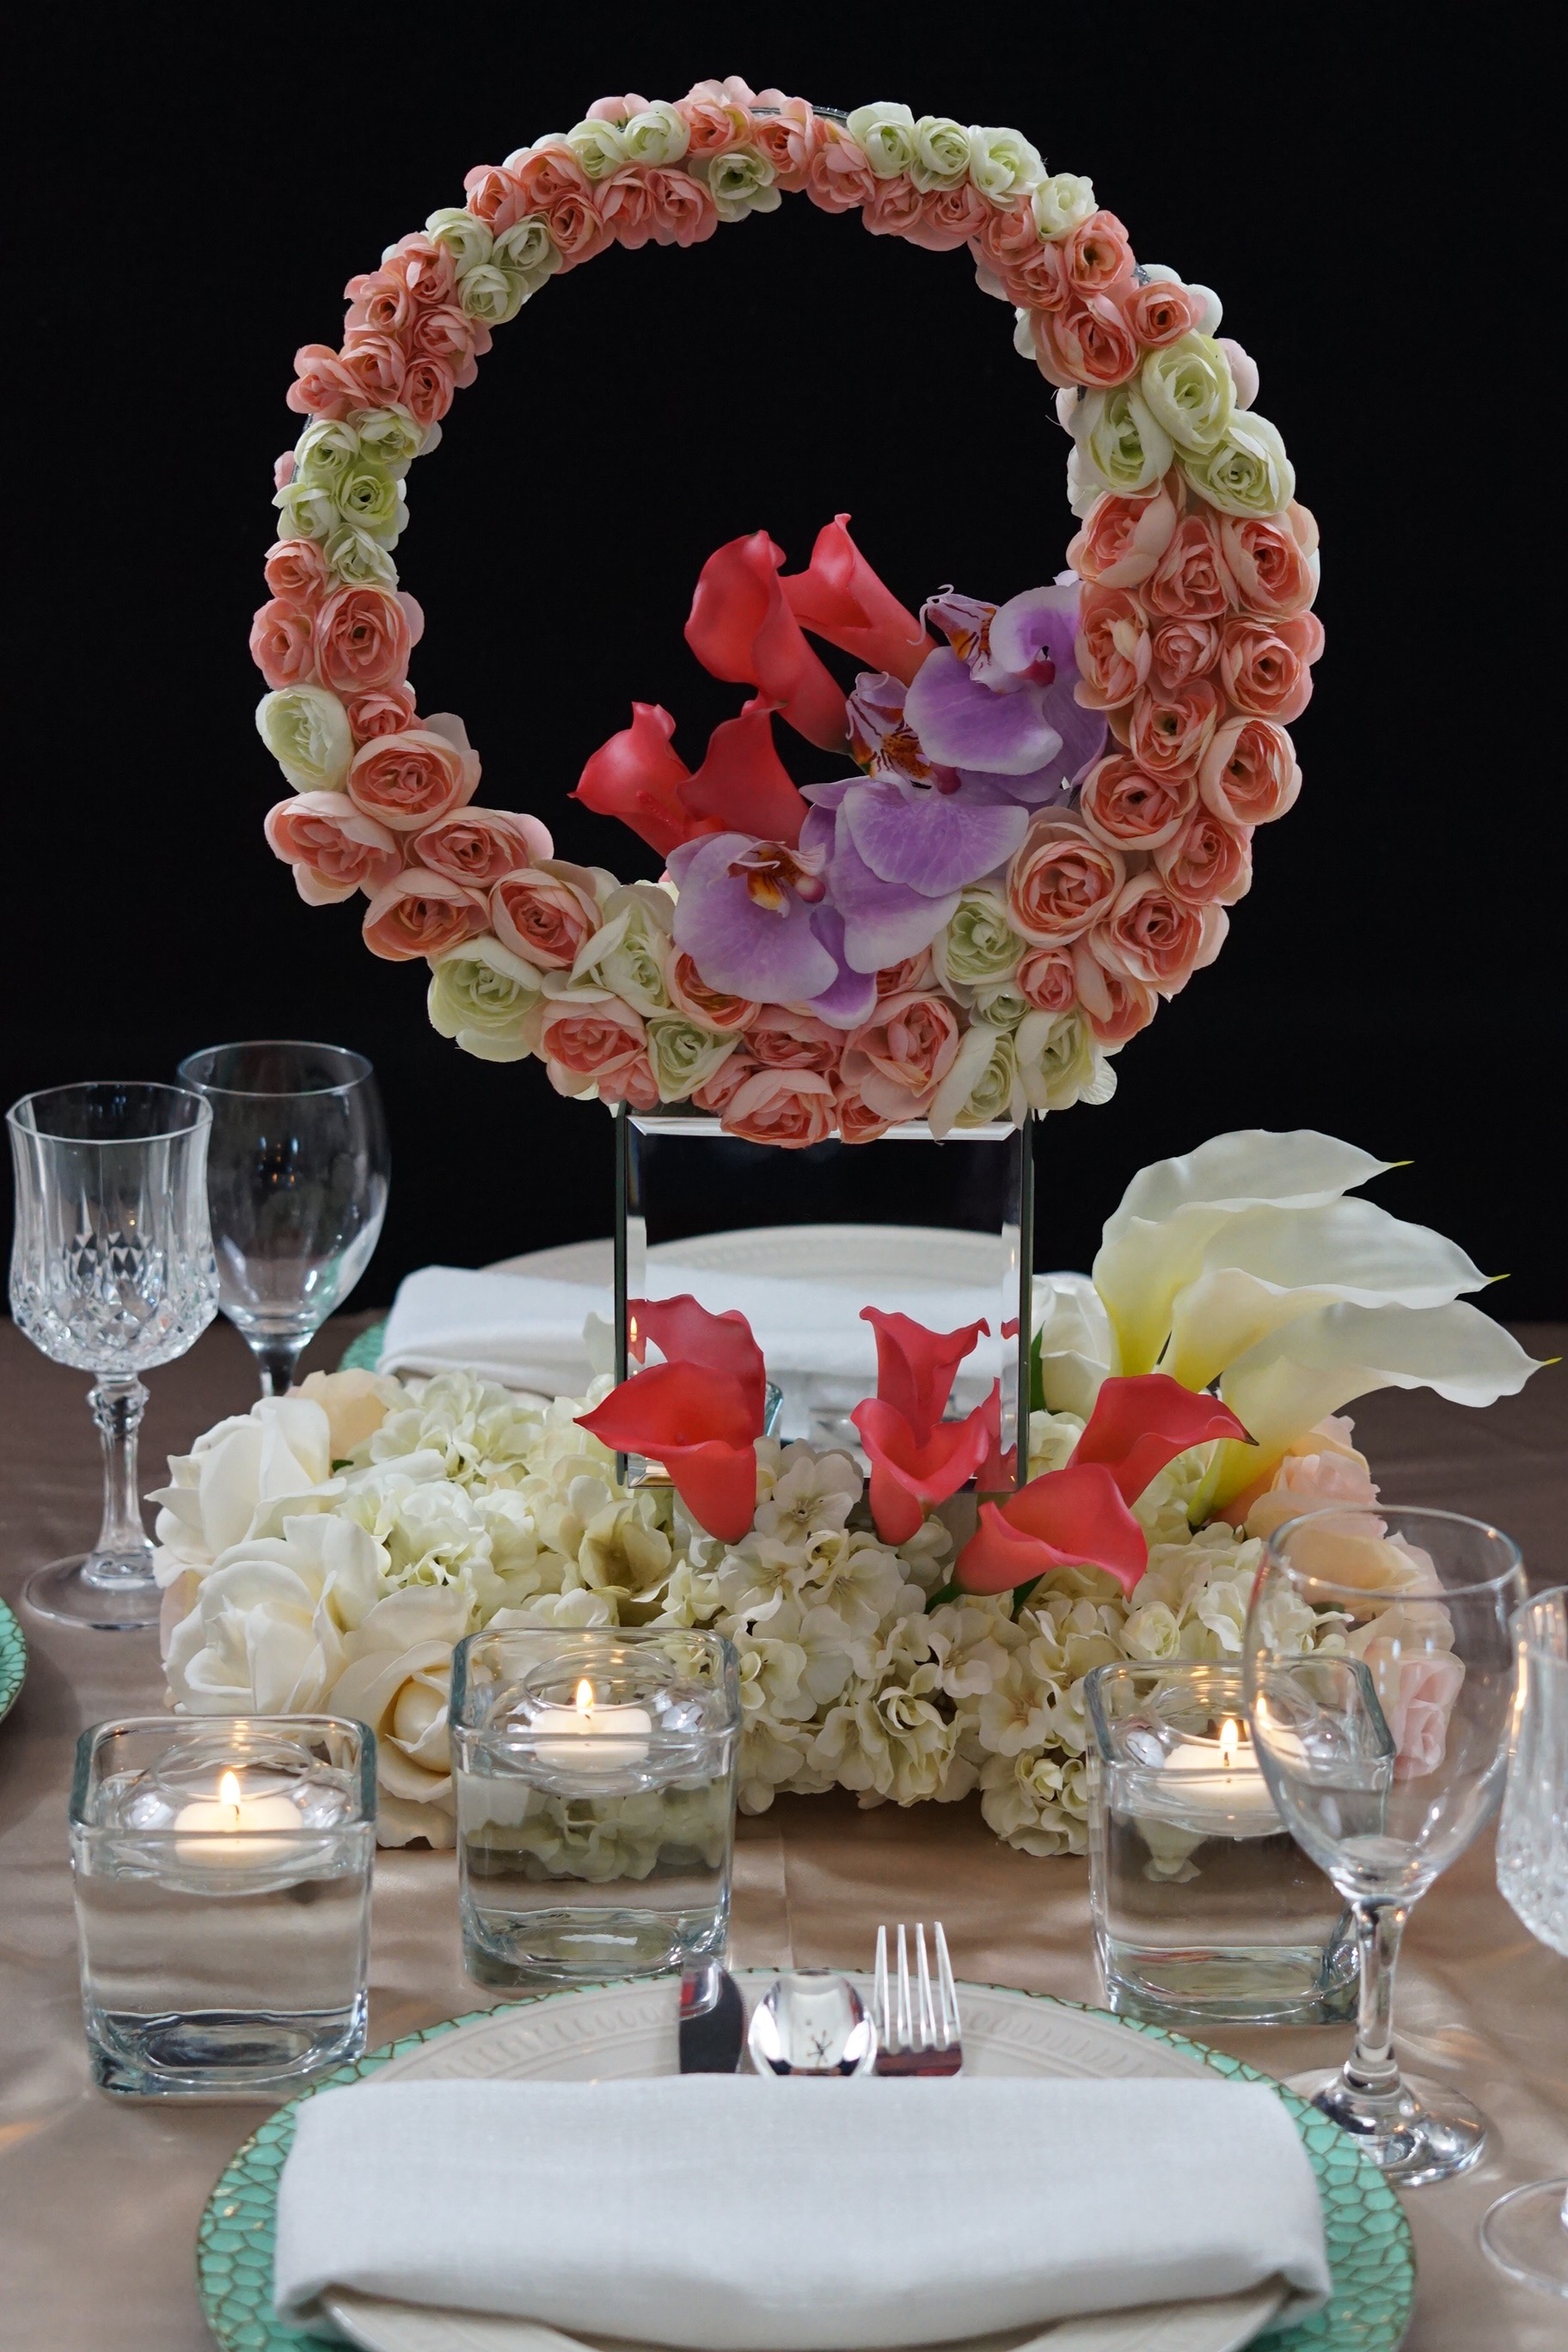
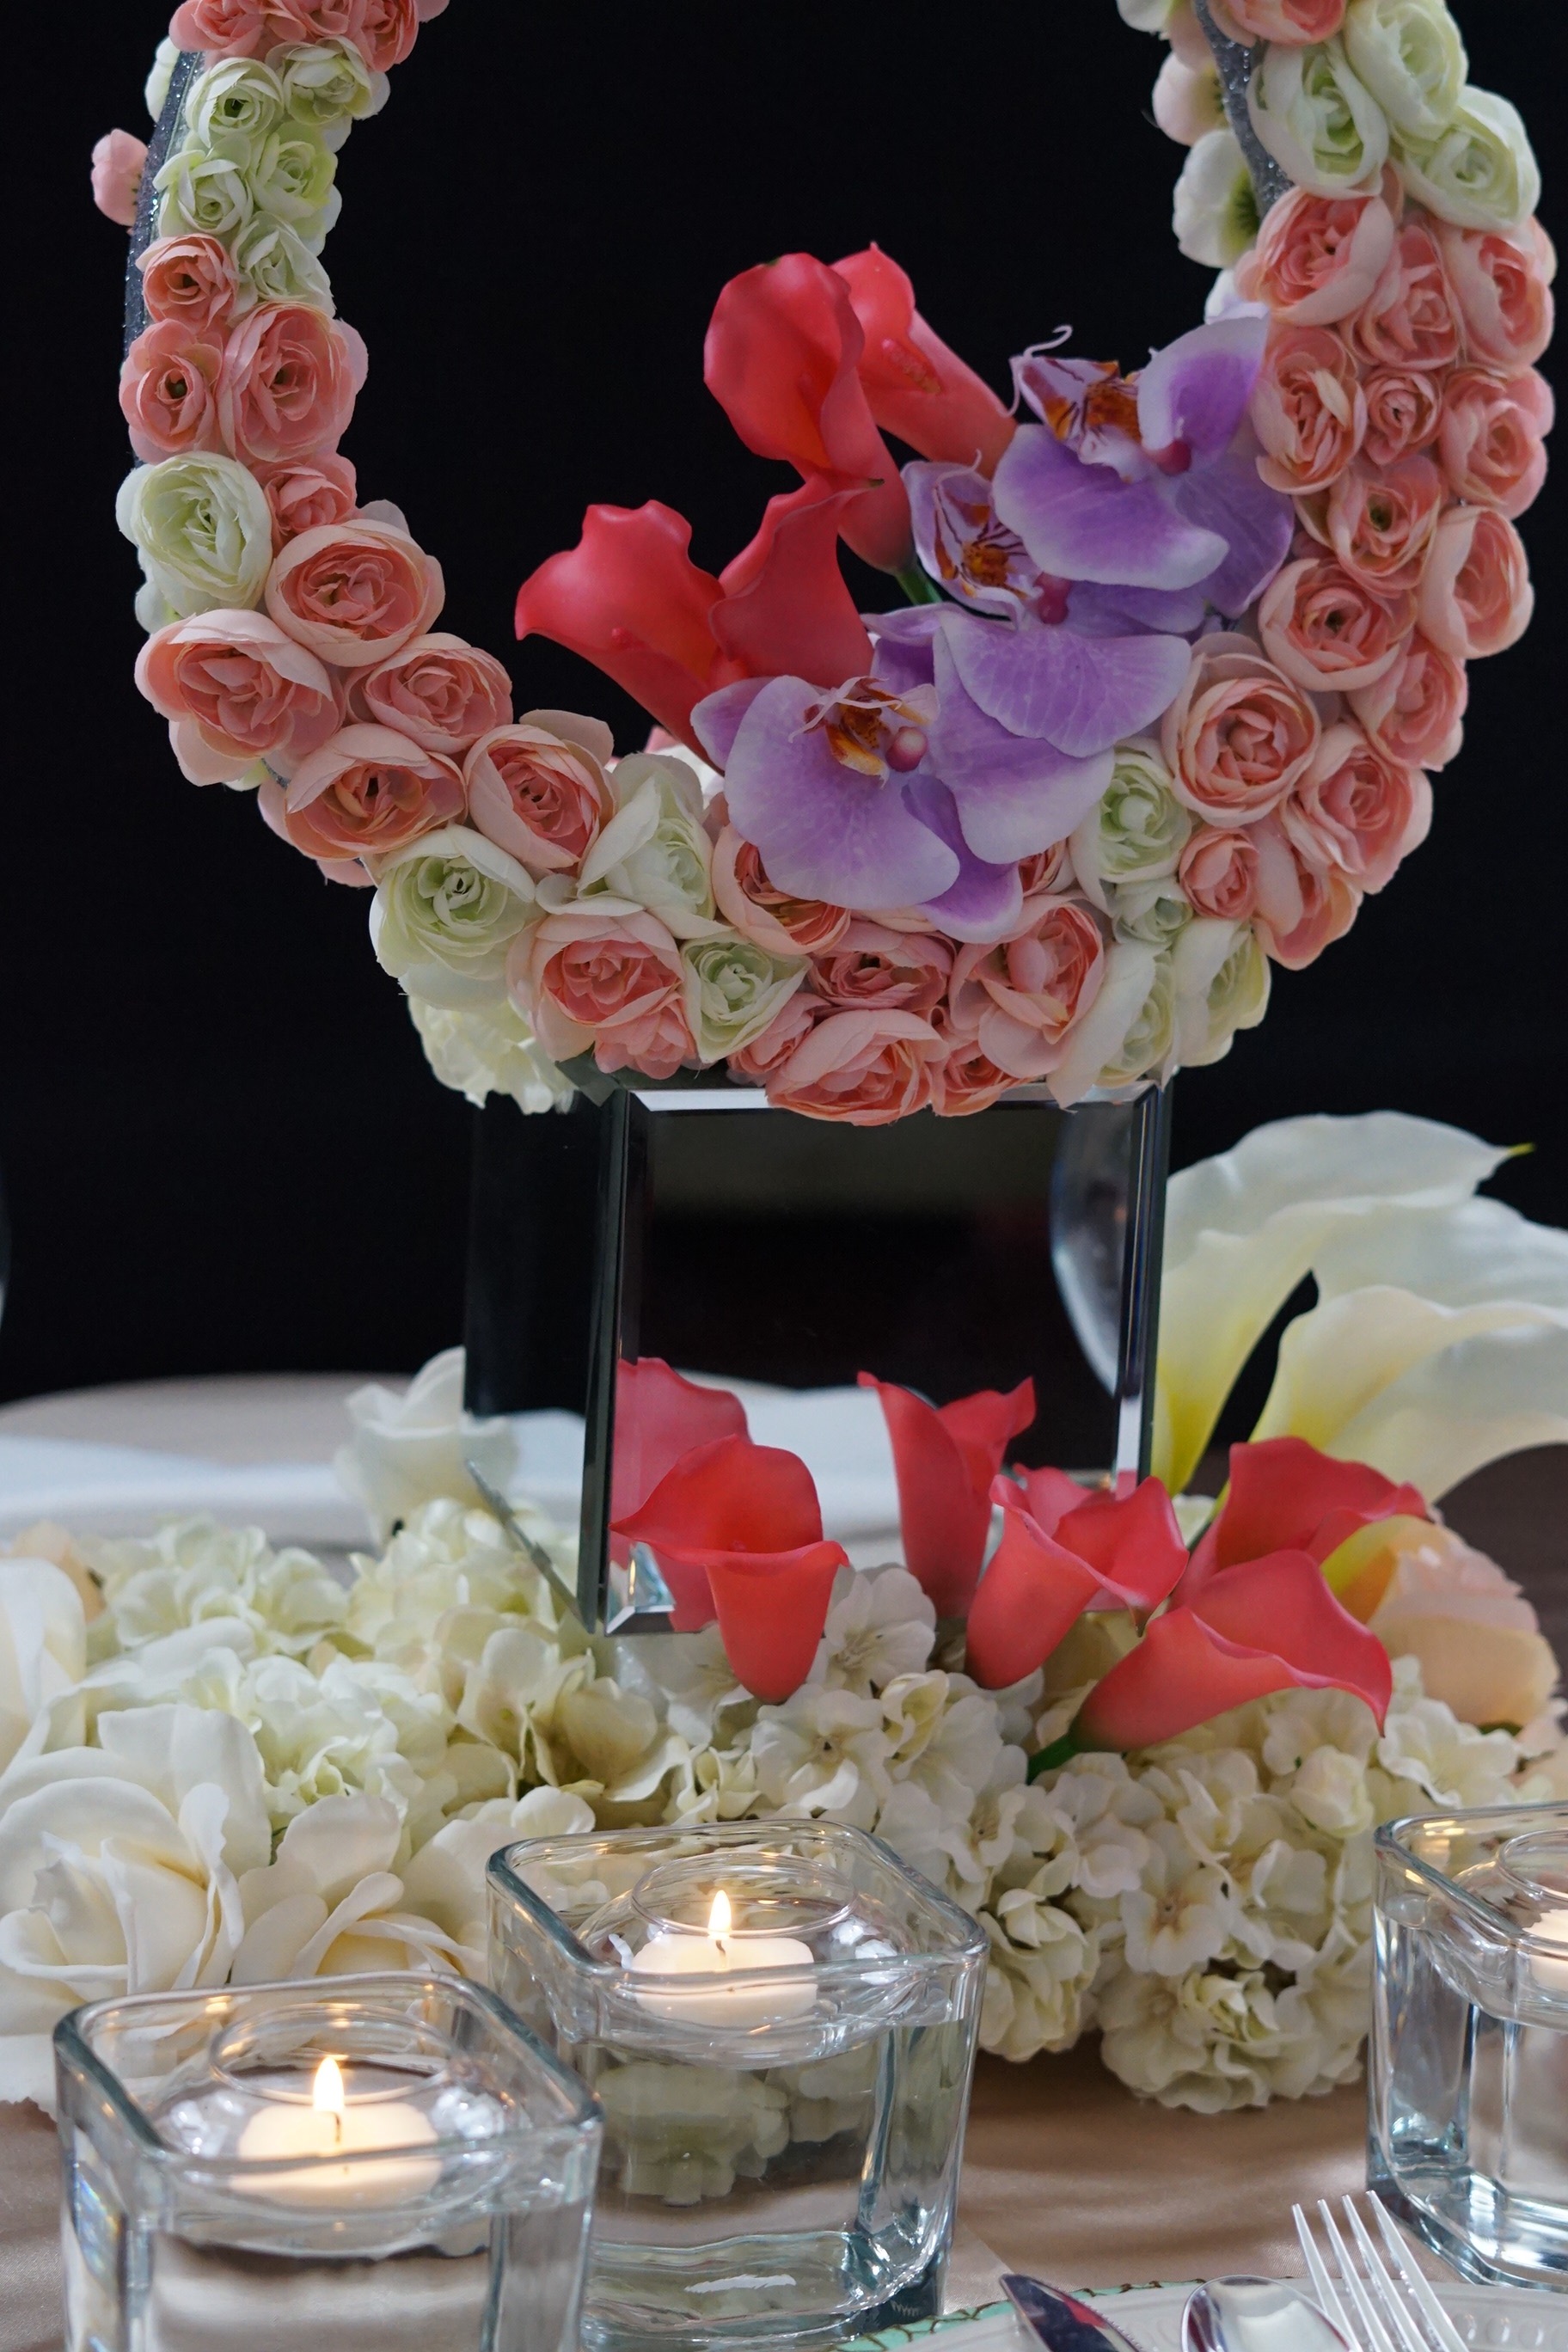
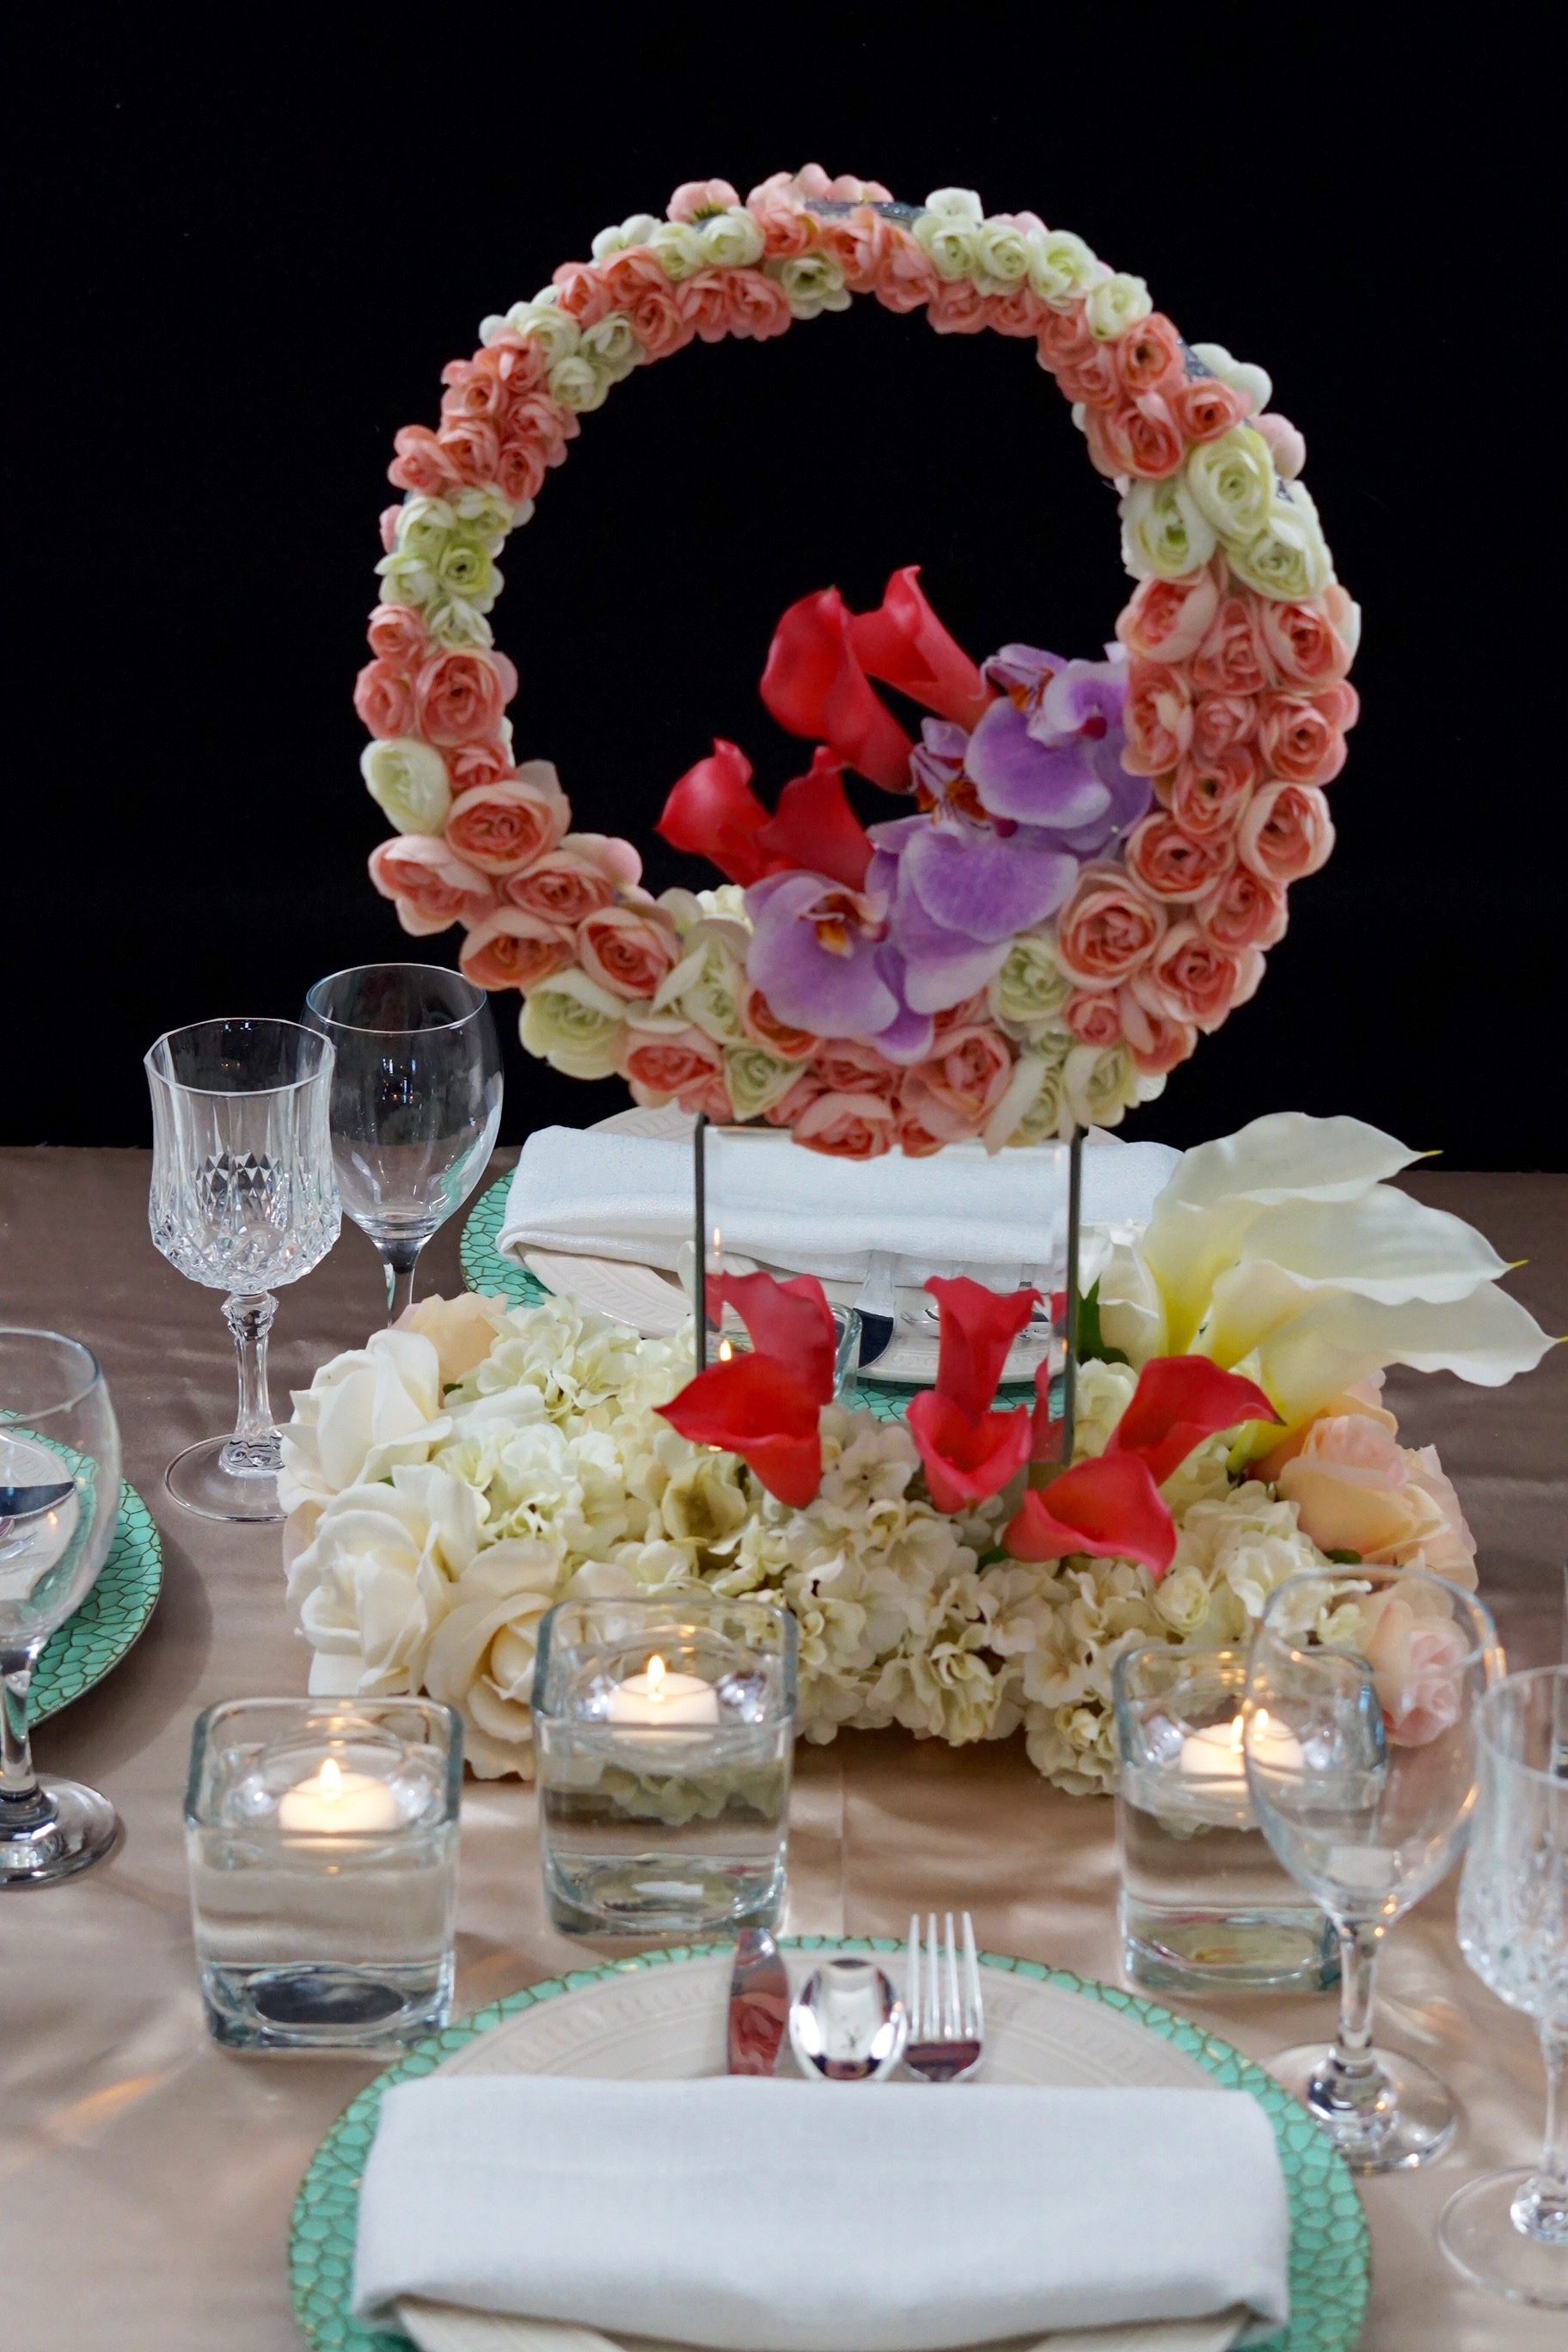
I absolutely love how this Fairytale Wedding centerpiece turned out! The outcome is amazing and will definitely add that extra special touch to any wedding!
Don’t forget to sign up for Ebates to earn cash back on your online purchases. Planning a wedding is expensive, our goal is to help you stay within your budget and make every penny count. Click here to sign up for Ebates, and RIGHT NOW when you sign up, you will receive a $10 cash welcome bonus when you spend $25.00!
If you like the outcome please subscribe to our Youtube Channel for more DIY Videos and follow us on Facebook and Pinterest.
Need help with an upcoming project? Be sure to send us a project request!
“Remember When Every Penny Counts, Count on MissPlanIt”


