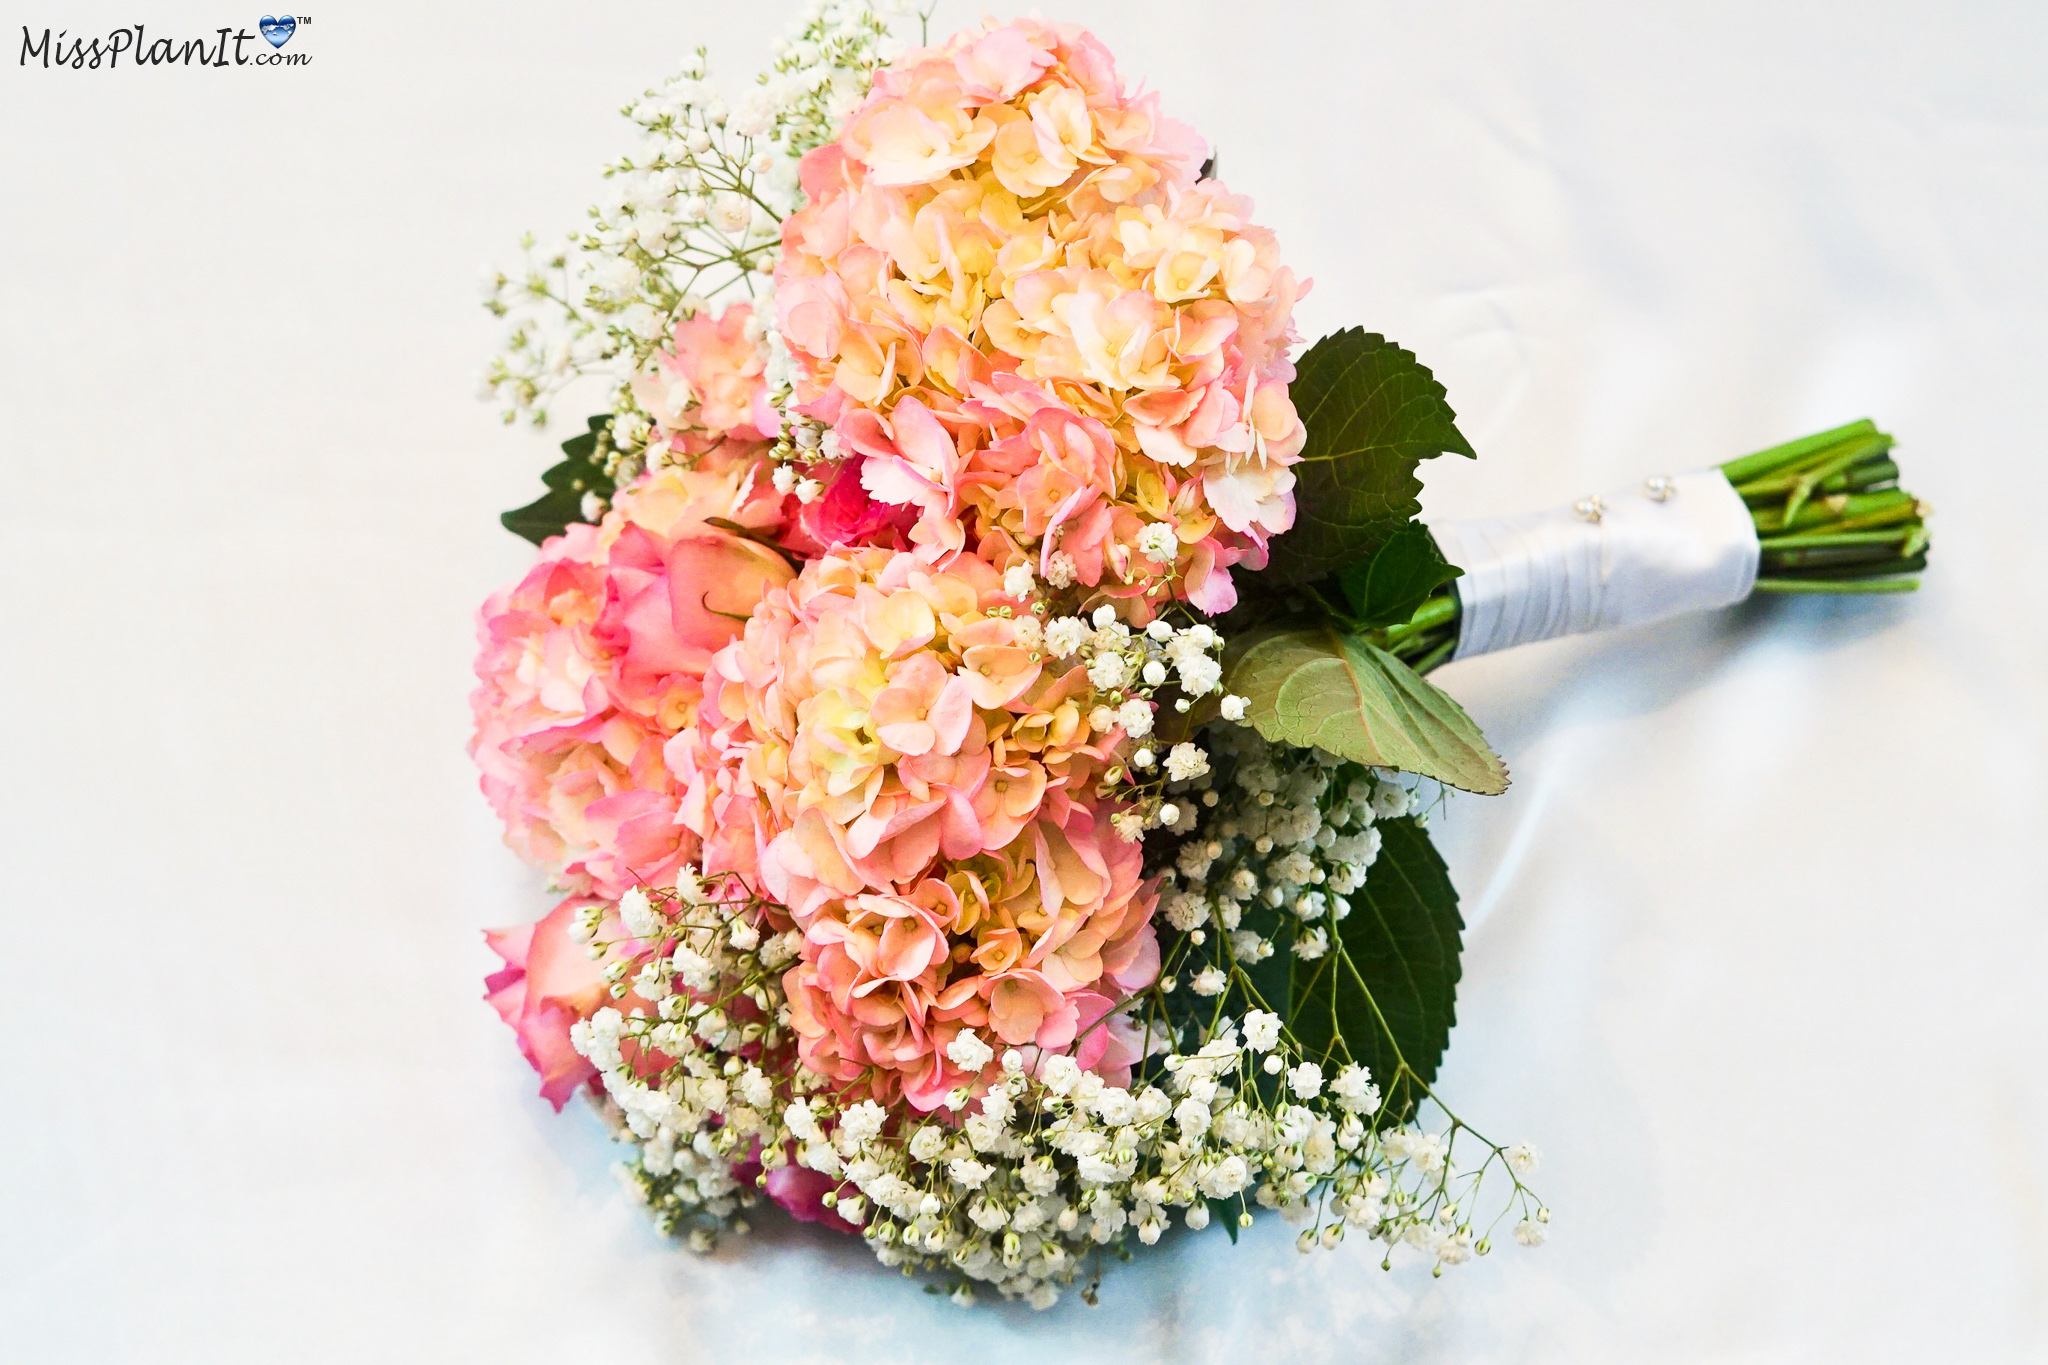
Most brides dream of having a fresh flower bridal bouquet for their wedding. Fresh flowers are beautiful but they can also be very expensive. With all of the wedding project requests I receive from brides, I usually complete the projects with artificial flowers. This is to help the bride on a budget stay within her budget and this also allows the bride to complete her wedding decorations weeks in advance. Furthermore, I do believe artifical flowers are a great choice to use for your wedding decor. However, I also know many brides really have their heart set on fresh flowers. This week I wanted to show you How-To Make a Vintage Fresh Flower Bridal Bouquet for less than $35! Yes it is possible. I simply purchased the flowers from my local grocery store. So let’s get started! For video instructions, please check out the video tutorial below!
[convertkit form=917377]

SUPPLIES:
Floral Garden Floral Wire and Tape Rolls ($1.00)
Garden Collection Metal Pruning Tools ($1.00)
Ivory Satin Ribbon – 2 1/2” ($3.50)
Black Pearl Boutonniere Pins – 2” ($1.99)
Fresh Babies Breath- ($3.98)
1 Dozen Fresh Pink Roses- ($9.88)
3 Stems Fresh Pink Hydrangea X 2- ($12.96)
TOTAL PRICE: $34.31
(Prices fluctuate depending on coupon discount amount)
For written instructions, please continue reading below:
How to Make a Vintage Fresh Flower Bridal Bouquet
Directions:
STEP 1: Start with one hydrangea flower. Then begin adding 2 to 3 roses to the bridal bouquet.
Add Baby’s Breath to the Bridal Bouquet
STEP 2: Next trim a baby’s breath to your desired length if needed so it fits the bouquet. Then add it to the fresh flower bouquet.
STEP 3: Add an additional 2 to 3 roses to the other side and then add the baby’s breath. Repeat this pattern around the bridal bouquet.
STEP 4: Place another hydrangea flower in the bridal bouquet. Continue adding baby’s breath and roses until your desired fullness is achieved.
Attach the Floral Tape
STEP 5: Once you have all the flowers arranged, you will wrap the stems with floral tape beginning about an inch from the base. Wrap the floral tape down about 4 inches.
STEP 6: Take the 2 1/2 inch ribbon and wrap it around the green floral tape. Leave out about an inch of ribbon and then cut it. Fold the cut part of the ribbon. Now wrap the ribbon around making sure it is nice and taut. Next push 2 boutonniere pins in the ribbon. Trim off any excess from the pins with wire cutters.
THE FINAL STEP
STEP 7: Lastly, trim the stems evenly with your metal pruning tool. To keep the flowers fresh, add the bridal bouquet to water with stay fresh powder that comes with the flowers.
Tip: I recommend making your bridal bouquet the night before but doing the ribbon part of the bridal bouquet that morning so you can place the bouquet in water the night before without damaging the ribbon!
I absolutely love how this vintage fresh bridal bouquet turned out! The outcome is amazing and definitely gives you an extra special touch to your wedding!
If you like the outcome please subscribe to our Youtube Channel for more DIY Videos and follow us on Facebook and Pinterest.
Need help with an upcoming project? Be sure to send us a project request!
“Remember When Every Penny Counts, Count on MissPlanIt”

