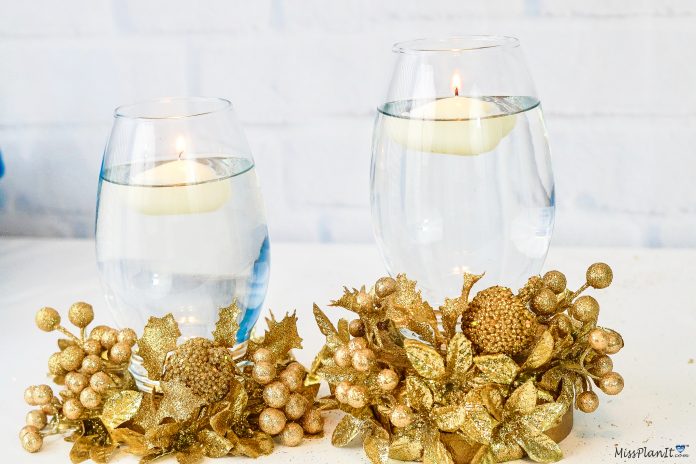
Gold is frequently incorporated in many wedding color palettes, as it virtually goes with any color. The elegant look of the color gold, often associated with royalty, is an exceptional choice to give your wedding that WOW FACTOR!
This is why I am so excited to share with you these Gold Glam Wedding Centerpieces I made using Christmas Decorations from the Dollar Tree!
Yes, I am pretty excited about this!
One thing I want to mention before we get started, if you plan to DIY these wedding centerpieces, please go and get your supplies NOW. After the Christmas season is over, these items will not be available until the following Christmas season.
AND….the cost is a great price…EACH ITEM IS ONLY $1! The total price to make these centerpieces was JUST $8! Not only are these wedding centerpieces beautiful, they are also sooo INEXPENSIVE!
So let’s get started. For video instructions, please check out the video tutorial below!
[convertkit form=917377]
VIDEO TUTORIAL:
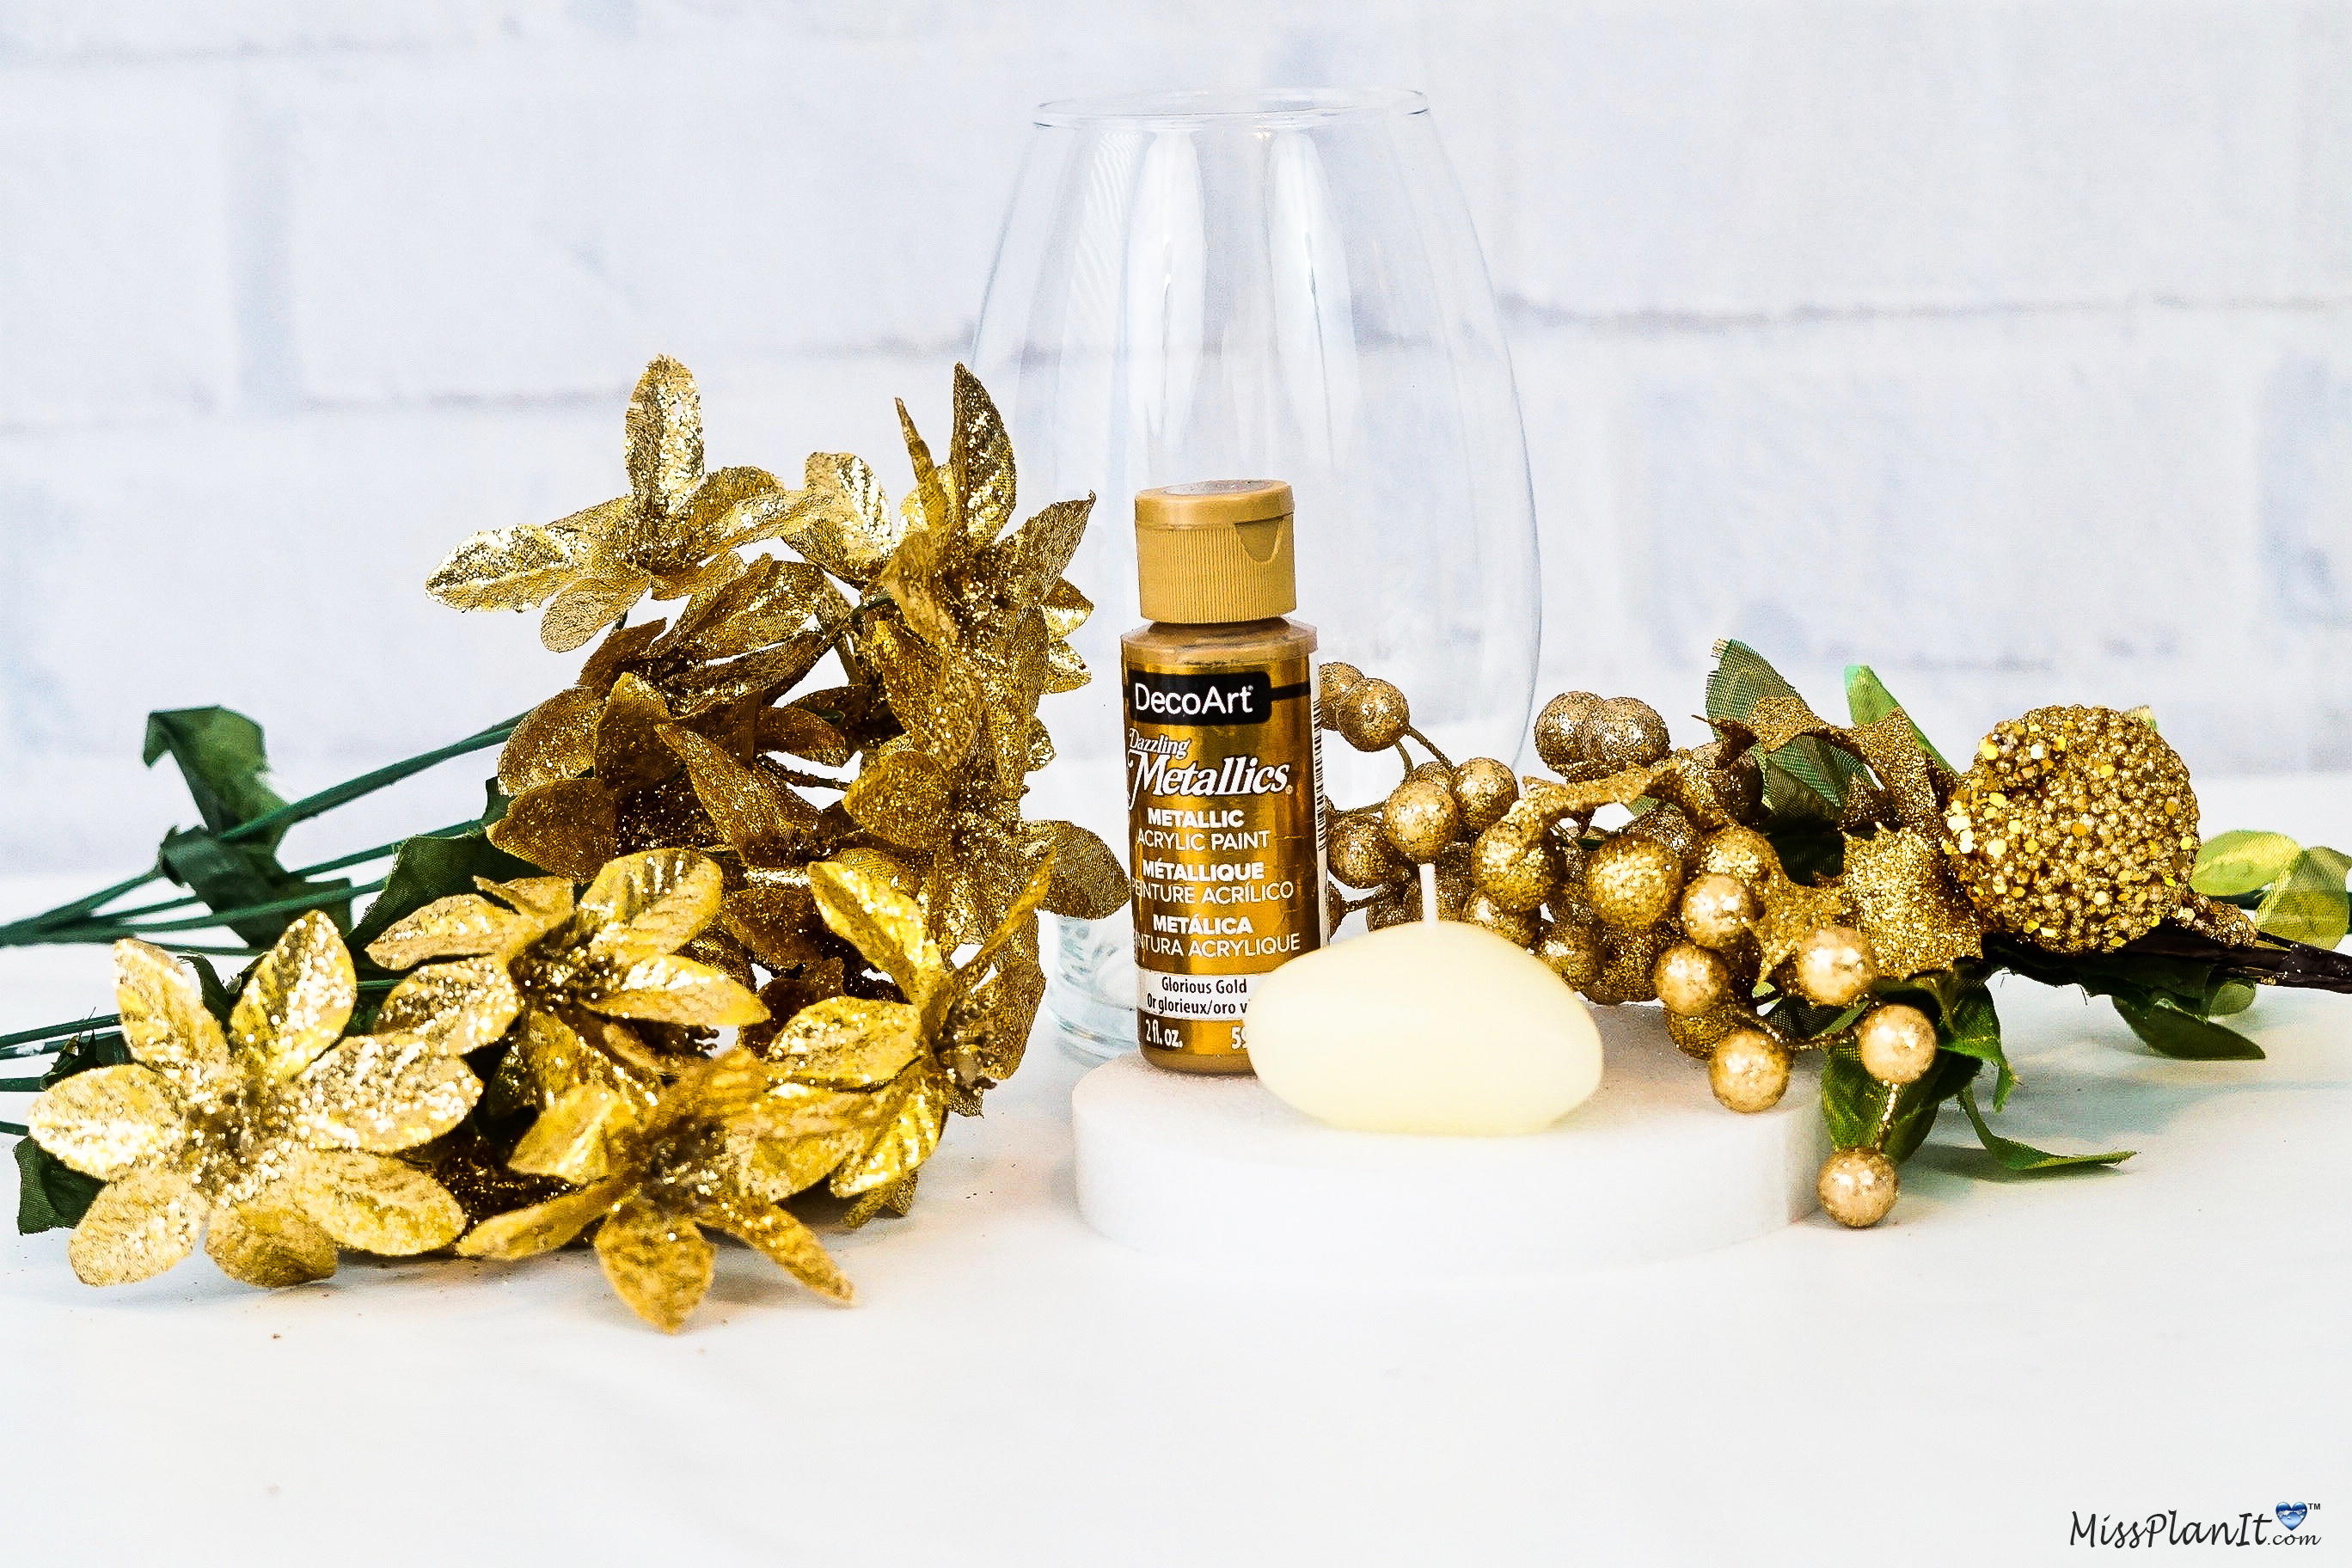
For written instructions, please continue reading below:
How To Make Gold Glam Wedding Centerpieces
Directions:
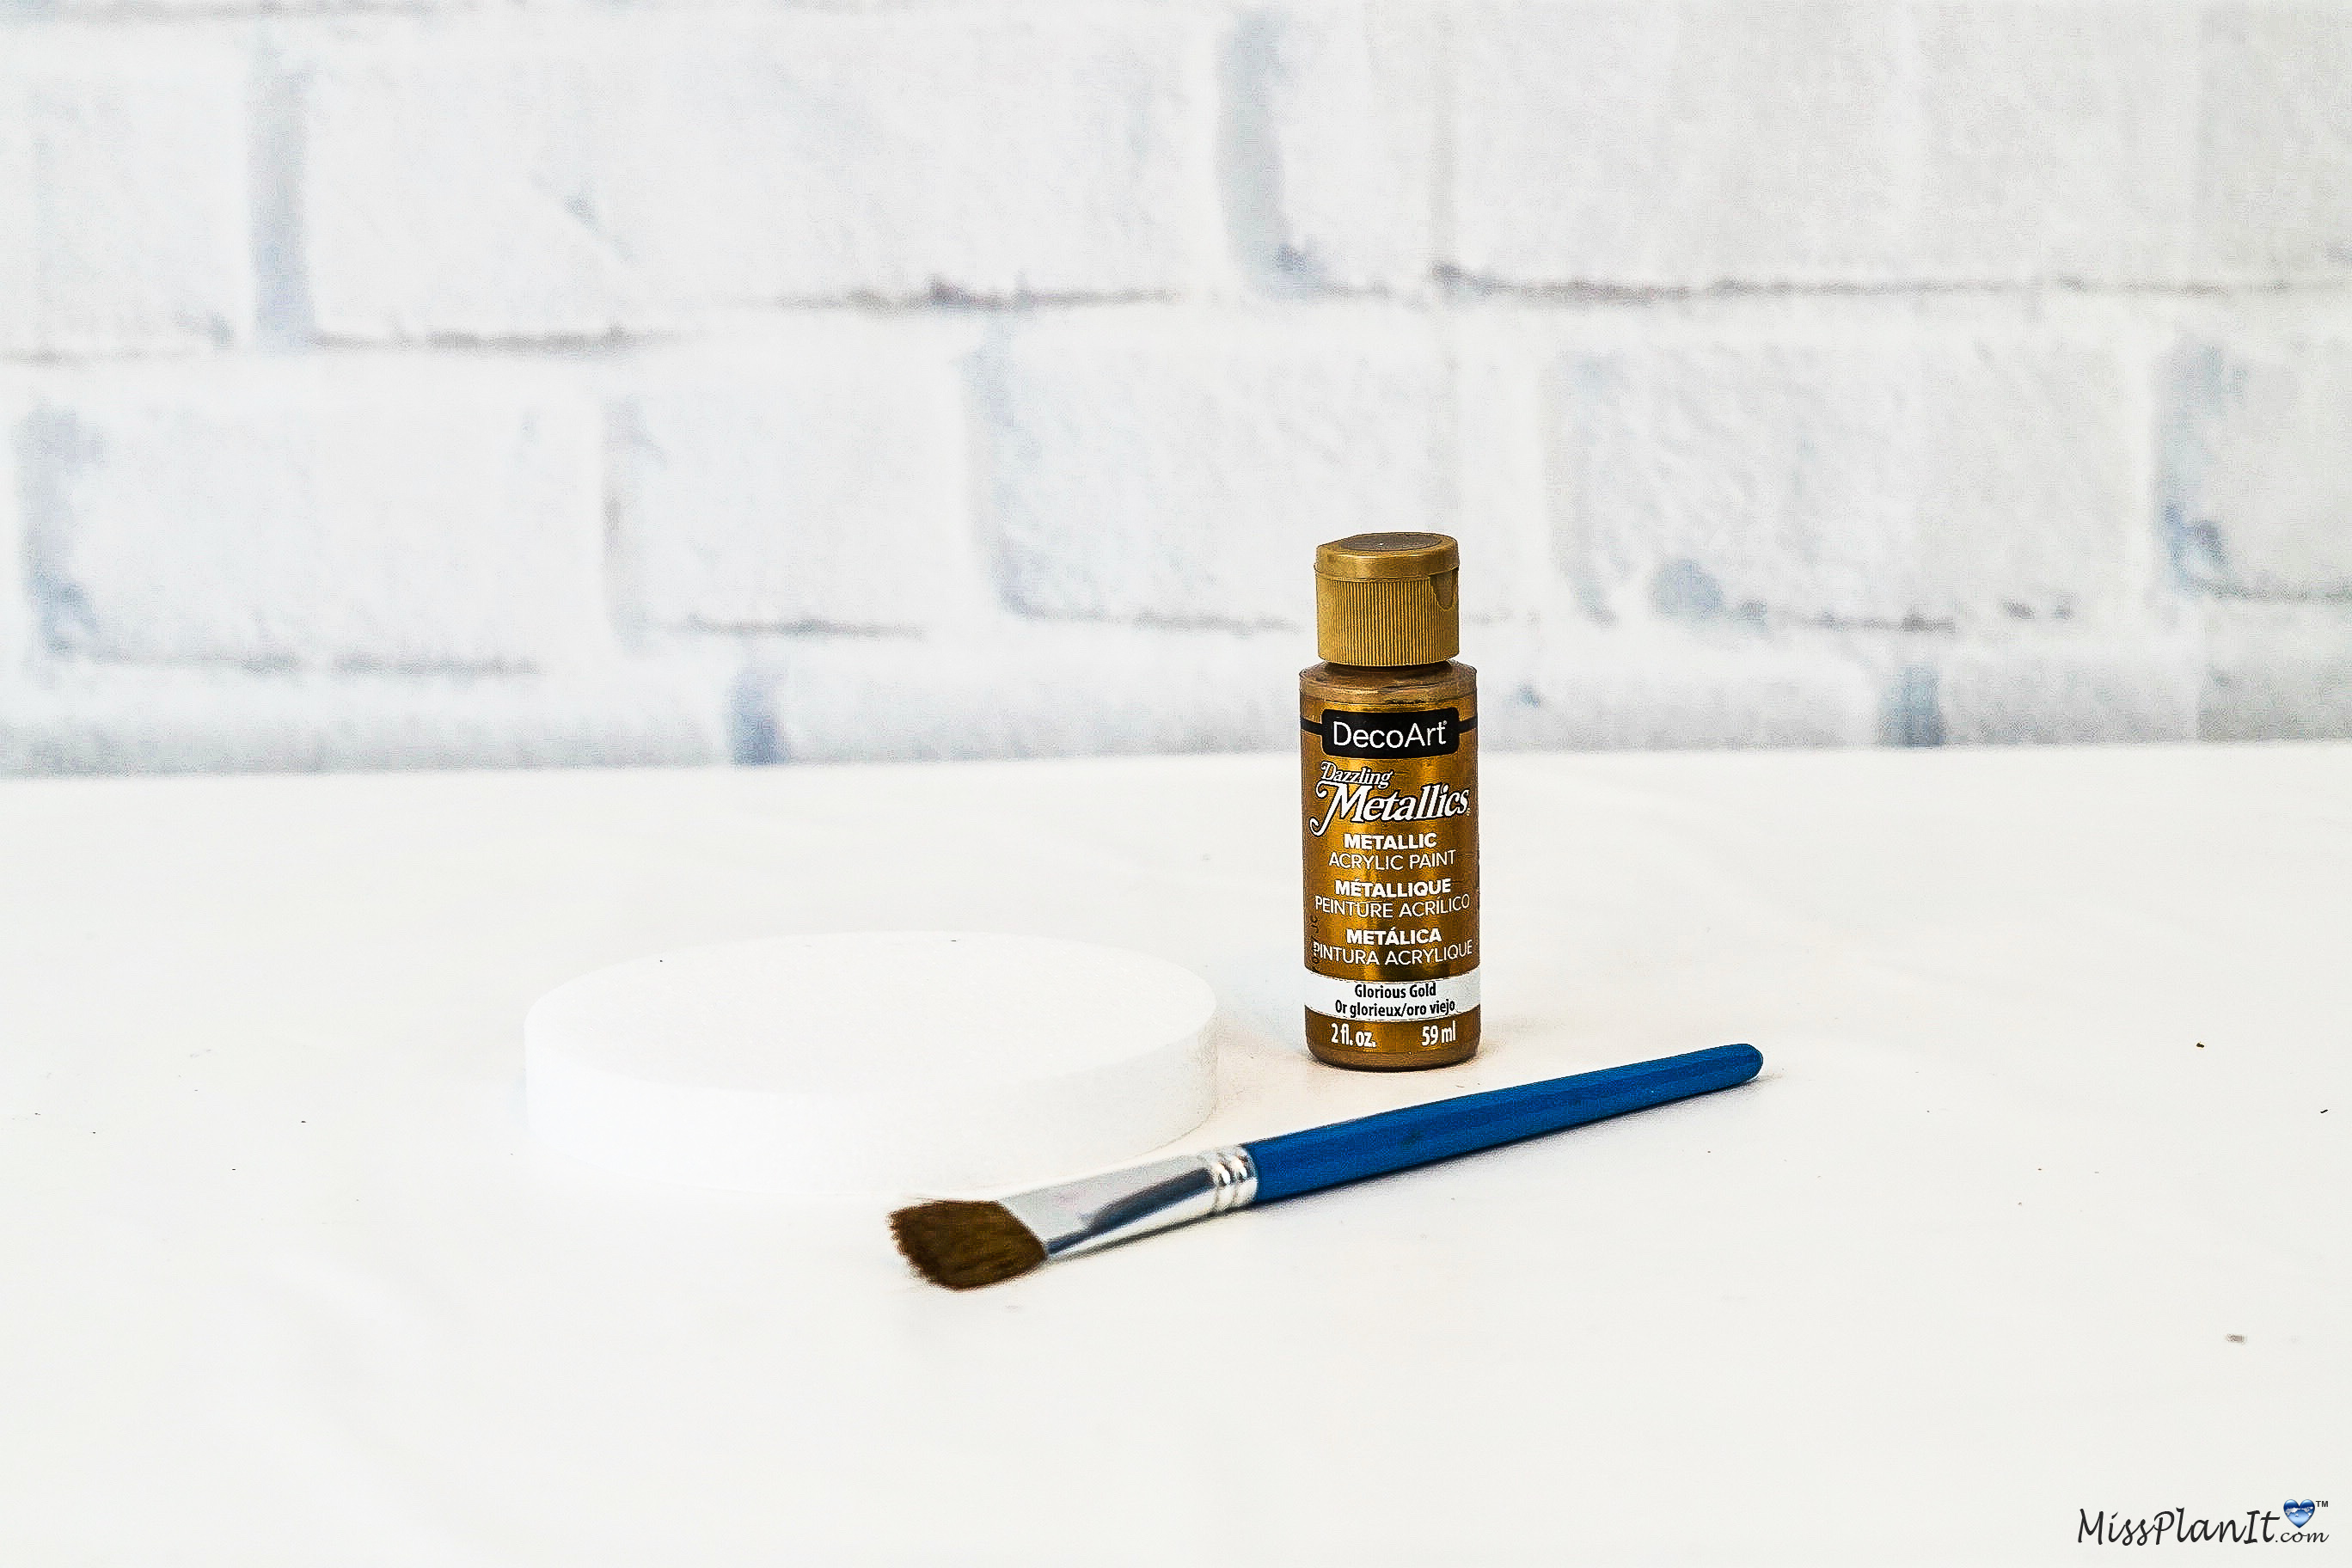
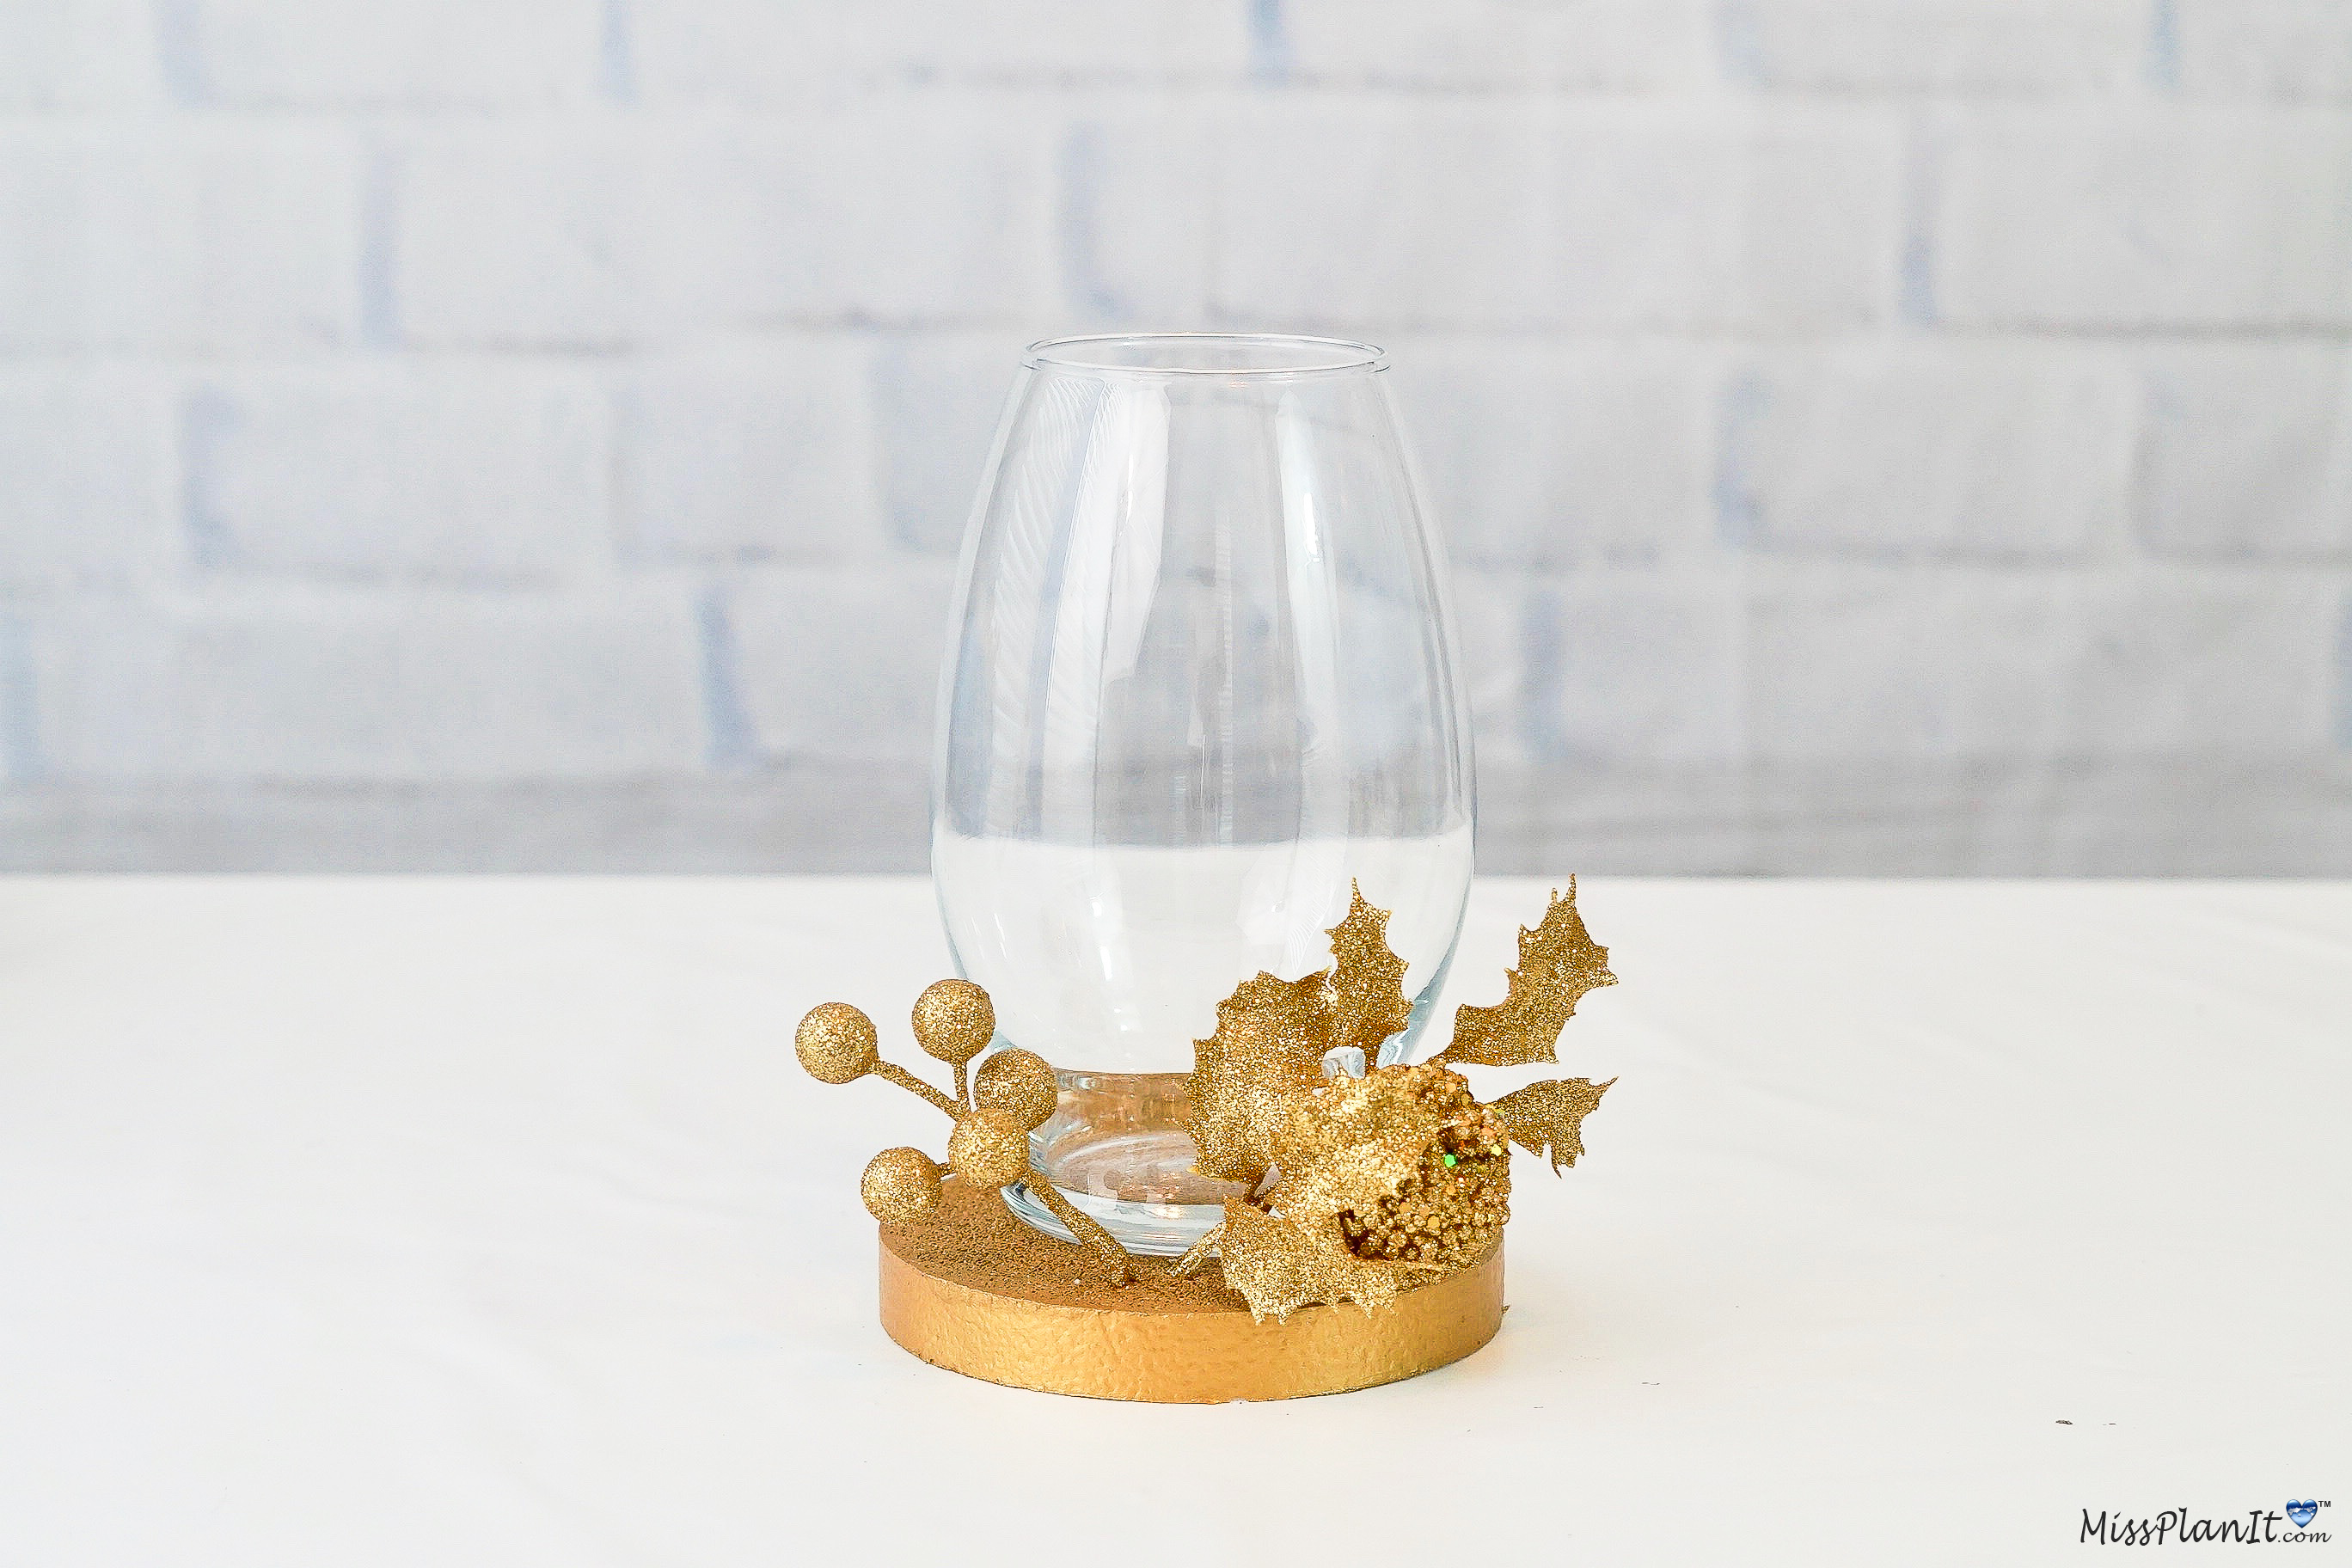
STEP 1: Paint the front, back and sides of your foam disc with gold paint. Allow it to dry completely. Once the paint has dried, add your embellishments. Detach your glittery gold pick, which comes with 3 pieces, with wire cutters. Next attach each piece to your foam disc using hot glue.
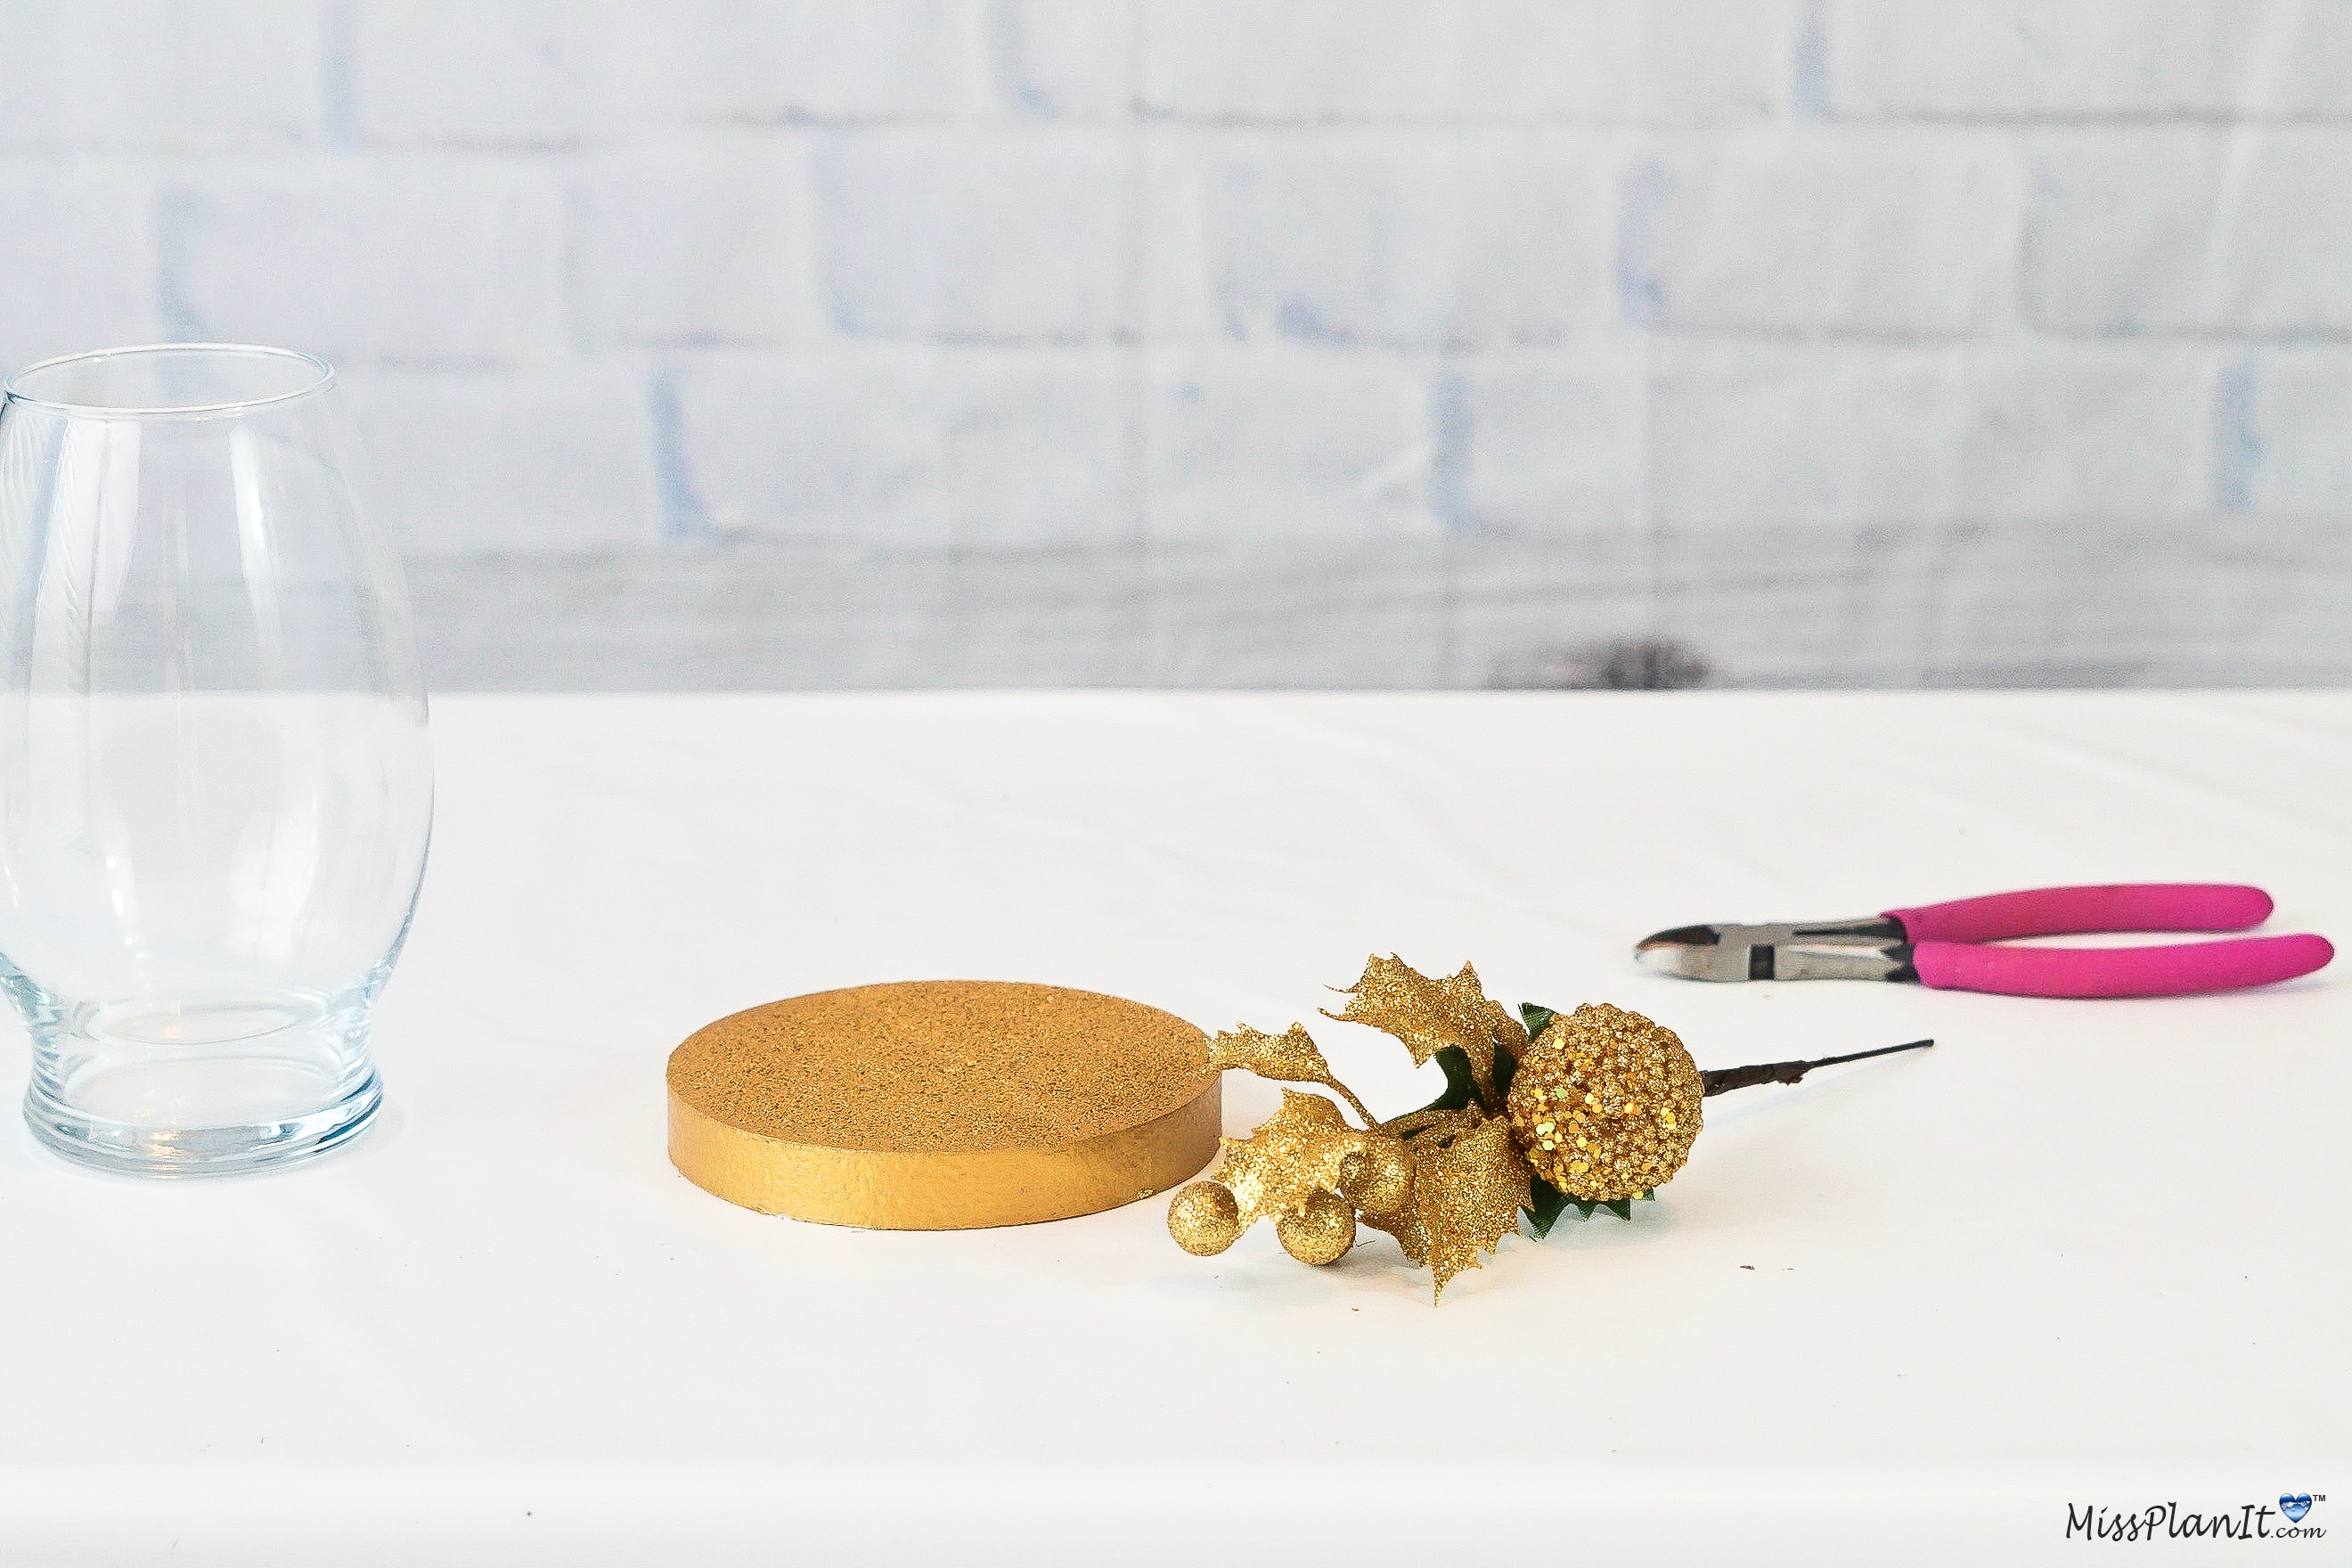
Attach Poinsettias To Your Foam Disc
STEP 2: Attach your glittery poinsettias to the sides of your foam disc. Some of your poinsettias do not have a wire attached. If this is the case, use the wire from the poinsettias that have it and poke a hole prior to placing your other poinsettias. This is to make sure you don’t have any difficulty inserting your poinsettias.
TIP: You may also need to trim your stems down to a half an inch or so prior to attaching to your foam.
Frame Your Foam Disc with Gold Berries
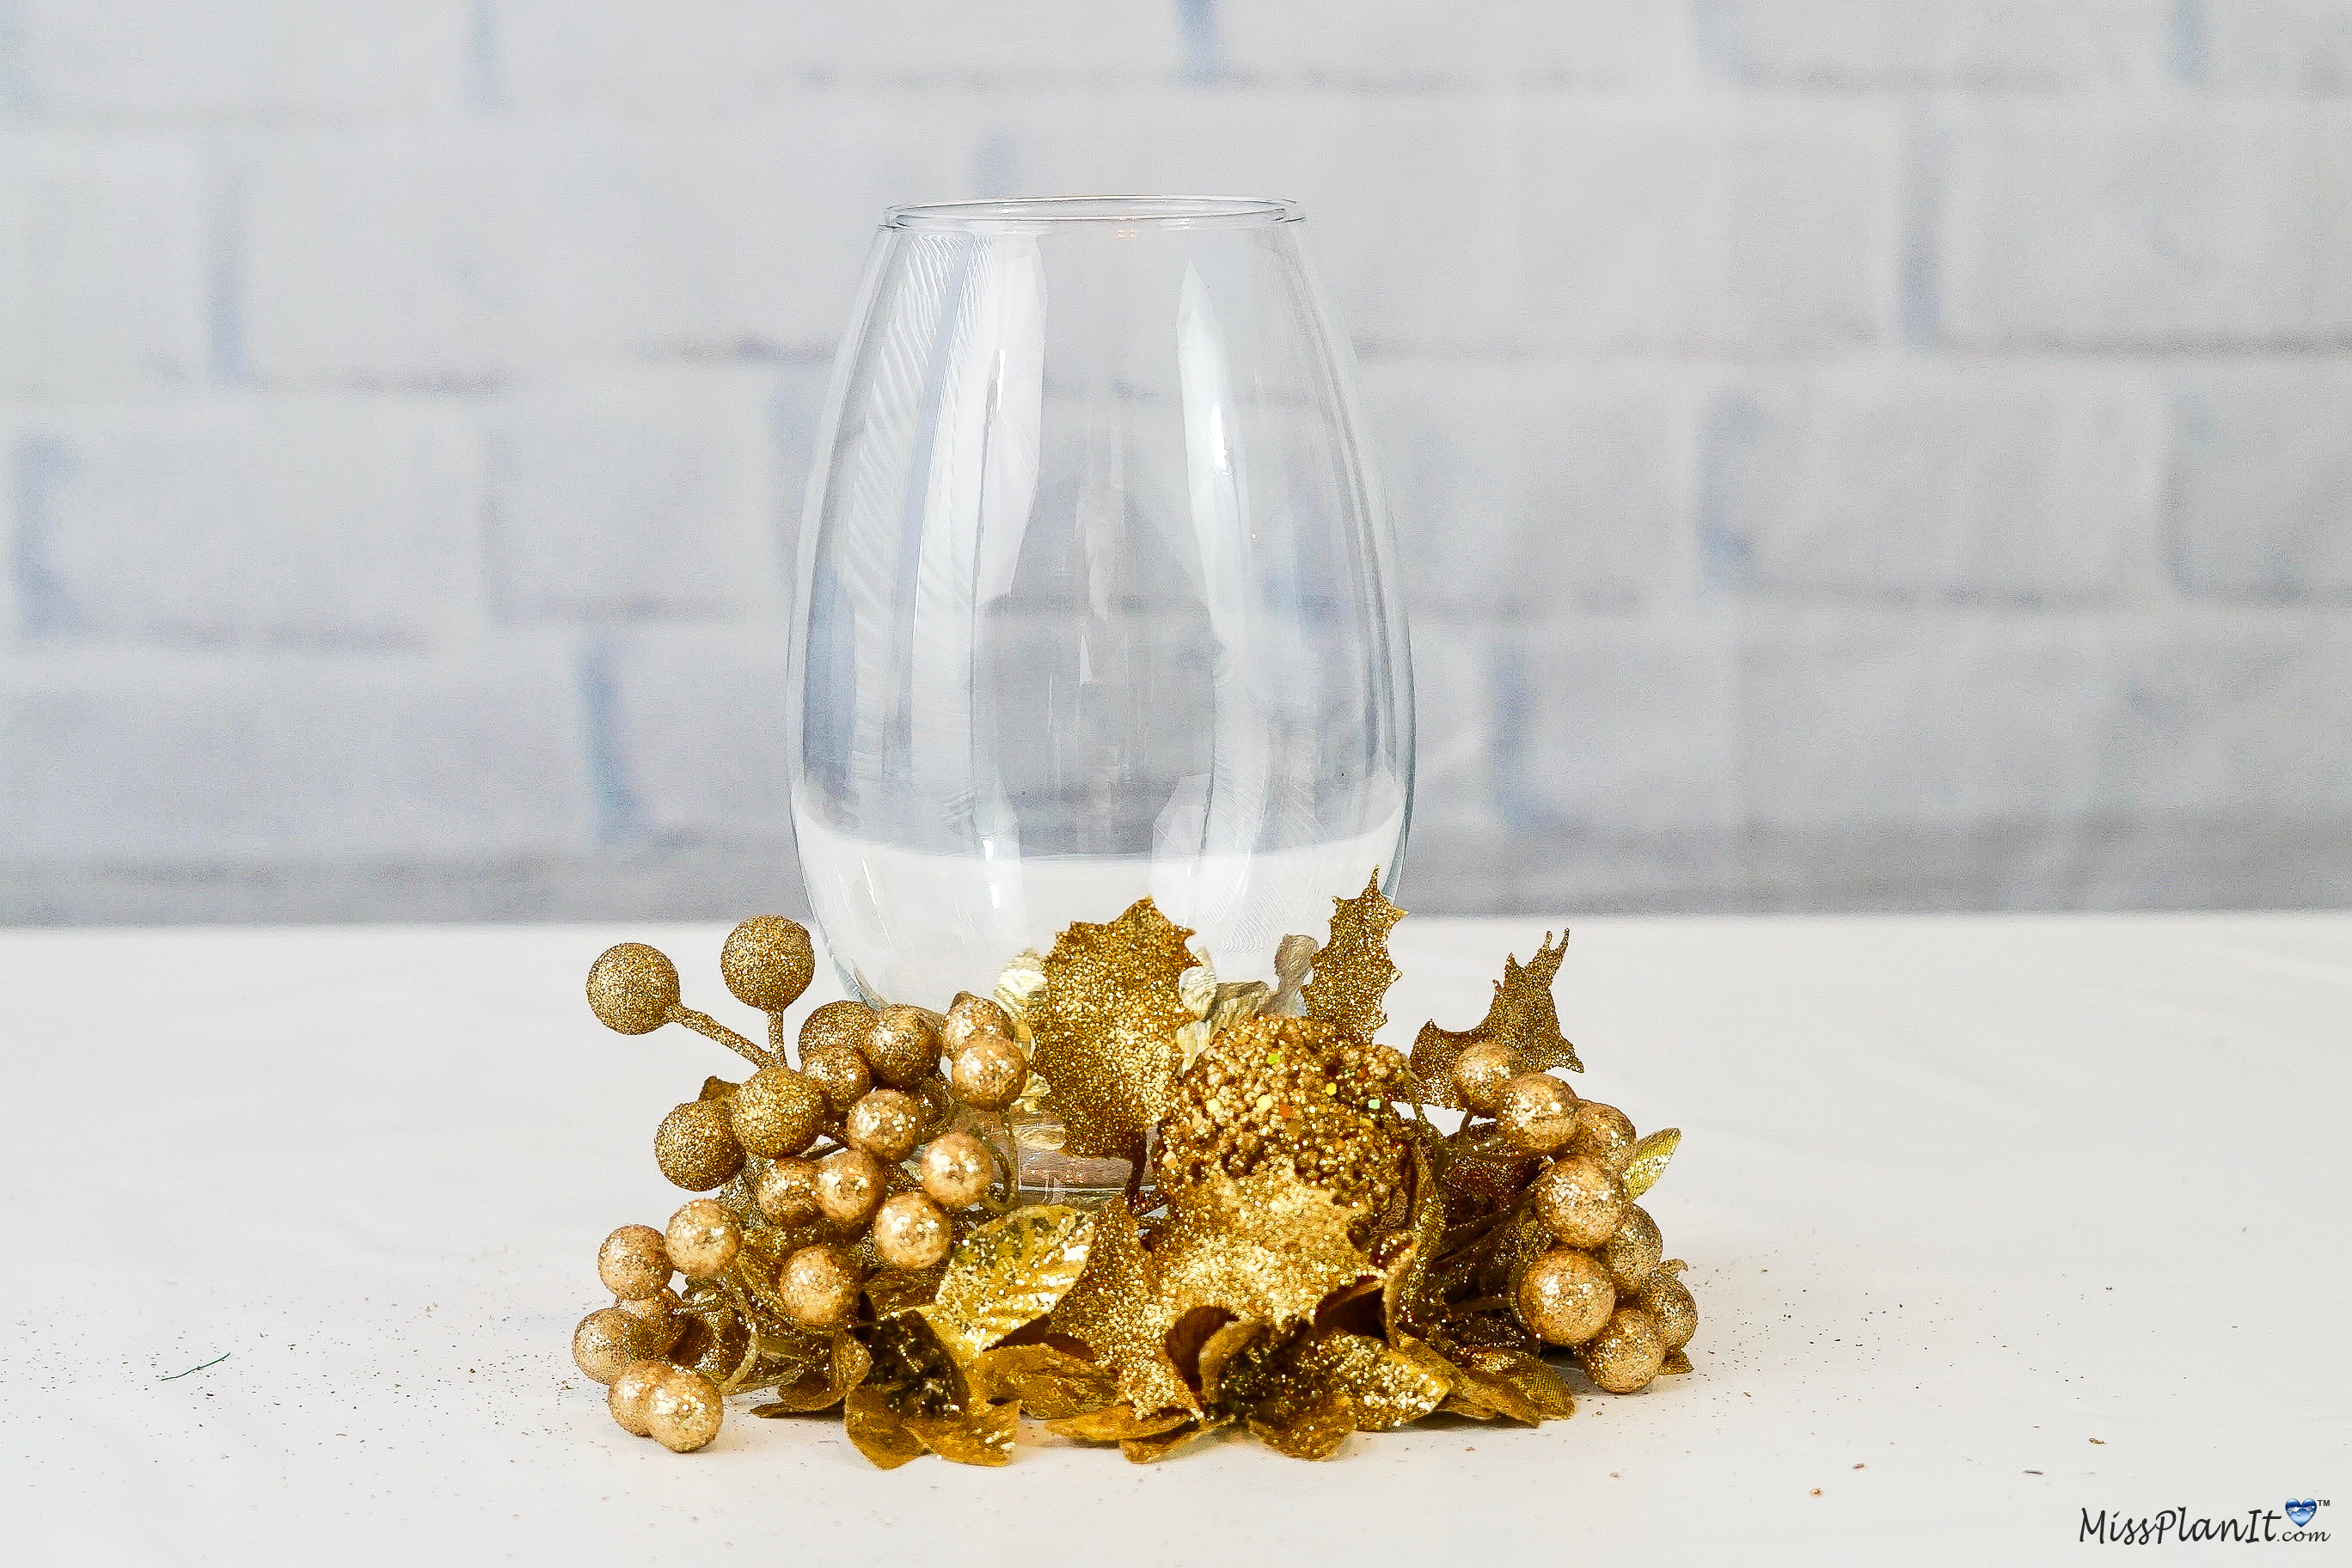
STEP 3: Finally, add your glittery gold berries to your foam disc. First, trim your berry stems to a 1/2 an inch. Now frame out the front of your foam disc by attaching your berries.
TIP: You can also add your berries all around your foam disc if you would like. I think it all depends on where your wedding centerpieces will be displayed. If it is centered at a guest table, you may want your berries all around your foam disc. This is so they look great from every angle!
Increase the Height of Your Wedding Centerpieces
STEP 4: For an extra $1, you can add some height to your wedding centerpieces. Paint 2 more of your foam disc gold (they come in 2/Pack). Next them to your initial foam disc using extra long toothpicks. Trim the toothpicks at the bottom.
Be sure you do not push your toothpicks all the way through the top. You want your wedding centerpiece to remain flush. Cover the additional foam with gold poinsettias.
THE FINAL STEP:
STEP 5: Lastly, place your Jardin vase on your foam disc. You can secure your vase to your foam disc with hot glue. Then add water and your floating candles. Let me make a suggestion…if you plan to reuse your vases, DO NOT hot glue them to your foam disc. Once water is poured in your vase, I promise you, your vases are not going anywhere!
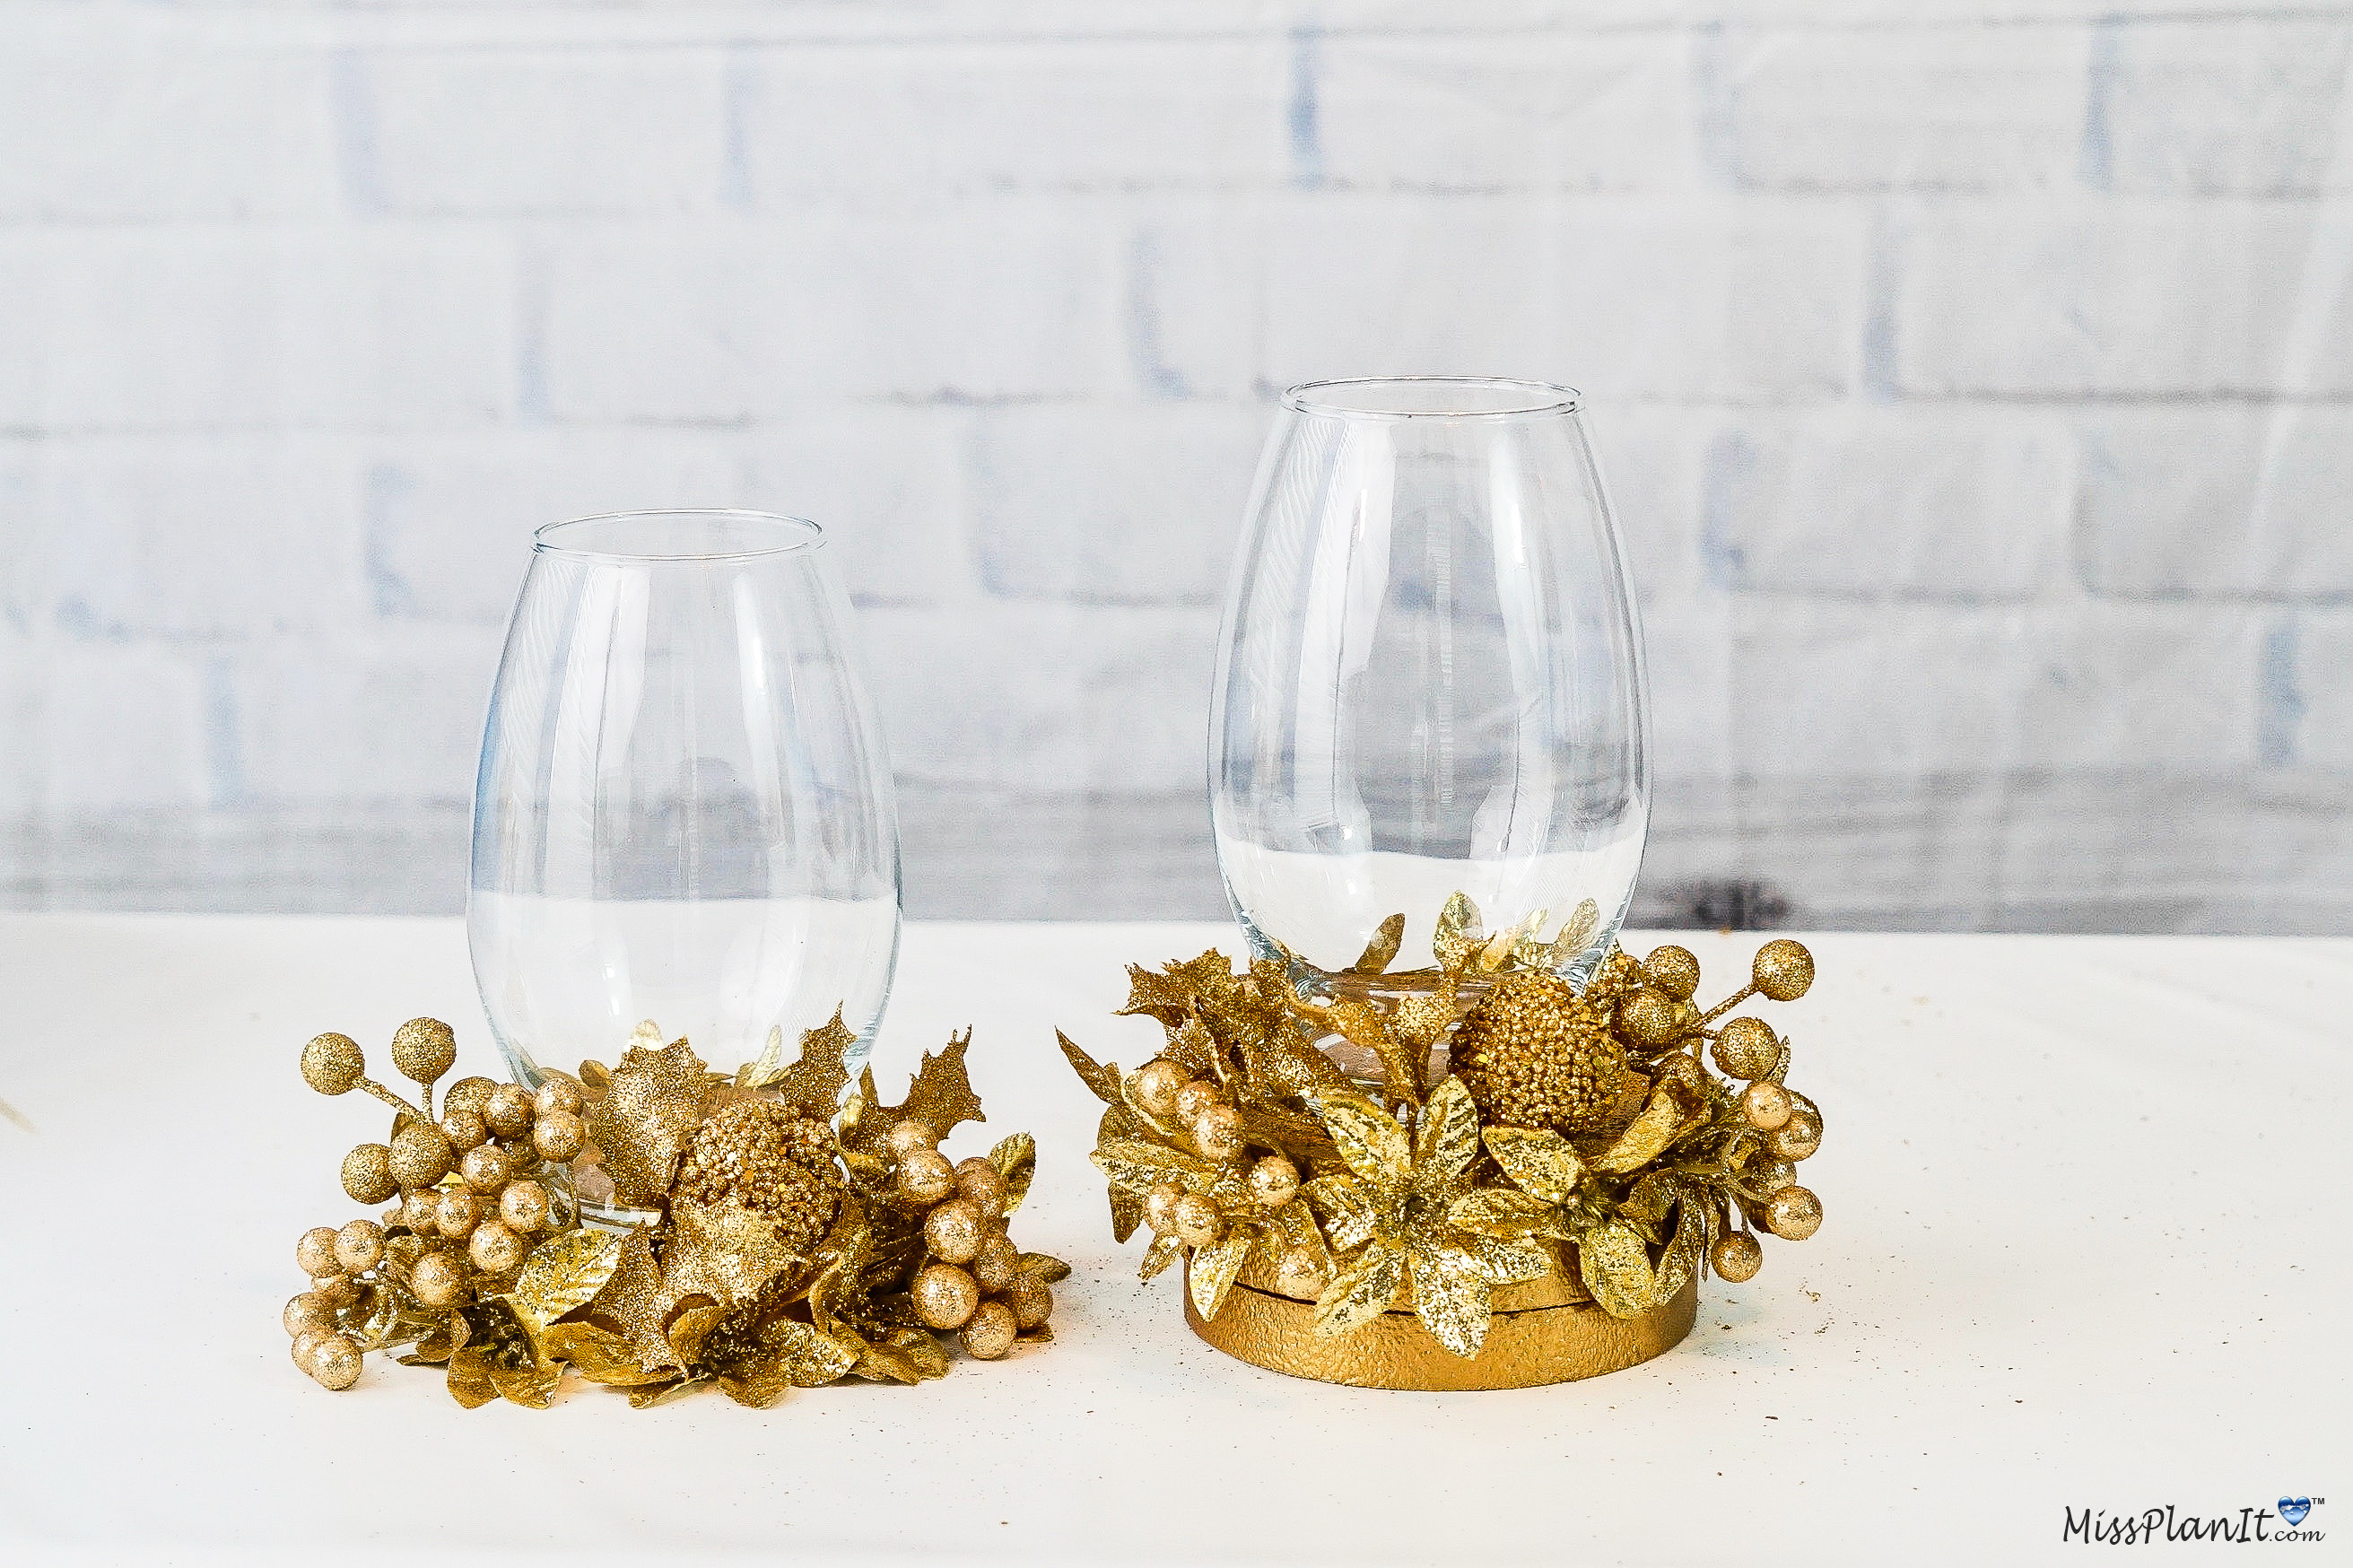
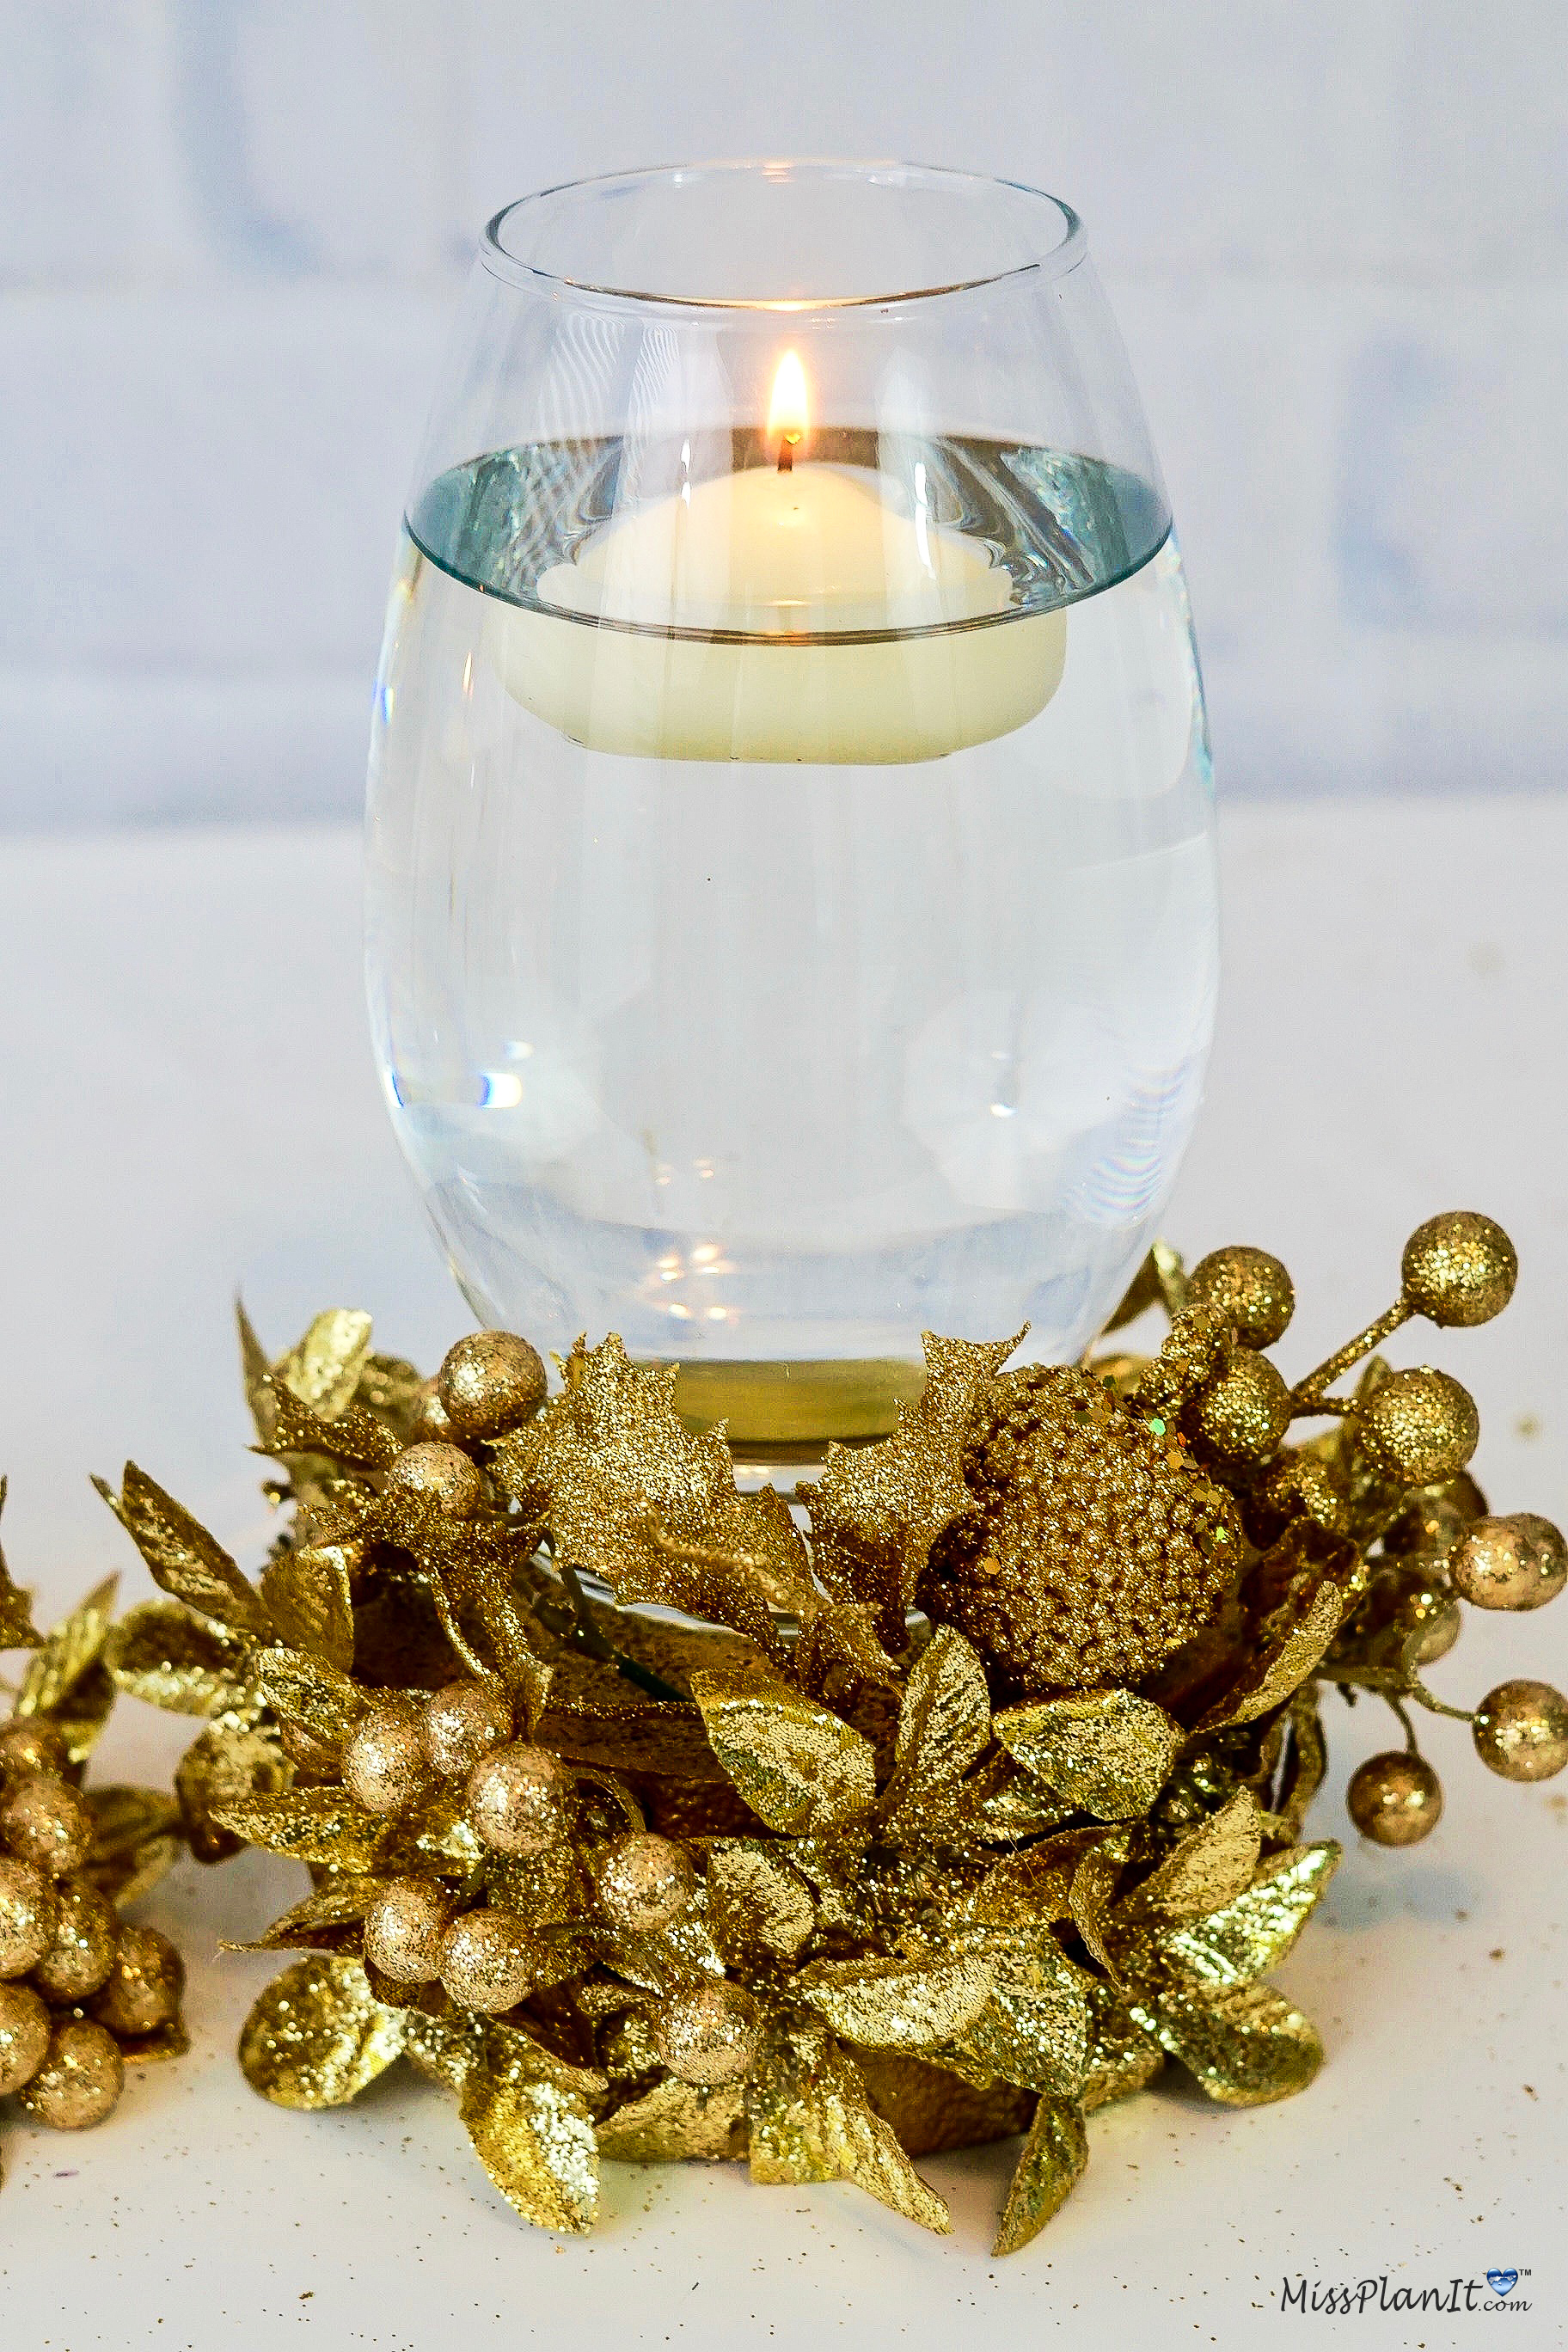
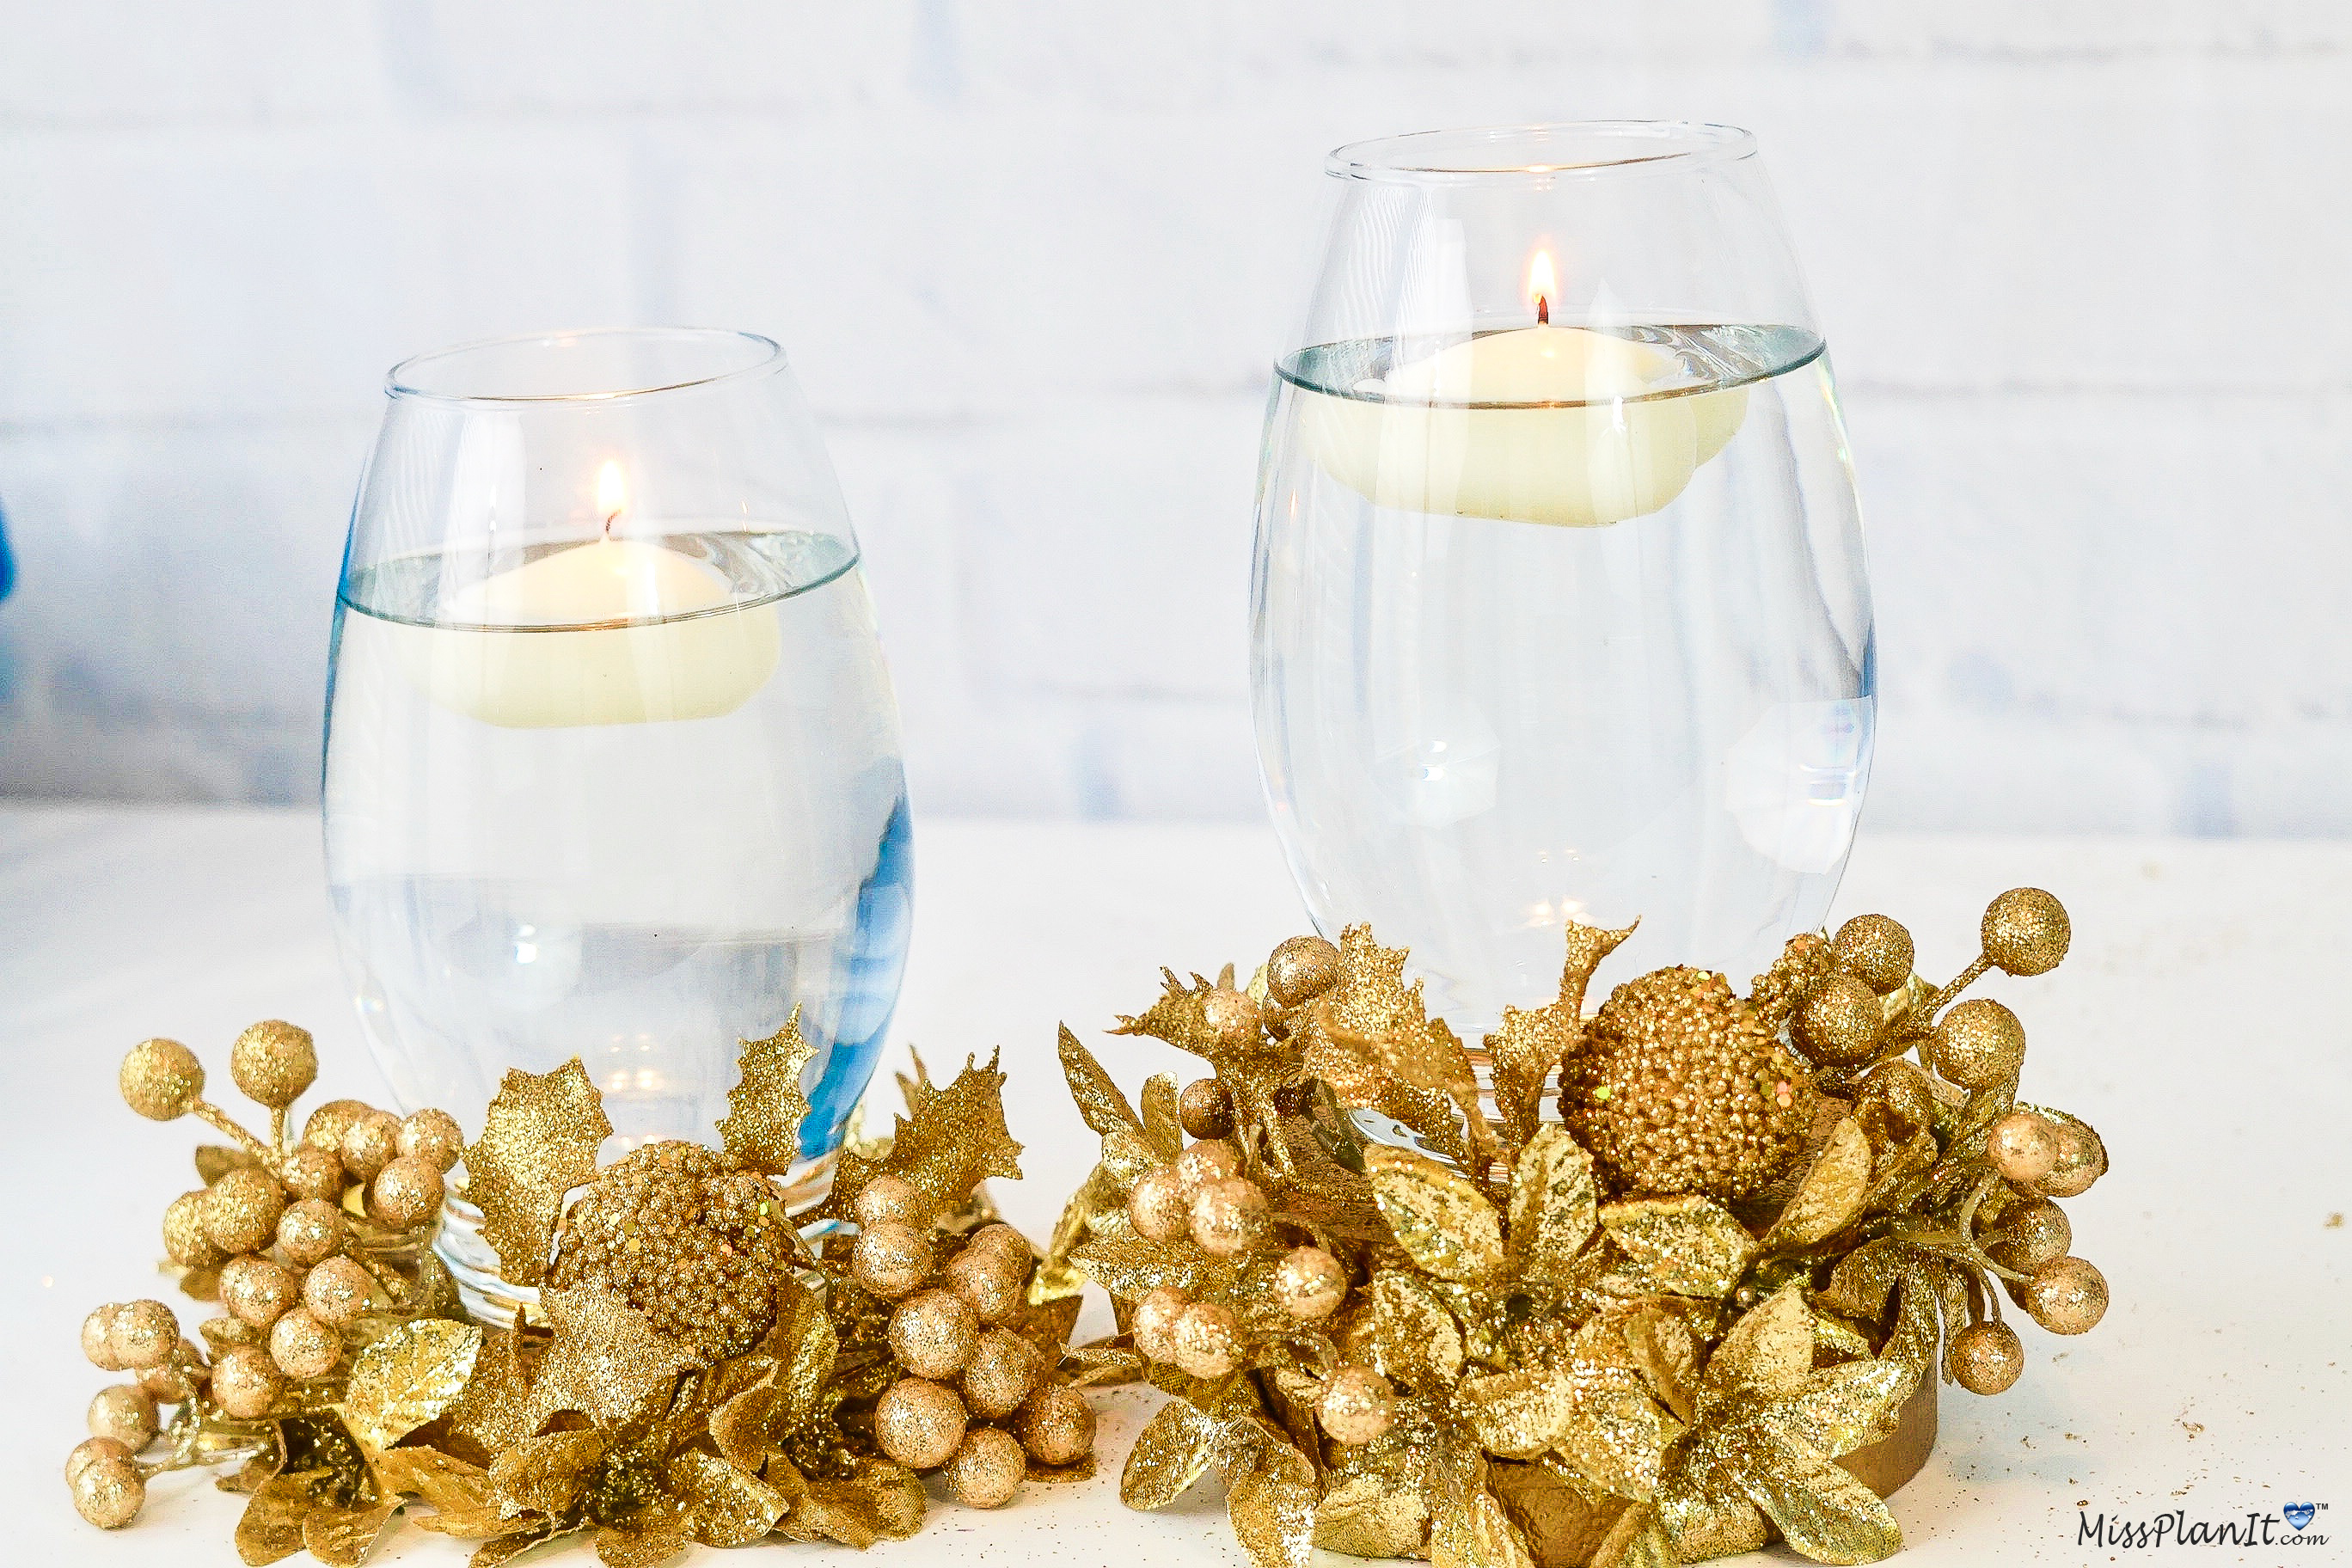
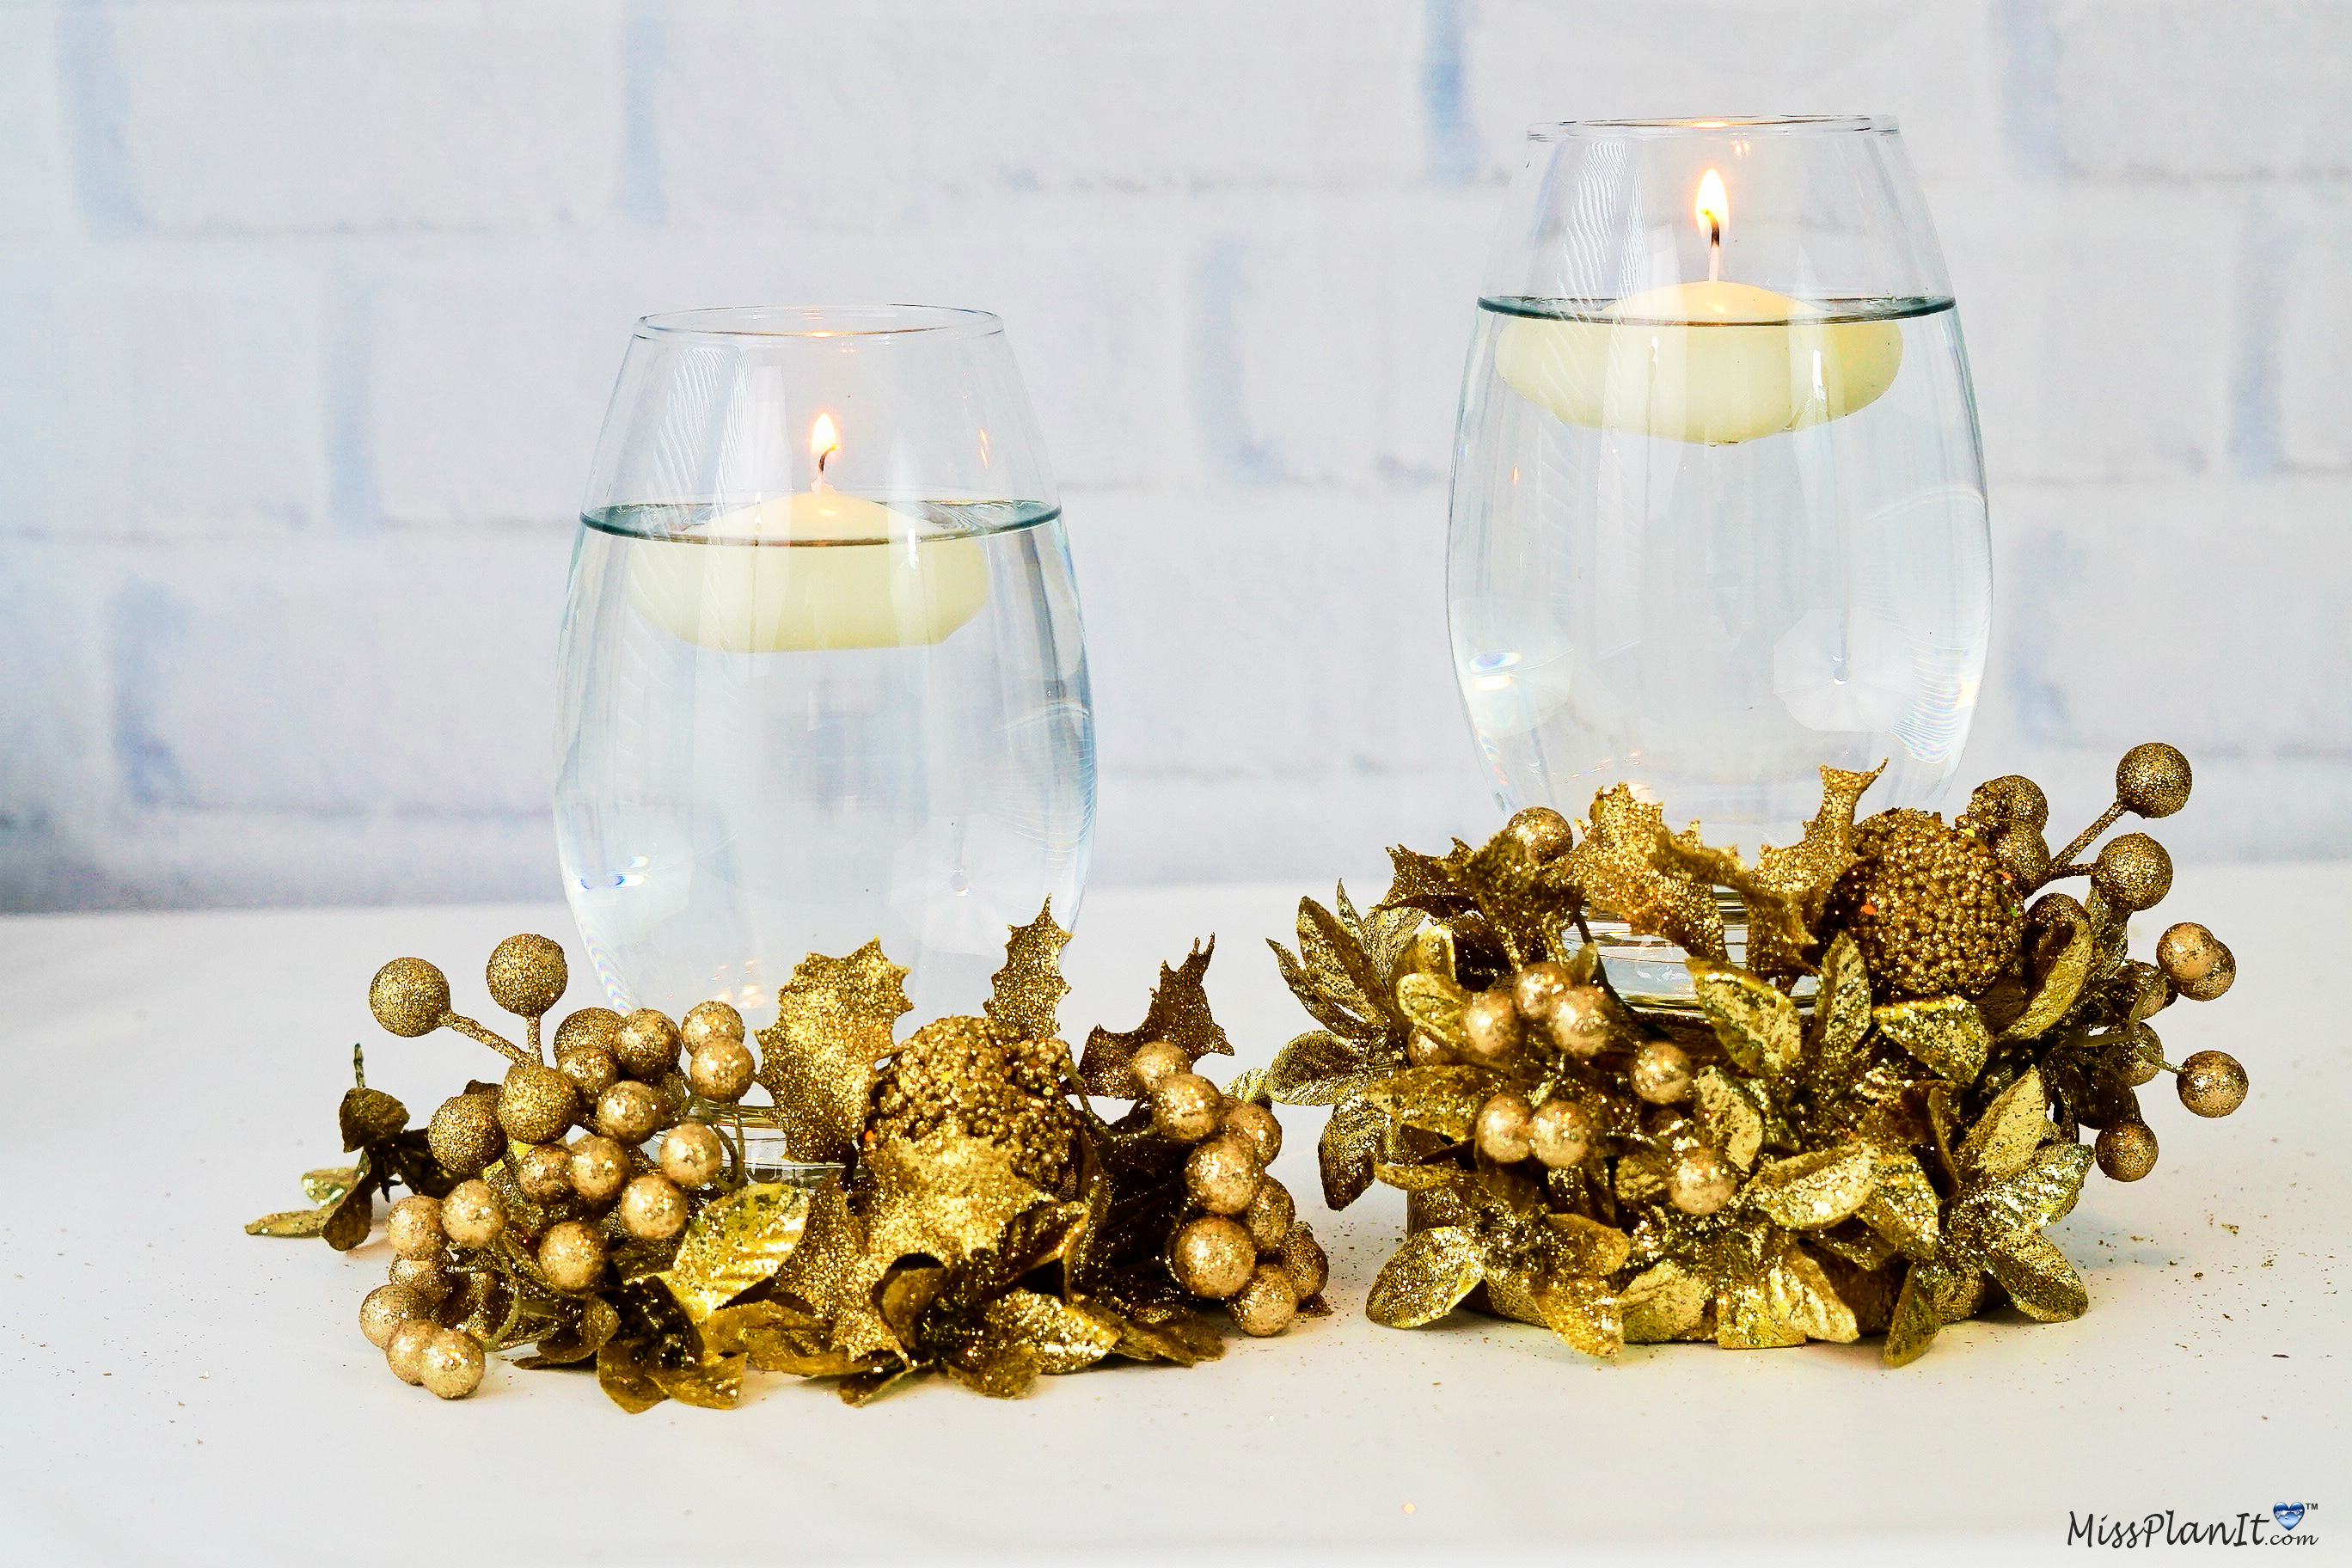
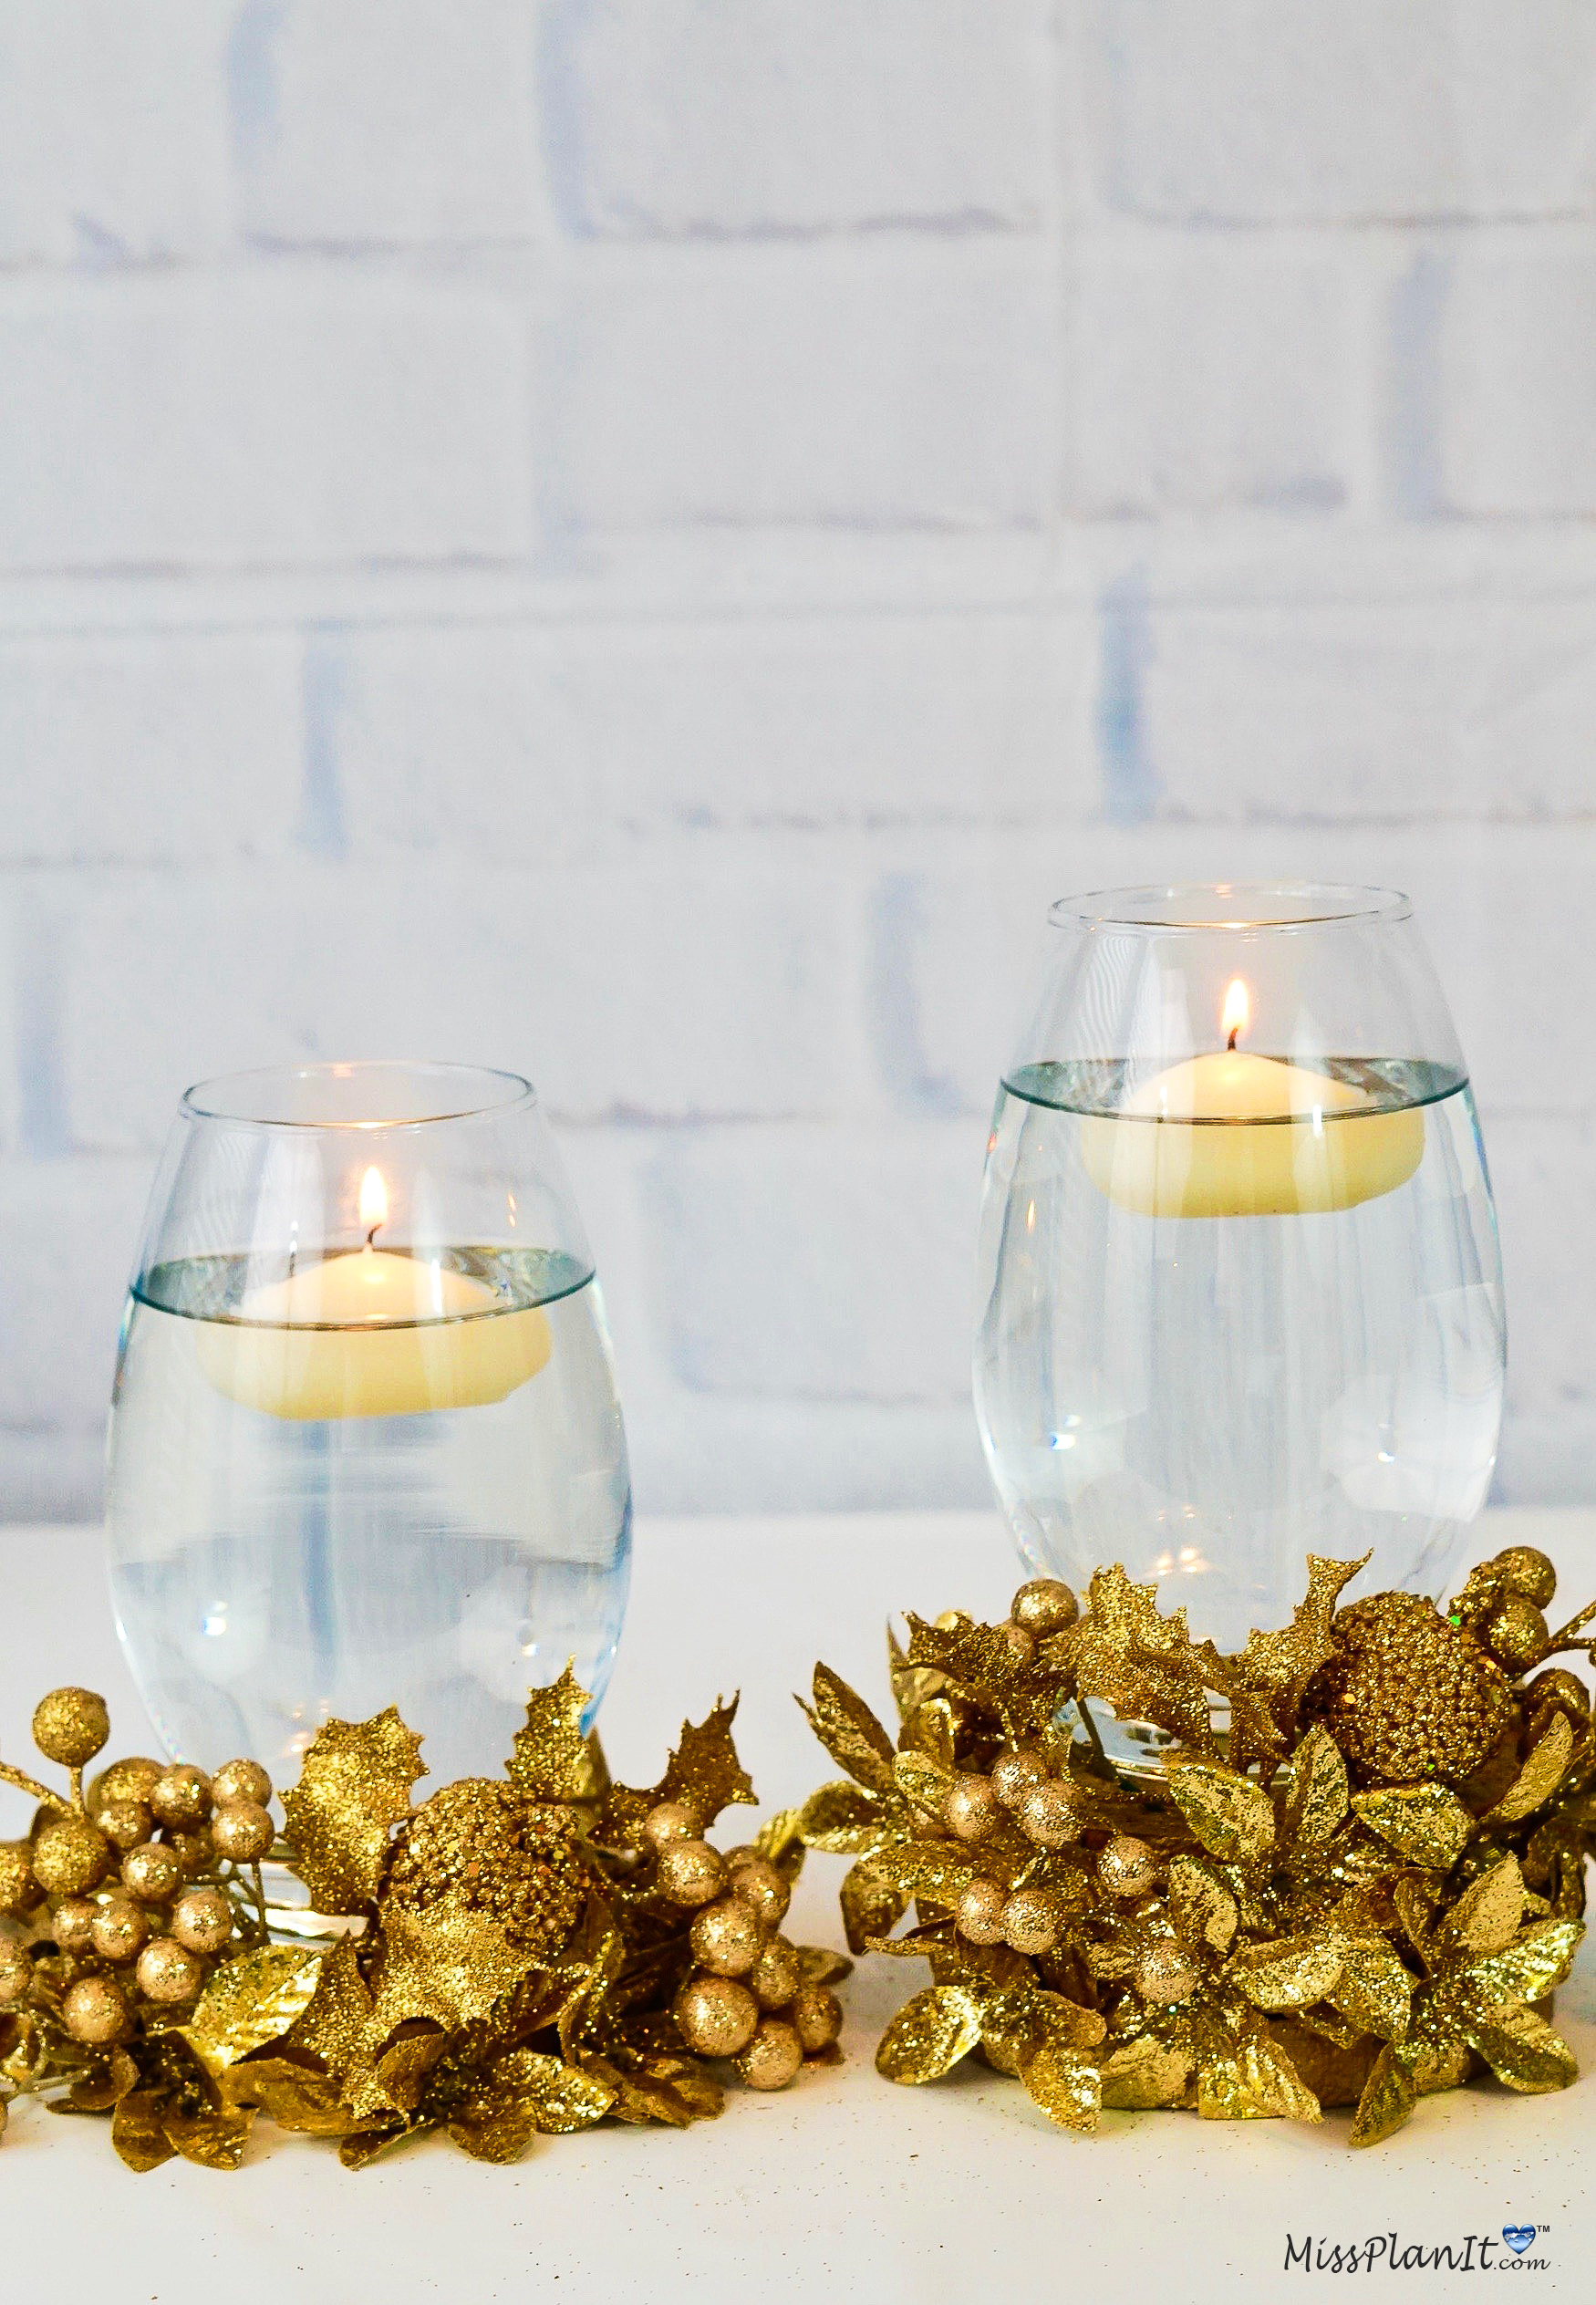
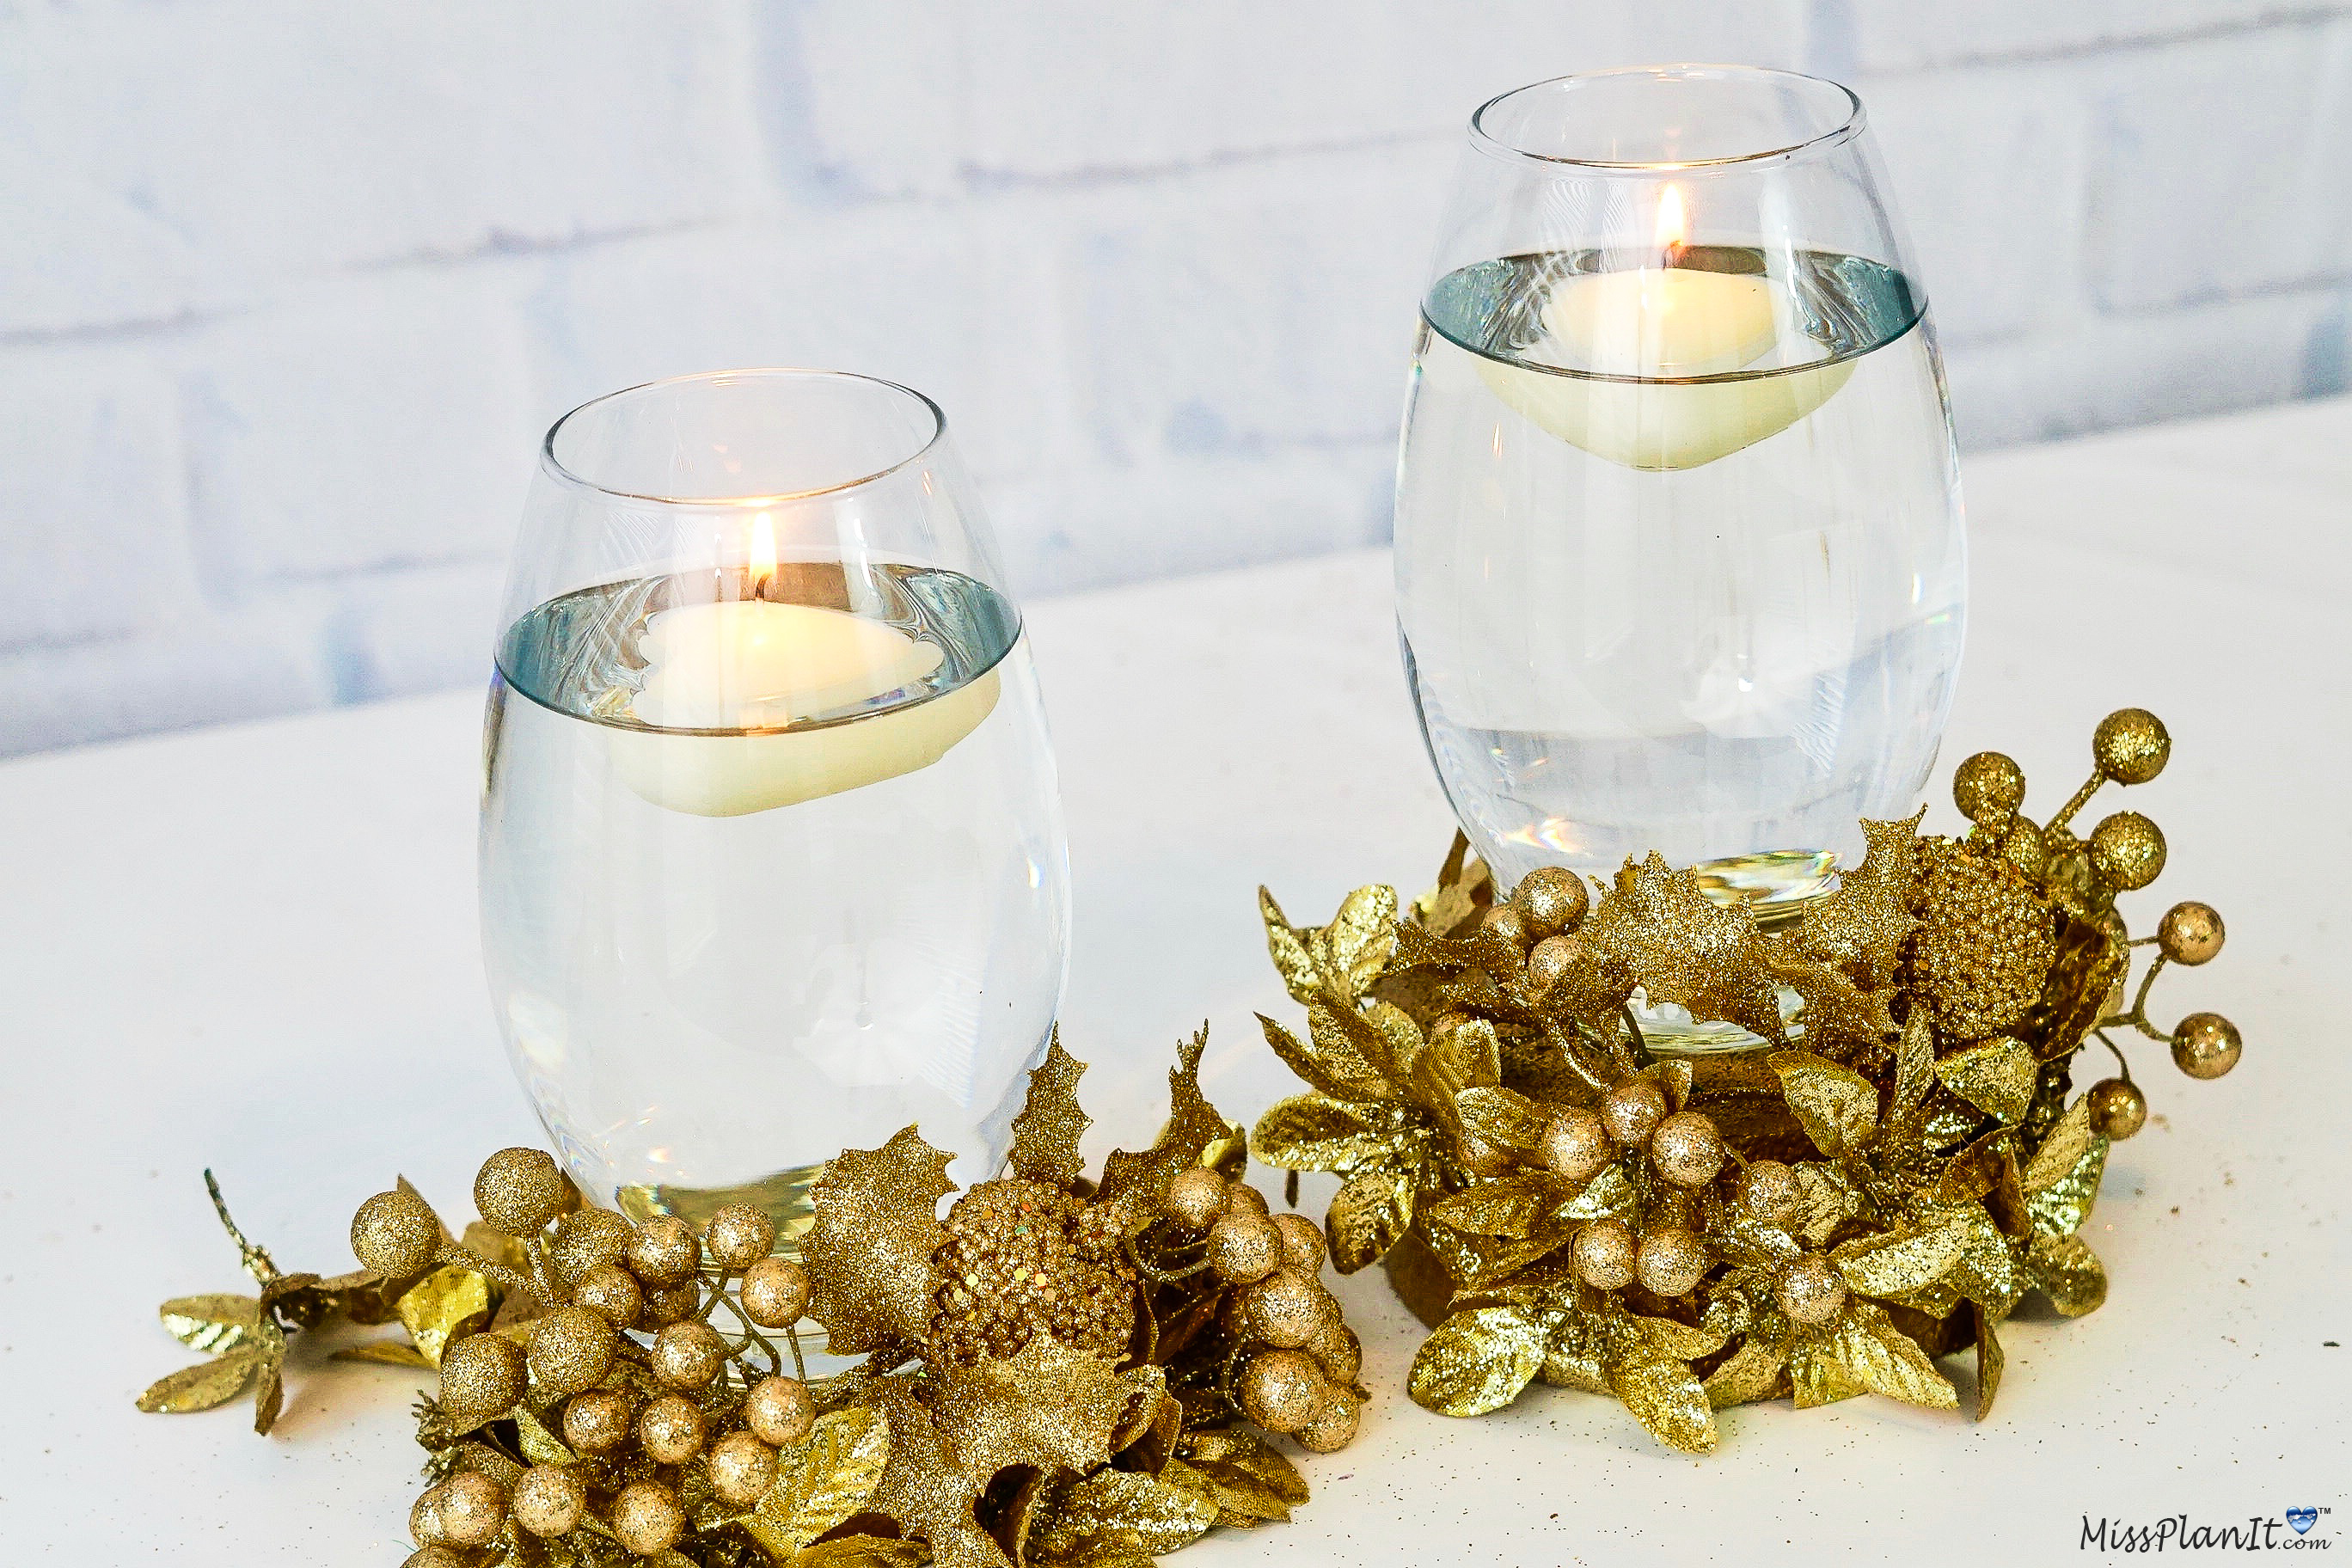
I absolutely love how these Dollar Tree Gold Glam Wedding Centerpieces turned out! The outcome is stunning and will definitely give you an extra special touch to any wedding!
If you like the outcome please subscribe to our Youtube Channel for more DIY Videos and follow us on Facebook and Pinterest.
Need help with an upcoming project? Be sure to send us a project request!
“Remember When Every Penny Counts, Count on MissPlanIt”


