


BUDGET FRIENDLY WEDDING DECOR: GLAMOROUS CANDLE WEDDING CENTERPIECES DISPLAY
Hi Guys!
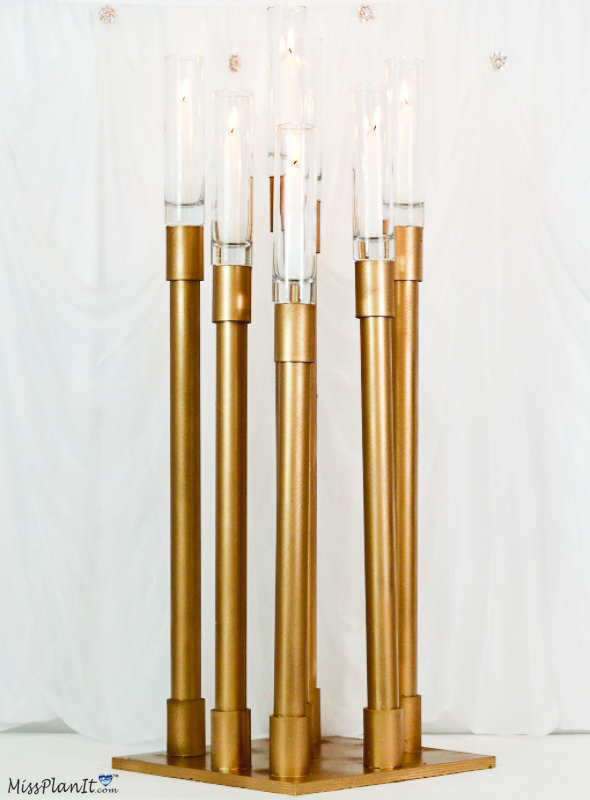
Have you ever wondered how to create those one of a kind looks for your wedding on a budget! Well that’s exactly what we did this week! I can’t wait to show you what we can do with PVC Pipe and spray paint! You won’t believe how easy it is to create this Glamorous 34 inch Candle Wedding Centerpieces Display. This is also perfect decor for the holidays, an event, or your dining room table!
Ok, let’s get started! For video instructions, please check out the video tutorial below!
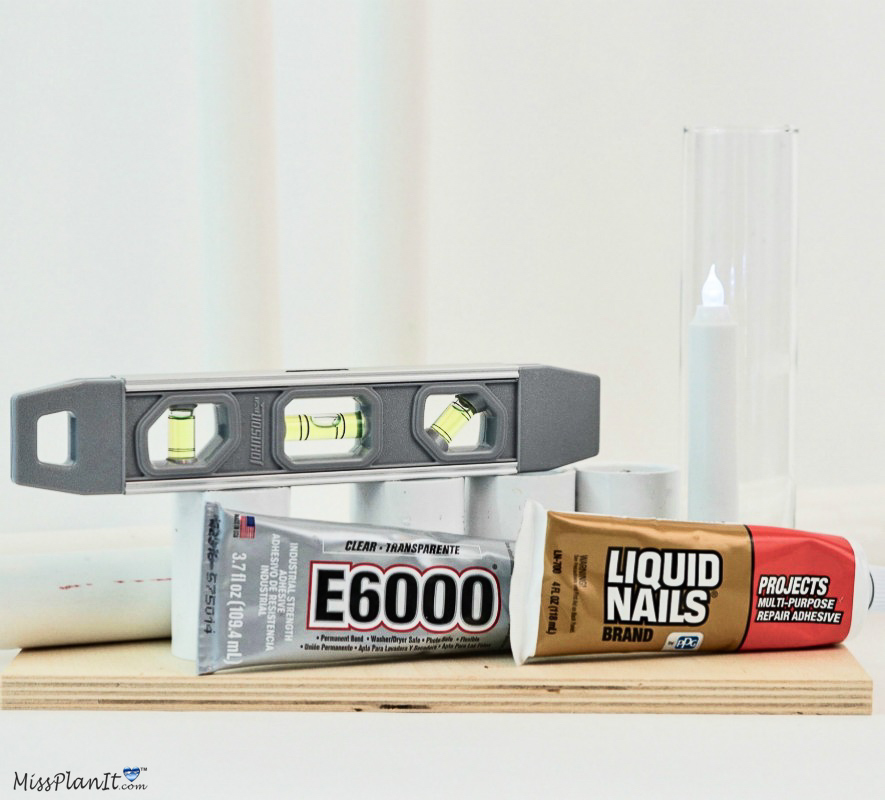
SUPPLIES:
Square Baltic Birch Wood Canvas – 11 3/4″ x 11 3/4”
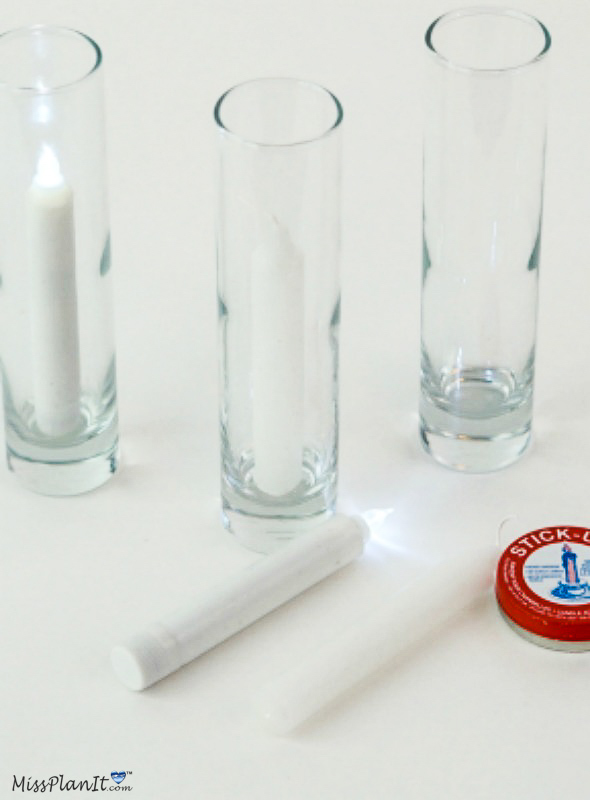
Weighted Glass Cylinder Bud Vase
Gold Krylon Metallic Spray Paint
Stick-Um Candle Adhesive
E6000 Clear Industrial Strength Adhesive – 0.5 Ounce
Luminessence Emergency Candles, 6-ct. Packs
1″ Furniture Grade External Coupling in White, 1.315″ ID, PVC (Pack of 10)
PVC Pipe 1 inch 5ft Schedule 40 PVC Pipe, Furniture Grade
Liquid Nails LN700 4-Ounce
PROJECT COST *$43.06 (Some supplies cover more than 1 centerpiece) * Prices fluctuate depending on coupon discount amount. *Price based on current sale cost. (taxes not included)
For written instructions, please continue reading below:
How To Make A Tall 34 Inch Glamorous Candle Wedding Centerpieces Display
Directions:
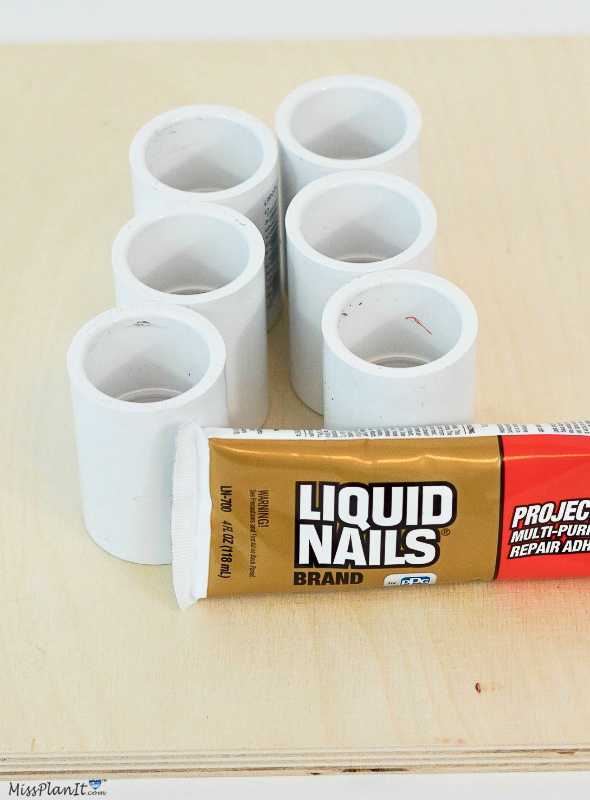
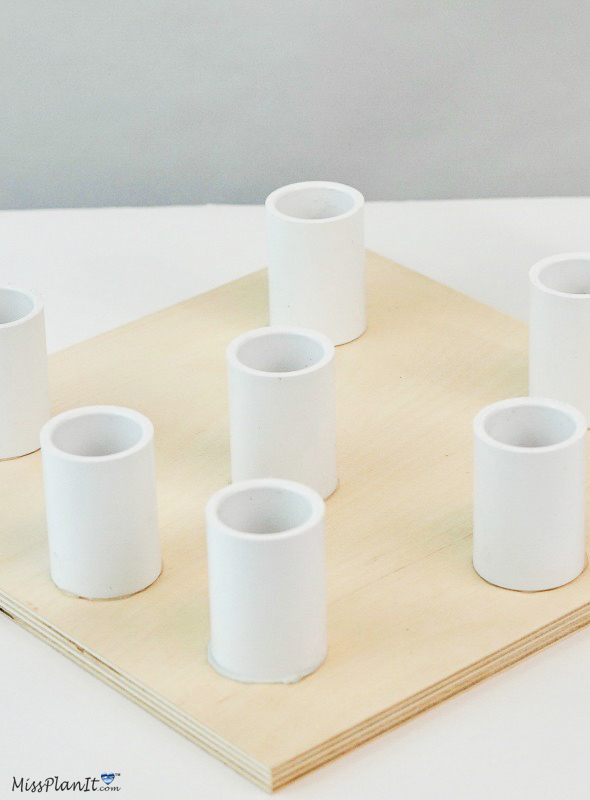
STEP 1: As always it’s important to have a strong base. For this project we will be using a 12 x 12 Birch Wood Square and 7- 1 inch Couplings. Decide how you want to space out your Couplings. I chose a diagonal pattern. But remember we give you the plan and you make it your own! Once you have determined your spacing, glue the couplings down using Liquid Nail. Allow 1 to 2 hours to dry.
Cut the PVC Pipes
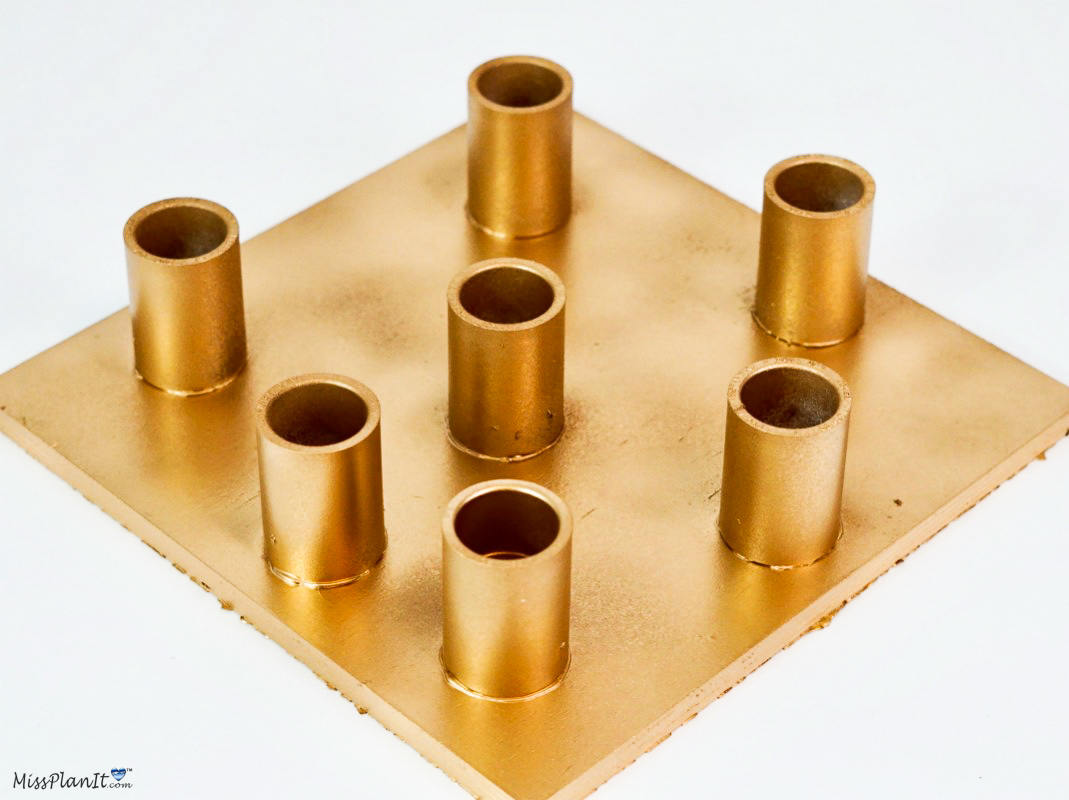
STEP 2: Next cut your 1 inch PVC pipe into 1- 21 inch section, 3- 19 inch sections, 2-17 inch sections, and 1- 15 inch section. Attach the second coupling to one end of the PVC pipe with Liquid Nail. Spray paint the base as well as the 7 sections of PVC pipe.
Helpful Tip! The key to getting flawless paint coverage is applying 3-4 light coats allowing drying time in between. Hold your spray can at least 12 inches away from the object to avoid drips. Yes it takes a little more time but the outcome is totally worth it!
Insert The PVC Pipe Into The Coupling
STEP 3: Use a Level to make sure all segments of pipe are level, securing with liquid nail. Allow 1 to 2 hours to dry. Add a 4 inch LED or Wax candle to each of the 7- 5 inch Bud Vase. Next attach 1- 5 inch Bud Vases to each of the Couplings with E6000. Attach 1 Vase at a time and allow 30 minutes to set before attaching the next.
Final Step! Light or turn on the candles to light the Bride’s way to the alter then transfer to your reception hall to WOW your guests!

I love how versatile this Wedding Candle Display is! I can assure you to rent or have a designer create this look would run you several hundred dollars. But here at MissPlanIt, you know what our motto is: When every penny counts, count on MissPlanIt! See you next week!
If you like the outcome please subscribe to our Youtube Channel for more DIY Videos and follow us on Facebook and Pinterest.
Need help with an upcoming project? Be sure to send us a project request!
“Remember When Every Penny Counts, Count on MissPlanIt”
Do the bud bases hold up well to heat from candles?
Hi Laura,
The vases are glass and hold up well to candle heat depending on the length of use. As always I recommend to never leave candles unattended. Hope this helps!
XOXO MissPlanIt