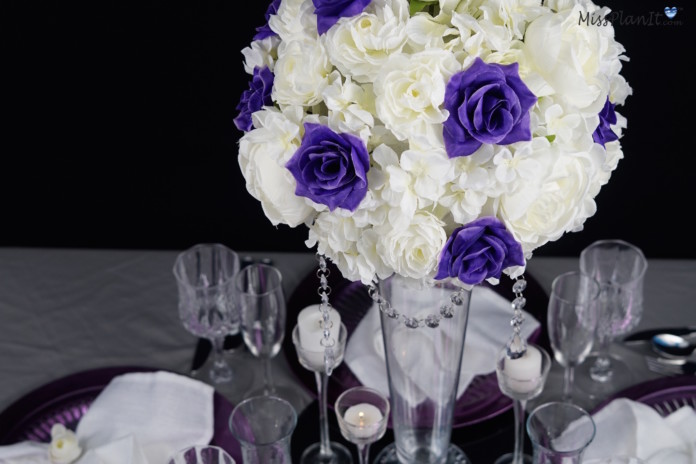
So elegant! So simple! Just for our Community Member Tashica. This centerpiece will bring a touch of shimmer and shine to any wedding ceremony or reception. So get your supplies together and join us this week as we create the perfect centerpiece for Tashica’s September Wedding!
Let’s Get Started:
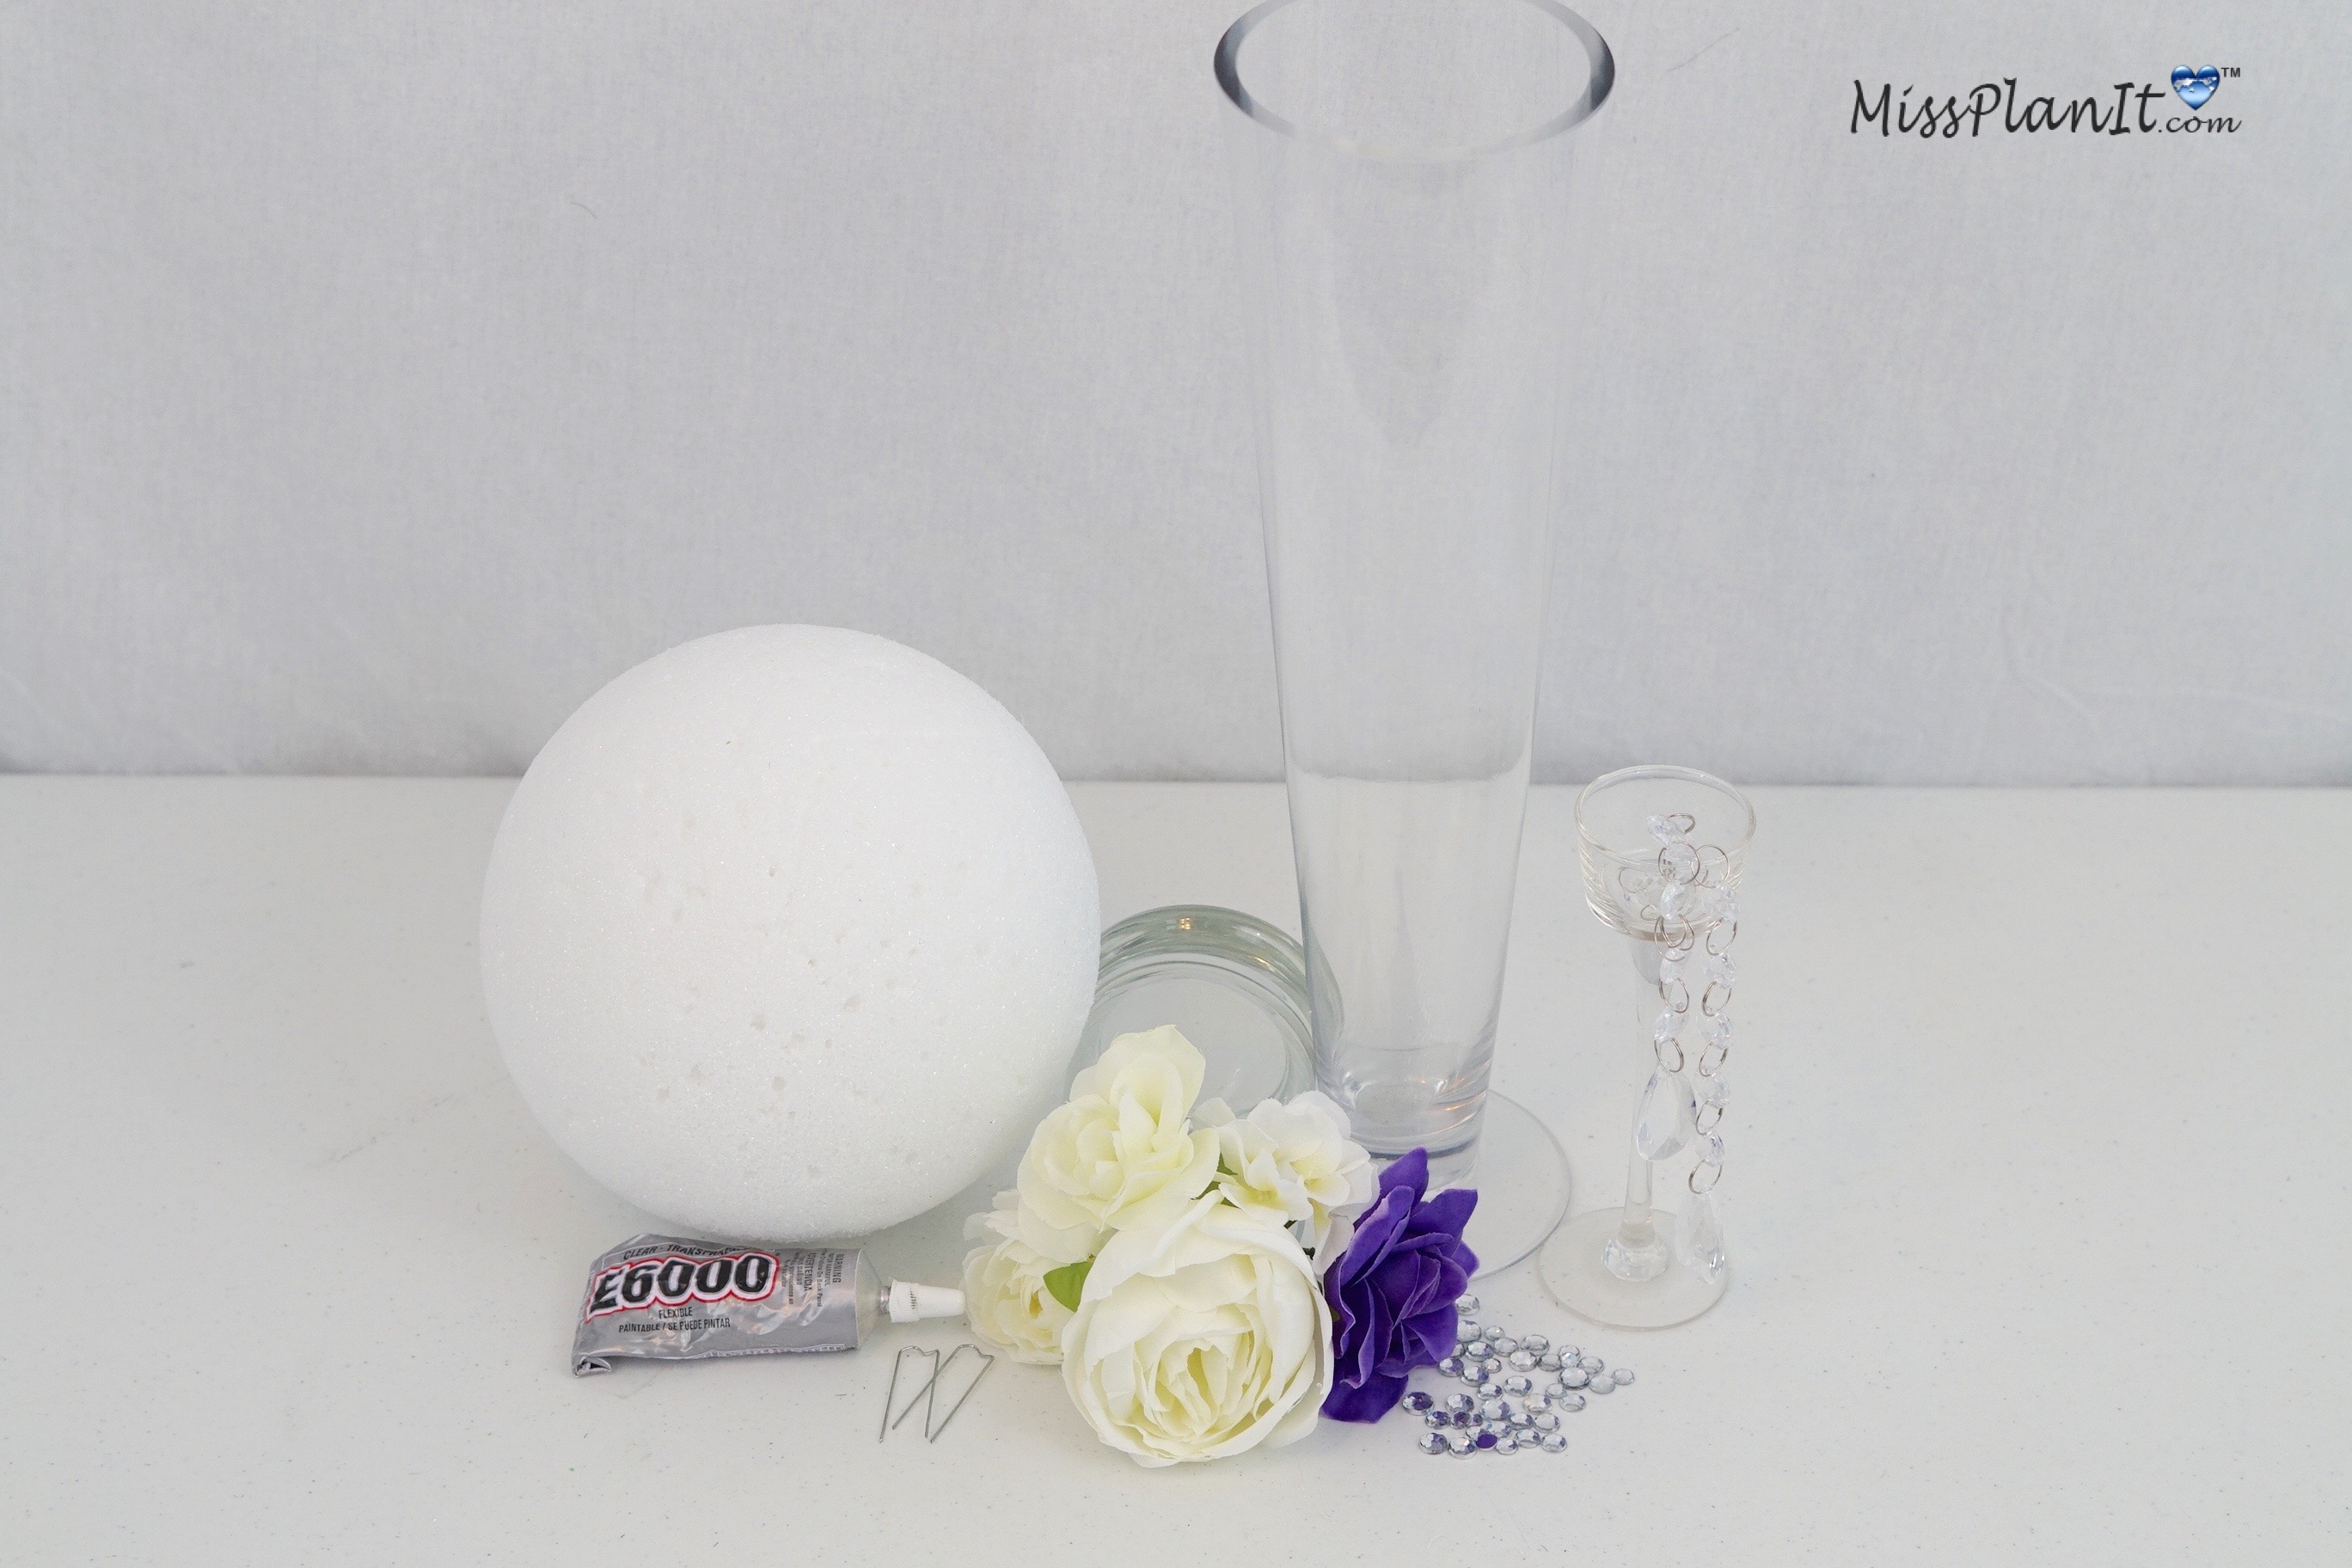
Supplies:
24in Tapered Trumpet Vase
8 in Foam Sphere
Cream Hydrangea
Gem Garland
Gems
White Roses
Peonies
Purple Roses
E6000 Adhesive
X-acto knife
Glue Gun
Glue Sticks
Floral pins
Directions:
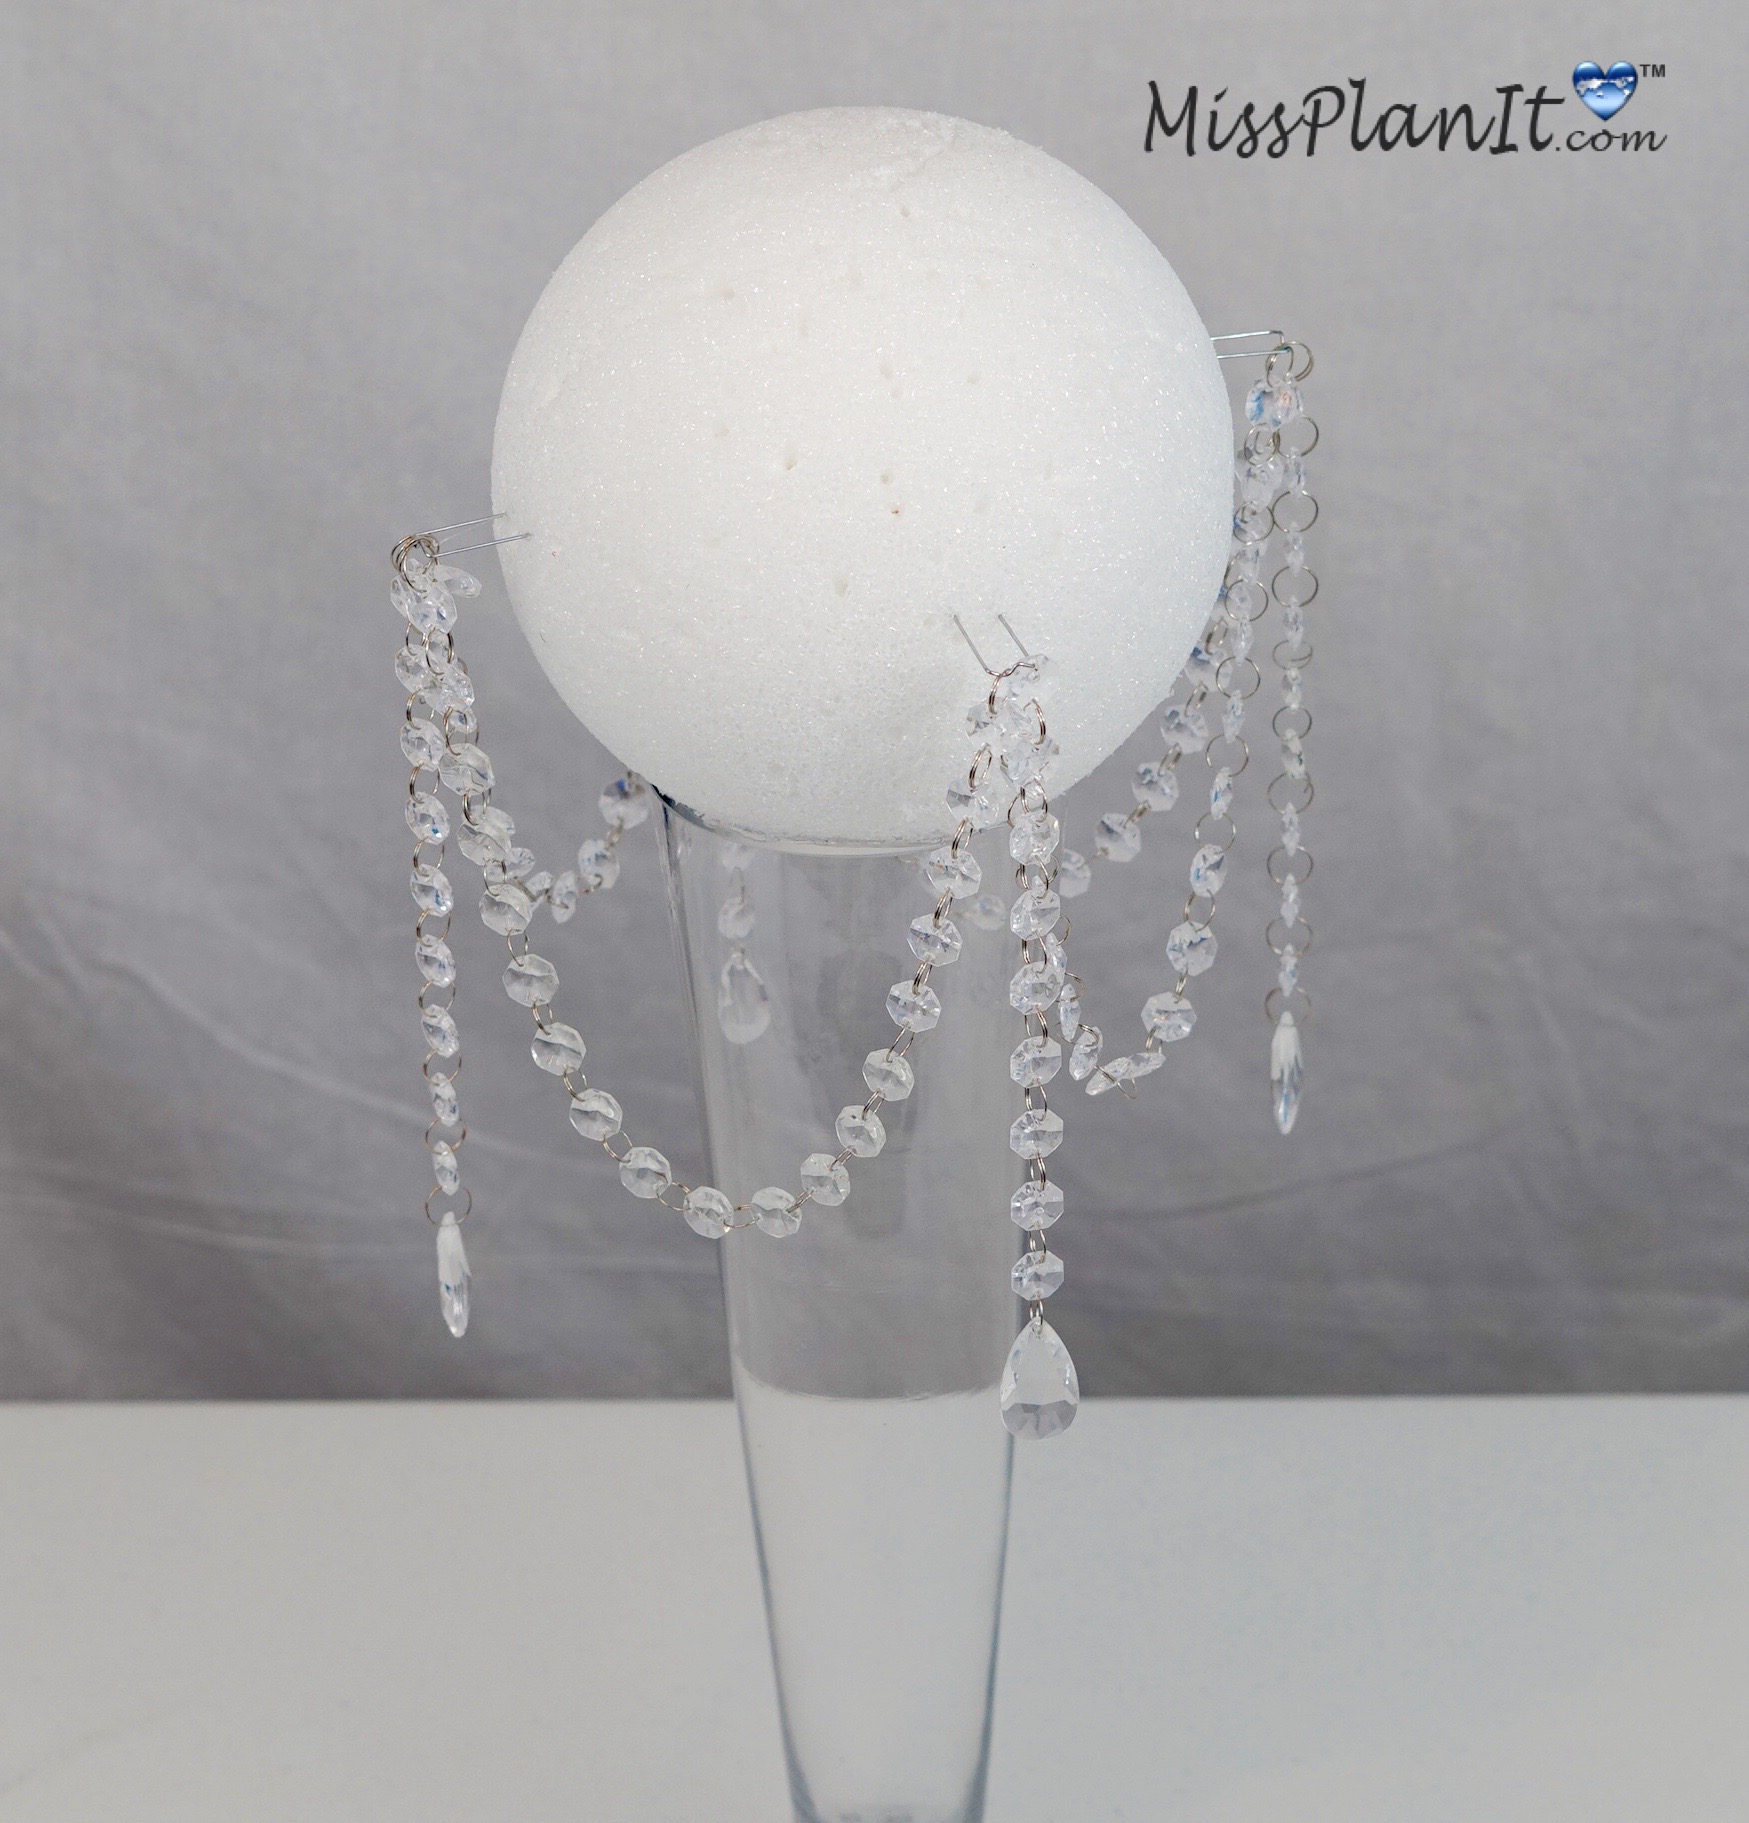
STEP 1: Apply hot glue to your 24in Tapered Vase rim and then place your foam ball on top of your vase. For a permanent hold use E6000 Adhesive. Now add as few or as many rhinestone gems to your 24in Tapered Vase base.
STEP 2: Take 12 inches of your Gem Garland and add your 2 inch floral pins through the loops. Apply hot glue to the tip of your floral pins, now insert floral pins into your foam sphere.
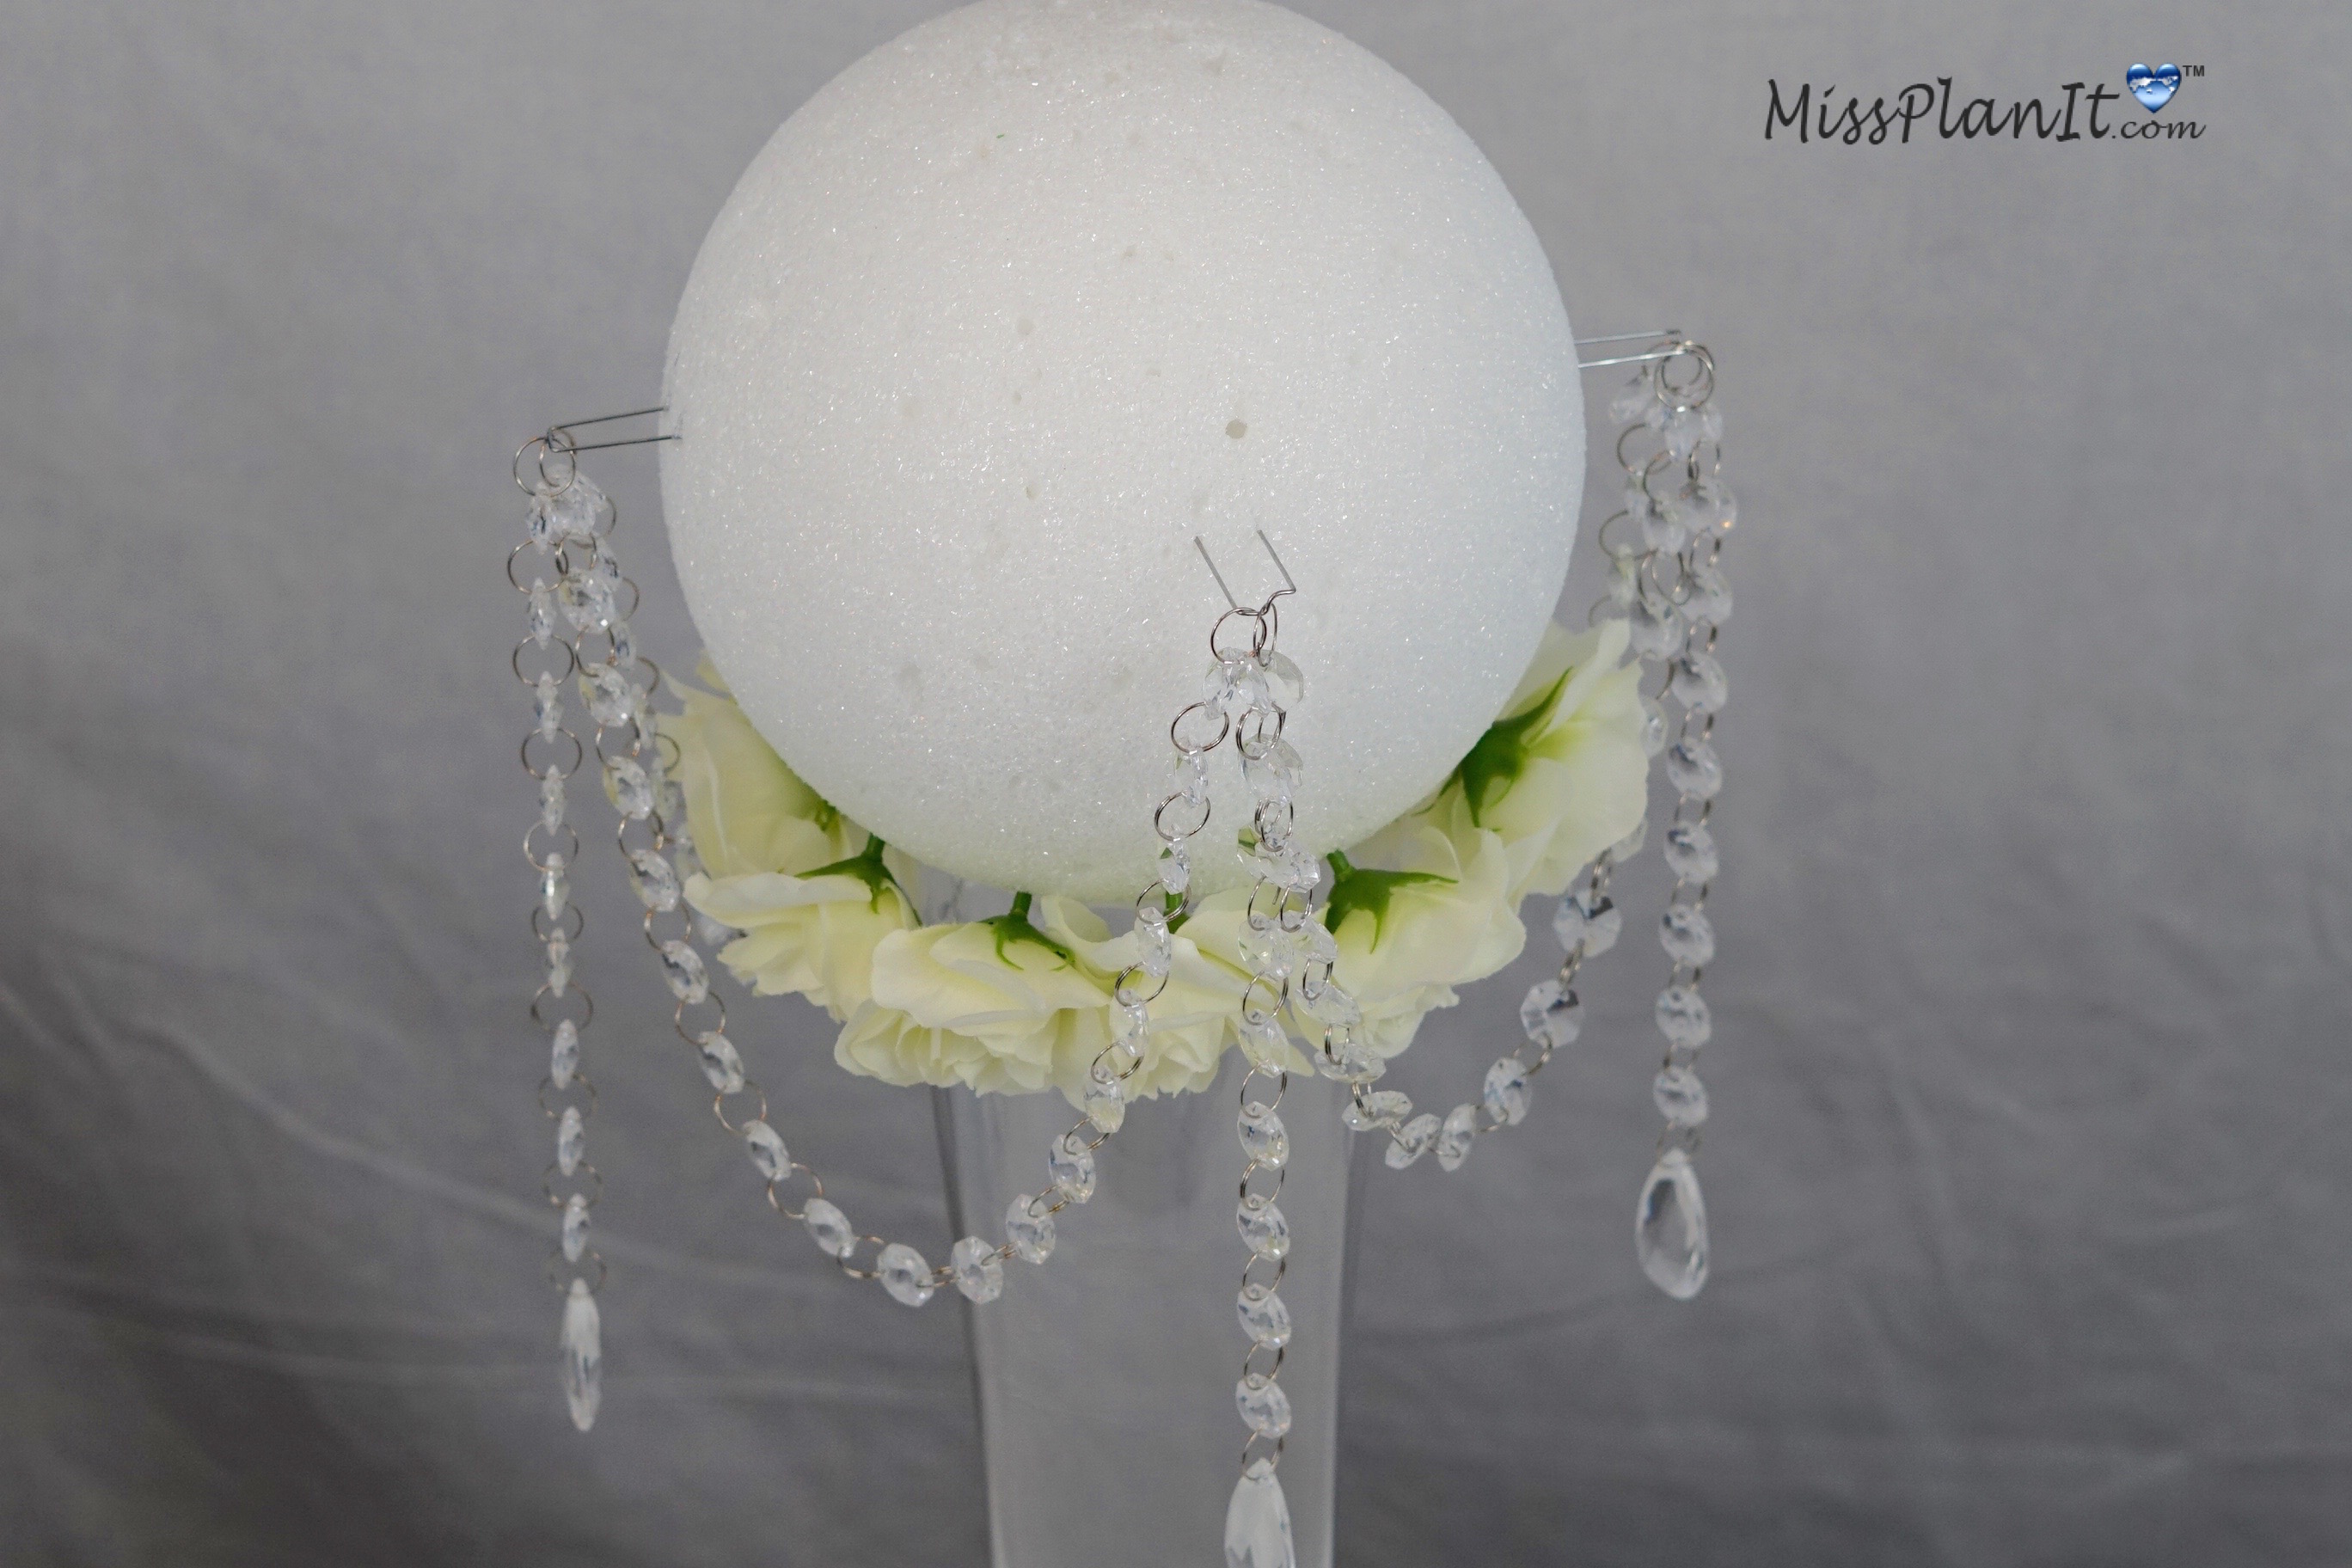
STEP 3: Attach 6-8 peonies and 12-16 large white roses. Now fill in the spaces with hydrangea buds. Lastly, add in your pop of color with purple roses!
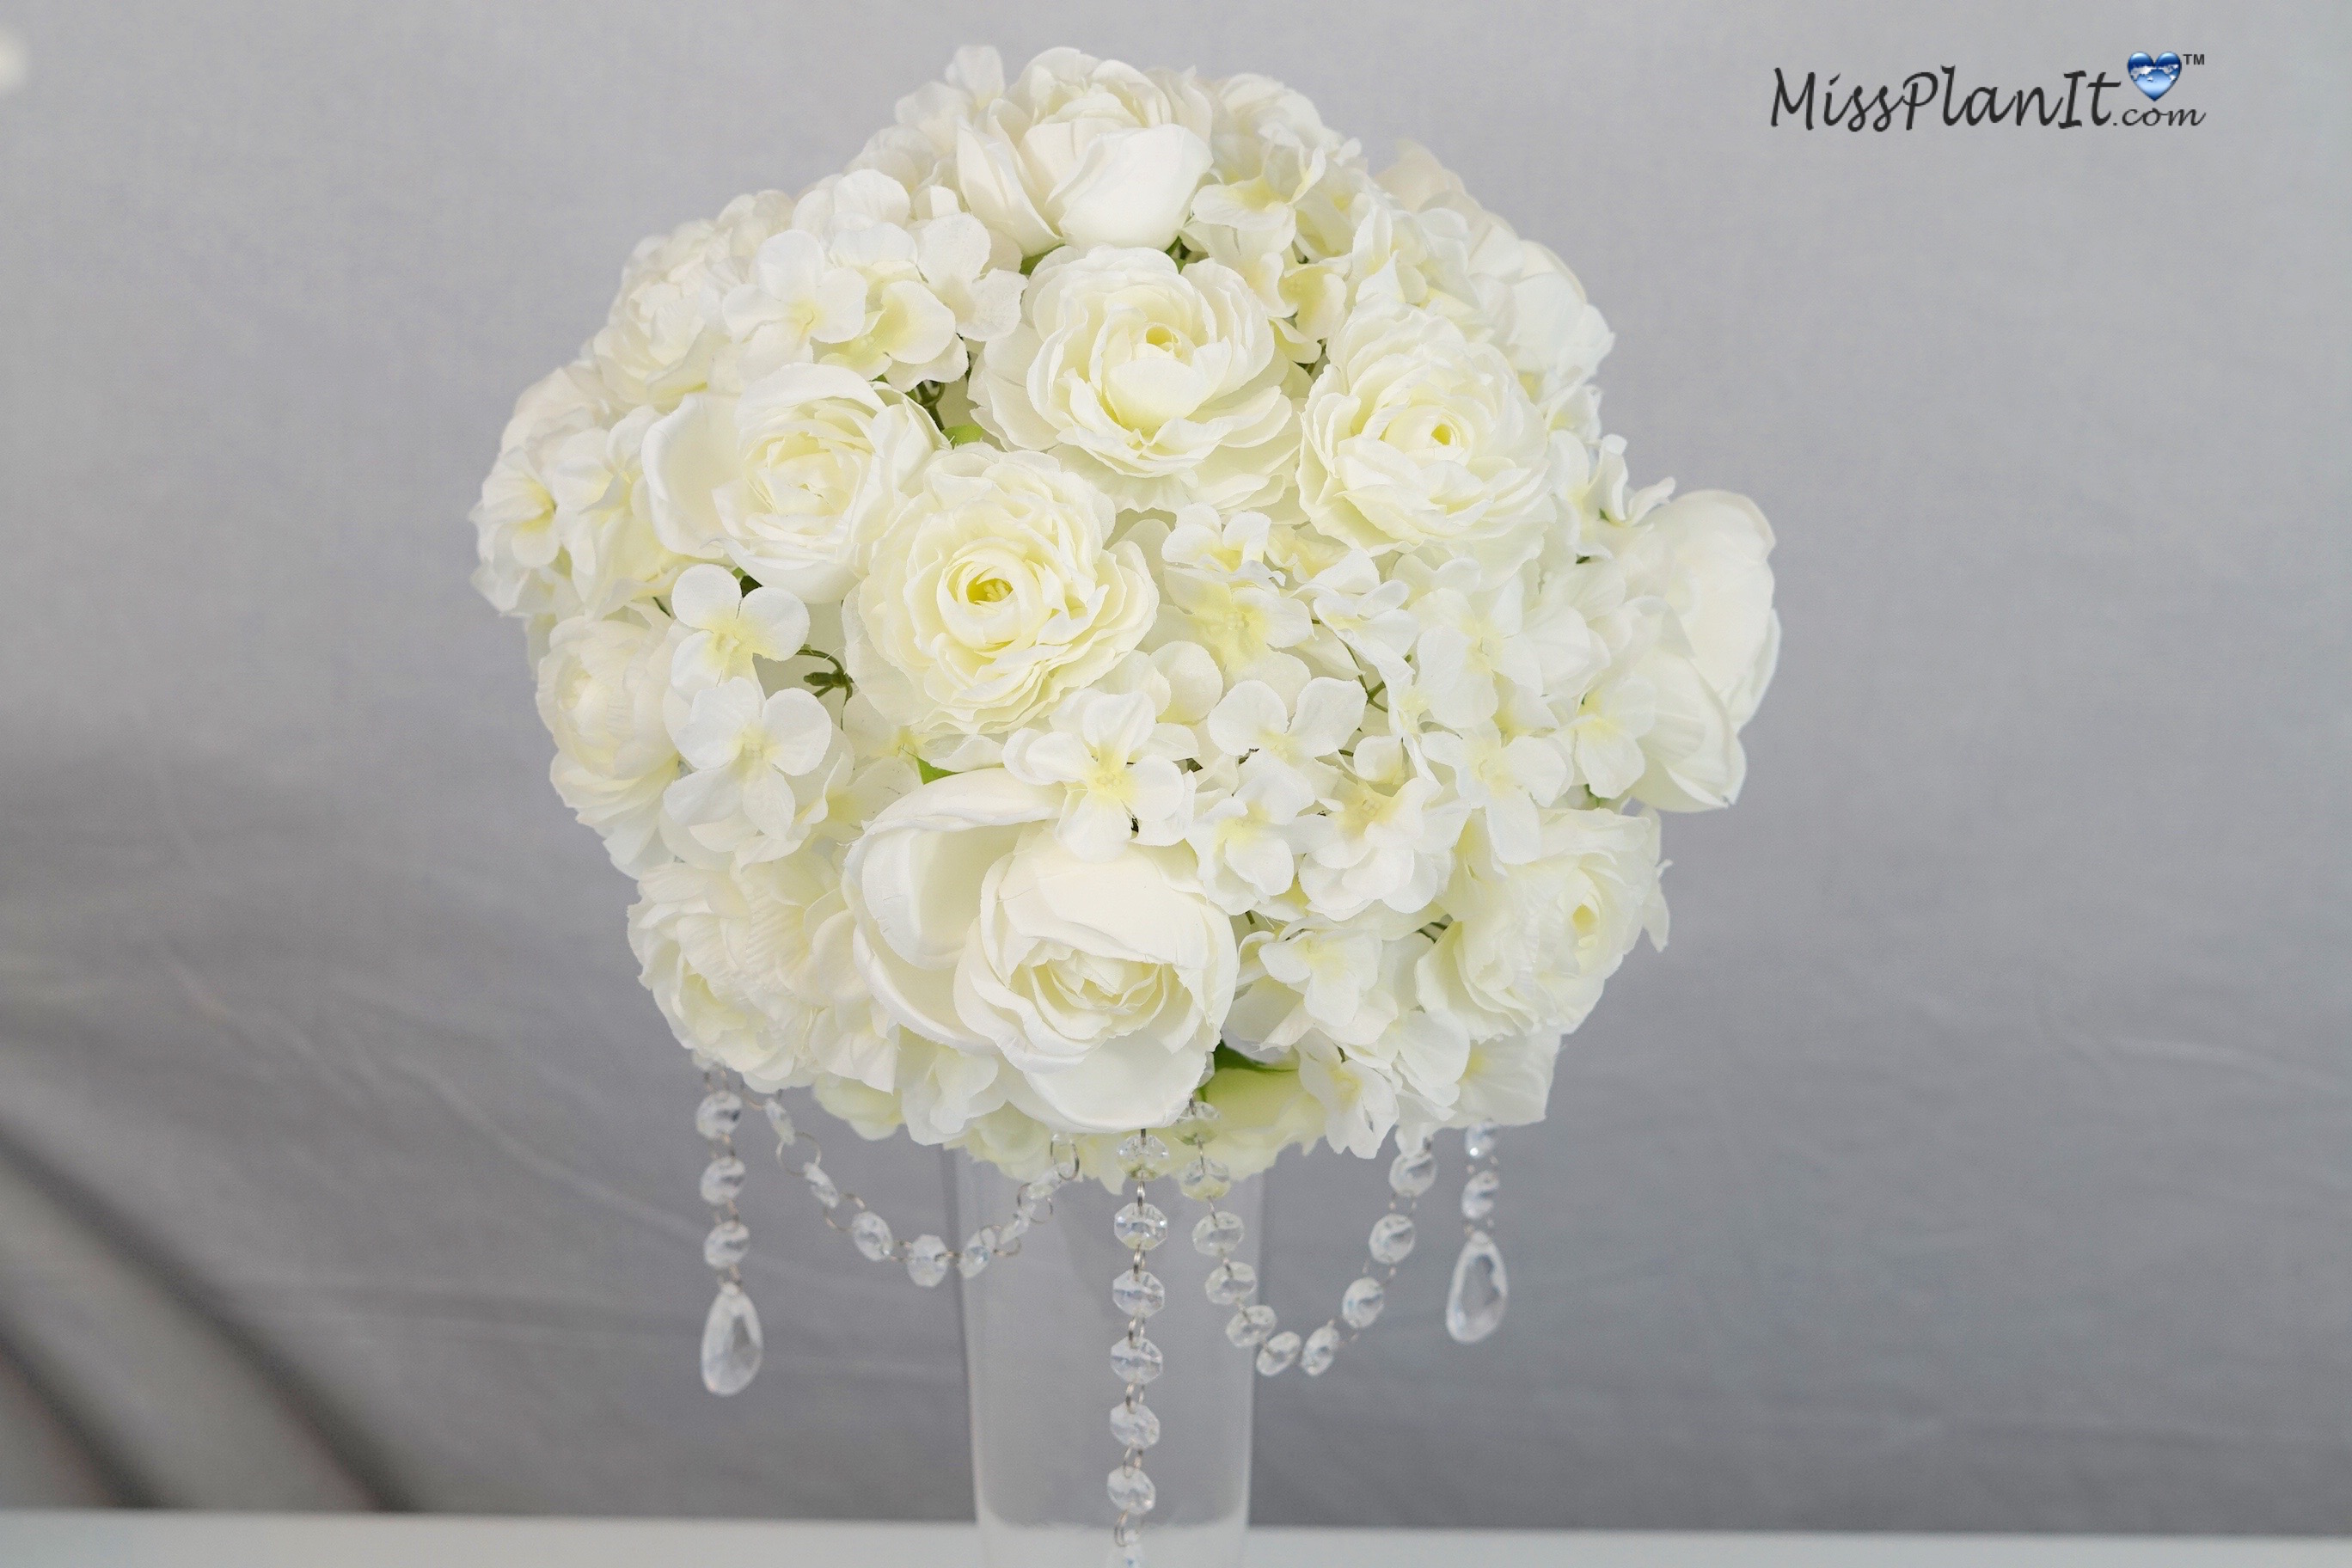
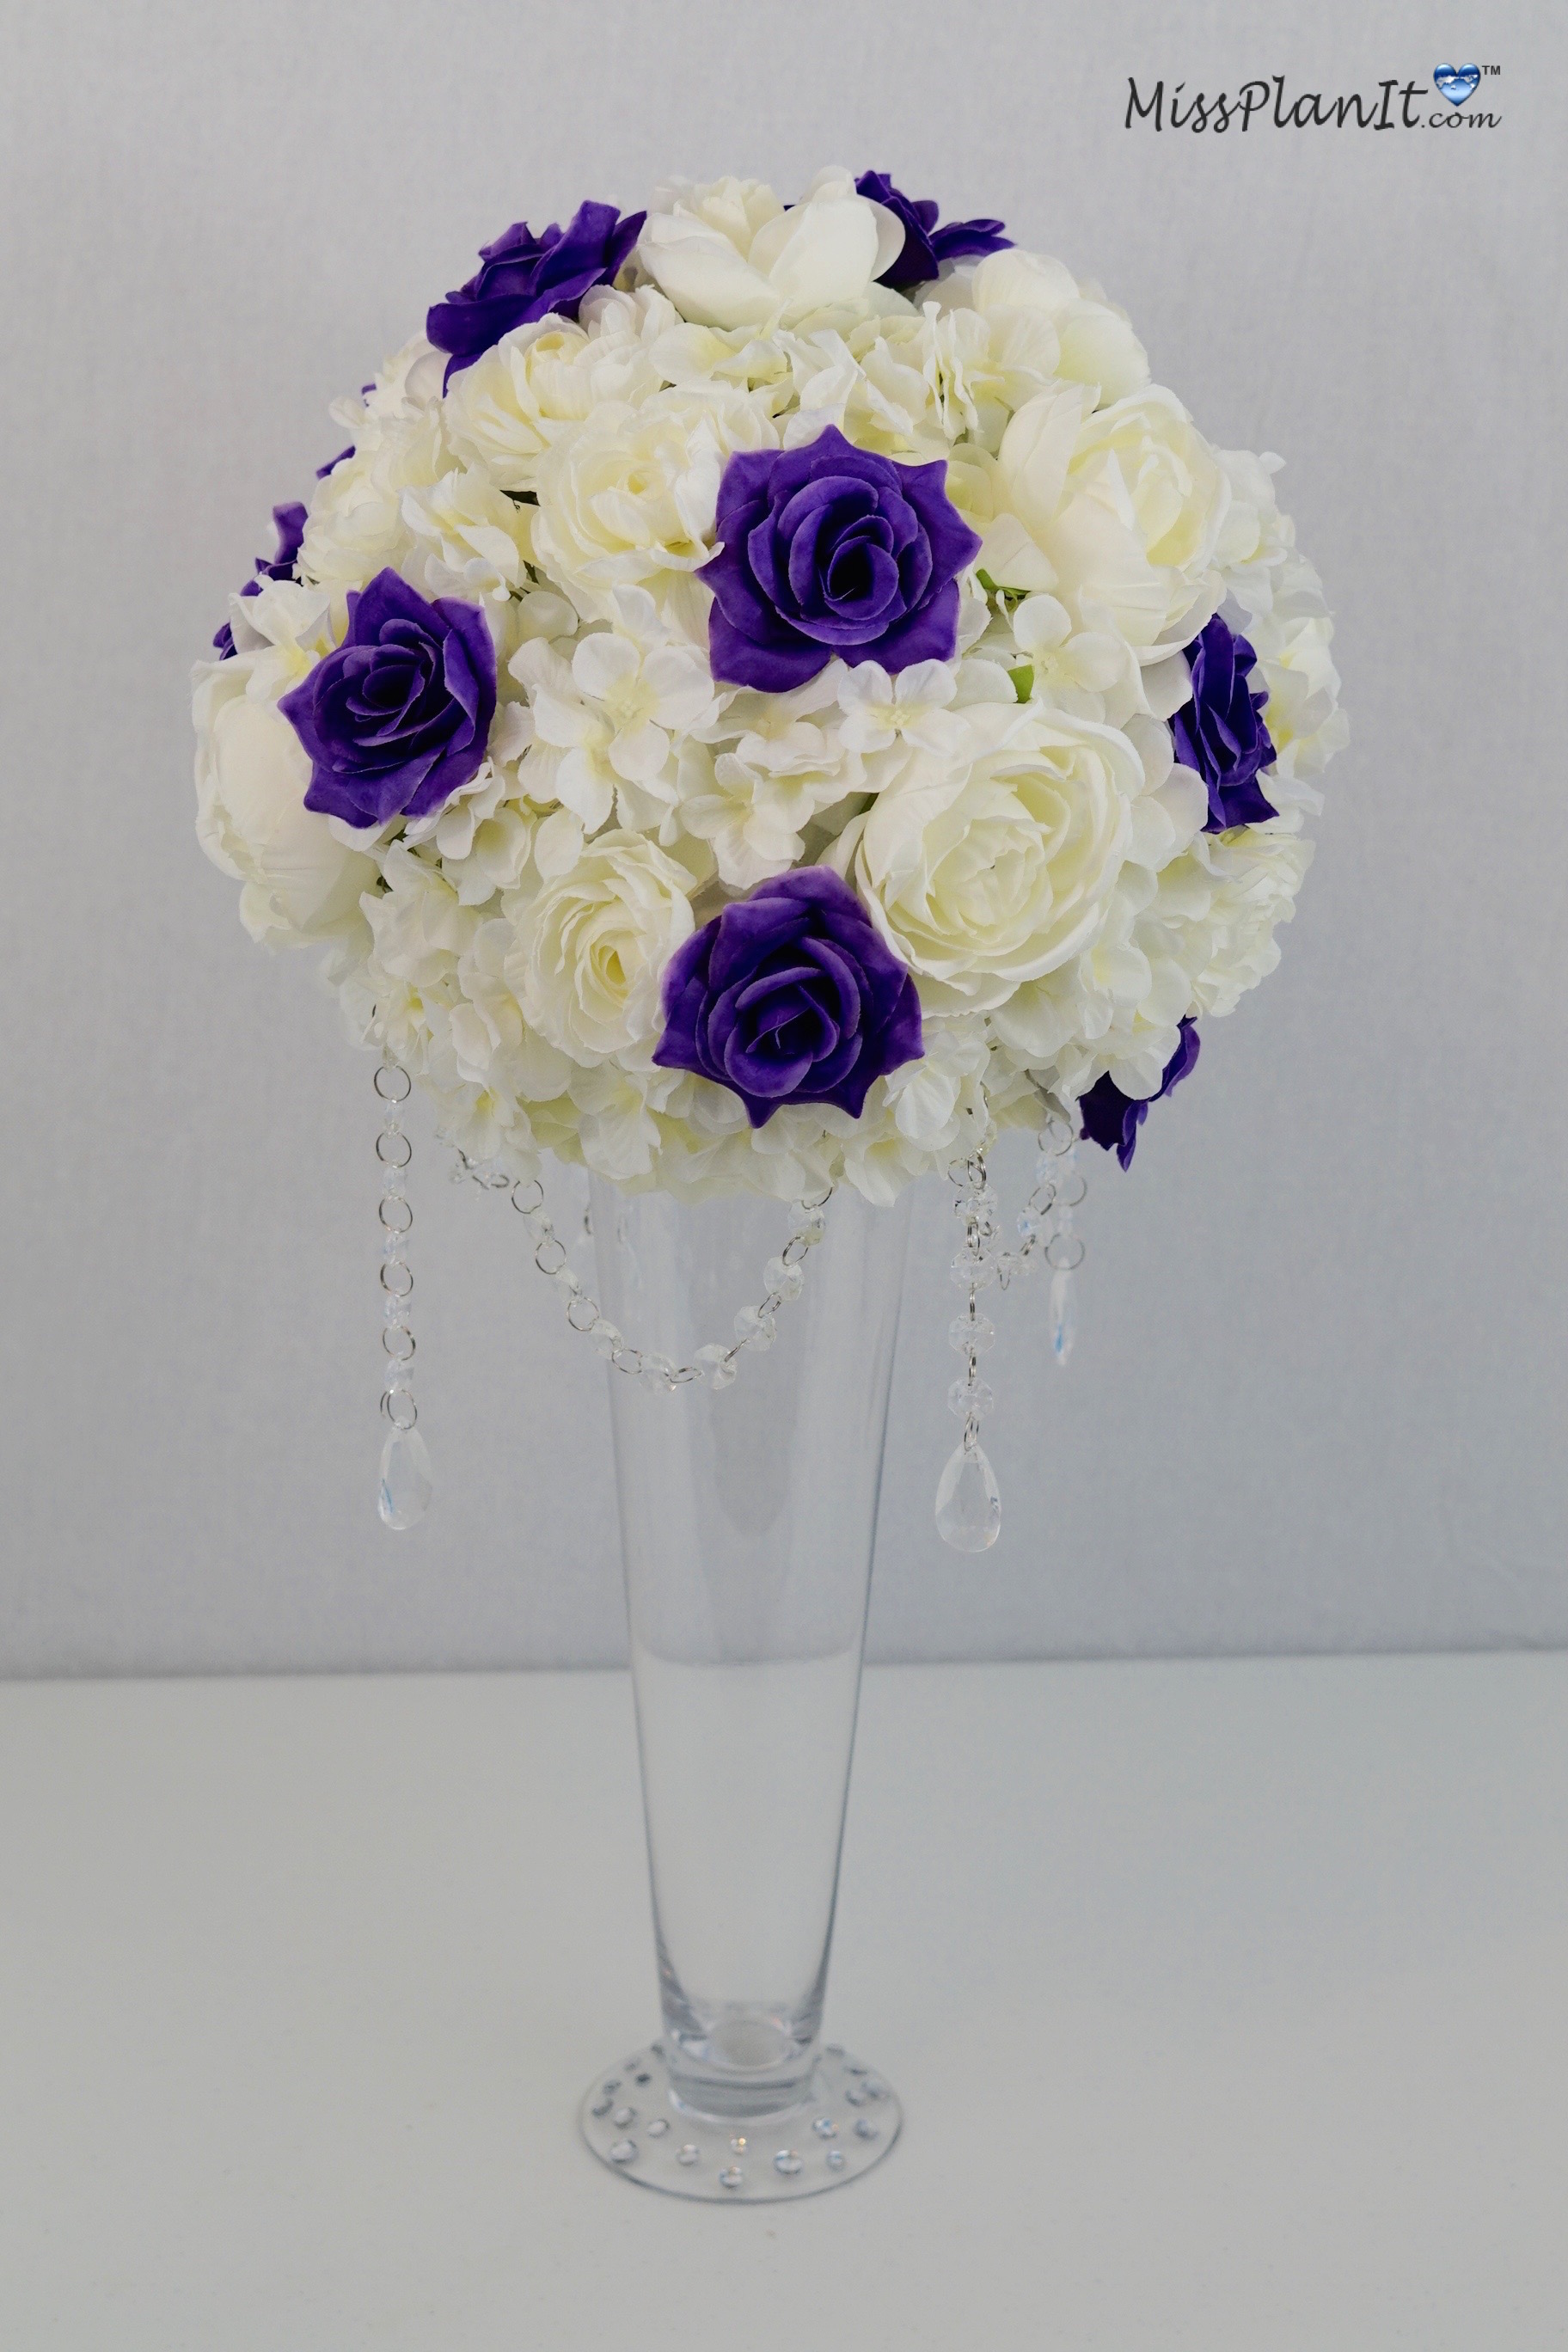
THE FINAL STEP
STEP 4: Set the table!
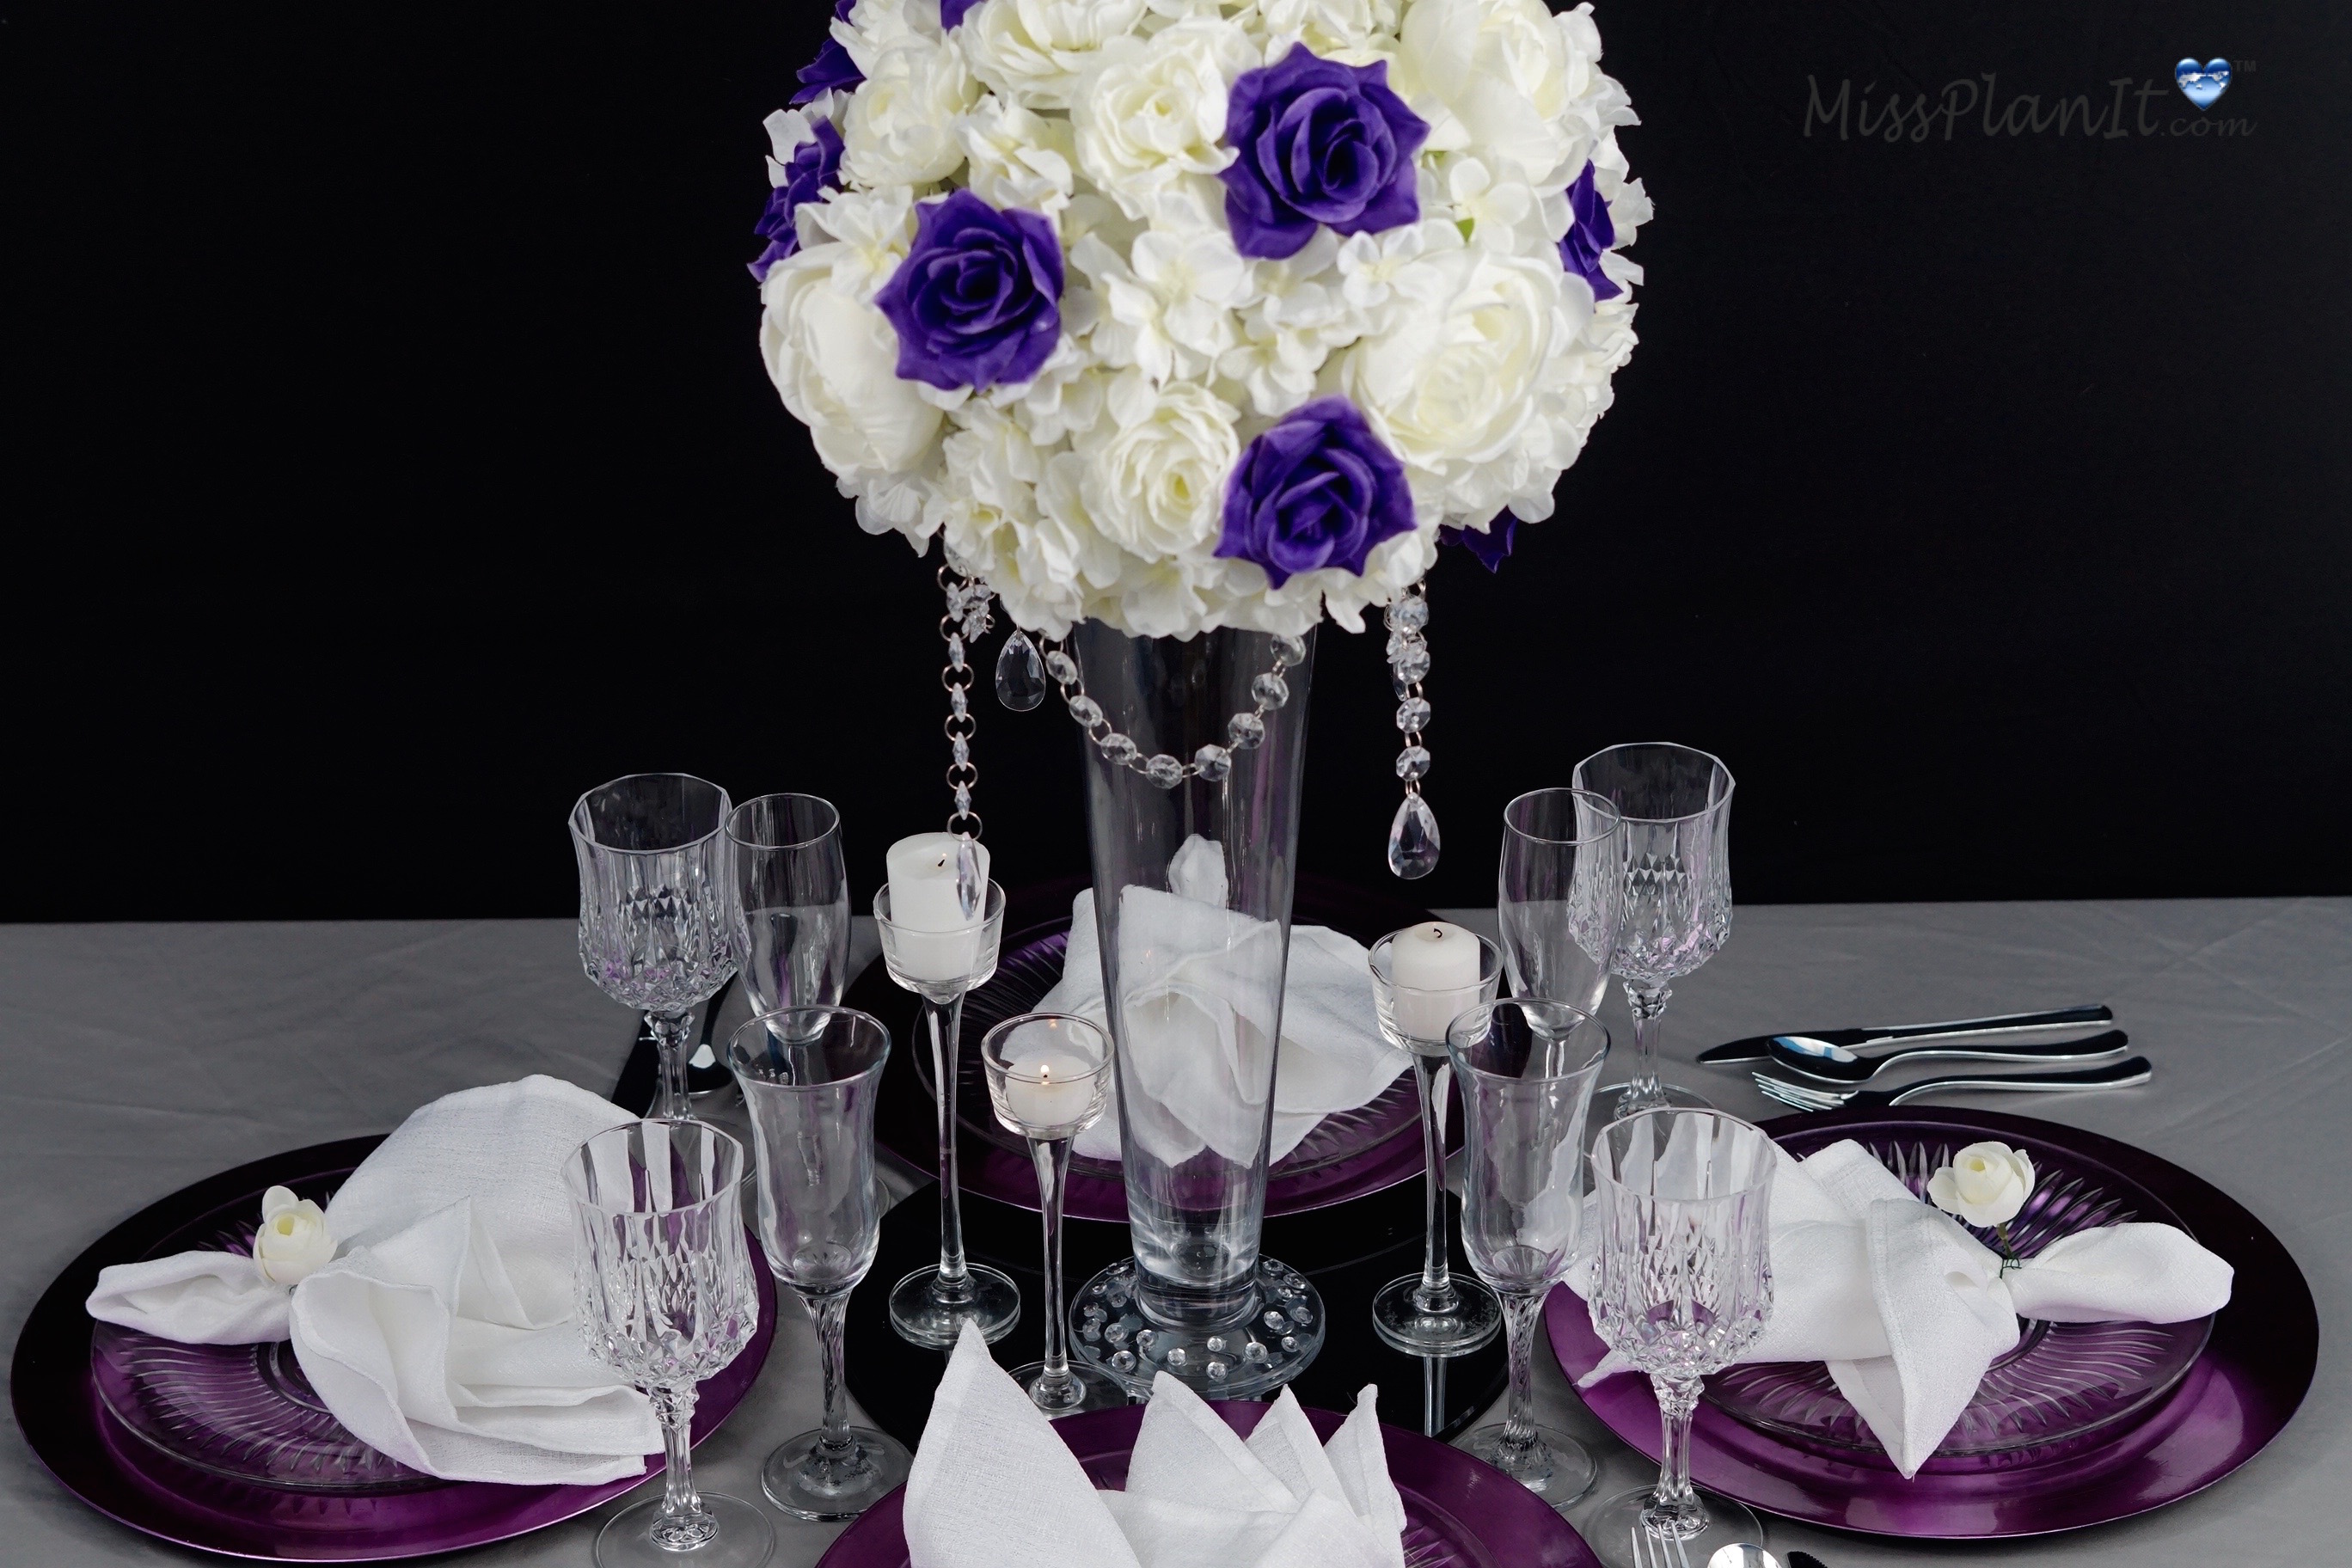
I absolutely love how this wedding centerpiece turned out. Tashica, thank you so much for allowing us to be apart of your special day!
If you like the outcome please let us know in the comments below? Also share your ideas on what you would have done differently?
Need help with an upcoming project? Be sure to send us a project request!
“Remember When Every Penny Counts, Count on MissPlanIt”


