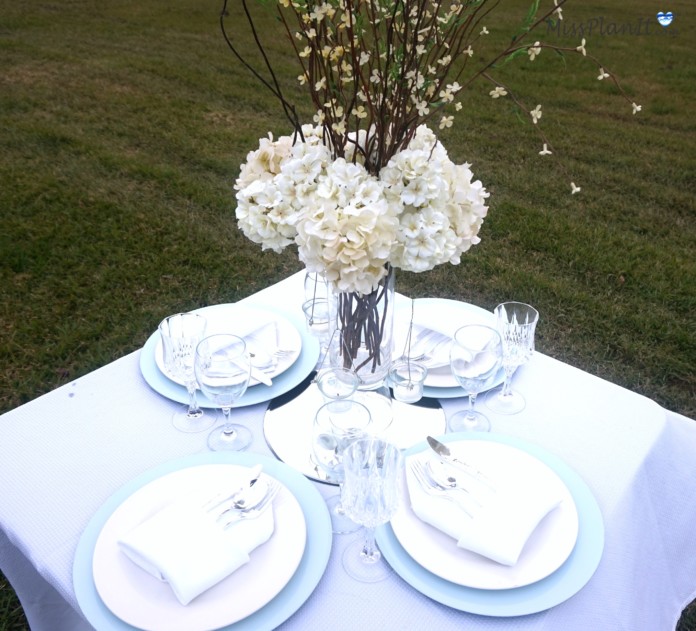
The branches are in full bloom! Join us this week as we create this lovely Blooming Branches Wedding Centerpiece for our Community Member Alejandra! Not only is it beautiful but we also came in under BUDGET! Here is Alejandra’s request :
“My wedding is to take place next year in November. I want to have tall centerpieces that are champagne/neutral colors. My budget is 50 per centerpiece.”
Let’s Get Started….
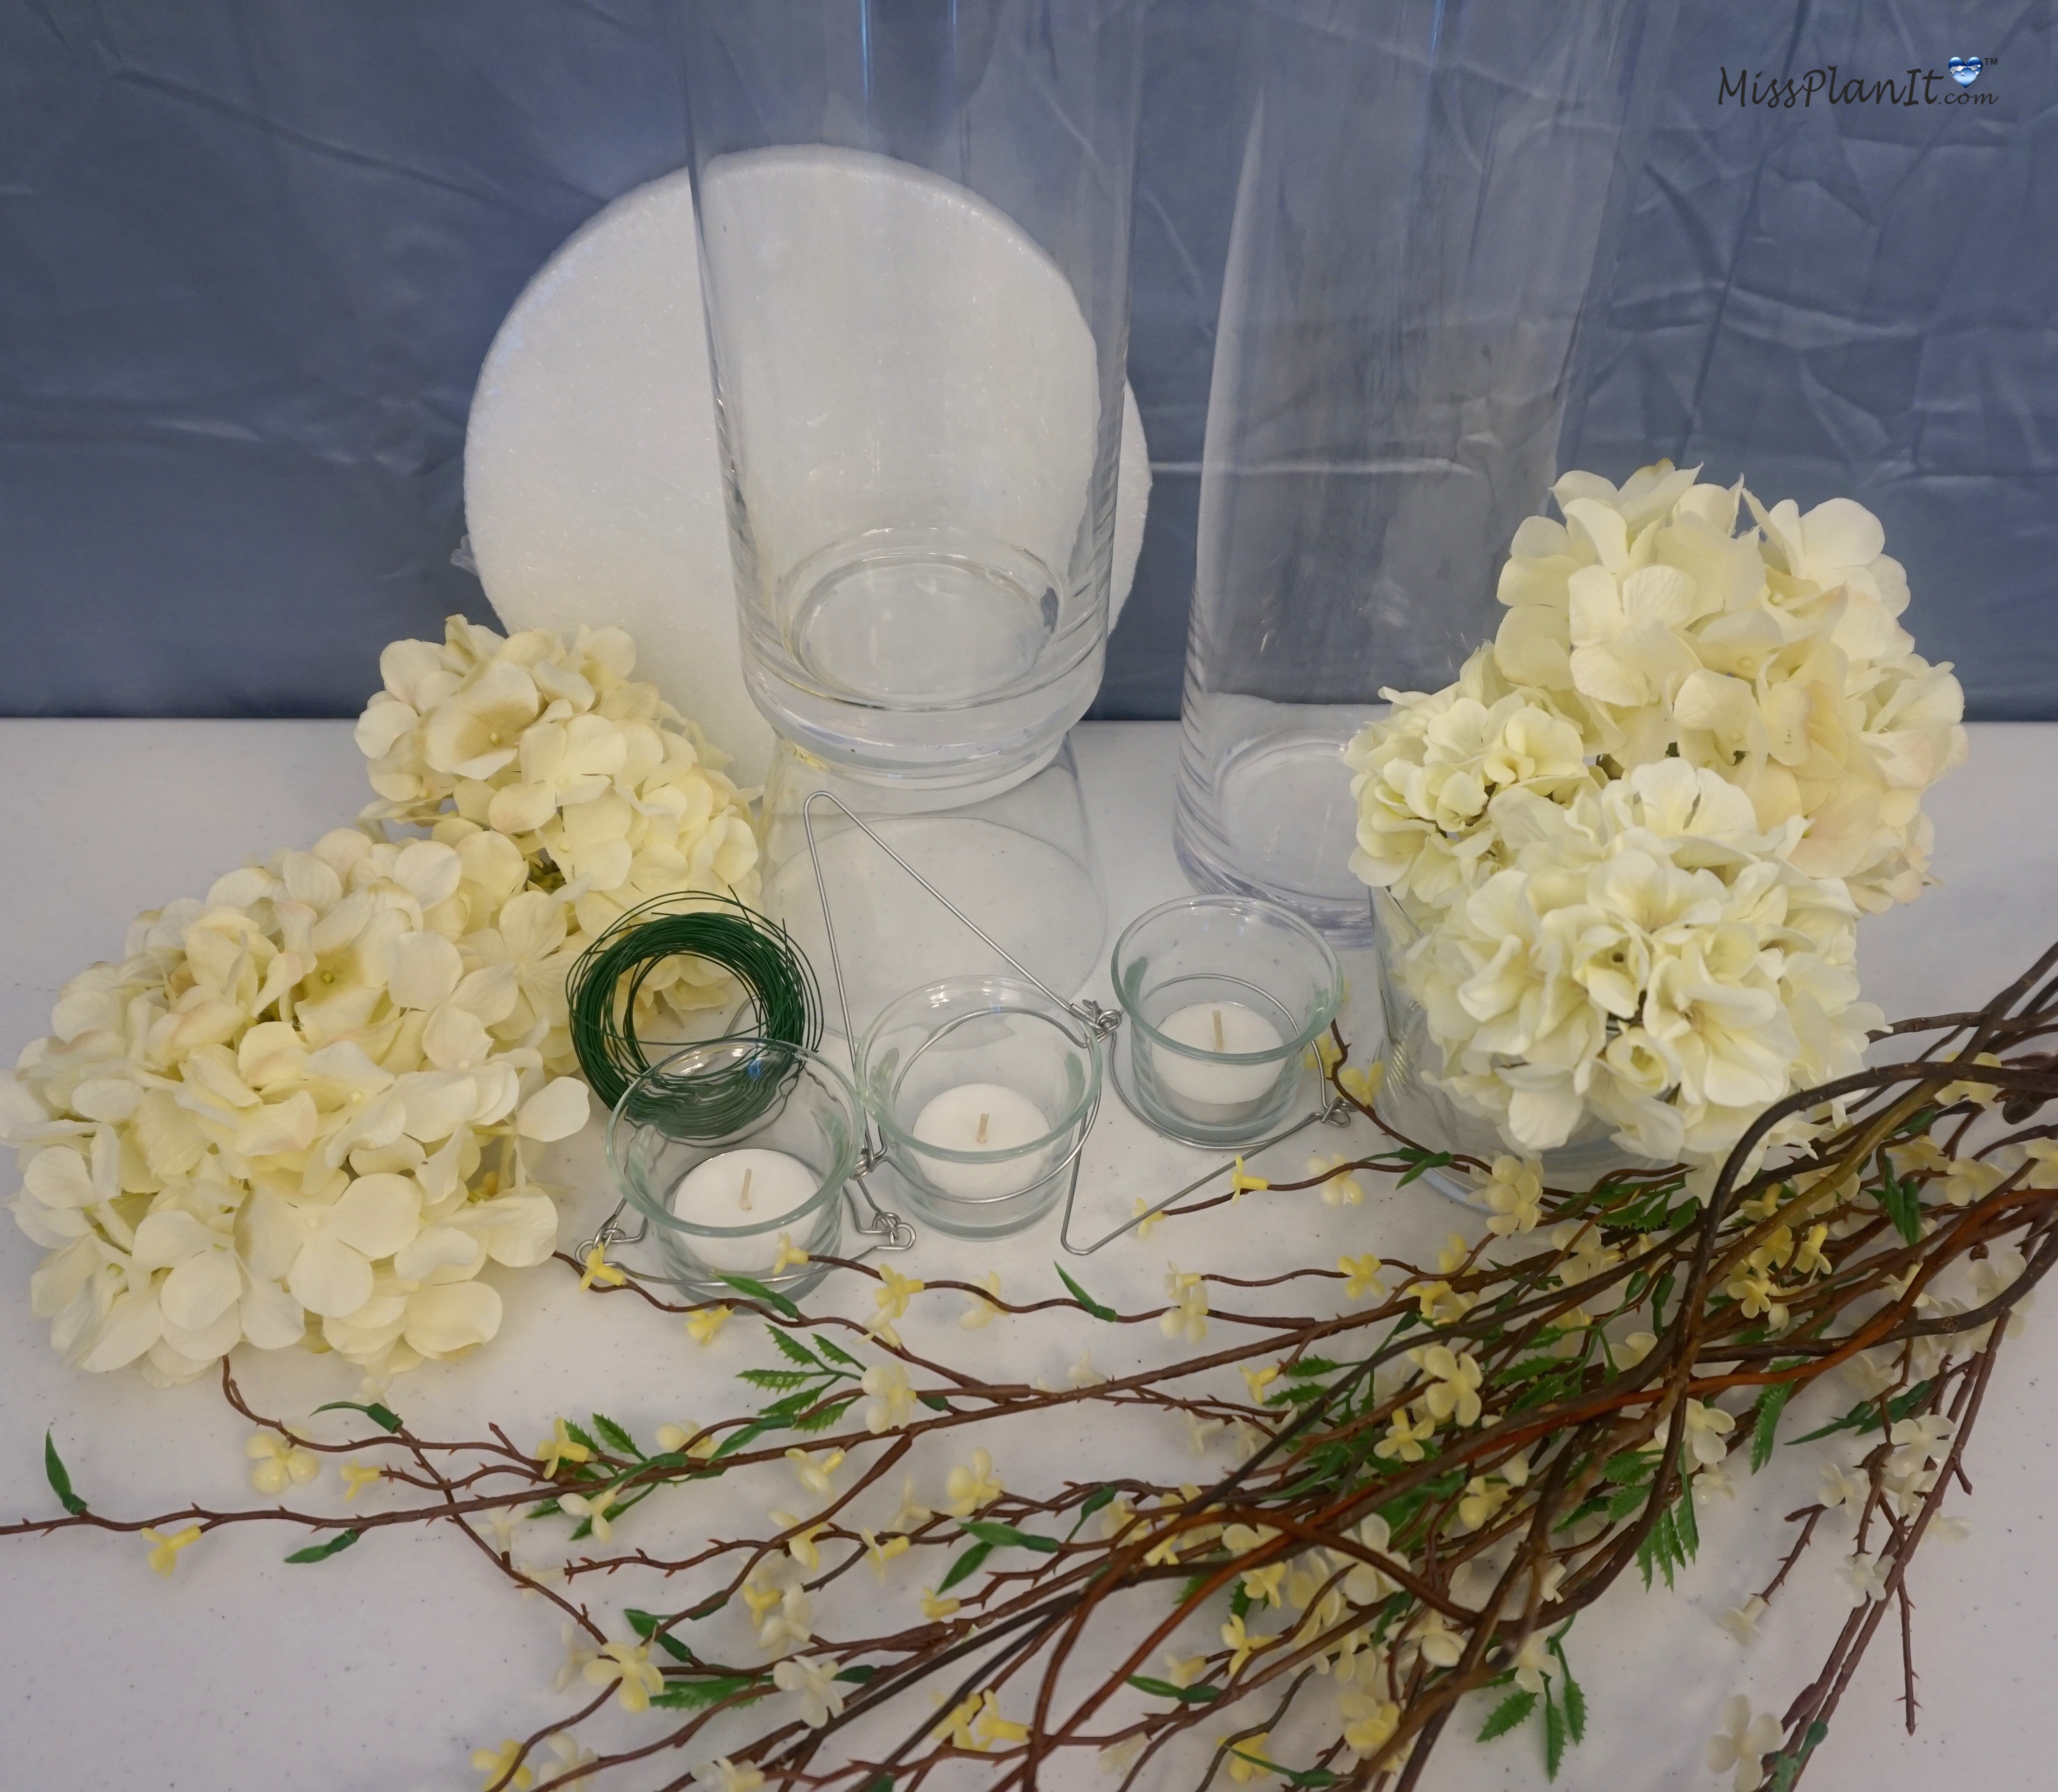
SUPPLIES:
1-9in Glass Cylinder Vase
1-3 1/2 Roman Urn Glass Vase/Candleholders
1-16ct Luminessence Unscented Tealight Candles
1-Floral Wire
12-Artificial Hydrangea Bushes
1-9inch White Foam Disc
1-Sharpie Marker
3-Tealight Hanging CandleHolders
2-Bushels of Willow Branches
4-Artificial Cream Cherry Blossom Branches
1-X-Acto Knife
1-E6000 Adhesive
STEP 1: As used in many of our other projects, we will create our Infamous $2 Dollar Tree Vase. Simply, turn your candle holder upside down, apply a liberal amount of E6000 glue and then sit your 9 inch vase on top. Let this dry overnight before moving on to the next steps!
It’s now the next day, your completed 2 Piece vase should now be 1 piece. We are ready to go to the next step.
TIP: Before going to STEP 2, check your vase and make sure it is securely in place.
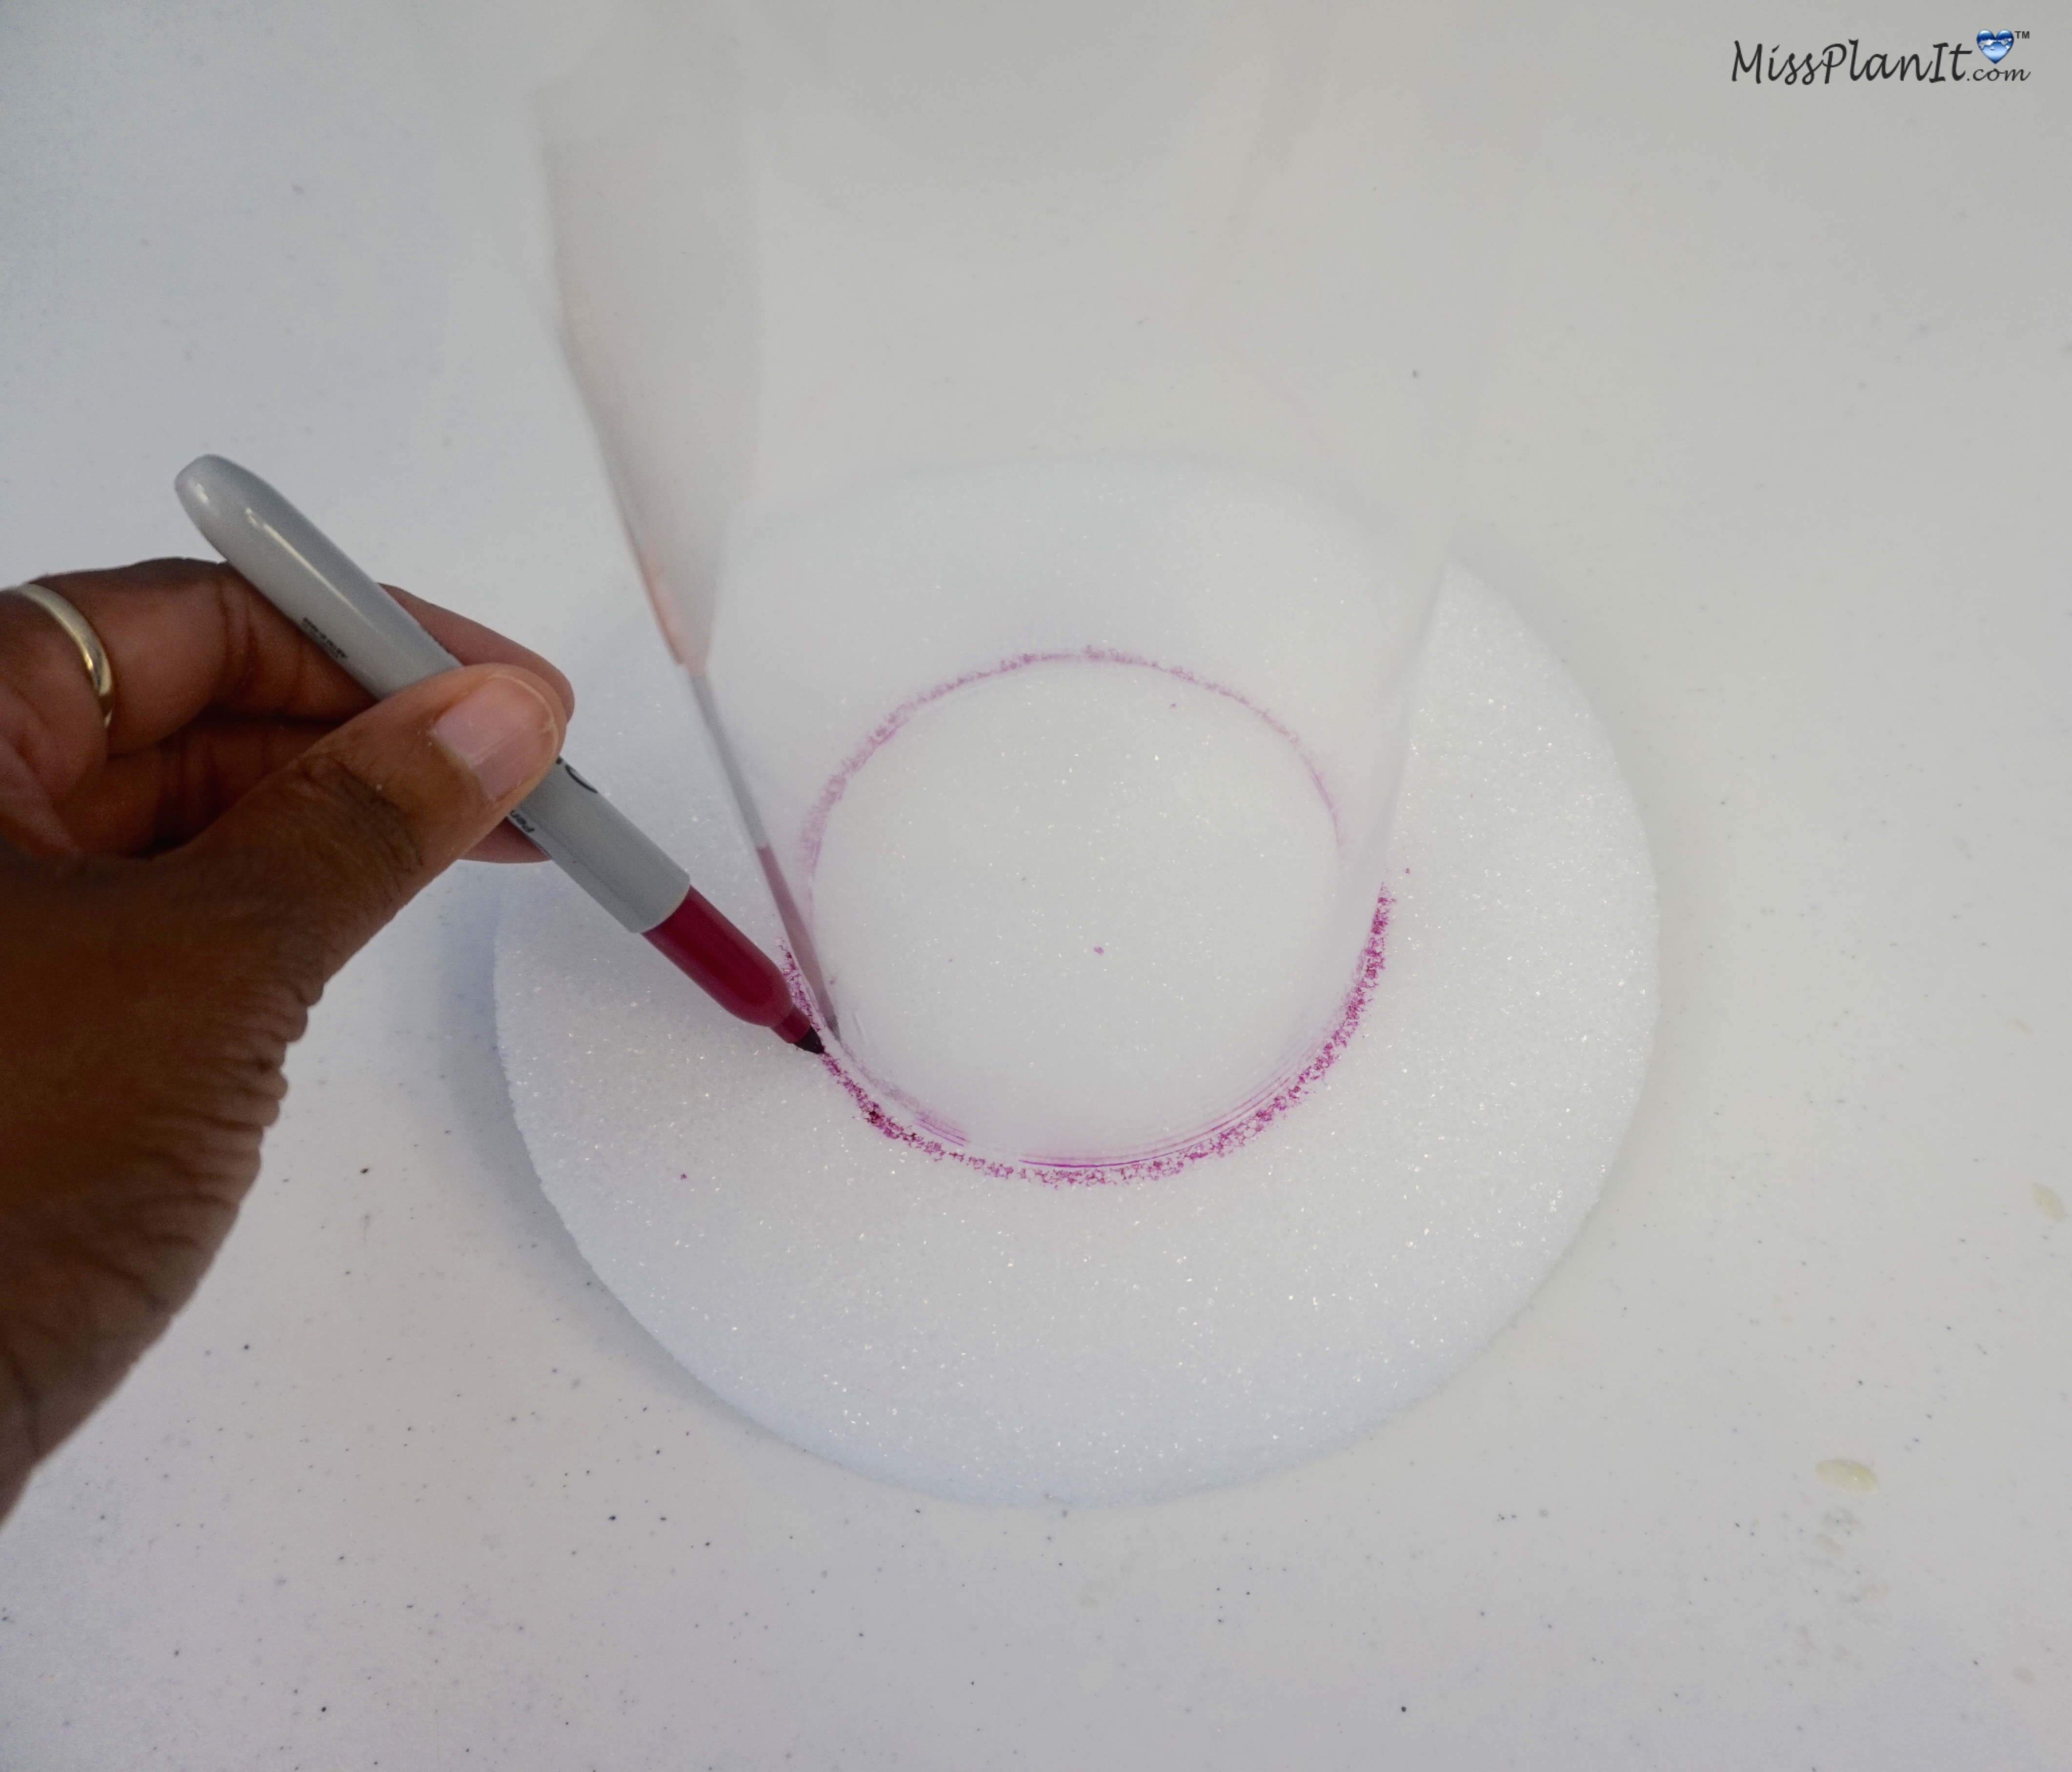
STEP 2: We will begin by connecting the foam to your vase. This process is super easy and will only take a few minutes.
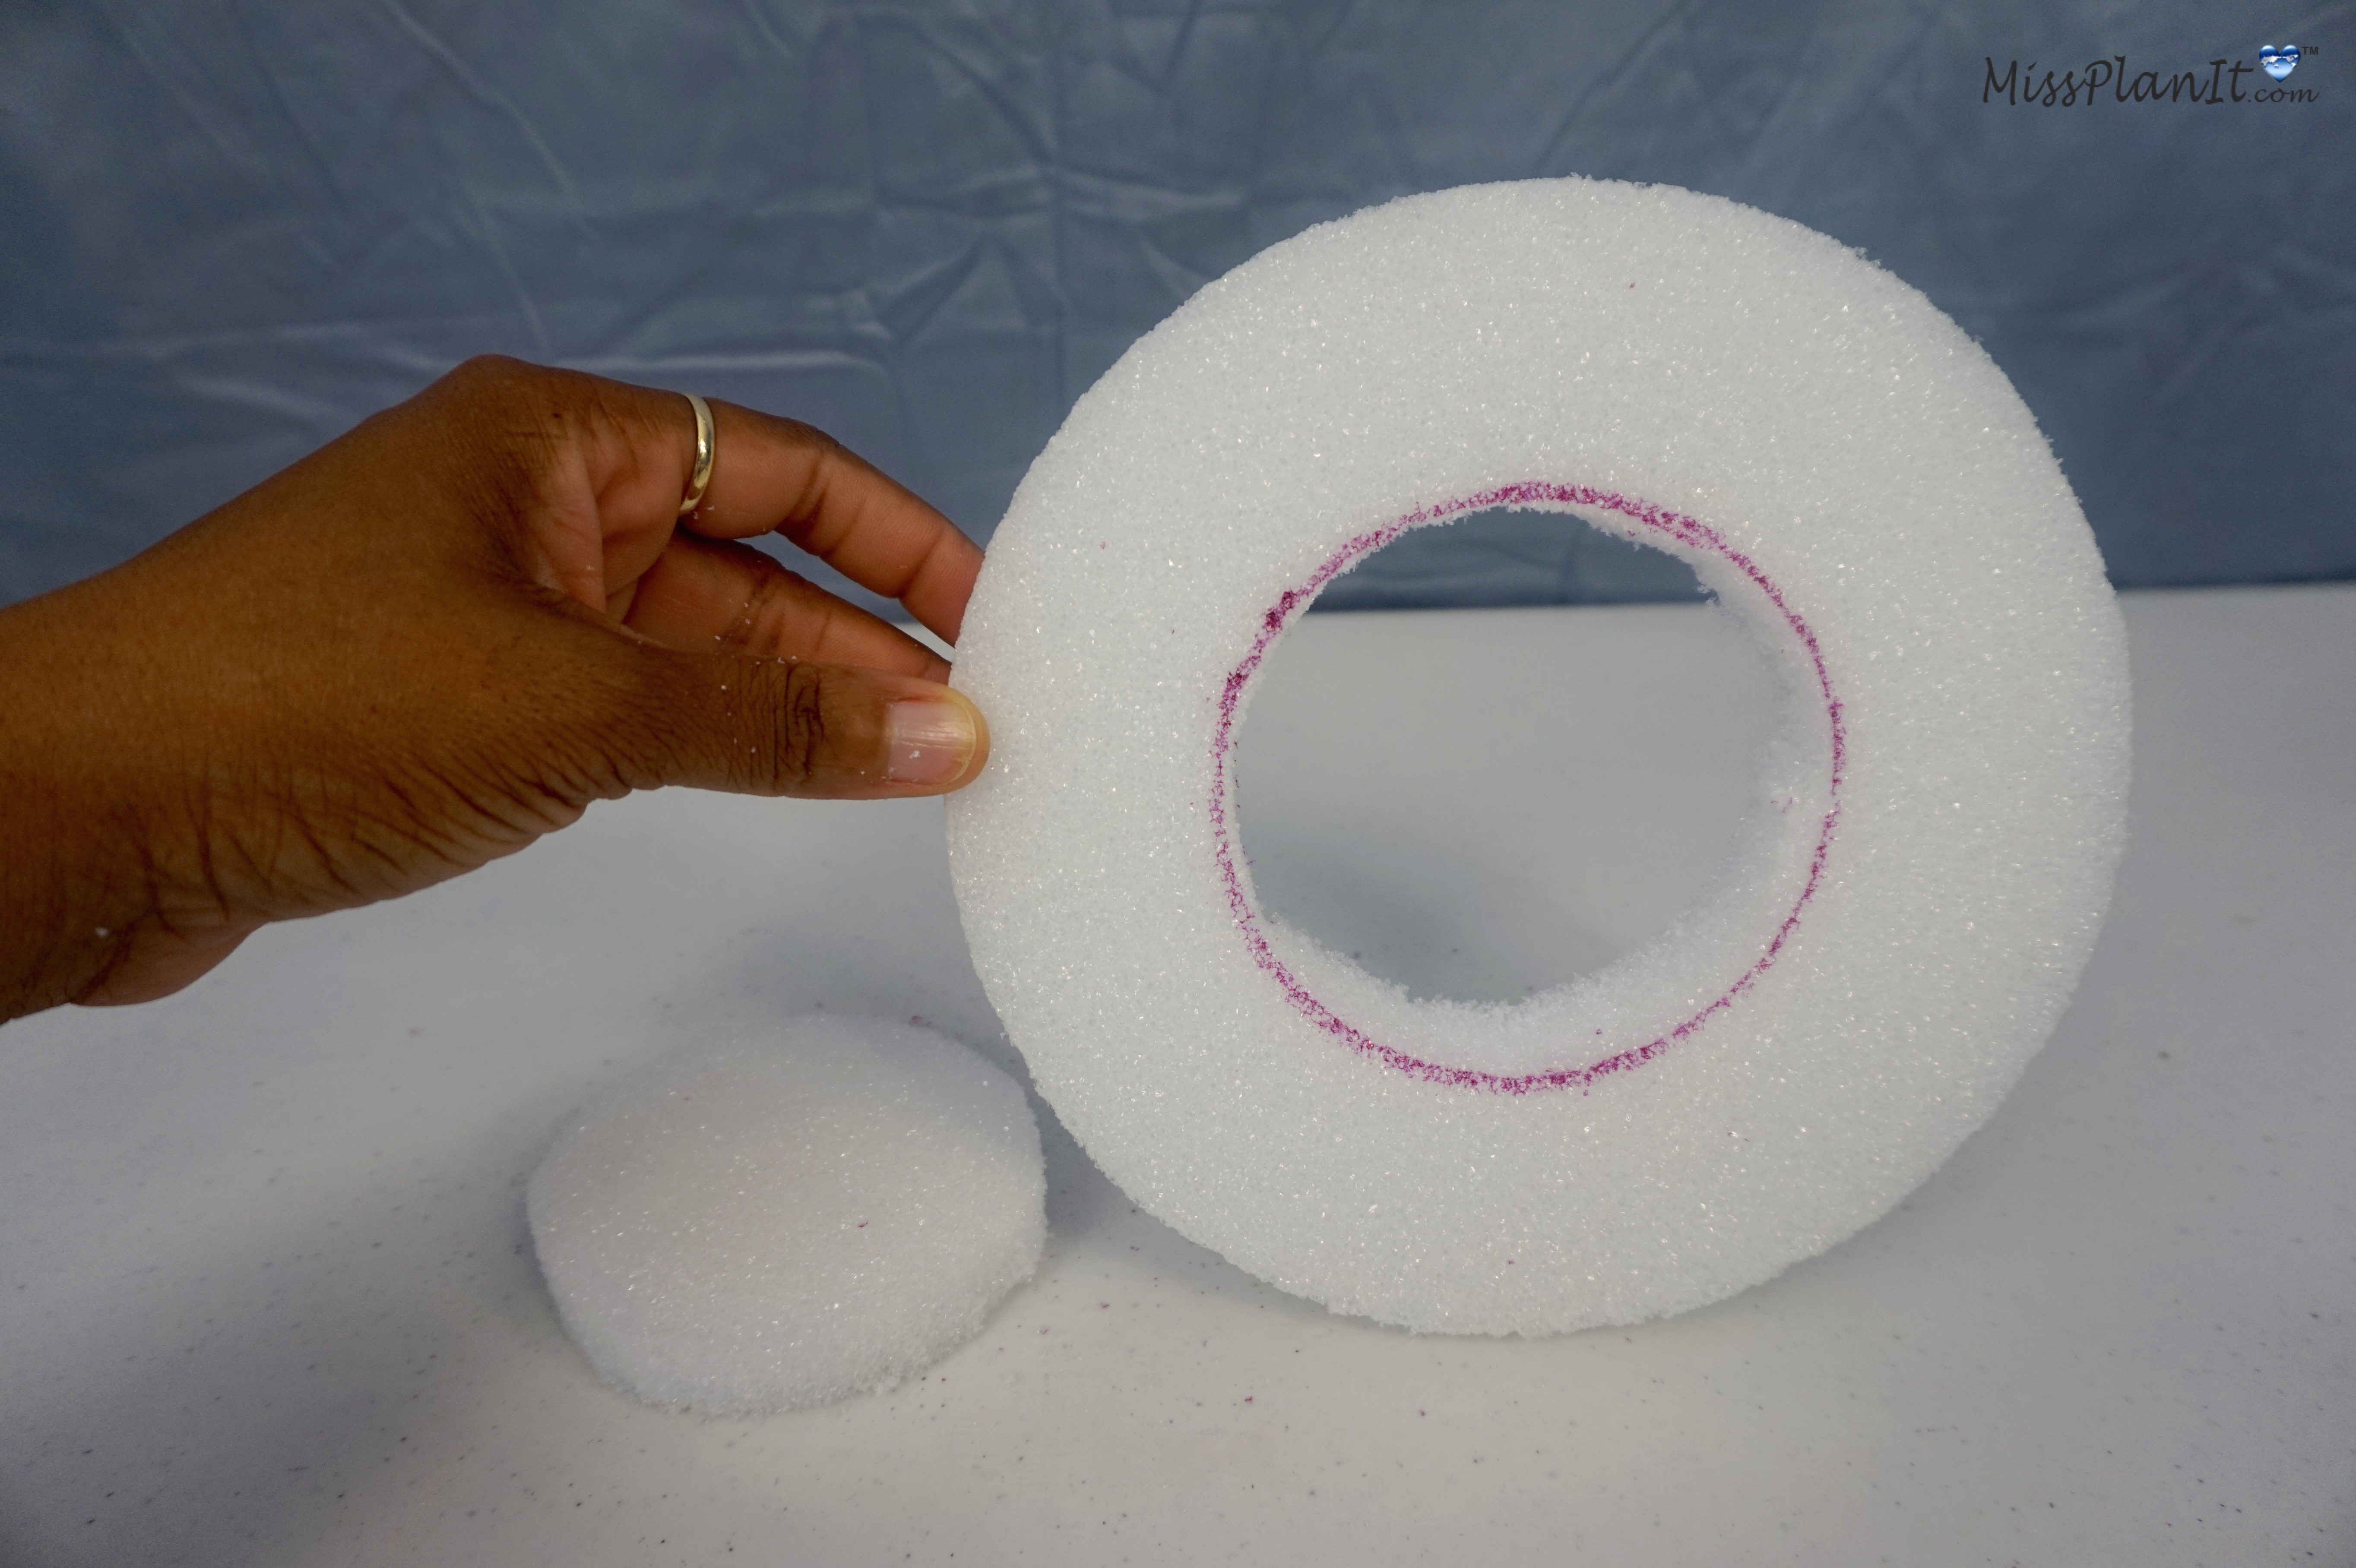
Simply, flip your vase over, and place it on top of your round foam. Now take a sharpie and trace around the vase, you will notice when finished it’s in the shape of a circle. You will then use an X-Acto knife to cut out the circle.
TIP: Be sure to carefully cut out your circle, you do not want to accidentally cut outside the border you created and ruin your foam.
Flip your vase back over and apply about 4 dabs of E6000 to the outside corners of the vase. This will adhere the foam to the vase. Now hold for a few minutes until secure!
FUN FACT: I often like to have the TV on or music playing in the background while DIY’ing. For some reason this is very relaxing to me!
It’s Time To Hang Our Tea lights From Our Vase!
STEP 3: Place your flat washer on top of your foam. Cut about 12 inches of floral wire. Take your tea light holder and wrap the floral wire through the opening. Make sure your sides are even, then smooth it out so the wires are together, now twist the wire around 3 times.
From the bottom of your foam, take 1 end and go from the bottom to the top. Place wire through flat washer and wrap the wire around your flat washer. Be careful with the foam it is temperamental!
You now have your 1-tealight holder hanging! Repeat this step to add 2 additional tea light holders. If using an actual flame for your tealights, be sure to hang your tealight holder about 6-8 inches from your vase.
If using LED tealights this is not necessary!
TIP: When you have a tealight and don’t want the silver rim to show, simply remove the tealight from your silver accent, and place in your tea light holder.
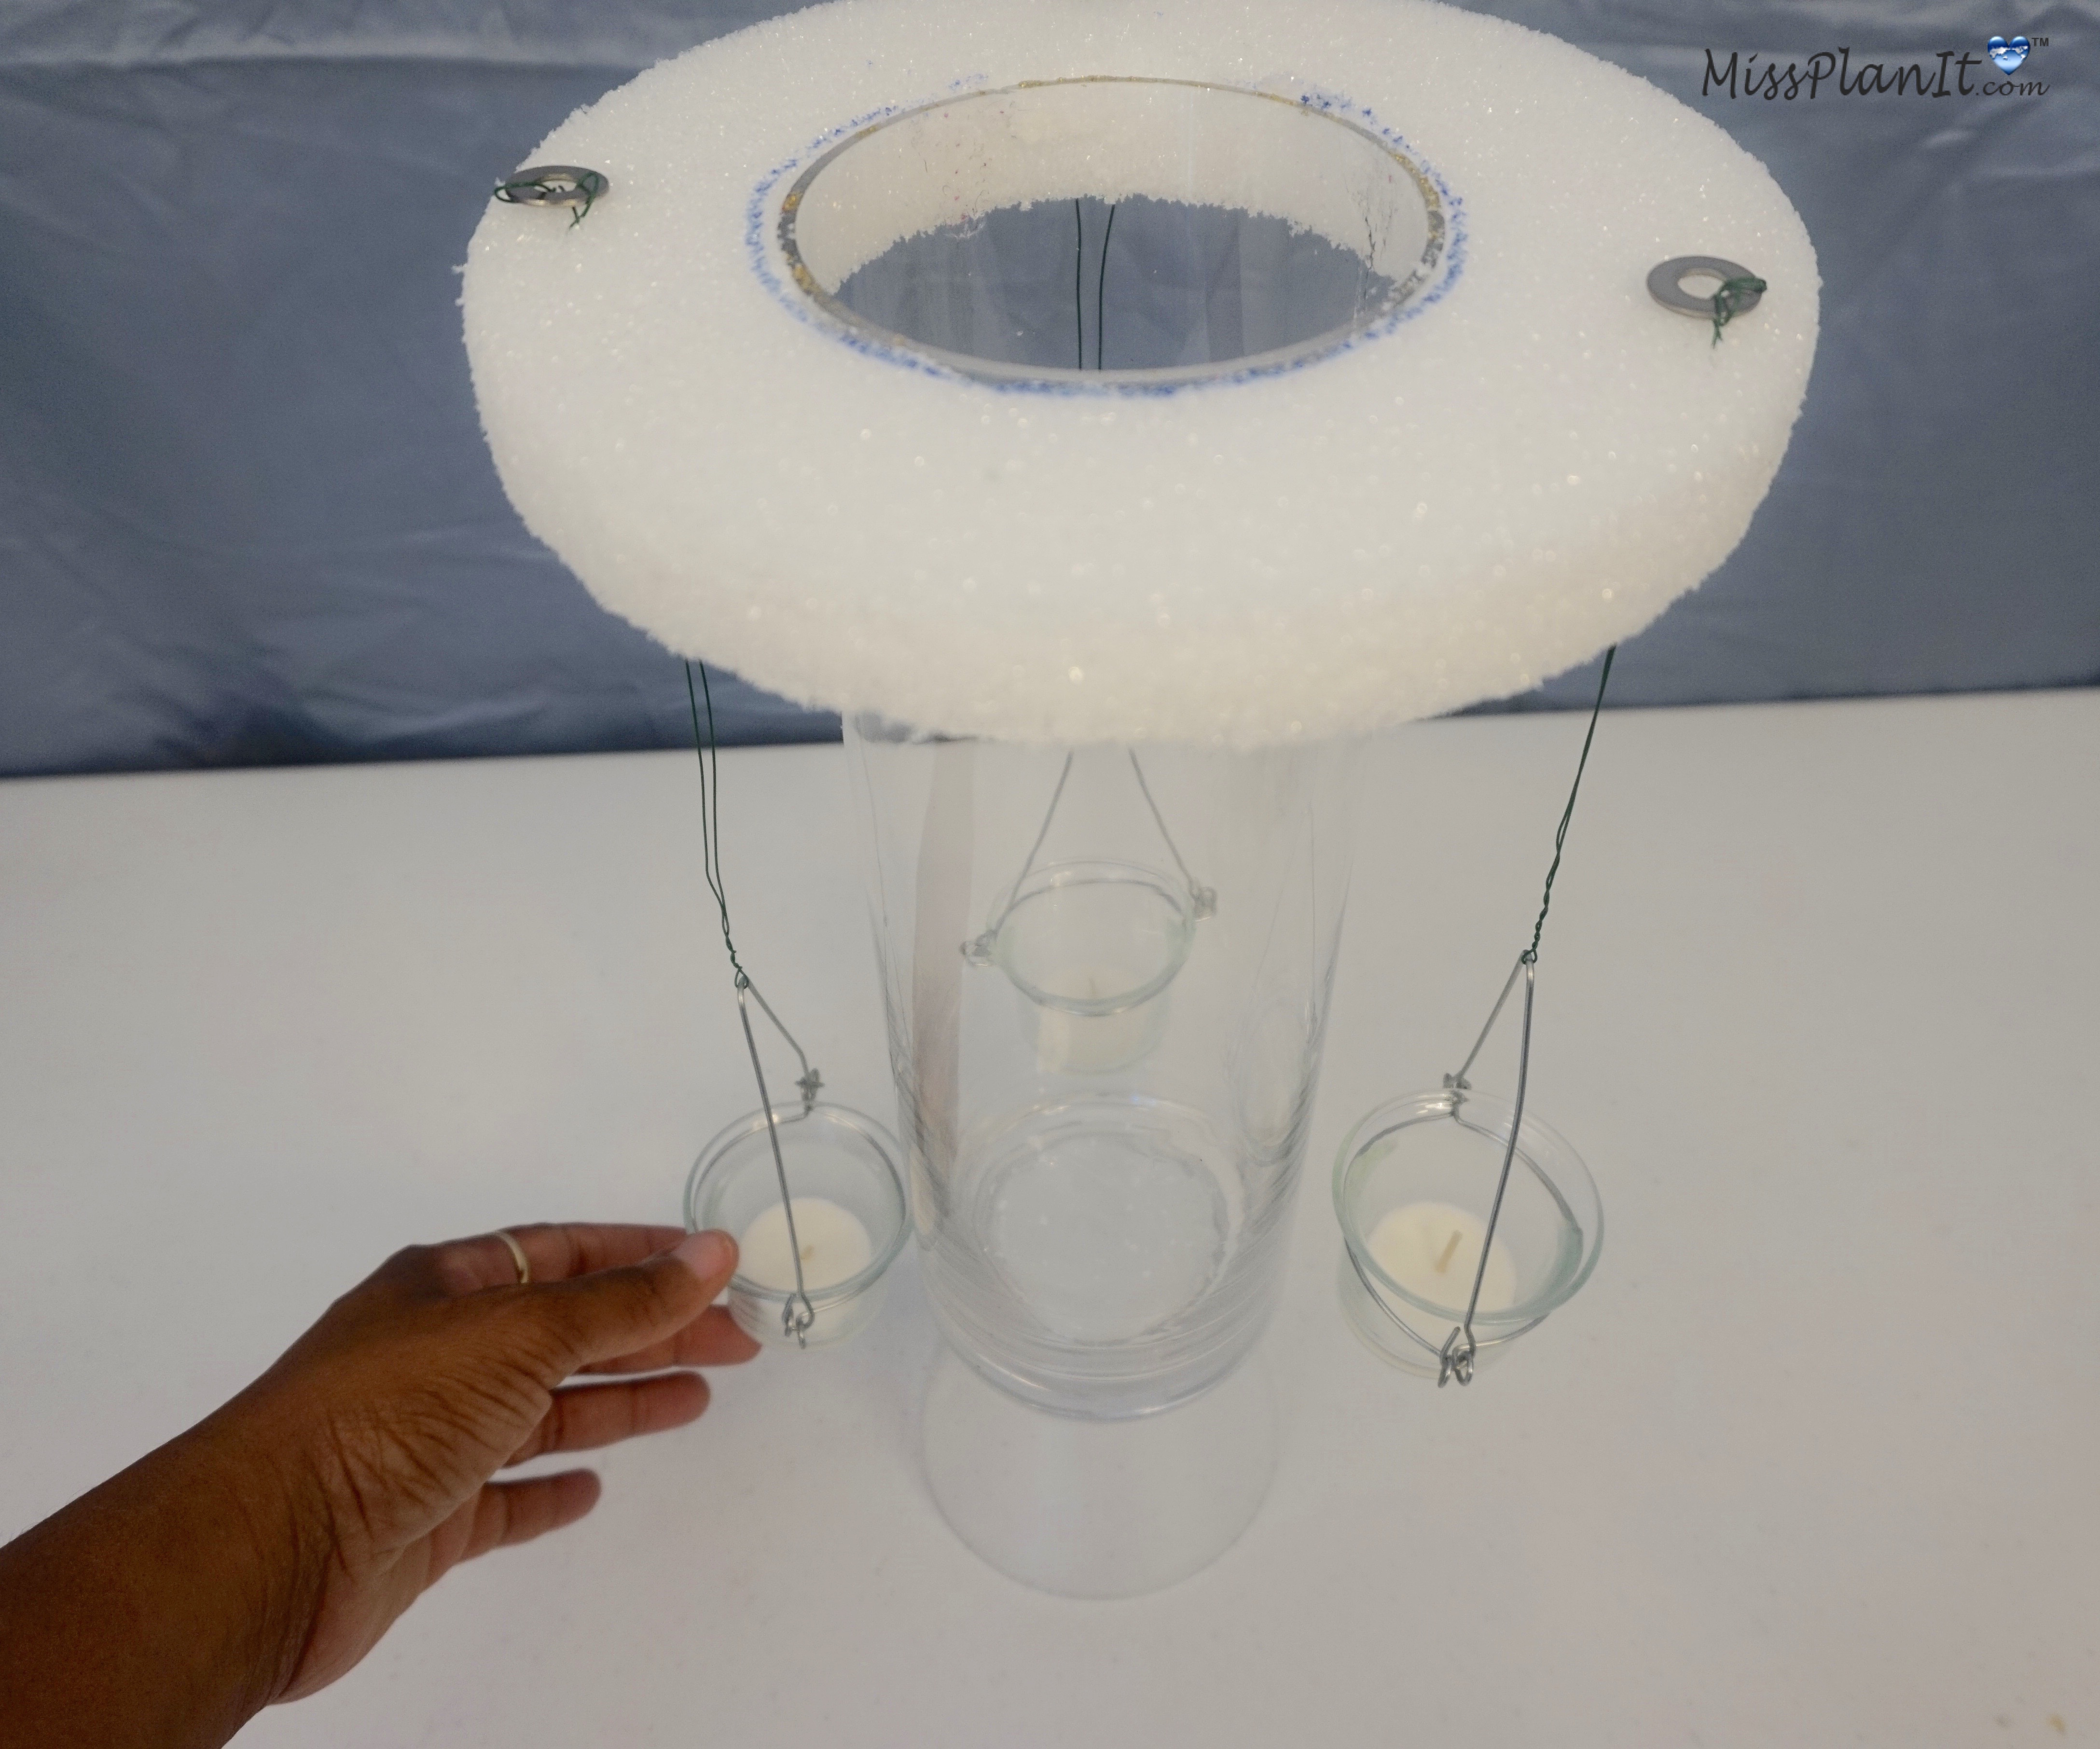
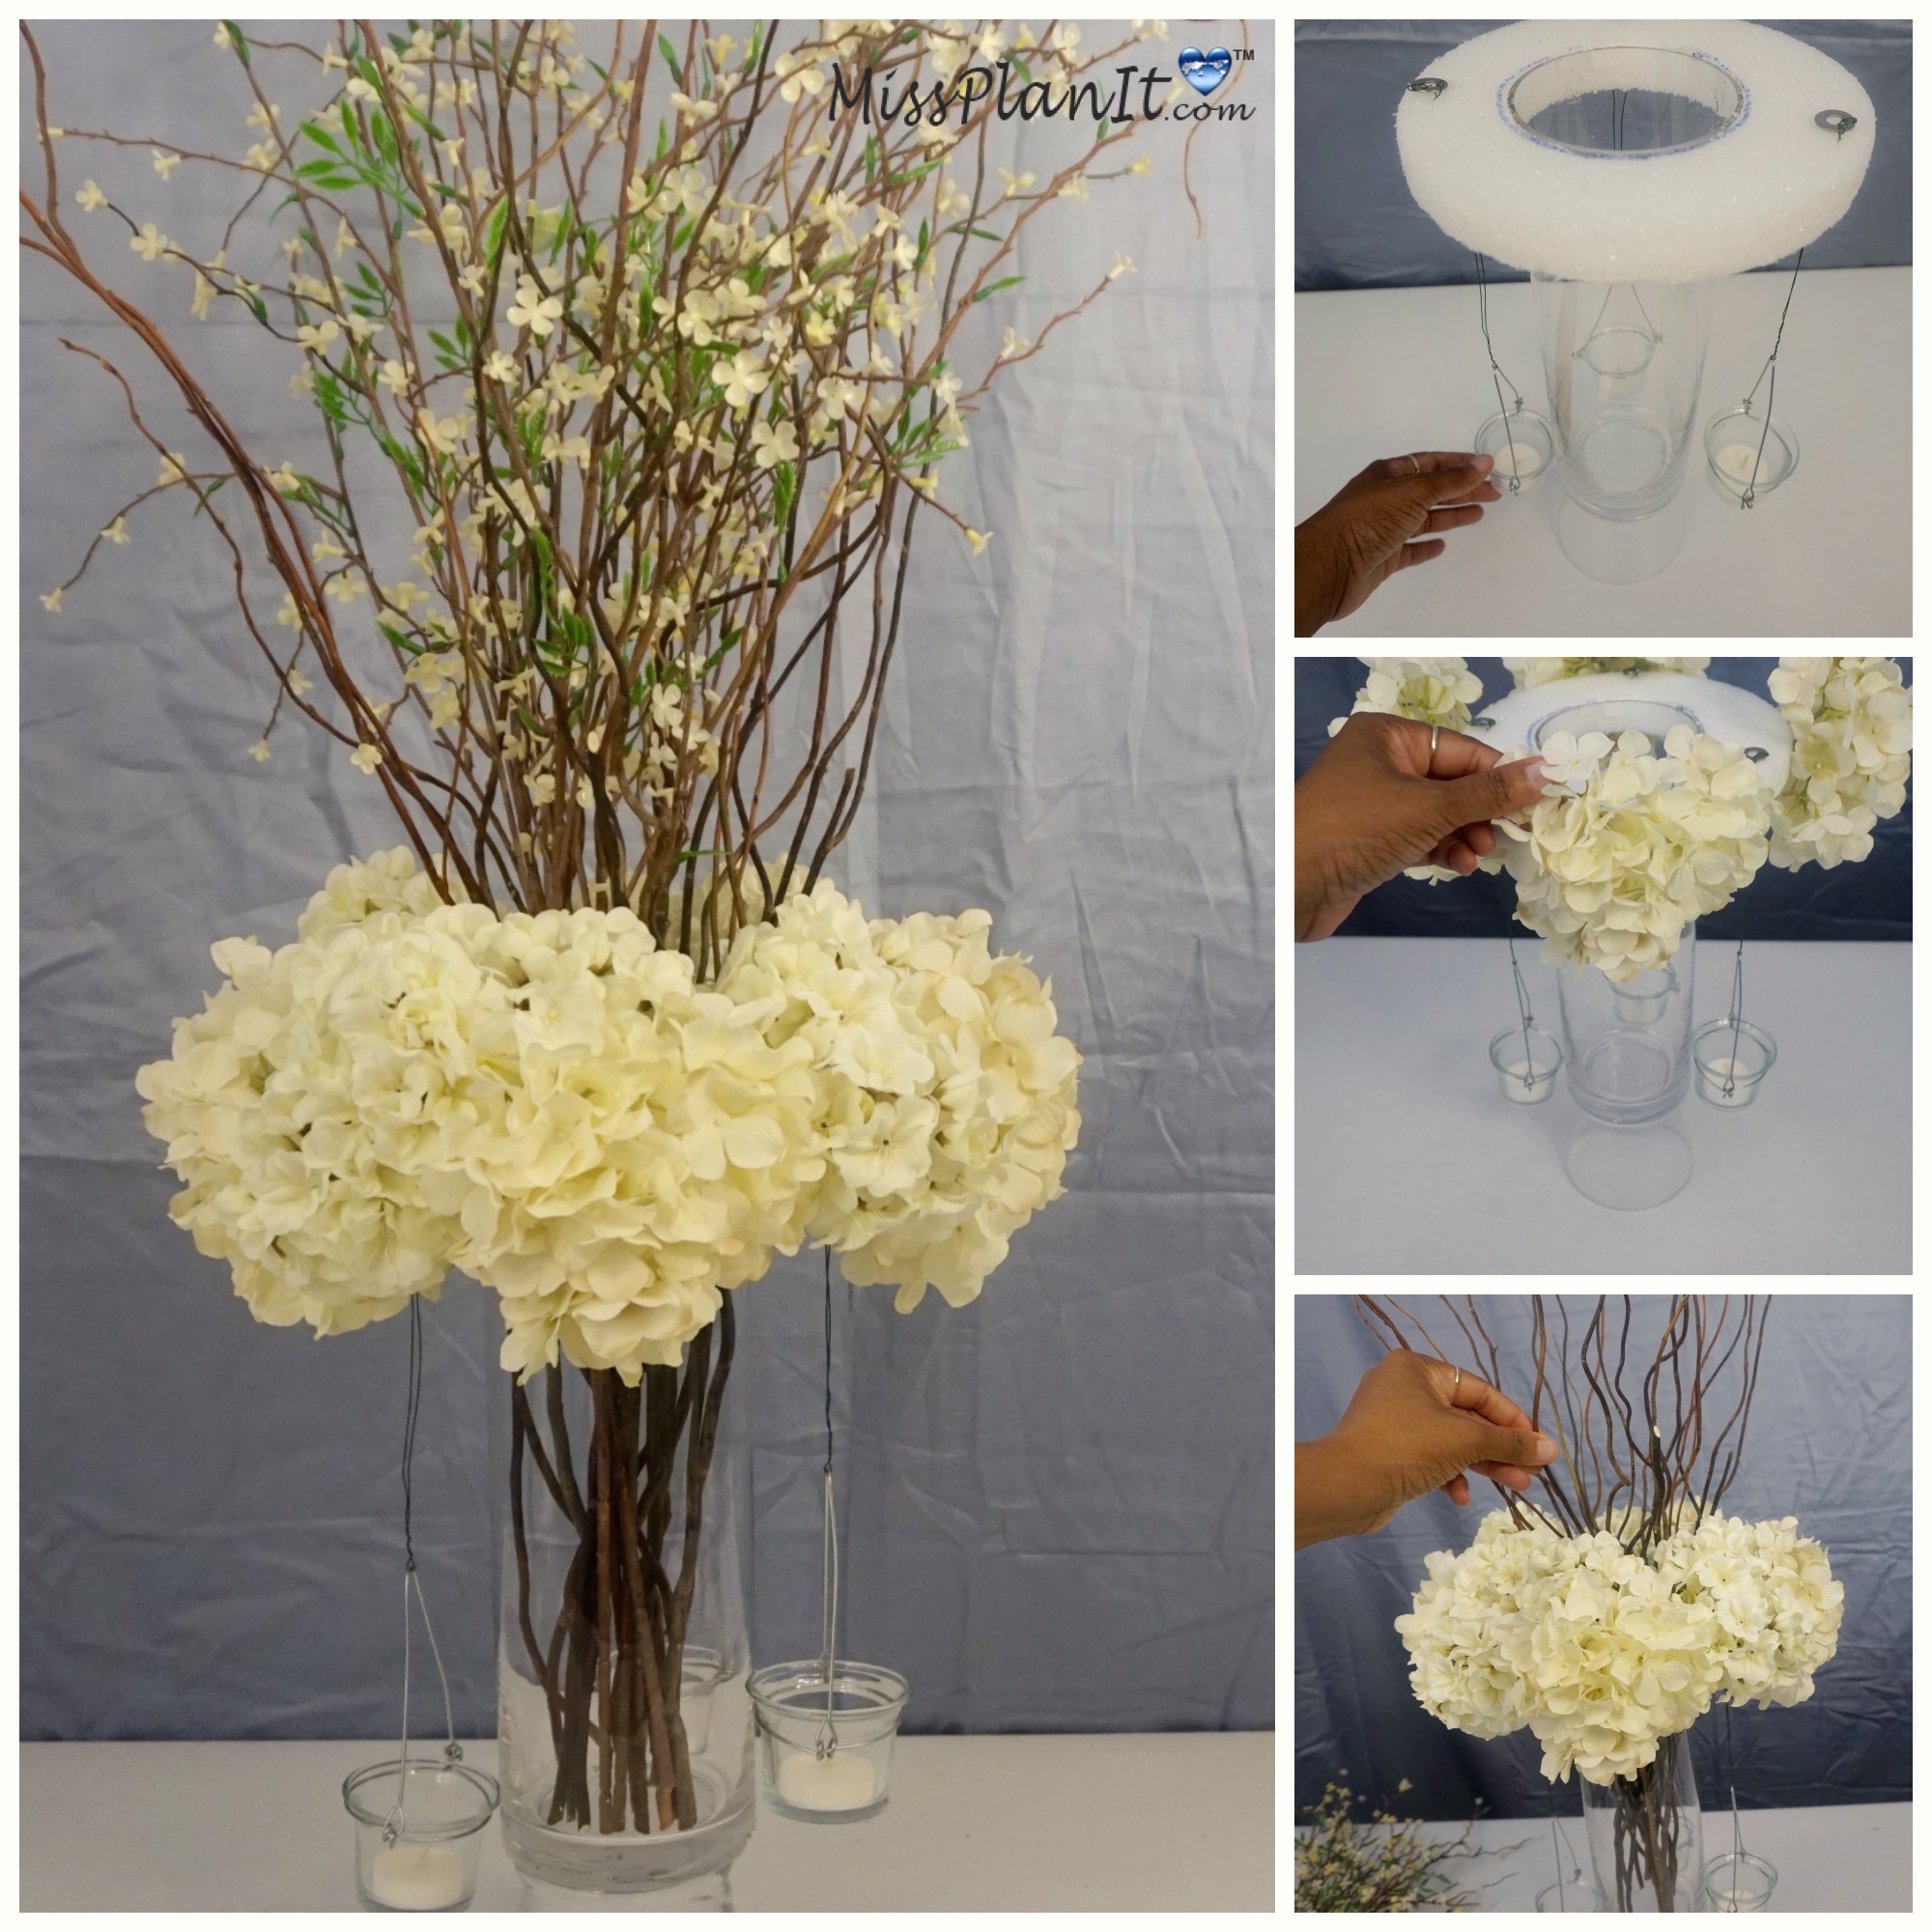
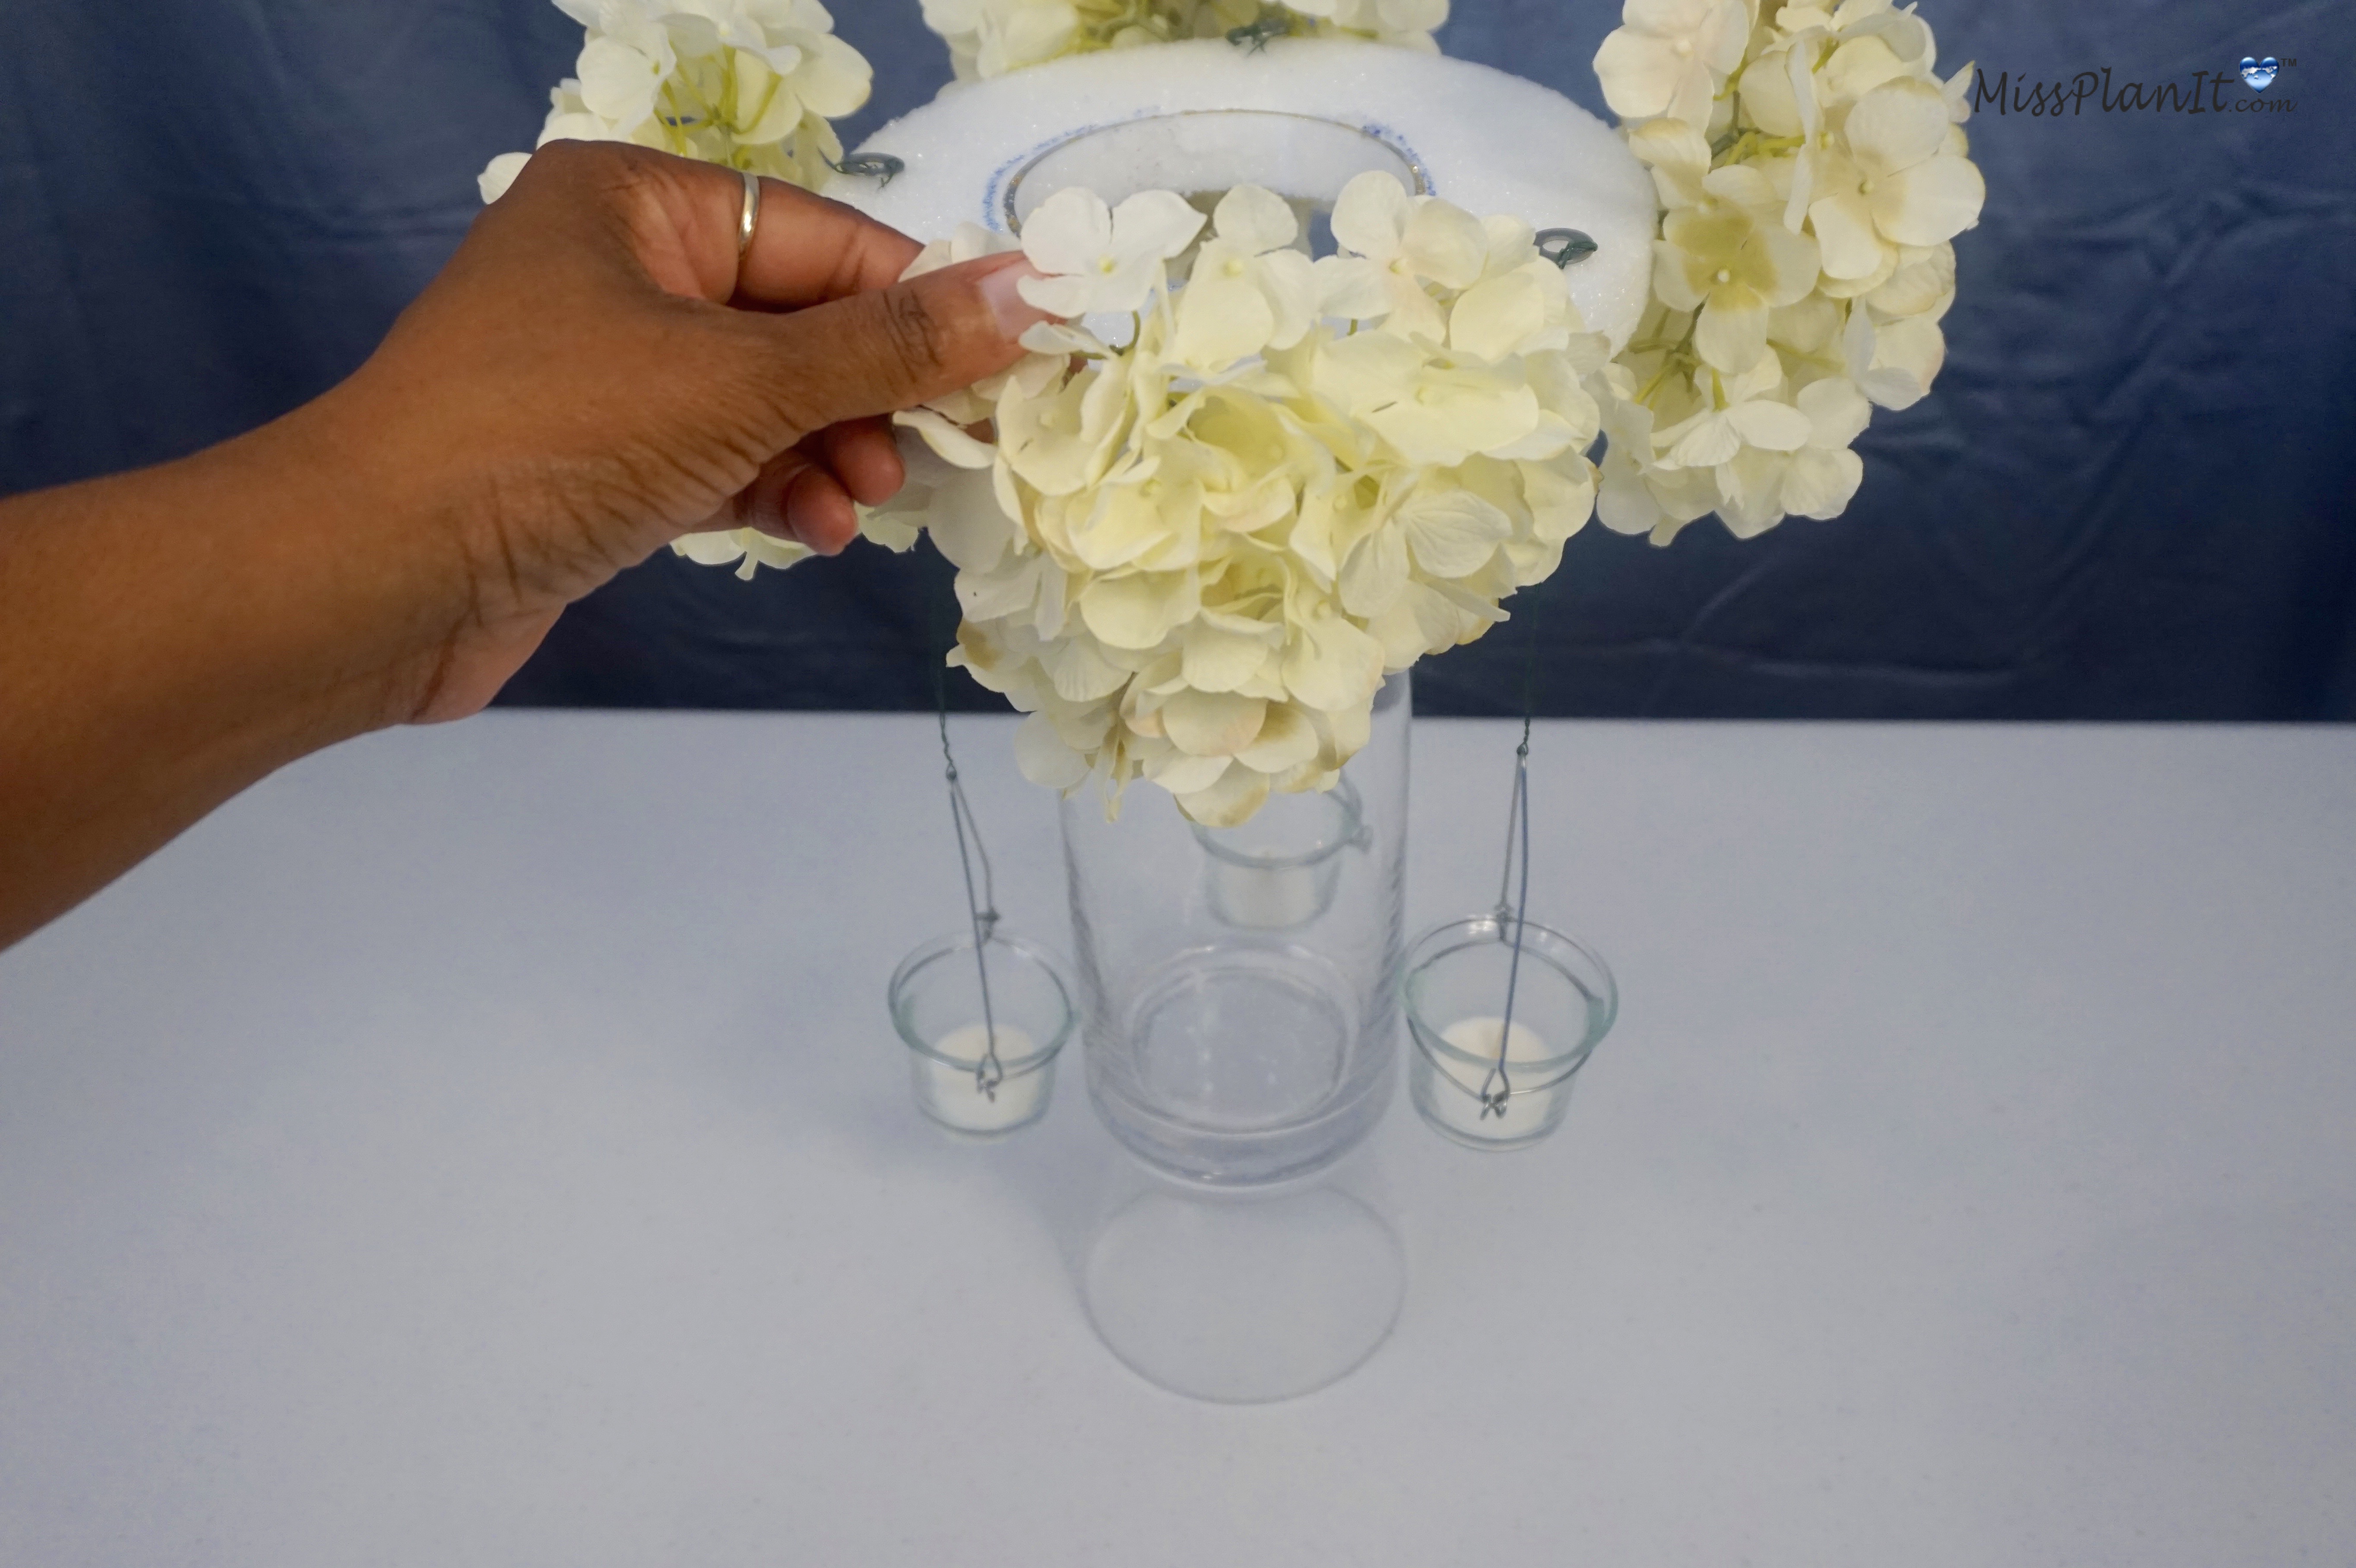
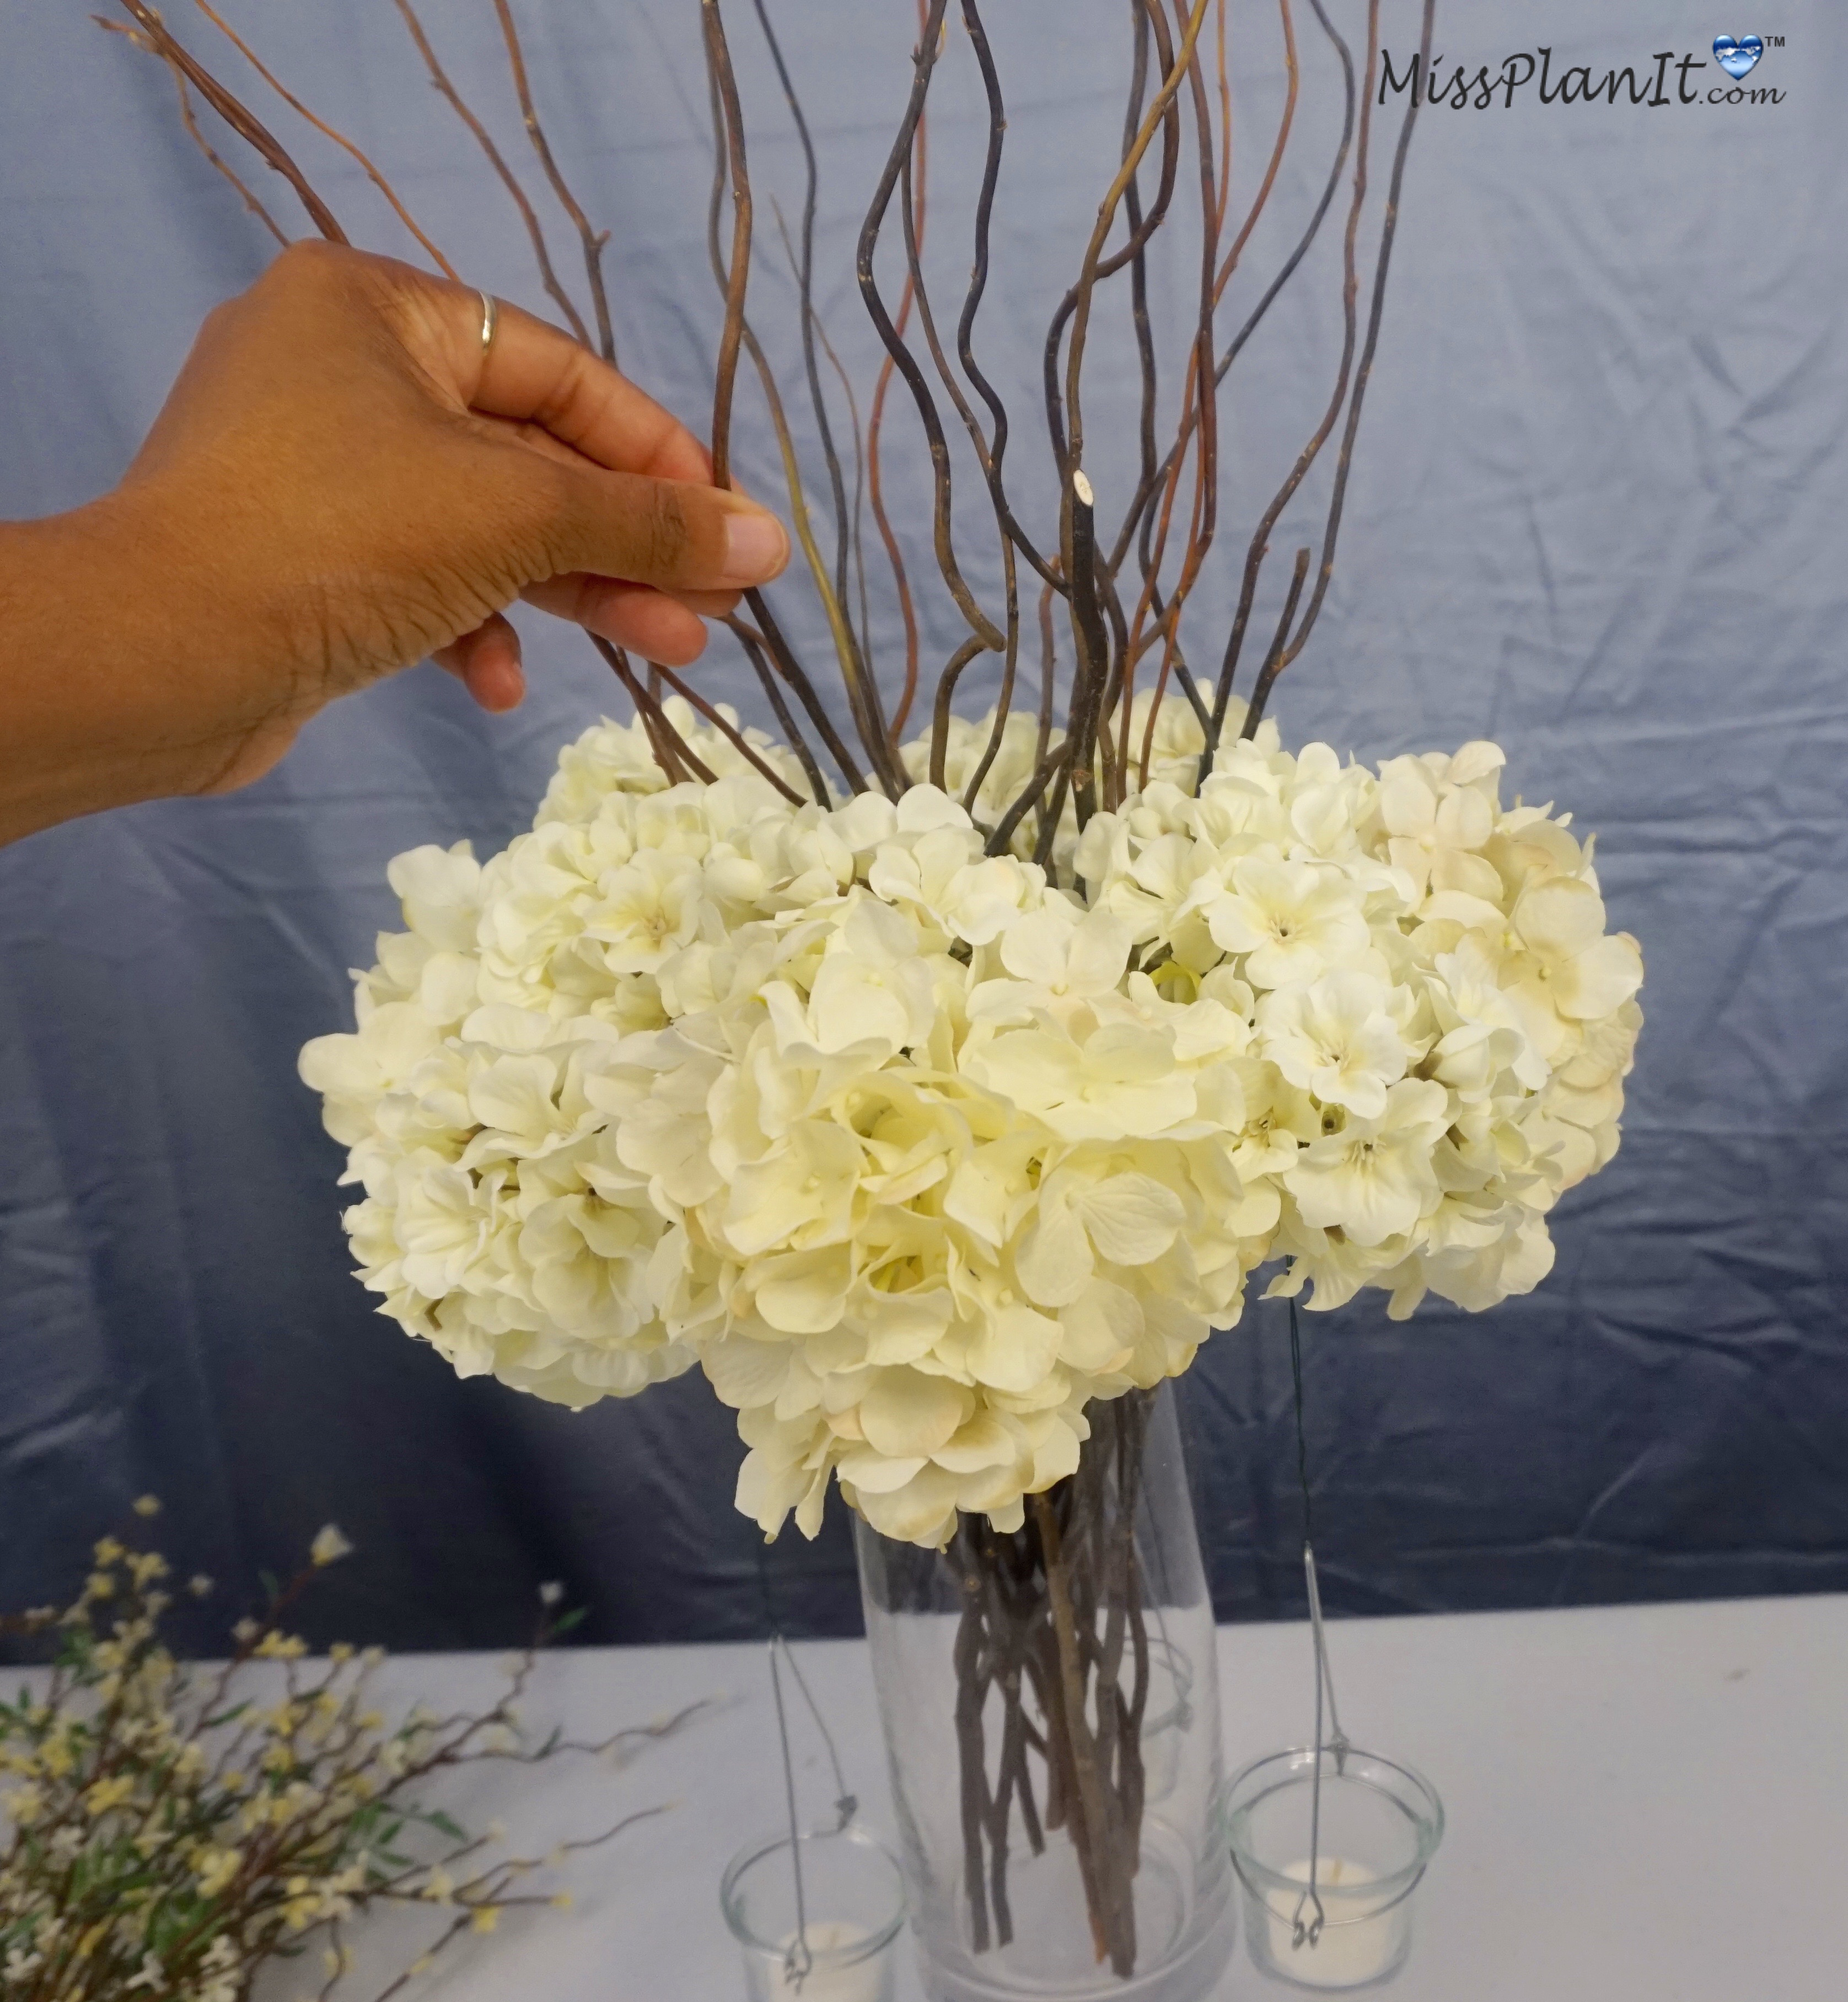
STEP 4: Add your hydrangeas around the foam; be sure to fill in all spaces so the white foam does not show.
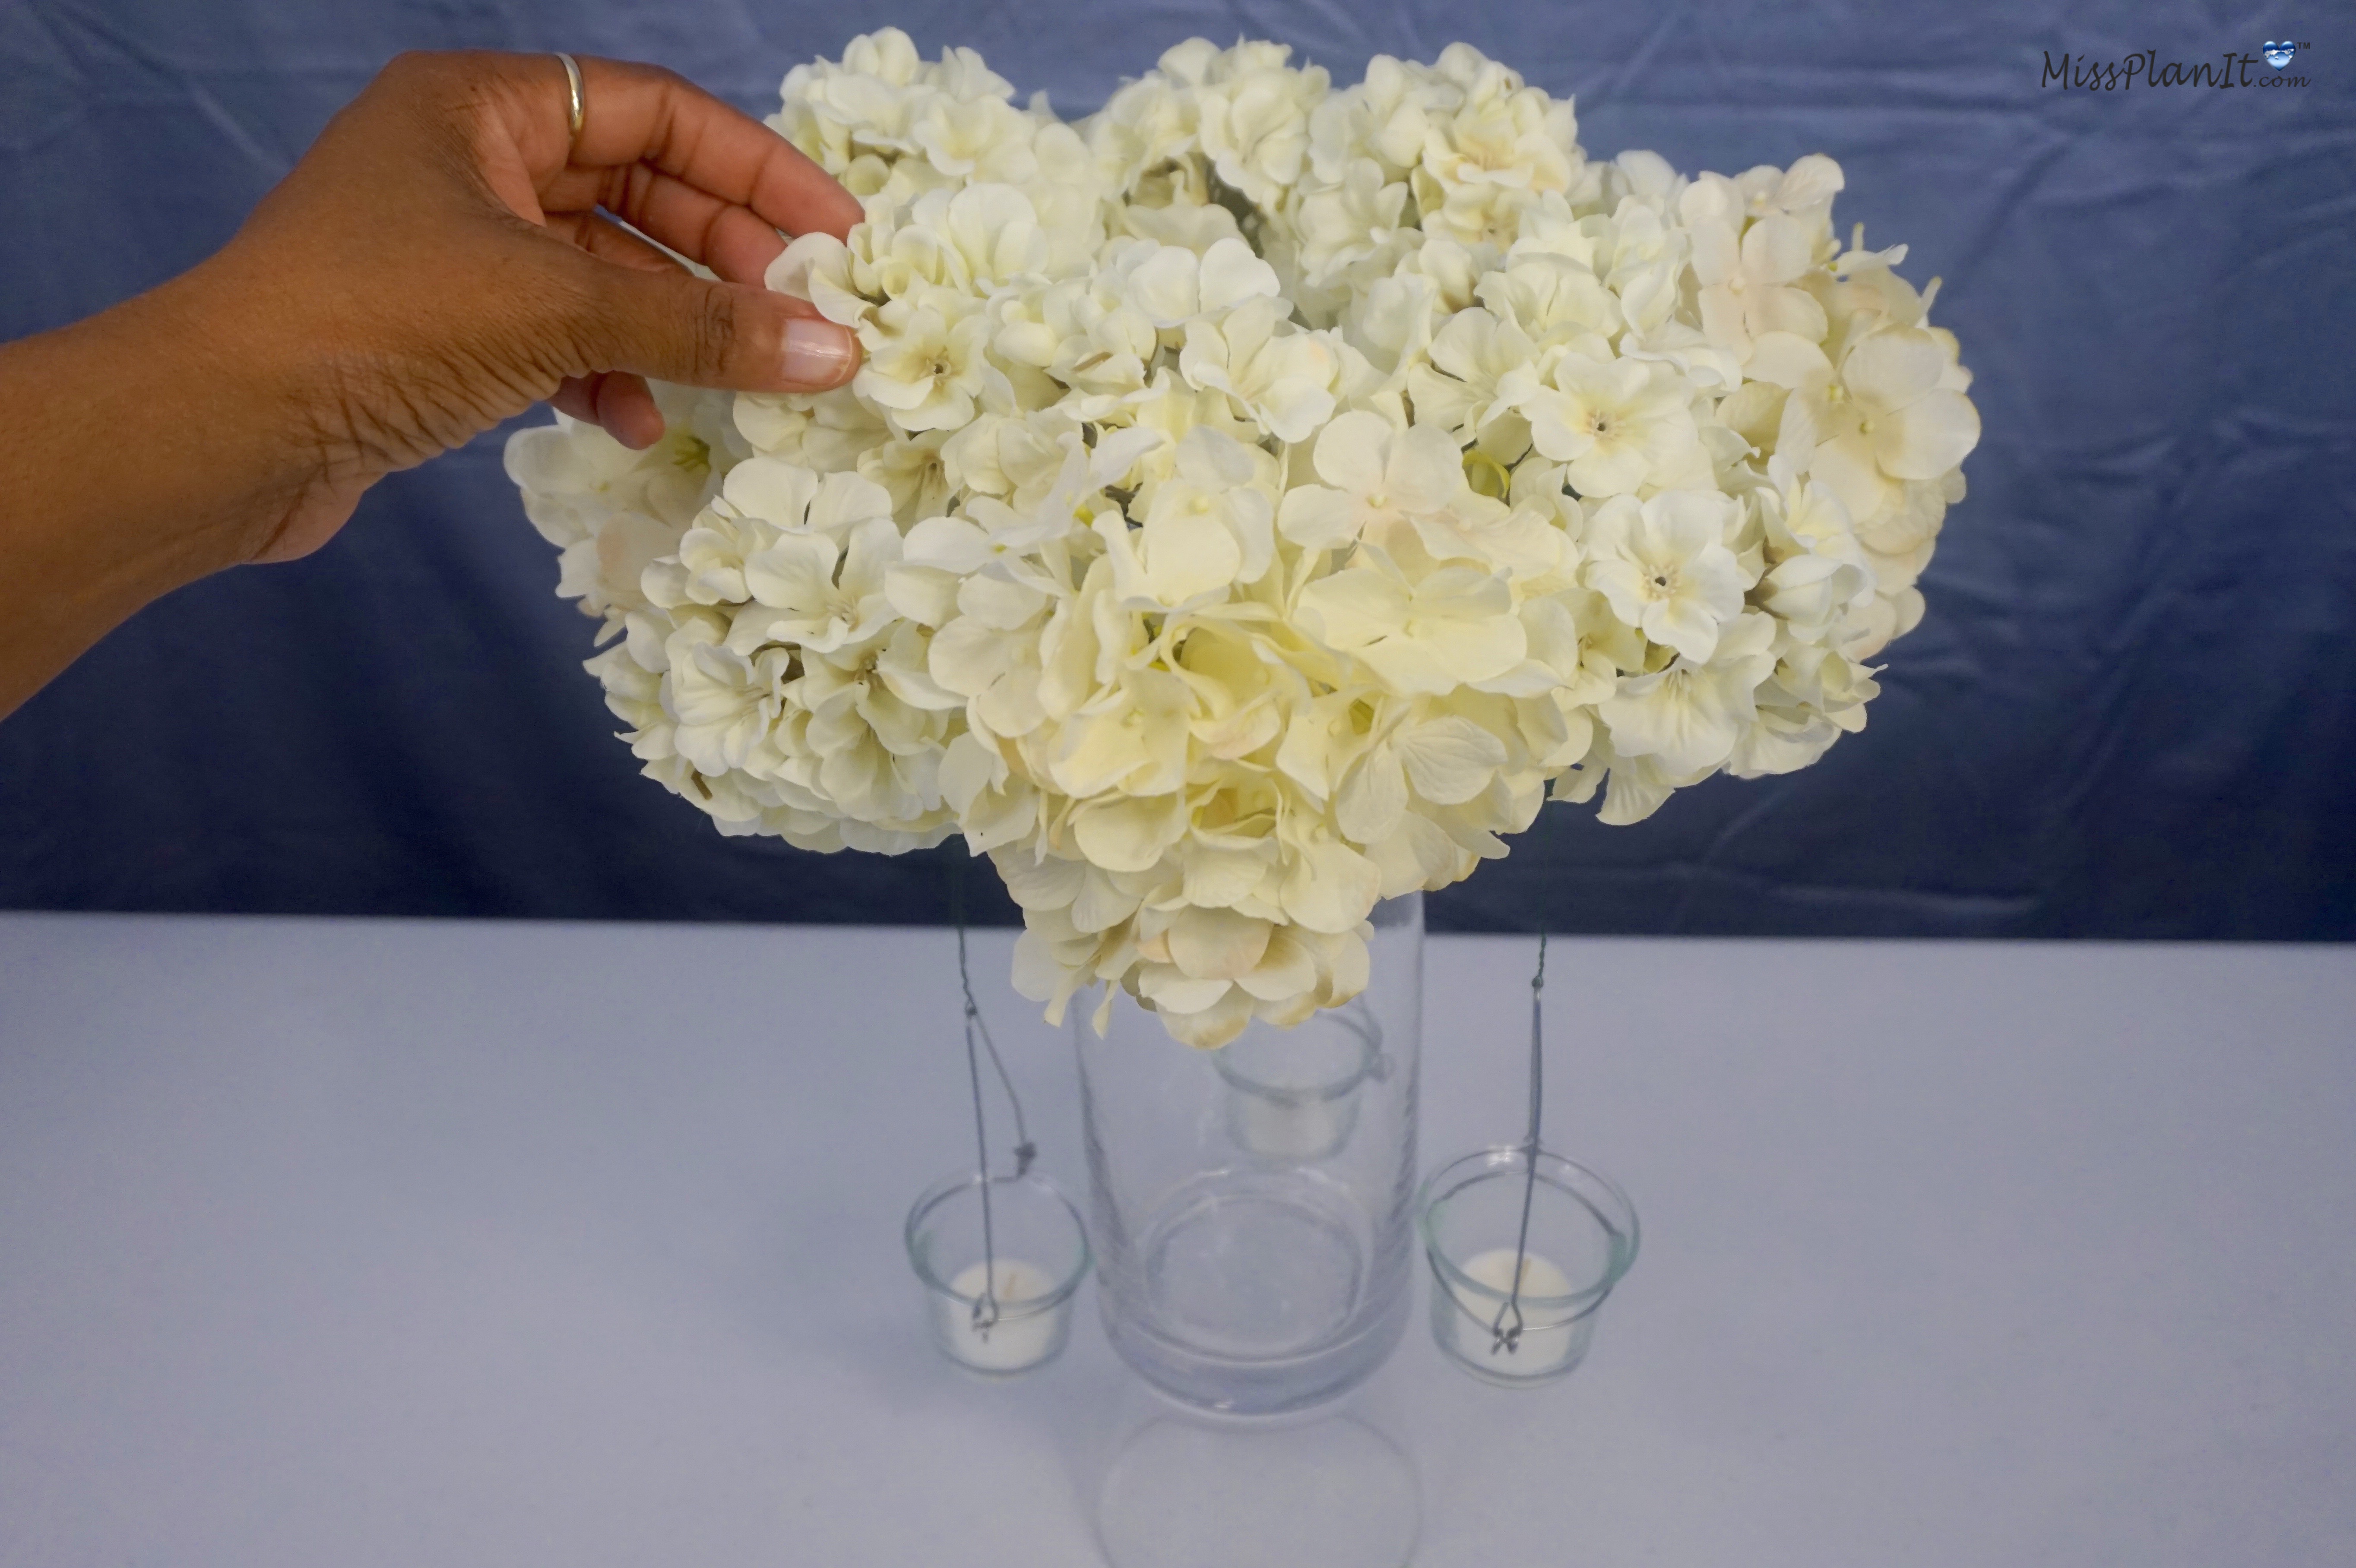
STEP 5: THE FINAL STEP:
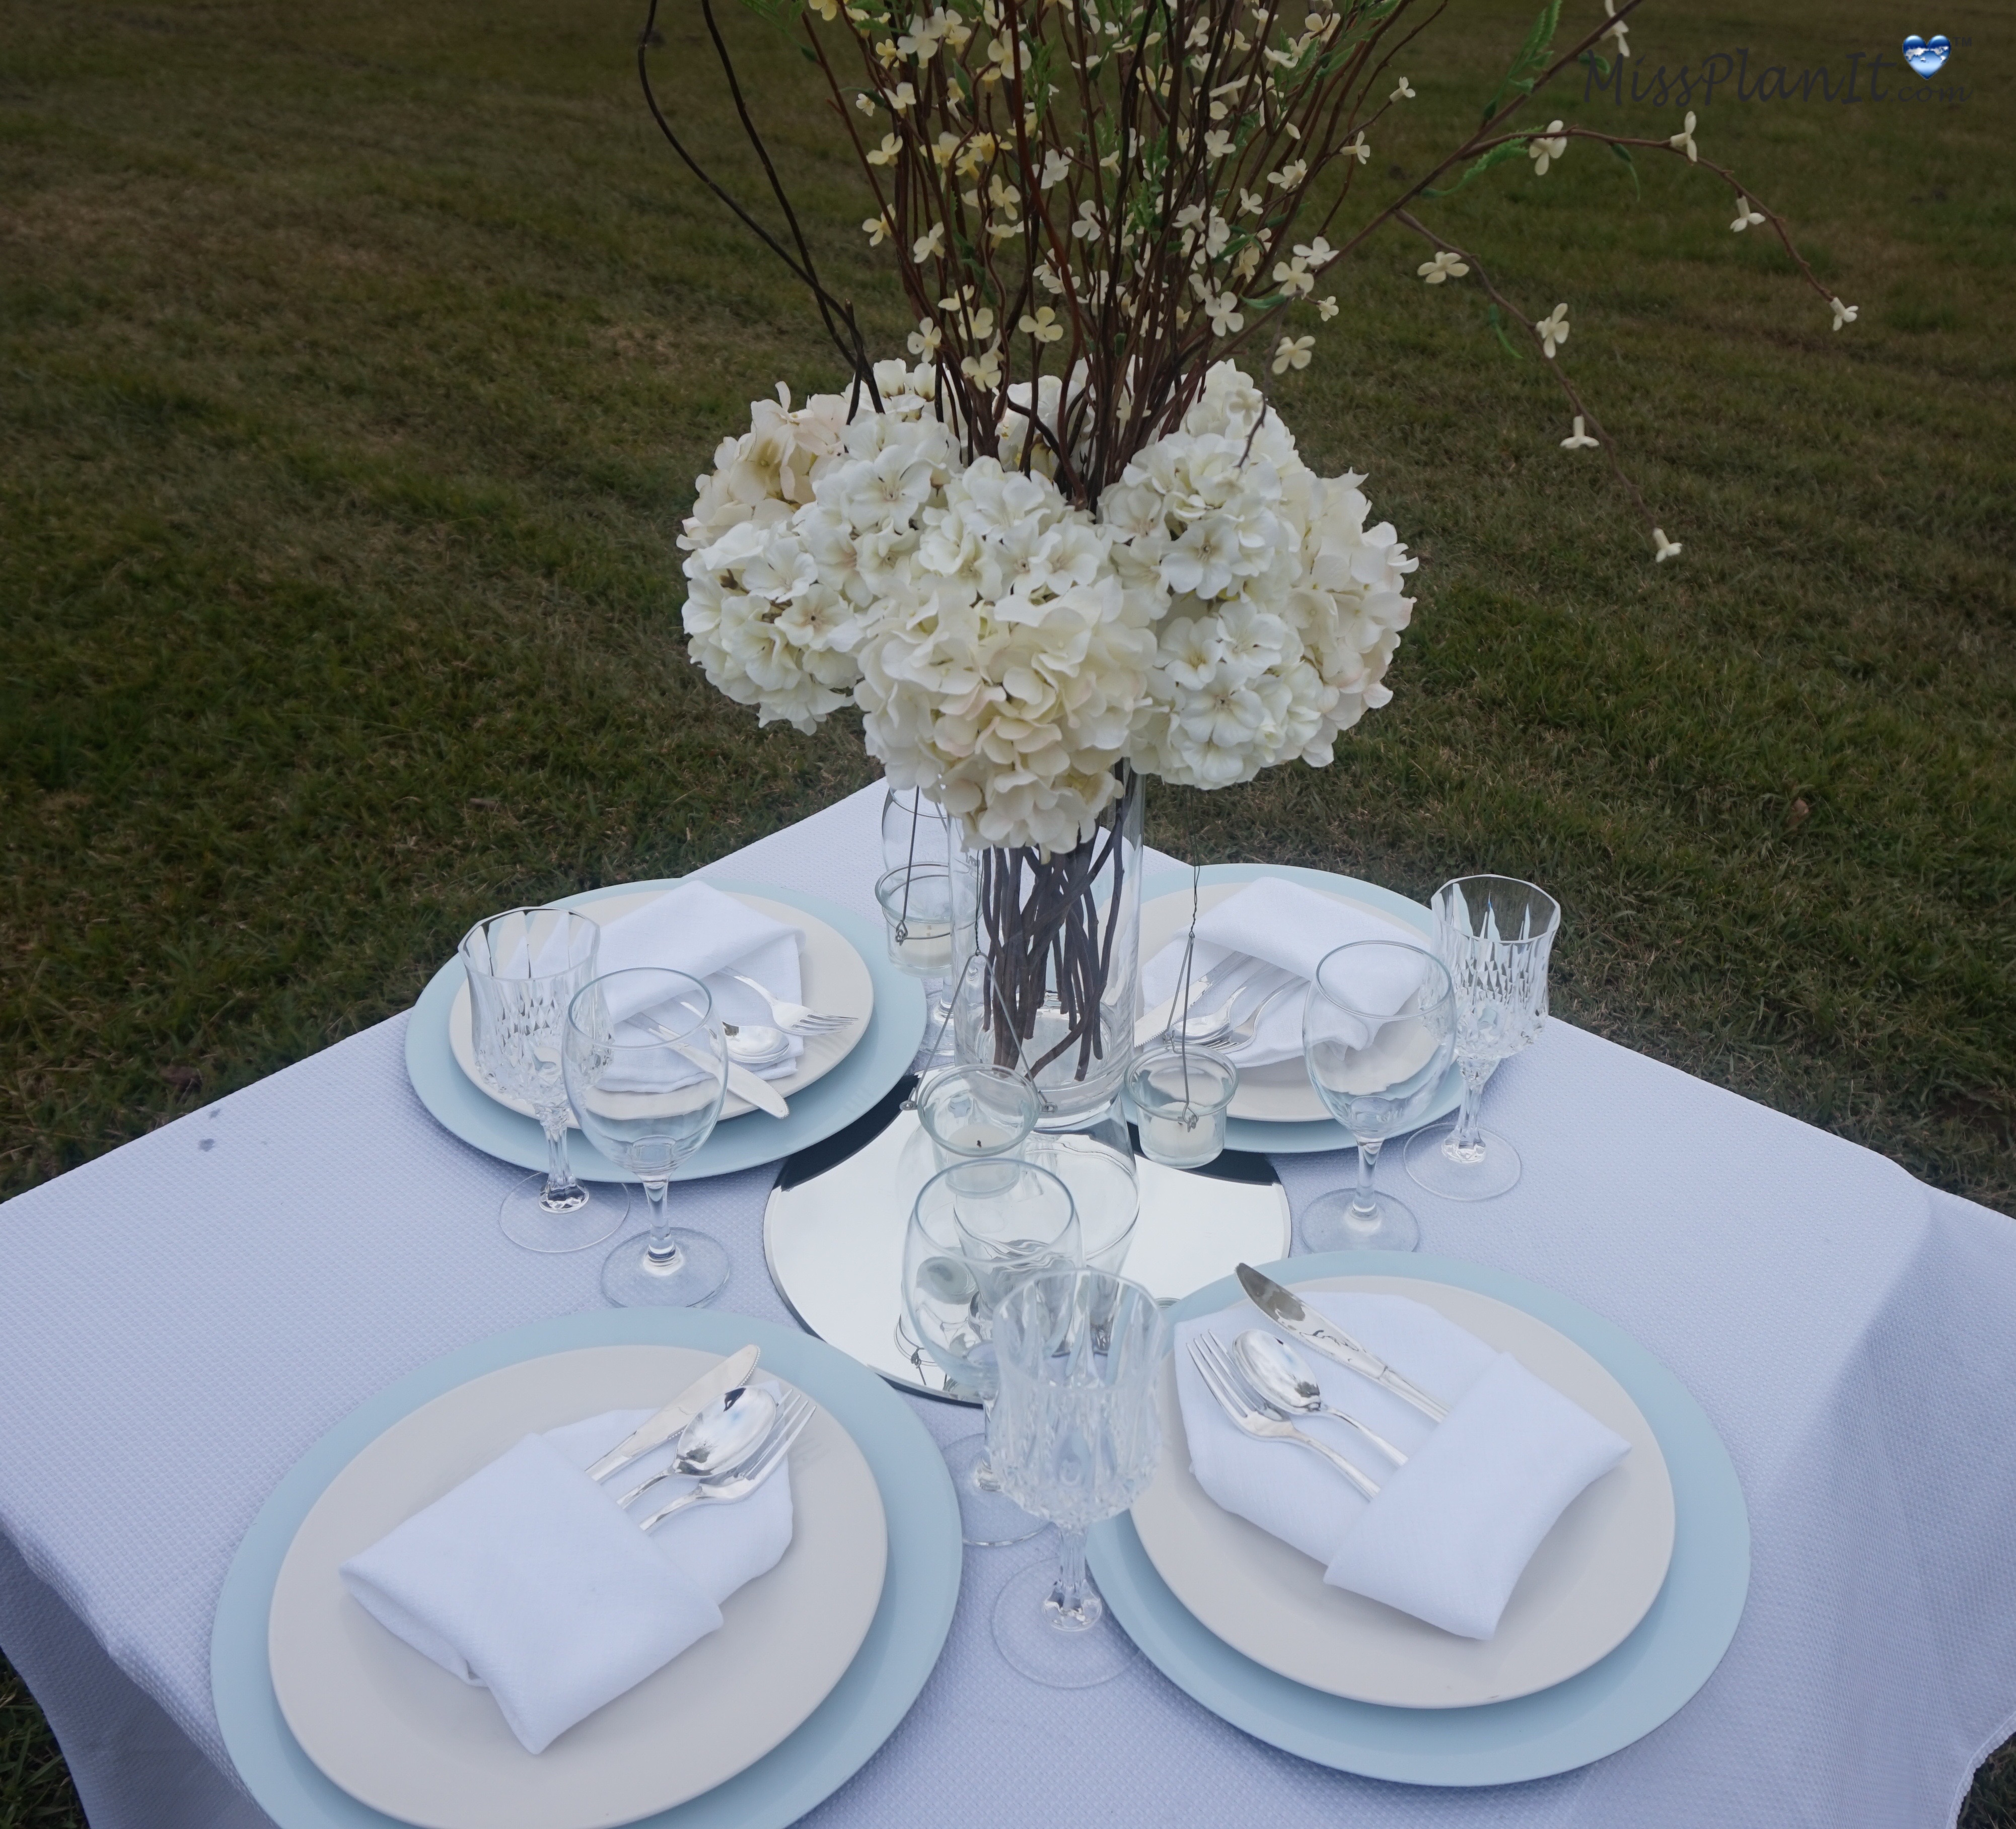
Let’s add our natural branches and artificial cherry blossom branches to our vase. OMG this wedding centerpiece looks amazing!
I absolutely love how this wedding centerpiece turned out. We were able to come under budget with project total $44.59. Alejandra, thank you so much for allowing us to be apart of your special day!
If you like the outcome please let us know in the comments below? Also share your ideas on what you would have done differently?
Need help with an upcoming project? Be sure to send us a project request!
“Remember When Every Penny Counts, Count on MissPlanIt”
P.S. Don’t forget to come back tomorrow to see our full video tutorial!


