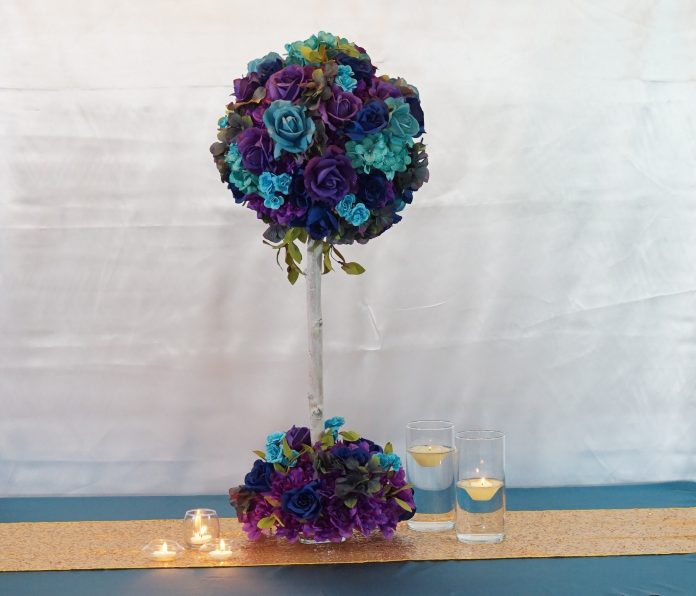
I must admit, I love this week’s wedding centerpiece color combo. Blue and purple are so beautiful together. It reminds me of a peacock. This DIY blue and purple wedding centerpiece will definitely livin’ up your wedding reception space. For video instructions, check out the video tutorial at the end of this post!
BUT WAIT!
Before we get started I want to share an awesome tip on how you can earn cash back with your online purchases for all the items you will need to complete this project!
As our saying goes “When Every Penny Counts, Count on Miss PlanIt.” Furthermore, we love to save money and get great deals. Prior to us purchasing anything online, we check out Rakuten, find the store, click the current deal for that store and complete our purchase.
If you have never used Rakuten, you are MISSING OUT. So for this project, you would go to Rakuten, sign up, and then type in the store you plan to purchase from.
Consequently, when completing a purchase through Rakuten you earn cash back that you can have mailed to you or sent via PayPal. Be sure to check it out! Click here to sign up for Rakuten, and RIGHT NOW when you sign up, you will receive a $10 cash welcome bonus when you spend $25.00!
Since you were already going to complete your purchase online, why not get some cash back on things you already planned to purchase!
[convertkit form=917377]
Let’s Get Started:
Click our affiliate links below to purchase the supplies needed for this project:
Square Glass Candleholders
5-Stem Purple Dahlia Flowers
Artificial Greenery Bushes
Purple Hydrangea Bushes
Birch Branch
Purple Faux Hydrangea Spray
Smoothfoam Half Ball – 8”
Styrofoam Cube – 3”
Floracraft Styrofoam Ball -5″
Clear Blue Rose Bush
Blue Tea Rose Spray
Purple Rose Bush
Dark Blue Leaf Rose Silk Flowers
Silk Blue Hydrangea Flower
Cream Craft Paint
Foam Paint Brushes
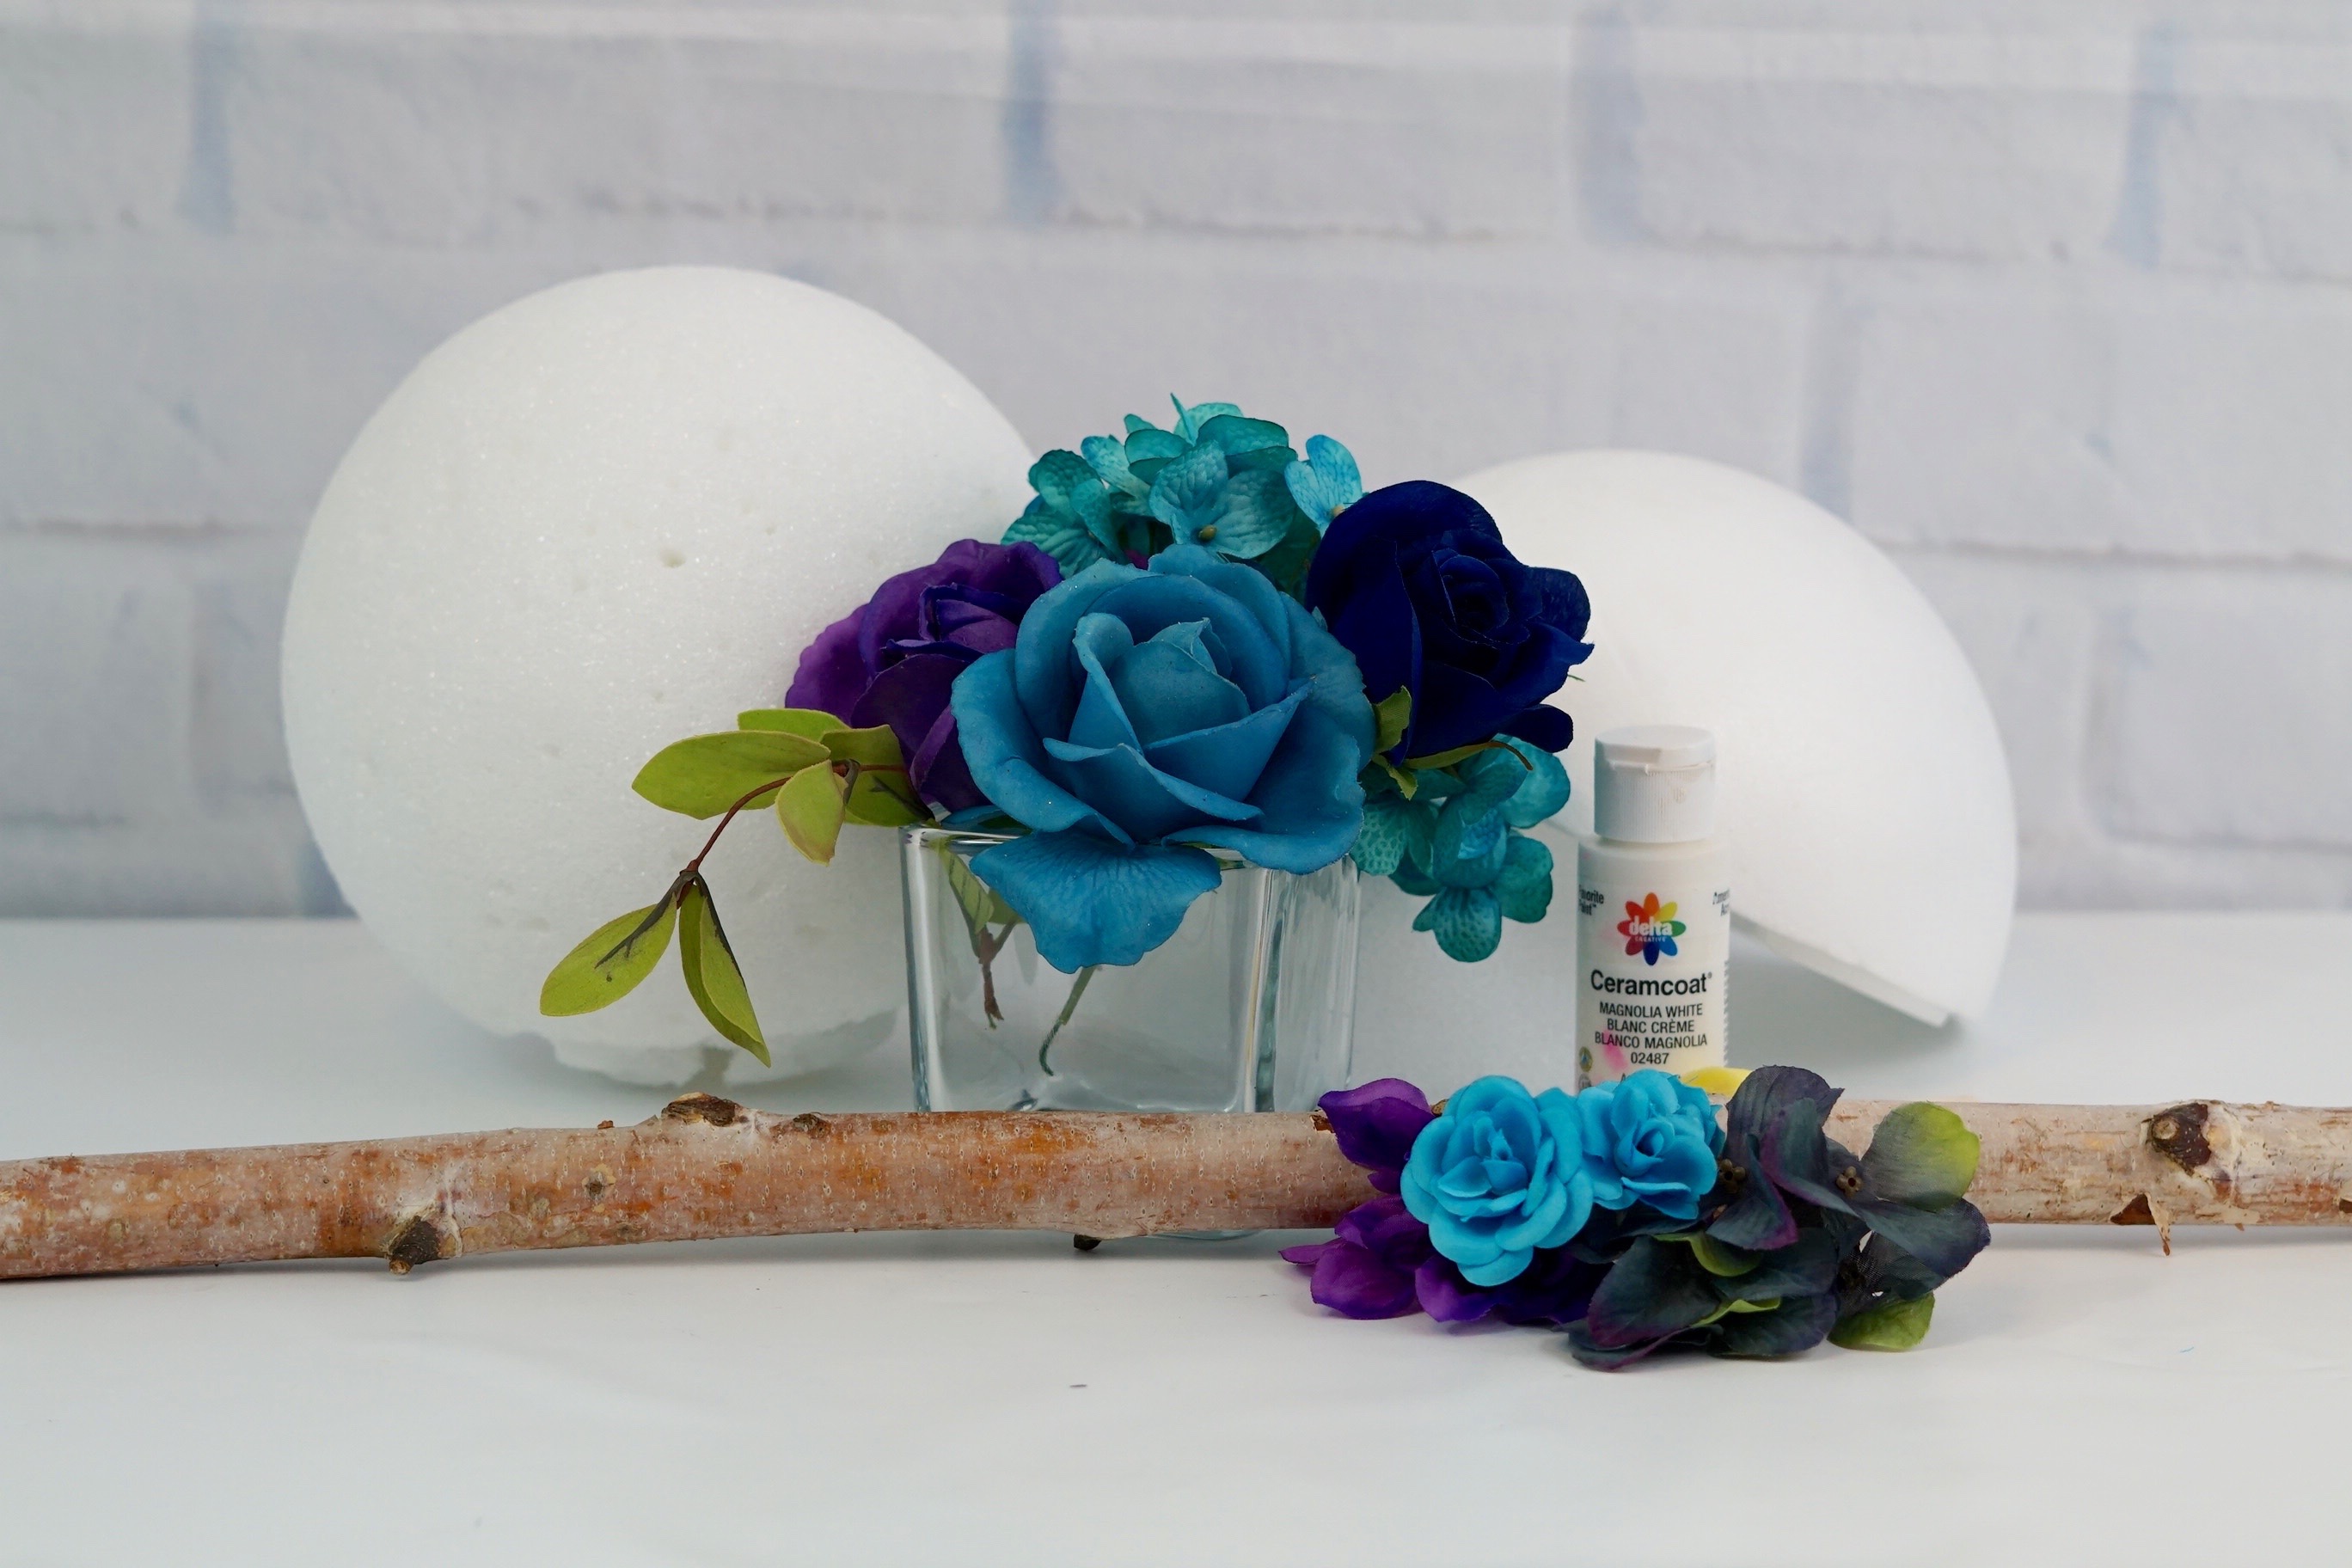
How To Make a Blue and Purple Wedding Centerpiece
Directions:
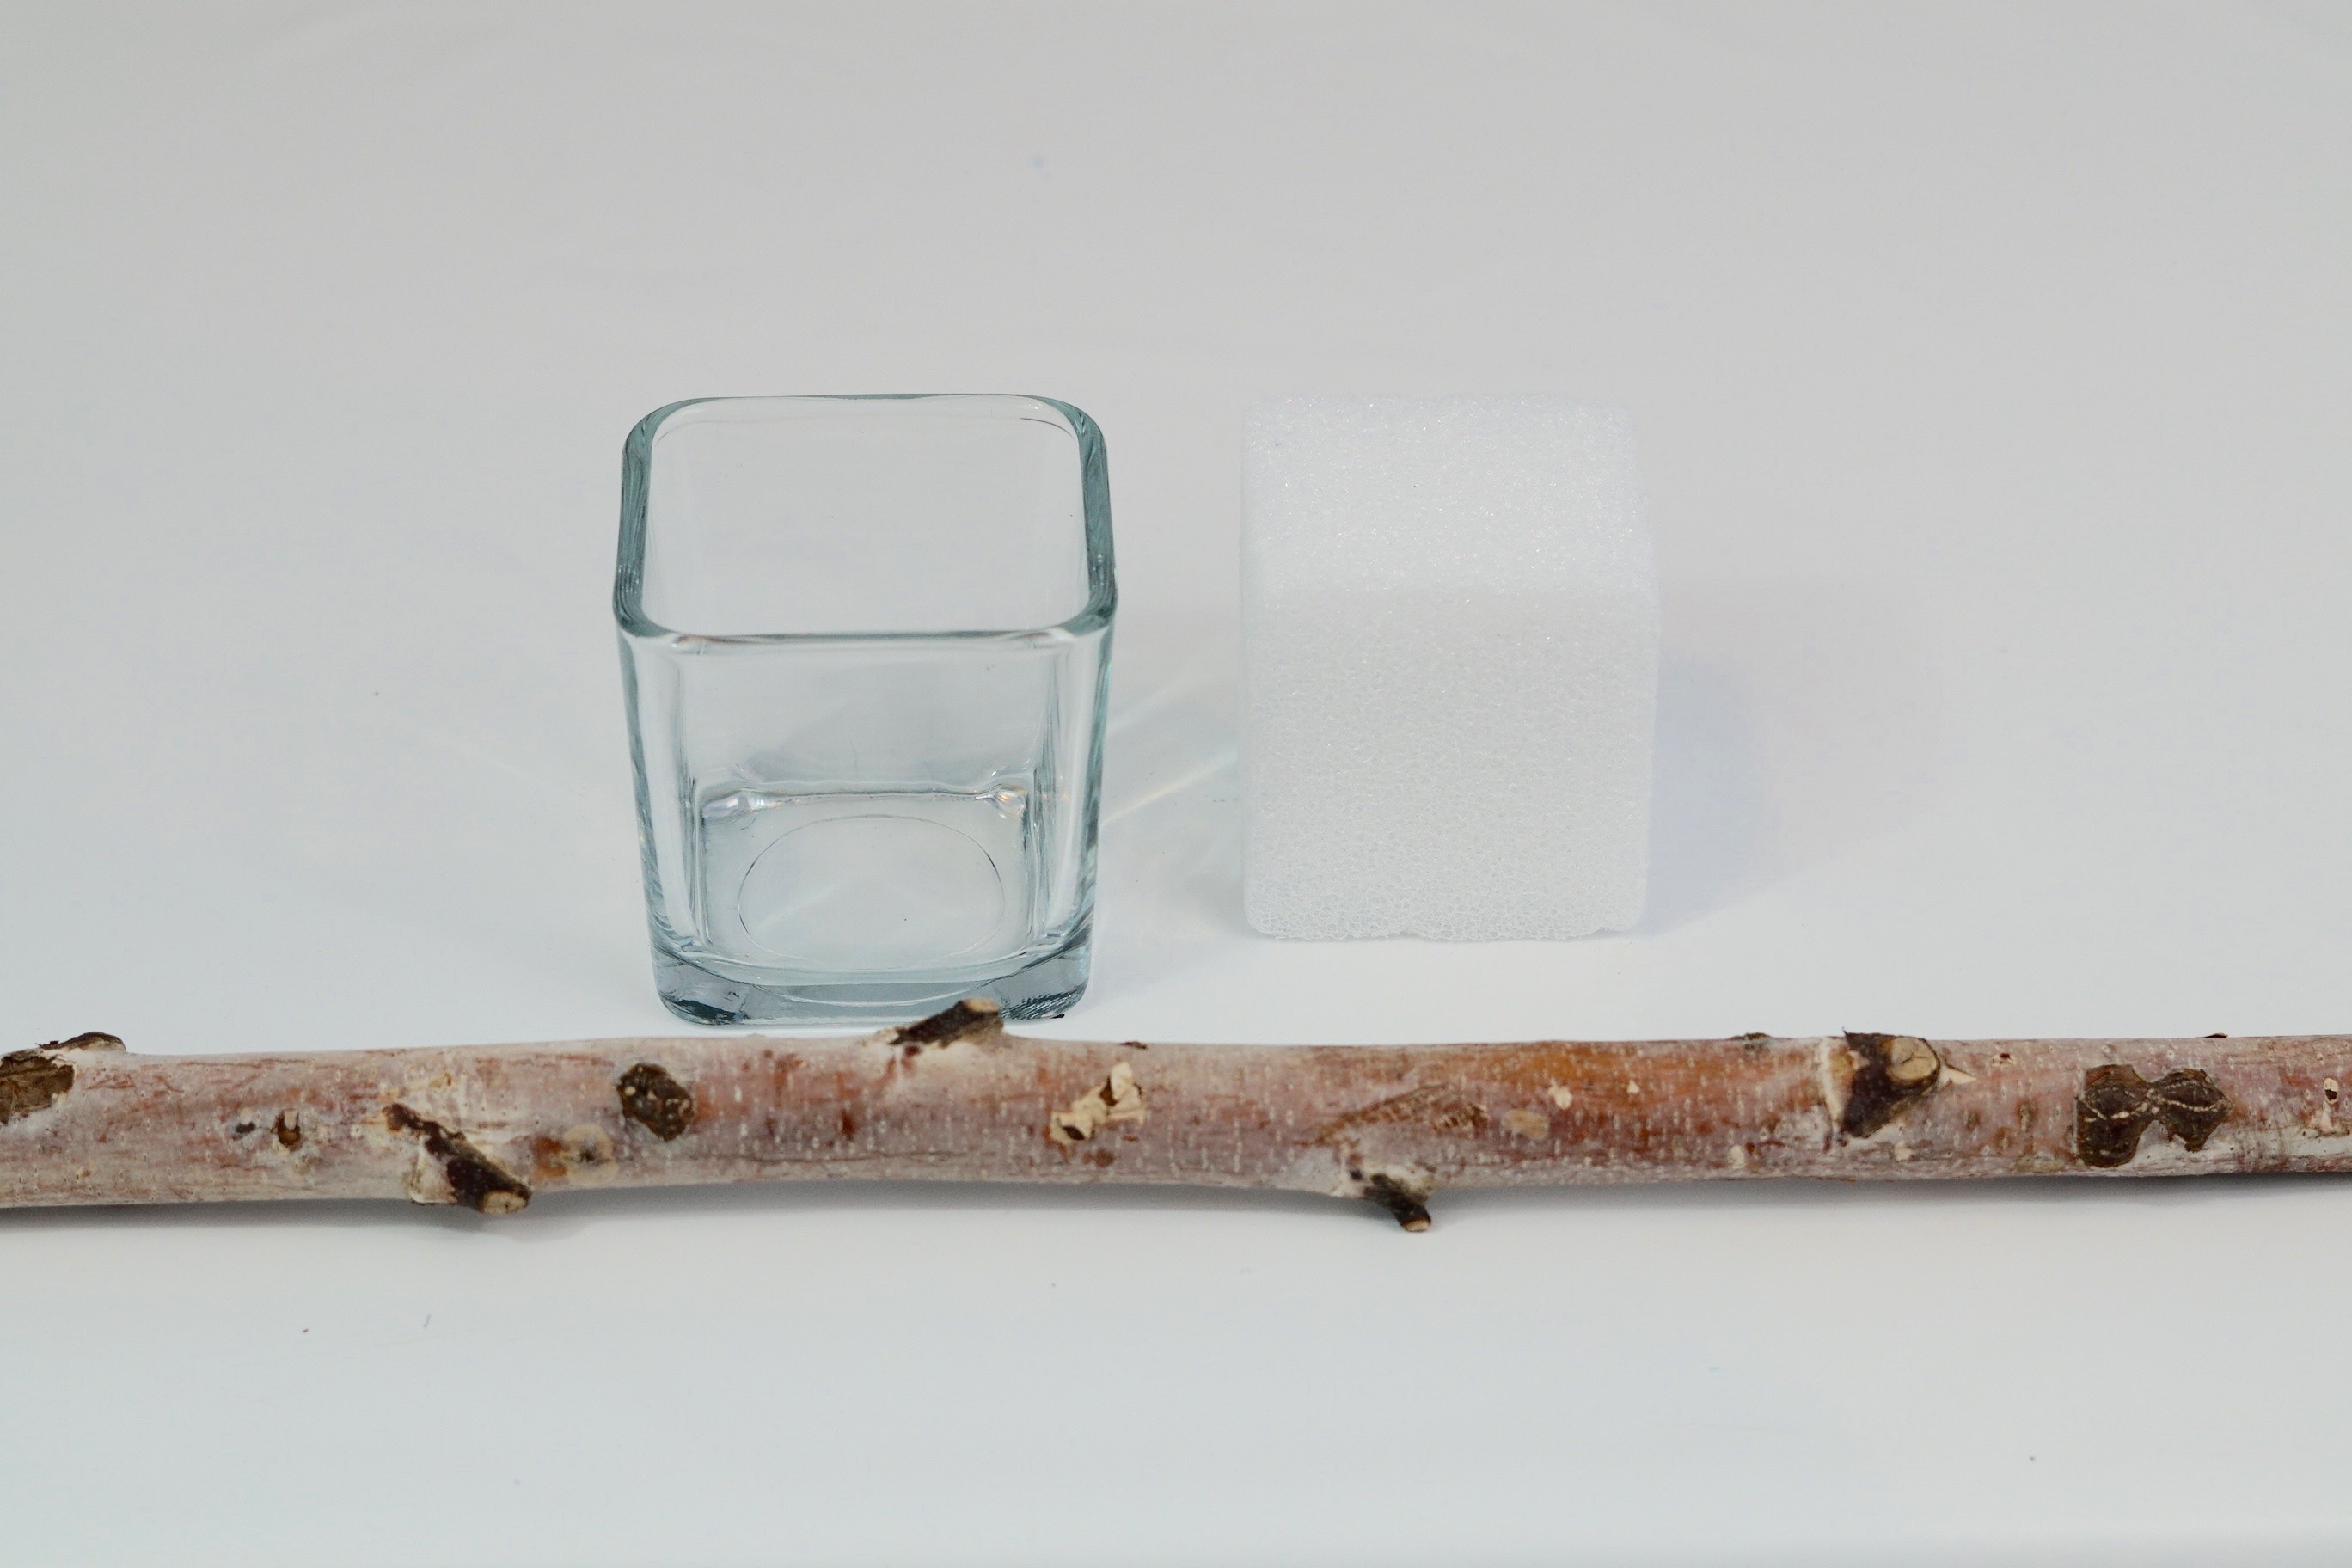
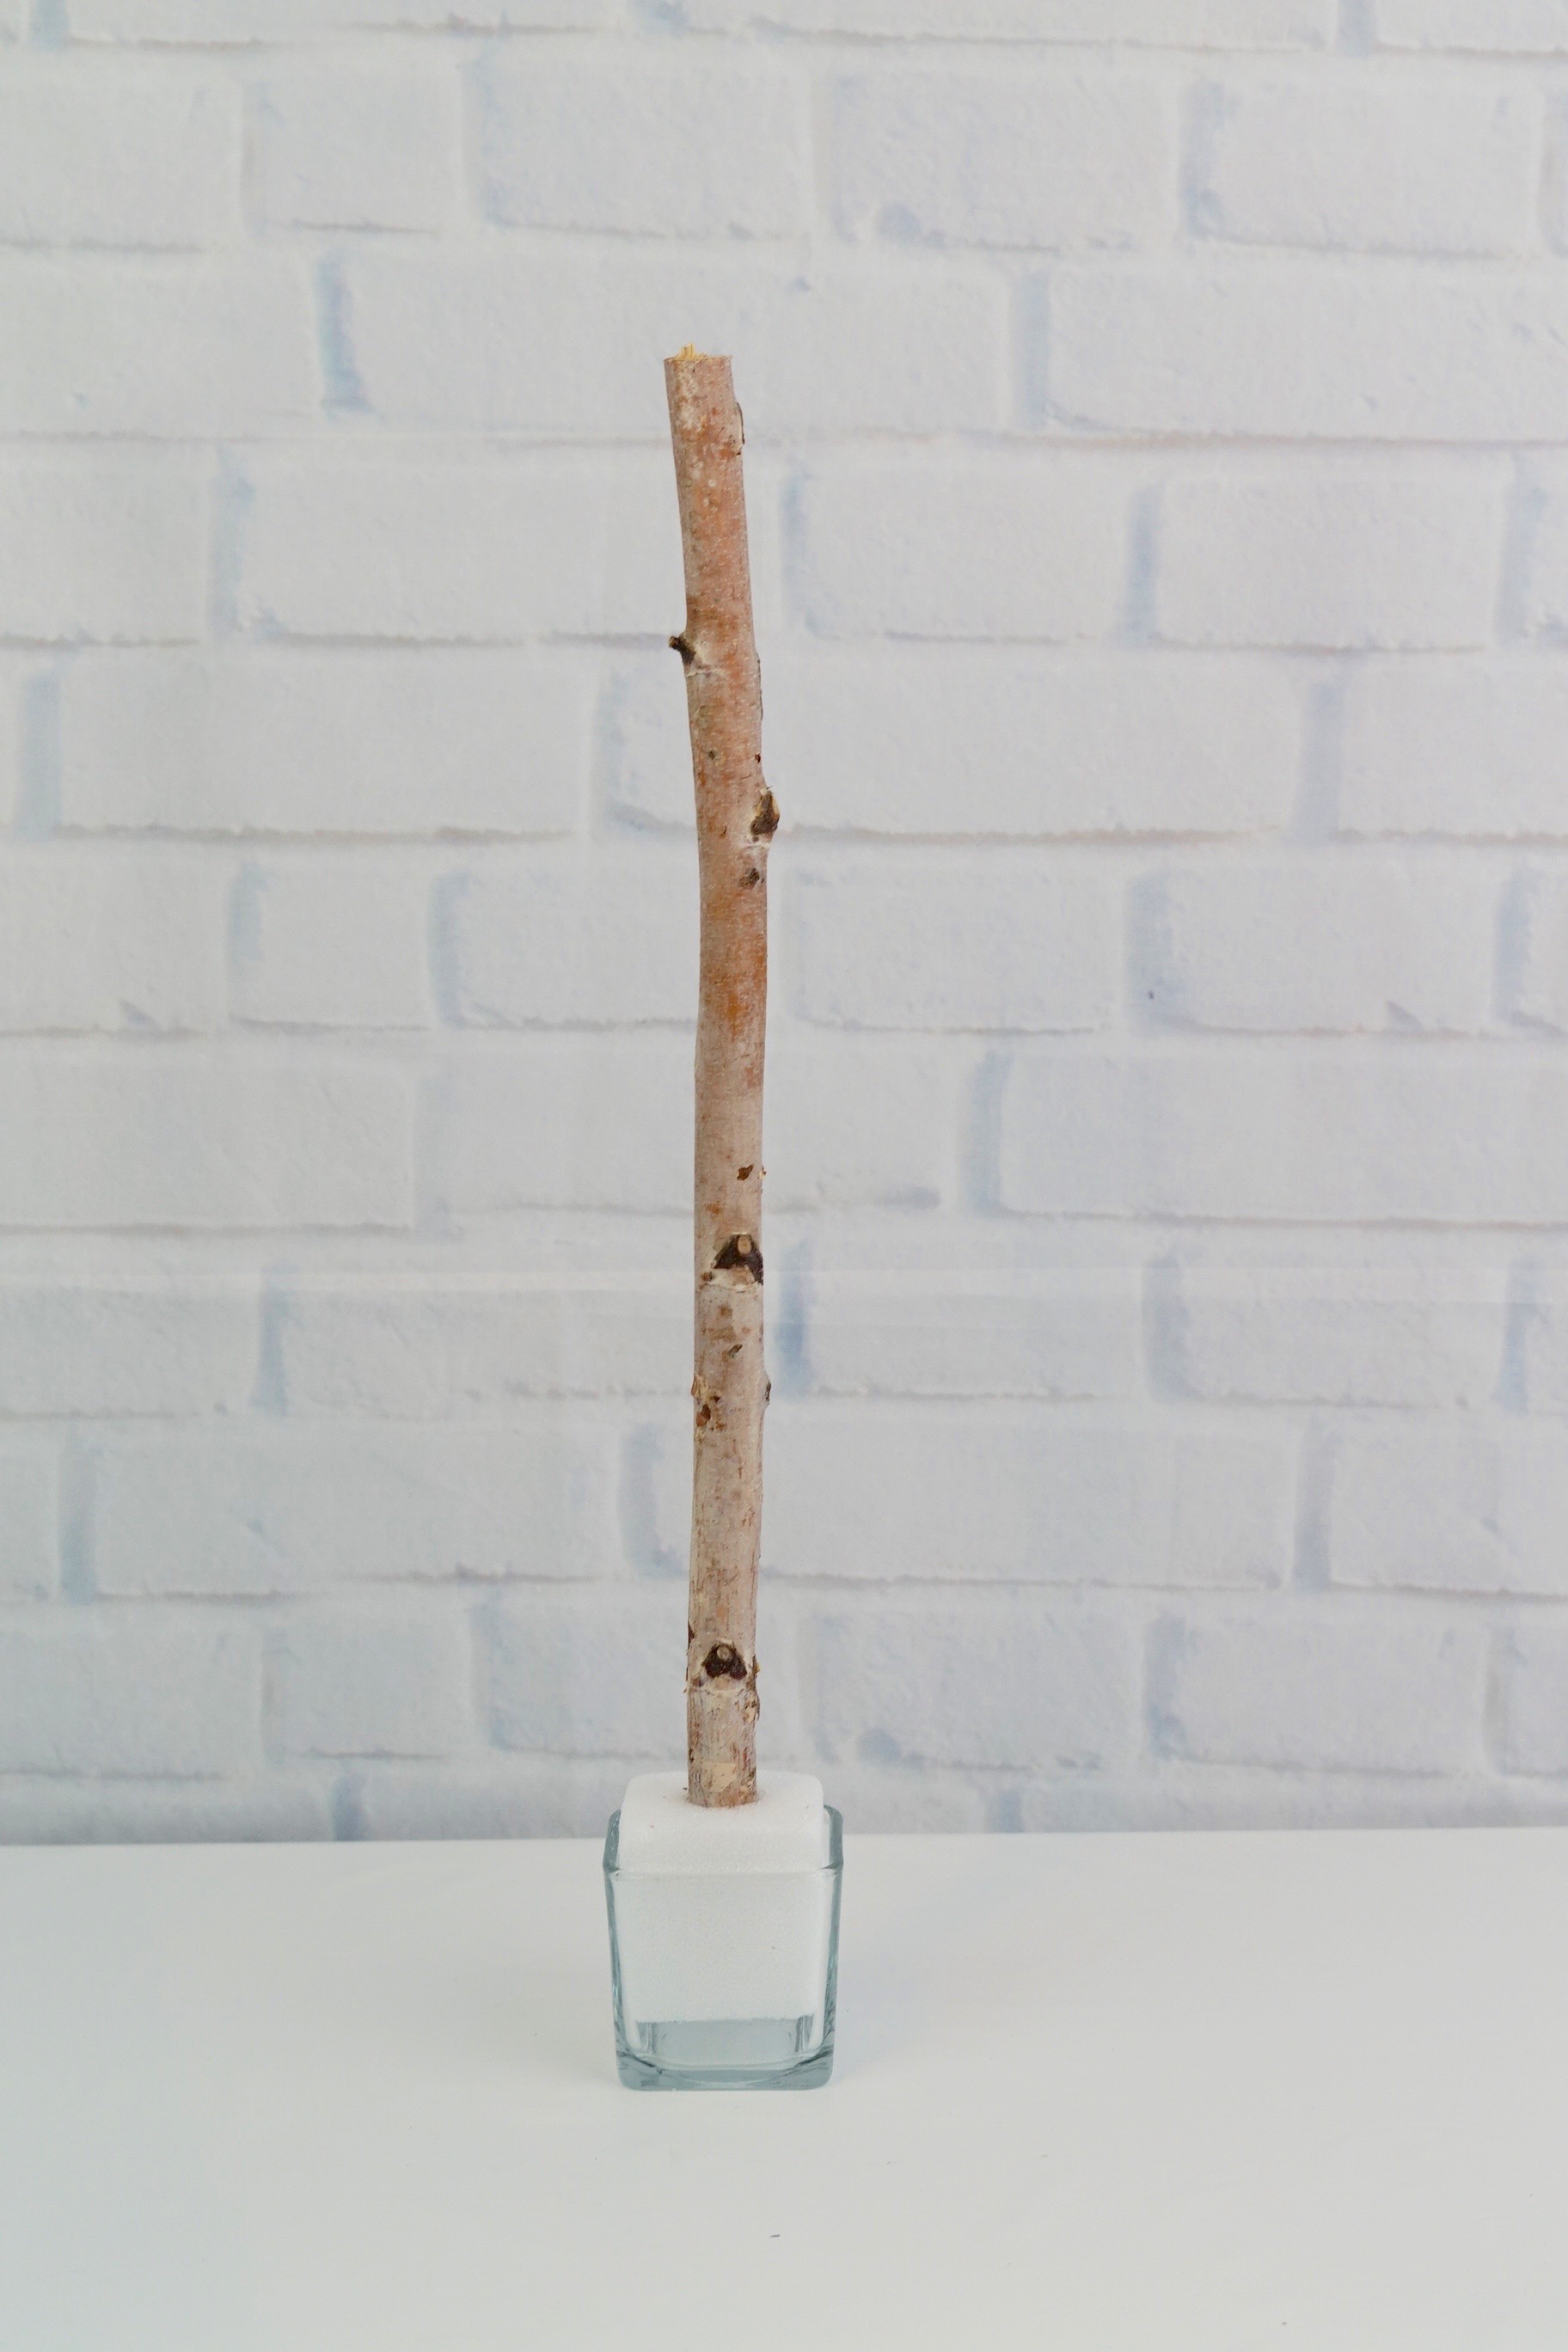
STEP 1: The first thing we are going to do is start with the base. Take your foam cube and place it in your square candleholder about half way in. Insert your birch branch inside of your foam cube.
Now remove your birch branch and apply hot glue. Re-insert your birch branch and push your foam cube in your glass candleholder a little further so that only about a third of an inch is out. Let it to sit for 15 minutes.
YOU MAY ALSO LIKE:
STEP 2: Cut a circle out of the center of your half foam dome with a foam cutter . The circle needs to be big enough to fit over your birch branch. Place your foam dome over your birch branch. Your foam dome should fit nicely over your square candle holder.
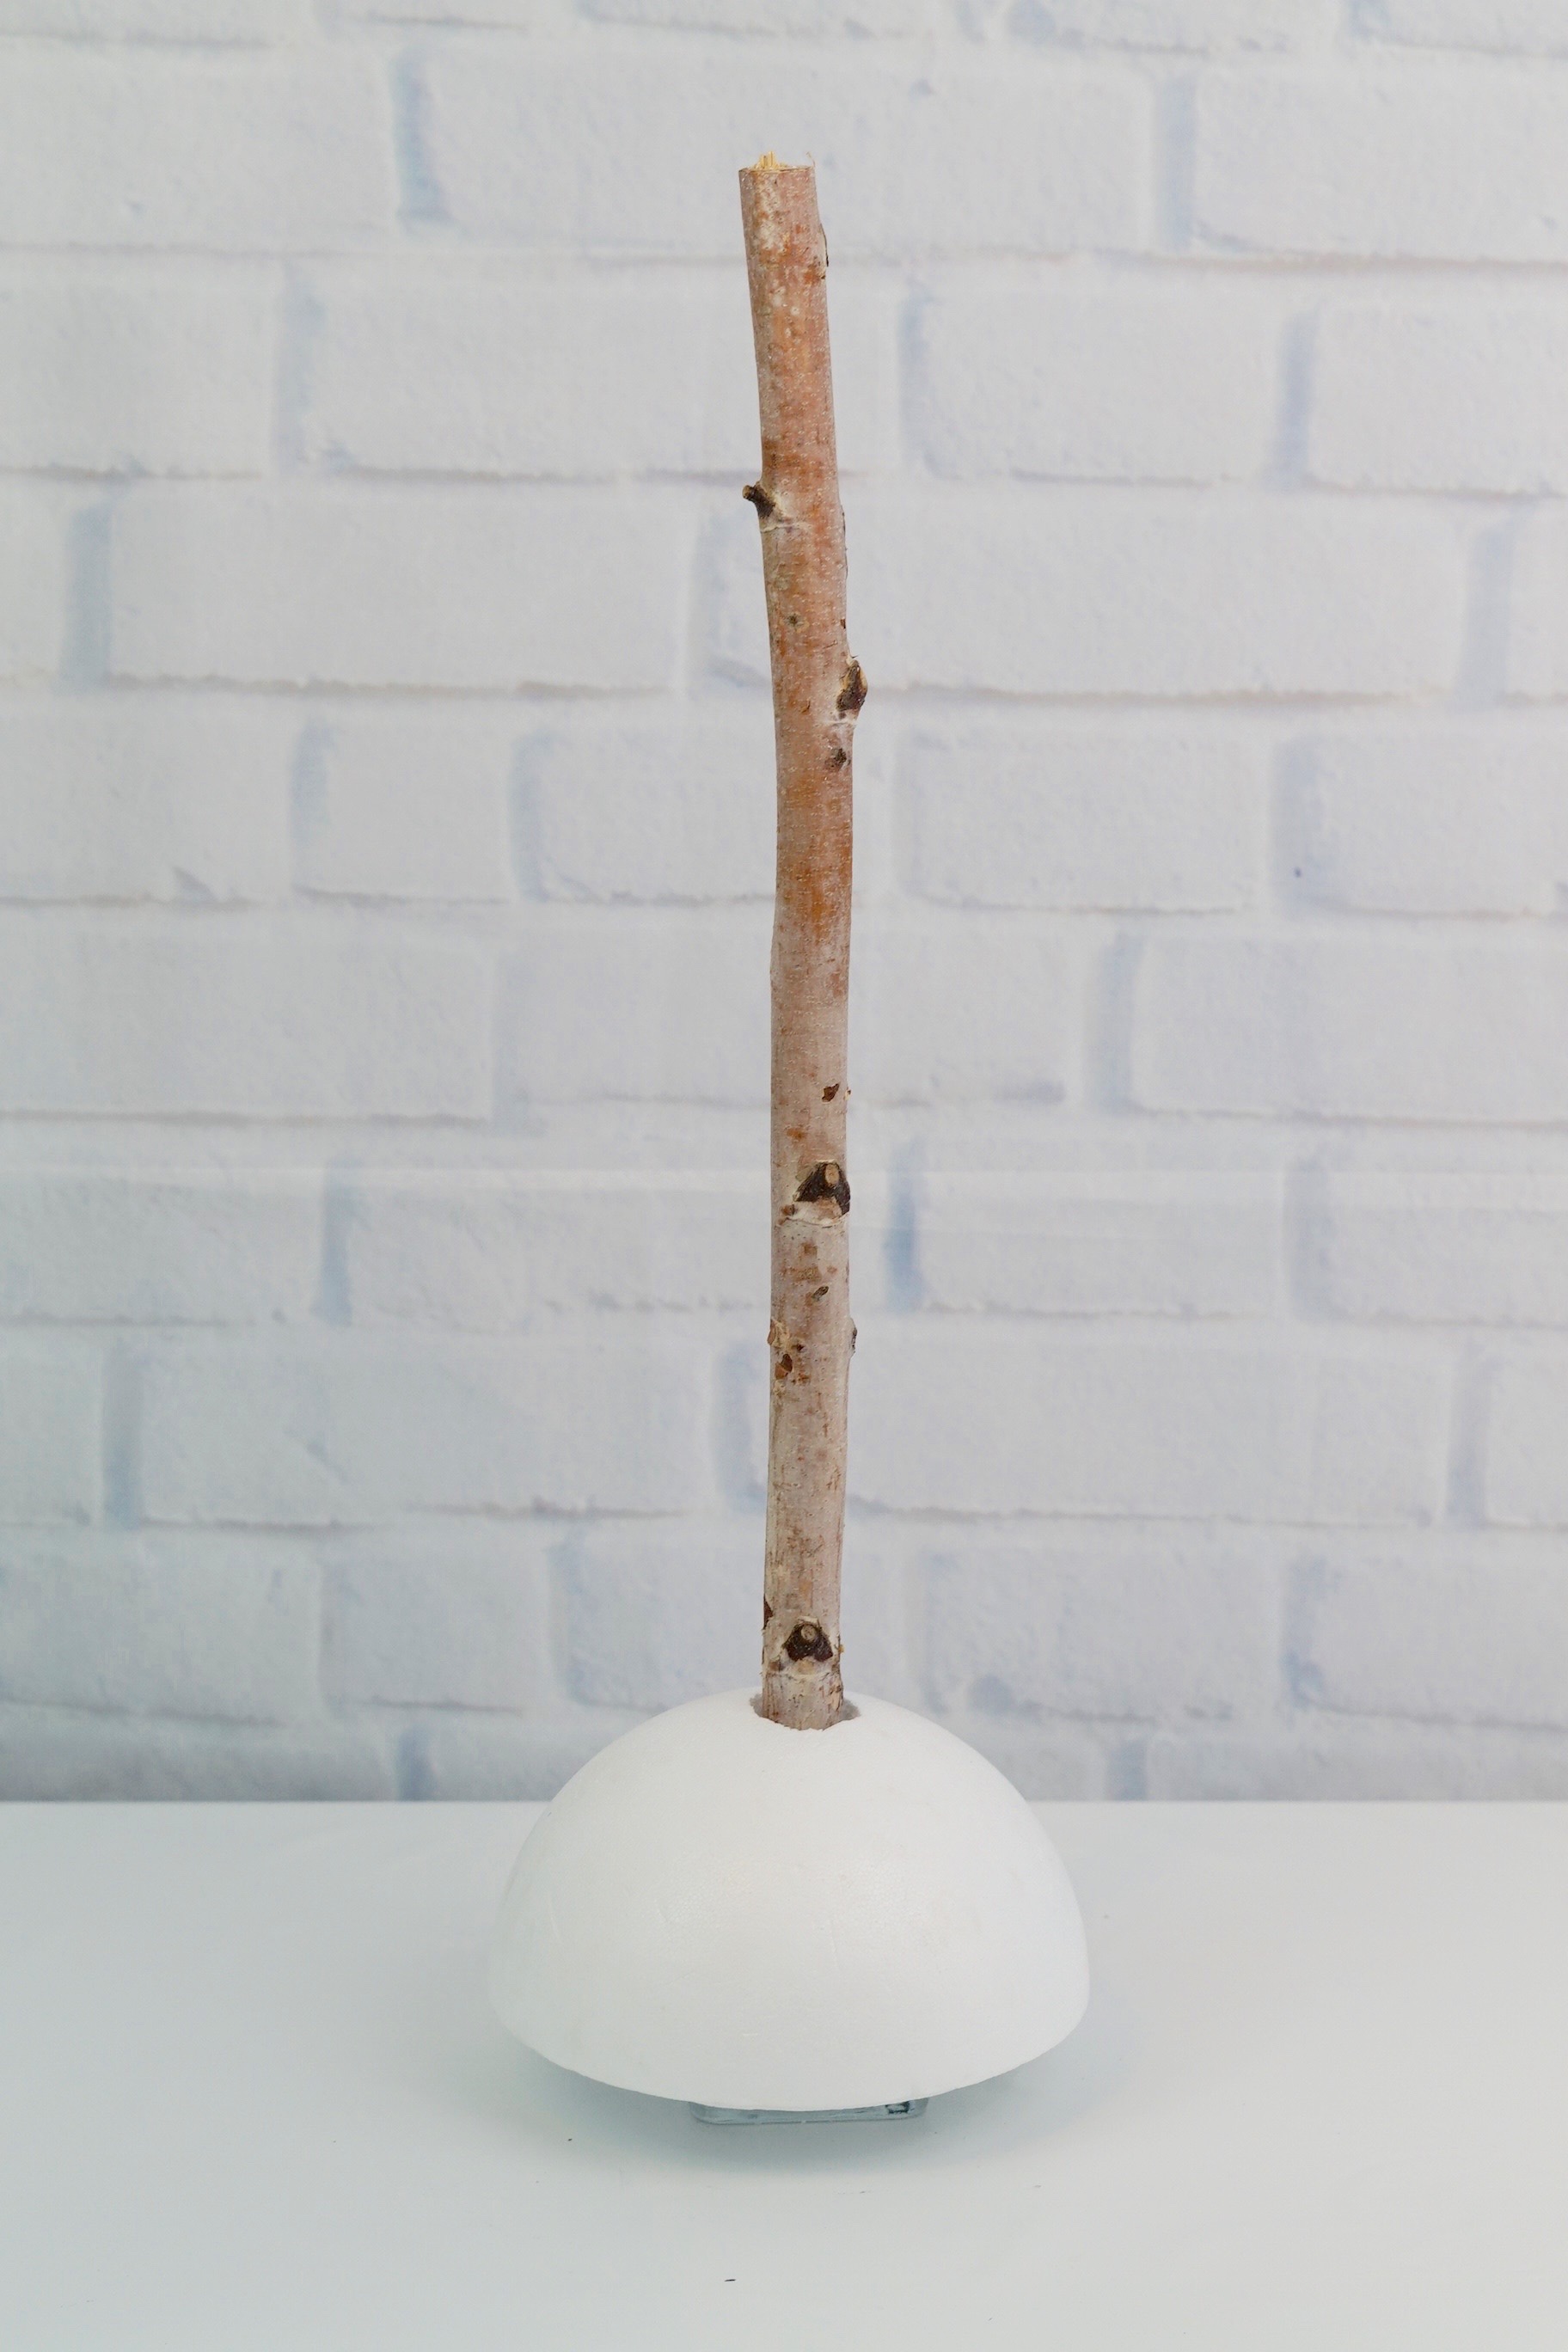
Attach your foam ball to your birch branch
STEP 3: Make an indention in your foam ball by placing your foam ball on your birch branch. Remove your foam ball and then add hot glue to your birch branch. Now attach your foam ball to your birch branch making sure it is about 1 to 1 1/2 inches on your branch.
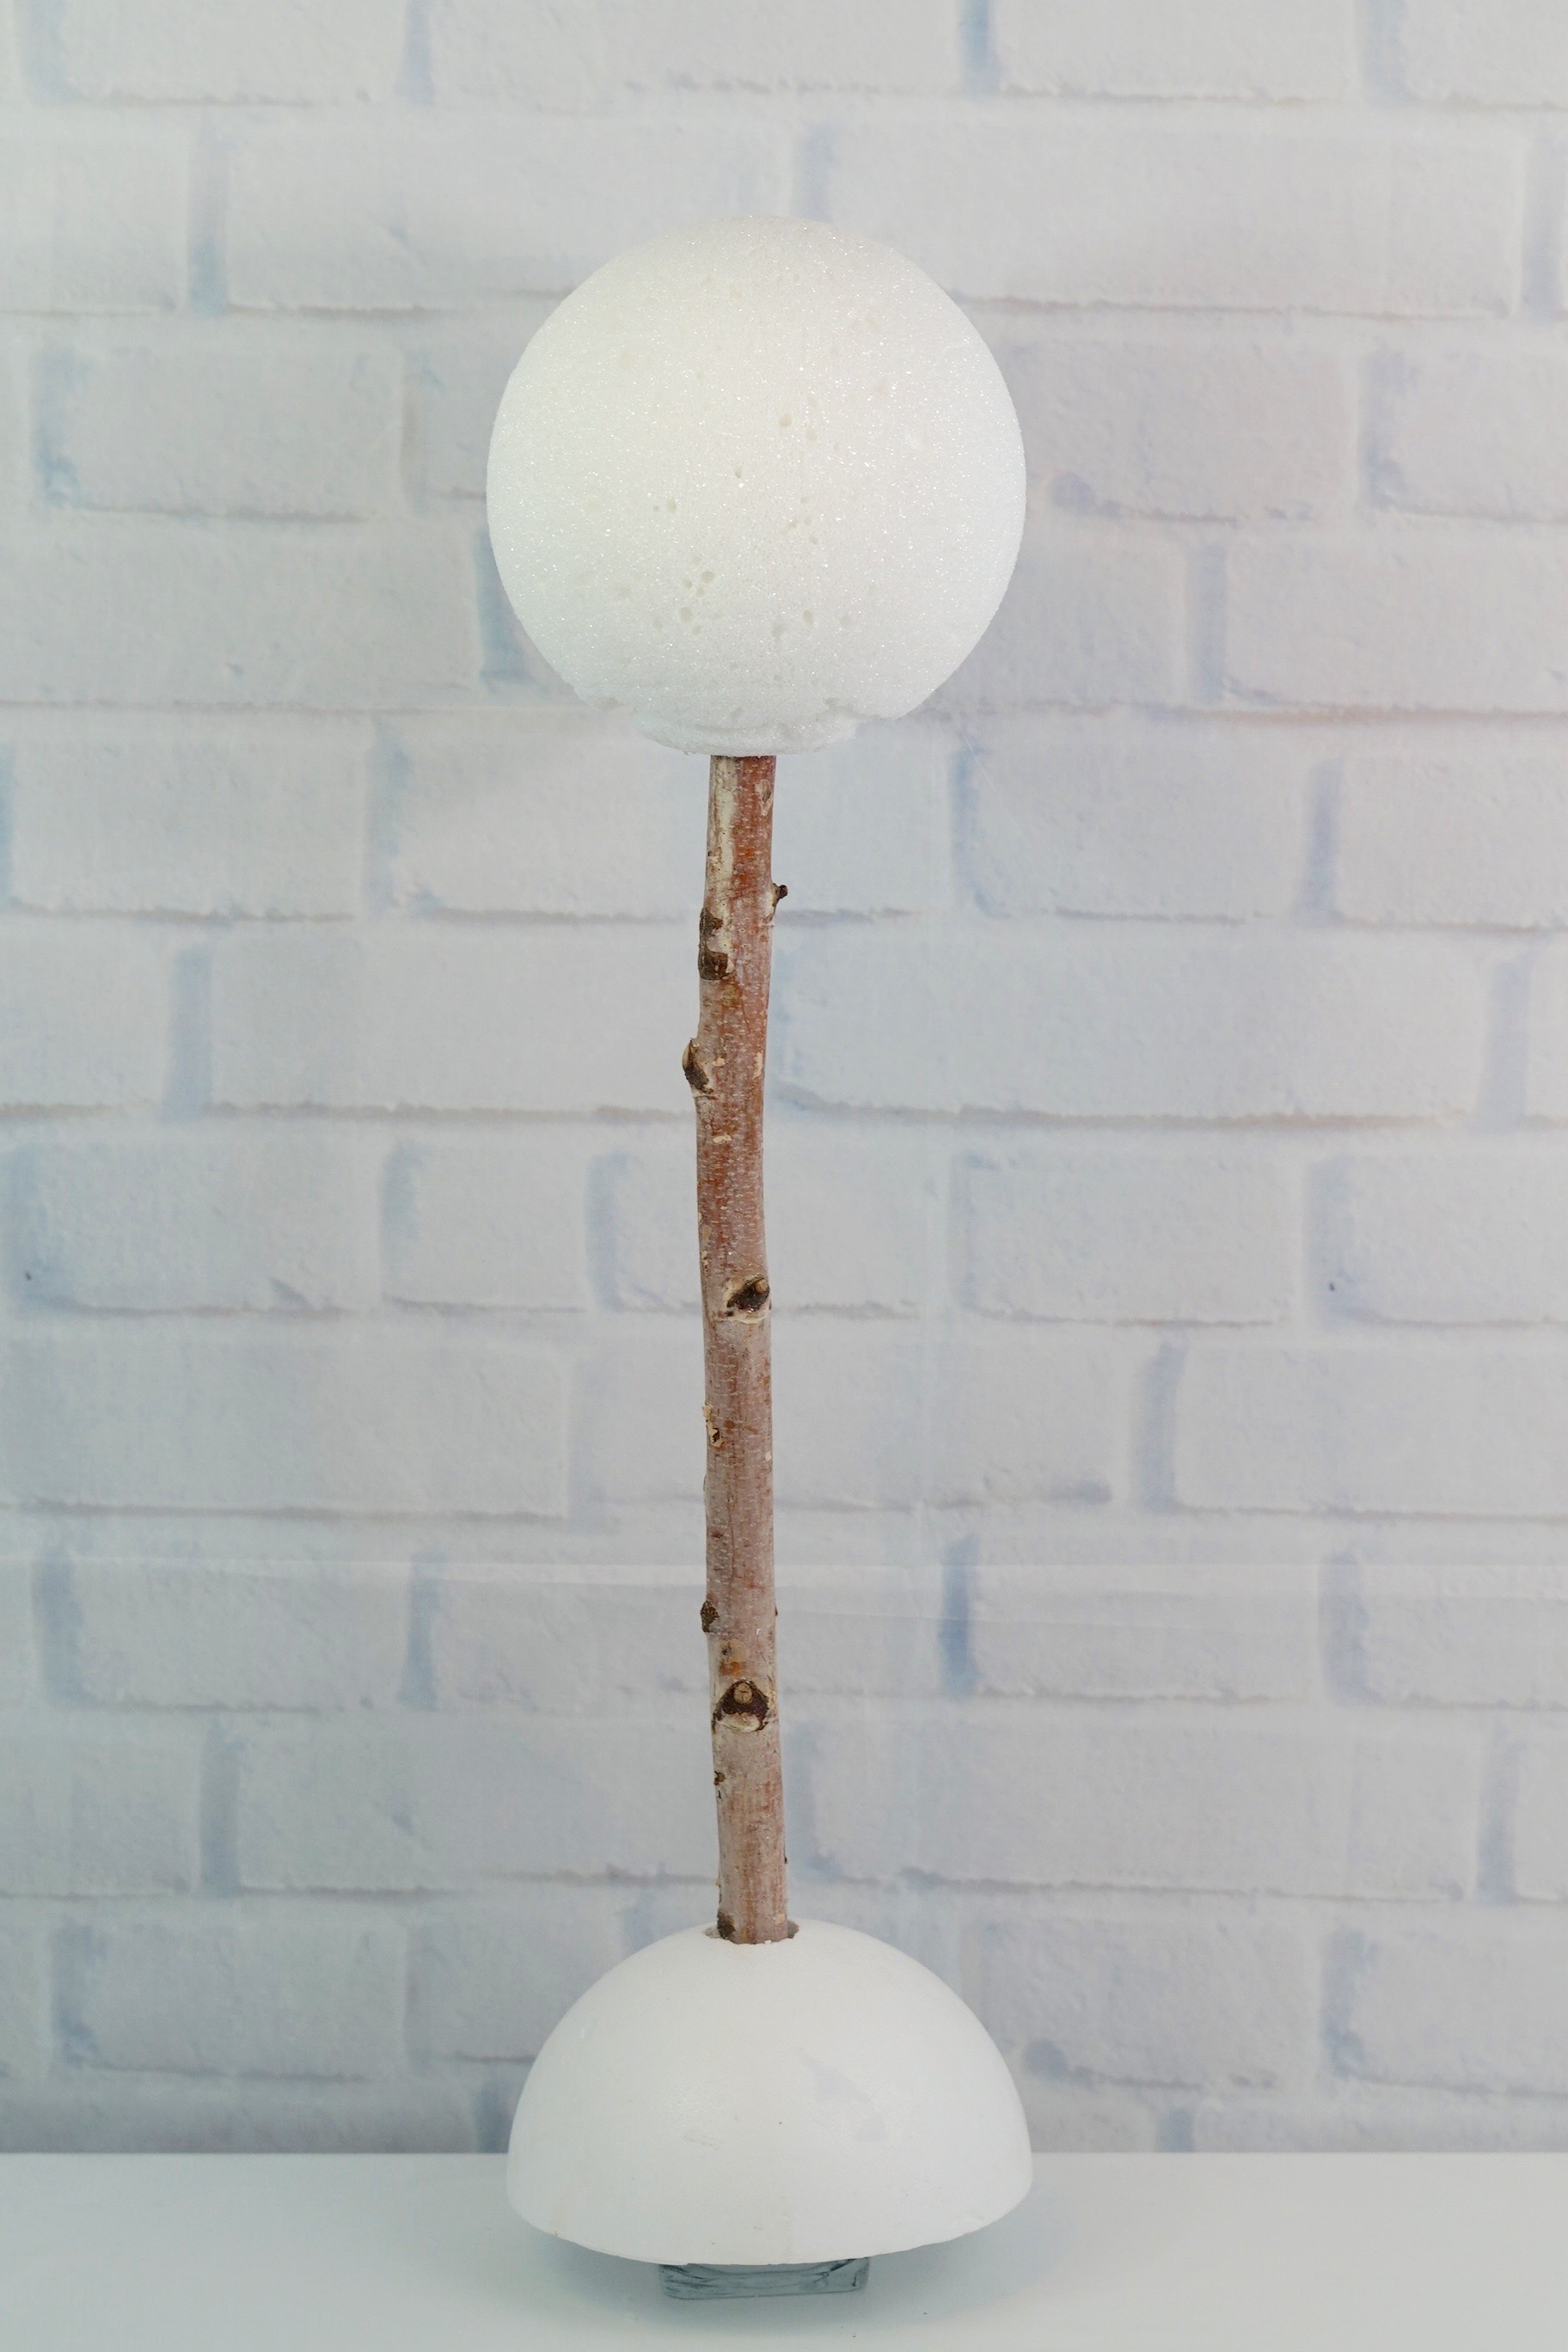
STEP 4: Apply cream paint to your birch branch using a sponge paintbrush. The paint will make your branch stand out. But if you like the more rustic look of the branch, you do not need to add paint to it.
Let’s Add Our Flowers to the Base
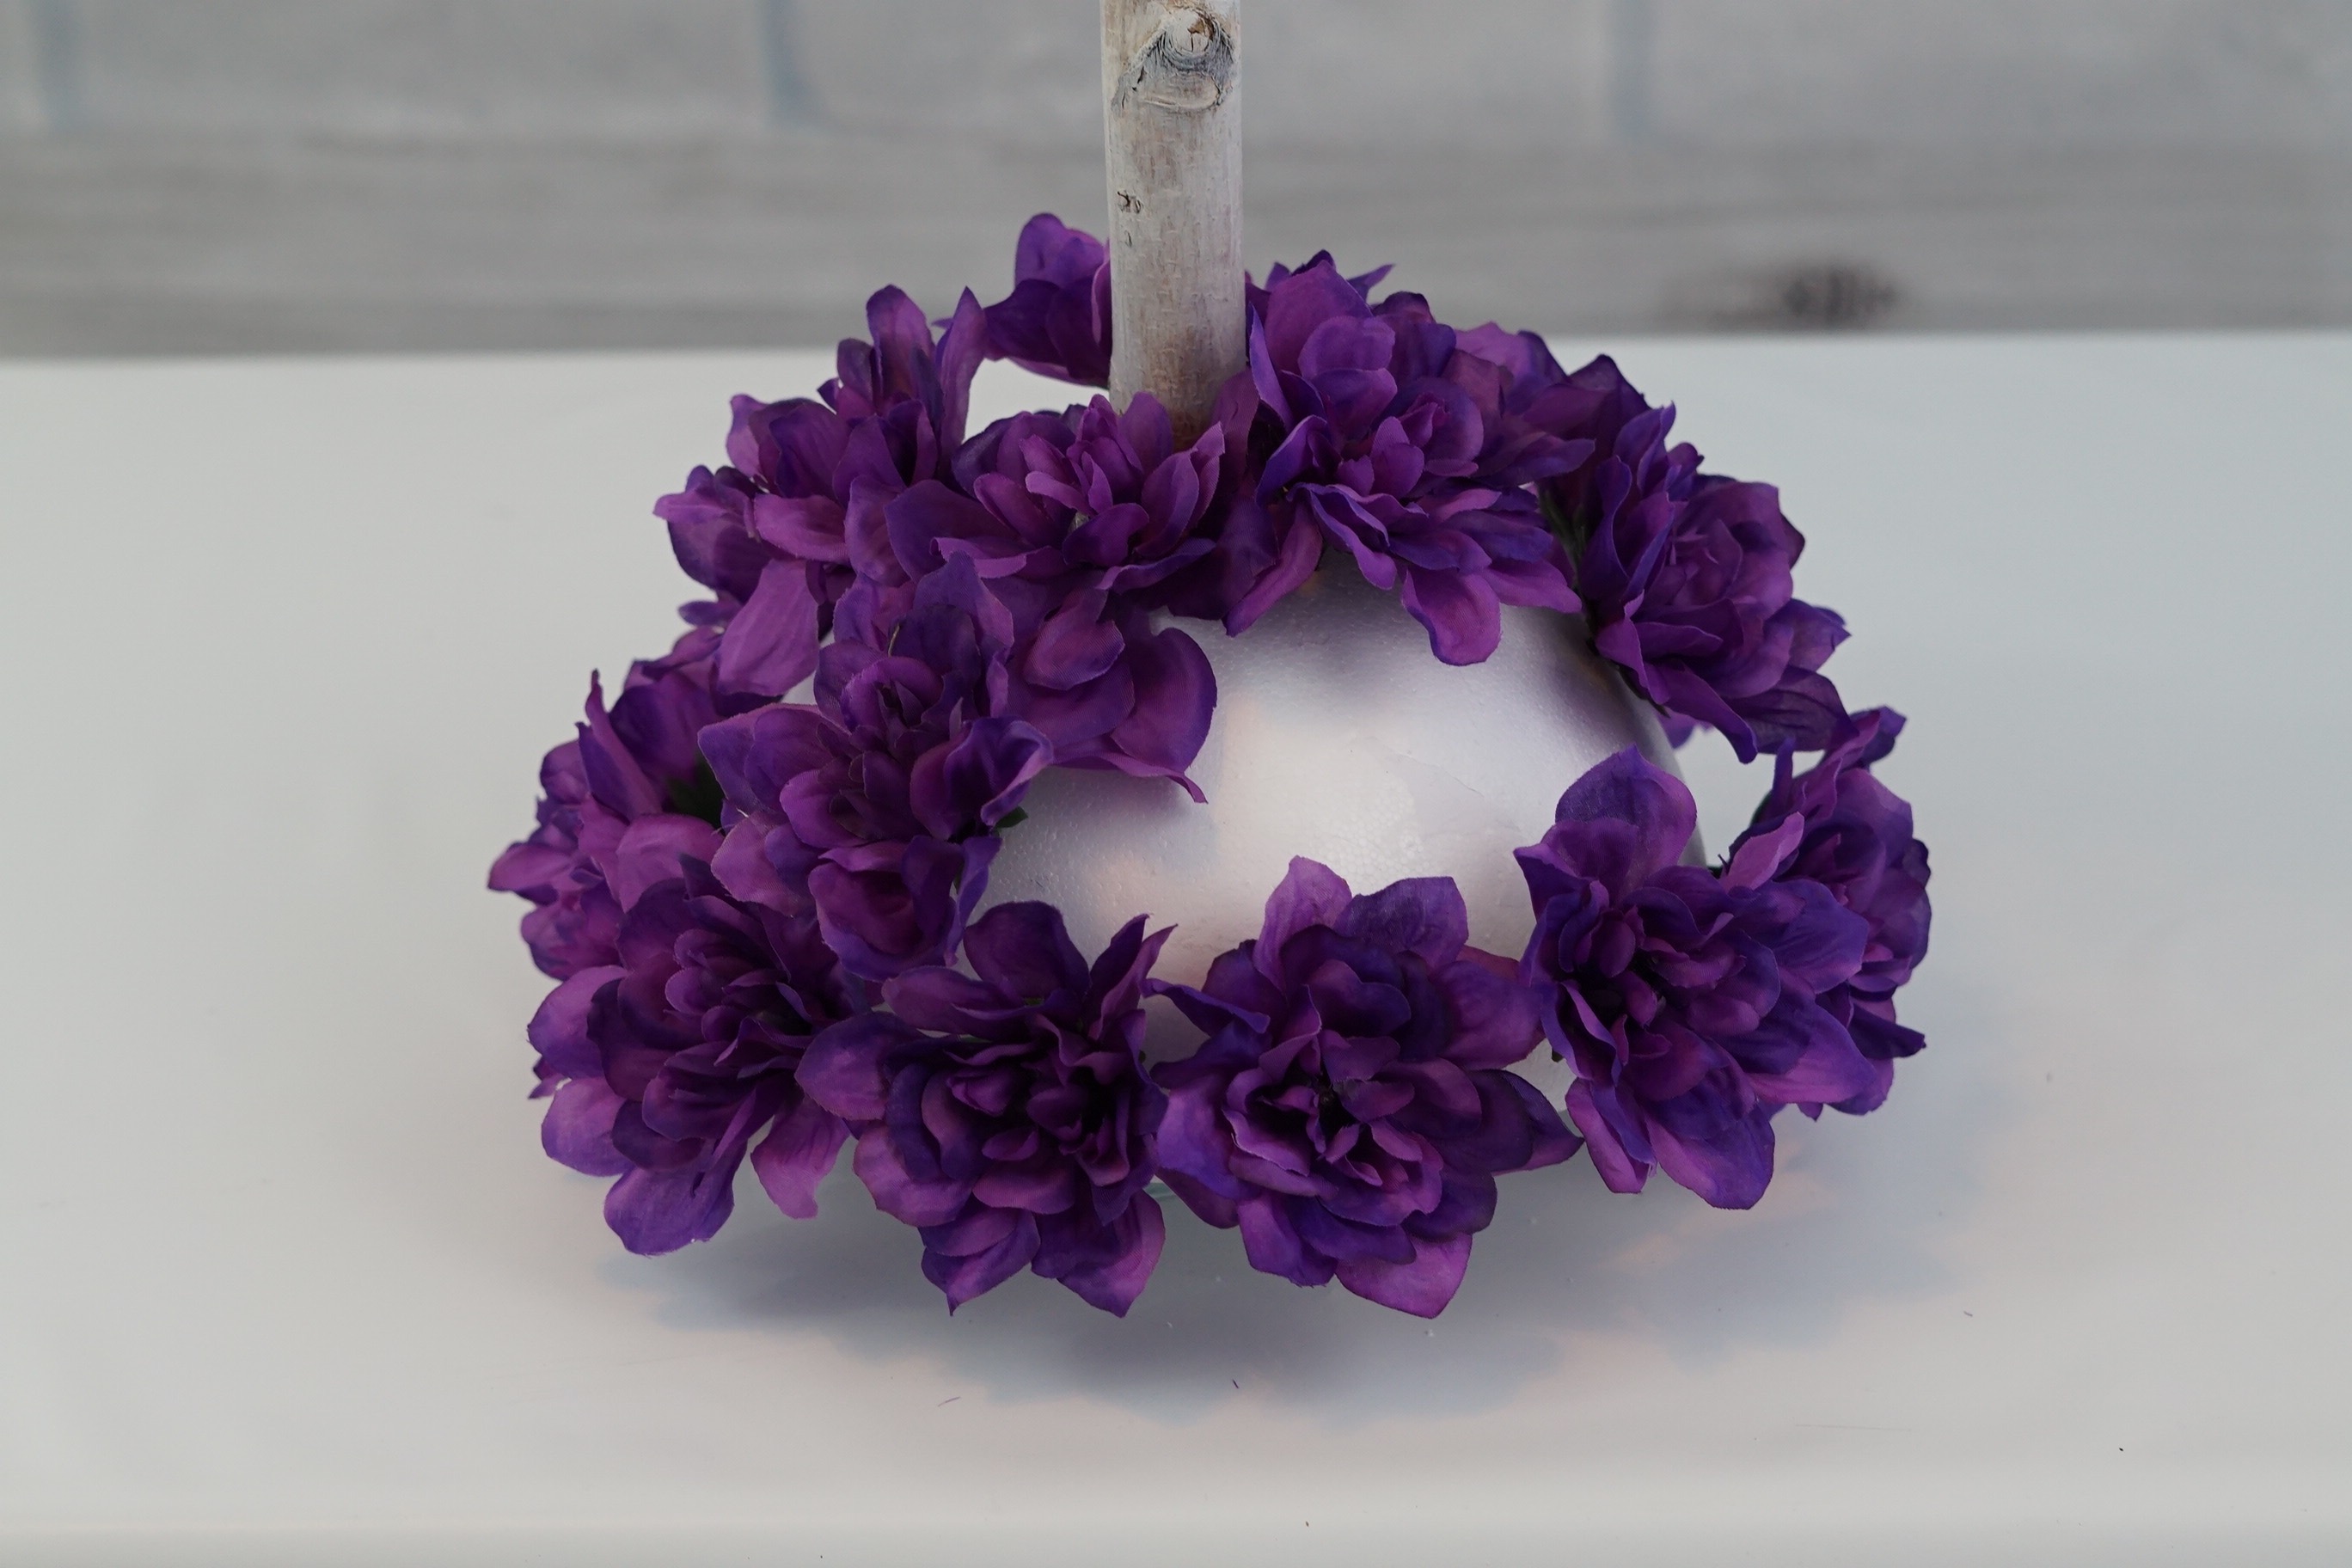
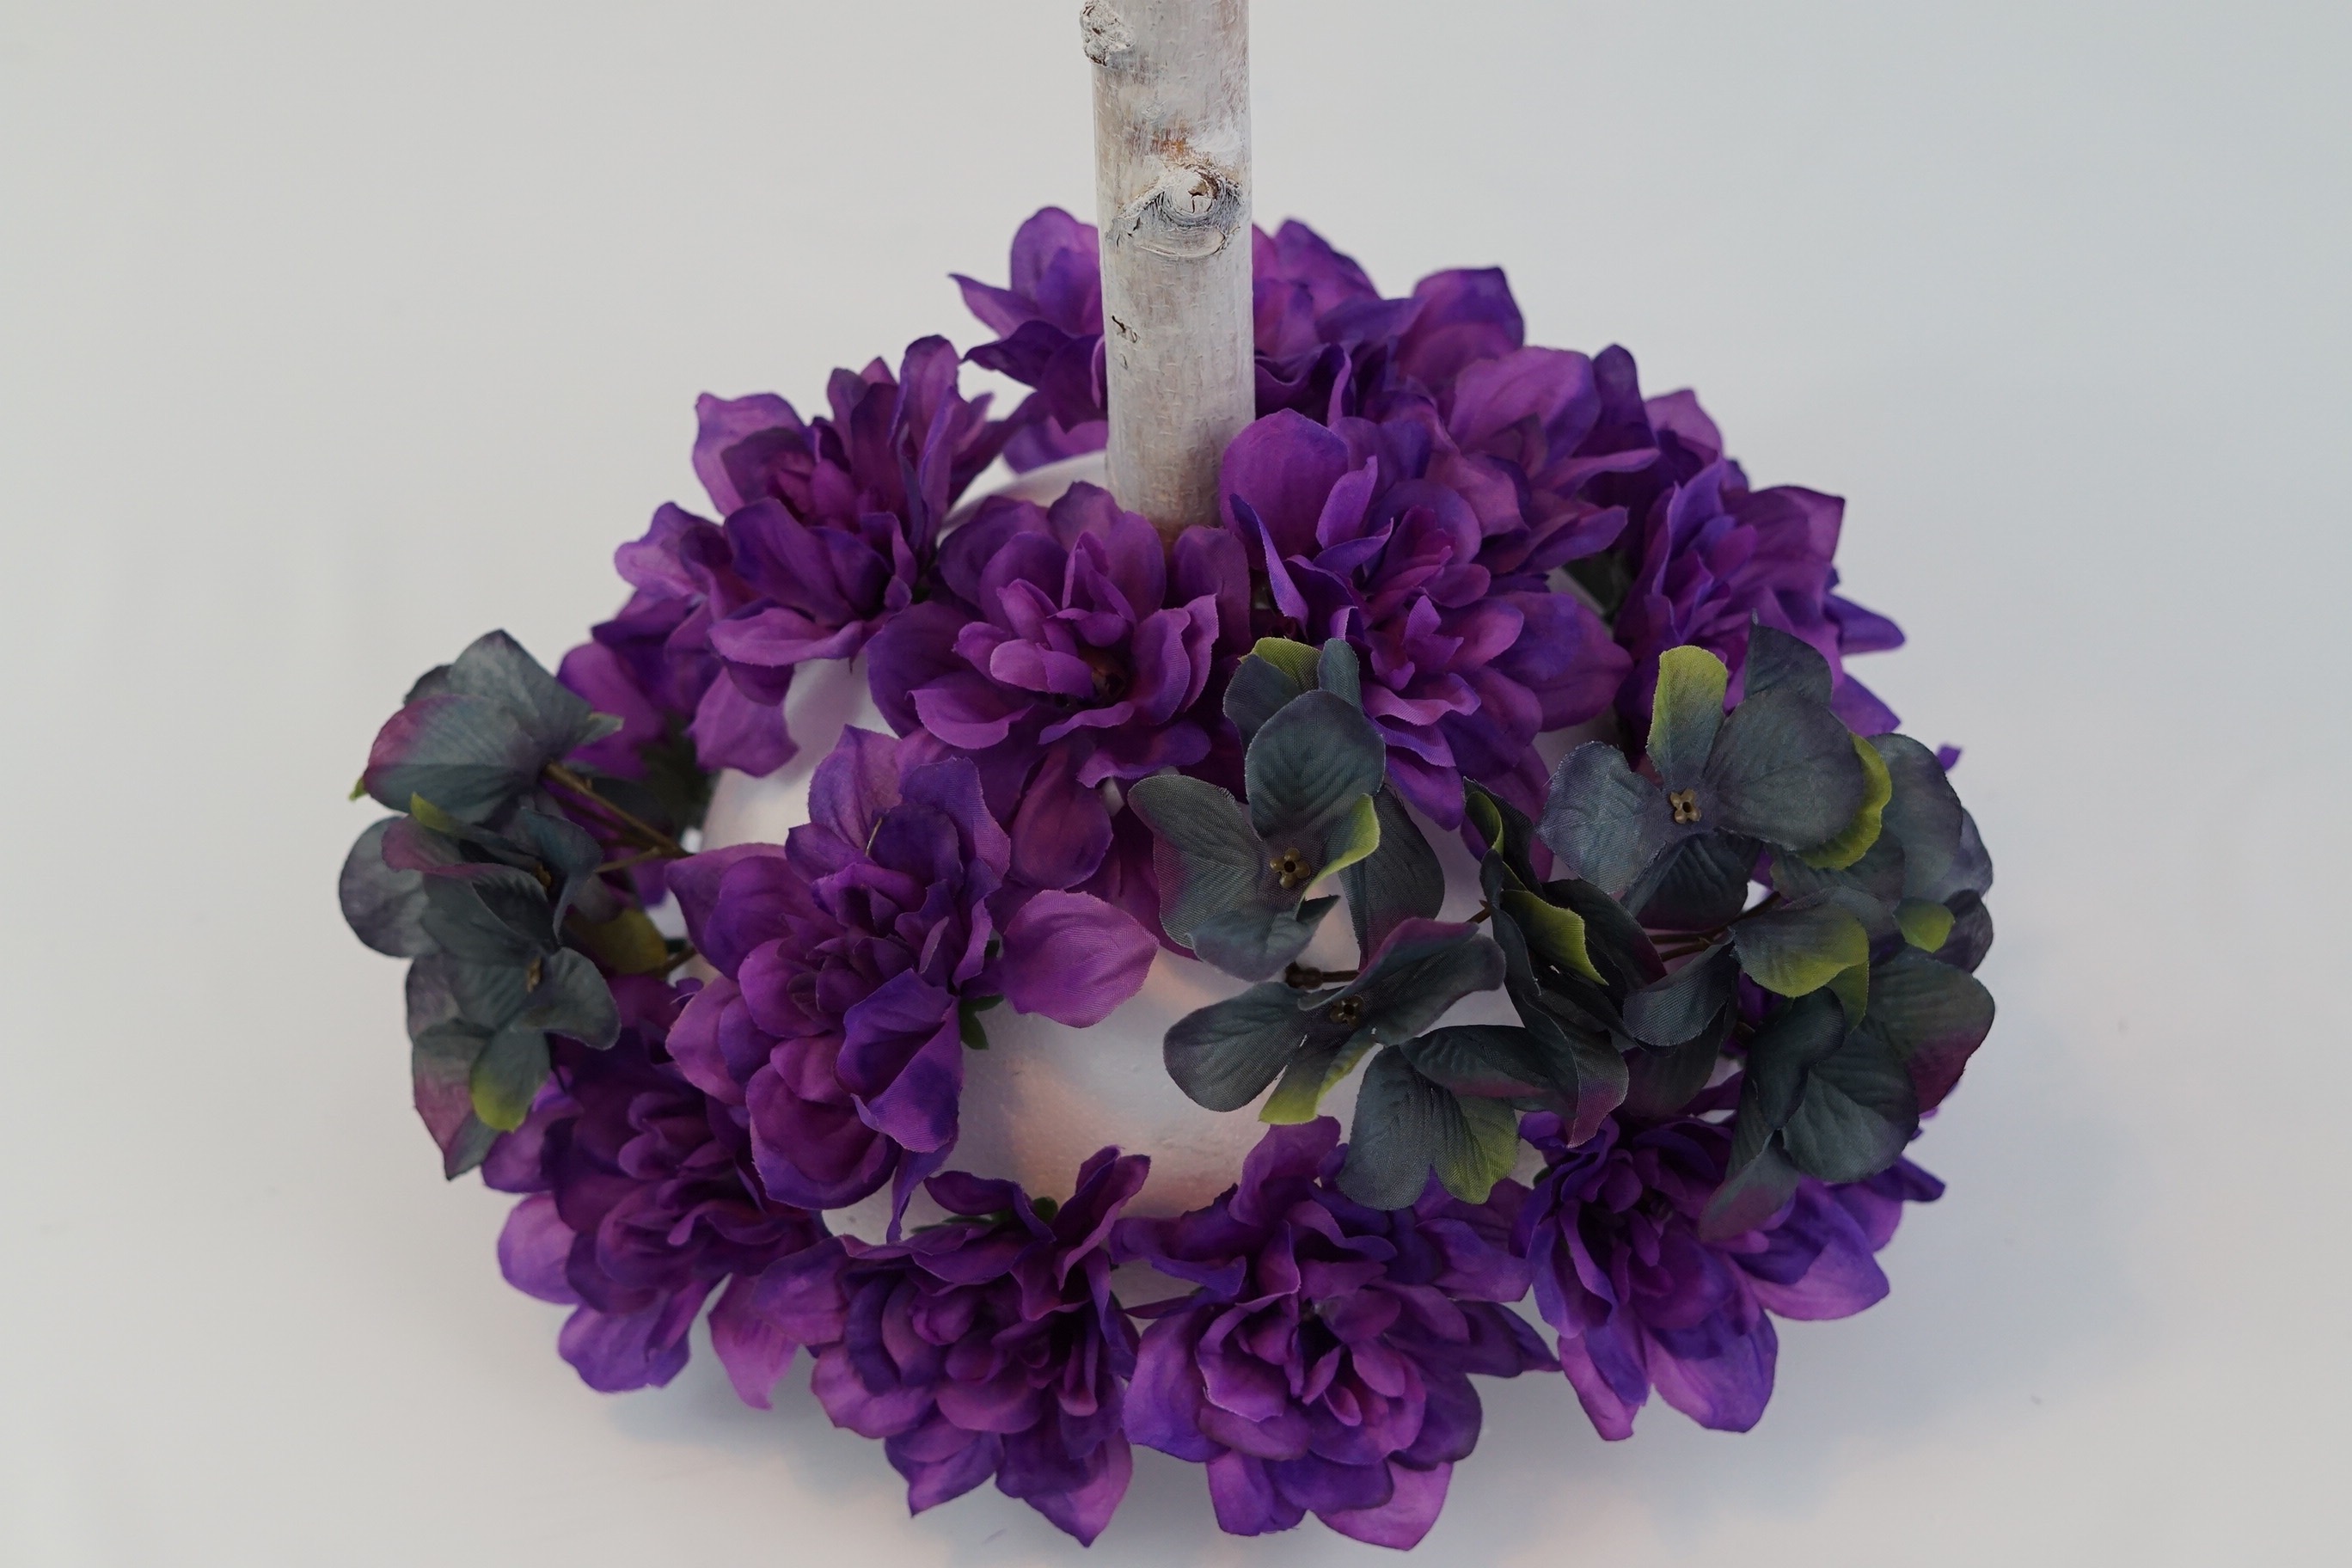
STEP 5: Due to the density of your foam half dome, it is a little more difficult to insert your plastic flower stems. So what I am going to do is prior to inserting the flowers, I will open a floral pin and use that to poke my holes. This makes it easier to insert your flowers.
To start, I am going to attach 12-16 purple dahlias. Next I will attach 4-6 eggplant or purple hydrangea blossoms. Finally, fill in the remaining spaces with teal tea roses and eucalyptic leaves.
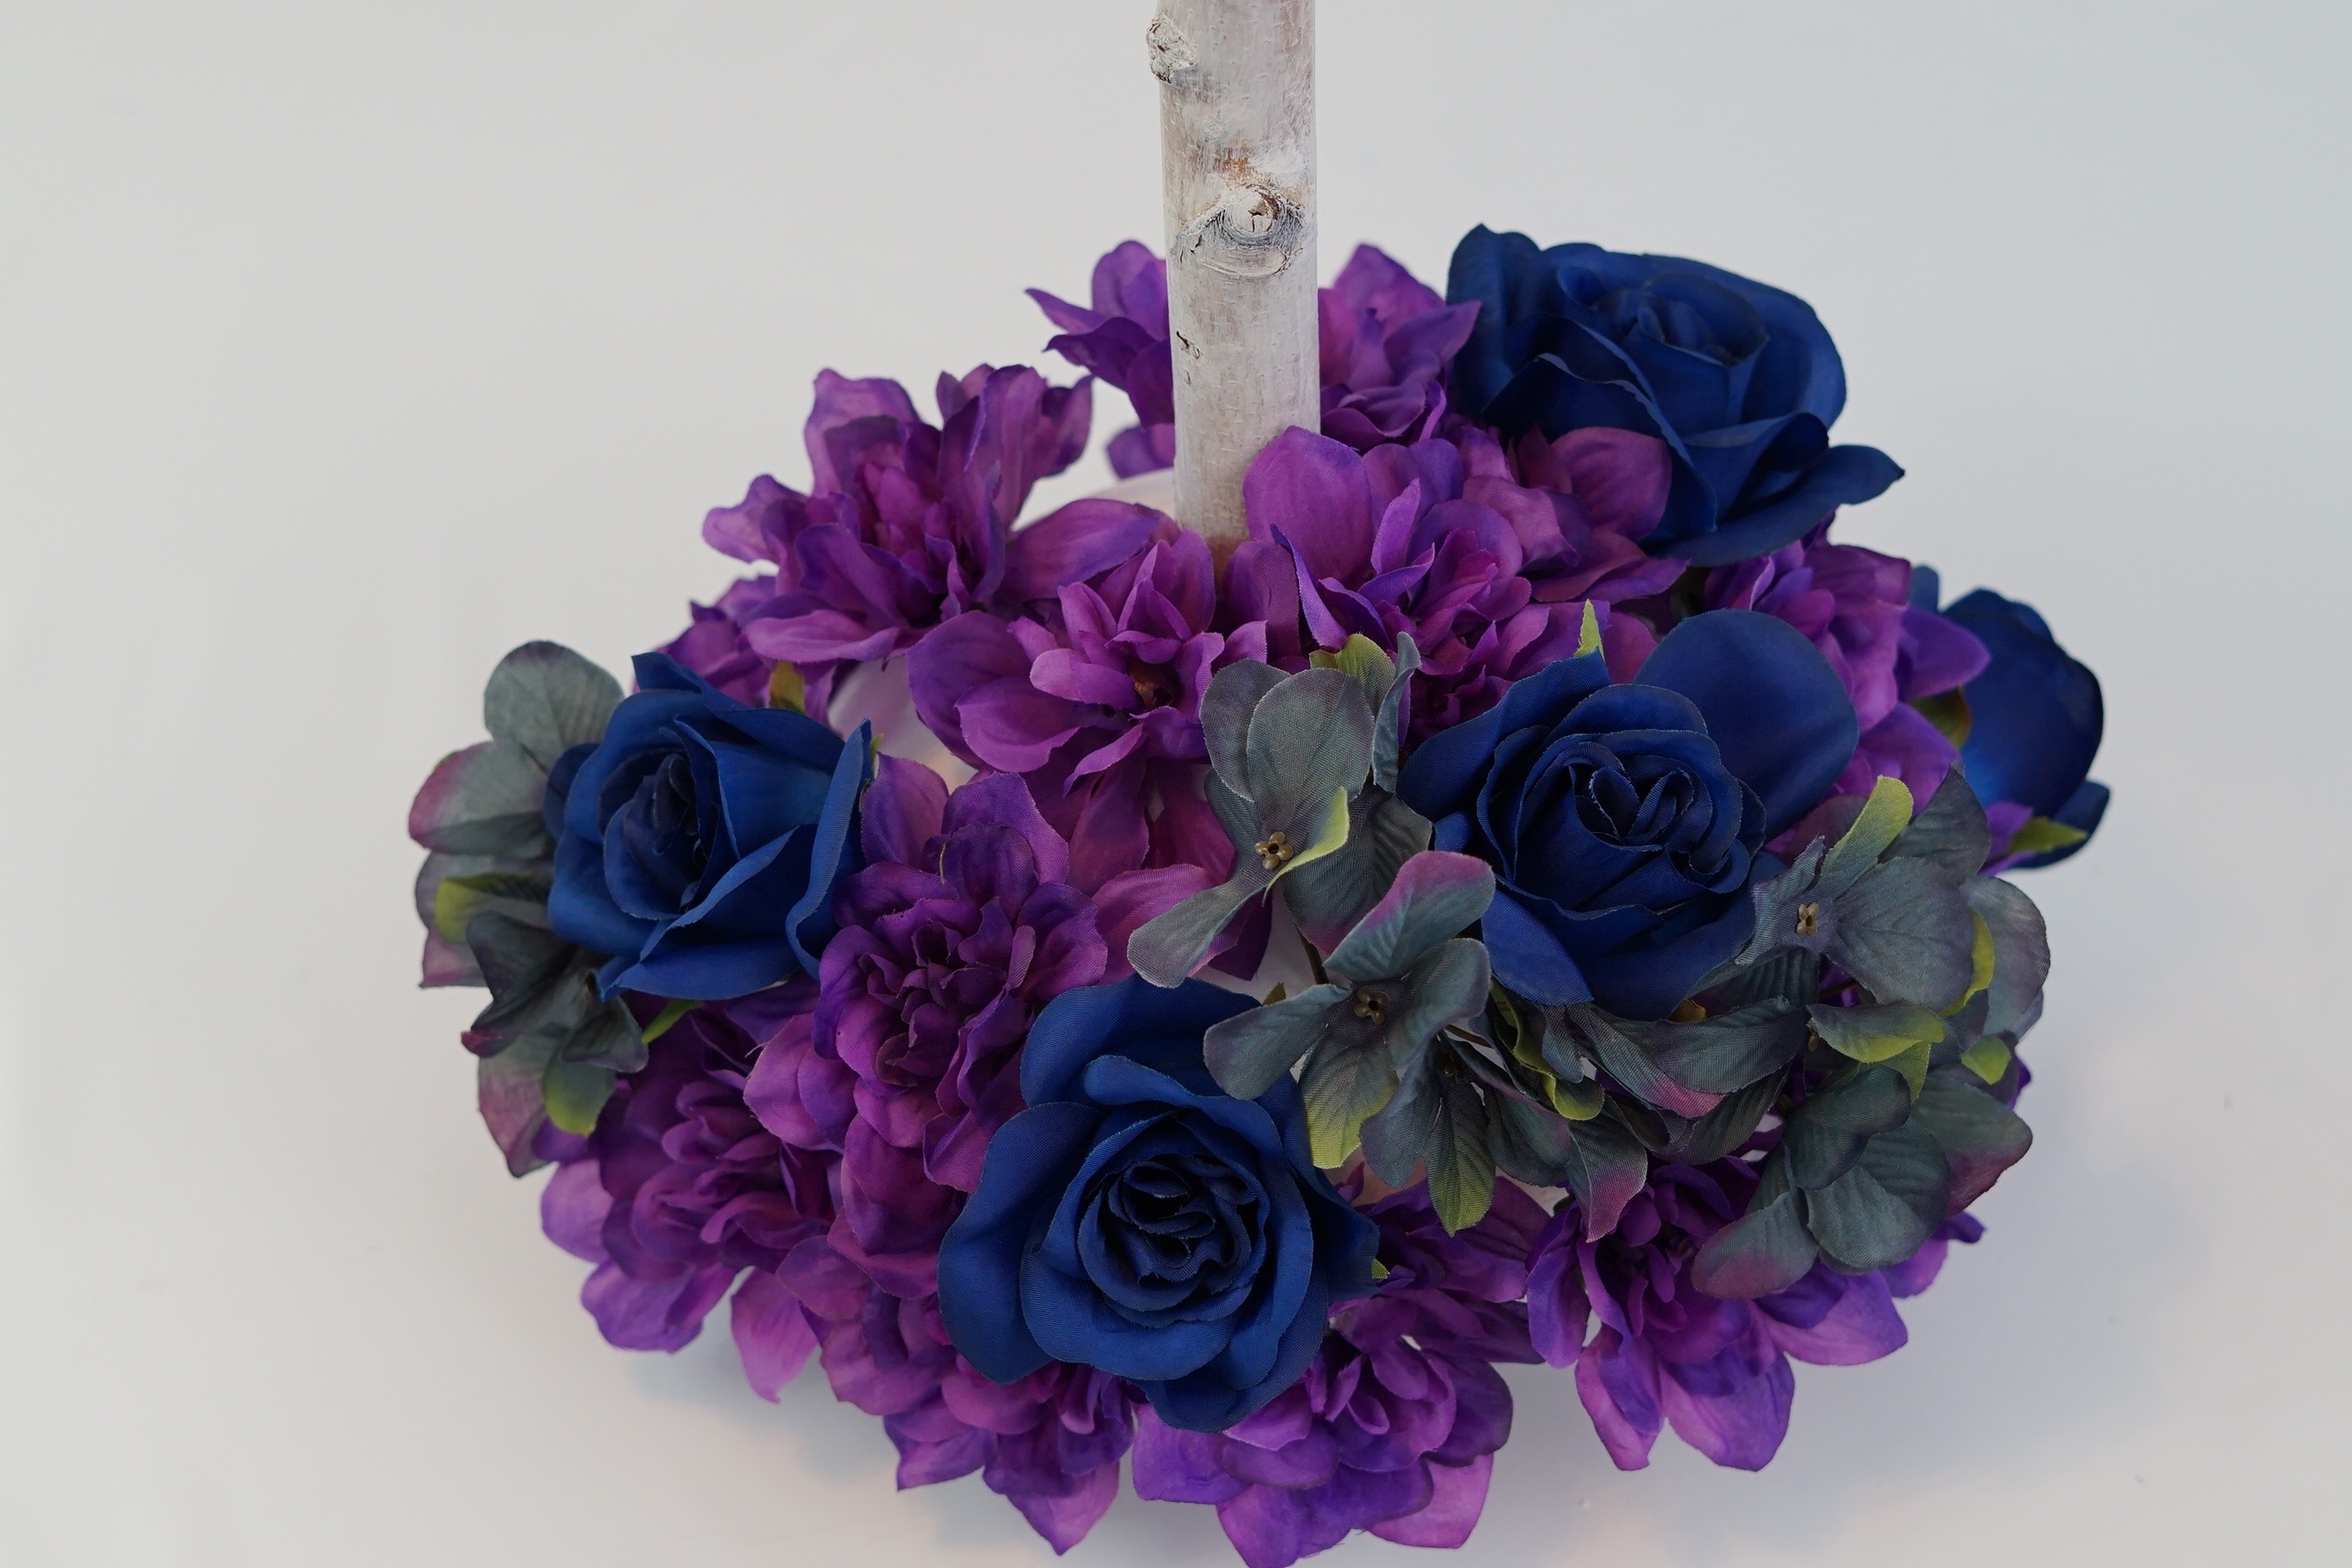
THE FINAL STEP: Add your remaining flowers
STEP 6: To the top of your wedding centerpiece, attach 4-6 teal hydrangea heads, 8-12 purple hydrangea heads, 12-16 purple dahlia blossoms, 4-6 teal rose blossoms, 6-8 blue rose blossoms, 6-8 purple rose blossoms, 6-8 teal tea rose blossoms, and 4-6 eucalyptus leaves.
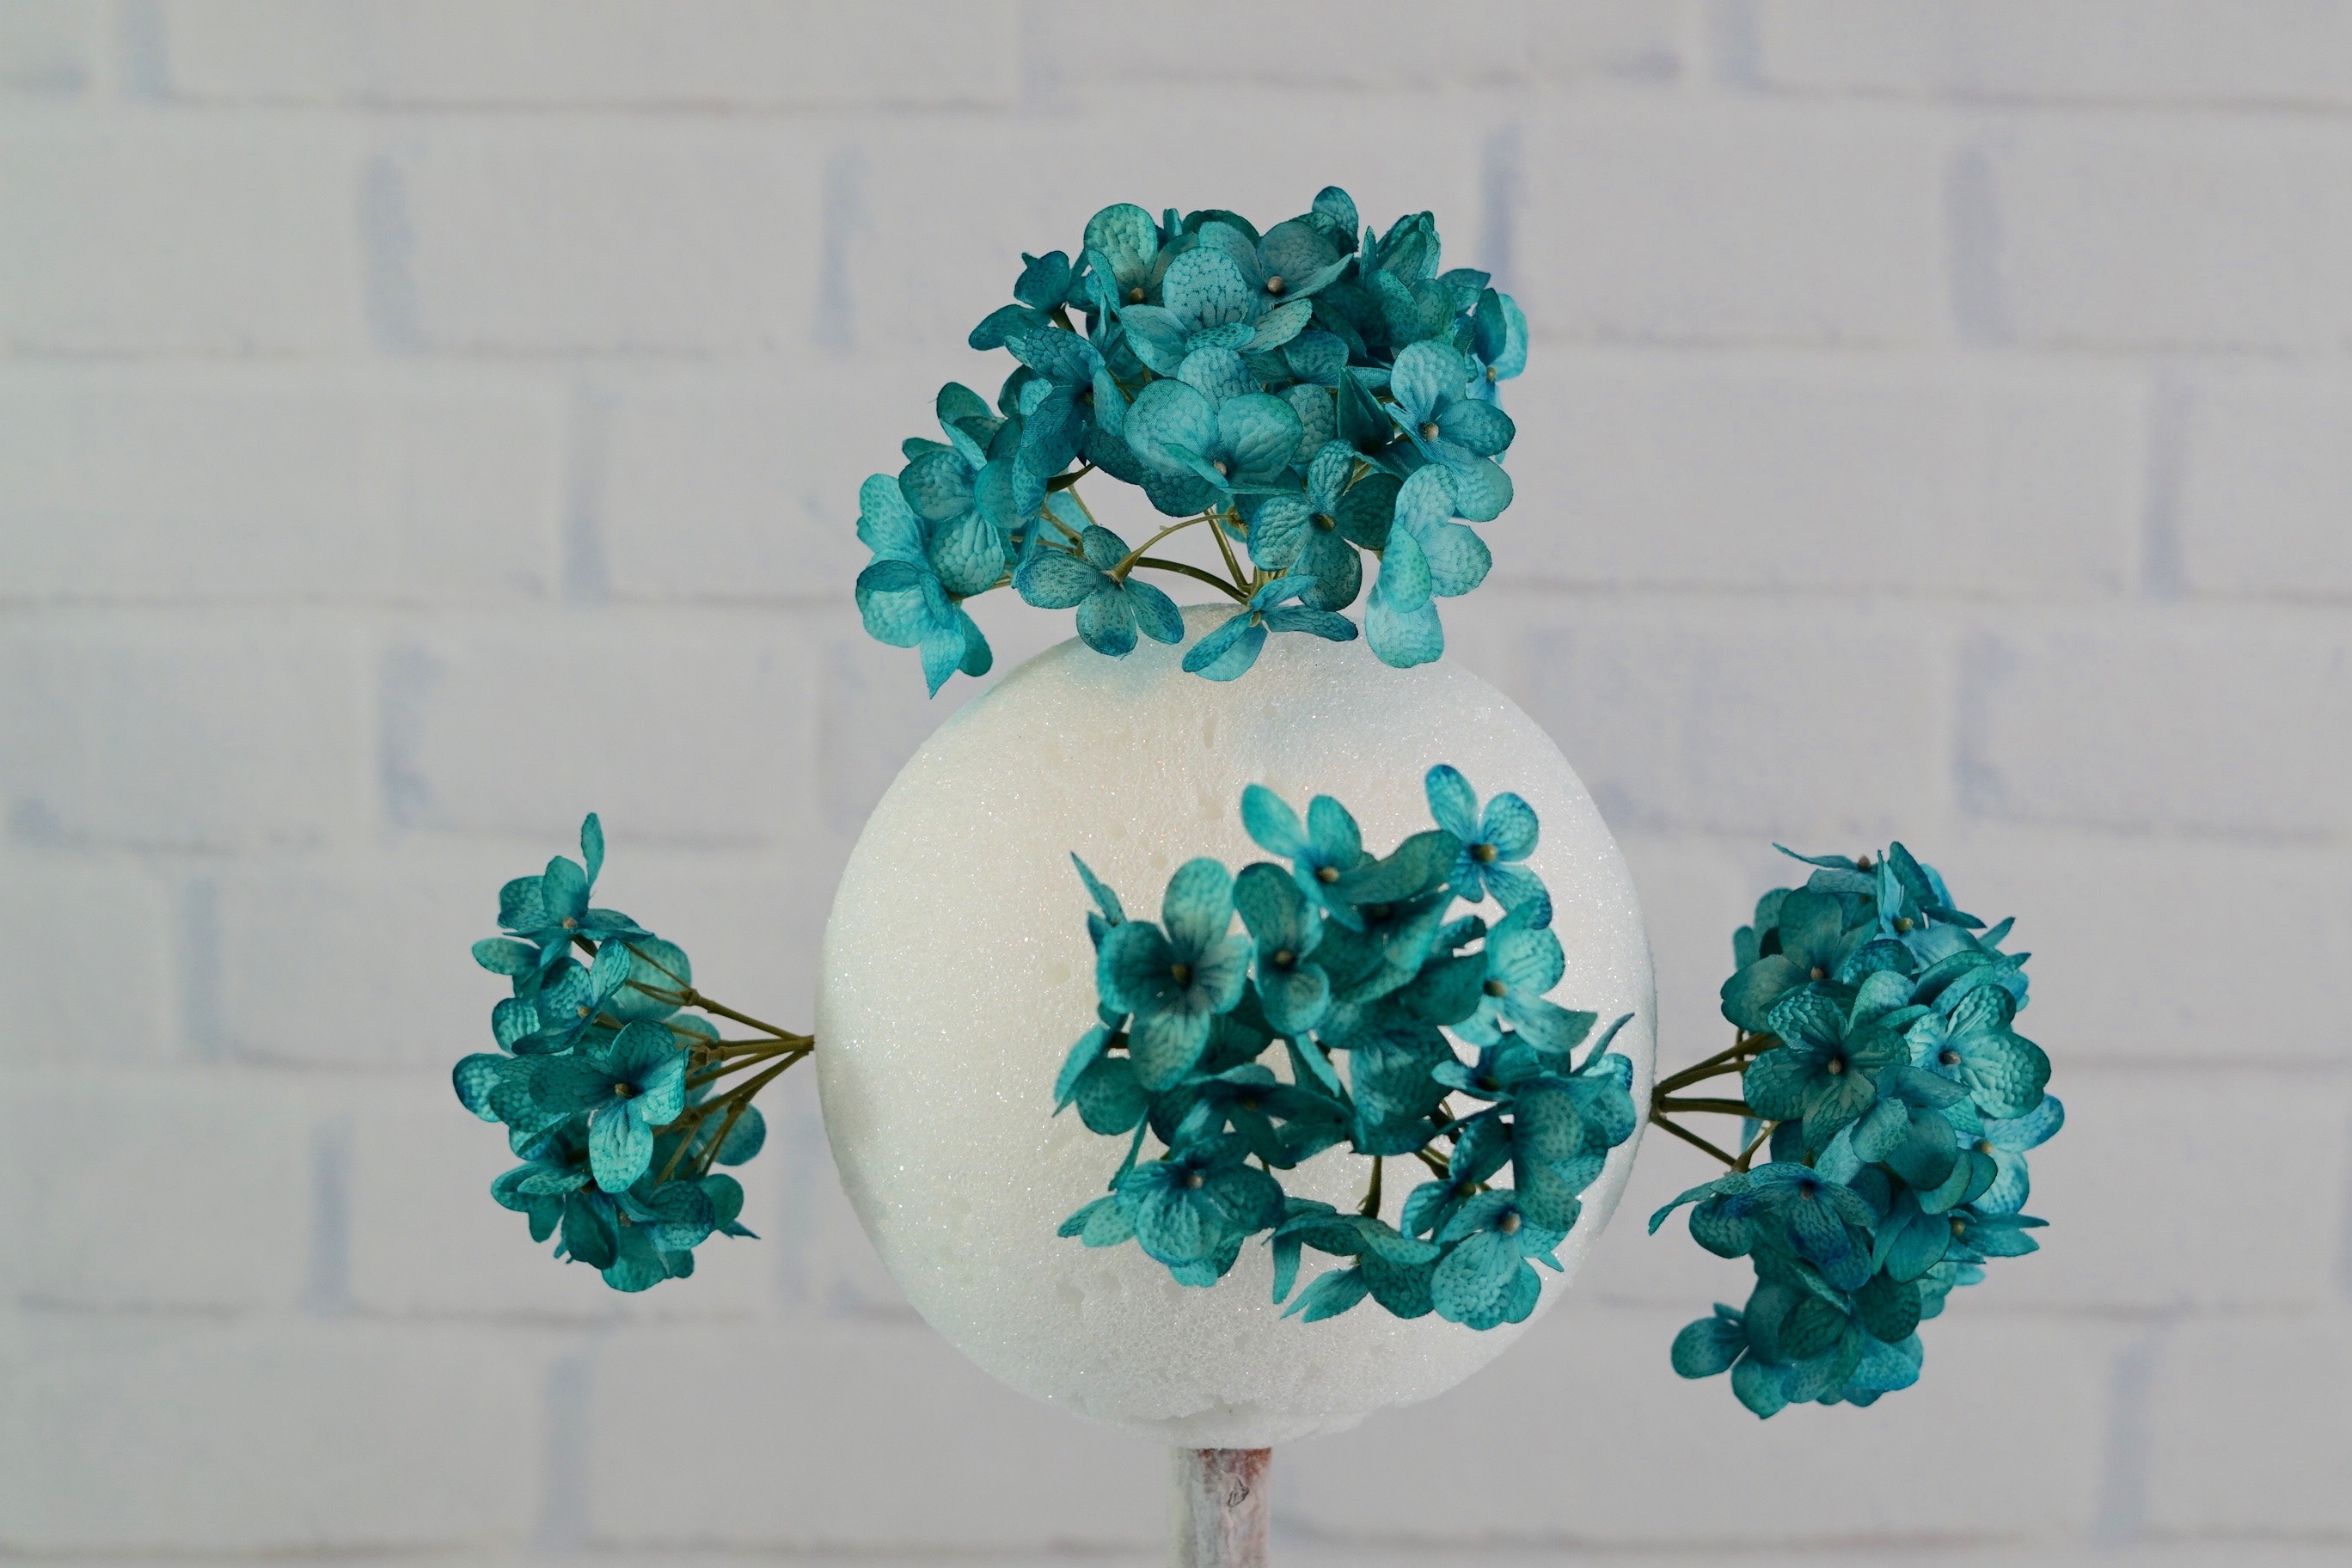
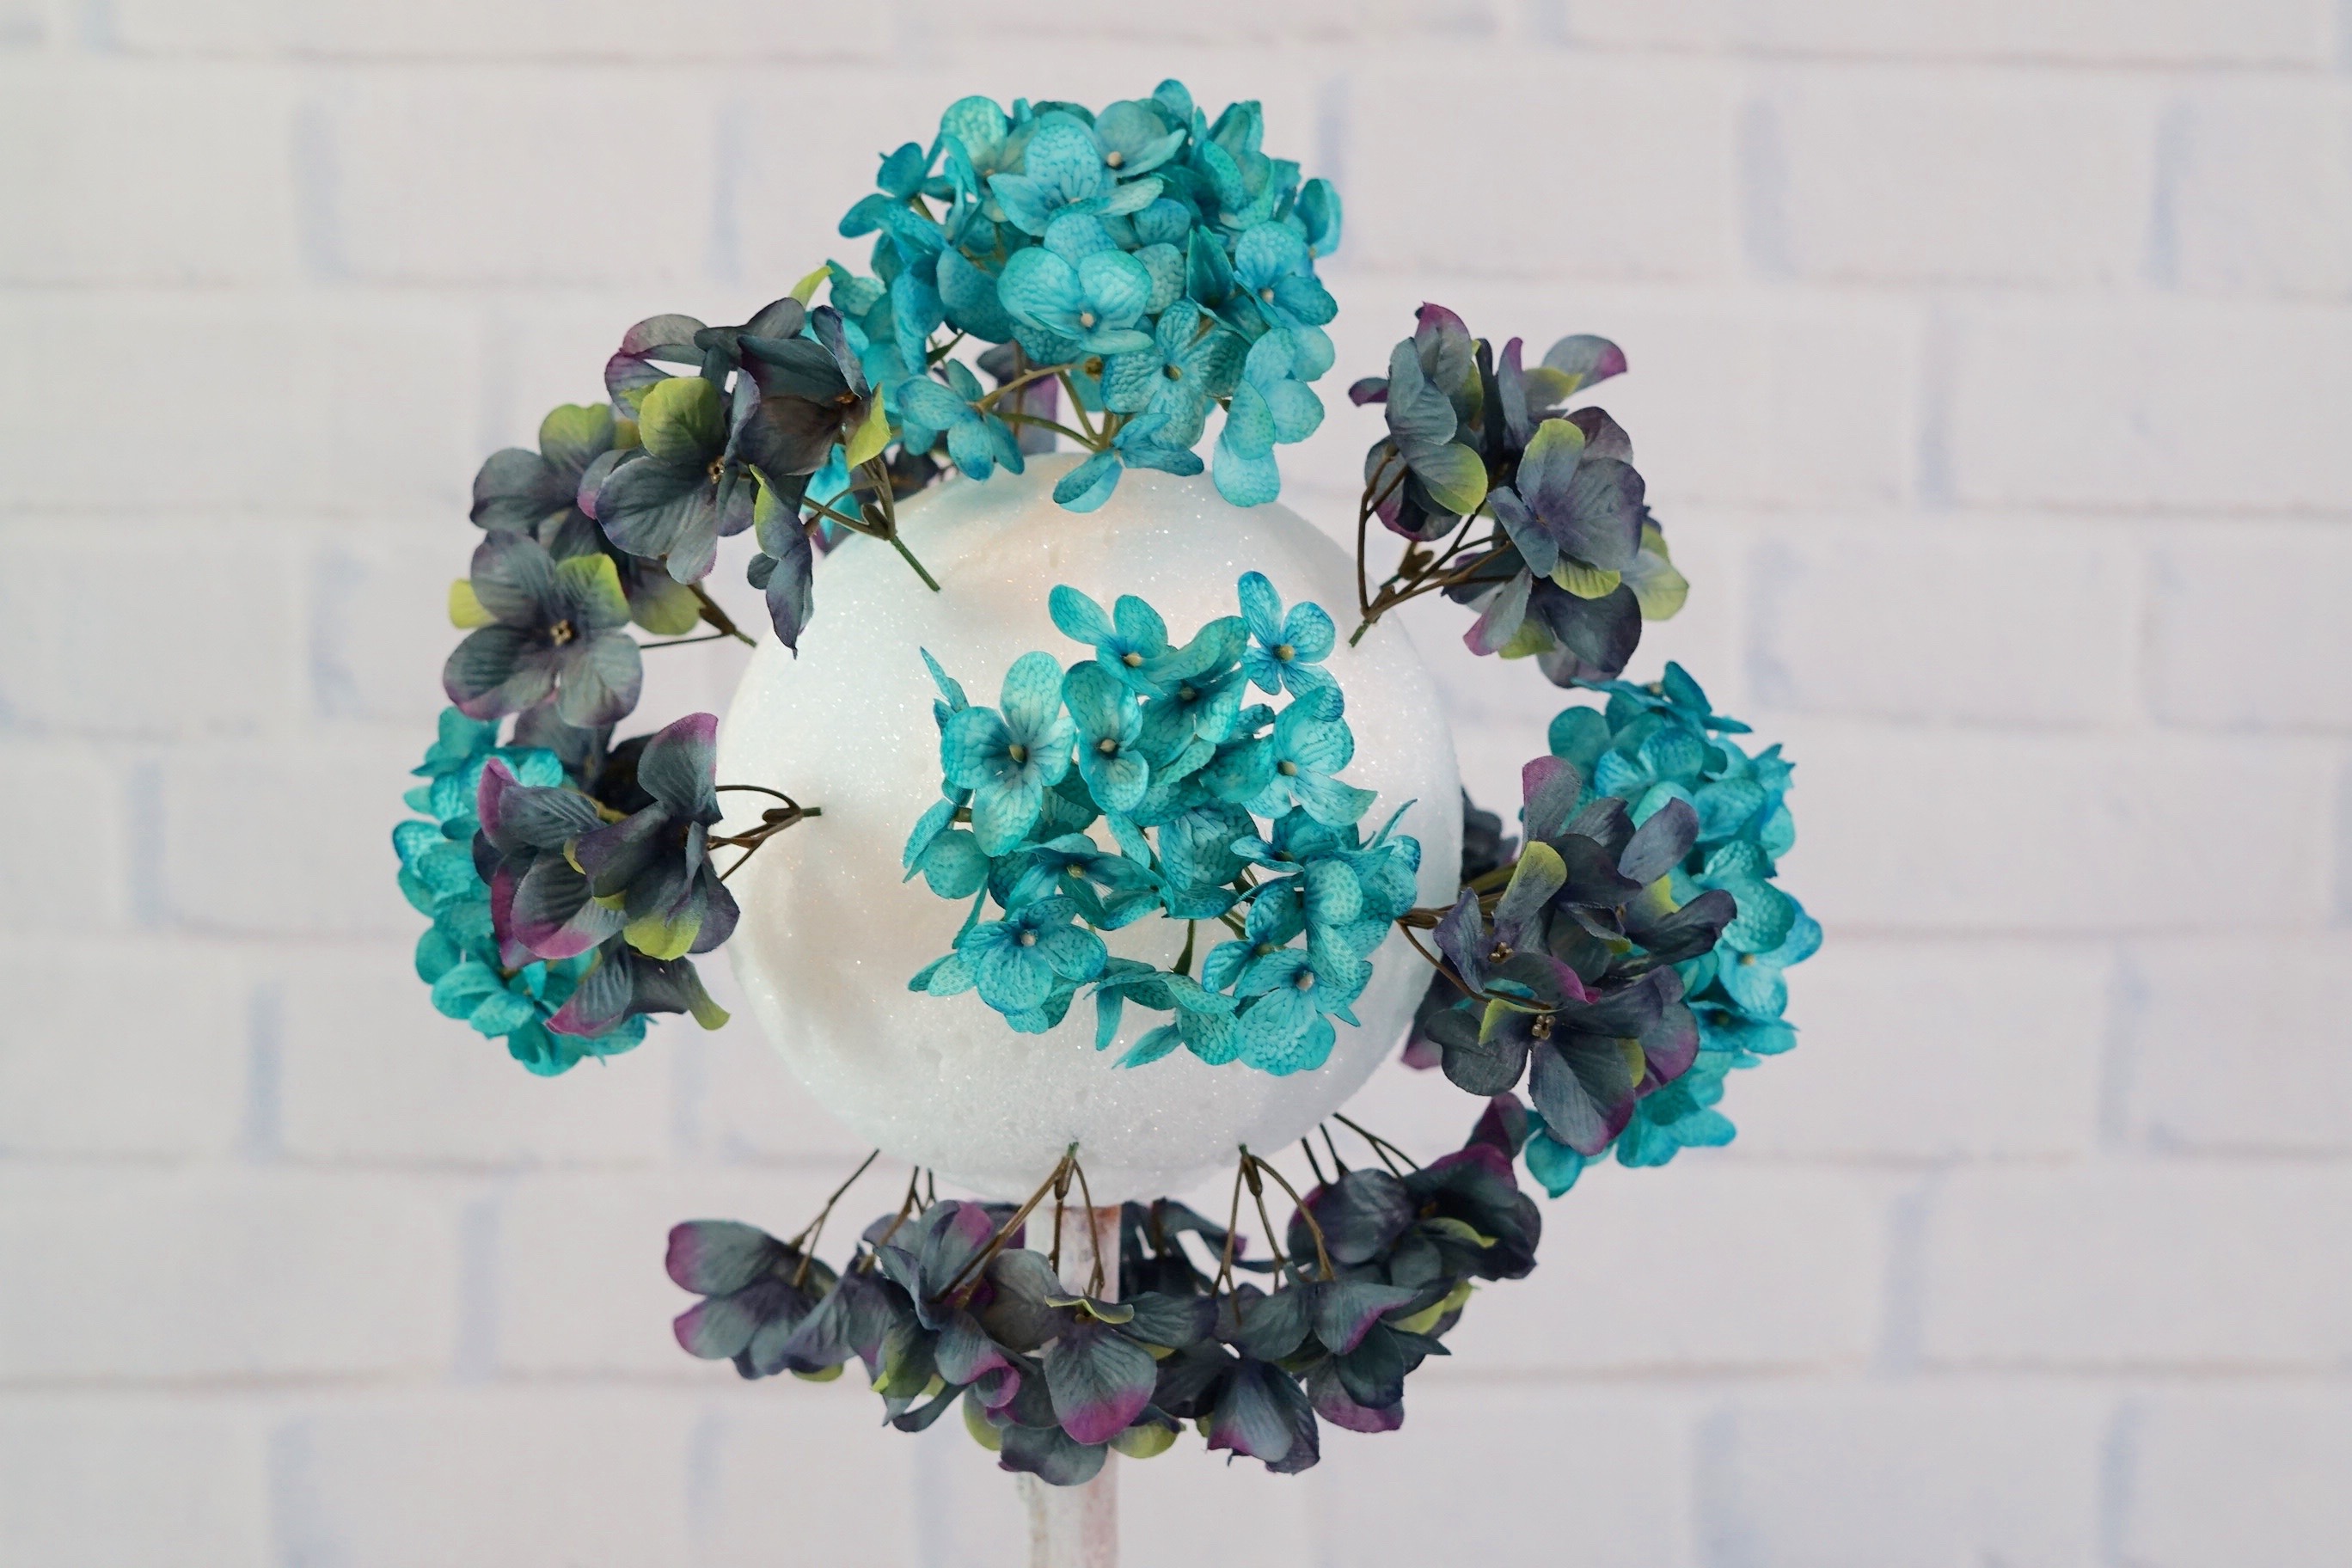
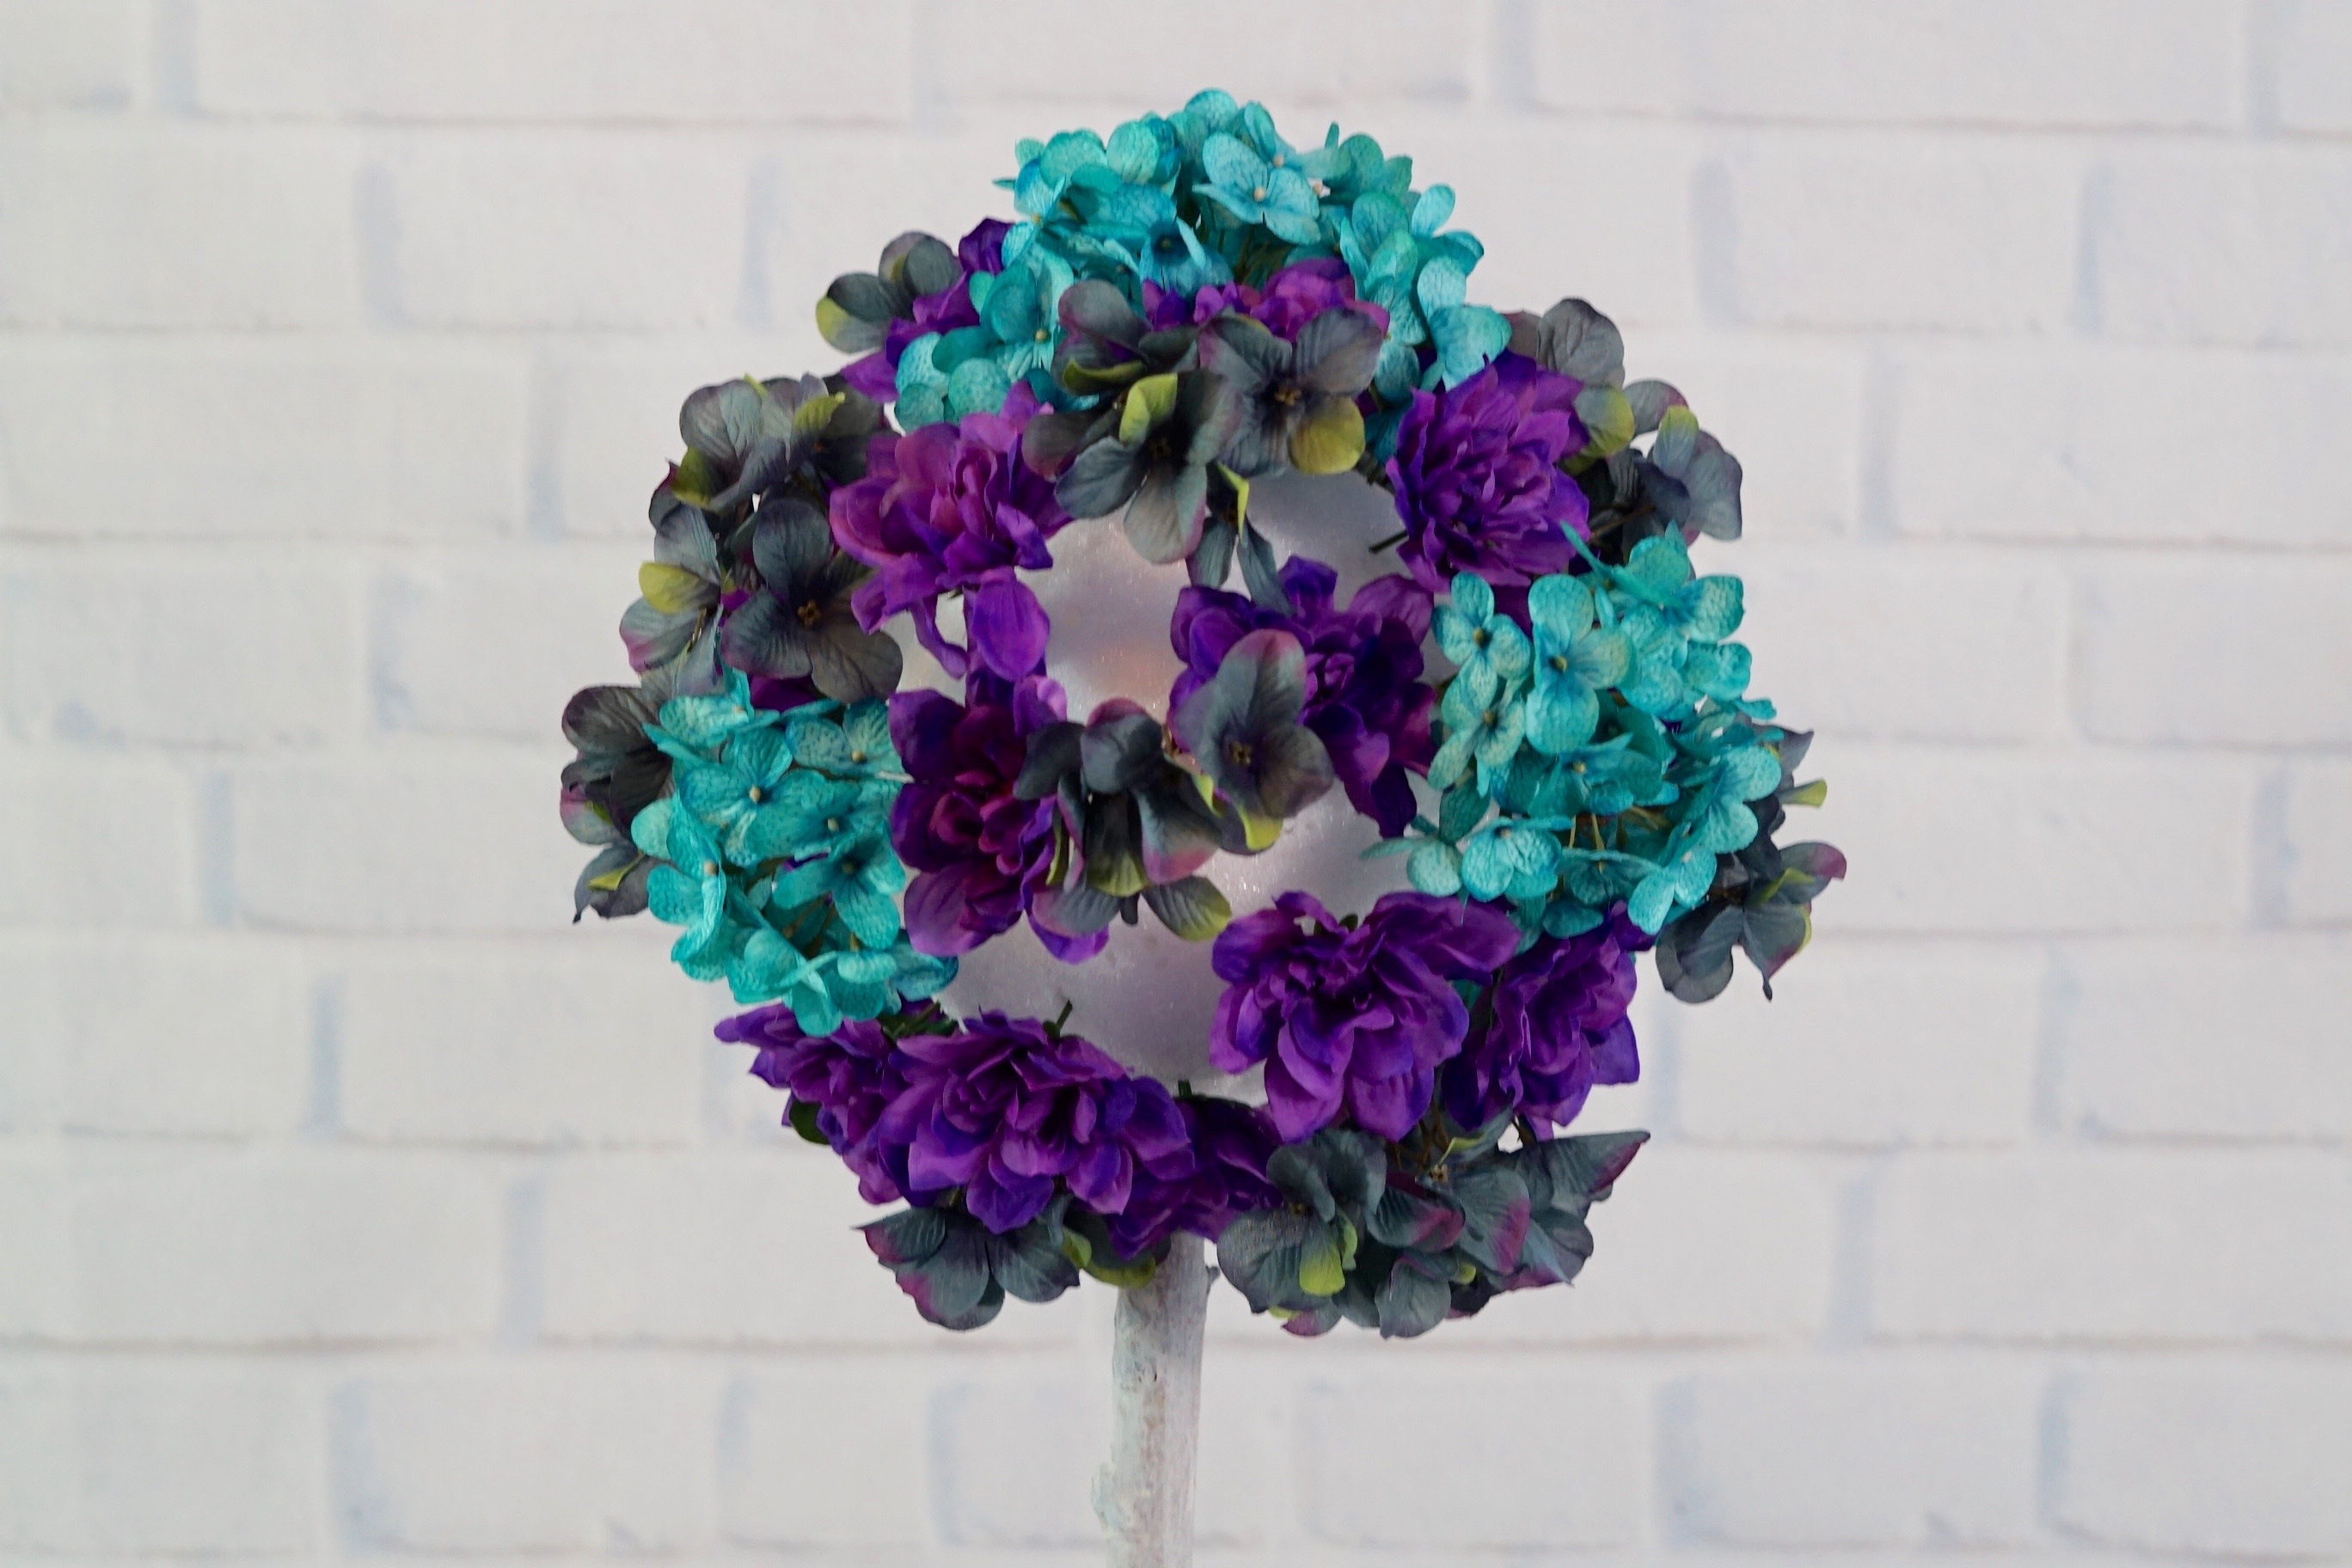
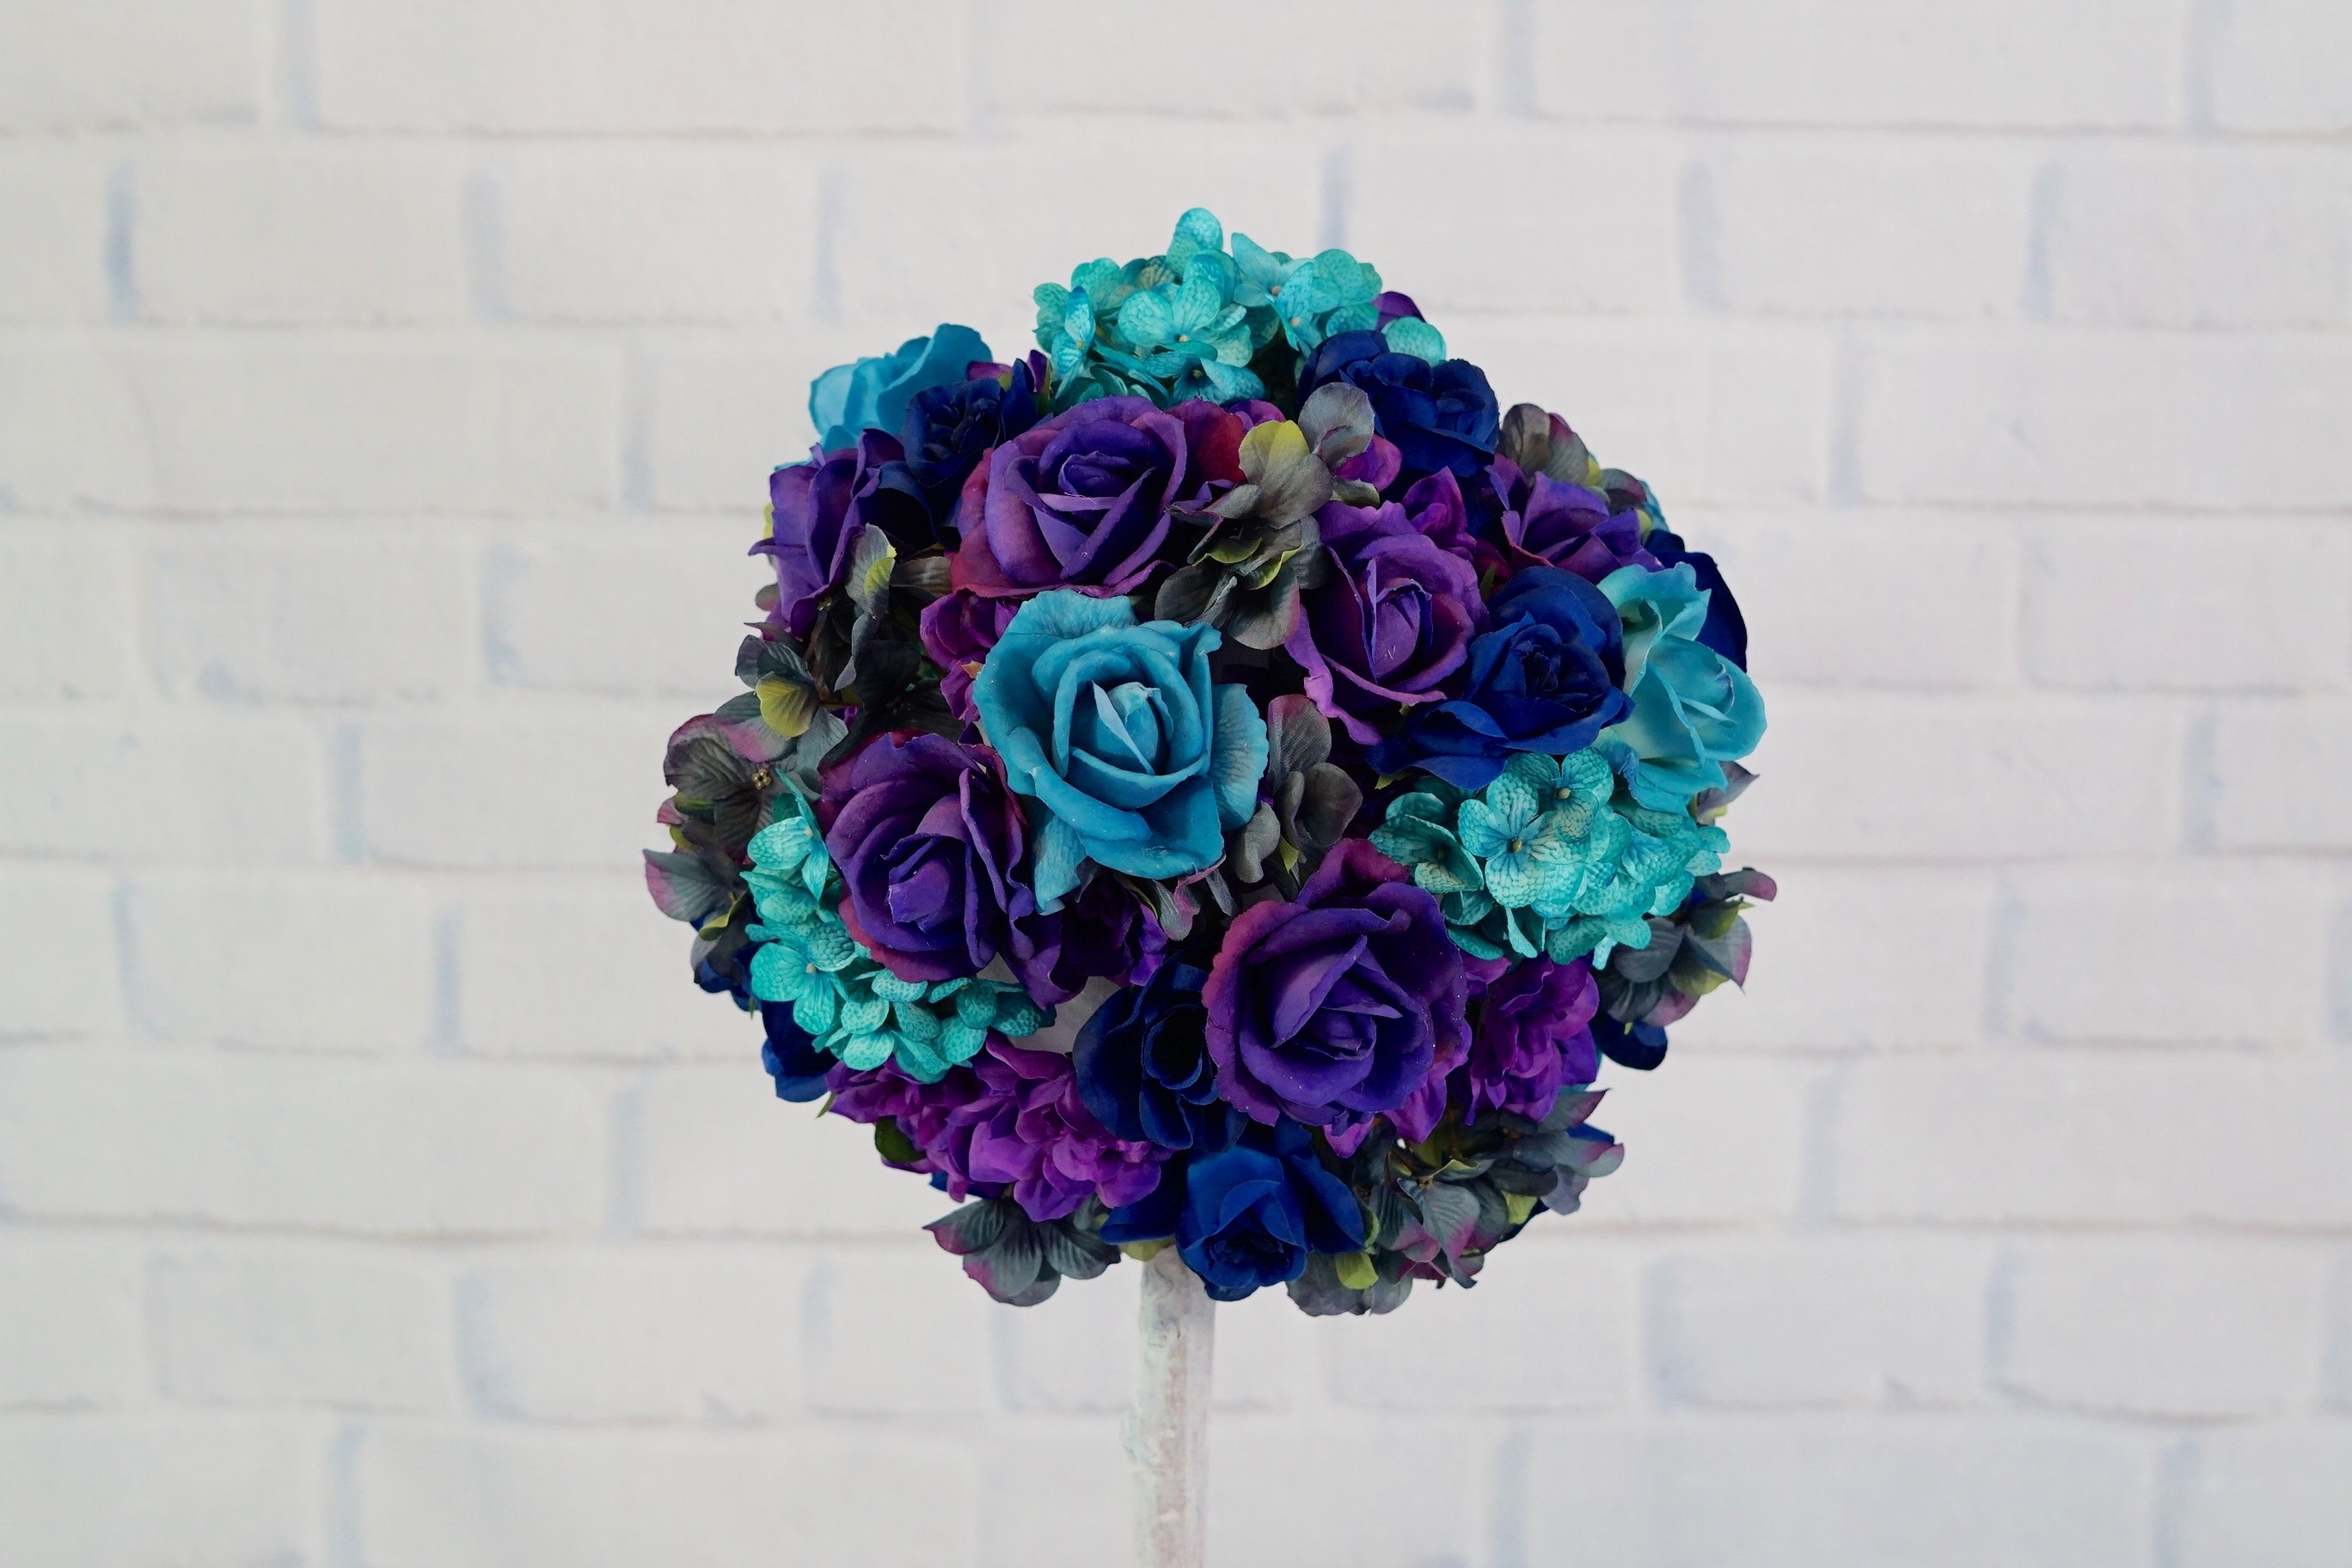
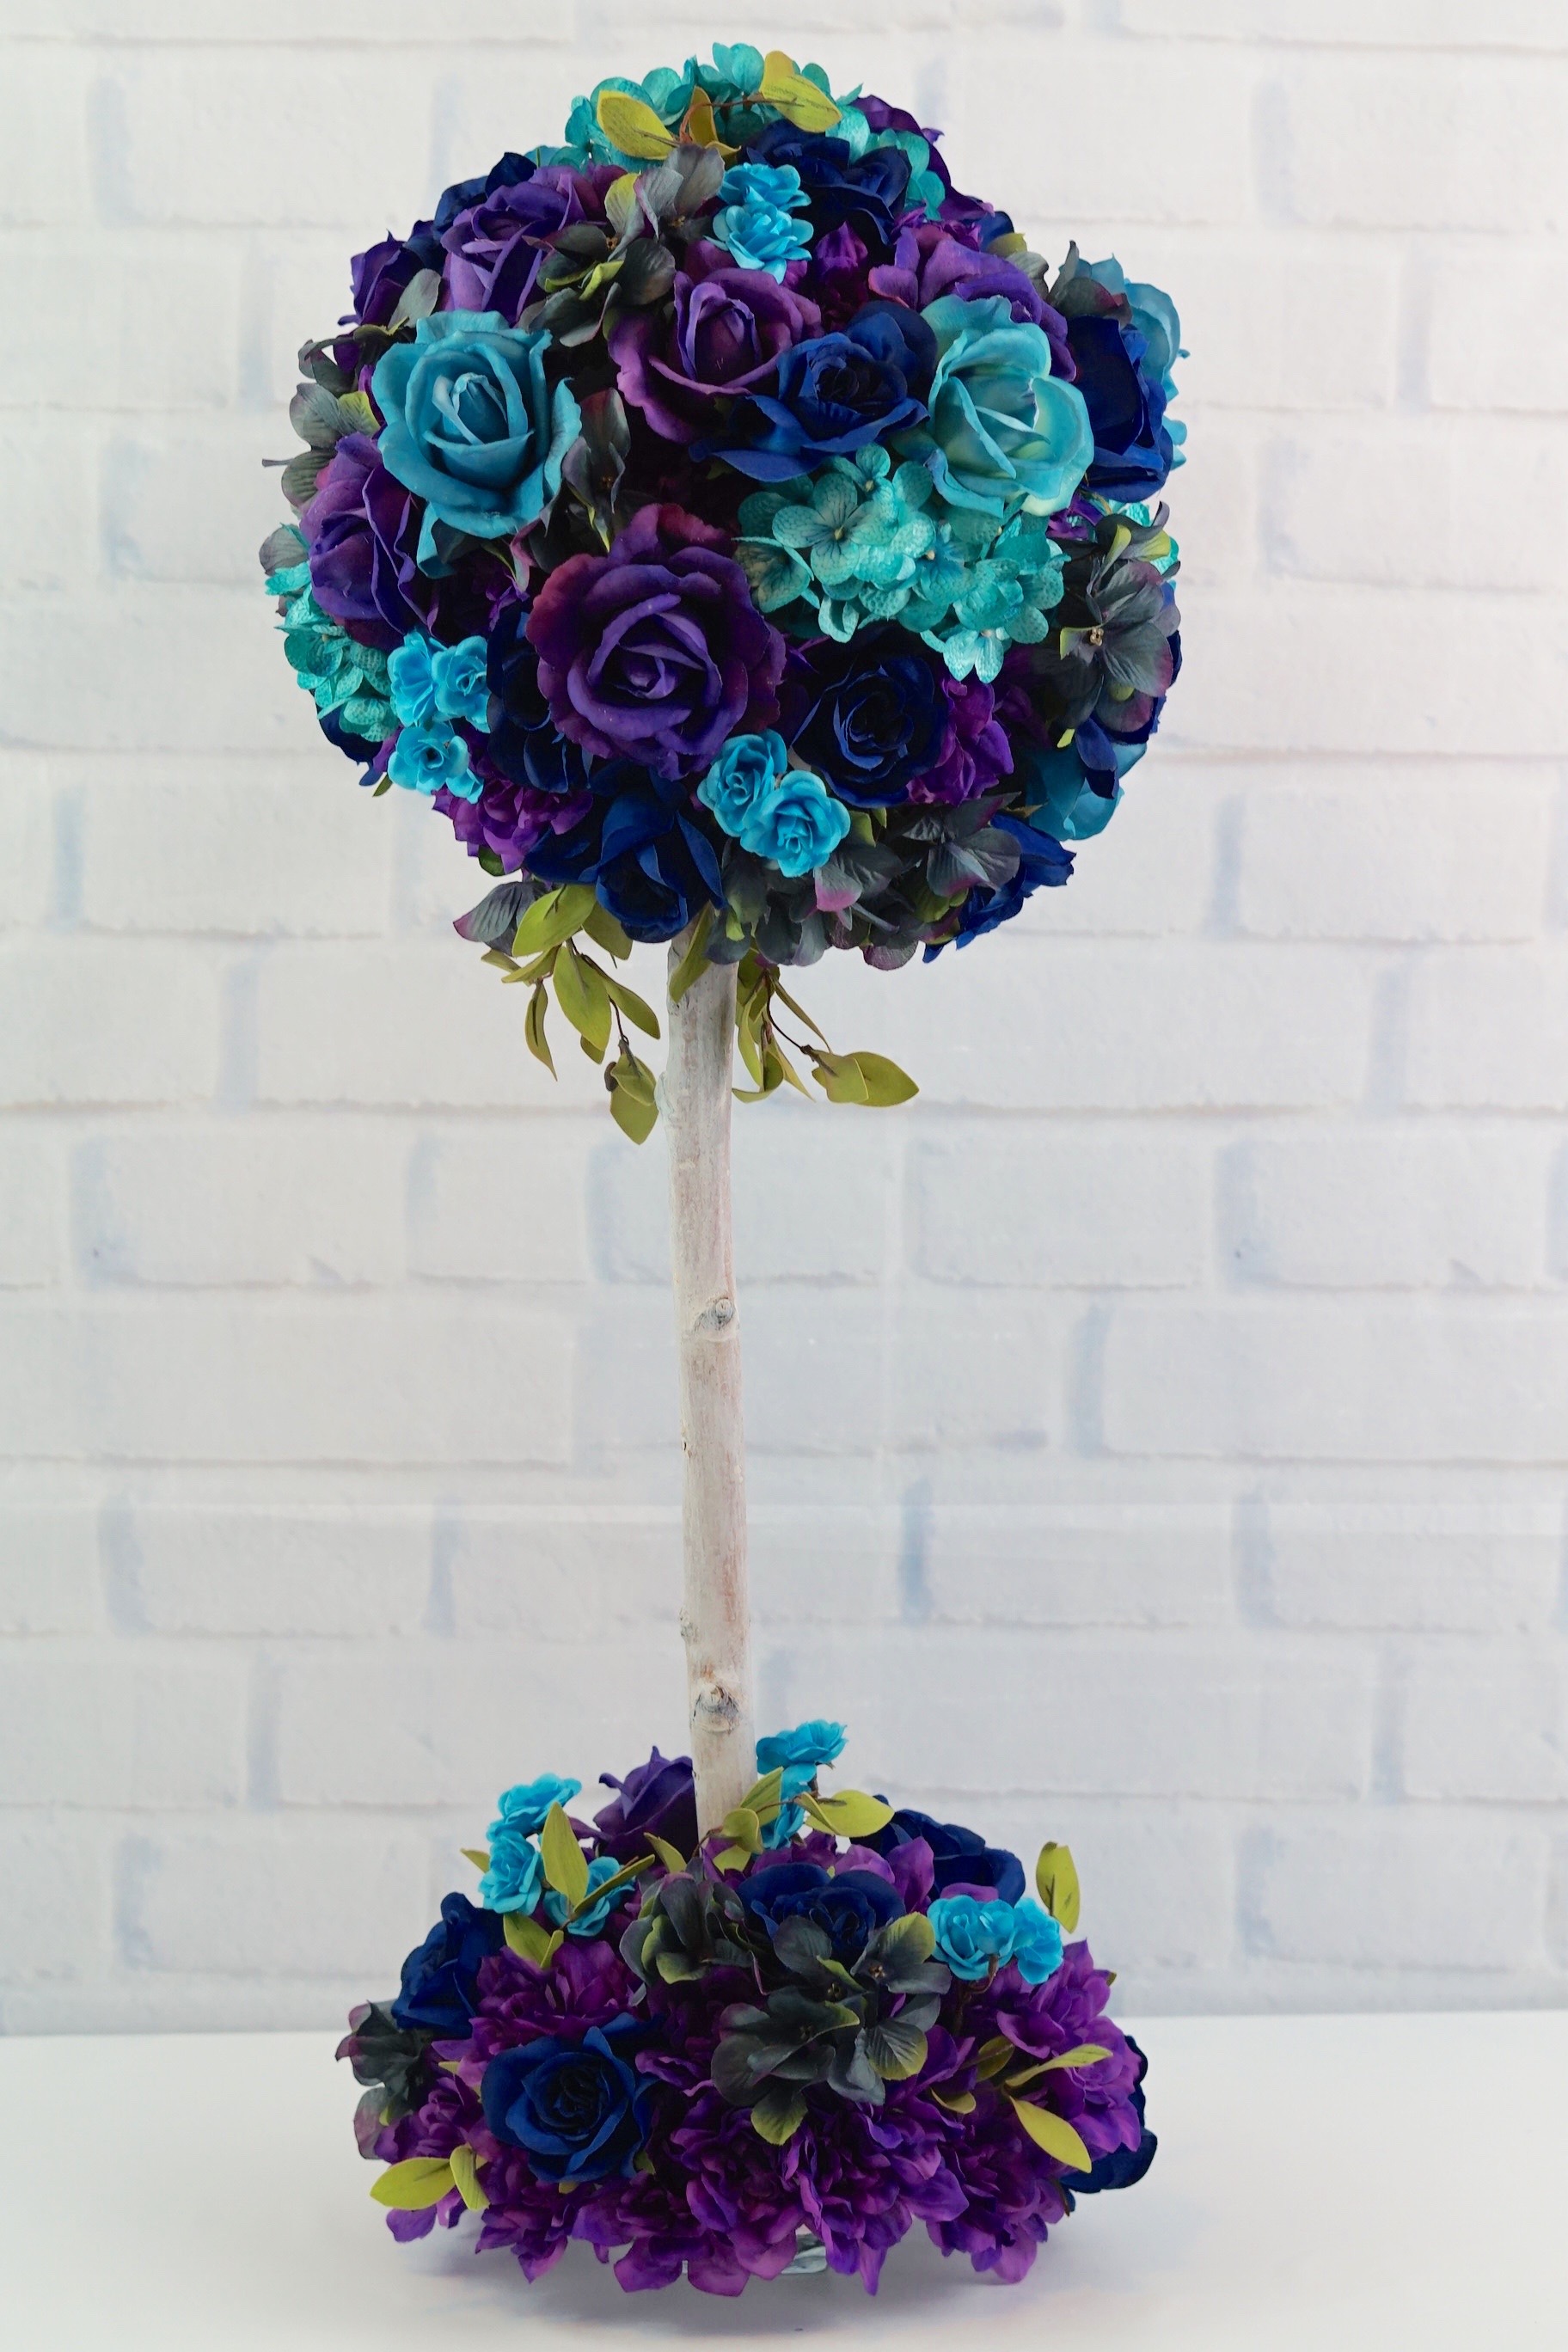
I absolutely love how this Peacock Inspired Blue and Purple Wedding Centerpiece turned out! The outcome is amazing and will definitely add that extra special touch to any wedding!
Don’t forget to sign up for Ebates to earn cash back on your online purchases. Planning a wedding is expensive, our goal is to help you stay within your budget and make every penny count. Click here to sign up for Ebates, and RIGHT NOW when you sign up, you will receive a $10 cash welcome bonus when you spend $25.00!
If you like the outcome please subscribe to our Youtube Channel for more DIY Videos and follow us on Facebook and Pinterest.
Need help with an upcoming project? Be sure to send us a project request!
“Remember When Every Penny Counts, Count on MissPlanIt”


