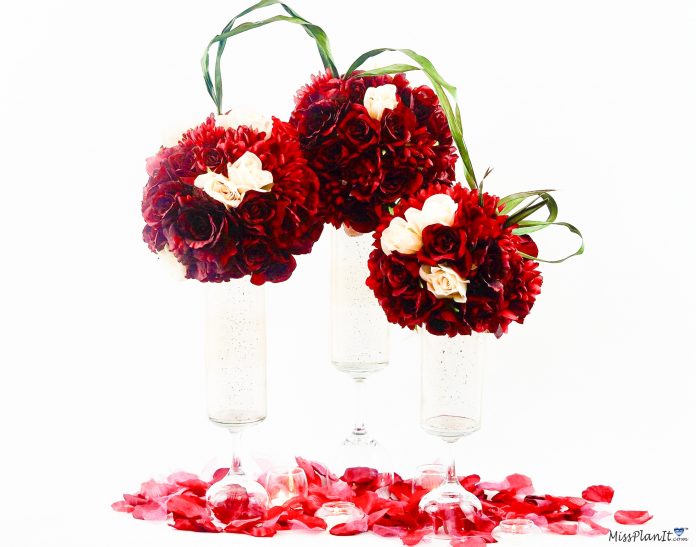
Candlelight, beautiful florals, and soft romantic music are all things you may envision when planning your romantic wedding. Your goal is to simply display the LOVE you and your soon to be spouse share… with your wedding guests.But how do you have the romantic wedding of your dreams, and better yet how do you do it on a budget.
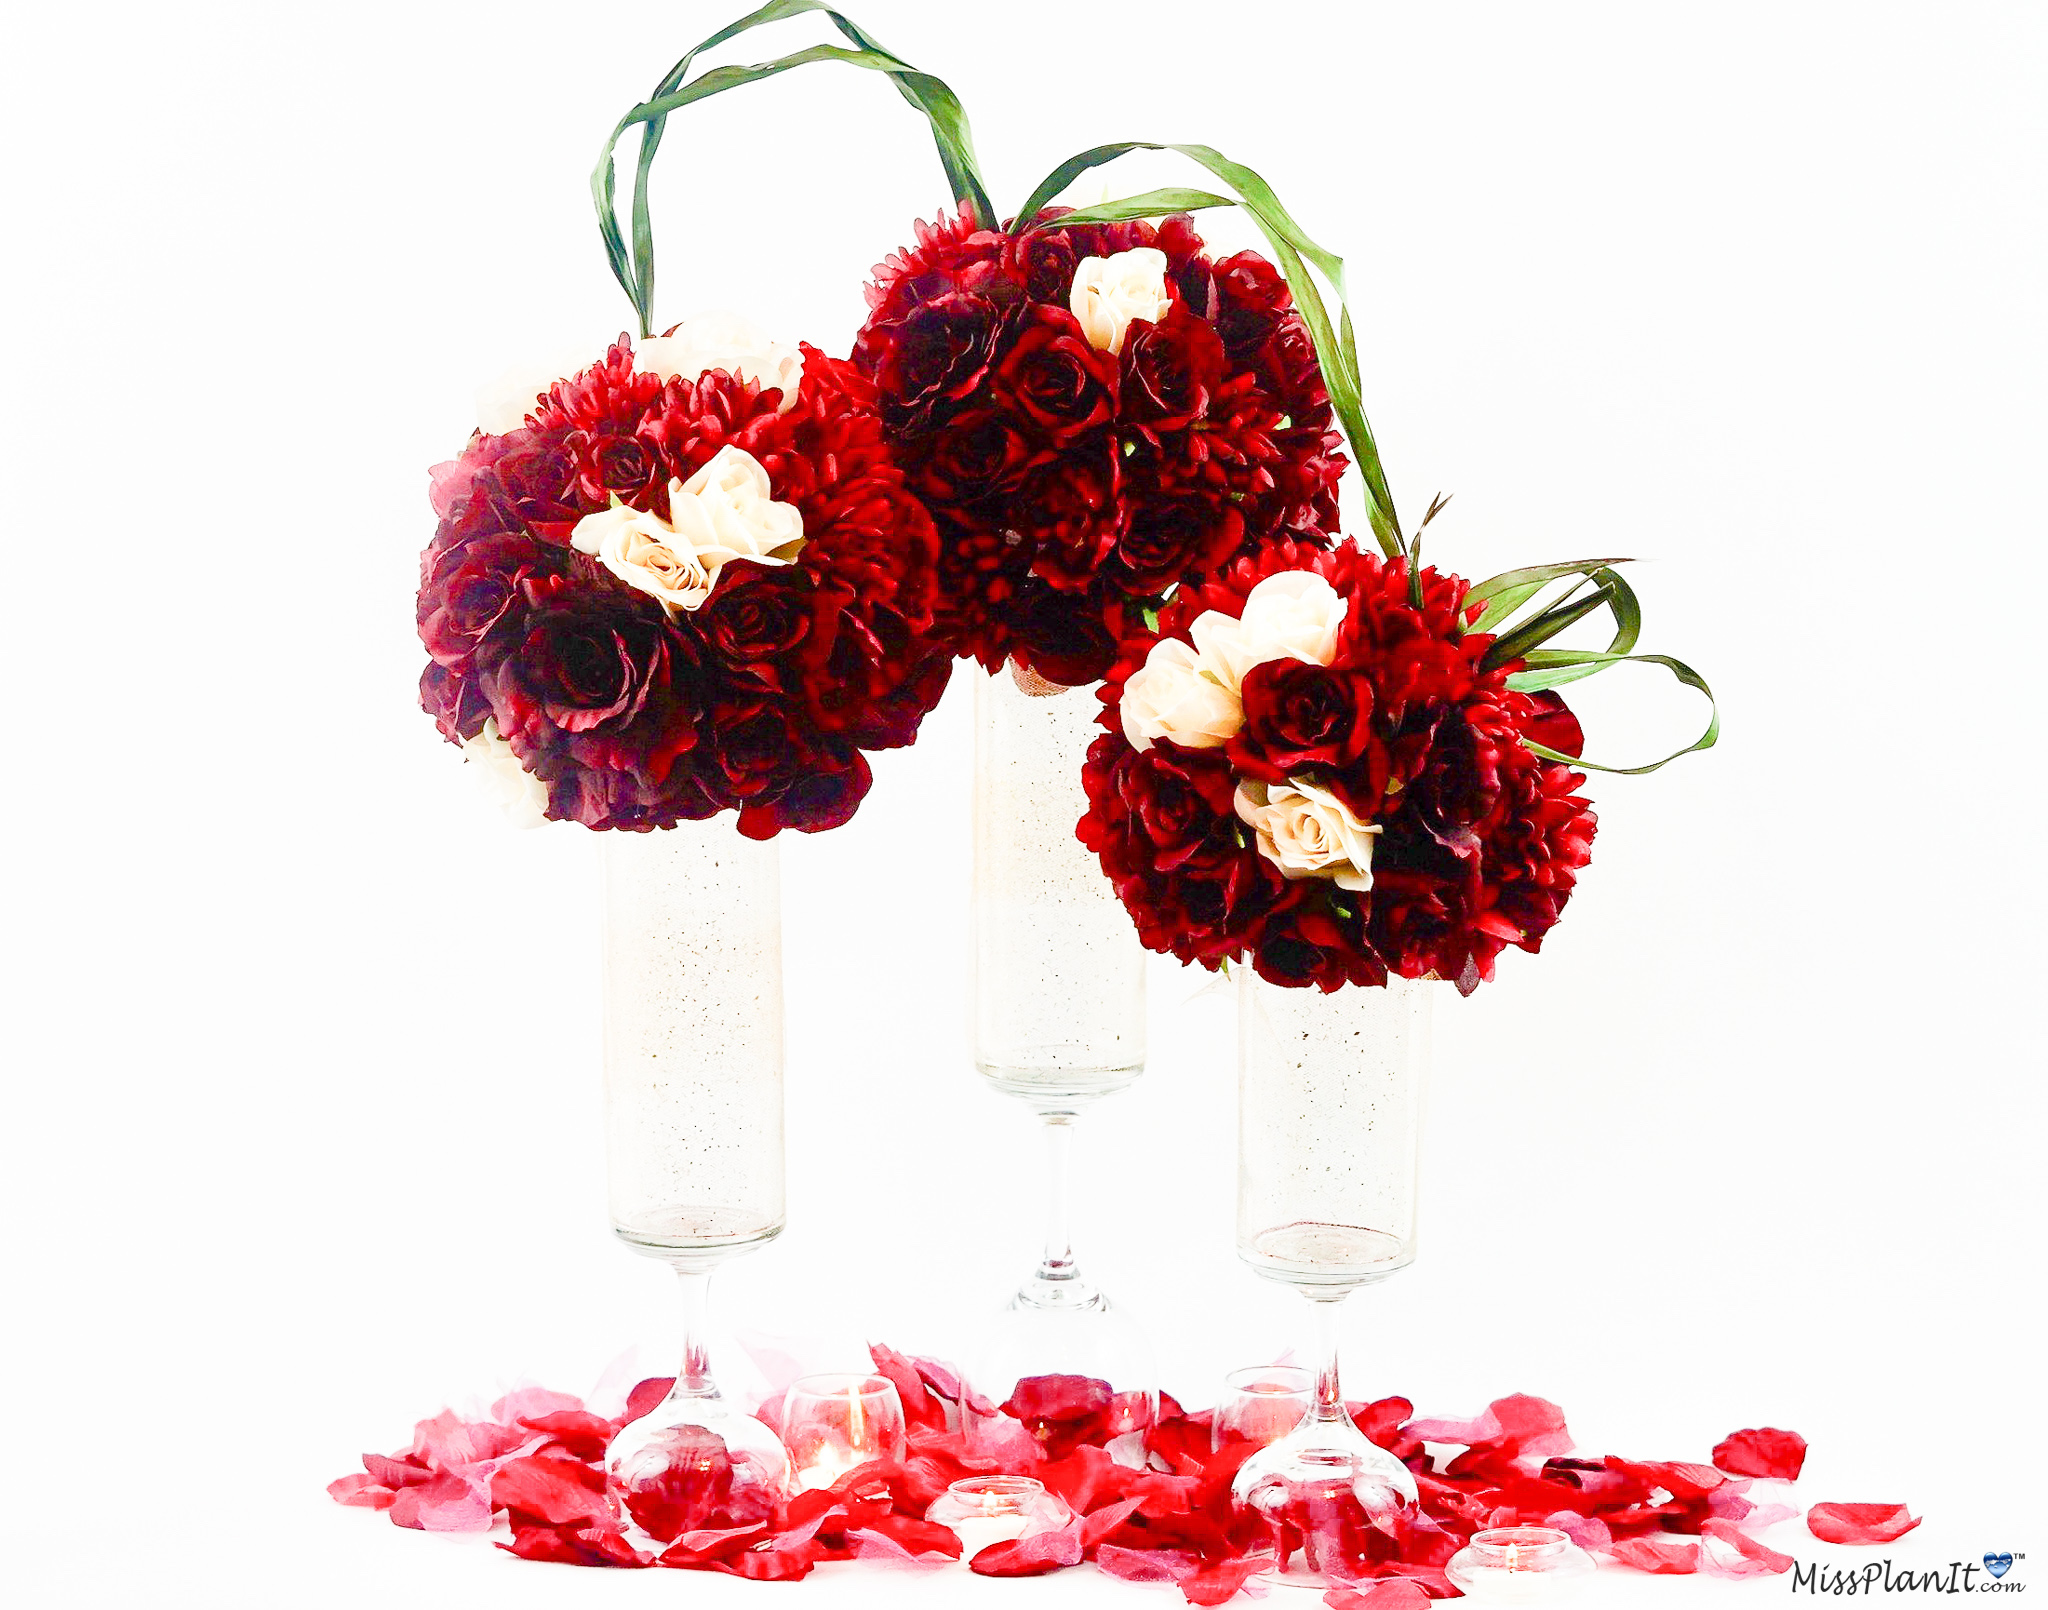
Well, I have the perfect idea just for you. This week I will create beautiful tall rose romantic wedding centerpieces using $2 DIY Vases. Also, I know flowers can be very expensive which is why I always check the Dollar Tree to see what they have available. Many of the flowers I used, were purchased from The Dollar Tree. The only thing is now that Fall is over, you will not be able to purchase many of these flowers until next Fall.
But no worries, if you cannot wait until next Fall, I have provided alternative links below to purchase your flowers. Unfortunately, they will not be available for $1 but they are an option. If you can wait, I suggest waiting so you can get the most bang for your buck and save as much money as you can.
Okay, now let’s get started. For video instructions, please check out the video tutorial below!
[convertkit form=917377]
VIDEO TUTORIAL:
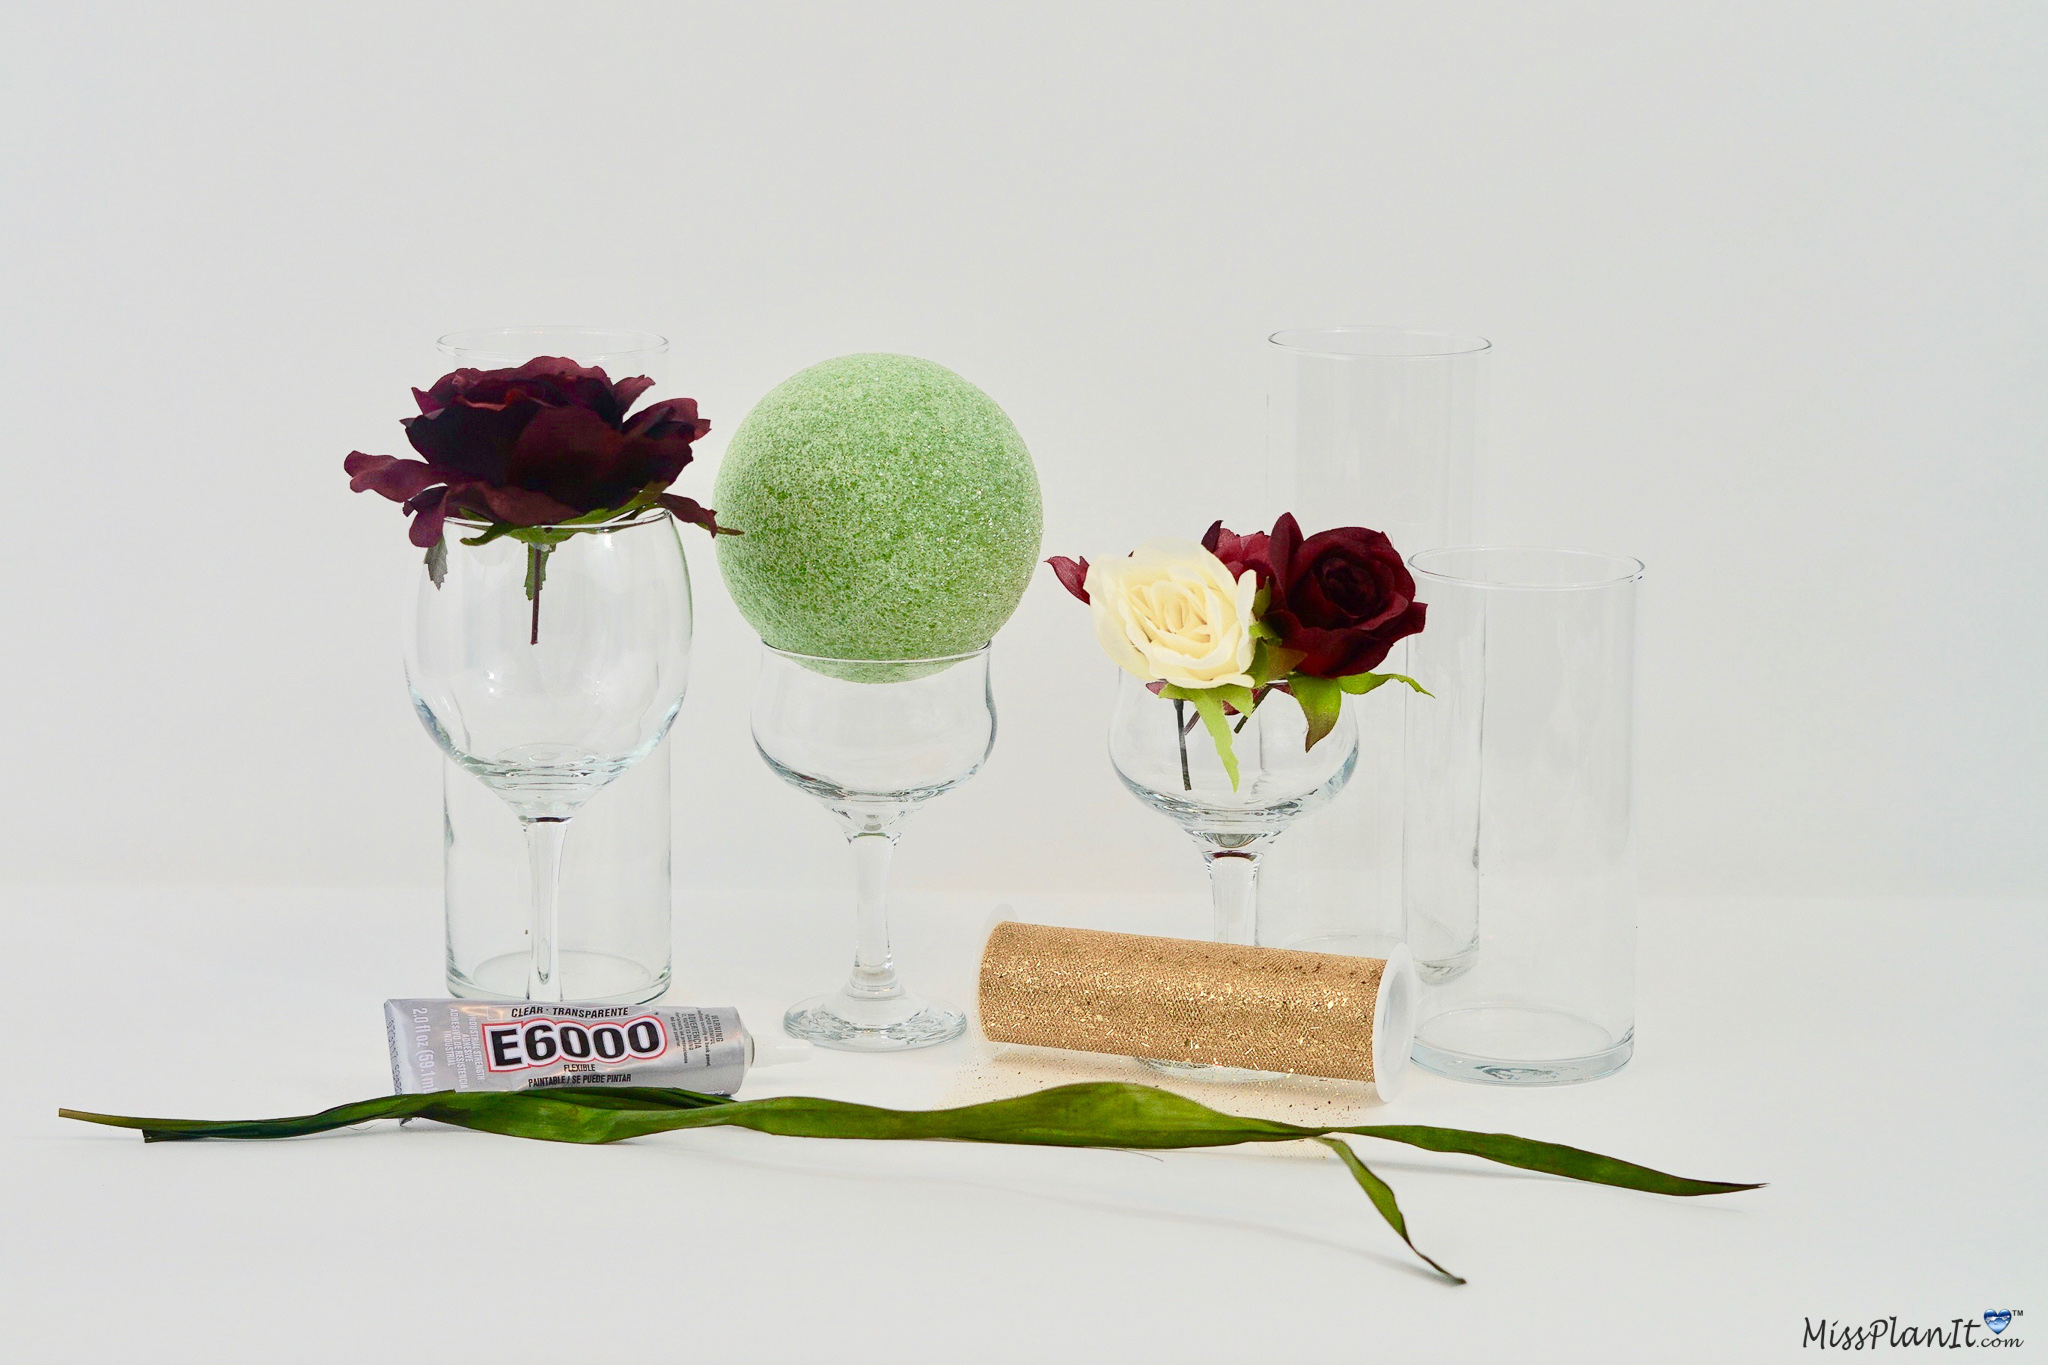
SUPPLIES:
Glass Cylinder Vases, 9 in.
Premiere Grand Glass Wine Glasses, 21 oz.
Glass Cylinder Vases, 7.25 in.
Classic Clear Glass Red Wine Glasses, 13.5 oz.
Green Styrofoam Ball – 5”
Floral Garden 5-Stem Cream Velvety Roses, 14 in.
Burgundy Dalia
12-stem Burgundy Rose Bush
Burgundy Chrysanthemums
Green Whispering Grass
E6000 Transparent Industrial Strength Adhesive
Gold Sparkling Tulle
Glue Dots
For written instructions, please continue reading below:
How To Make DIY Beautiful Tall Rose Romantic Wedding Centerpieces
Directions:
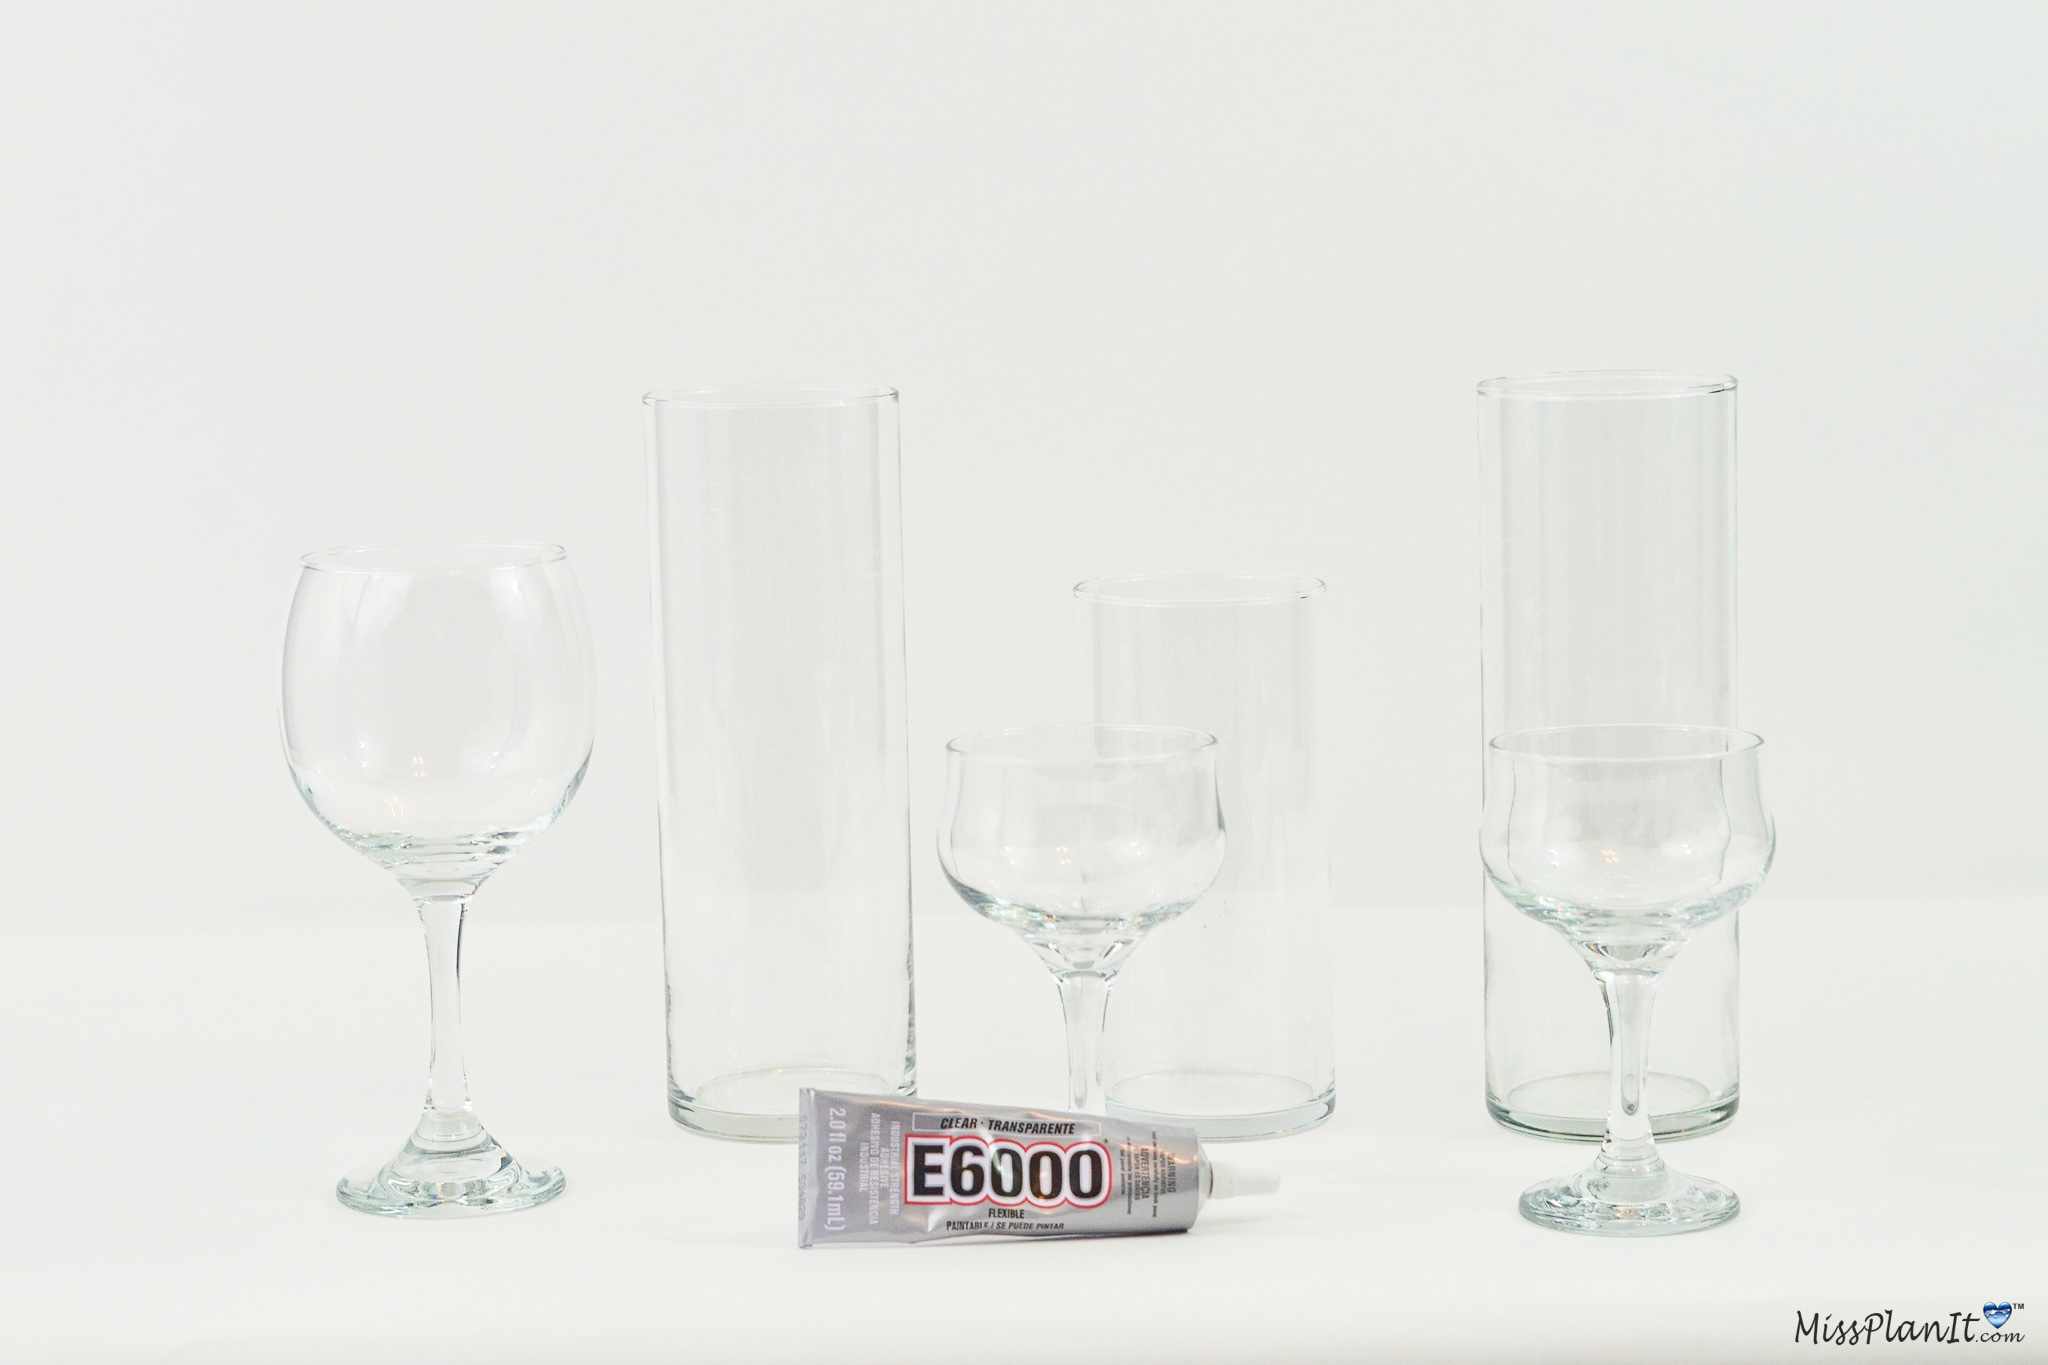
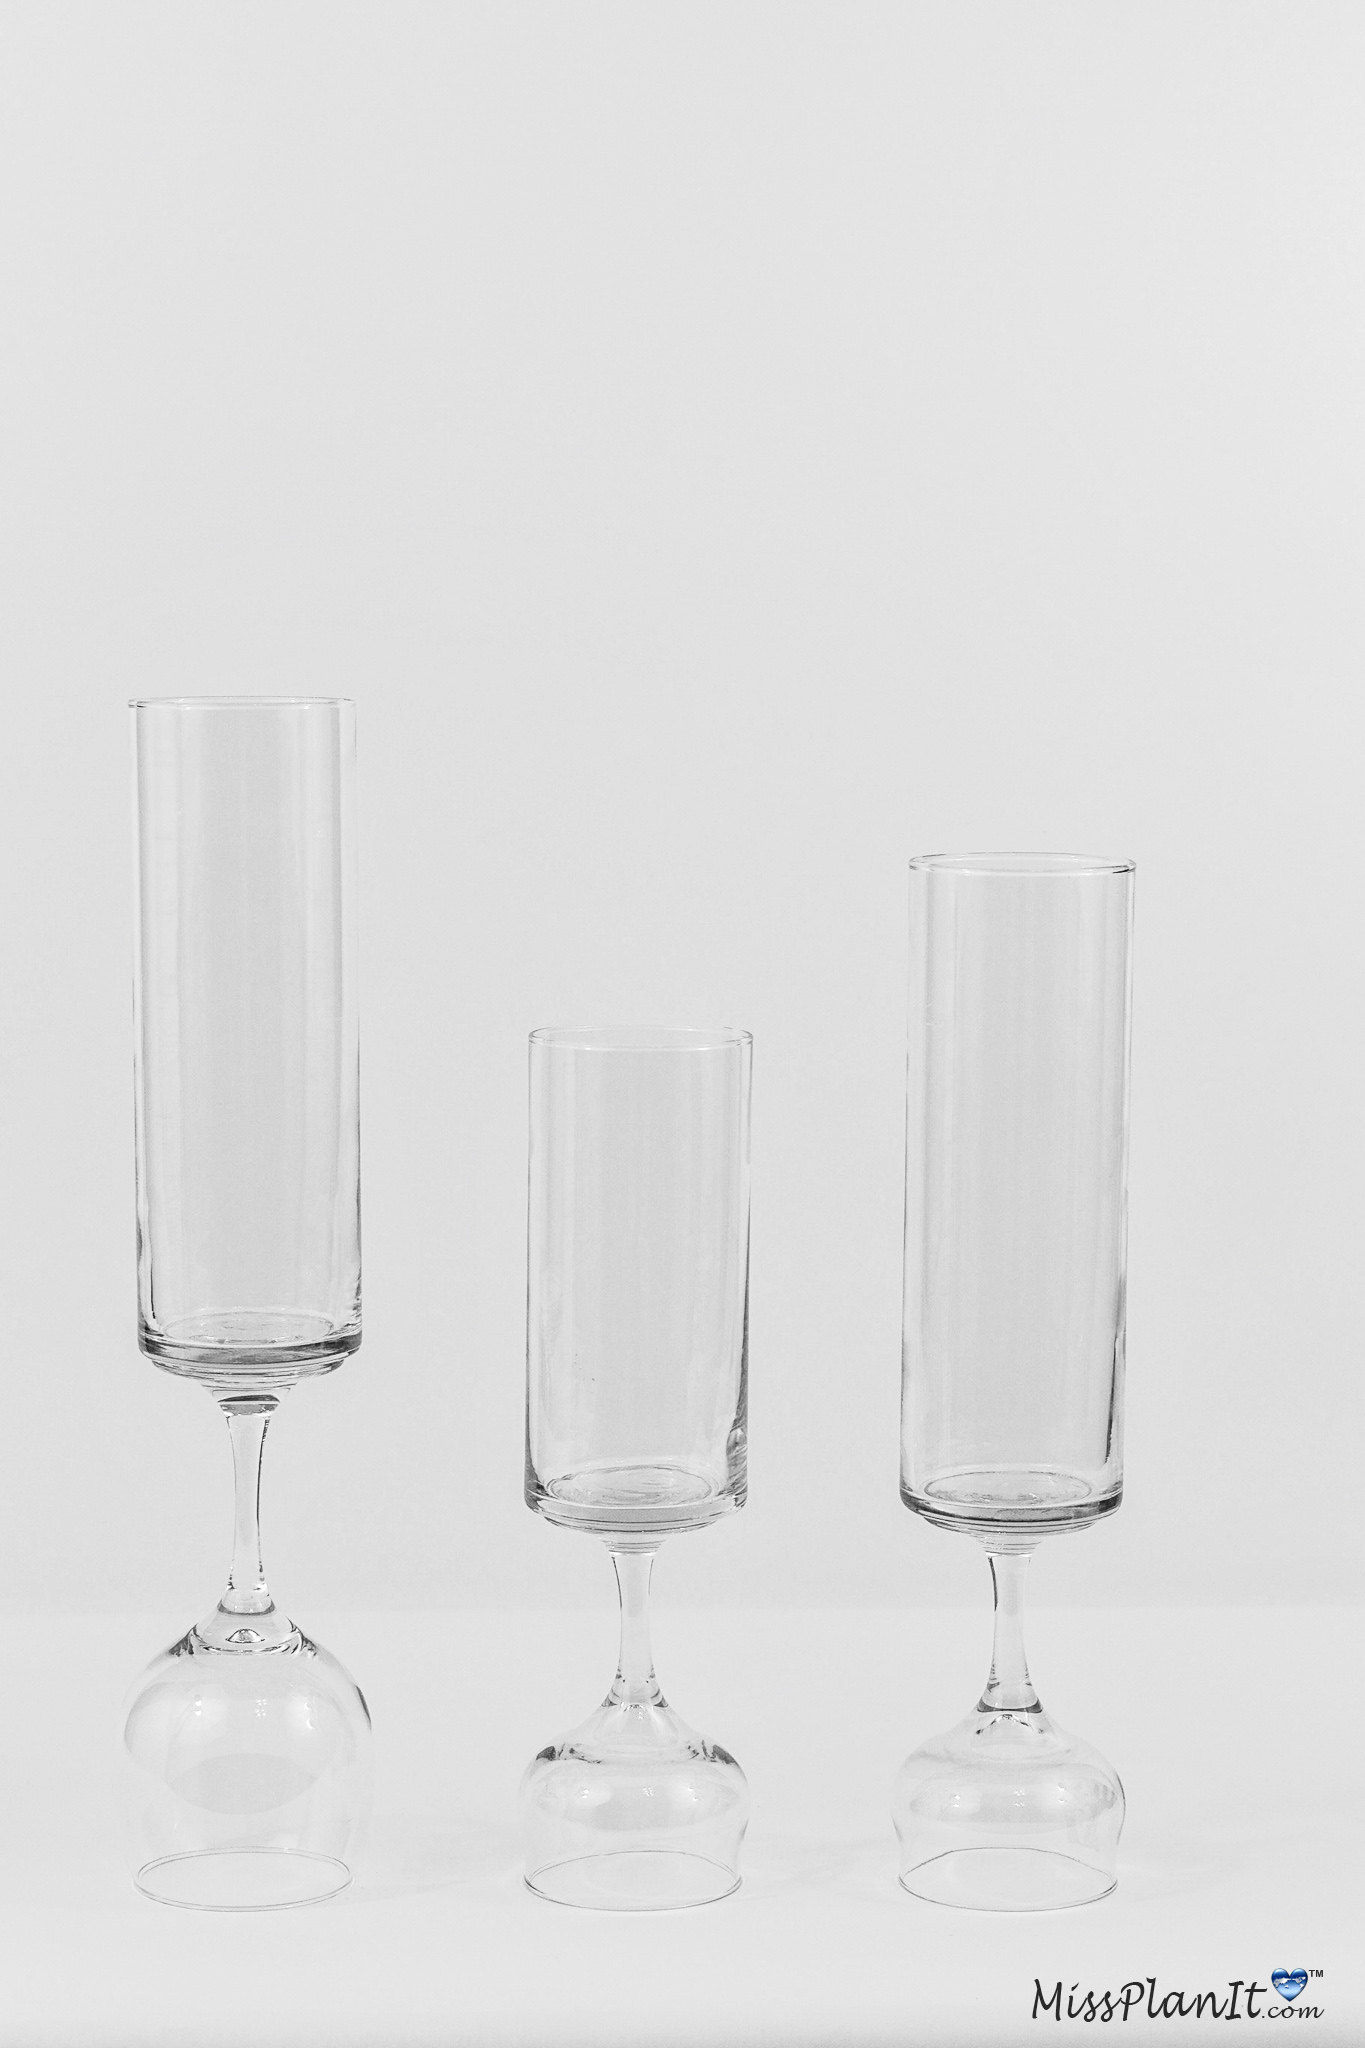
STEP 1: The first step is to make 3 wedding vases. These wedding vases typically cost $25 dollars or more a piece, but we are going to make ours for $2/each. Take two 13.5 oz red wine glasses and one 21 oz. premiere grand glass wine glasses and flip them over.
Next attach one 7.5 inch cylinder vase and one 9 inch cylinder vase to the 13.5 oz red wine glasses with E6000. Then attach one 9 inch cylinder vase to the 21 oz wine glass using E6000.
TIP: I always place a book as a weight on each vase and allow it to dry overnight to ensure the vase does not come apart.
Add Sparkle Gold Tulle
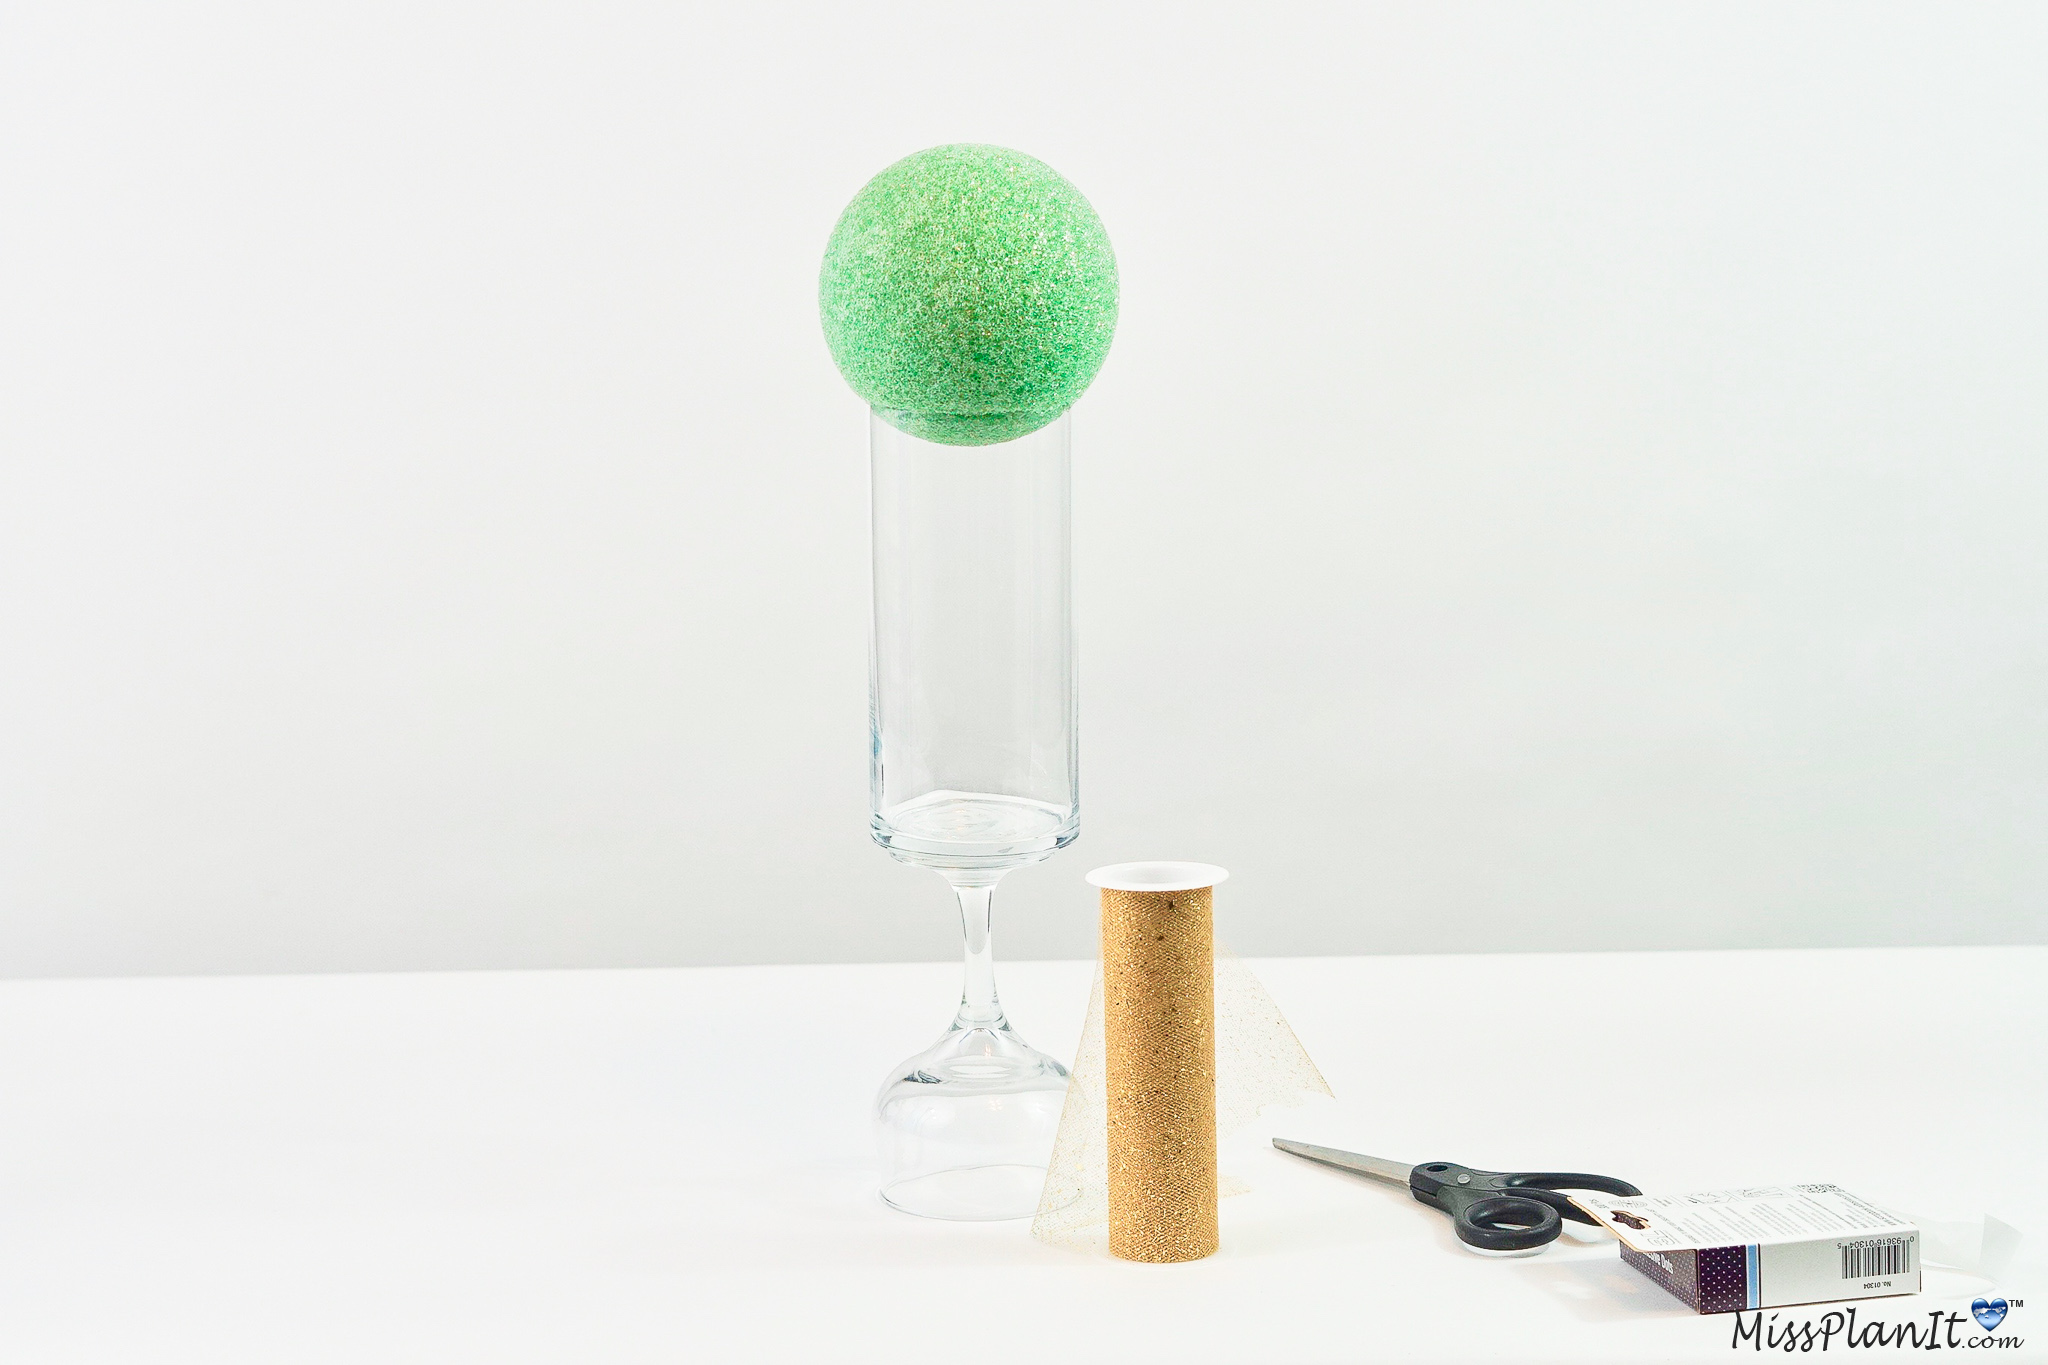
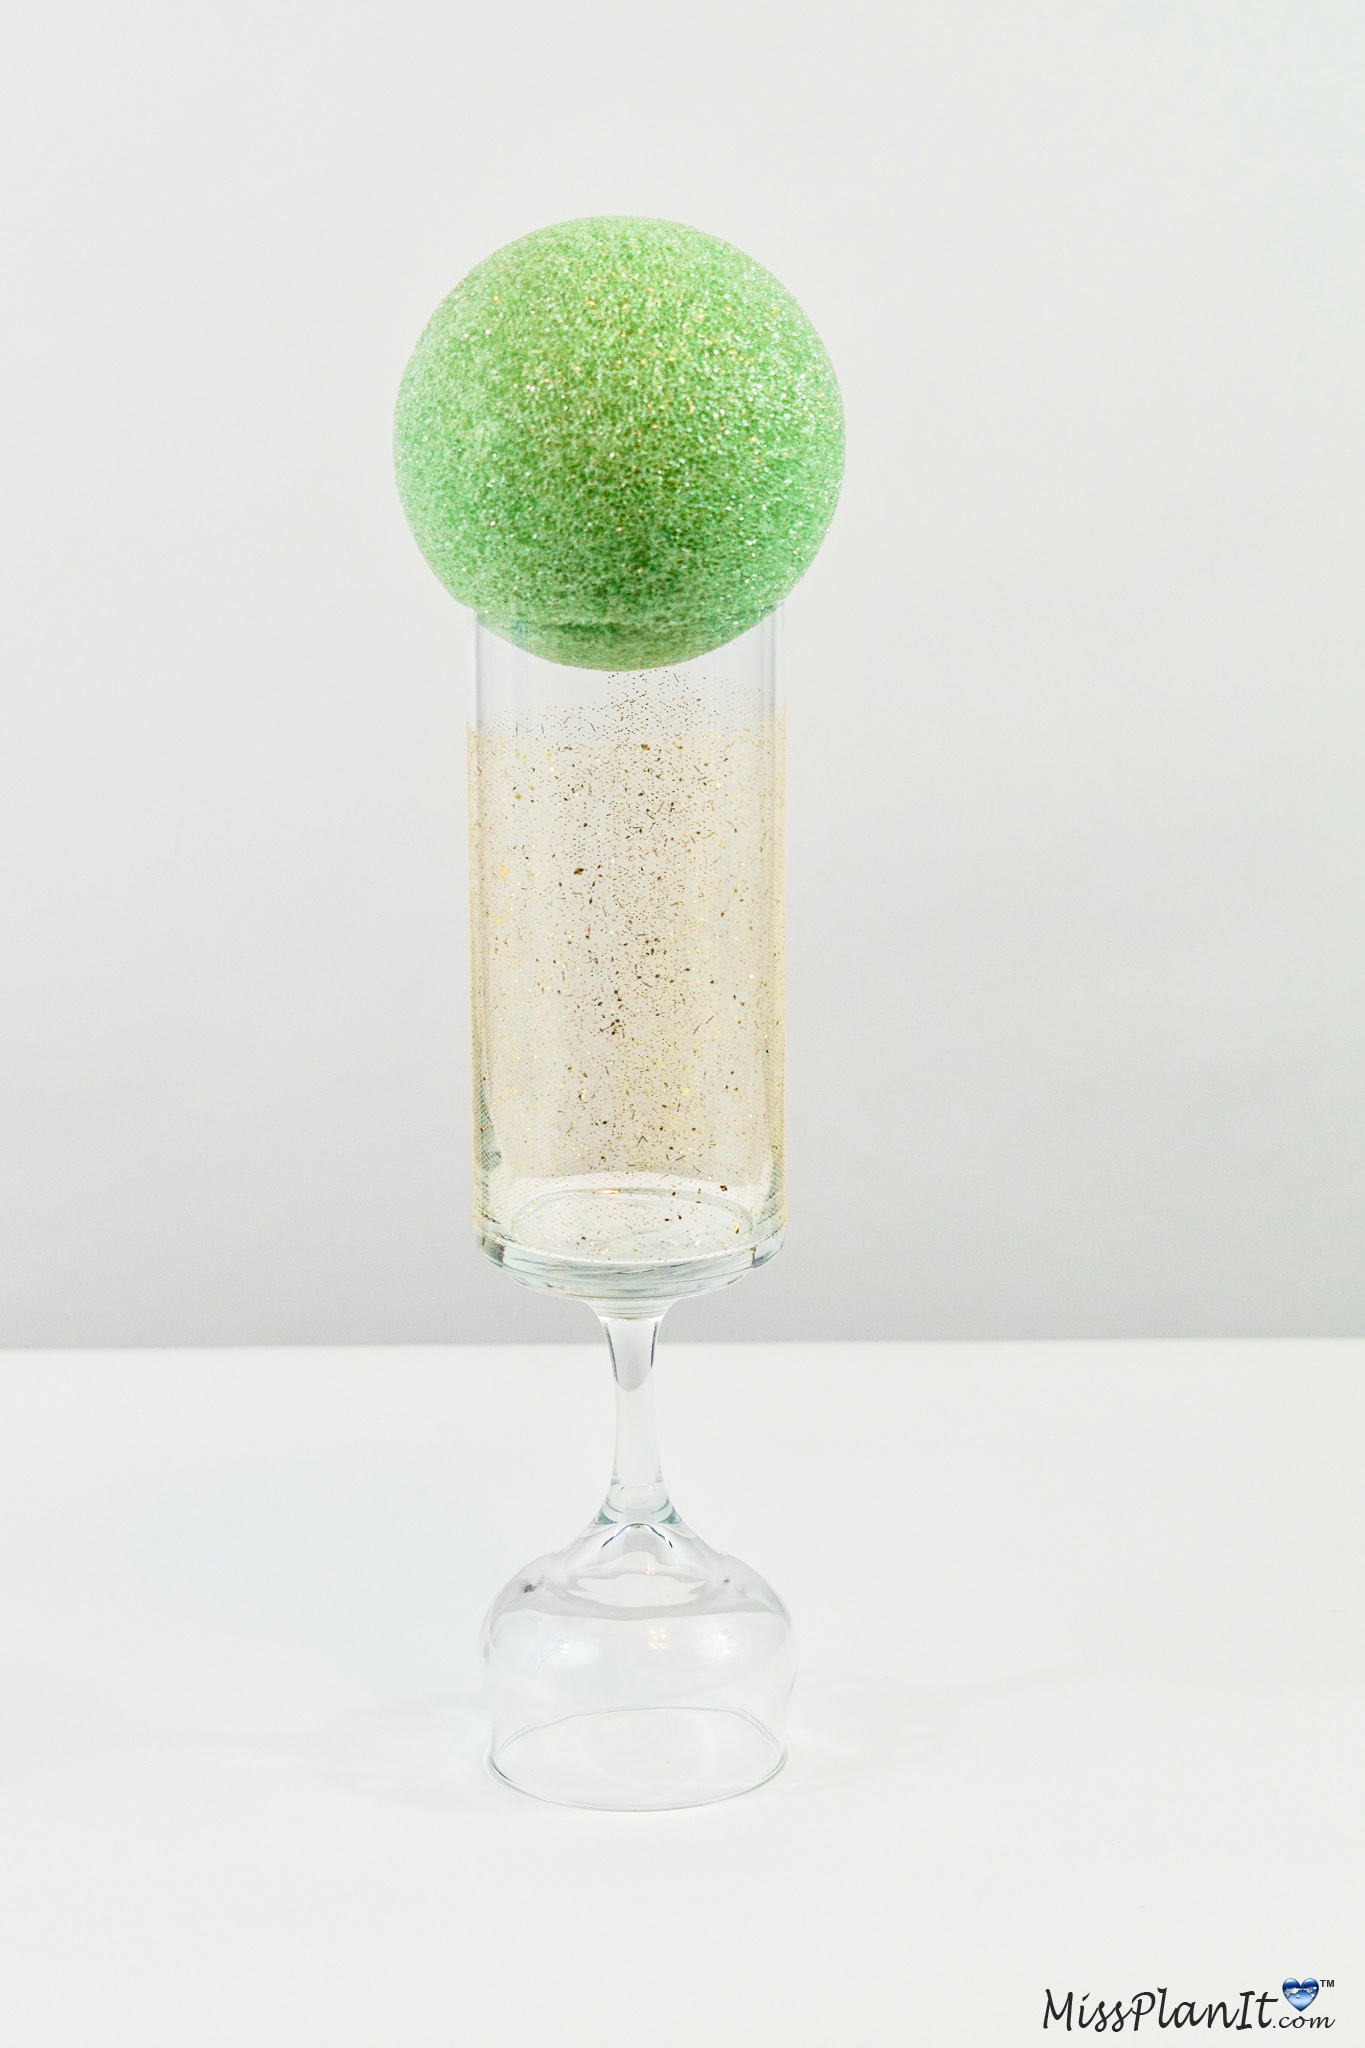
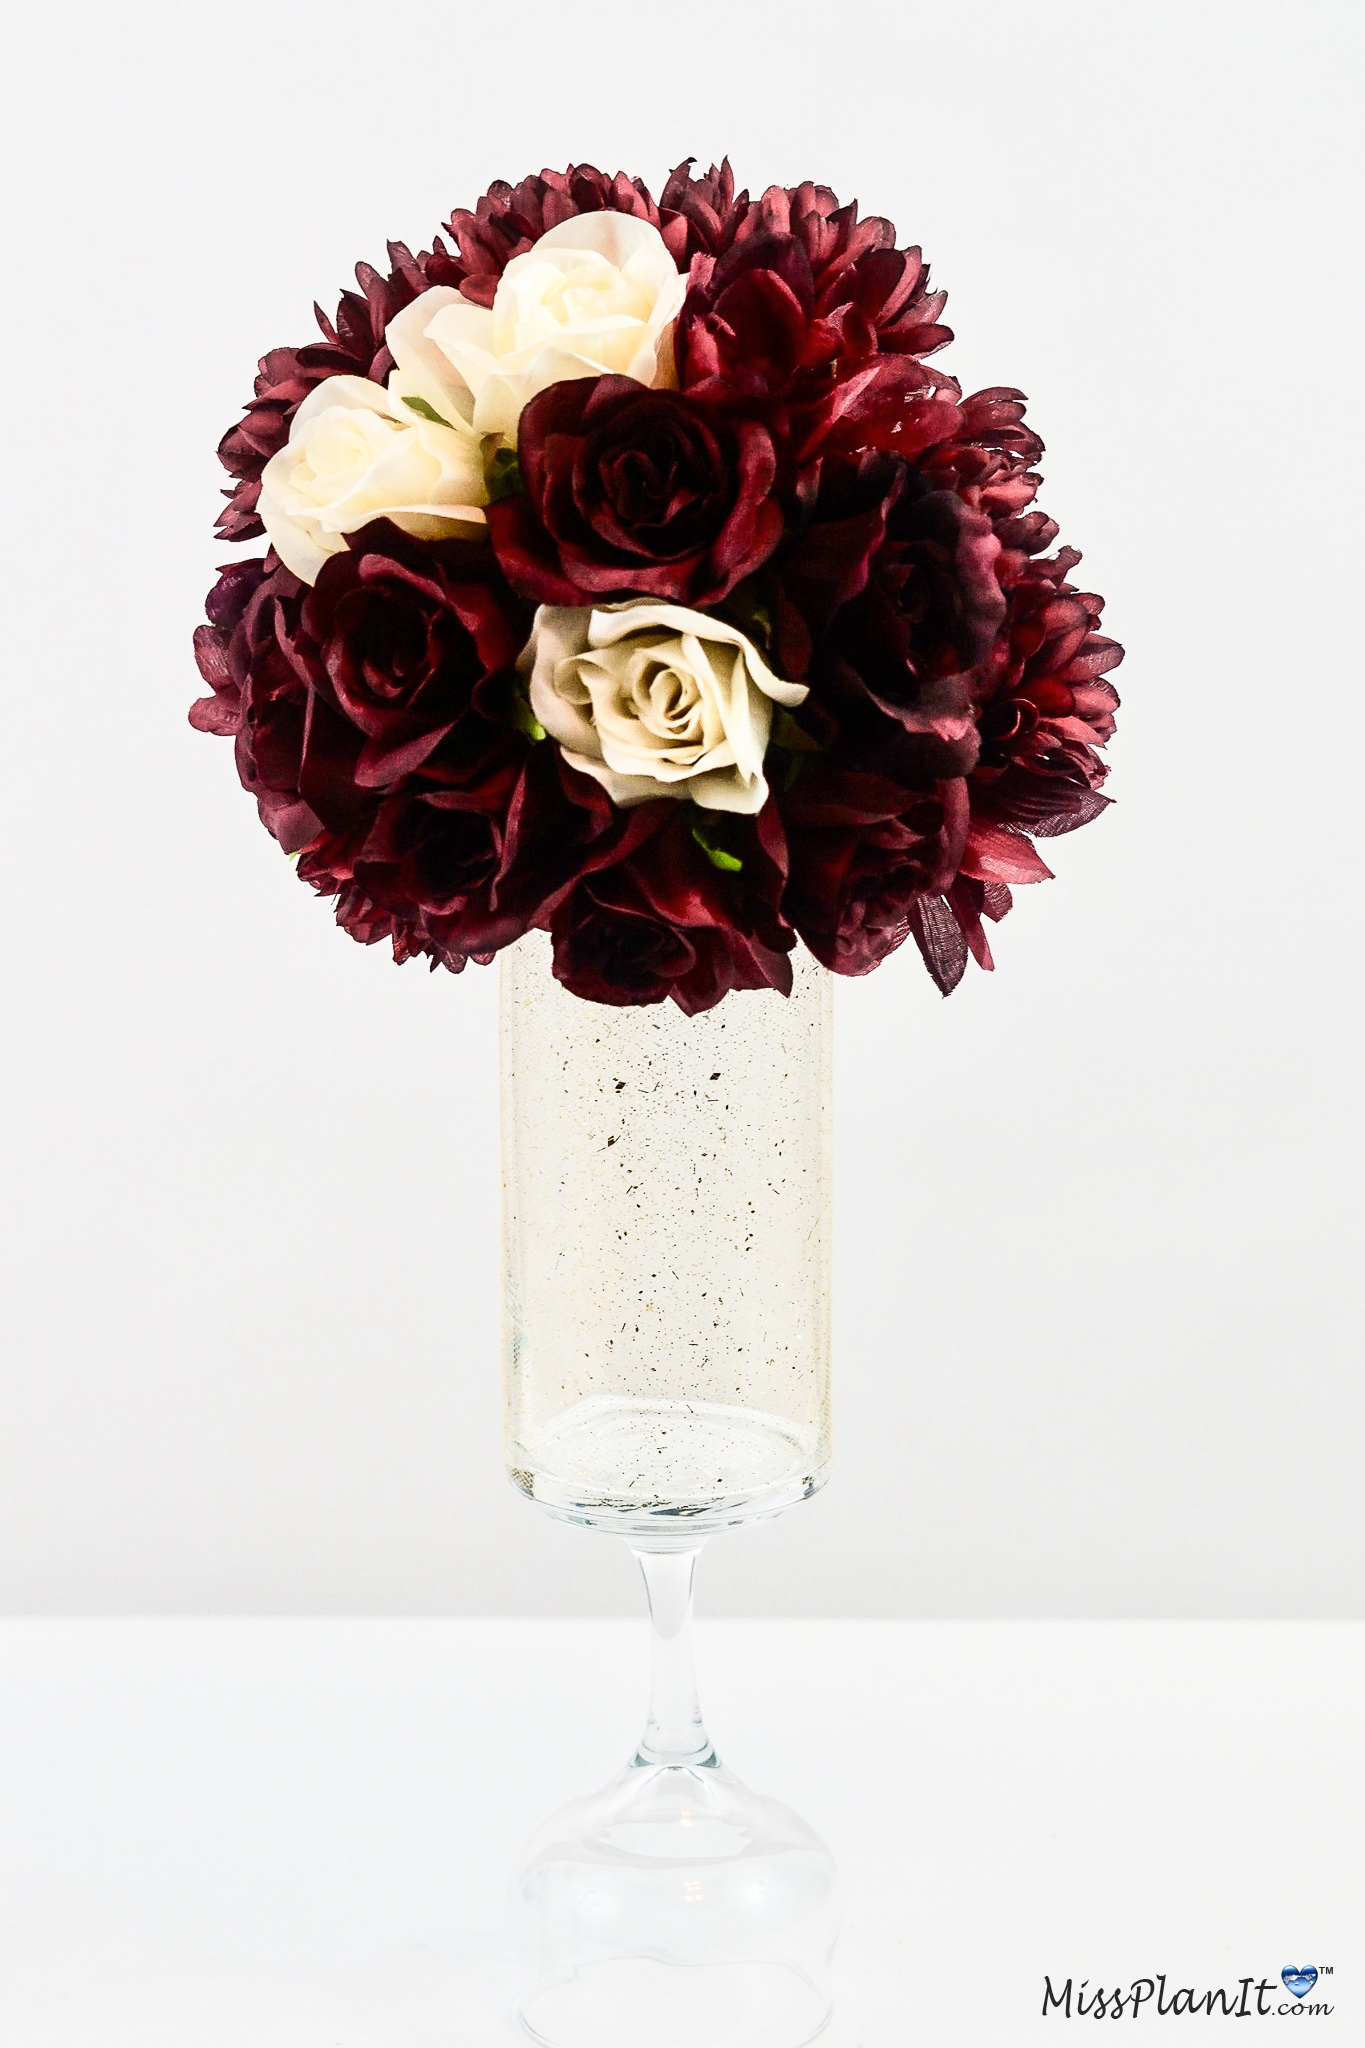
STEP 2: Attach a 4 or 5 inch styrofoam ball to the wedding vase rim using hot glue. To add some sparkle and shine to your wedding centerpiece vases without painting or applying glitter, use gold sparkle tulle. First, measure your gold sparkle tulle around each vase and cut tulle. Next apply glue dots to the vase and then wrap your tulle around. The glue dots will securely hold the tulle in place.
Attach Your Flowers
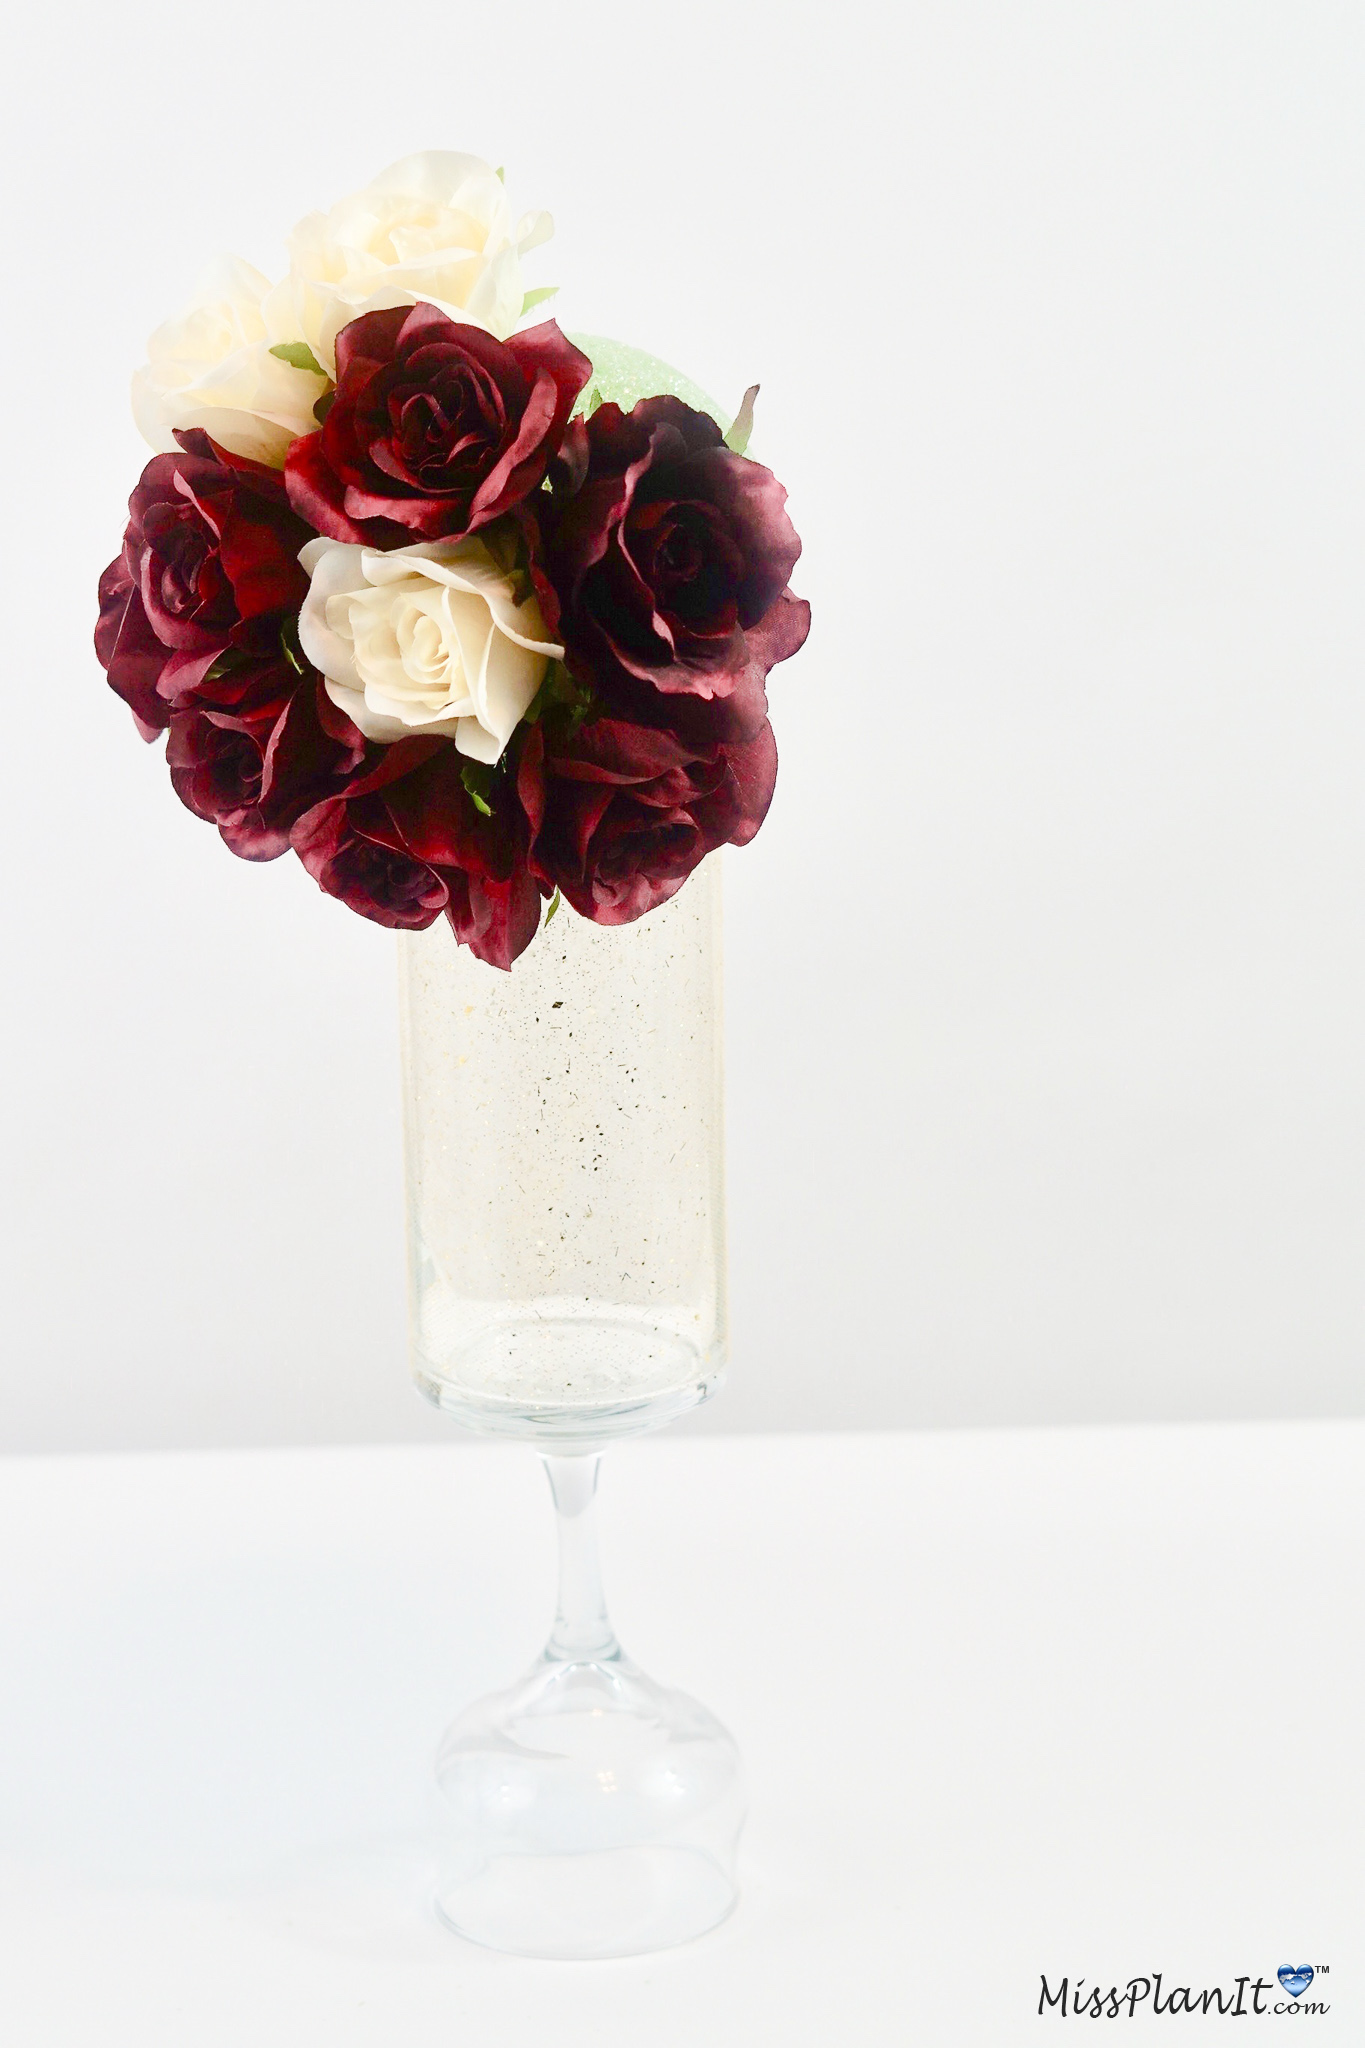
STEP 3: Create a flower pattern on the front and back of the foam ball for each vase. The pattern begins by attaching 3 champagne rose blossoms and 6 burgundy rose blossoms to the front. Next attach 6-8 burgundy chrysanthemums and 6-8 dahlia blossoms. Now repeat rose pattern on the back.
Green Whispering Grass to the Rescue
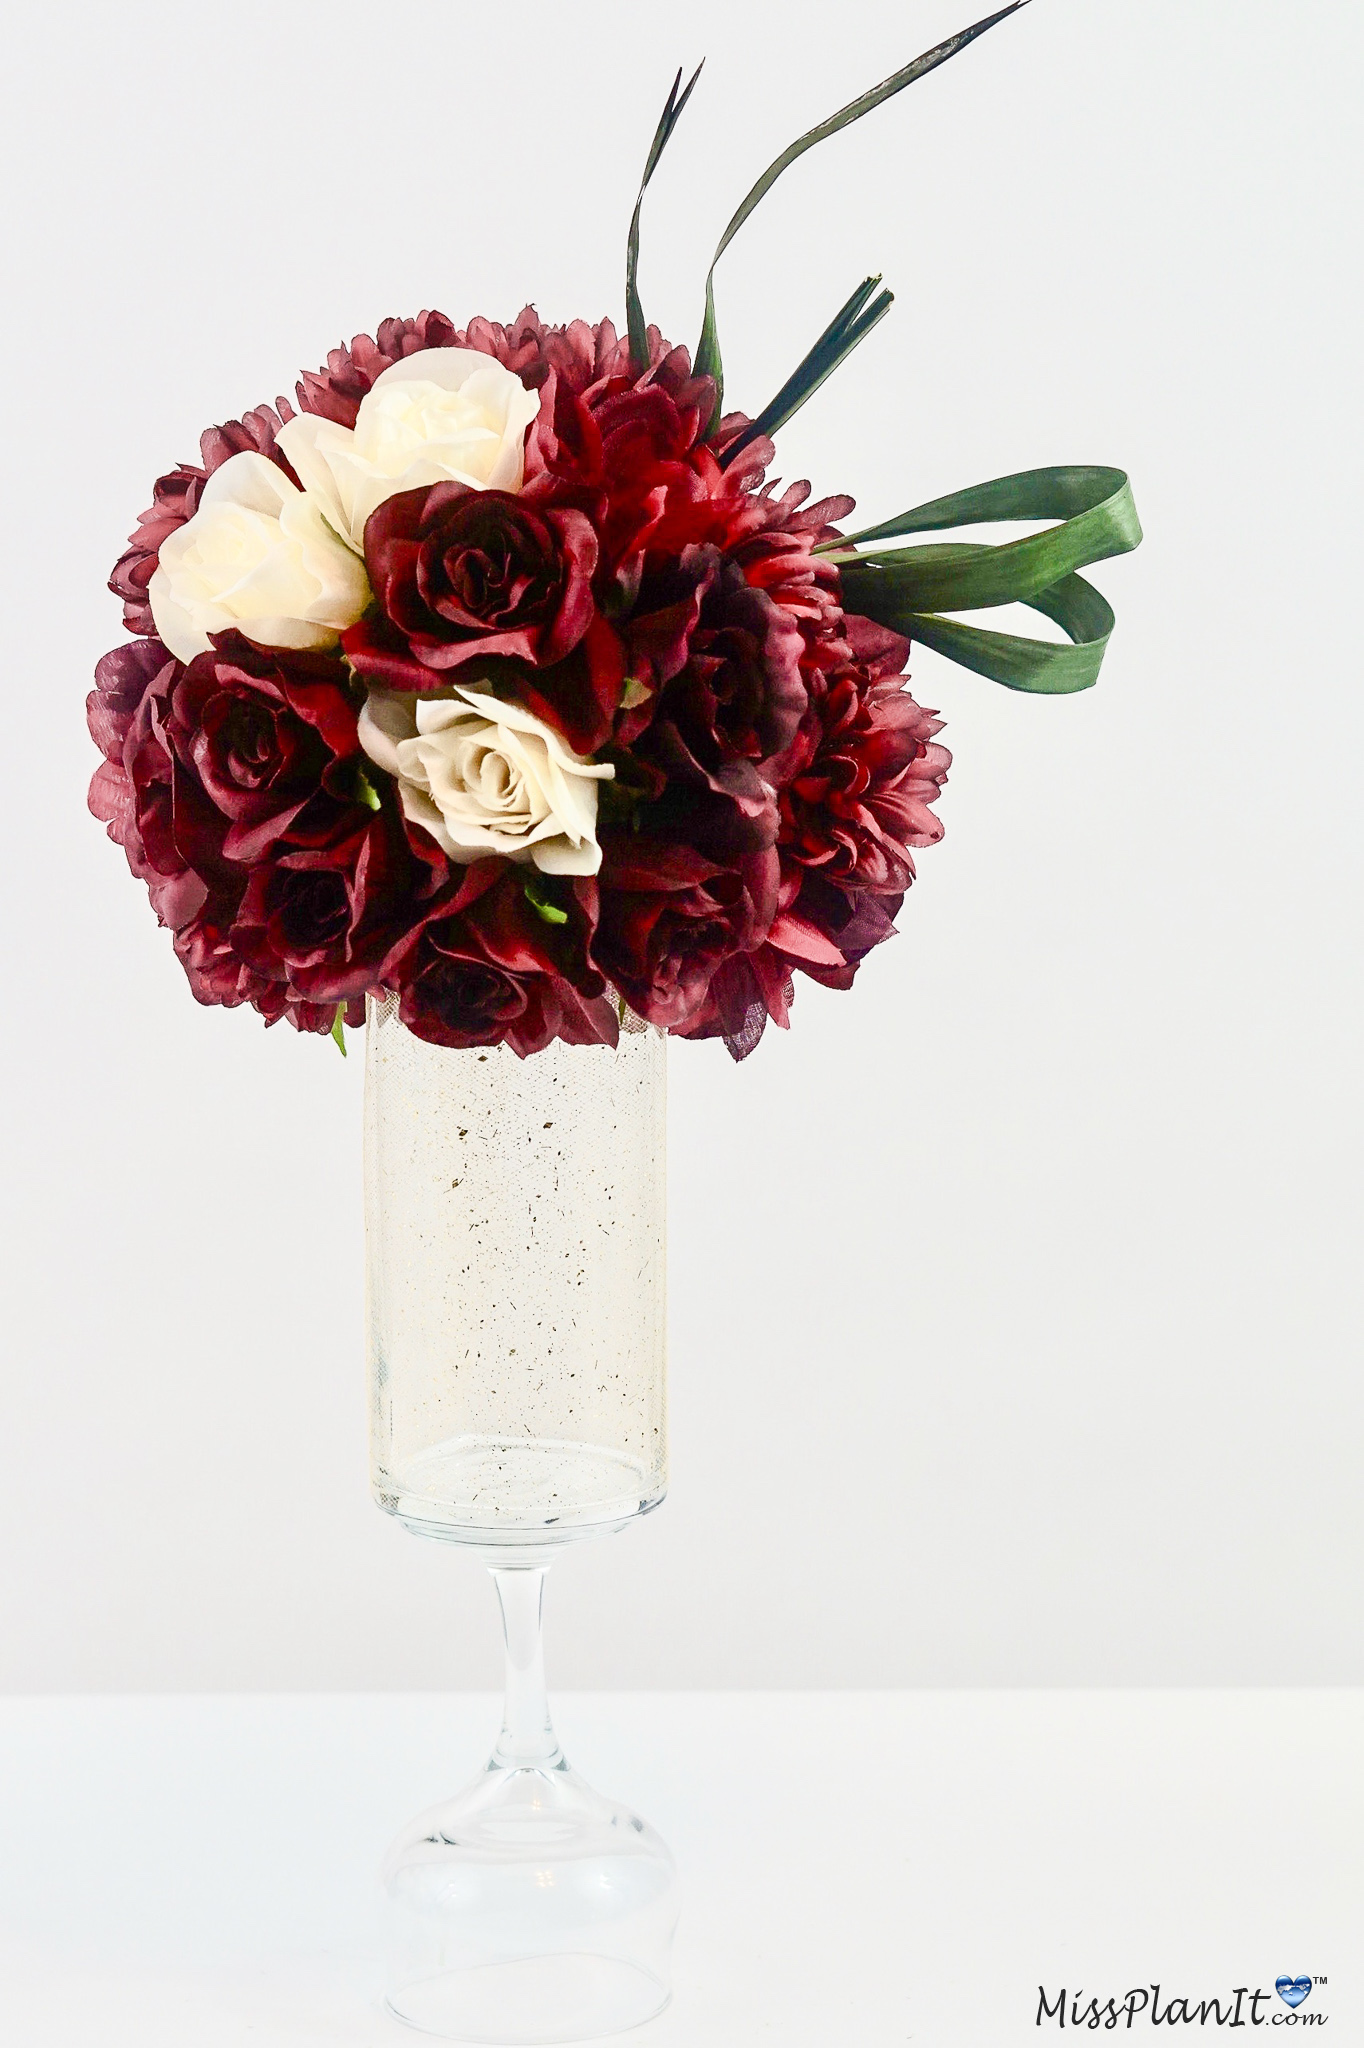
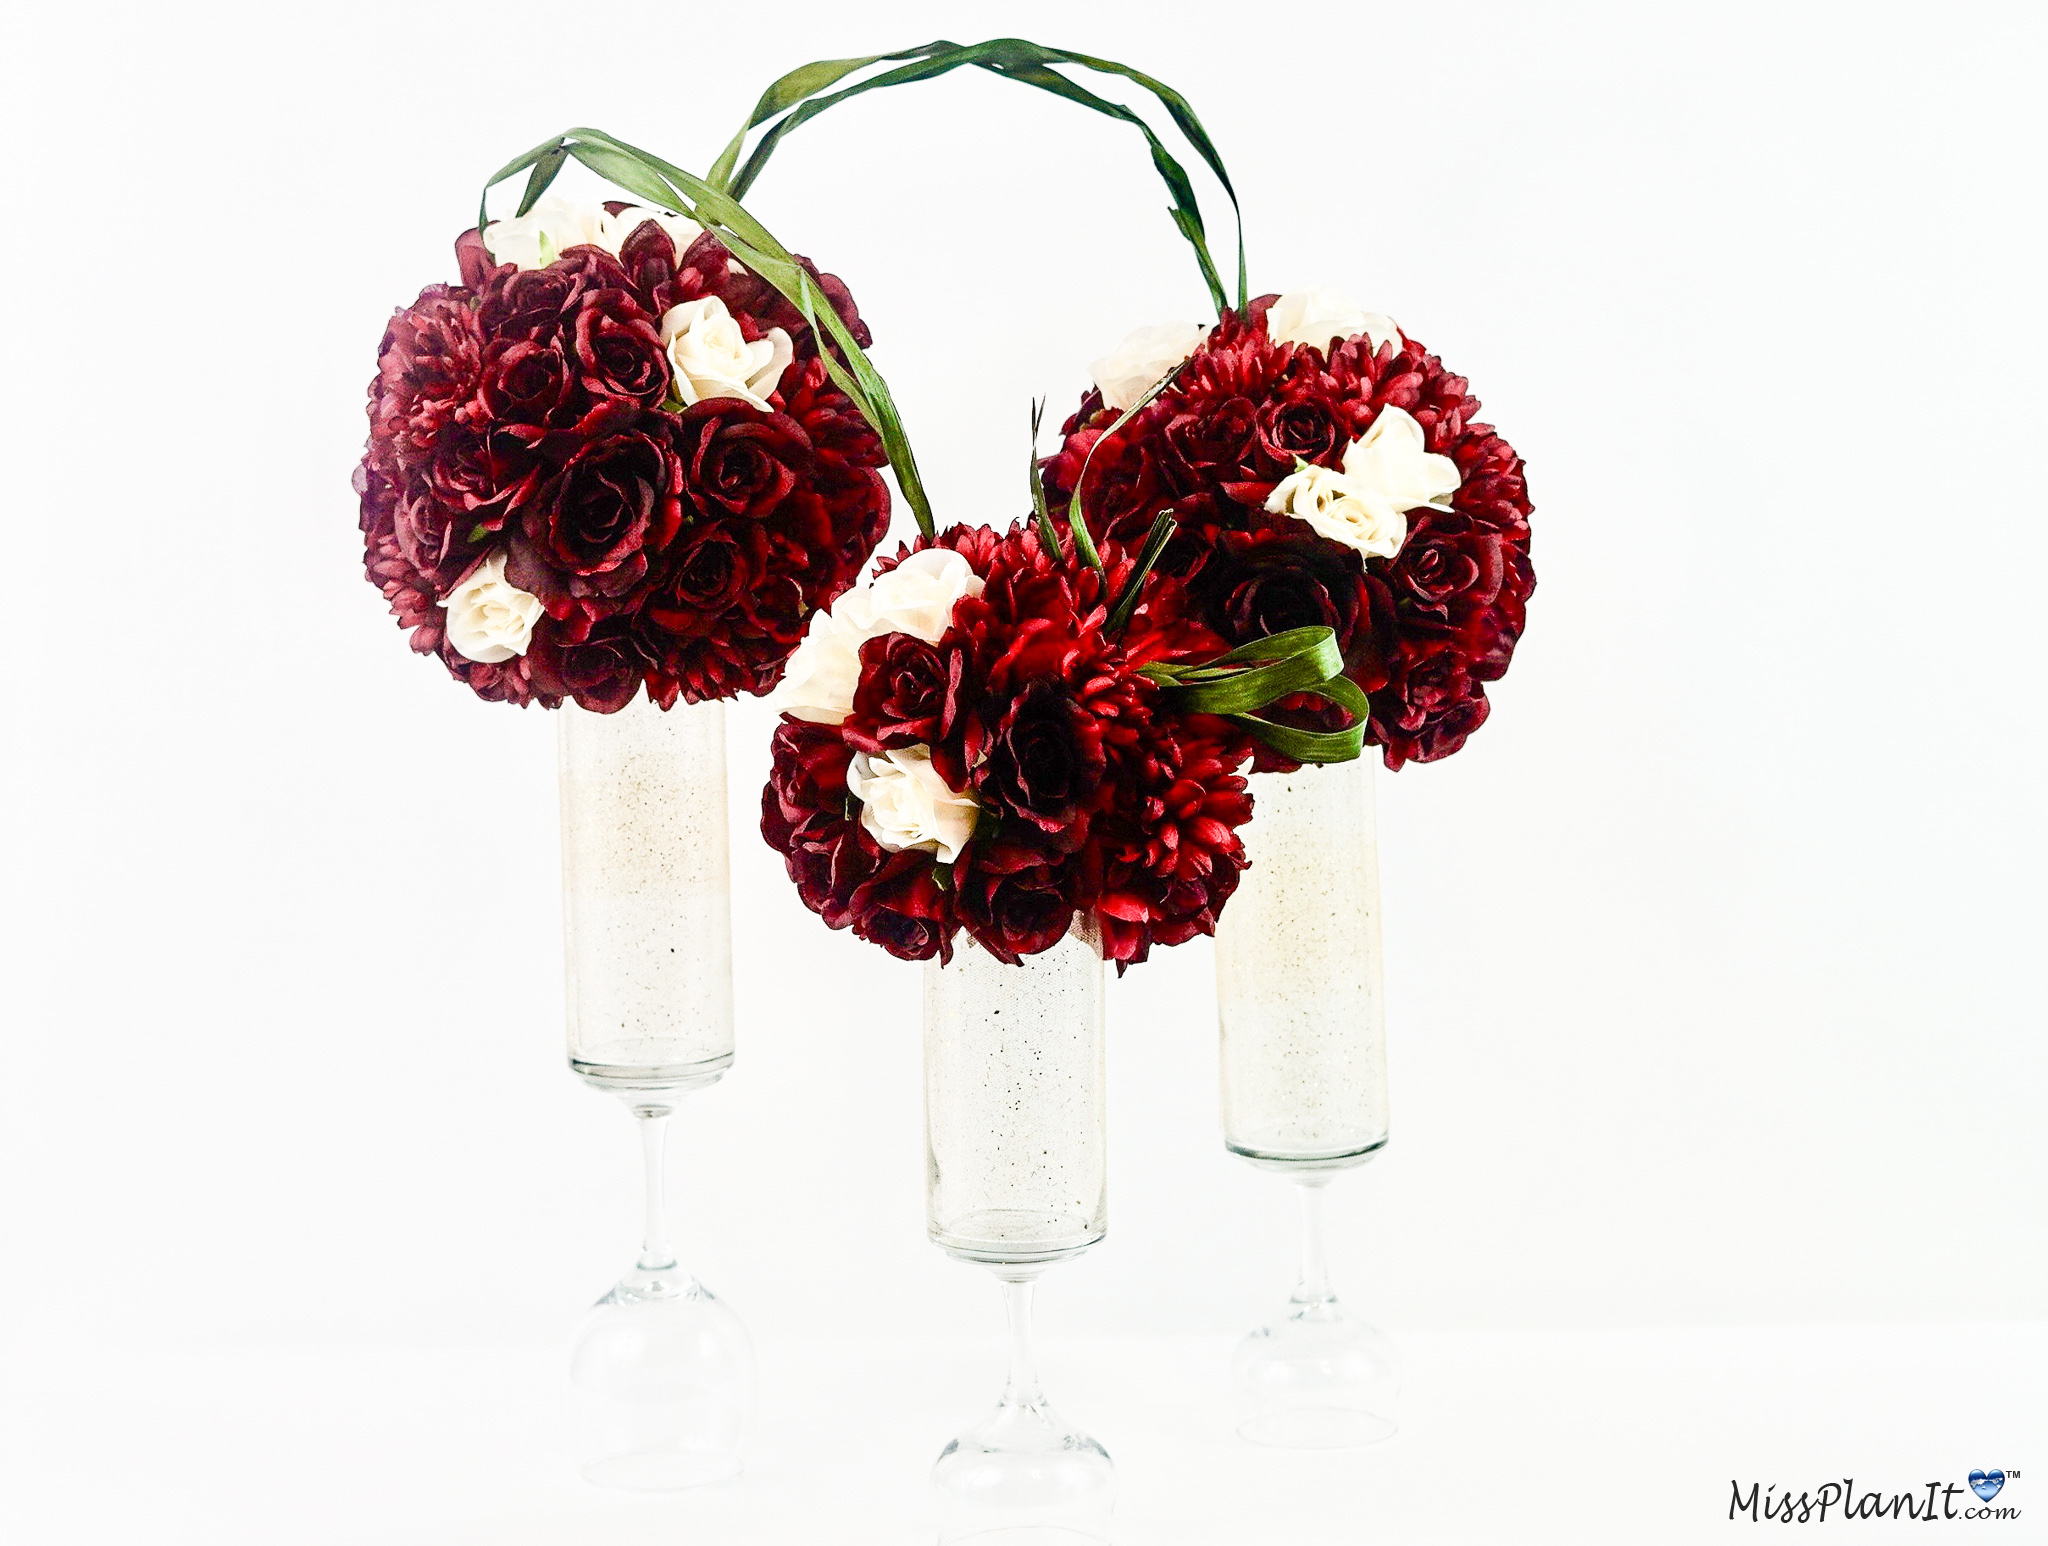
STEP 4: Use green whispering grass to create a bow and add to your shortest wedding centerpiece. Create a cascading connection from one wedding centerpiece to the next. Do this by taking 2 whispering grass and connect it to the next centerpiece using floral pins. Use as many whispering grass as you would like, I used two on one and then two on the other to connect the wedding centerpieces.
THE FINAL STEP!
STEP 5: Set the table!

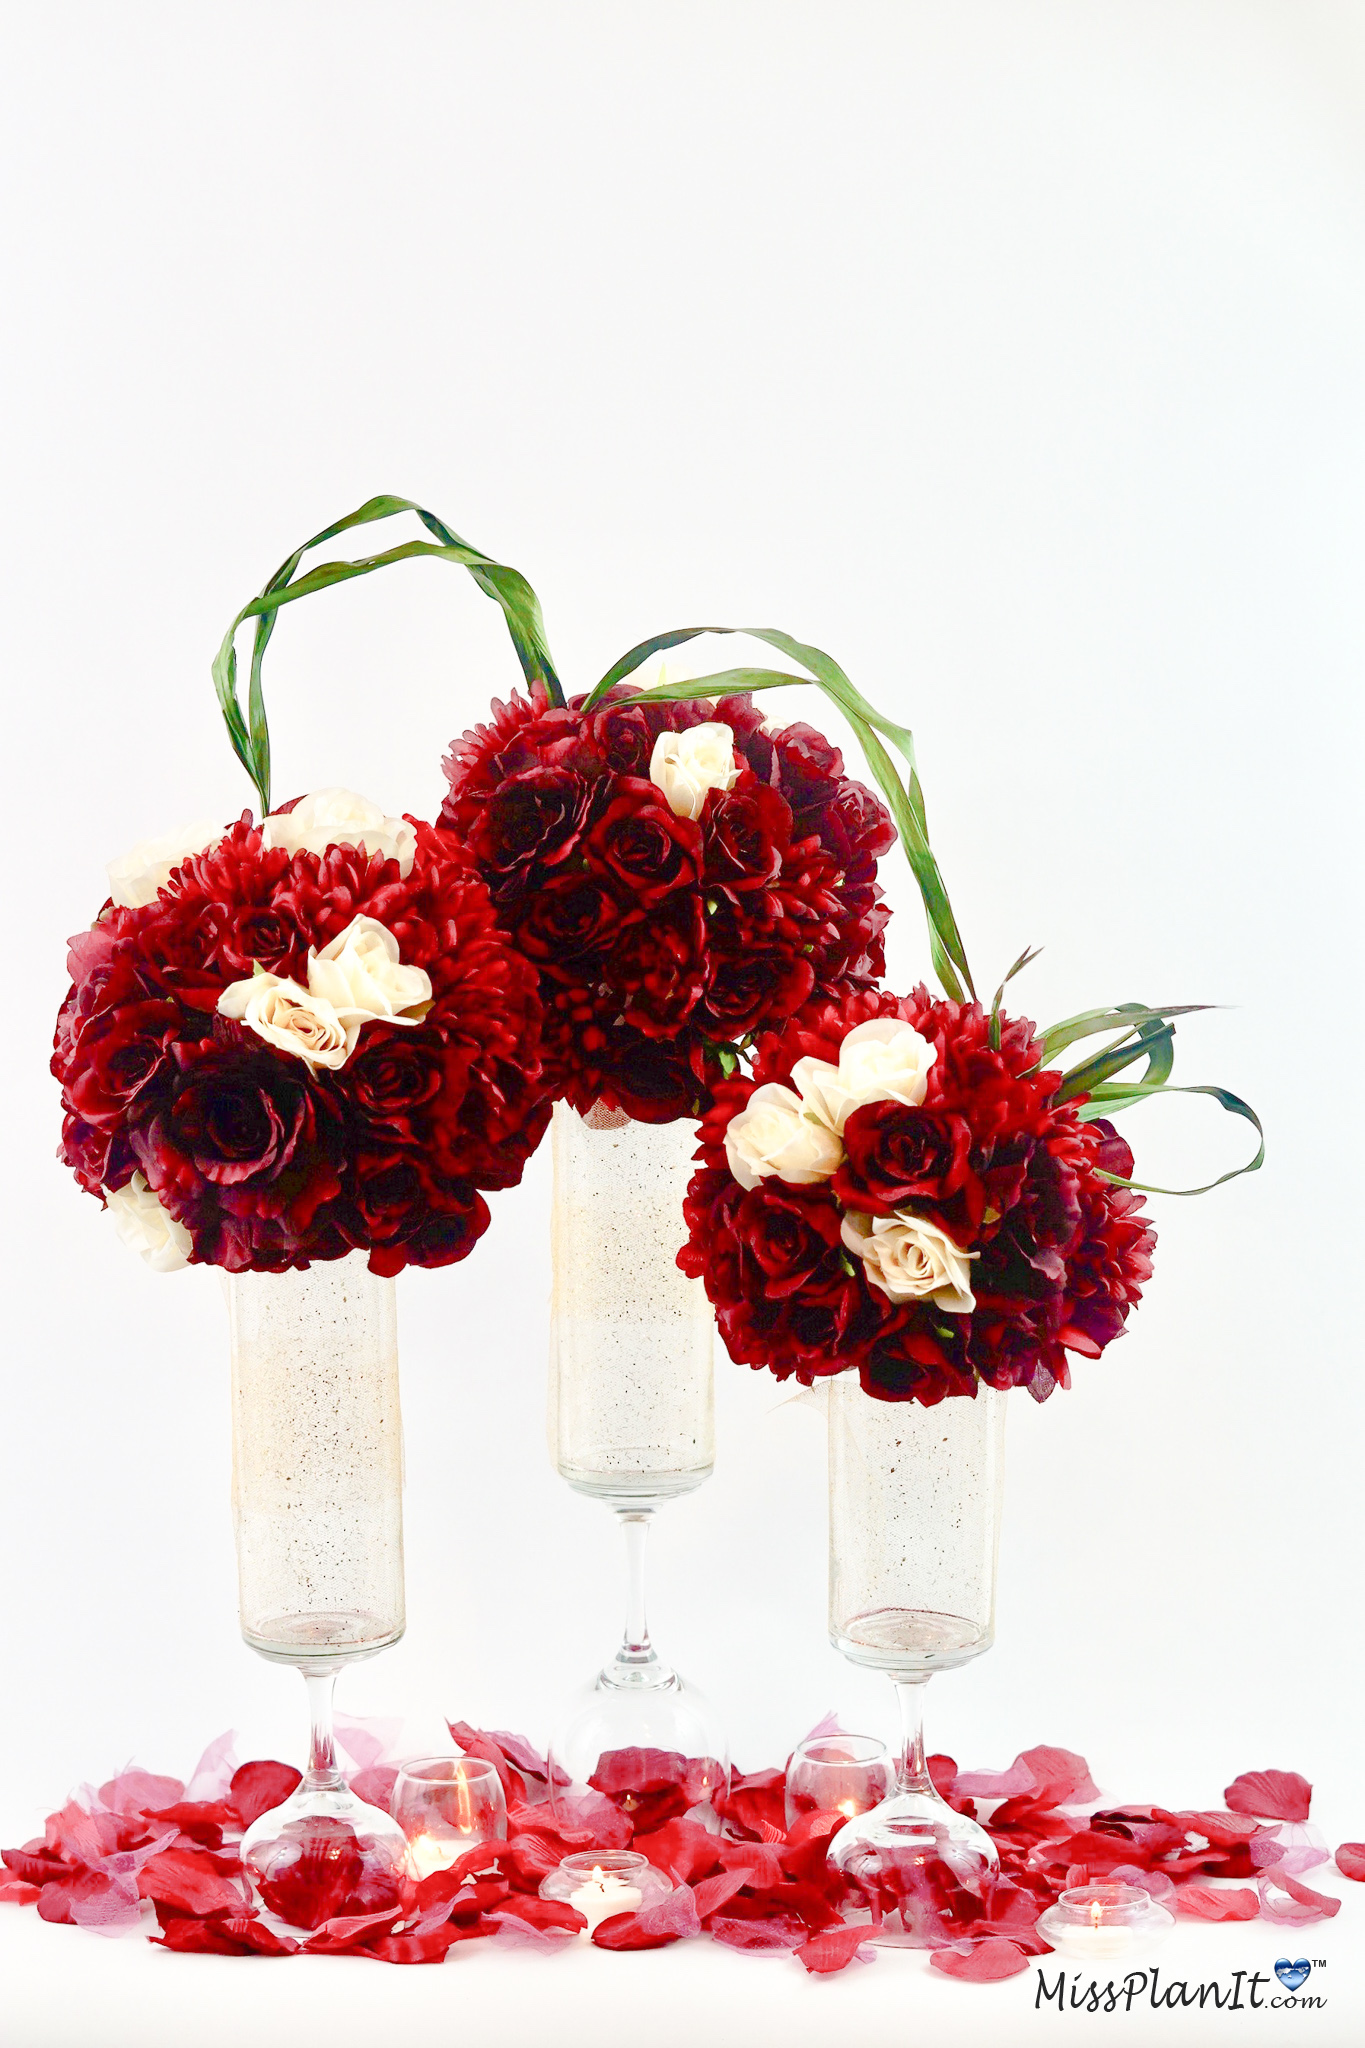
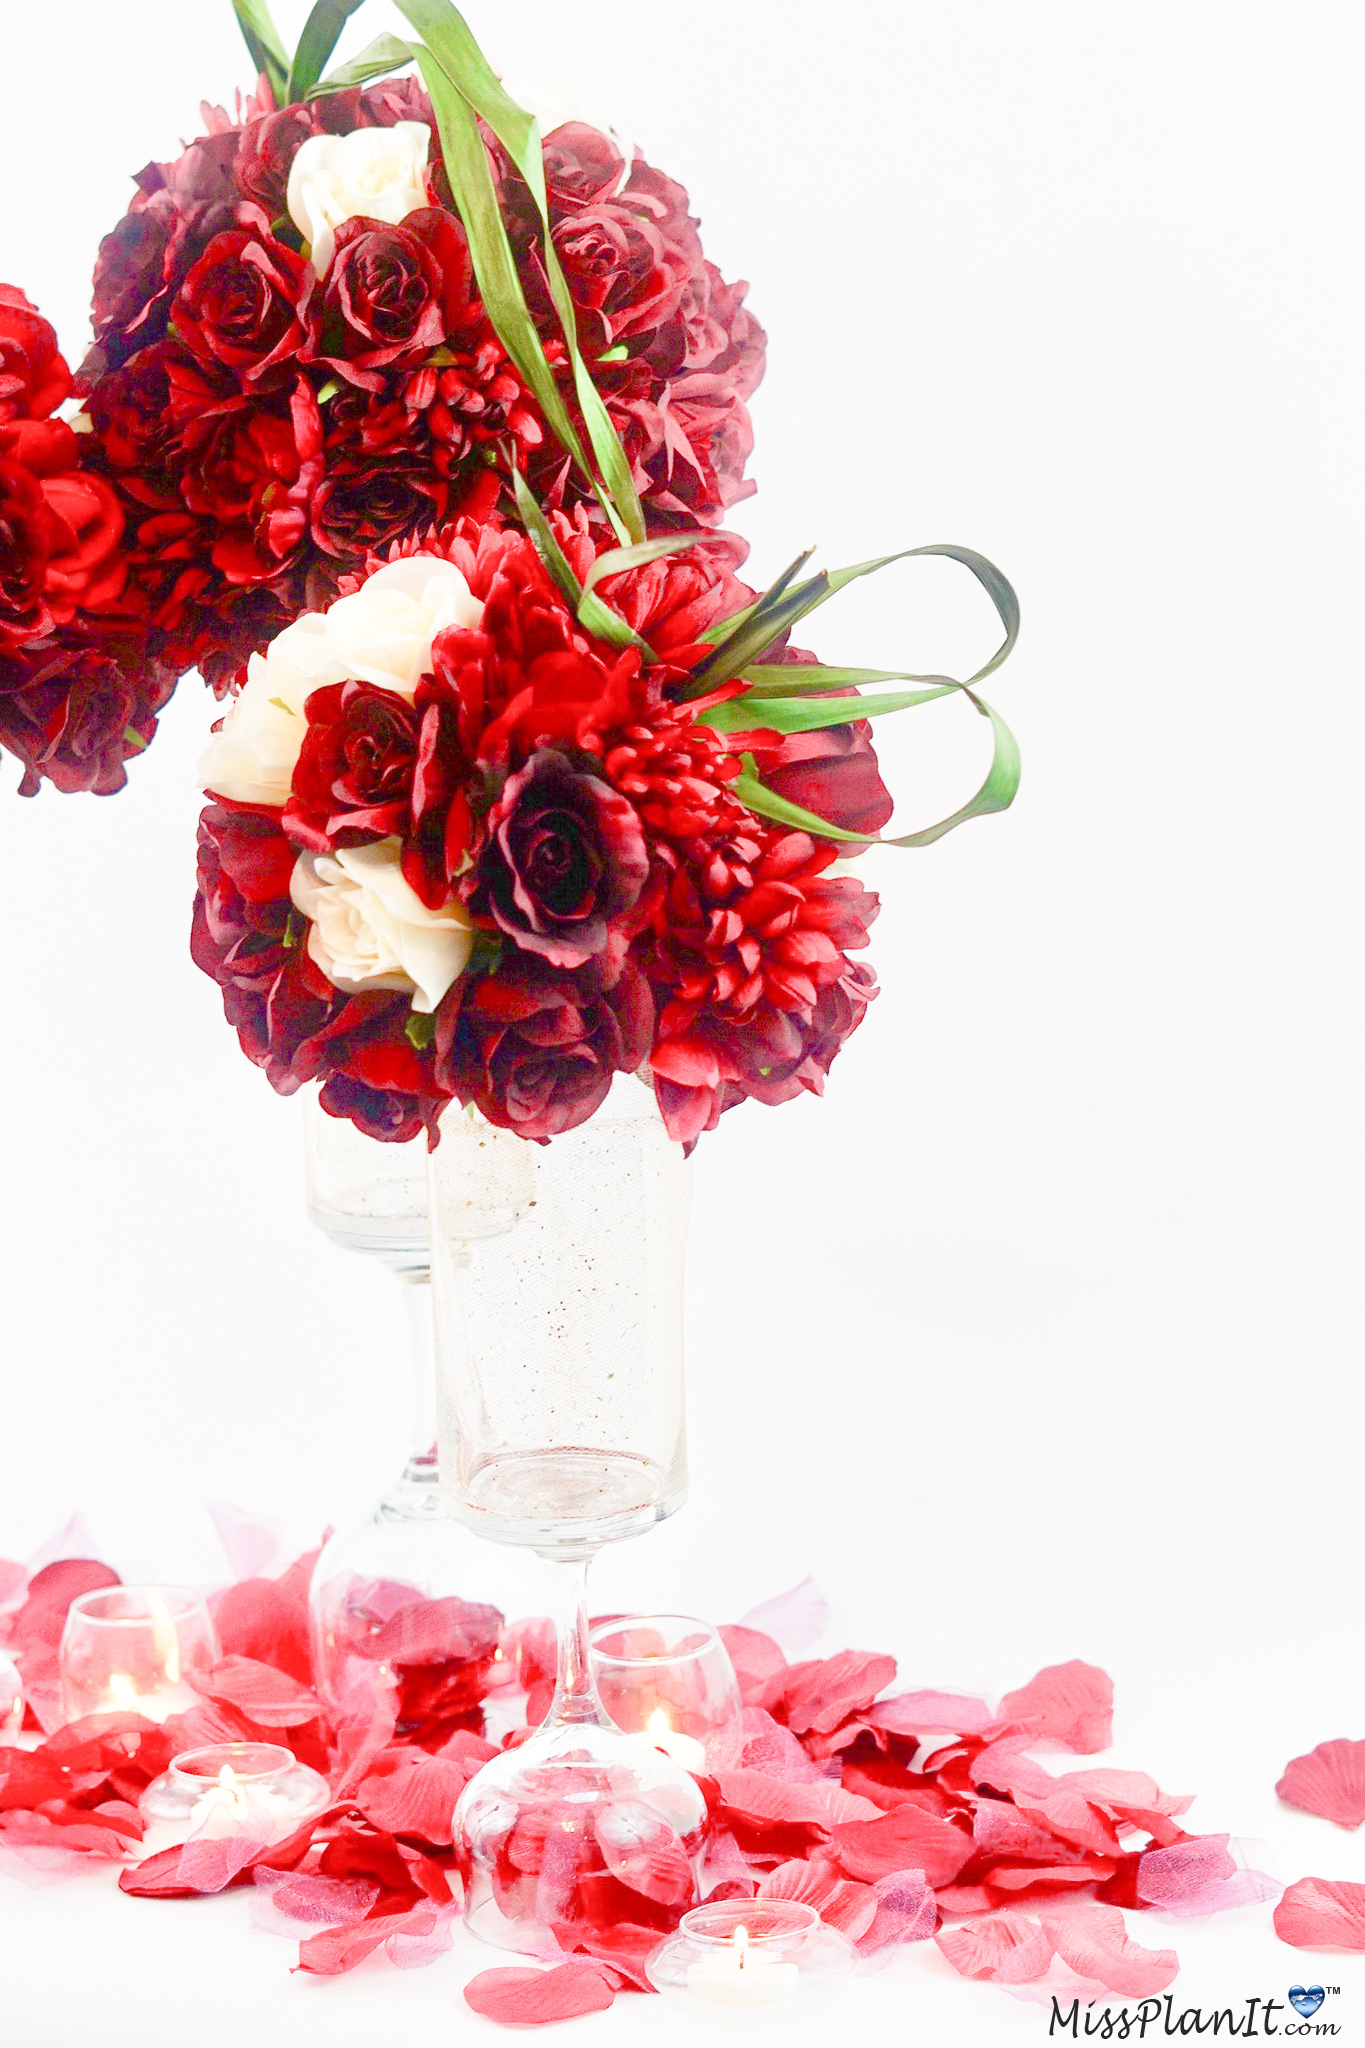
I absolutely love how these Tall Rose Romantic Wedding Centerpieces turned out! The outcome is amazing and definitely gives you an extra special touch to your wedding!
If you like the outcome please subscribe to our Youtube Channel for more DIY Videos and follow us on Facebook and Pinterest.
Need help with an upcoming project? Be sure to send us a project request!
“Remember When Every Penny Counts, Count on MissPlanIt”


