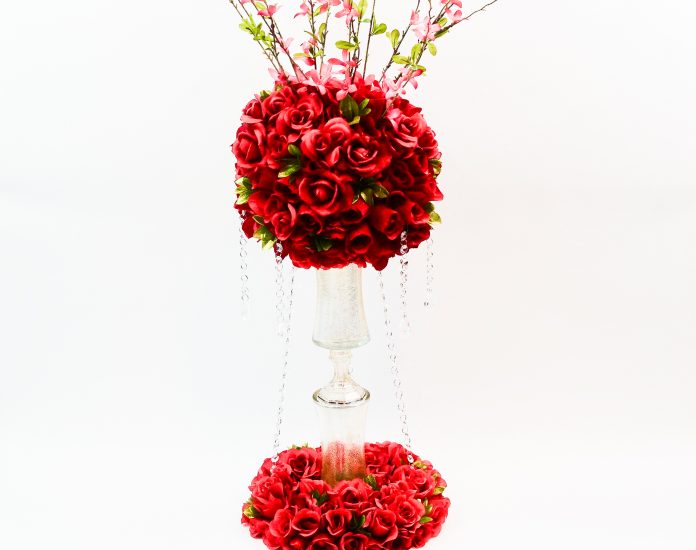
The color red is like no other! Traditionally, noted as the color of love, this DIY Tall Rose Gold Chandelier Wedding Centerpiece will definitely make you fall in love at first glance. At 36 inches tall, your wedding guests will definitely stare at this wedding centerpiece in awe.
It is absolutely a show stopper for sure.
And to think the vase only cost $7 to make. The shimmery gold glitter on the vase has just the right amount of sparkle. And the red roses are a beautiful bold red, purchased right from our local Dollar Tree. Yes, I am amazed at this week’s creation.
So let’s get started. For video instructions, please check out the video tutorial below!
[convertkit form=917377]
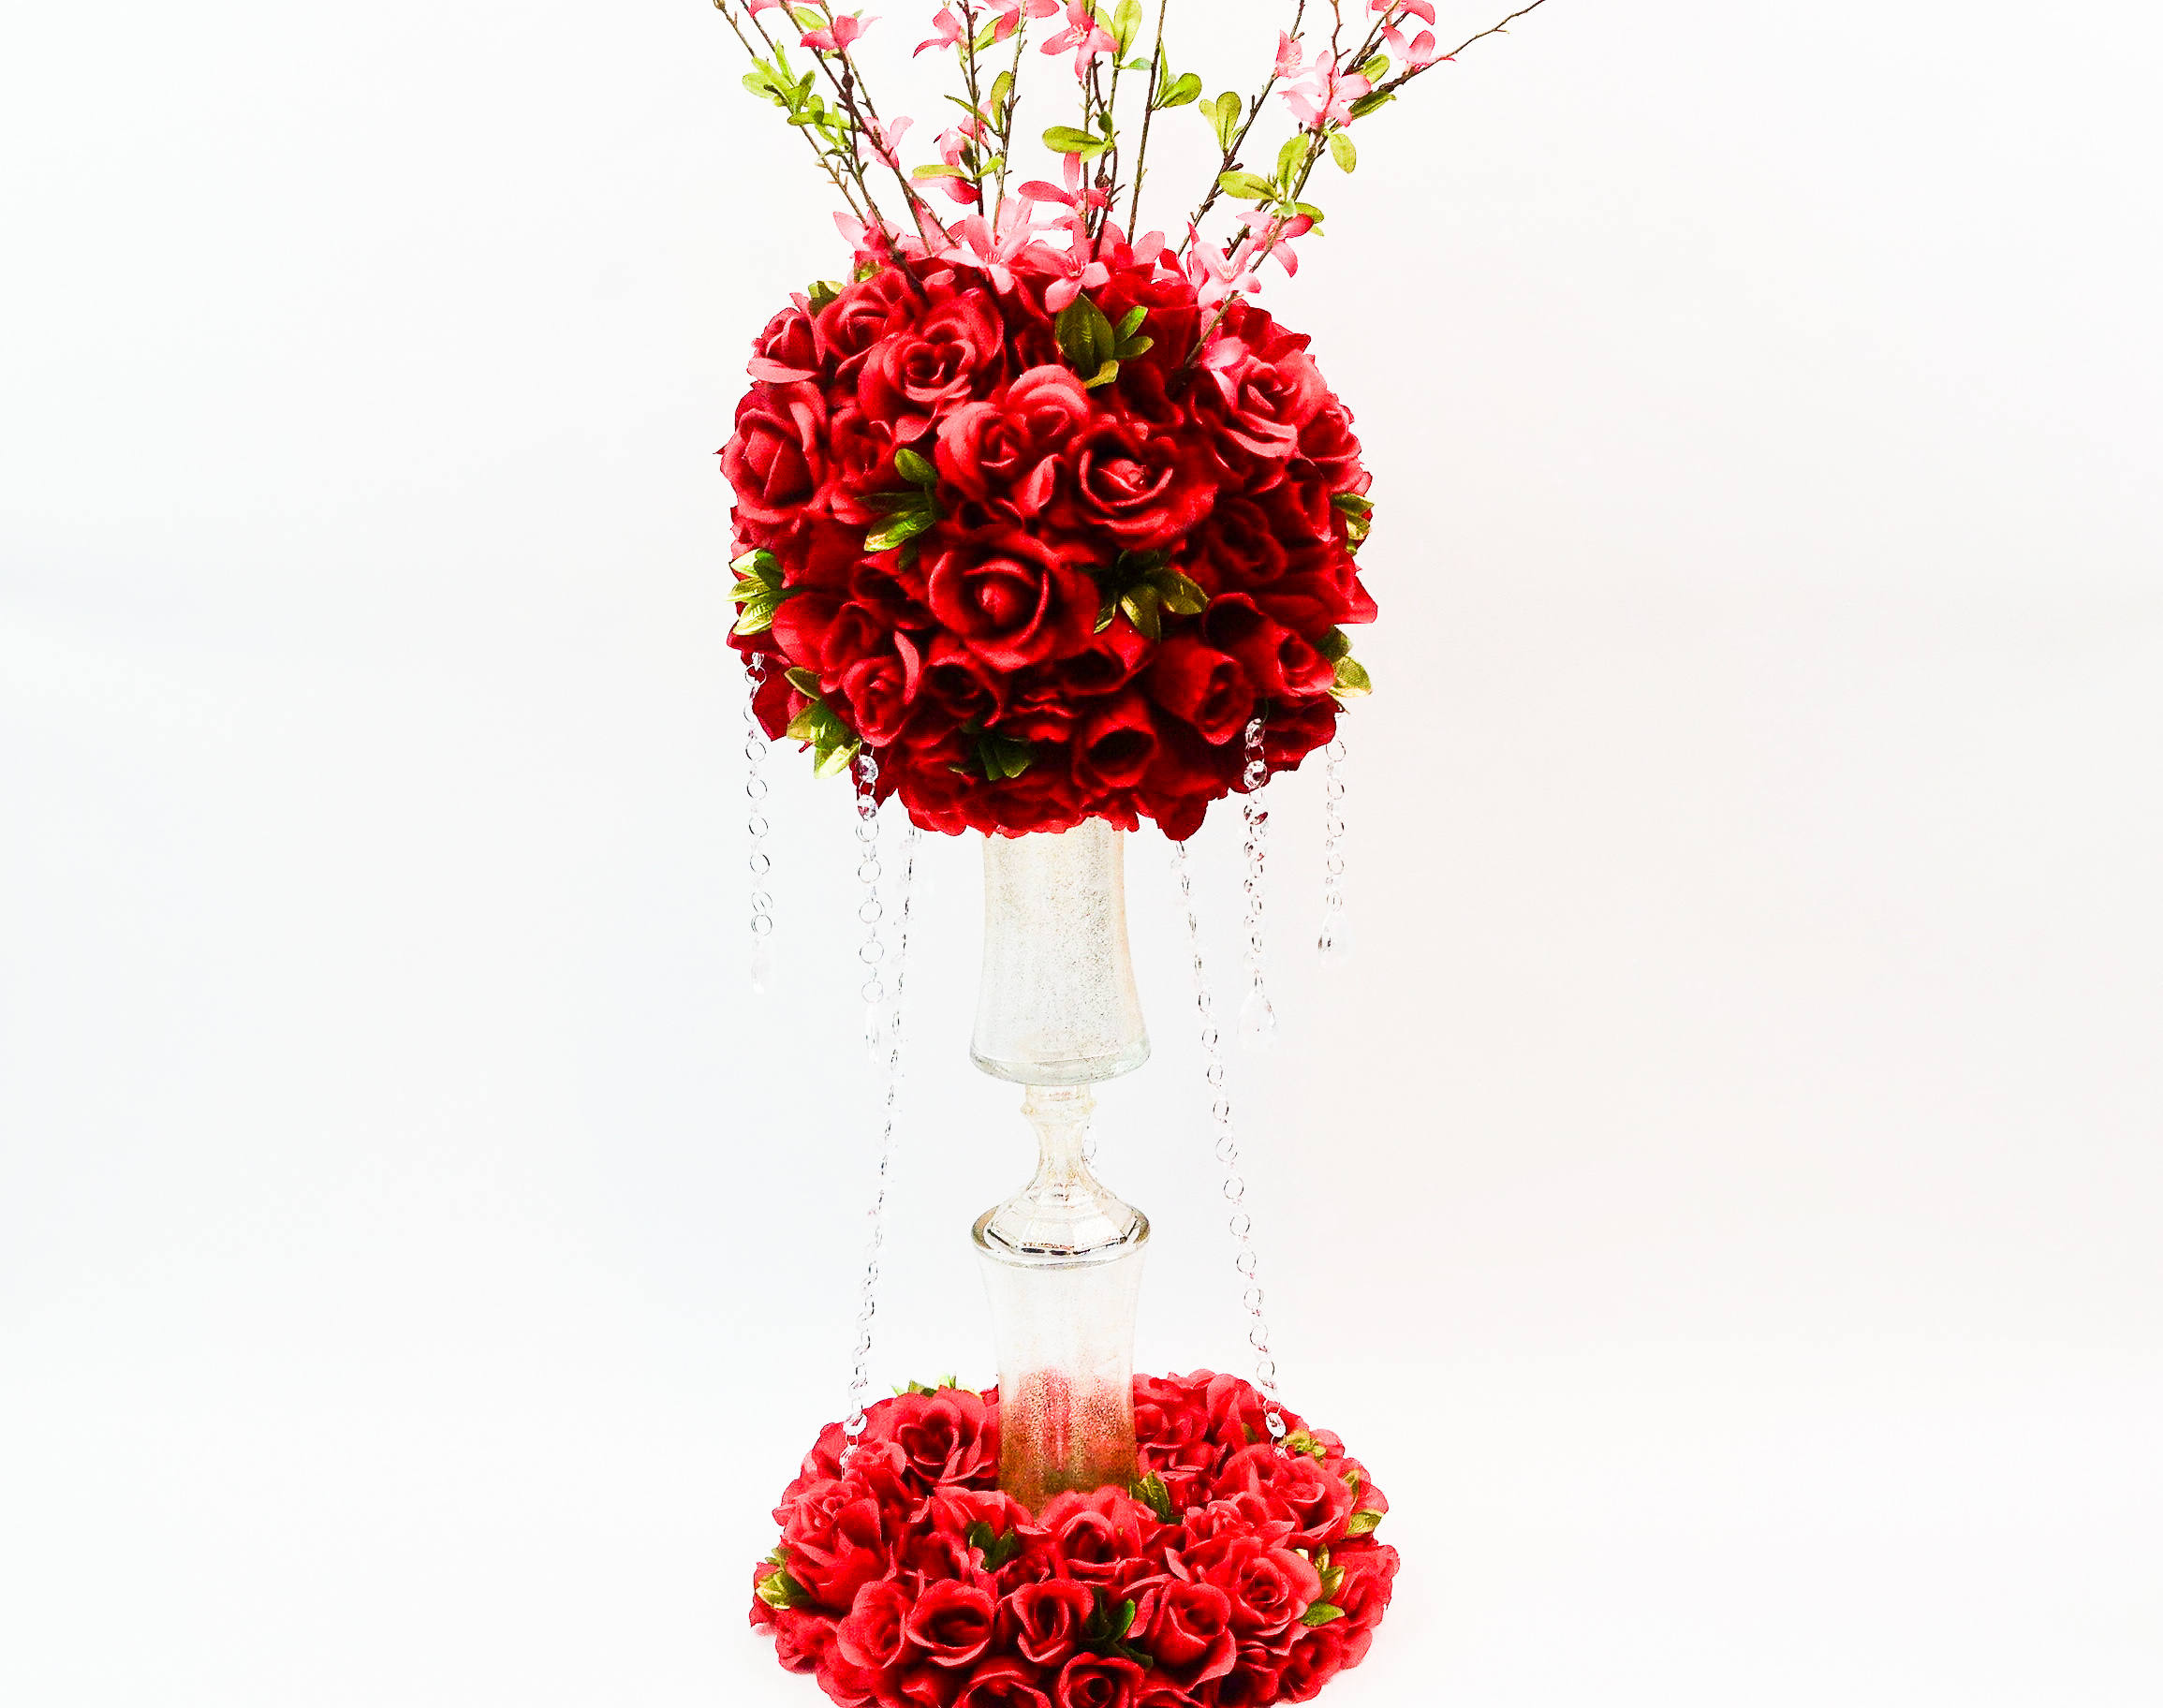
VIDEO TUTORIAL:
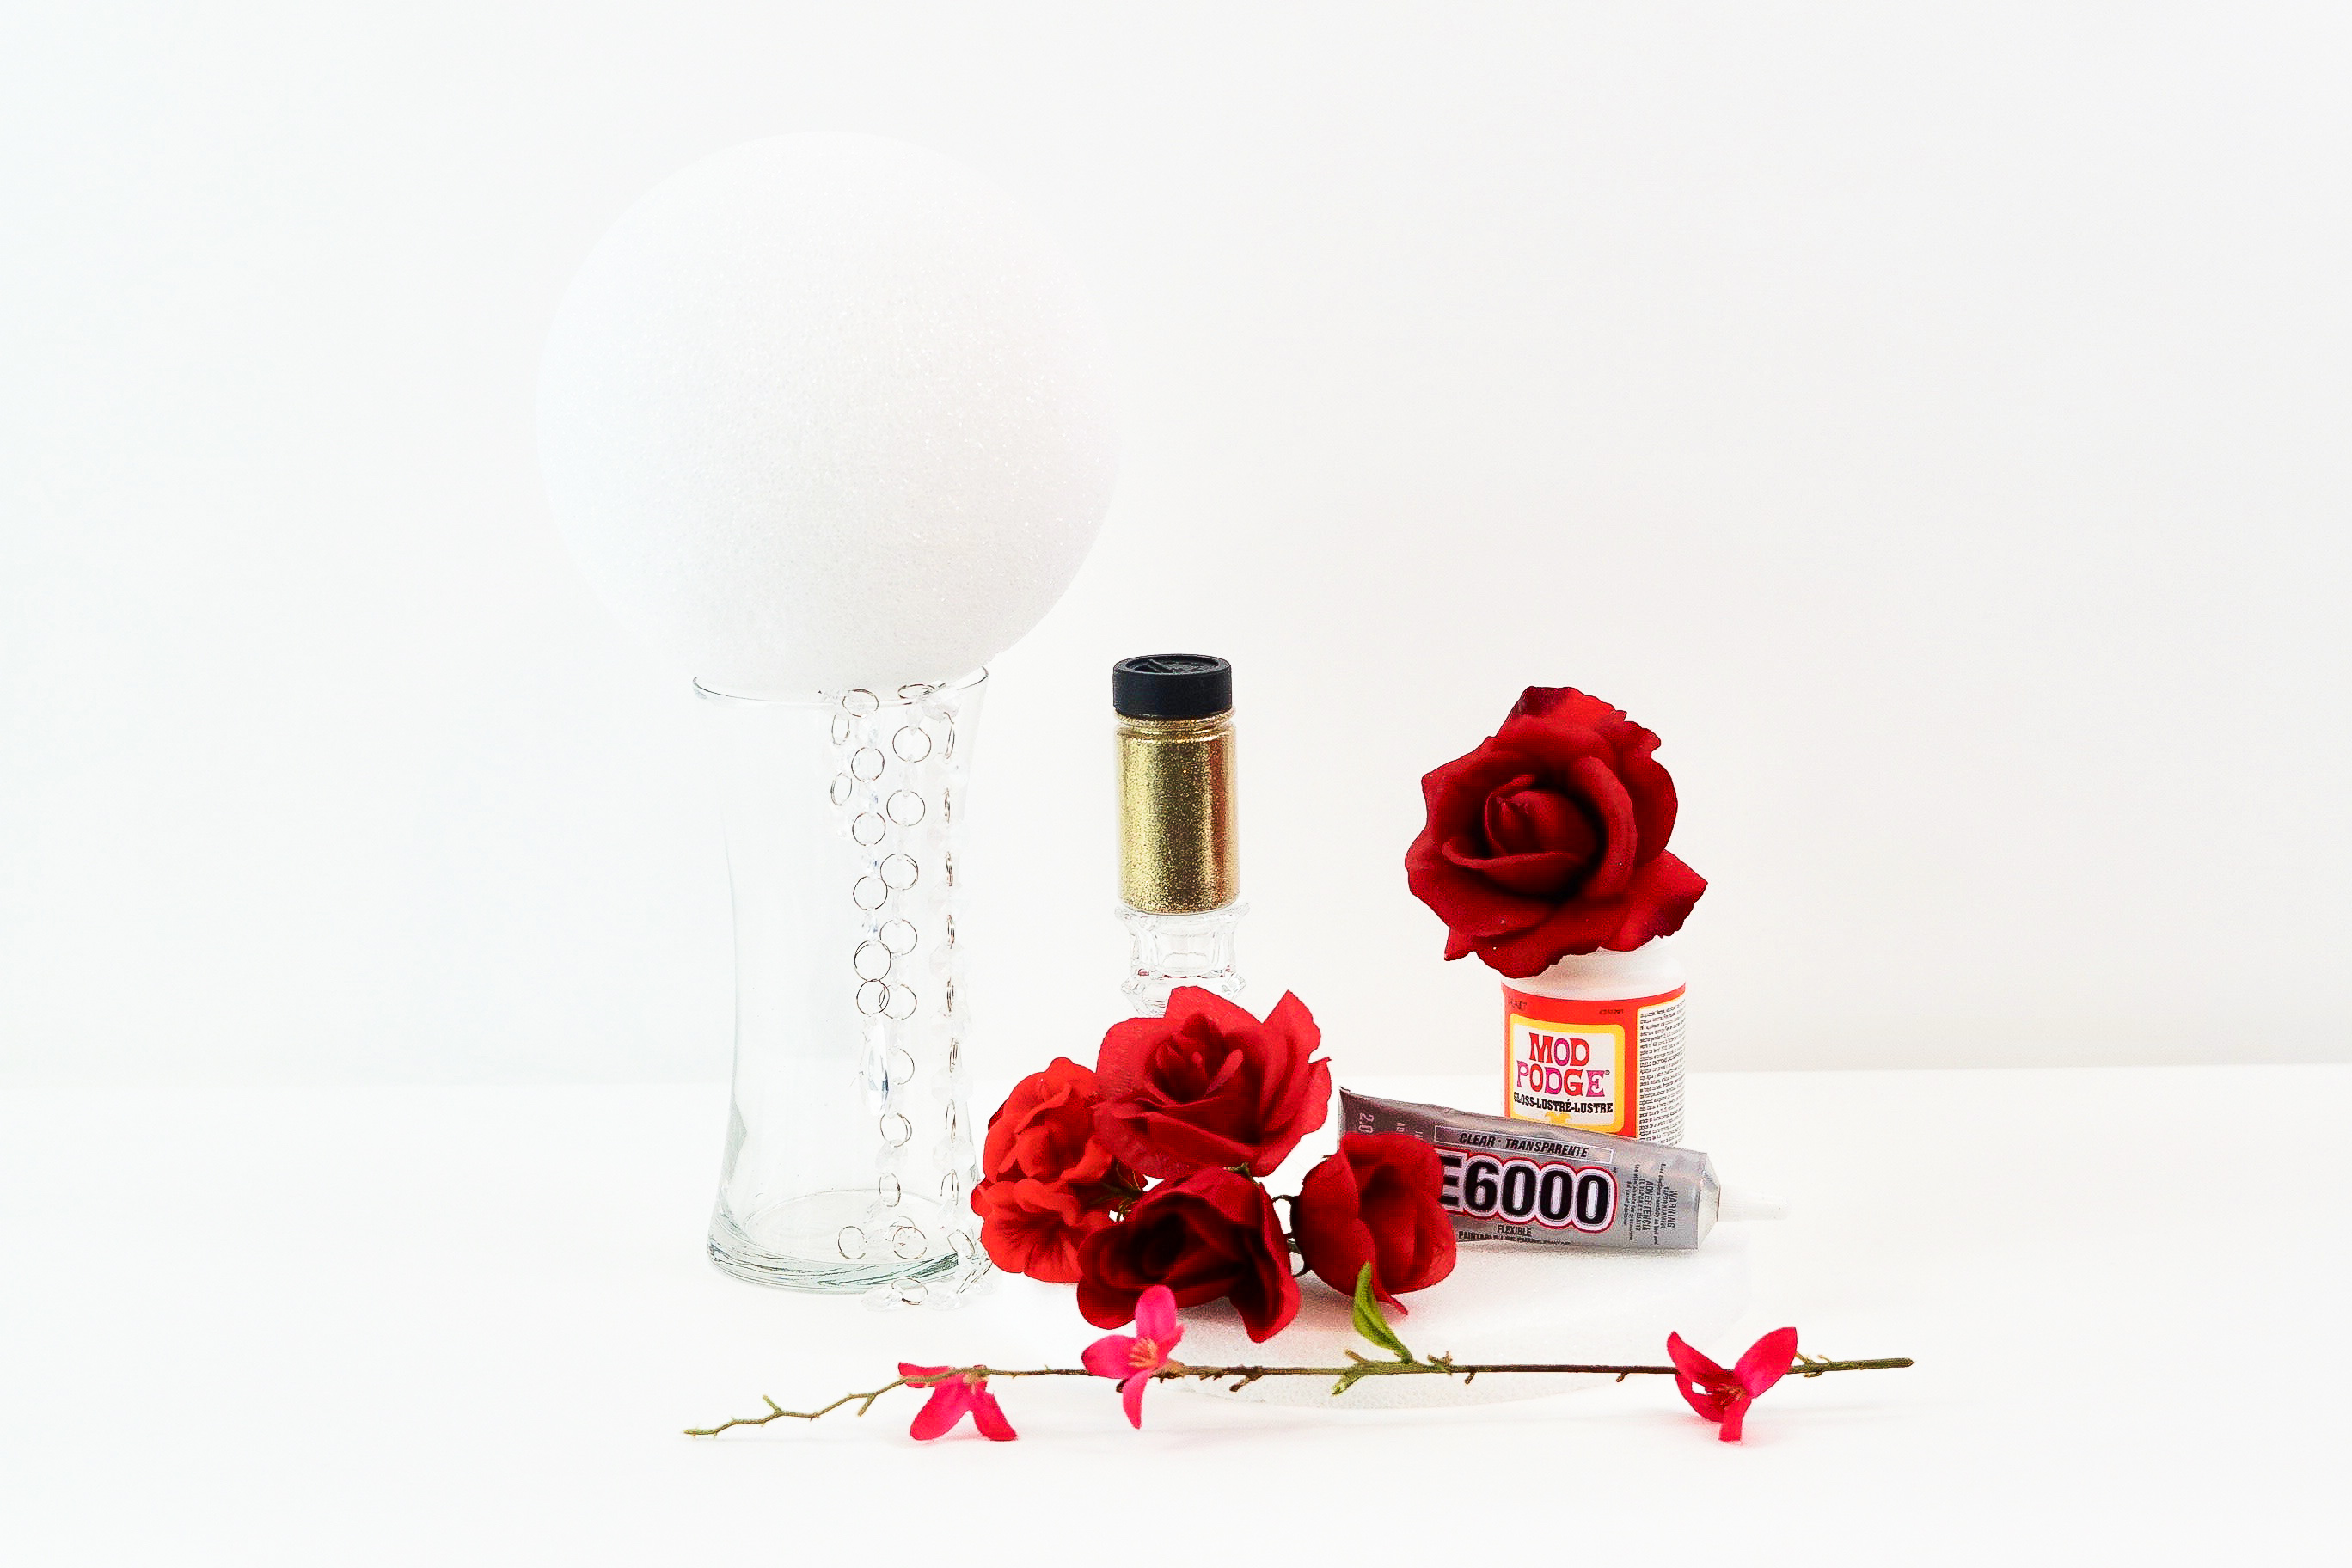
SUPPLIES:
Glass Taper Candleholders, 4″
Floral Garden 5-Stem Red Velvety Blooming Roses, 14 in.
5-Stem Floral Garden Red Velvety Roses, 14 in.
Floral Garden 7-Stem Faux Rose Bud Bushes, 13.5 in
Mod Podge Gloss Craft Adhesive, 2-oz. Bottles
8″ Clear Glass Sidney Vase
Styrofoam Ball – 8″
Foam Disc – 10″
Hot Pink Forsythia Branch
Red Geranium Bush
Gold Extra Fine Glitter – 2-Ounces
22 Gauge 18″ Green Annealed Floral Wire
FloraCraft 100 Piece Floral Pins
E6000 Adhesive
Gem Garland
30PCS Teardrop Acrylic Crystal Beads Beads Garland Chandelier Hanging
For written instructions, please continue reading below:
How To Make a DIY Tall Rose Gold Chandelier Wedding Centerpiece
Directions:
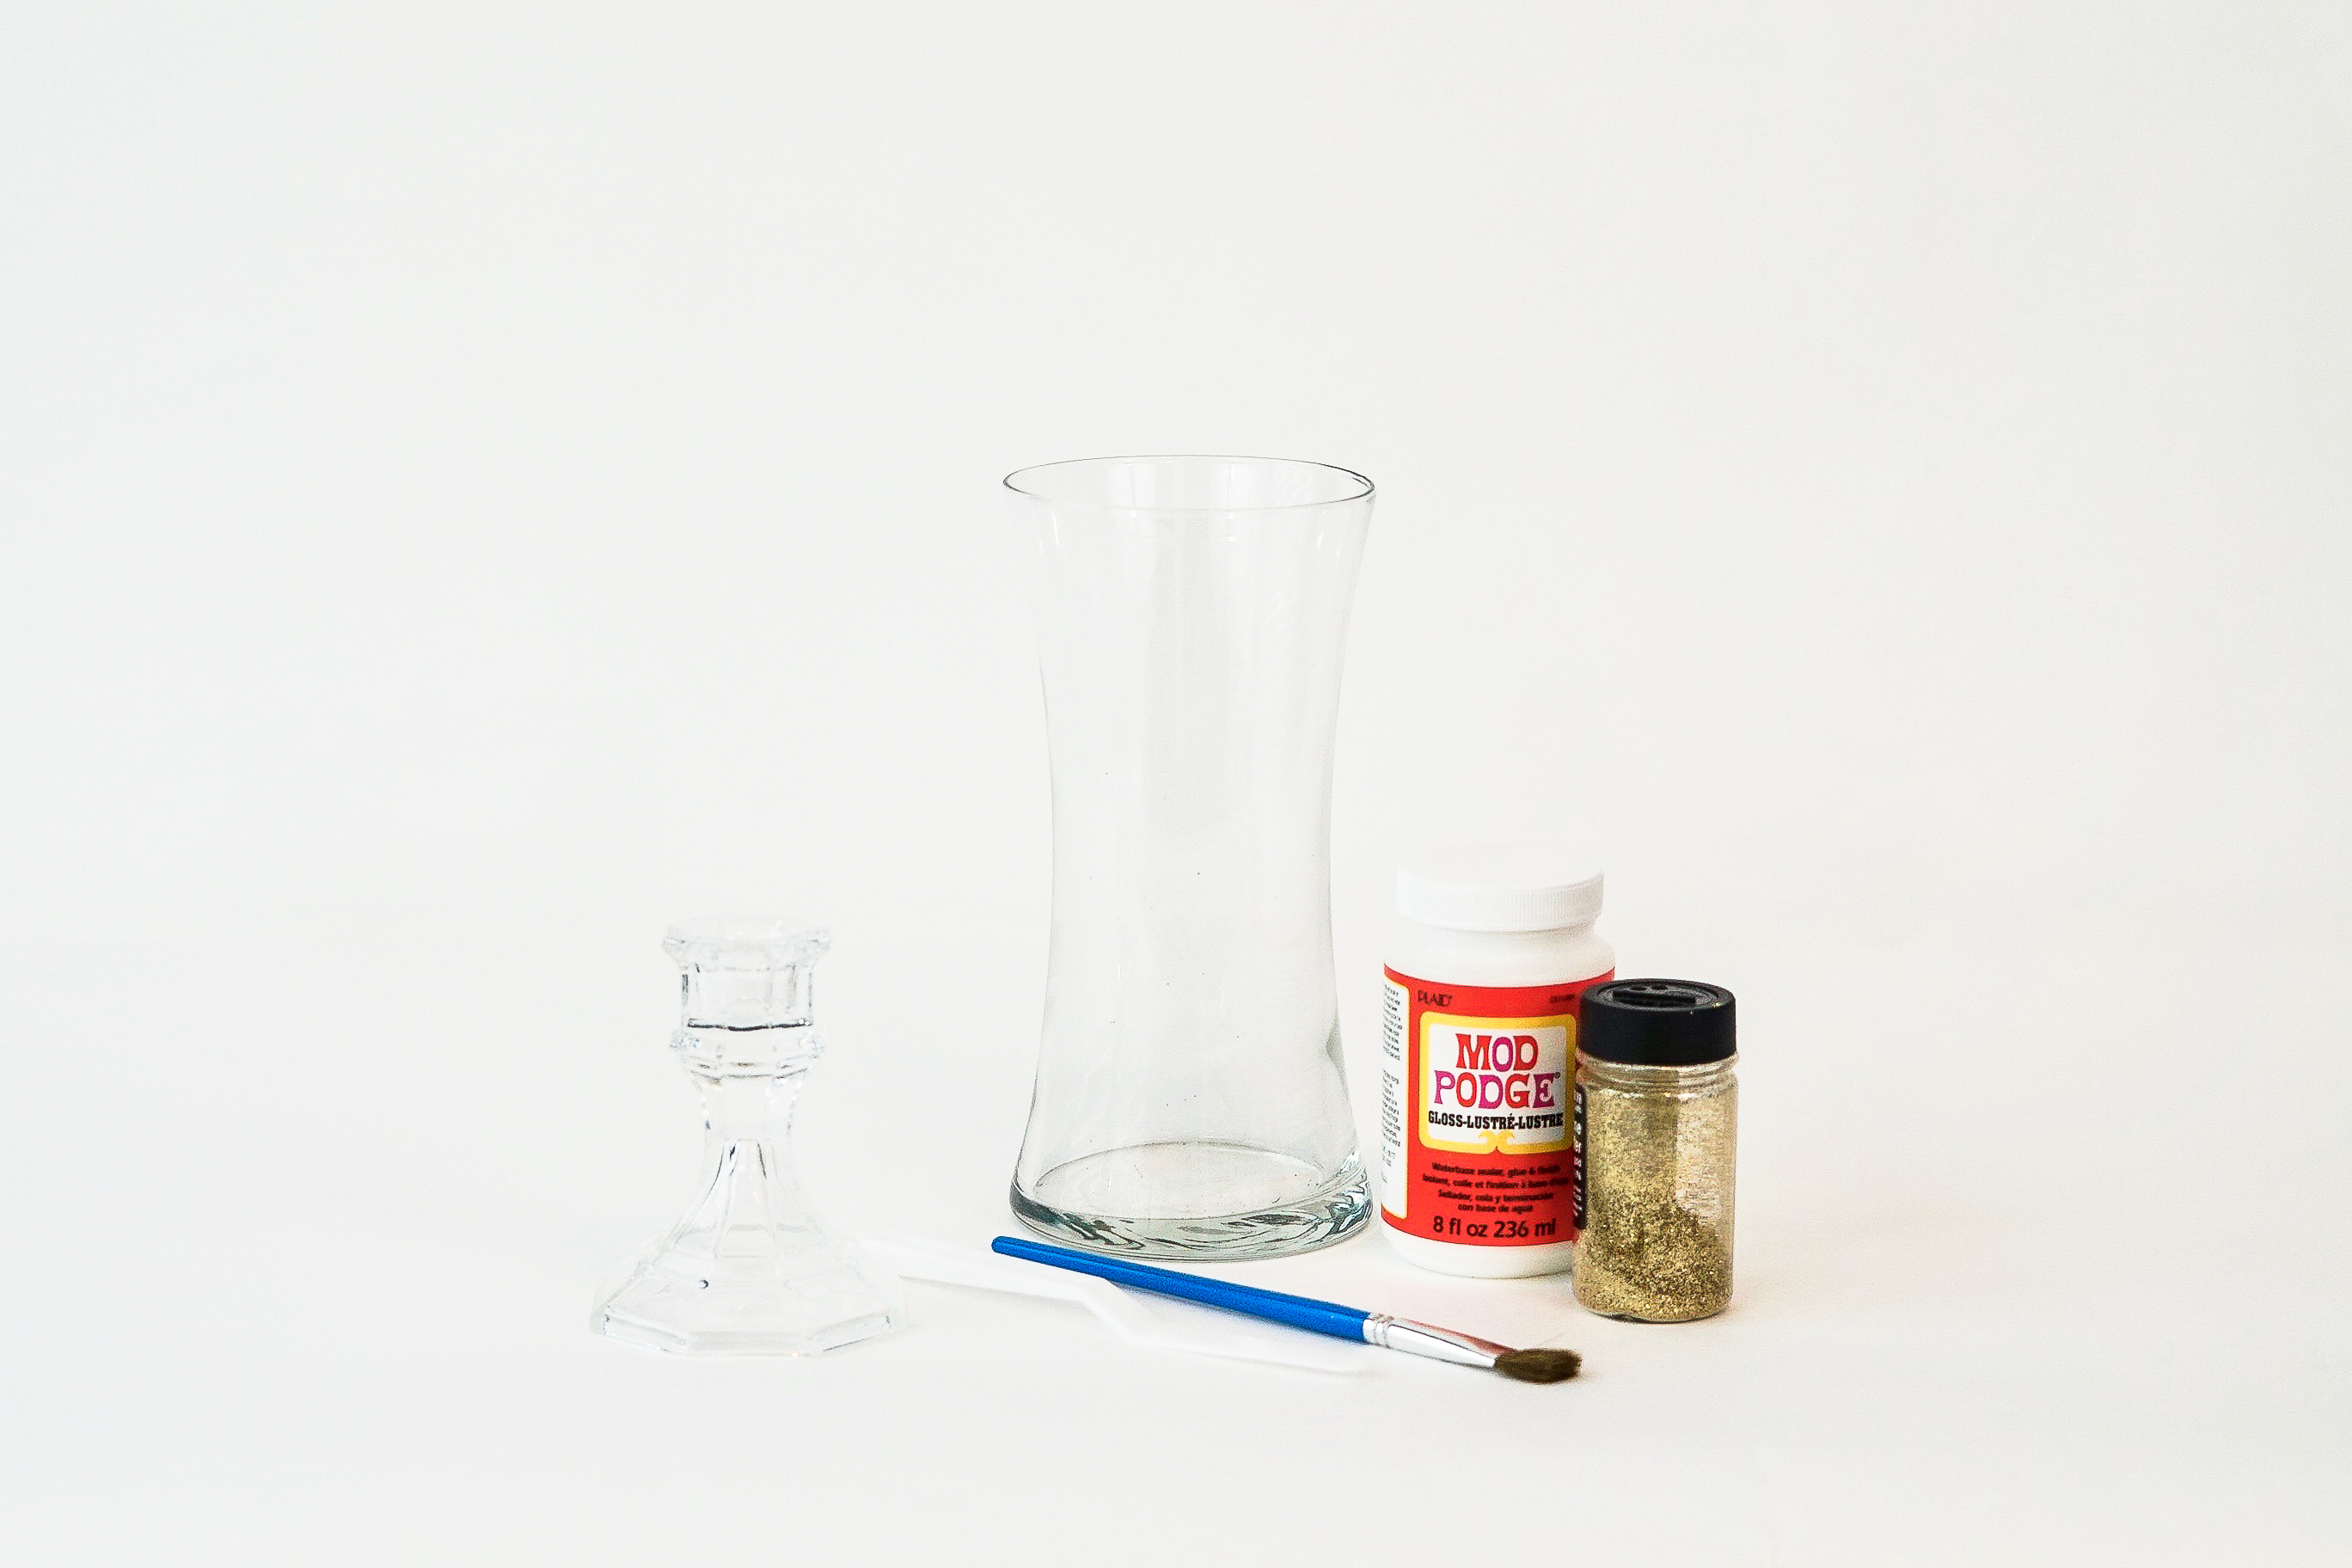
STEP 1: Take some gloss modge podge and pour it into a bowl. Next stir in about 1 tablespoon of gold glitter. Now paint it on your 4 inch glass taper candleholder and two of your 8 inch clear glass Sidney Vases. Once it dries, it will not flake at all.
TIP: You can paint as many coats as you would like. I chose to paint 2 coats.
Attach Your Vases
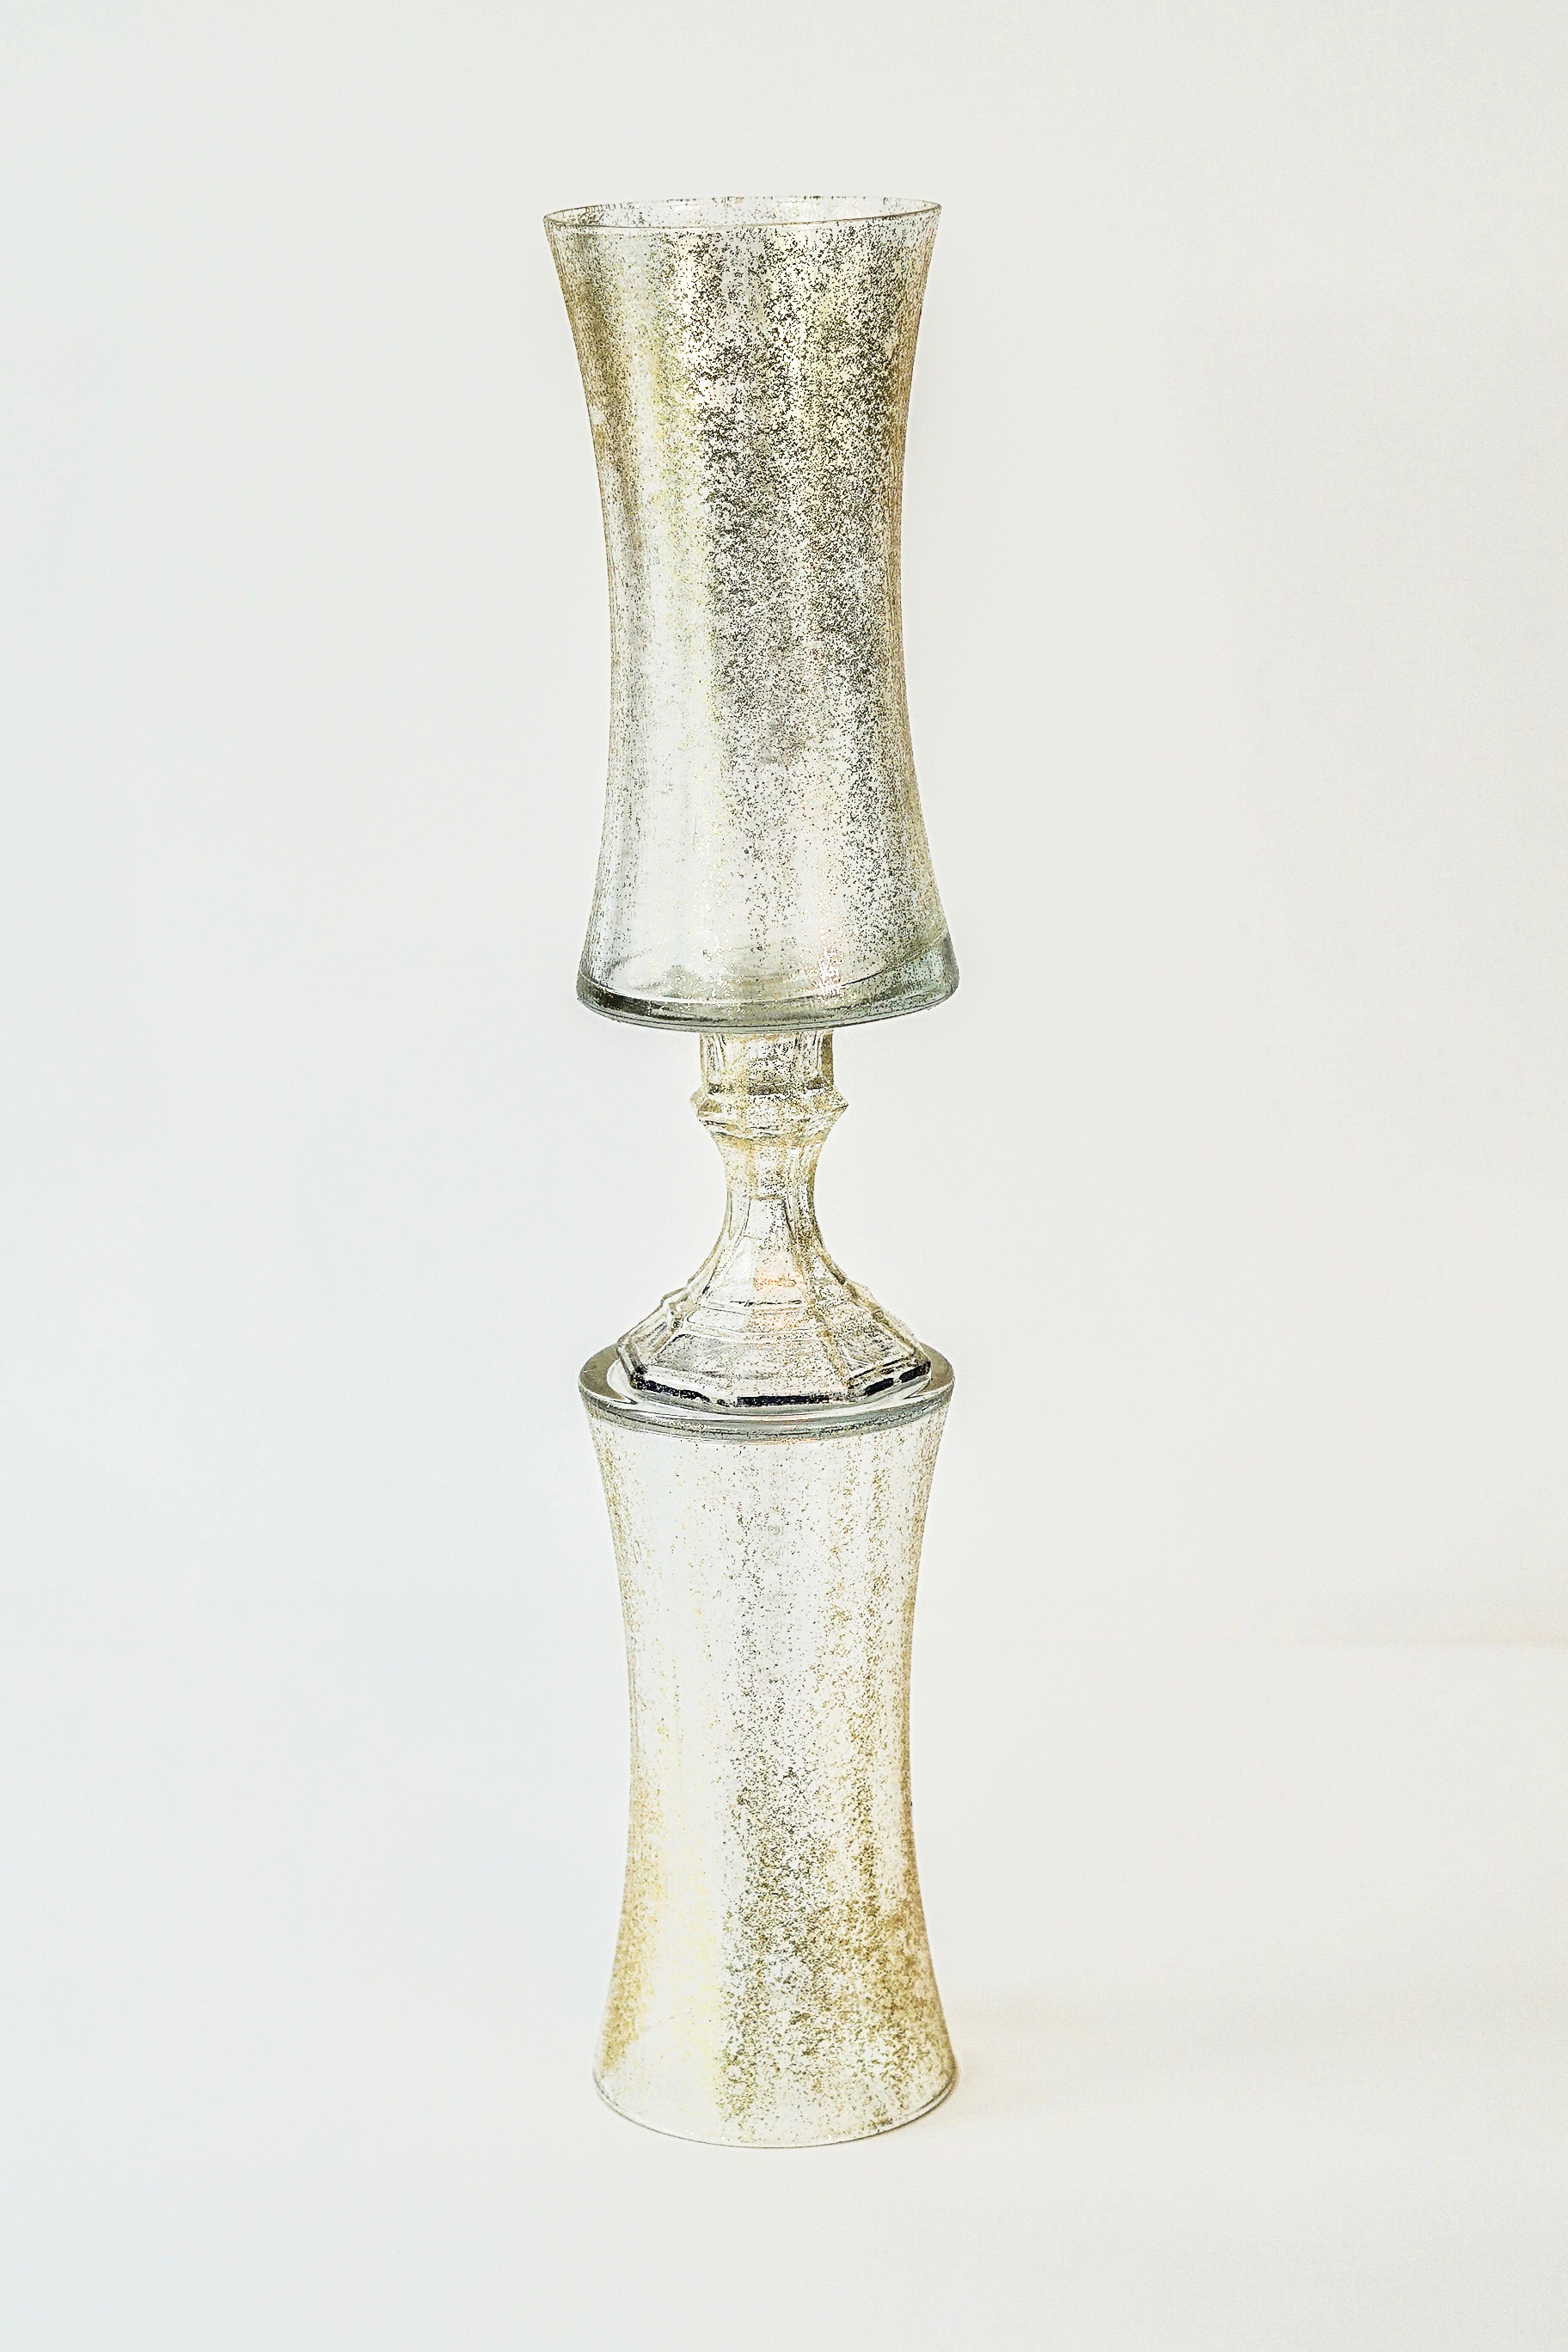
STEP 2: Flip one your Sidney vases over and attach your 4 inch taper candlestick holder to your Sidney vase using E6000 Adhesive and then attach your other Sidney vase right on top using the same extra strength E6000 adhesive.
TIP: Before adding your second Sidney vase, be sure to let your first 2 pieces dry overnight.
Hot Glue Your Foam Ball To Your Vase
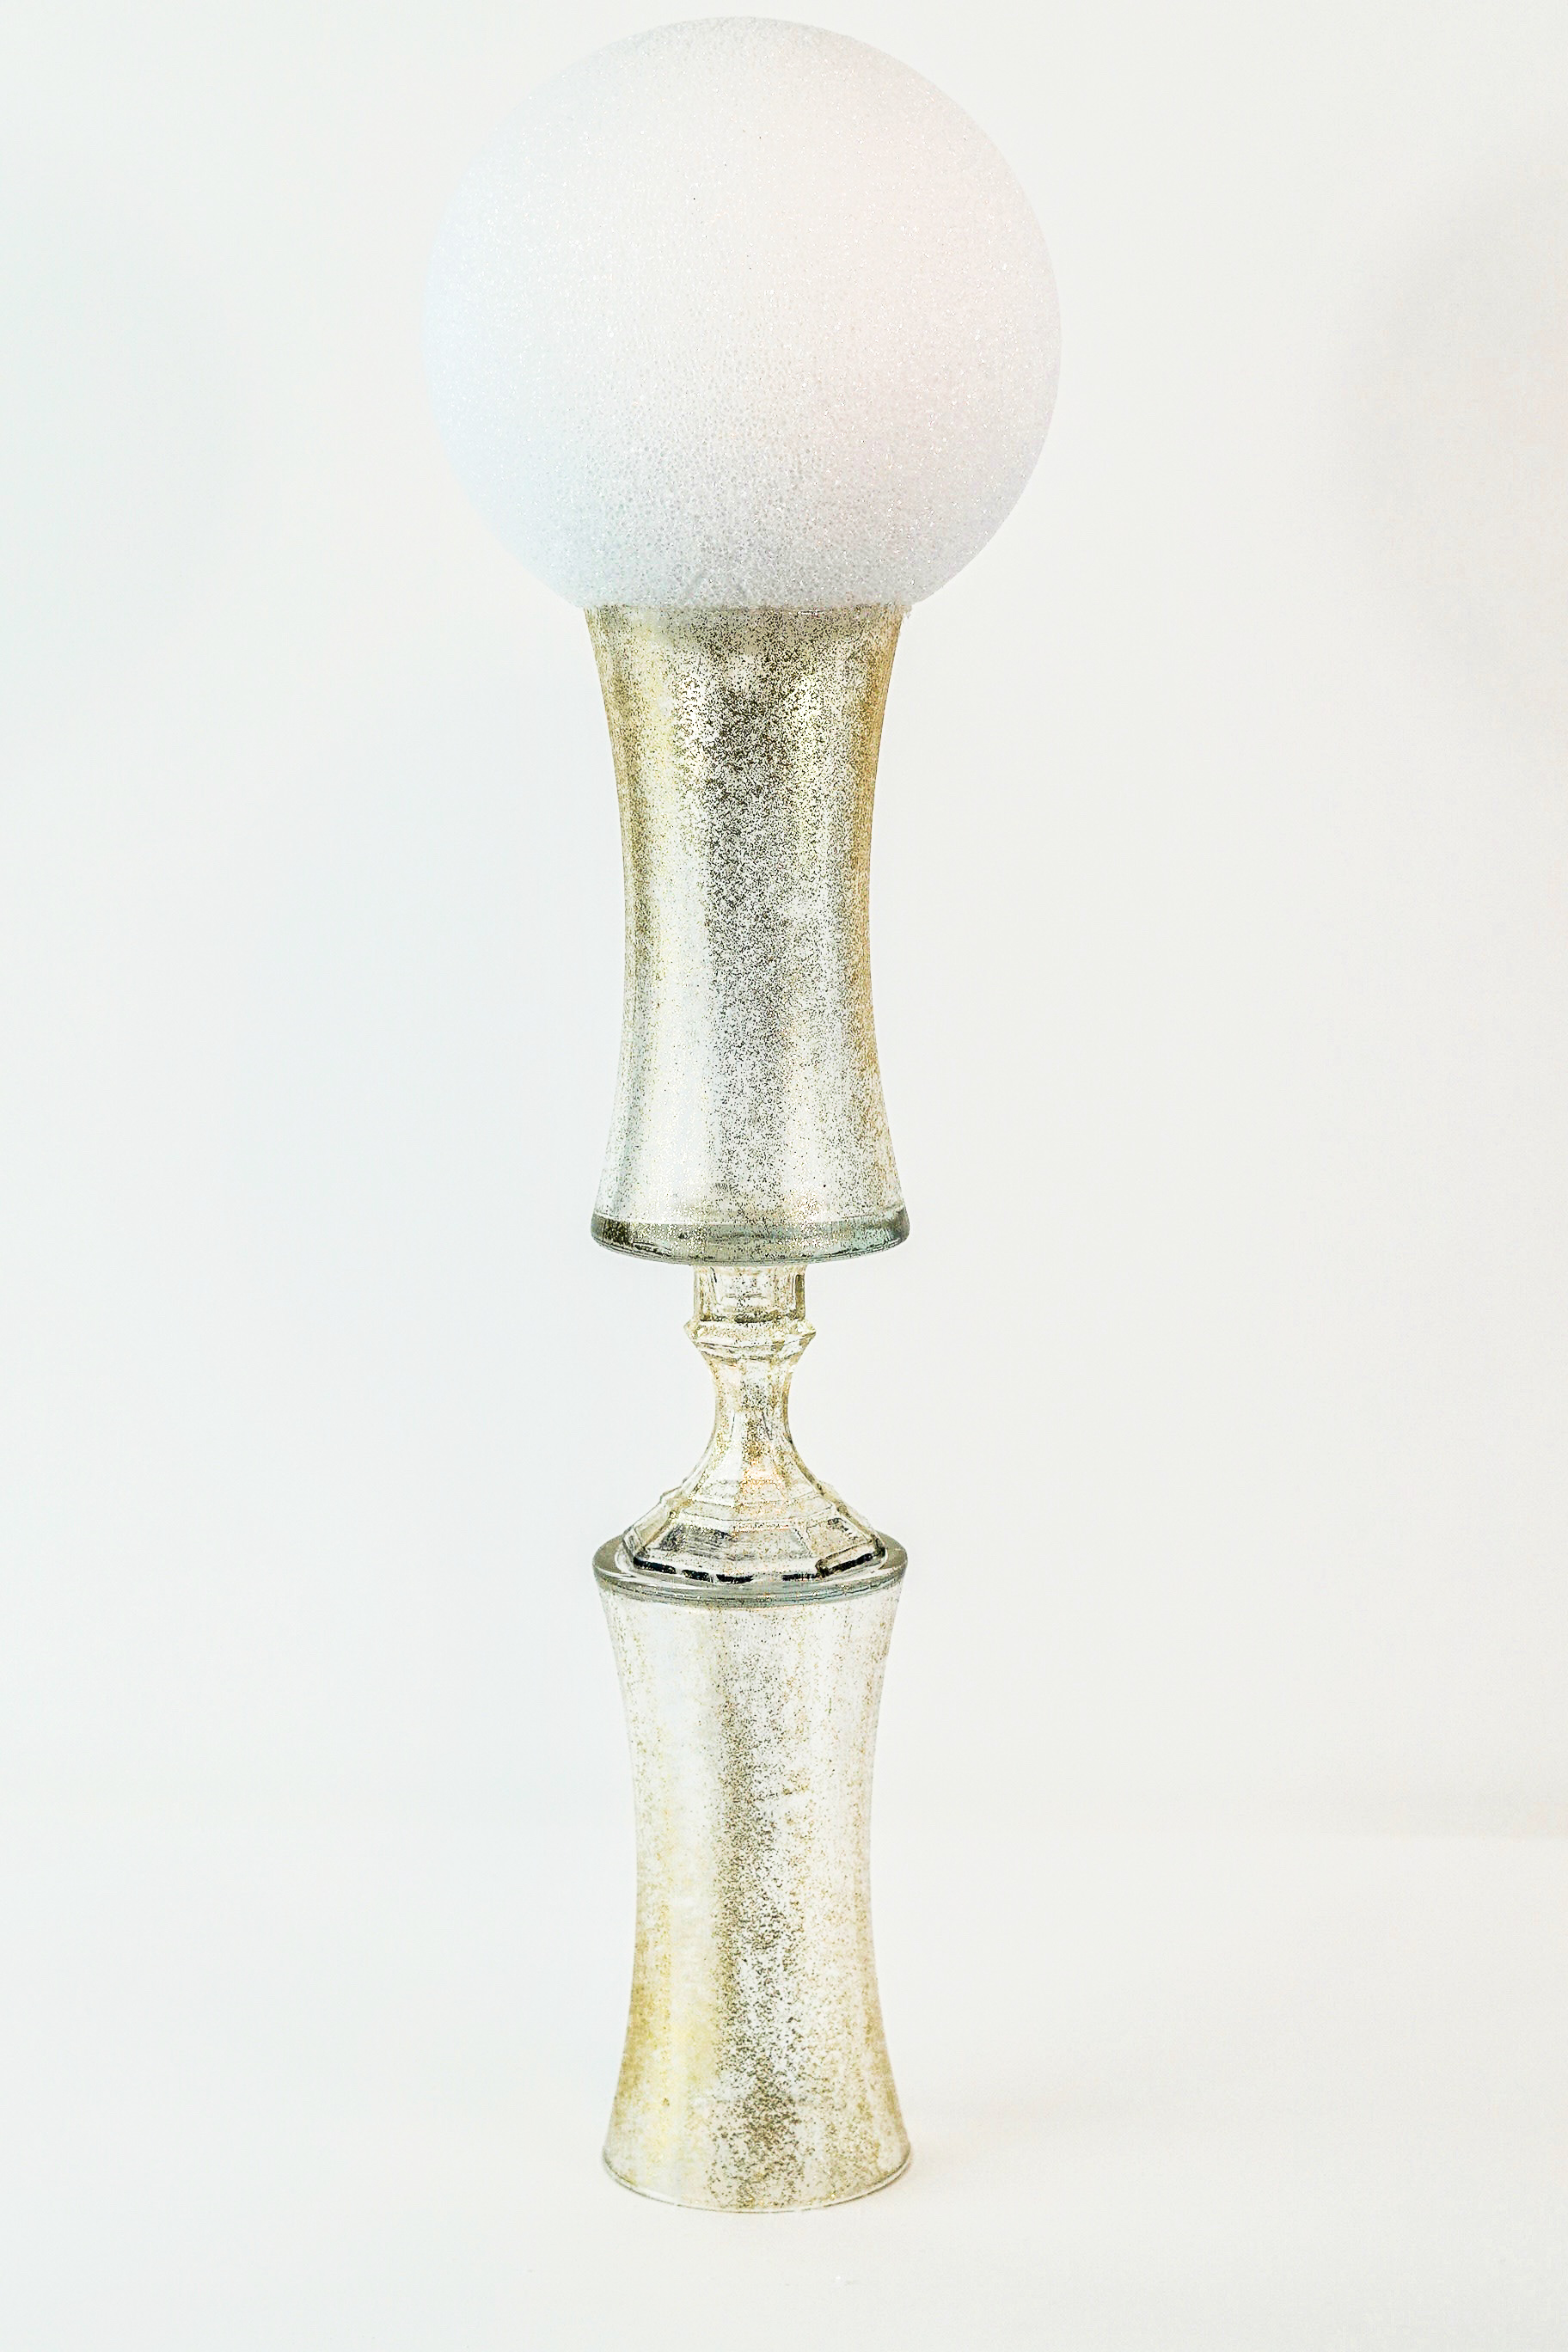
STEP 3: Cut an indention in the bottom of your 8 inch foam ball with a foam cutter. Then add hot glue to the rim of your vase and attach your foam ball on top.
Add Your Gem Garland For the Chandelier Effect
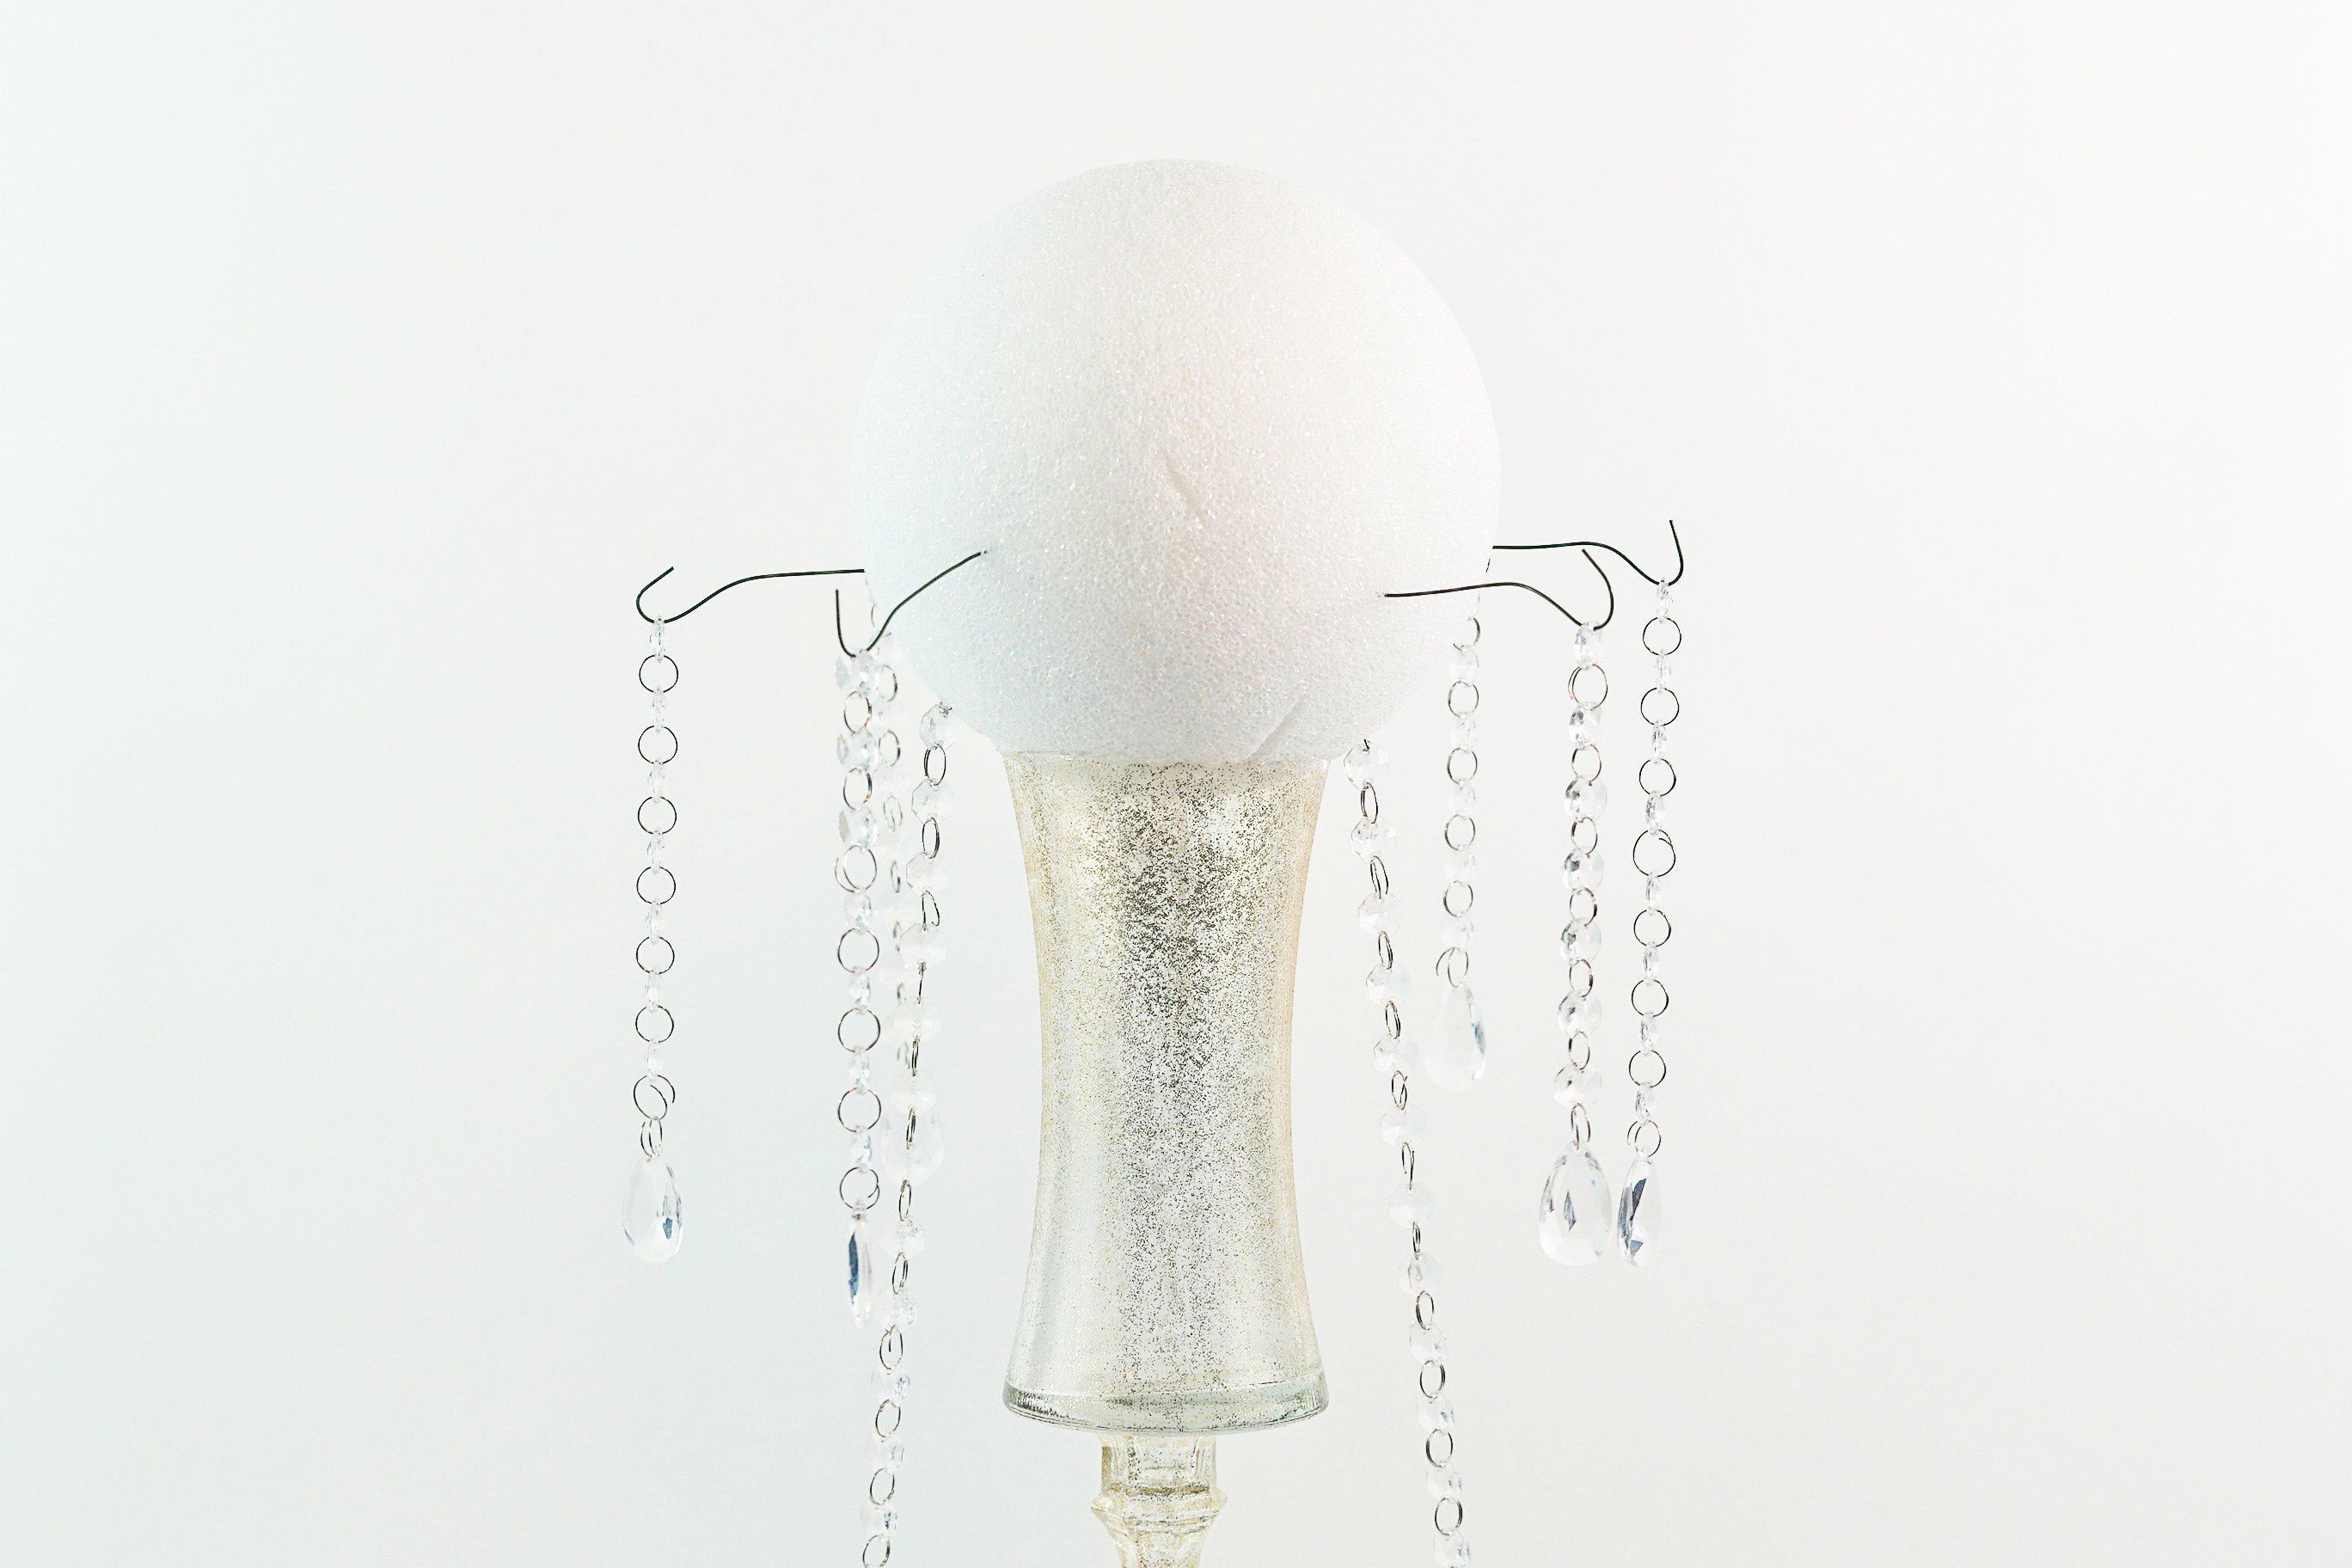
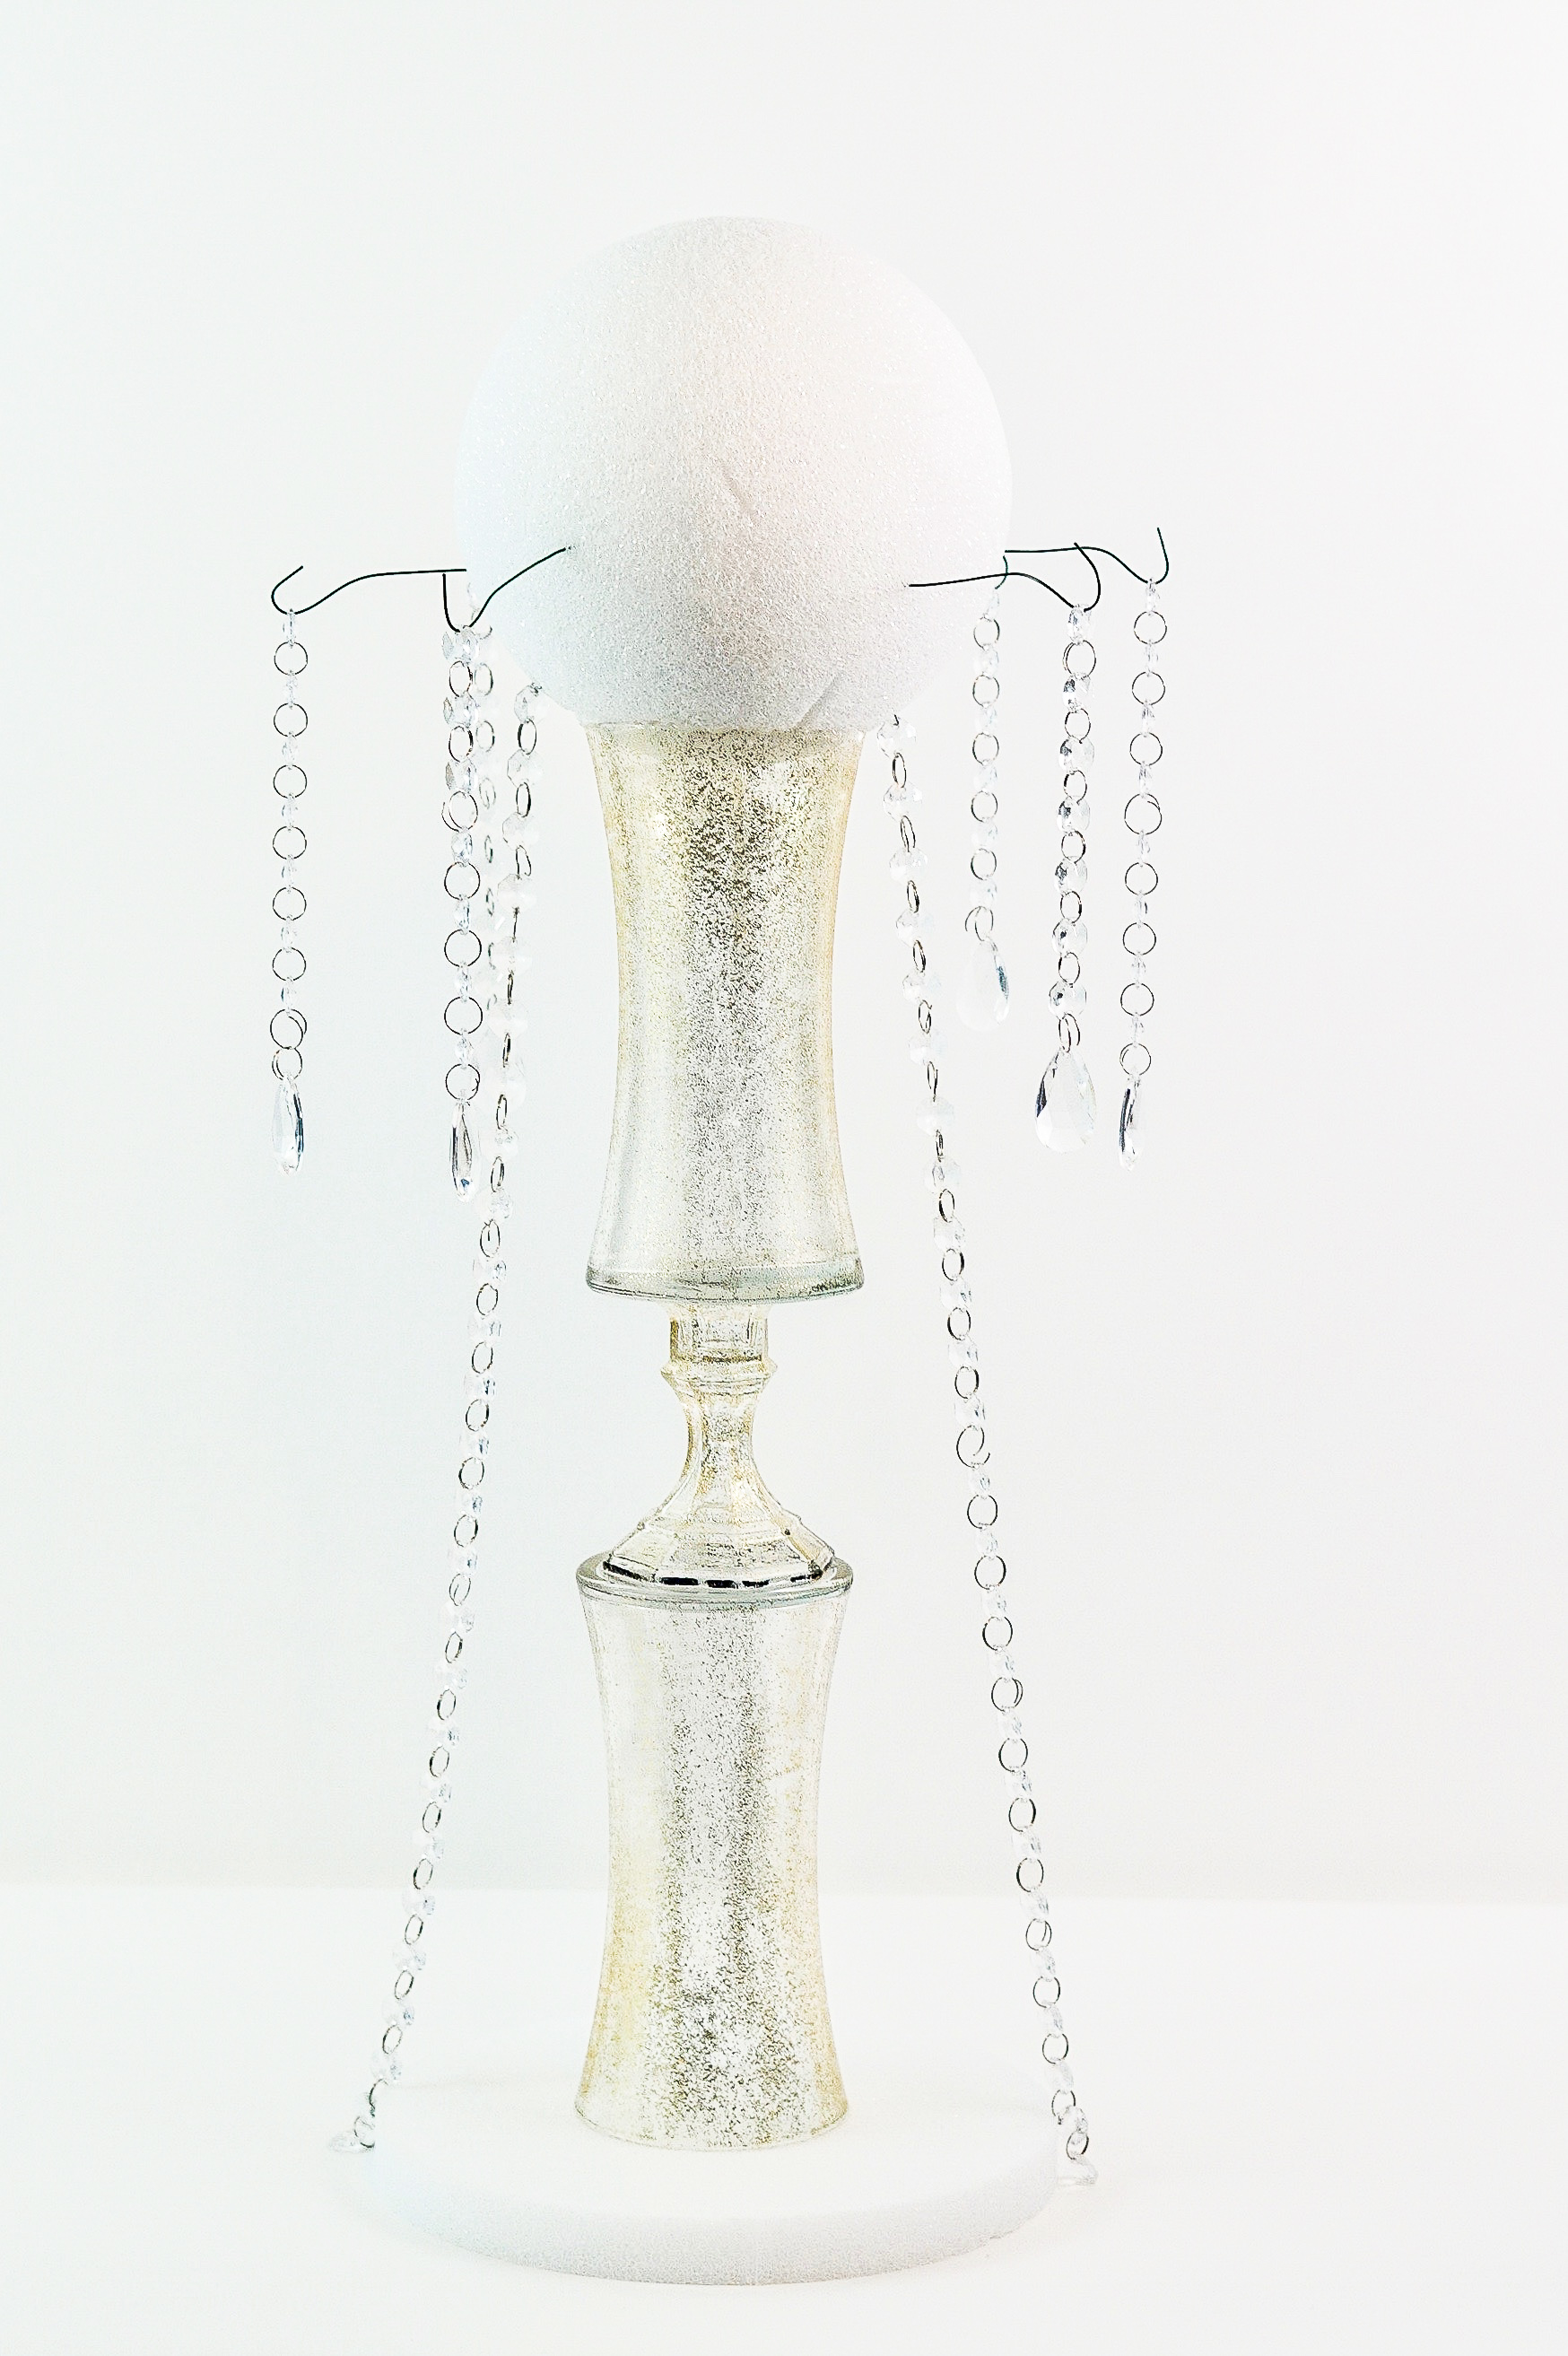
STEP 4: Place your vase on your foam disc. Next attach 24 inch gem garland to the underside of your foam ball. Use another floral pin to attach the gem garland to the 10 inch foam disc at the bottom. Repeat this step two additional times.
STEP 5: Take six of your 22 gauge floral wires and create hooks on the ends. Next insert your floral wires into your foam ball. Attach one teardrop acrylic crystal bead garland to each.
Attach Your Flowers
STEP 6: Attach 12-16 Geranium heads, 10-14 forsythia branches, 8-12 real touch roses, and 18-24 large rose buds.
OPTIONAL: I attached gold tinged leaves from Christmas holly from the Dollar Tree that I also attached.
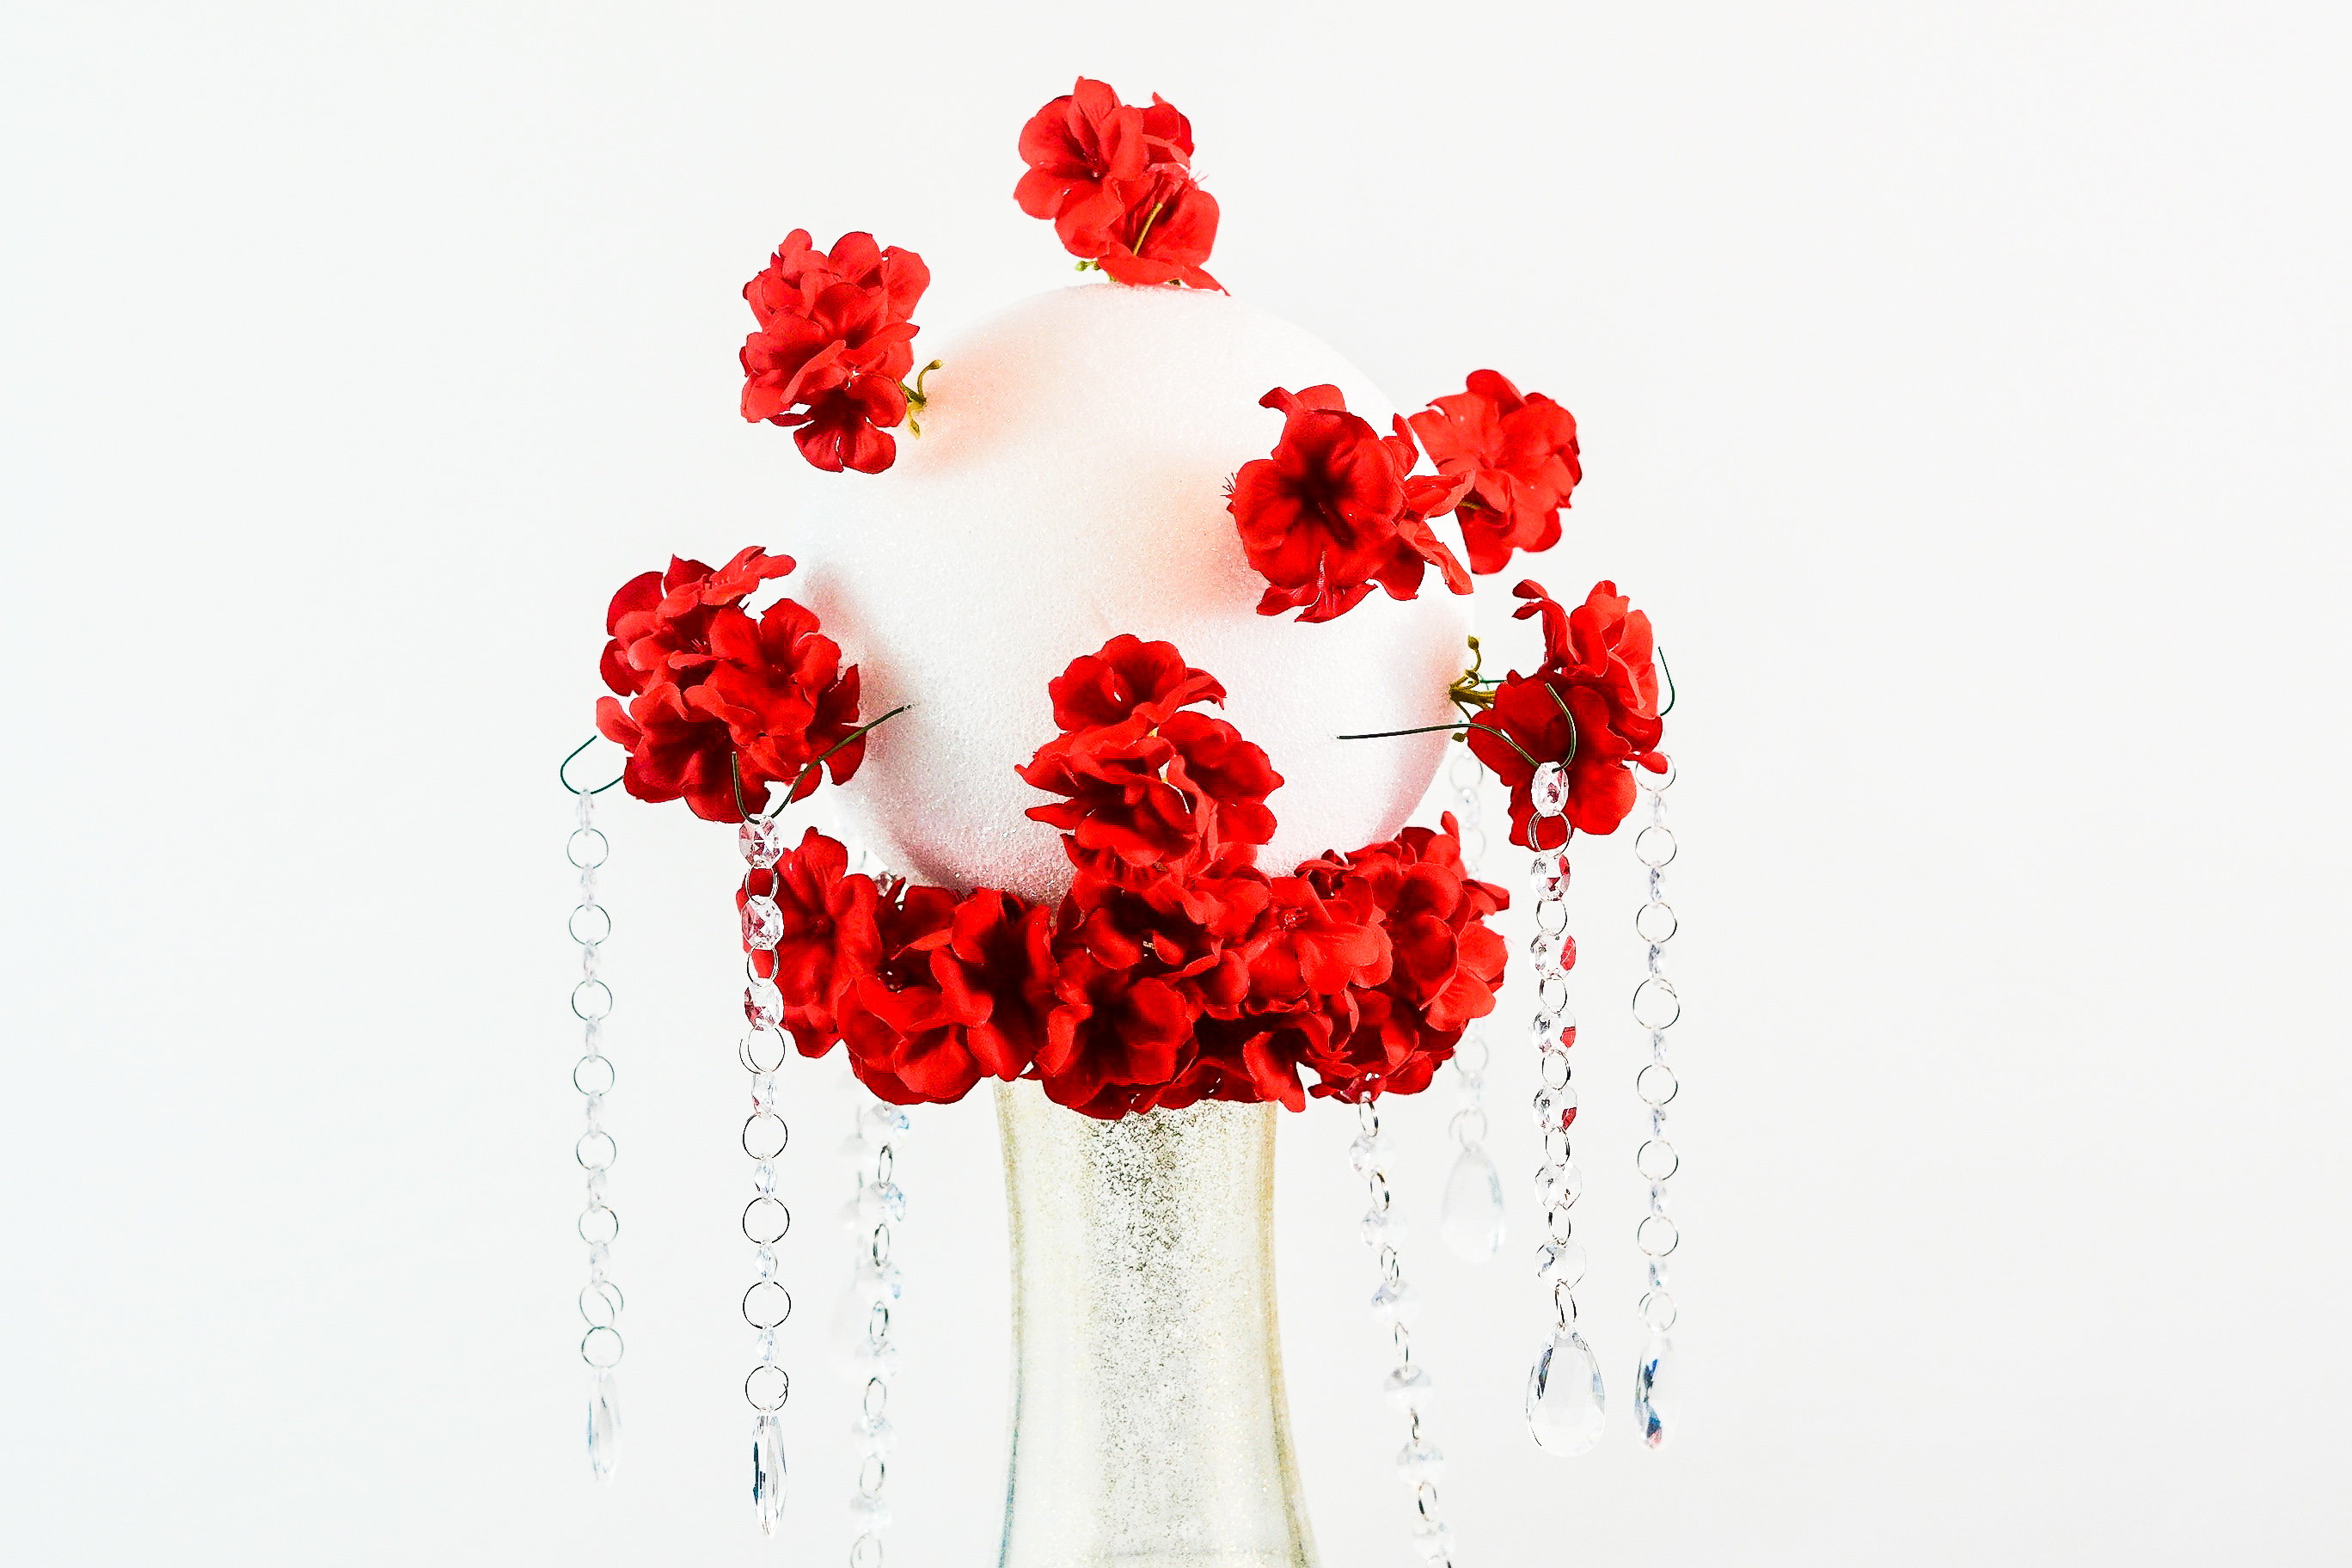
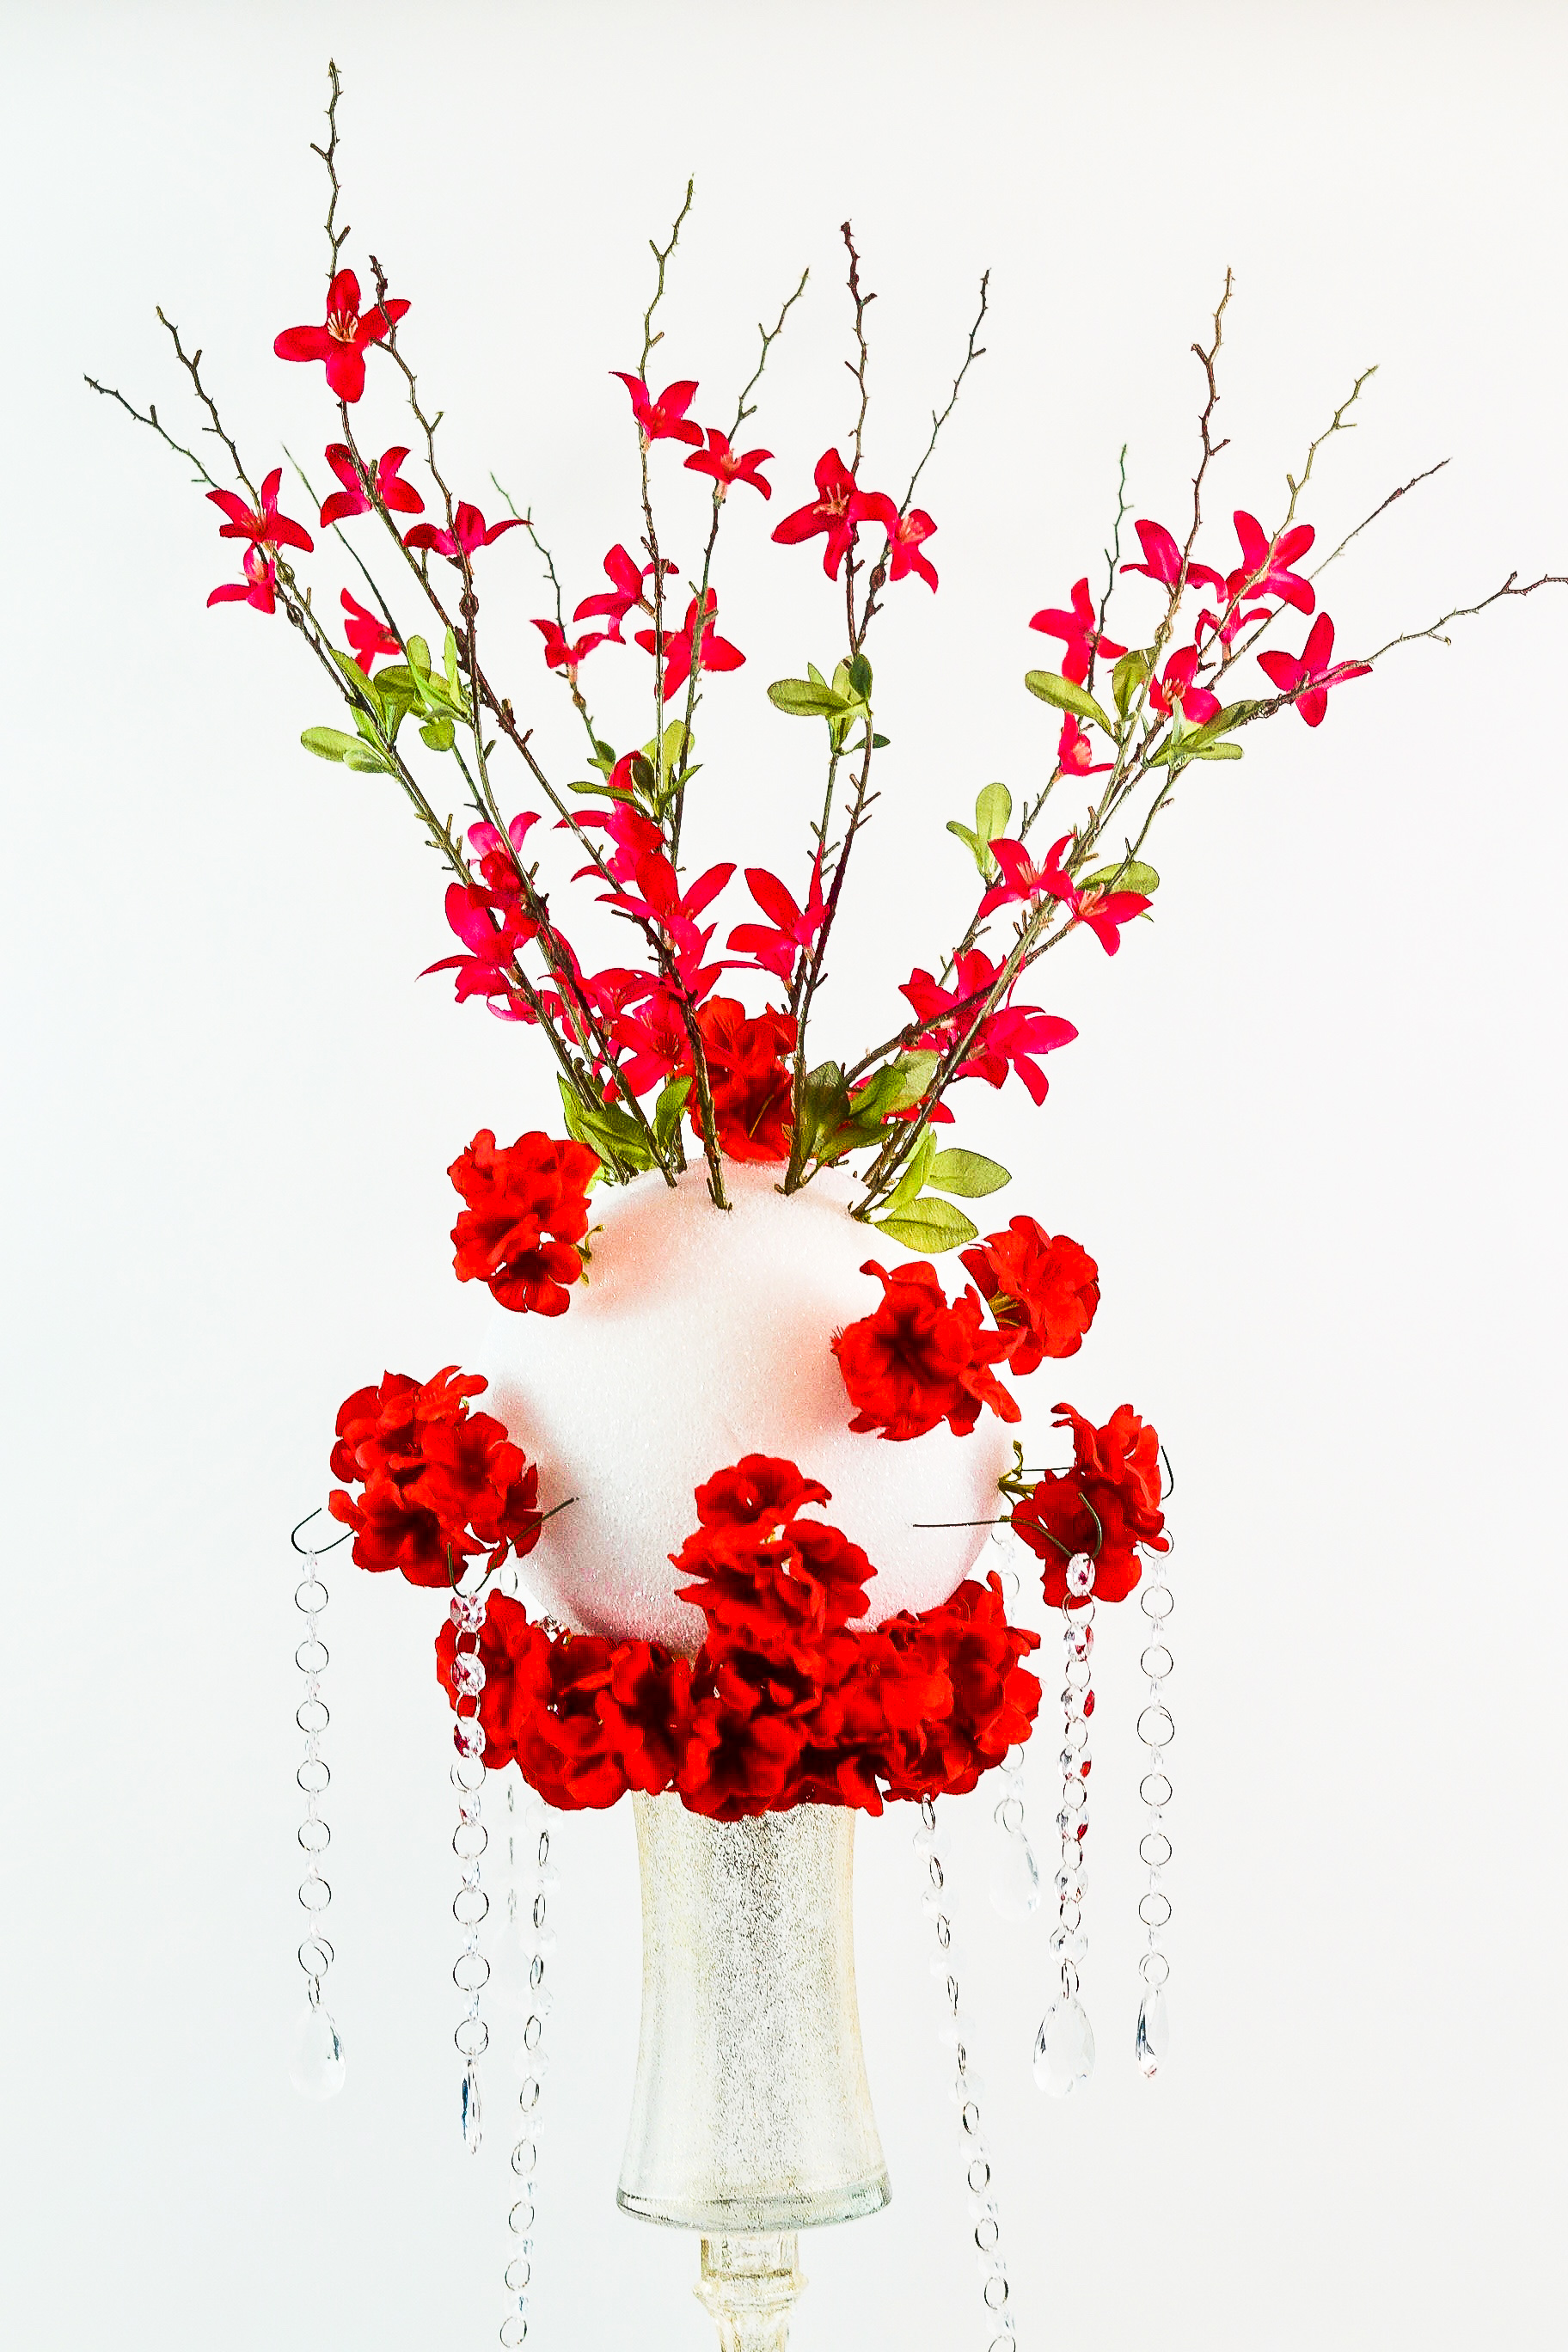
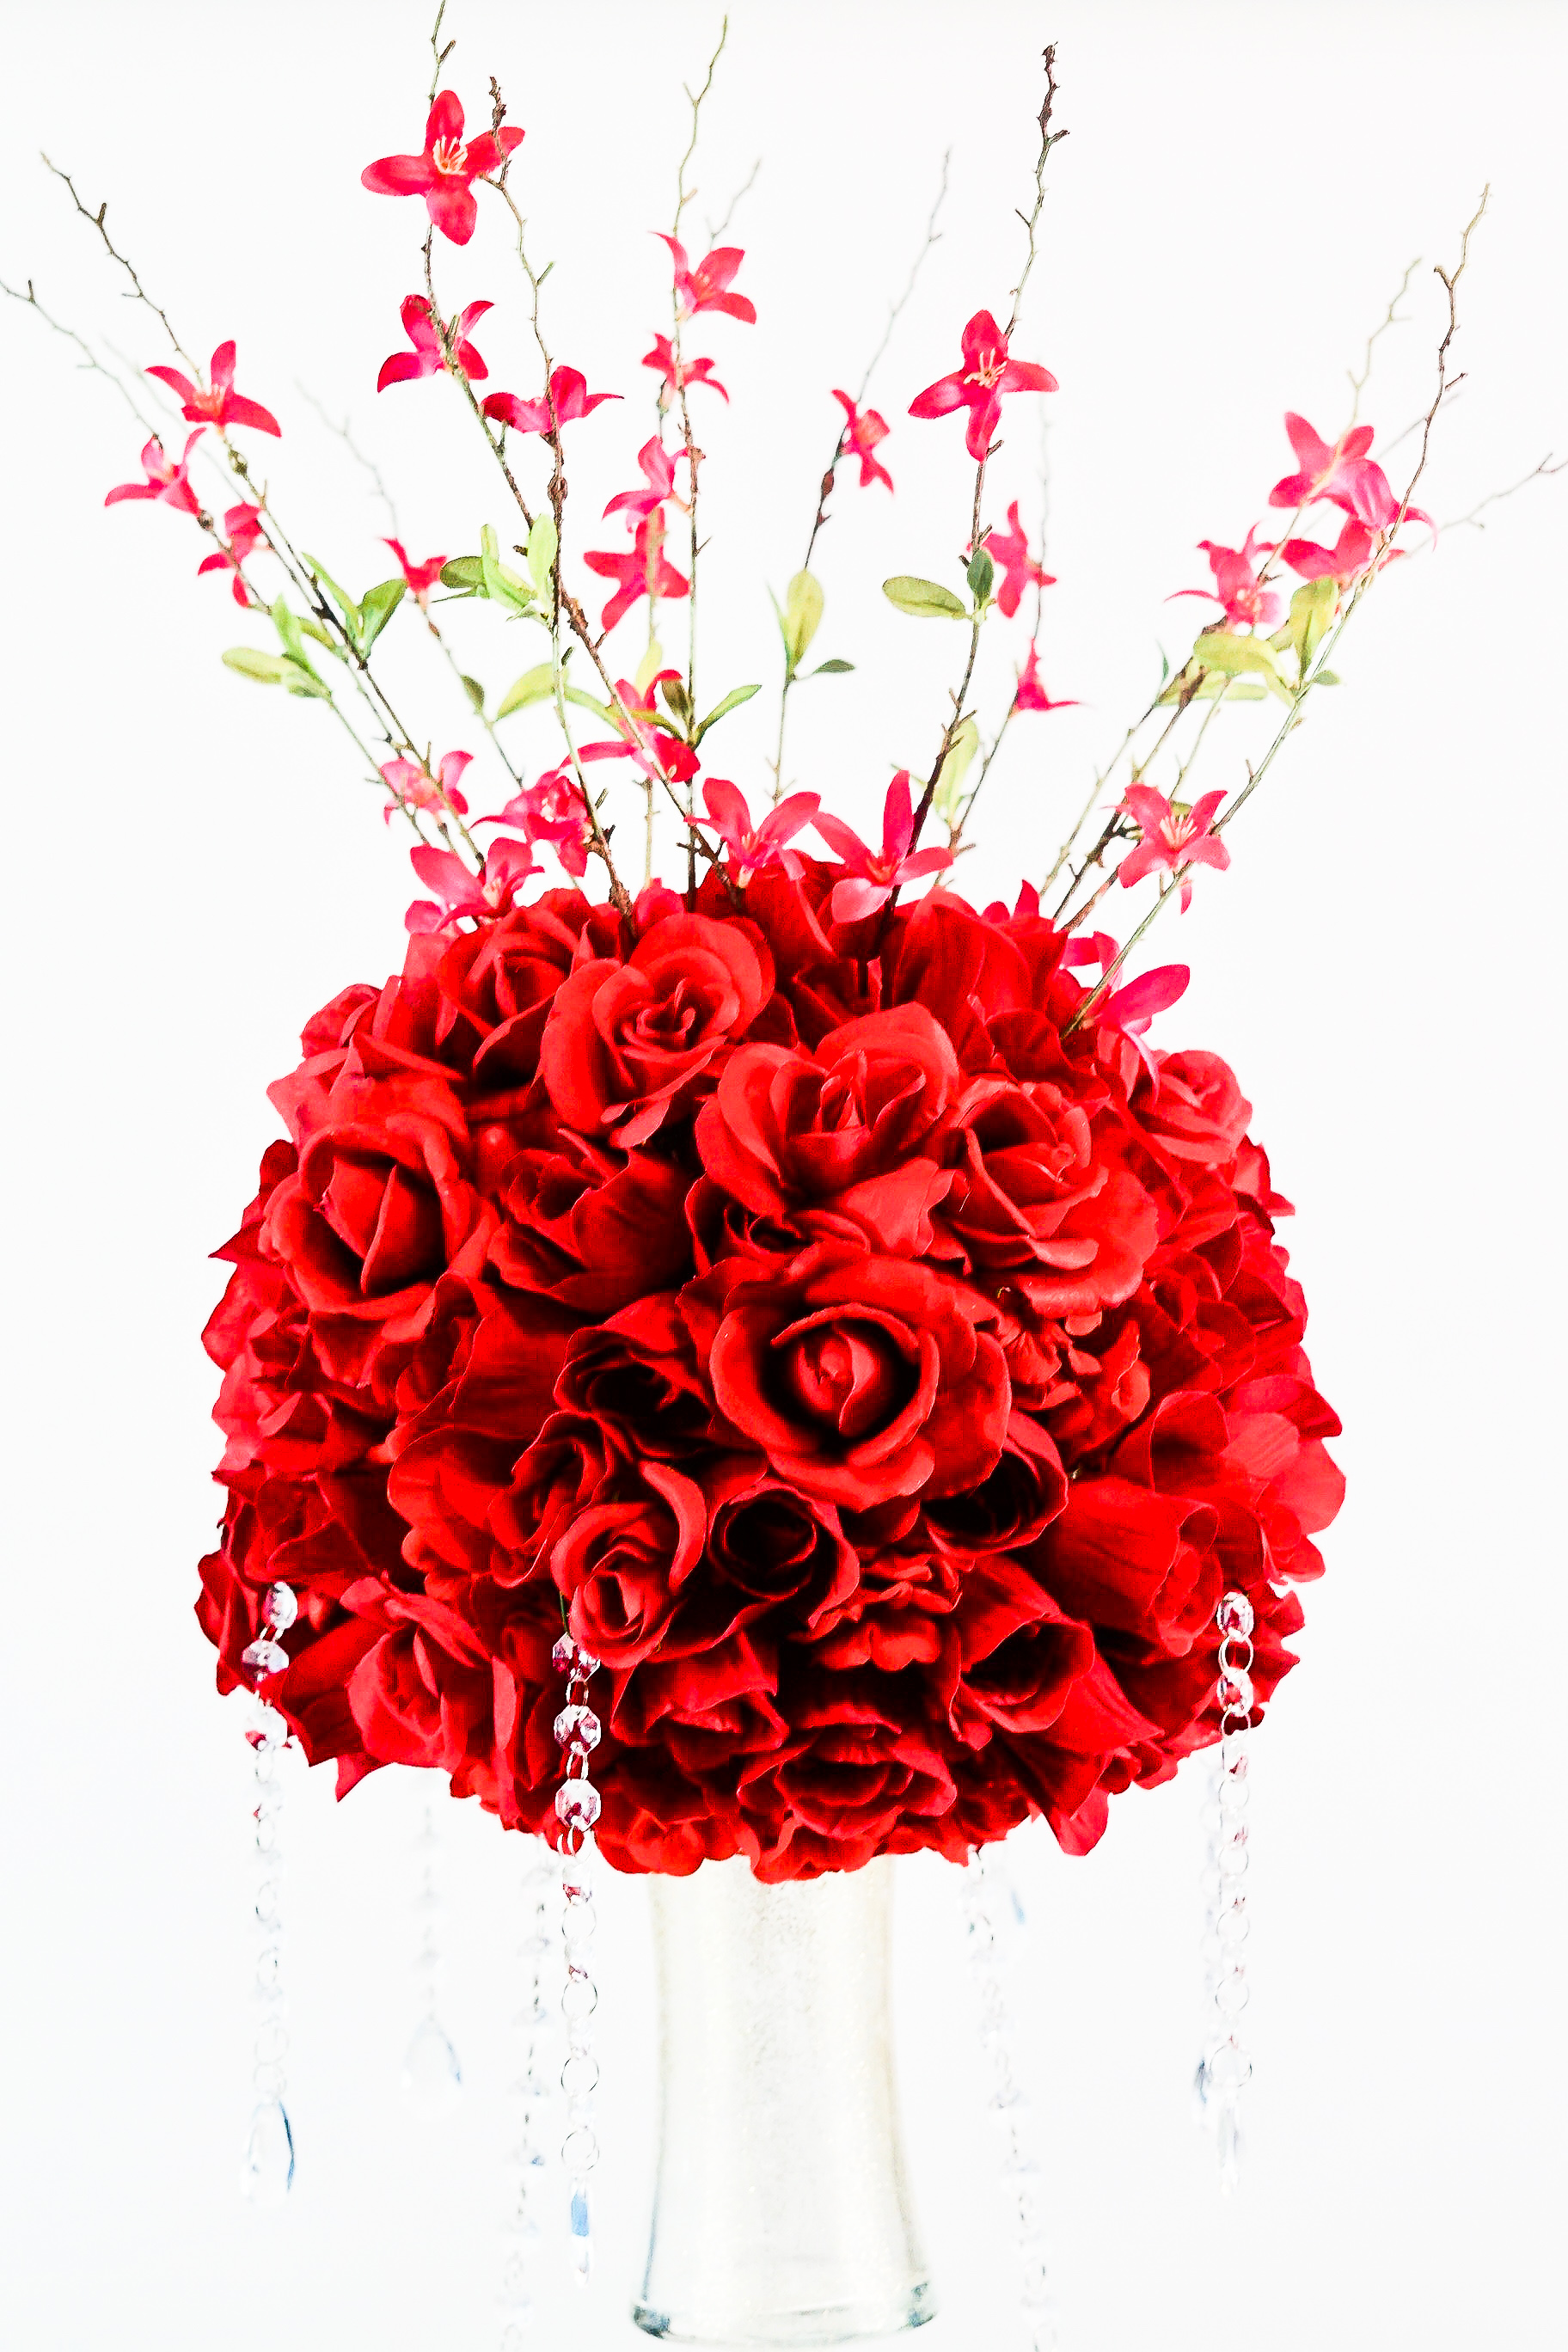
STEP 7: Lastly, to your foam disc at the bottom, attach 18-24 small rose buds, 18-24 rose blossoms, and 8-12 real touch roses. I also added in the same gold tinged leaves from my Christmas Holly from the Dollar Tree.
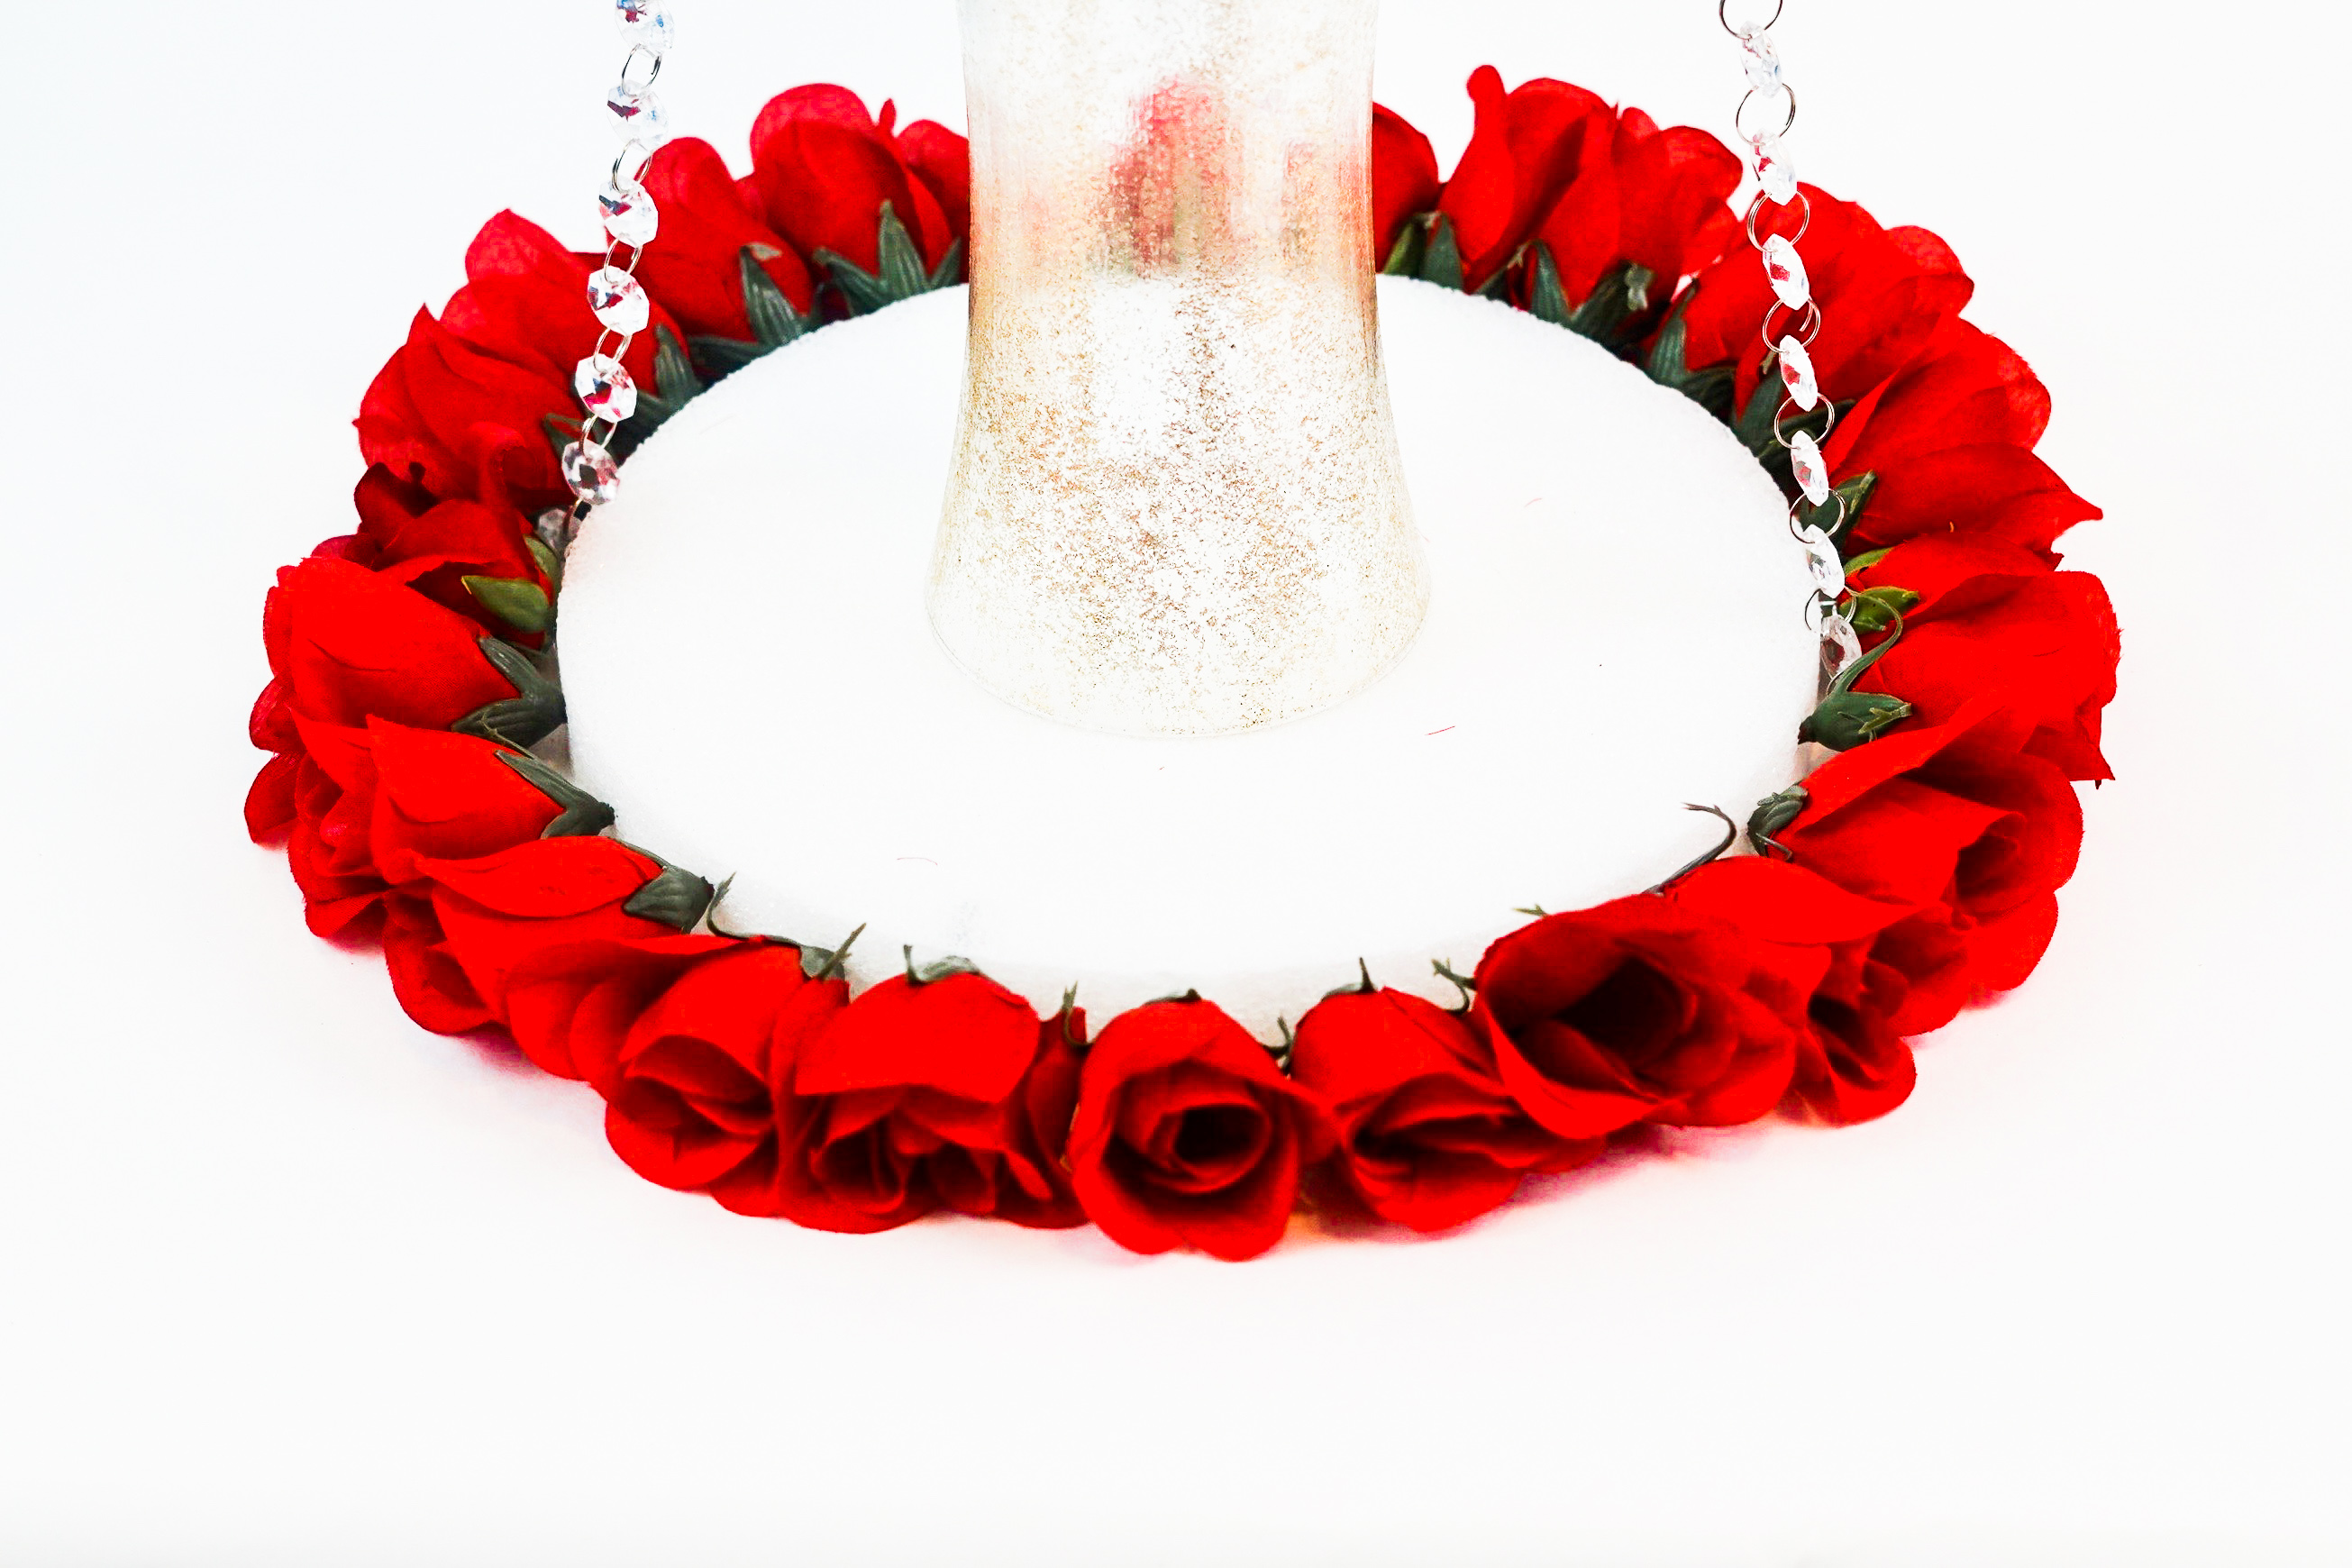
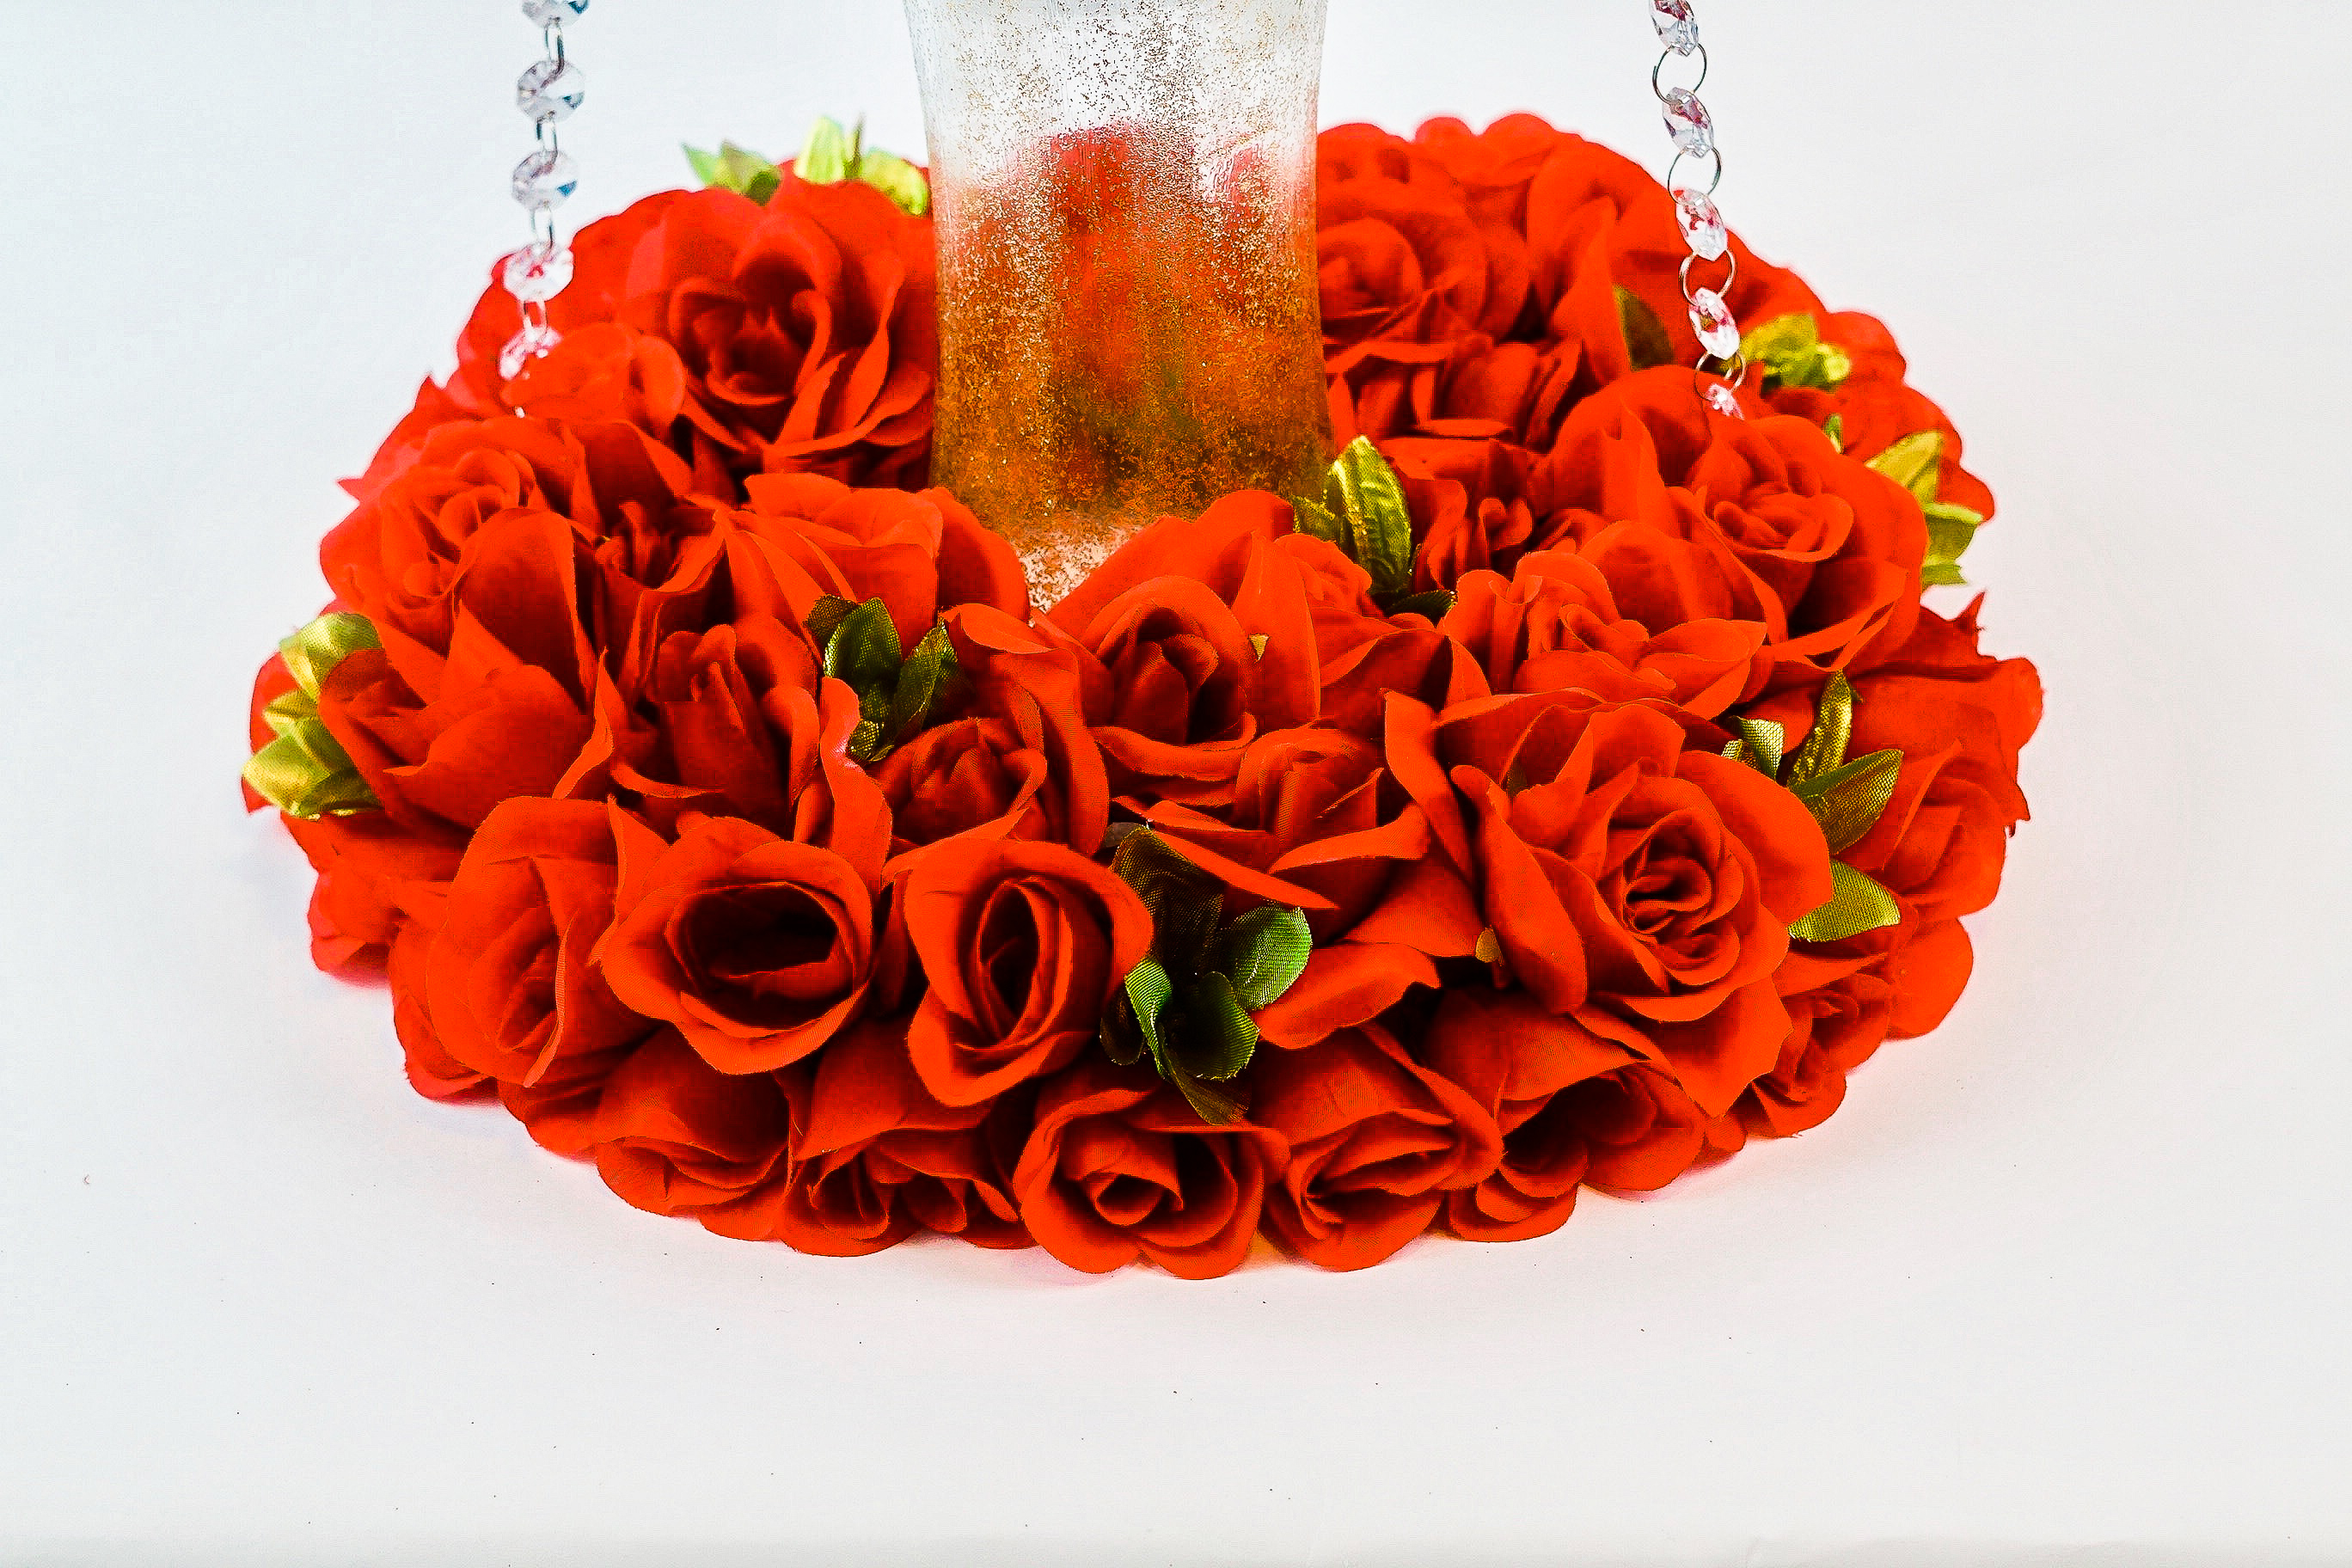
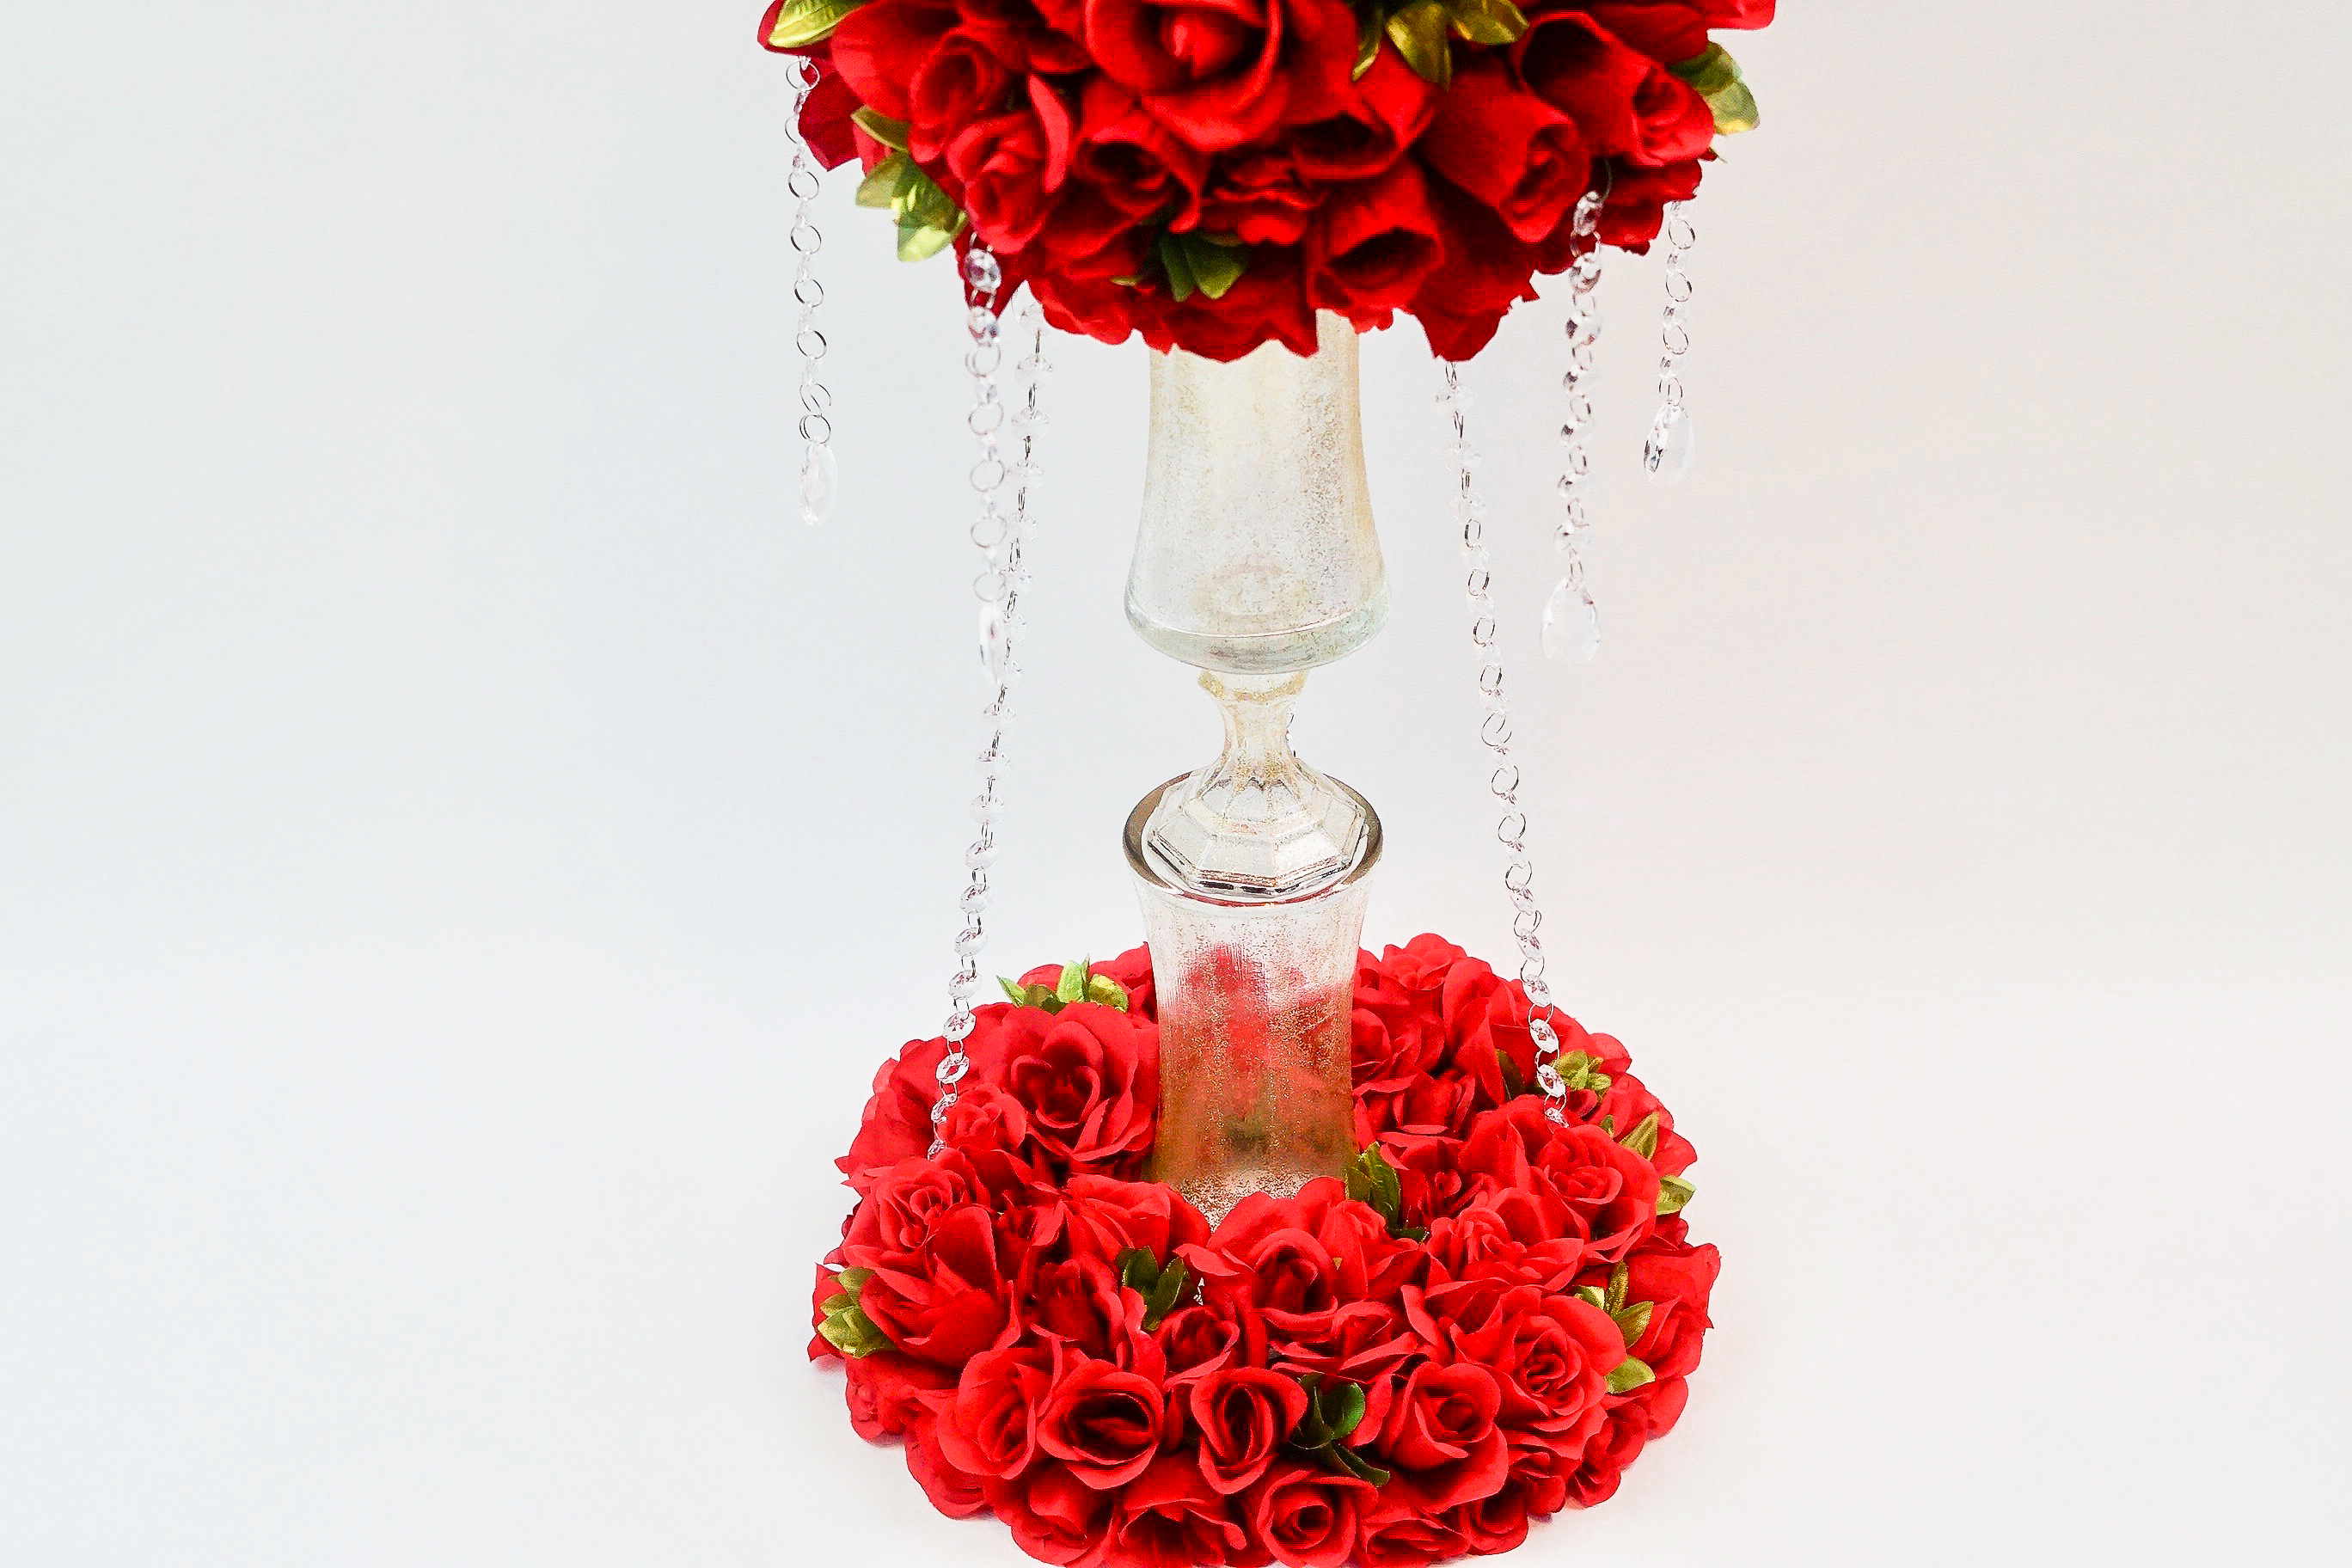
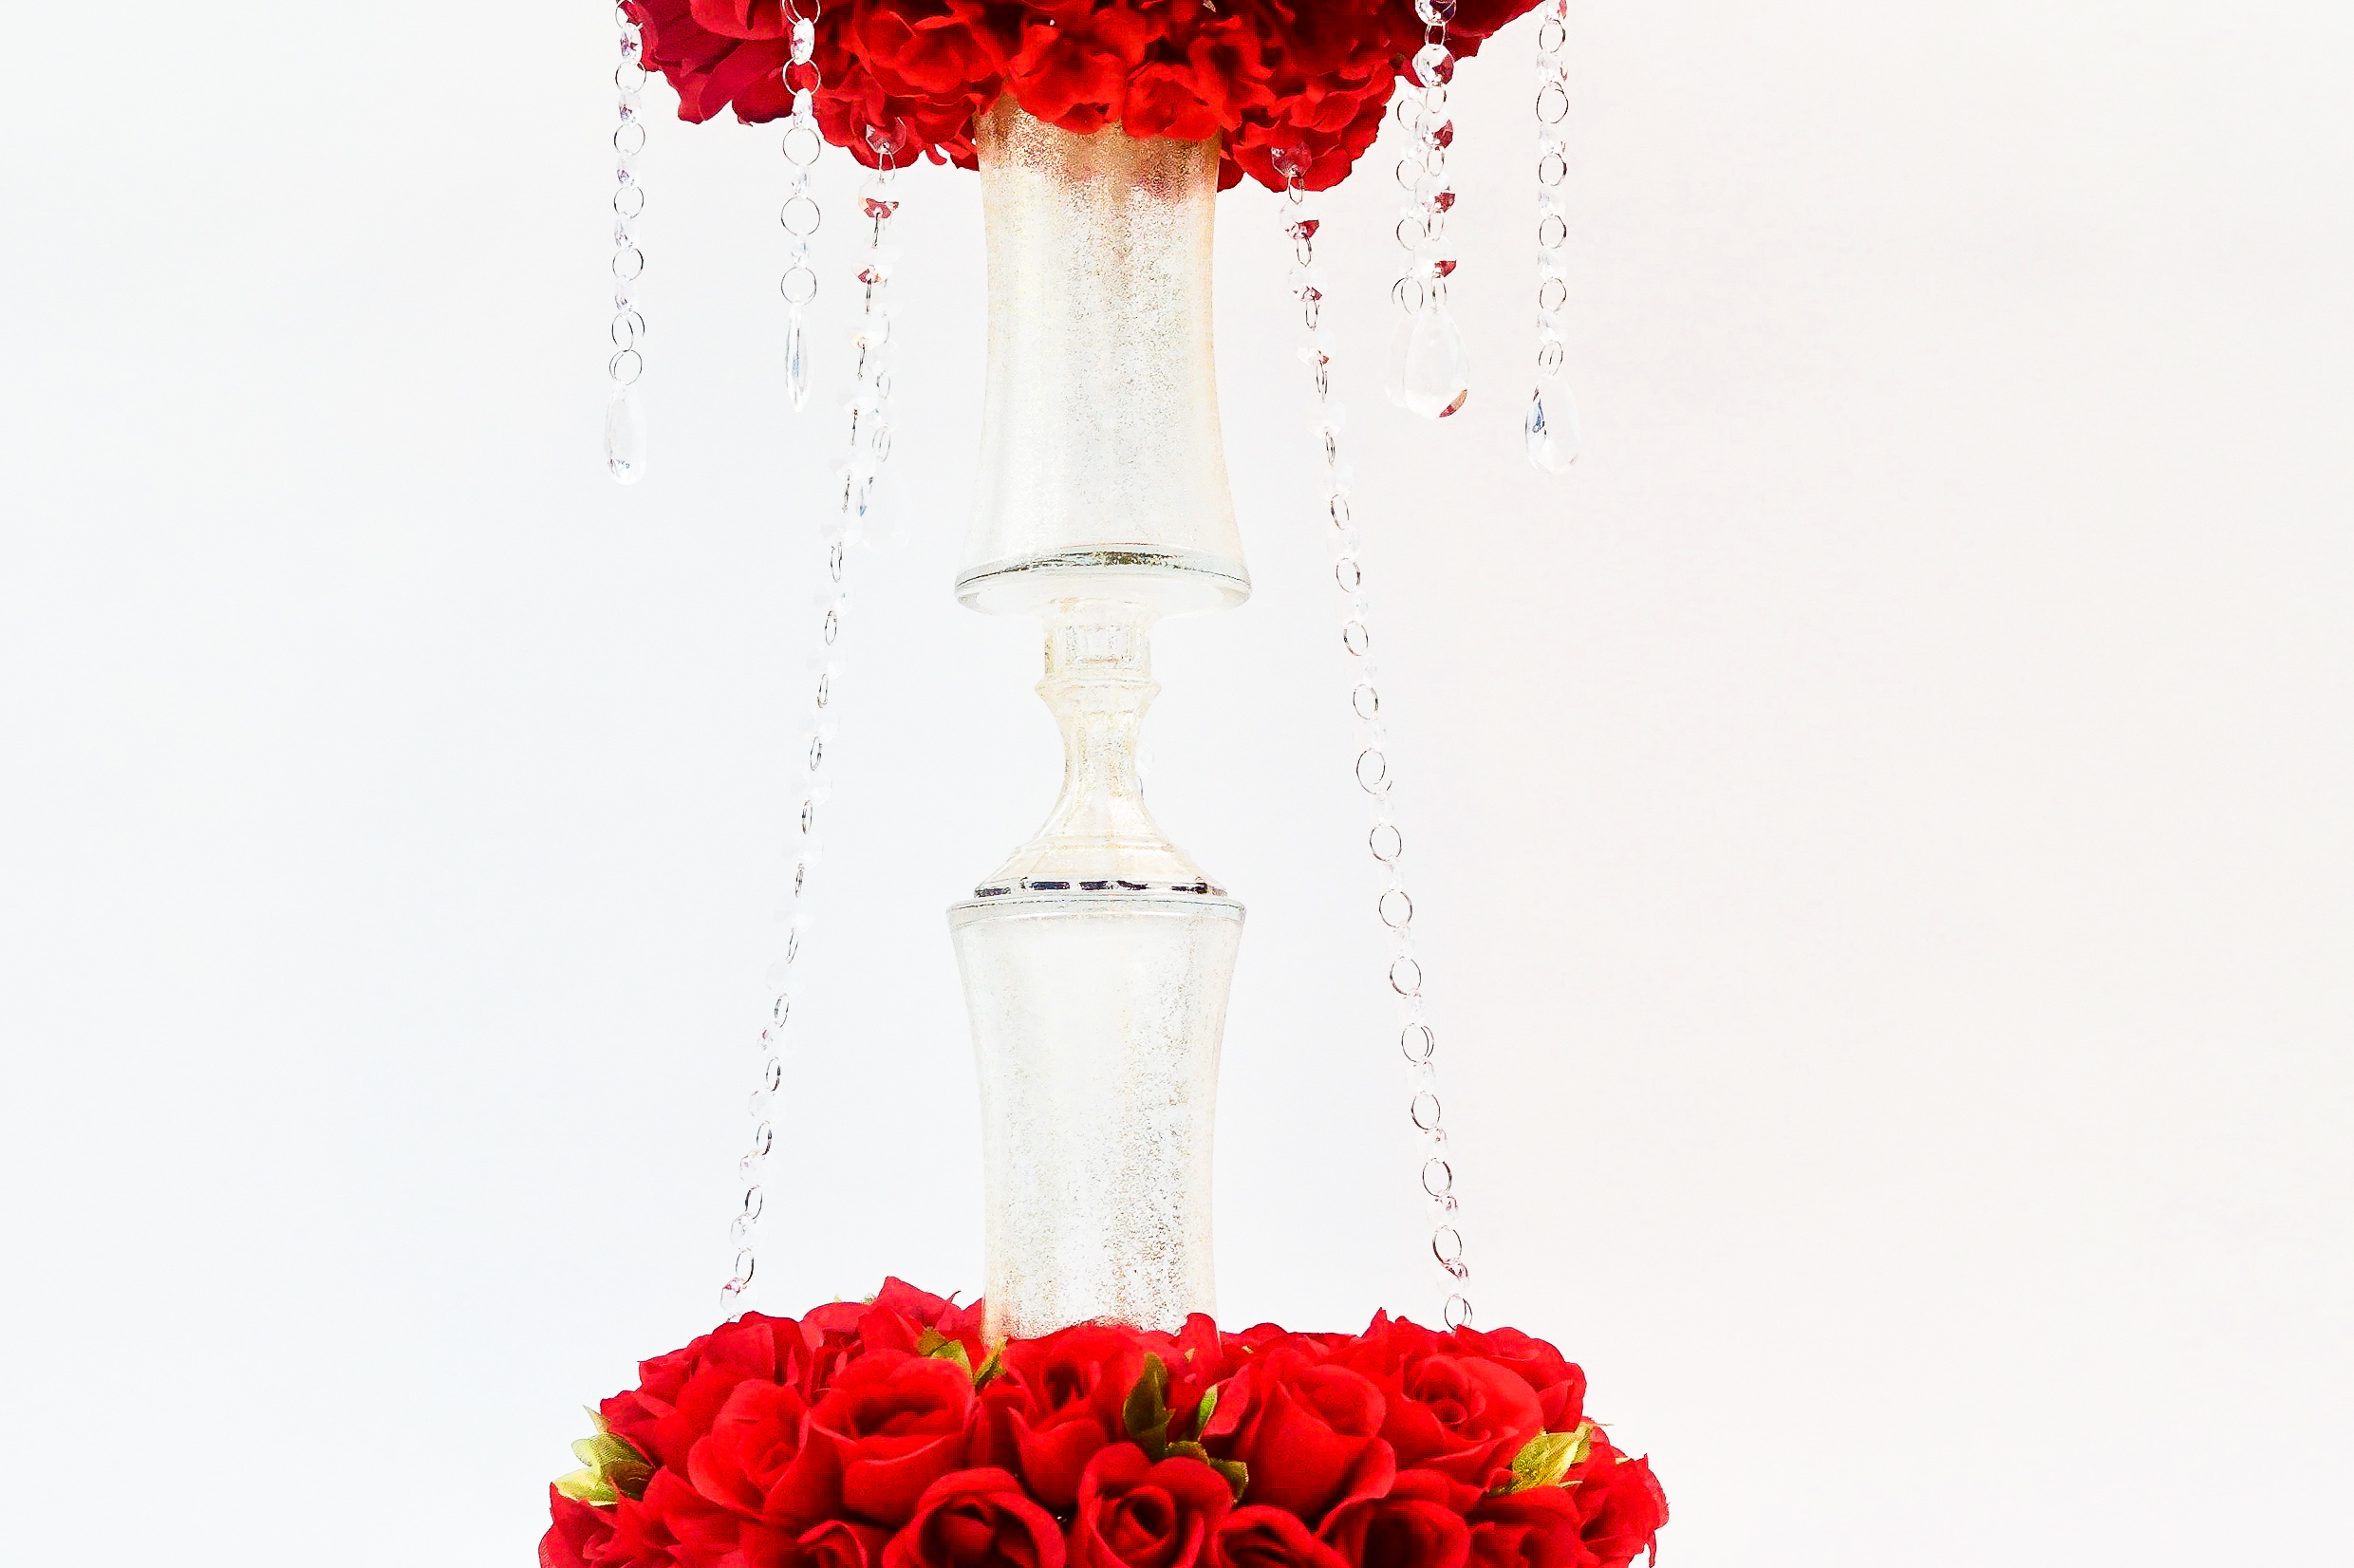
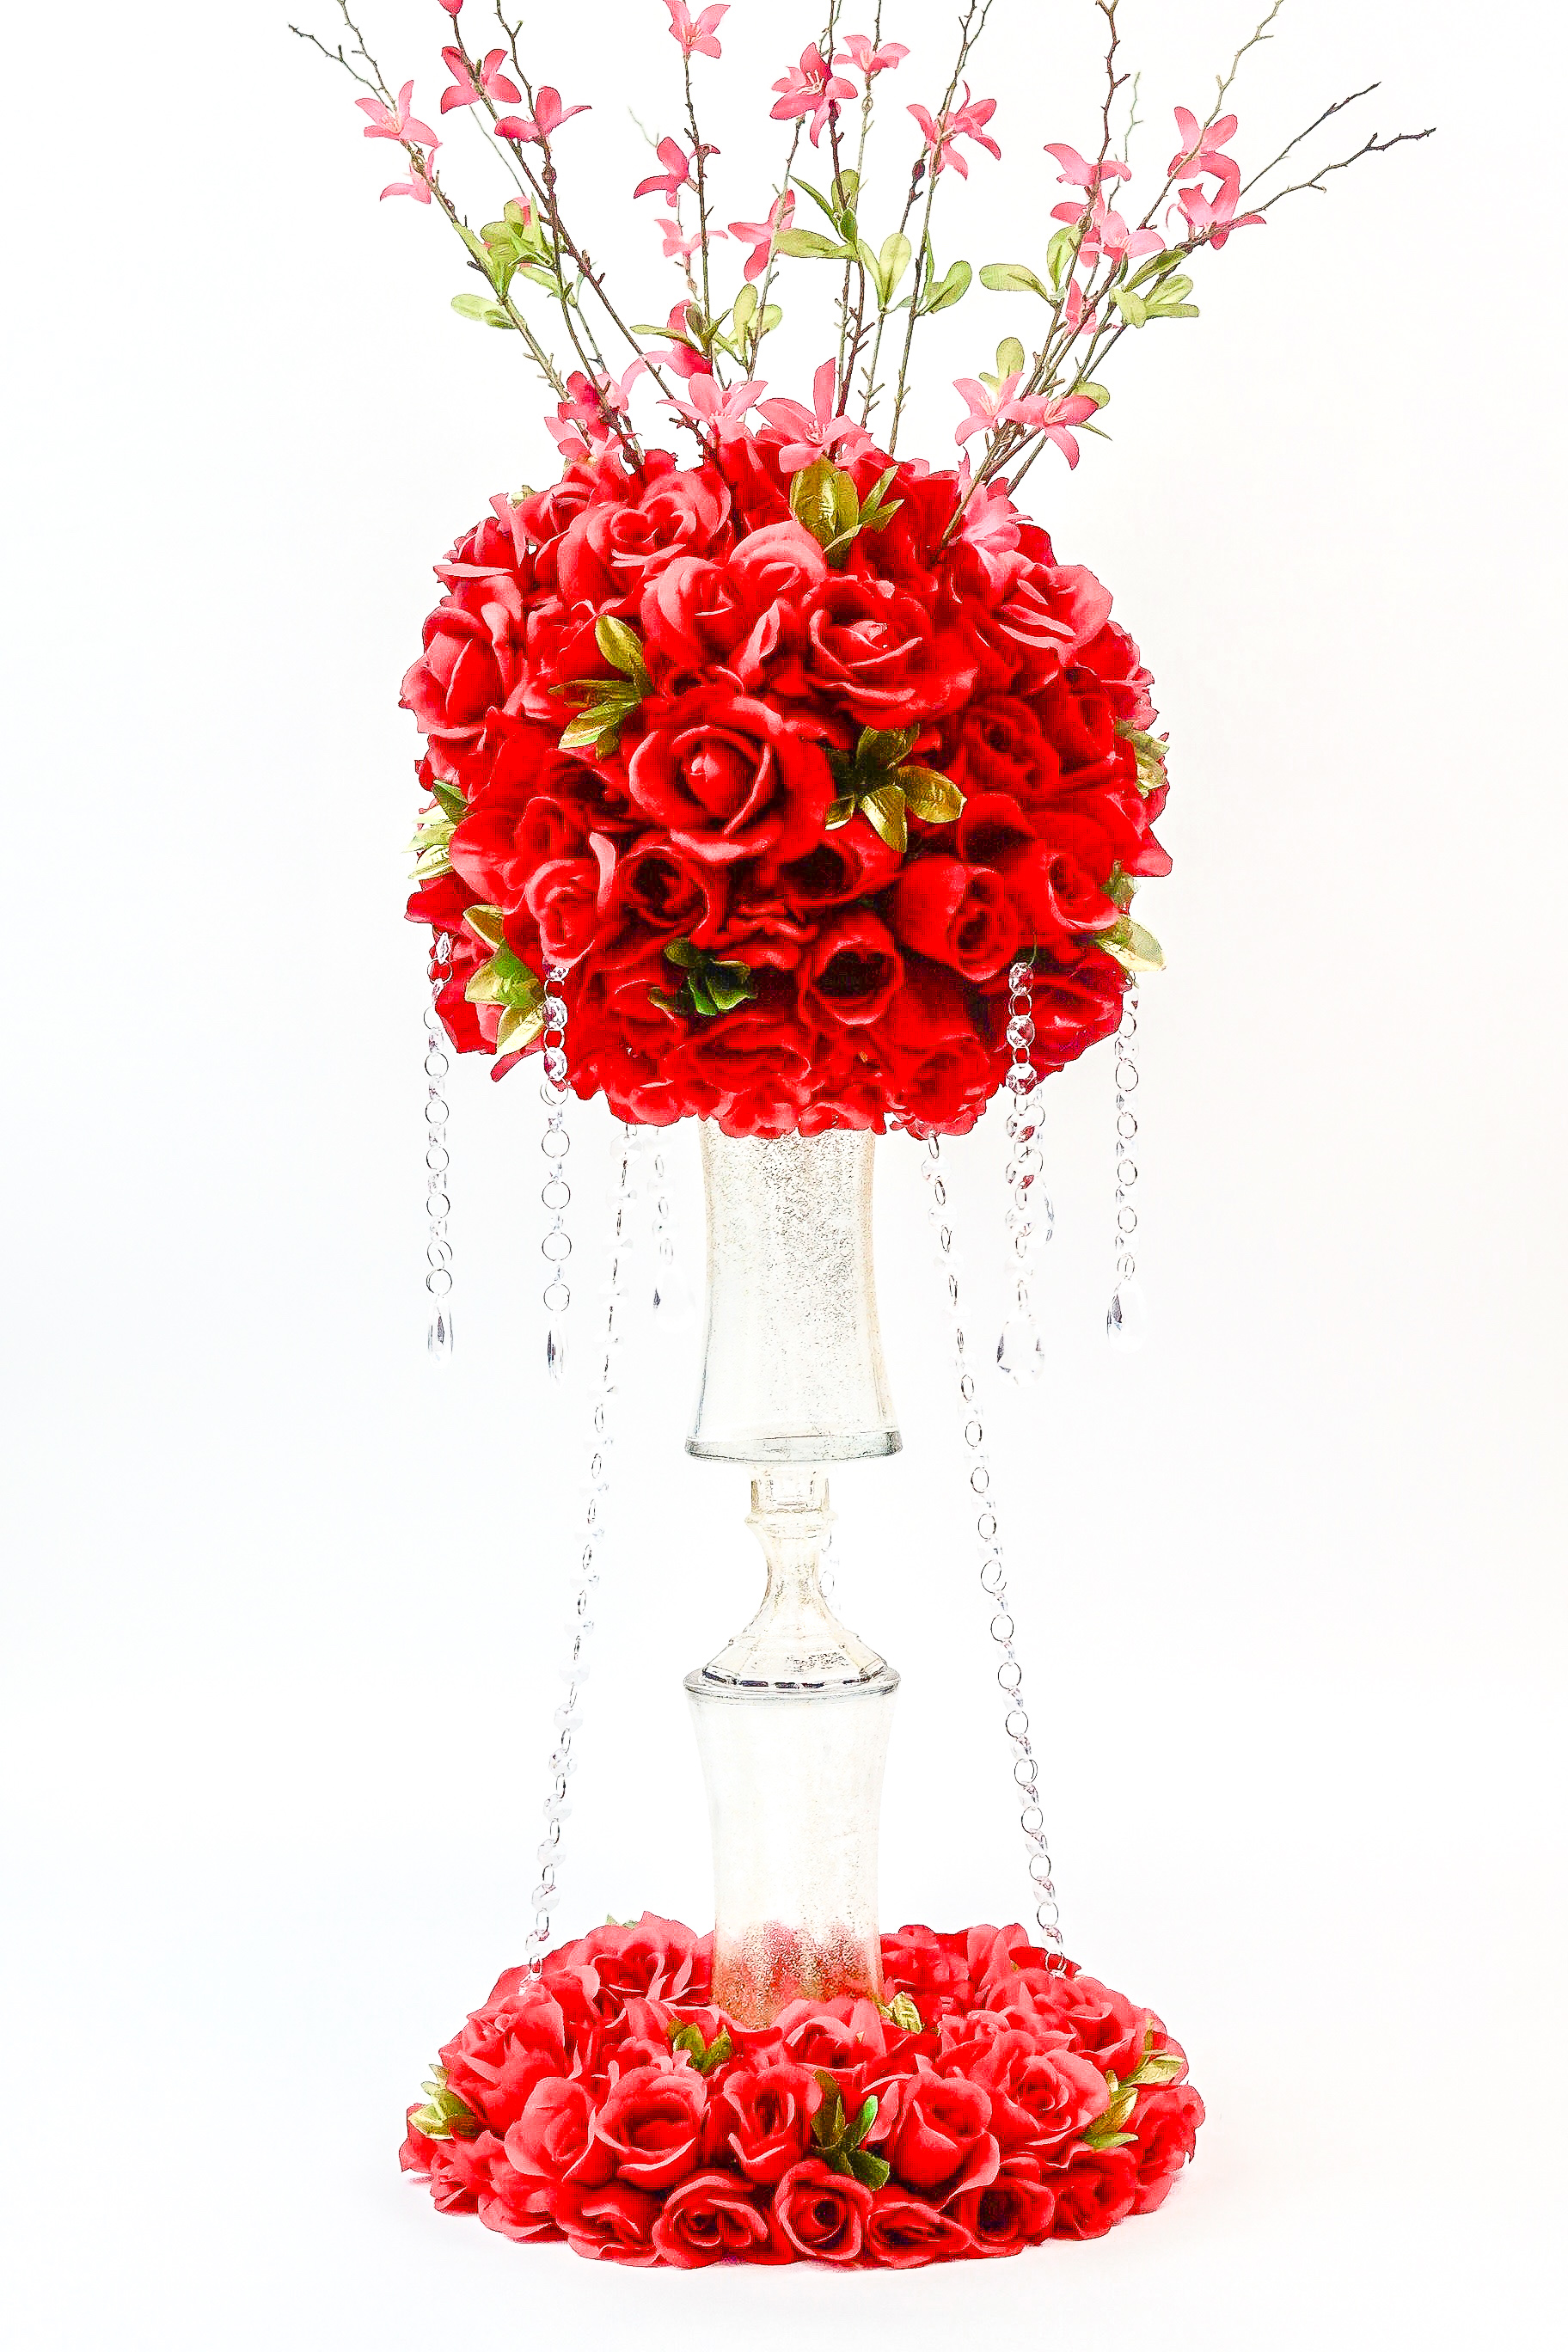
I absolutely love how this DIY Tall Rose Gold Chandelier Wedding Centerpiece turned out! The outcome will be stunning and definitely give you an extra special touch to your wedding!
If you like the outcome please subscribe to our Youtube Channel for more DIY Videos and follow us on Facebook and Pinterest.
Need help with an upcoming project? Be sure to send us a project request!
“Remember When Every Penny Counts, Count on MissPlanIt”


