THIS POST MAY CONTAIN AFFILIATE LINKS. PLEASE READ MY DISCLOSURE FOR MORE INFO.
Beautiful Decor Does Not Have To Be Expensive!
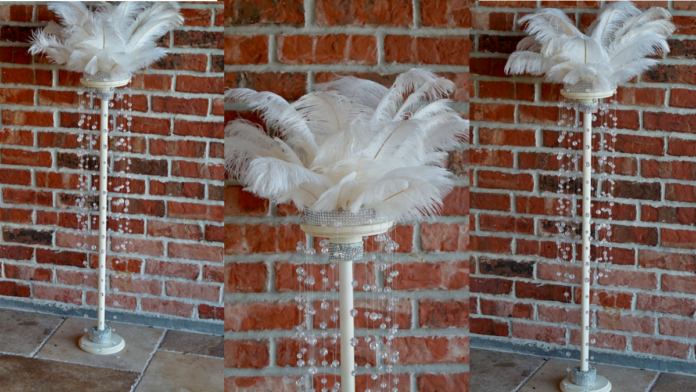
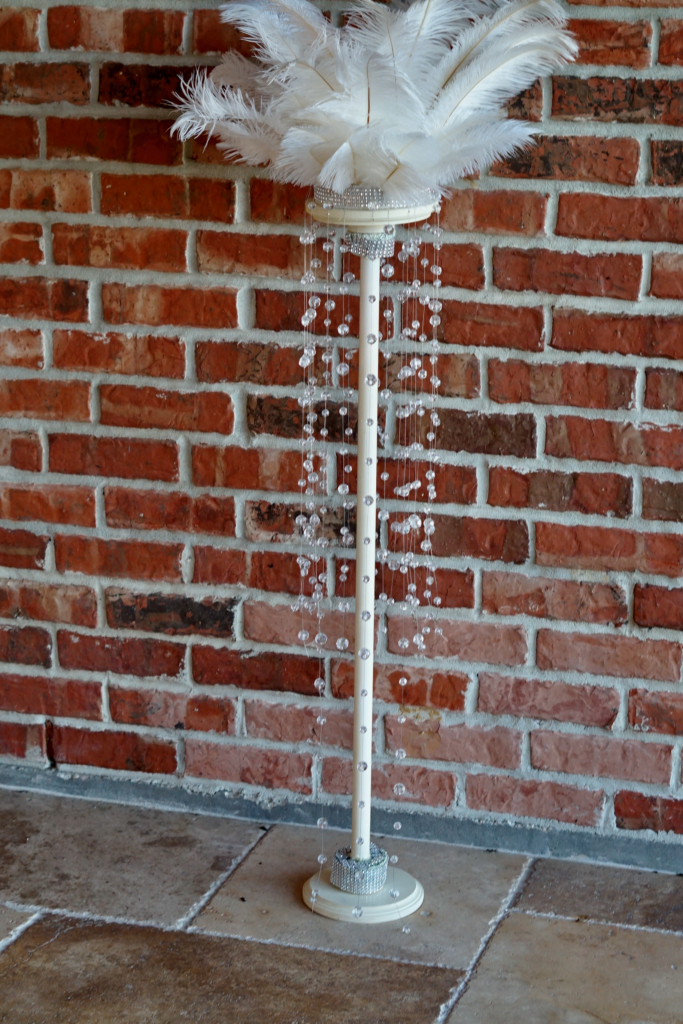
One of the biggest challenges to DIYing your wedding or event is creating a beautiful decor on a budget! The thing to keep in mind when you see those amazing decor ideas is use them as inspiration and not dictation. This weeks project is the perfect example of that. When I received a request from Linda, one of our MissPlanIt Community Members, I knew that I was going to have to show her how to take this idea that would cost at least $1,000 to rent for the day and create our version for penny’s on the dollar! I am confident that you guys can absolutely create this STUNNING wedding decor stand! Don’t worry, we will not only give you the list and links for supplies but also a video and step by step written instructions to create this gorgeous project! So without further ado? Let’s get started!
BUT WAIT!
Before we get started I want to share an awesome tip on how you can earn cash back with your online purchases for all the items you will need to complete this project!
As our saying goes “When Every Penny Counts, Count on Miss PlanIt.” We love to save money and get great deals. Prior to us purchasing anything online, we check out Rakuten, find the store, click the current deal for that store and complete our purchase.
If you have never used Rakuten, you are MISSING OUT. So for this project, you would go to Rakuten.com, sign up, and then type in the store you plan to purchase from.
When completing a purchase through Rakuten you earn cash back that you can have mailed to you or sent via PayPal. Be sure to check it out! Click here to sign up for Rakuten, and RIGHT NOW when you sign up, you will receive a $10 cash welcome bonus through my link when you spend $25.00!
You were already going to complete your purchase online, so why not get some cash back on things you already planned to purchase!
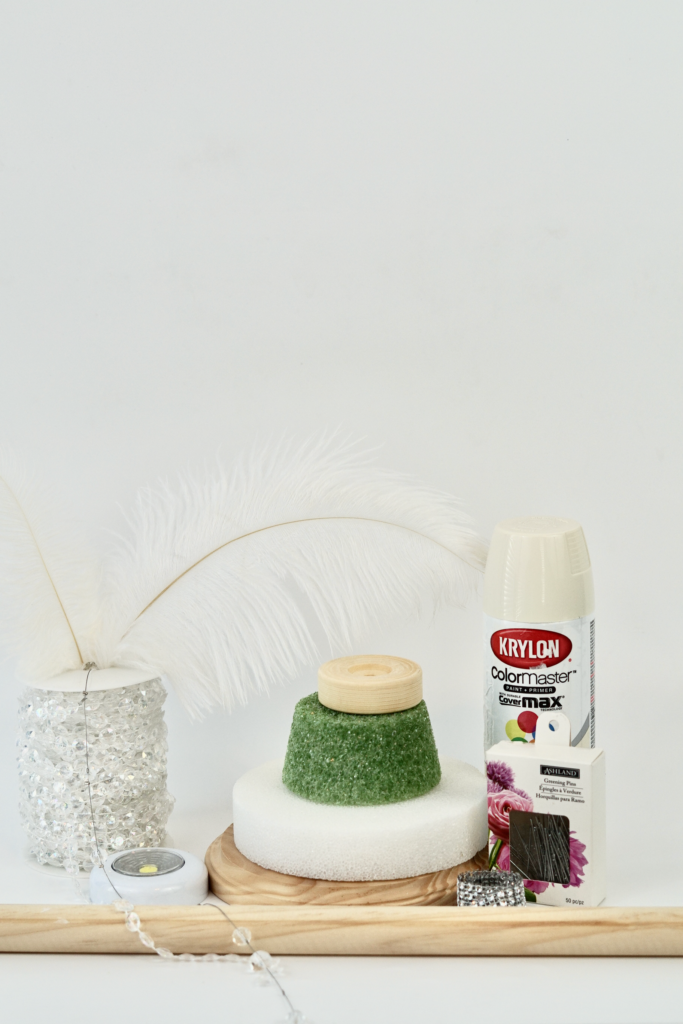
Let’s Get Started: Click the links below to purchase the supplies needed for this project:
- Green Foam Pot Inserts
- Round Wooden Plaque
- Toy Wooden Wheels
- Wooden Dowel
- Krylon Spray Paint
- Gem Ribbon
- Styrofoam Disc
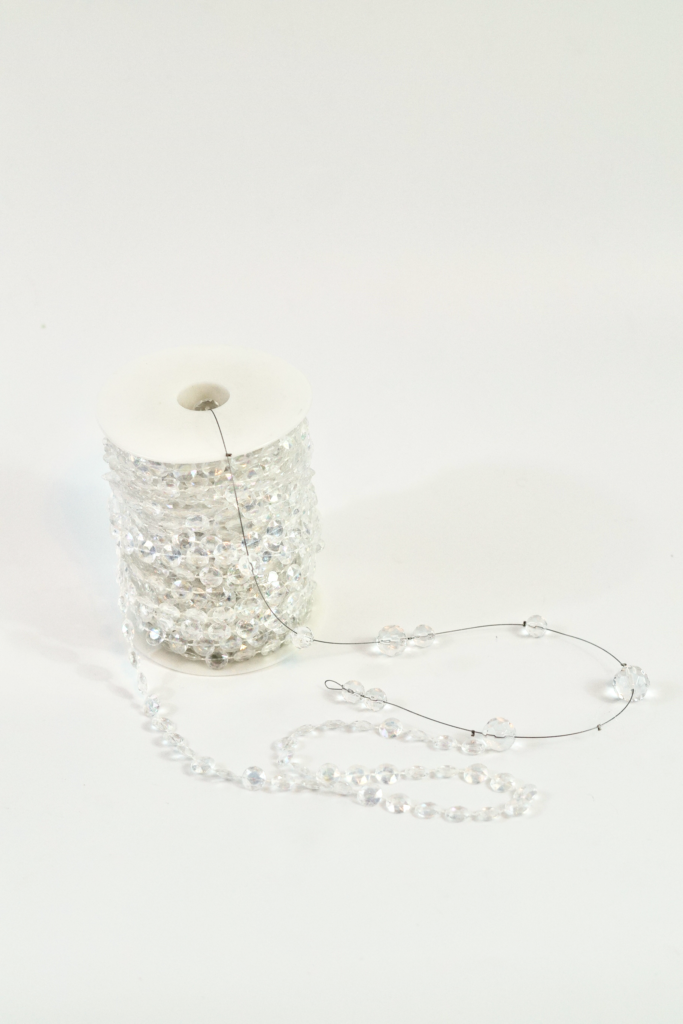
- Crystal Glass Bead Curtain
- Crystal Bead Trim
- Floral Pins
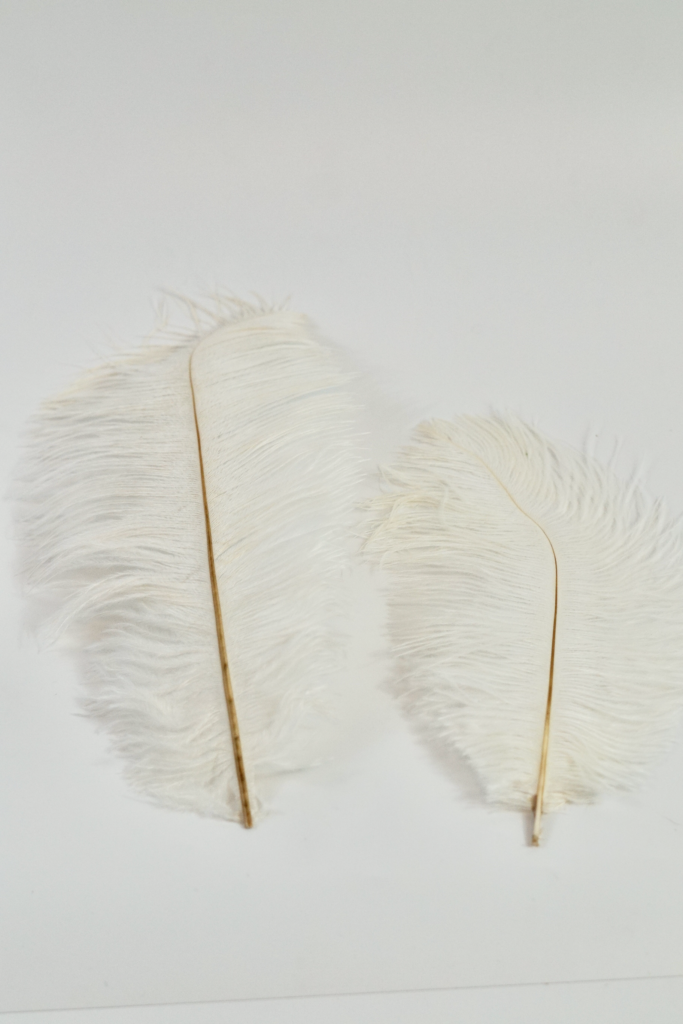
- 4-6 Inch Ostrich Feathers
- 12-14 Inch Ostrich Feathers
- Wood Grade Hot Glue
Project Video:
If you prefer written instructions, please continue reading.
Believe It Or Not, Wedding Decor Doesn’t Have To Be Expensive!
STEP 1:
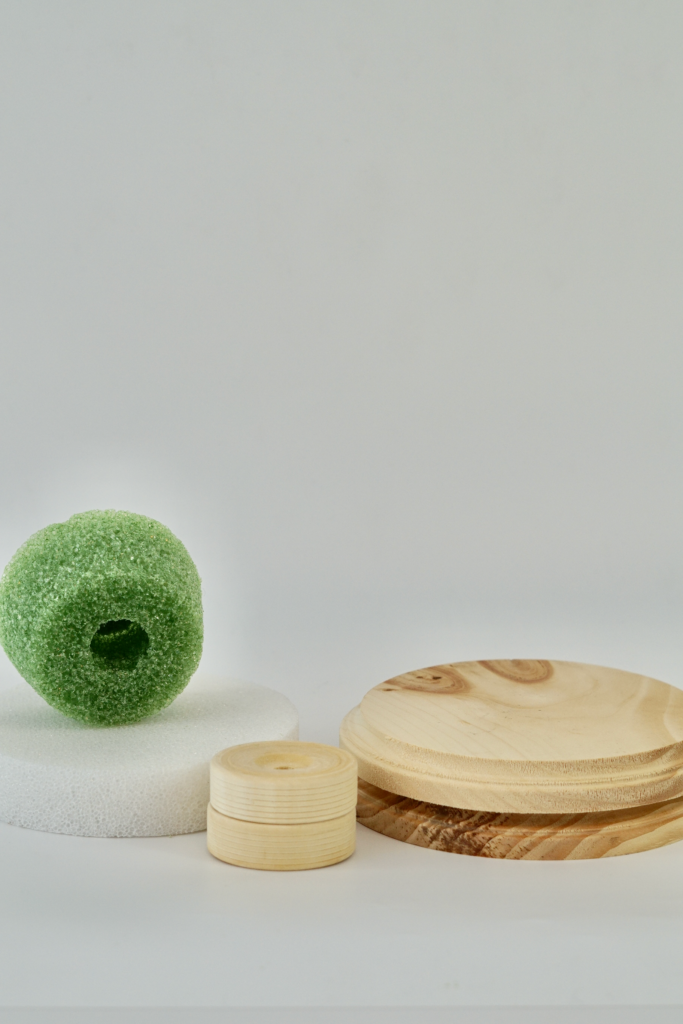
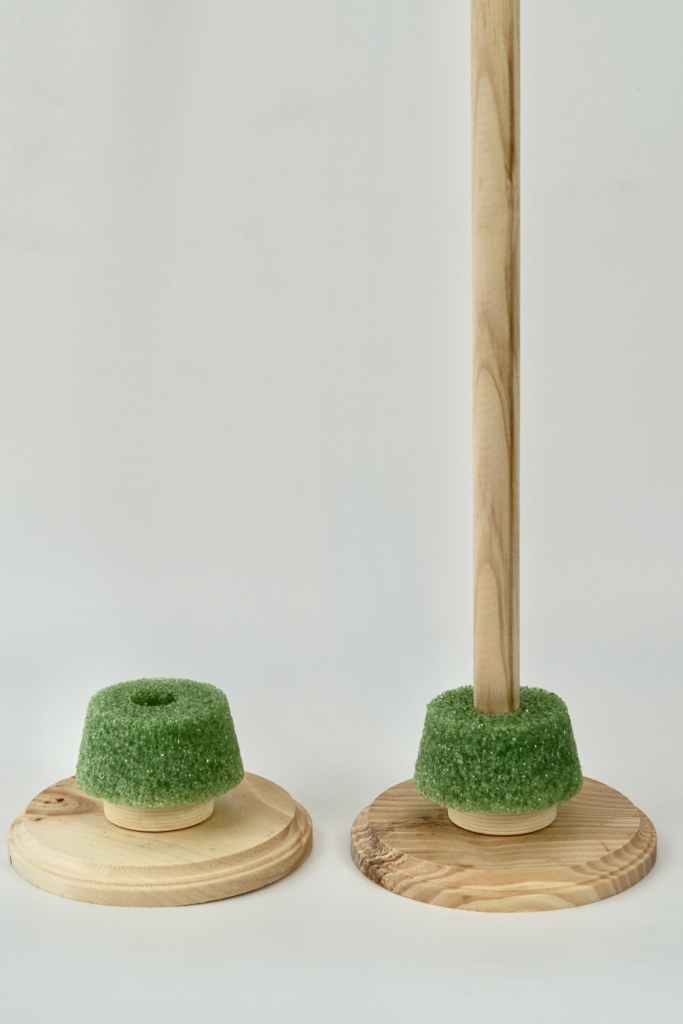
We always push our team to show you guys tool free projects! This is no different. We will be using Wood Grade Hot Glue, 2- Round Wooden Plaques, 1- Wooden Dowel, 2- Styrofoam Pot Inserts and 2- Wooden Wheels. Attach the the Wooden Wheel to the Wooden Plaque with the Wood Grade Hot Glue. Using the end of the Wooden Dowel make an indention 3/4 way through the center of Styrofoam Pot Filler. Attach the Pot Filler to the Wheel with hot glue. Allow the glue to dry for at least 15 minutes. Next attach the Wooden Dowel back into the indention attaching with Wood Grade Hot Glue. Allow to dry for at least 20 minutes. Repeat these steps for the other end. TIP: Be sure to use a leveler when attaching the other end. Allow to dry for at least 20 minutes. Spray Paint your desired color. Allow paint to dry for at least 60 minutes.
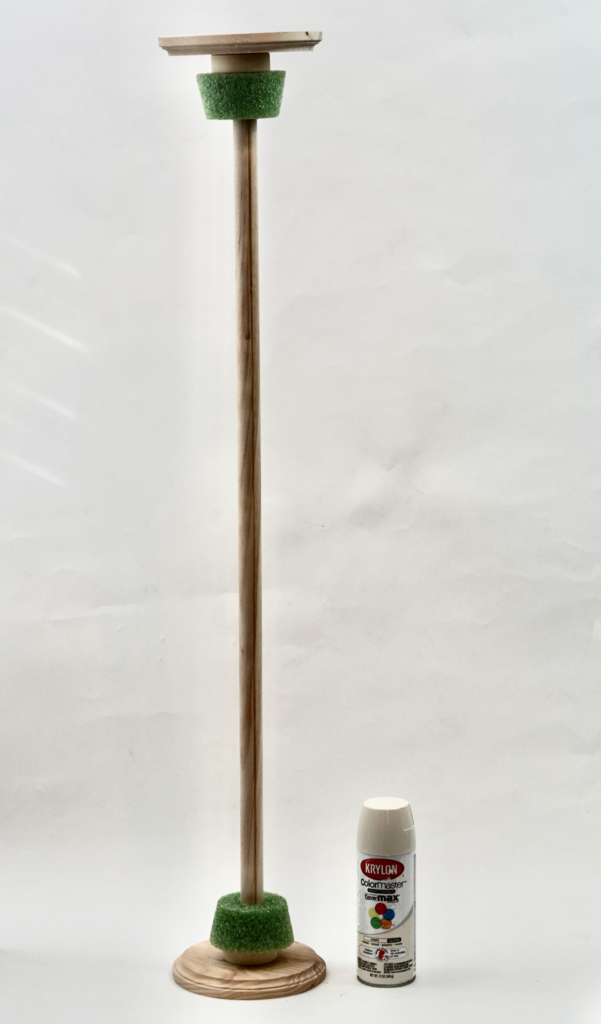
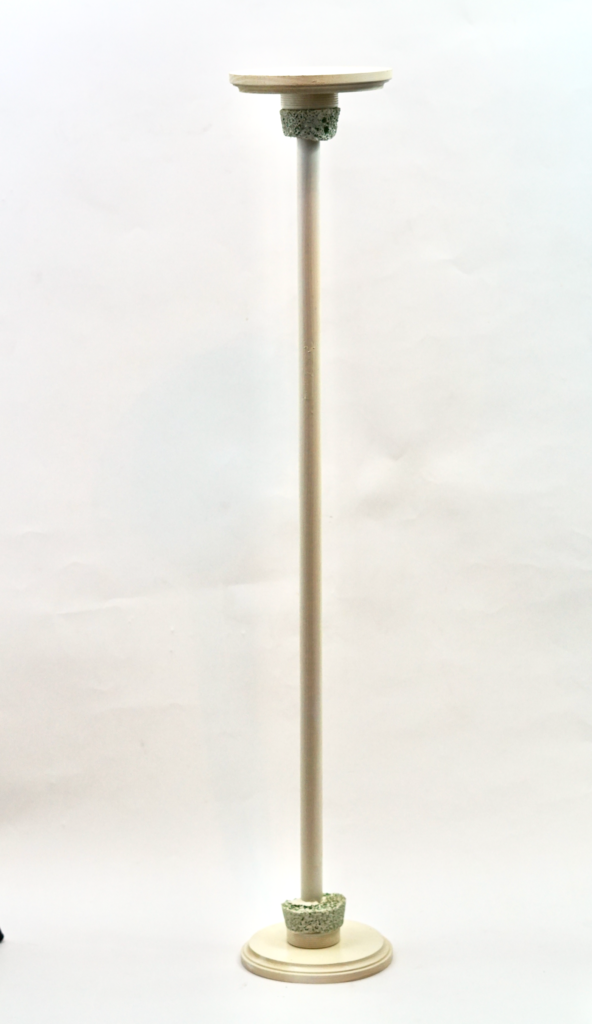
Now Let’s Make It Pretty !
STEP 2:
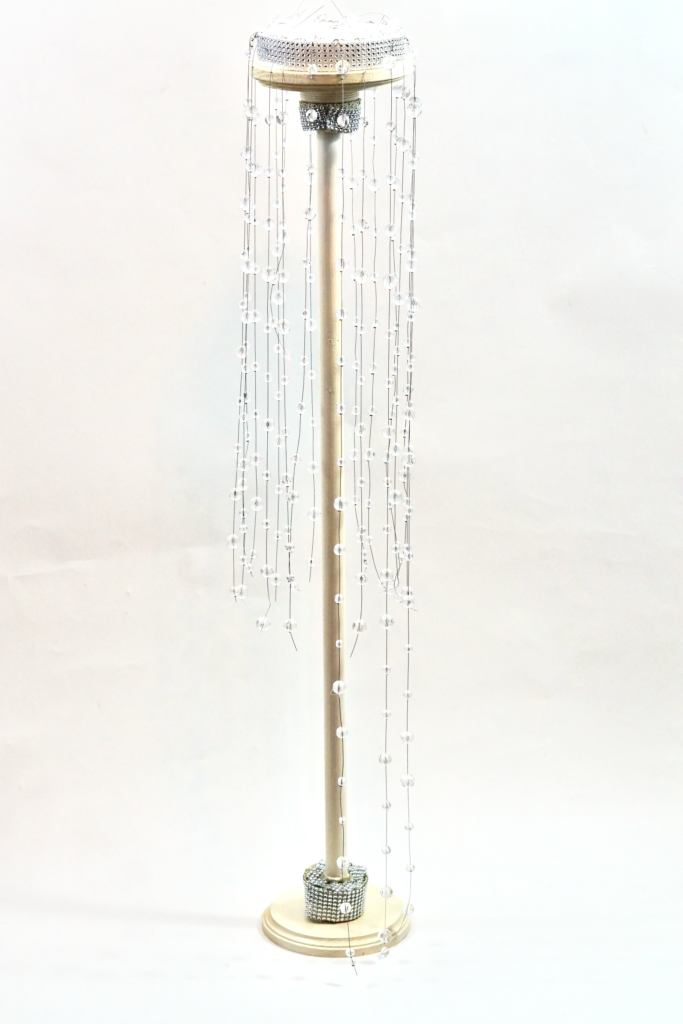
Wrap the Styrofoam Disc in Gem Ribbon and attach with Floral Pins. Wrap and cover the Styrofoam Pot Filler with Gem Ribbon using Floral Pins.
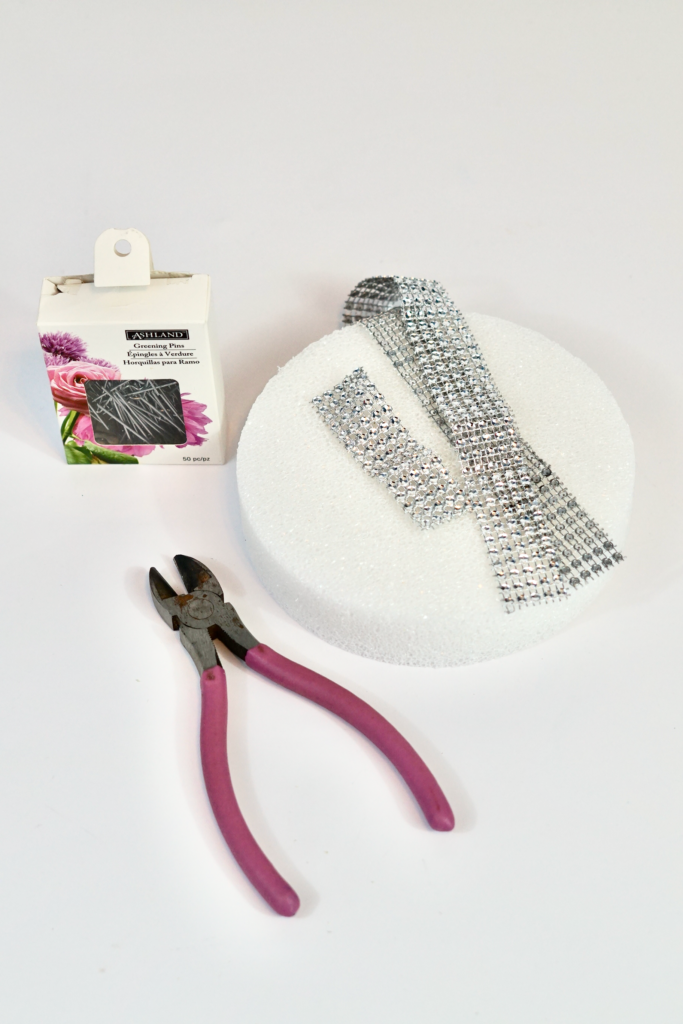
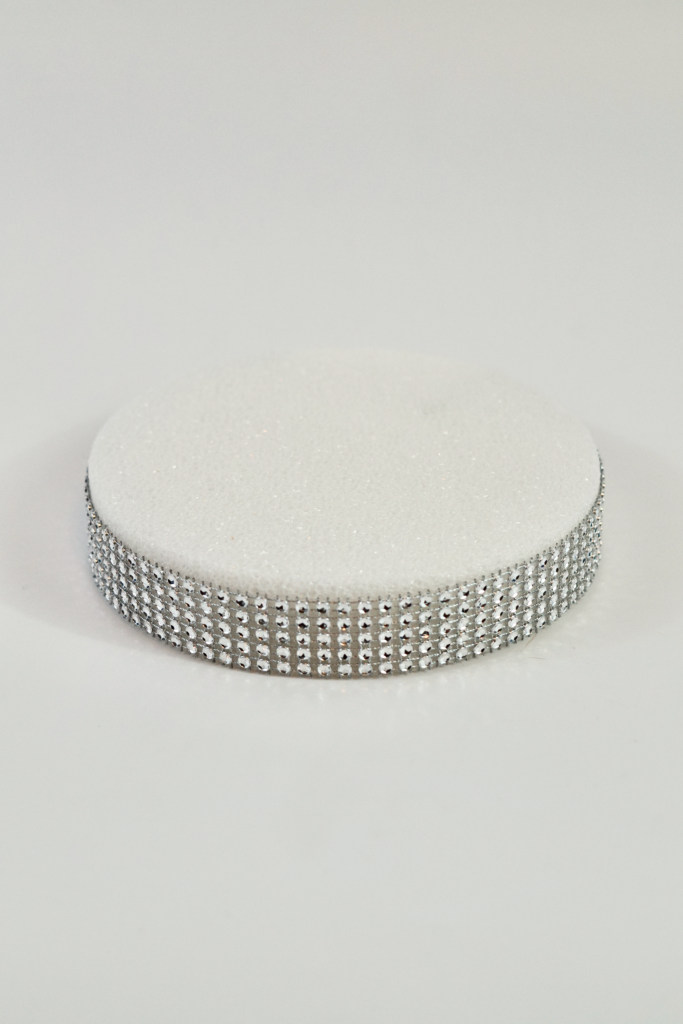
You Have Options! Crystal Glass Bead Curtain vrs Crystal Bead Trim
STEP 3:
You have options! Attach either Crystal Glass Bead Curtain Strands or Crystal Bead Trim Strands to the top rim of the Styrofoam Disc with Floral Pins. You can make the strands as long or as short as you like. We even used multiple lengths in our project. Tip: Use floral cutters to trim the floral pins down. BE SURE TO WEAR YOU SAFETY GLASSES!
It’s Feather TIME !
STEP 4:
The Final Step! Next, attach 20-24 Ostrich Feathers ranging from 4 inches to 14 inches. Start attaching the feathers in the center of the Styrofoam Disc, using the longest feathers working your way out to the shortest feathers. Feel free to add a dab of hot glue on the end of the stems for extra hold once you have decided on the feather placement.
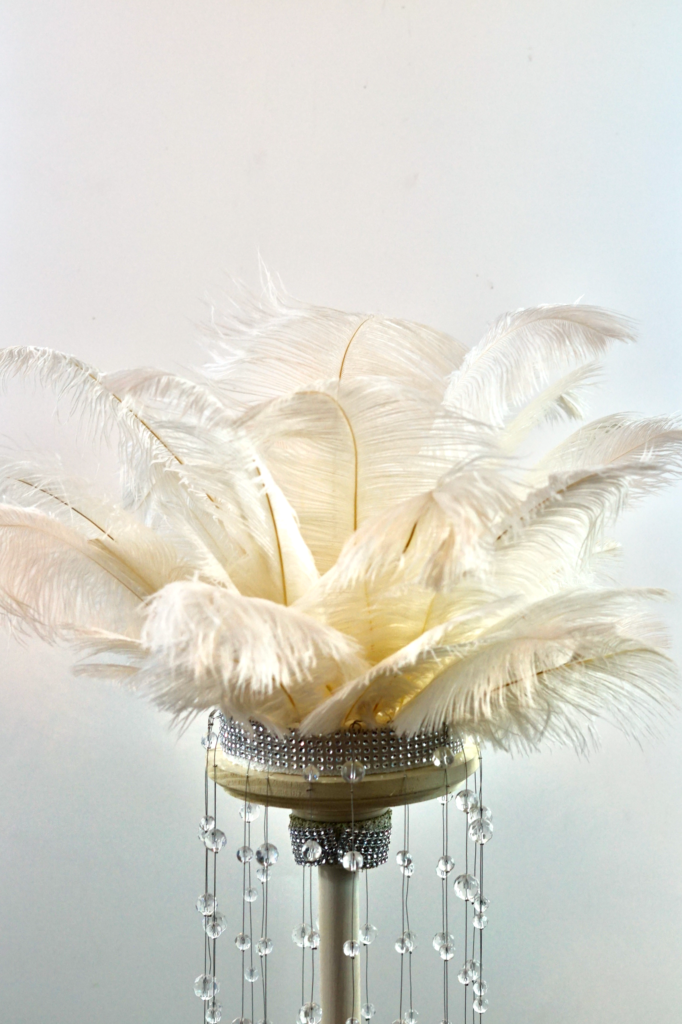
Look at what you can do with some feathers and a hot glue gun! Well guys what do you think? This project can be used in so many ways! Remember we give you the plan and you make it your own!
Don’t forget to sign up for Rakuten to earn cash back on your online purchases. Planning a wedding is expensive, our goal is to help you stay within your budget and make every penny count. Click here to sign up for Rakuten, and RIGHT NOW when you sign up, you will receive a $10 cash welcome bonus through my link when you spend $25.00!
If you like the outcome please subscribe to our Youtube Channel for more DIY Videos and follow us on Facebook and Pinterest. Also if you need help with an upcoming project be sure to send us a project request! “Remember When Every Penny Counts, Count on MissPlanIt”


