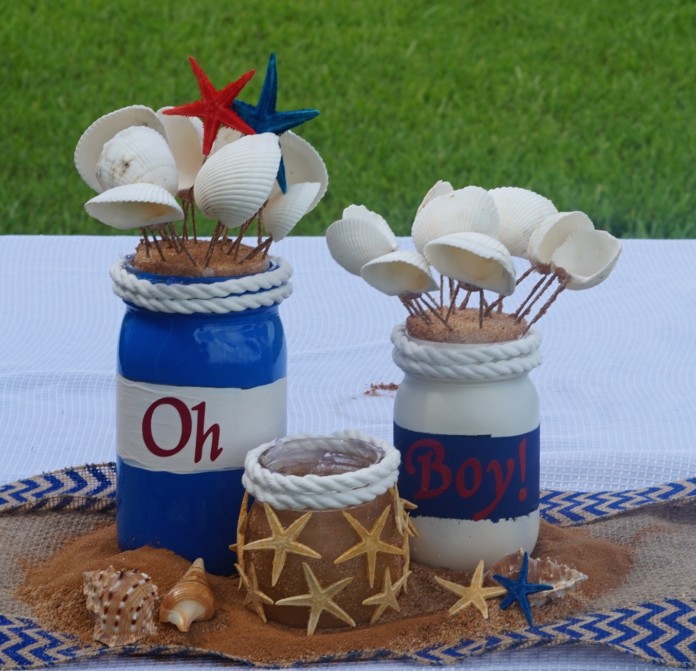
Looking for some baby shower ideas? Well, this Mason Jar Sail Away Baby Shower Centerpiece will transport you to the beach! Join us this week as we put this awesome yet inexpensive centerpiece together for one of our community members!
Let’s Get Started:
Click our affiliate links below to purchase the supplies needed for this project:
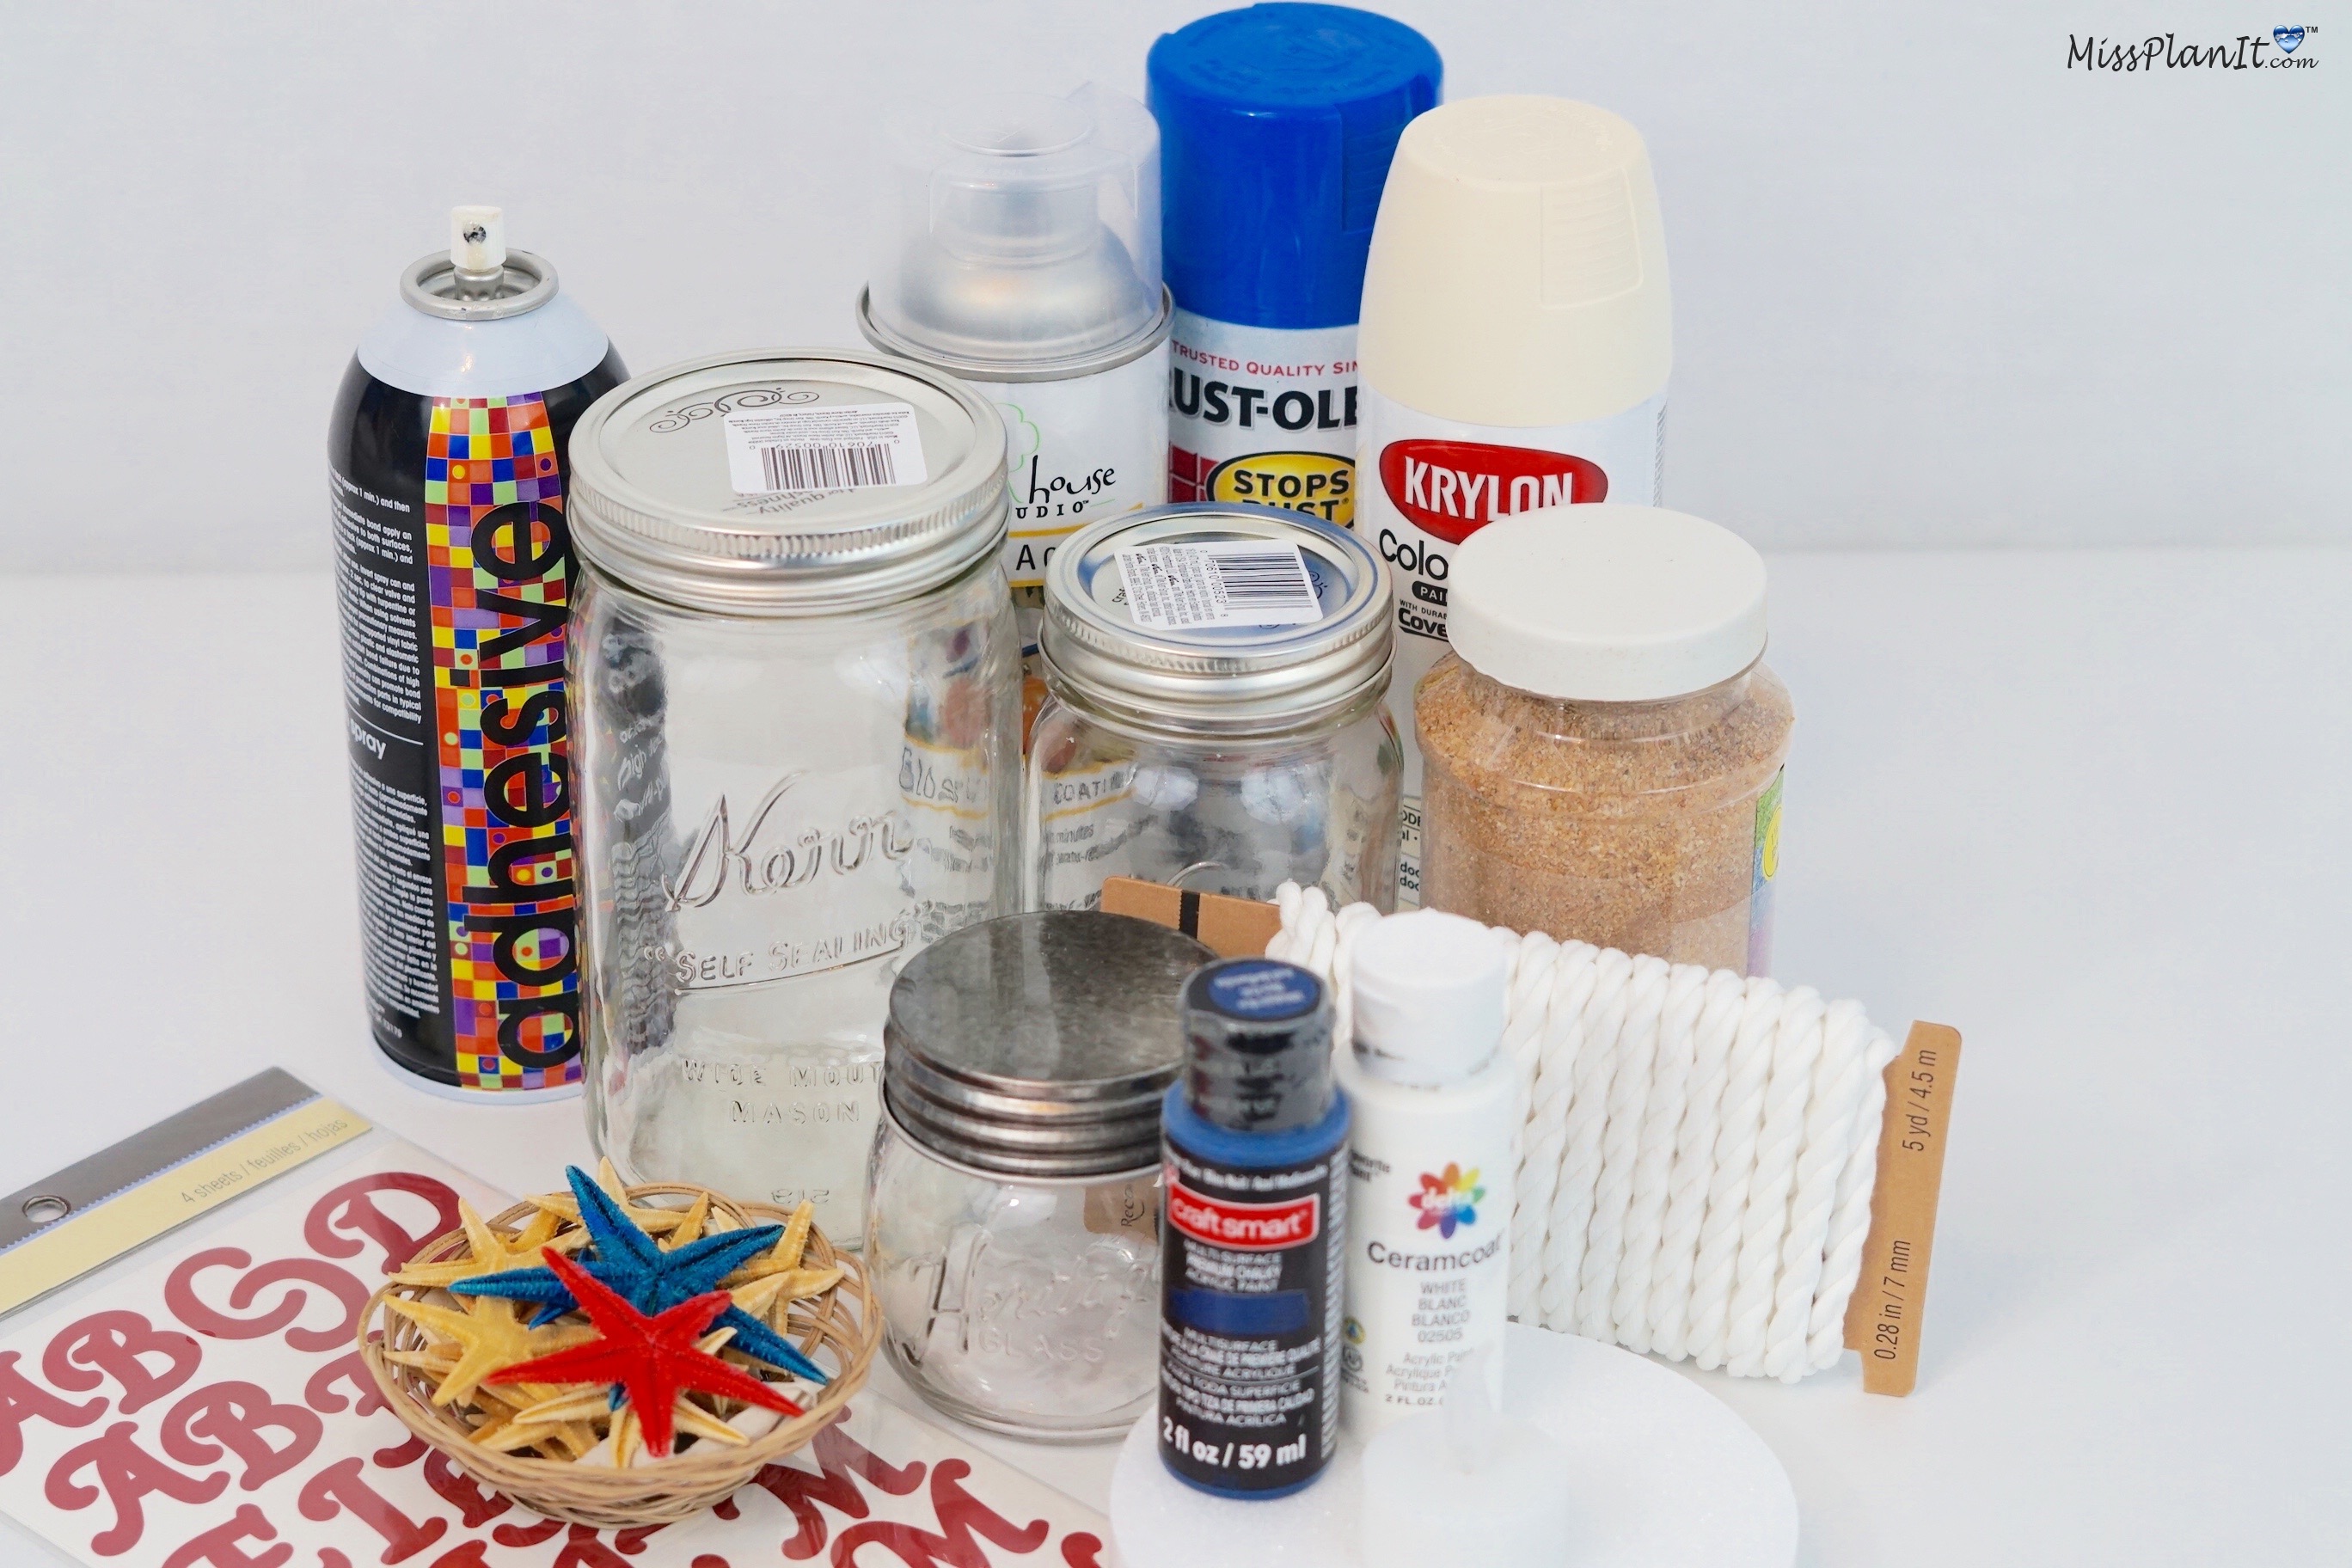
Directions:
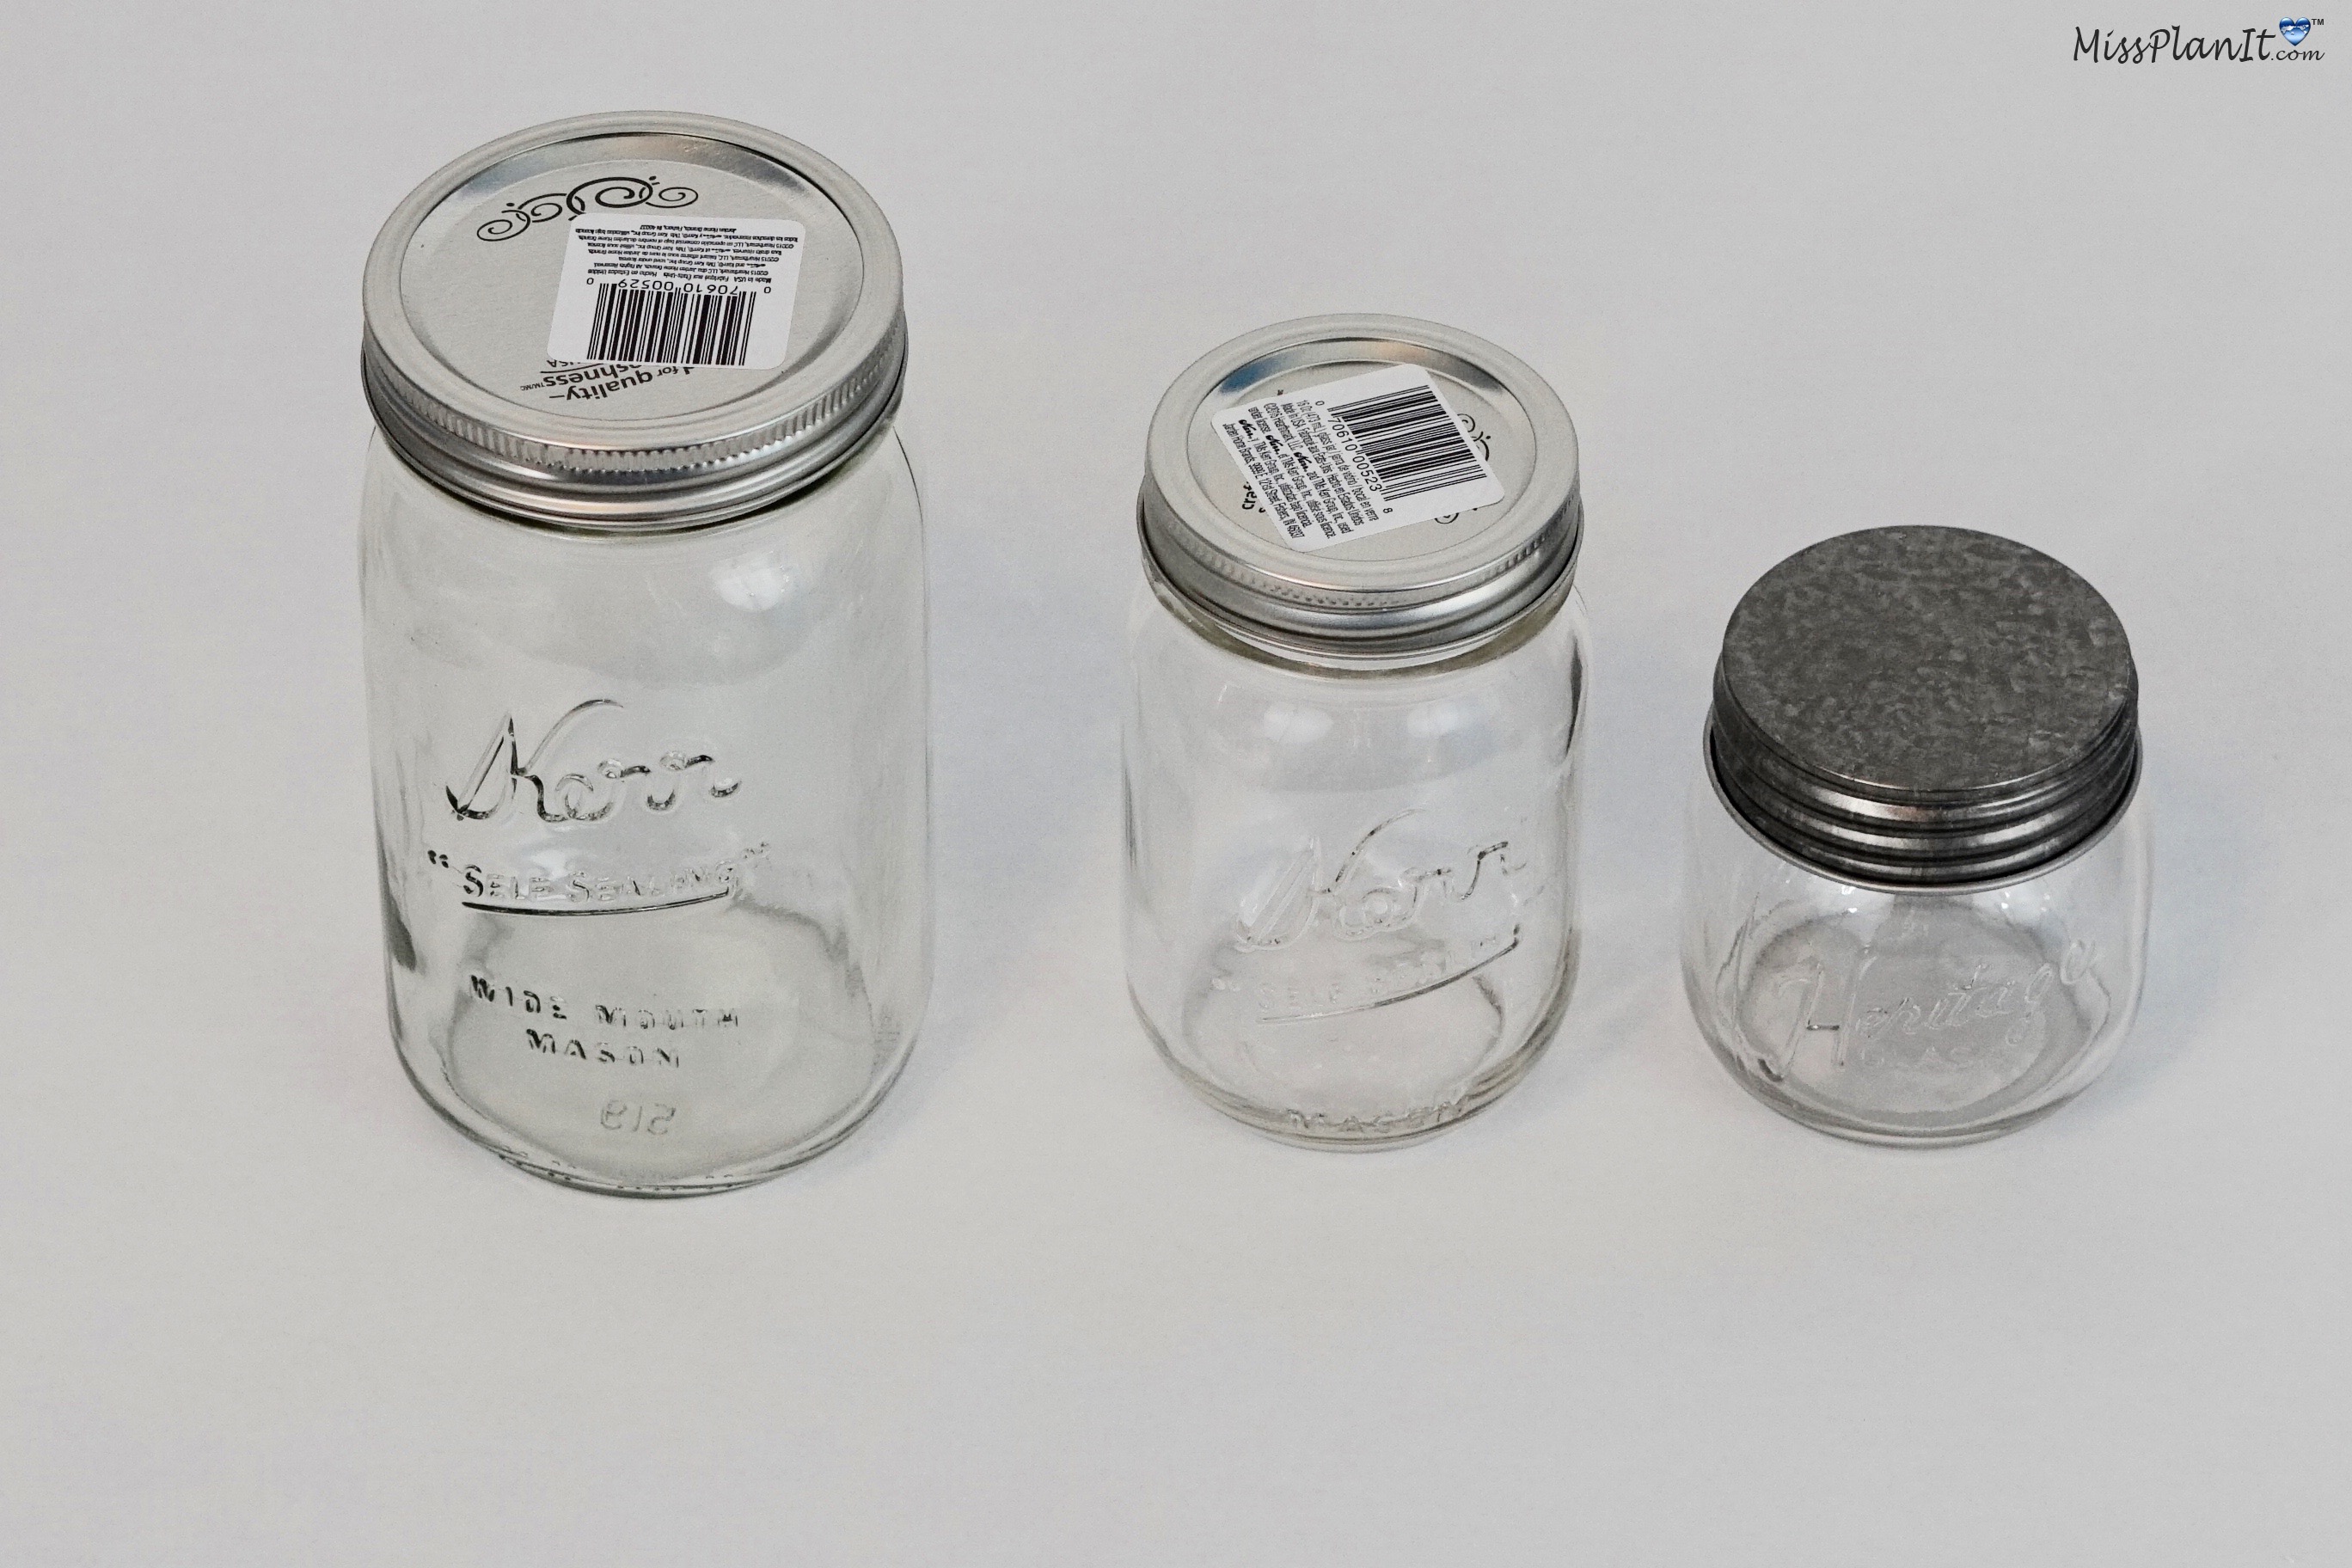
STEP 1: Gather your 3 Mason Jars together. For this project 3 different size Mason Jars will be used; 16 oz, 8oz, and 4 oz.
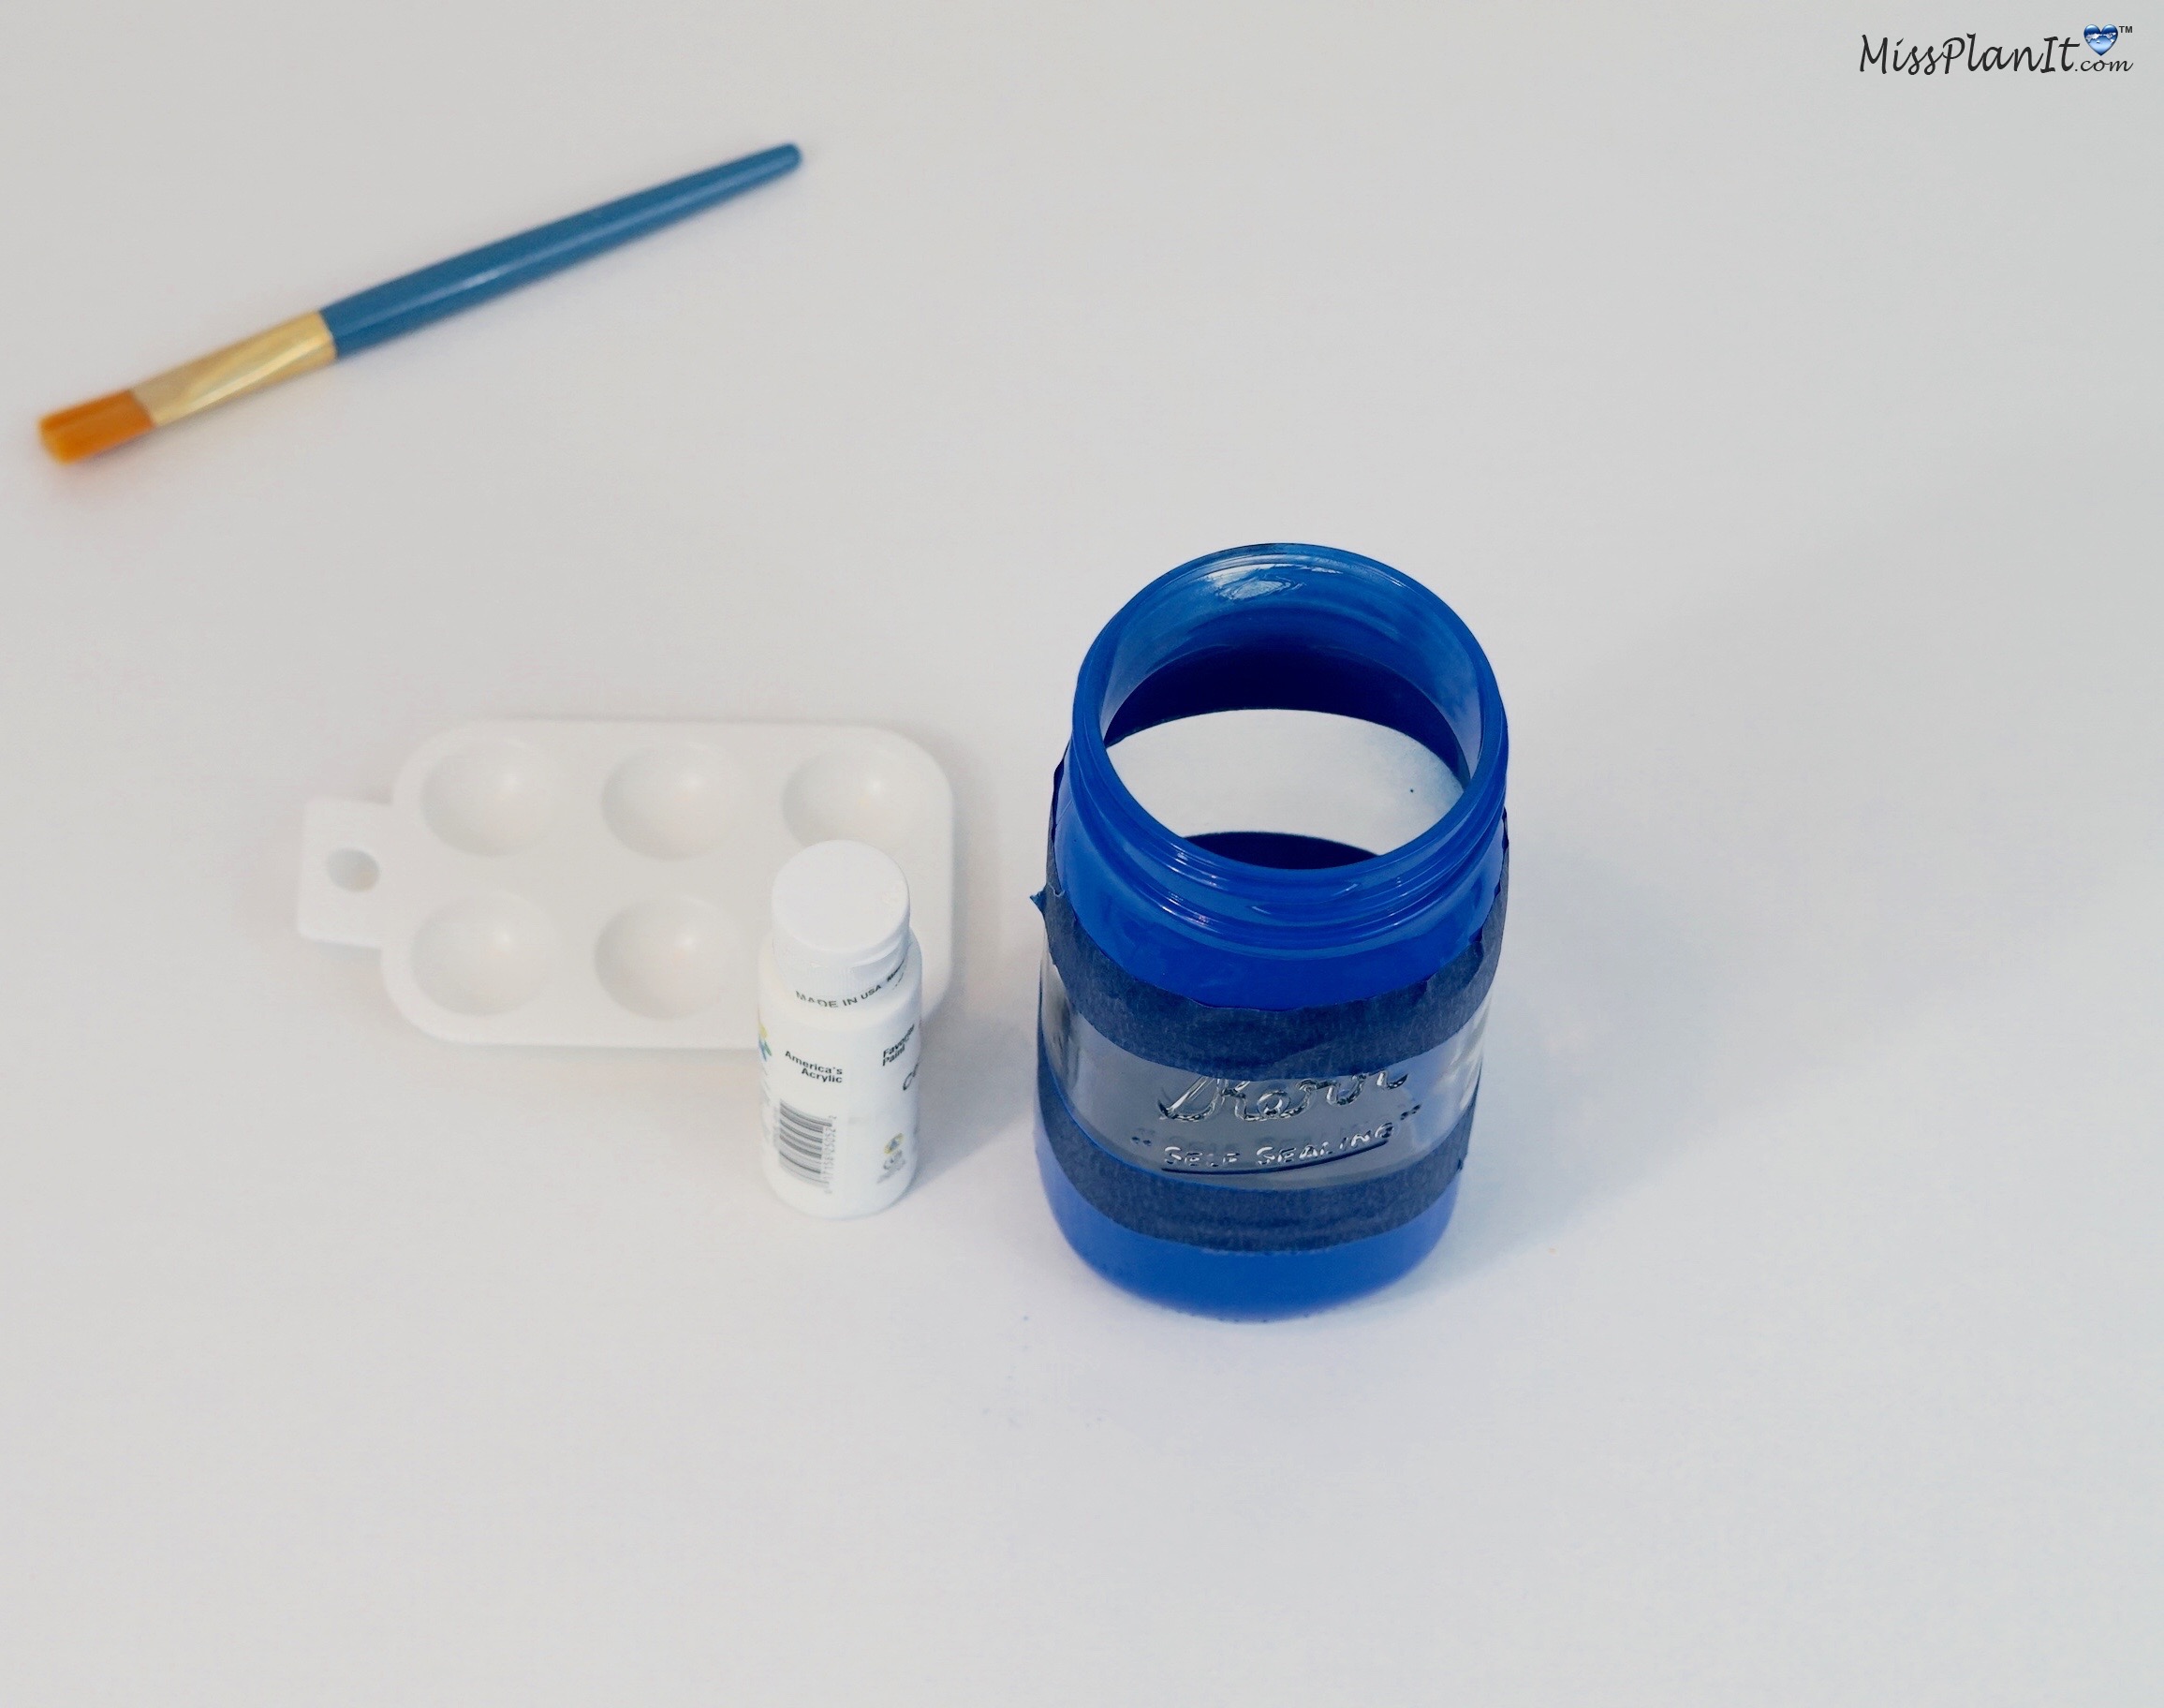
STEP 2: Wrap your painter’s tape around your 16 oz Mason Jar, spray paint it with your blue spray paint. Allow it to dry for 10 minutes, then remove your painter’s tape.
STEP 3: Repeat Step 2 on your 8 oz Mason Jar this time using your Cream Spray Paint.
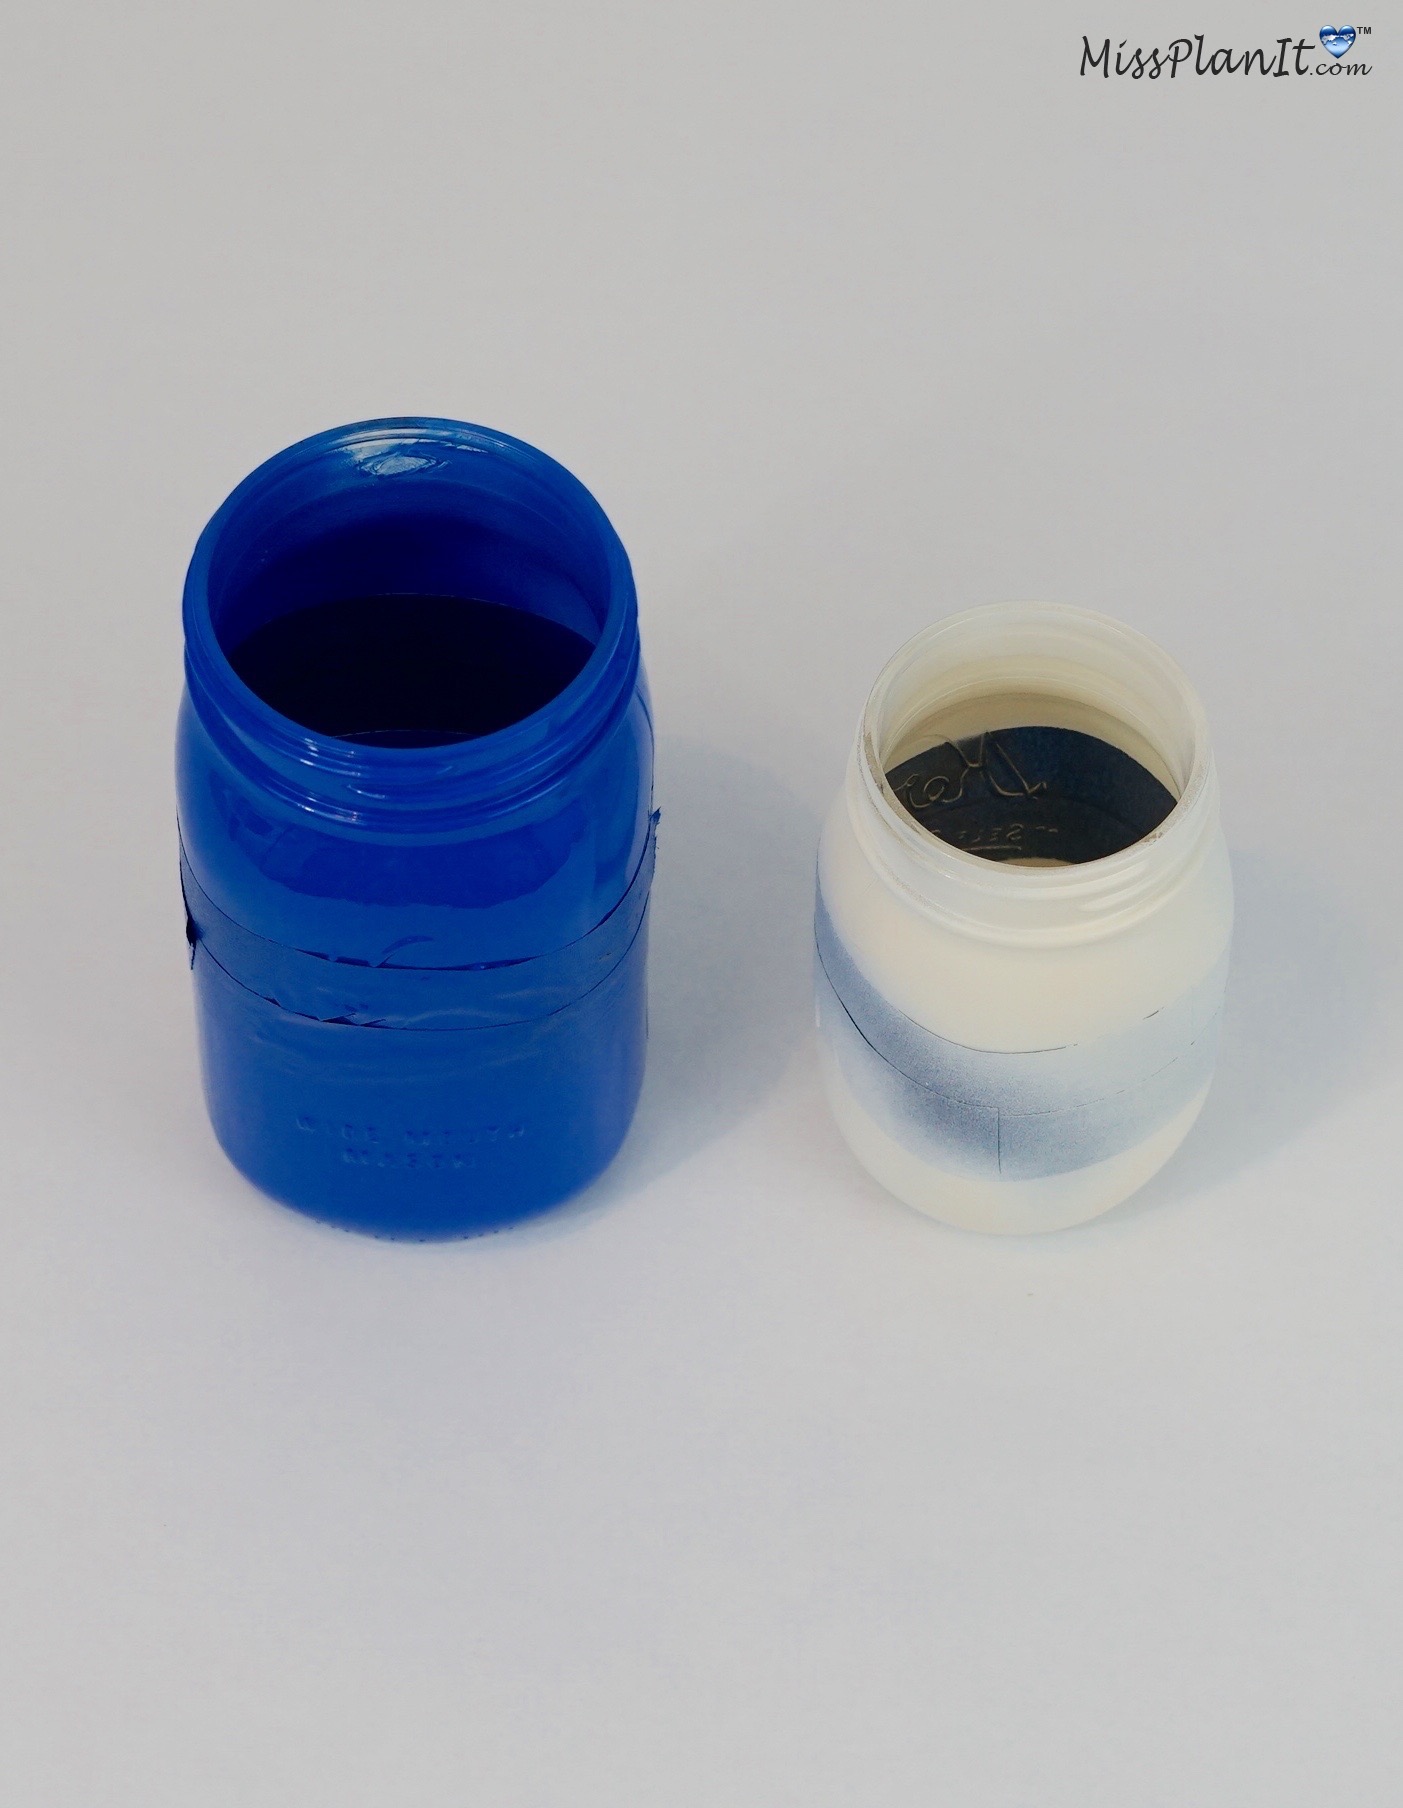
STEP 4: To get a 2 tone paint effect on your Mason Jars, reapply Painter’s tape to your 16 oz and 8 oz jar. Then paint the middle section of your 16 oz jar with your cream paint and your 8 oz Mason Jar with your blue paint.
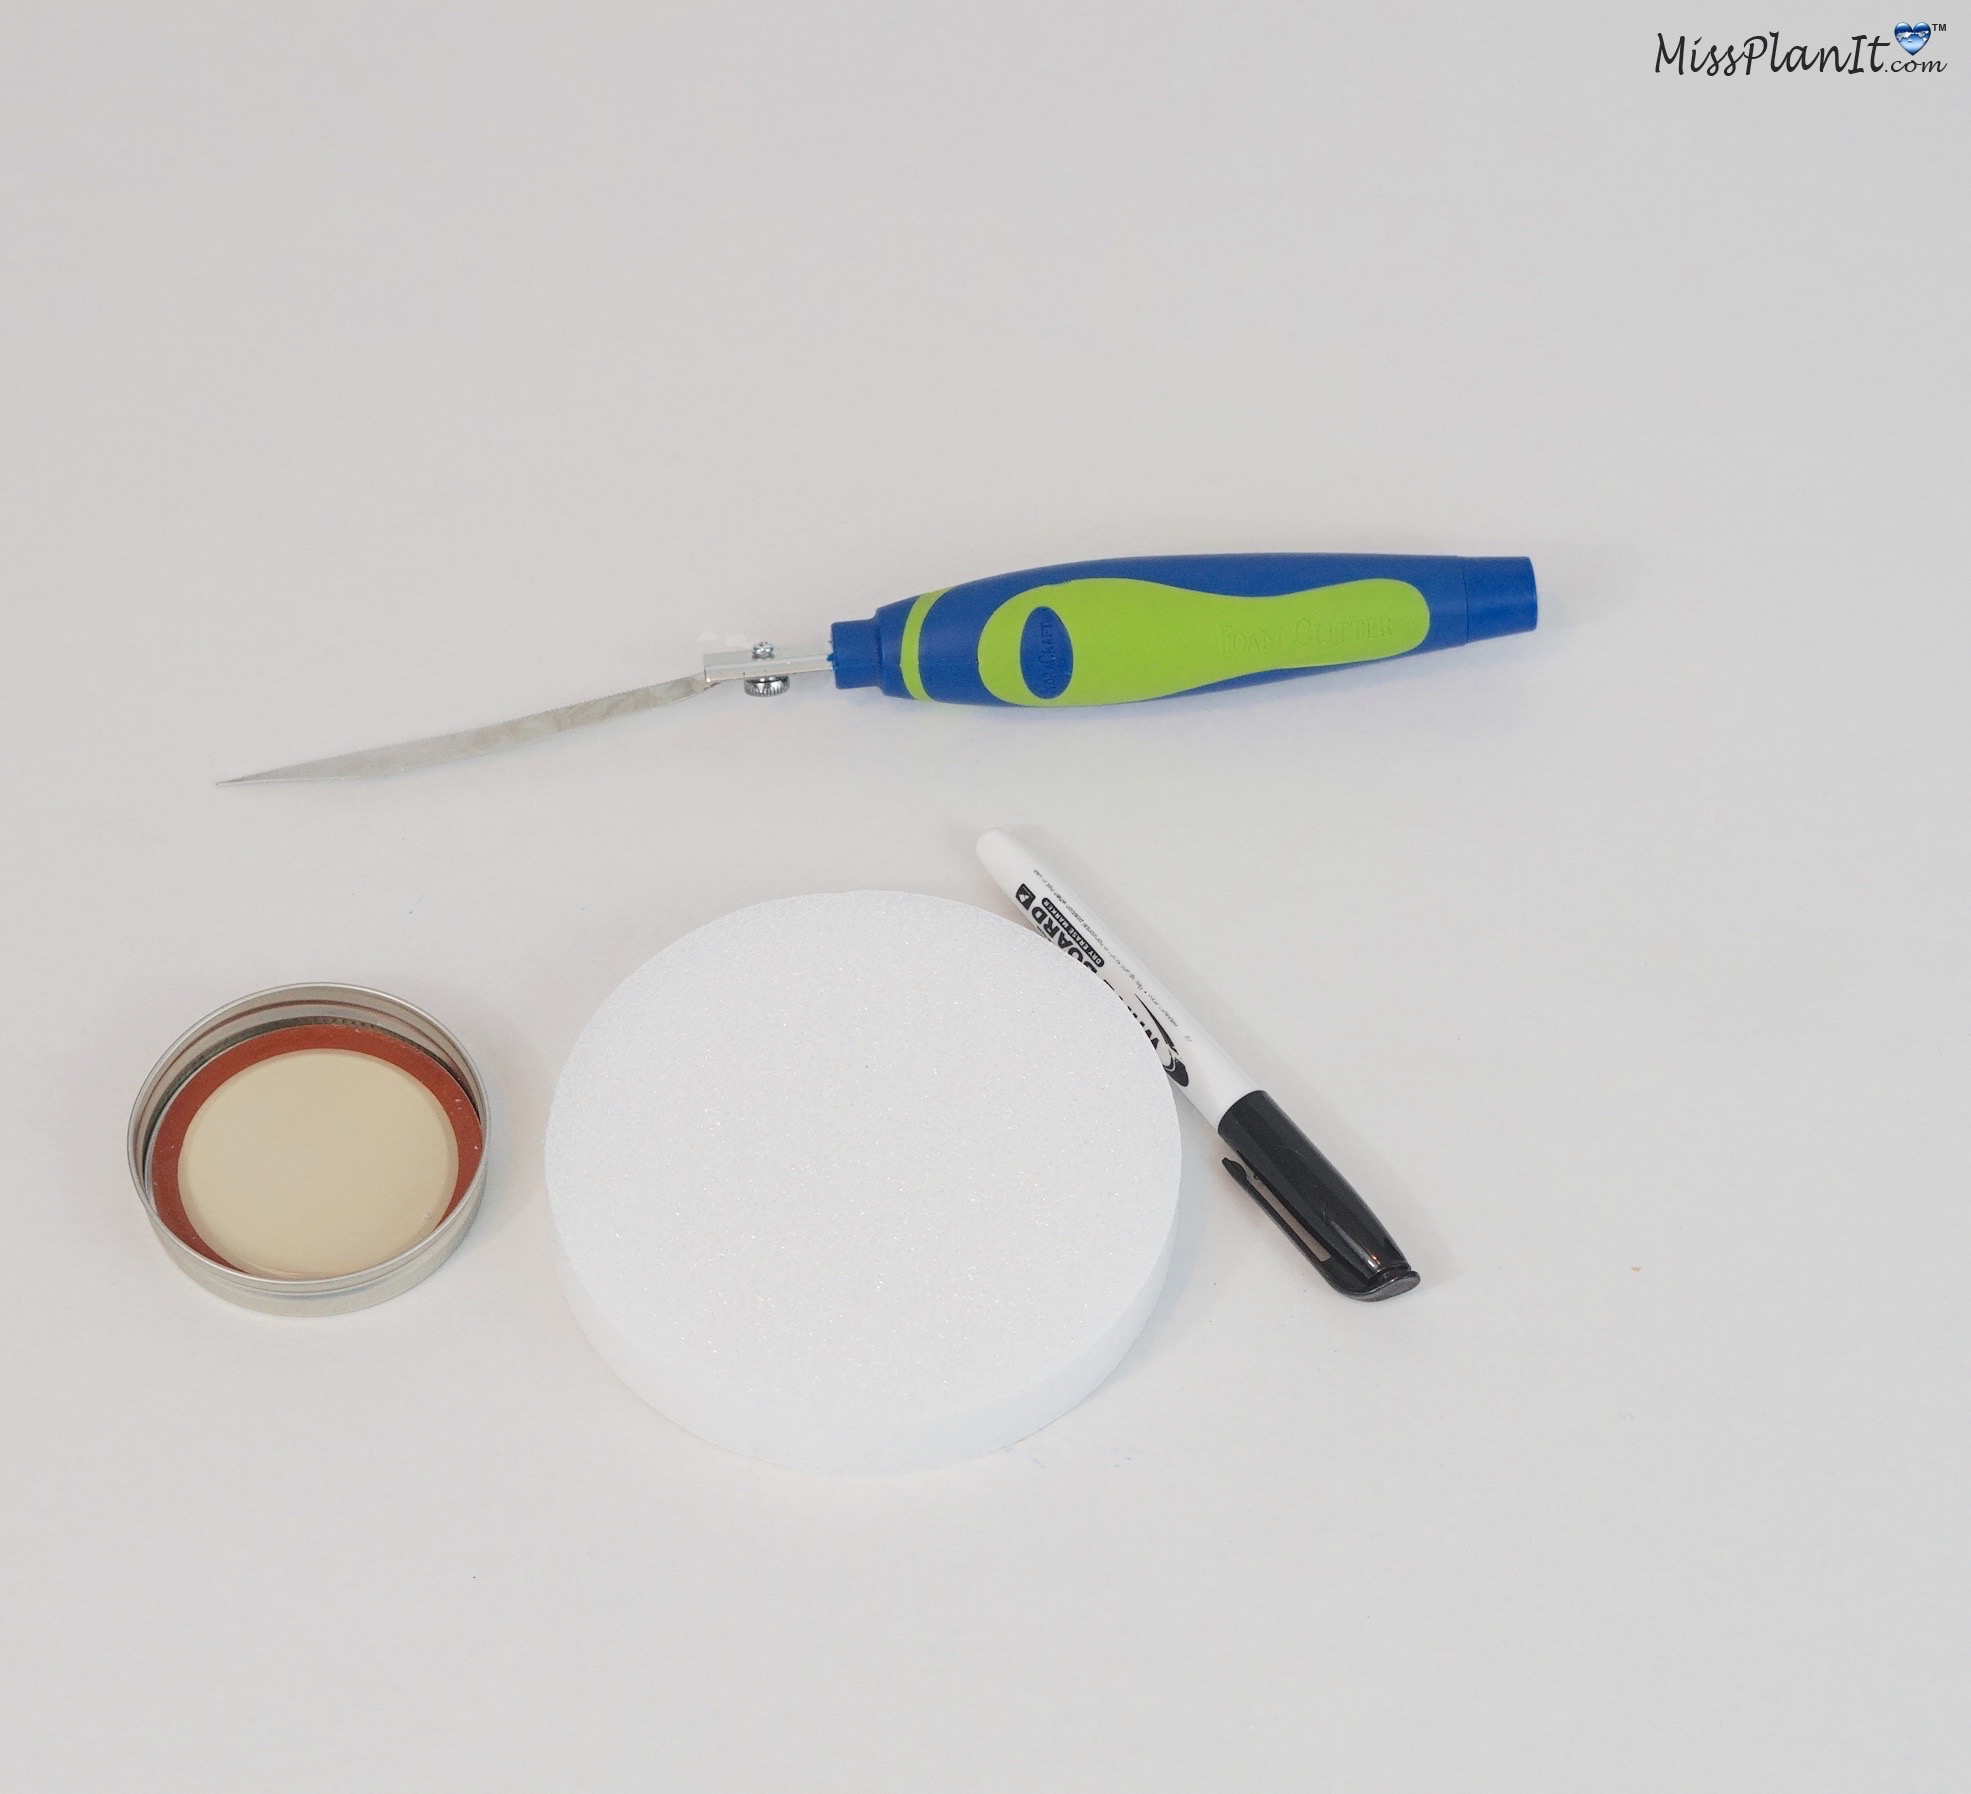
STEP 5: To create your foam base, remove your mason jar lid, remove the inner lid attachment, sit lid on top of your foam, trace with your sharpie and cut out with your X-acto knife.
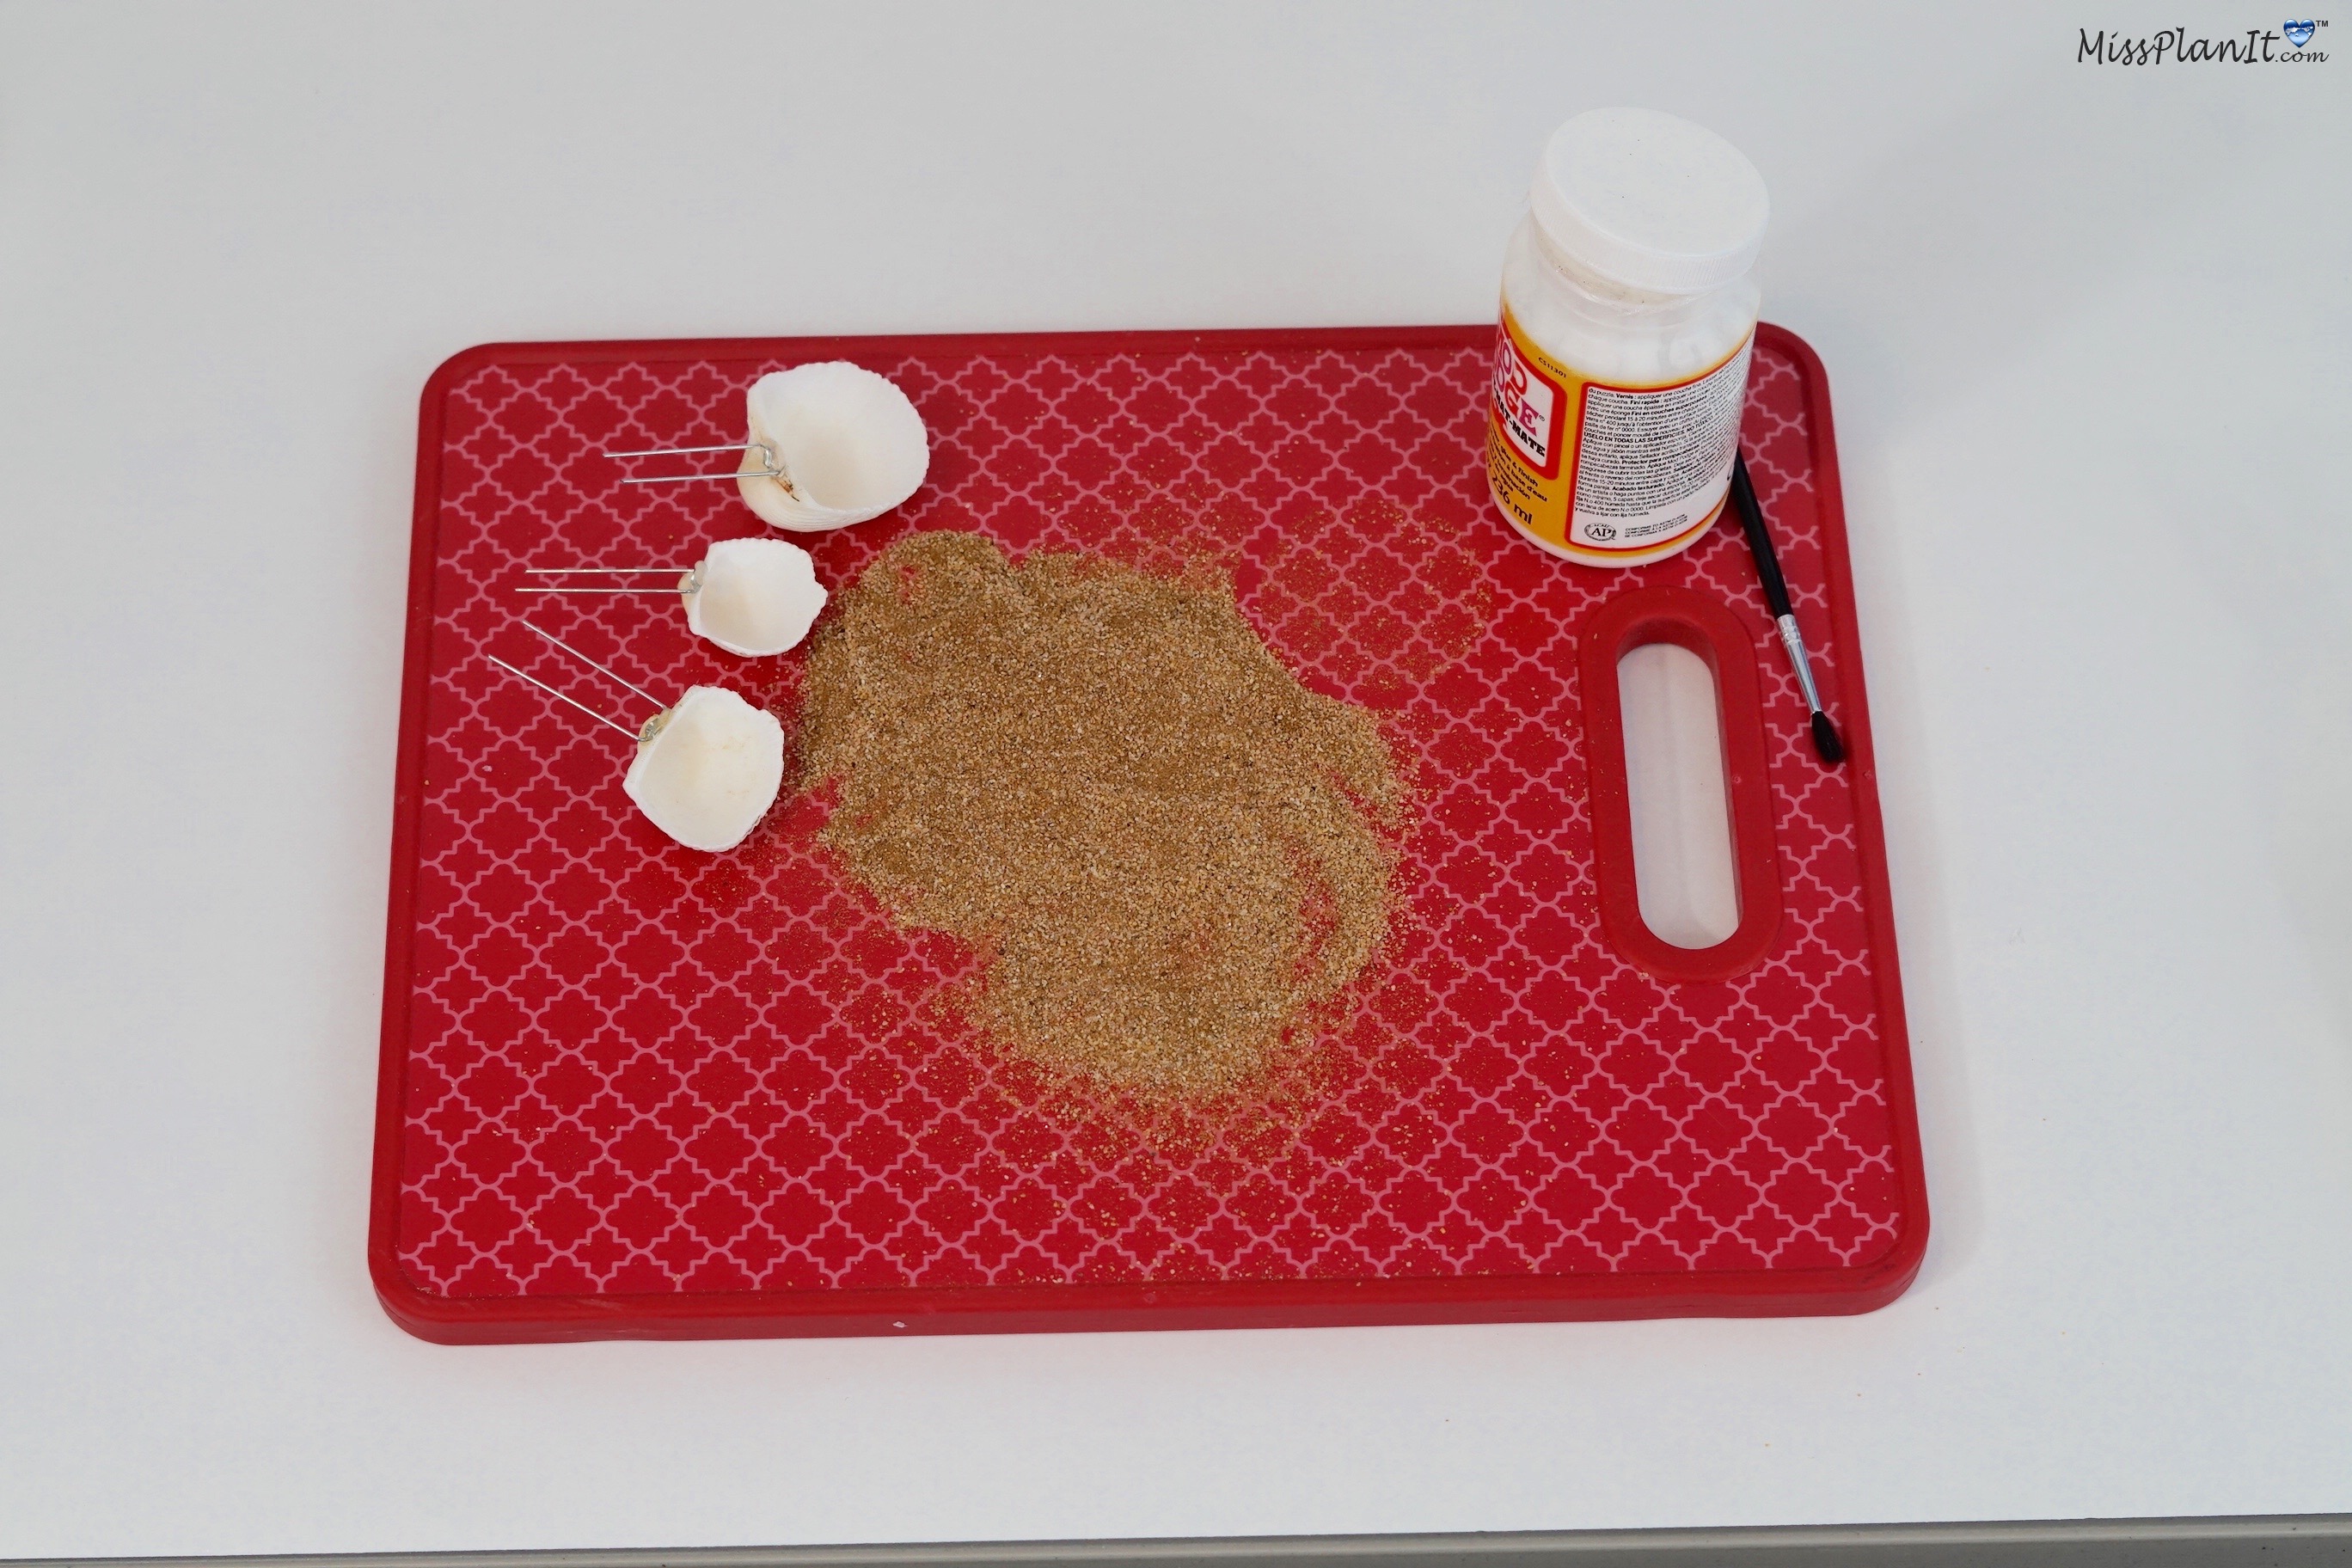
STEP 6: Take your cut out foam piece, spray with adhesive and cover with your sand.
STEP 7: Now take your sea shells, apply hot glue and then attach your floral pin to your shell. Apply mod podge to floral pins and add sand.
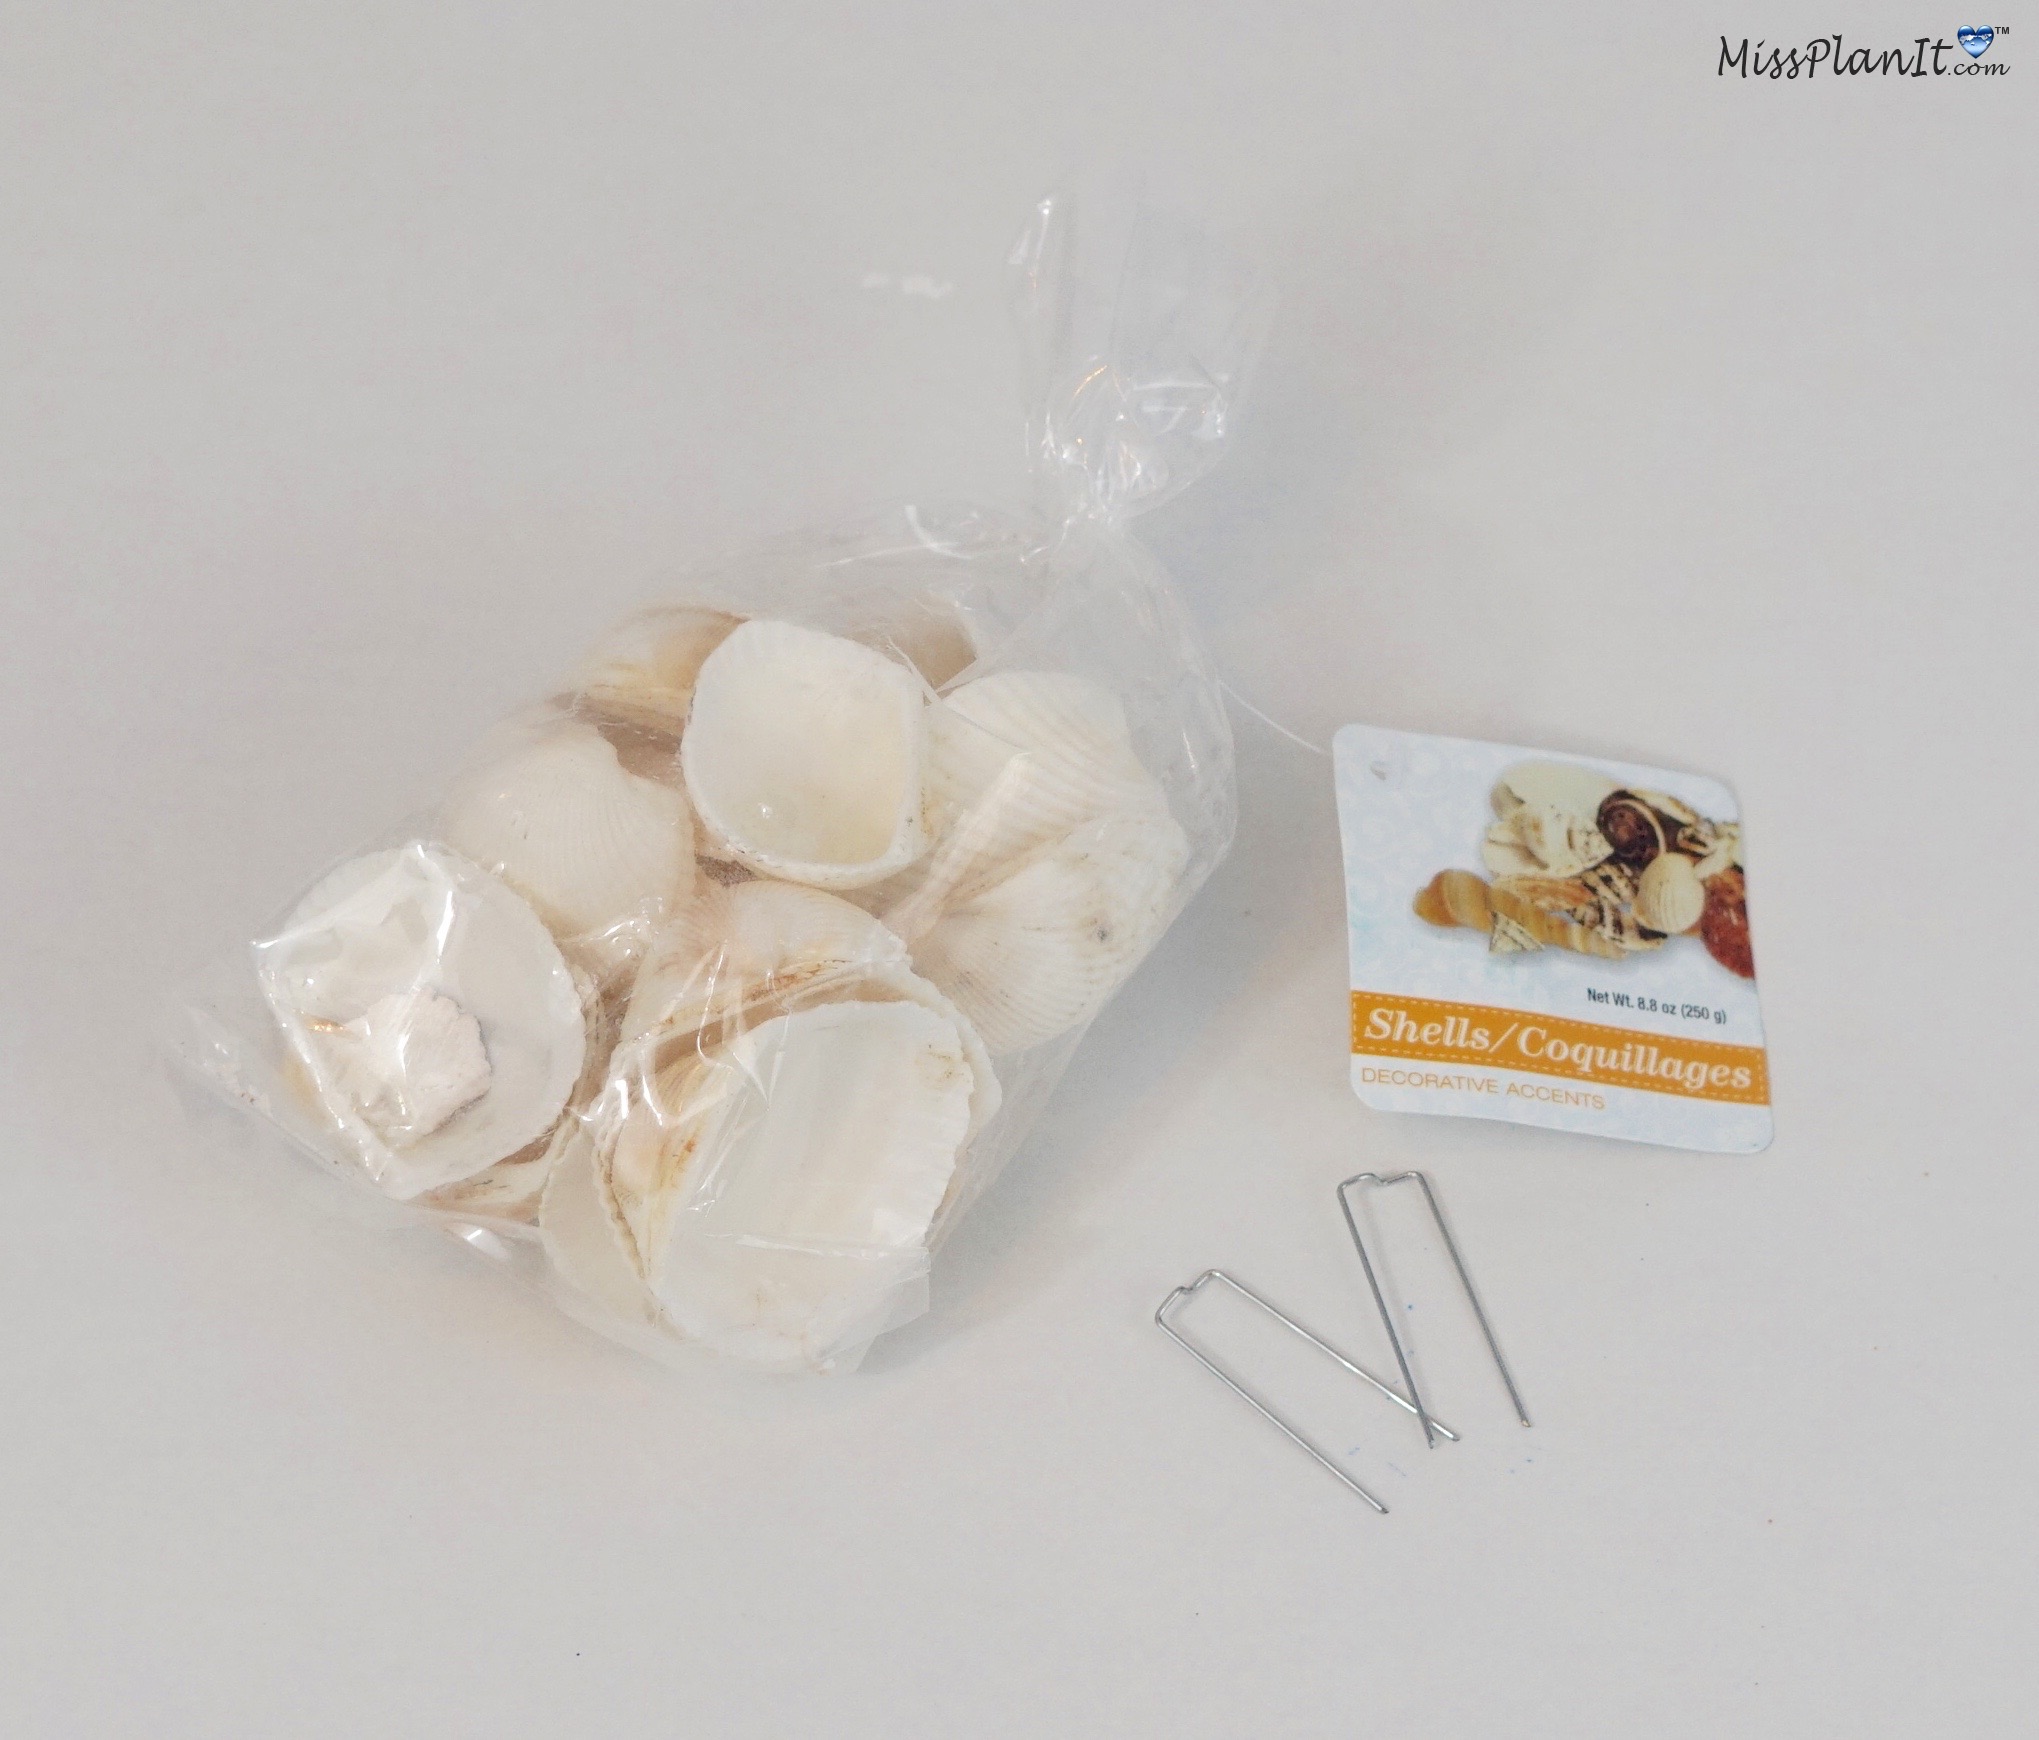
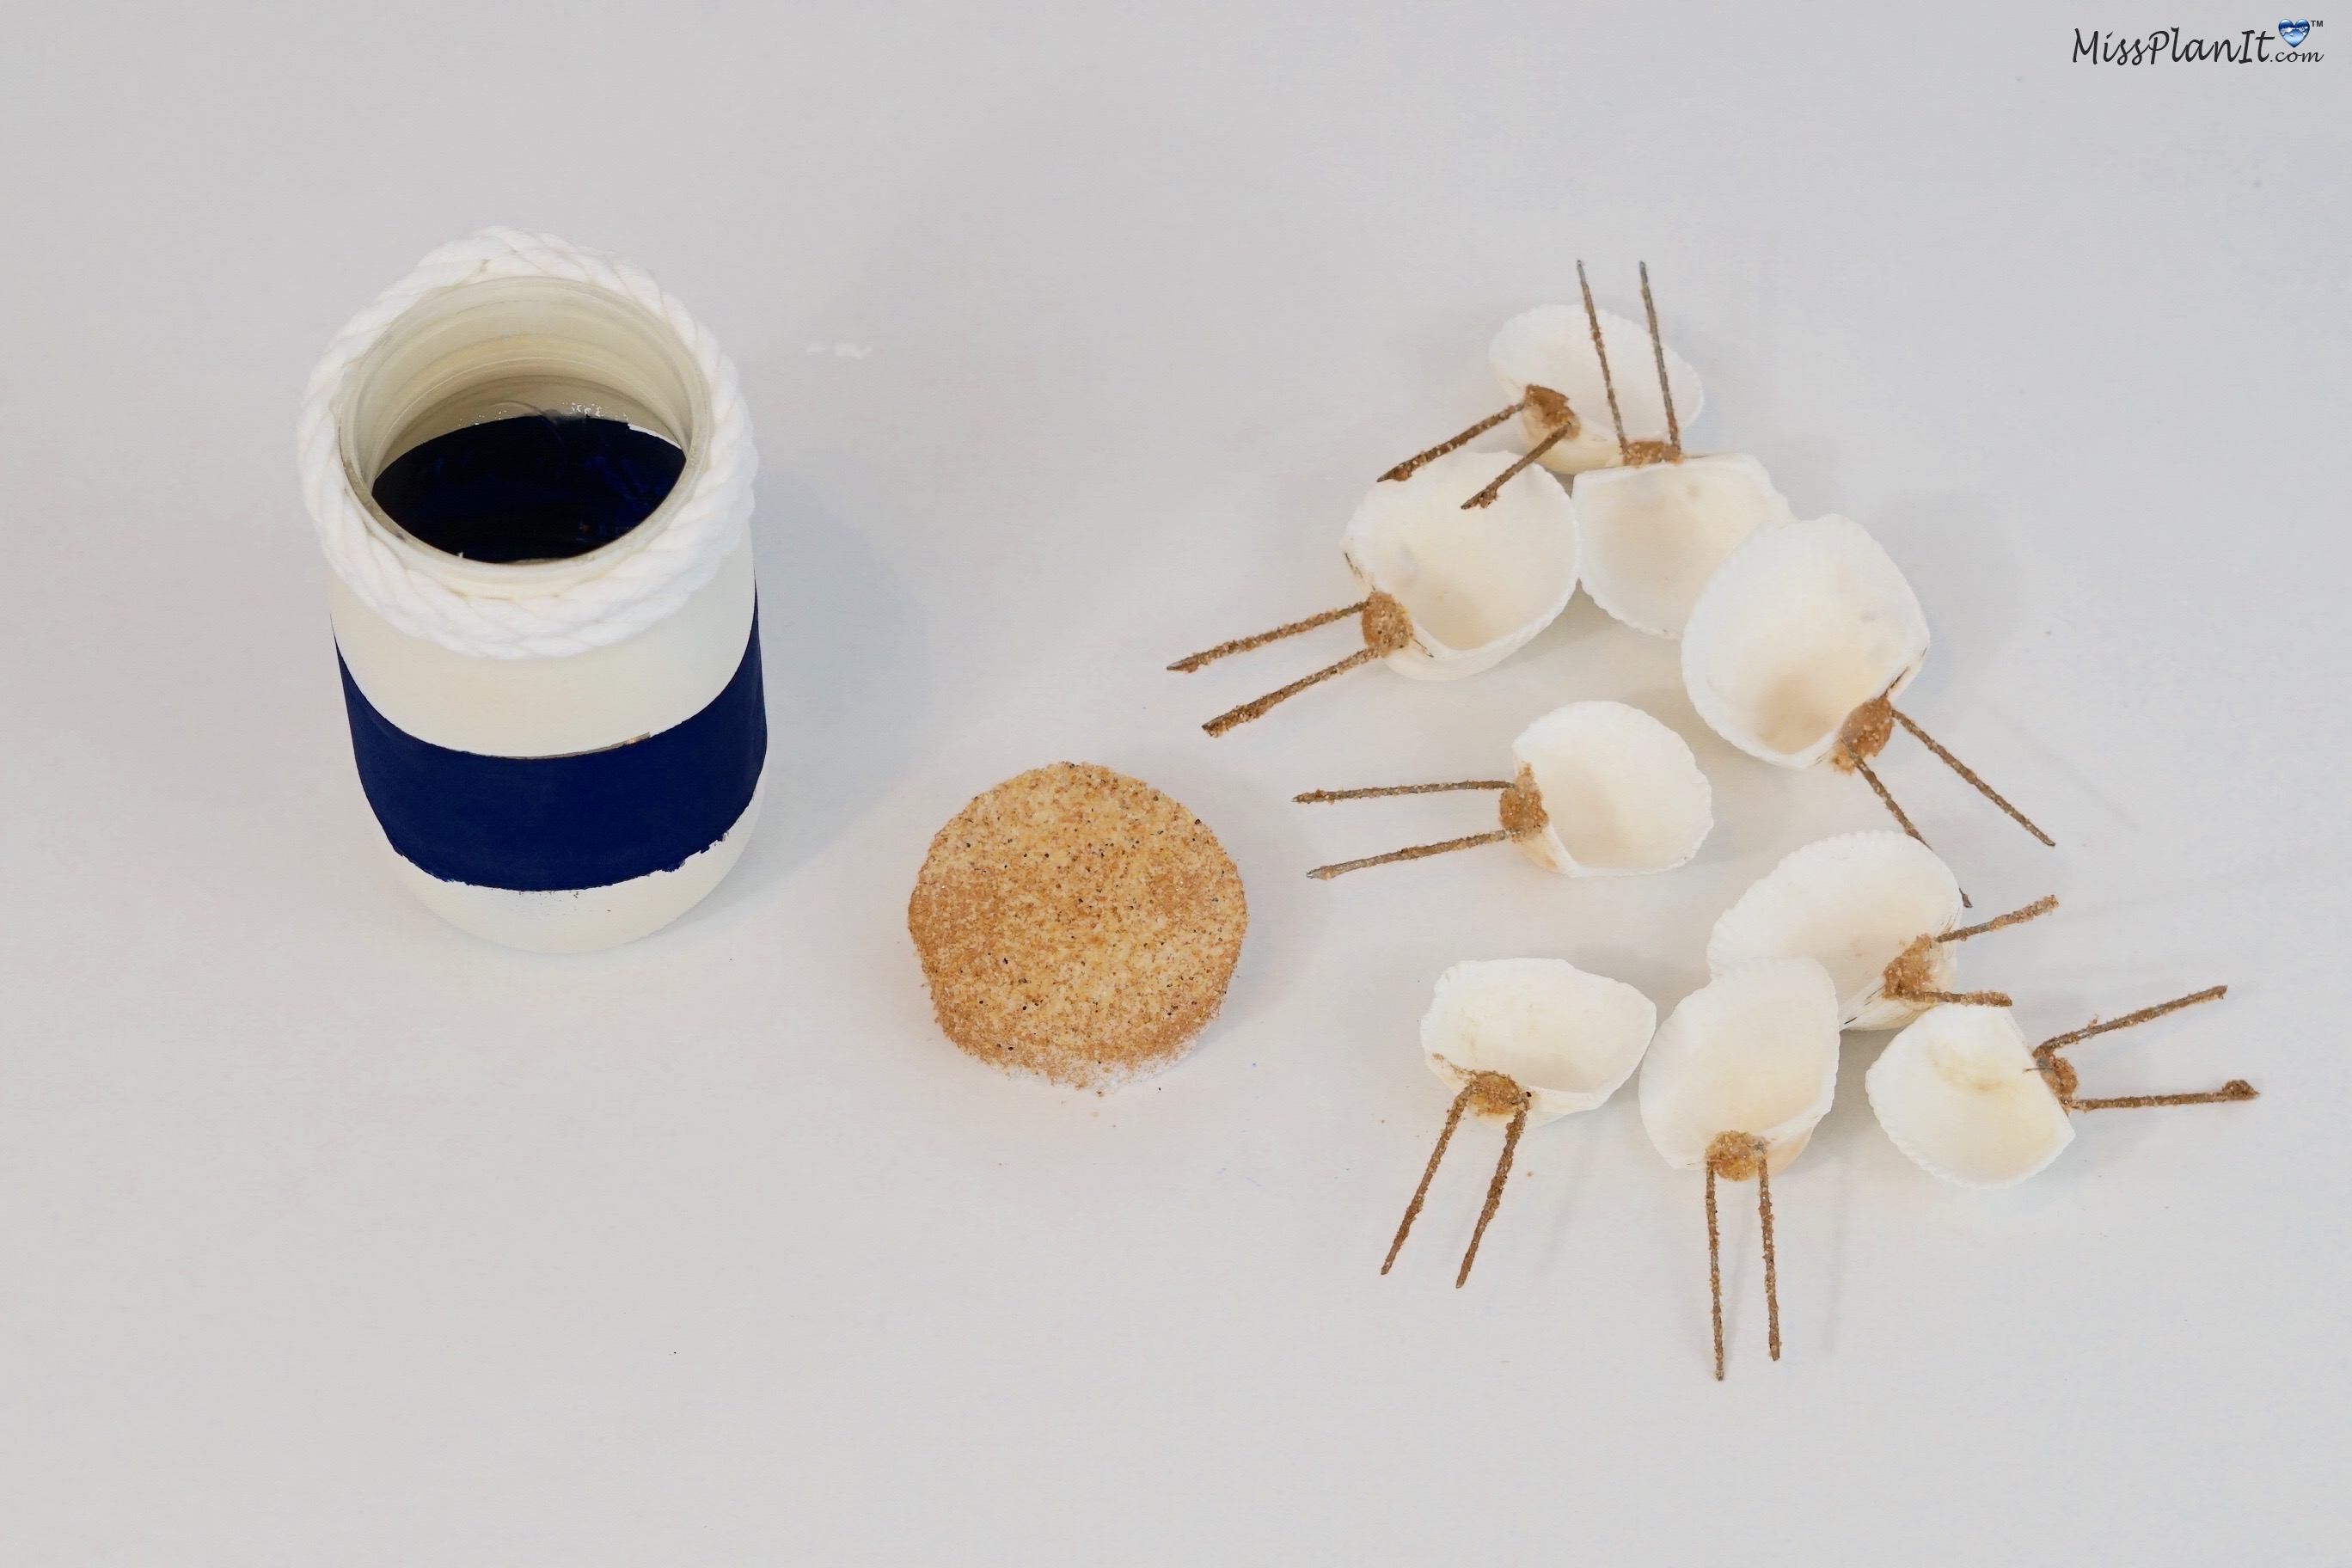
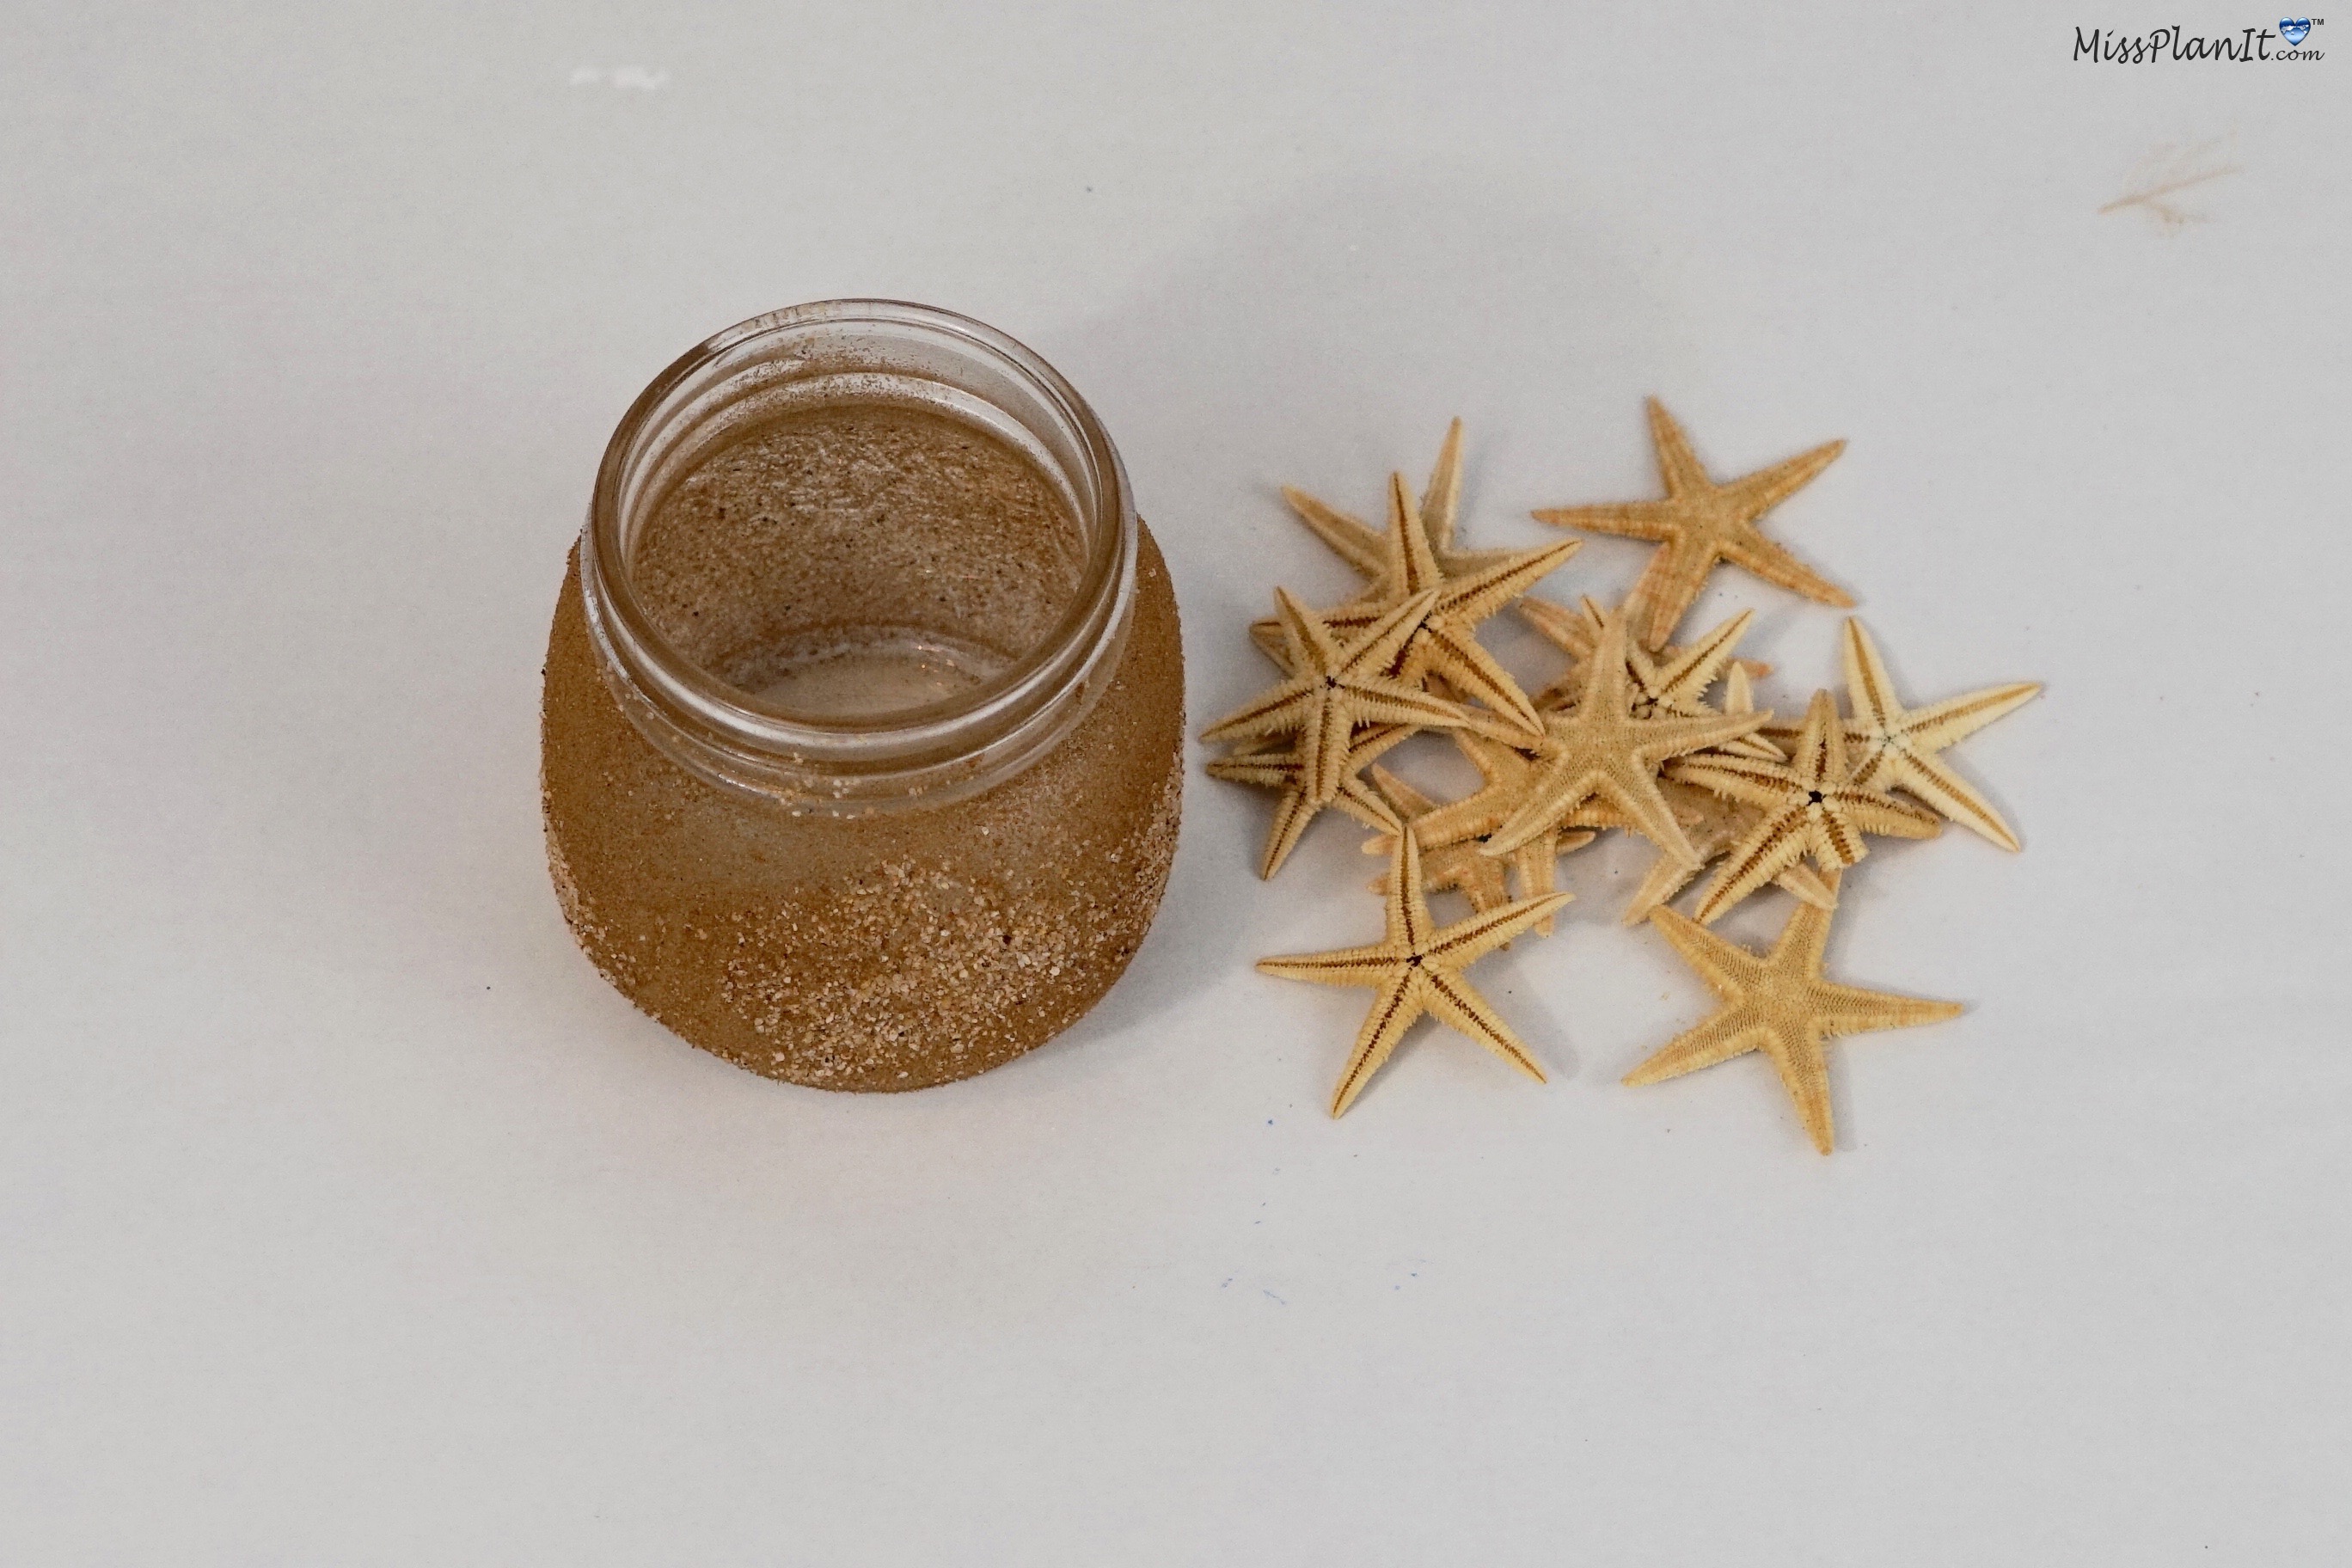
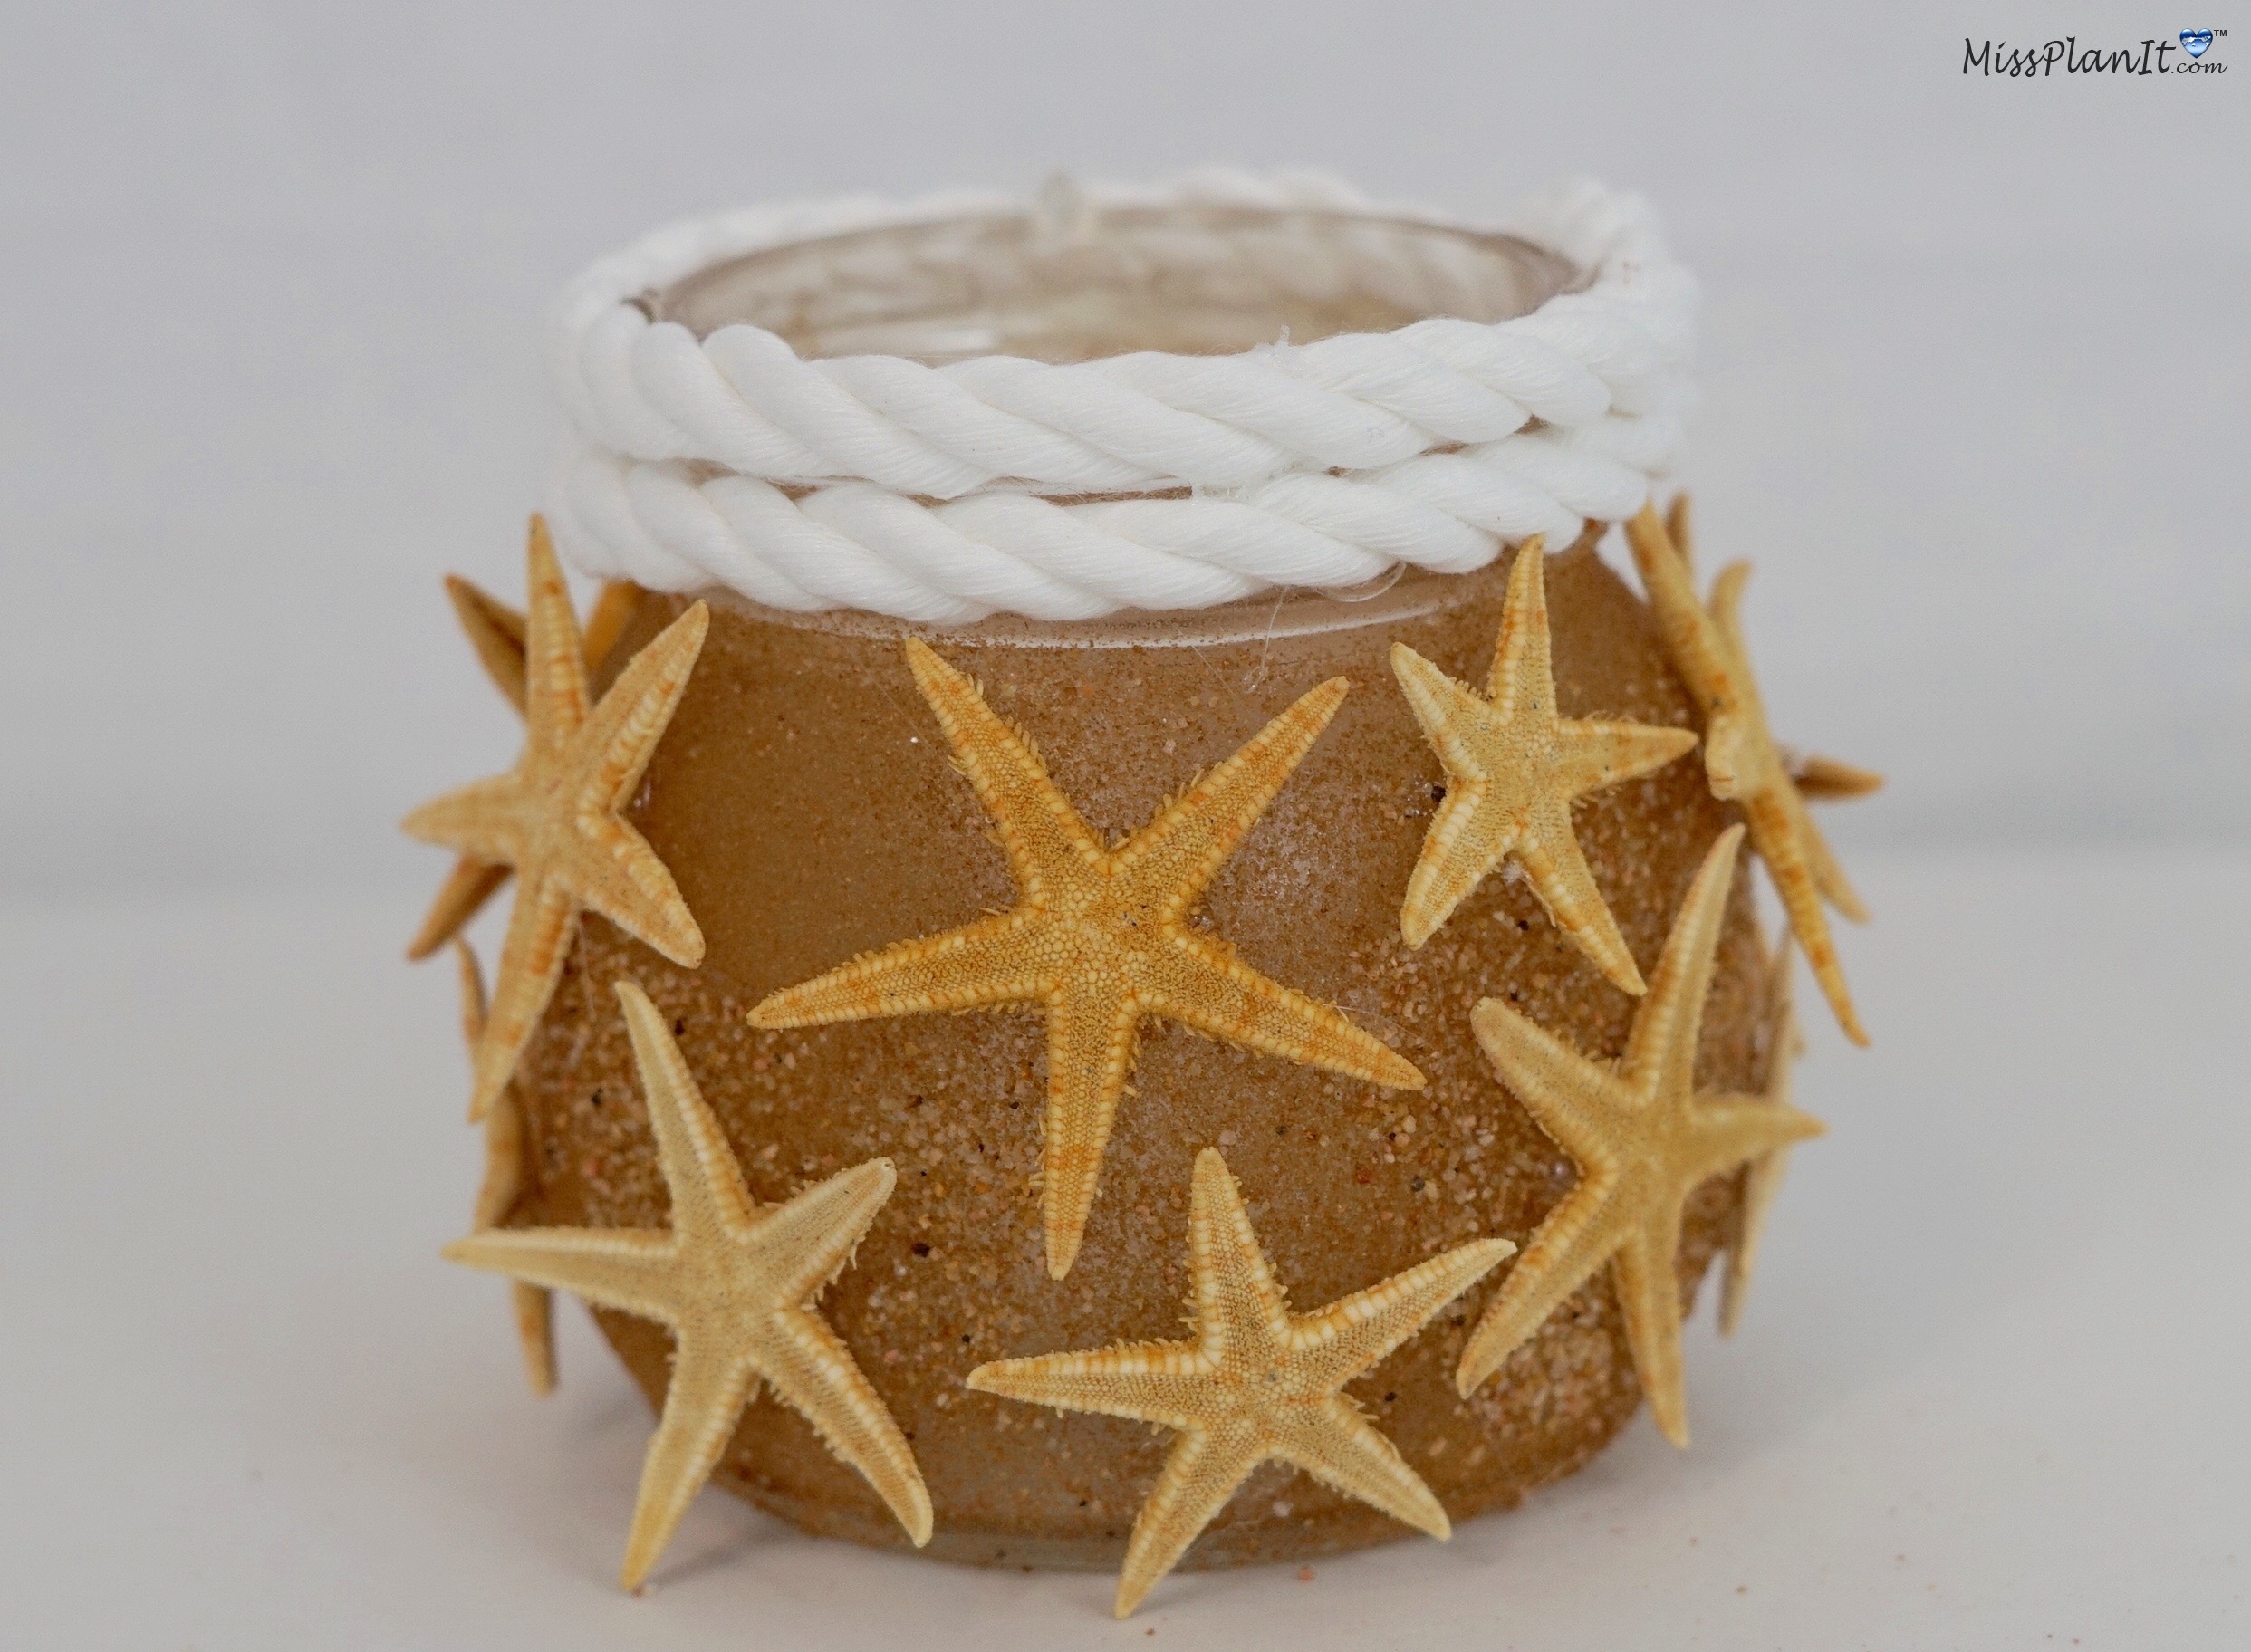
STEP 8: Spray 4 oz mason jar with adhesive and apply sand. Attach star fish to mason jar using hot glue. Now wrap your white rope around each of your mason jar rims using hot glue to adhere. Take 2 star fish and paint 1 red and 1 blue, allow to dry and then hot glue star fish to your floral pins.
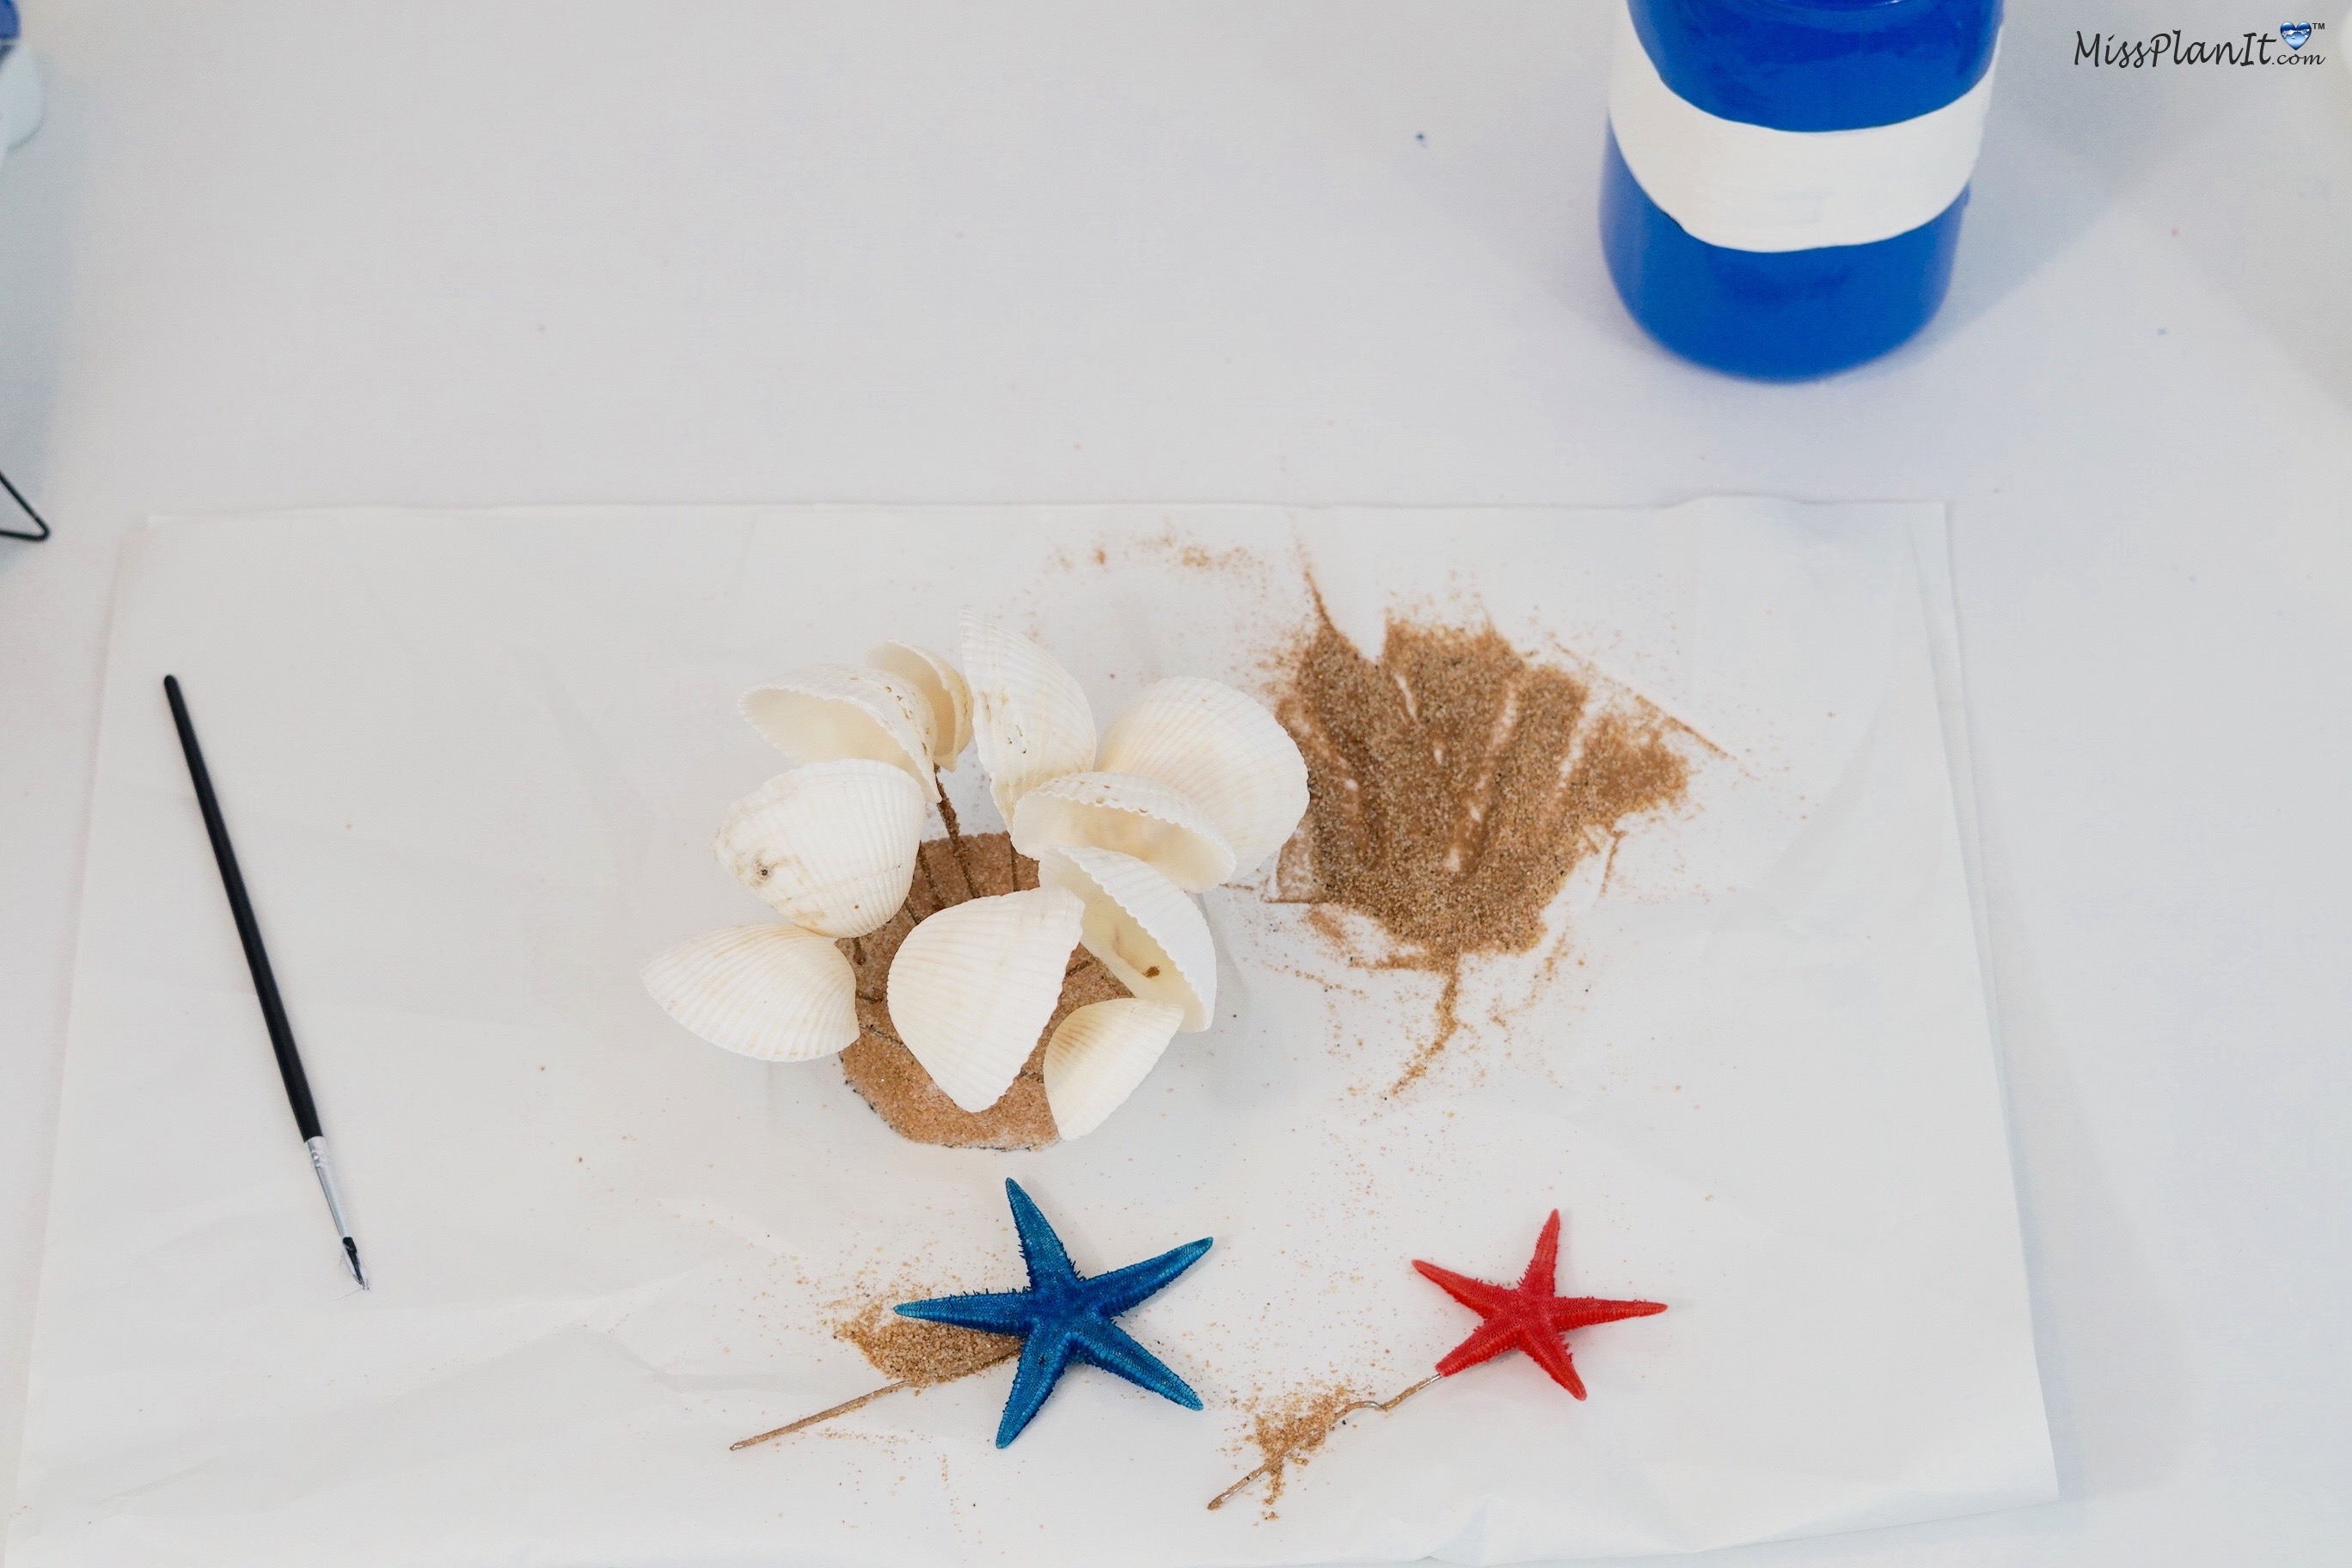
STEP 9: Apply hot glue to floral pins now attach floral pins into your foam bases. Now insert foam bases into your Mason Jar openings.
STEP 10: Add a special message by applying adhesive letters! With this being a Boy Baby Shower, I decided to add “Oh Boy” to my jars. However, you can choose whatever message you would like to display.
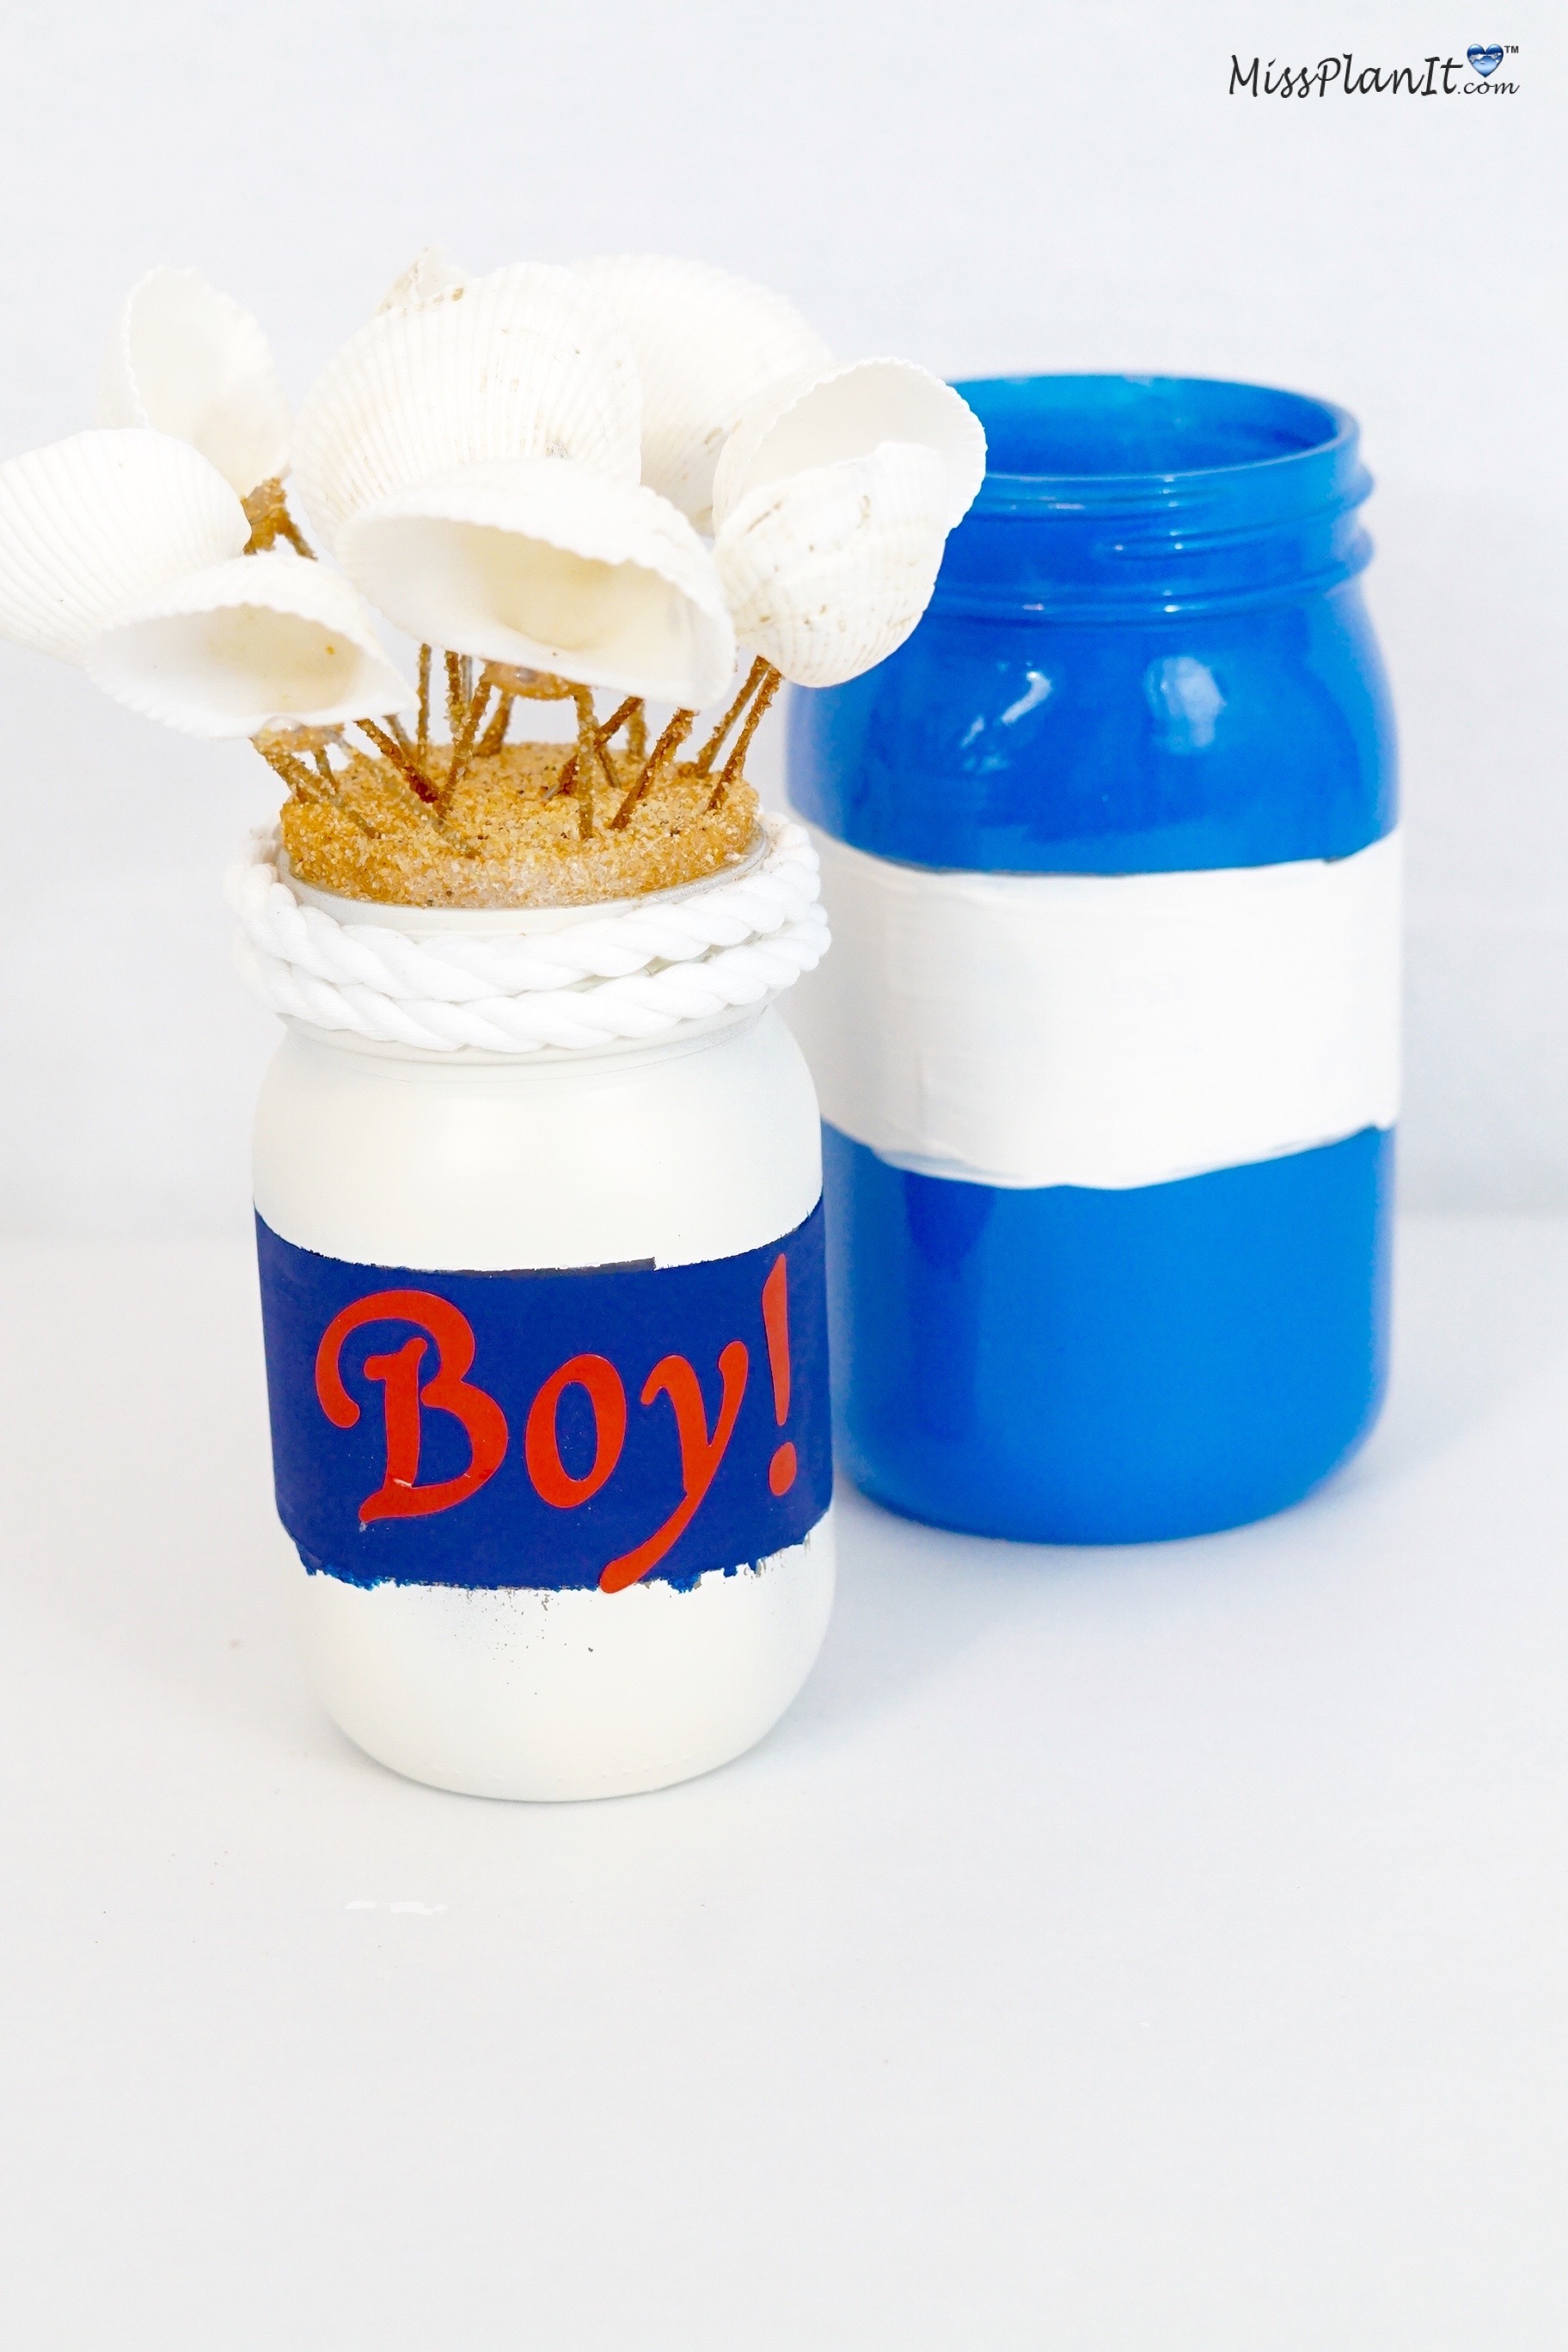
THE FINAL STEP
STEP 11: Set the table!
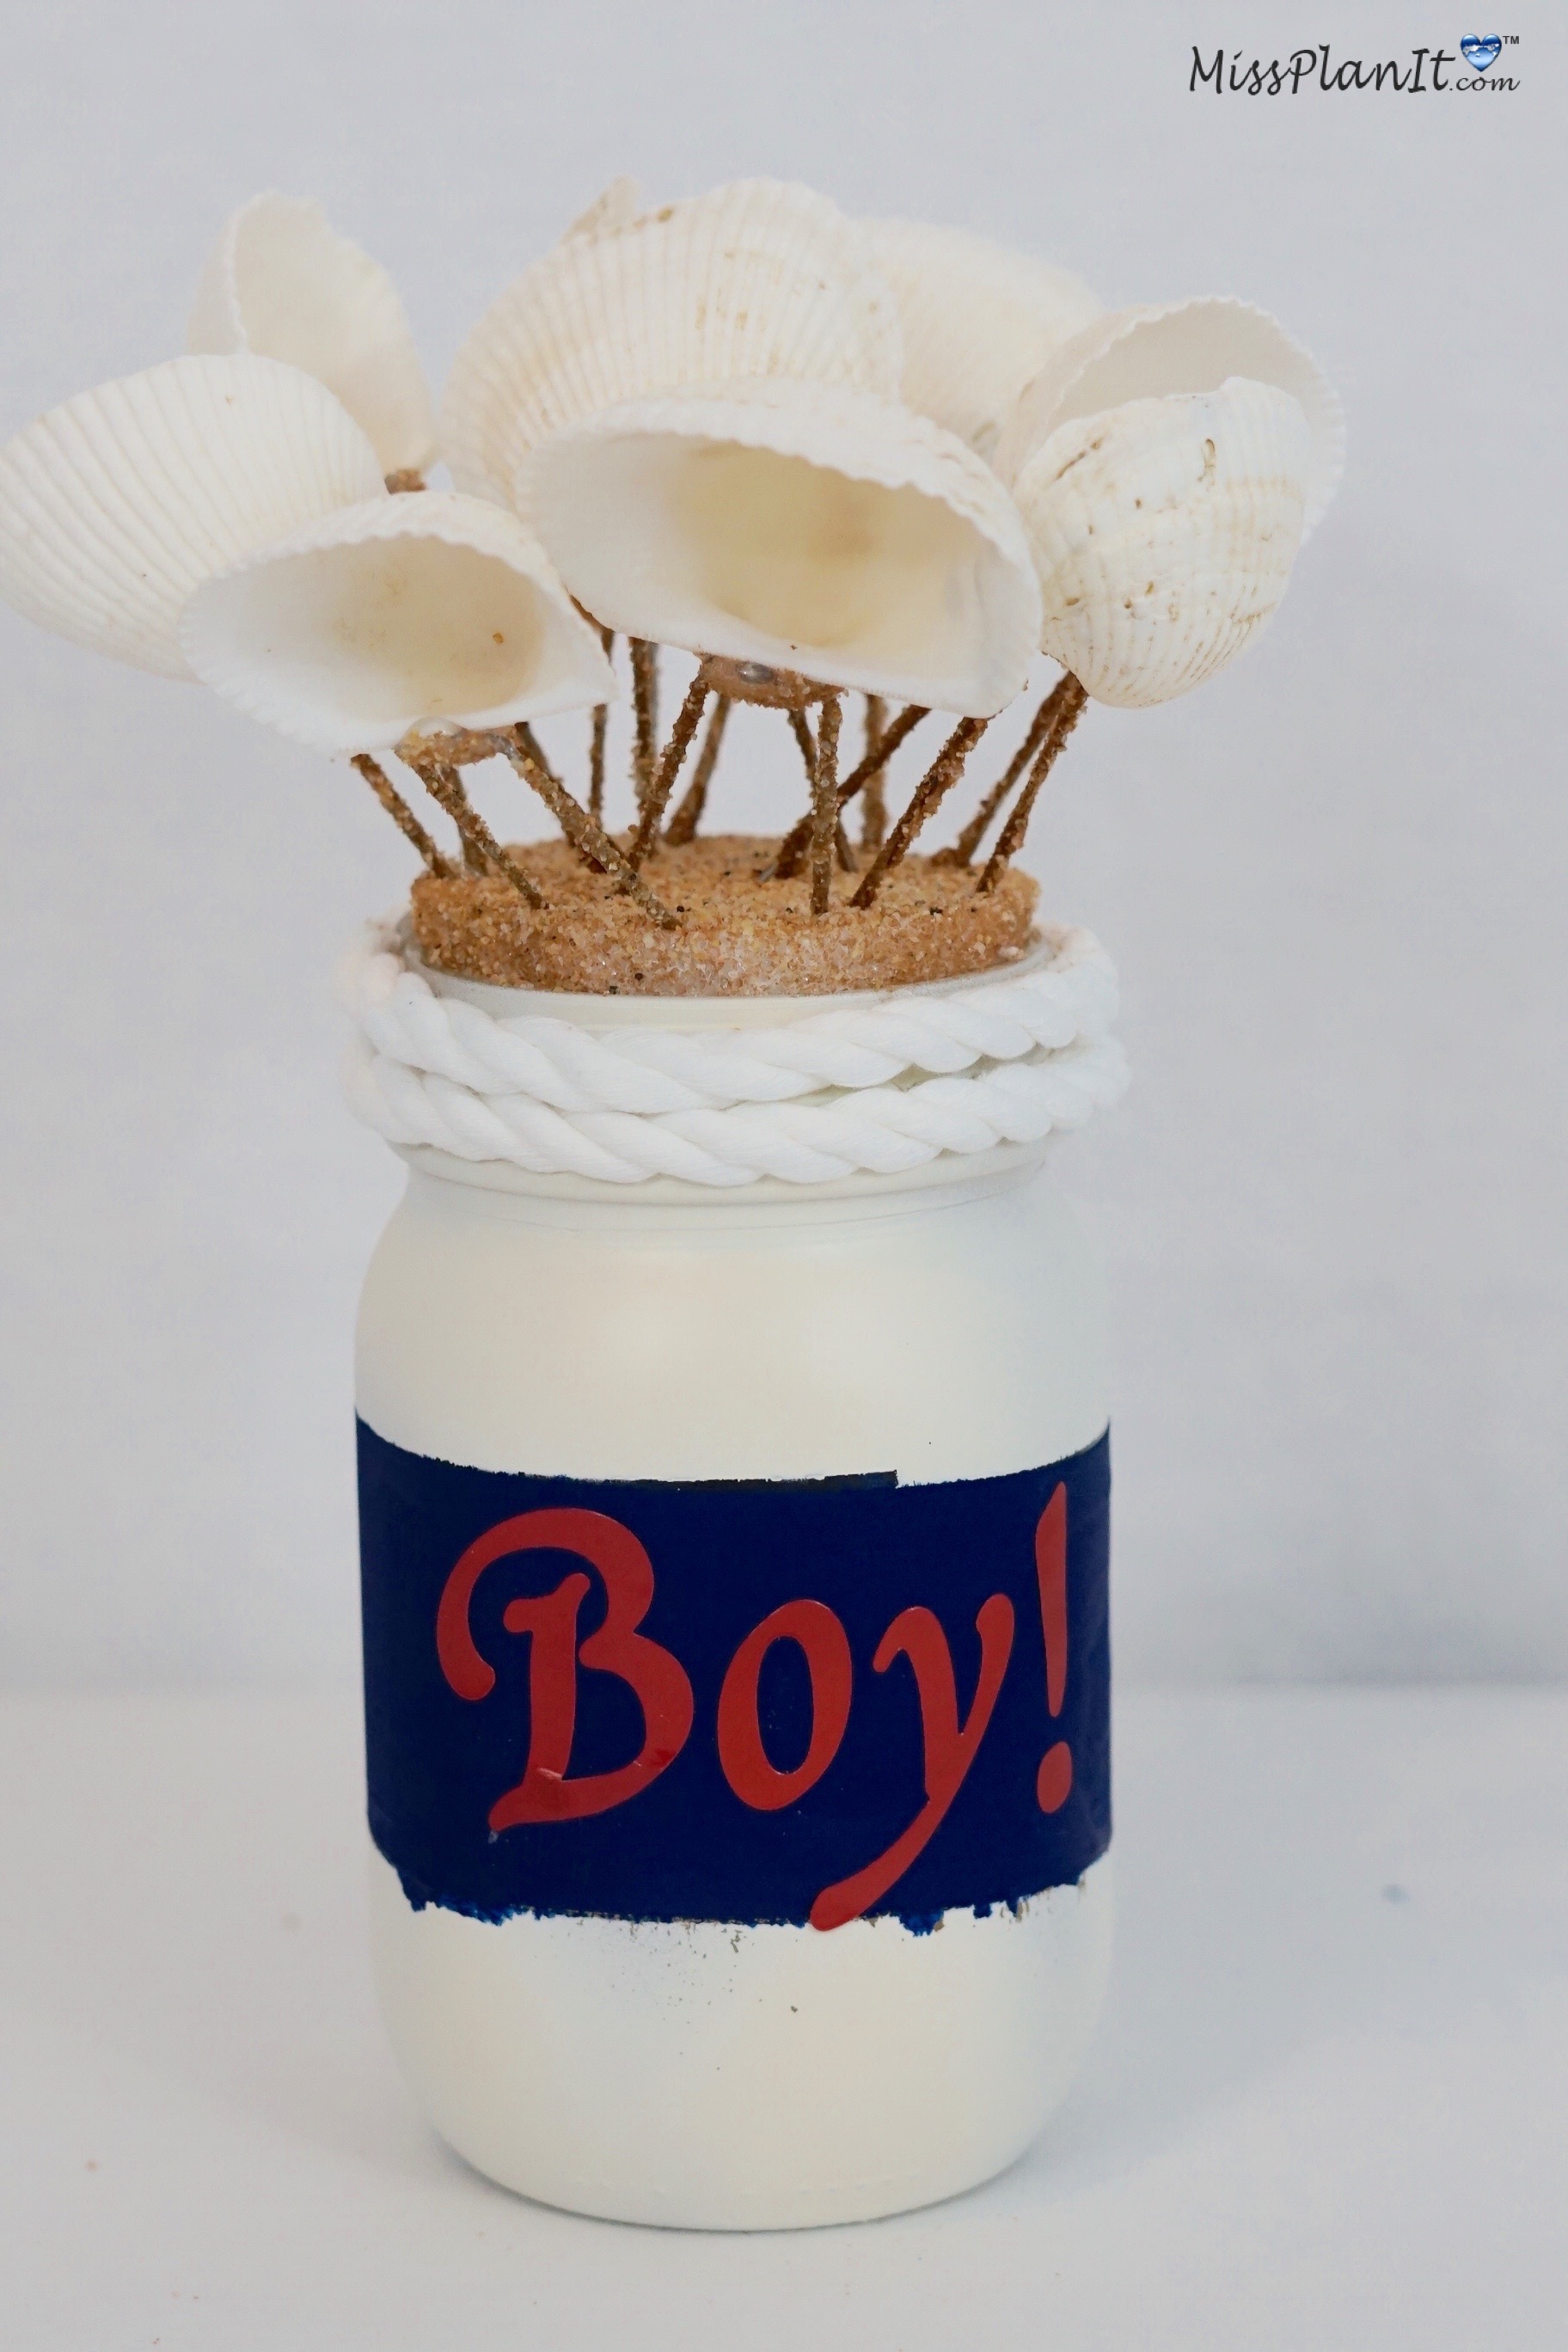
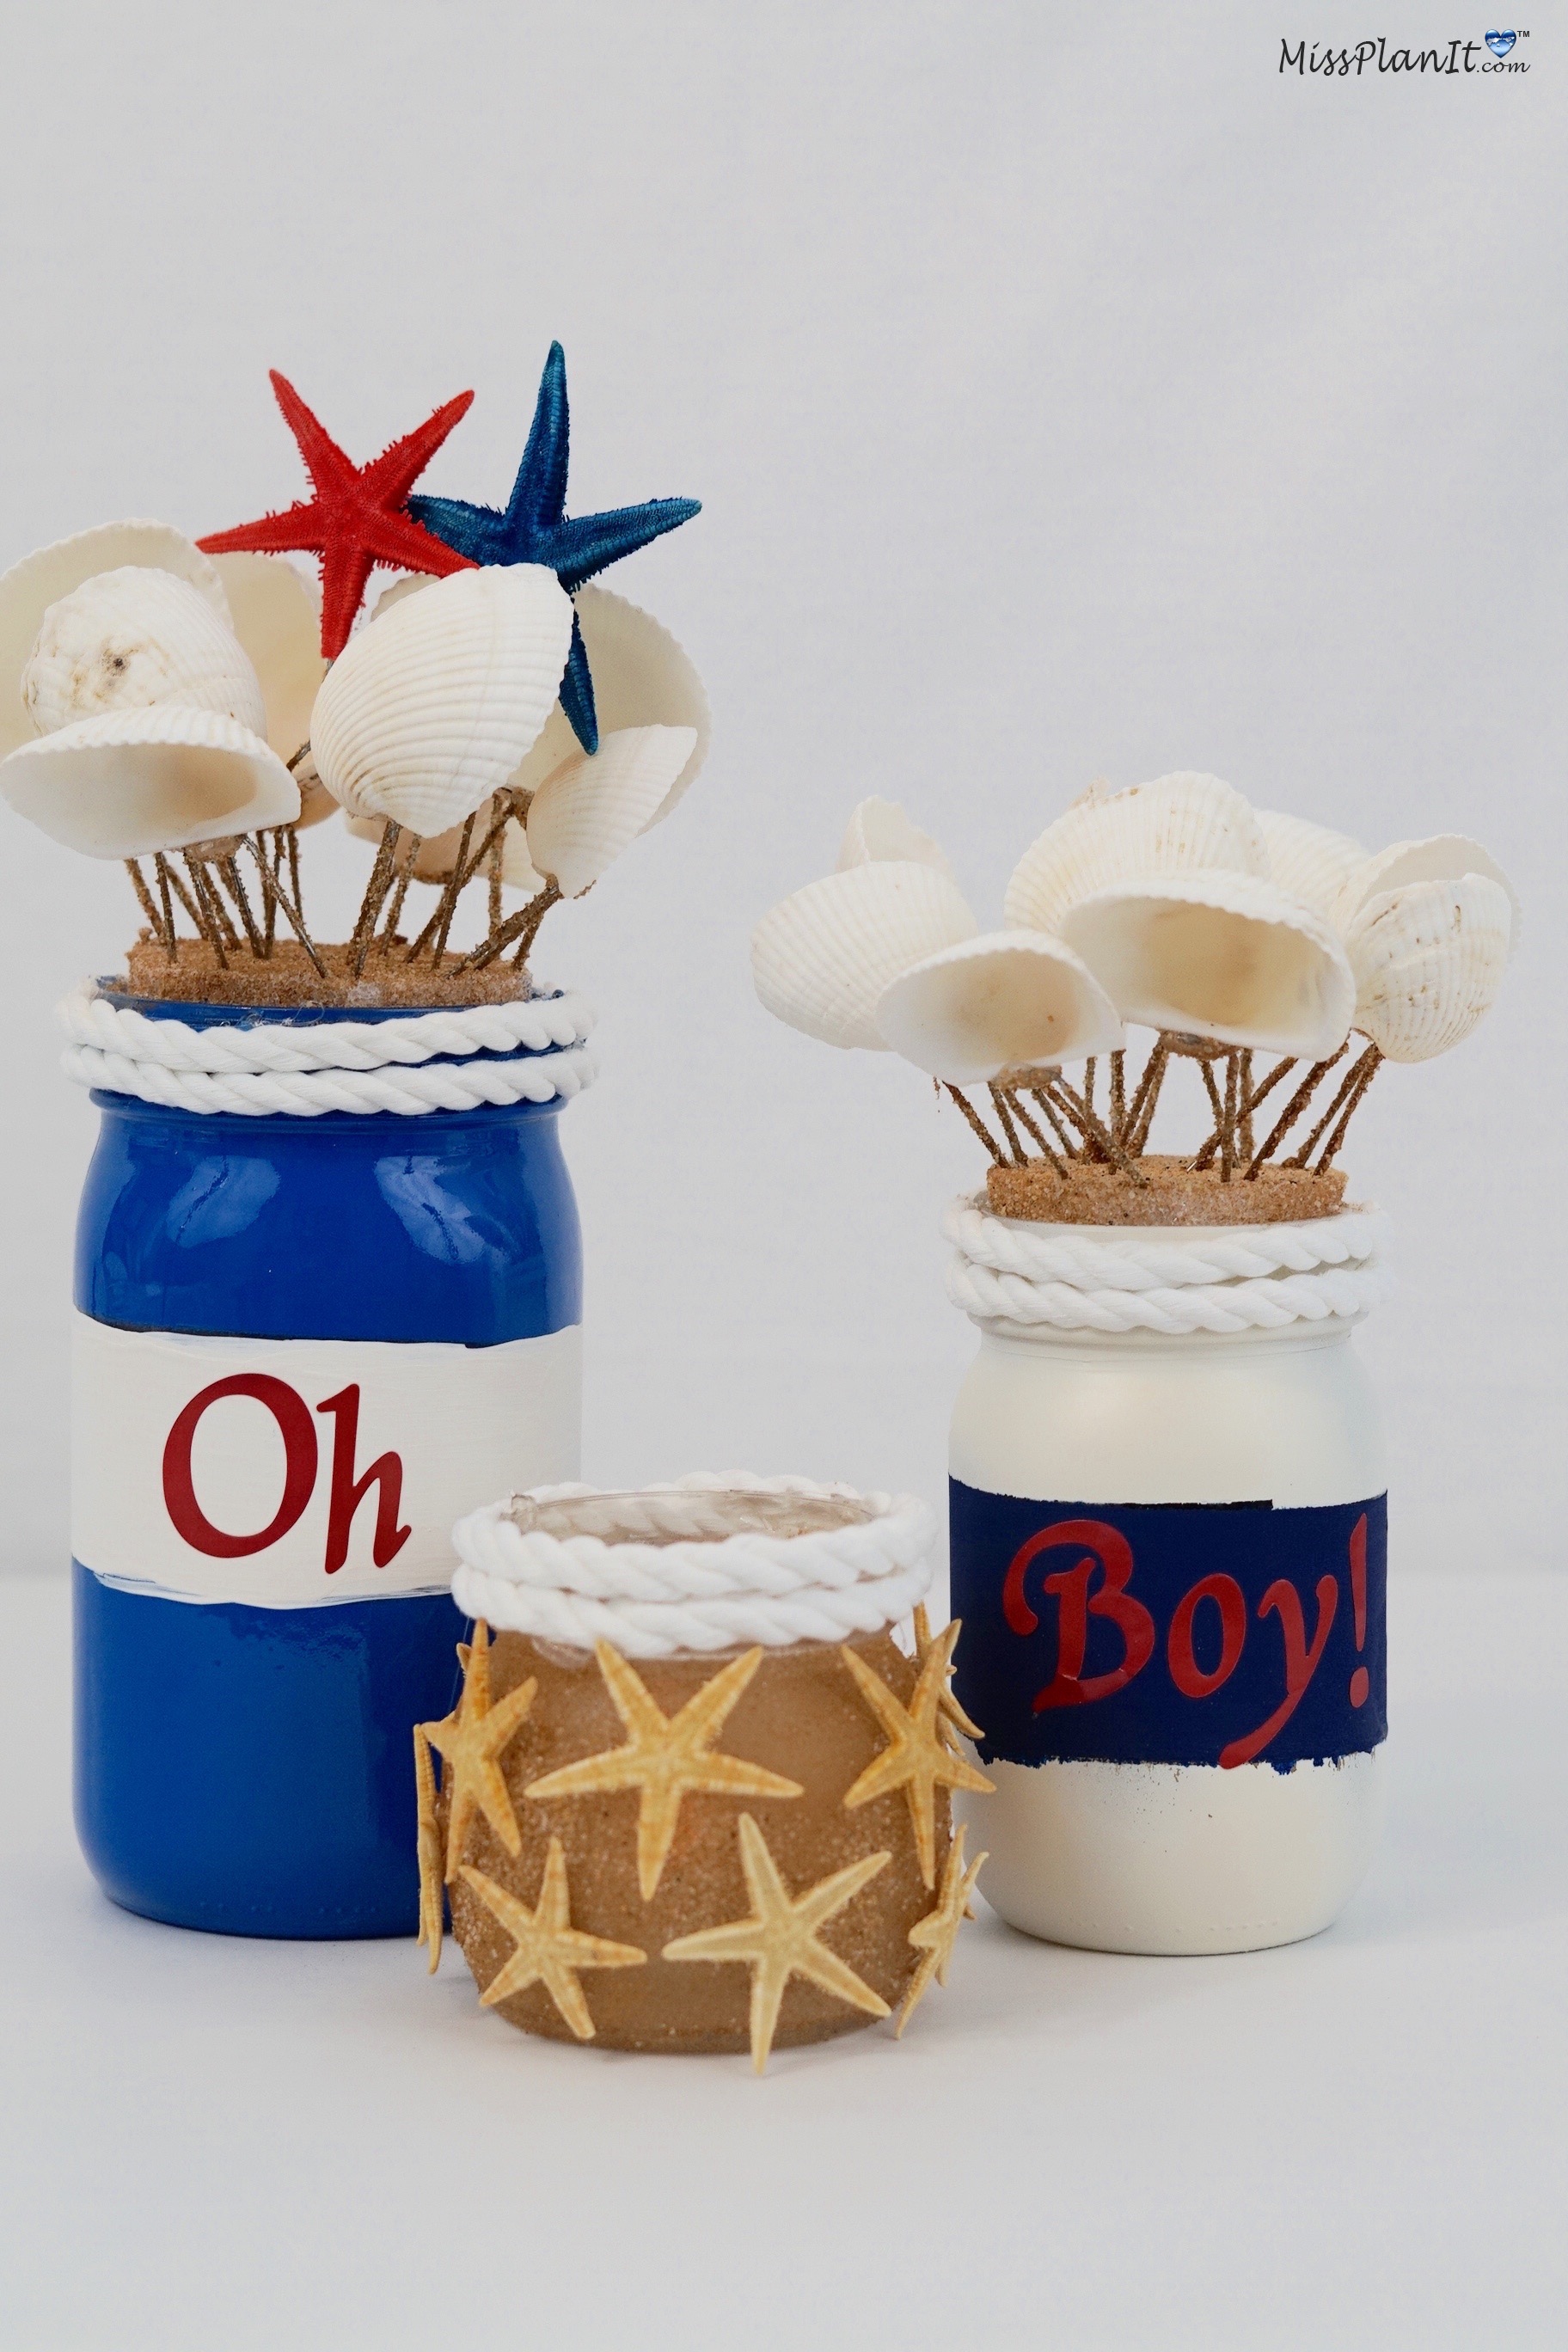
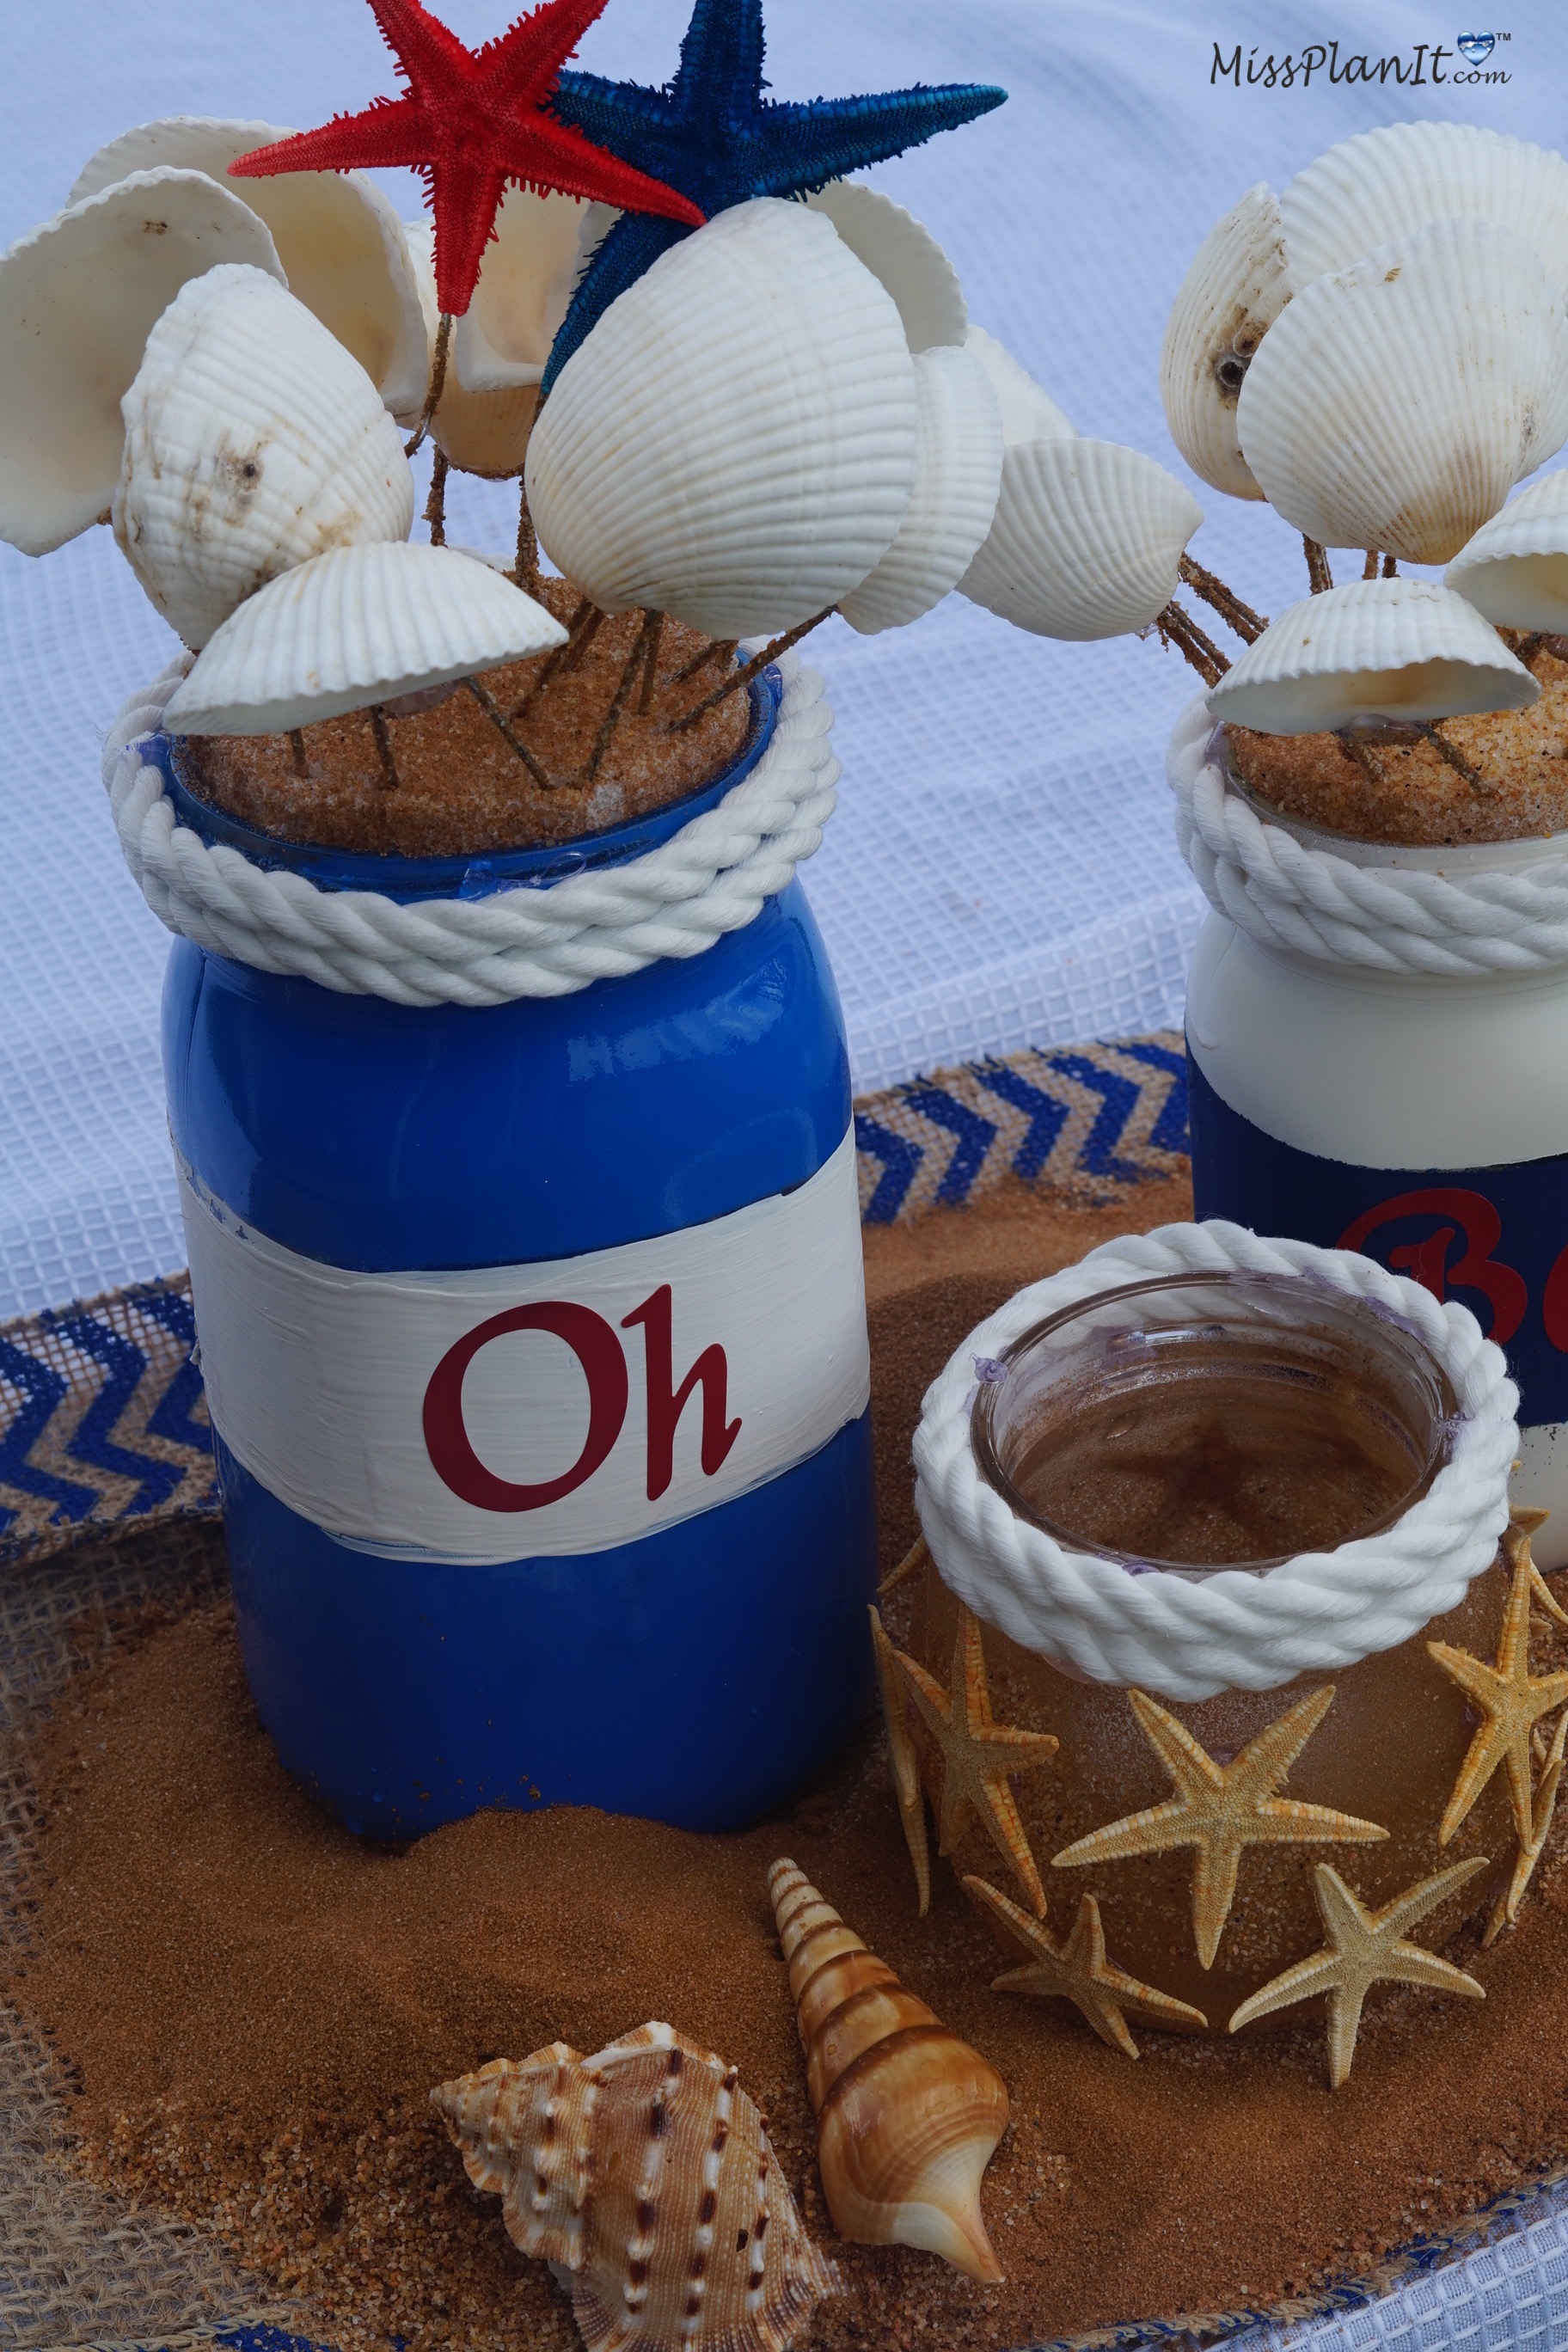
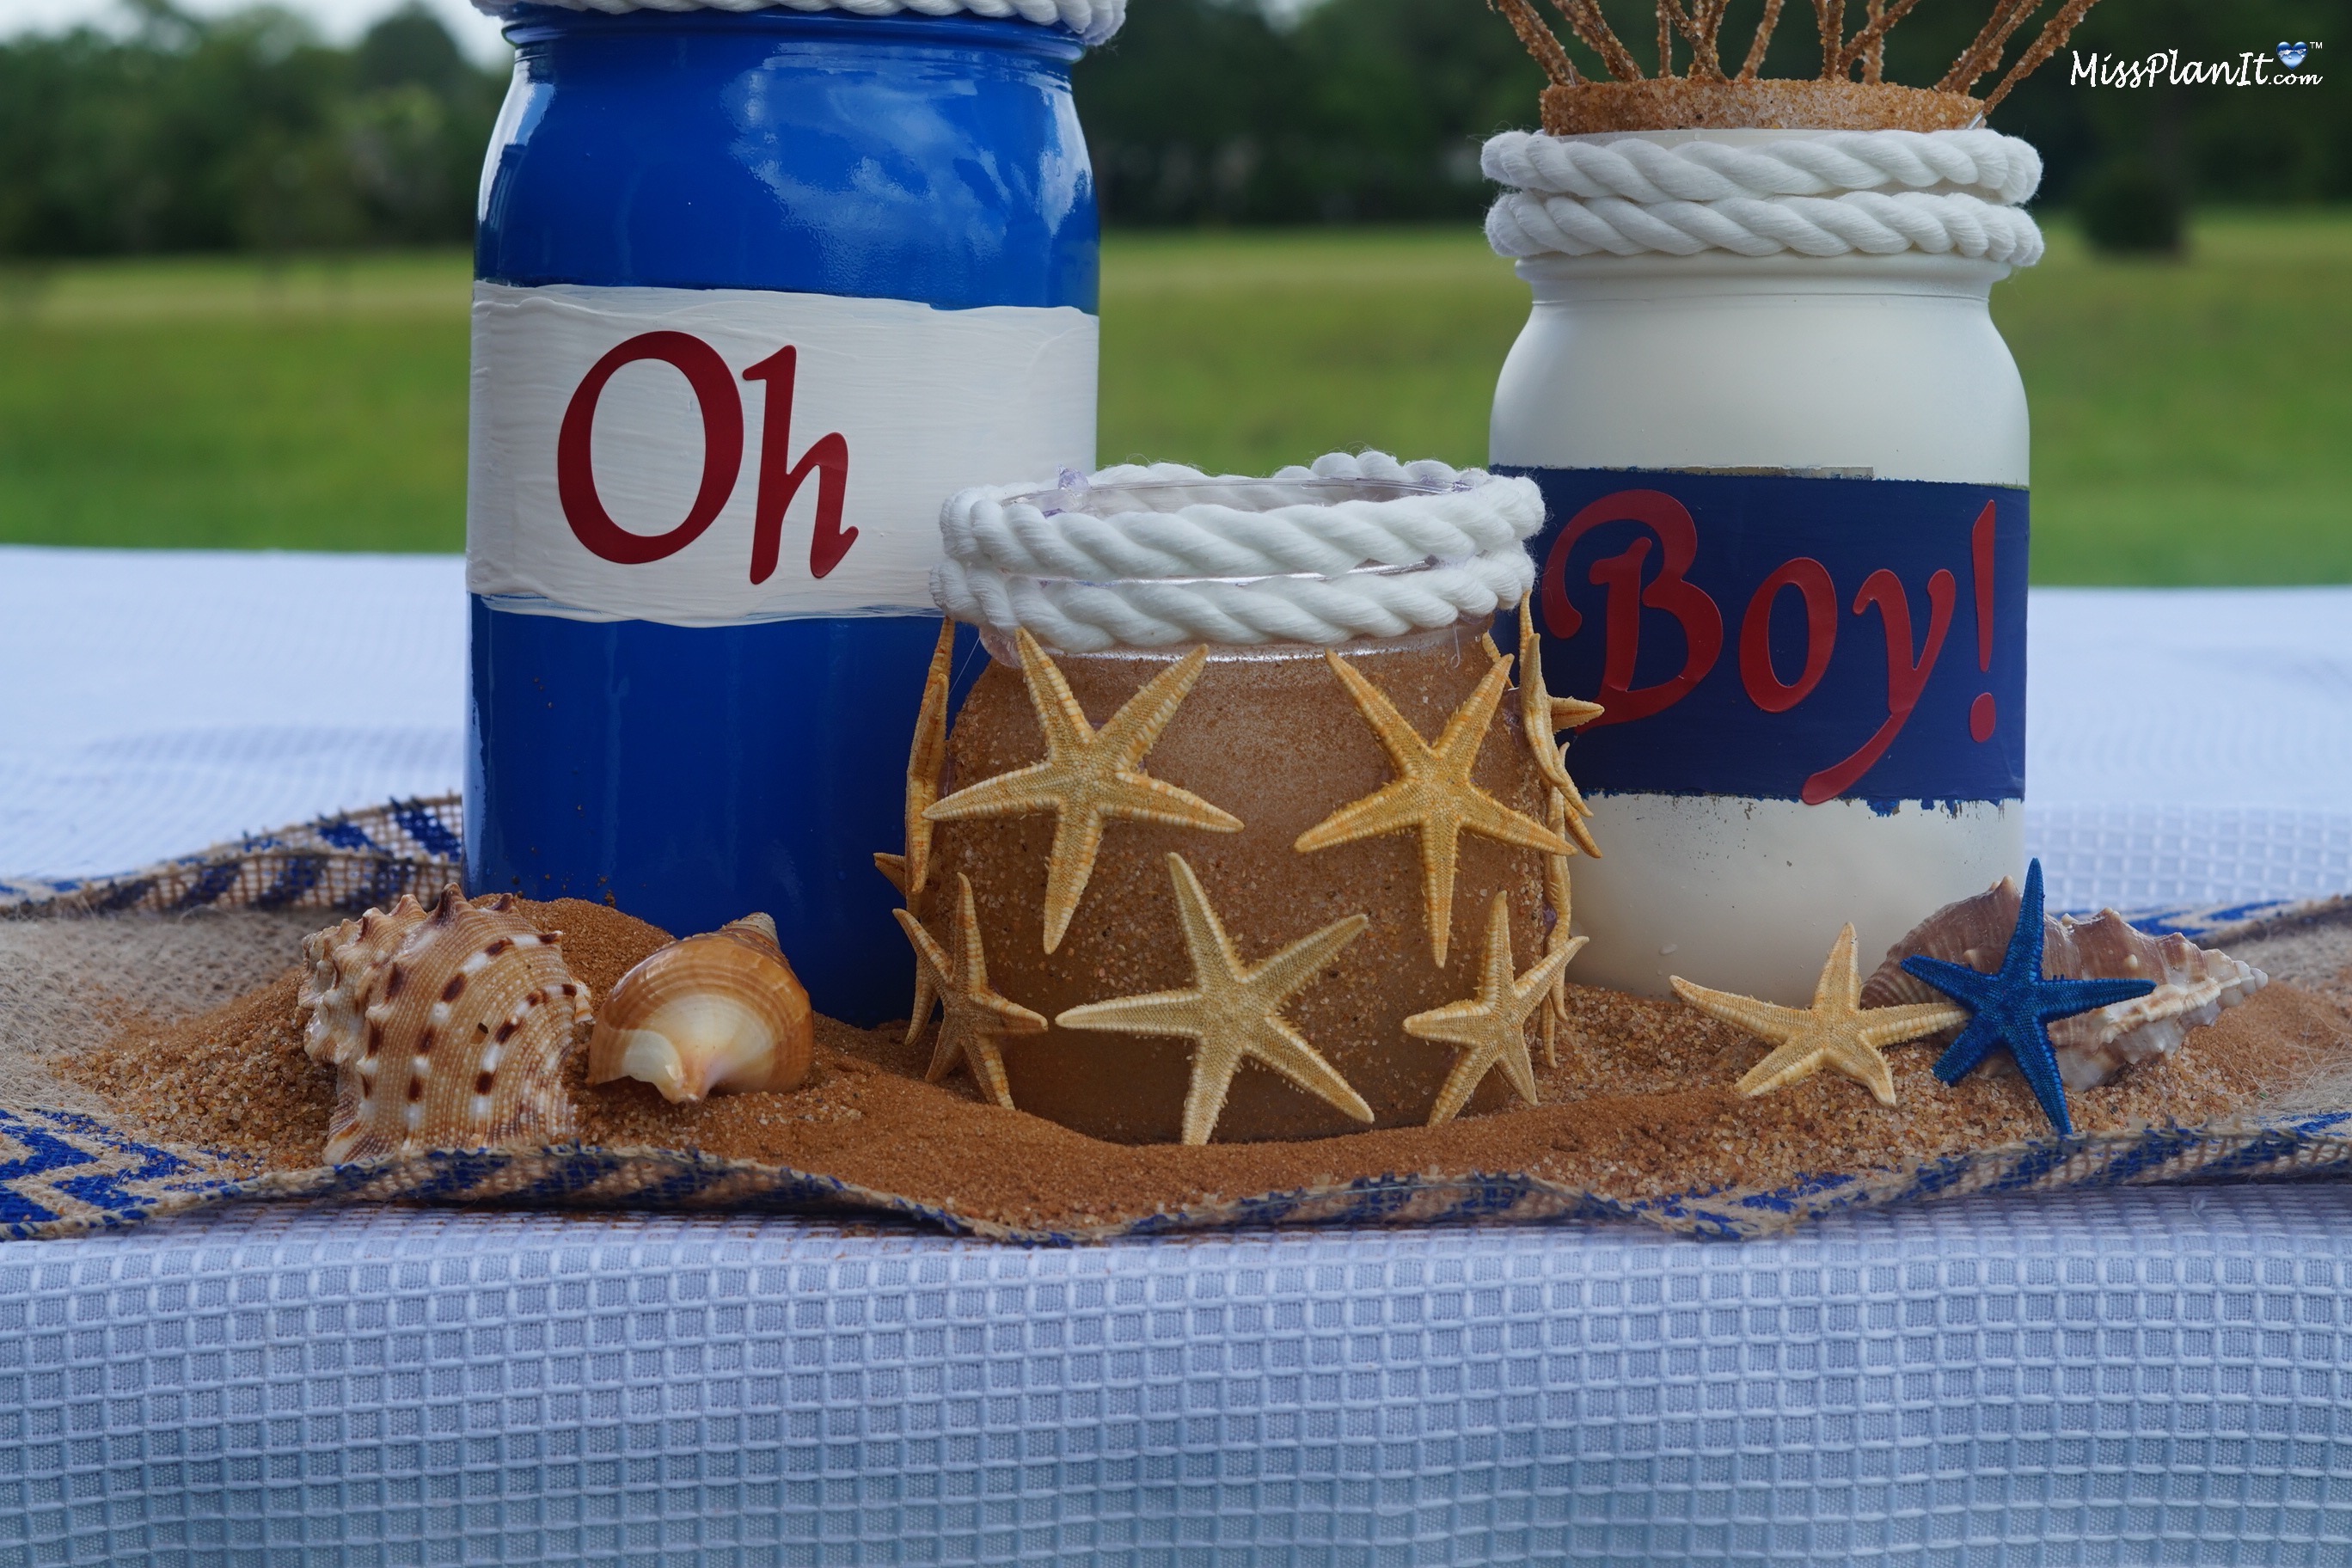
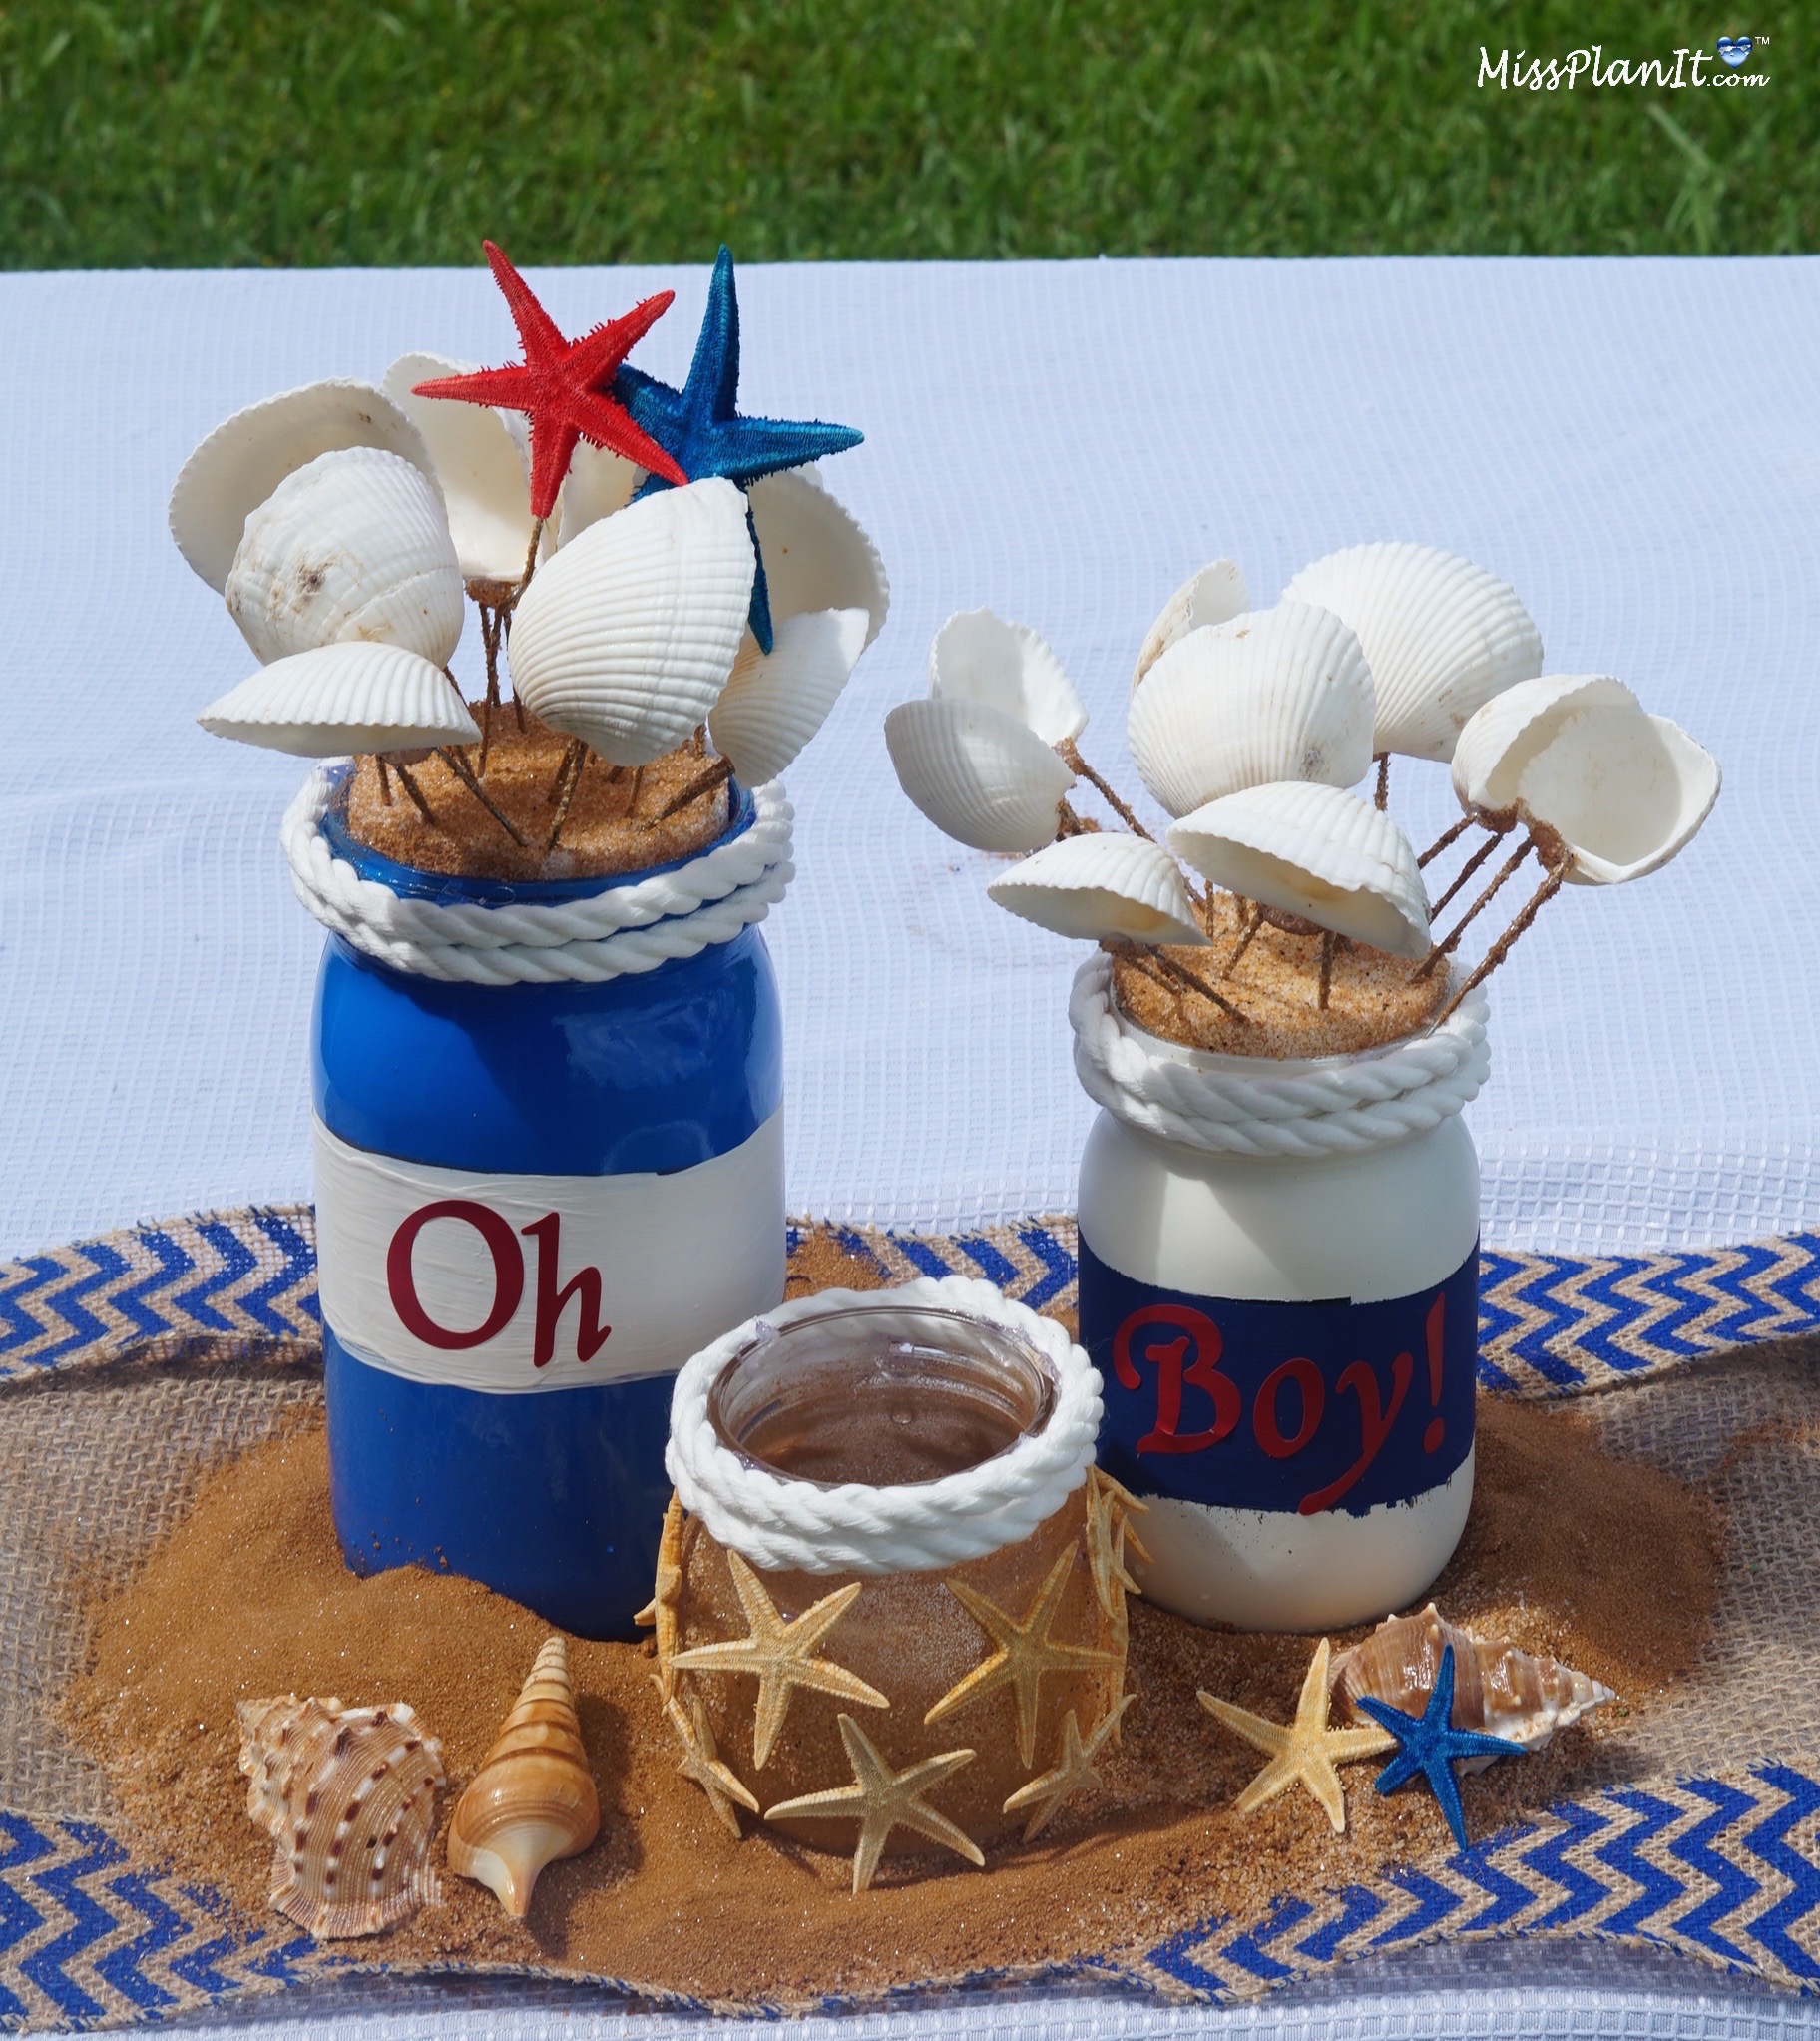
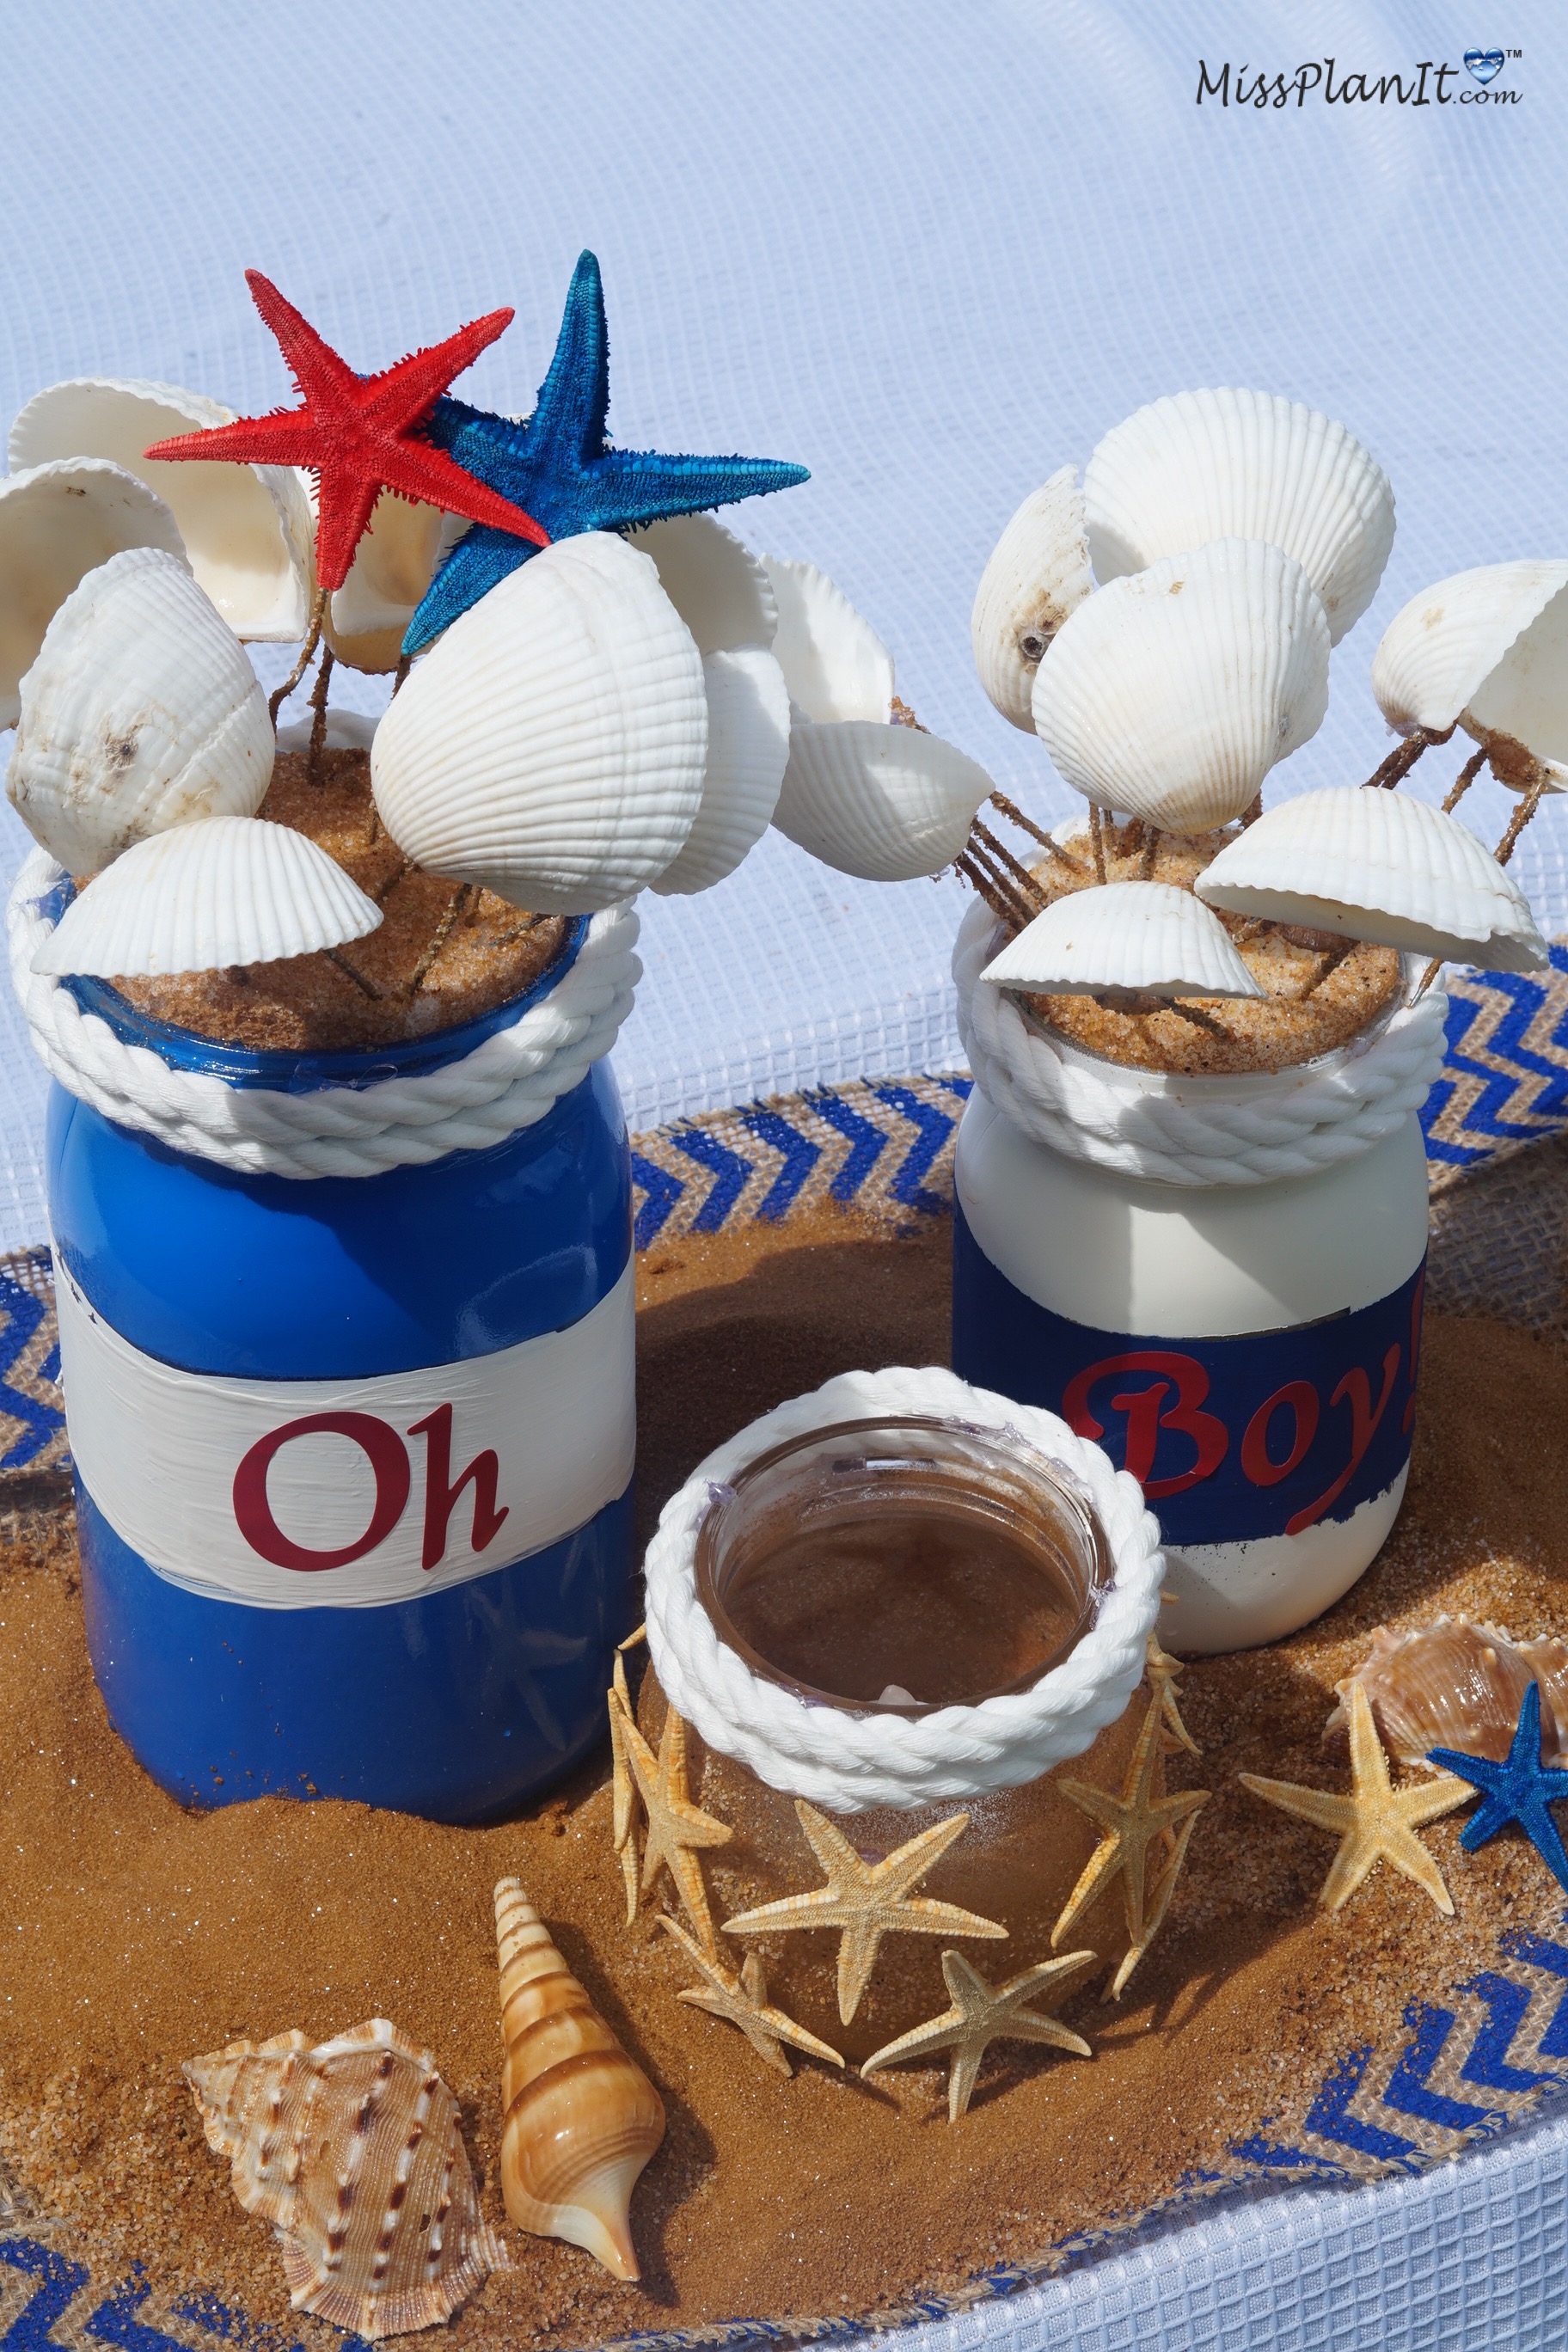
I absolutely love how this baby shower centerpiece turned out!
If you like the outcome please let us know in the comments below? Also share your ideas on what you would have done differently?
Check out the full How-To Video below. Need help with an upcoming project? Be sure to send us a project request!
“Remember When Every Penny Counts, Count on MissPlanIt”


